


Generator
History


Add a photo
Edit options
 Choose a category
Image Optimization
Image Quality & Correction
Exterior Enhancement
Interior Enhancement
Lighting, Color & Exposure
Sky Replacement
Virtual Twilight
Weather & Seasonal Editing
Holiday Decorations
Fire in Fireplace
Object & Element Specific
 Choose a enhancement
Choose category first
Looking for any specific?

 Count
Count
Professional Image Quality & Correction for Real Estate
Fix lens distortion, sharpen fine details, and eliminate digital noise. Transform raw property photos into polished, high-resolution marketing assets instantly.
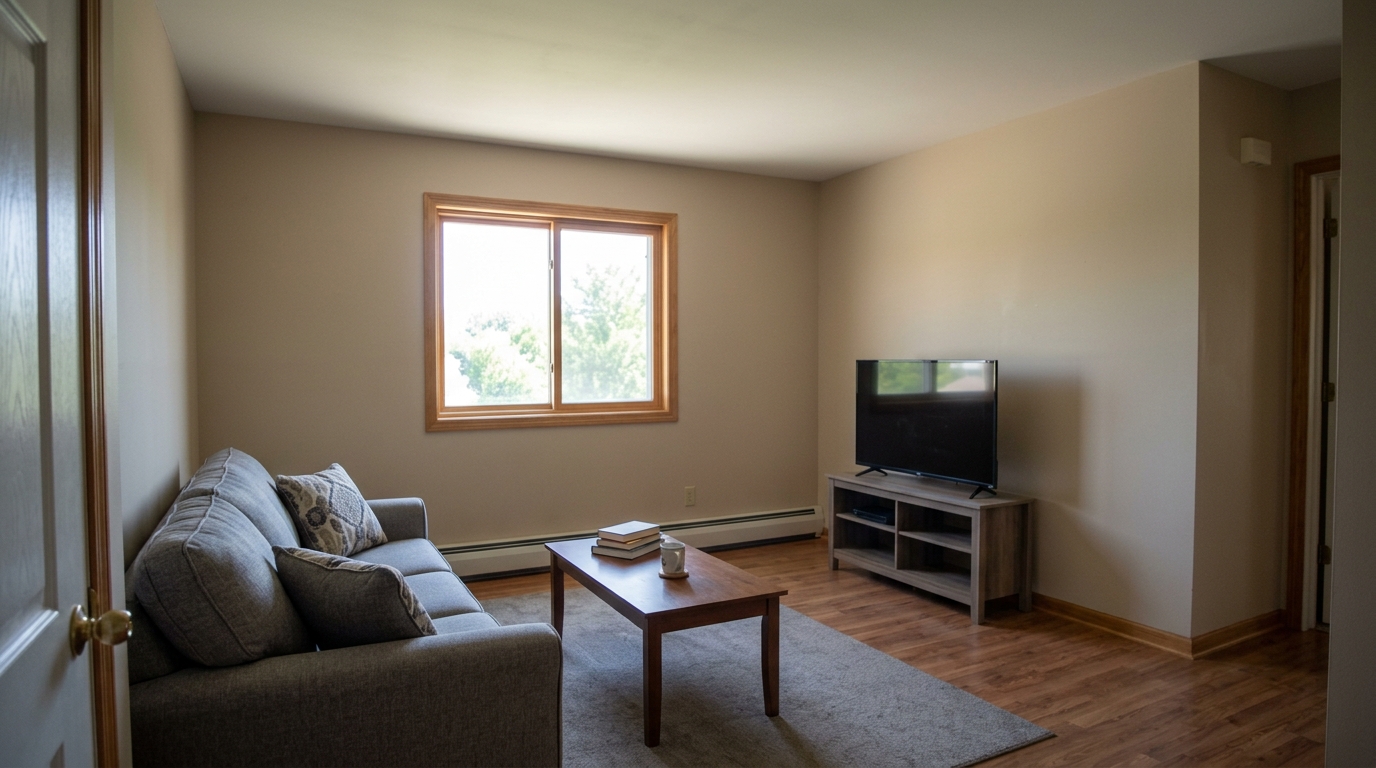
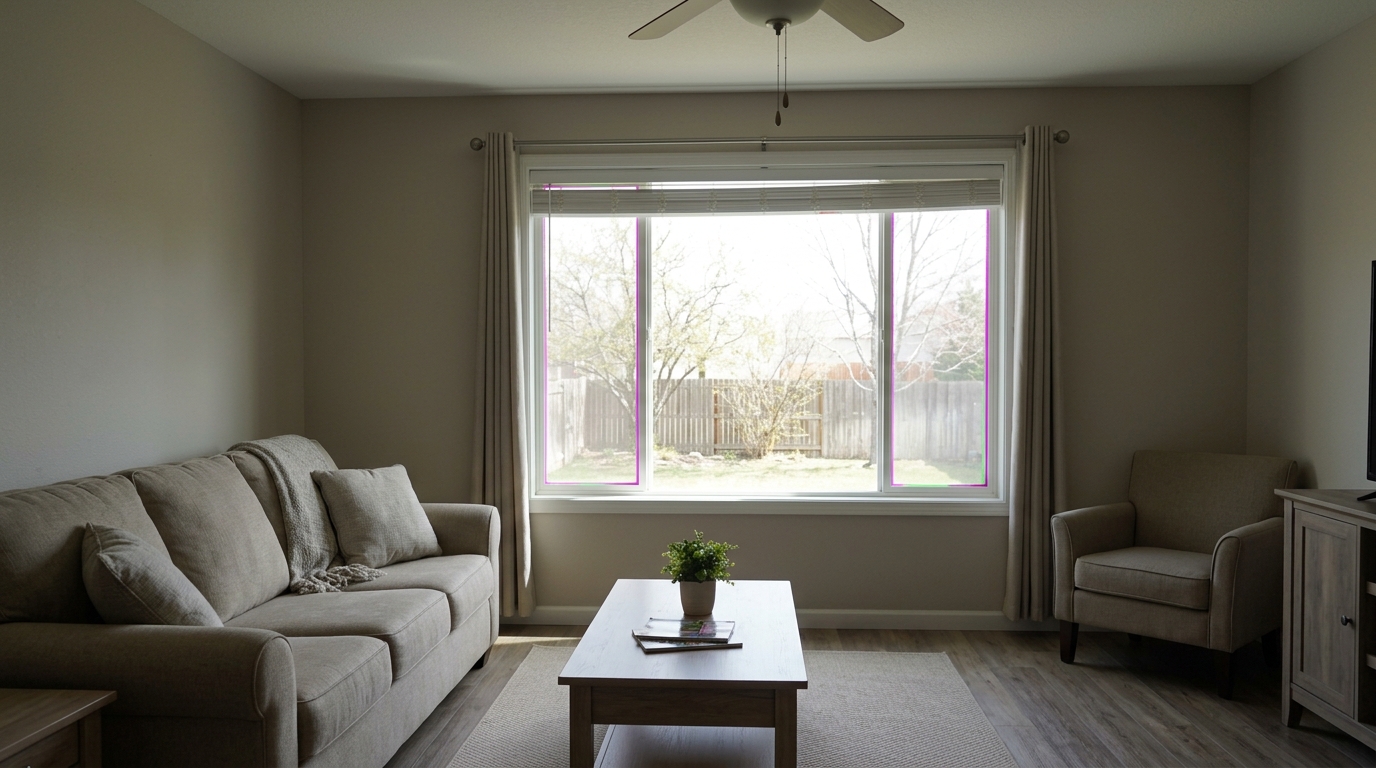
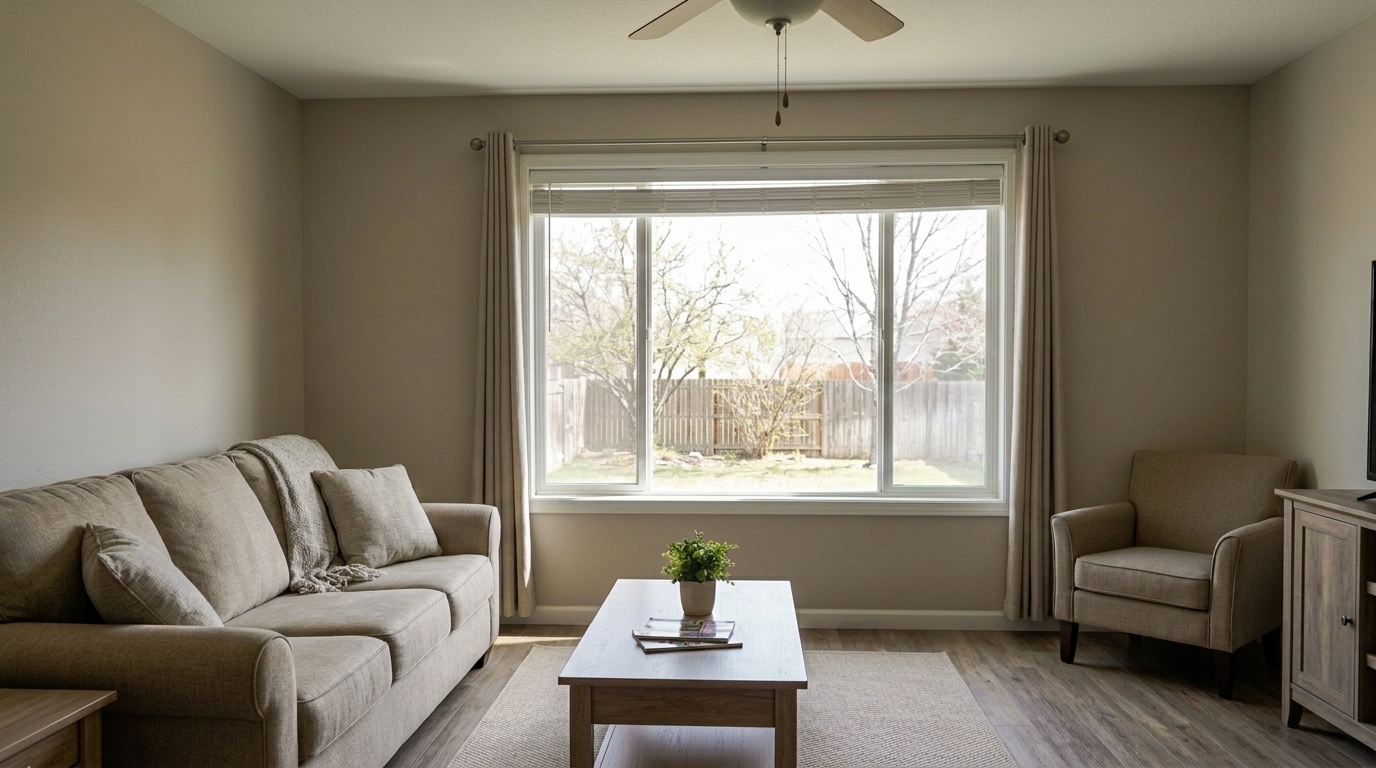
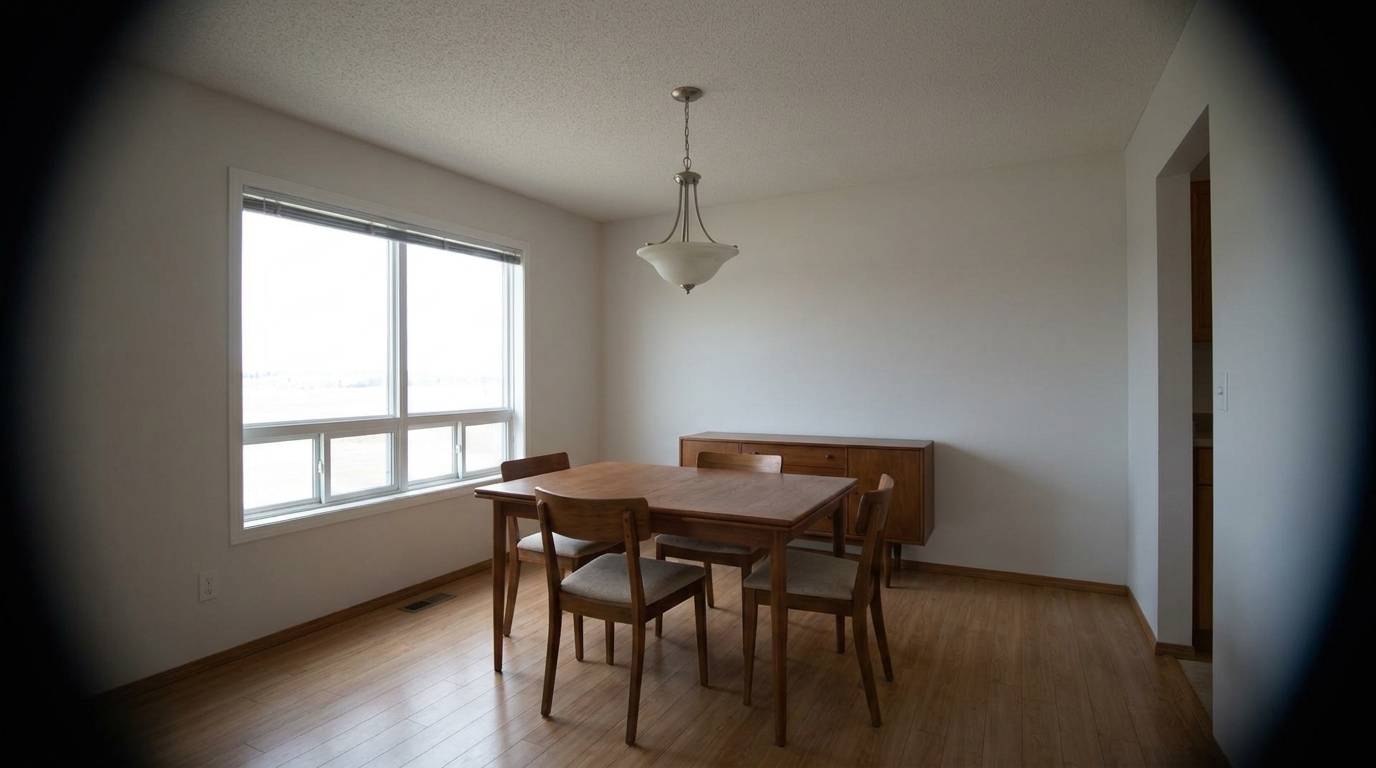
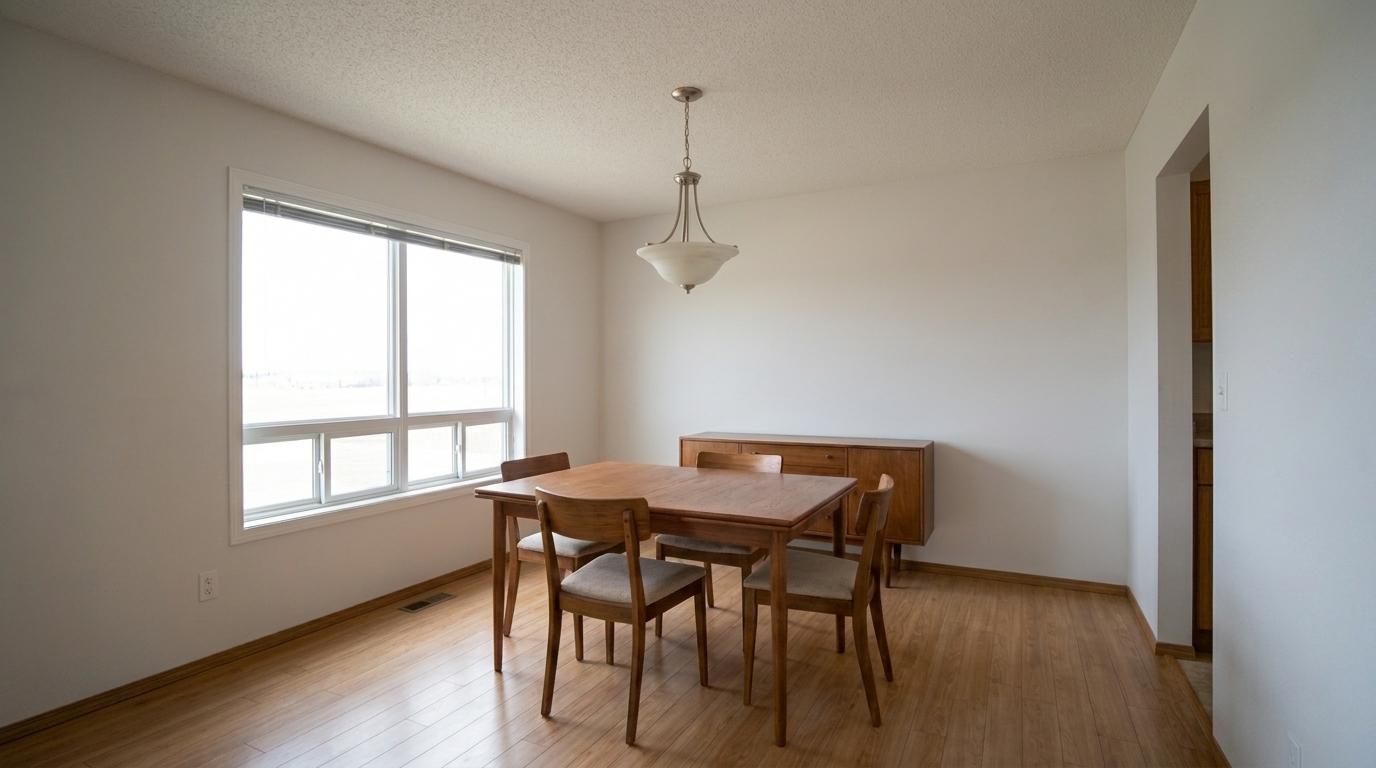
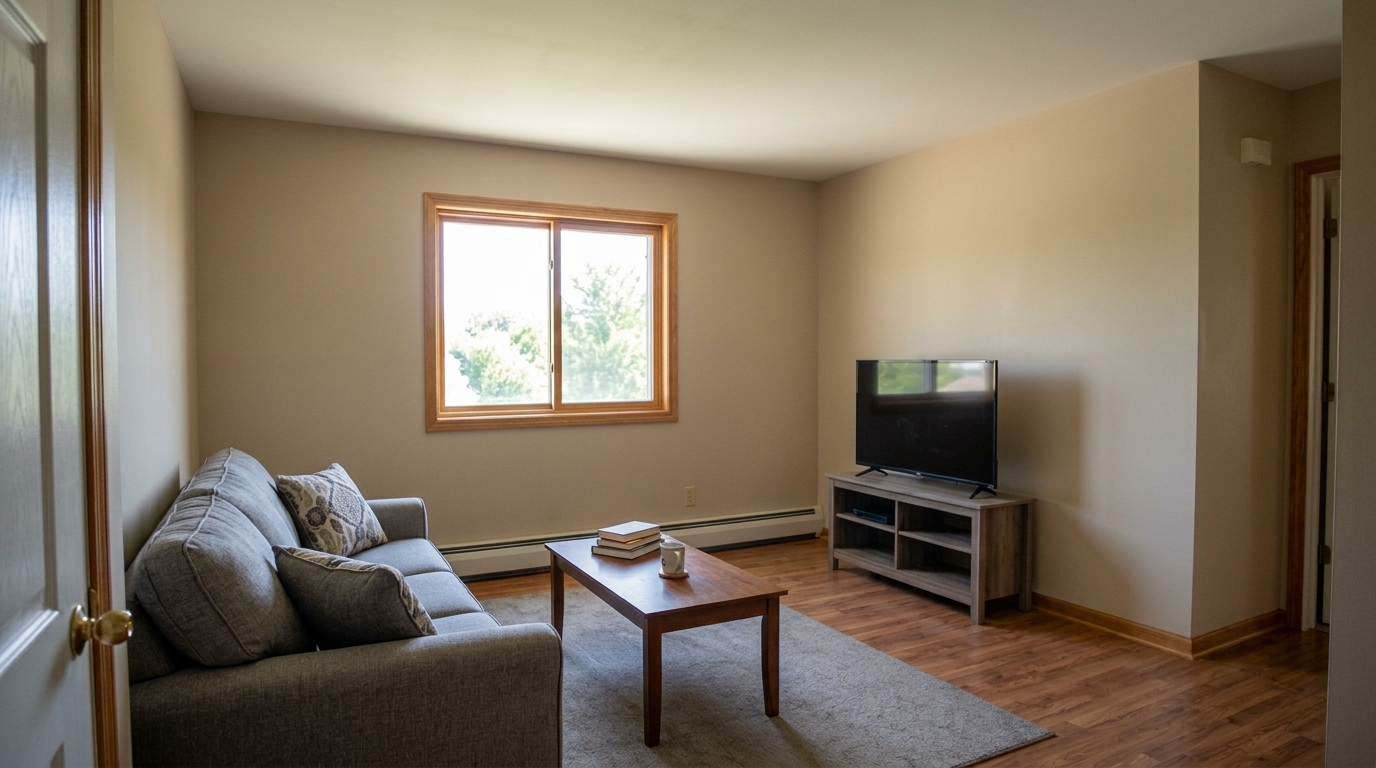 BeforeAfter
Real Estate Photo Correction Examples
Compare before and after results to see the impact of professional quality adjustments.
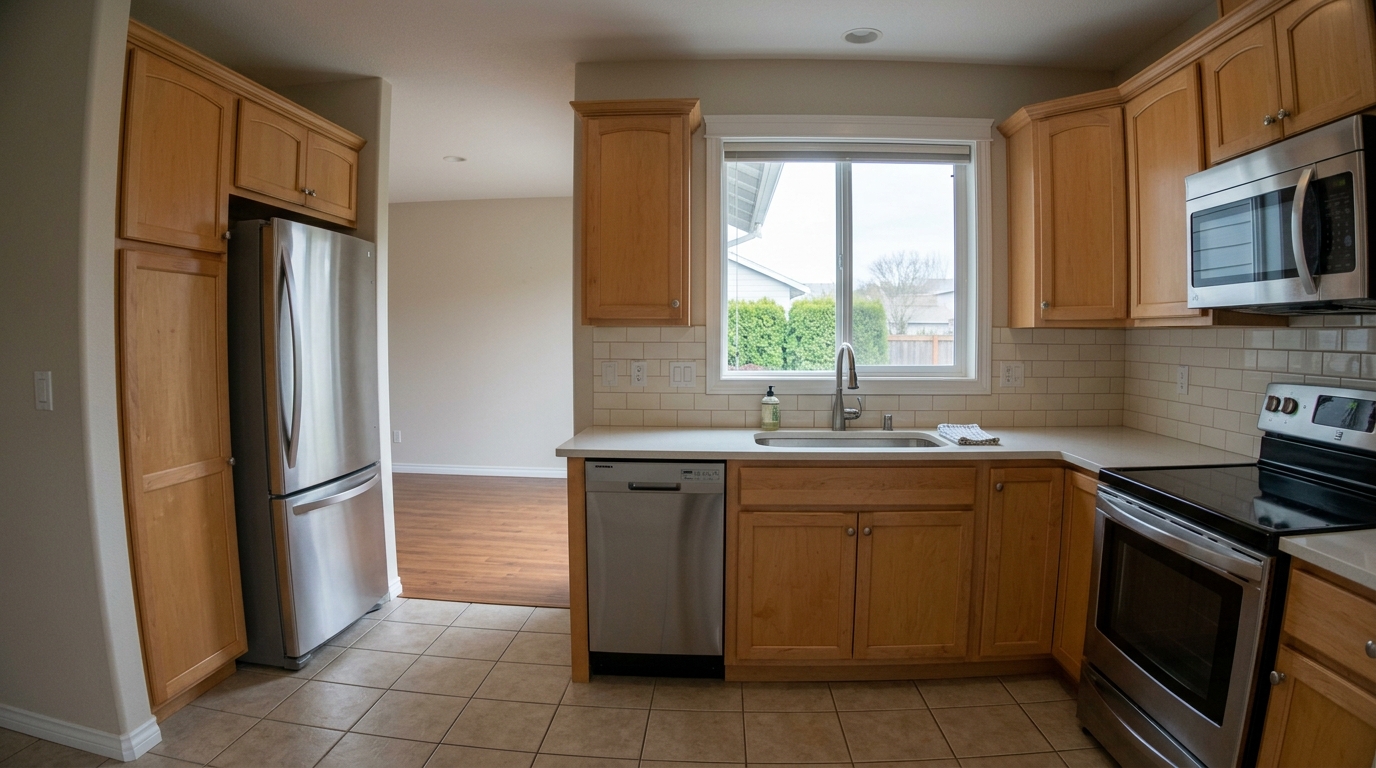
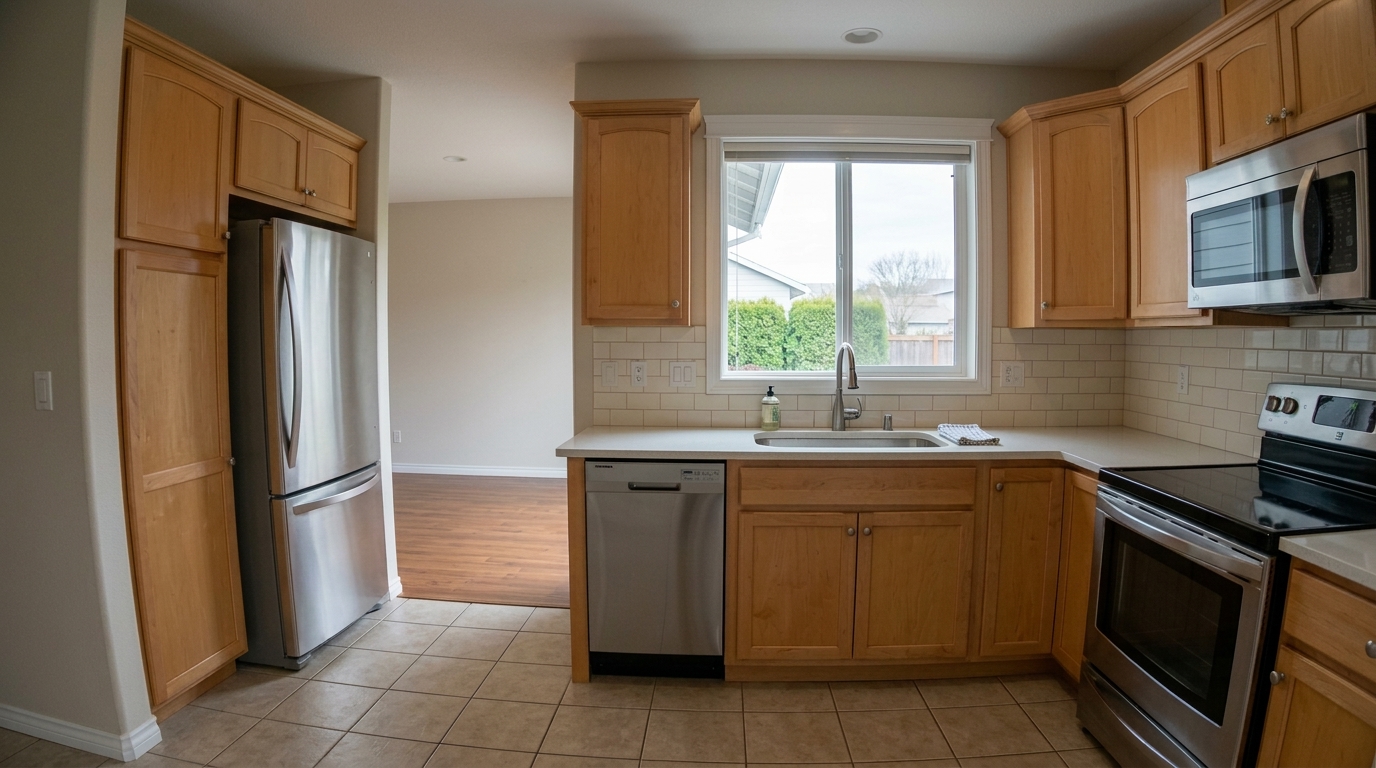
Kitchen Wide-Angle Distortion
Make the correction visibly obvious by straightening the same kitchen's bowed cabinet edges, refrigerator sides, window frame.
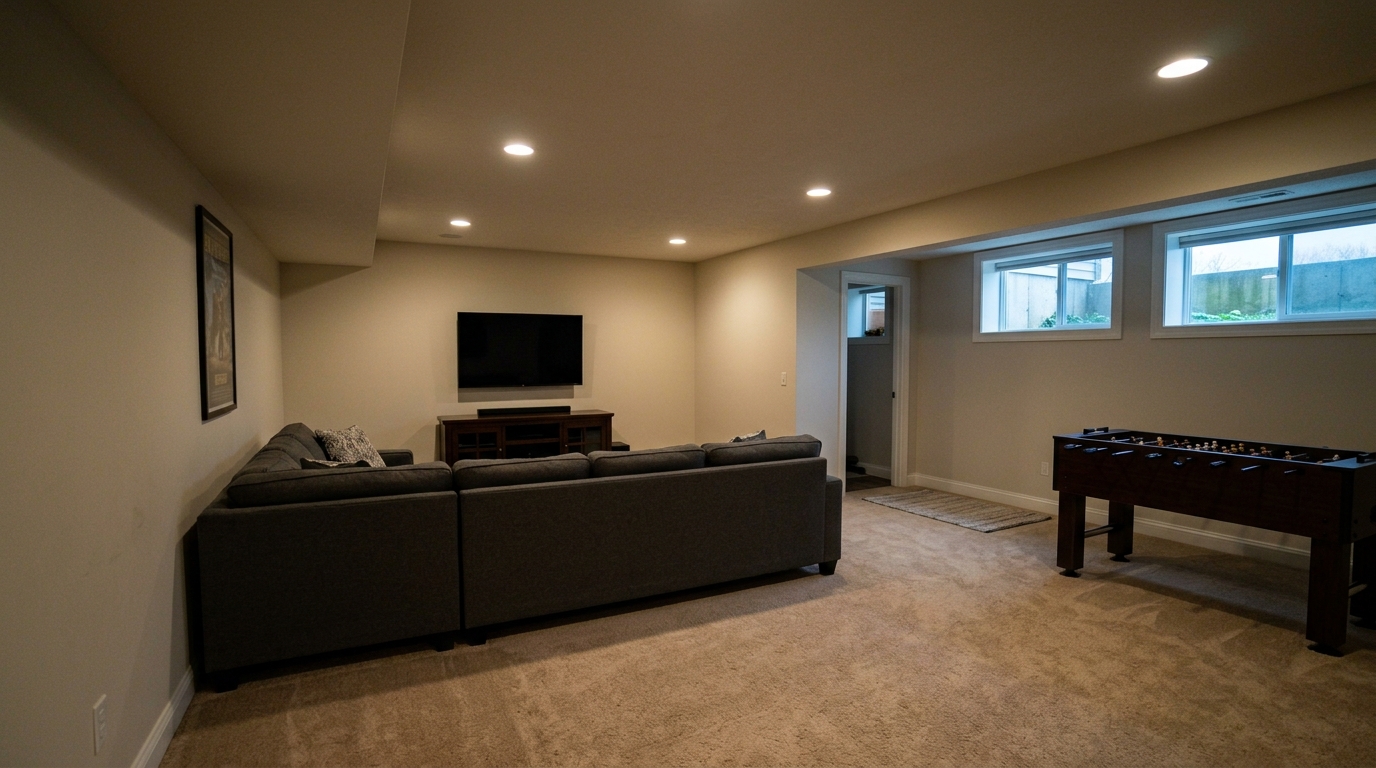
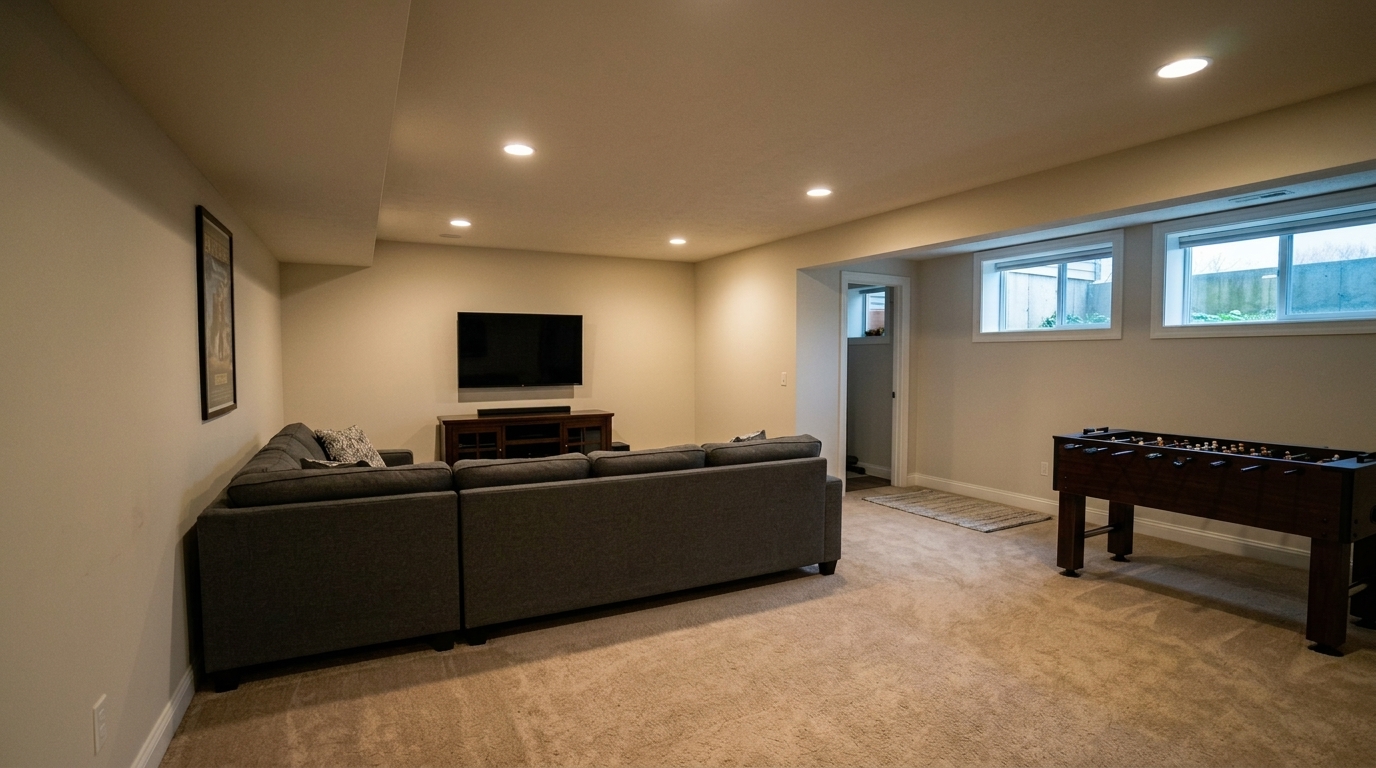
Low-Light Basement Grain
Correct the same finished basement recreation/media room by reducing low-light grain and shadow noise, lifting muddy dark areas.
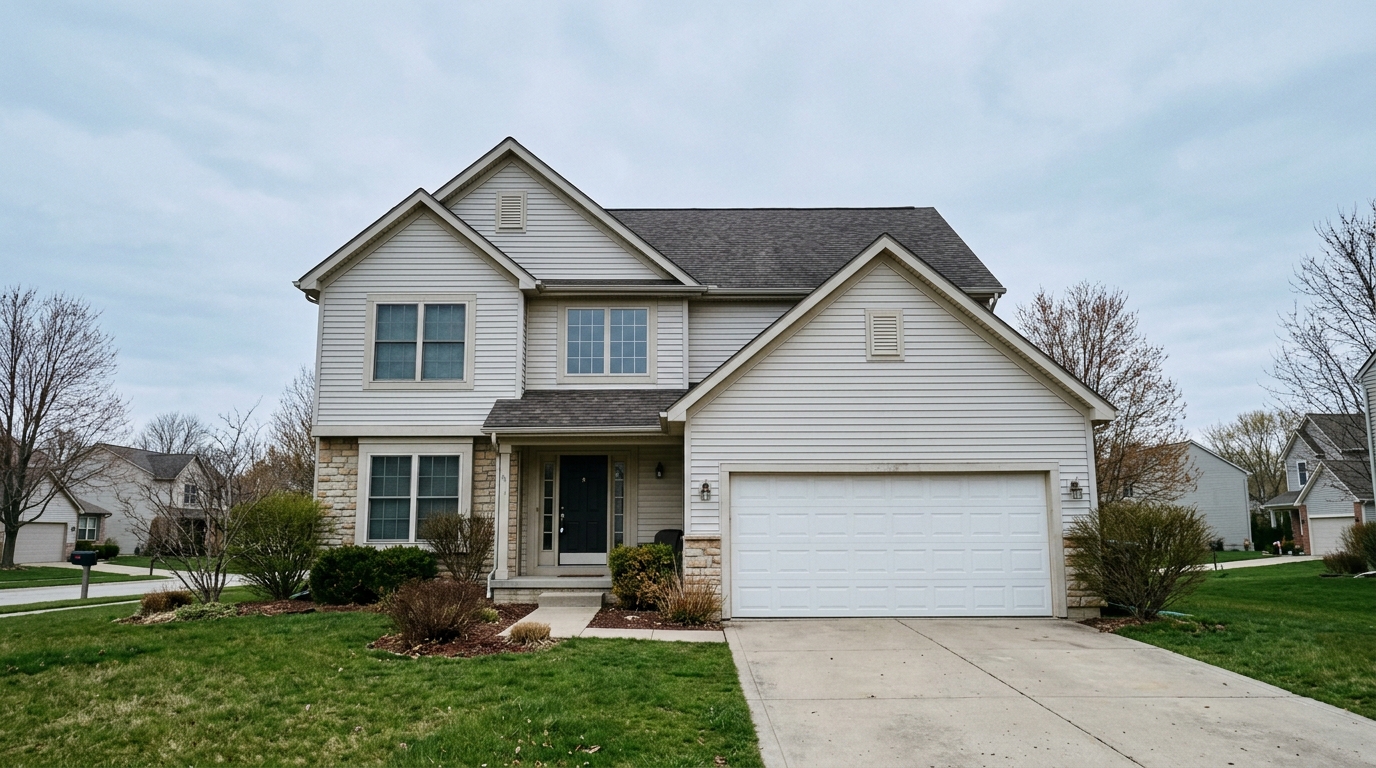
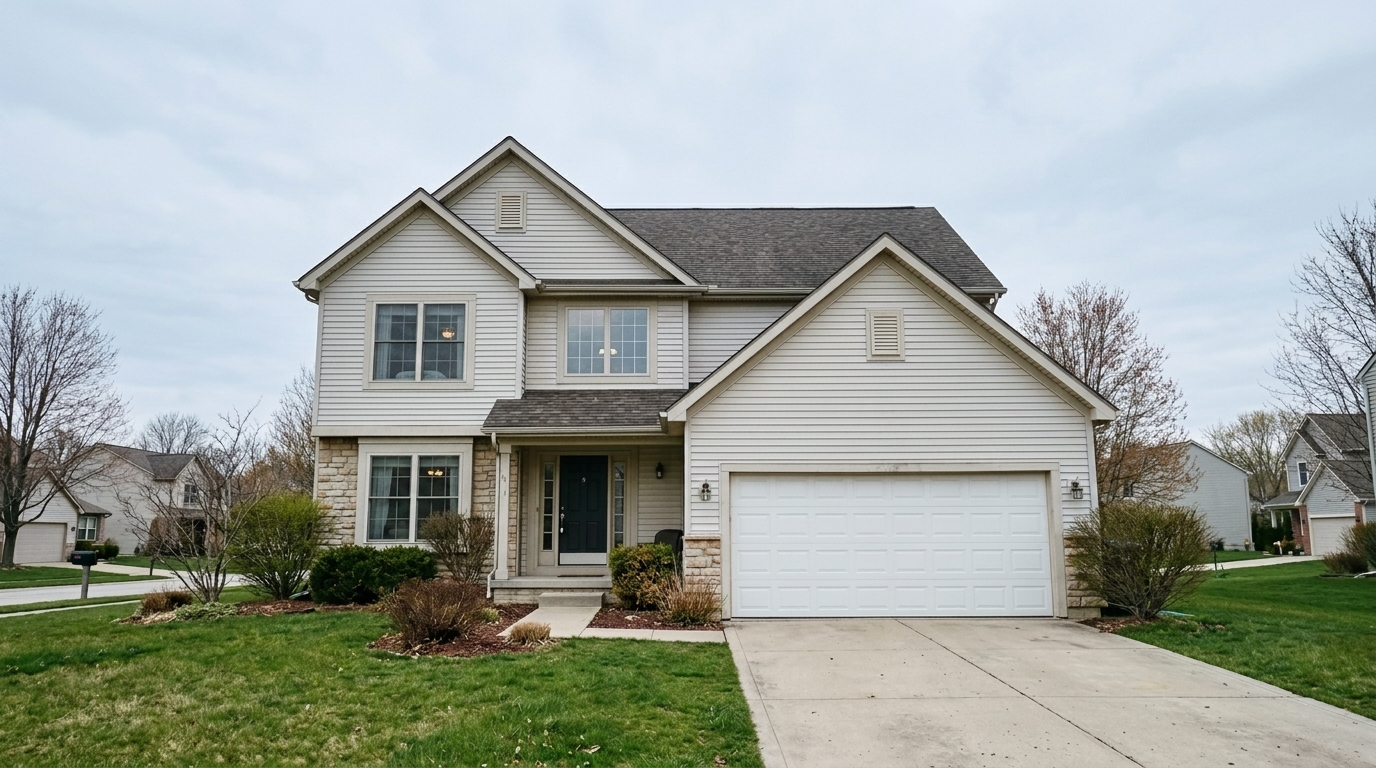
Two-Story Exterior Perspective
Straighten the same two-story exterior perspective so house verticals, garage edges, window frames, facade edges, driveway, and.
High-Contrast Window Fringing
Correct the same high-contrast window photo by removing purple and green chromatic fringing around window-frame edges, recovering.
Dull Hardwood Detail
Improve the same hardwood-floor listing photo by restoring floor grain, texture, and natural sharpness while keeping the pleasant.
Uneven Corner Vignetting
Uneven Corner Vignetting updated with image upscaling styling.
Advanced Correction Features for Flawless Listings
Discover powerful automated tools designed to fix perspective, clarity, and color issues instantly.
01
AI-Powered Image Quality Correction
Automatically aligns vertical and horizontal lines to eliminate leaning walls and make rooms feel structurally sound and spacious.
02
Intelligent Lens Distortion Fix
Corrects barrel and pincushion distortion caused by wide-angle lenses, ensuring straight walls and realistic proportions.
03
Smart Noise & Grain Reduction
Smooths out digital noise and grain in low-light or shadow areas without sacrificing fine textures or architectural details.
04
Advanced Detail Sharpening
Enhances edge definition and micro-contrast, making materials like hardwood, marble, and brickwork pop with professional clarity.
05
Chromatic Aberration Removal
Erases distracting purple or green color fringing along high-contrast edges, such as window frames and rooflines.
06
Automated Vignette Correction
Brightens dark, shadowed corners to deliver evenly exposed, open, and naturally lit interior and exterior photos.
Tailored Solutions for Real Estate Professionals
See how different industries use our correction tools to streamline their visual workflows.
Real Estate Agents
Quickly fix amateur smartphone or basic camera shots to create clean, professional-looking MLS listings.
Listing PrepProfessional Photographers
Speed up post-processing workflows by batch-correcting wide-angle lens distortion and vertical alignments.
Workflow SpeedProperty Managers
Enhance rental listing photos to show accurate room dimensions and bright, inviting spaces that attract tenants.
Rental MarketingVirtual Tour Creators
Optimize 360-degree panoramic images to ensure seamless stitching, balanced exposure, and sharp details throughout the tour.
VR & 3D ToursHome Stagers
Highlight interior design details, textures, and furniture arrangements with crisp, color-accurate, and sharp imagery.
Design ShowcaseCommercial Brokers
Present large office spaces and retail properties with perfectly straight architectural lines and high-end clarity.
Commercial Real EstateHow to Correct and Enhance Your Property Photos
Follow three simple steps to resolve common photographic issues and output flawless images.
1
Upload Property Photos
Select and upload your real estate images, including wide-angle interior shots, low-light rooms, or distorted exterior angles.
2
Select Correction Presets
Choose from specialized correction tools like AI Photo Sharpening, Noise Reduction, or Real Estate Photo Editing to target specific defects.
3
Download MLS-Ready Assets
Apply the corrections instantly and download high-resolution, perfectly aligned, and sharpened images optimized for MLS platforms.
Why Image Quality & Correction Matters
Source-backed context for why image quality & correction can strengthen real estate listing presentation and buyer evaluation.
Photos useful: 83%
Image Quality & Correction evidence
Photos are one of the most valuable website features for home buyers; NAR's 2025 generational trends report says 83% of internet-using buyers rated photos as very useful. For Image Quality & Correction pages, this supports explaining why that enhancement category can influence listing presentation, buyer confidence, and perceived property readiness.
Source: NAR 2025Photo priority: 26%
Image Quality & Correction evidence
Zillow Research's 2025 prospective buyer report ranked high-resolution photos as the number two most important listing feature, selected by 26% of prospective buyers; floor plans ranked first at 33%. For Image Quality & Correction pages, this supports explaining why that enhancement category can influence listing presentation, buyer confidence, and perceived property readiness.
Source: Zillow 2025Sale signal: 3 weeks
Image Quality & Correction evidence
Redfin reported that professionally photographed homes in the $400,000 range sold three weeks faster and for more than $10,000 relative to list price compared with amateur photos. Use this as supporting context, not as a guaranteed result. For Image Quality & Correction pages, this supports explaining why that enhancement category can influence listing presentation, buyer confidence, and perceived property readiness.
Source: RedfinThe Complete Guide to Real Estate Image Quality & Correction
Learn how to identify and resolve common photographic defects to ensure your property listings look professional, accurate, and highly appealing to potential buyers.
Why Structural and Detail Accuracy Matters in Real Estate
In real estate marketing, first impressions are almost entirely visual. When prospective buyers browse listings online, subtle defects like leaning walls, curved horizons, or blurry details can subconsciously signal low quality or lack of care. Correcting lens distortion and perspective isn't just about aesthetics; it's about presenting a property accurately and professionally. Straight vertical lines make spaces feel structurally sound and spacious, while sharp details highlight the quality of materials like granite countertops or hardwood floors. By resolving these technical photographic issues, you build immediate trust with buyers and elevate the perceived value of the listing.
Decision Guide: Matching Presets to Common Photo Defects
Different photographic issues require targeted solutions. If your wide-angle interior shots show curved walls, use Image Quality Correction to flatten the field of view. For photos taken from low or high angles where walls seem to tilt inward, apply Image Quality Correction to restore vertical alignment. If your images were captured in low light—such as a dim basement or during twilight—start with Noise Reduction to clear up grain, then follow up with AI Photo Sharpening to restore lost edge definition. For general listing preparation, the Real Estate Photo Editing preset offers a balanced, all-in-one optimization workflow. Avoid over-sharpening images that already have high digital noise, as this can amplify artifacts; always denoise first.
Streamlining Your Post-Processing Workflow
To maximize efficiency, integrate image correction early in your post-processing pipeline. Begin by importing your raw or camera-straight shots and applying Image Quality Correction to establish a level horizon. Next, address structural geometry using available quality correction tools. Once the spatial layout is accurate, apply color, exposure, and detail enhancements like sharpening or chromatic aberration fixes. Finally, export files at the dimensions required by your listing platform. This structured approach prevents cumulative editing errors and ensures a cohesive, professional look across your entire property gallery.
Knowing the Limits: Automated Tools vs. Custom Editing
Automated quality correction is highly effective for standard real estate photography challenges, such as correcting wide-angle lens curves, removing digital noise from twilight shots, and sharpening soft details. It is best used to quickly elevate standard listing galleries to professional standards. However, automated tools are not a substitute for complex physical staging or structural repairs. For example, while perspective correction can straighten a leaning wall in a photo, it cannot fix actual structural sagging in an old home. Use automated correction to polish and present the true, best version of a property, but rely on manual retouching or physical staging for highly customized, artistic, or structural modifications.
Explore Professional Correction Presets
Select a specialized tool to target specific image defects and elevate your property listings.
360 VR Enhanced Tour
Cleaner, sharper 360 tour imagery with balanced light and a more immersive look.
Open This Generator →
AI Photo Sharpening
Boost edge definition and surface detail for crisper, more polished marketing images.
Open This Generator →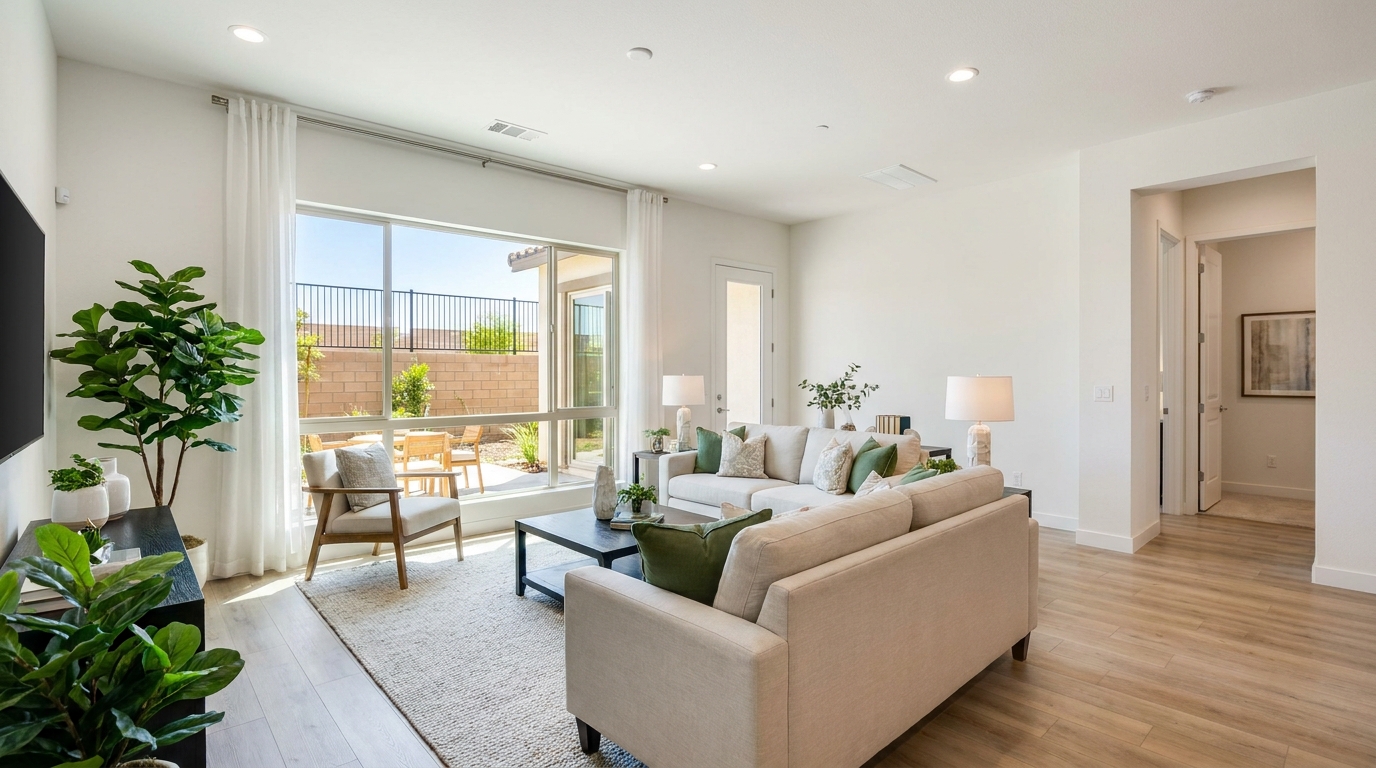
Real Estate Photo Editing
Consistent quality correction across every shot for a cohesive, listing-ready gallery.
Open This Generator →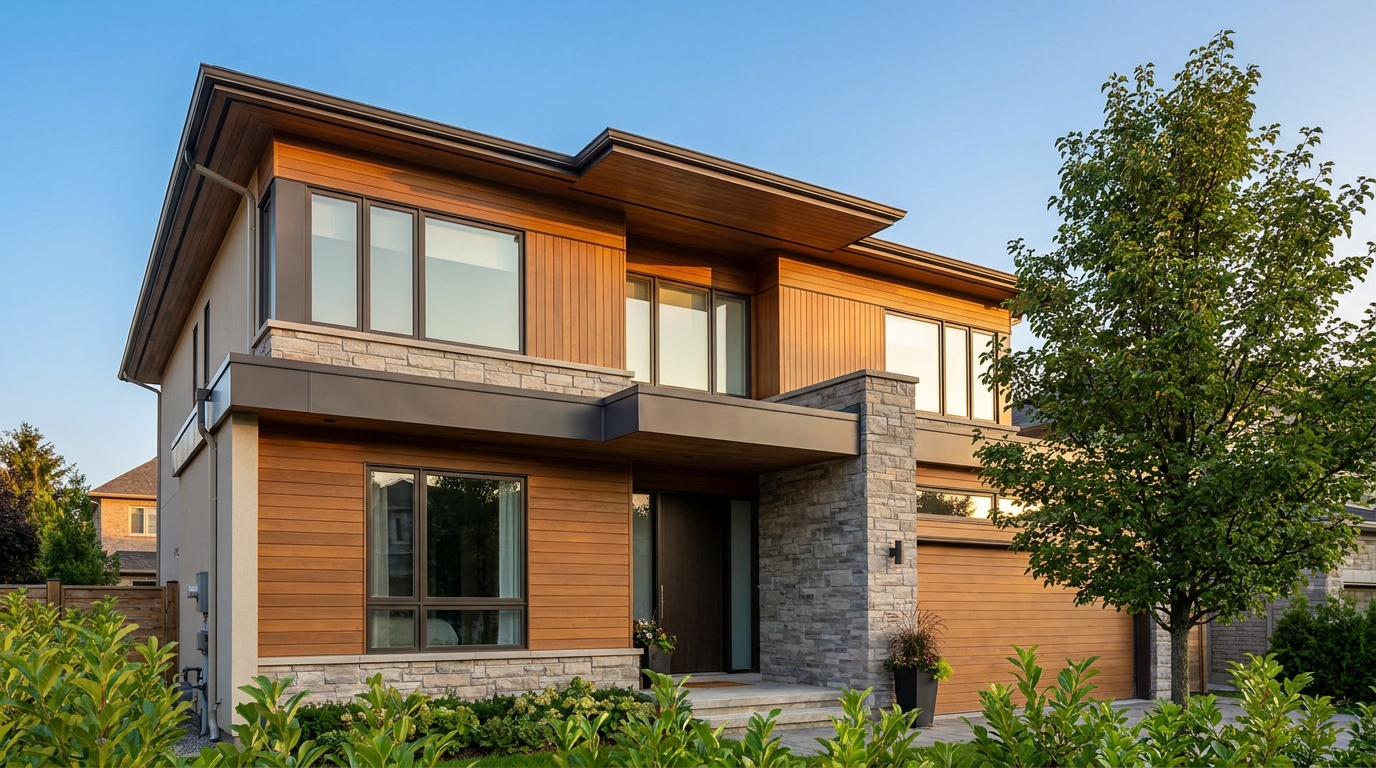
Compression Artifact Fix
Remove blockiness and digital noise for smoother, more professional-looking photos.
Open This Generator →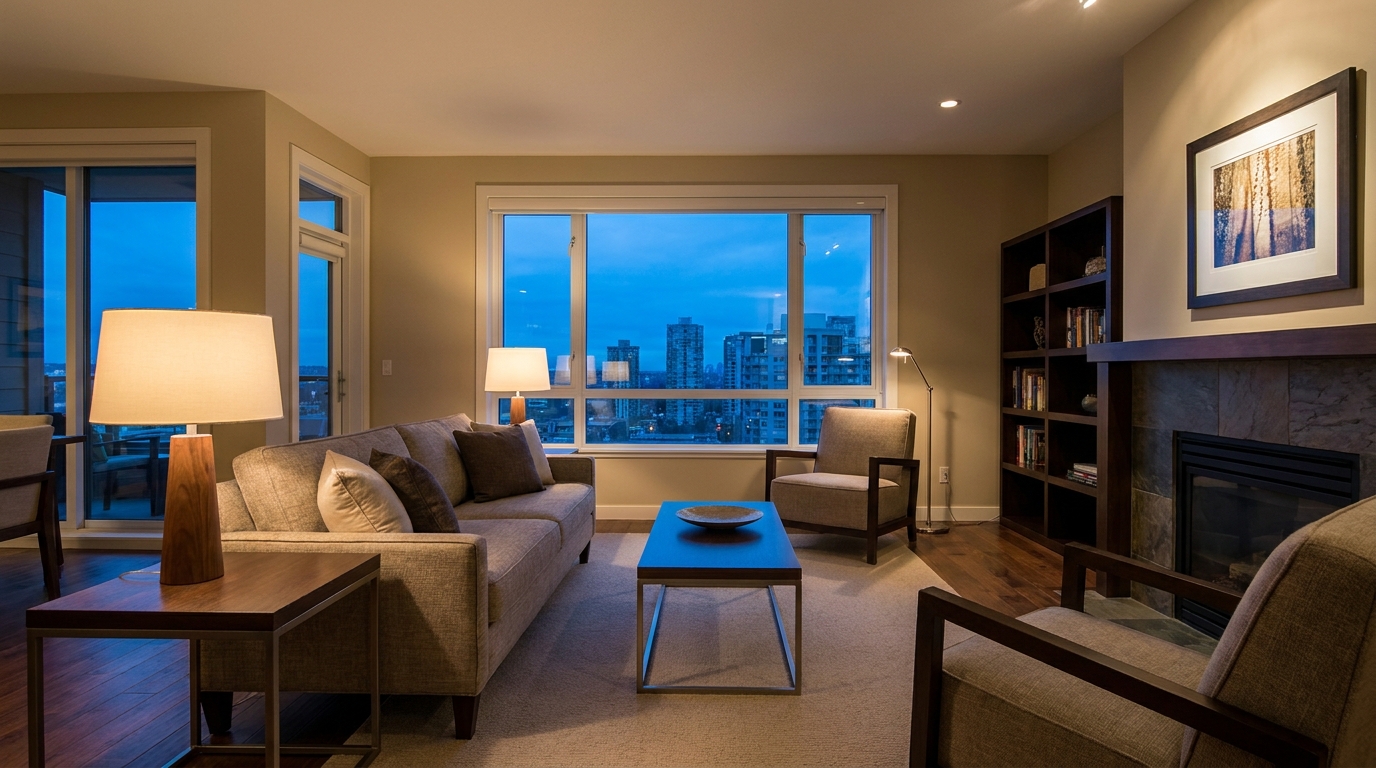
Noise Reduction
Reduce grain and low-light noise while keeping details natural and clear.
Open This Generator →
Chromatic Aberration Fix
Eliminate color fringing along edges for a cleaner, higher-quality finish.
Open This Generator →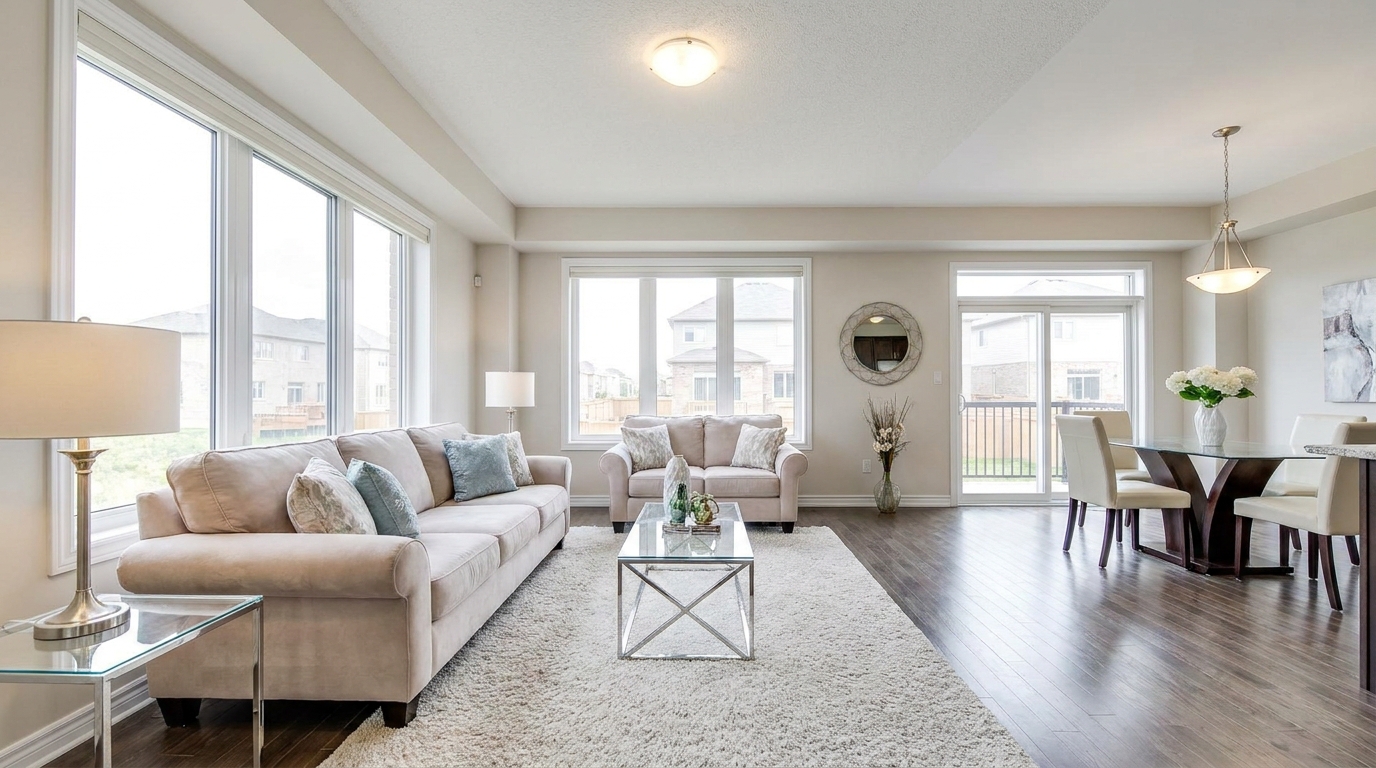
Vignette Removal
Brighten dark corners for a more even, open, and naturally lit image.
Open This Generator →Frequently Asked Questions
Lens distortion, like barrel distortion, causes straight lines to curve outward, which is common in wide-angle real estate photography. Our tool analyzes the image geometry and automatically straightens these lines, restoring natural proportions to walls, doors, and windows.
Yes. You can upload a batch of property photos and apply consistent quality corrections—such as perspective alignment, sharpening, and noise reduction—across the entire gallery simultaneously to save time.
No. Our AI-driven sharpening tool specifically targets edge definition and micro-contrast while avoiding common artifacts like halos or excessive noise, keeping your property photos looking natural and professional.
When cameras are tilted, vertical lines like walls and door frames appear to lean. Perspective correction straightens these vertical lines, which instantly makes rooms look more stable, spacious, and professionally photographed.
Absolutely. The correction engine processes high-resolution files without losing quality, and the dedicated Image Upscaler can enlarge lower-resolution images while preserving clean details for print flyers or brochures.
We support all standard image formats used in real estate marketing, including JPEG, PNG, and WebP, ensuring seamless integration with your existing camera gear and MLS platforms.
Explore More Photo Enhancement Tools
Discover complementary features to further elevate your interior and exterior property media.
Image to Video
AI image-to-video generation for turning home, room, and property photos into more vivid presentation videos.
Exterior Renovator
AI exterior renovation for visualizing facade updates, curb appeal improvements, and home exterior remodel ideas.
Landscaping
AI landscaping design for exploring outdoor concepts, curb appeal upgrades, planting ideas, and yard layout directions.
Virtual Staging
AI virtual staging for furnishing empty rooms and creating listing-ready interiors for real estate marketing.
AI Image Generator
Free AI image generation for turning text prompts into unlimited visual ideas for home design, interiors, landscaping, renovation
Object Remover
AI object removal for cleaning up distracting items from room, home, and property photos.
Elevate Your Listing Quality Today
Stop letting distorted lines and blurry details hold back your property listings. Use our professional image quality and correction tools to create flawless, MLS-ready photos in seconds.
Ideal.House is more than a platform—it's your all-in-one home design ecosystem. Dive into powerful AI tools such as Interior Remodel, Exterior Renovator, and Landscaping to craft stunning spaces, and let HouseGPT guide you with tailored suggestions for planning, styling, and furnishing. Connect with a passionate community to swap ideas and advice, then take your designs from concept to completion with handpicked products matched to your taste.
At Ideal.House, we've built a space where technology, creativity, and collaboration come together to redefine home design.
At Ideal.House, we've built a space where technology, creativity, and collaboration come together to redefine home design.
Technical support [email protected]


'%3e%3cpath%20d='M162.5%20200H37.5C16.6667%20200%200%20183.333%200%20162.5V37.5C0%2016.6667%2016.6667%200%2037.5%200H162.5C183.333%200%20200%2016.6667%20200%2037.5V162.5C200%20183.333%20183.333%20200%20162.5%20200ZM37.5%208.33333C21.6667%208.33333%208.33333%2021.6667%208.33333%2037.5V162.5C8.33333%20178.333%2021.6667%20191.667%2037.5%20191.667H162.5C178.333%20191.667%20191.667%20178.333%20191.667%20162.5V37.5C191.667%2021.6667%20178.333%208.33333%20162.5%208.33333H37.5Z'%20fill='black'/%3e%3cpath%20d='M54.4224%2040C52.5284%2040%2050.653%2040.3737%2048.9032%2041.0997C47.1534%2041.8257%2045.5635%2042.8899%2044.2242%2044.2314C42.885%2045.573%2041.8226%2047.1656%2041.0978%2048.9184C40.373%2050.6712%2040%2052.5498%2040%2054.447C40%2056.3442%2040.373%2058.2229%2041.0978%2059.9756C41.8226%2061.7284%2042.885%2063.3211%2044.2242%2064.6626C45.5635%2066.0041%2047.1534%2067.0683%2048.9032%2067.7943C50.653%2068.5203%2052.5284%2068.894%2054.4224%2068.894C56.3164%2068.894%2058.1918%2068.5203%2059.9416%2067.7943C61.6914%2067.0683%2063.2813%2066.0041%2064.6206%2064.6626C65.9598%2063.3211%2067.0222%2061.7284%2067.747%2059.9756C68.4718%2058.2229%2068.8448%2056.3442%2068.8448%2054.447C68.8448%2052.5498%2068.4718%2050.6712%2067.747%2048.9184C67.0222%2047.1656%2065.9598%2045.573%2064.6206%2044.2314C63.2813%2042.8899%2061.6914%2041.8257%2059.9416%2041.0997C58.1918%2040.3737%2056.3164%2040%2054.4224%2040ZM82.4631%2079.8415V159.993H107.307V120.357C107.307%20109.898%20109.271%2099.7689%20122.217%2099.7689C134.985%2099.7689%20135.143%20111.727%20135.143%20121.017V160H160V116.045C160%2094.4536%20155.36%2077.8607%20130.166%2077.8607C118.071%2077.8607%20109.963%2084.5097%20106.648%2090.8022H106.311V79.8415H82.4631ZM41.9775%2079.8415H66.8608V159.993H41.9775V79.8415Z'%20fill='black'/%3e%3c/g%3e%3cdefs%3e%3cclipPath%20id='clip0_1255_15'%3e%3crect%20width='200'%20height='200'%20fill='white'/%3e%3c/clipPath%3e%3c/defs%3e%3c/svg%3e)

💰 Earn 10% commission as a Ideal House Affiliate Partner.
Join us