
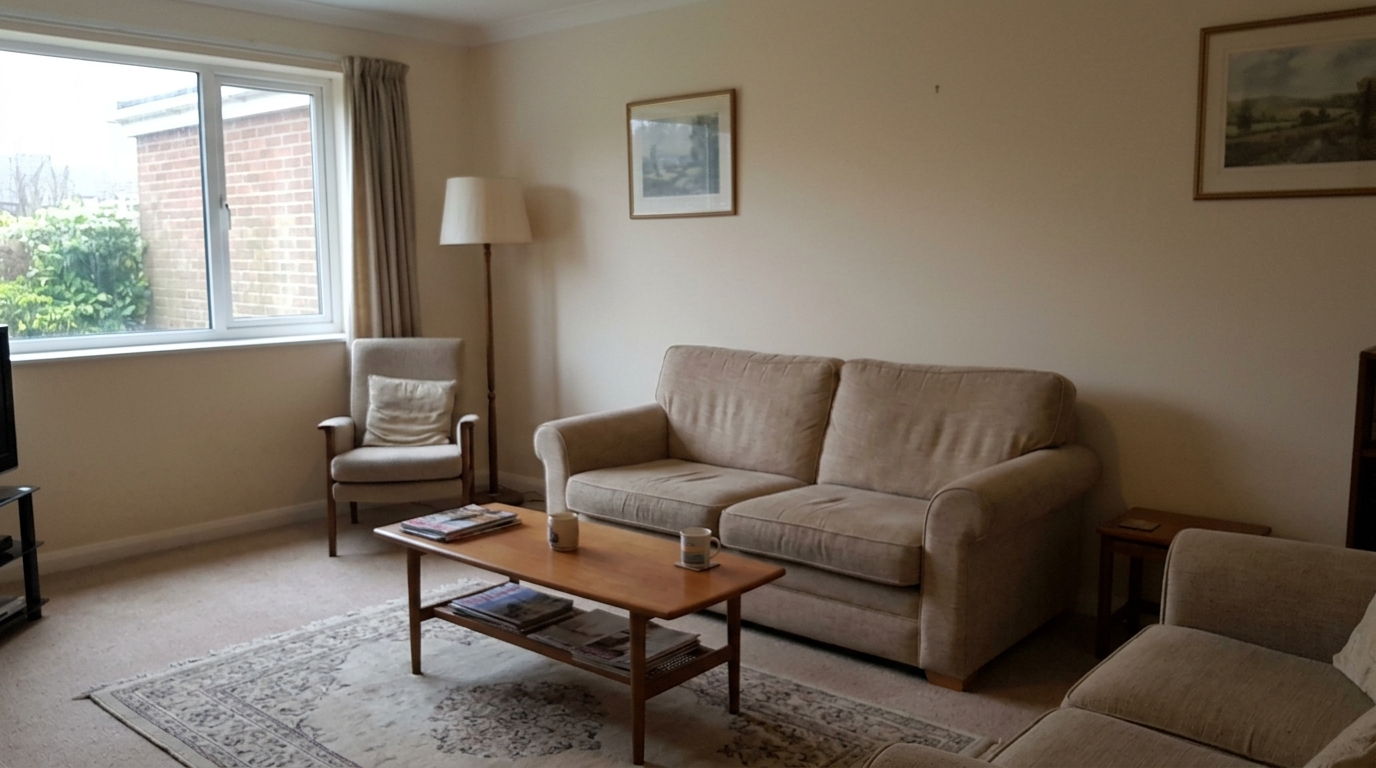
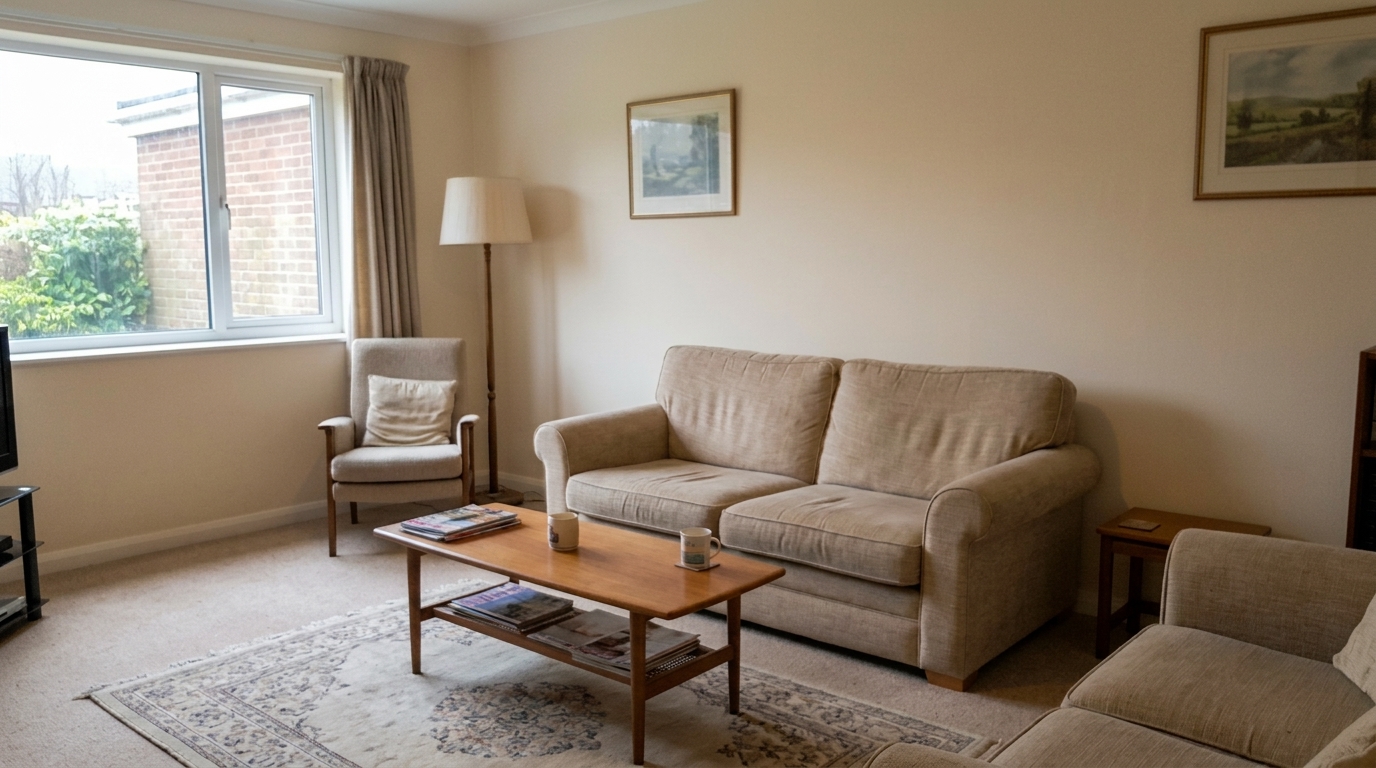

Soft Living Room Edges
Sharpen sofa fabric, rug pattern, table edges, and wall decor while keeping the same living room photo.
Instantly restore lost detail and define architectural edges. Make textures, materials, and structural elements pop with natural, halo-free clarity.
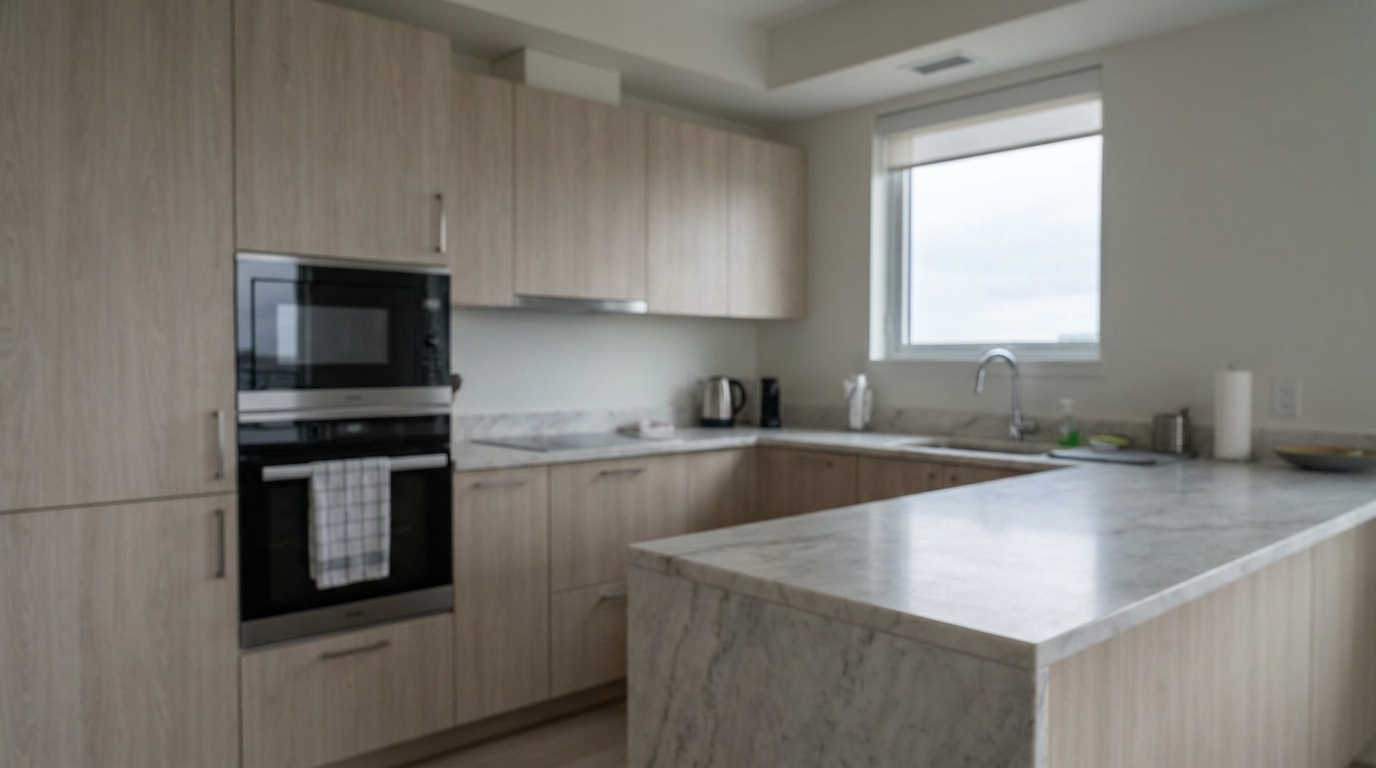
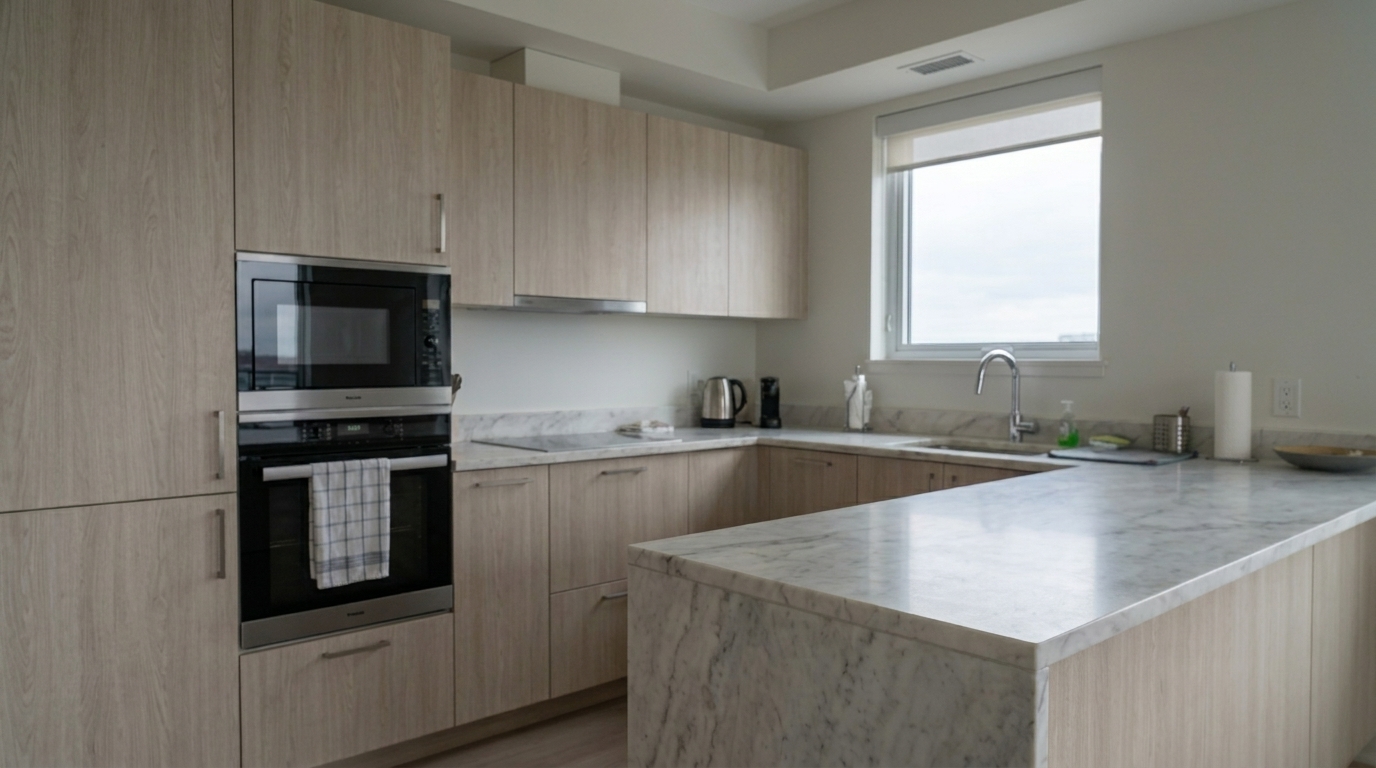
See how micro-contrast and edge enhancement bring out the best in every room.
Sharpen sofa fabric, rug pattern, table edges, and wall decor while keeping the same living room photo.
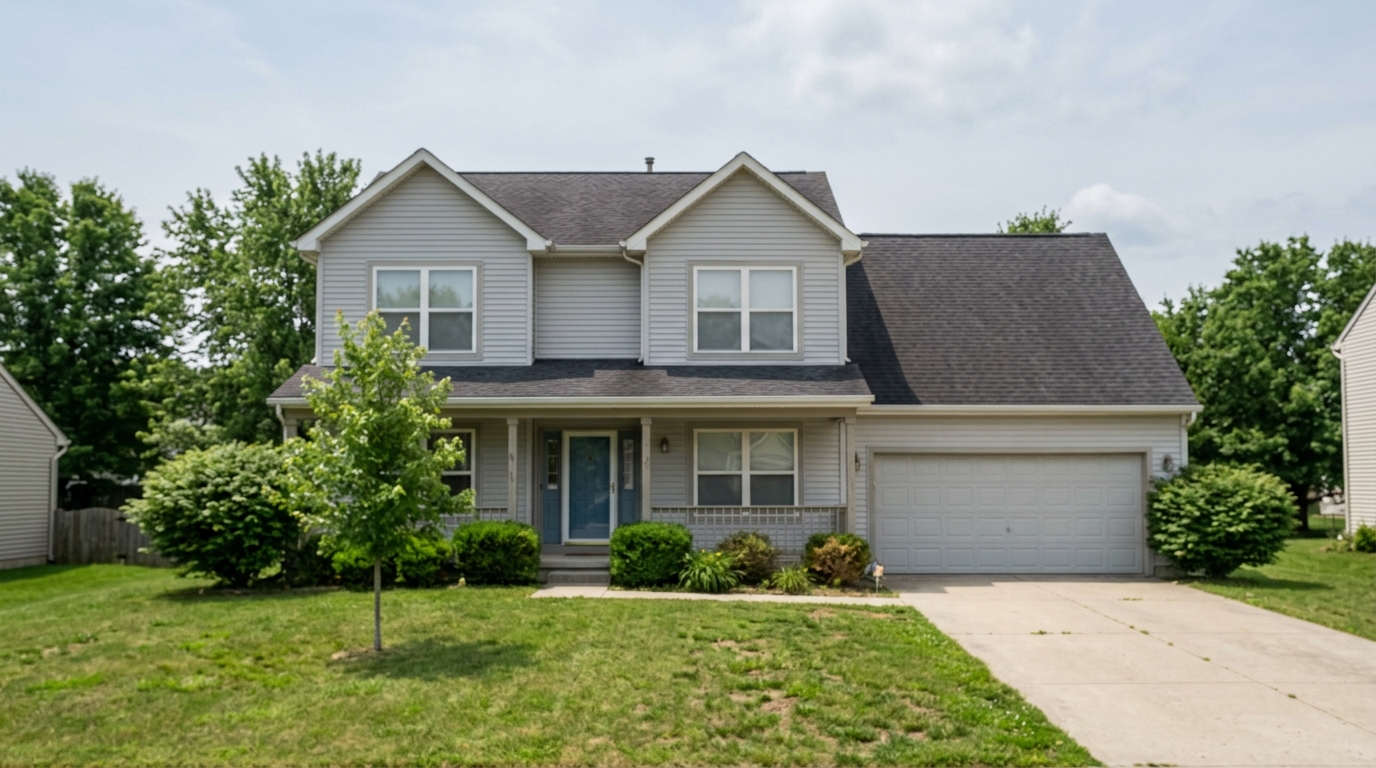
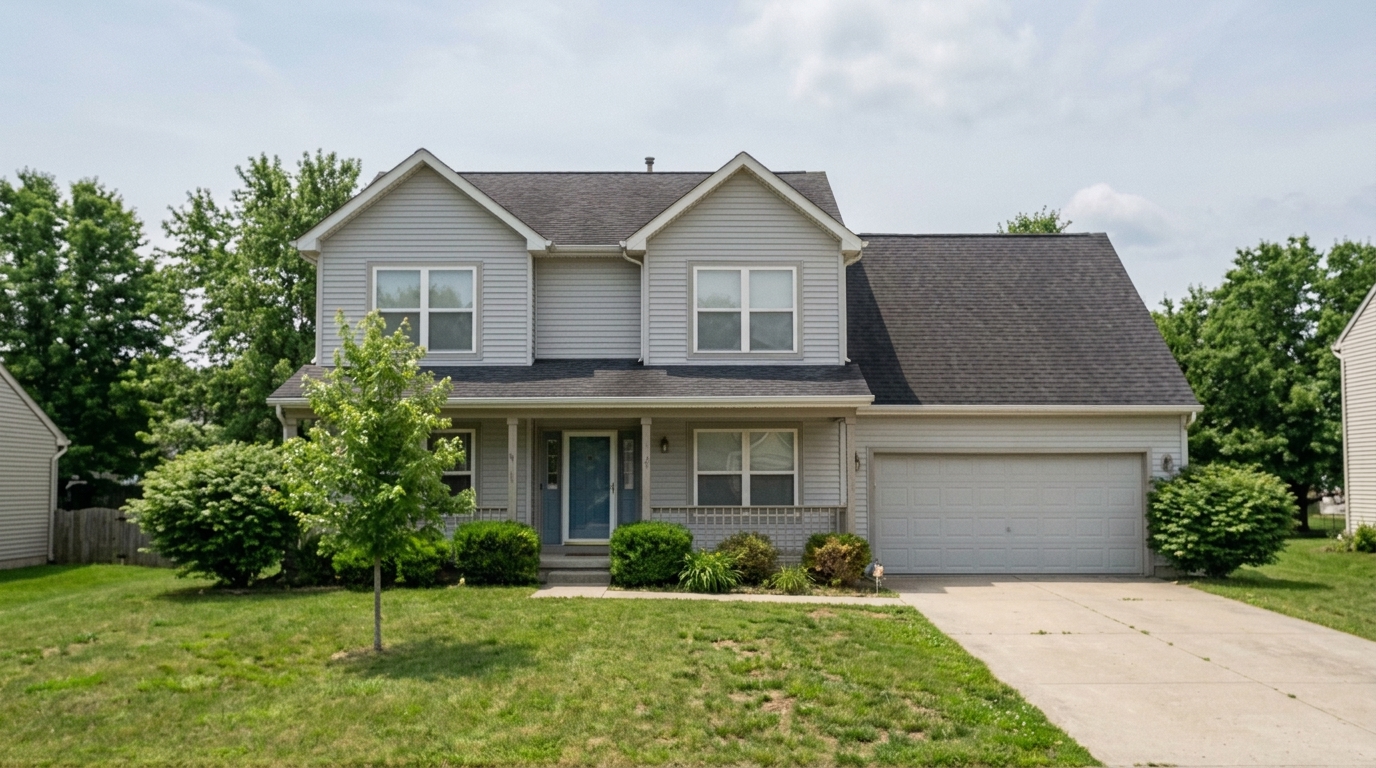
Improve siding, roof, window, and landscaping edge definition without changing the exterior scene.
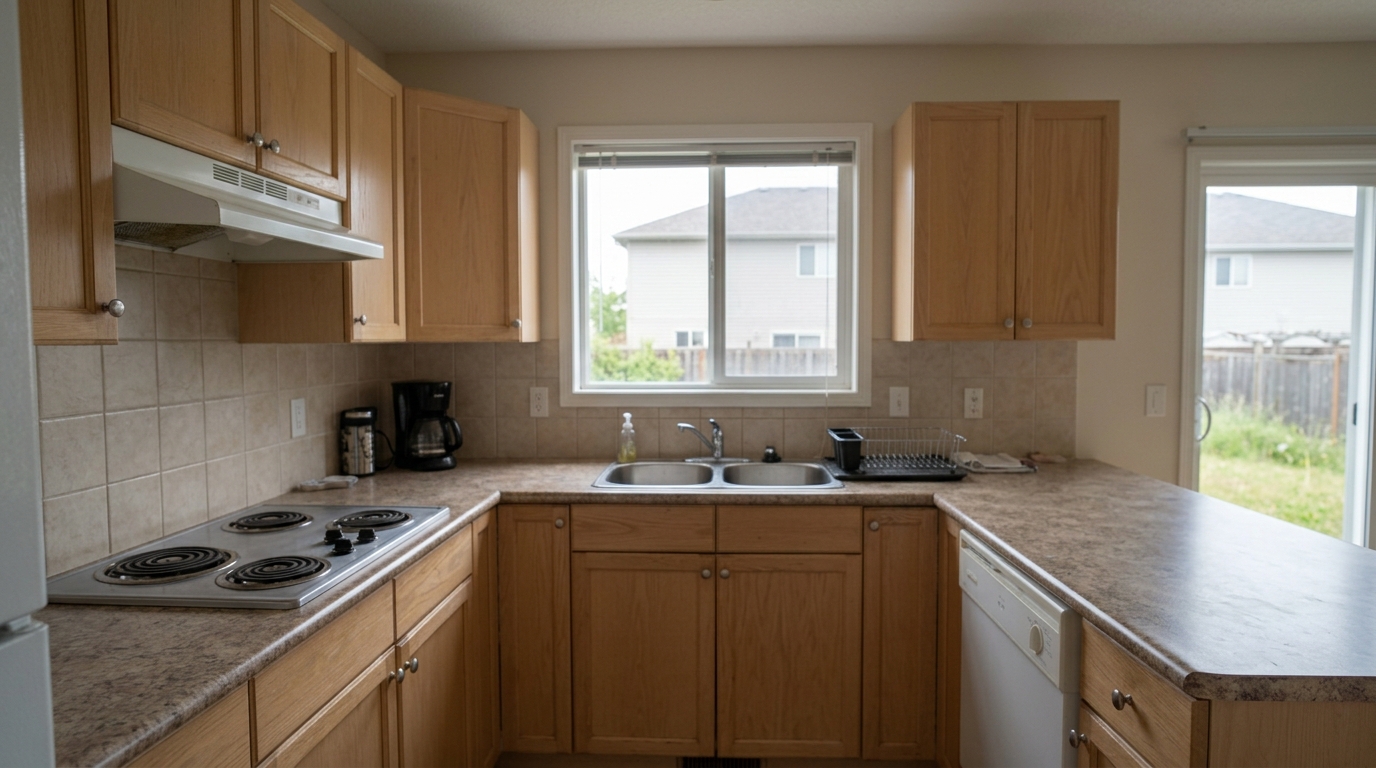
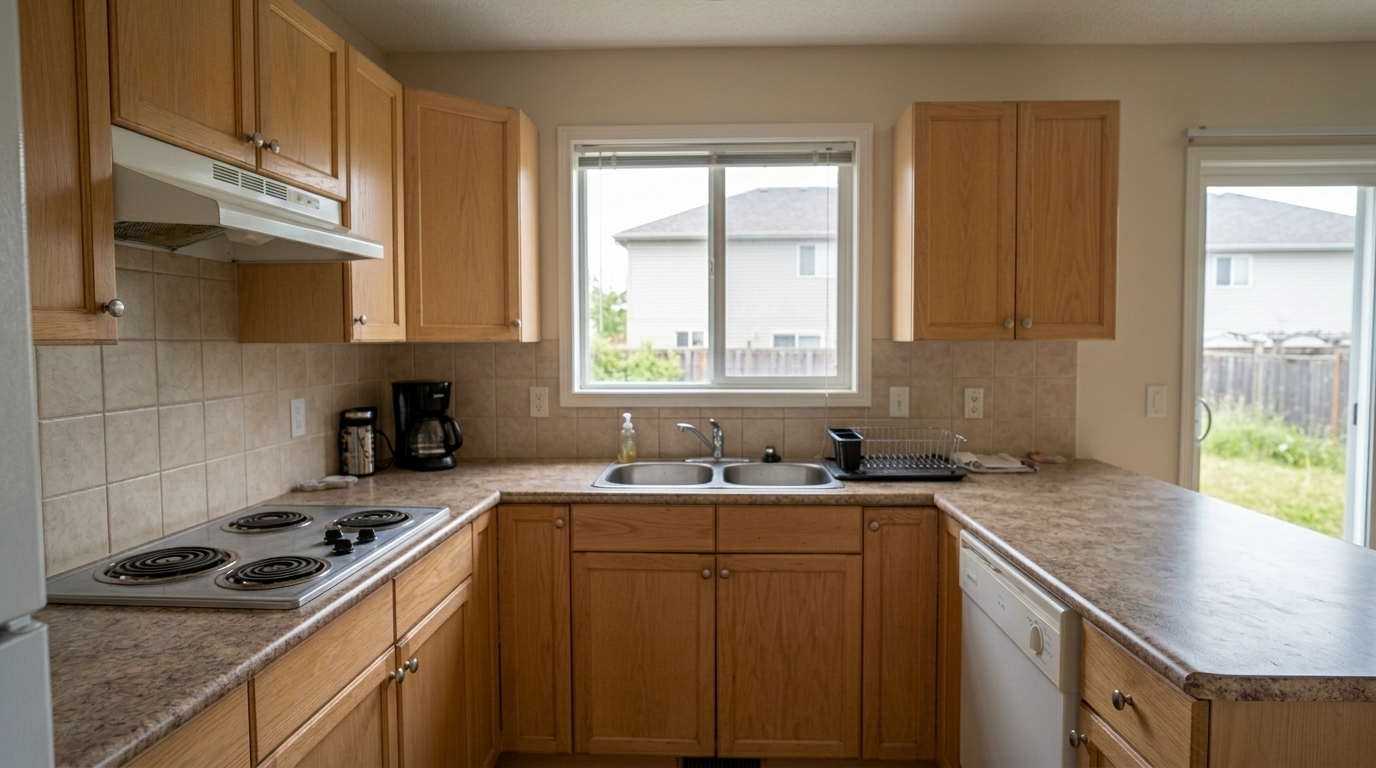
Bring out cabinet, backsplash, countertop, and appliance detail without changing the kitchen layout.
Intelligent algorithms designed specifically to enhance structural lines and textures.
Intelligently detects and sharpens structural lines, window frames, and rooflines without creating jagged edges.
Brings out the natural grain in hardwood floors, the veins in marble countertops, and the texture of brickwork.
Advanced algorithms ensure that high-contrast boundaries, like building edges against the sky, remain clean and free of white halos.
Sharpens fine details while actively preventing the amplification of background digital noise or low-light grain.
Enhances subtle light and shadow transitions to give interior spaces more depth and dimension.
Sharpen an entire listing's photo gallery simultaneously, maintaining consistent clarity across all interior and exterior shots.
Transform soft, blurry, or low-contrast shots into high-impact marketing assets.
Restores crispness to indoor photos taken with wide-angle lenses that suffer from slight corner softness.
Interior CorrectionMakes brick, stone, and stucco siding look sharp, clean, and highly detailed in daylight shots.
Exterior DetailSharpens twilight or indoor photos where low light caused a loss of fine texture and edge clarity.
Lighting FixOptimizes digital listing photos for high-resolution print brochures, flyers, and yard signs.
Print MarketingRestores lost detail to photos that have been heavily compressed by online listing platforms.
Platform OptimizationAccentuates high-end materials like brushed metal fixtures, custom cabinetry, and polished stone.
Luxury ListingsGet crisp, high-definition property images in three simple steps.
Drag and drop your real estate images (JPEG, PNG, or WebP) into the Idealhouse enhancer.
Select the AI Photo Sharpening preset to automatically analyze and enhance architectural edges and textures.
Save your crisp, high-definition photo in your preferred format, fully optimized for MLS and marketing.
Source-backed context for why ai photo sharpening edits matter inside image quality & correction workflows.
AI Photo Sharpening within Image Quality & Correction evidence
Photos are one of the most valuable website features for home buyers; NAR's 2025 generational trends report says 83% of internet-using buyers rated photos as very useful. For AI Photo Sharpening pages, this supports showing how a focused Image Quality & Correction edit can make the listing photo feel clearer, more polished, and easier for buyers to evaluate.
Source: NAR 2025AI Photo Sharpening within Image Quality & Correction evidence
Zillow Research's 2025 prospective buyer report ranked high-resolution photos as the number two most important listing feature, selected by 26% of prospective buyers; floor plans ranked first at 33%. For AI Photo Sharpening pages, this supports showing how a focused Image Quality & Correction edit can make the listing photo feel clearer, more polished, and easier for buyers to evaluate.
Source: Zillow 2025AI Photo Sharpening within Image Quality & Correction evidence
Redfin reported that professionally photographed homes in the $400,000 range sold three weeks faster and for more than $10,000 relative to list price compared with amateur photos. Use this as supporting context, not as a guaranteed result. For AI Photo Sharpening pages, this supports showing how a focused Image Quality & Correction edit can make the listing photo feel clearer, more polished, and easier for buyers to evaluate.
Source: RedfinLearn how to use advanced AI sharpening to elevate your property listings, highlight premium materials, and maintain a natural, high-definition look.
In property marketing, first impressions are visual. Buyers scan listings quickly, and soft, blurry photos can subconsciously signal a lack of quality or care. AI Photo Sharpening specifically targets the structural elements of a home—such as window frames, countertops, cabinetry, and masonry—to make them look crisp and defined. Unlike generic sharpening tools that apply a blanket filter over the entire image, our real-estate-trained AI understands the difference between a flat wall or sky and a textured hardwood floor. By selectively enhancing micro-contrast along architectural lines, the tool creates a sense of depth and cleanliness that makes spaces feel more inviting and professionally presented.
To achieve the best results, integrate AI Photo Sharpening at the correct stage of your post-processing workflow. Always perform global exposure, color correction, and perspective adjustments first. Once your lighting and lines are straight, apply the sharpening preset as one of your final polish steps. This prevents the AI from sharpening unwanted color fringes or distorted lines. If you plan to resize your photos for MLS platforms, apply the sharpening tool to the full-resolution image first, then downscale. This workflow preserves the maximum amount of fine detail and texture, ensuring that even compressed web versions of your photos retain their professional, high-definition look.
When editing real estate photos, it is crucial to apply the correct tool for the specific image defect. Use AI Photo Sharpening when your image is at the correct resolution but suffers from slight lens softness, soft focus, or flat textures. Do not use it if your image is heavily pixelated or noisy, as sharpening will only amplify those defects. Instead, use the dedicated Image Upscaler if you need to increase the physical pixel dimensions of a low-resolution shot, or Noise Reduction if the photo has visible digital grain from a high ISO low-light capture. For images ruined by blocky compression from web uploads, choose Compression Artifact Fix first to smooth out the blocks before applying any sharpening. Understanding these tradeoffs ensures you maintain a natural, professional look without over-processing.
While AI Photo Sharpening is highly effective, overusing it can introduce unwanted artifacts. If an image is severely out of focus, attempting to force sharpness will result in unnatural, painterly textures and harsh outlines. In these cases, it is better to reshoot the space or accept a softer look rather than presenting an obviously artificial image. Additionally, sharpening high-contrast edges—like a dark roofline against a bright white sky—can sometimes produce thin white lines known as halos. Our algorithm is designed to minimize this, but you should always inspect high-contrast boundaries at 100% zoom to ensure the final output looks completely natural and convincing to prospective buyers.
Discover specialized tools to refine, straighten, and optimize your property photos.
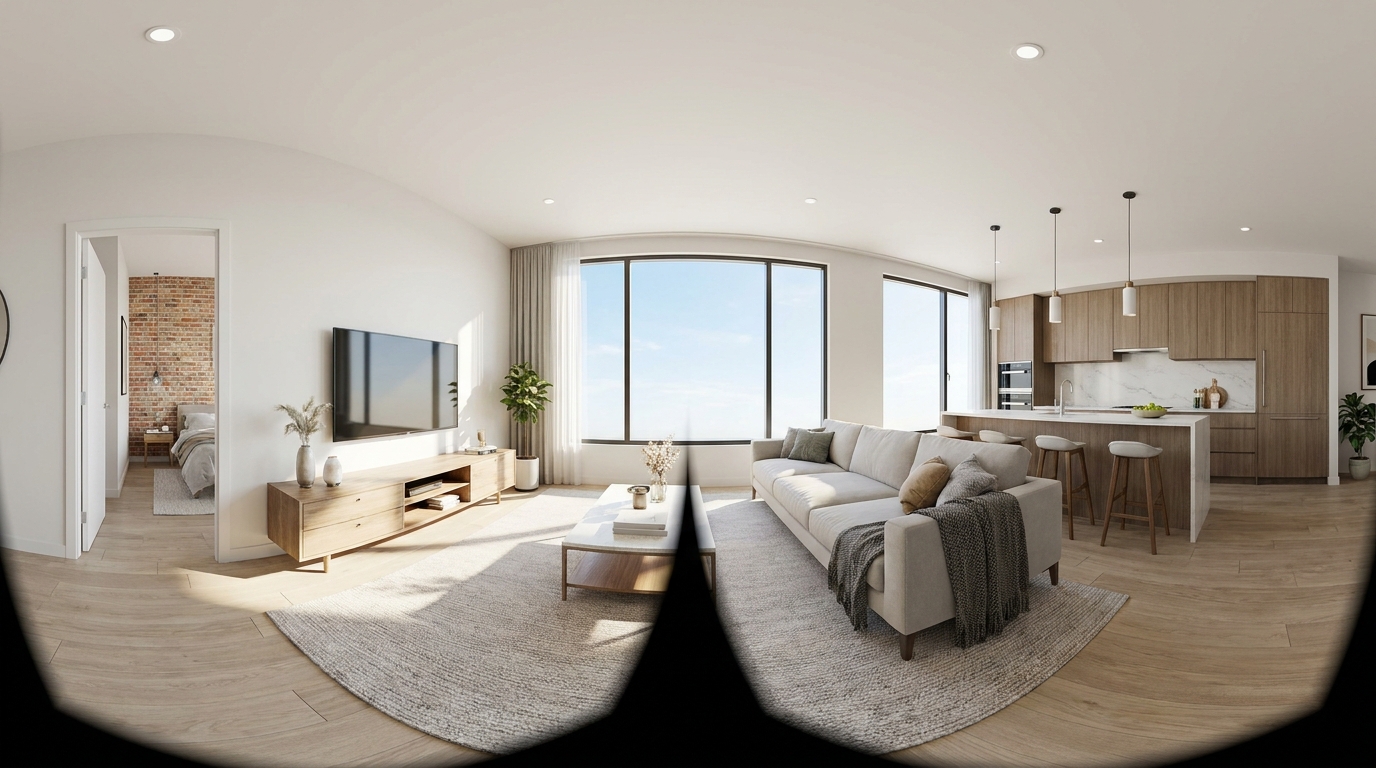
Cleaner, sharper 360 tour imagery with balanced light and a more immersive look.
Try This Tool →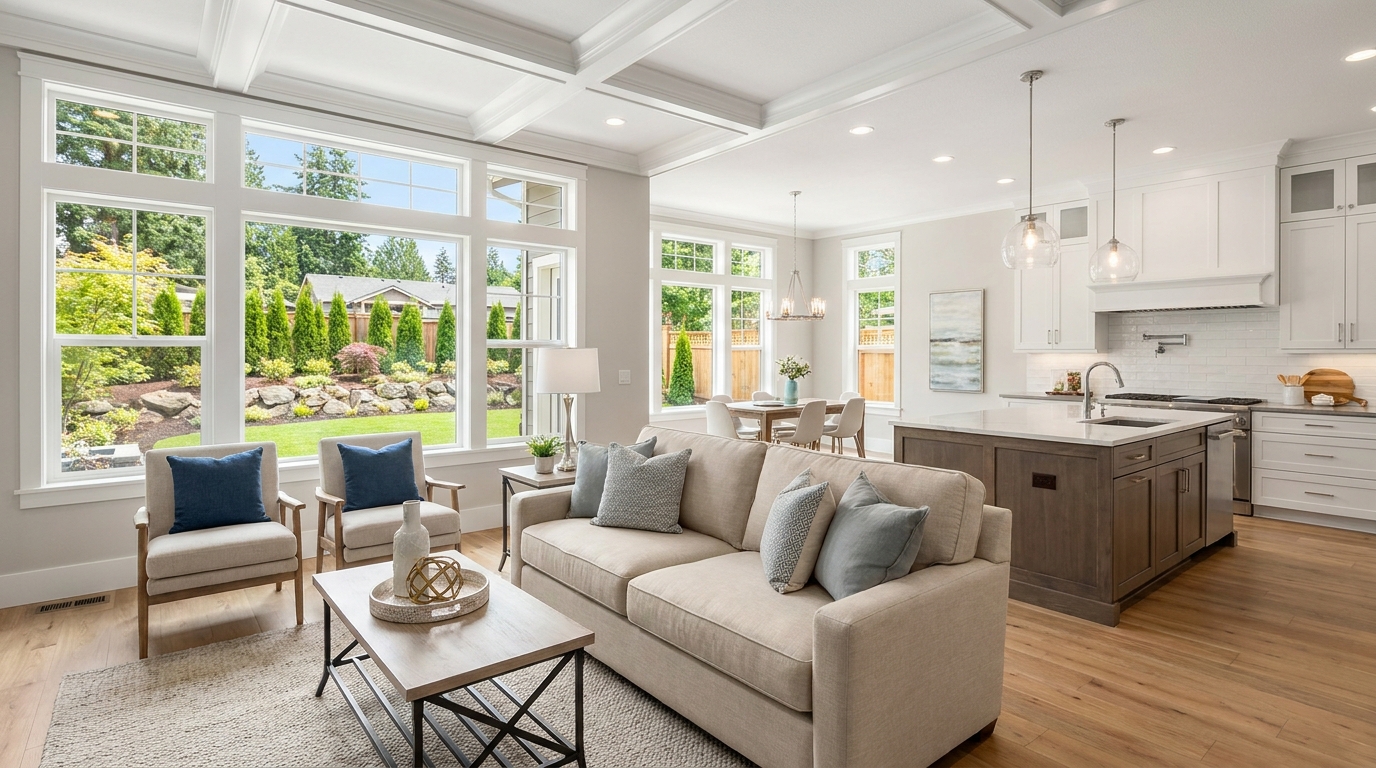
Consistent quality correction across every shot for a cohesive, listing-ready gallery.
Try This Tool →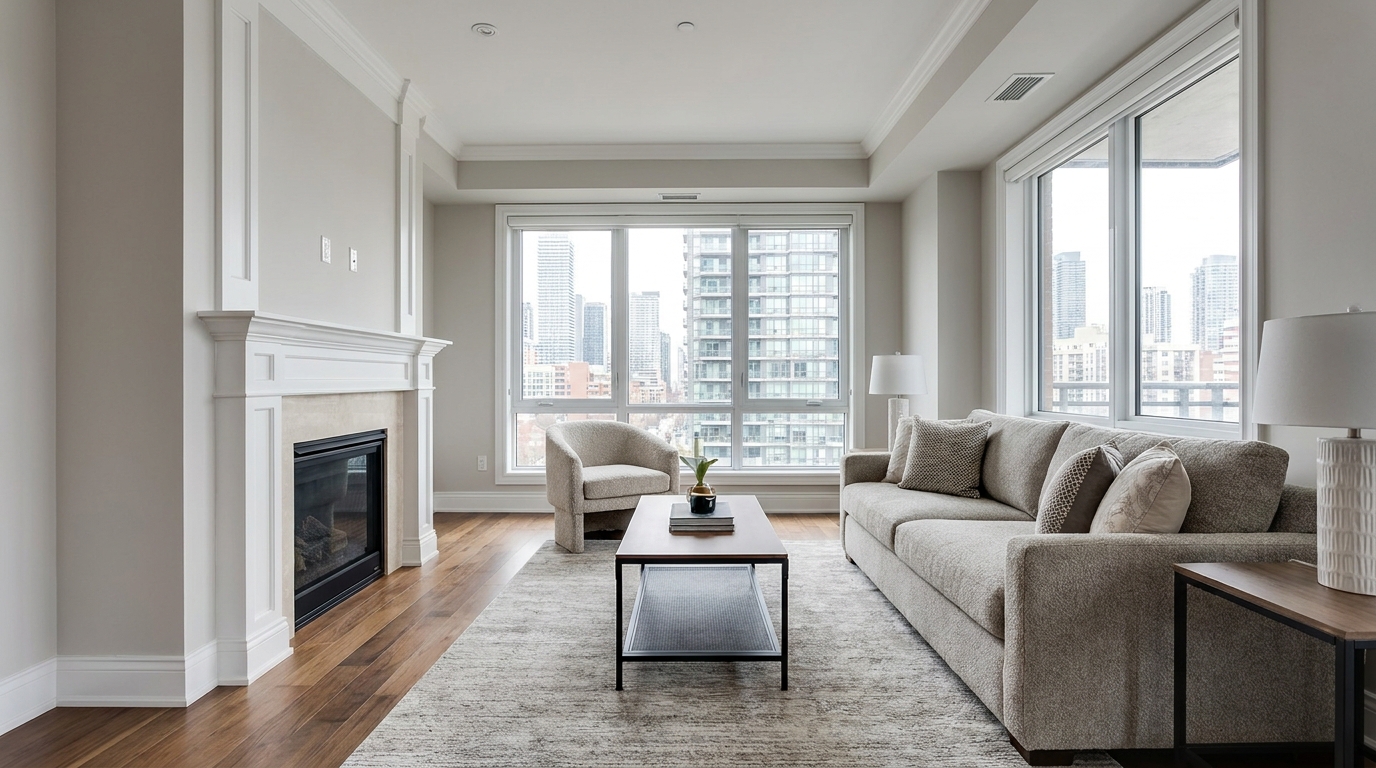
Remove blockiness and digital noise for smoother, more professional-looking photos.
Try This Tool →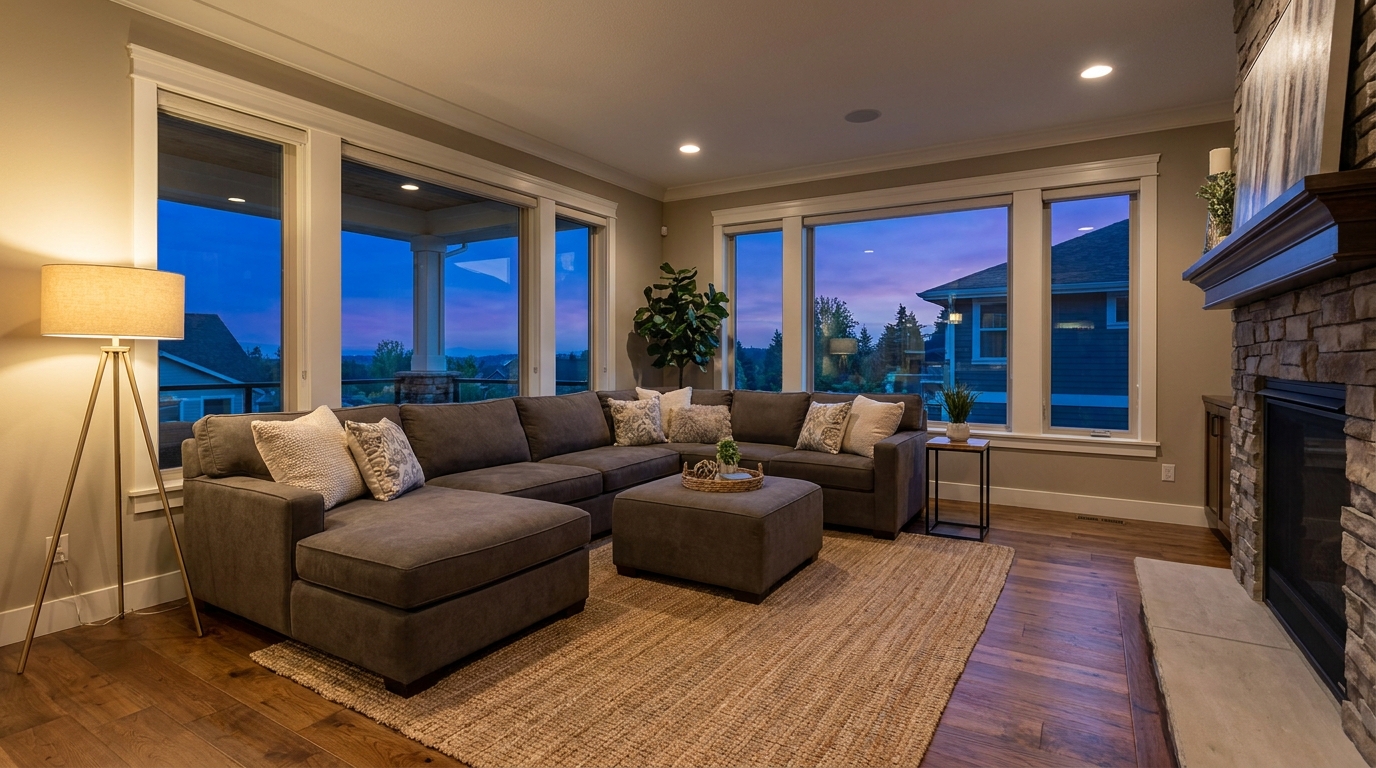
Reduce grain and low-light noise while keeping details natural and clear.
Try This Tool →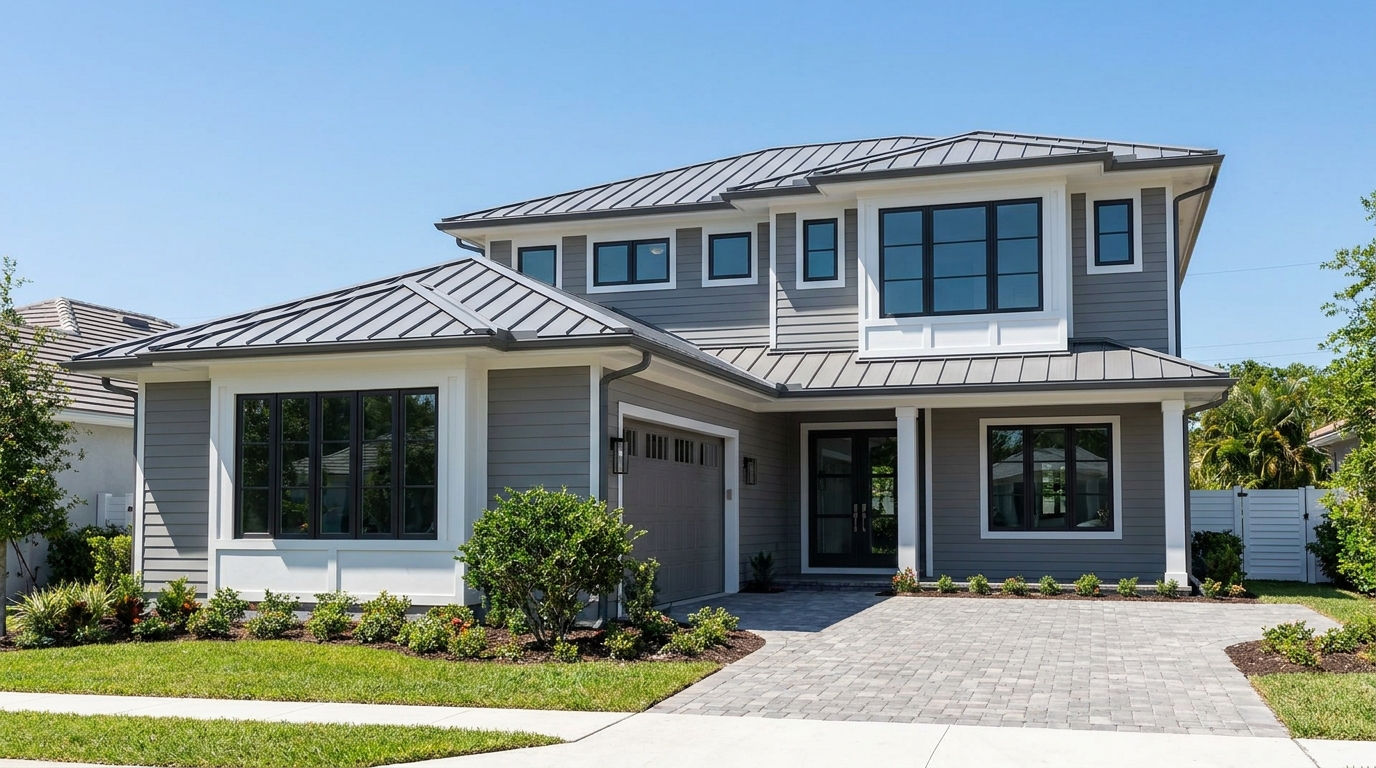
Eliminate color fringing along edges for a cleaner, higher-quality finish.
Try This Tool →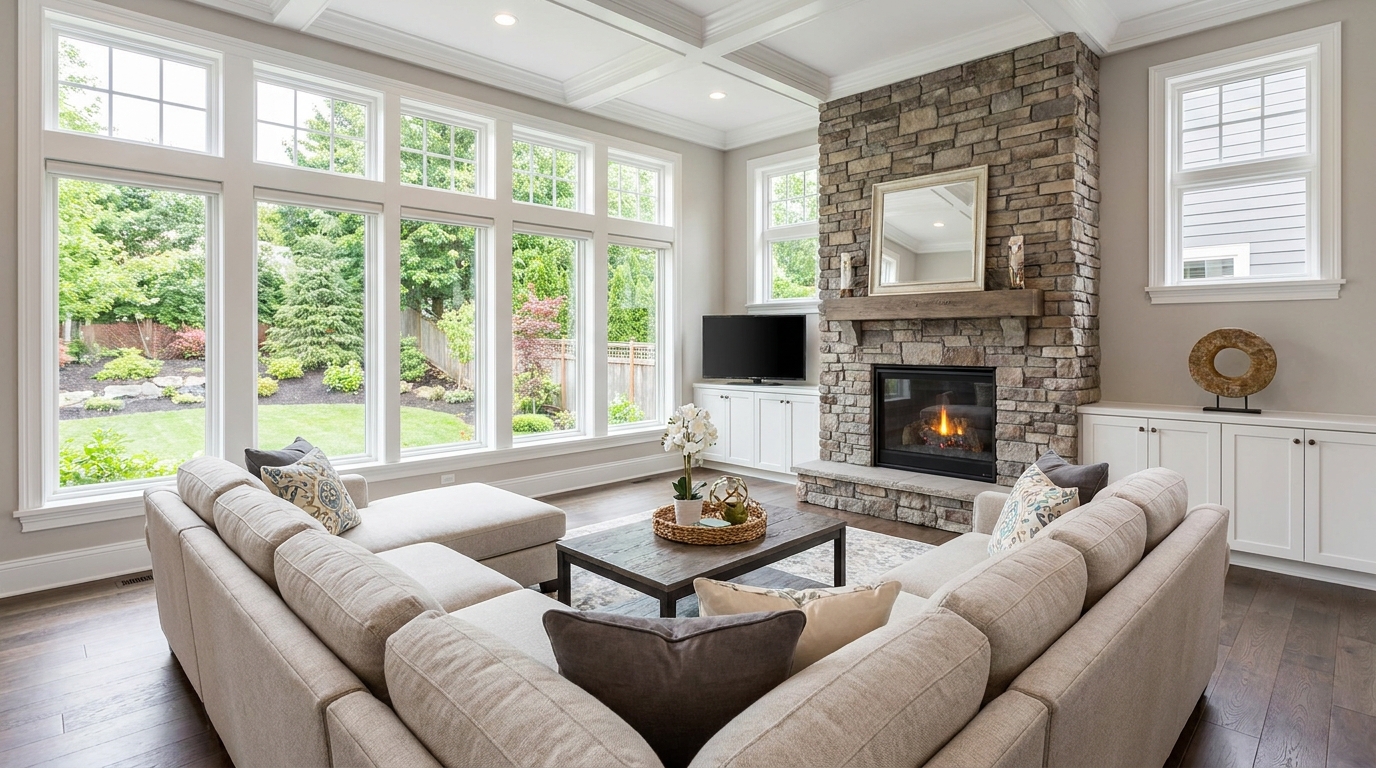
Brighten dark corners for a more even, open, and naturally lit image.
Try This Tool →Explore adjacent tools to elevate your property presentation and listing quality.
AI image-to-video generation for turning home, room, and property photos into more vivid presentation videos.
02AI exterior renovation for visualizing facade updates, curb appeal improvements, and home exterior remodel ideas.
03AI landscaping design for exploring outdoor concepts, curb appeal upgrades, planting ideas, and yard layout directions.
04AI virtual staging for furnishing empty rooms and creating listing-ready interiors for real estate marketing.
05Free AI image generation for turning text prompts into unlimited visual ideas for home design, interiors, landscaping, renovation
06AI object removal for cleaning up distracting items from room, home, and property photos.
Don't let soft focus hide the premium details of your properties. Use Idealhouse's AI Photo Sharpening to deliver professional, high-impact listing galleries instantly.