1/18
How to insulate a loft
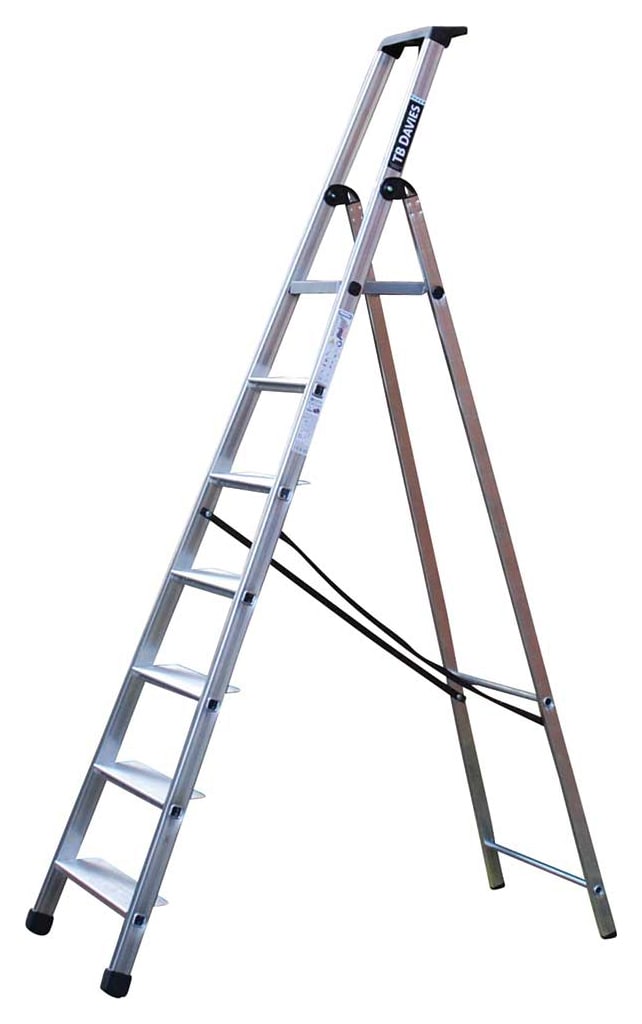
This comprehensive guide provides detailed instructions on how to effectively insulate a loft, focusing on reducing heat loss and saving on fuel bills. The article outlines the necessary tools and materials, including glass mineral wool insulation, cold water tank jackets, pipe insulation, duct tape, and downlight protectors. Essential safety gear such as safety goggles, face masks, protective gloves, and kneepads are also highlighted.
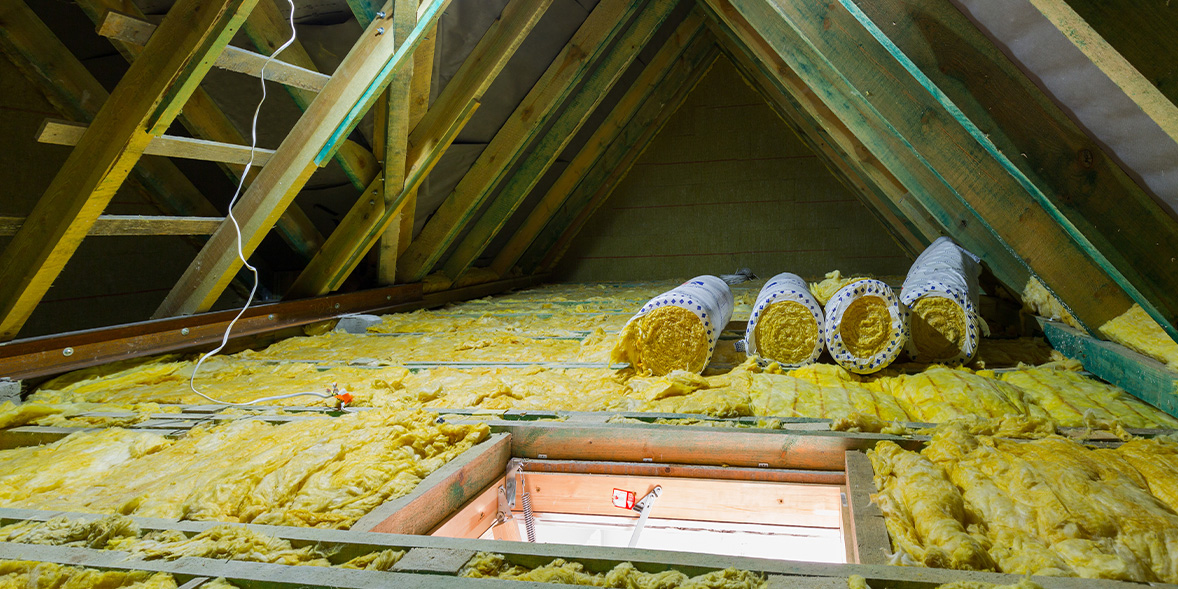
Before beginning the insulation process, the guide emphasizes crucial planning and preparation steps. Readers are advised to measure the existing loft insulation to determine if additional layers are needed to meet the recommended depth of 270mm to 300mm, which corresponds to a Thermal Resistance R-Value of 6.1. The most common joist spacing of 400mm or 600mm is noted, along with the typical width of insulation rolls, which are often perforated for easy cutting. The importance of clearing the loft space and ensuring adequate lighting is stressed, as is the need to insulate cold water tanks and pipes before laying the main loft insulation. A method for calculating the required quantity of insulation rolls is provided, suggesting a 10% deduction for ceiling joists.
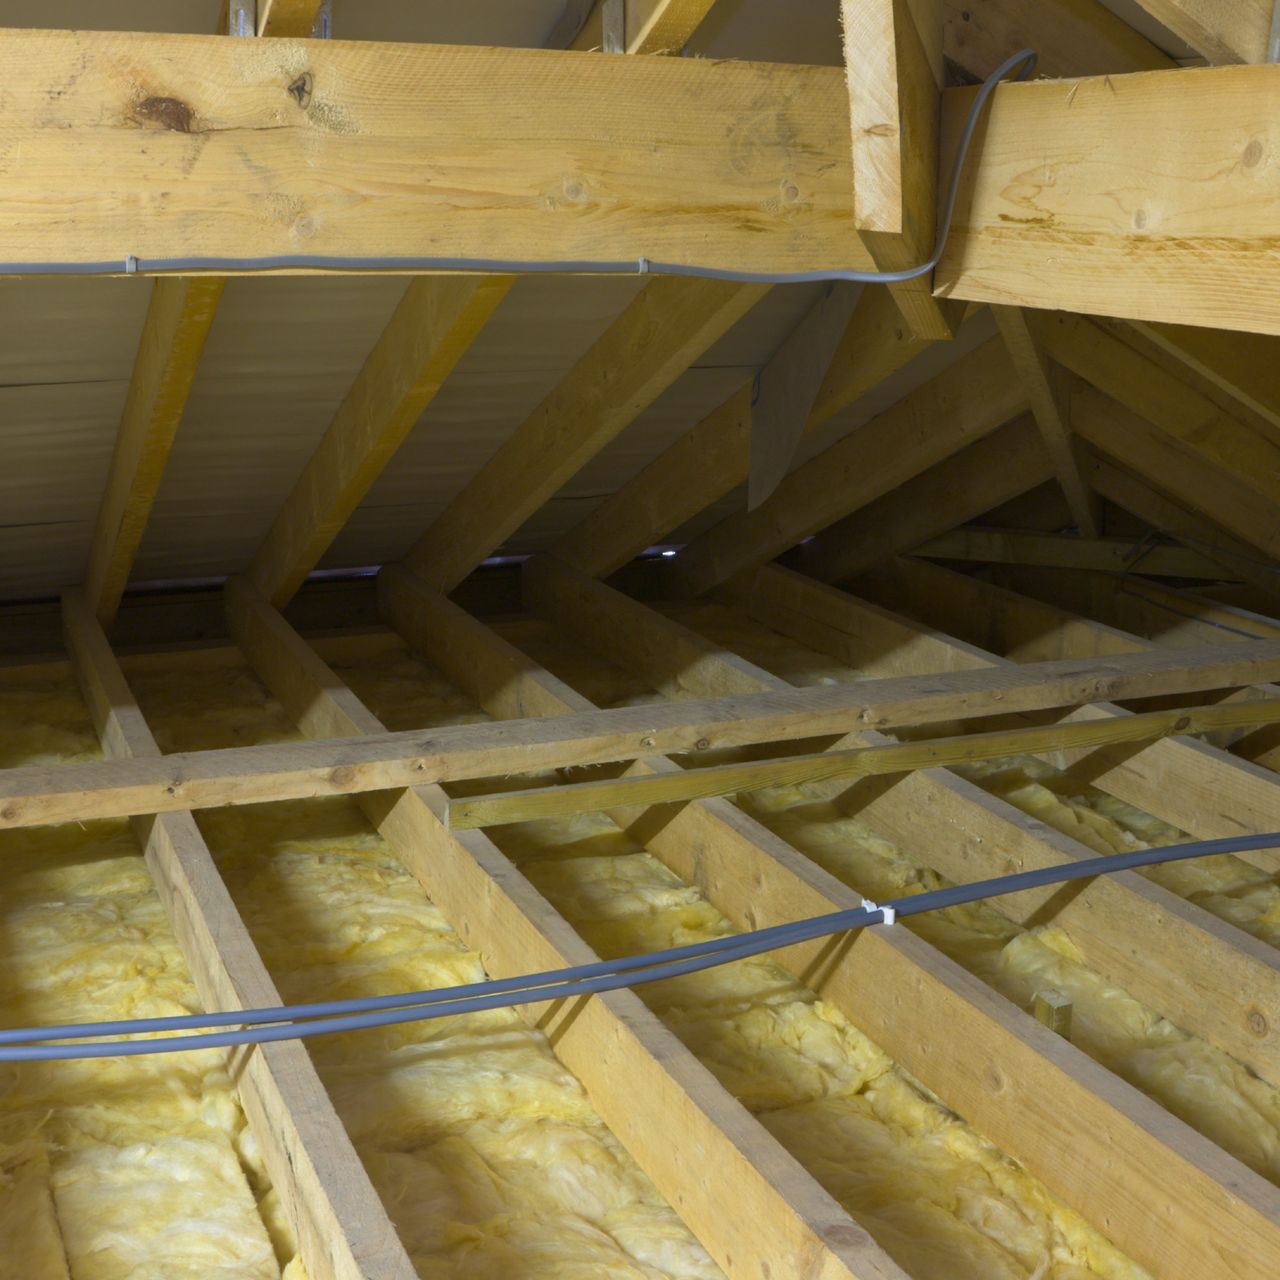
Key considerations for proper installation are discussed under the "Do it right" section. These include maintaining ventilation gaps at the eaves to prevent condensation and ensuring that insulation is not laid over electrical cables. If the loft space is intended for storage, the guide recommends installing raised floor loft legs to support boarding above the insulation, ensuring a minimum air gap of 50mm. Alternatively, insulation boards can be used to cover existing boarded areas. Specific instructions are given regarding the placement of electrical cables, suggesting they be clipped to joists or gently lifted and laid over the insulation once in position. The guide also advises against placing insulation directly underneath water tanks unless they are elevated.
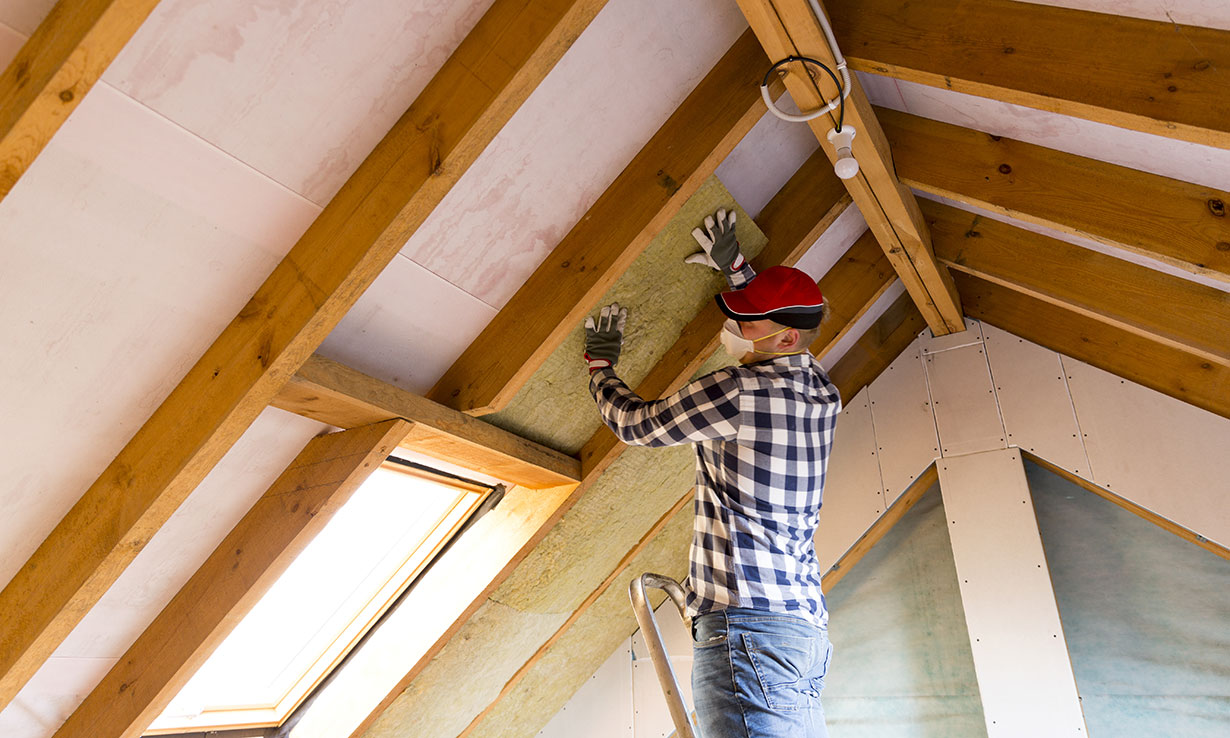
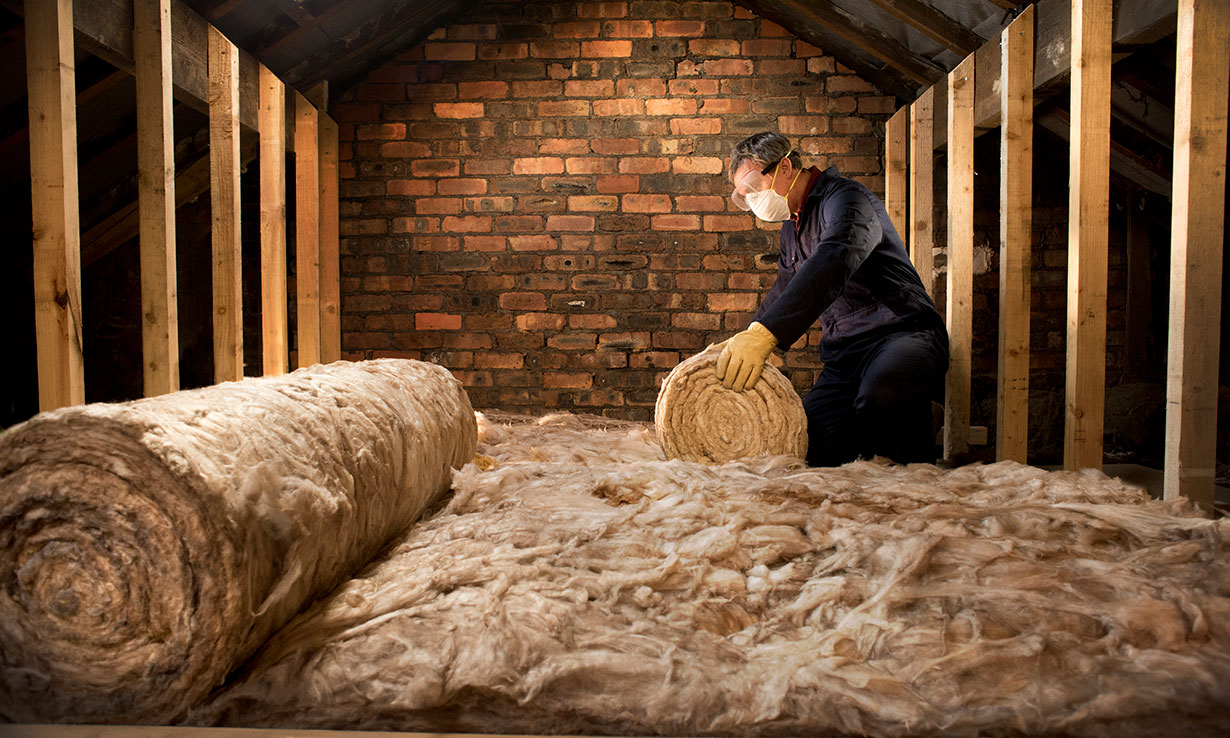
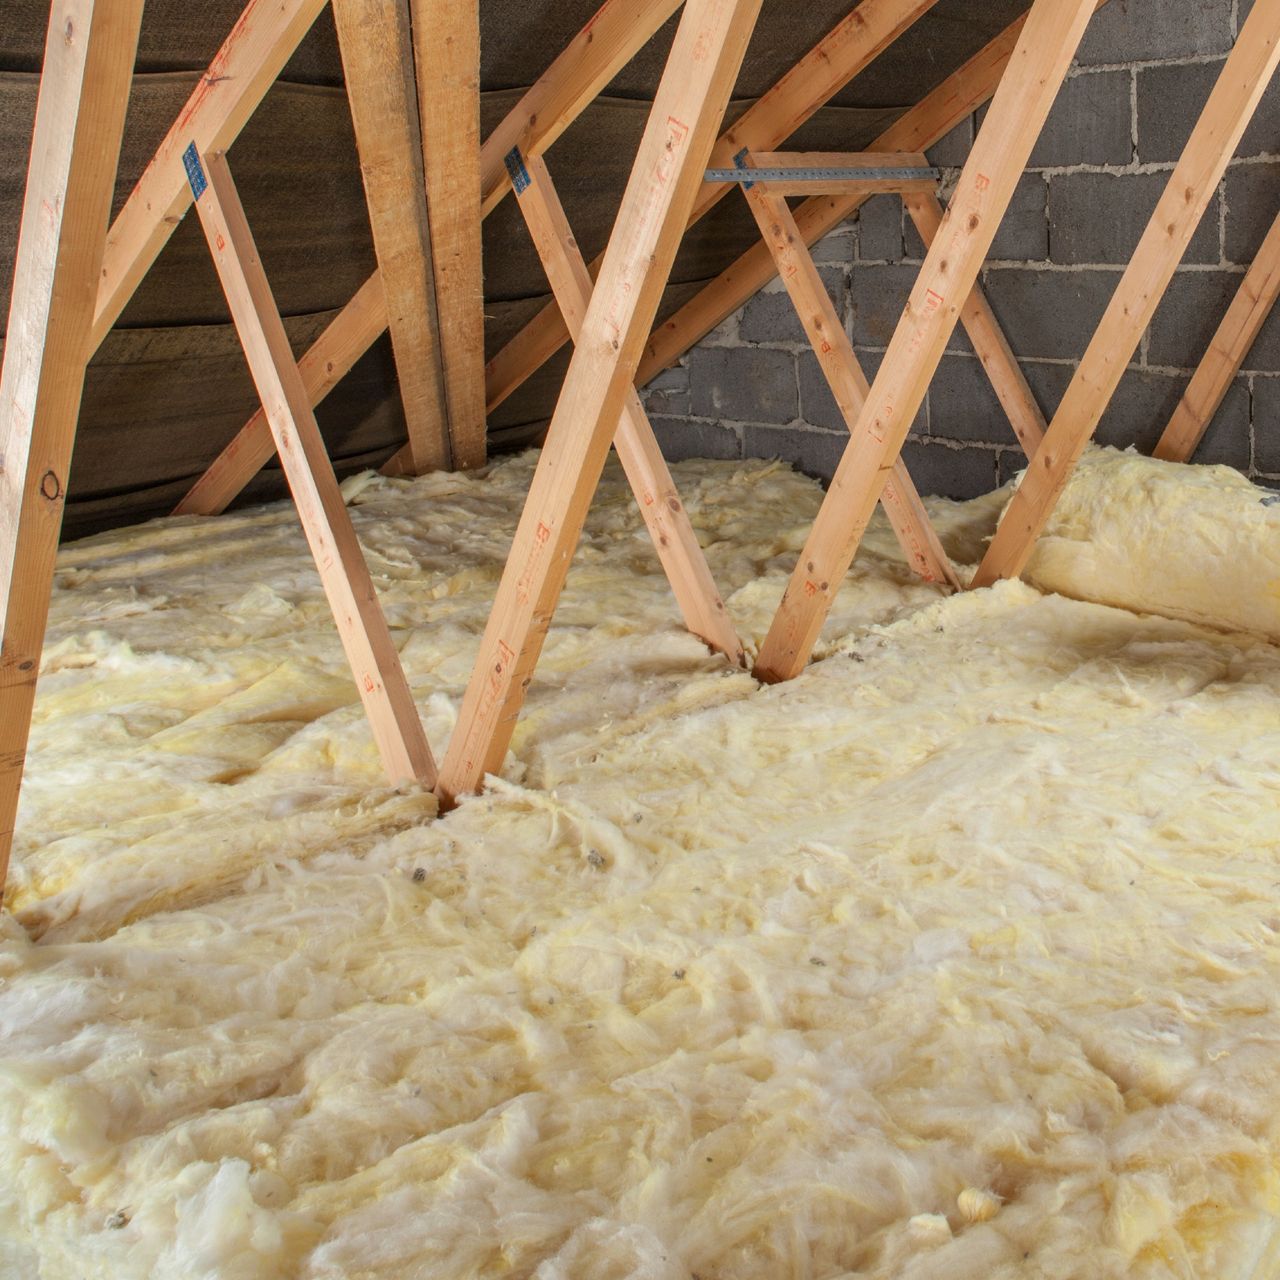
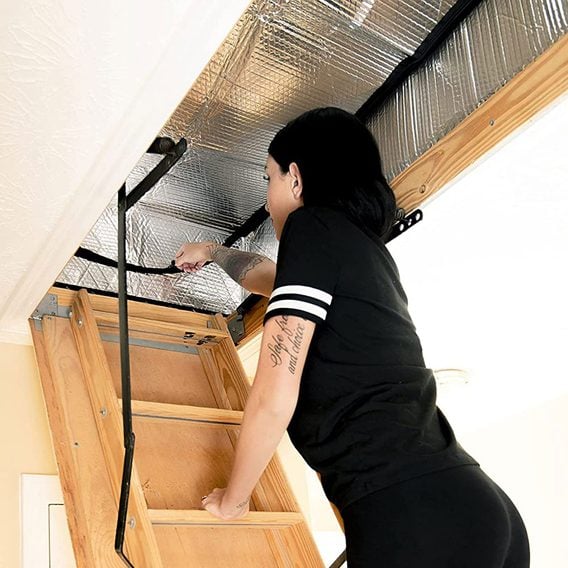
The "Staying safe" section provides critical safety advice, including turning off mains power before handling electrical cables. It underscores the importance of moving slowly and carefully within the loft, using crawling boards, and avoiding direct weight on joists. A recommended 75mm gap between insulation and hot elements like chimneys, flues, or recessed light fittings is specified, with a reminder to always consult manufacturer instructions. The guide concludes with a step-by-step installation process, starting with fitting the cold water tank jacket and insulating pipes with duct tape. It then details how to address electrical cables and recessed lighting with protectors. Instructions for cutting and laying the first layer of insulation between joists, maintaining an air gap at the eaves, and working backward from the furthest corner are provided. The guide explains how to join insulation lengths snugly and cut them to fit around obstacles. Finally, it describes how to add a second layer of insulation perpendicular to the first to achieve the optimal depth, staggering joints, and insulating the loft hatch with secured insulation pieces using a staple gun or tacks.
Post-installation, the "Aftercare" section advises against placing weight or storing items on the insulation, as this can compress it and reduce its thermal efficiency.
#LoftInsulation #HomeMaintenance #EnergyEfficiency #DIYGuide #ThermalInsulation #HomeImprovement #EnergySaving #LoftAccessoryInstallation #LoftInsulation #HomeMaintenance #EnergyEfficiency #DIYGuide #ThermalInsulation #HomeImprovement #EnergySaving #LoftAccessoryInstallation
0 comment in total
 No comments yet
You may also like
How to insulate a loft or roof
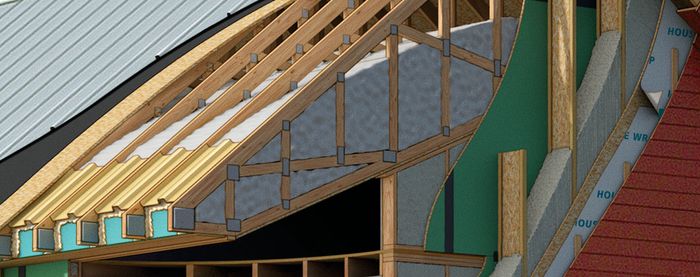
A New Take on Insulating a Roof

What to Consider When Choosing Insulation
Insulate Your Basement, Part 3
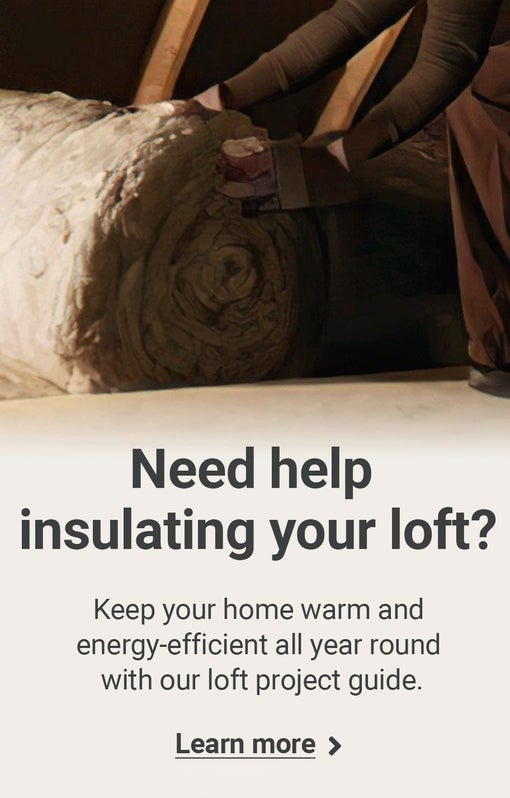
Loft Insulation
9 basement insulation ideas


How to insulate your period house
How Install Dense-Pack Cellulose Insulation Like a Pro
This is how to get your roof and loft insulation right so that your home stays warm and energy efficient all winter long
Insulate Your Basement, Part 2

The 4 areas of your home pros say to always insulate to keep it toasty in colder weather – plus, where to never insulate

Attic Ideas, Storage and Insulation

Insulate Your Basement, Part 1

The best floor insulation options for your home, explained

Should you insulate a basement ceiling? Expert advice for a comfortable home

5 ways to insulate a wall to lower your energy bills and block out noise – and which ones are a mistake to DIY
Home insulation materials


6 types of attic insulation and how to pick one for your home
An Easy Way To Build a Well-Insulated House

Dear PoP – crawl space insulation