1/4
3 steps to cover ugly wood floors mid-home reno
This article details a DIY project undertaken by UK-based DIYer Jessica Grizzle to temporarily cover unattractive wood floorboards during a home renovation. The project's objective was to create a more appealing living space while awaiting permanent flooring solutions like carpet. The entire endeavor cost approximately £55/$55 for paint, brushes, and rollers, required beginner-level DIY skills, and took about two hours to complete, depending on the room's size. Although intended as a temporary measure, the painted floors are presented as a viable long-term design feature that can significantly alter a room's aesthetic without substantial time, monetary, or effort investment.
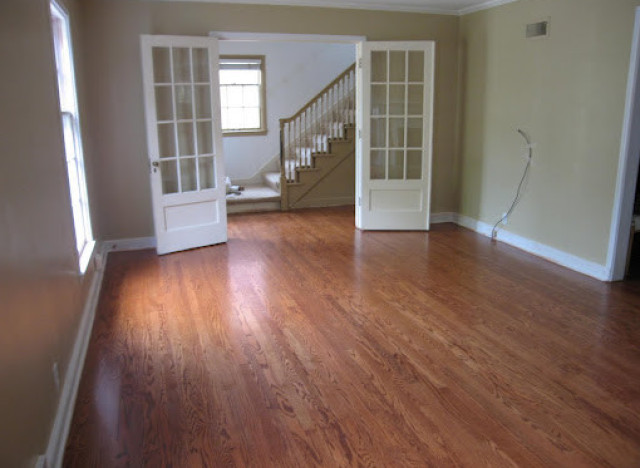
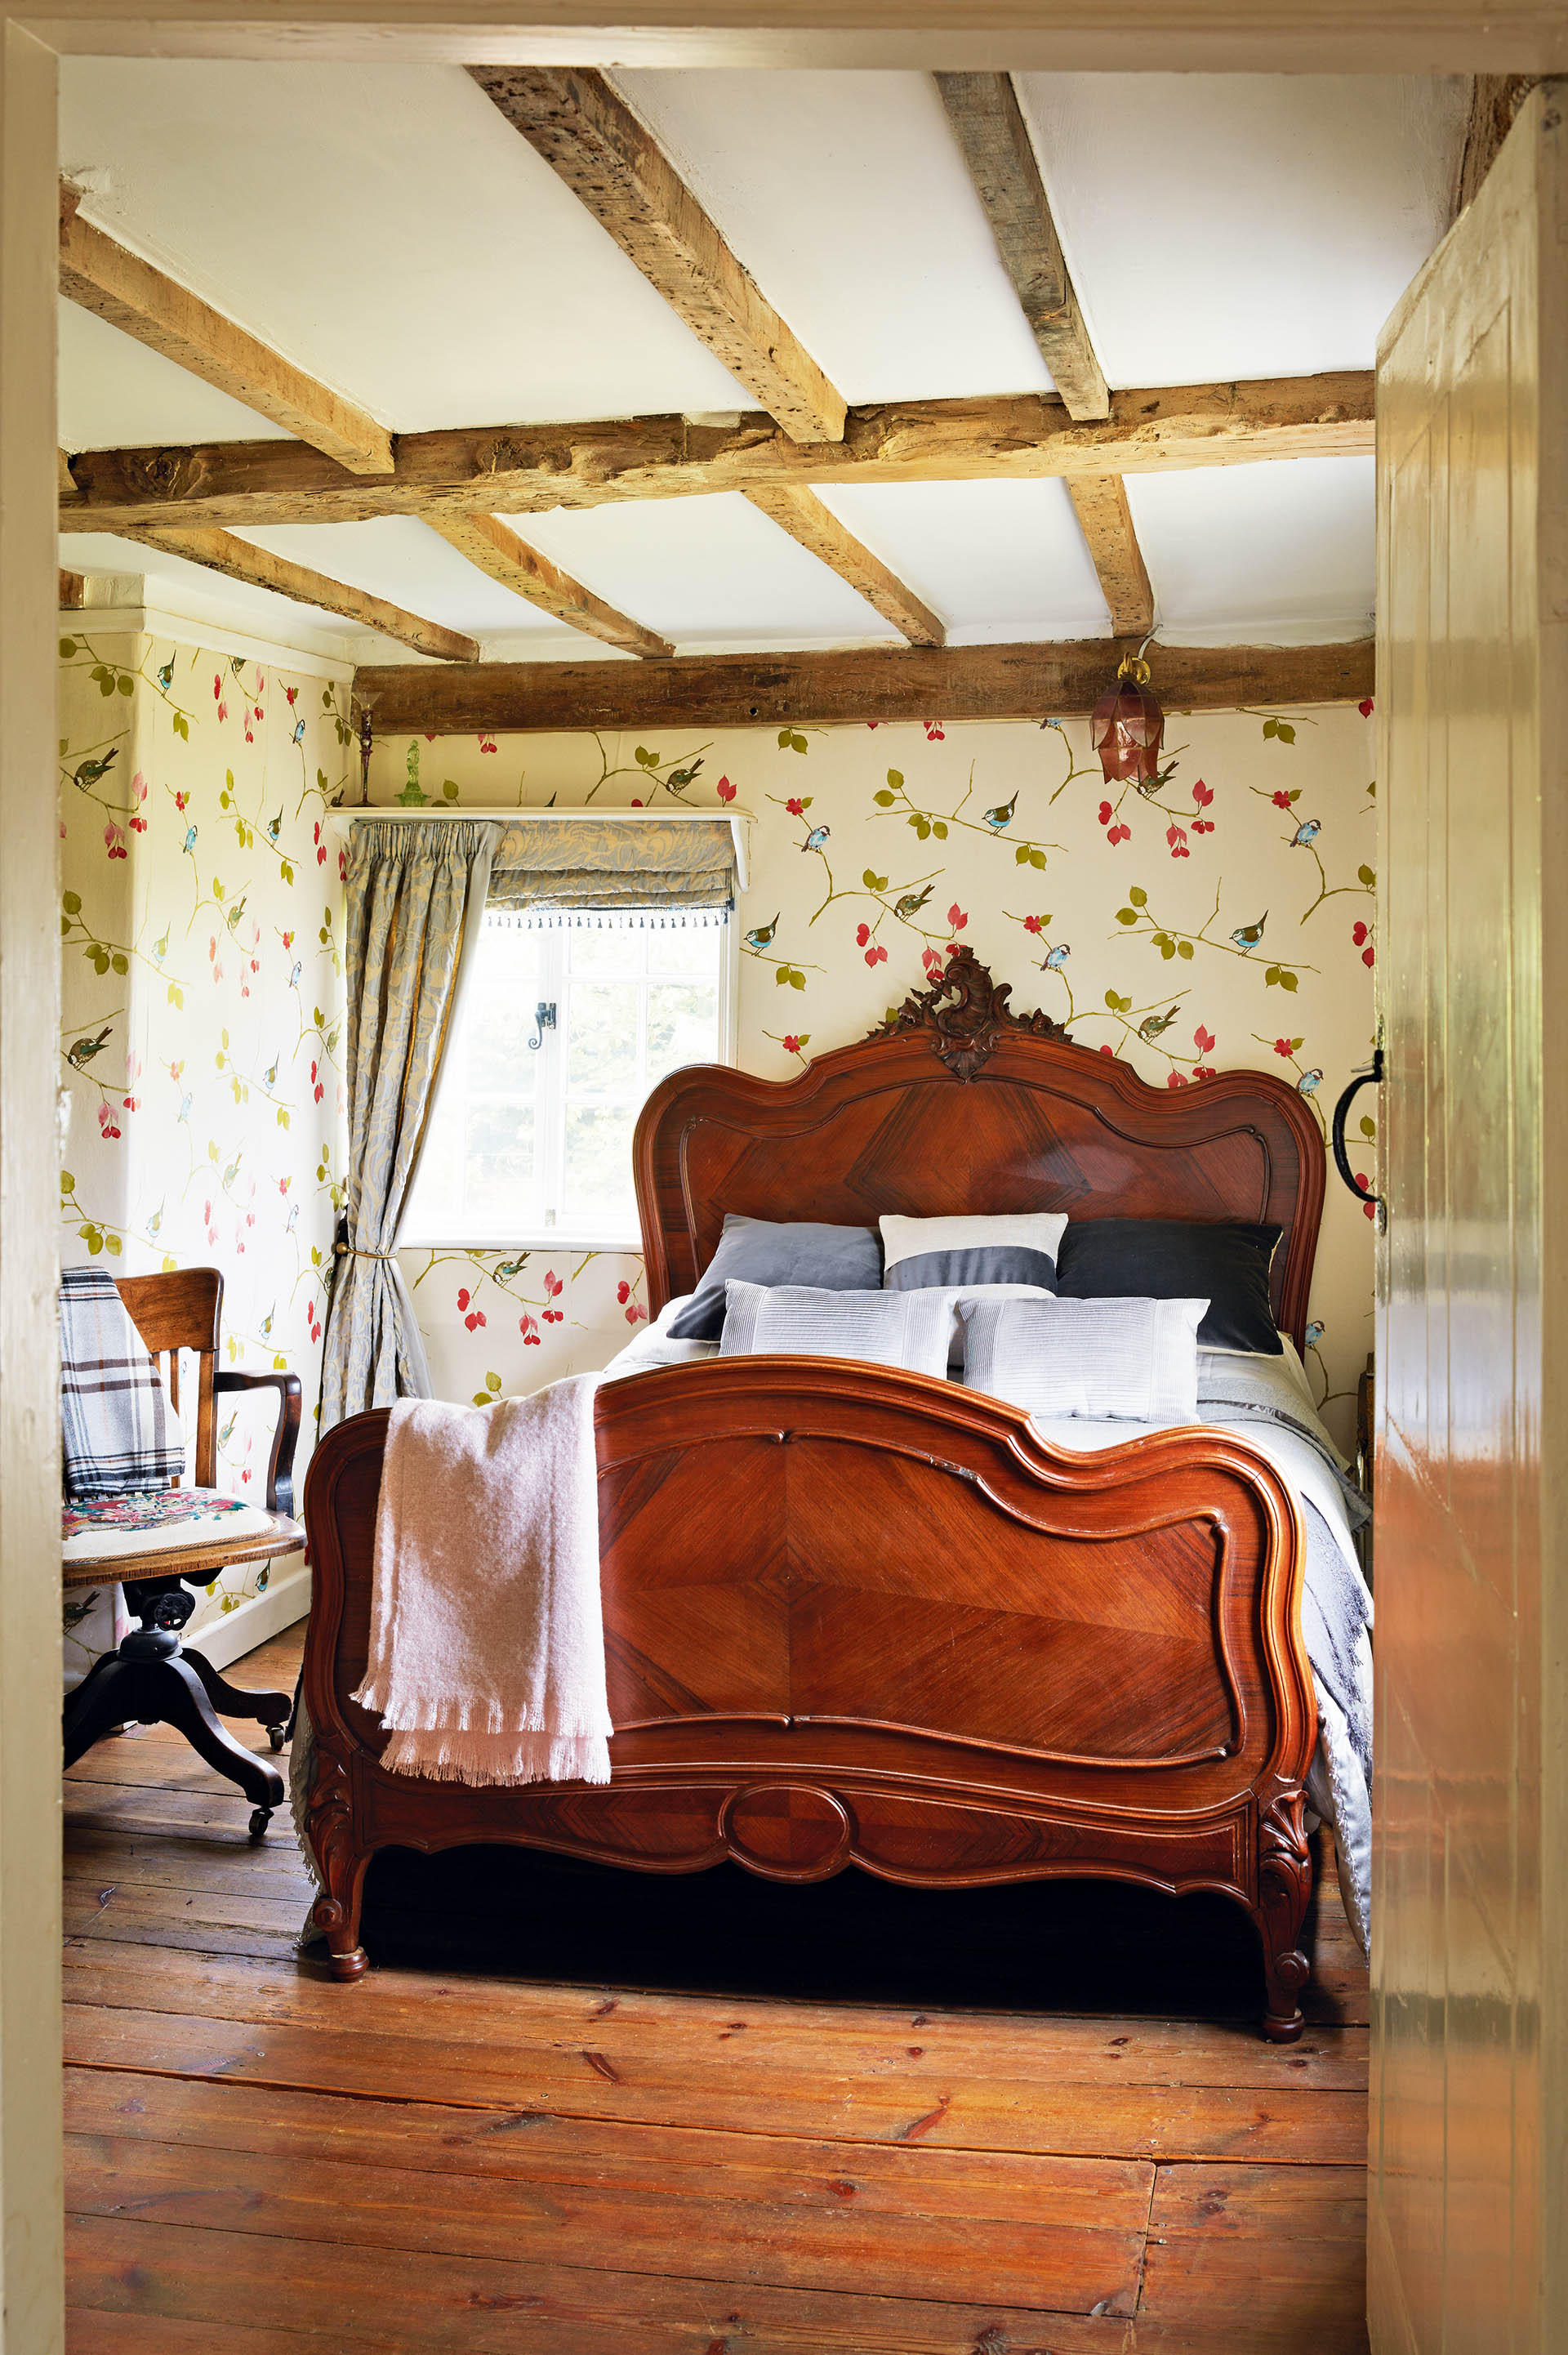
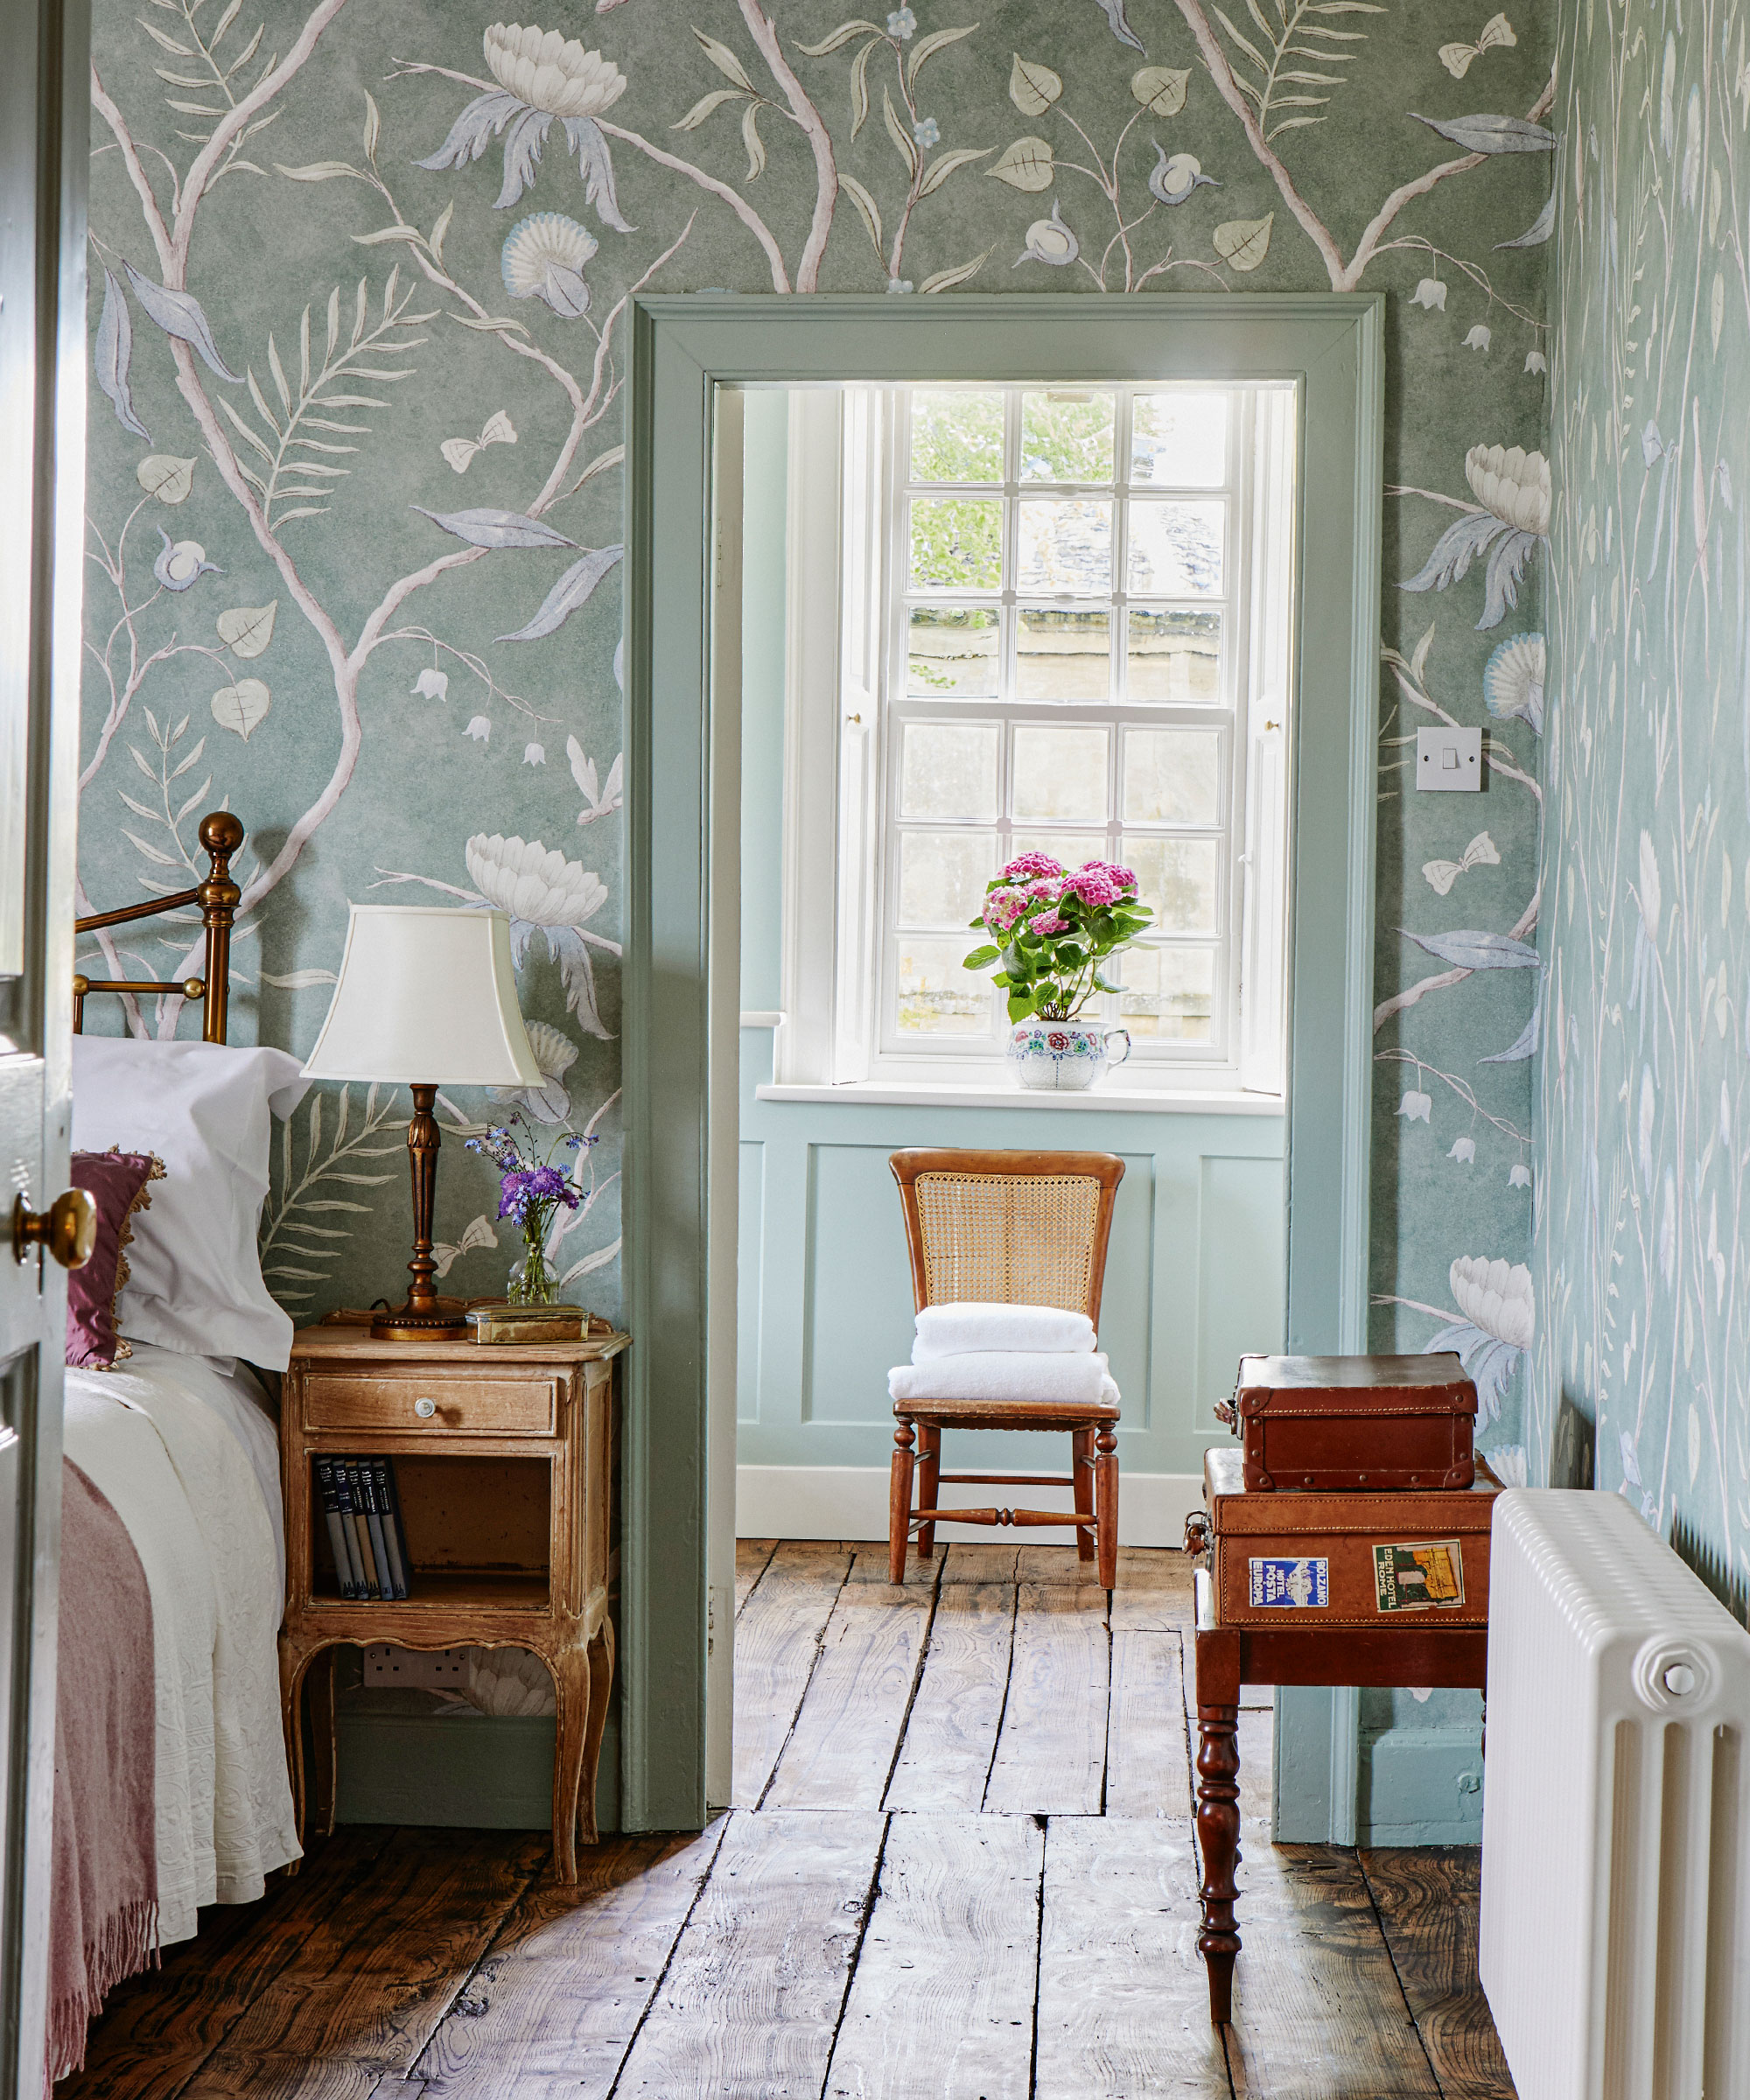
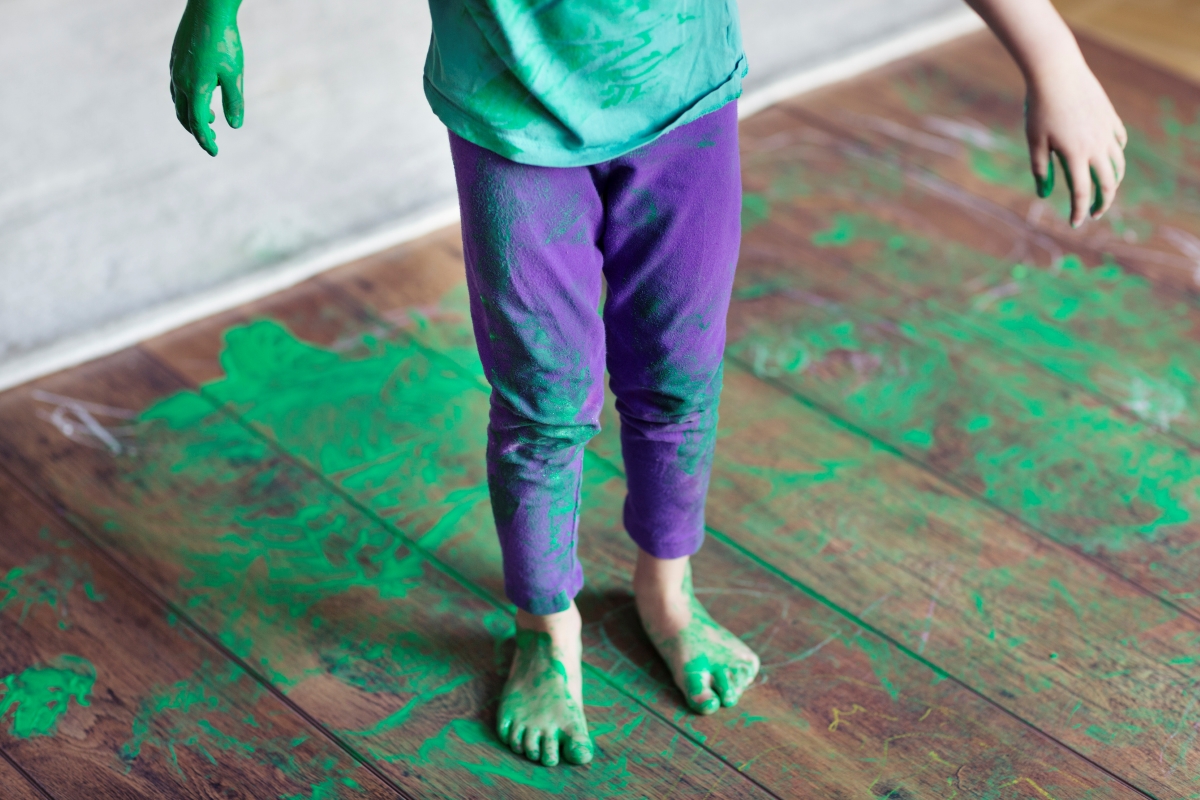
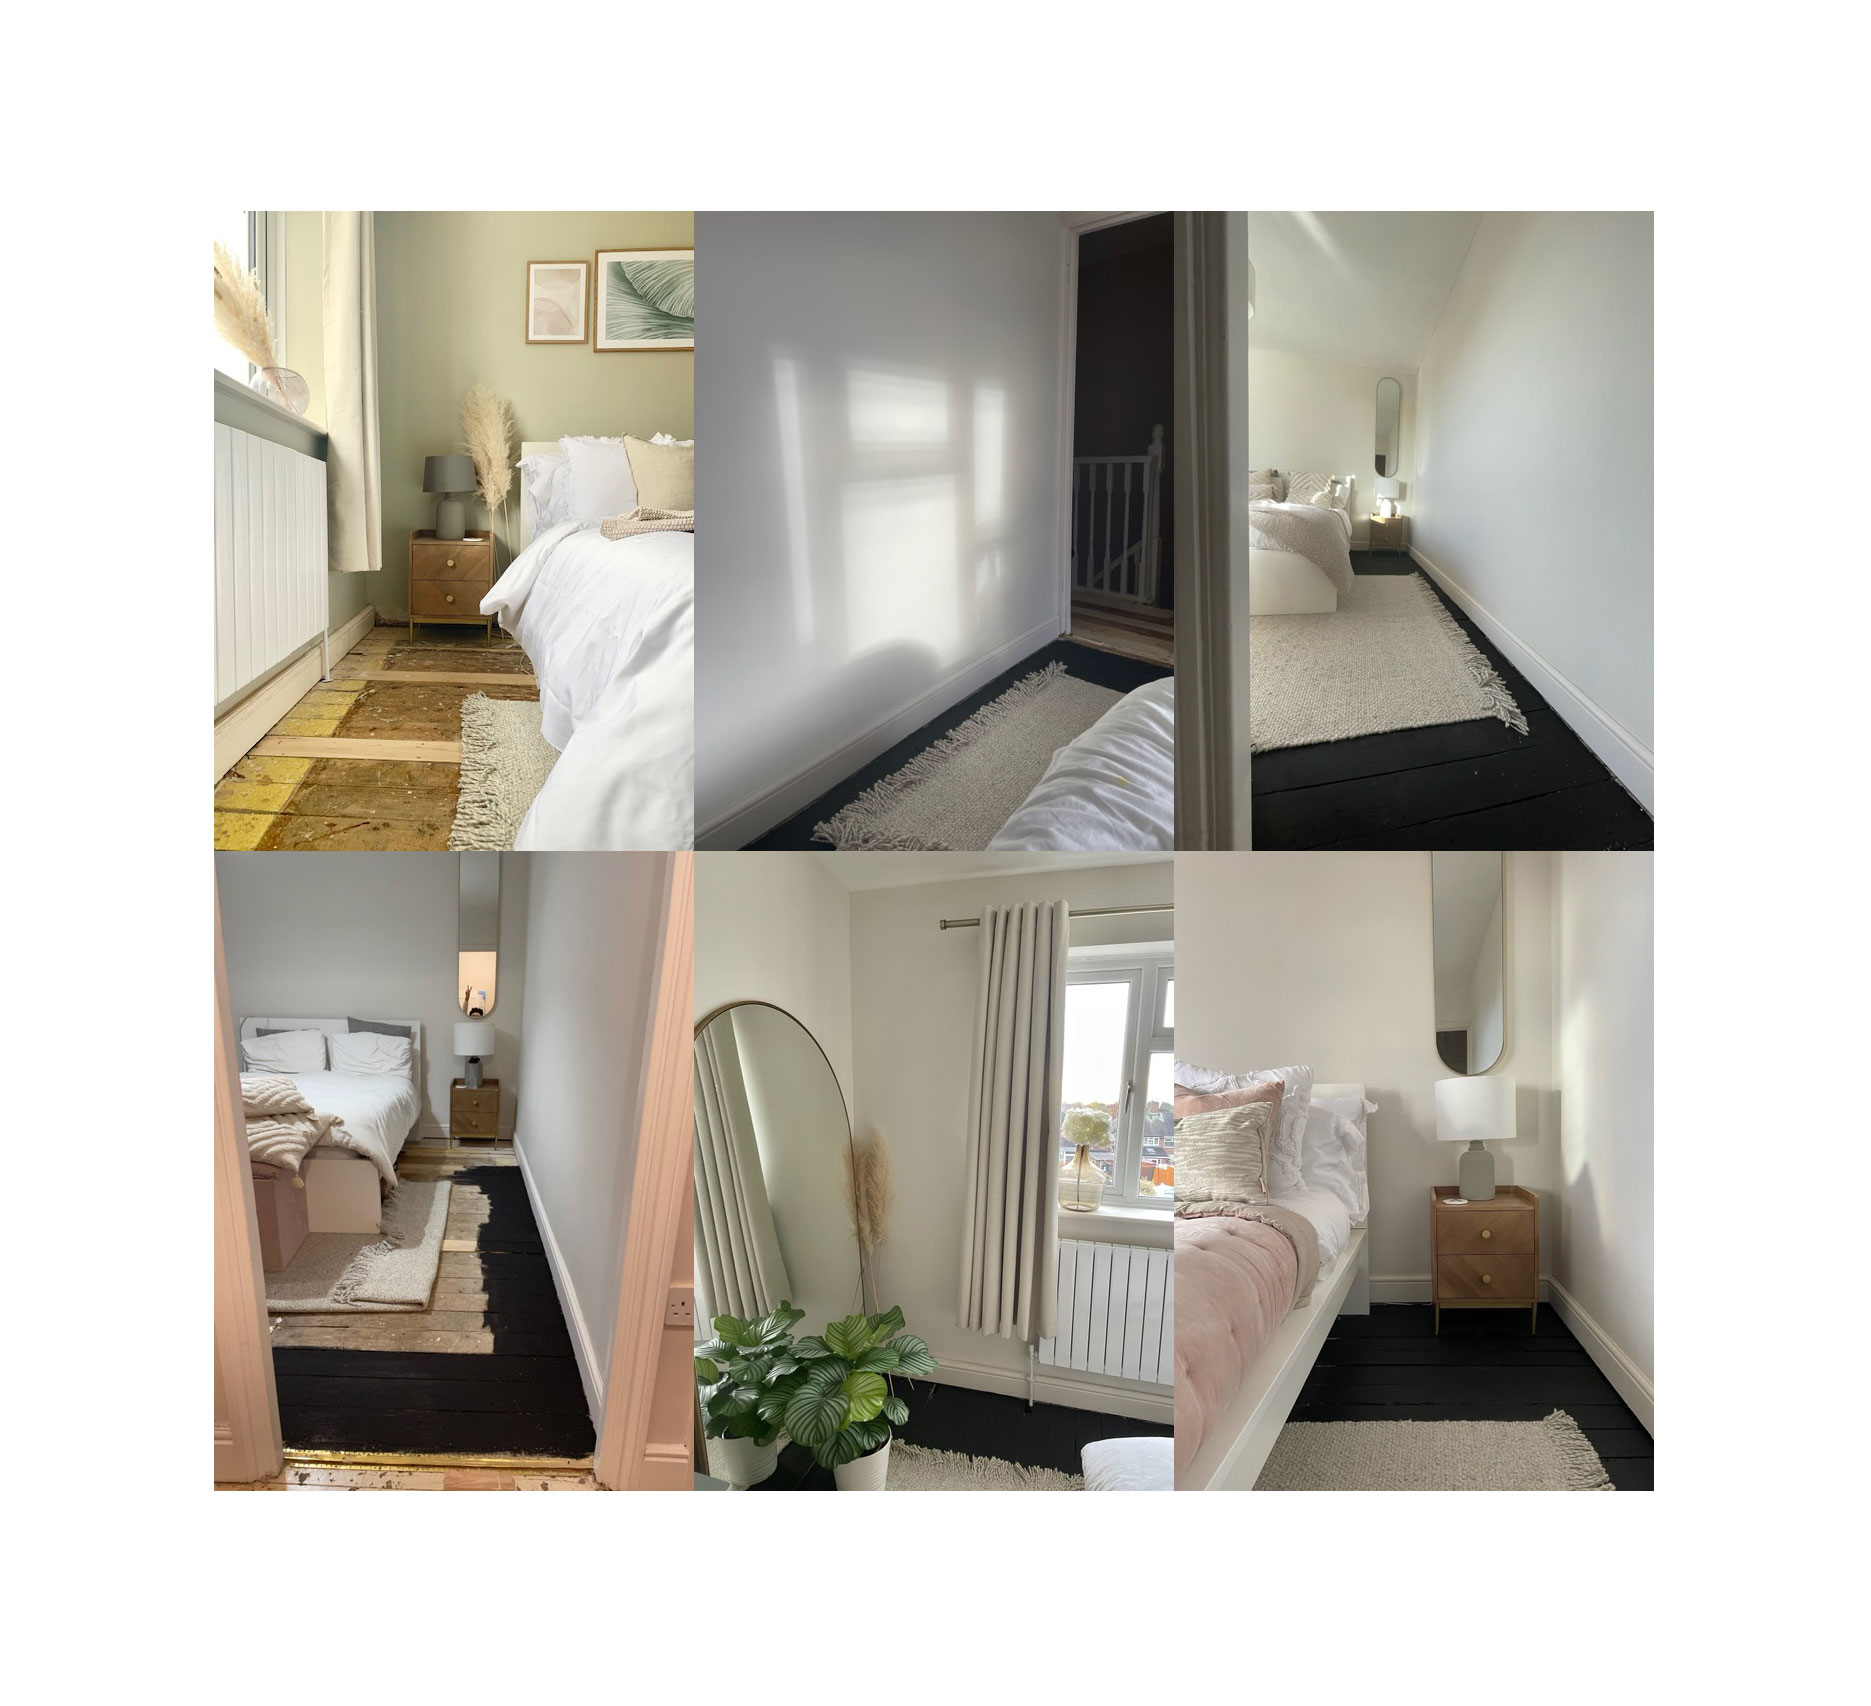
The project focused on a bedroom, but the method is applicable to other areas such as hallways or living rooms. The author notes that painting the floors was conceived after painting the walls, as paint splatters had already made the existing floorboards unsightly. The process is broken down into three main steps, beginning with checking the quality of the floorboards. This crucial first step involves inspecting and, if necessary, replacing damaged floorboards to ensure a stable and secure base. For replacements, new floorboards from a local sawmill were used, cut to size, and secured with flooring screws, which are easier to remove than nails. The use of a crowbar might be necessary for removing nailed floorboards, potentially causing damage.
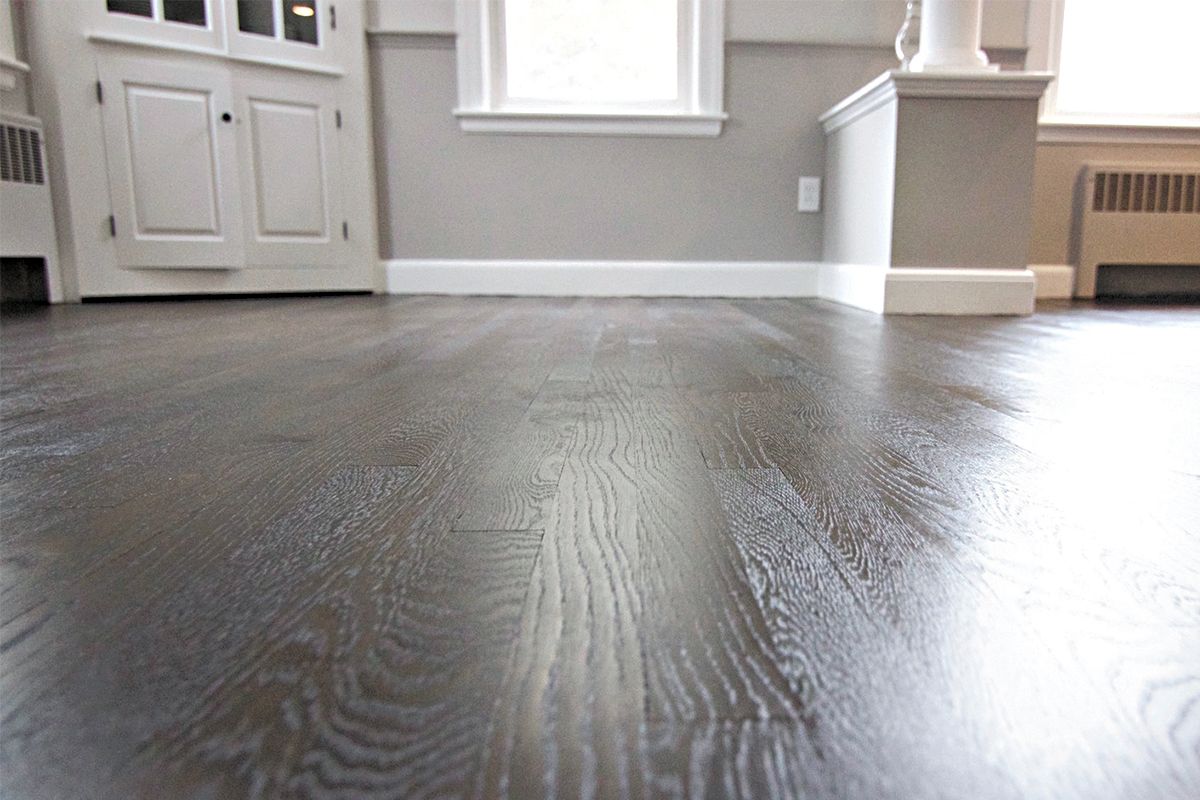
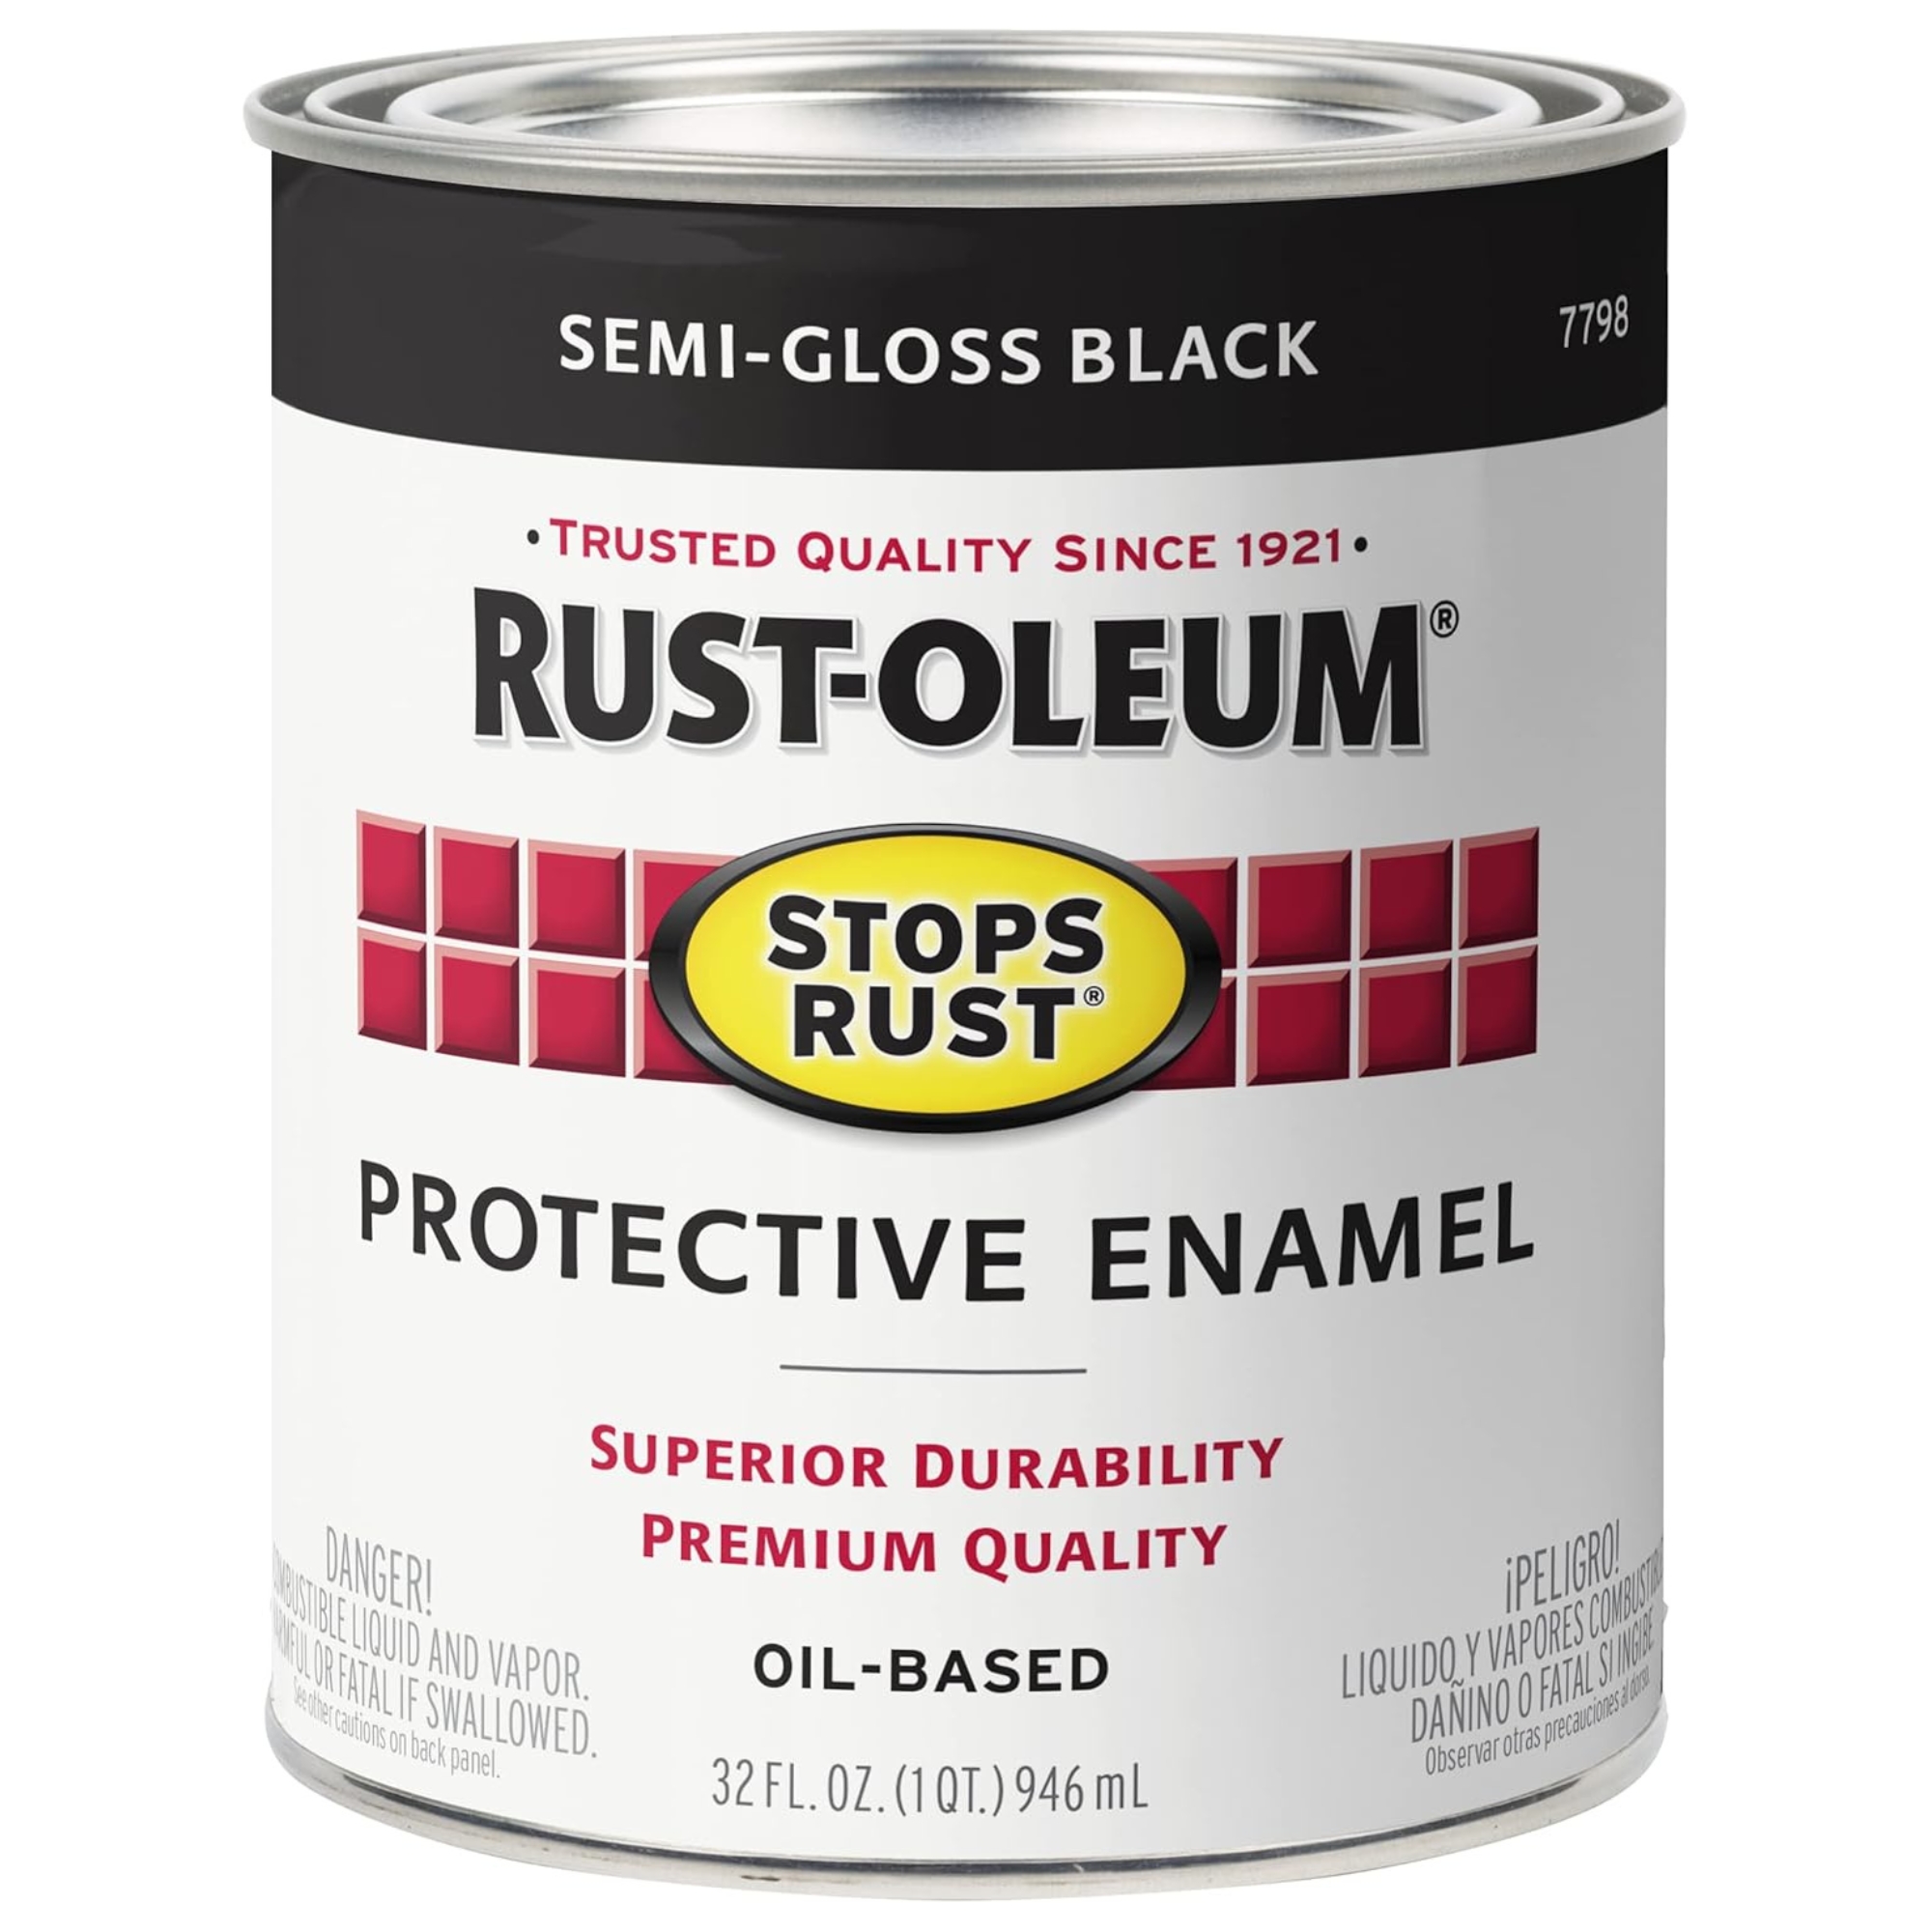
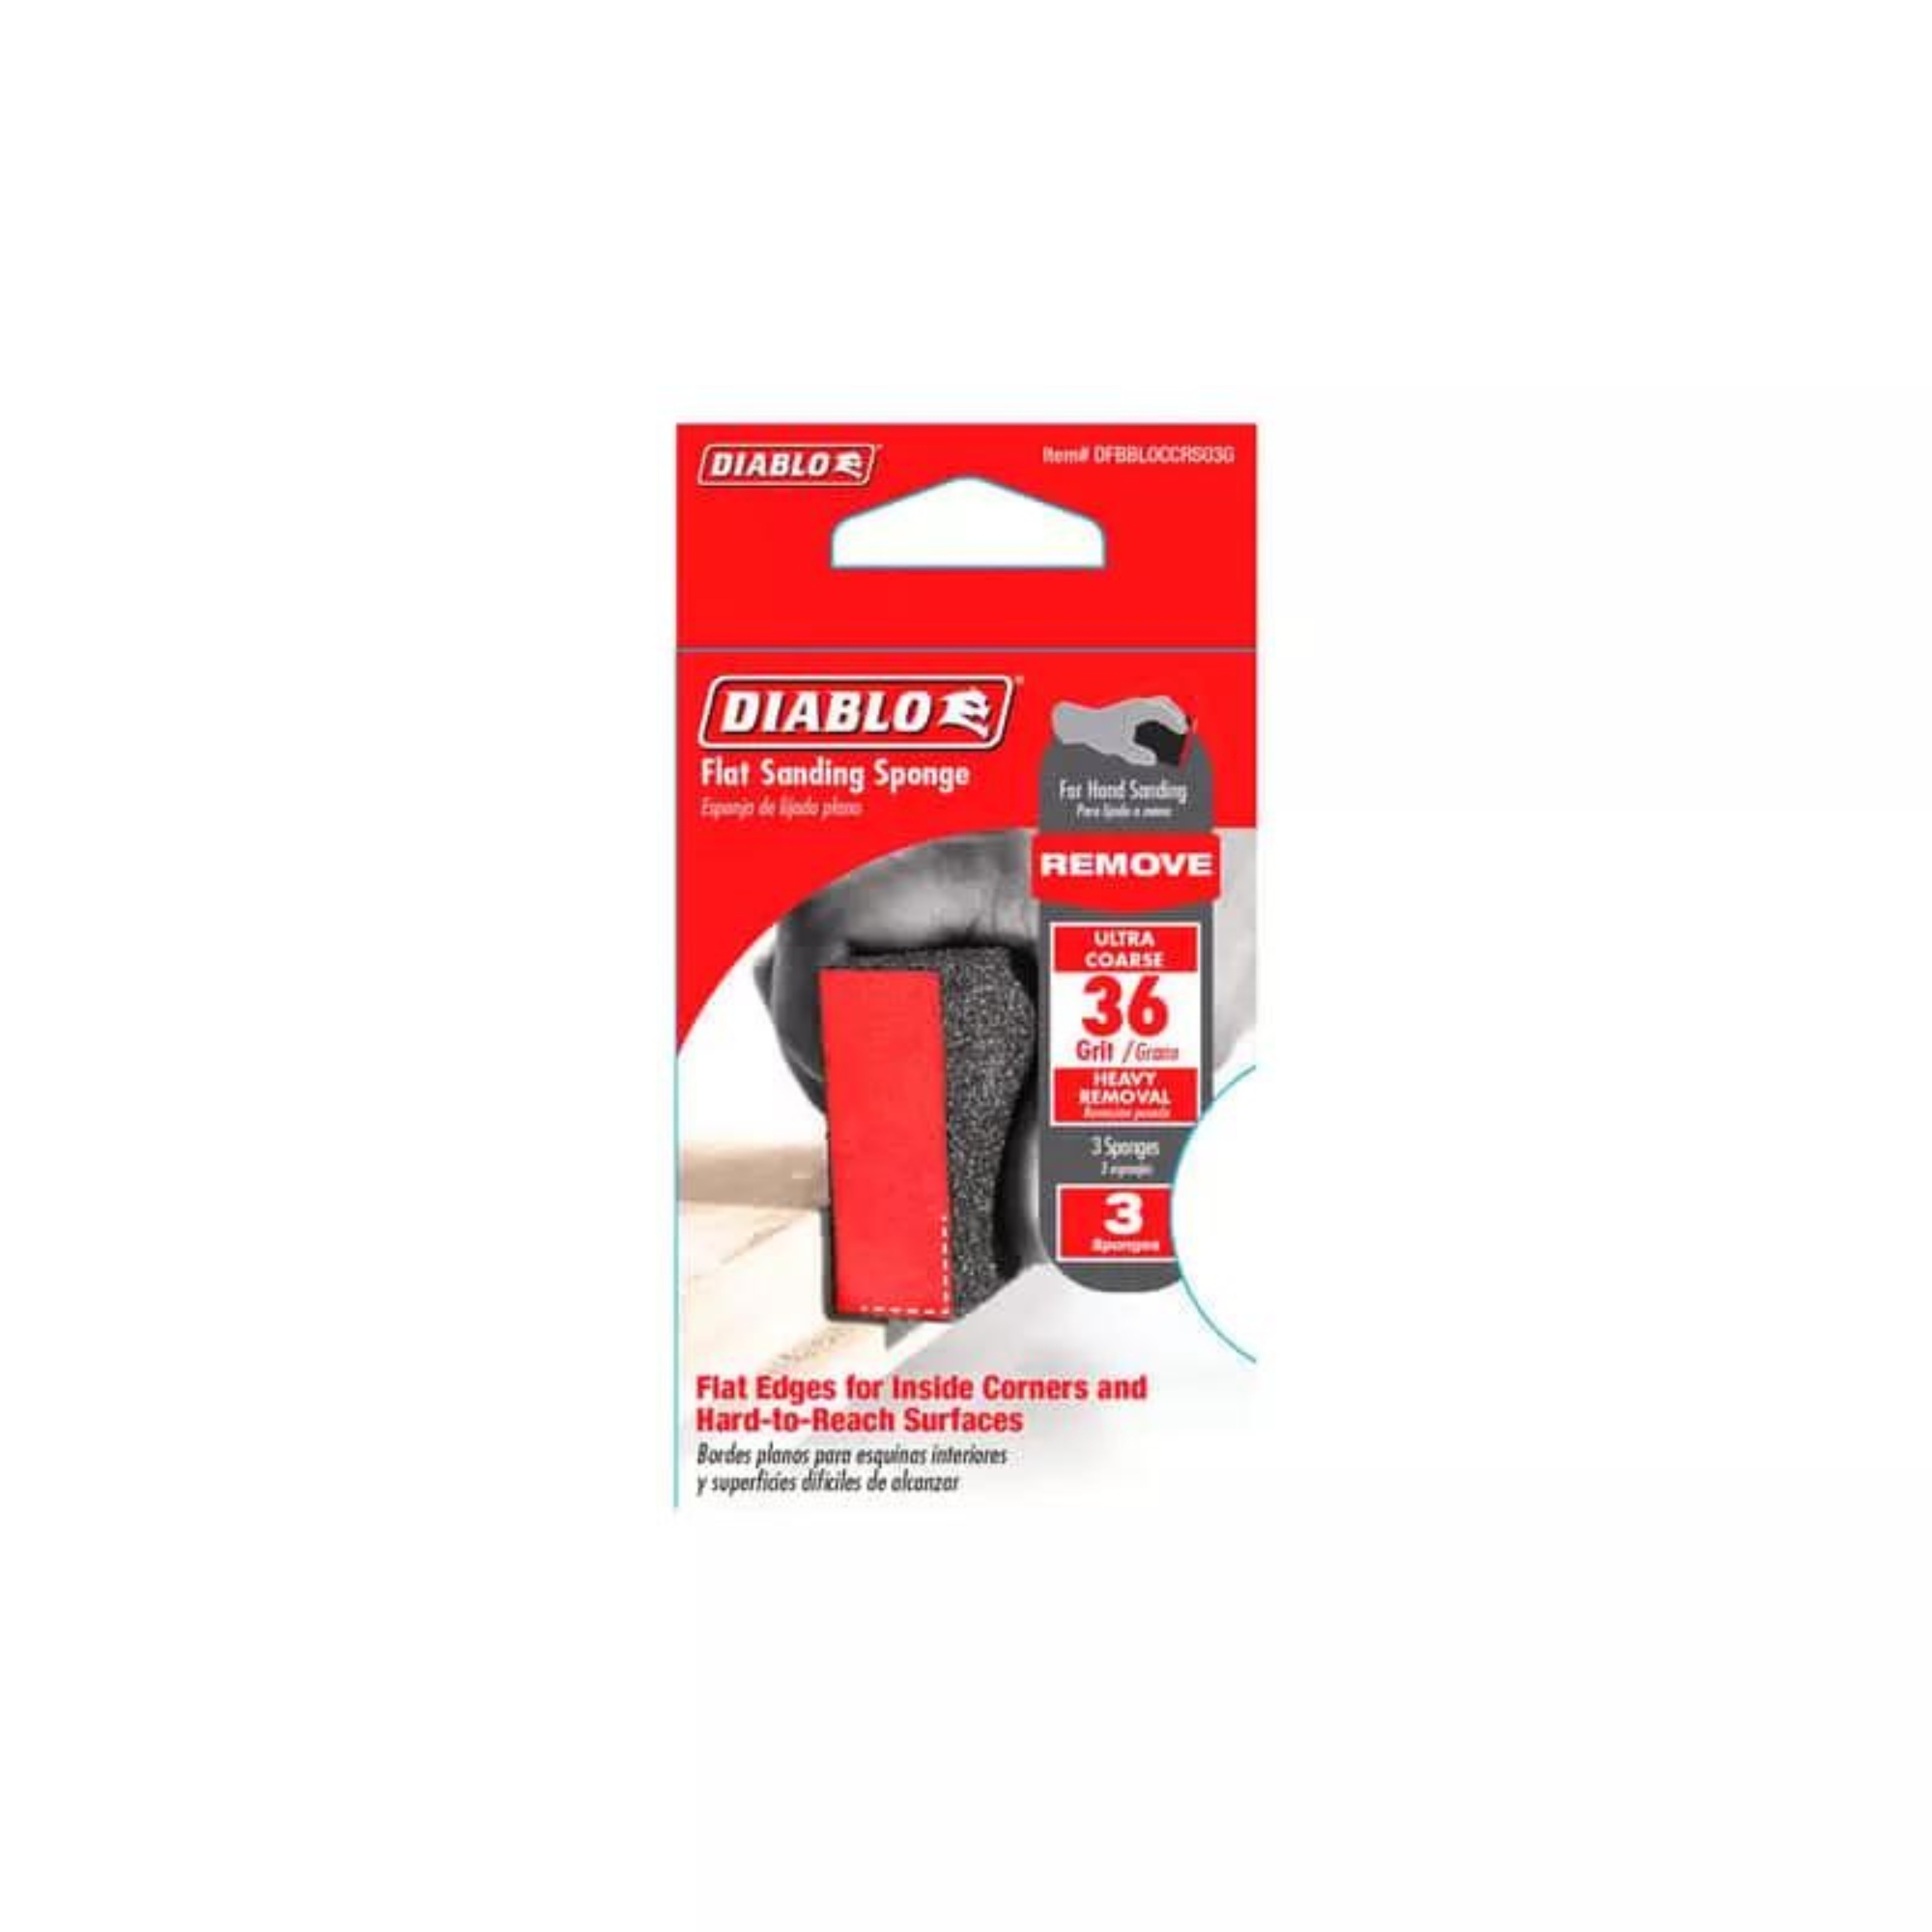
The second step focuses on preparing the floorboards for painting. The author highlights the ease of using chalk paint, specifically Rustoleum’s chalky finish floor paint, which often eliminates the need for a primer, simplifying the DIY process. Preparation also involves checking for and removing loose screws or old staples using tools like a hammer's claw, end cutters, or a utility/crowbar. If the floorboards have a waxy finish, cleaning them thoroughly with white spirit is recommended. For bare wood, previously painted, or varnished floorboards, sanding the surface with an orbital sander is advised. For larger areas, renting a larger floor sander could be more efficient. The article also suggests using frog tape or masking tape to protect baseboards from accidental paint marks.
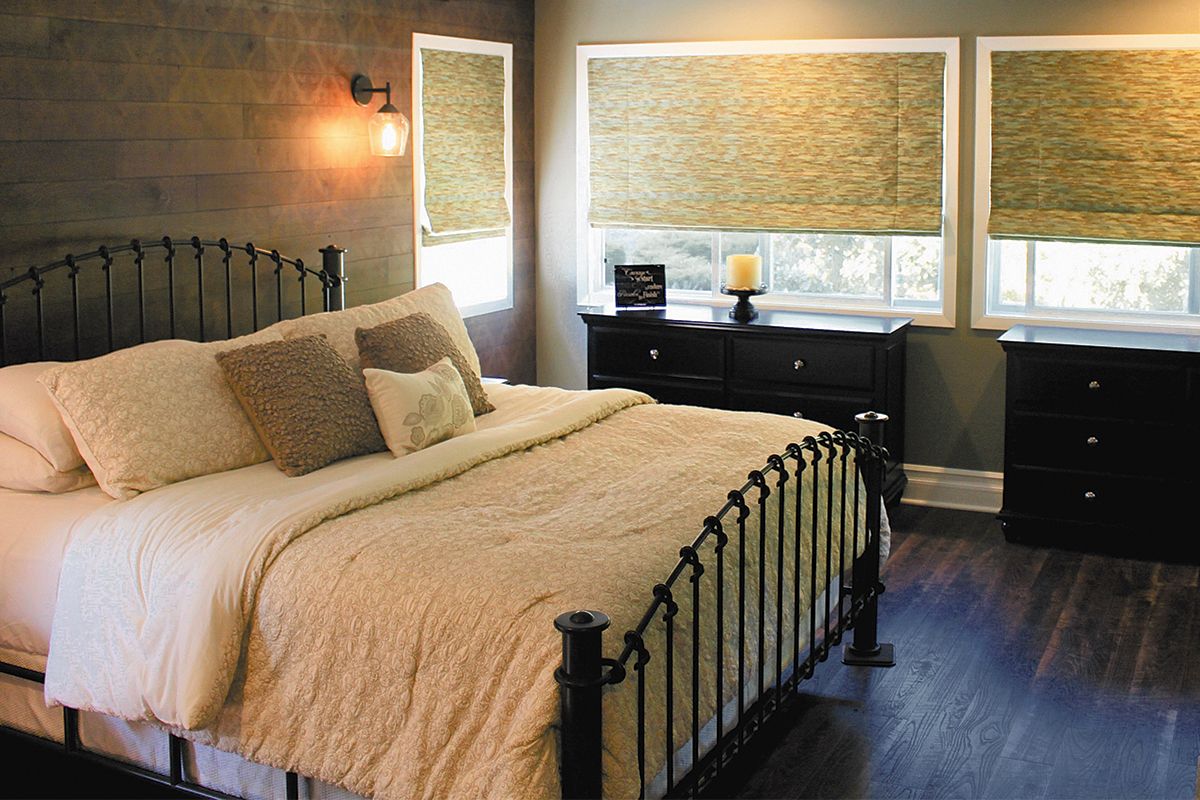
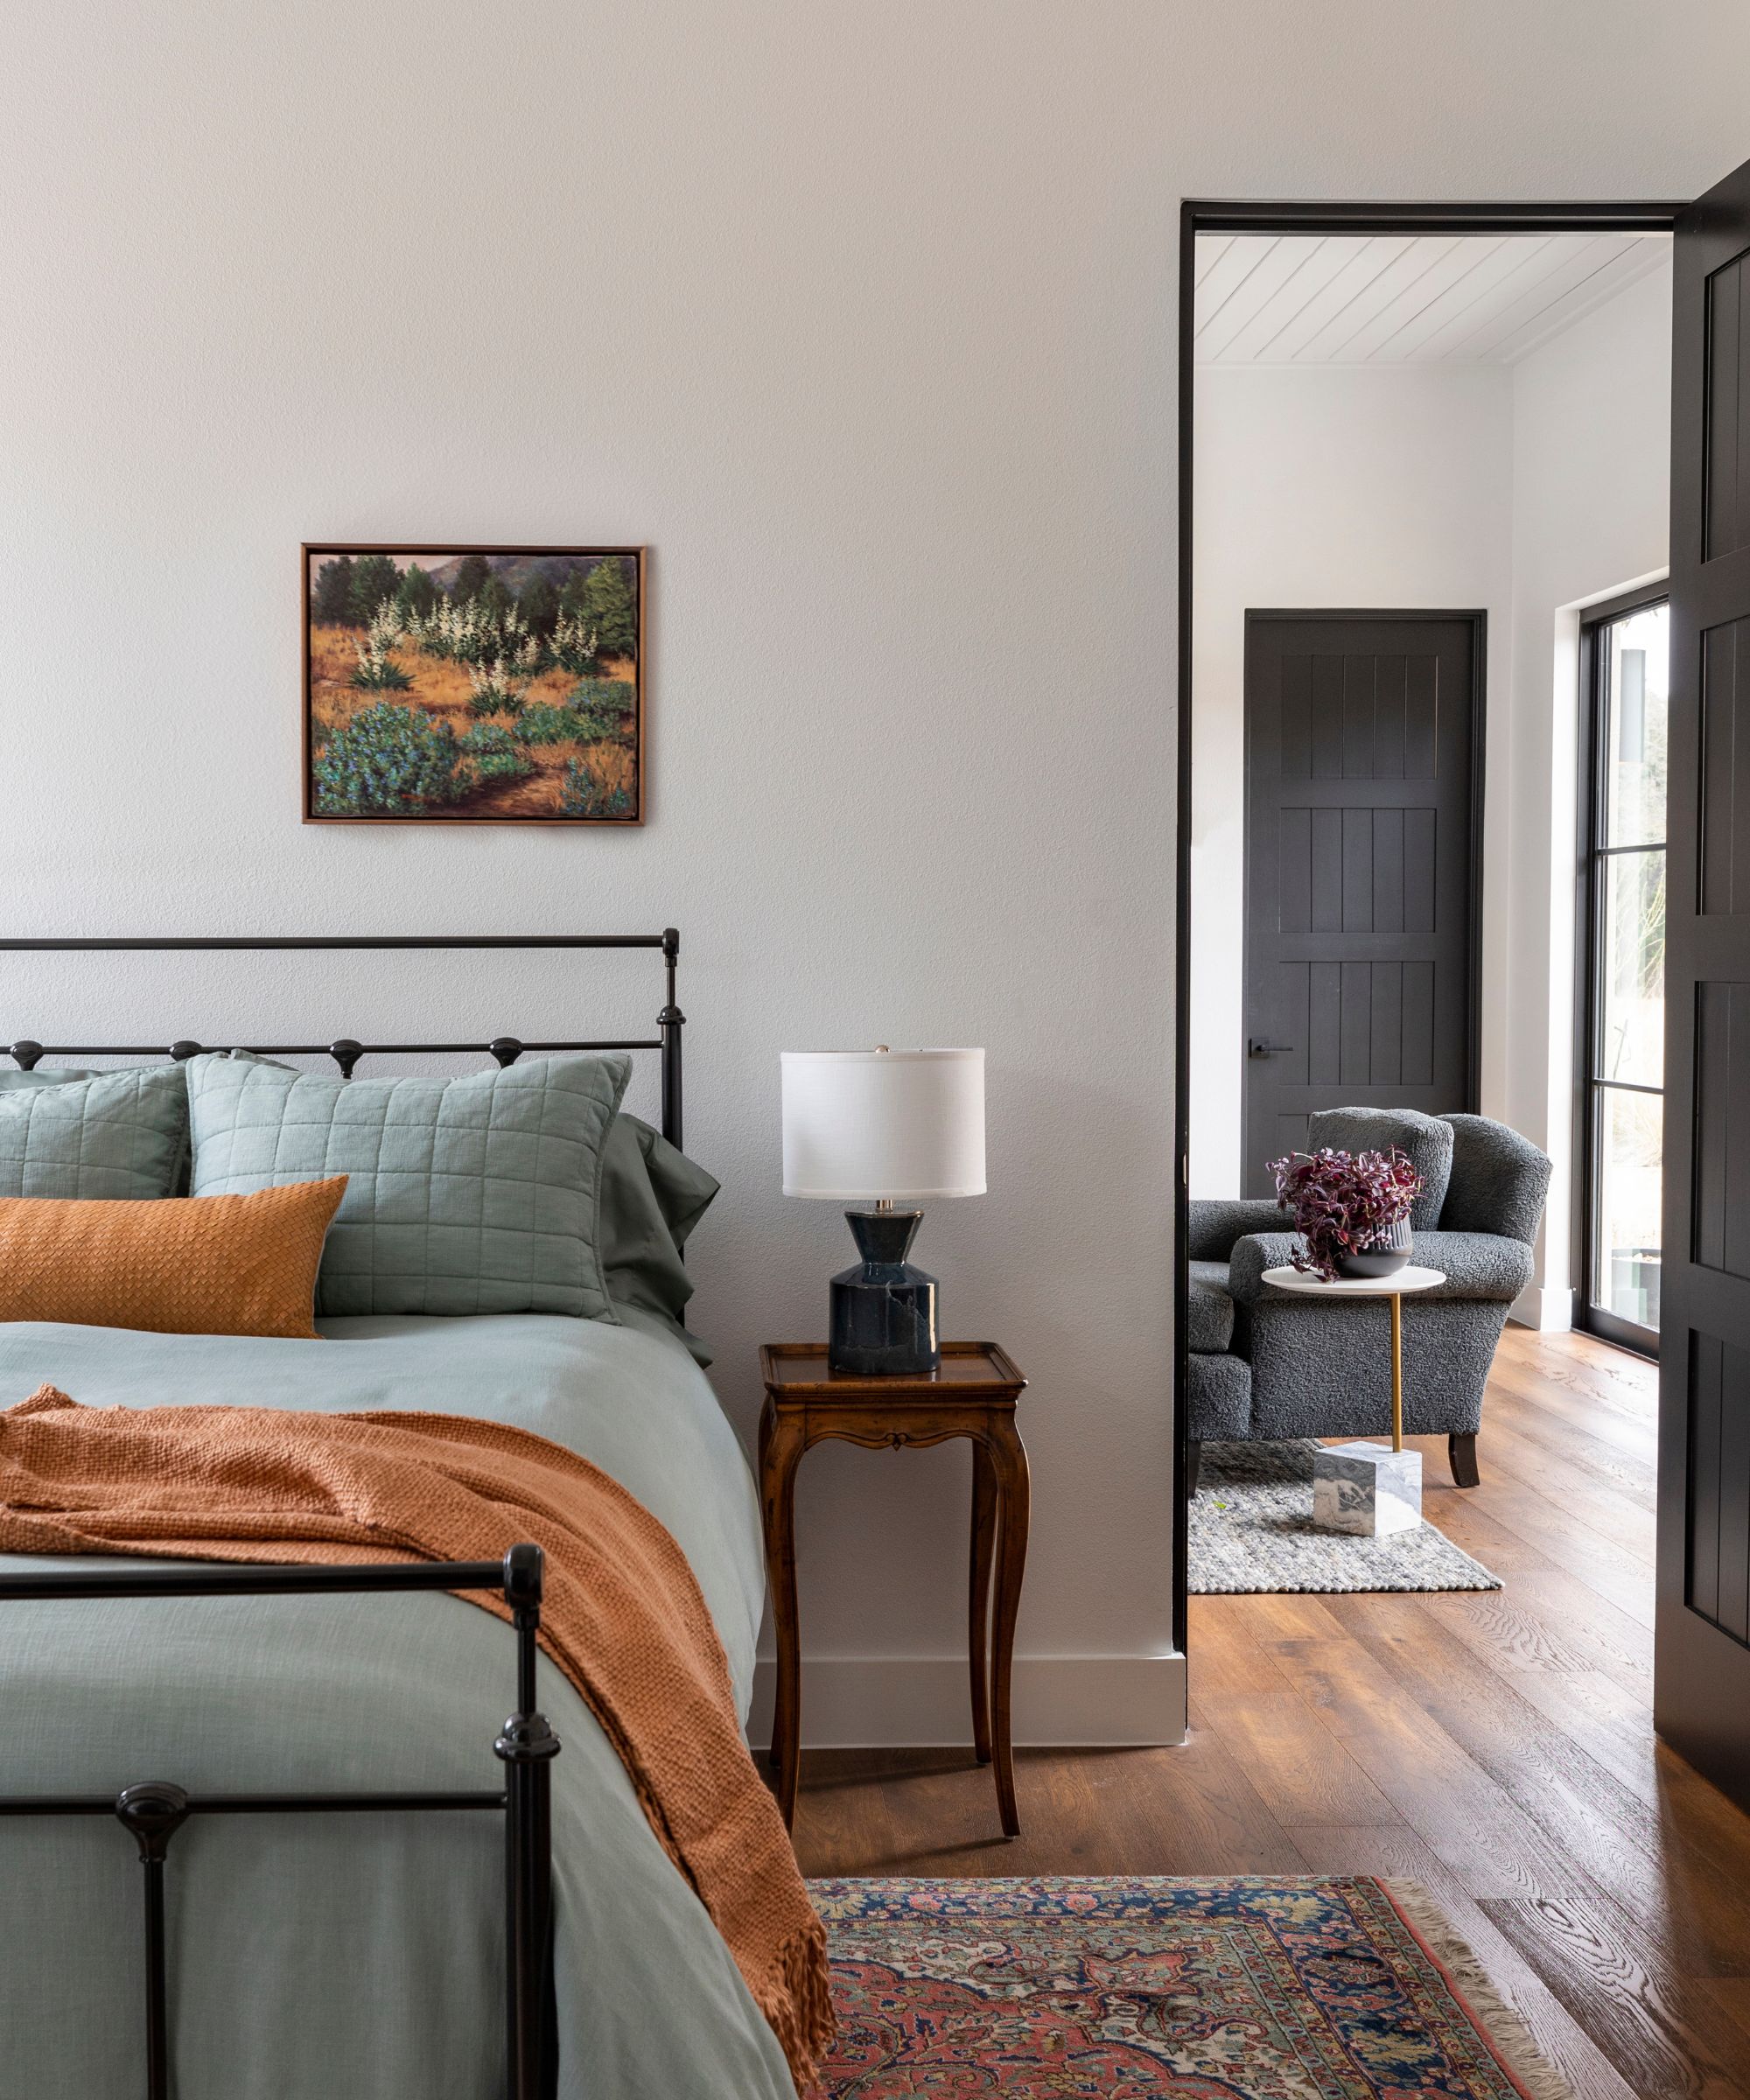
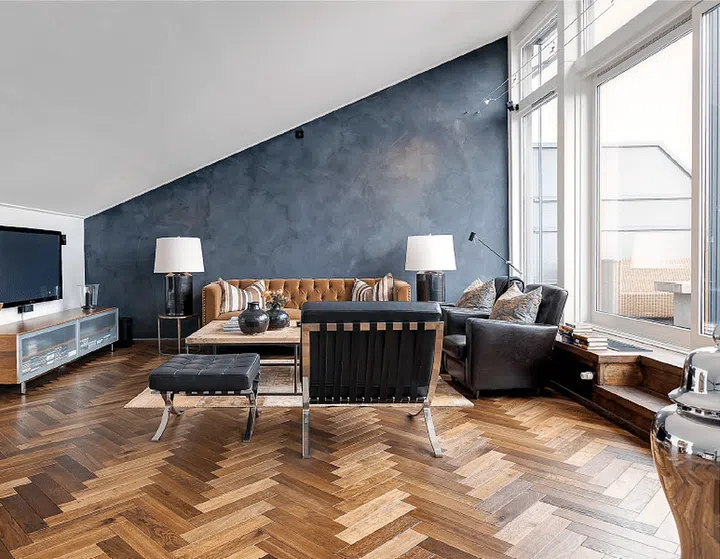
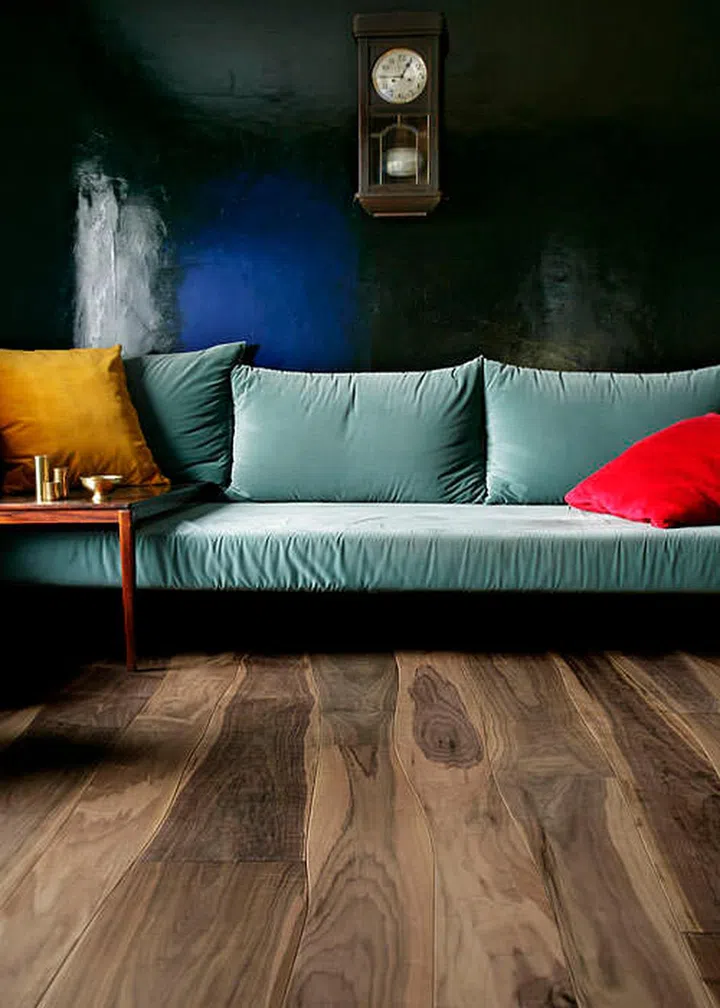
The final step involves painting the bedroom floor. The author used two coats of paint for full coverage, applying it with a paintbrush due to the room's size. A short-nap roller is suggested as an alternative for potentially faster application, though a paintbrush is still useful for edges and gaps. The paint was touch-dry within an hour, with a recommended four-hour wait between coats. The choice of a dark paint color instantly created a cozier atmosphere in the bedroom, aligning with the desire for a cocooned feel. The author emphasizes that floor paint is available in a wide range of colors, allowing for diverse aesthetic choices, from light and airy to bold and dramatic. The overall sentiment is that painted floors are a cost-effective and low-effort solution to maintain a homely feel during home renovations, encouraging readers to enjoy the process.
#HomeRenovation #DIYProject #PaintedFloors #Floorboards #BedroomDesign #InteriorDesign #TemporarySolution #ChalkPaint #HomeImprovement #HomeRenovation #DIYProject #PaintedFloors #Floorboards #BedroomDesign #InteriorDesign #TemporarySolution #ChalkPaint #HomeImprovement
0 comment in total
 No comments yet
You may also like
How to restore hardwood floors without sanding – a step-by-step guide

Tired of tiptoeing? These 5 methods for fixing creaking wooden floors are approved by the pros
11 Reasons Hardwood Flooring Might Not Be Right for Your Home

Repairing and restoring vintage hardwood floors

How to Know When an Old Wood Floor Is Worth Restoring or Should Be Replaced
Home Flooring Installation and Repair

6 Common Mistakes When Choosing Hardwood Flooring

10 Top Hardwood Floor Cleaners To Keep Them Looking Like New

I swear by this incredibly easy 5-step method for cleaning real wood floors
14 Ways To Cover Up The Ugly Floors In Your Home

Tips for DIY flooring projects: Everything you need to know

5 flooring choices that will make it harder to sell your home
DIY Ideas: Tips For Refinishing Wood Floors
How to clean hardwood floors – experts reveal the best techniques
Guide to Hardwood Floor Finishes

Q&A on wood flooring: How much it costs and more
Add comfort and beauty to your home with new floors

How to paint wood floors – get a lasting shine in 5 easy steps
5 flooring mistakes to avoid – according to architects and interior designers
At Home: Hardwood flooring -- Options abound