1/8
How to paint wood floors – get a lasting shine in 5 easy steps
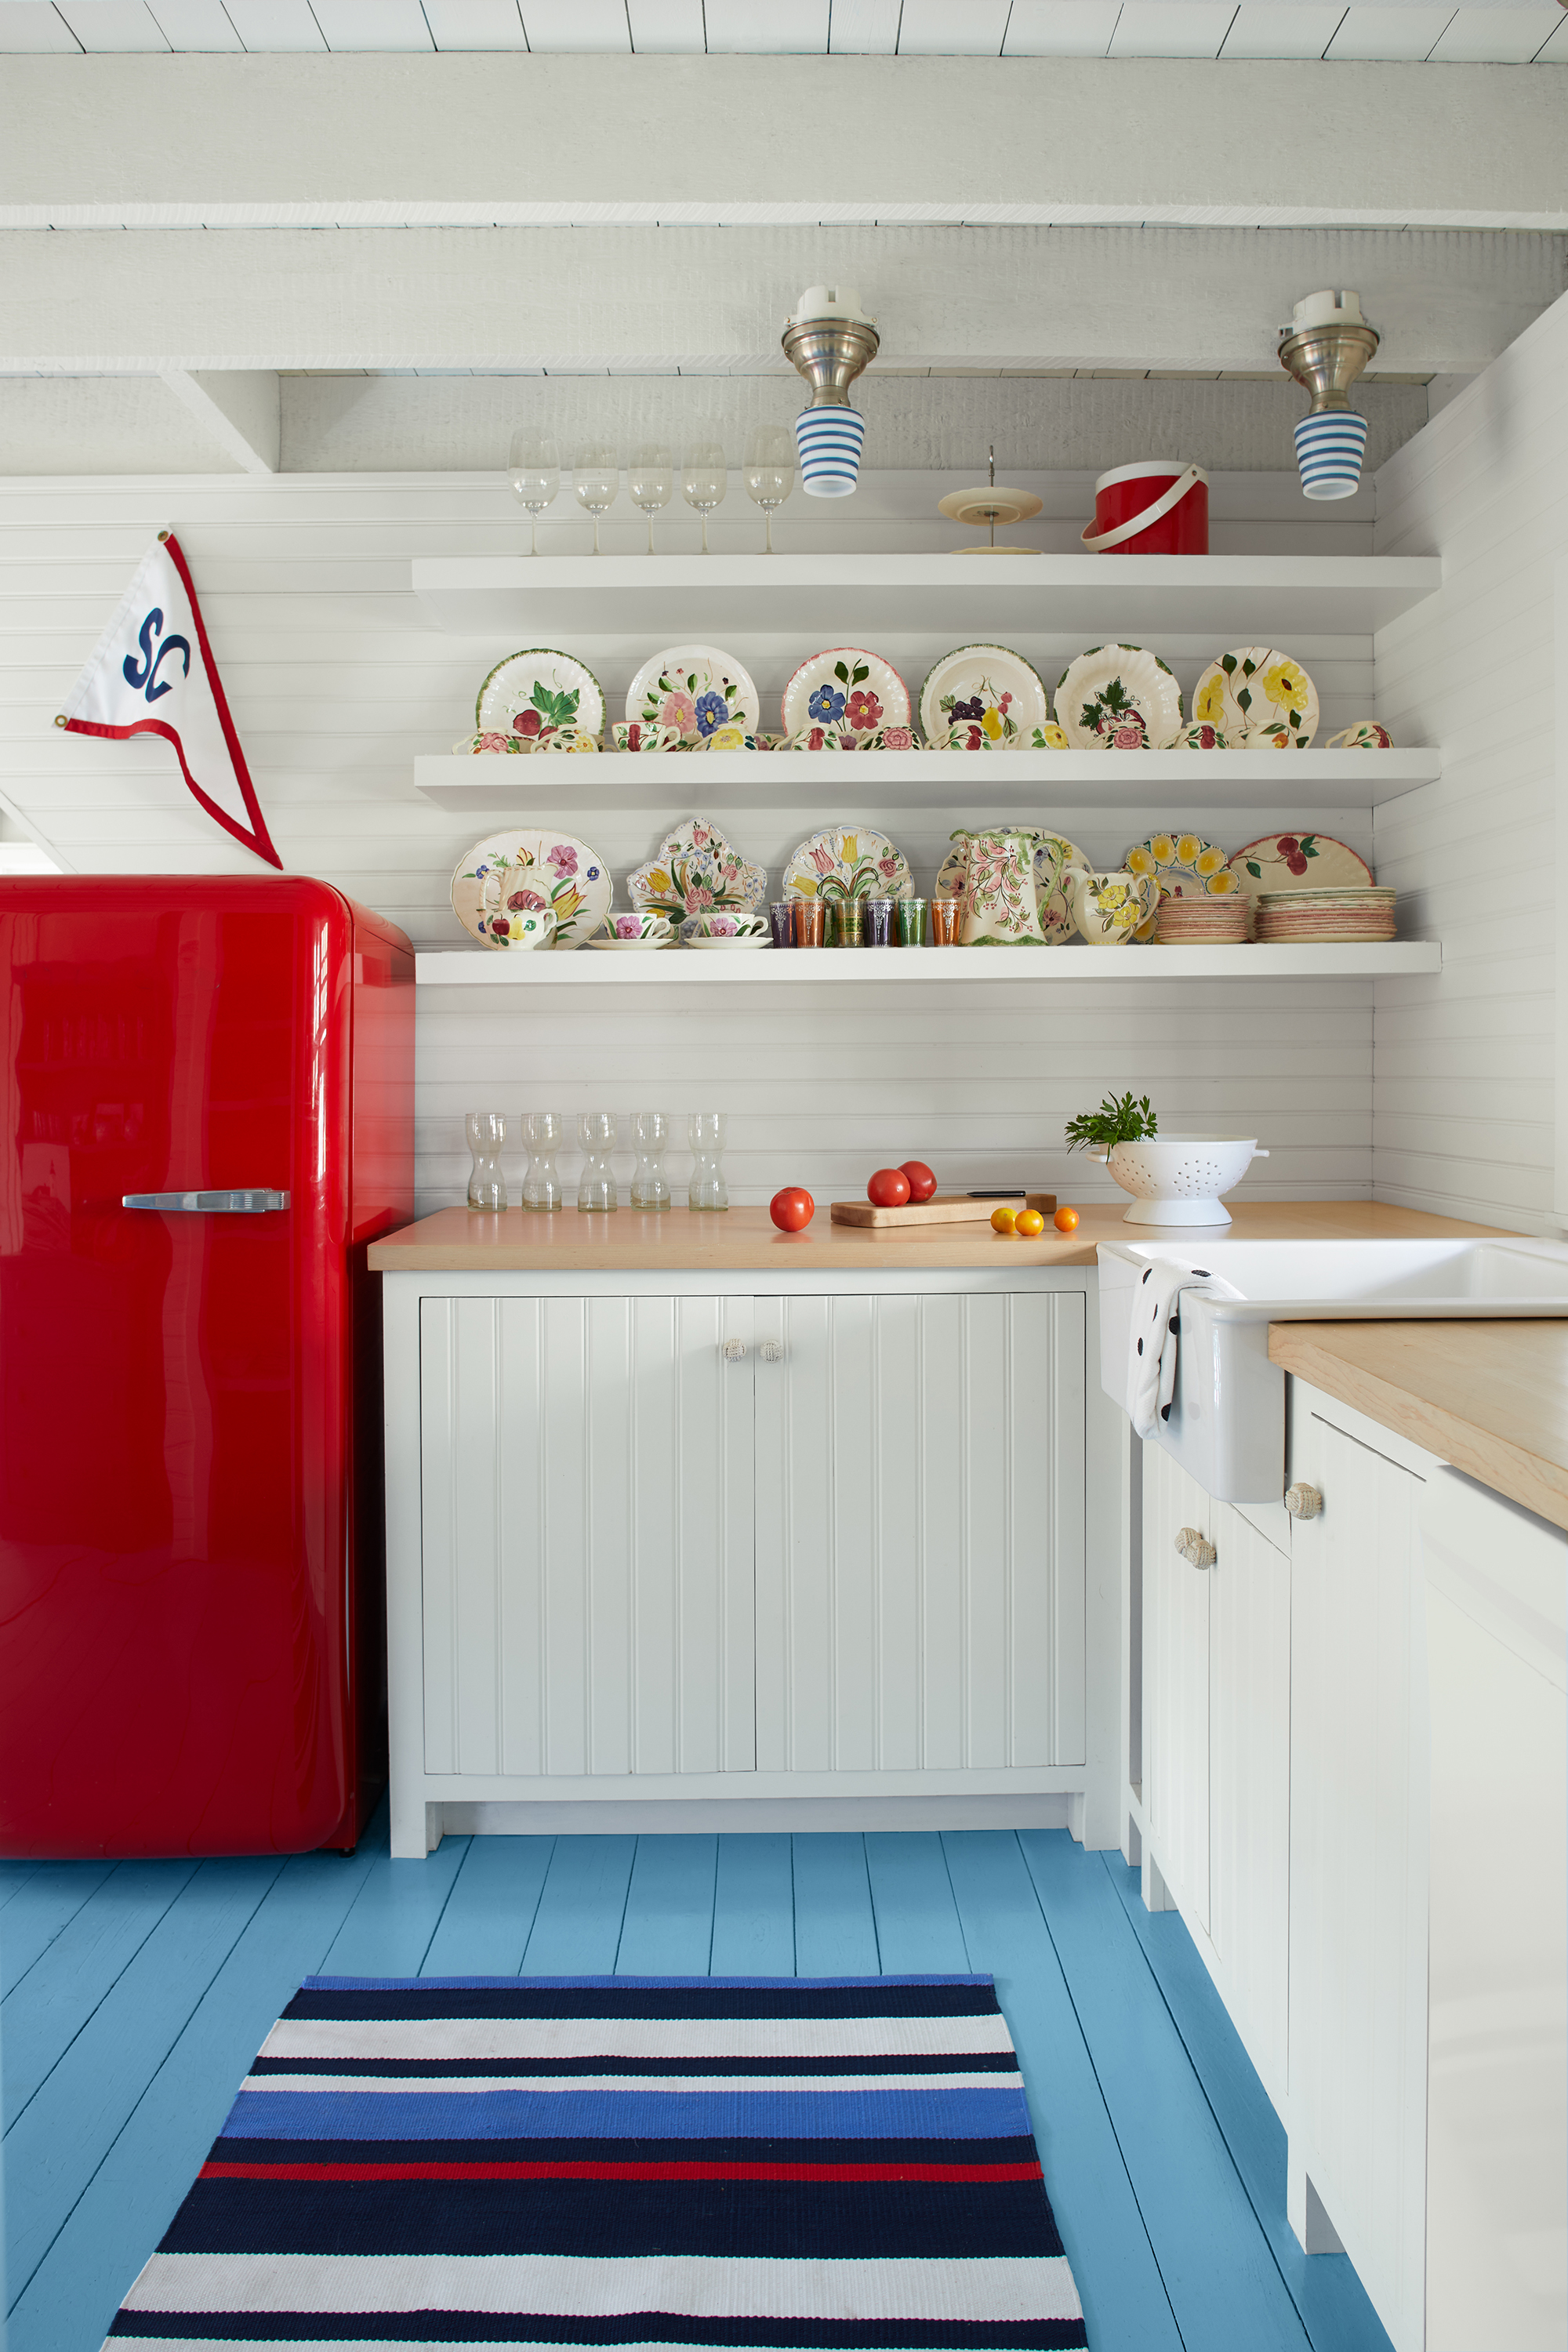
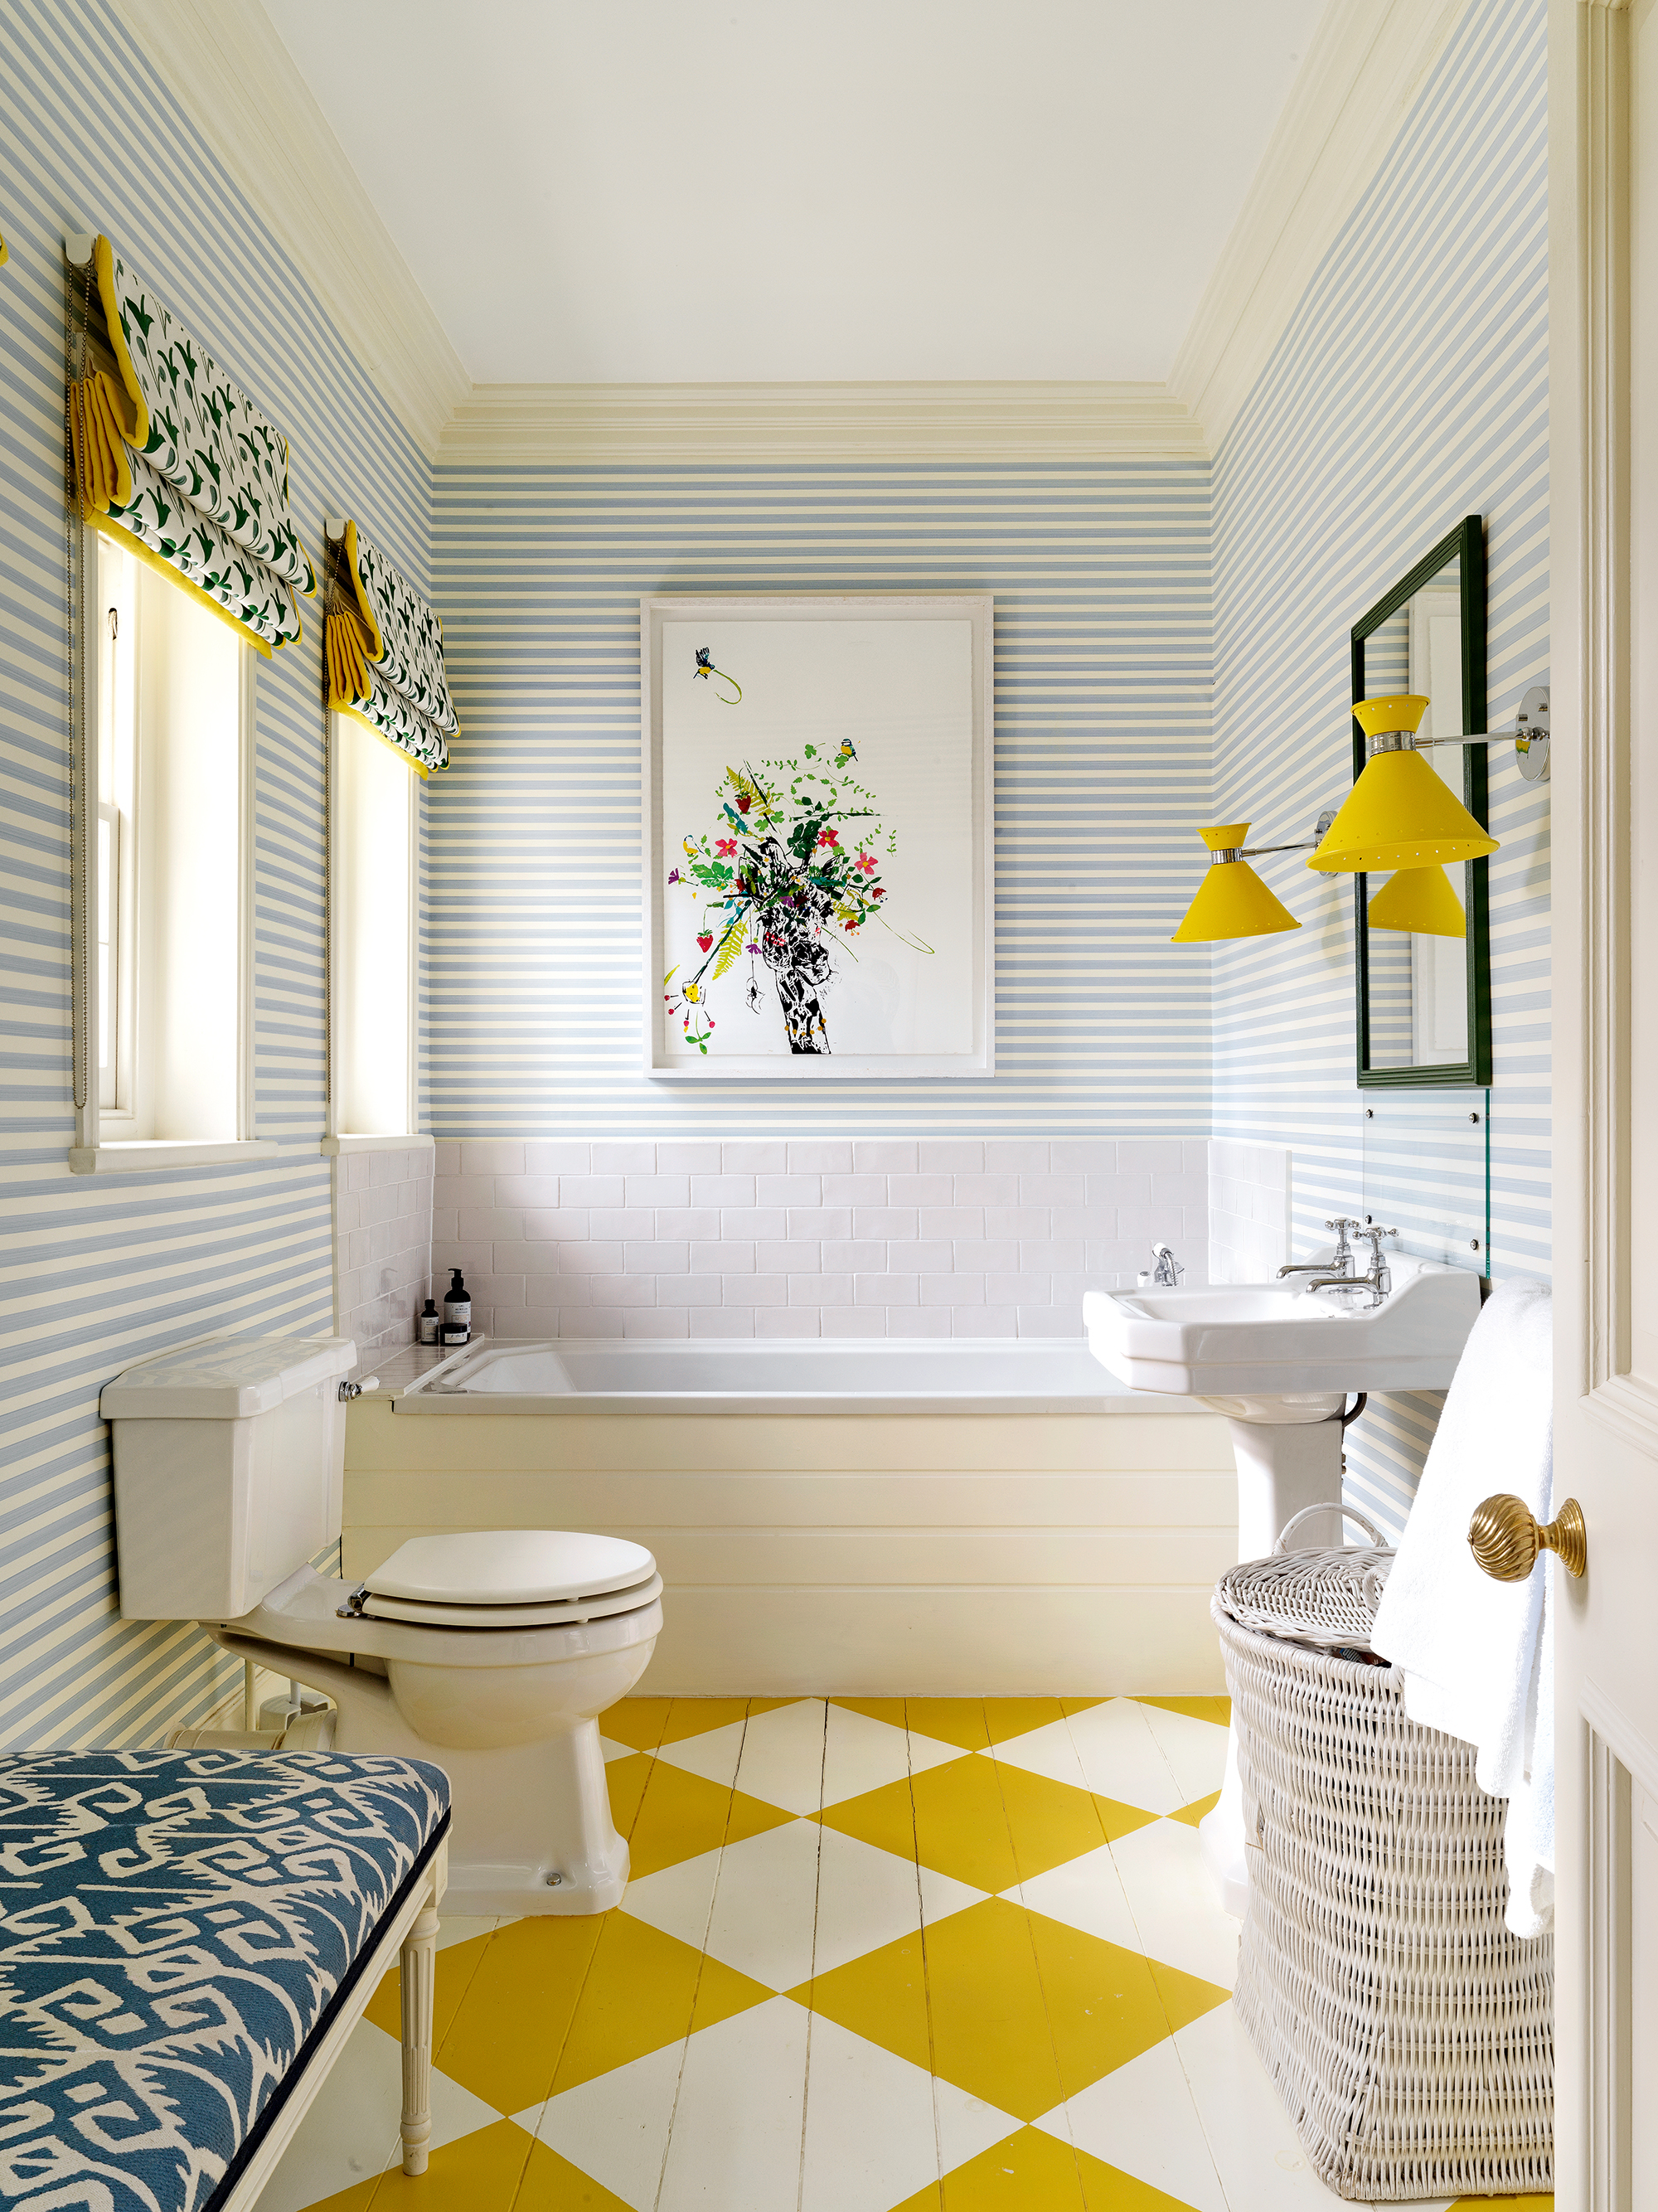
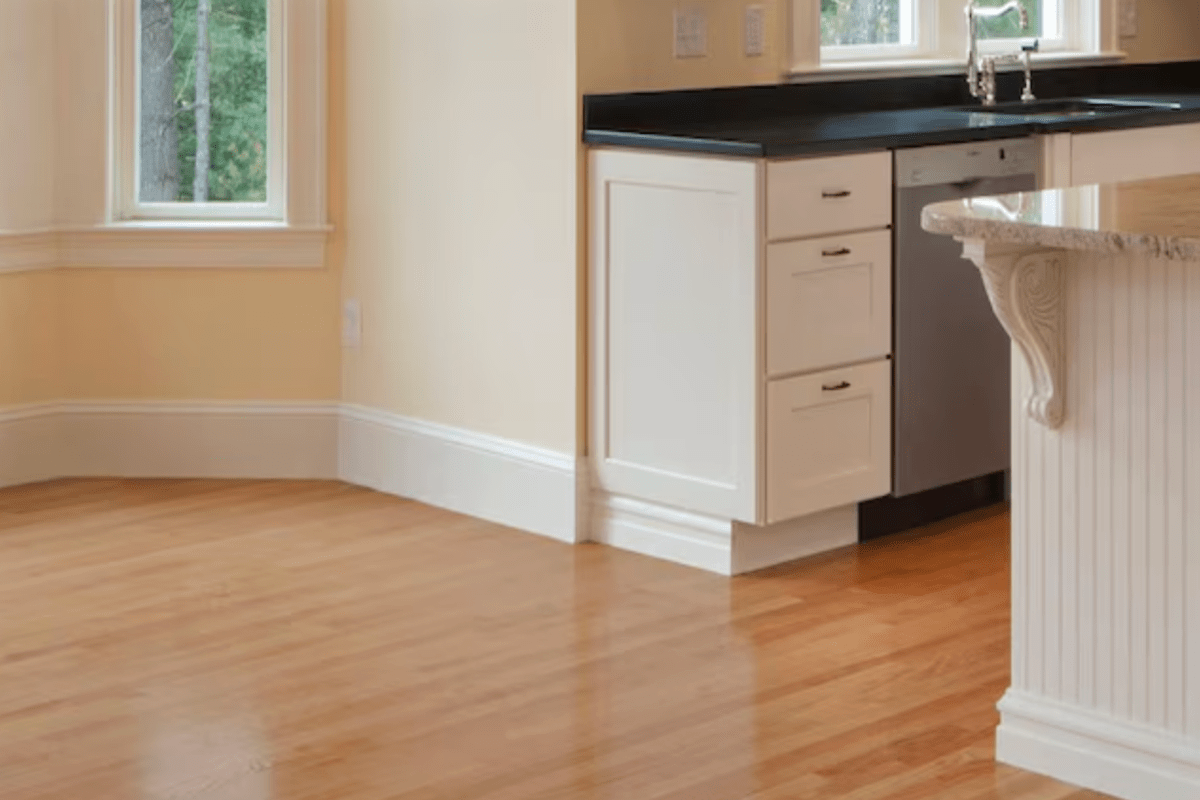
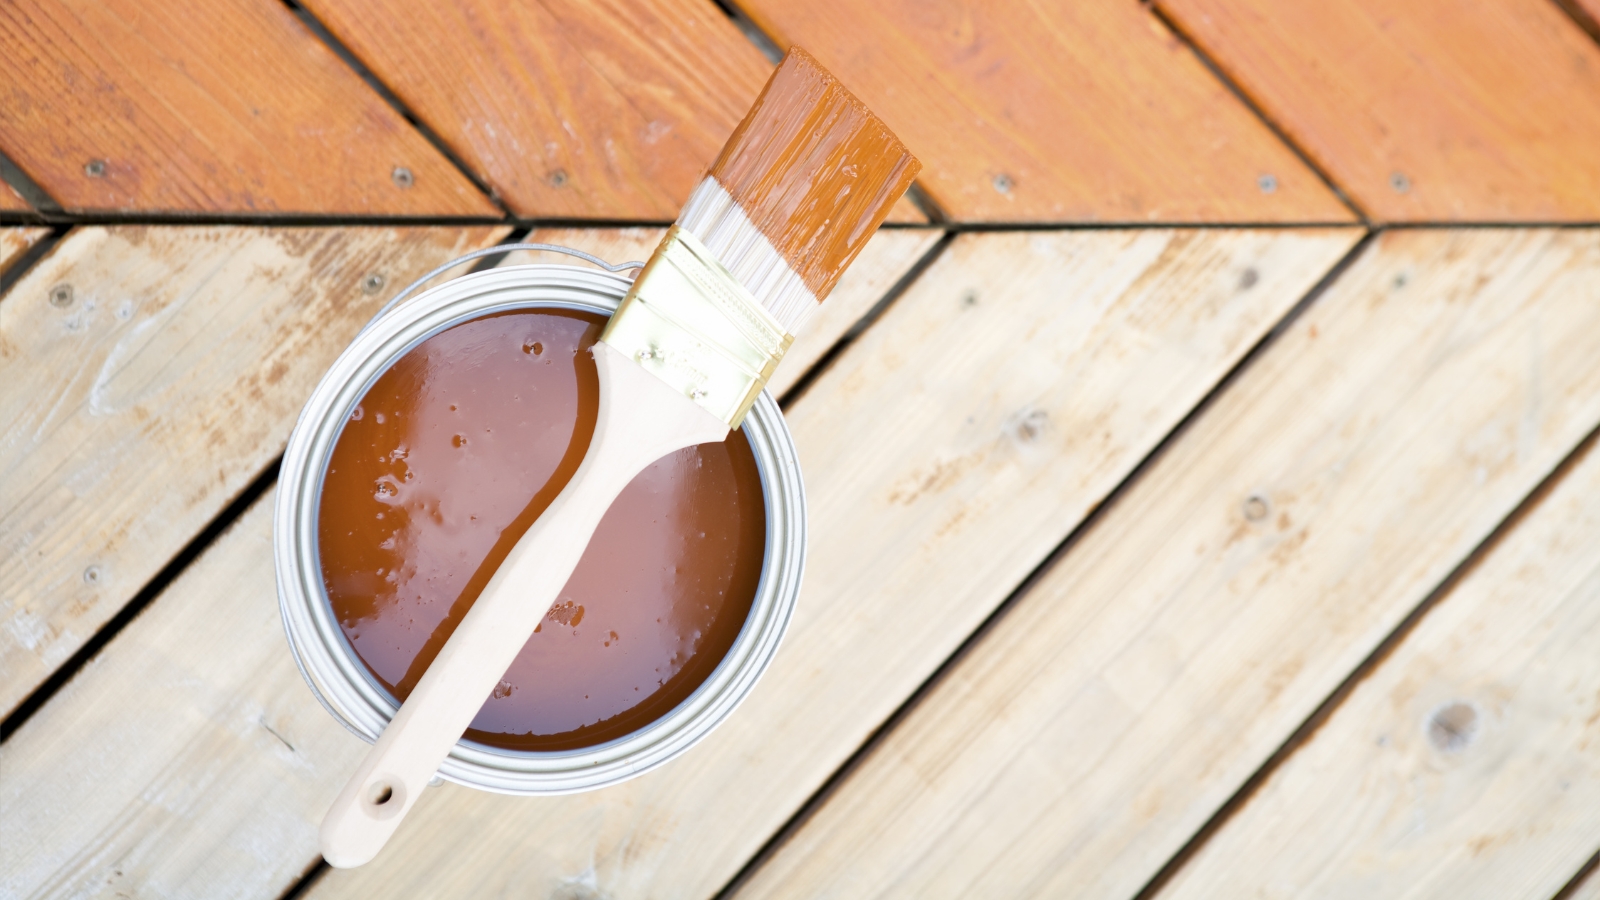
Painting wood floors can revitalize a space without the significant expense of replacing the entire flooring. This comprehensive guide outlines a five-step process, from preparation to sealing, to achieve a durable and professional-looking finish. Industry experts emphasize that successful wood floor painting hinges on thorough preparation and careful execution of each stage.
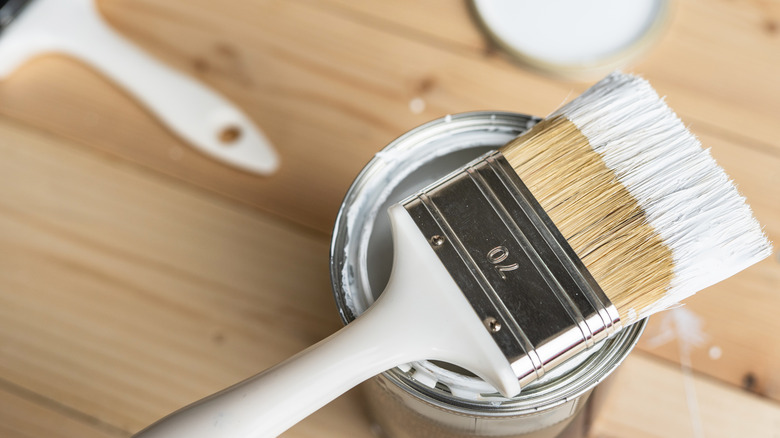
The first critical step is preparation. This involves completely emptying the room of furniture and diligently cleaning the floor. Sweeping away debris is followed by mopping with a mild detergent solution to eliminate dust, grime, and grease. Francisco Romero, Owner of Romero Hardwood Floors, highlights preparation as the cornerstone of the process, ensuring a hassle-free experience. He recommends having specific tools at hand, such as an angled brush for edges and a high-quality roller with a thick nap for larger areas, favoring Purdy brand products for their quality. Additionally, inspecting and addressing any protruding nails or staples is essential, as is filling gaps, holes, or imperfections with wood filler, allowing it to dry completely. Other necessary supplies include painter's tape with 'Edge-Lock Technology' for clean lines, tack cloths for woodwork, and stir sticks. For the paint itself, Sherwin-Williams ProMar 200 is recommended for its superior adhesion and durability, often requiring two coats for full coverage.
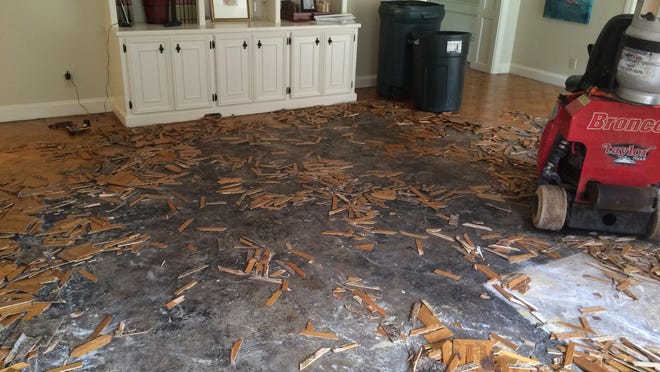
The second step, sanding, is generally crucial unless the floor is in pristine condition. A drum sander is used for large areas, while an edge sander tackles corners. The process begins with coarse-grit sandpaper to remove existing finishes and rough spots, progressively moving to finer grits for a smooth surface. Sanding should always follow the wood grain with a light touch to prevent damage. After sanding, thorough vacuuming and wiping with a tack cloth are necessary to remove all dust. Andre Kazimierski, CEO of Improovy Painters of North Shore, stresses that sanding provides the best surface for paint adhesion, ensuring a solid and long-lasting finish, even though it can be time-consuming and labor-intensive. He notes that while chemical stripping is an alternative, sanding is often preferred for its effectiveness.
Priming constitutes the third step, and it is vital for long-lasting results. A high-quality primer specifically designed for floors and compatible with the wood type should be selected. Application is done evenly with a roller, moving from the farthest corner towards the exit, using a brush for edges. Tommy Mello, DIY expert and founder of A1 Garage Door Service, recommends Kilz 3 Premium Primer for its strong adhesion and stain-blocking properties. The primer should dry according to manufacturer instructions, typically 24 hours. Some experts, like Nick Chatzigeorgakis of Intrabuild, advise applying two coats of primer for enhanced protection and a more complete finish, waiting a few hours between coats. The consensus among professionals is that skipping this step is ill-advised due to its importance for paint adhesion and durability.
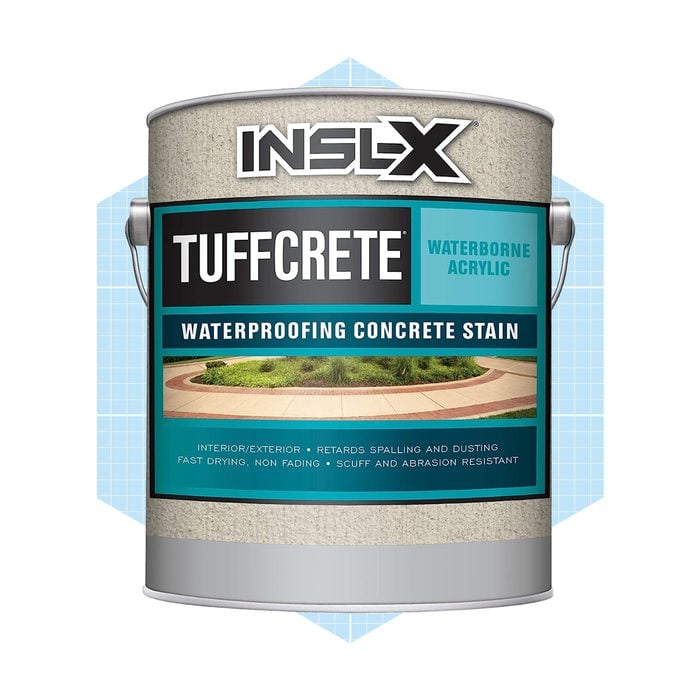
The fourth step involves applying the paint. A durable, floor-specific paint, such as an oil-based or latex porch and floor paint, is recommended. Brands like Sherwin-Williams (specifically their Duration floor paint for high-traffic areas) and Benjamin Moore are highlighted for their reliability. The paint should be thoroughly stirred before application. Thin, even coats are applied with a roller, again starting from the farthest corner, and a brush is used for detailed areas. FrogTape Multi-Surface Painter's Tape is suggested for achieving crisp lines. At least two coats are typically required, with adequate drying time between each to prevent an uneven finish. Light sanding between coats can further improve smoothness.
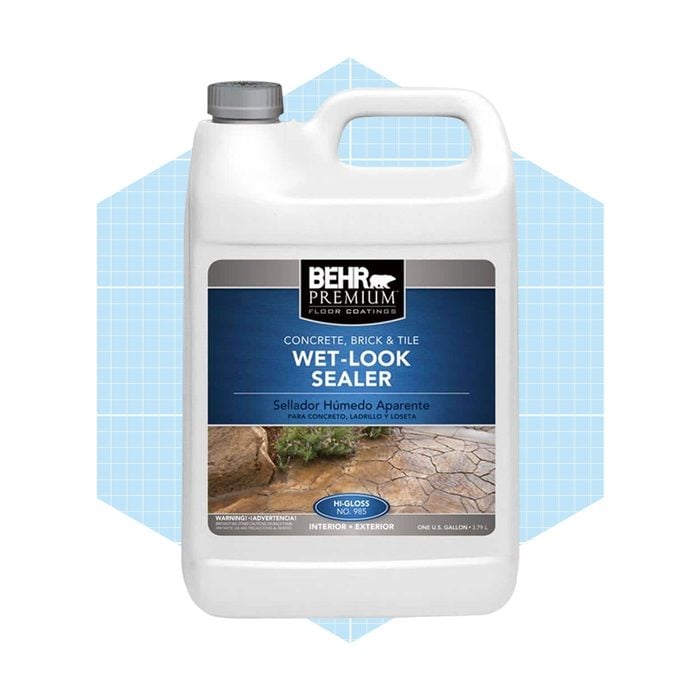
Finally, the fifth step is sealing the painted floor to provide an additional layer of protection and enhance durability. A clear polyurethane sealer, chosen based on floor type and paint compatibility, is applied with a clean roller or brush in even strokes. Thompson's WaterSeal Clear Wood Sealer is mentioned for outdoor applications. Sufficient drying time, usually 24-48 hours, is crucial before applying further coats if needed. For faster drying and reduced odor, water-based sealers like Varathane Water-Based Ultimate Polyurethane are an option. Nick Chatzigeorgakis recommends two to three coats of water-based polyurethane for maximum long-term protection, suggesting reapplication every few years and the use of felt pads under furniture to prevent damage. While painting wood floors without sanding is possible with a high-adhesion primer, sanding is generally preferred for optimal results and better paint adhesion, or liquid sandpaper can be used as a less messy alternative.
#WoodFloorPainting #HomeImprovement #DIYProjects #InteriorDesign #FloorRenovation #PaintingTips #SurfacePreparation #FloorMaintenance #HomeDecor #PaintApplication #WoodFloorPainting #HomeImprovement #DIYProjects #InteriorDesign #FloorRenovation #PaintingTips #SurfacePreparation #FloorMaintenance #HomeDecor #PaintApplication
0 comment in total
 No comments yet
You may also like
What You Should Know Before Painting Hardwood Floors

How to paint laminate furniture - the pro tips experts swear by for a perfect finish
How to paint a ceiling - the expert guide to giving the fifth wall a fresh look

You Should Consider Painting Old Wood Floors (Hear Me Out)

Painting Your Garage Floor? Reach for the 5 Best Garage Floor Paints

Can you paint a tile floor? Expert advice for a durable, long lasting finish
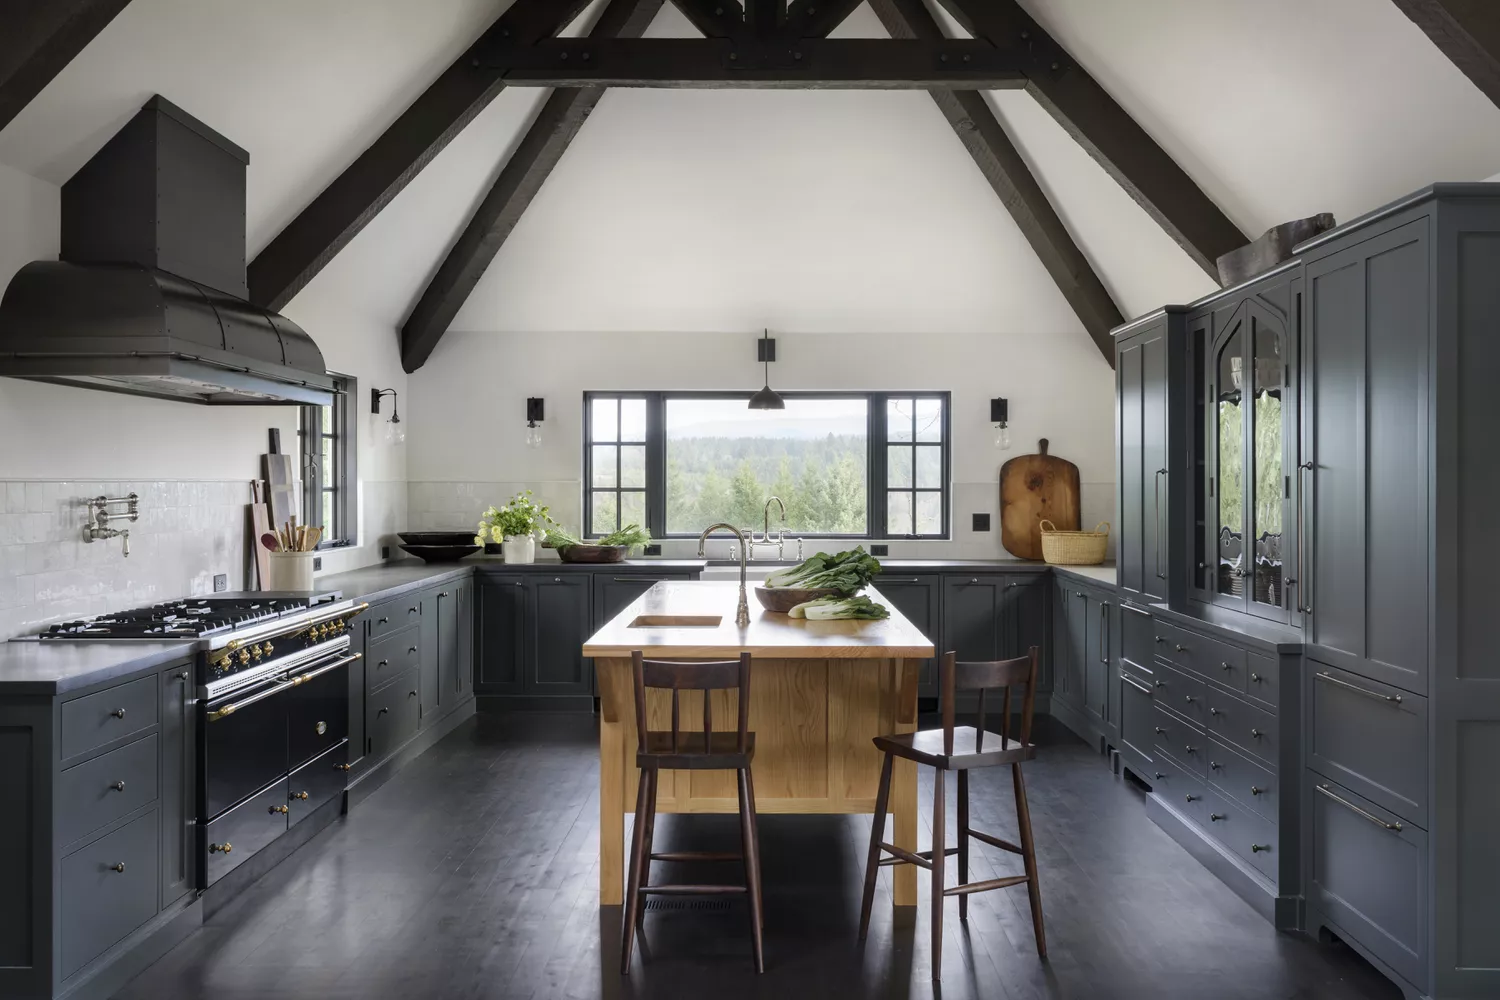
12 Inspiring Rooms That Will Convince You to Paint Your Wood Floors
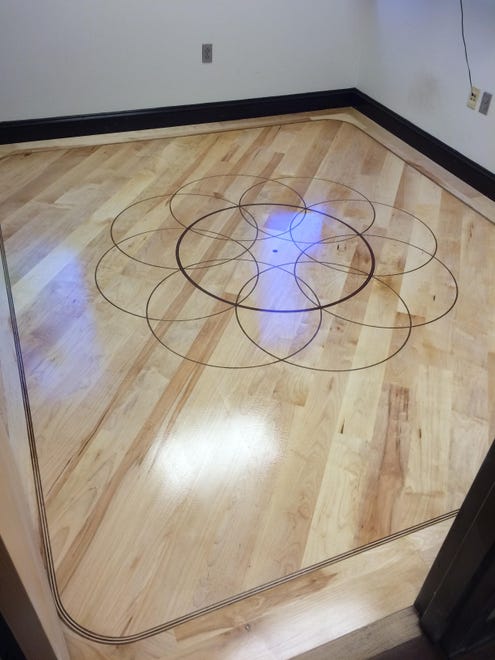
Beauty of hardwood flooring
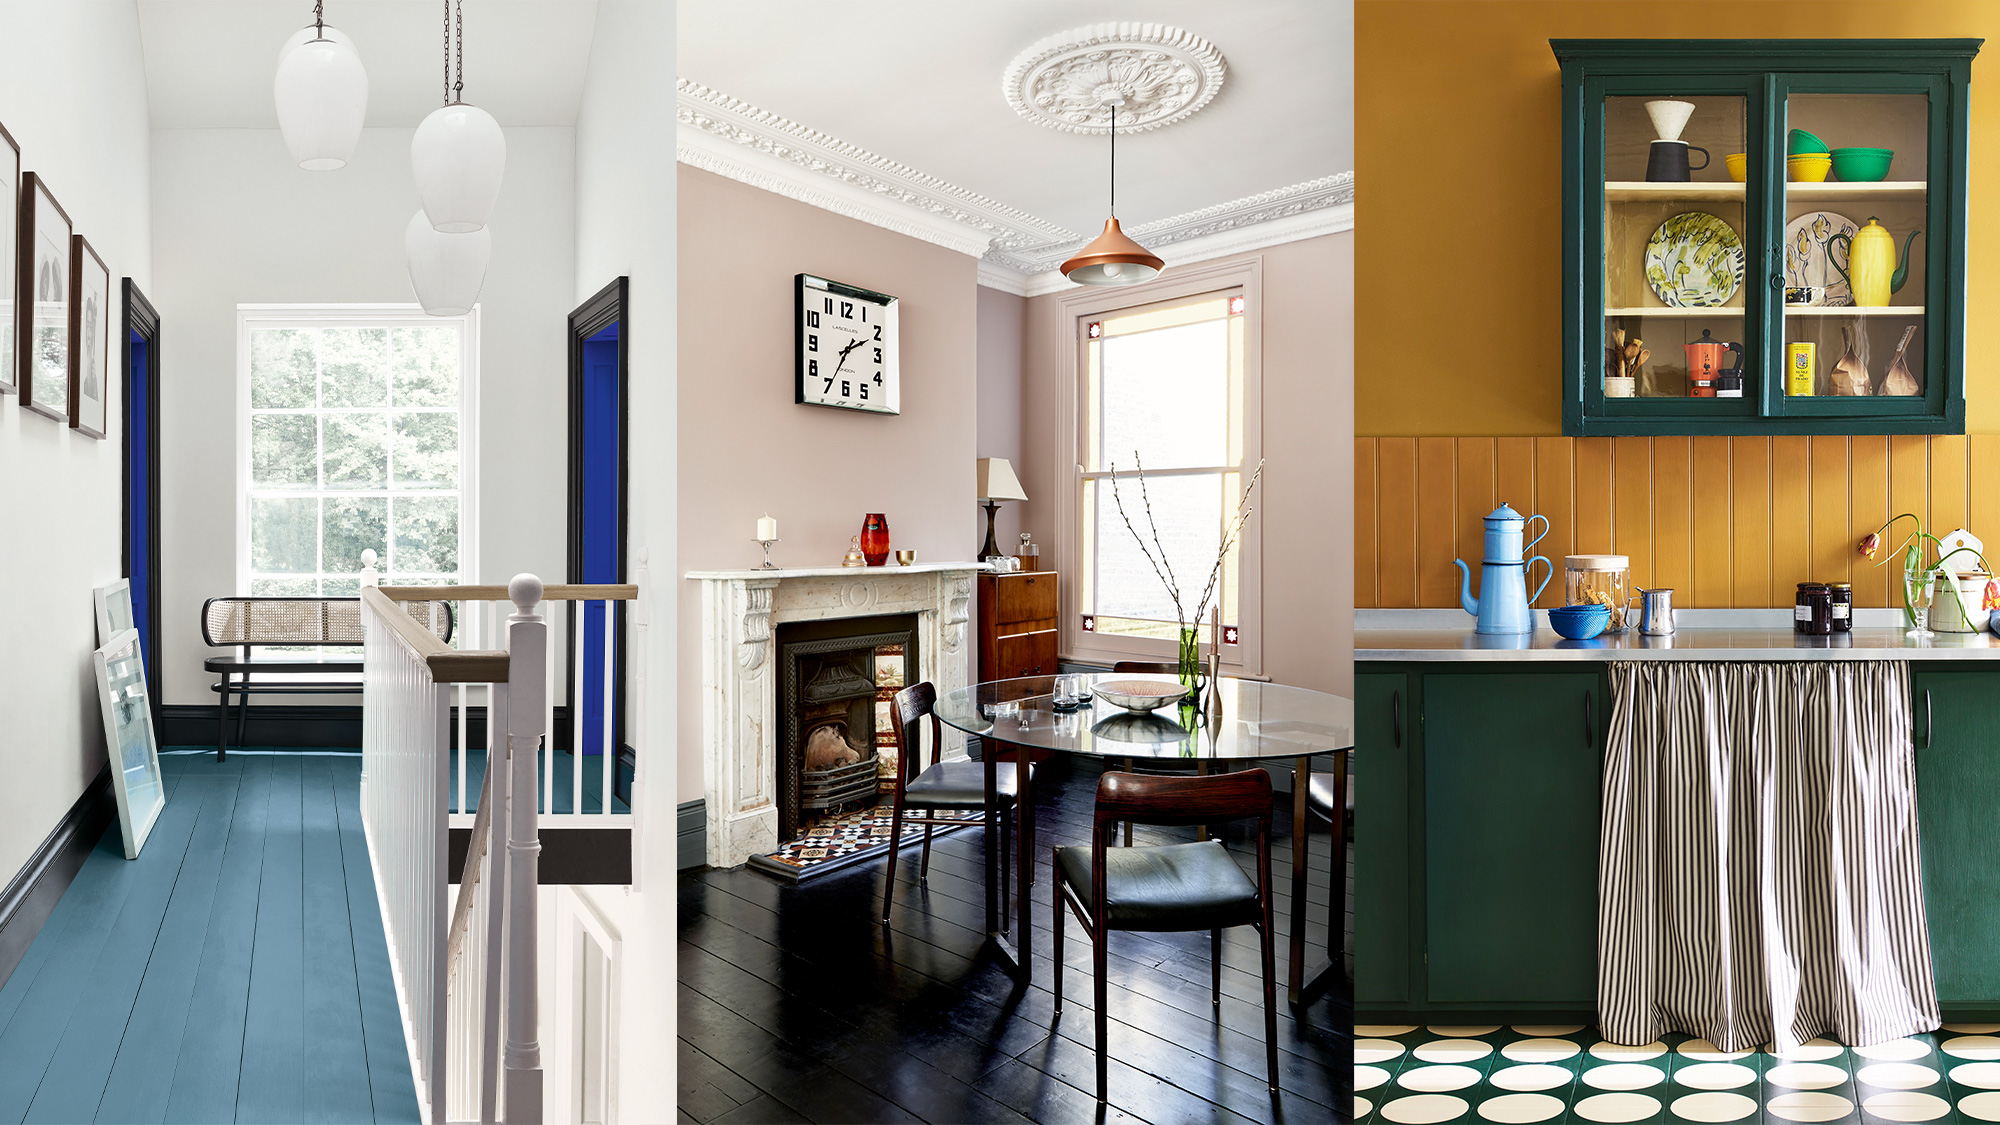
Painted floor ideas – 10 ways to bring personality to your space

Floor Paints | Floor Tile & Garage Floor Paint

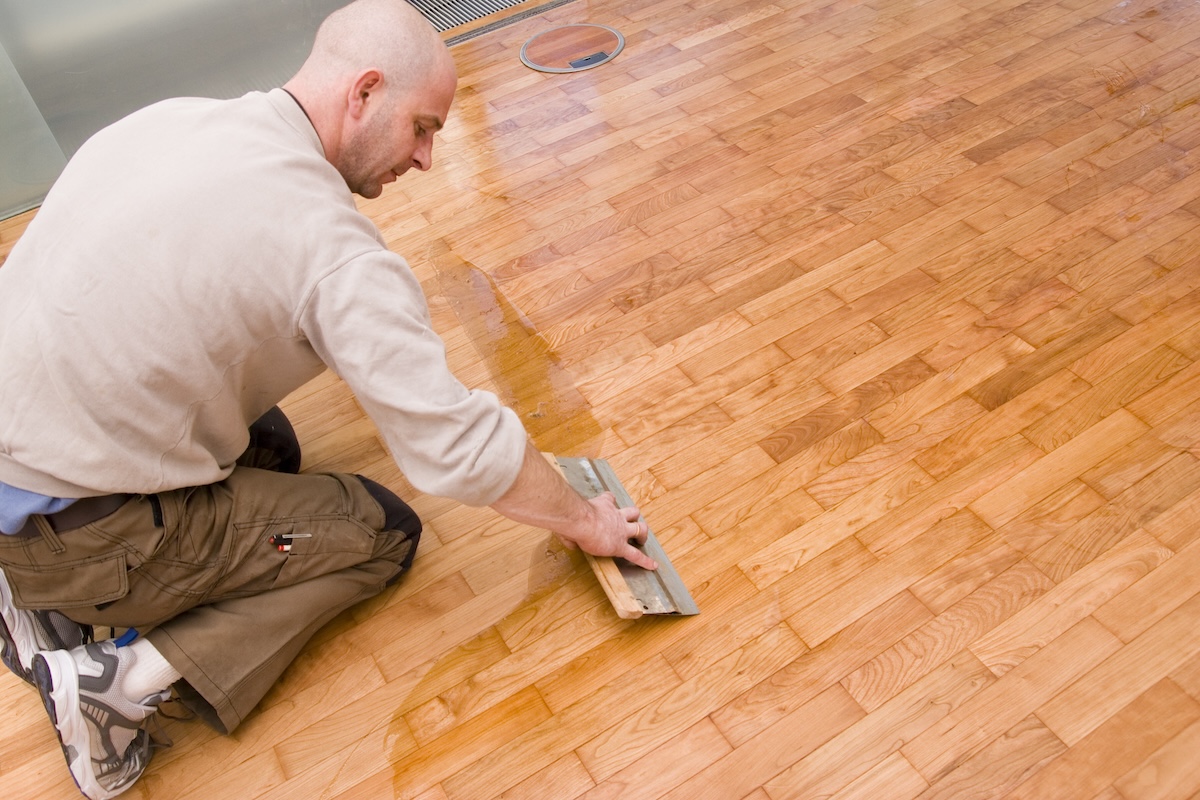
Guide to Hardwood Floor Finishes

How to Paint Wood-Paneling

12 Inspiring Rooms That Will Convince You to Paint Your Wood Floors

6 Painted Floor Ideas That’ll Make Your Walls a Little Jealous
How to paint interior woodwork
The Best Way To Paint Wood Paneling, According To An Expert
I swear by this incredibly easy 5-step method for cleaning real wood floors
Paint finishes – a guide for every room
5 Ways To Pull Off The Matte Paint Trend

Want Shiny Hardwood Floors? Here’s How to Rejuvenate Them