1/4
Tips for DIY flooring projects: Everything you need to know
Replacing the floors in your home can significantly refresh its look, but the costs associated with quality materials and professional installation can be substantial. For individuals willing to undertake the task themselves, DIY flooring projects offer a way to save money, provided thorough research is conducted beforehand. This article, drawing insights from experts like Dan DiClerico of HomeAdvisor and professional contractor Mike Holmes, outlines essential considerations for successful DIY flooring installation.
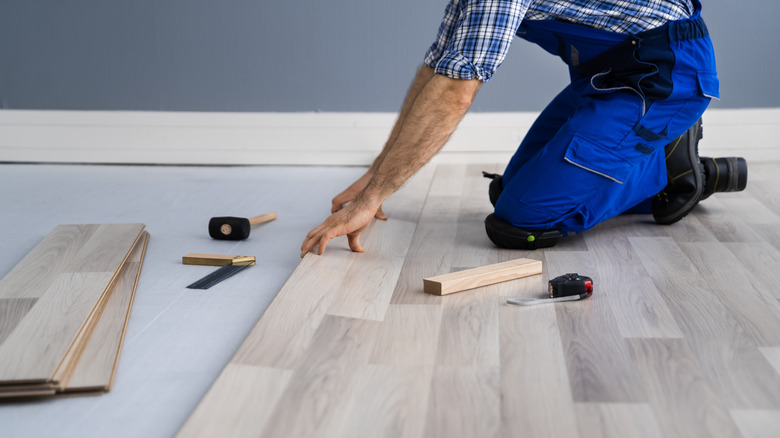
DIY flooring is presented as a challenging endeavor requiring careful calculations and precision cutting, even for seemingly simple materials like vinyl or laminate. Despite the complexity, it offers significant cost savings, potentially hundreds to thousands of dollars. The importance of extensive research, including watching how-to videos and understanding product-specific warranty conditions, is emphasized before any tools are purchased. Additionally, consulting with suppliers for advice on delivery, treatment, and installation is recommended to ensure a smooth process.
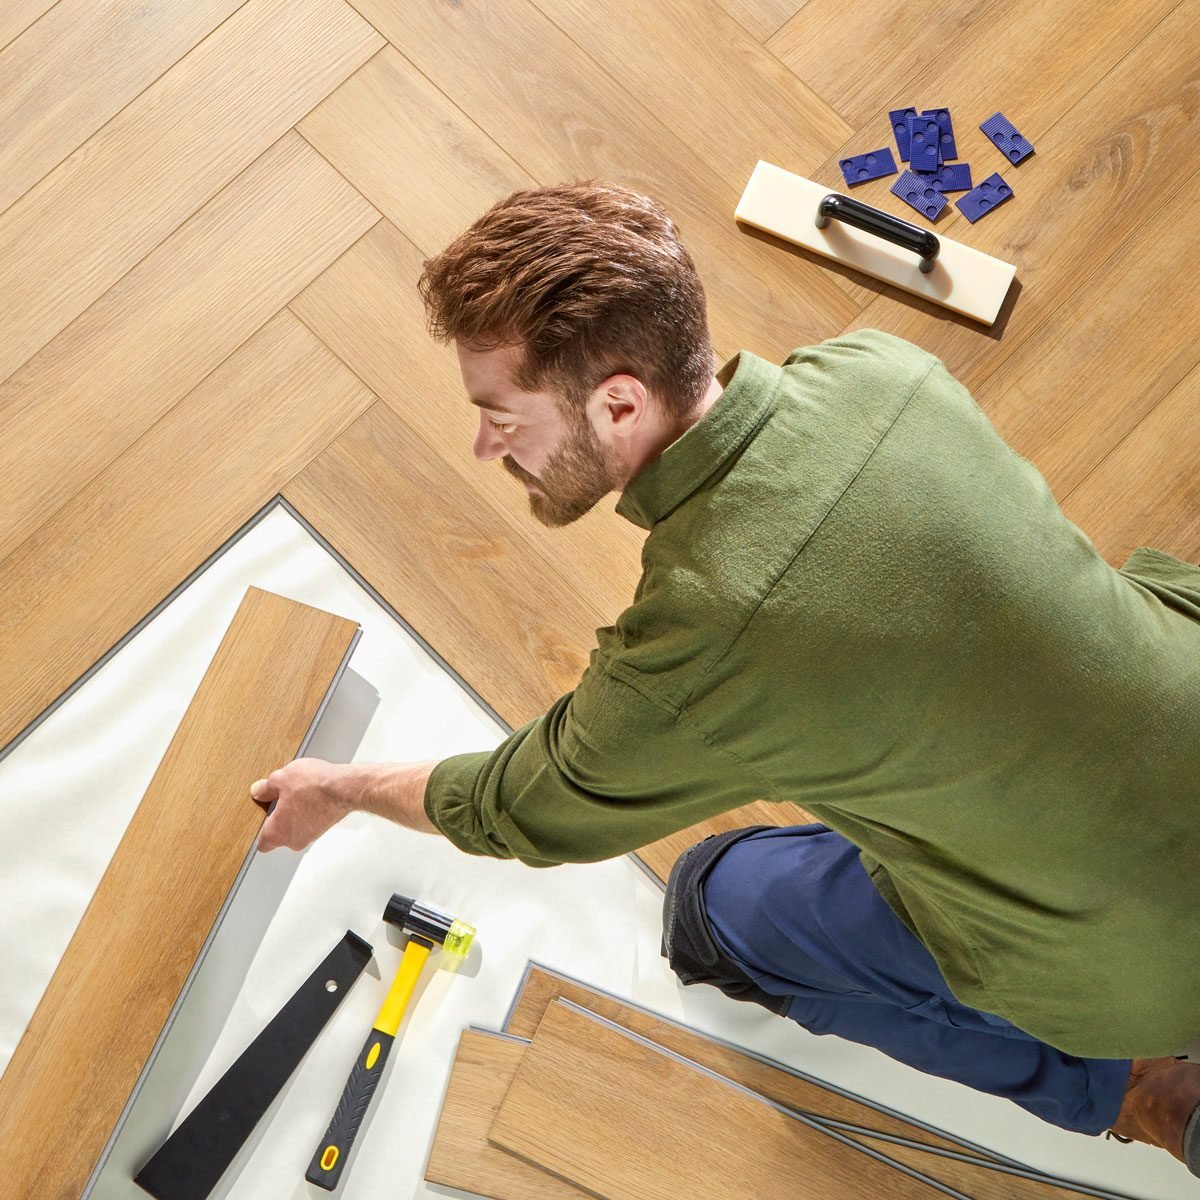
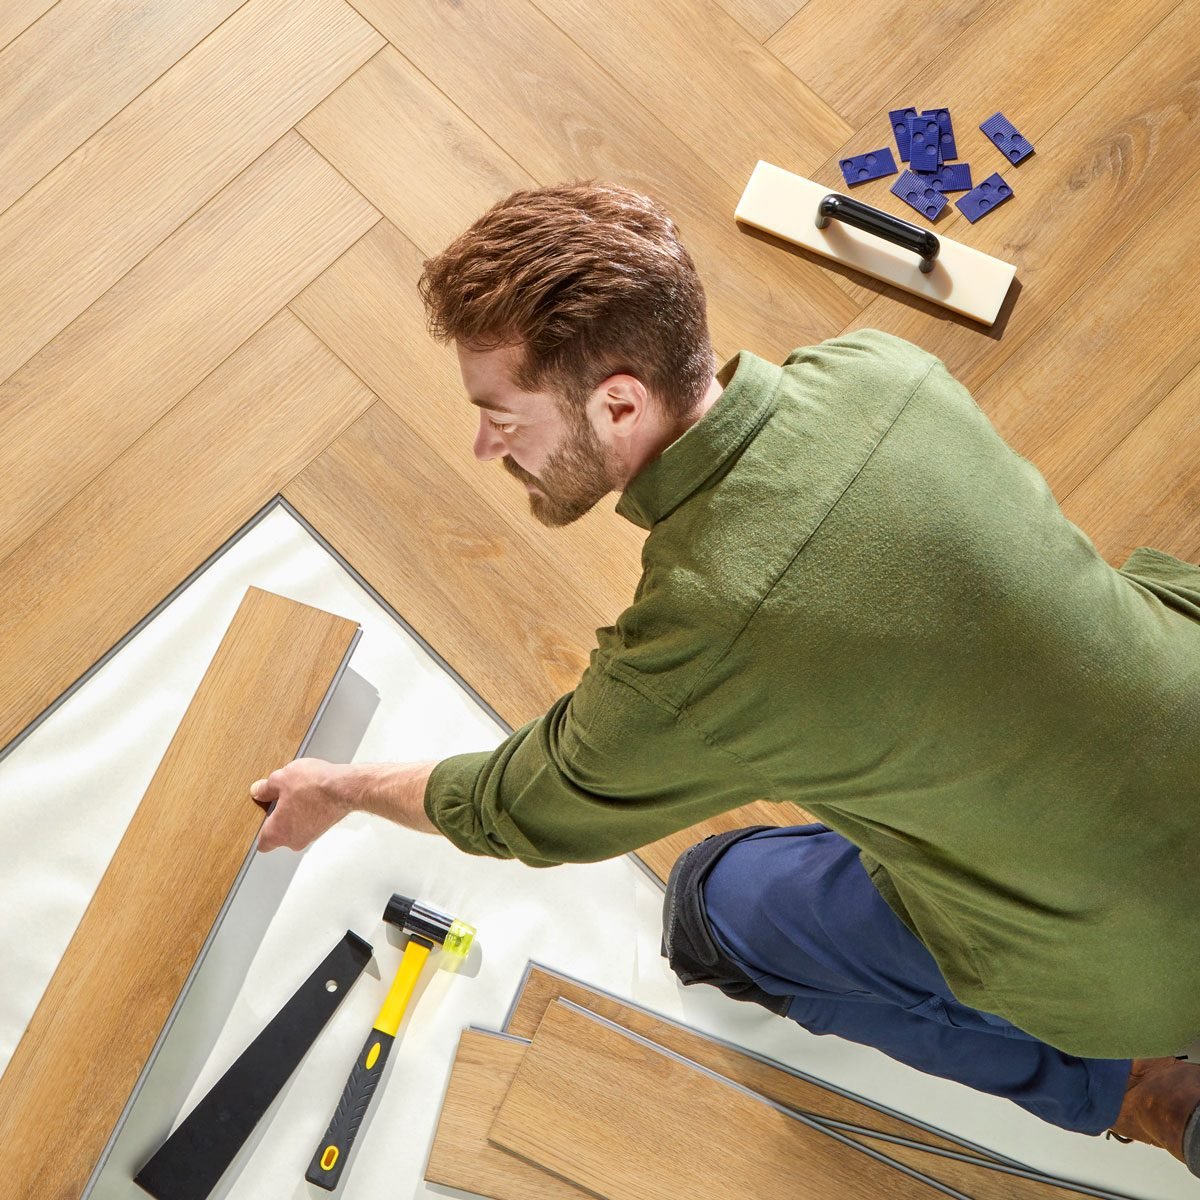
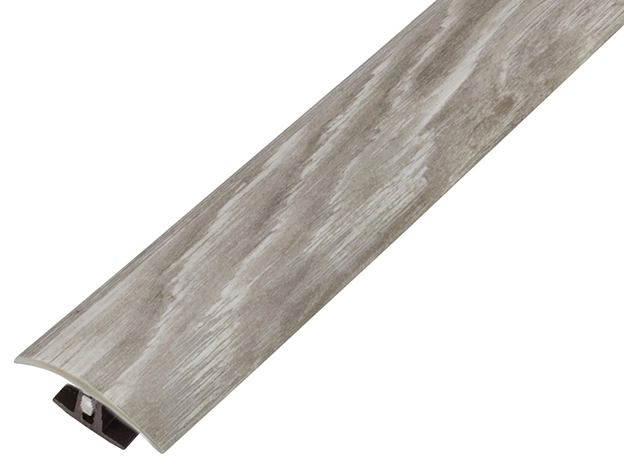
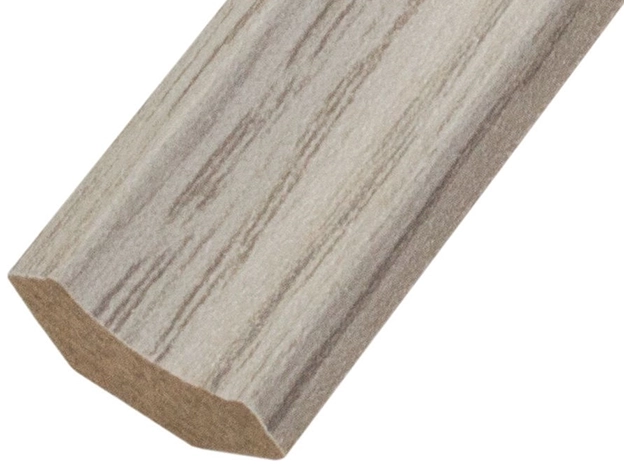
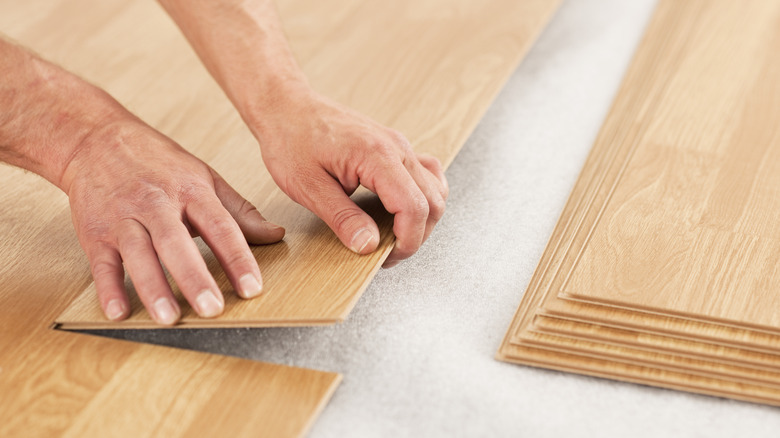
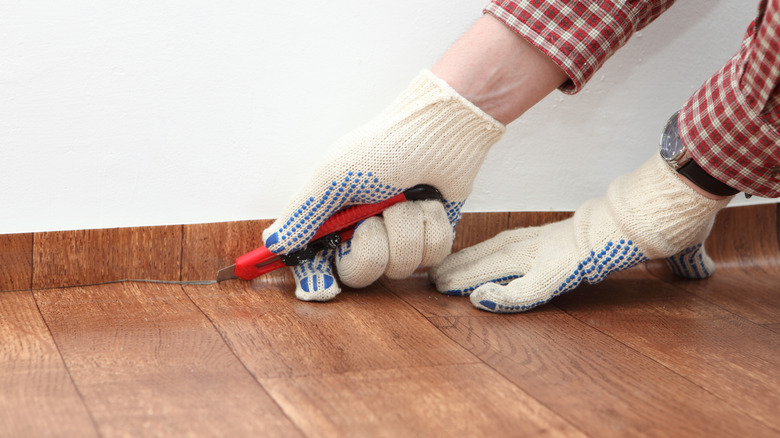
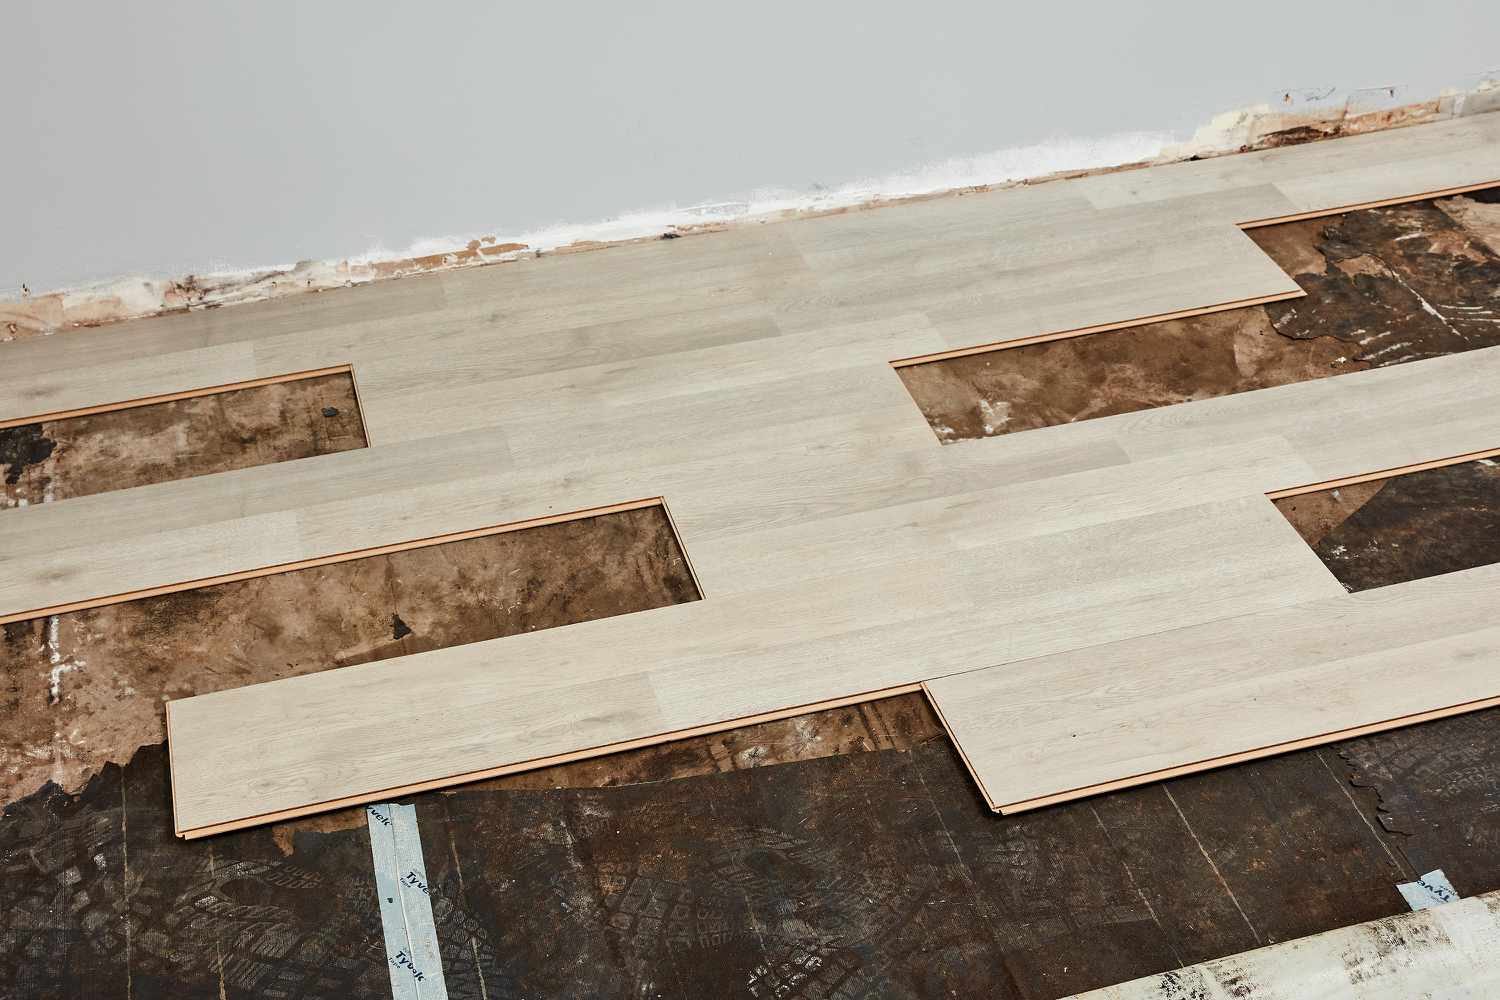
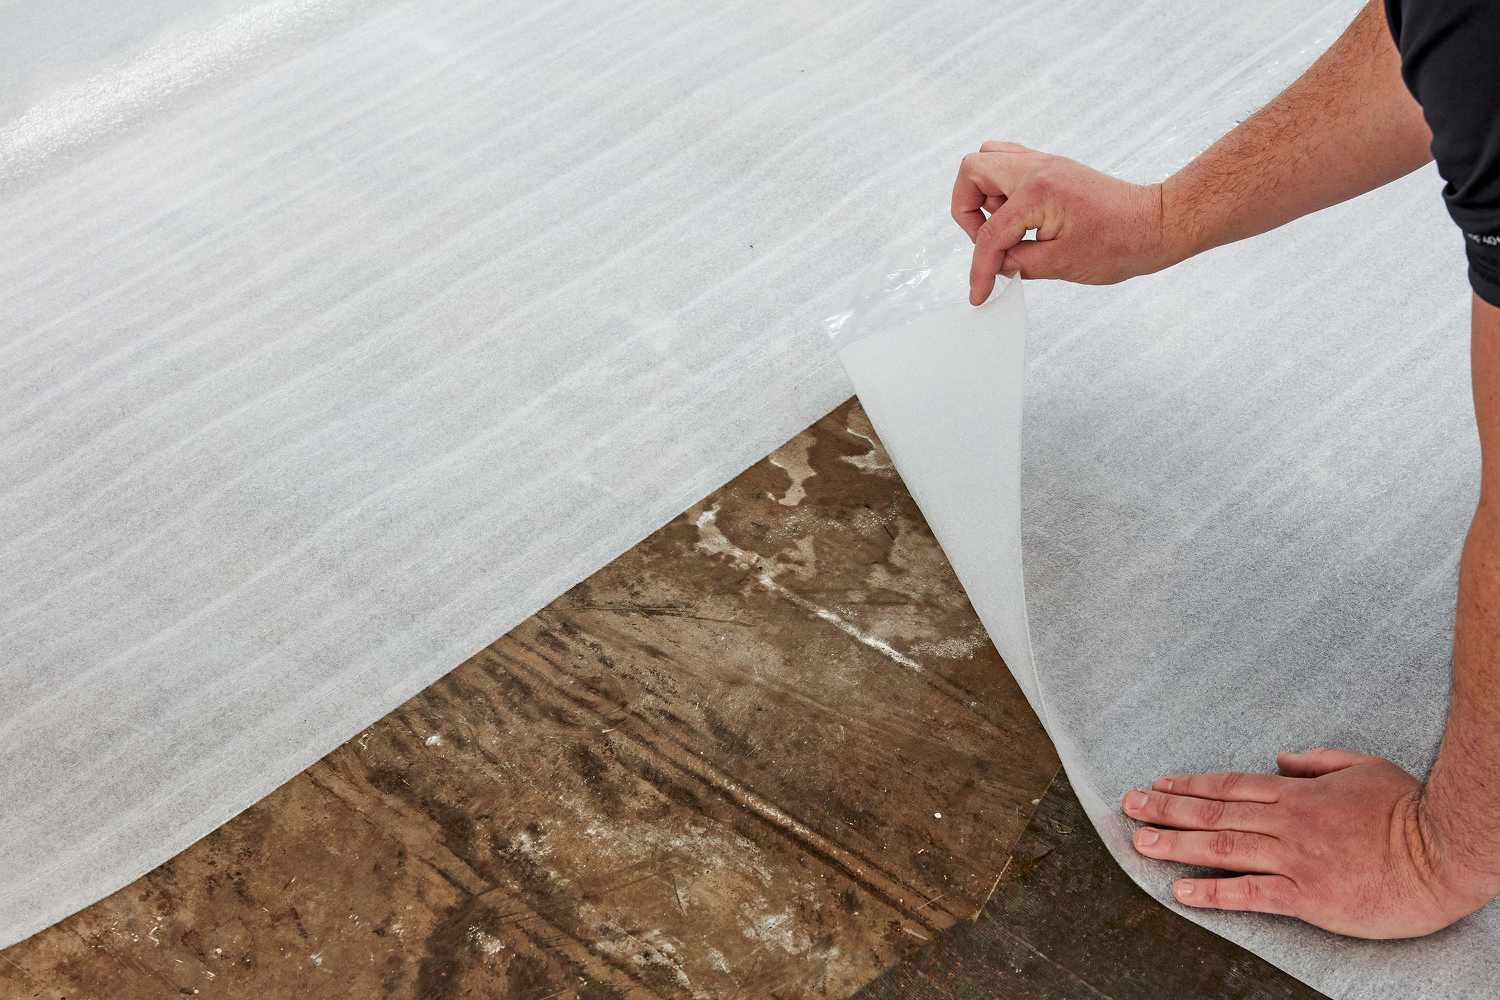
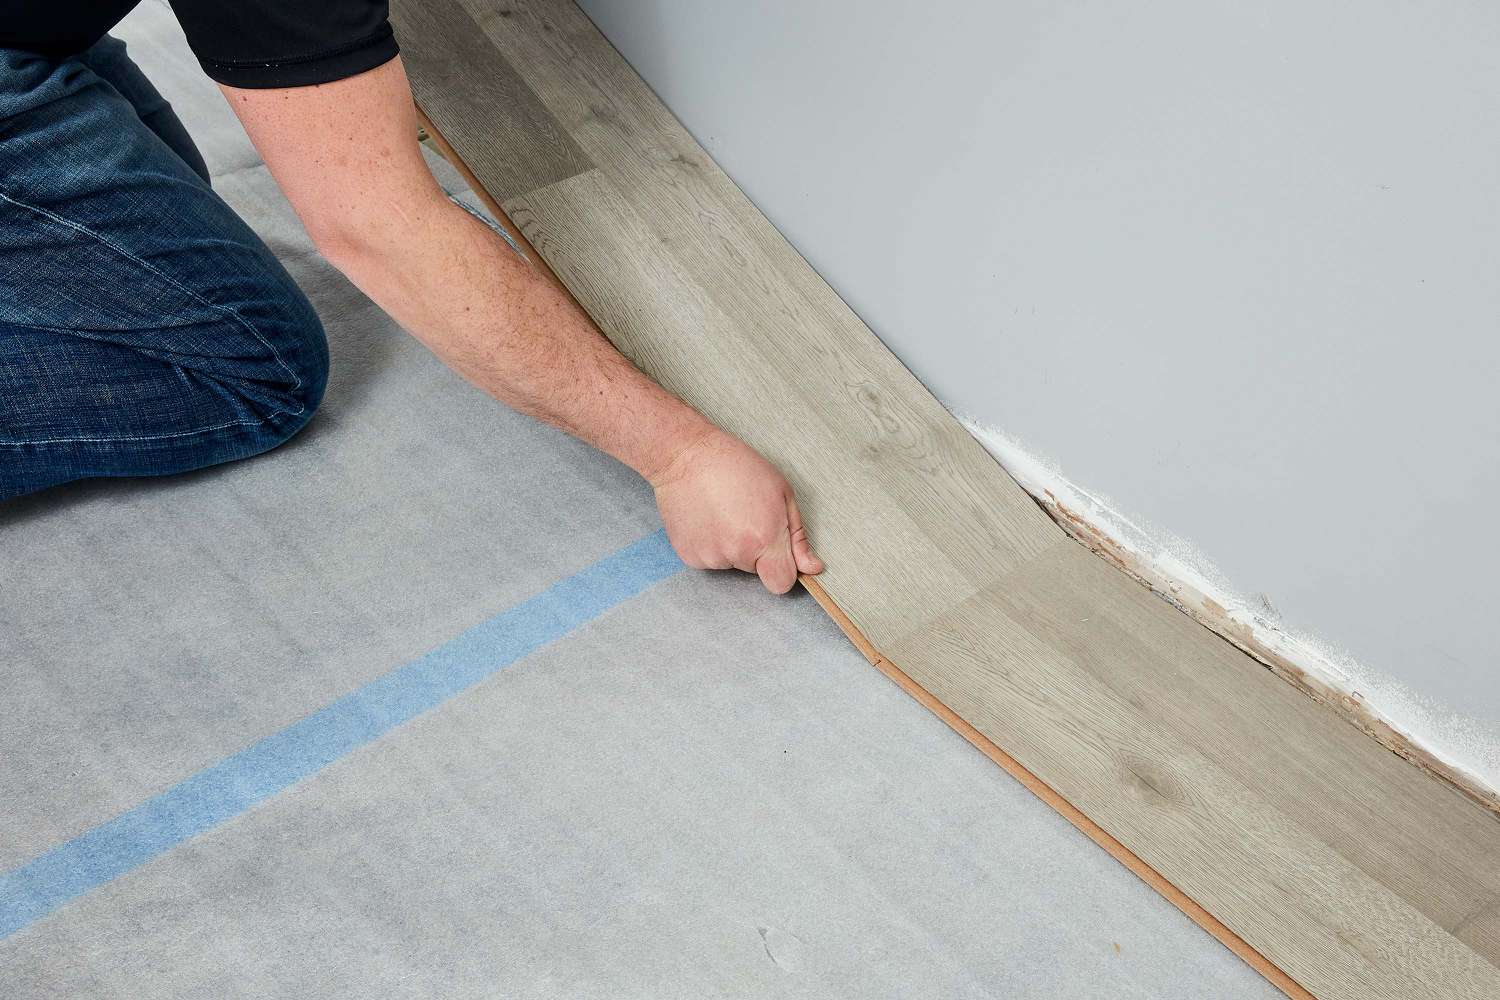
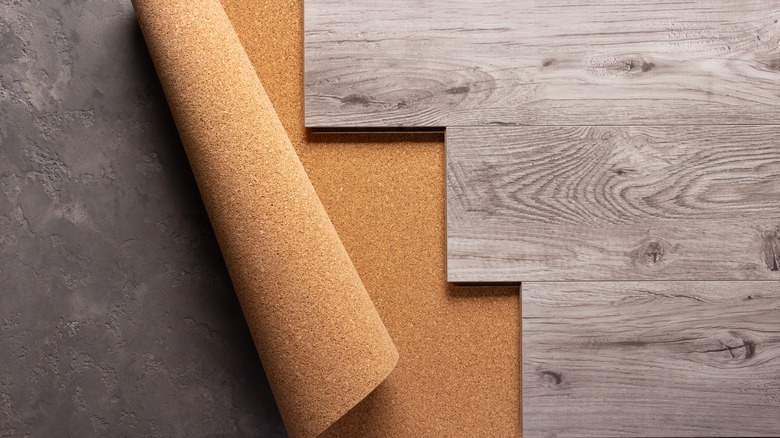
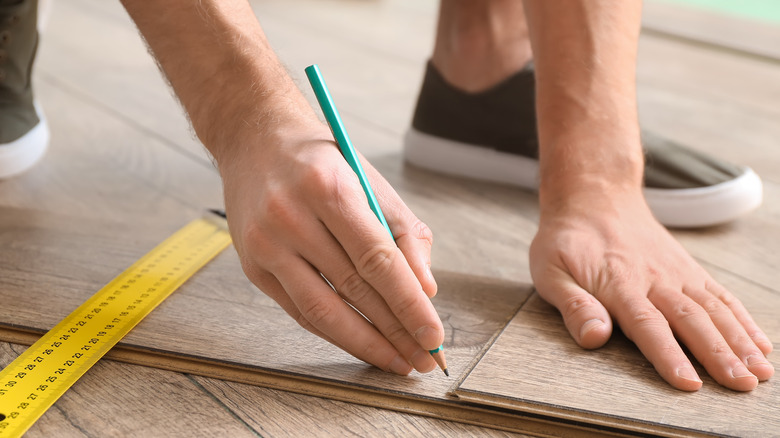
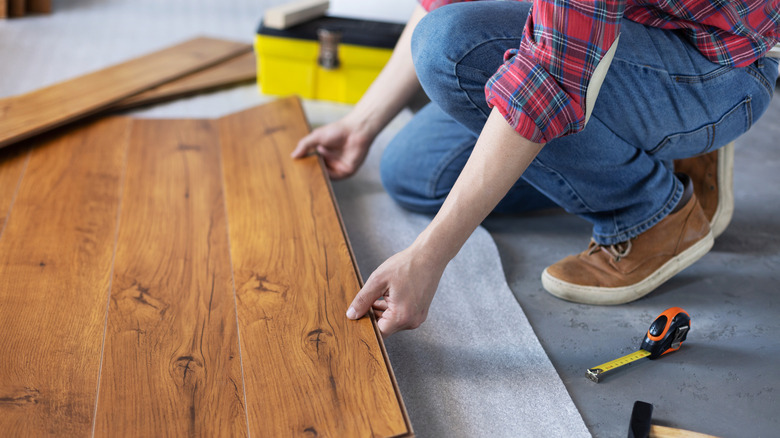
The article details the necessary tools for various flooring types. For laminate, vinyl, and click hardwood, essential tools include underlayment, transition moldings, various saws (jamb, table, miter, circular, jig), spacers, a hammer, a 6-foot level, a tapping block, a tape measure, a moisture meter, a polyethylene sheet for moisture barrier, a pencil, a T-square, glue, tape, safety glasses, and cleaning equipment. Tile installation requires 5-gallon buckets, a straight edge, a 6-foot level, a speed square, spacers, undercut and wet saws, an angle grinder, grout and microfiber sponges, safety goggles, trowels, ear protection, rubber gloves, a tape measure, a pencil, a drill, a mixing paddle, knee pads, a utility knife, grout, and mortar. For DIY hardwood or solid bamboo floors, tools listed are a pencil, a chalk line, a 6-foot level, a tape measure, miter and table saws, 60-tooth carbide tip saw blades, a jam saw, a broom, cloth rags, eye and ear protection, dust mask, gloves, knee pads, floor fasteners, a hygrometer, a moisture meter, a calcium chloride test, painter's tape, PVA wood glue, a compressor with regulator, a drill and drill bit set, a hammer, a nail set, a hardwood nailer, a rubber mallet, and a pry bar. For peel-and-stick vinyl tiles, simpler tools like a tape measure, chalk line, utility knife, and handsaw are sufficient. A key tip is to rent heavy-duty power tools from local hardware stores to avoid unnecessary expenses.
Time management is another critical aspect, as projects often take longer than anticipated. Installation times can vary from one day to several, depending on the space's size and the flooring type. Click-together floors are generally quicker than nail-down options, and a DIYer's experience level significantly impacts project duration. Preparation, such as removing old carpets and ensuring a sound subfloor, can consume a full day. For larger or more complex installations, splitting the work across multiple weekends is suggested to manage the physical demands. Estimated timelines include 2-3 days for tiling a bathroom floor, 1-2 days for a large room with laminate click-together flooring, 2-3 days for installing hardwood floors, and half a day for peel-and-stick versions.
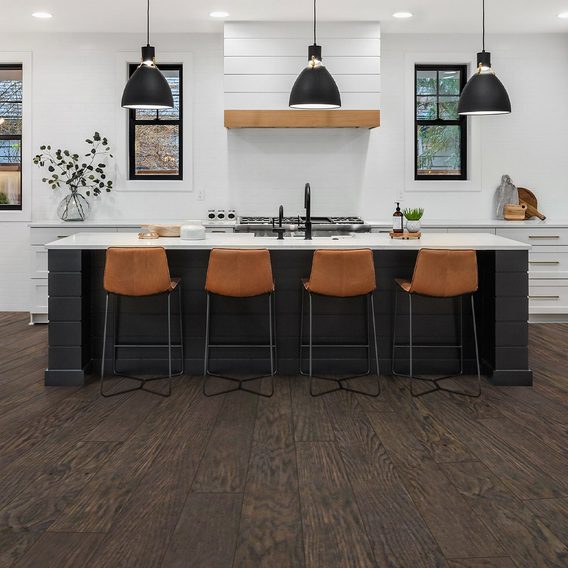
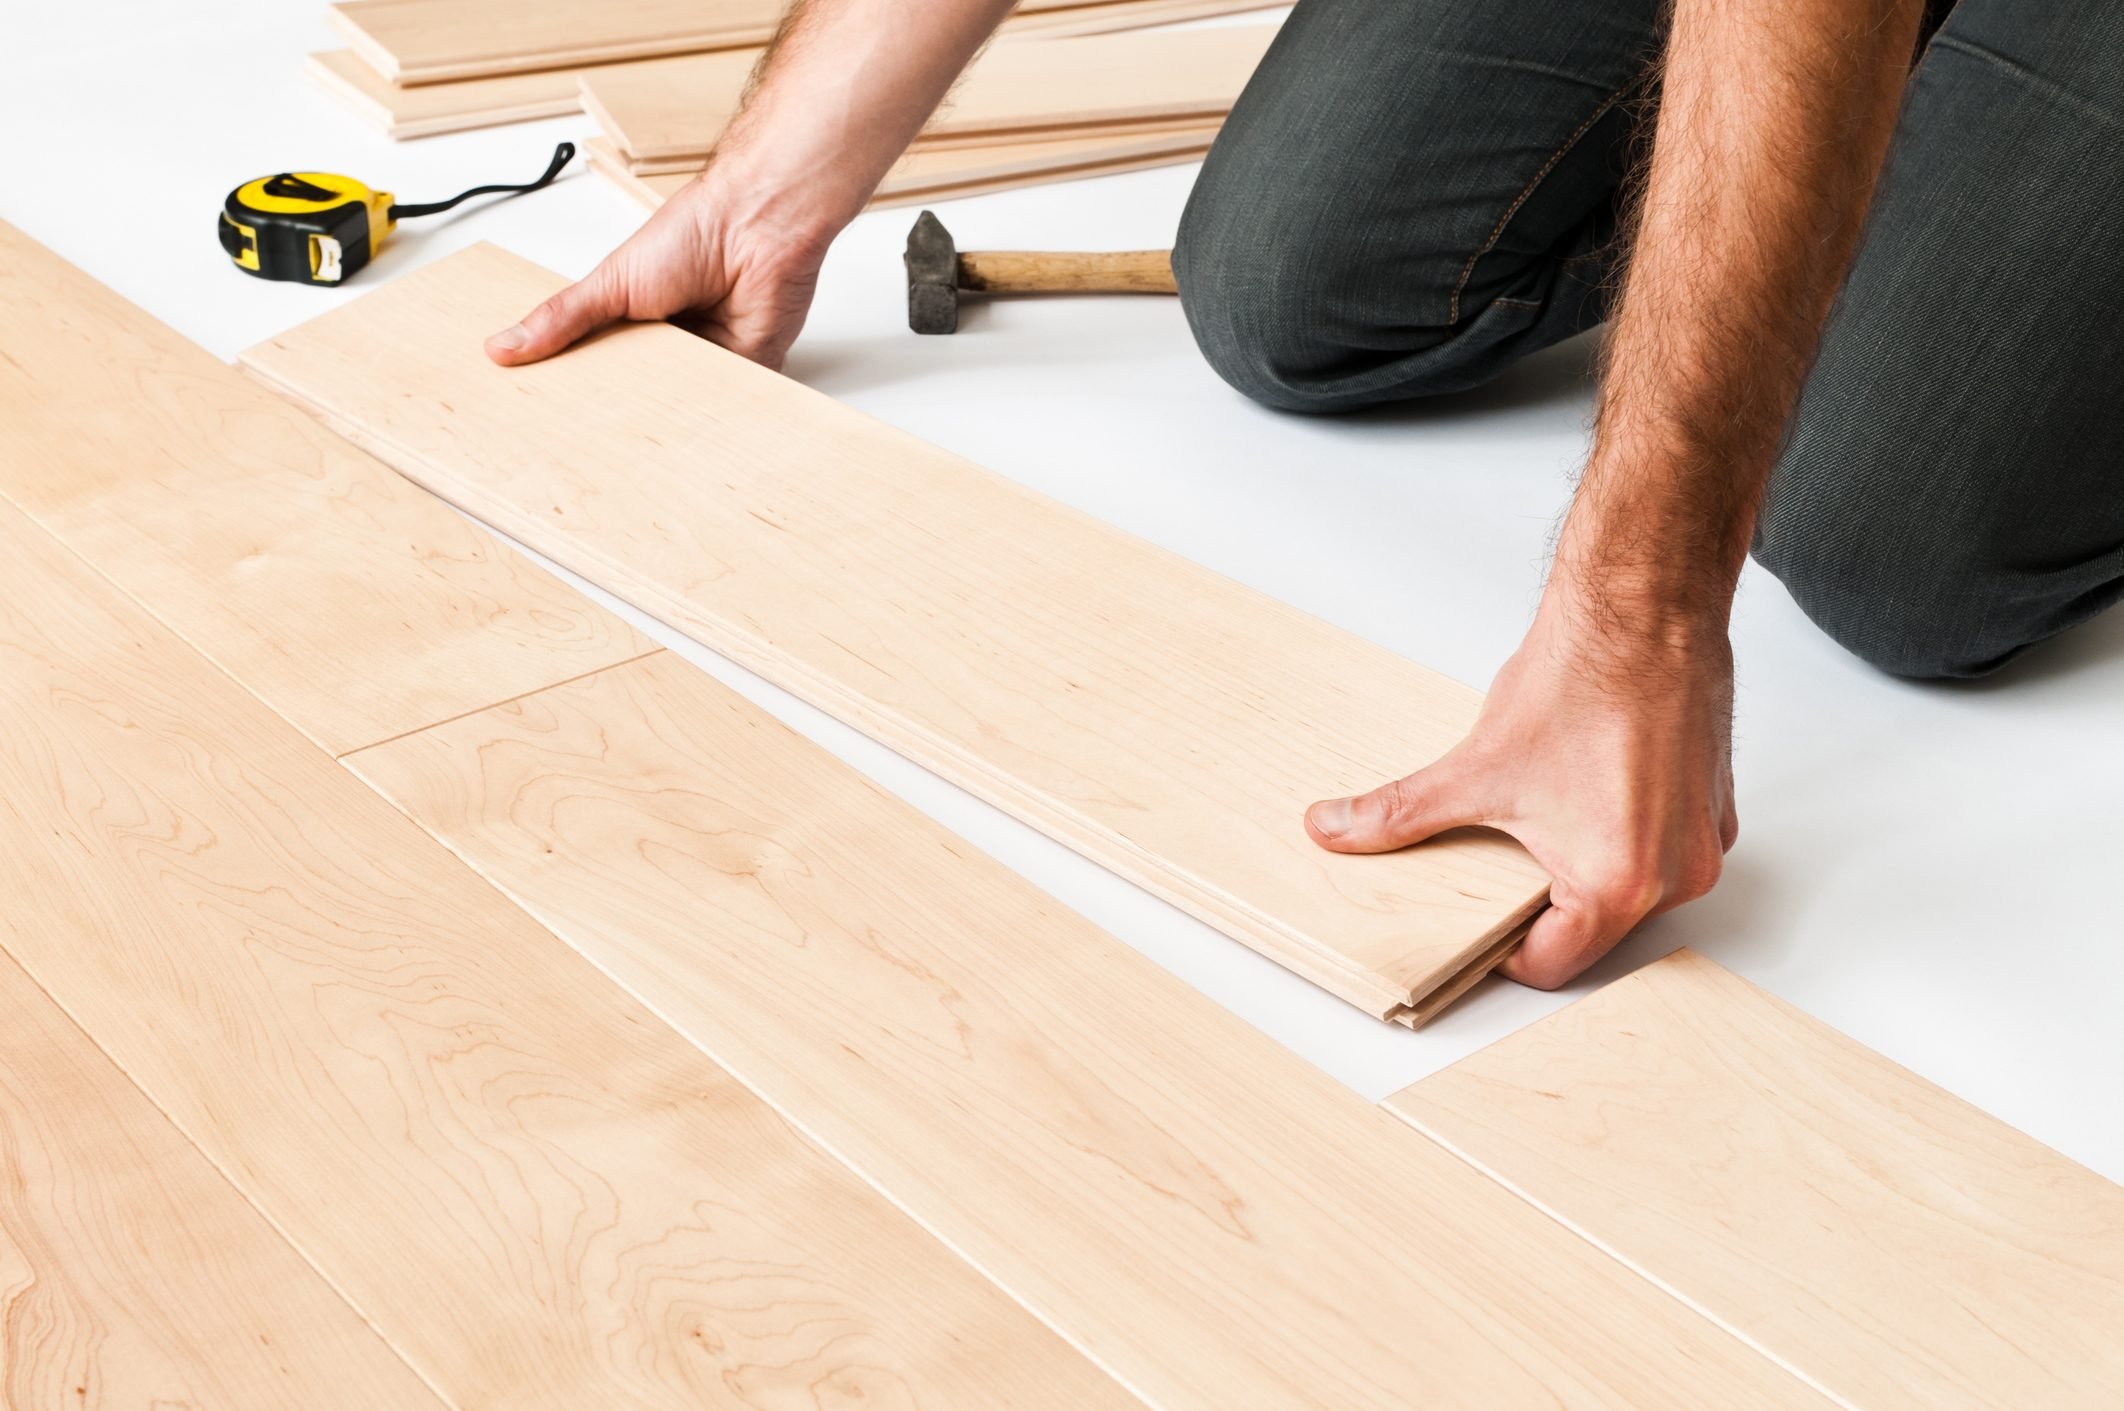
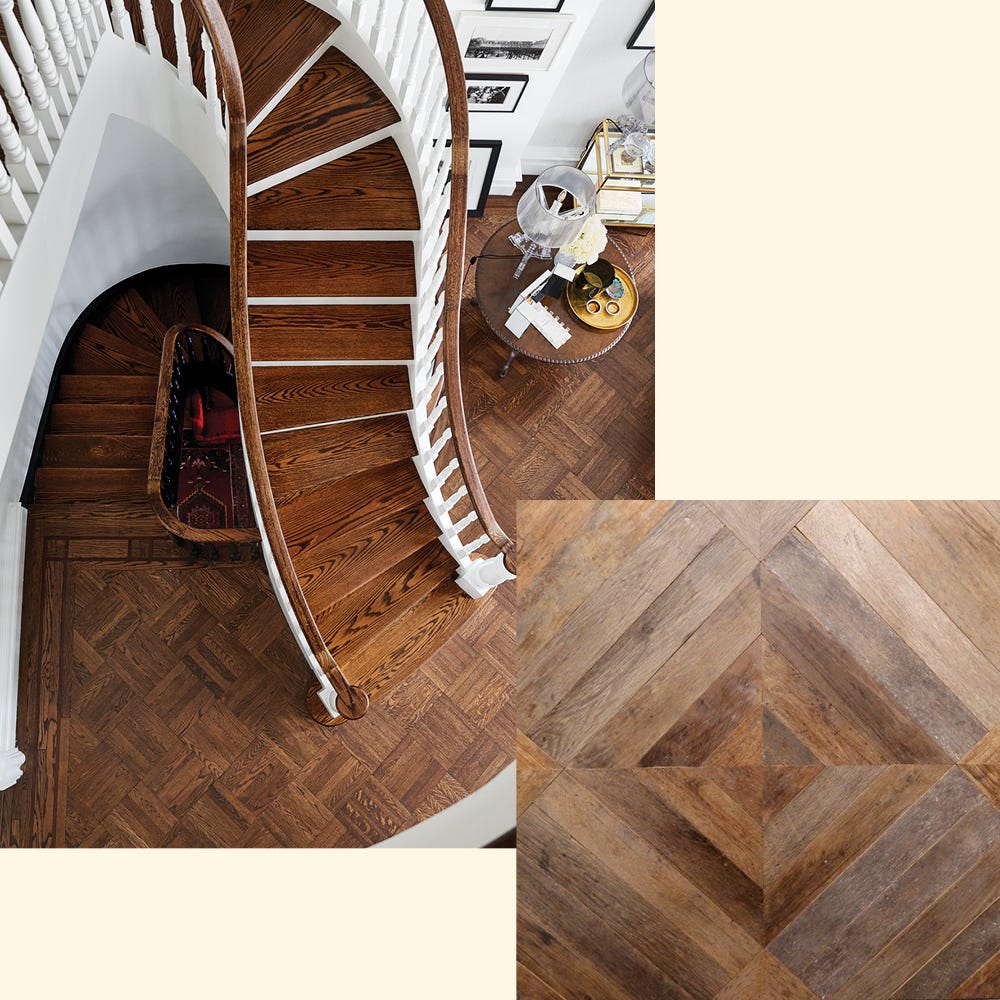
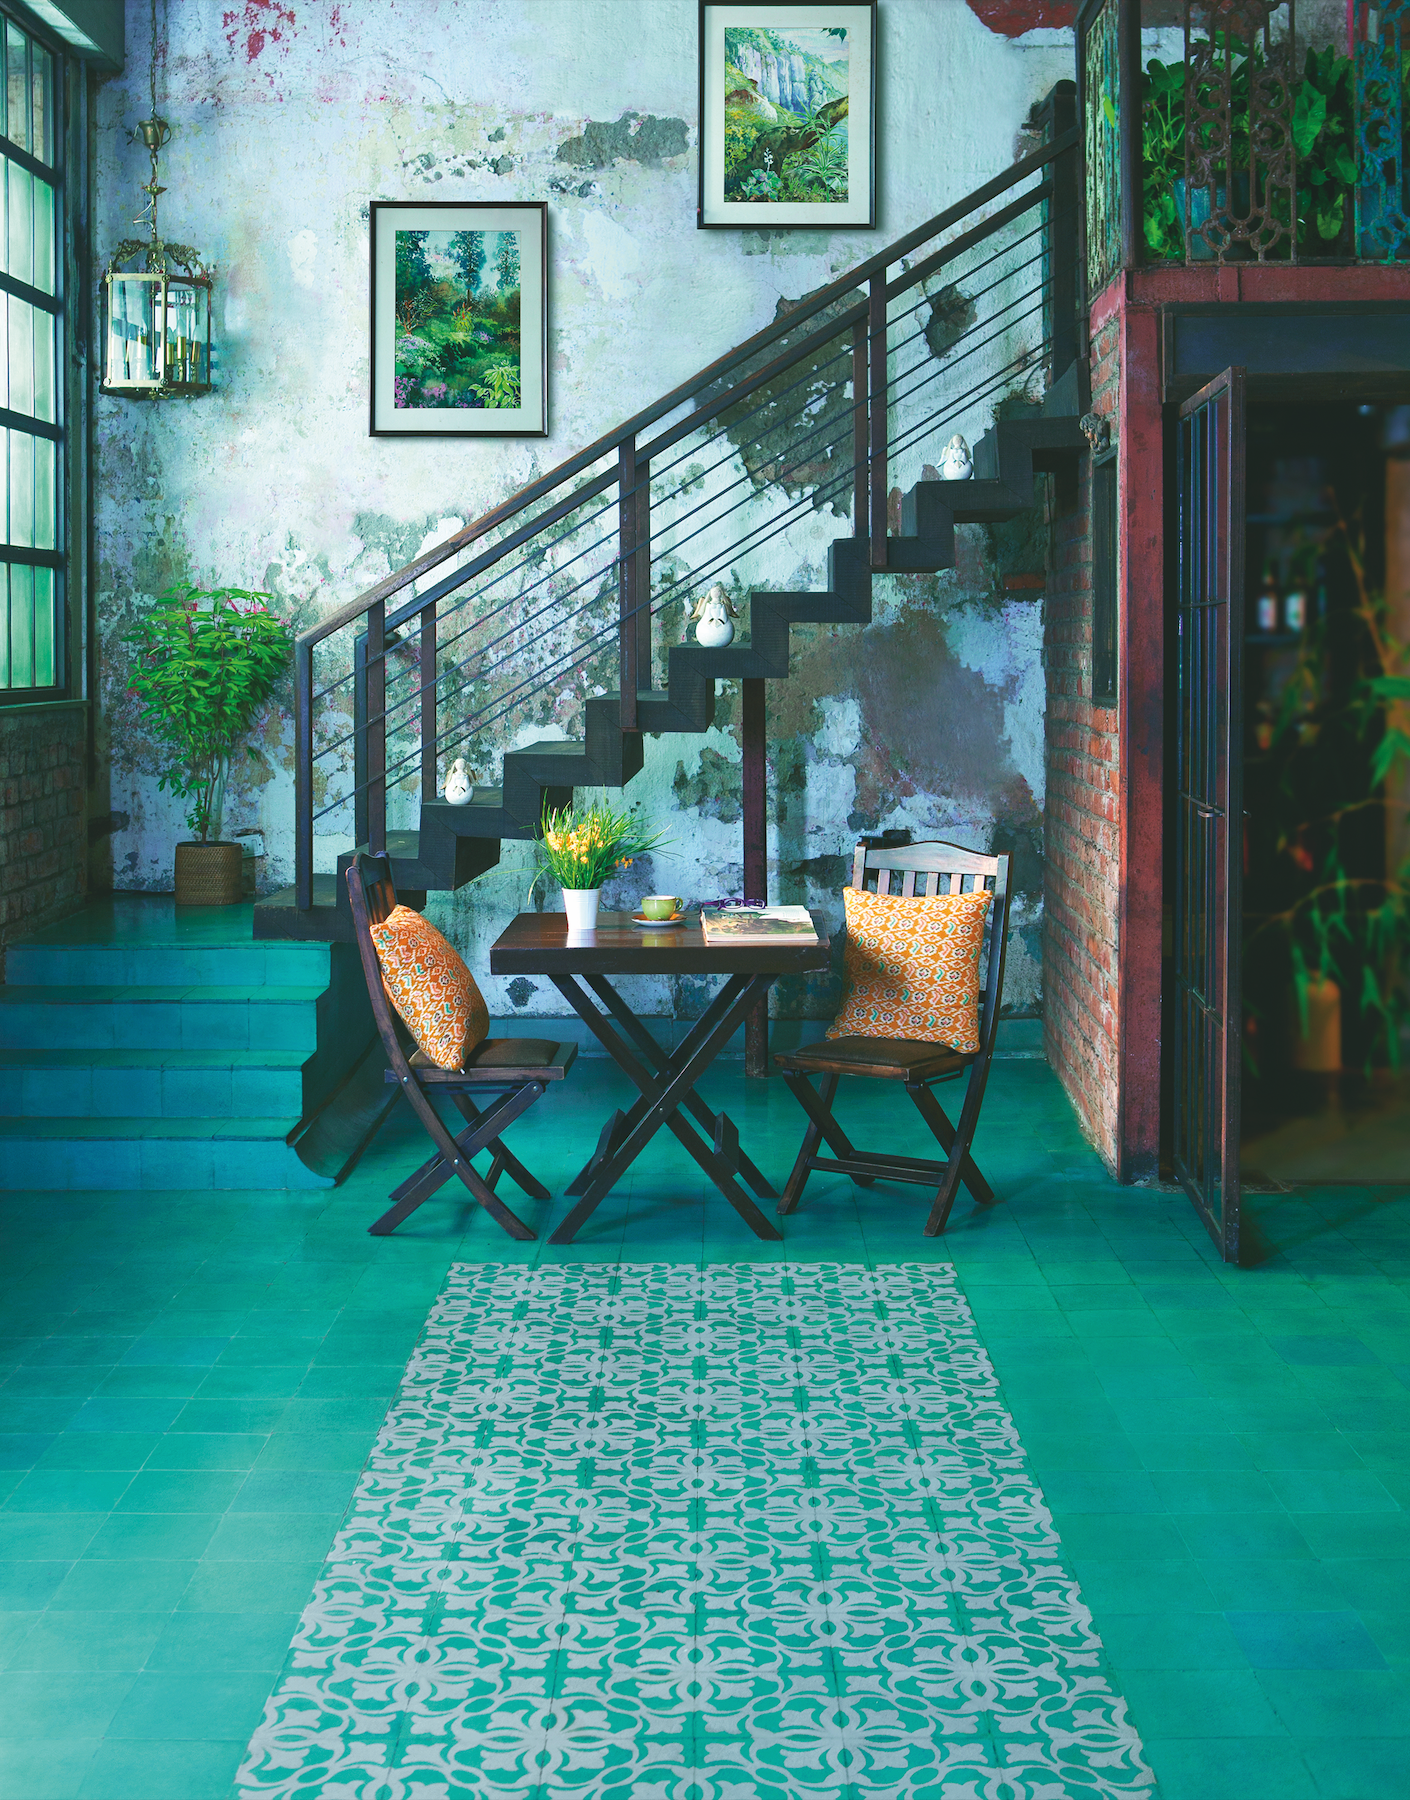
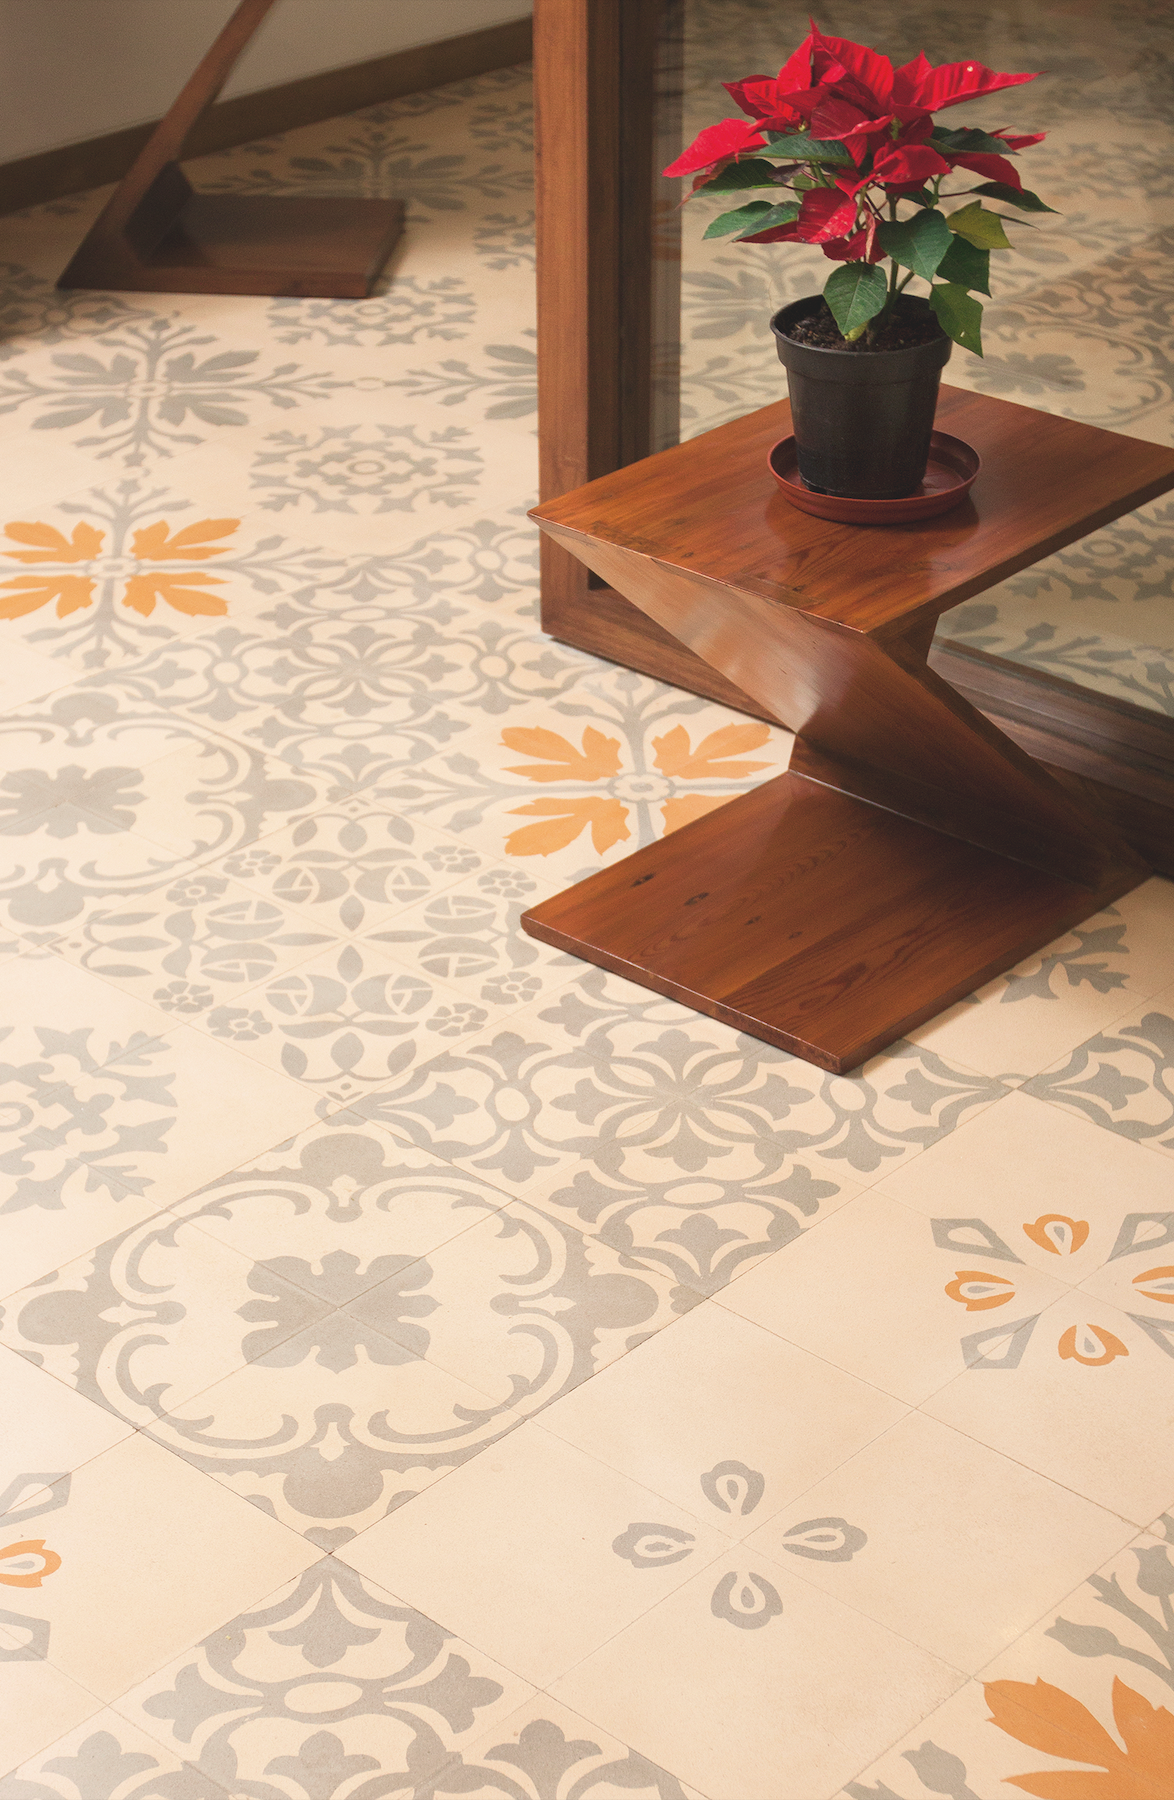
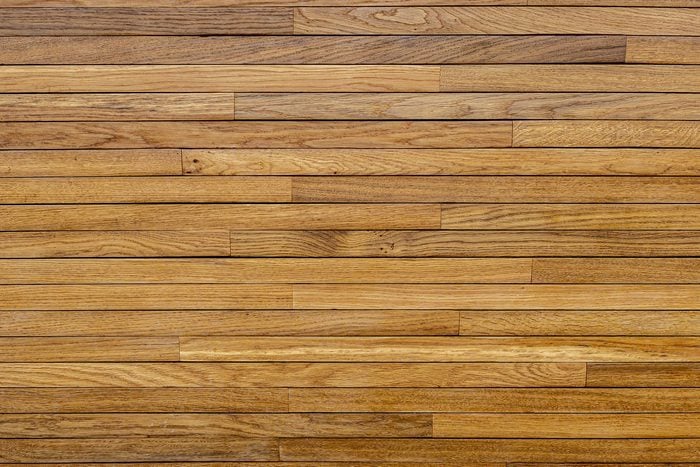
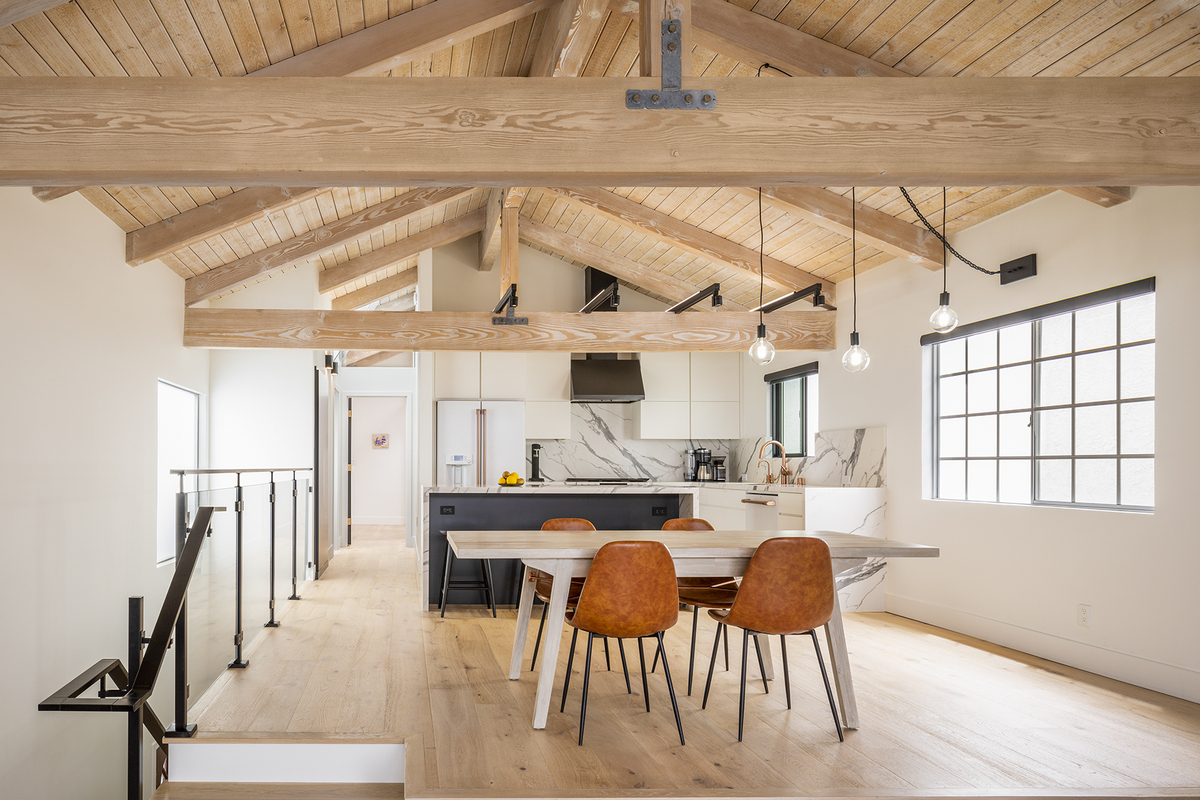
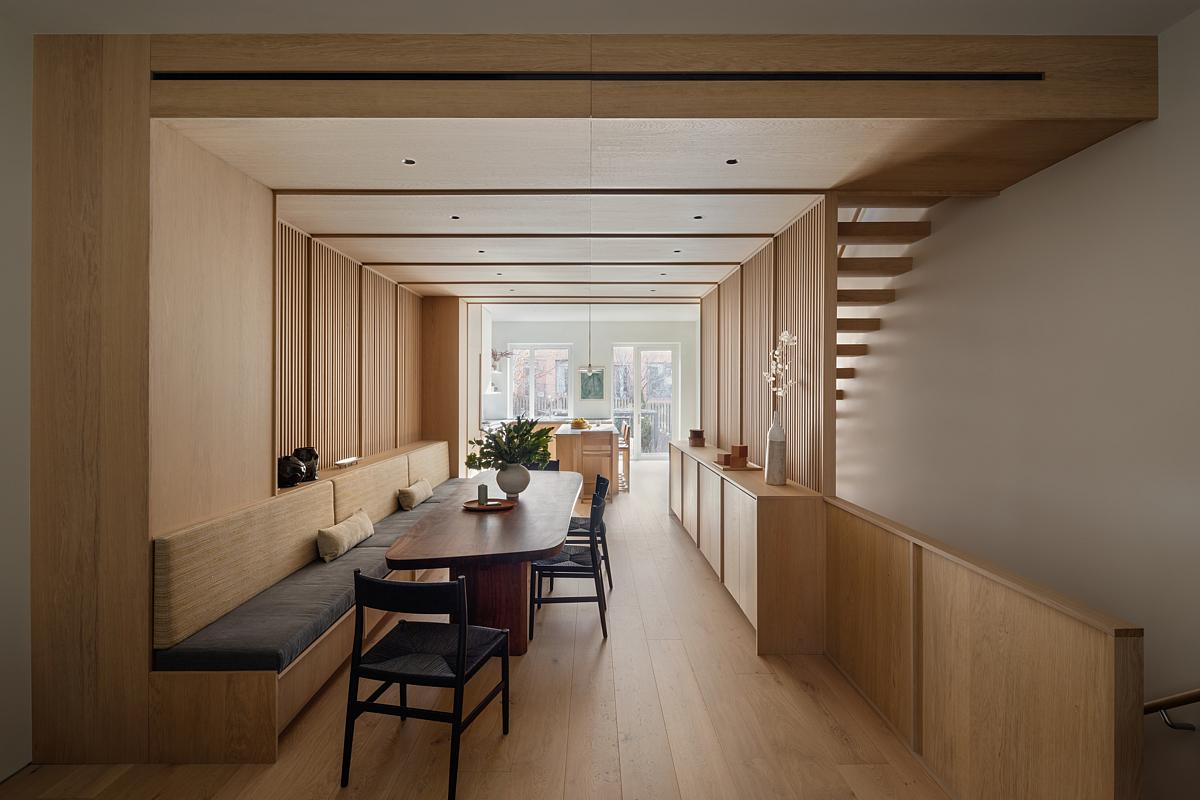
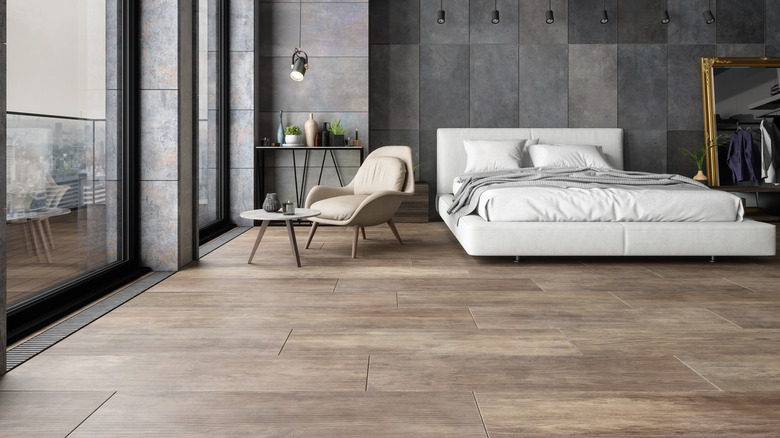
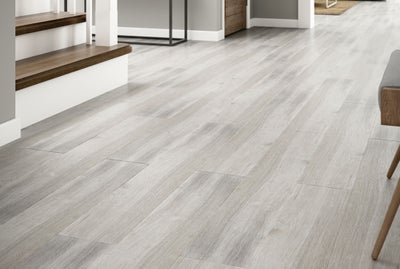
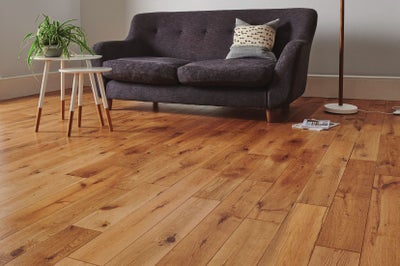
The article then differentiates between common flooring types—laminate, hardwood, vinyl, and tile—highlighting their characteristics, pros, and cons. Laminate, a synthetic fiberboard product with a protective layer, is easy to install and maintain, inexpensive, durable, and resistant to various damages, making it suitable for busy homes. However, it can look artificial, cannot be refinished, and is not ideal for moisture-prone areas. Hardwood, available as solid or engineered wood, offers a classic aesthetic and stability across different home levels. It is more time-consuming and expensive to install and also unsuitable for wet environments. Vinyl, a synthetic option in sheets or tiles, is waterproof, easy to DIY, and affordable, making it perfect for bathrooms and basements, though less durable than hardwood. Tile, particularly porcelain, is highly durable, easy to clean, and resistant to moisture, ideal for high-traffic and wet areas. However, it is one of the most challenging types to install. Each flooring type requires a specific installation process, all starting with thorough surface preparation. The article concludes with detailed installation tips for each material, emphasizing subfloor condition, acclimation, and proper use of tools and materials for optimal results.
#DIYFlooring #HomeRenovation #LaminateFlooring #HardwoodFlooring #VinylFlooring #TileInstallation #HomeImprovement #ToolsAndEquipment #ProjectPlanning #DIYFlooring #HomeRenovation #LaminateFlooring #HardwoodFlooring #VinylFlooring #TileInstallation #HomeImprovement #ToolsAndEquipment #ProjectPlanning
0 comment in total
 No comments yet
You may also like
Home Flooring Installation and Repair

LL Flooring Boasts Hundreds of Flooring Choices—But Is It a Good Option for Homeowners?
Flooring Tools & Accessories

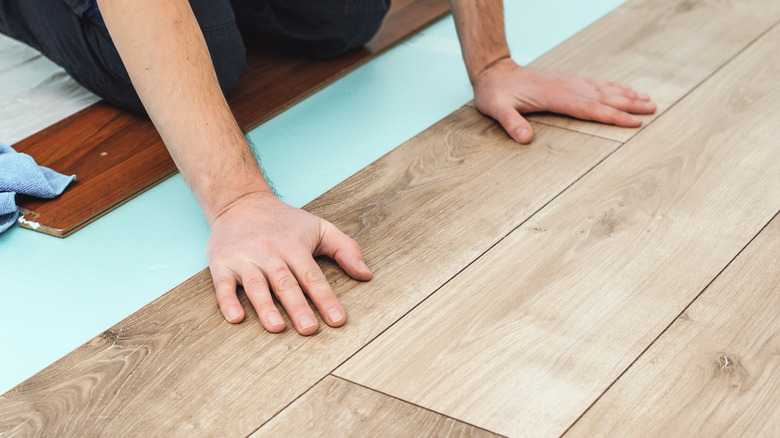
Follow This Professional Tip To Perfectly Stagger Floating Floors
Parts of the House
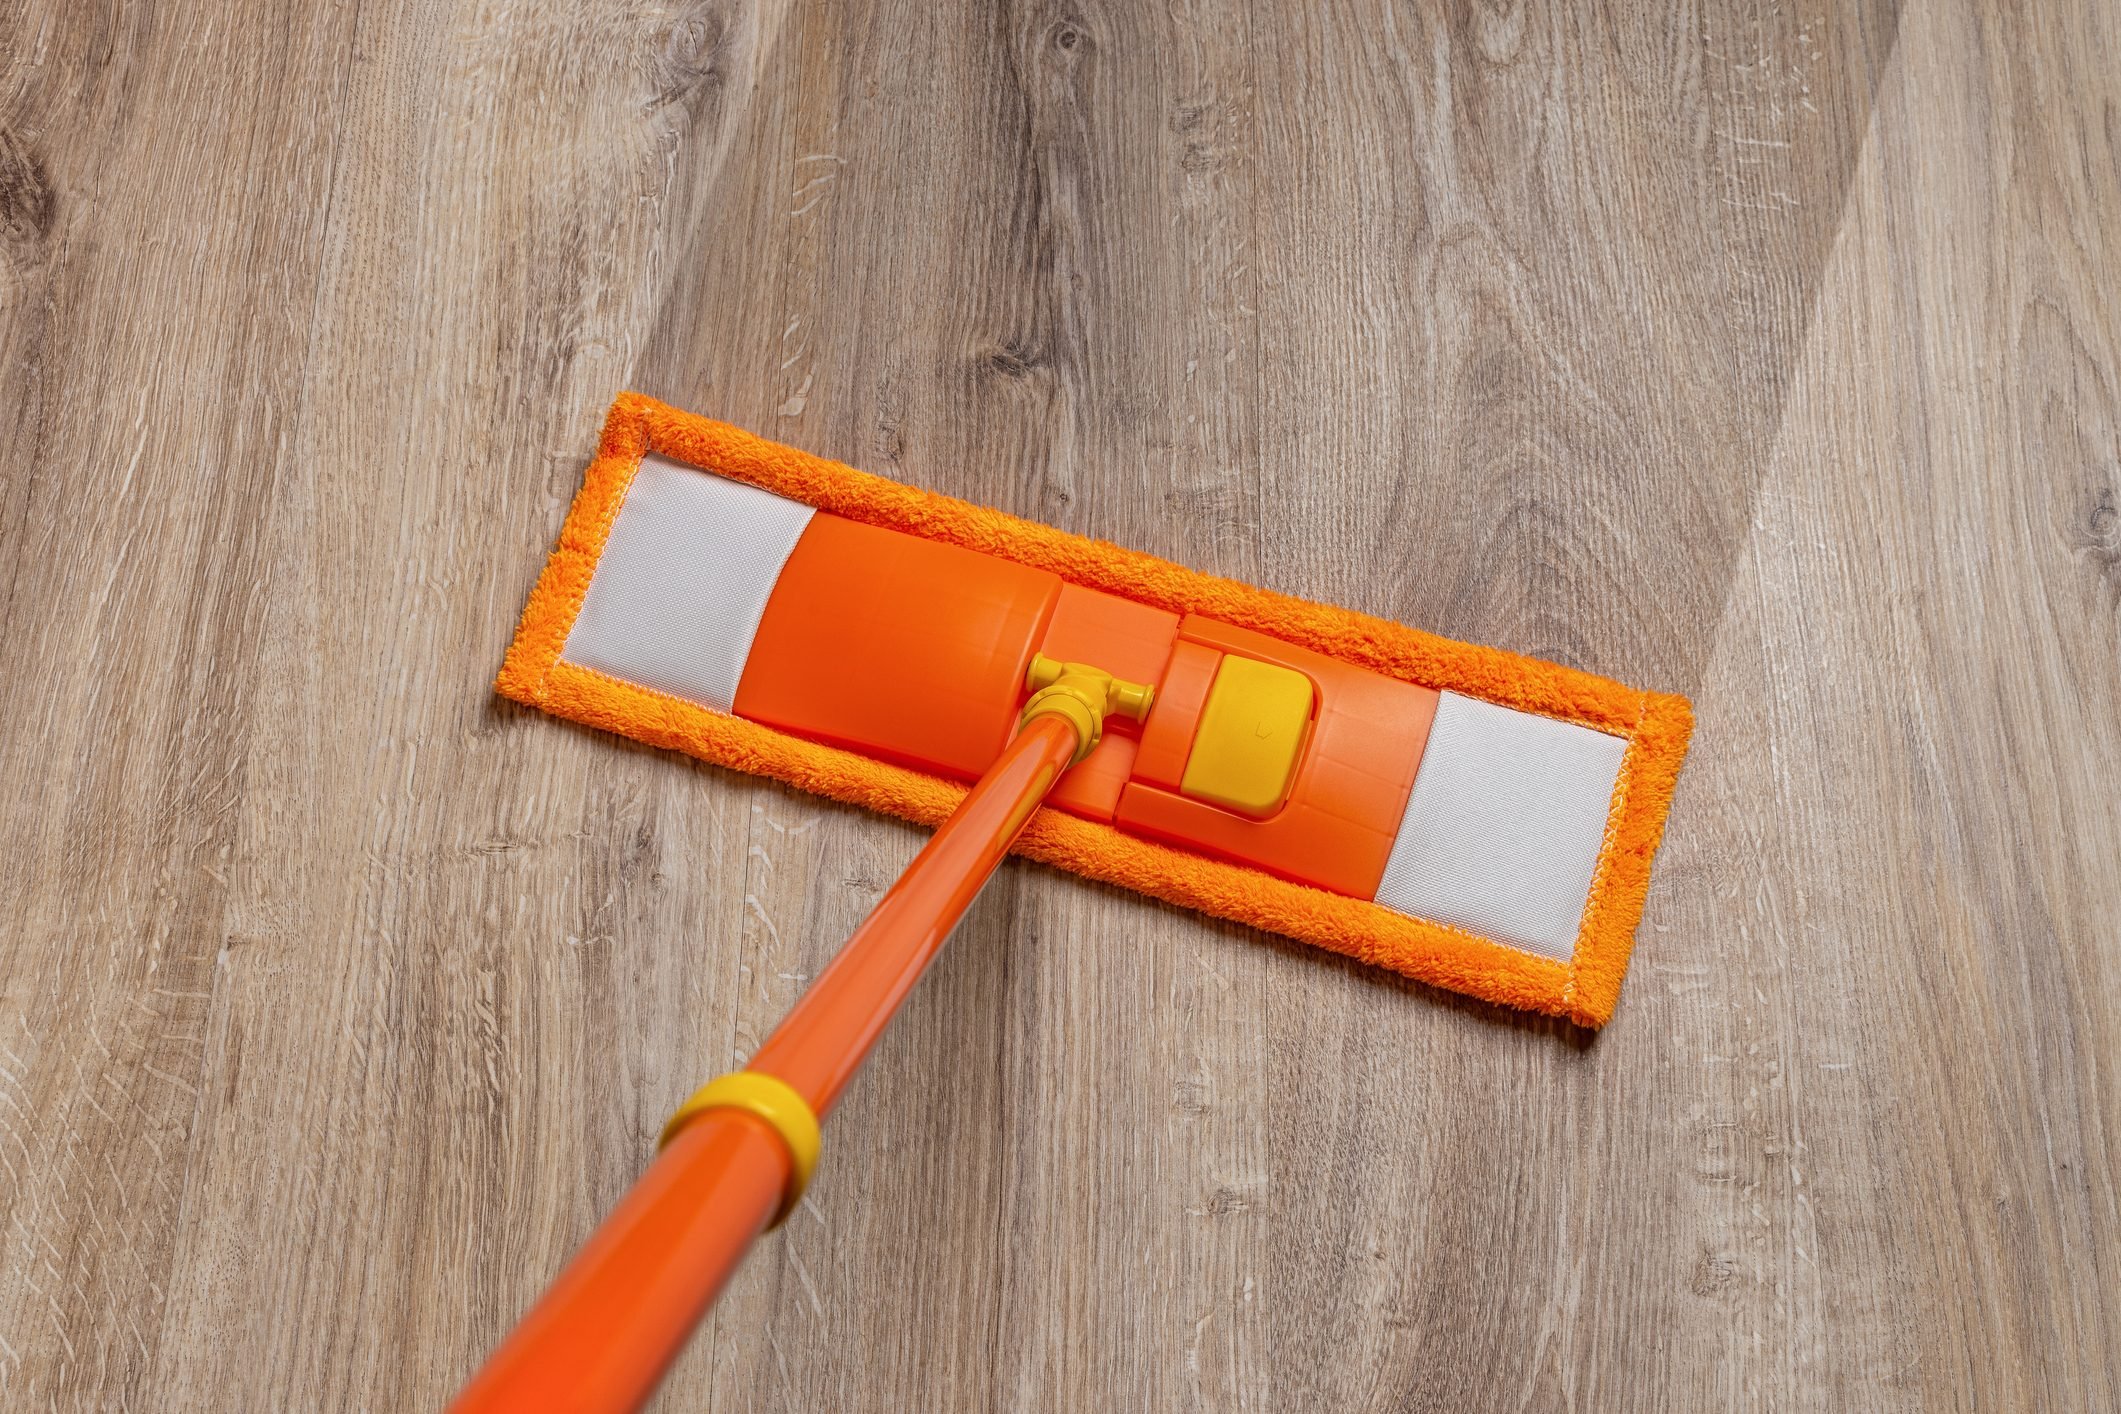
How to Clean Every Type of Floor Quickly and Easily

5 Flooring Choices Designers Completely Regret Using in Their Homes

5 flooring sounds you shouldn't ignore - and what they mean
Here's Everything You Need to Know About Wood Flooring

Your Guide to Wood Flooring

Flooring Materials That Just Aren't Worth The Price, According To Our Experts
Flooring

A Guide to Gorgeous Floors
How to Lay Engineered Wood Flooring — 3 Tactics Experts Swear by for the Very Best Finish

Flooring it: 10 ideas for beautiful carpet, wood, stone or ceramic floors
The Easiest Way To Install Laminate Flooring, According To An Expert
Vogue's flooring guide will ensure you never look up
Floor Plan tips and hints
Learn How to Install Laminate Flooring Yourself
7 Flooring Choices That Always Show Dirt and Scuffs—No Matter How Often You Clean