1/6
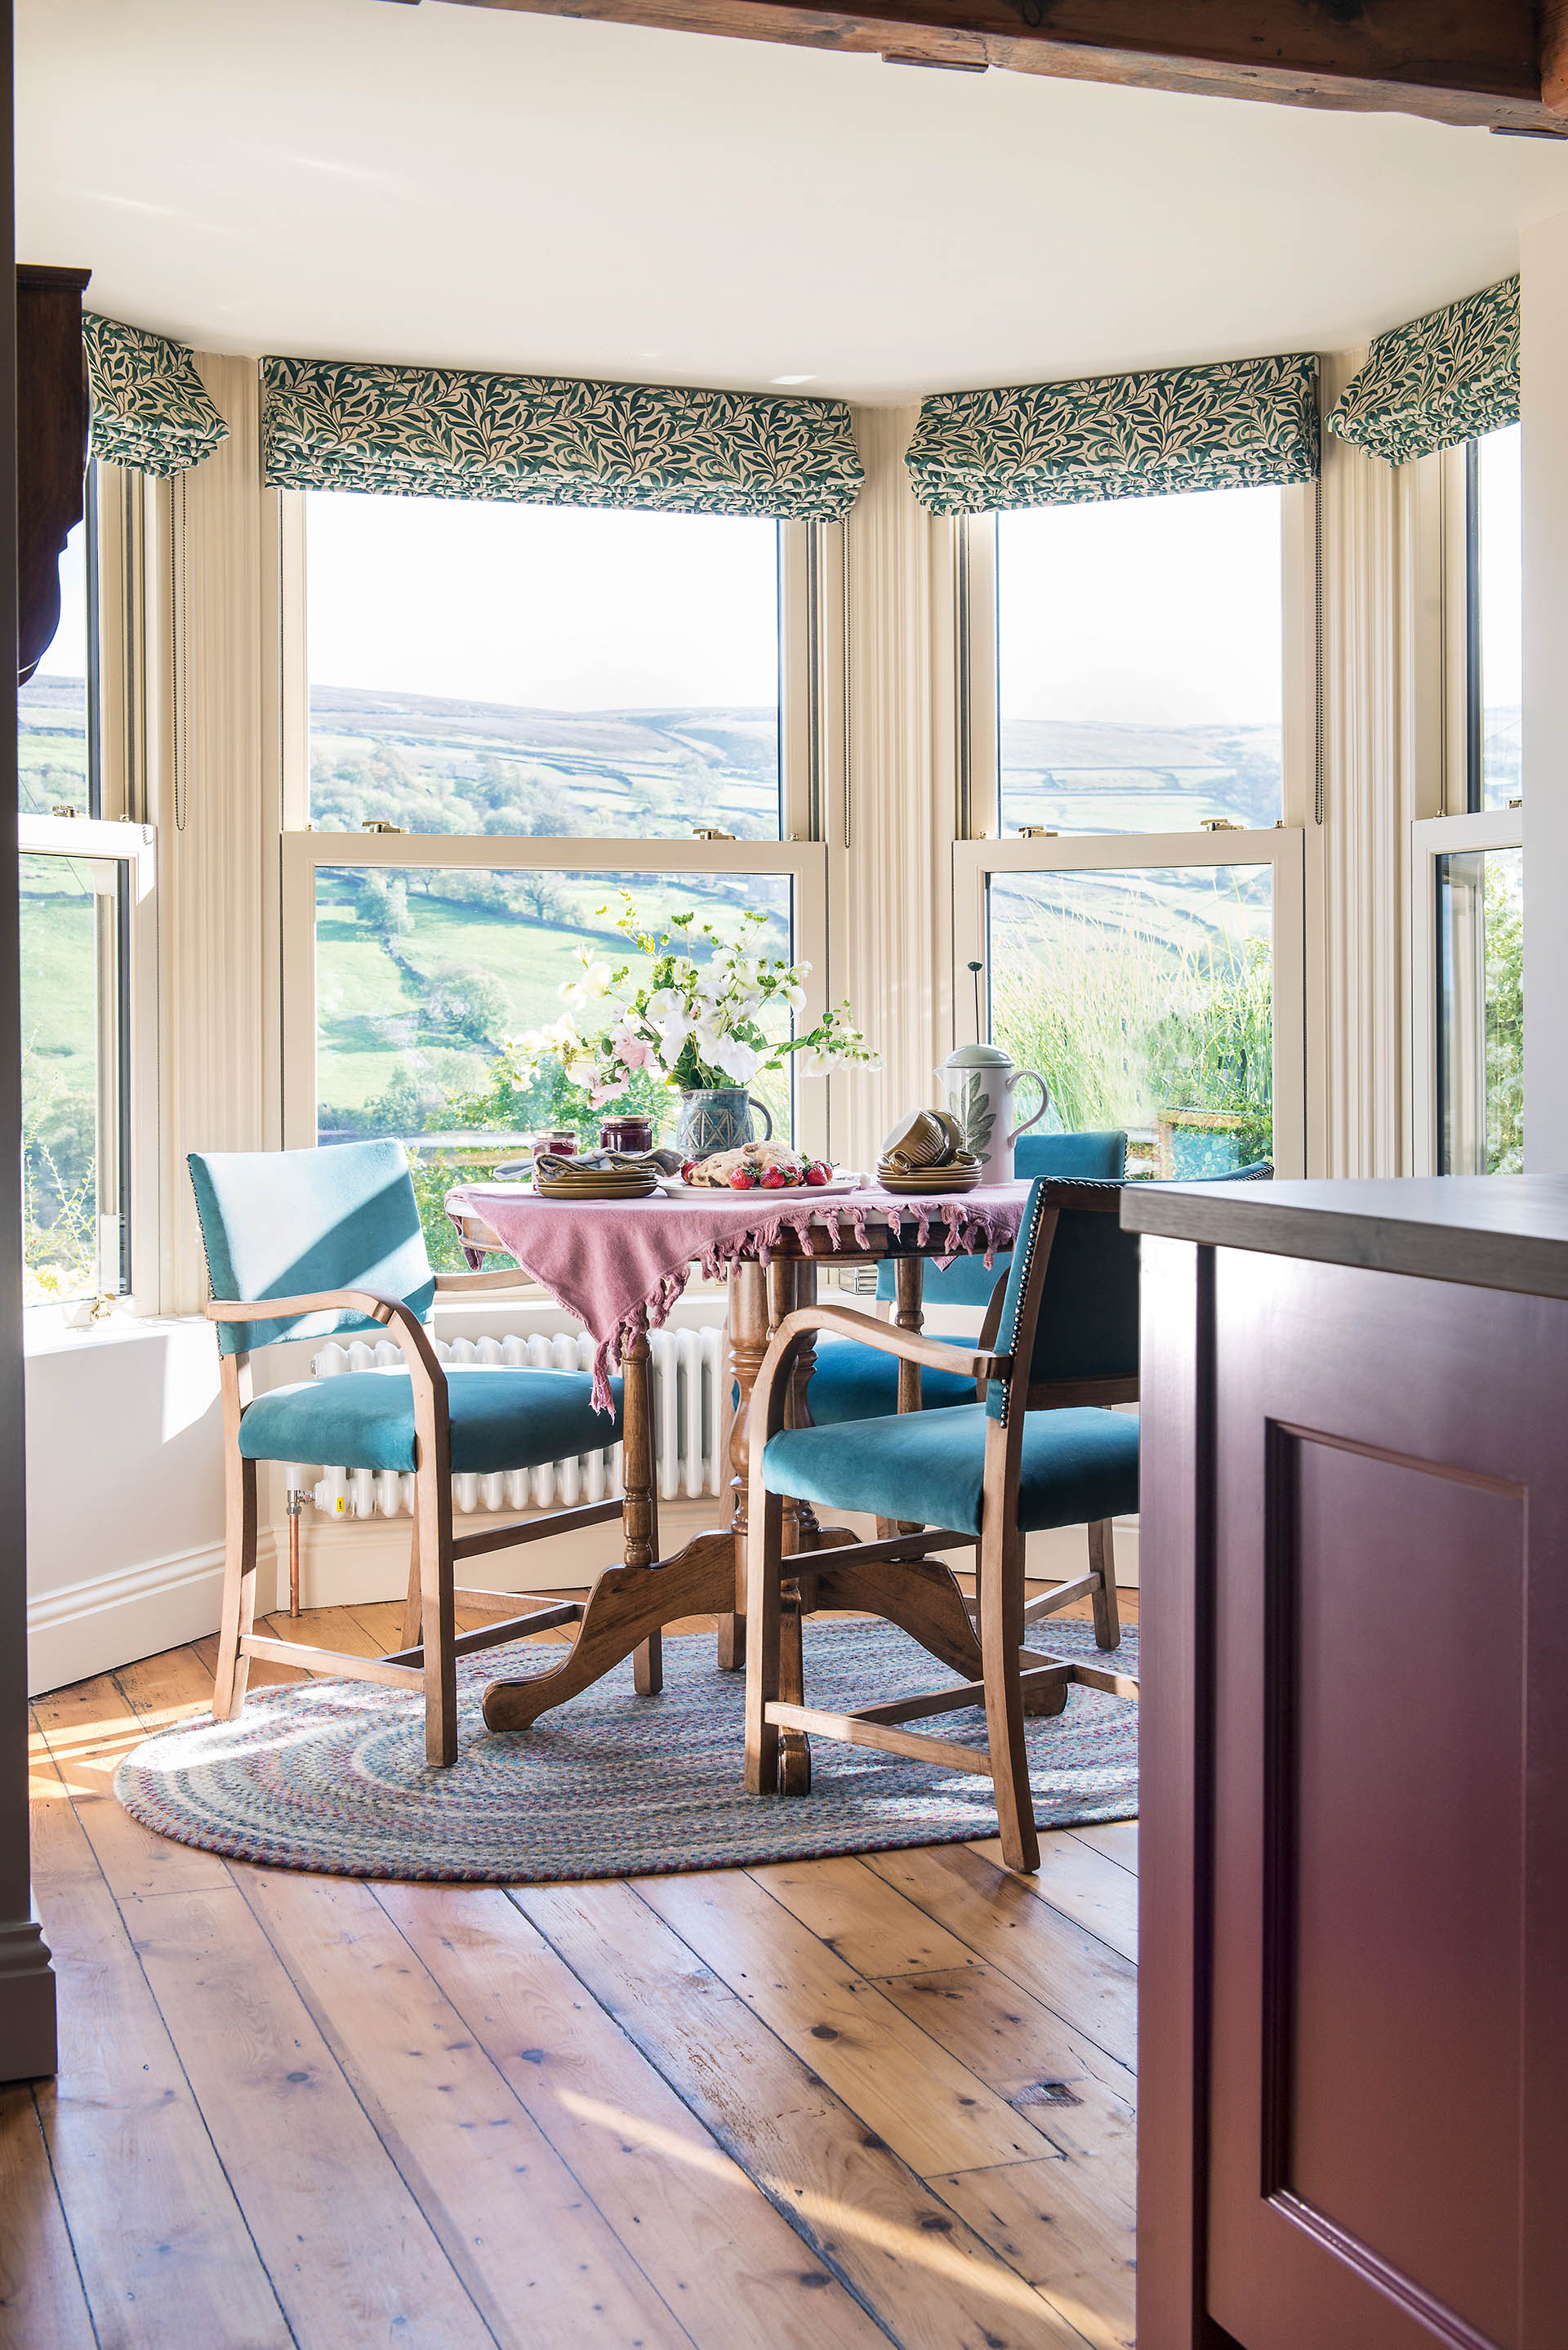
How to Lay Engineered Wood Flooring — 3 Tactics Experts Swear by for the Very Best Finish
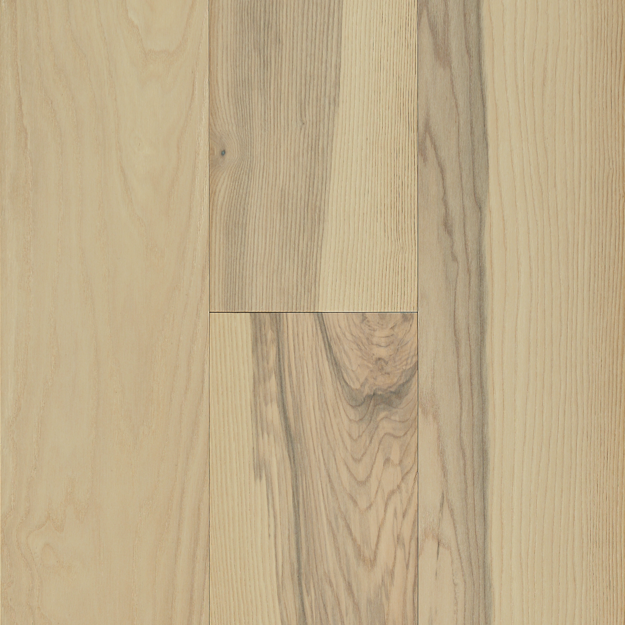
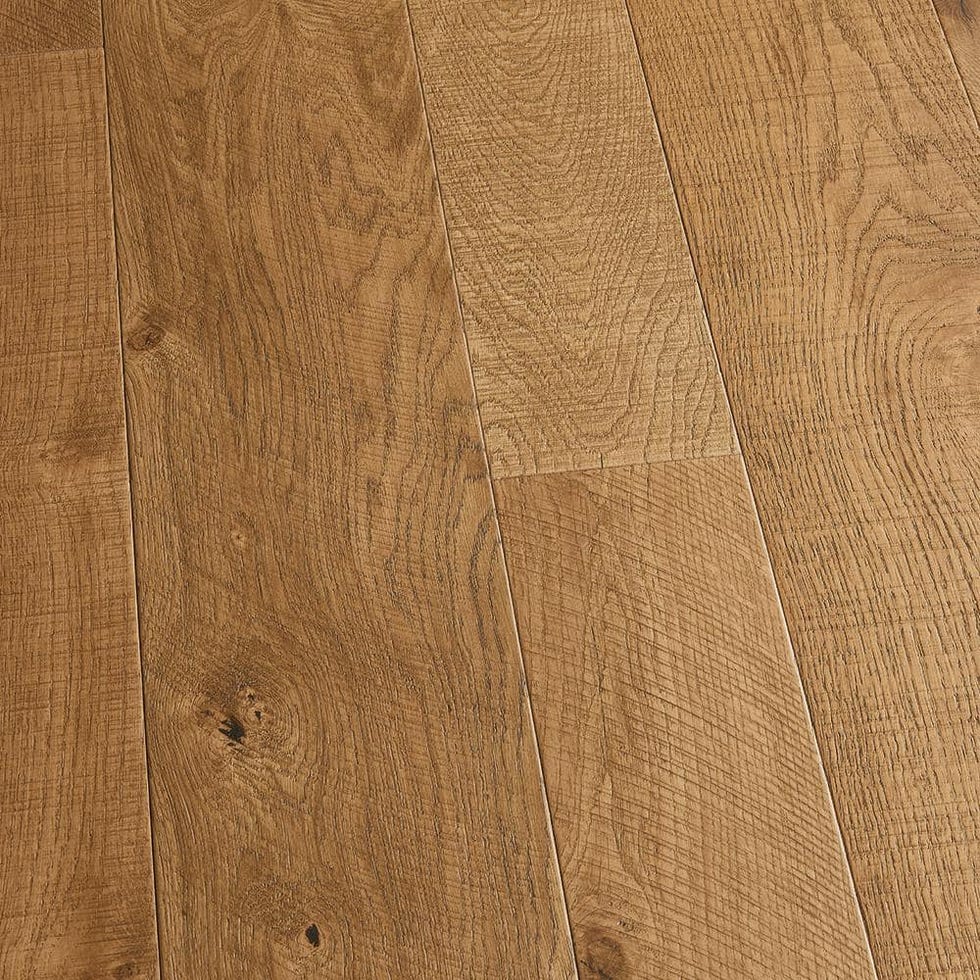
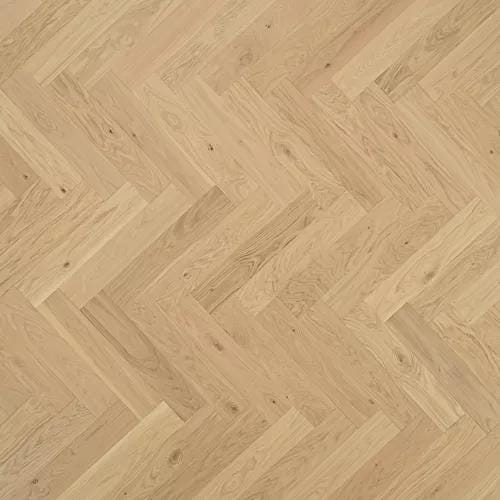
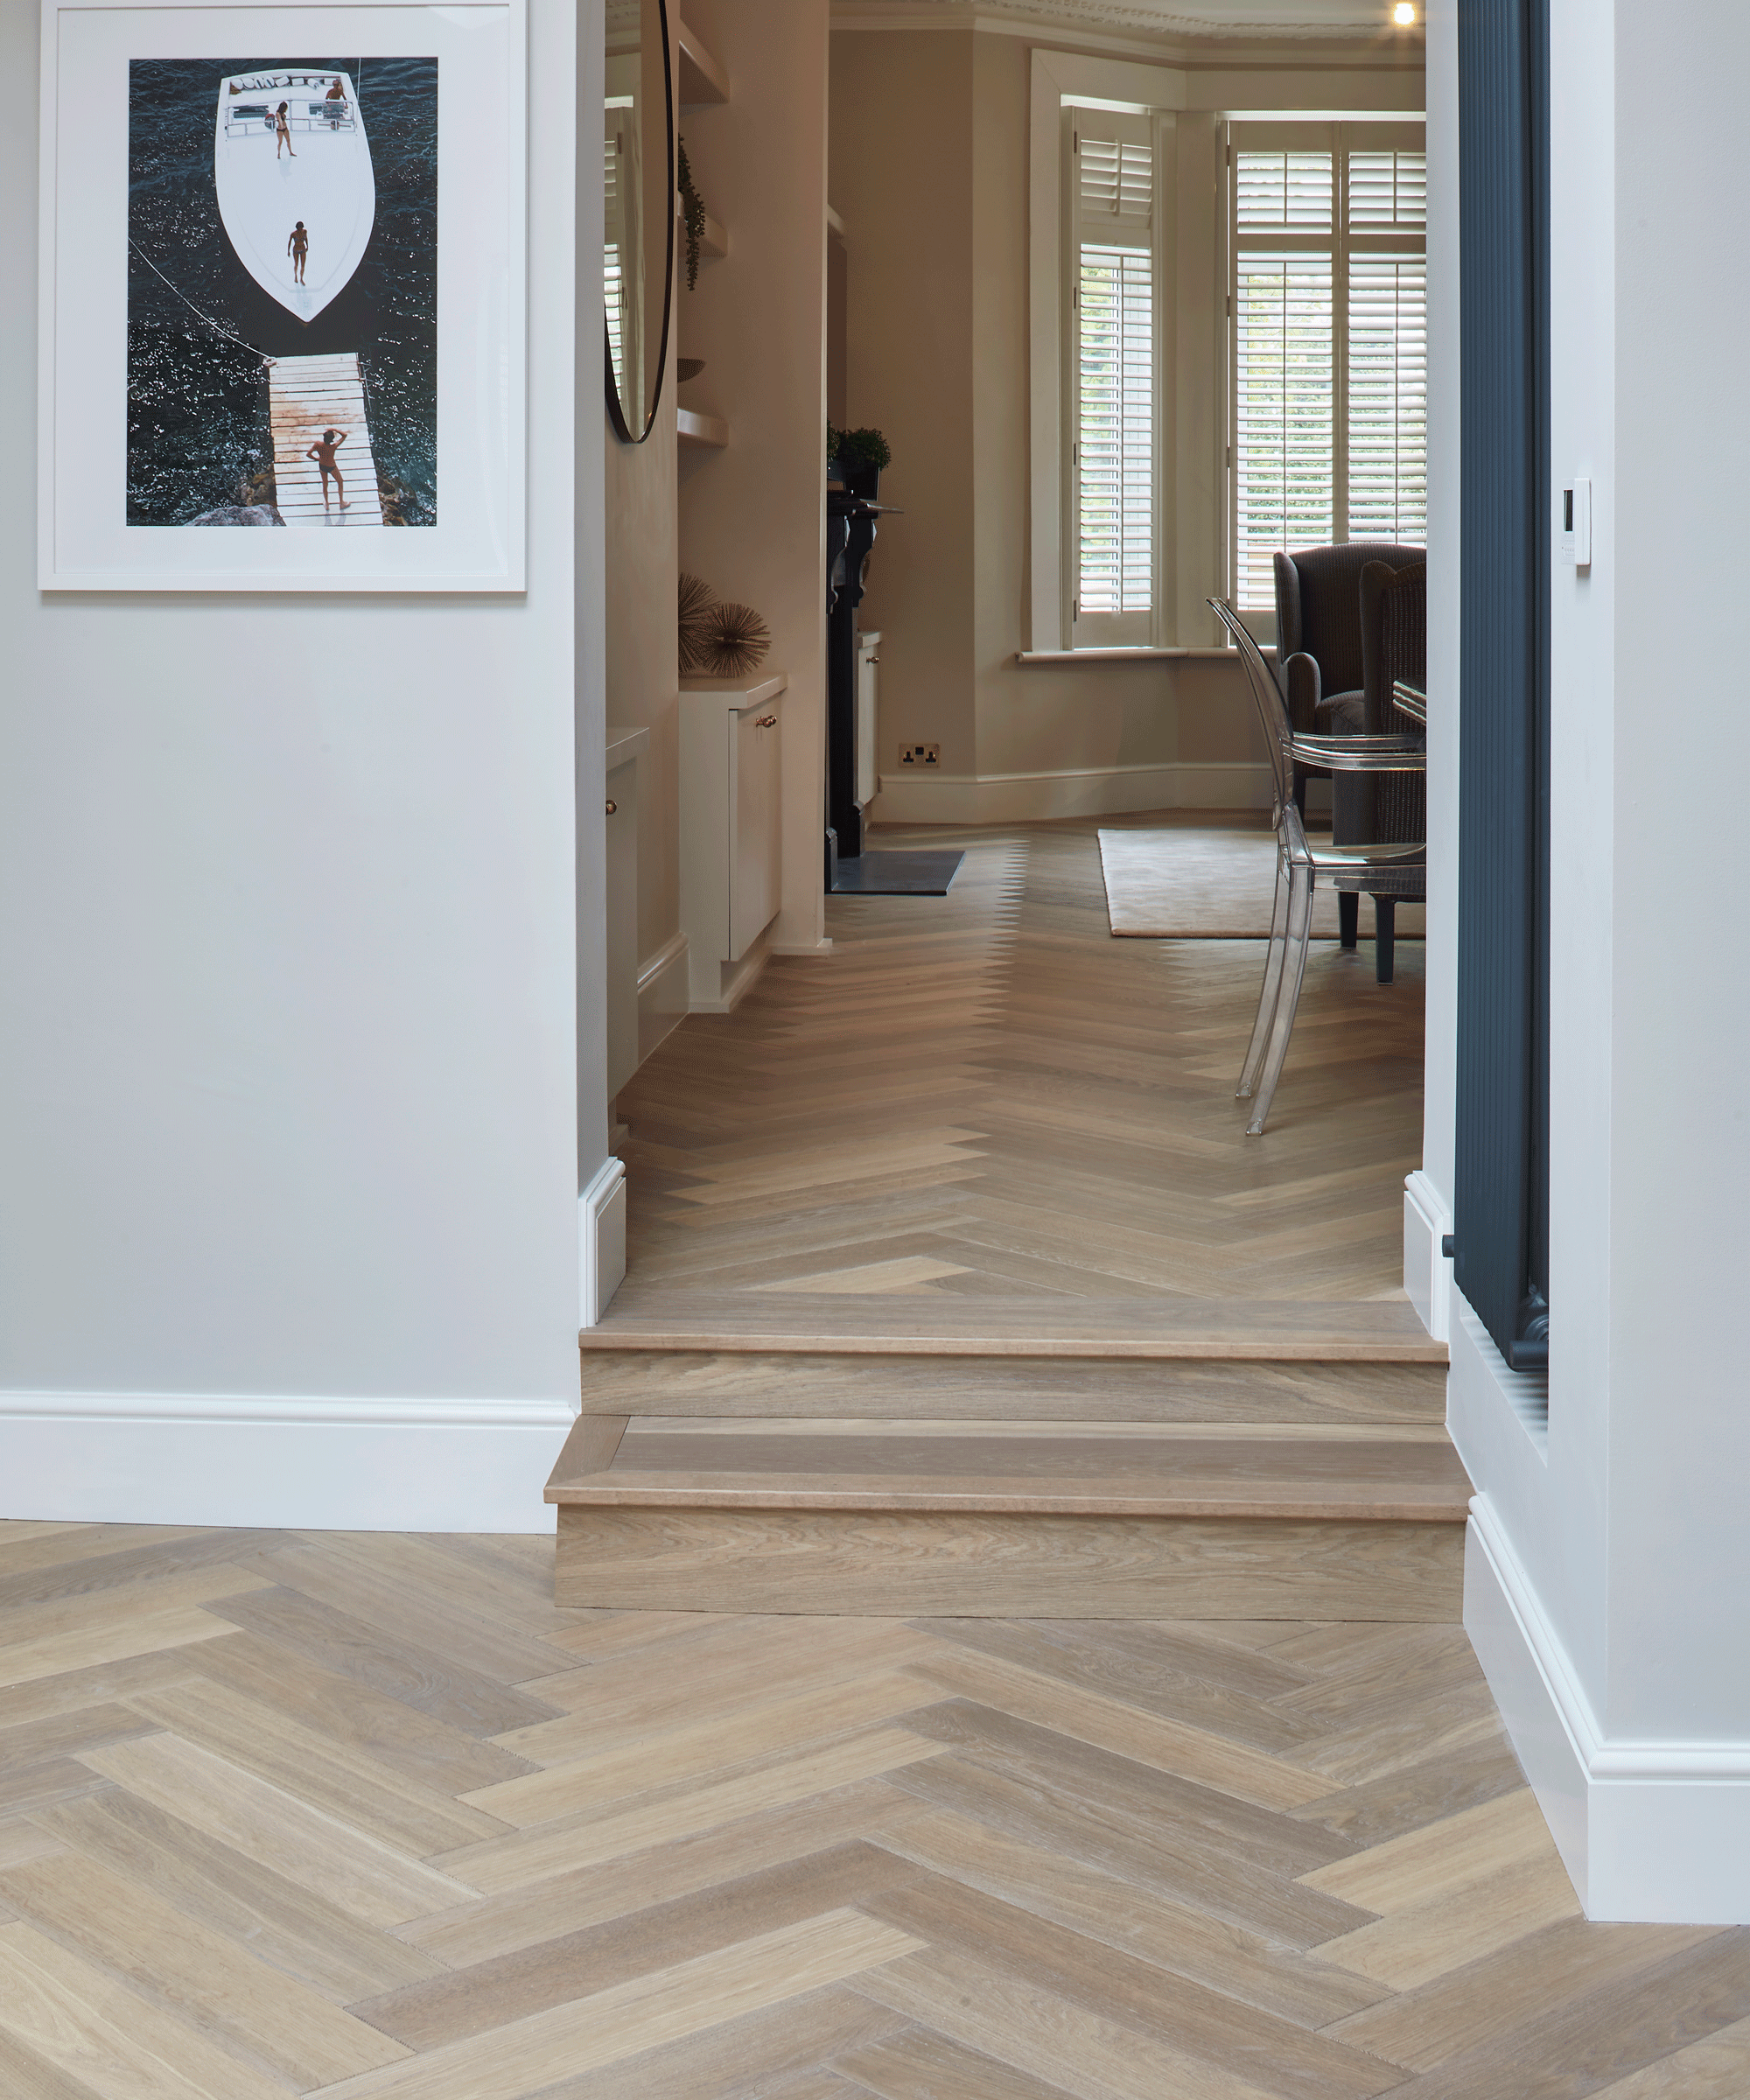
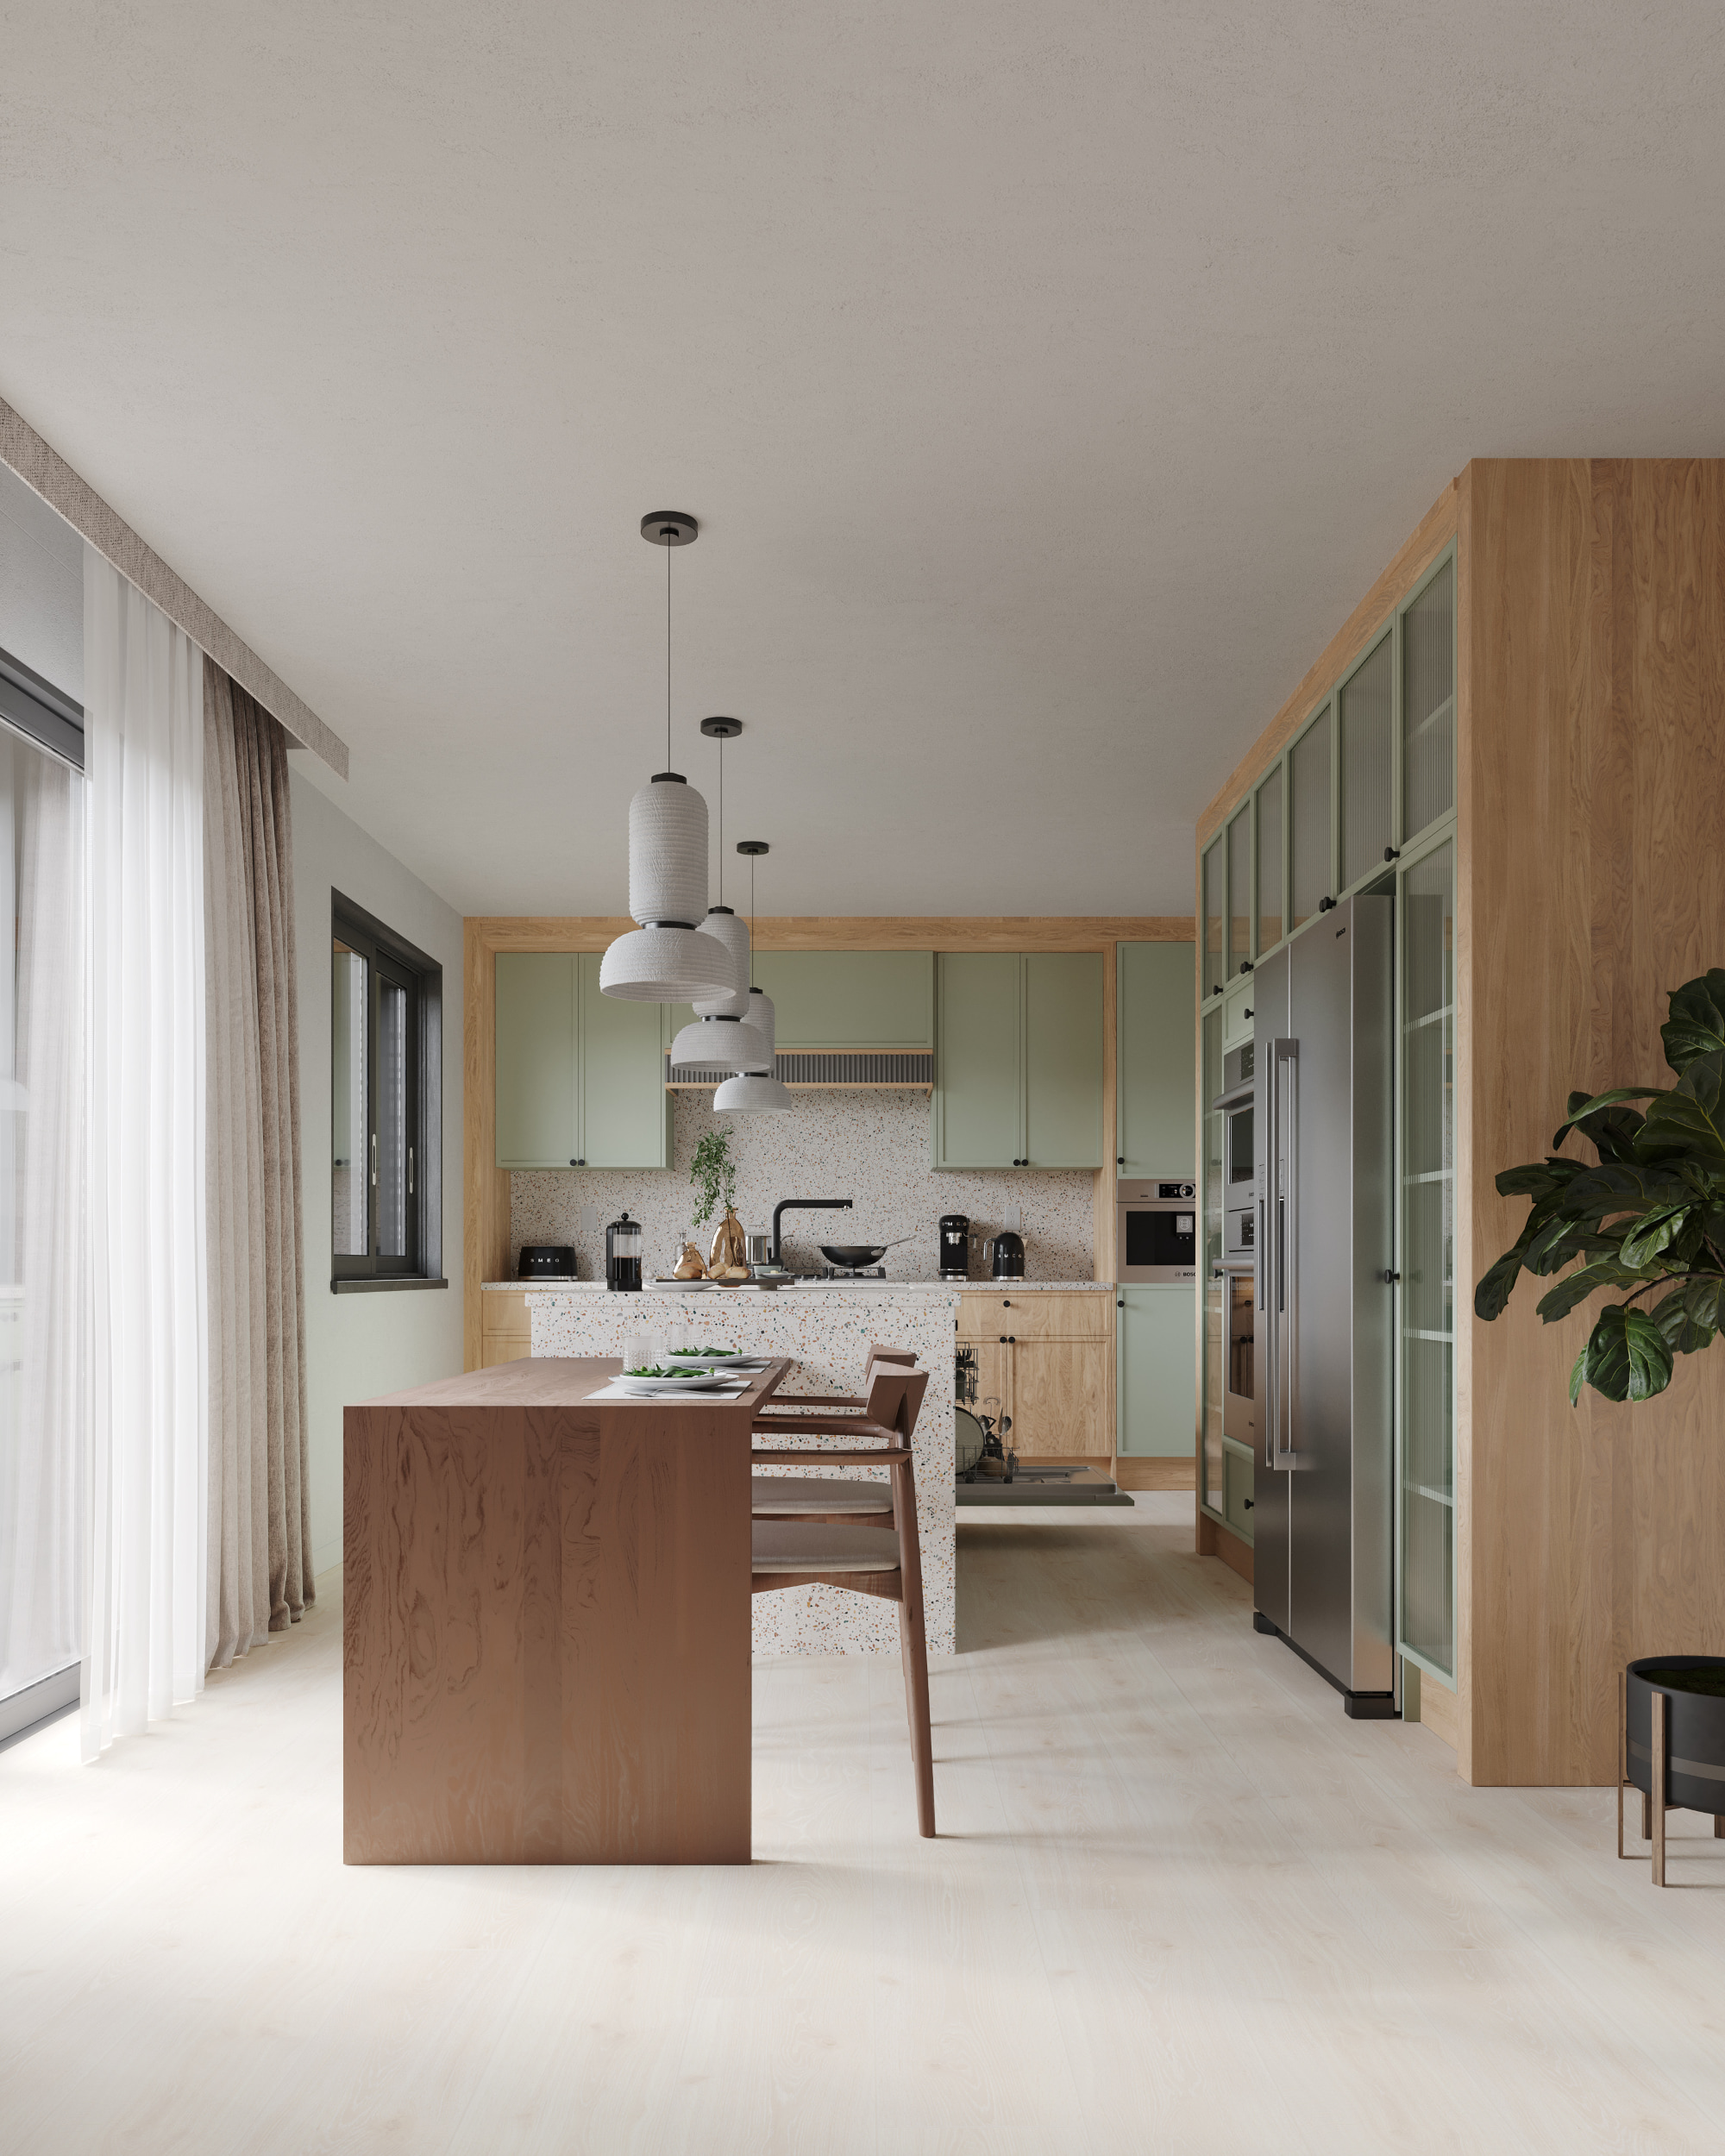
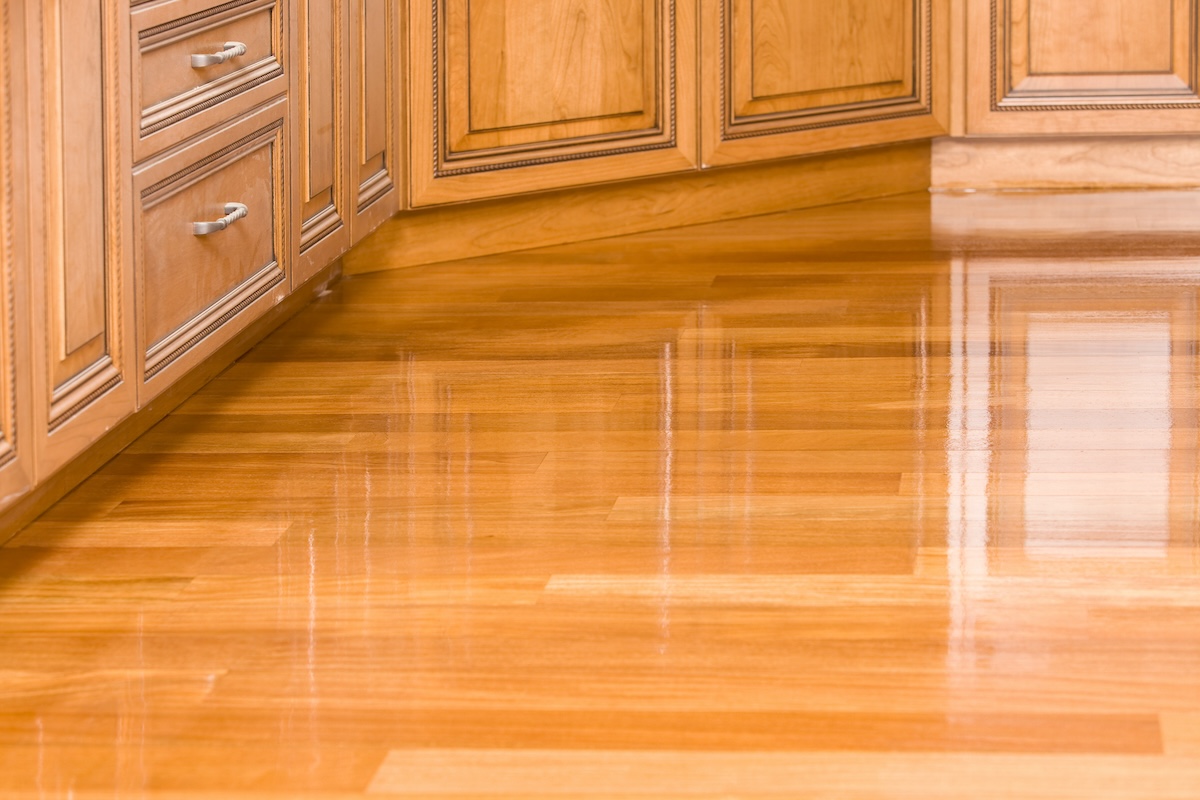
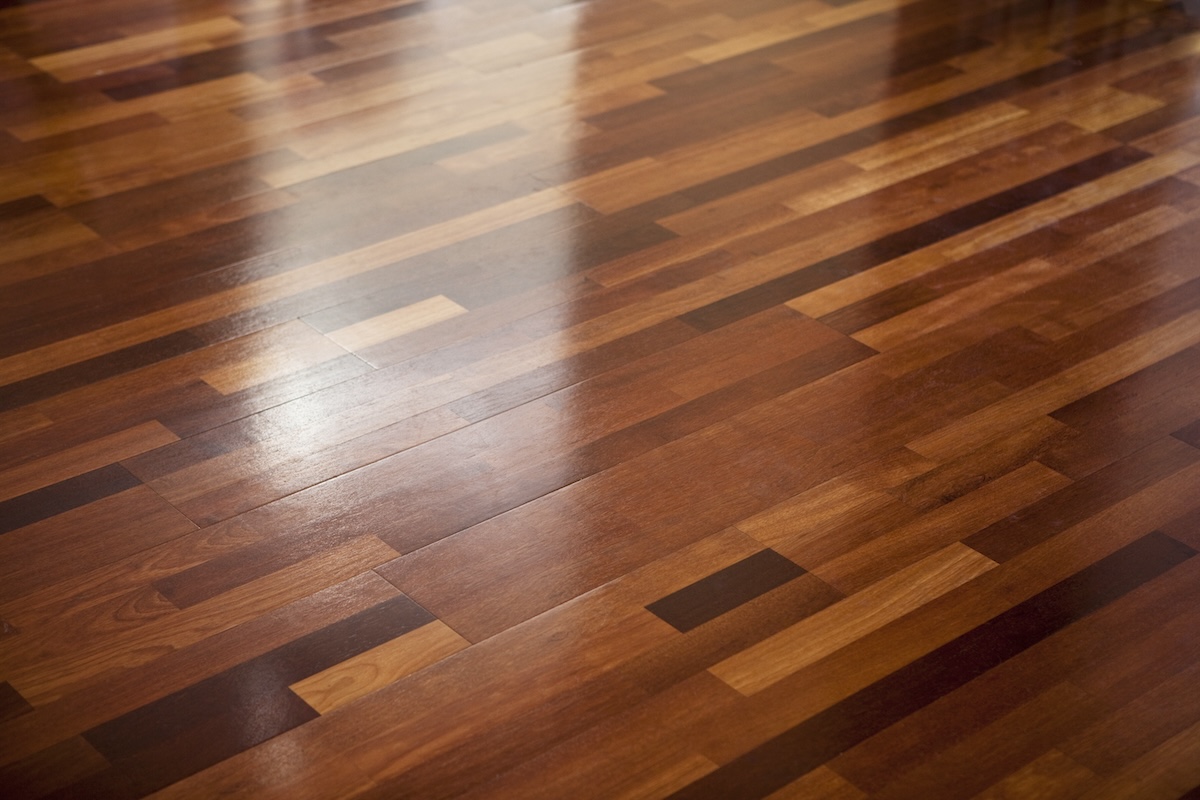
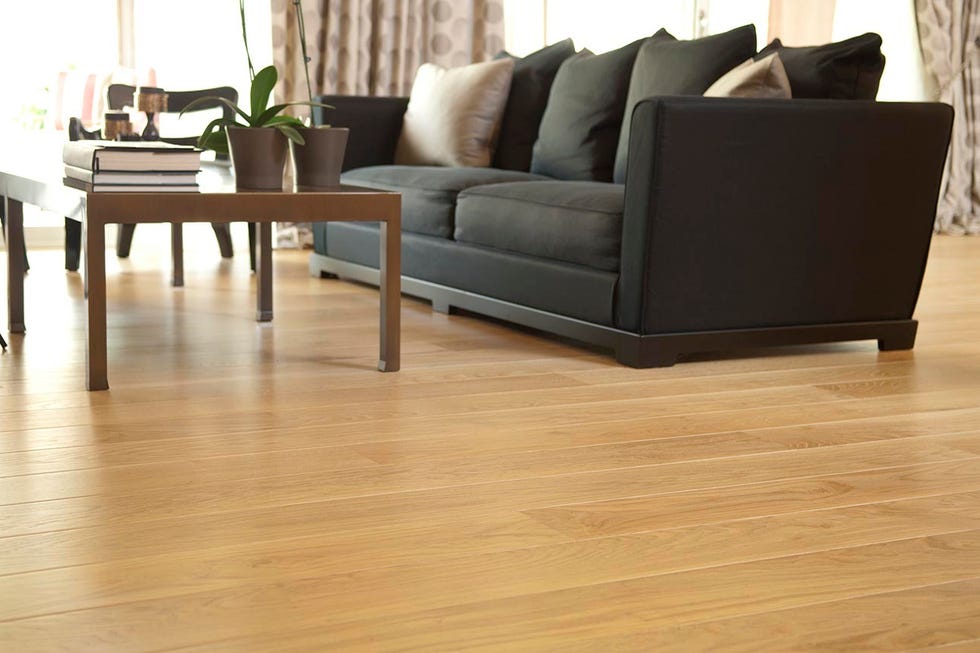
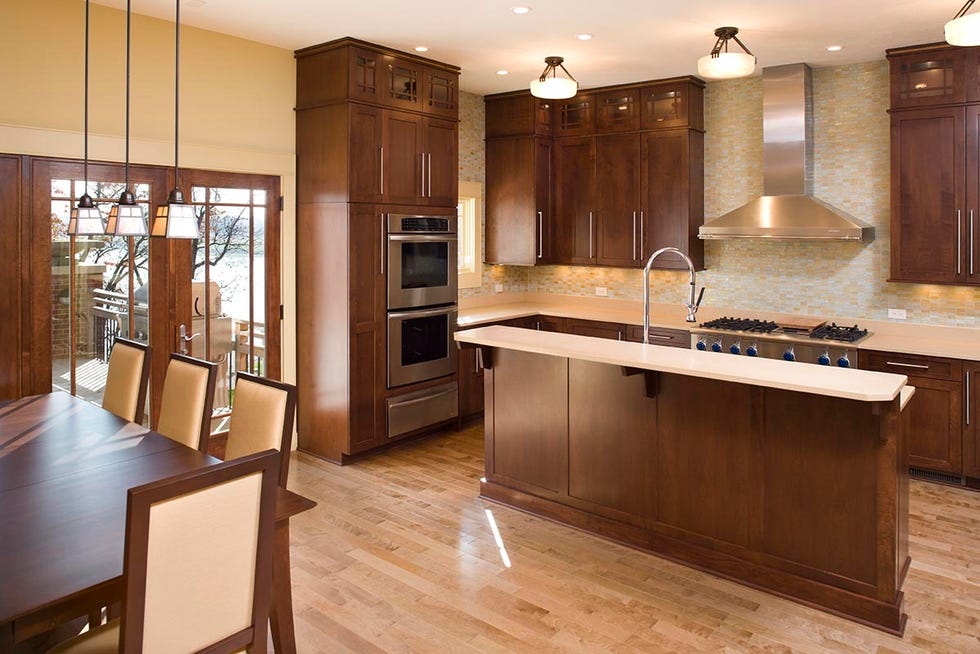
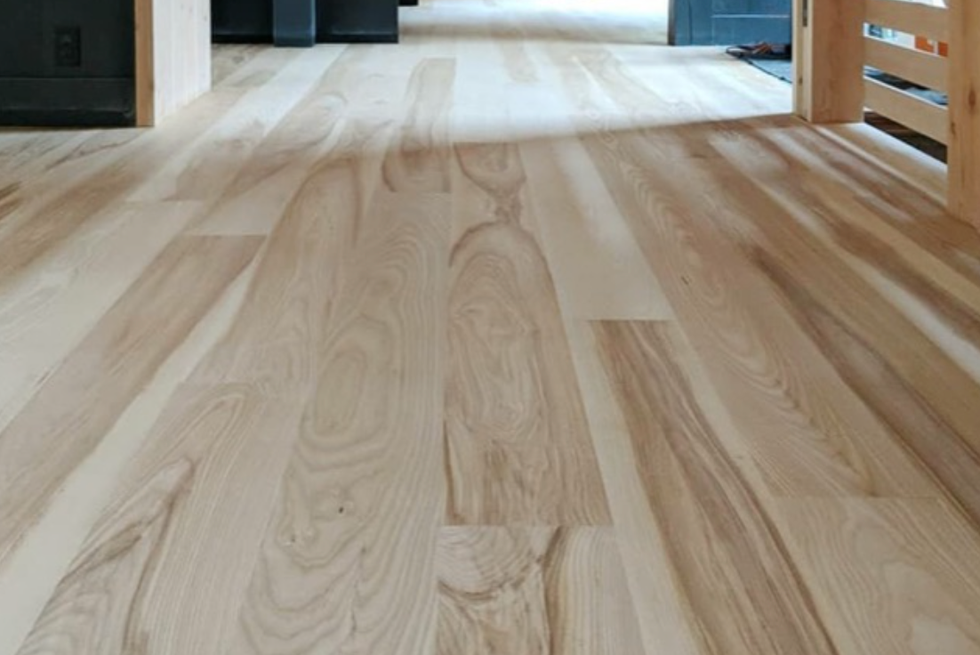
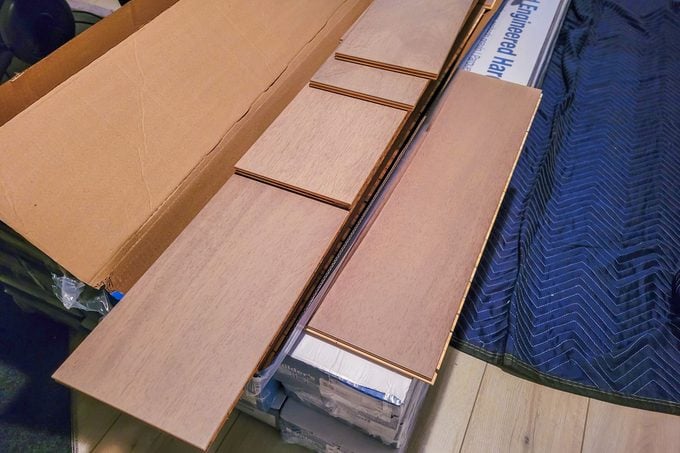
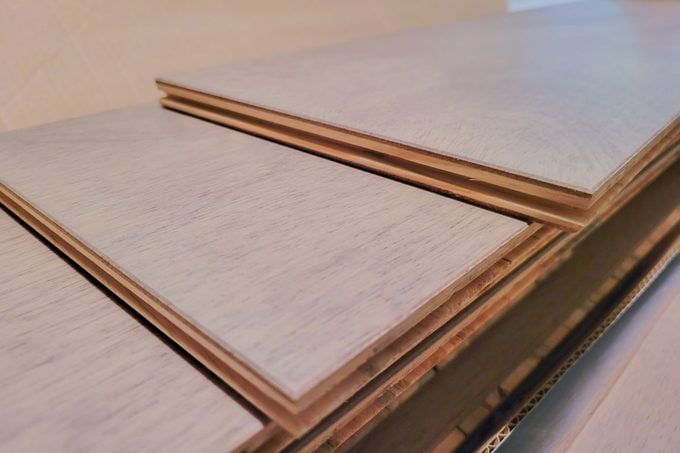
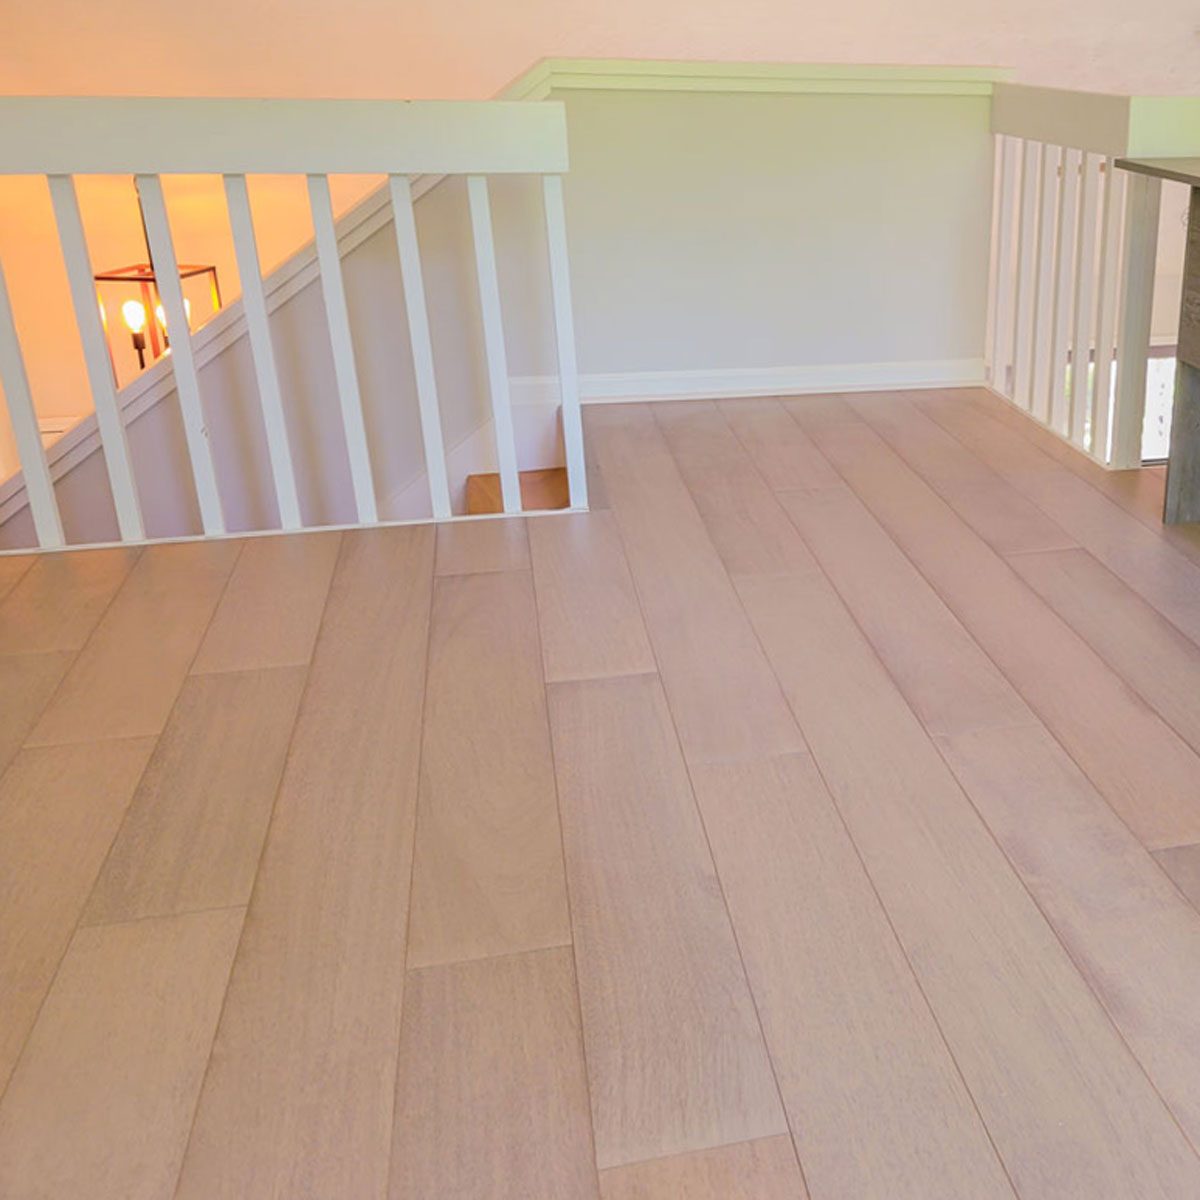
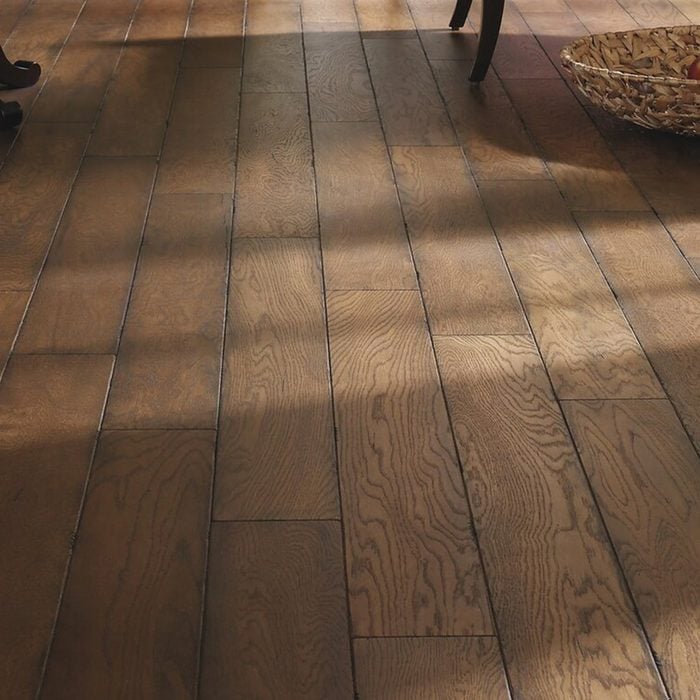
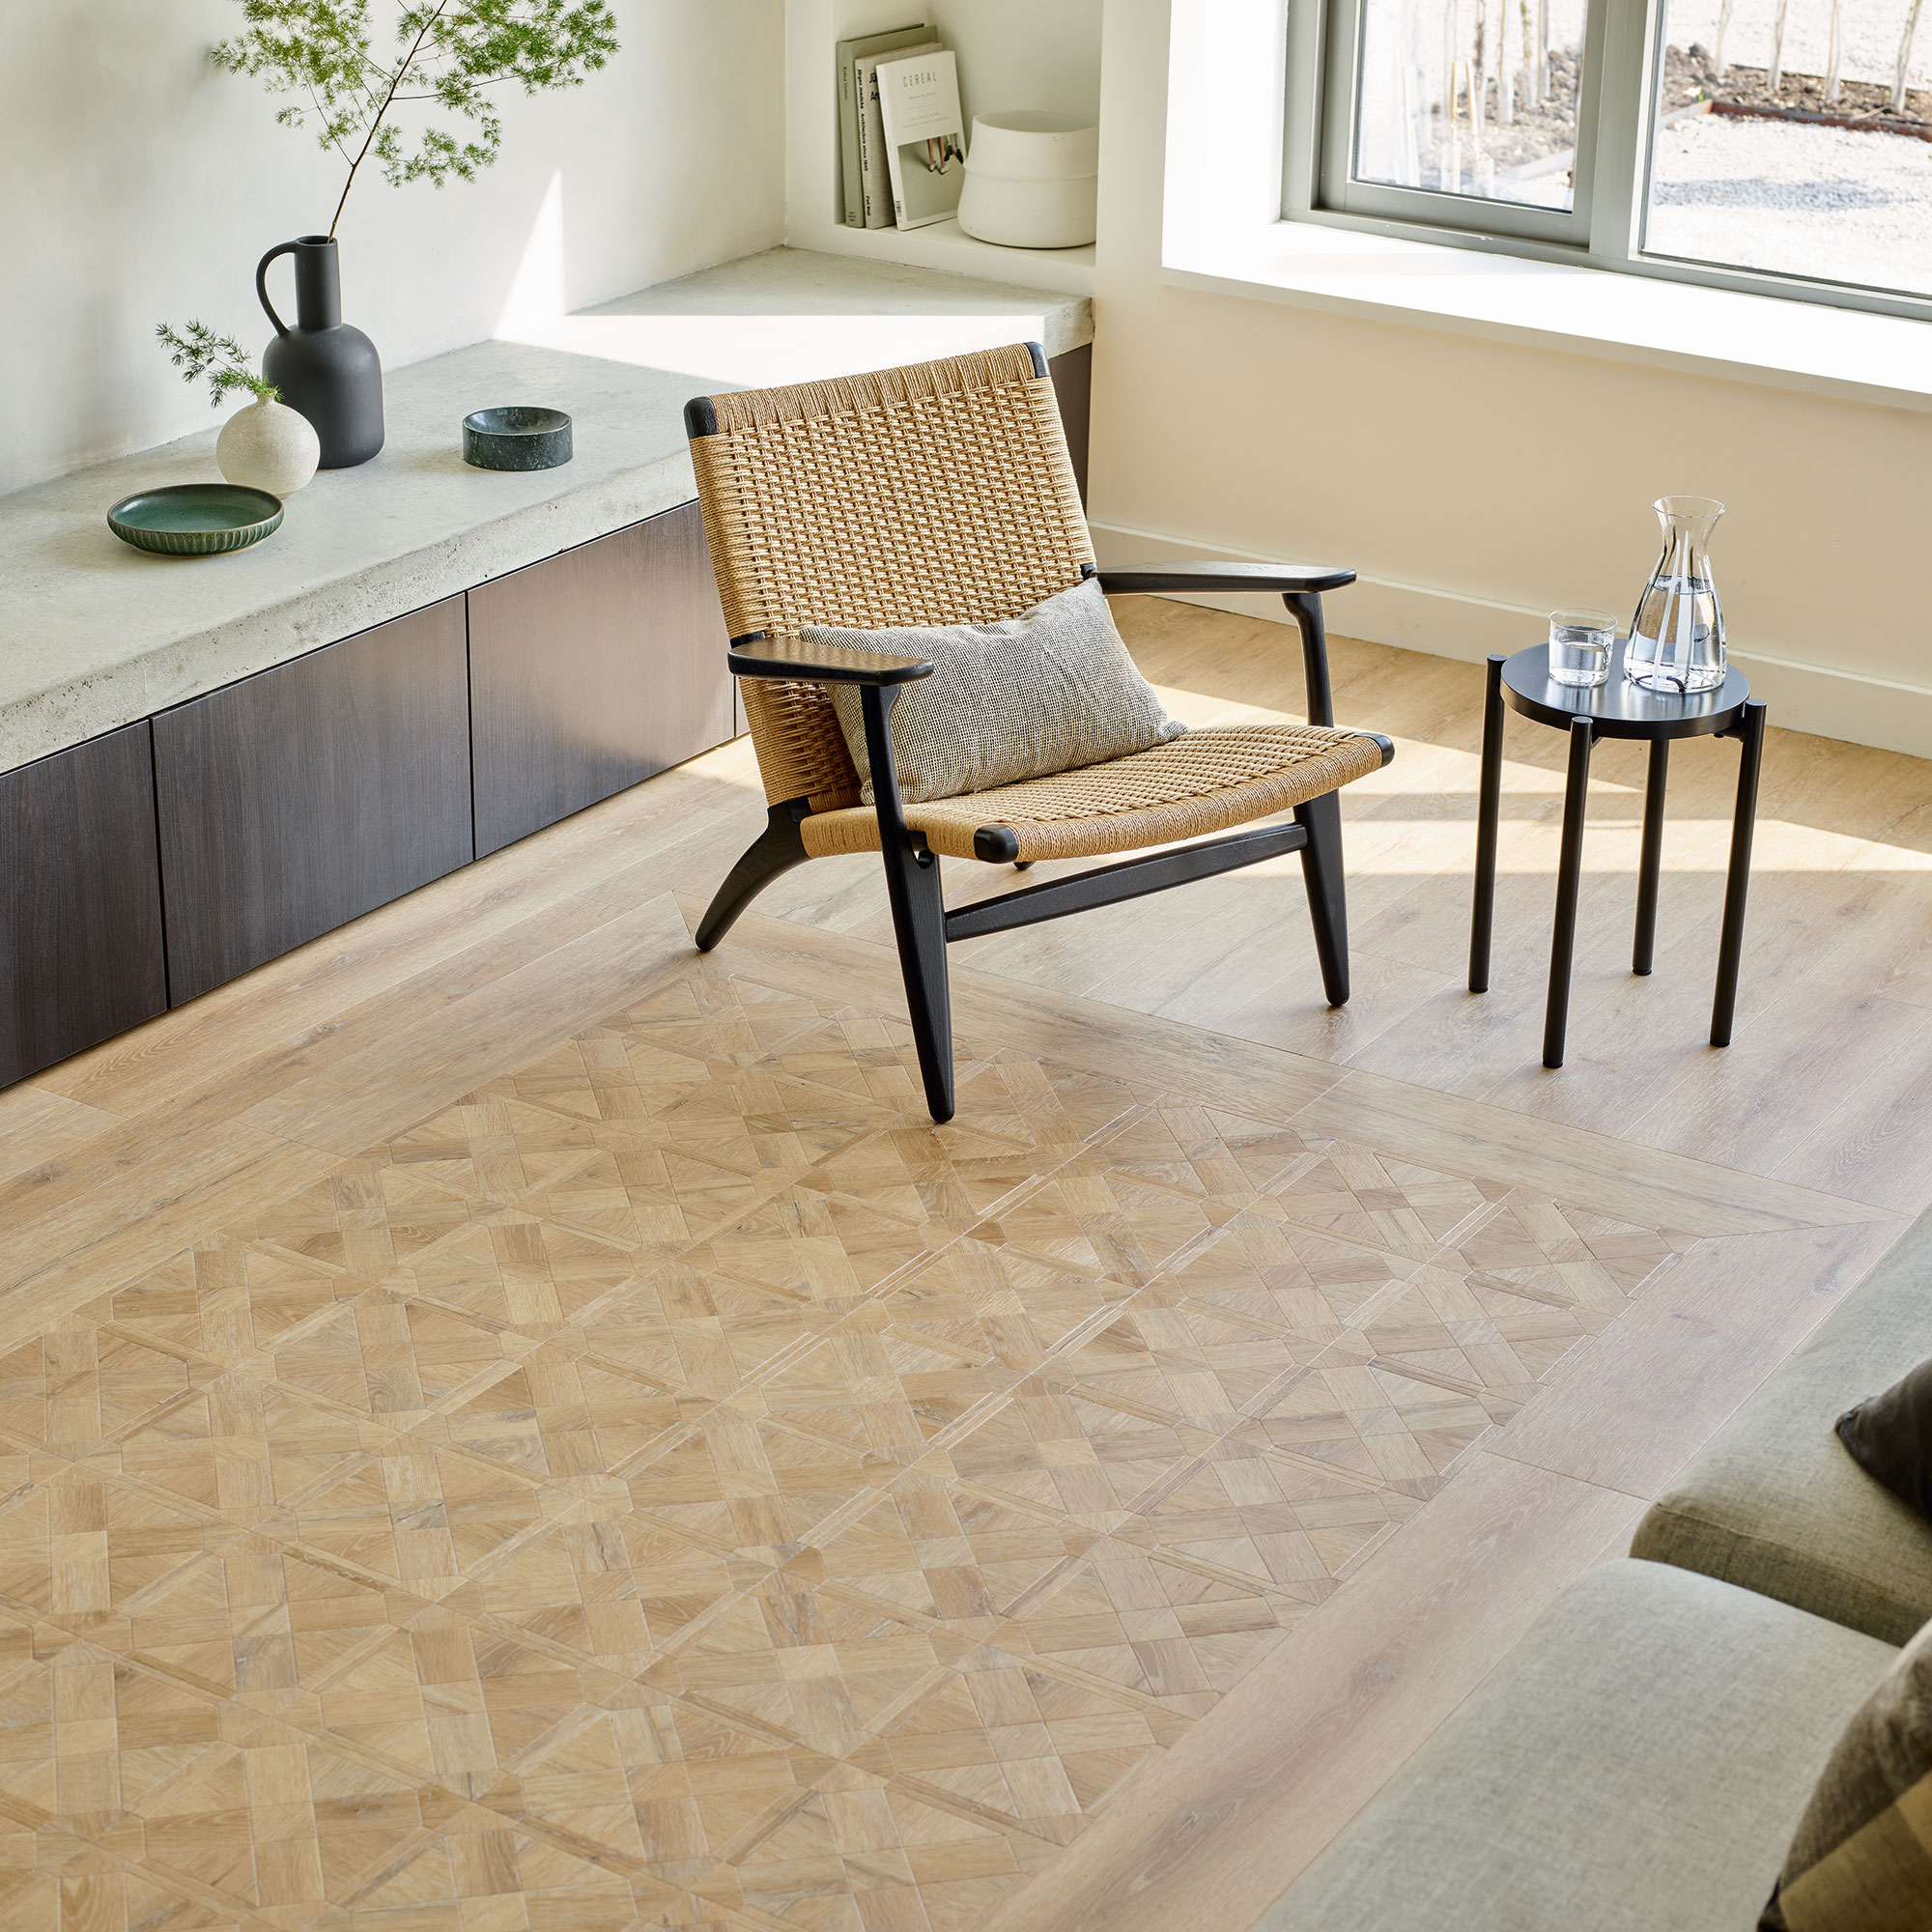
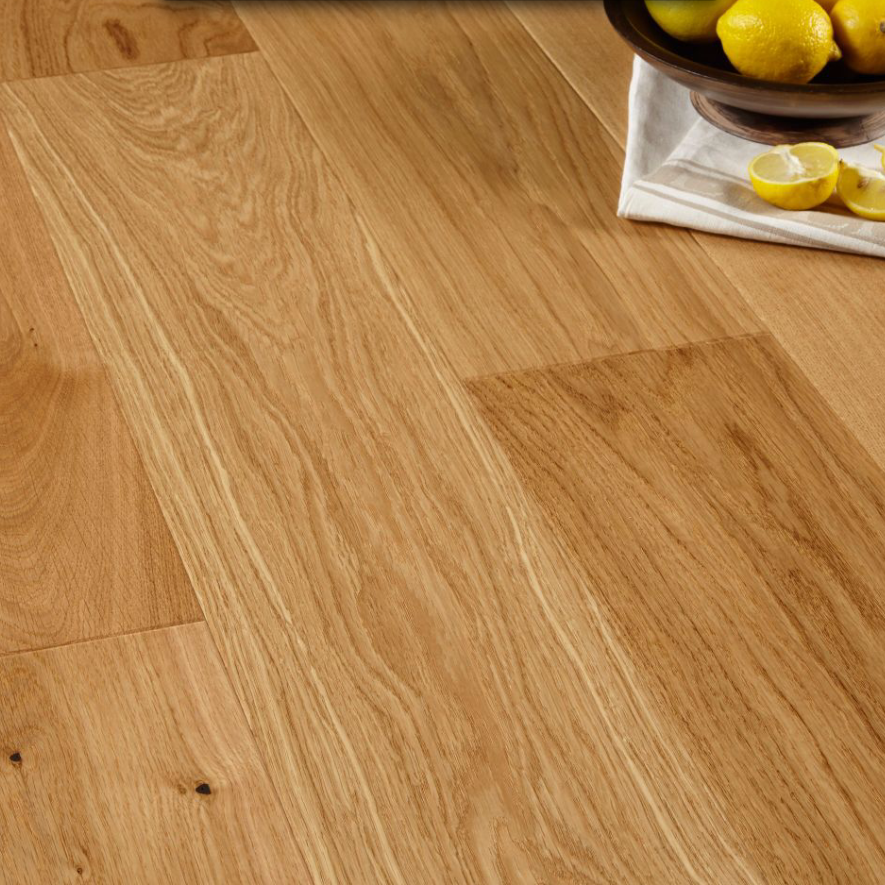
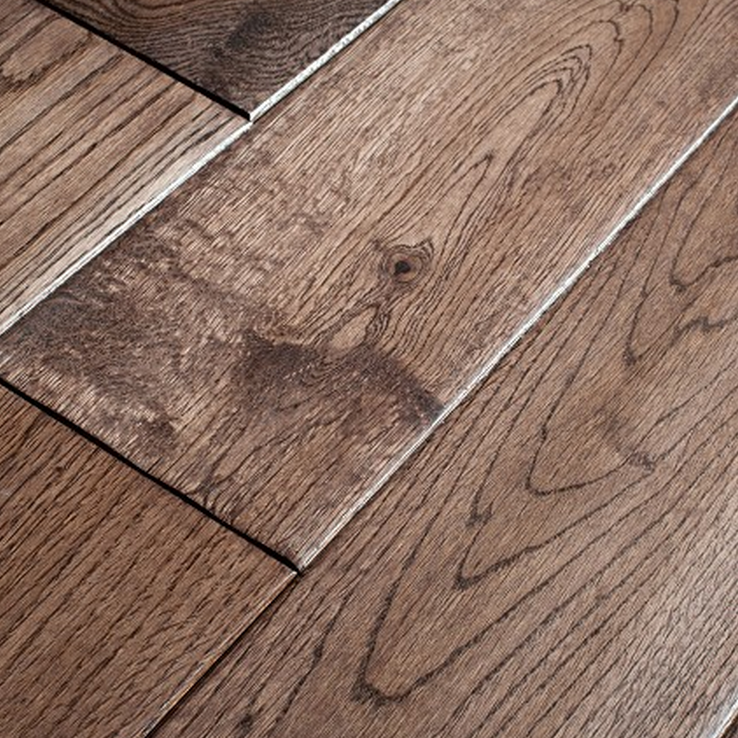
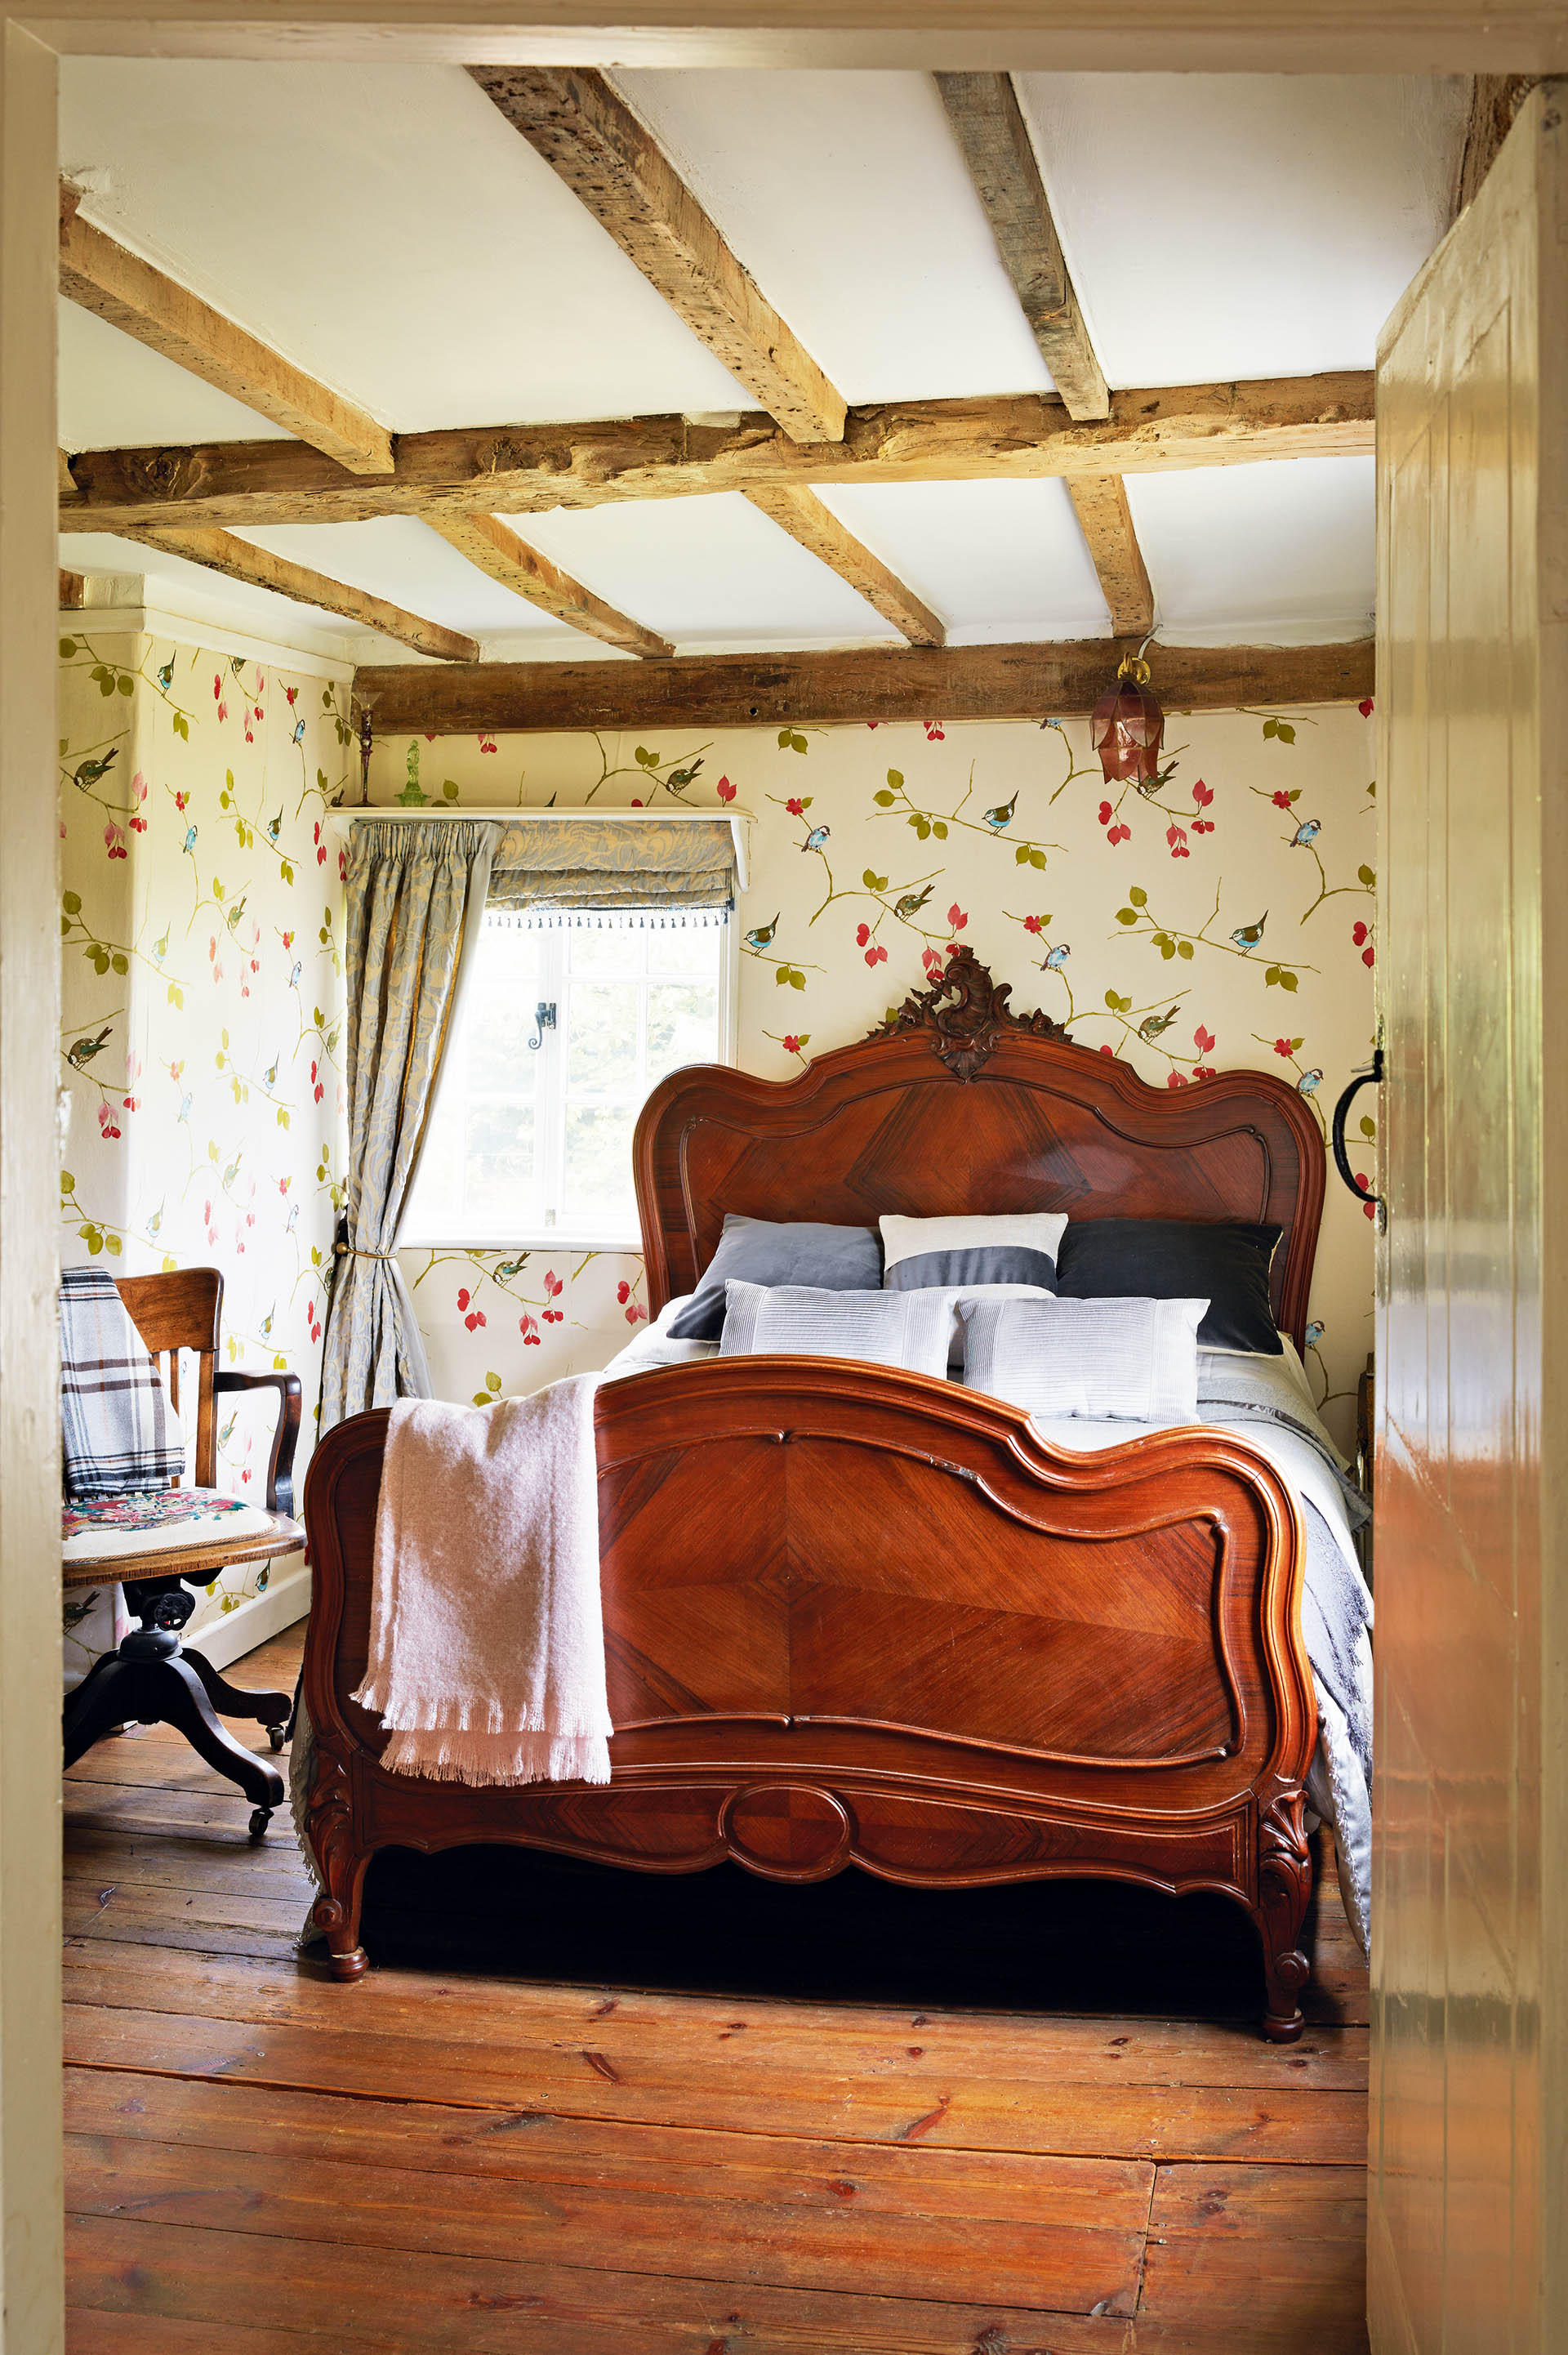
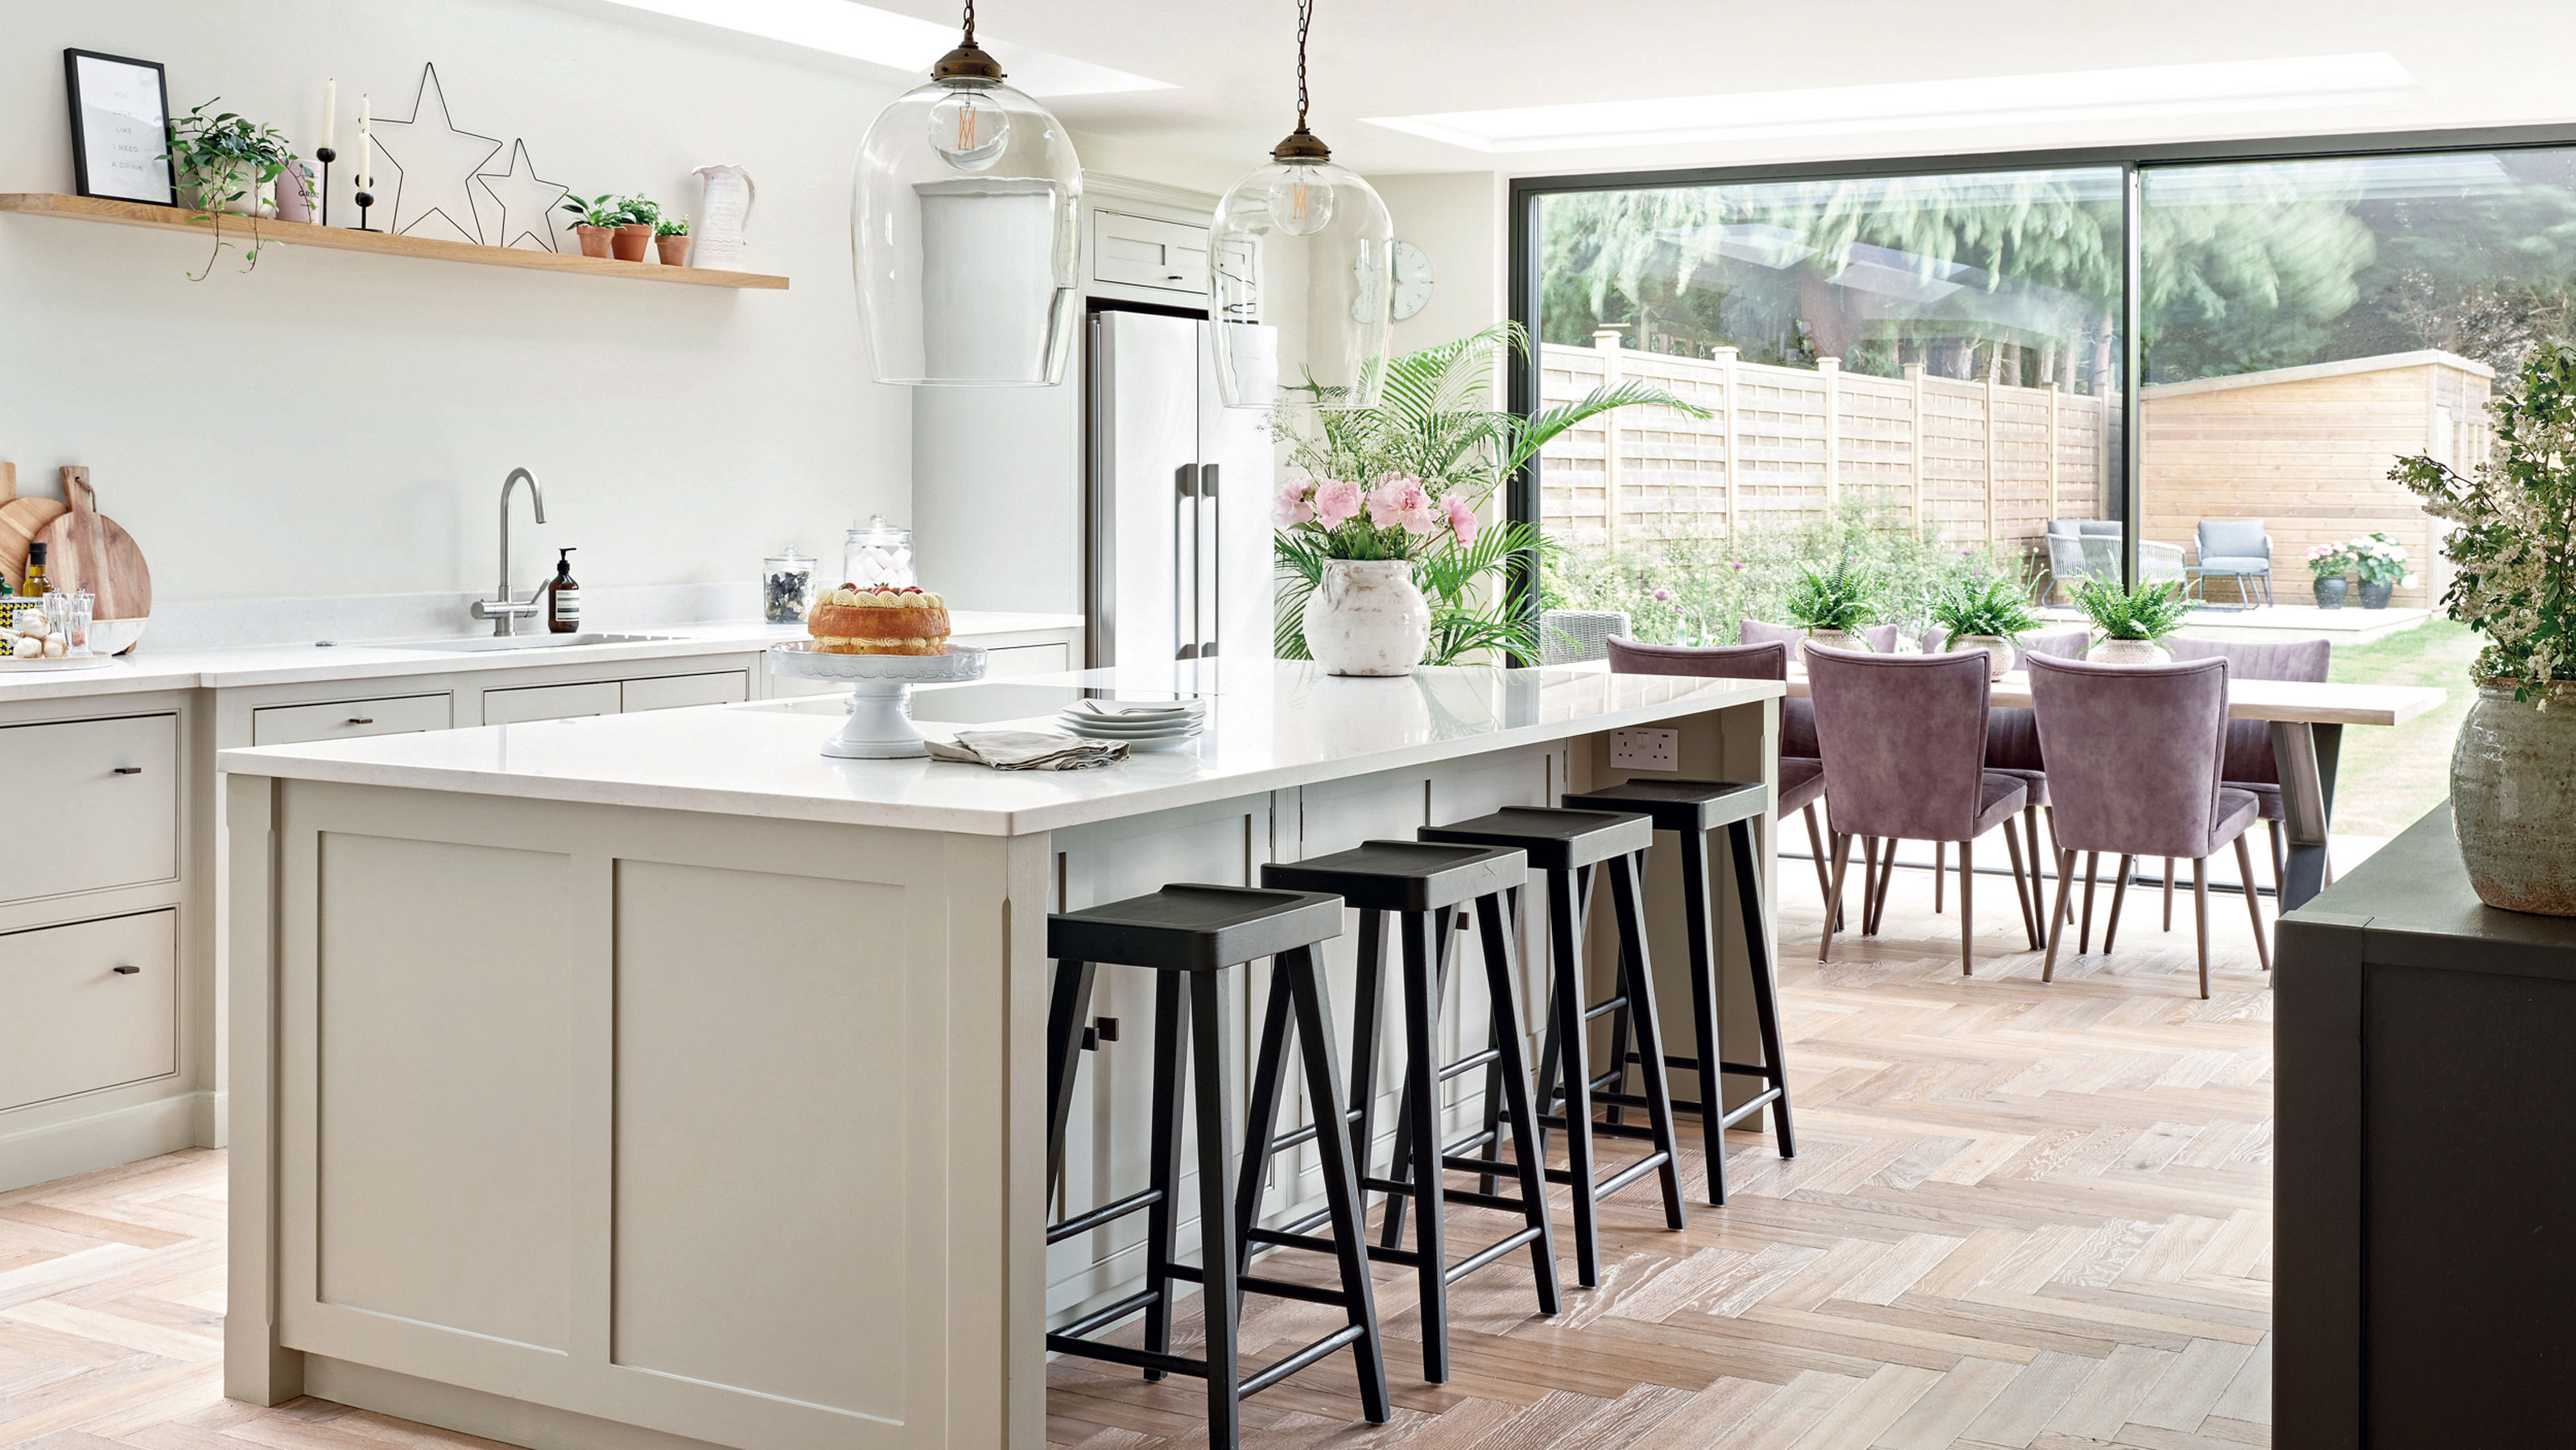
Engineered wood flooring offers a natural and aesthetically pleasing alternative to solid hardwood, often at a more accessible price point. Its construction, featuring a plywood base topped with a hardwood layer, contributes to its stability and reduced susceptibility to movement, such as shrinkage, expansion, and cupping. This makes it an ideal choice for various applications, including installation over hydronic floor heating systems. Modern advancements in manufacturing have also significantly improved the visual appeal of engineered wood, with matte finishes and character-grade options making it virtually indistinguishable from solid wood.
Beyond its aesthetic and structural benefits, engineered wood flooring offers practical advantages. It typically allows for faster installation compared to solid timber, particularly when pre-finished, eliminating the need for on-site sanding and the associated dust, which is a significant plus during renovations. The availability of wider planks is another notable feature, enhancing the visual spaciousness of a room. Furthermore, engineered wood flooring is considered a sustainable option because it uses less material than solid wood and can still be sanded and refinished years later, prolonging its lifespan.
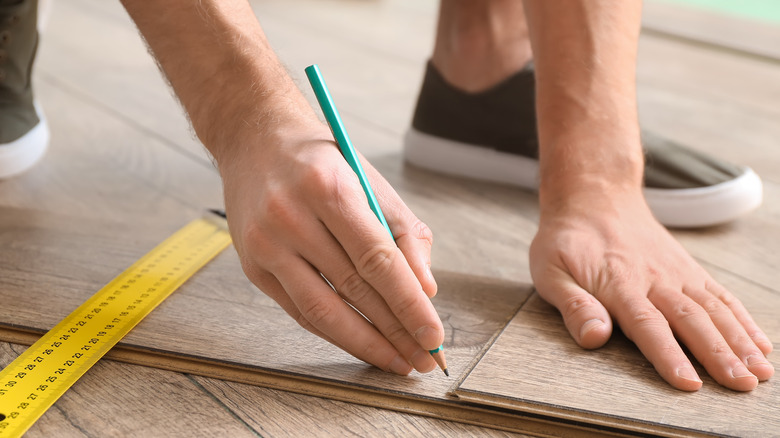
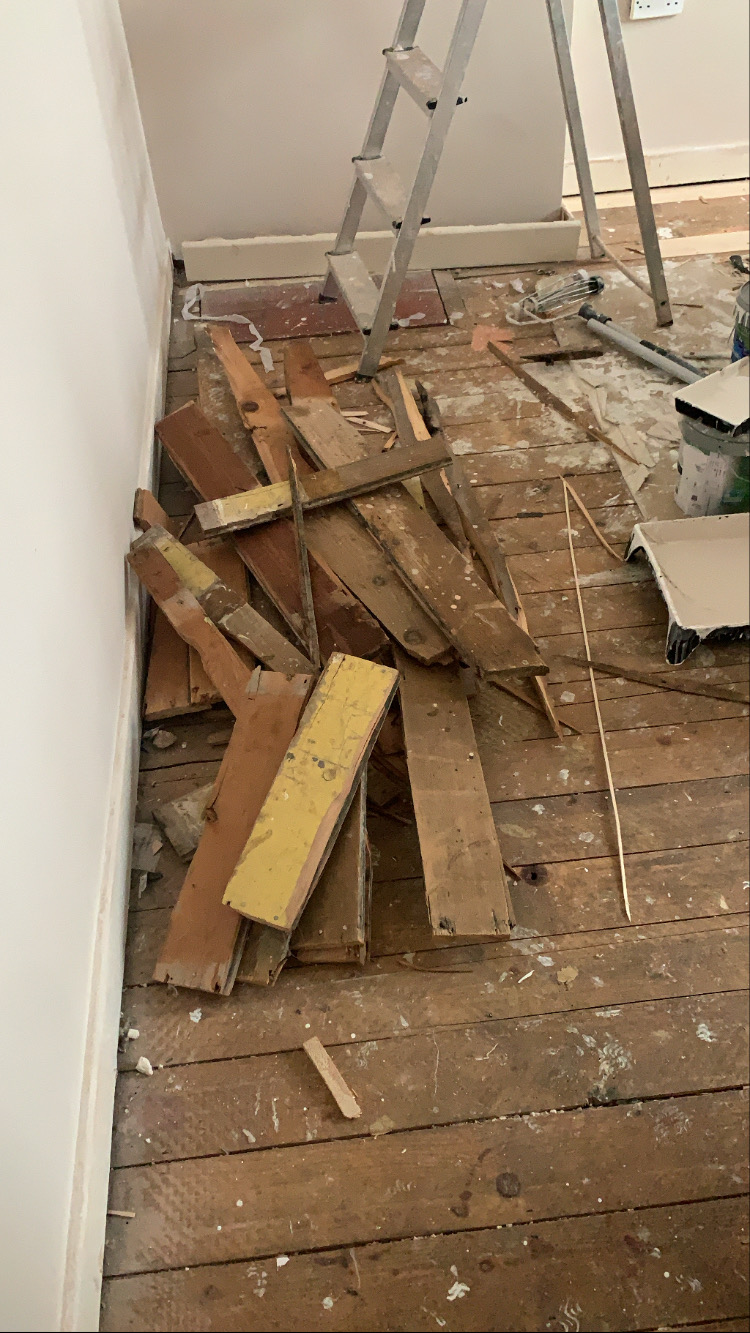
Regardless of the installation method chosen, thorough subfloor preparation is paramount. This involves ensuring the subfloor is level, clean, dry, and flat. Any holes or imperfections should be filled with a cement leveling compound. An essential step before installation is to allow the engineered wood planks to acclimate to the room's humidity and temperature for at least 48 hours. The type of subfloor—whether a framed floor or a slab-on-grade—will influence the choice of underlayment and any necessary waterproofing. Planning the flooring direction and joint layout is also crucial to avoid creating narrow slivers of material at the edges of the room.
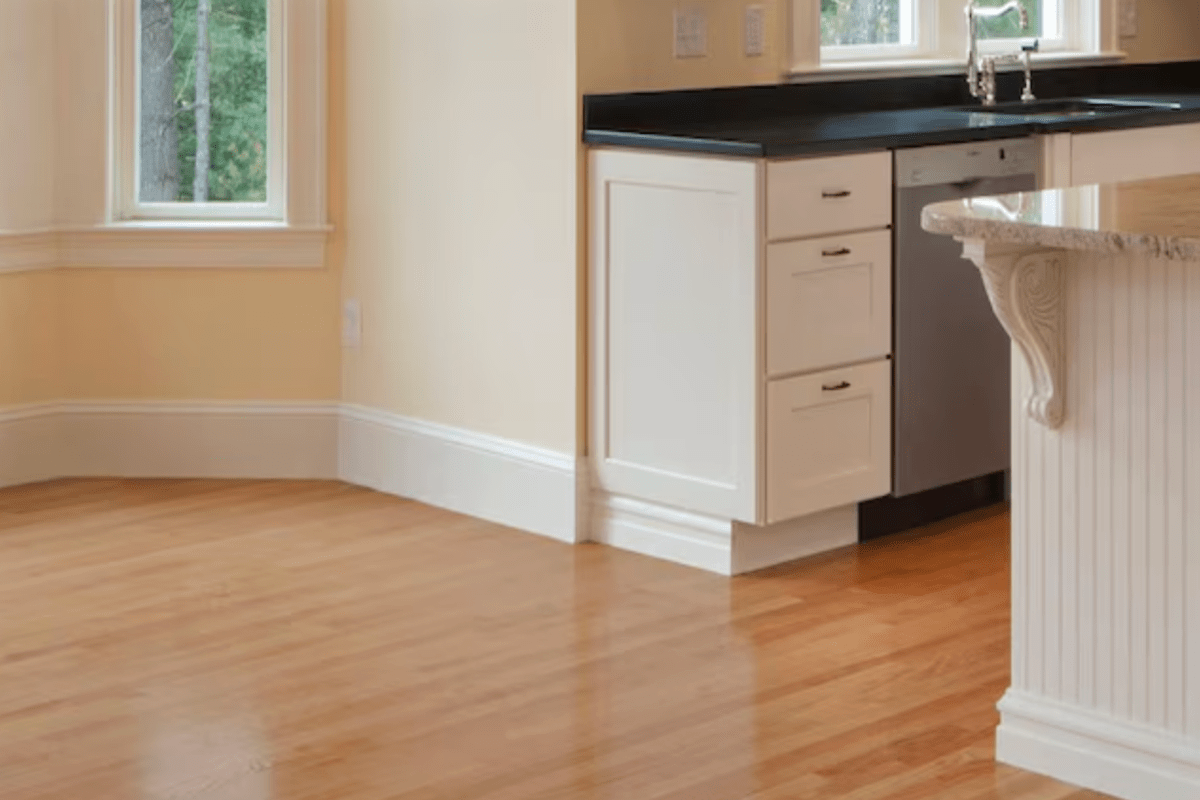
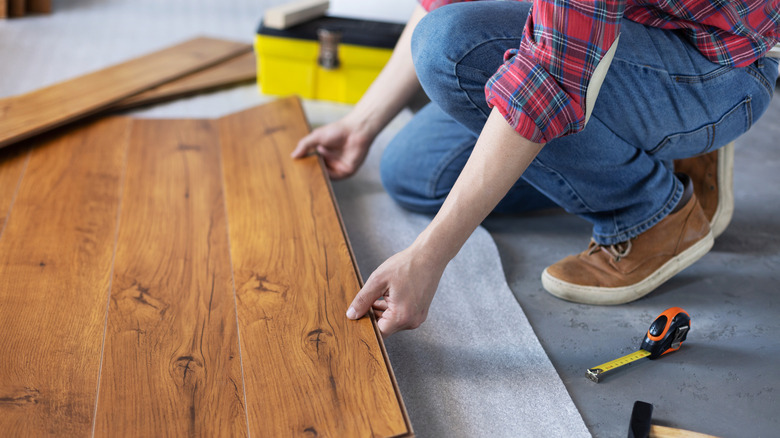
Three primary methods for installing engineered wood flooring are commonly employed. The glue-down method is recommended for concrete subfloors. This process involves spreading adhesive in small sections, firmly placing planks, and maintaining a consistent half-inch expansion gap around the perimeter of the room and against any obstacles. It is vital to clean any adhesive from the surface as work progresses.
The staple-down method is suitable for subfloors. Like the glue-down method, it requires maintaining an expansion gap using spacers. The process begins by pre-drilling and nailing the first few rows of planks with finishing nails, then securing subsequent rows by driving staples into the hardwood at regular intervals, typically every three to four inches, holding the staple gun at a 45-degree angle. Blending planks from different boxes during installation helps achieve a cohesive look.
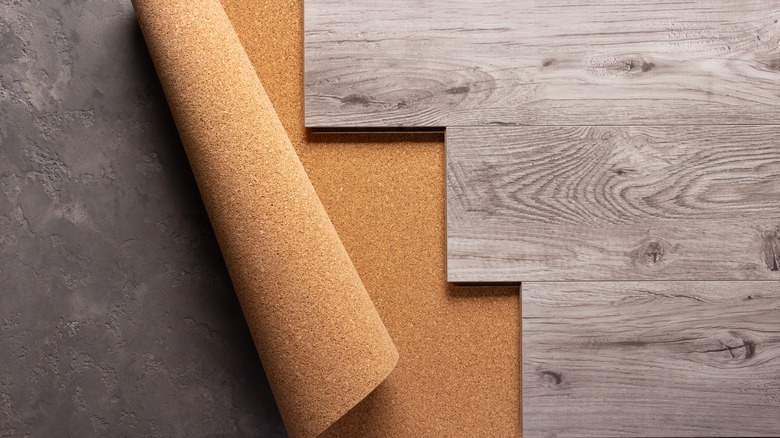
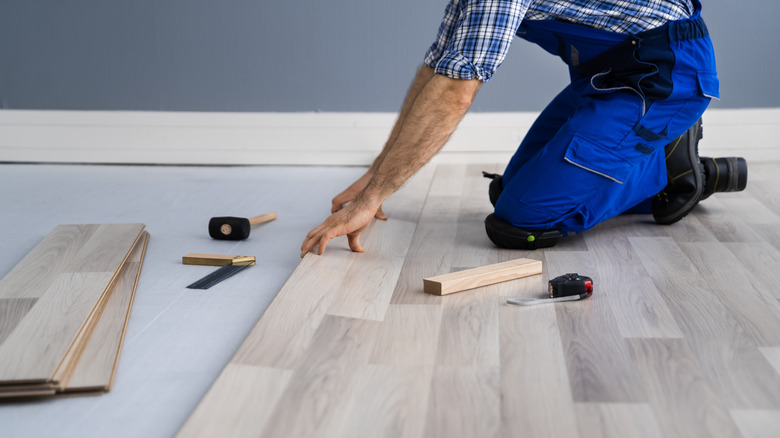
Finally, the floating method is considered the easiest and works well over existing surfaces like vinyl, as it requires neither adhesive nor nails. This method relies on the planks locking together. An underlayment, such as rubber or cork, is recommended for moisture barriers and noise reduction. Spacers are used to maintain the expansion gap, and a tapping block can assist in ensuring that the planks are securely interlocked. This approach simplifies installation while still providing a durable and attractive floor.
#EngineeredWoodFlooring #HomeImprovement #FlooringInstallation #DIYHome #InteriorDesign #FloorTypes #HomeRenovation #DesignTips #EngineeredWoodFlooring #HomeImprovement #FlooringInstallation #DIYHome #InteriorDesign #FloorTypes #HomeRenovation #DesignTips
0 comment in total
 No comments yet
You may also like
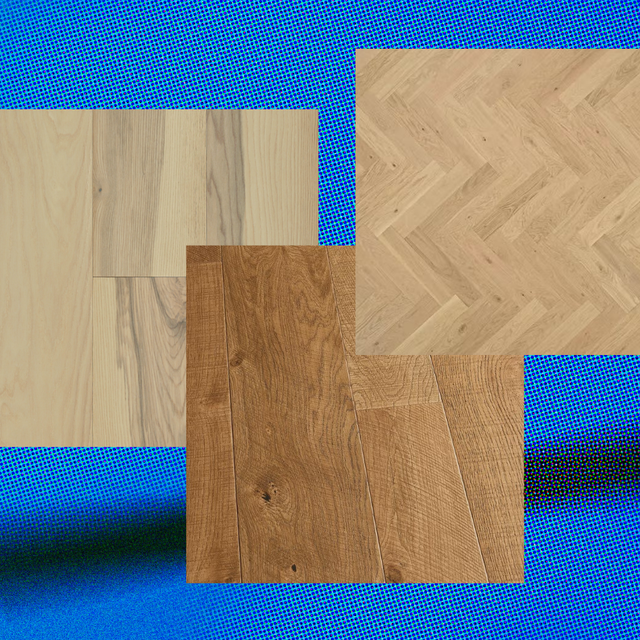
The Best Engineered Wood Flooring, According to Home Improvement Experts


A Home Improvement Expert Reveal the Best Hardwood Flooring

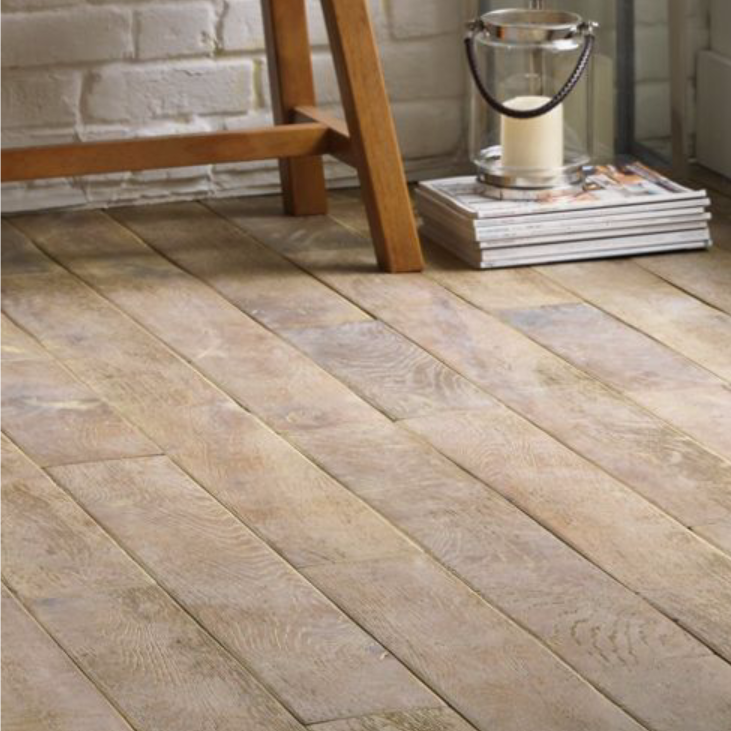
Wood Flooring – Our Pick of the Best

Different Types of Wood Flooring and What to Consider Before Installing

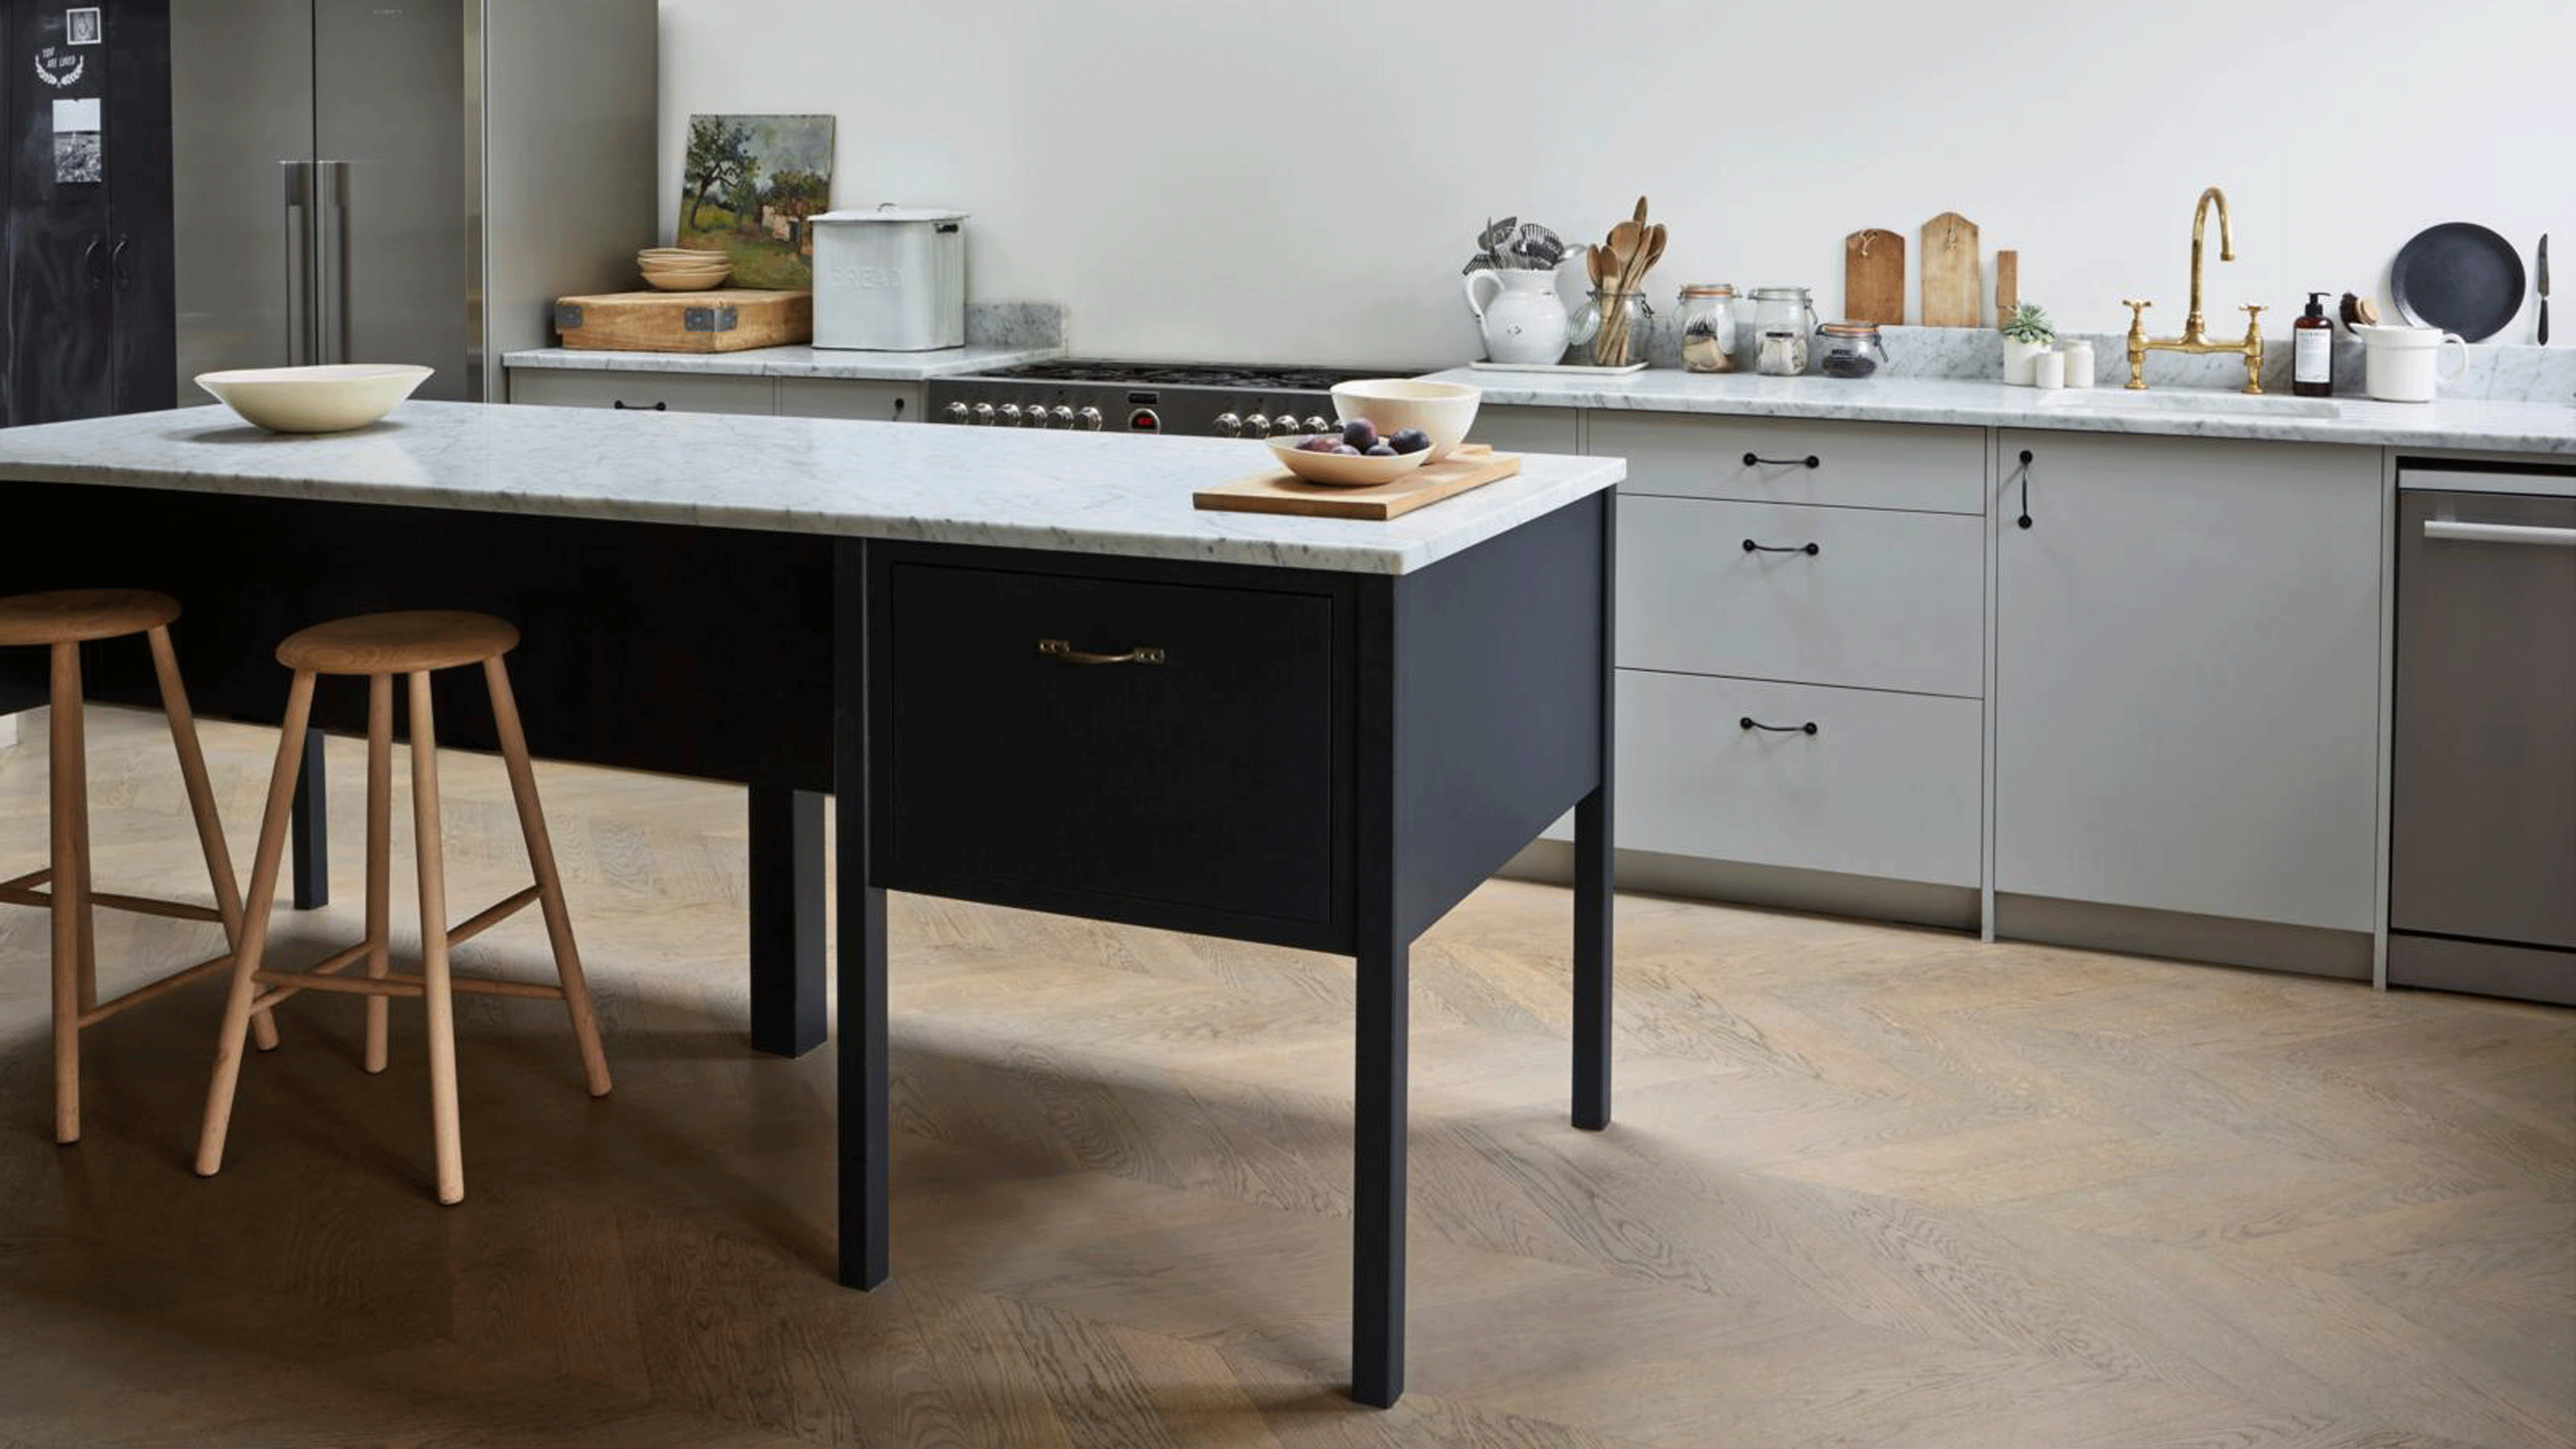
Engineered wood flooring – everything you need to know about choosing the right floor
LL Flooring Review: Our Thoughts on Quality, Install and Features

Why I Build: Brent Kelosky, Wood-Flooring Specialist


How Hardwood Flooring is Made at Advantage Lumber

Best way to cut laminate flooring – 3 easy steps to install a perfect new floor

Today’s evolving hardwood floors offer myriad choices
The Easiest Way To Install Laminate Flooring, According To An Expert
How to clean hardwood floors – experts reveal the best techniques

Your Guide to Wood Flooring

The 12 Best Engineered Wood Flooring Options, According to Testing and Reviews

3 steps to cover ugly wood floors mid-home reno


Q&A on wood flooring: How much it costs and more
Guide to Hardwood Floor Finishes

How to plan the perfect wood flooring - what you need to know about wood versus wood-style

Wood floor ideas for a living room – 10 practical and stylish looks for flooring
6 Mistakes You Should Avoid When Choosing Hardwood Floors, According to Home Reno Pros