1/9
Wallpaper mistakes to avoid – 7 of the most common errors and how to solve them
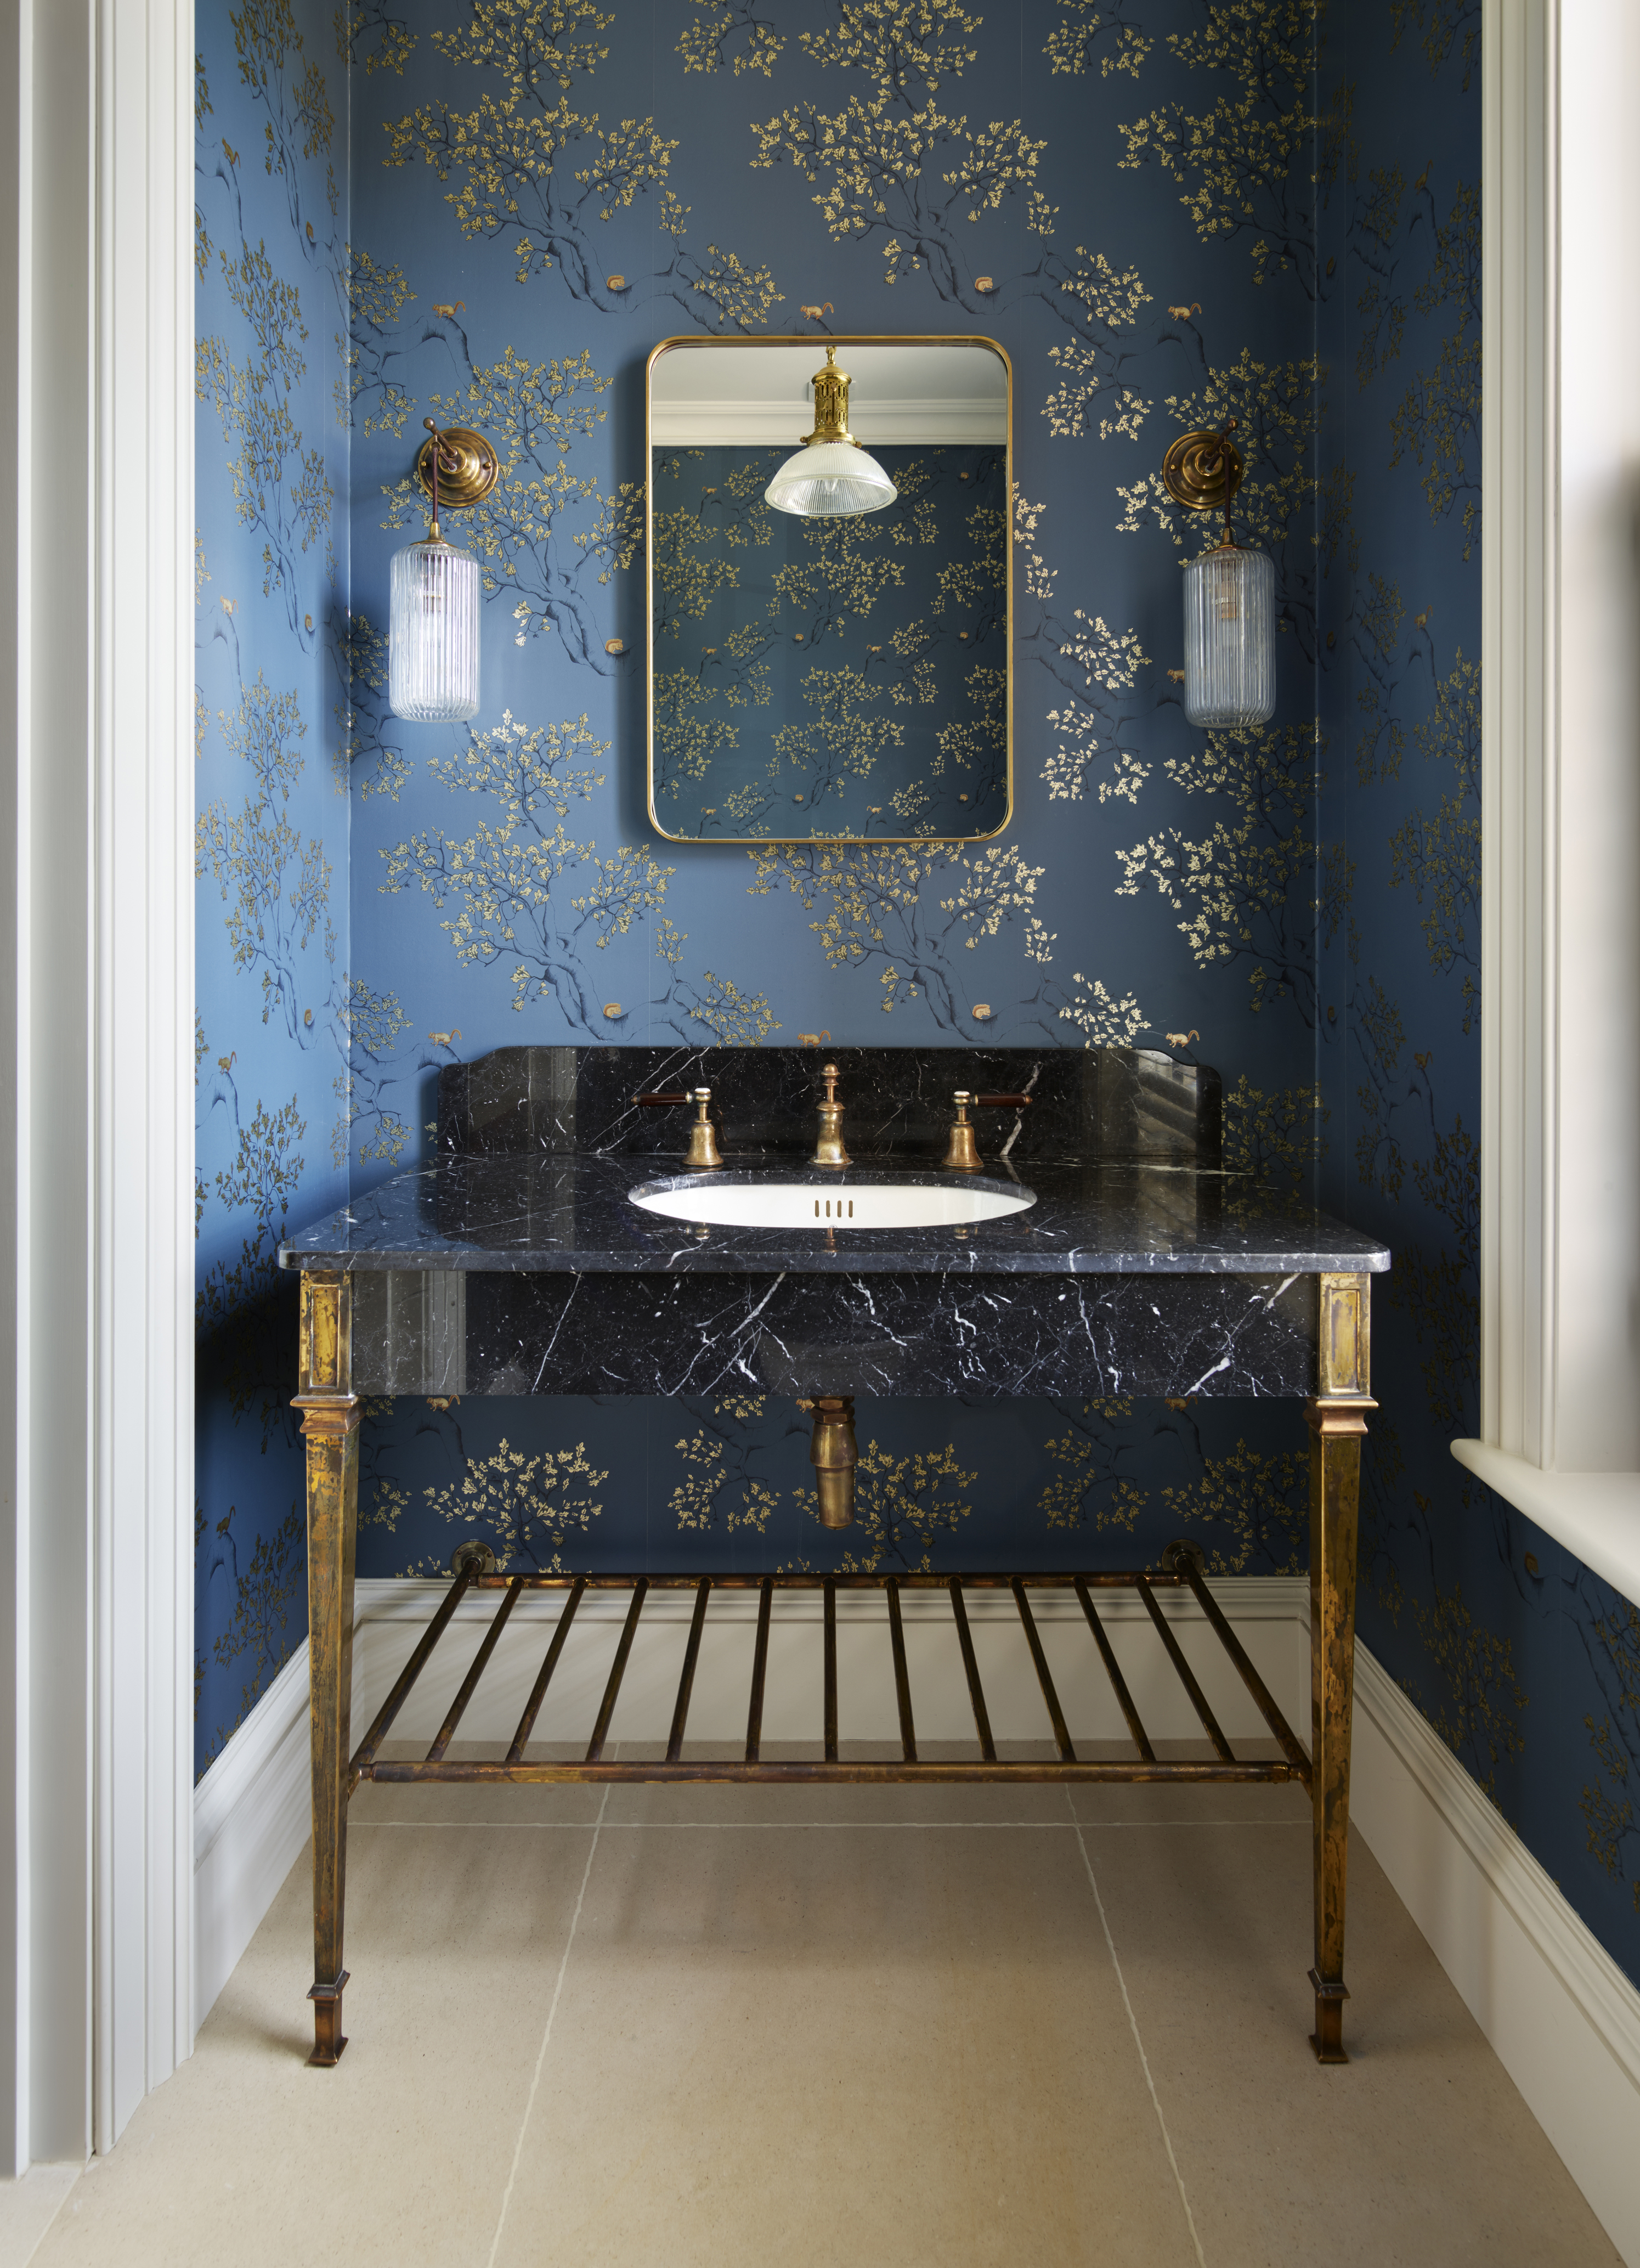
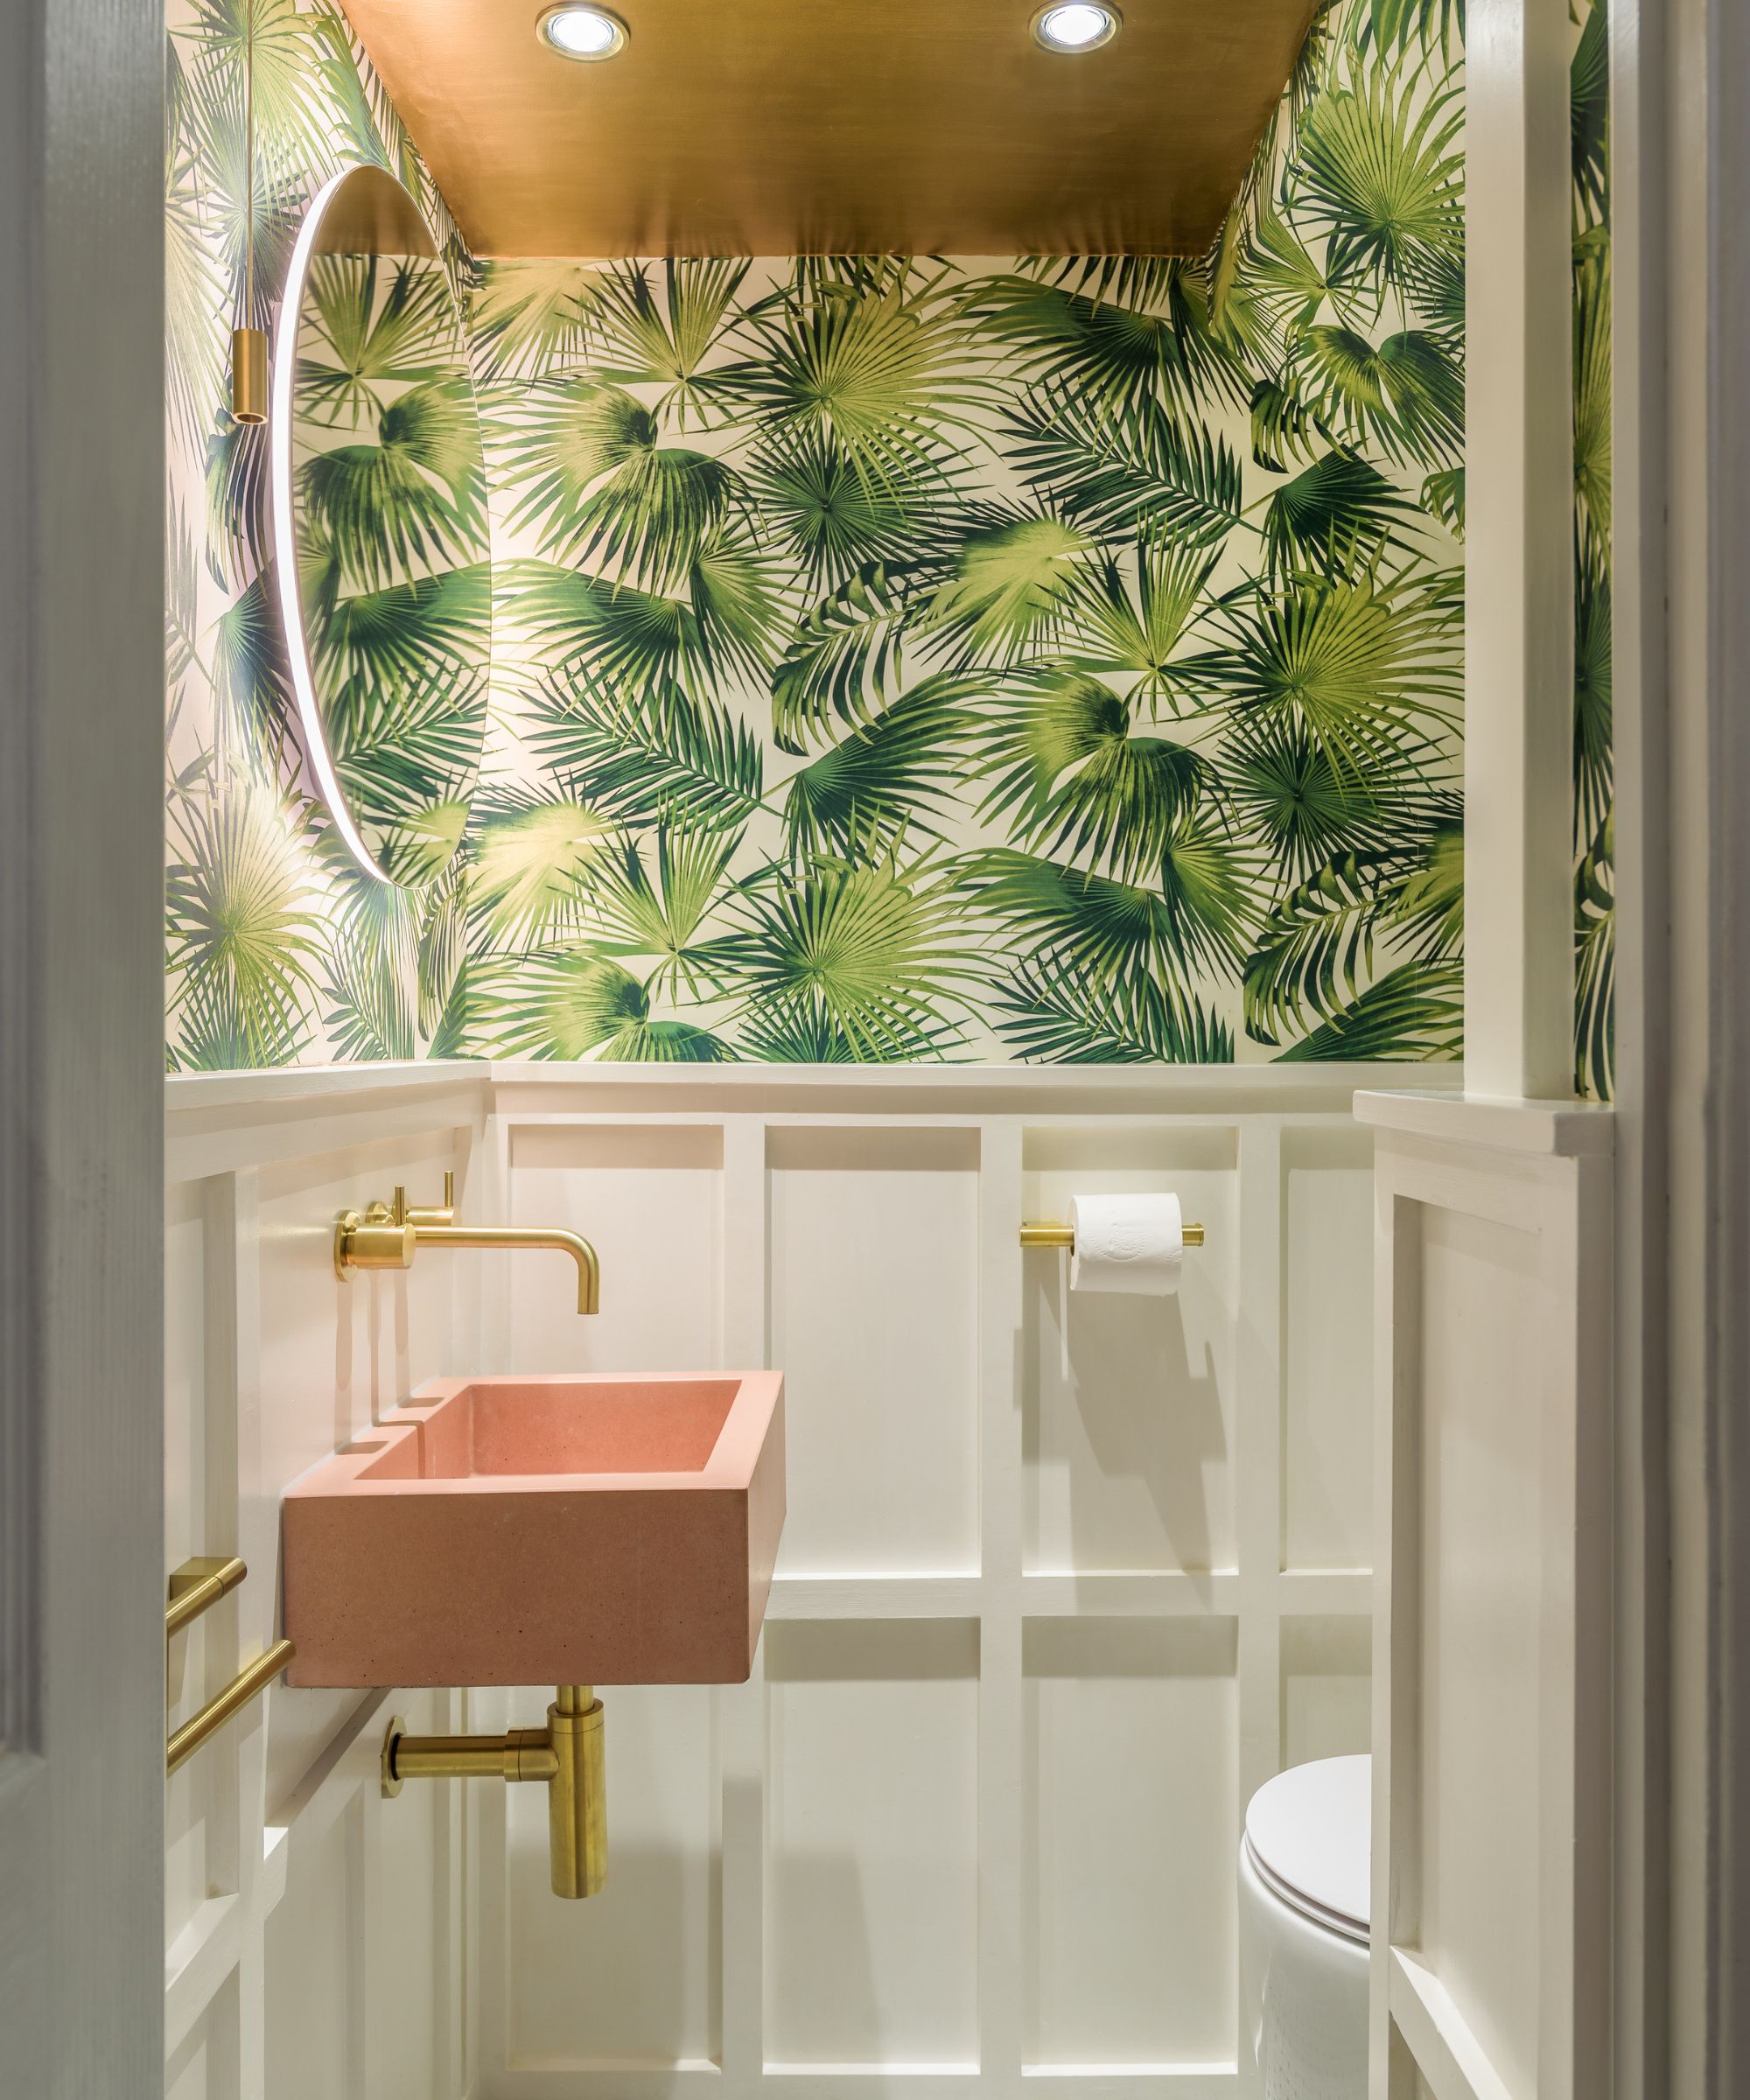
Wallpapering can transform a room, but common pitfalls can lead to unsatisfactory results. Pre-planning is crucial, starting with testing a wallpaper sample in the intended space. This allows observation of how light, reflection, and scale interact with the design throughout the day, and how the color, pattern, and texture harmonize with existing decor. This initial step helps prevent design mismatches and ensures the chosen wallpaper suits the room's ambiance.
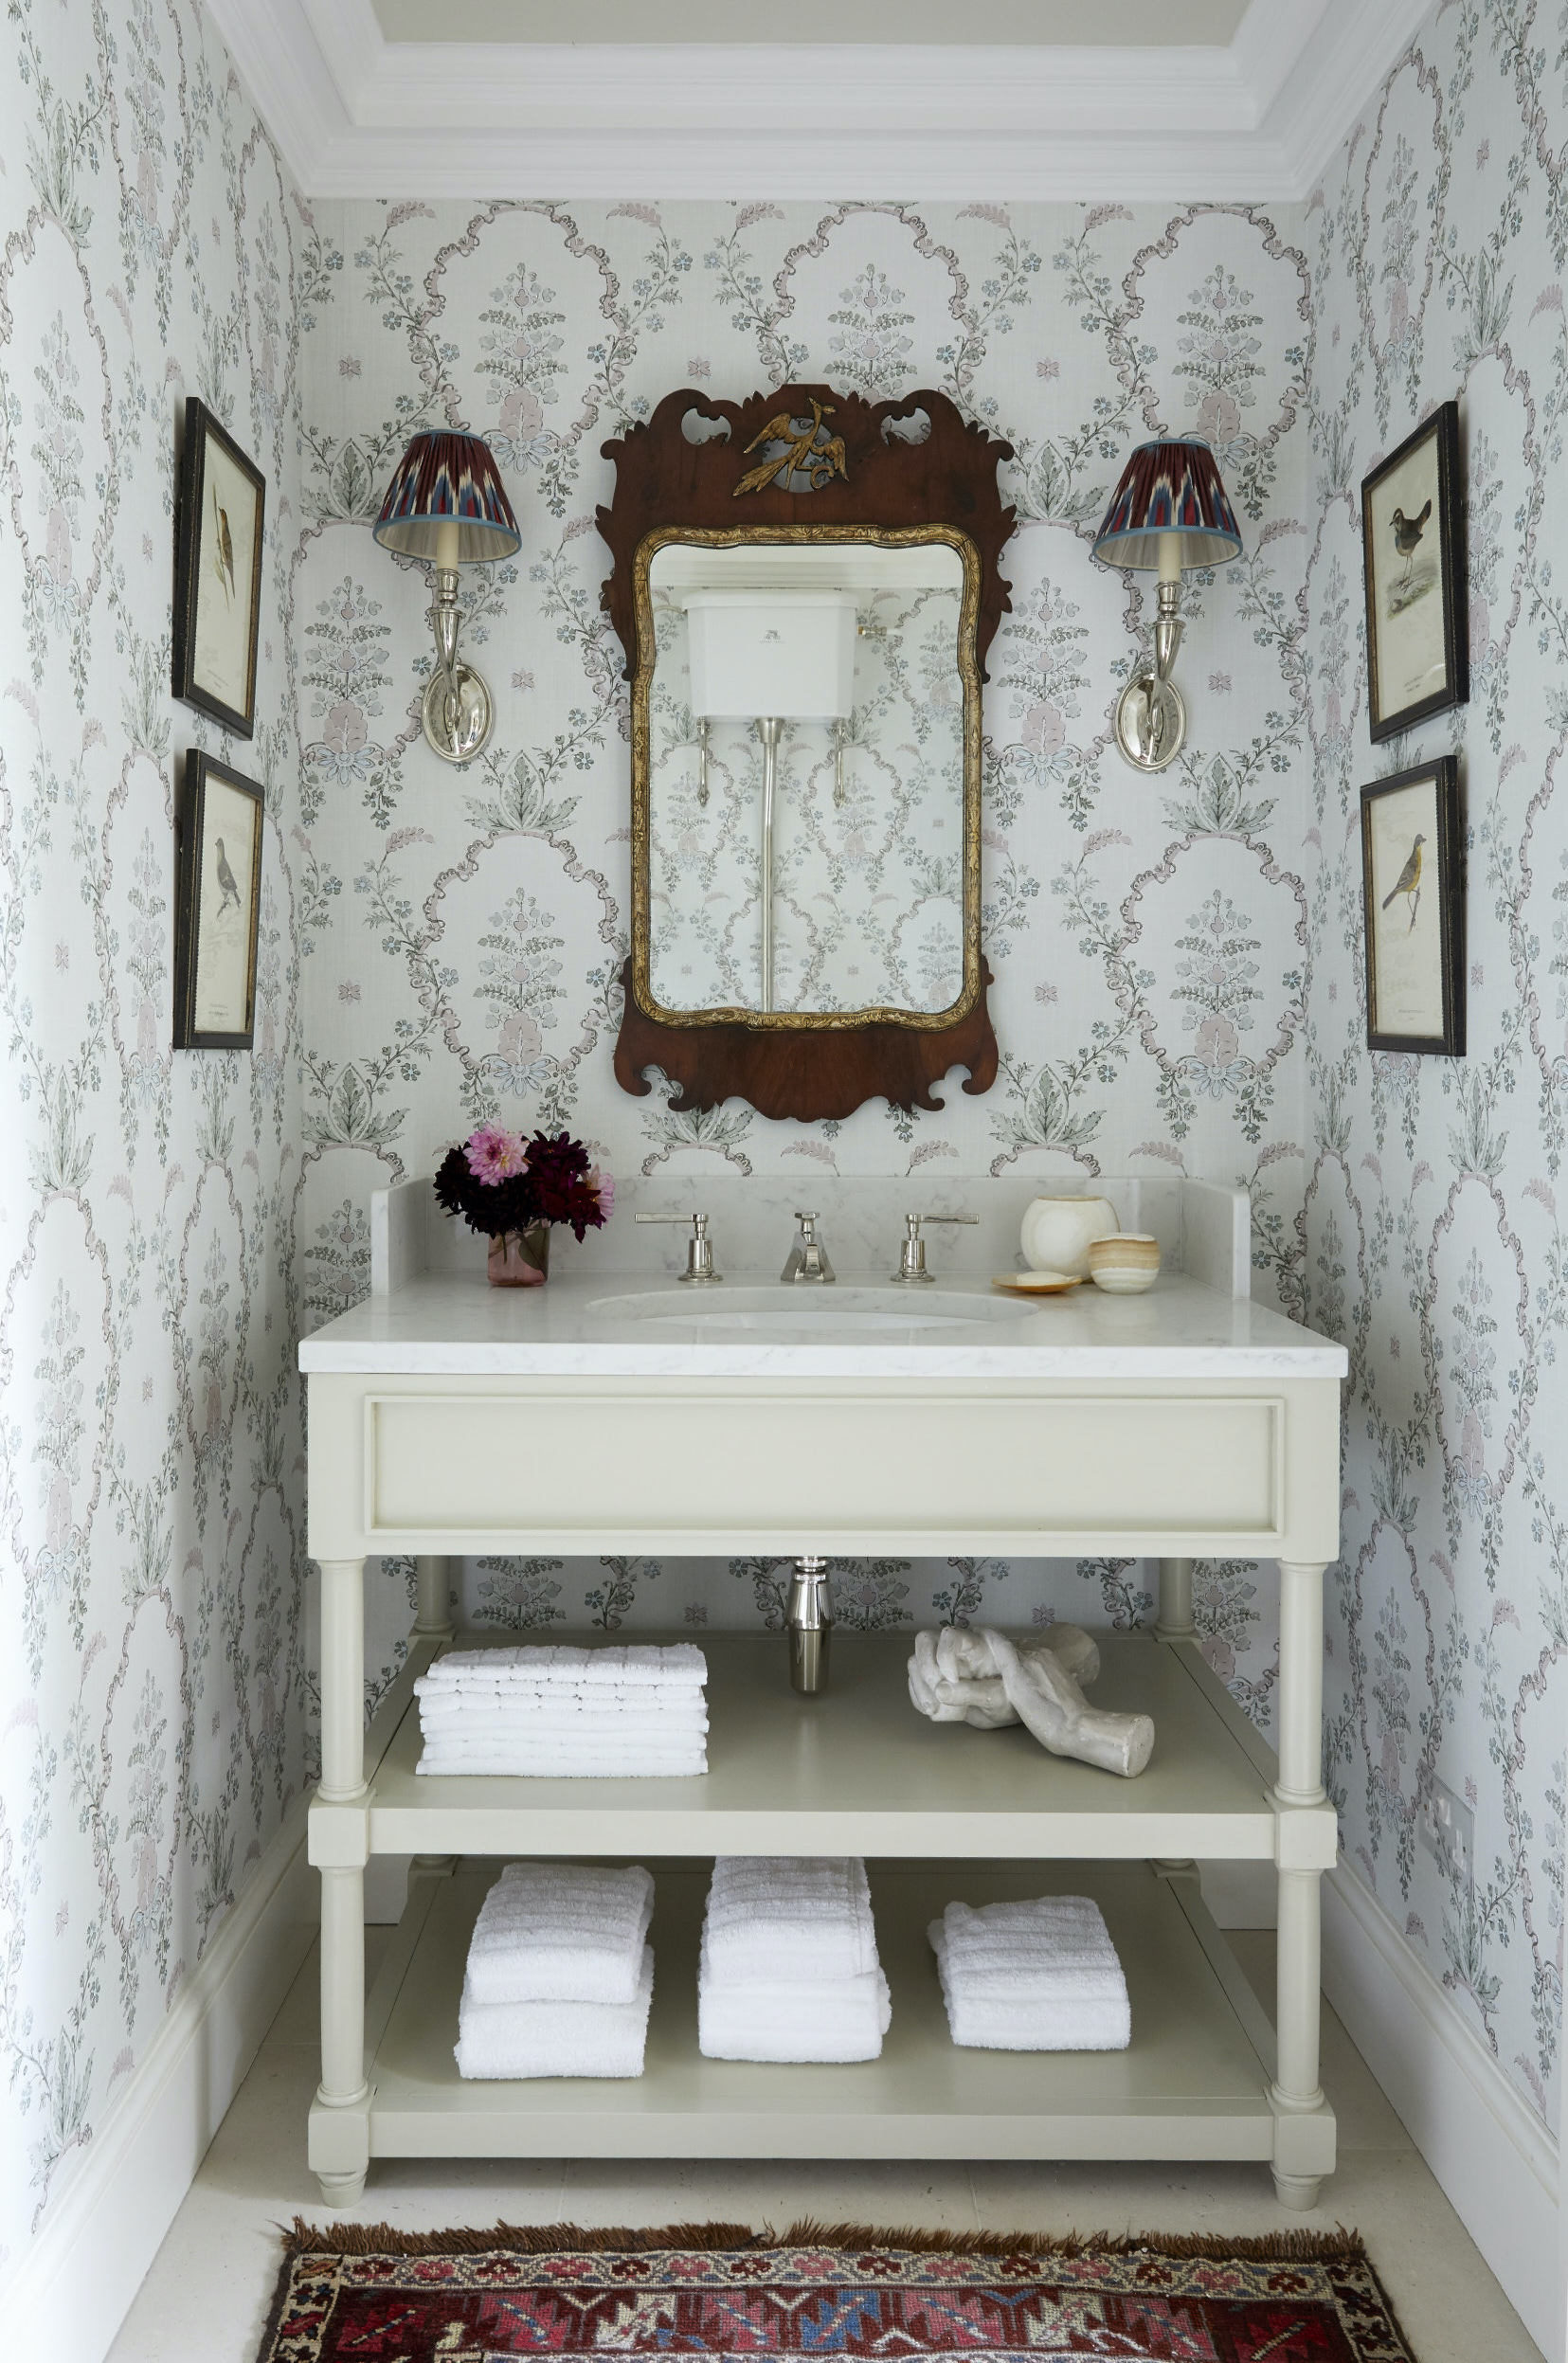
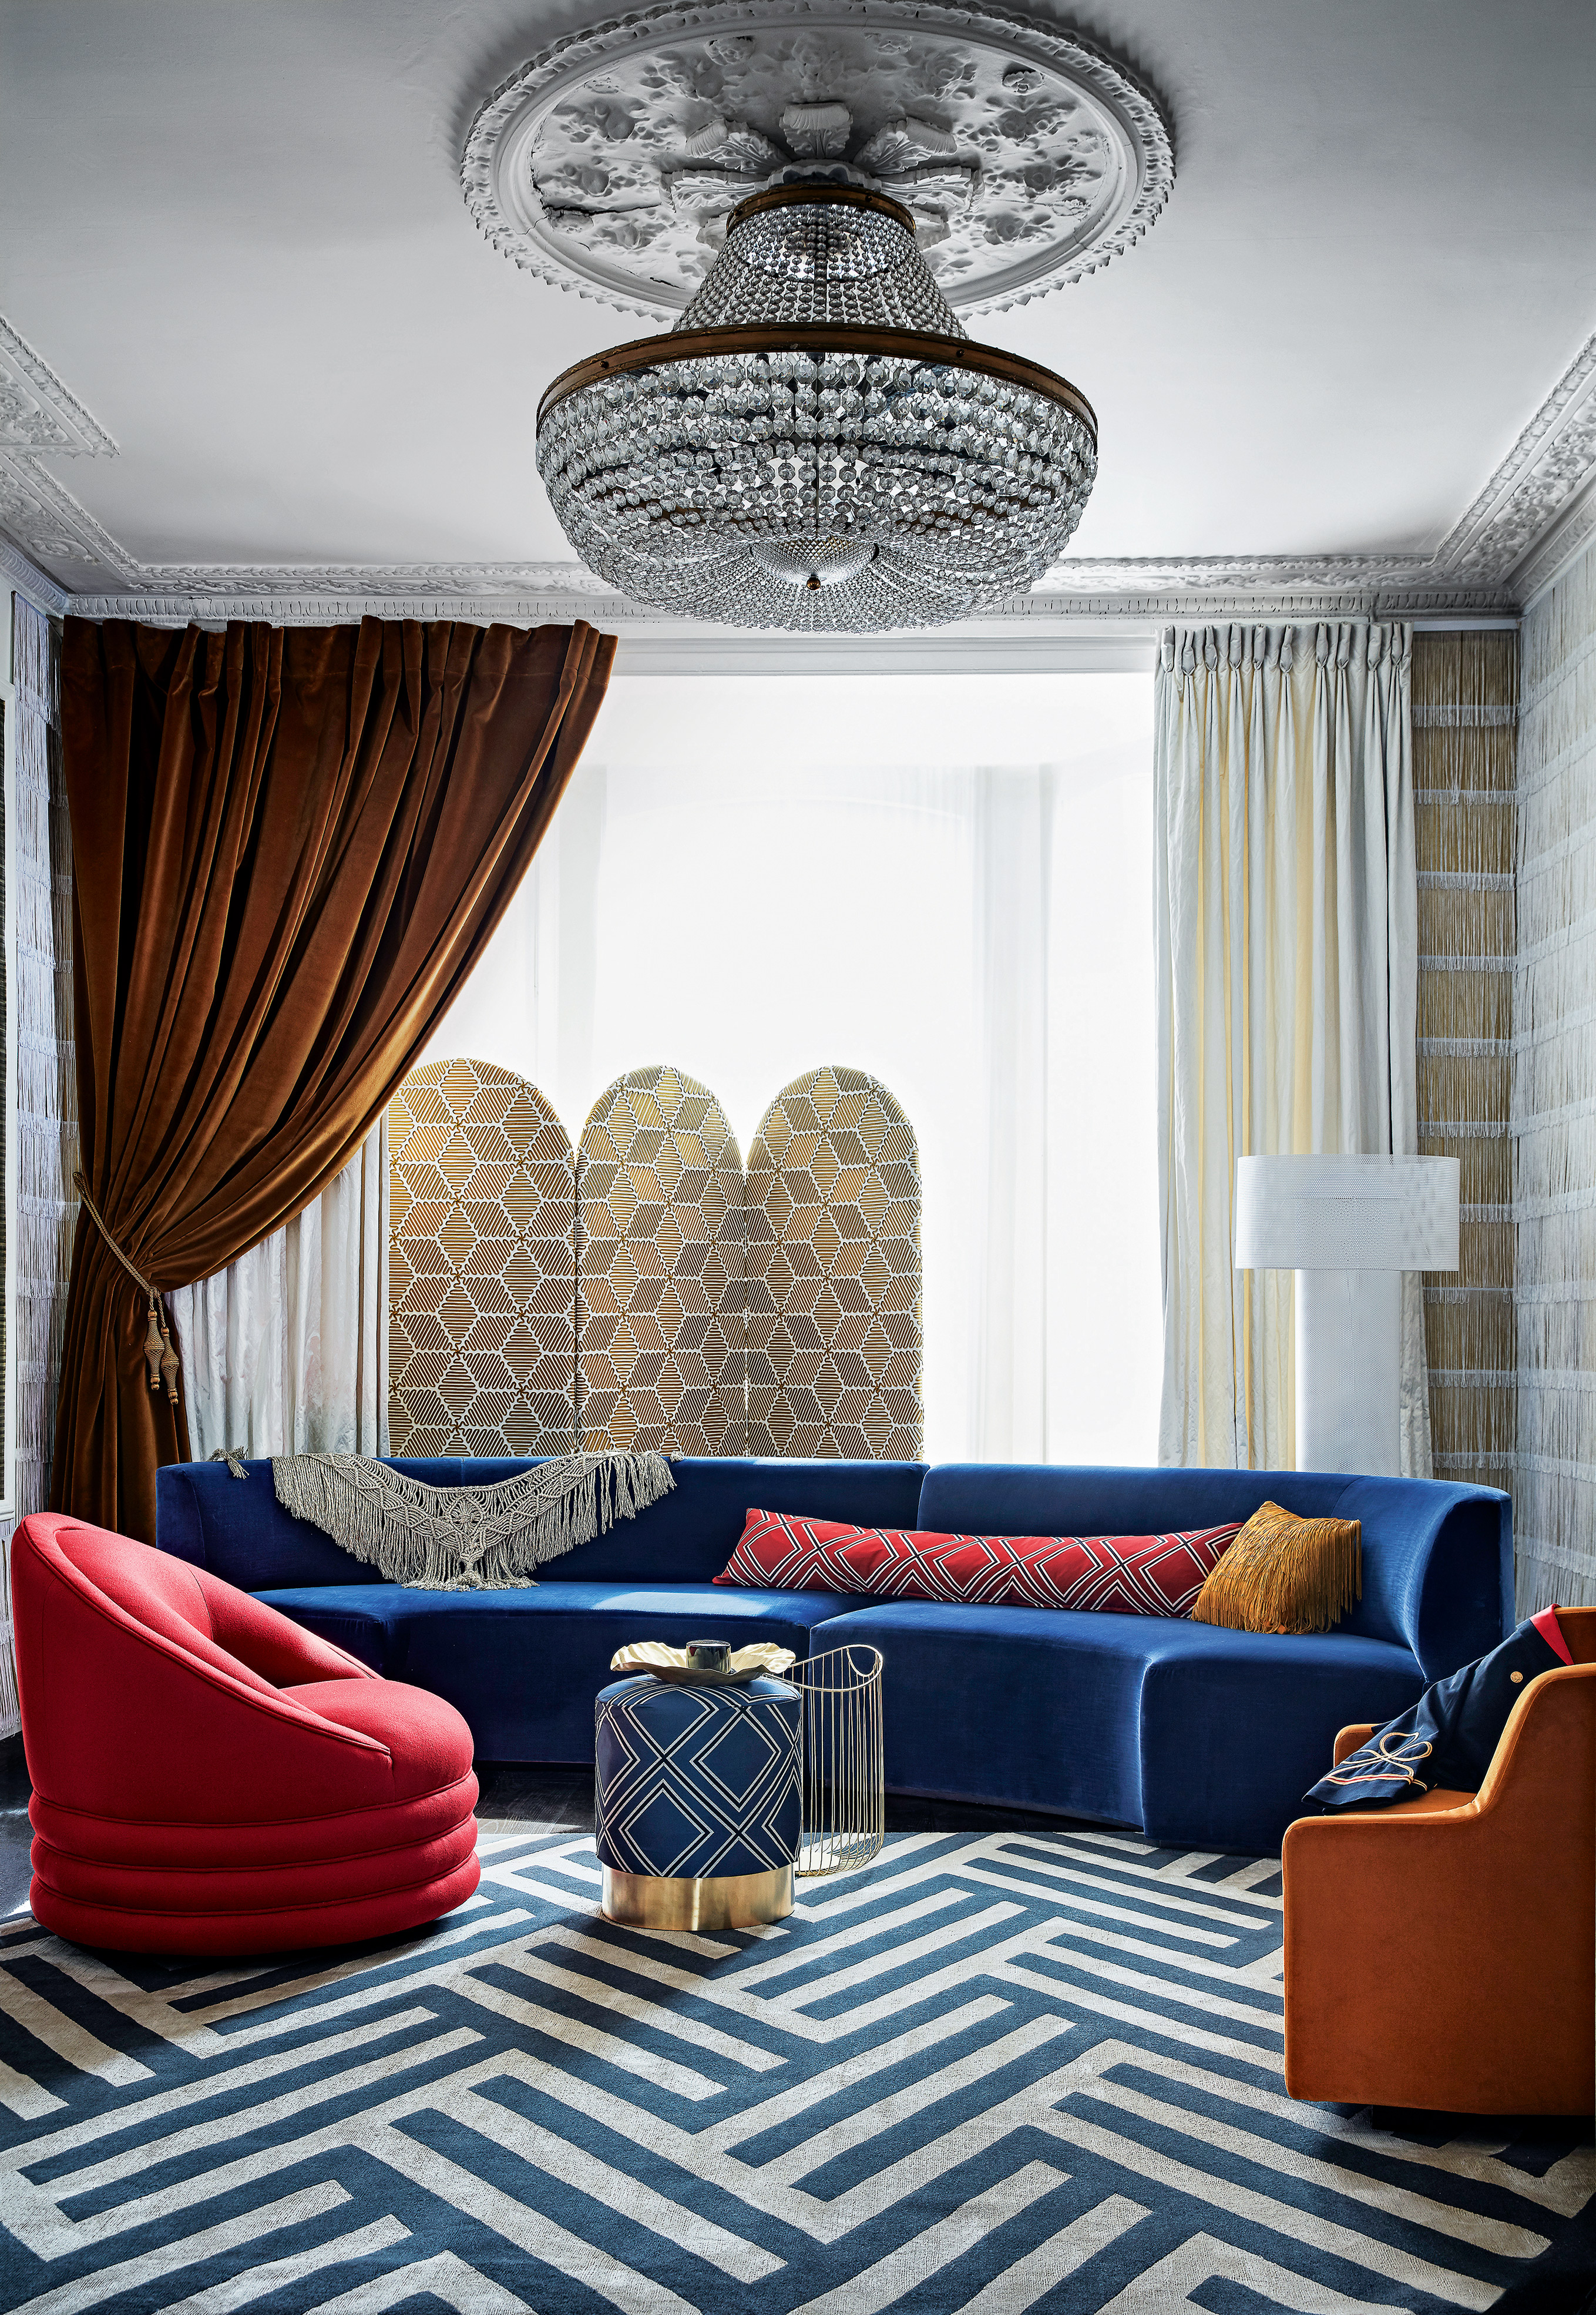
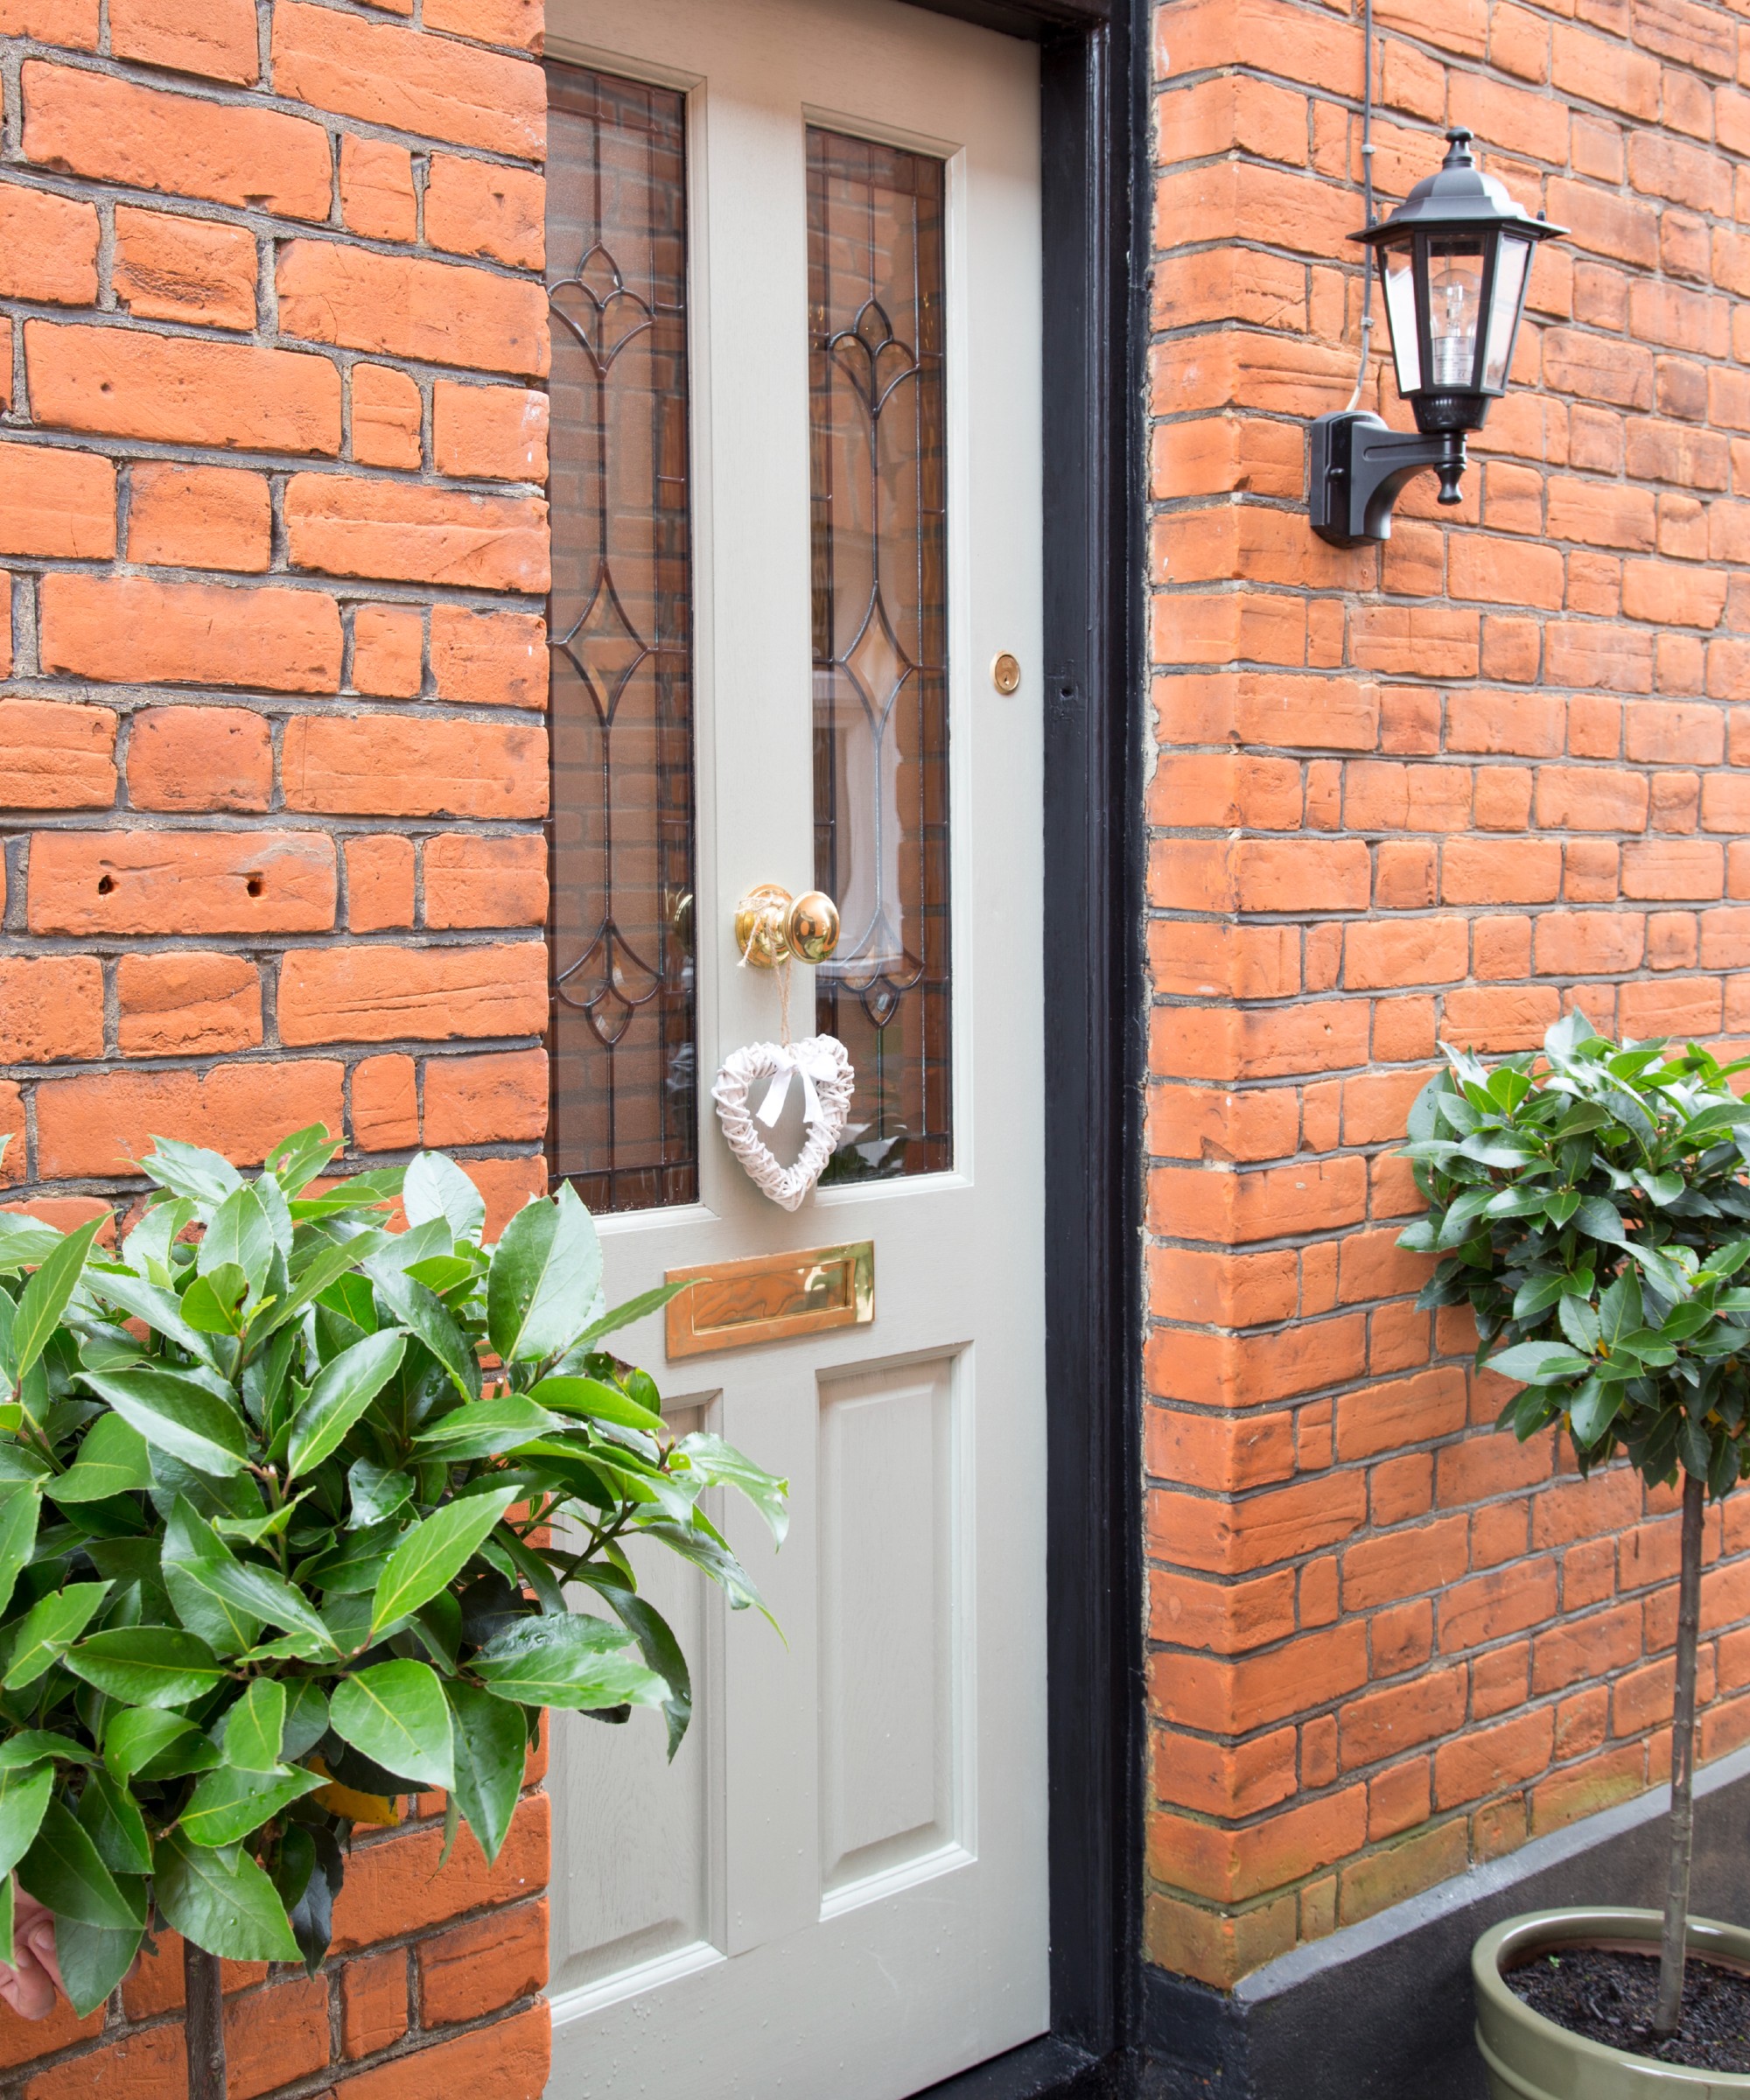
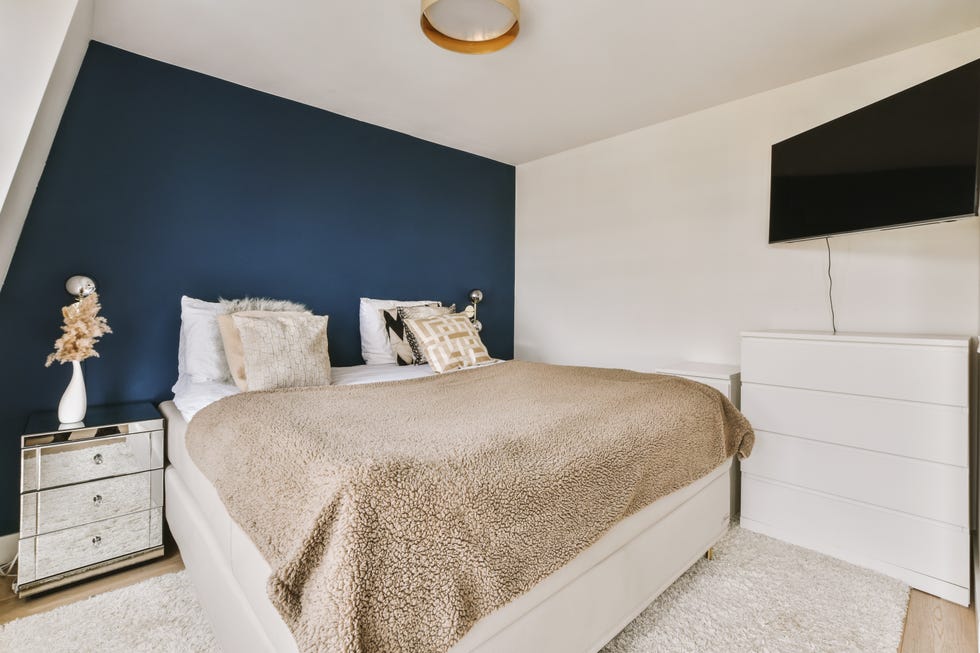
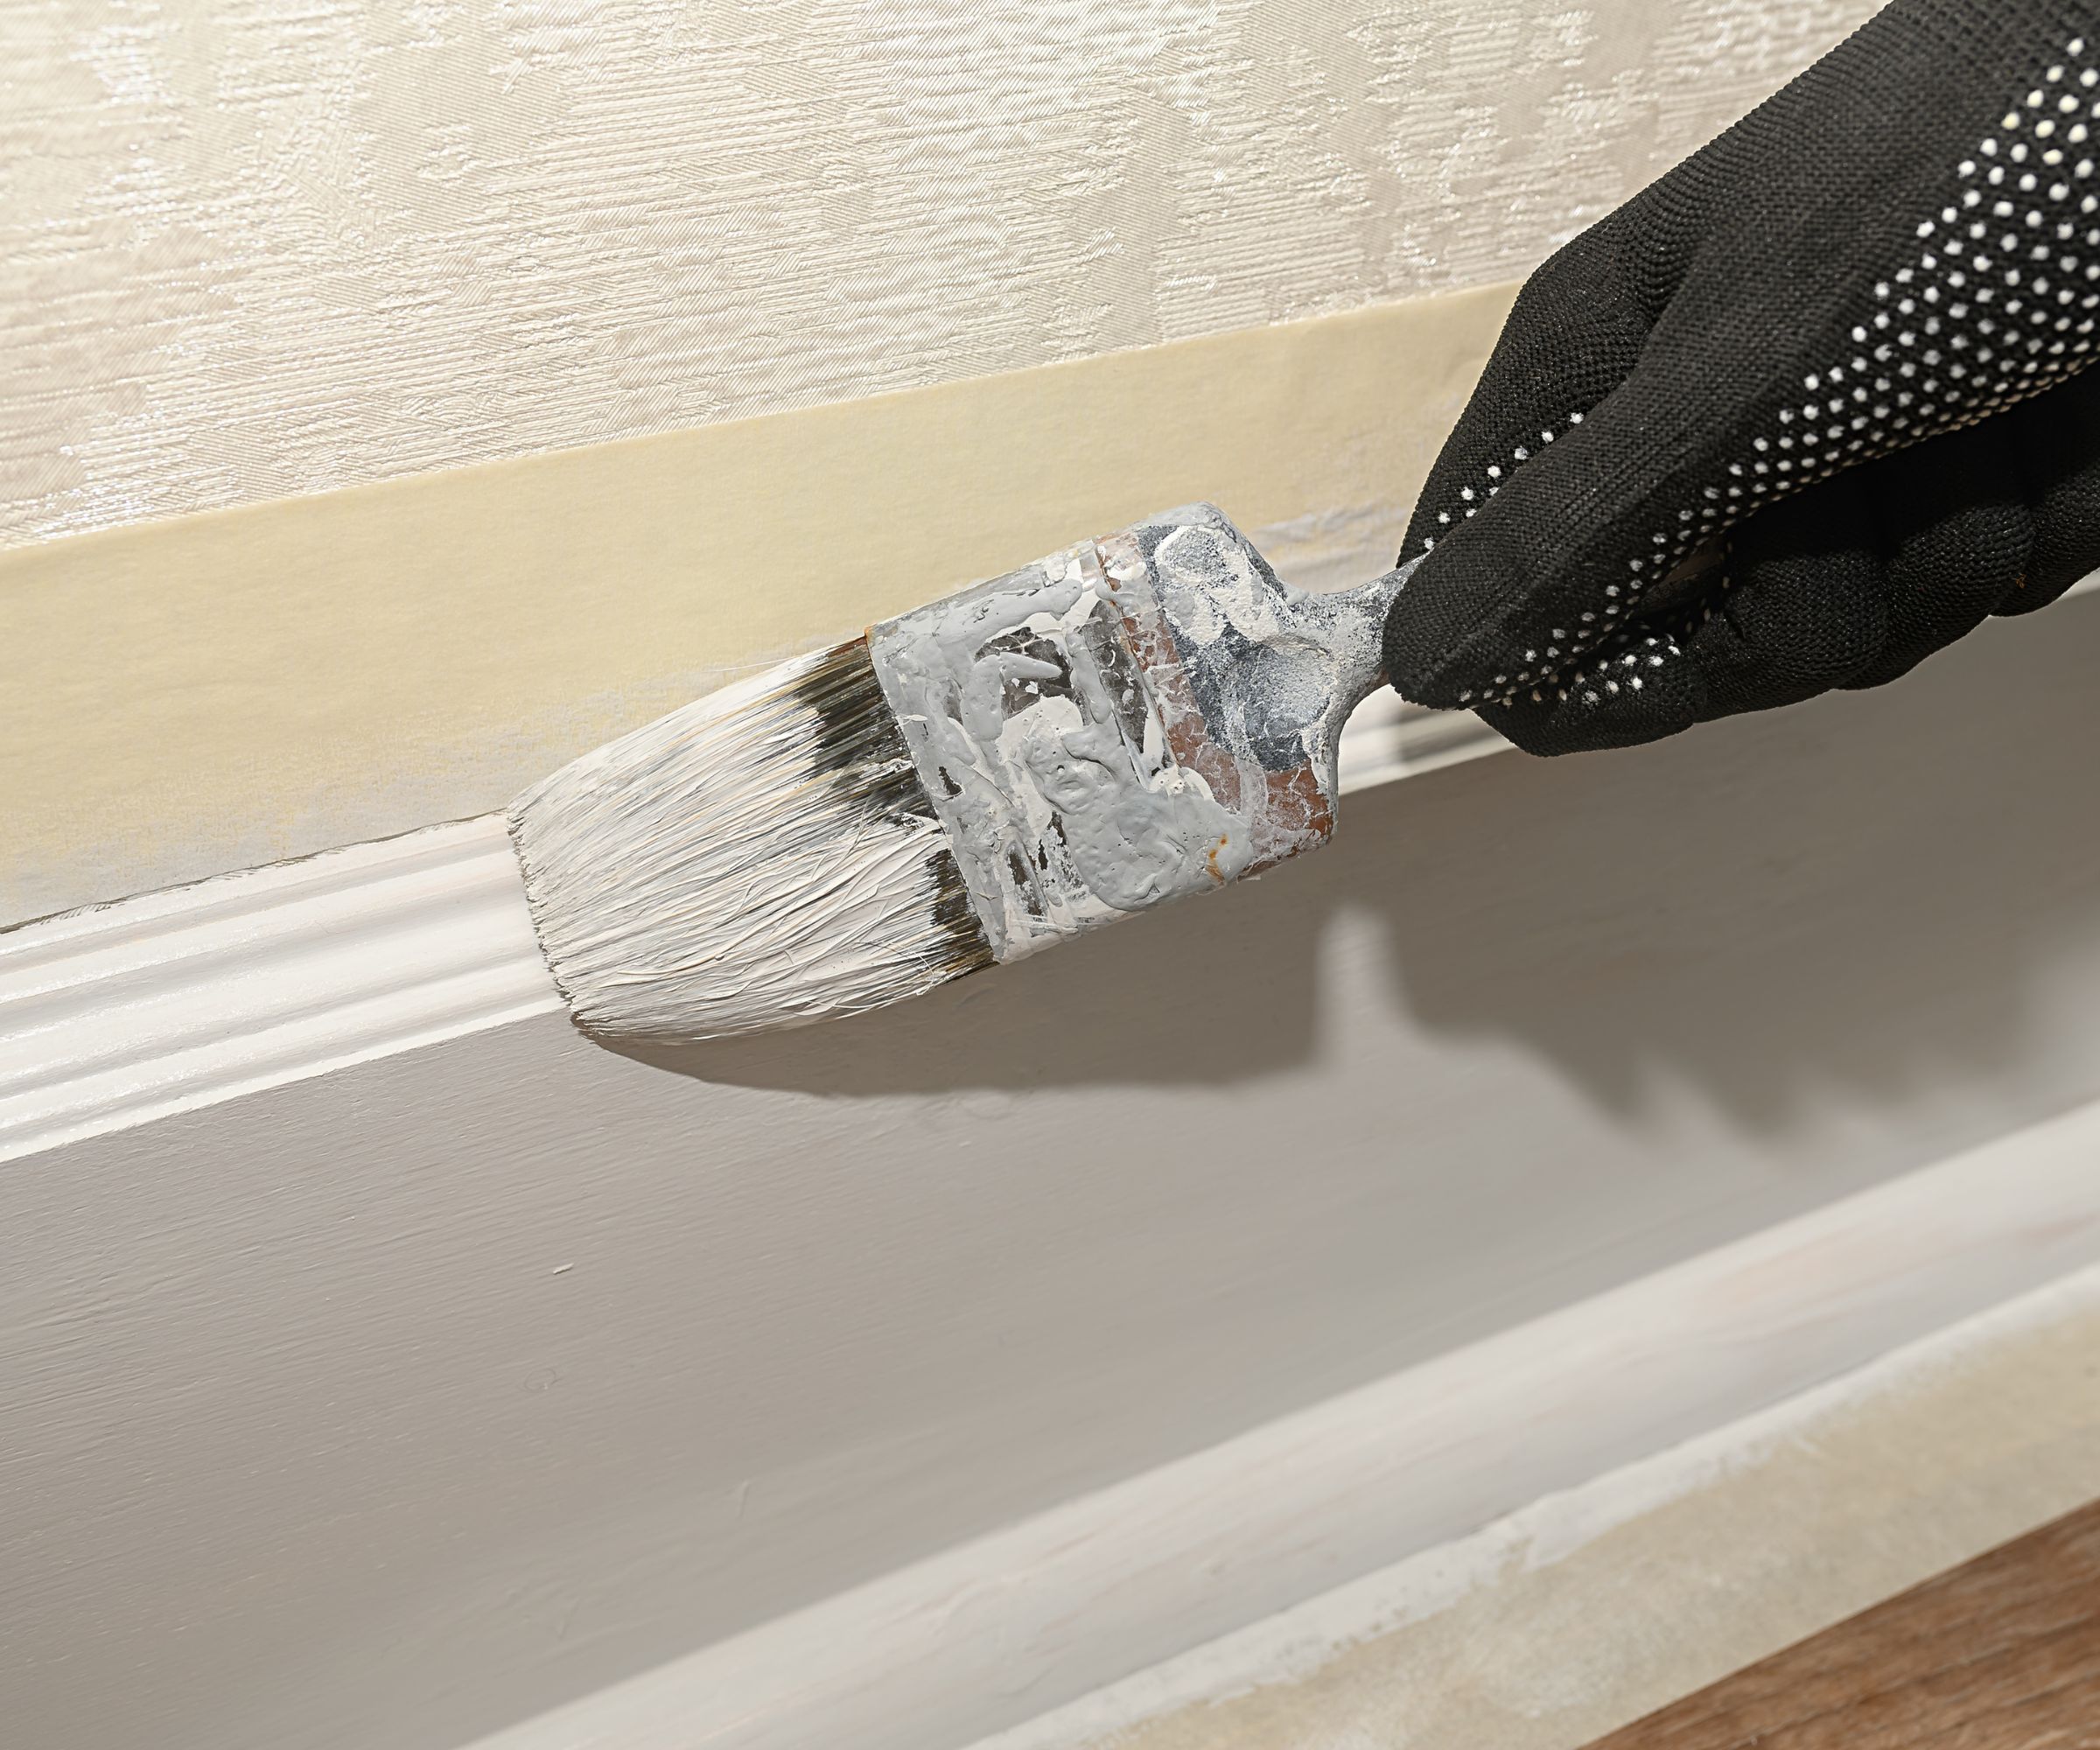
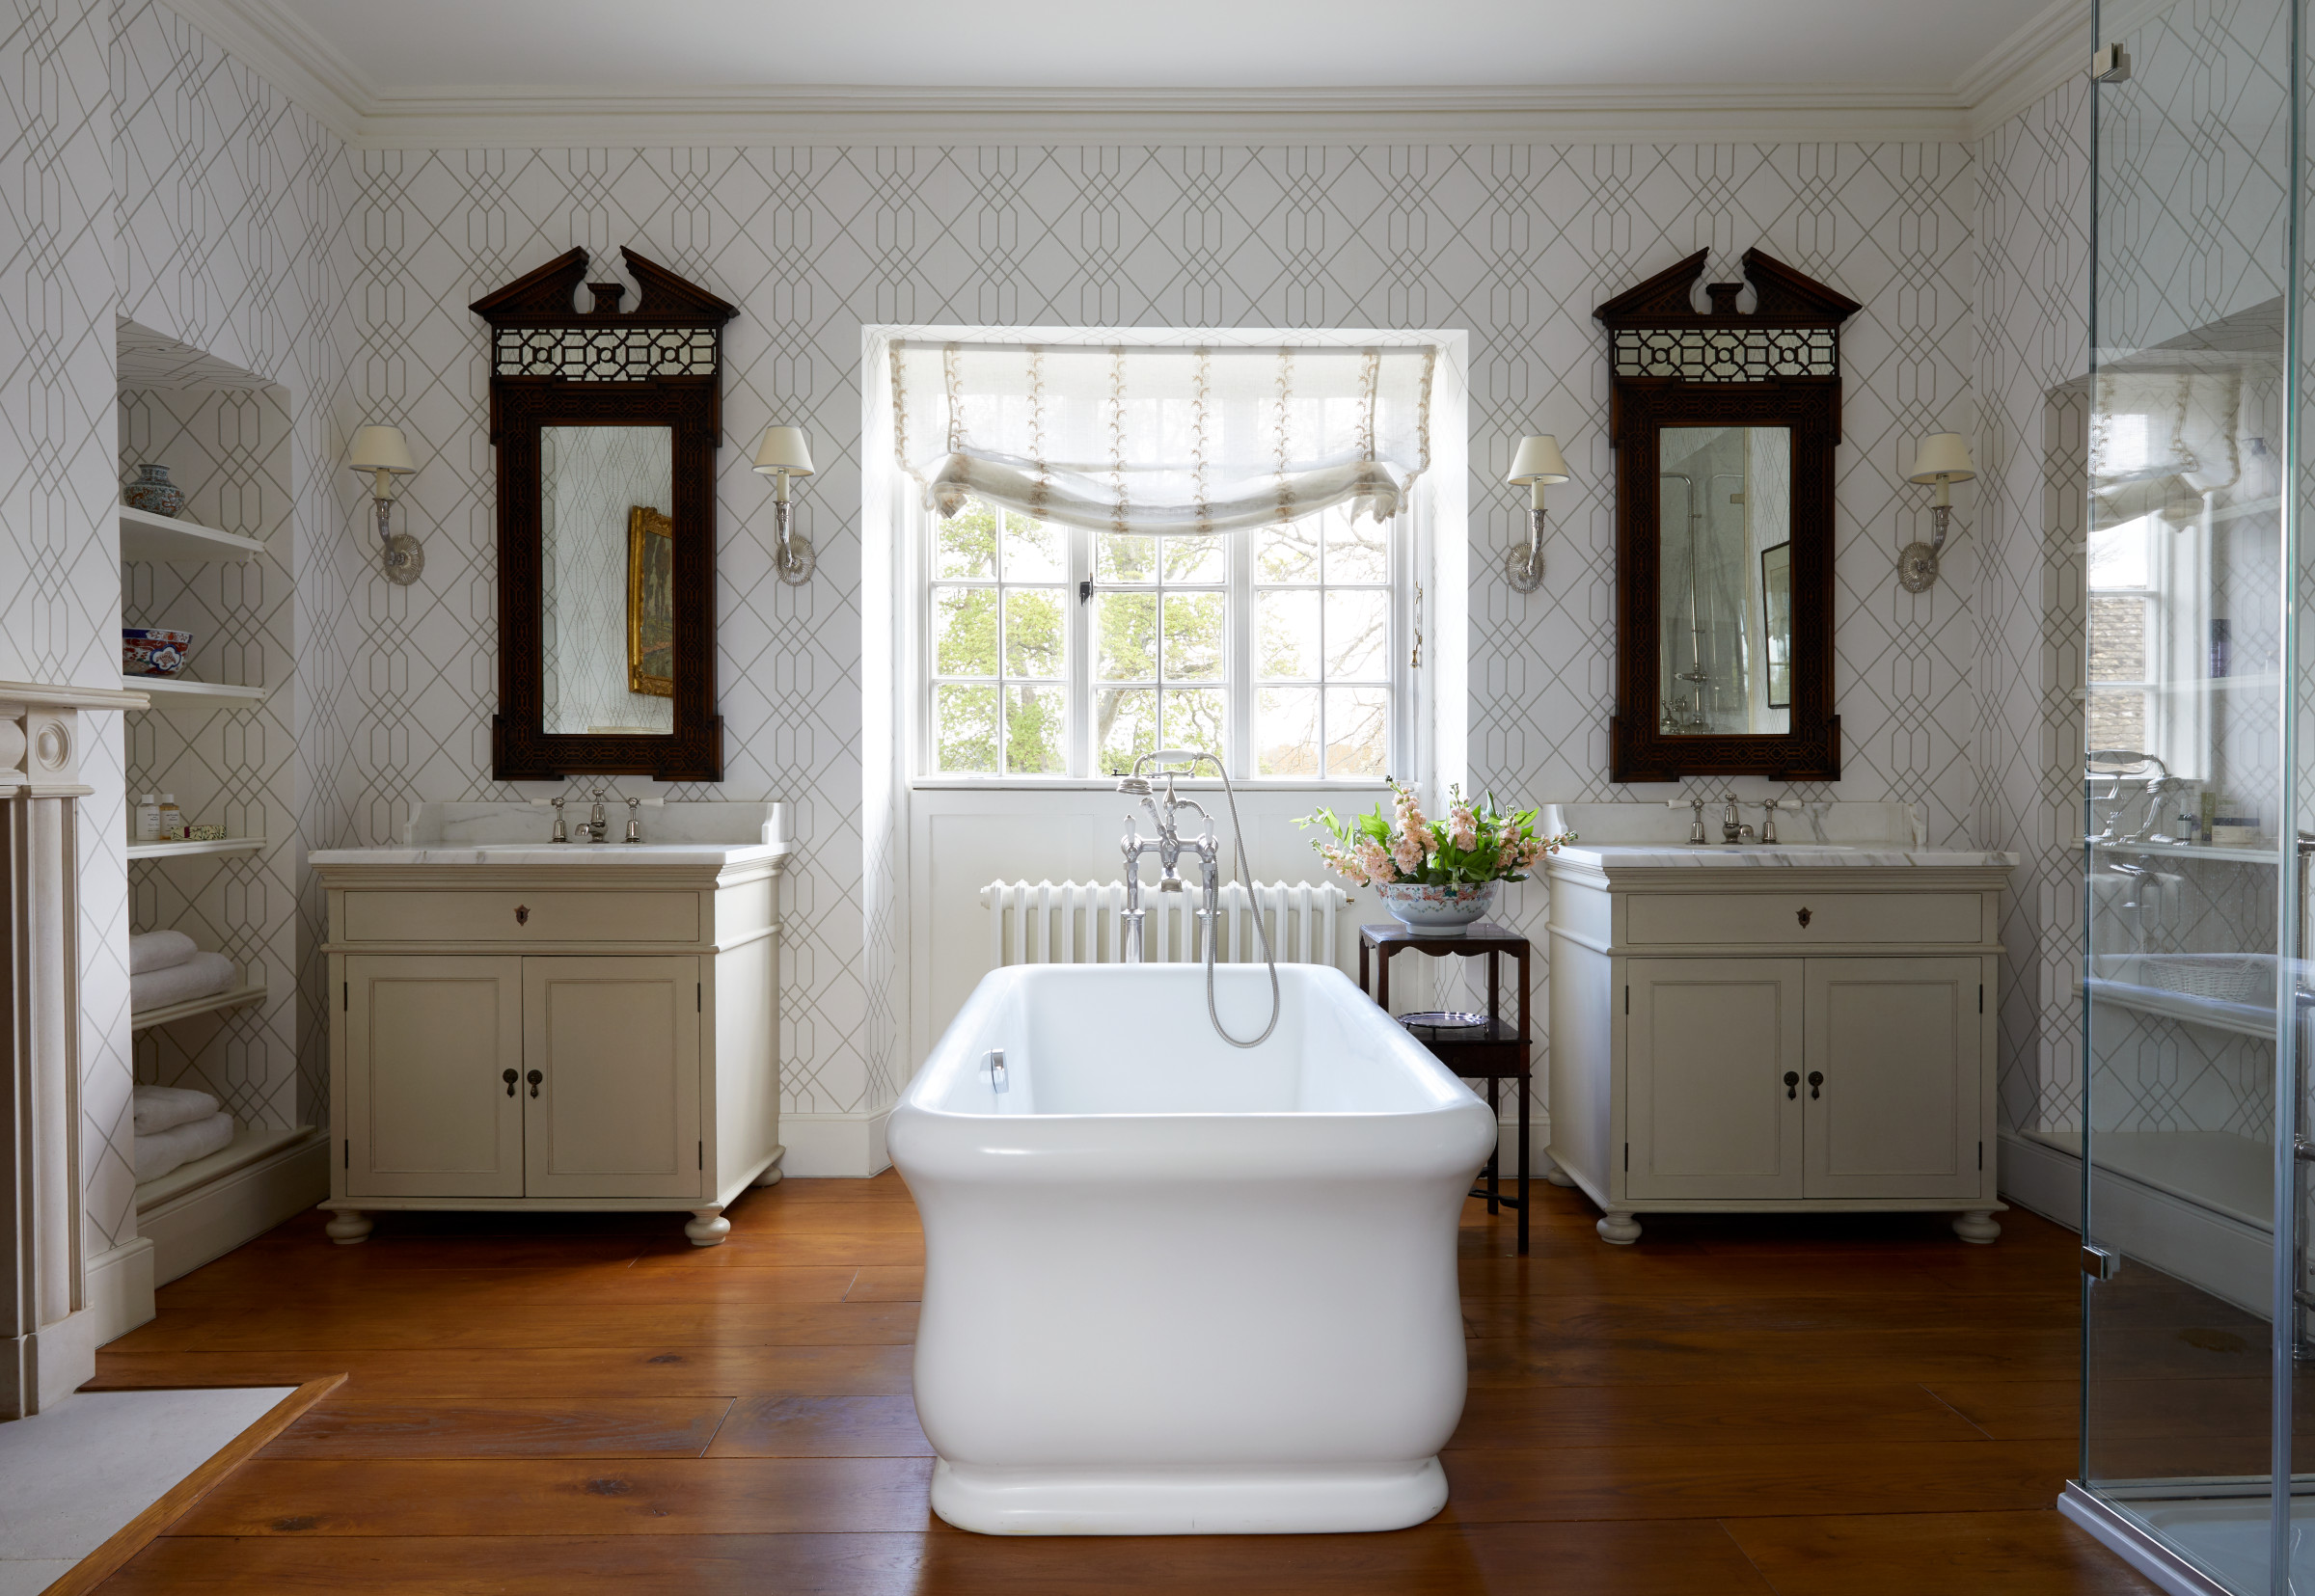
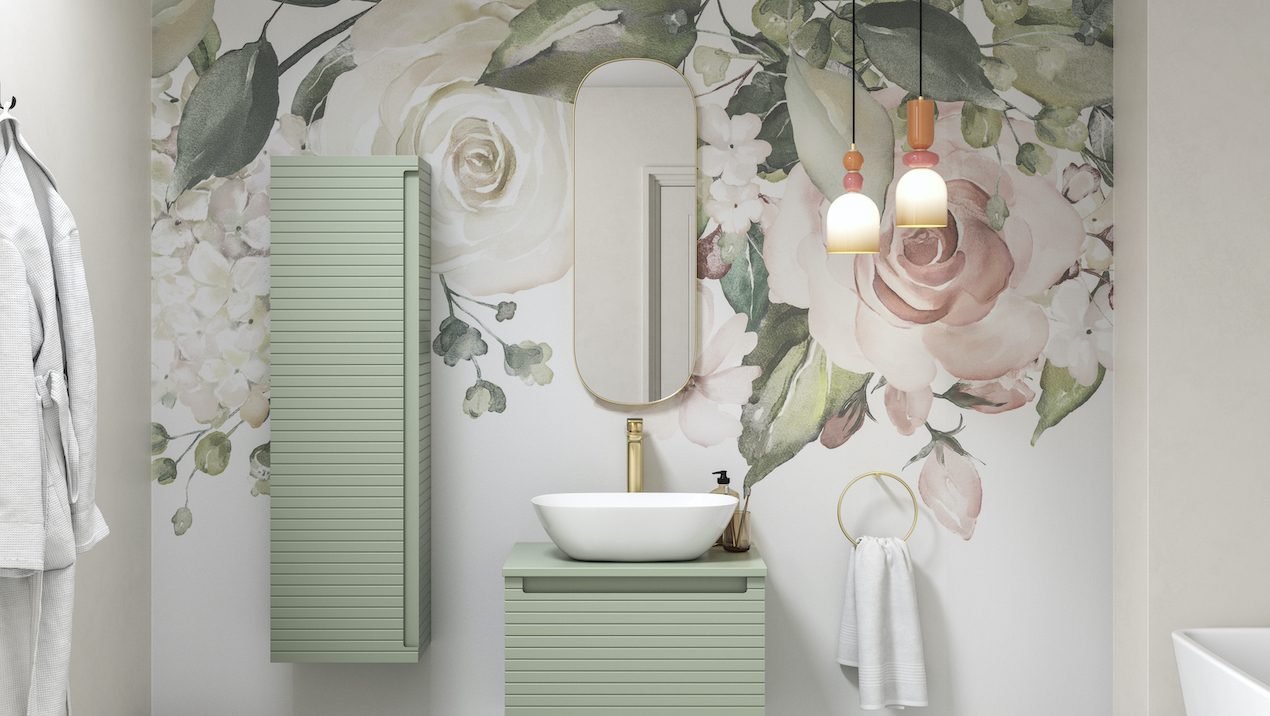
Considering wallpaper edges and start/stop points is another critical aspect. Exposed edges, particularly with materials like grasscloth, can fray over time, especially in high-traffic areas or homes with pets and children. It is advisable to case room openings with trim beforehand so that the wallpaper can terminate neatly into the trim, rather than leaving an exposed raw edge. When wallpapering an entire room, the starting point needs careful consideration to minimize visible pattern mismatches. Positioning the awkward corner out of the direct line of sight, such as behind a door, ensures the wallpaper appears seamless upon entering the room.
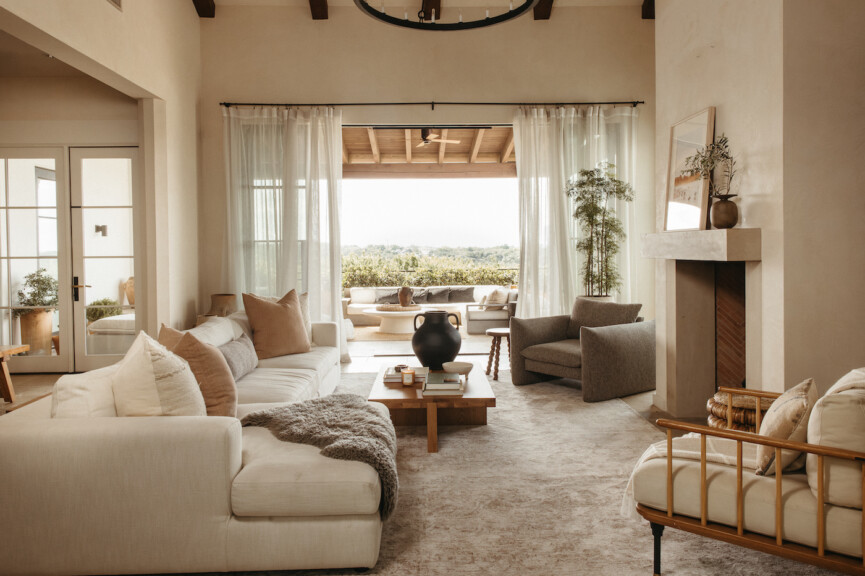
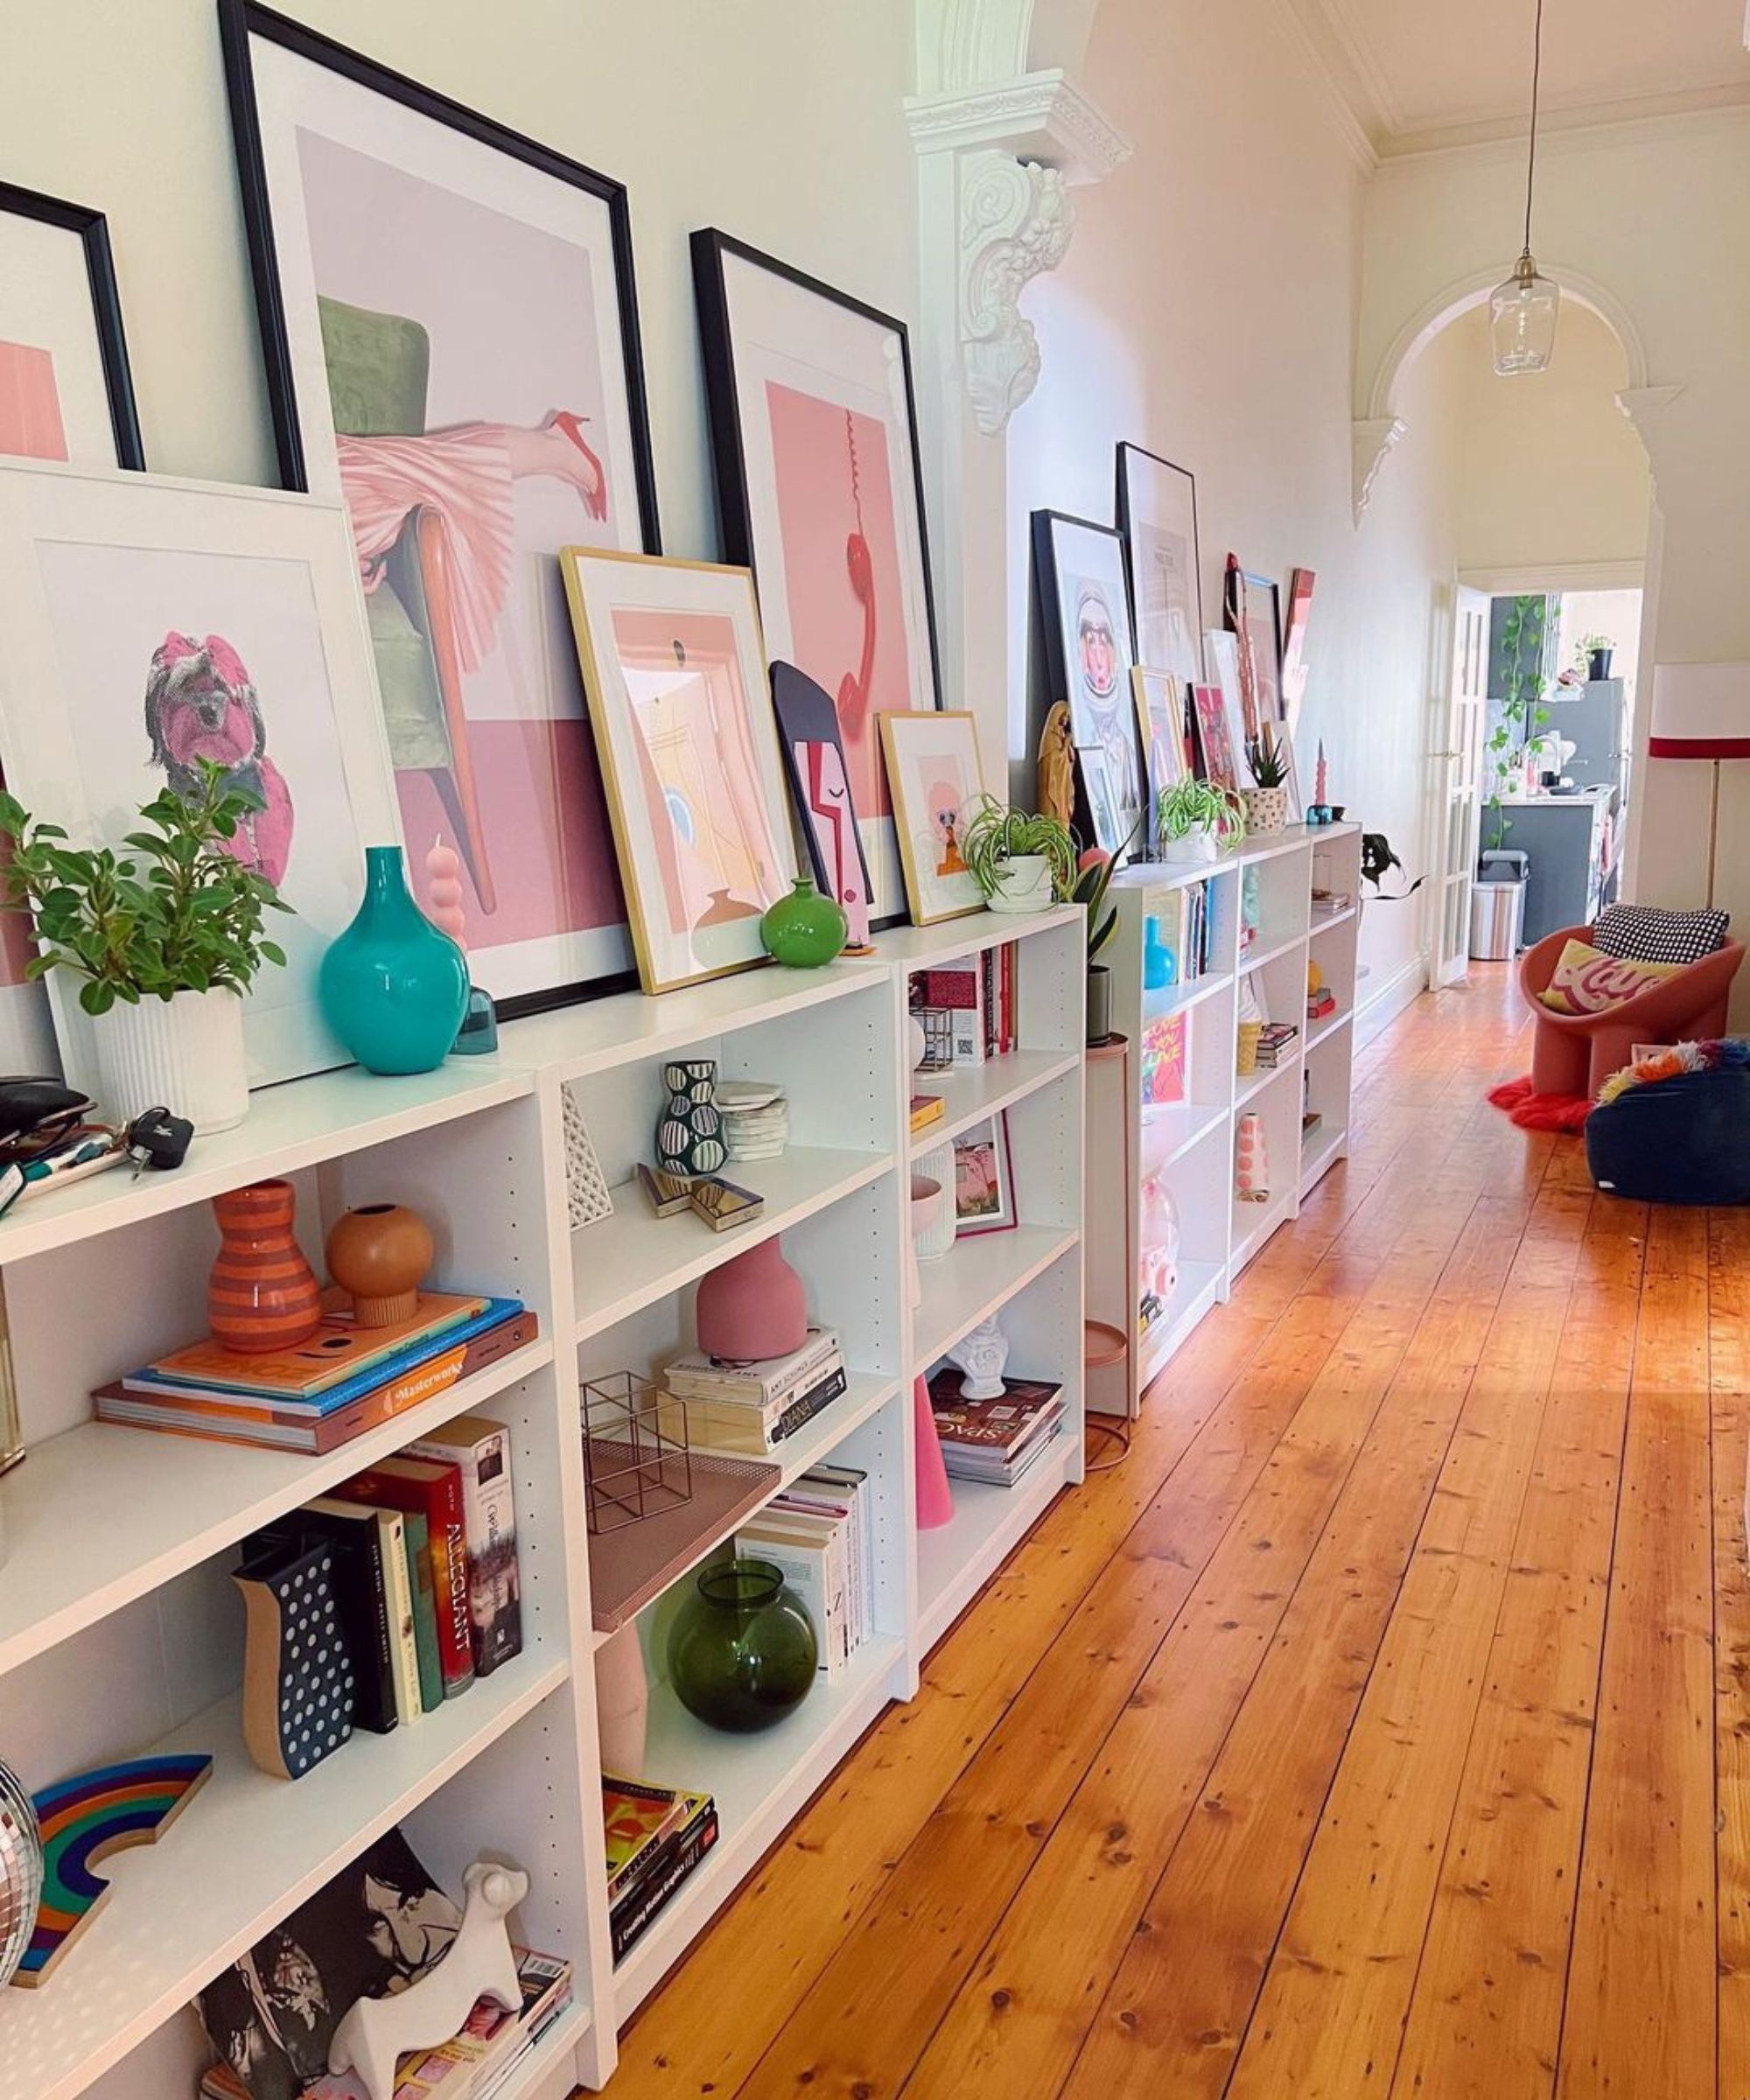
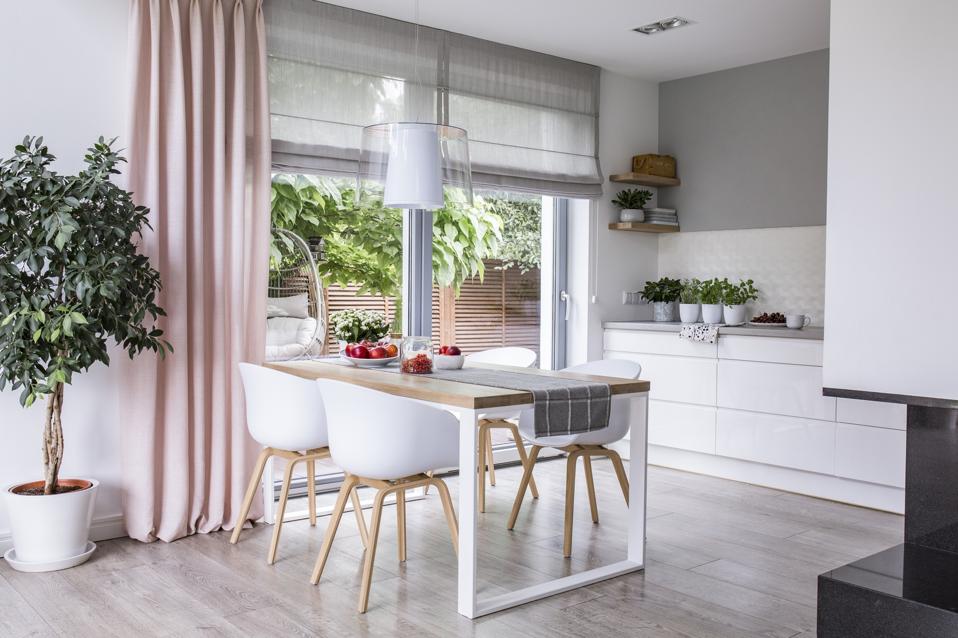
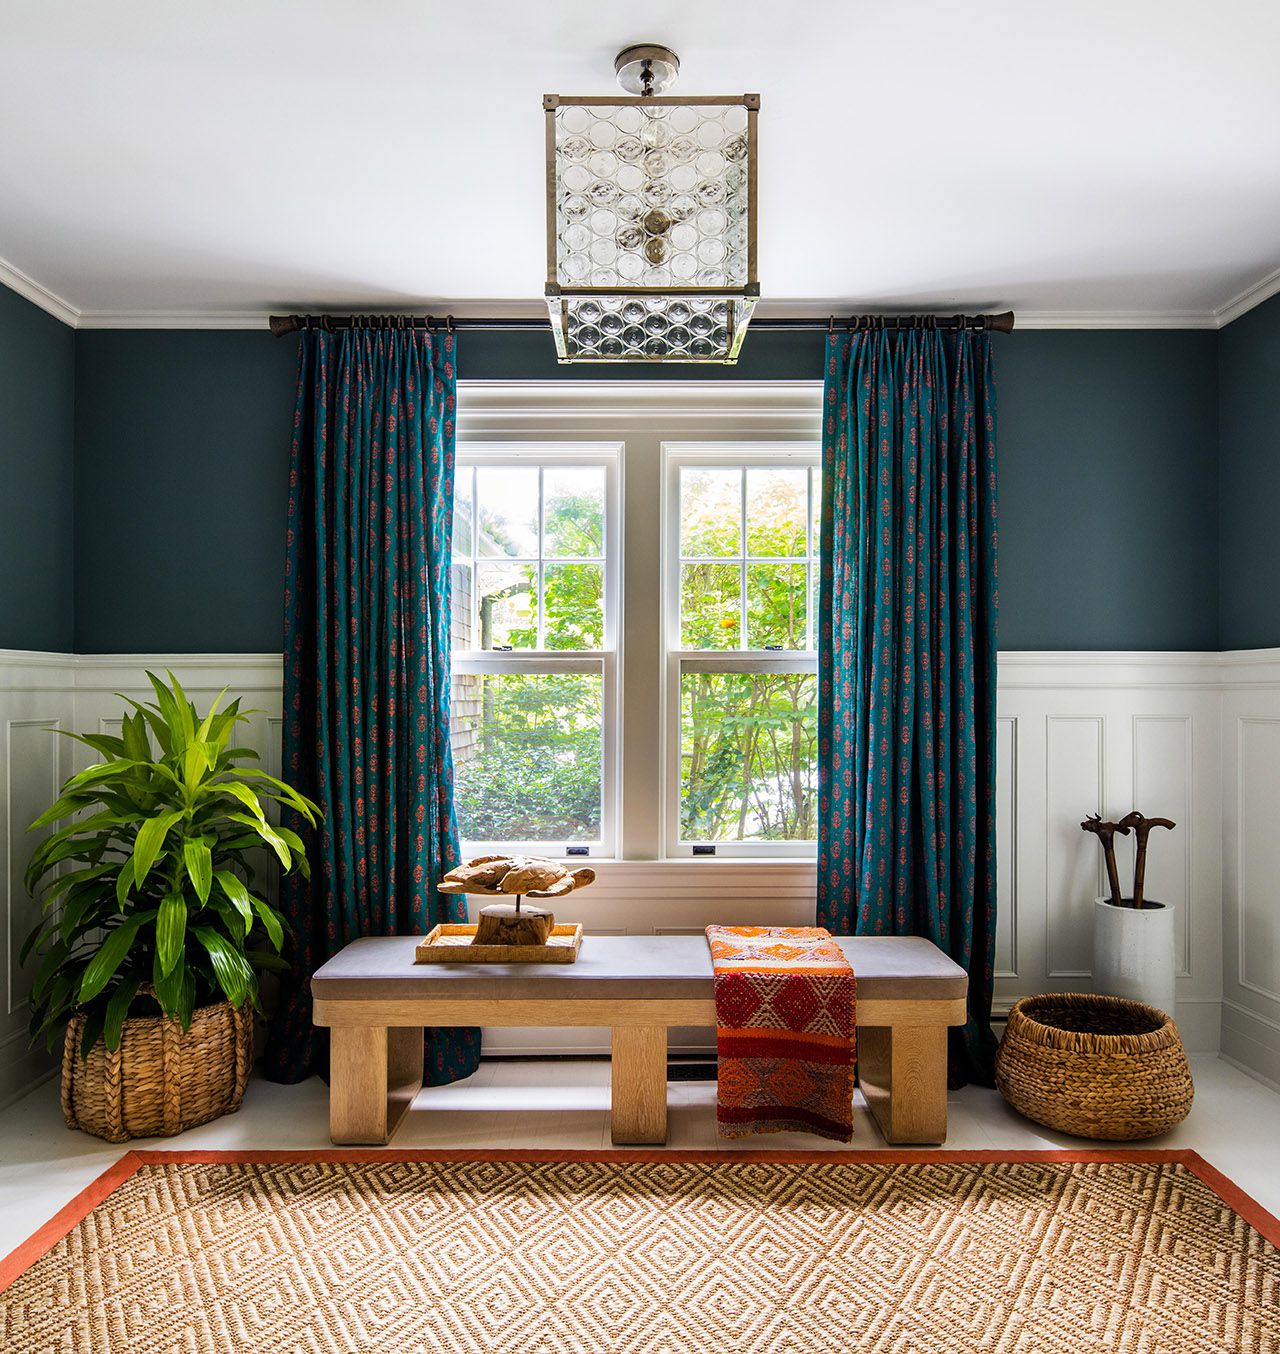
Accurate measurement of the wallpaper quantity is essential to avoid delays and discrepancies. While online tools can assist, manually measuring wall height and width and calculating the square footage is more reliable. For intricate patterns, it is recommended to order 25% extra wallpaper, and for simpler, repetitive designs, 15% extra is usually sufficient. Keeping an additional roll for future repairs due to wear and tear is also a practical approach. It is suggested that wallpaper should be applied to all walls for a holistic and luxurious feel, moving beyond the trend of using it solely on a single feature wall.
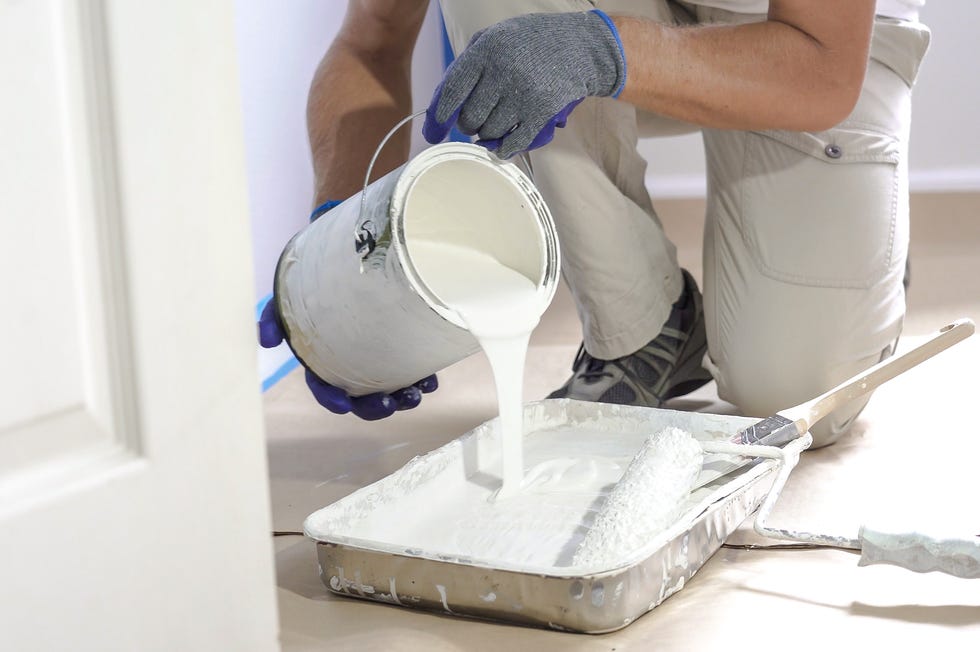
Wall preparation is paramount before wallpaper installation. Uneven surfaces, blotches, and dirt must be addressed by sanding and scrubbing the walls clean, followed by applying a primer. Alternatively, using lining paper can provide a smooth and even base. For those struggling with the prep work, seeking professional assistance for measurements and wall leveling can prevent issues like crumples, bubbles, and bumps during installation.
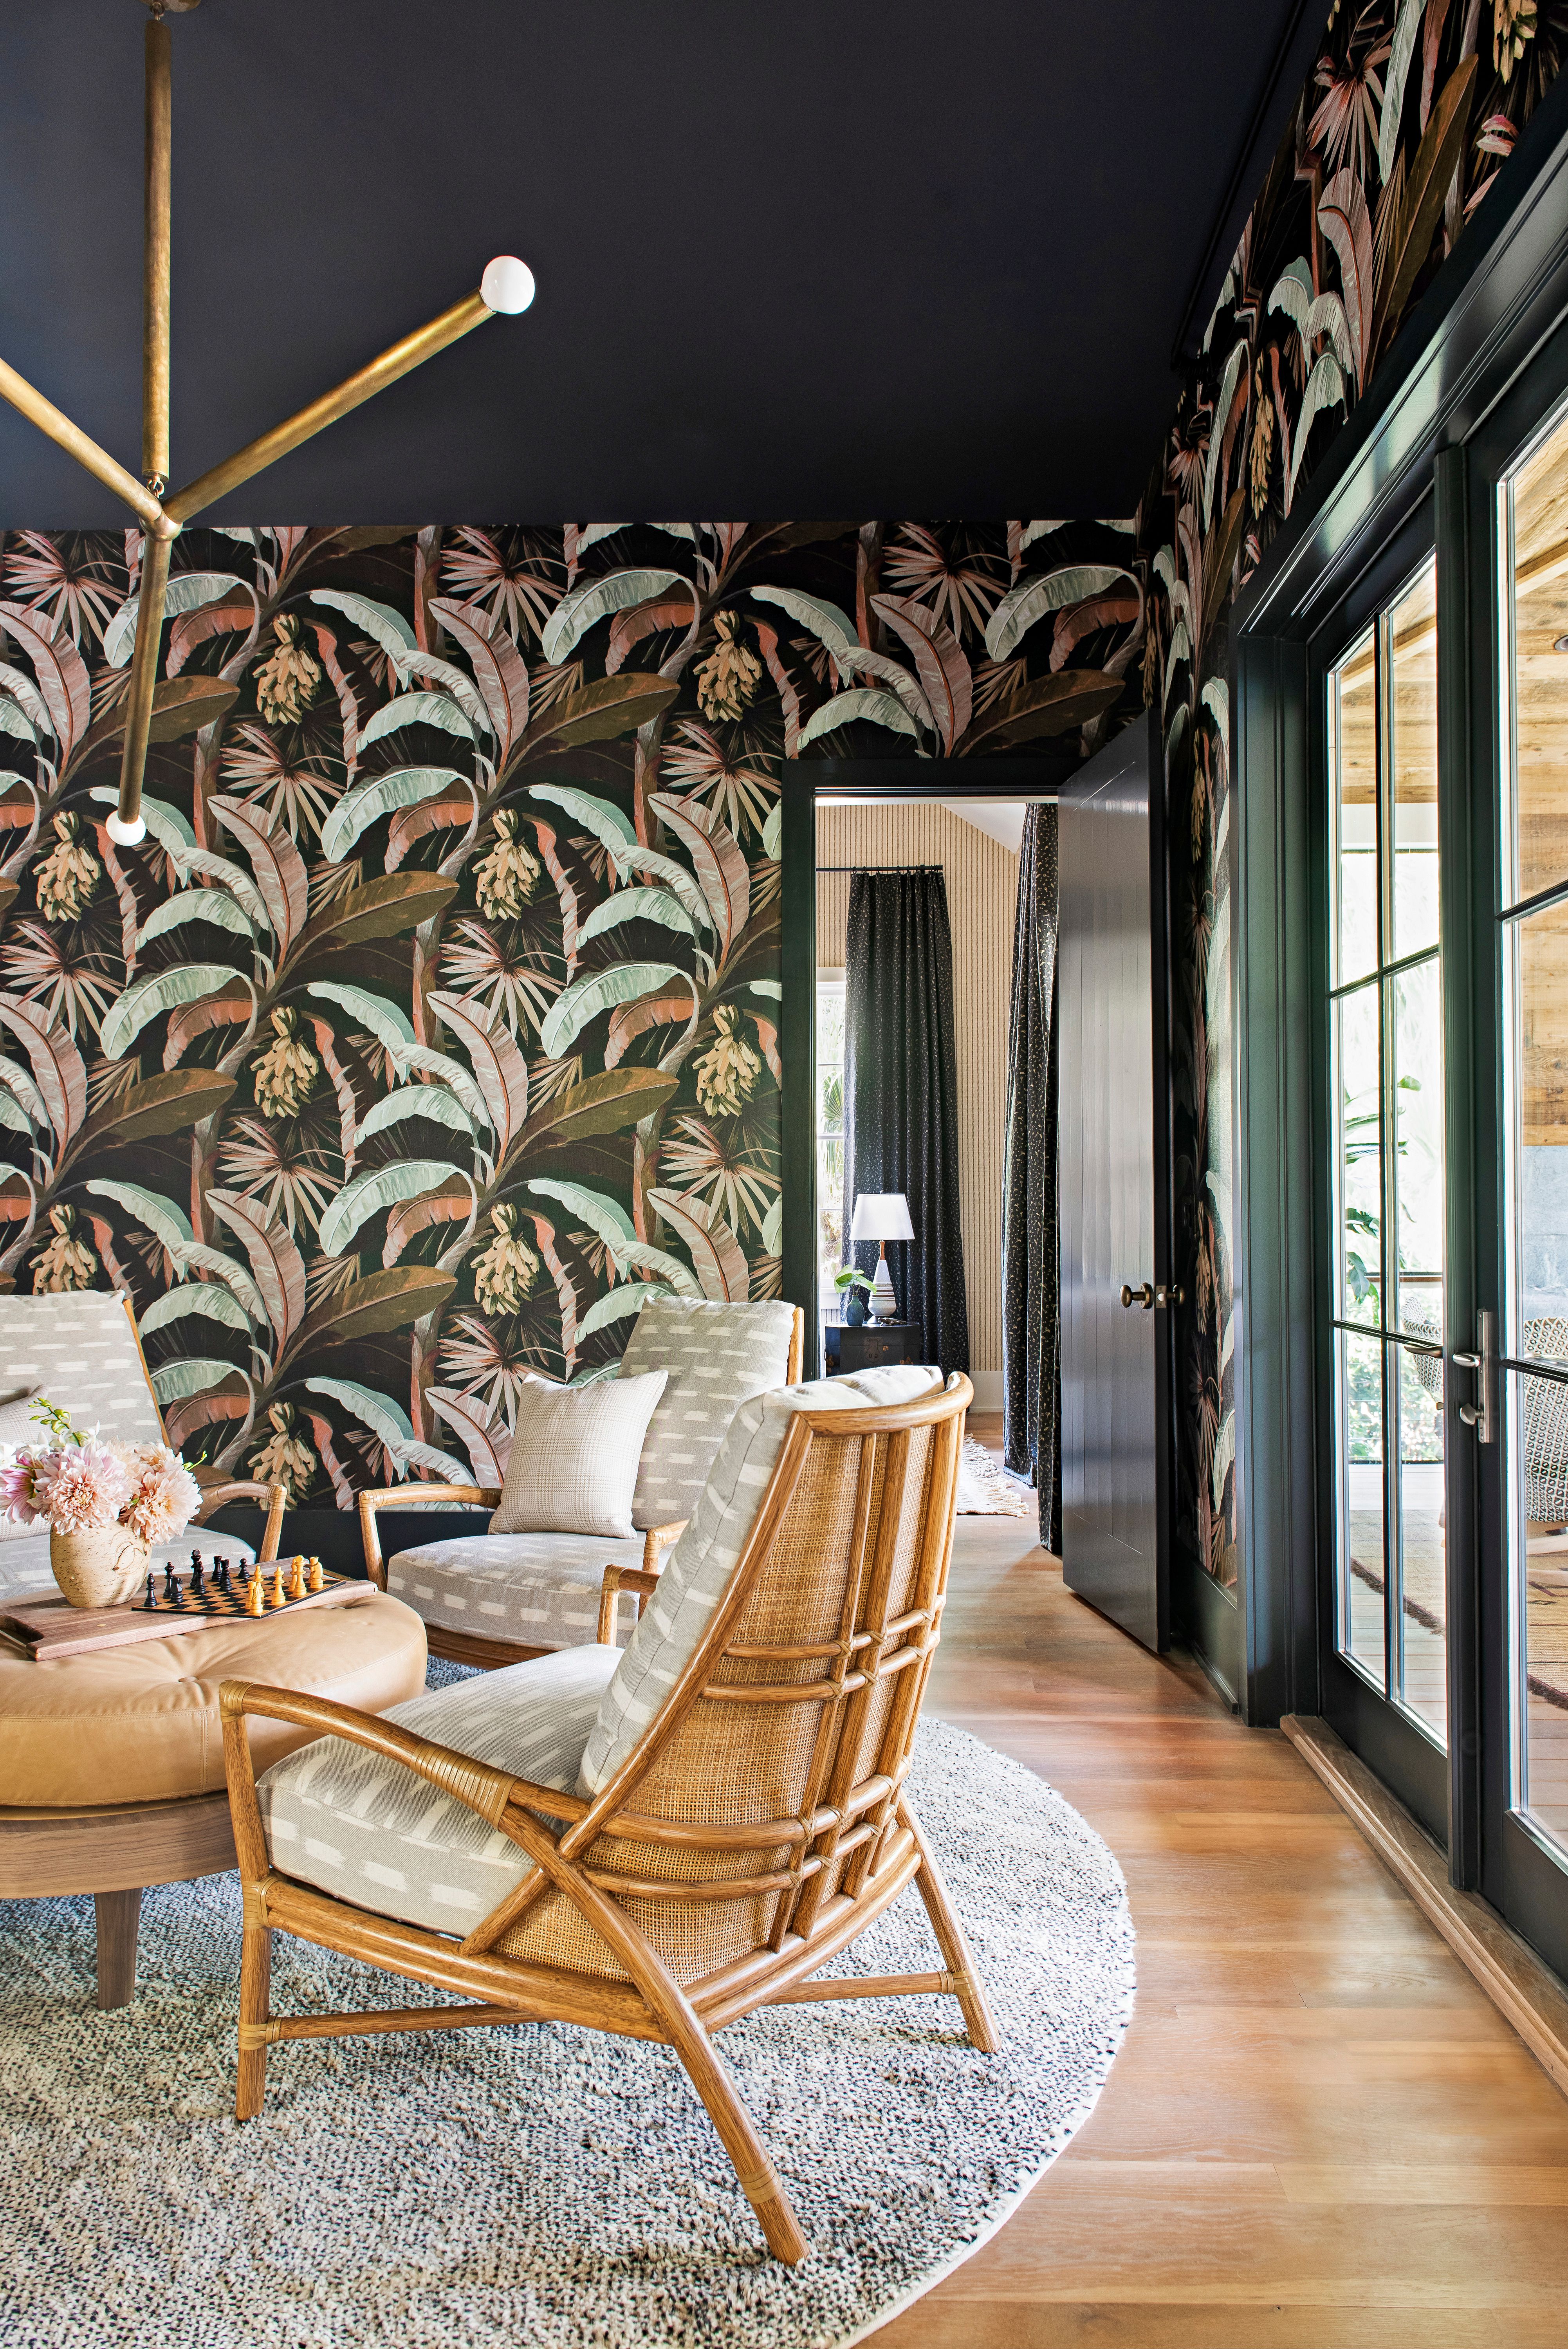
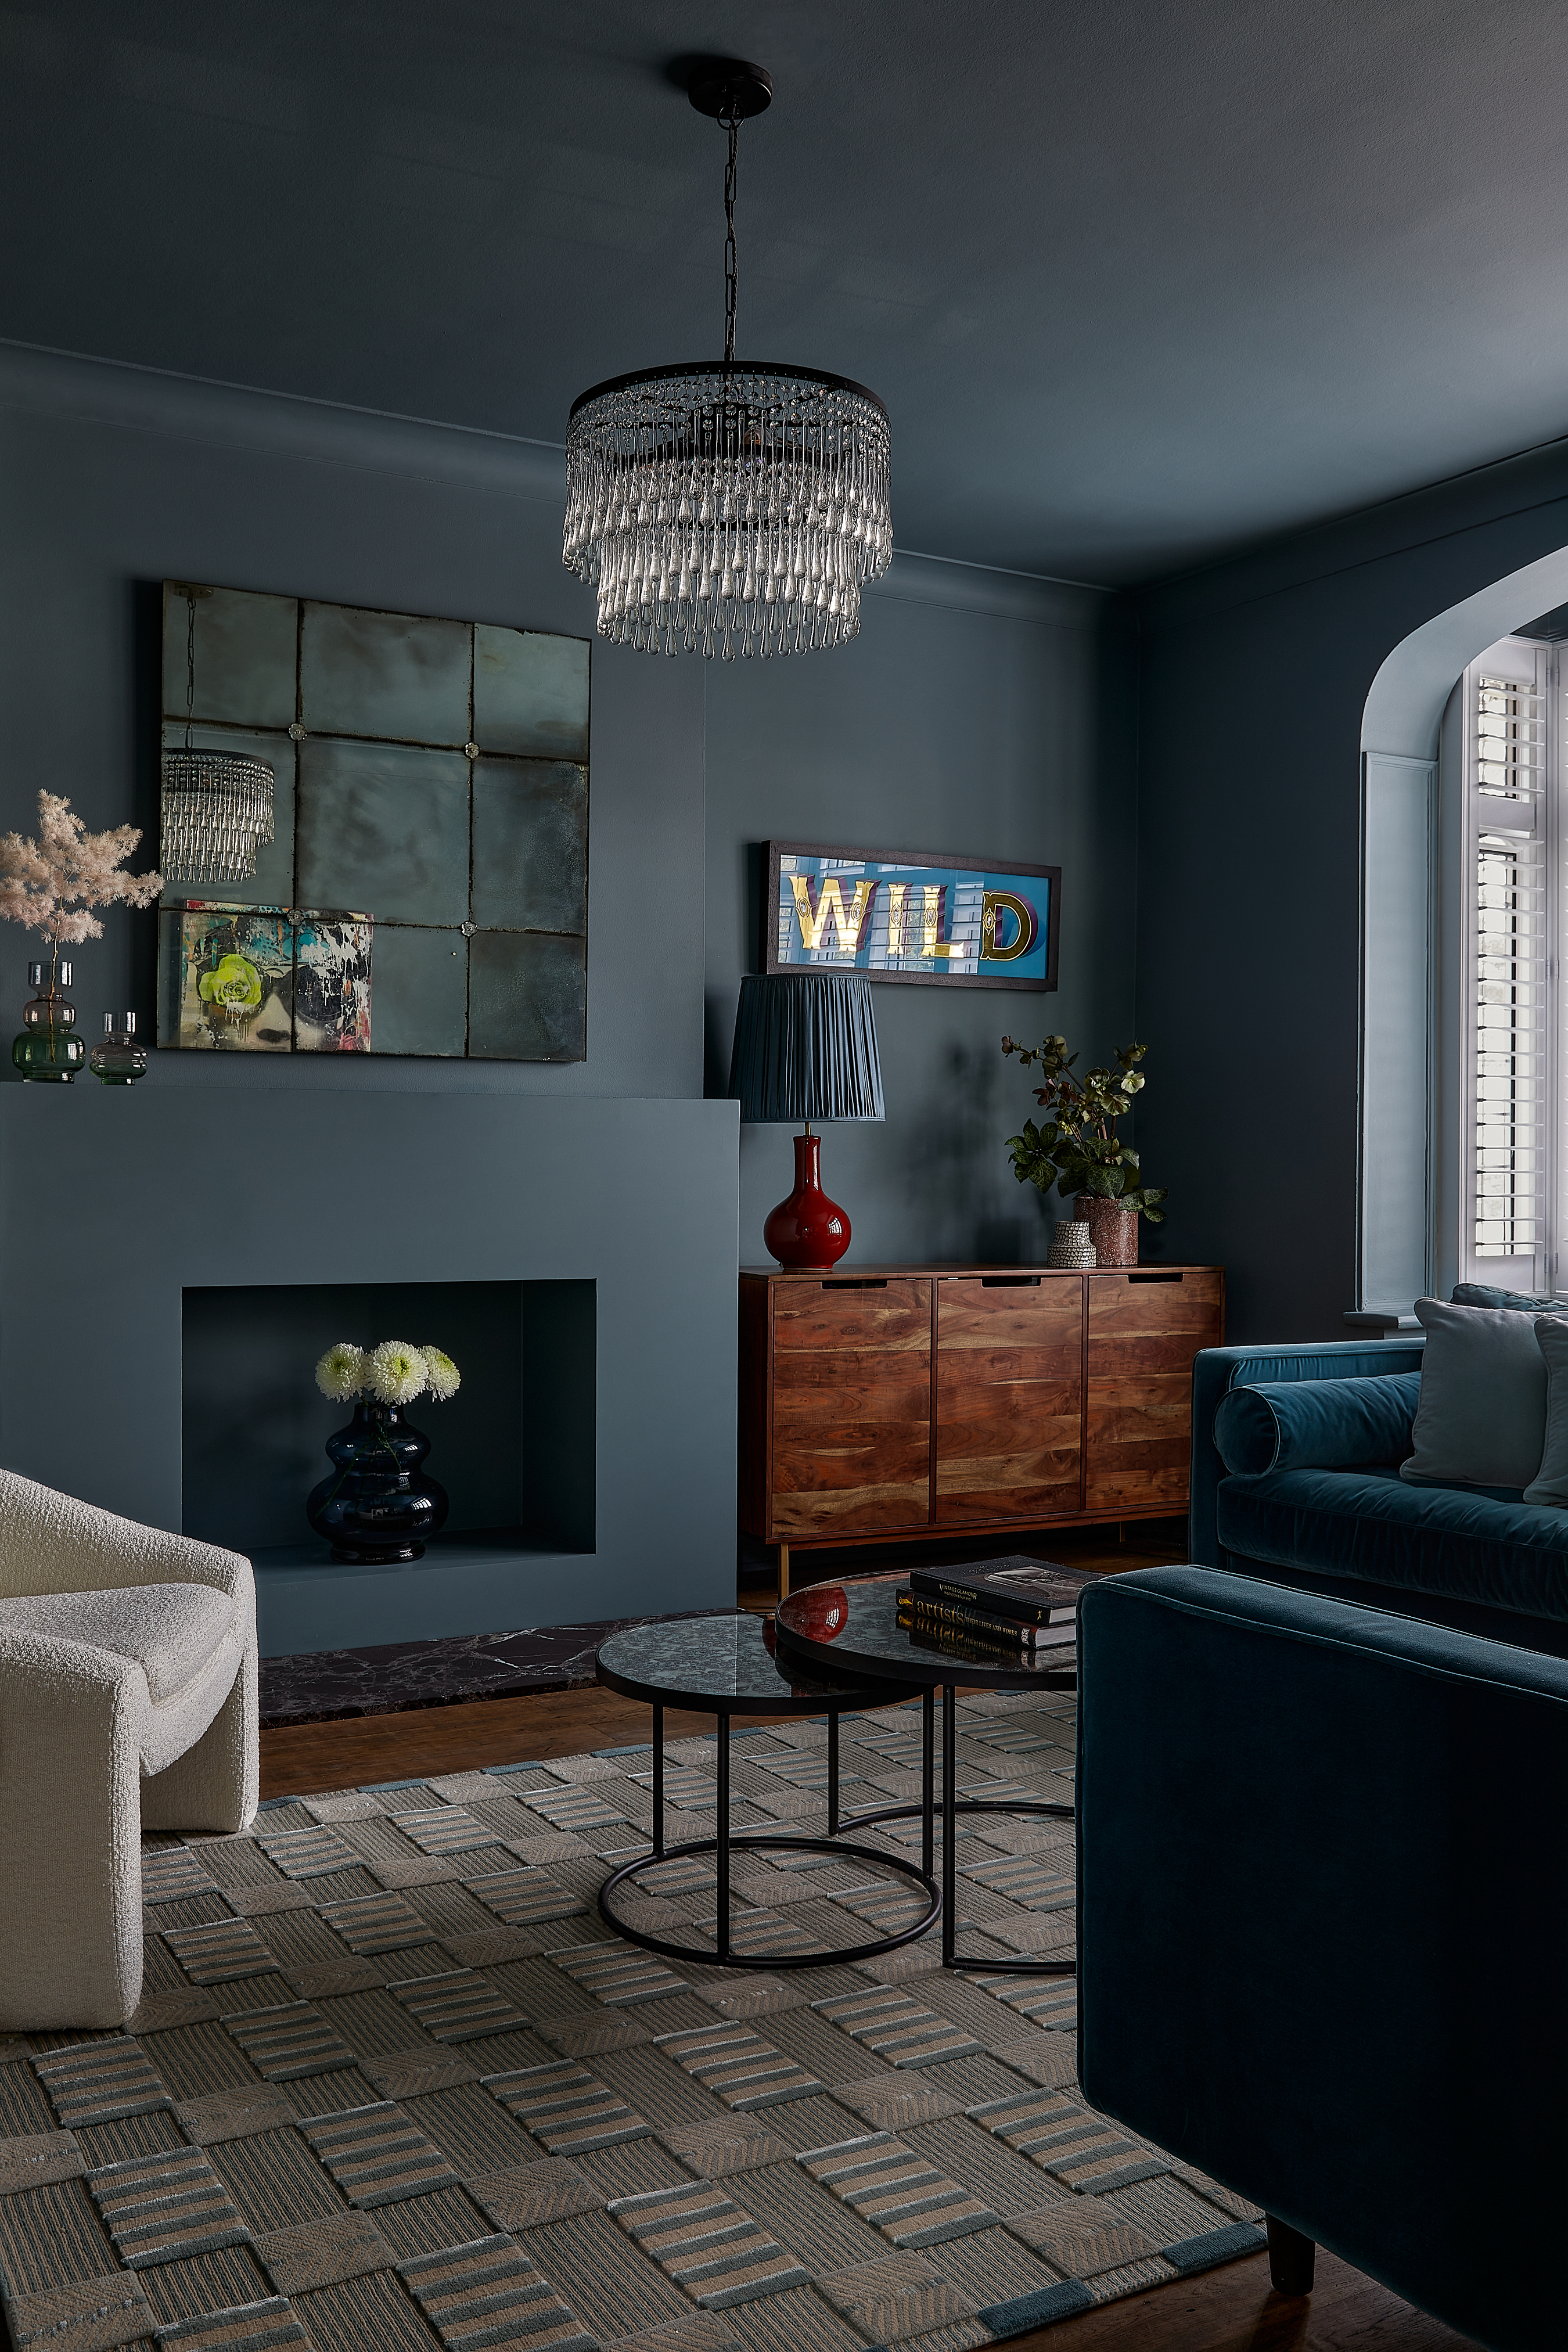
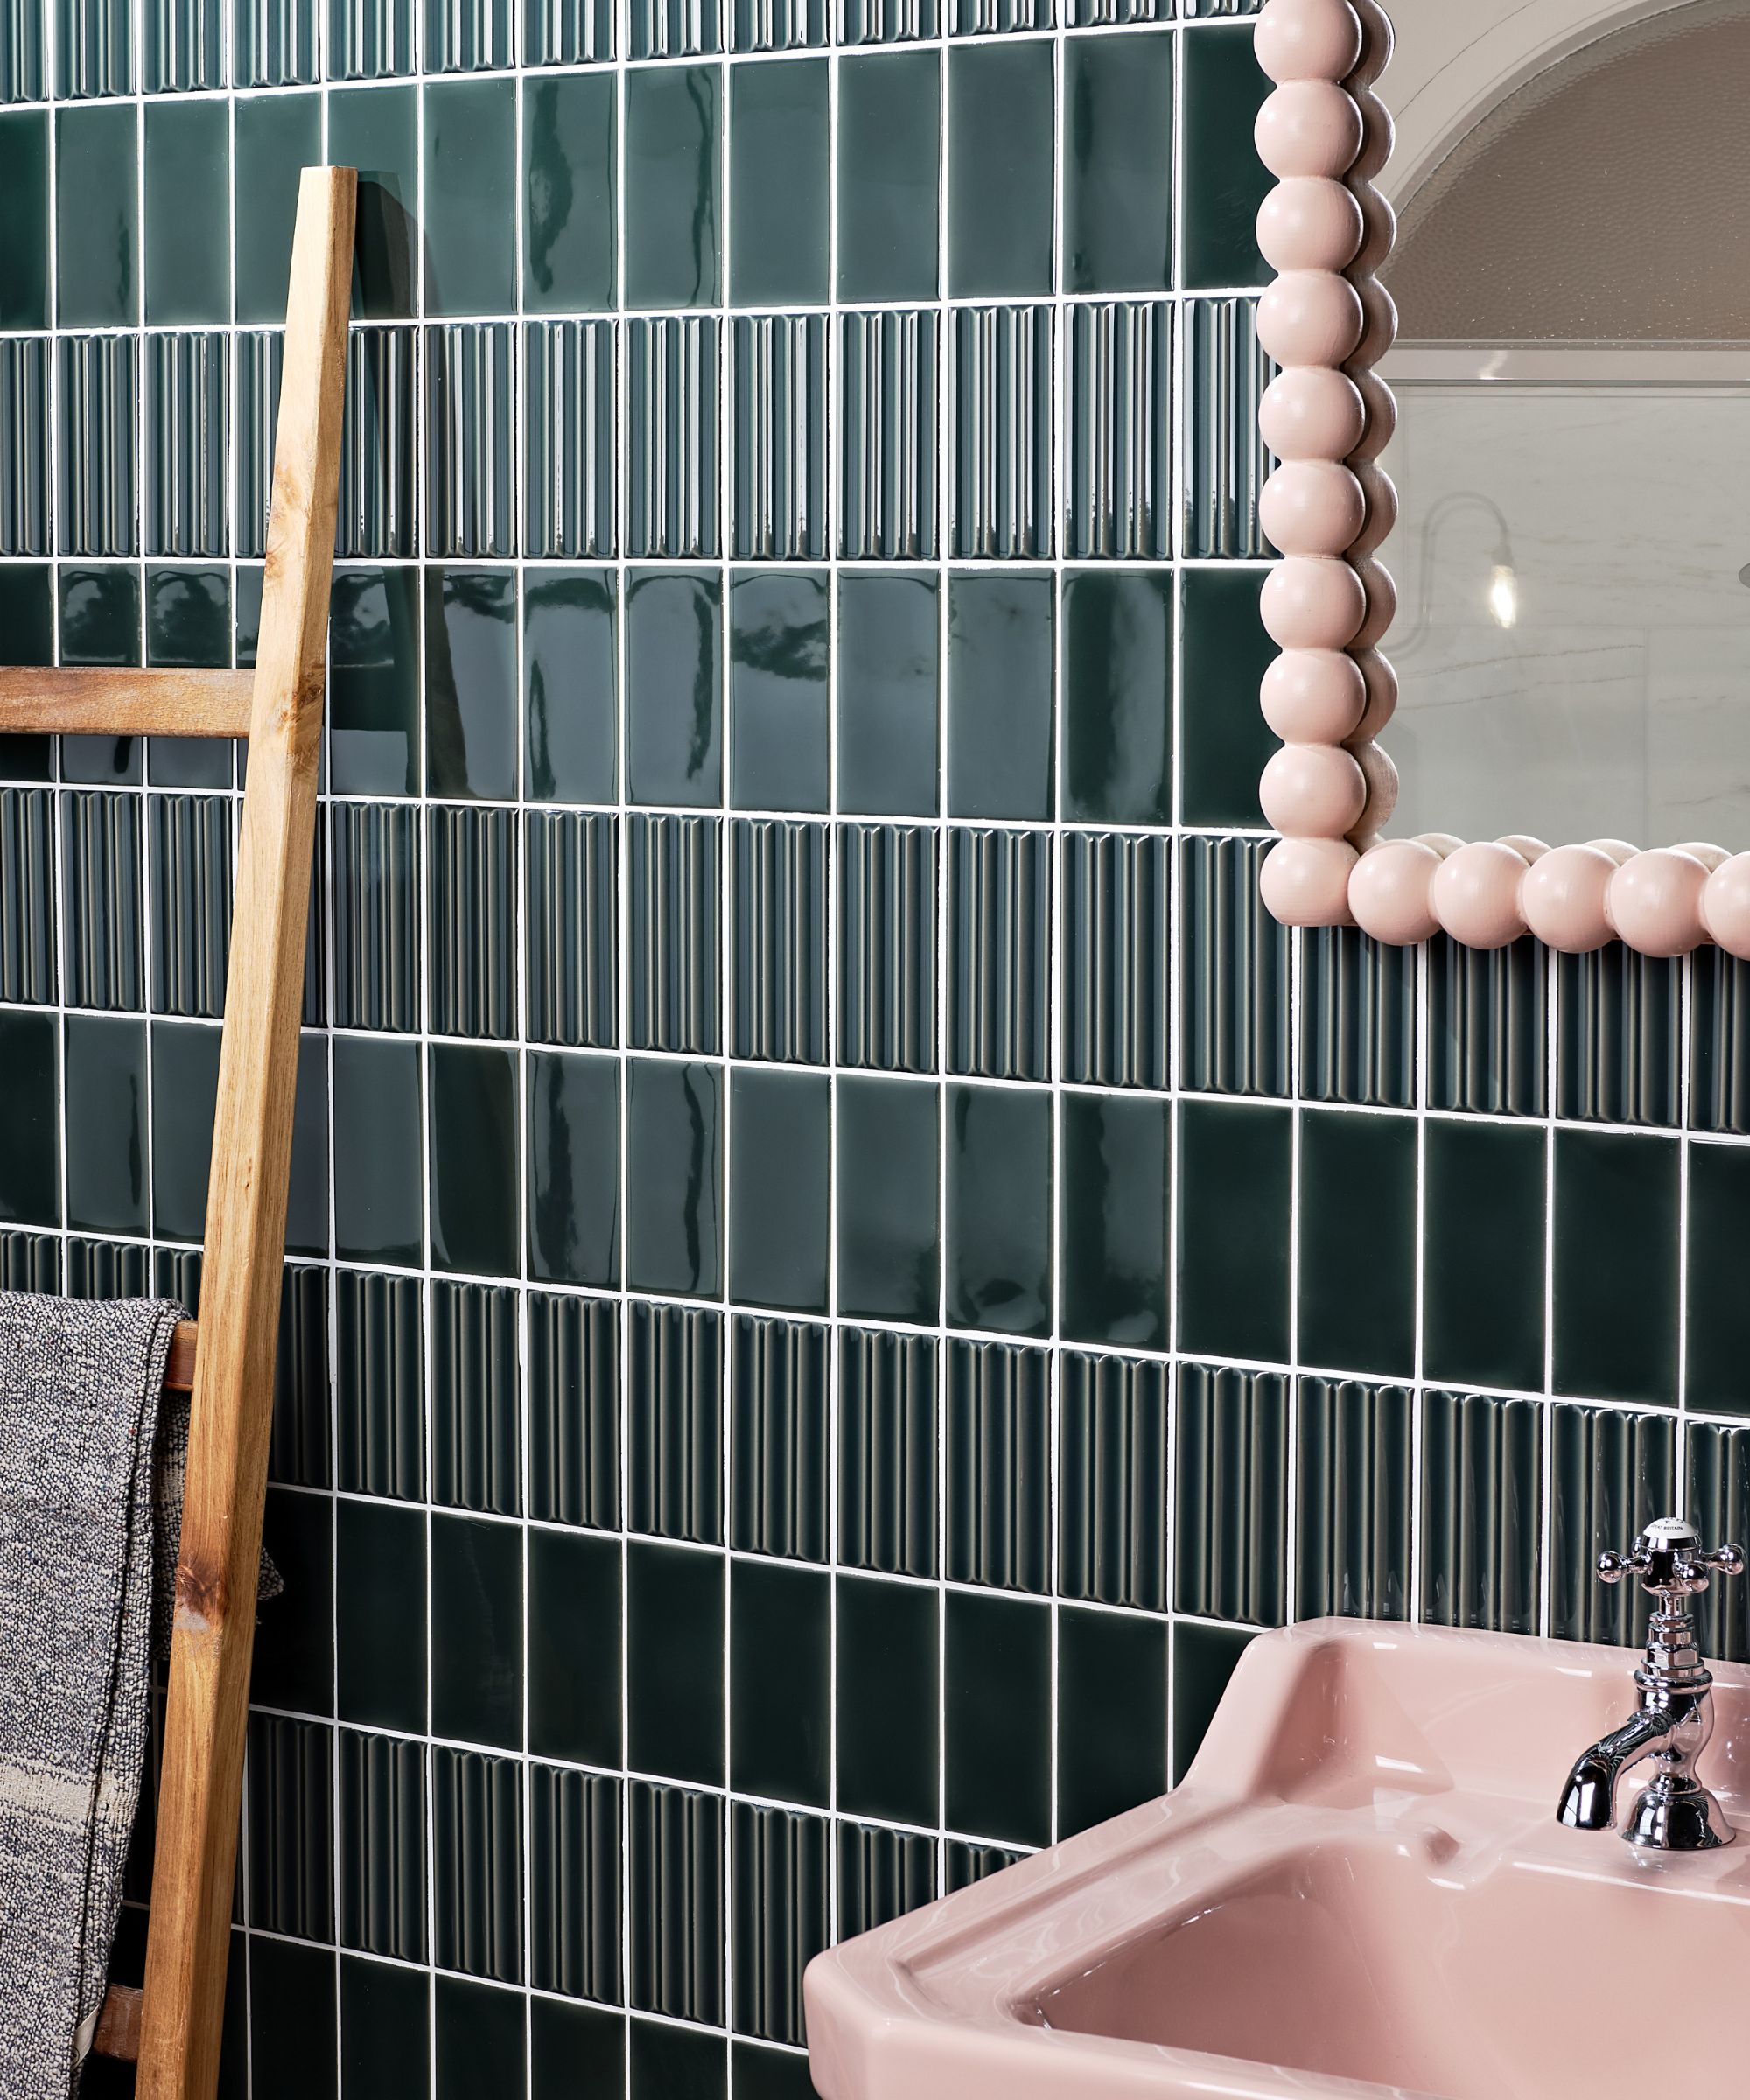
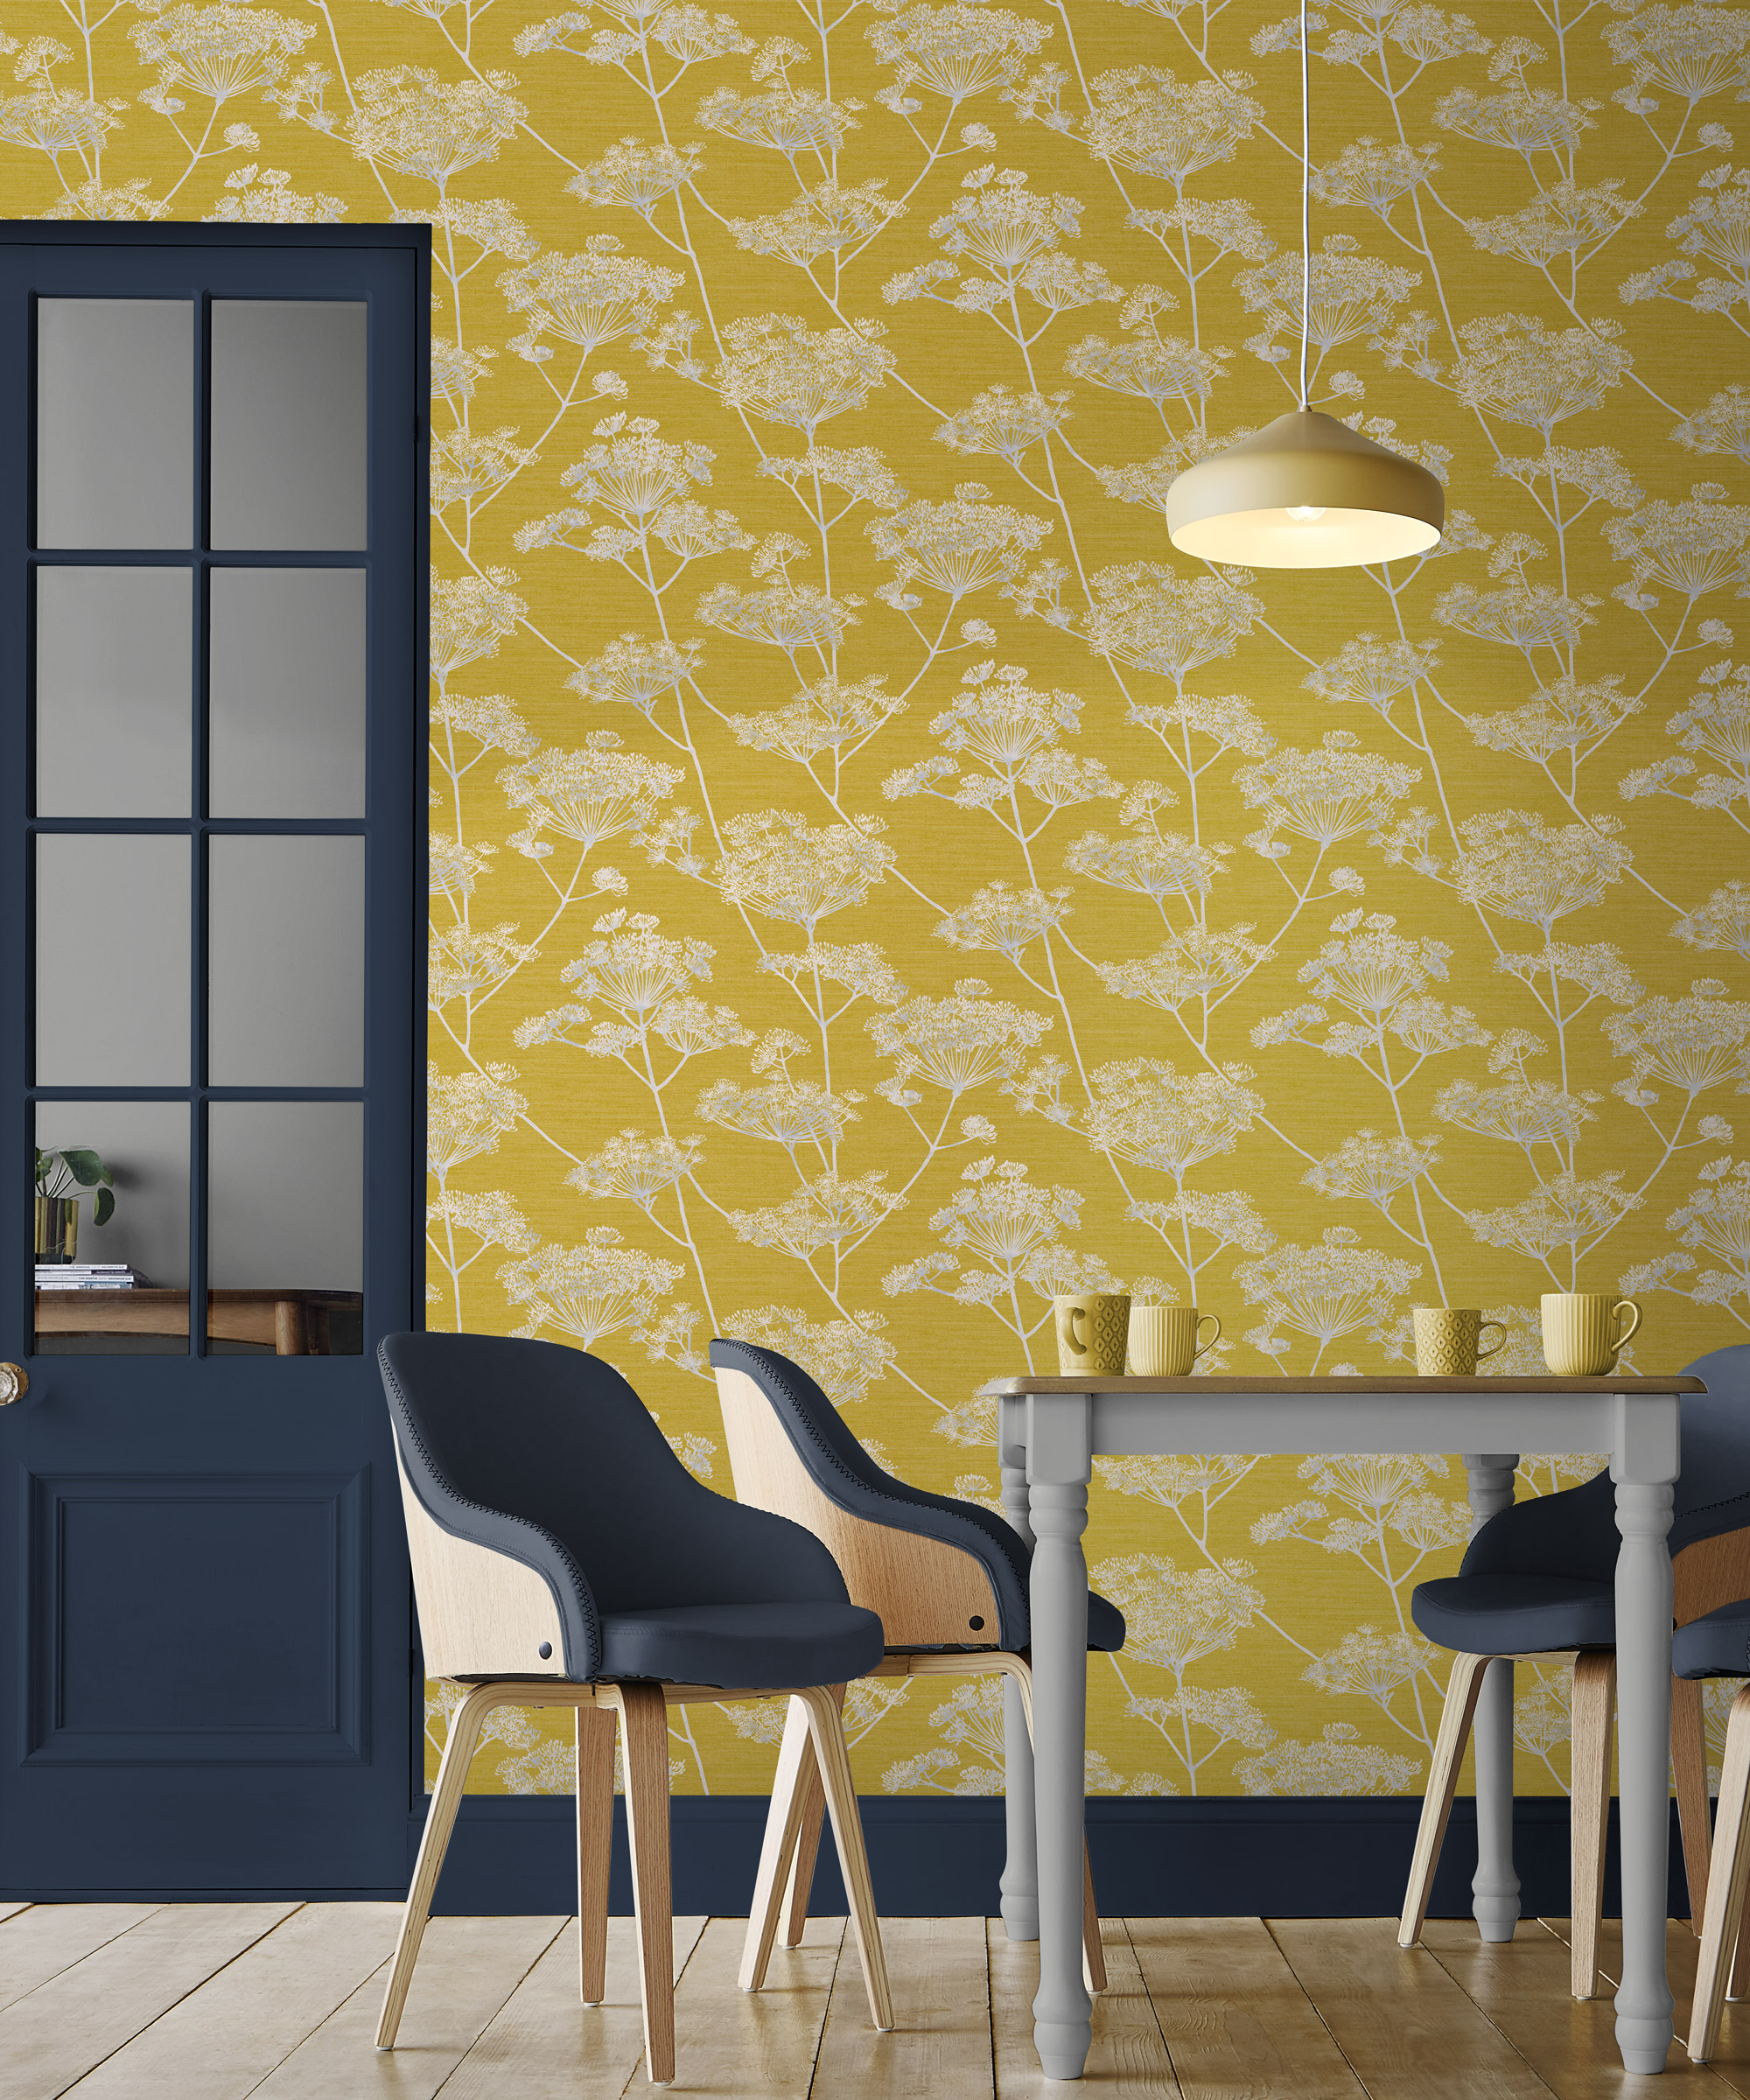
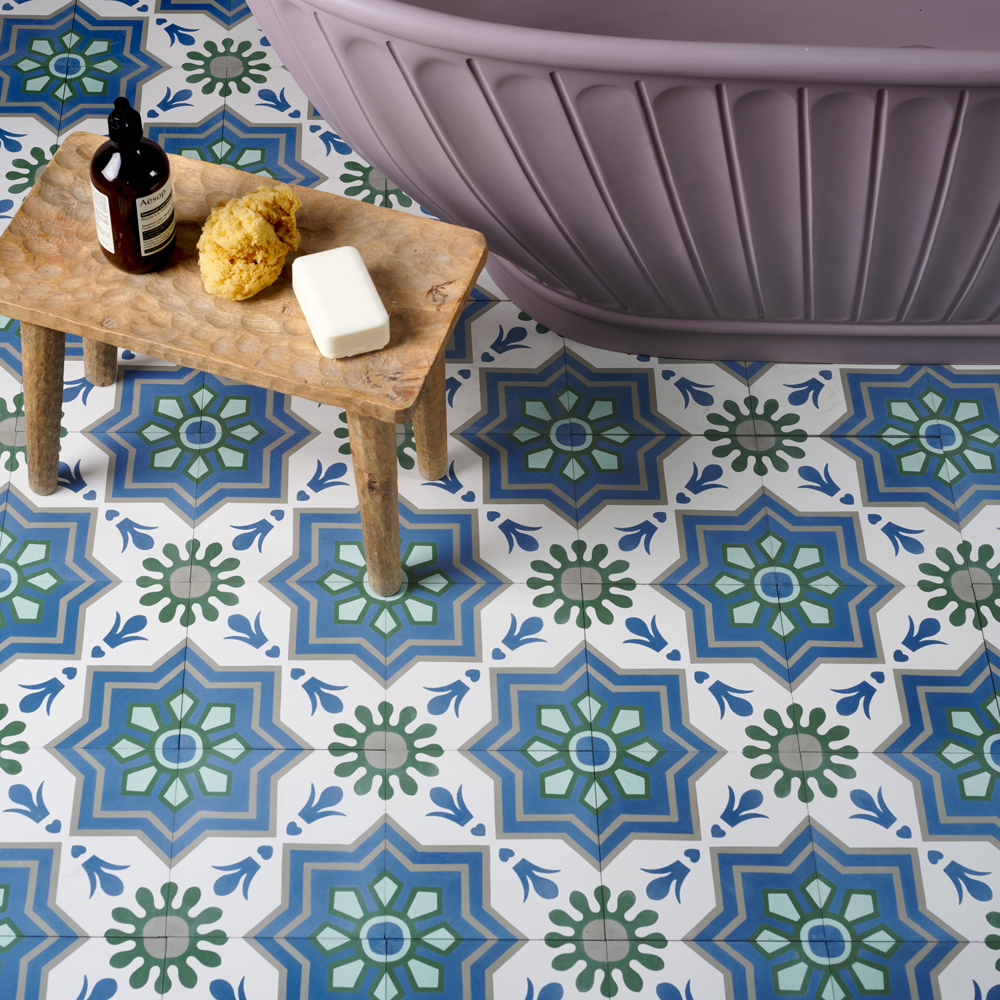
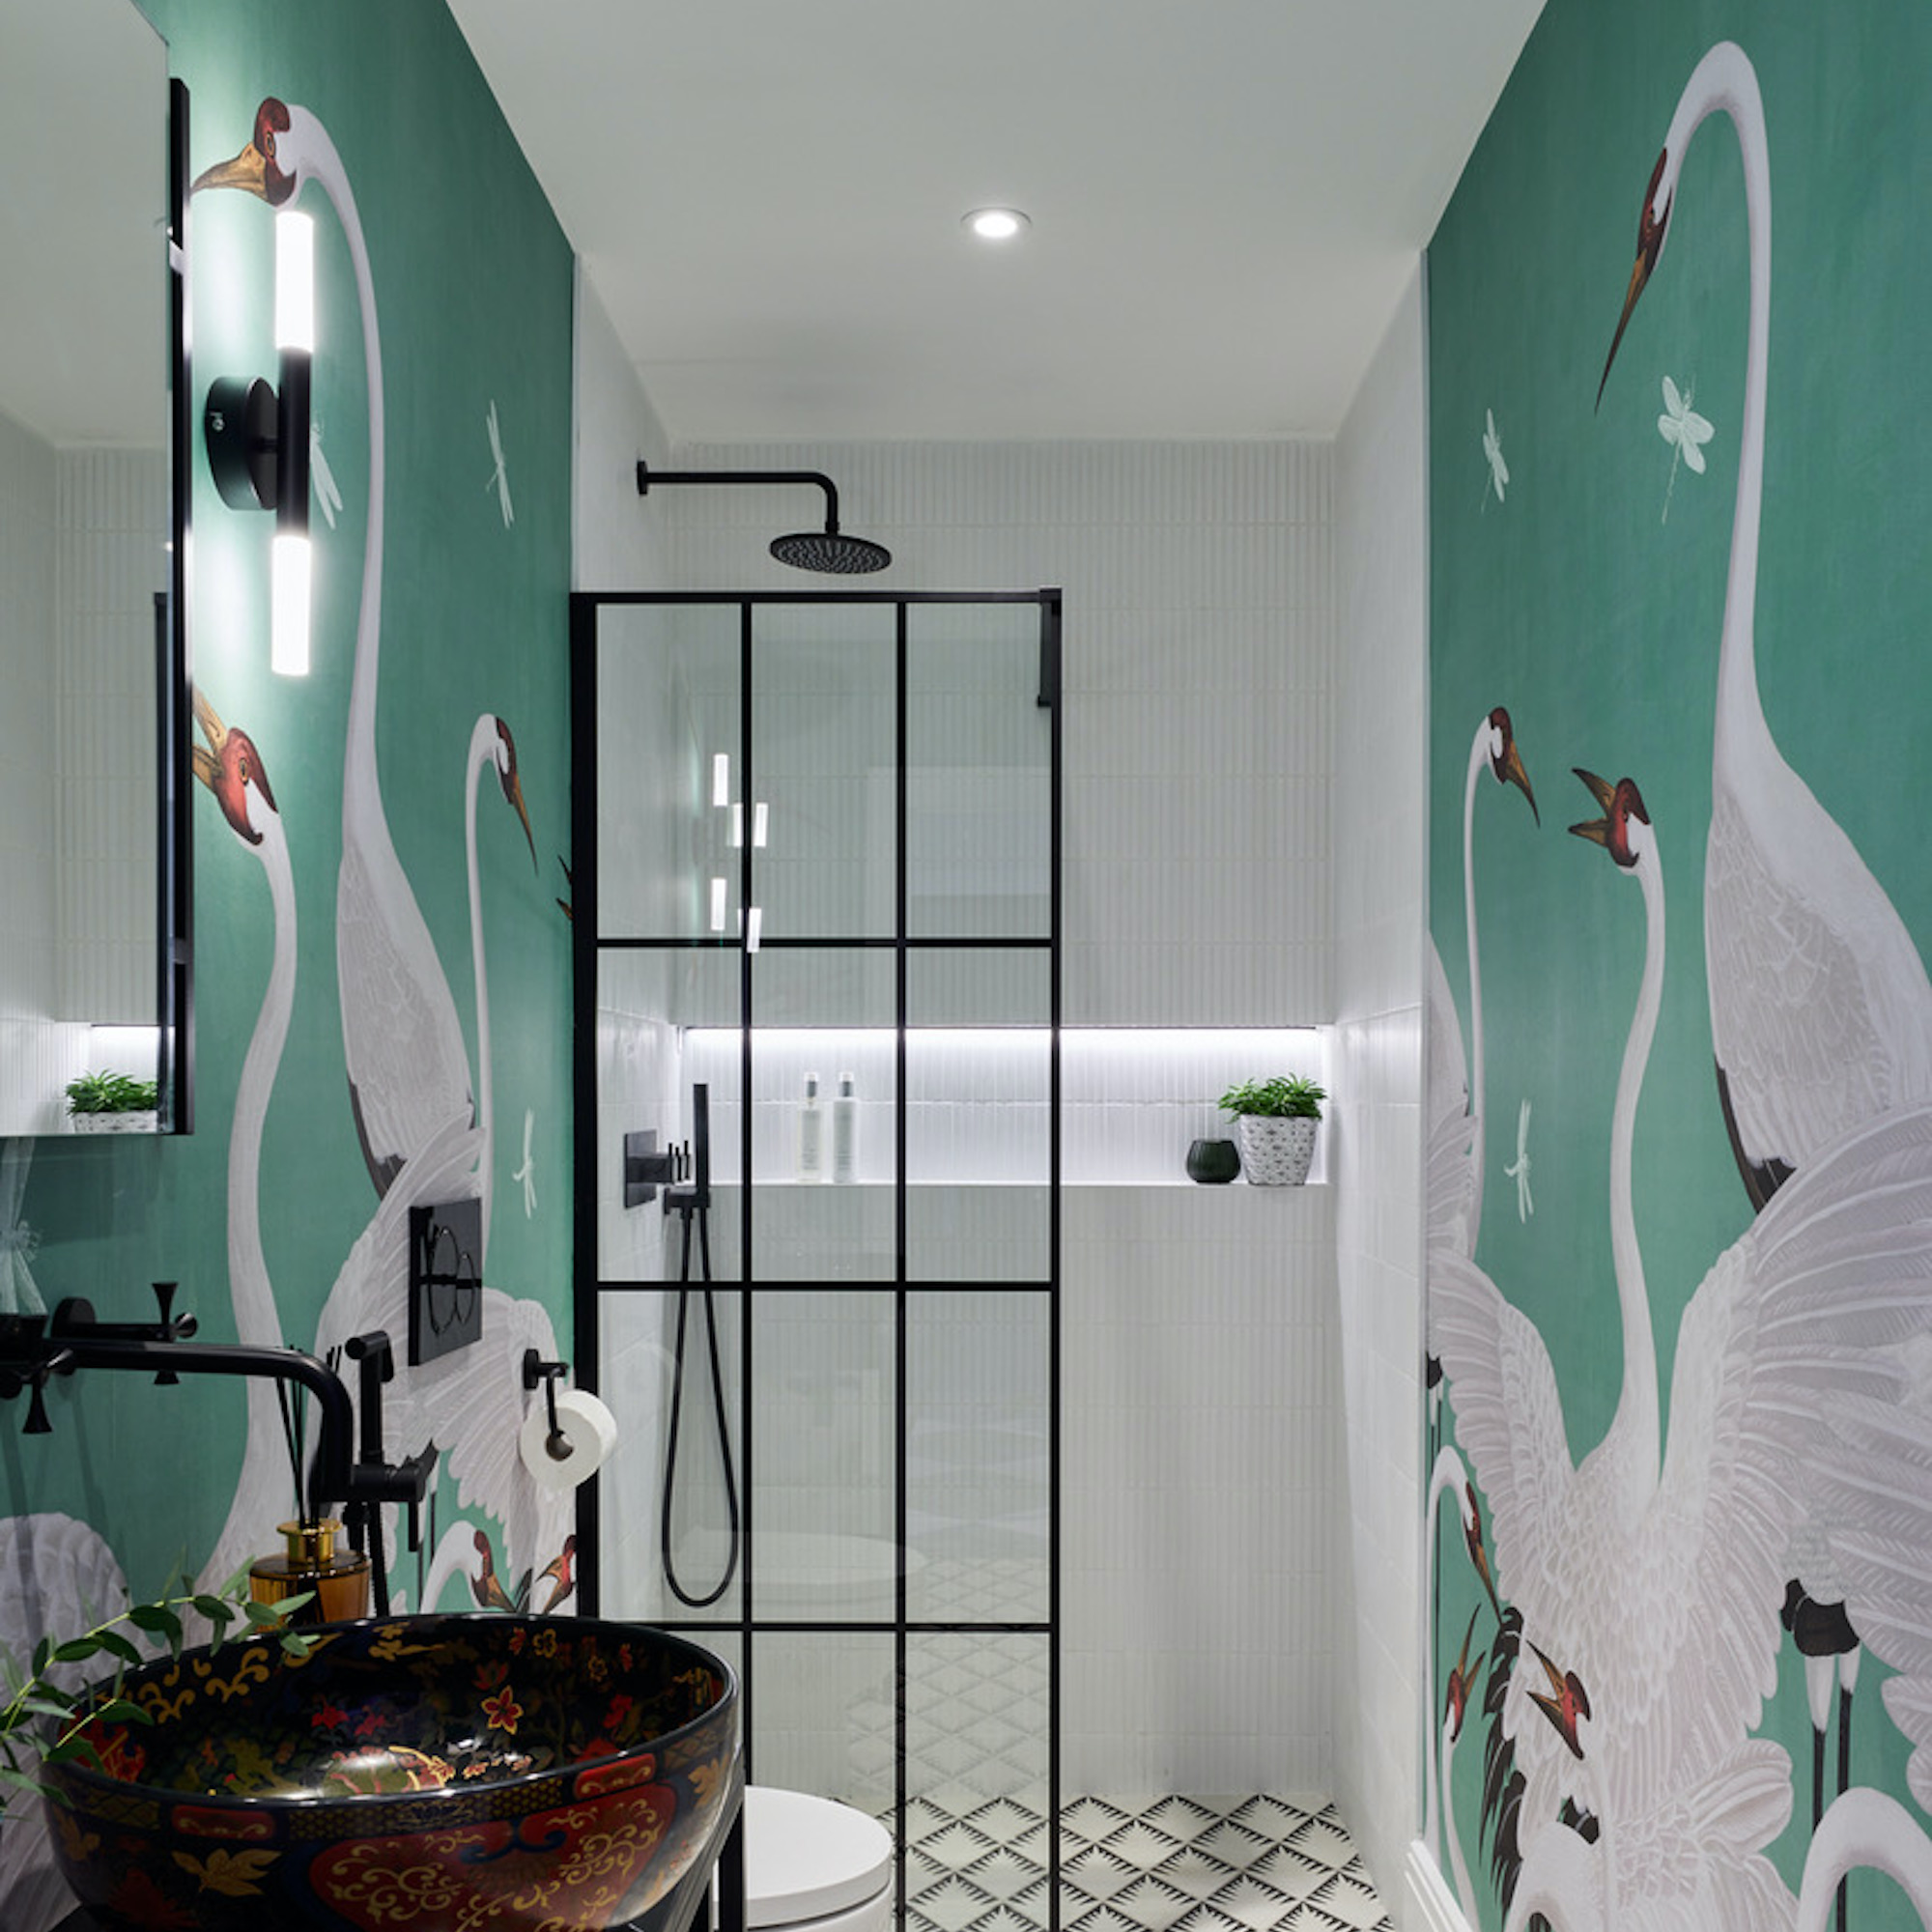
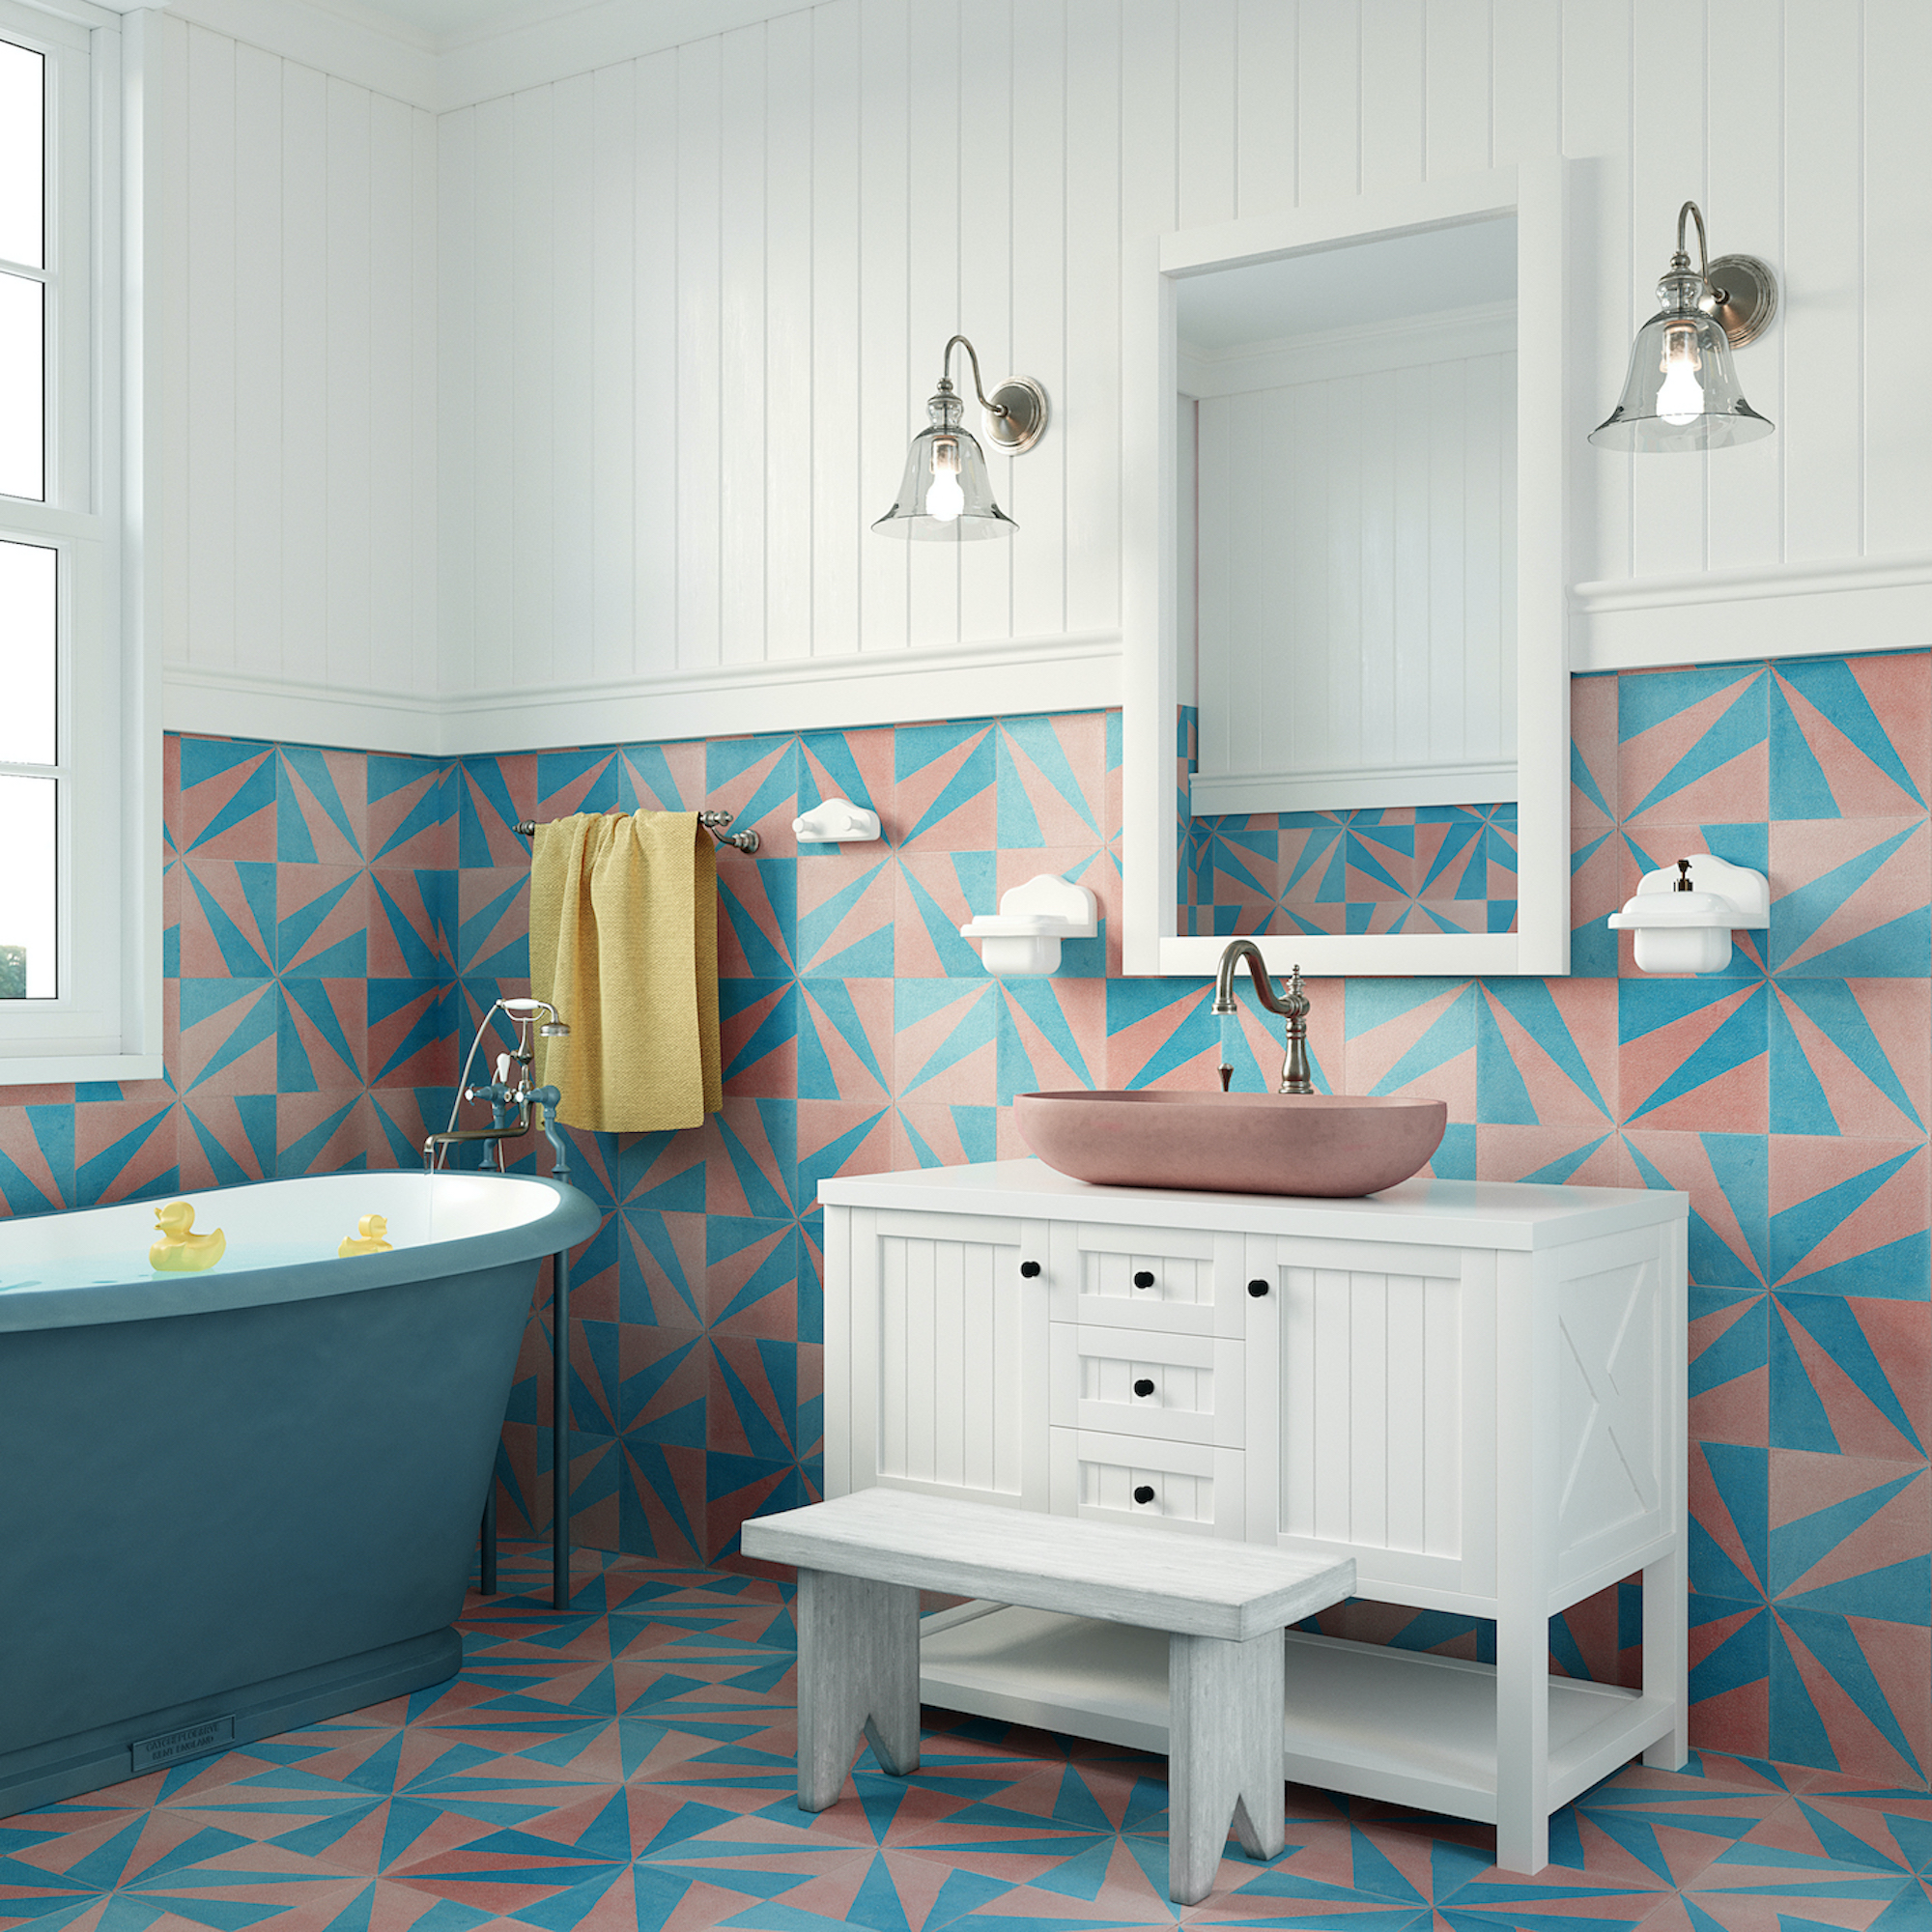
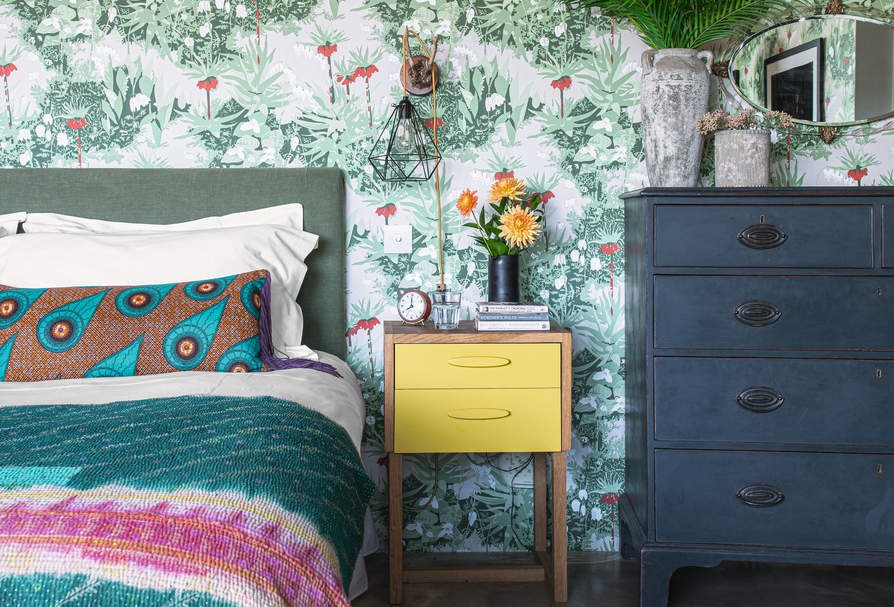
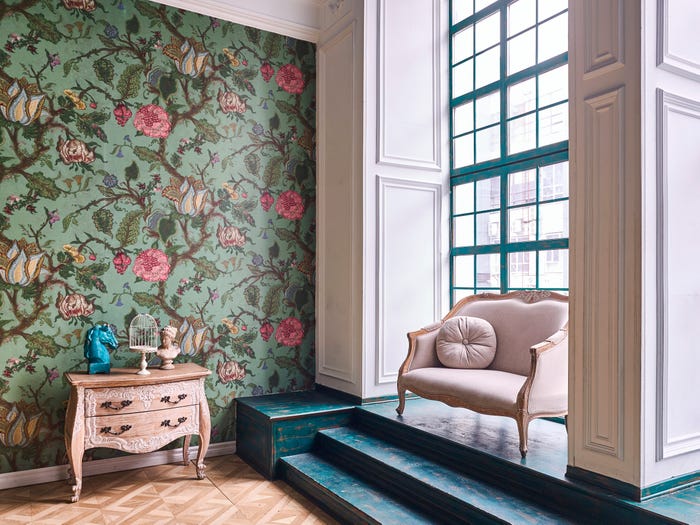
Choosing the correct scale of pattern is vital for the room's visual balance. In small spaces, smaller patterns tend to create a neat and decorated look without overwhelming the area. Conversely, larger patterns are more suitable for spacious rooms, where small patterns can appear pixelated or blend into a uniform color, losing their impact. The appropriate pattern scale enhances the aesthetic appeal of the room.
Hanging the wallpaper at the correct level is also important. The pattern should be accurately matched at eye level, which is the most common viewing point. Matching the pattern in the middle of the wall ensures that any minor imperfections, especially with traditionally printed paper, are not easily noticeable. Using a plumb line to hang the first strip is crucial for straight alignment. Starting the first strip in the middle of the wall and working outwards helps centralize the design and maintain balance.
Utilizing the correct tools significantly impacts the installation quality. Essential tools include lining paper or primer, paste, and a plastic smoother to prevent air bubbles. For any air bubbles that do form, a small slit with an X-Acto knife and a glue syringe can be used to re-adhere the paper. A sharp Stanley knife is recommended for trimming the top and bottom edges to avoid jagged finishes. A good quality, light-grade traditional tub paste allows for paper movement, aiding pattern matching and easing the hanging process.
Finally, accounting for awkward room corners is a frequently overlooked detail. Rooms are rarely perfectly square, and small spaces, like hallways, often have irregular angles. Overlooking these can lead to a loss of continuity and noticeable errors. For areas with doors and cupboards, using a profile edge can protect the wallpaper from fraying. Overlapping wallpaper is generally not recommended; instead, seams should be tightly joined and smoothed. For vinyl wallpapers, specialized pastes or end-matching techniques are necessary to prevent overlap. Should mistakes occur, small air bubbles can be fixed by slitting and injecting adhesive, while curling edges can be re-dampened and re-pasted. Using a sharp blade for cutting helps prevent tears and ensures a clean finish.
#Wallpapering #HomeDecoration #InteriorDesignMistakes #DIYHomeImprovement #WallPreparation #PatternScale #WallpaperInstallation #RoomMeasurement #InteriorStyling #Wallpapering #HomeDecoration #InteriorDesignMistakes #DIYHomeImprovement #WallPreparation #PatternScale #WallpaperInstallation #RoomMeasurement #InteriorStyling
0 comment in total
You may also like
5 common gallery wall mistakes designers warn to always avoid – to create the chicest of displays

7 Common Living Room Lighting Mistakes to Avoid at all Costs
7 Paint Mistakes That Make Designers Instantly Cringe When They Walk Into Someone's Home

7 Window Treatment Mistakes You Might Be Making

7 decisions I make when choosing wallpaper
How to Fix the Most Common Living Room Layout Mistakes

Wallpaper is so back — but don't make these 7 mistakes when using it, according to interior designers
Designers Share 4 Common "Mistakes" You're Making in Your Living Room—and How to Correct Them

6 painting mistakes that are making your walls look 'dirtier' – and what you should be doing instead
6 Wallpaper Mistakes Designers Immediately Notice in Any Home

Don't make these 5 entryway decor mistakes

10 common tiling mistakes that can be costly – and how to avoid them
8 Common Wallpaper Mistakes (and How to Fix Them)
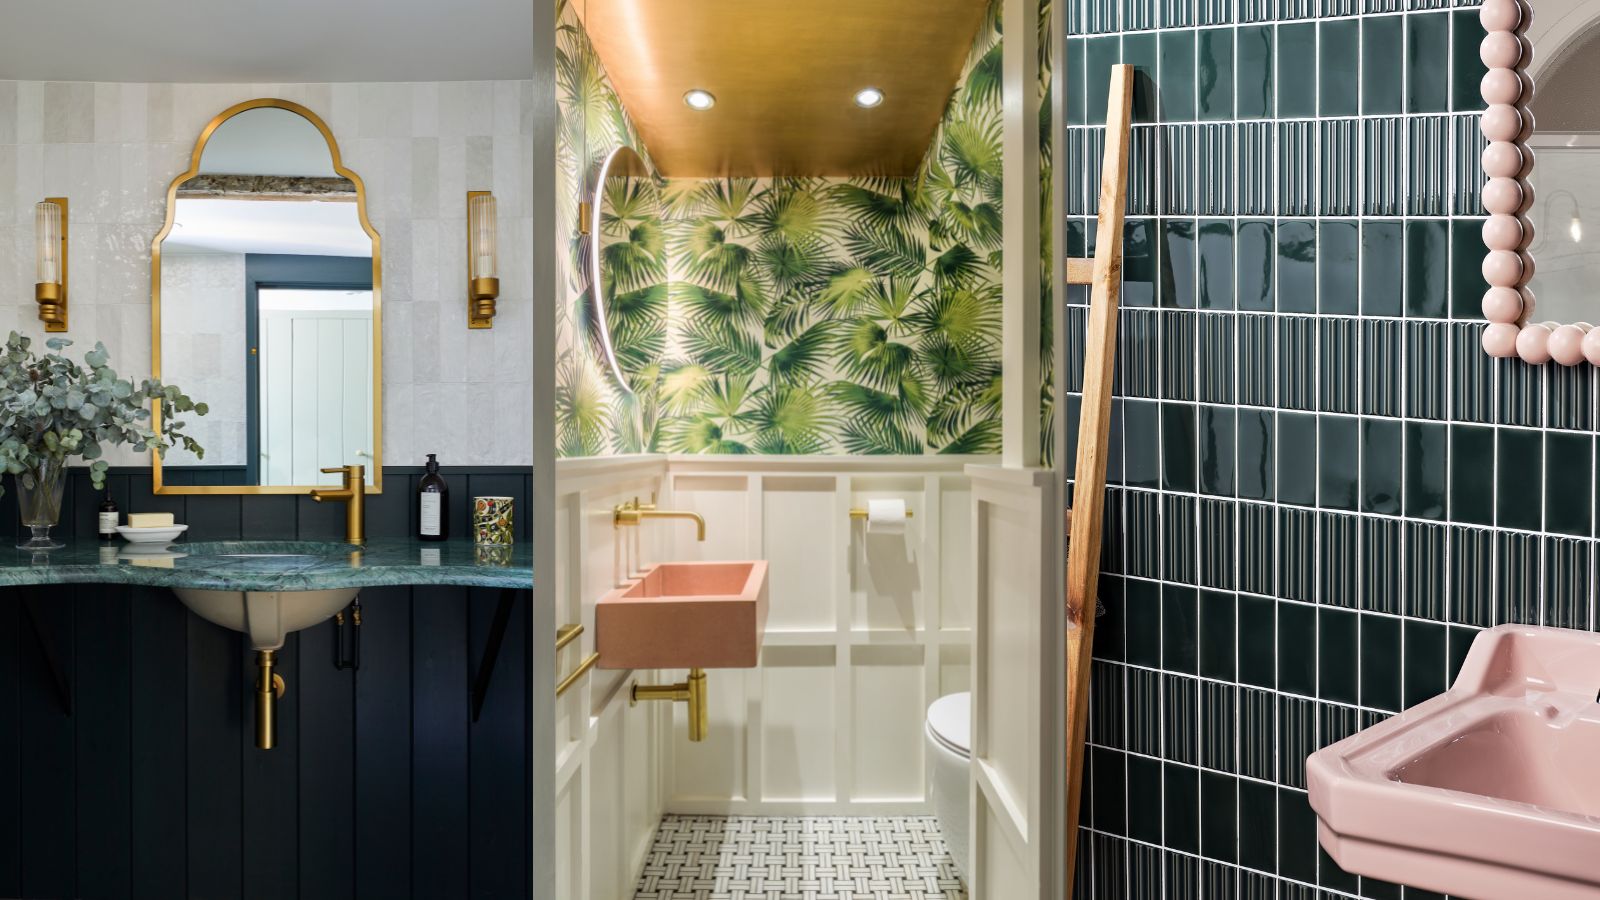
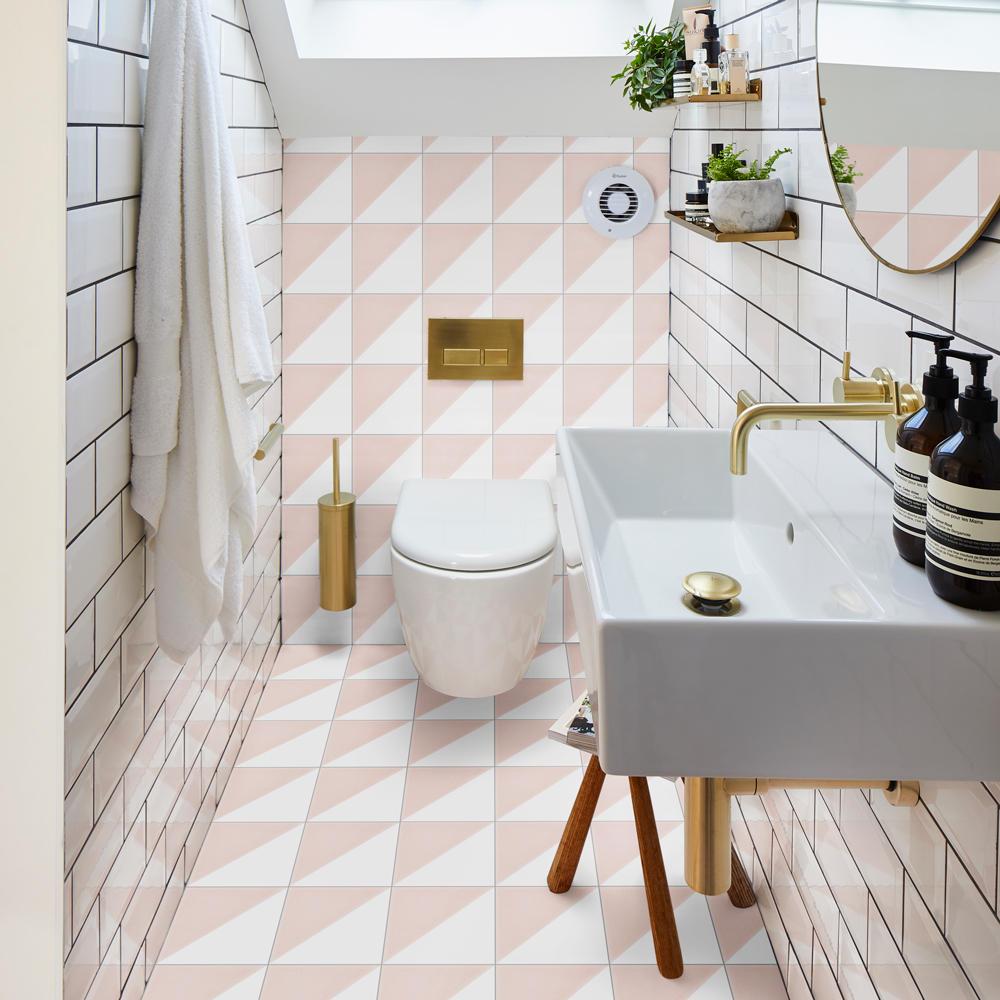
7 powder room design mistakes to avoid – and what to do instead
7 Design Mistakes Interior Designers Always Notice

7 common bathroom lighting mistakes, and how you can avoid them

7 of the worst bedroom layout mistakes and how to avoid them
13 front door colours mistakes you might be making
10 baseboard painting mistakes to avoid – and what experts say to do instead
7 Living Room Decorating Mistakes You Should Never Make