1/2
8 Common Wallpaper Mistakes (and How to Fix Them)
Applying wallpaper can significantly enhance the aesthetics of a room, but it's a DIY project that often comes with its own set of challenges and common pitfalls. This article outlines eight frequent mistakes made during wallpaper installation and provides expert advice from Tim Toot, technical manager for York Wallcoverings, on how to avoid or rectify them, ensuring a smooth and professional-looking finish. These tips are crucial for anyone looking to undertake a wallpapering project, whether they are a novice or have some experience.
One of the most significant errors is applying new wallpaper over existing layers. This shortcut can lead to bubbling and ruin both the old and new installations due to the wet backing of the new wallpaper reactivating the old paste. The recommended solution is to completely remove old wallpaper using chemical or power steamers, which can typically be rented from hardware stores. Thorough removal prevents adhesion issues and ensures a clean surface for the new application.
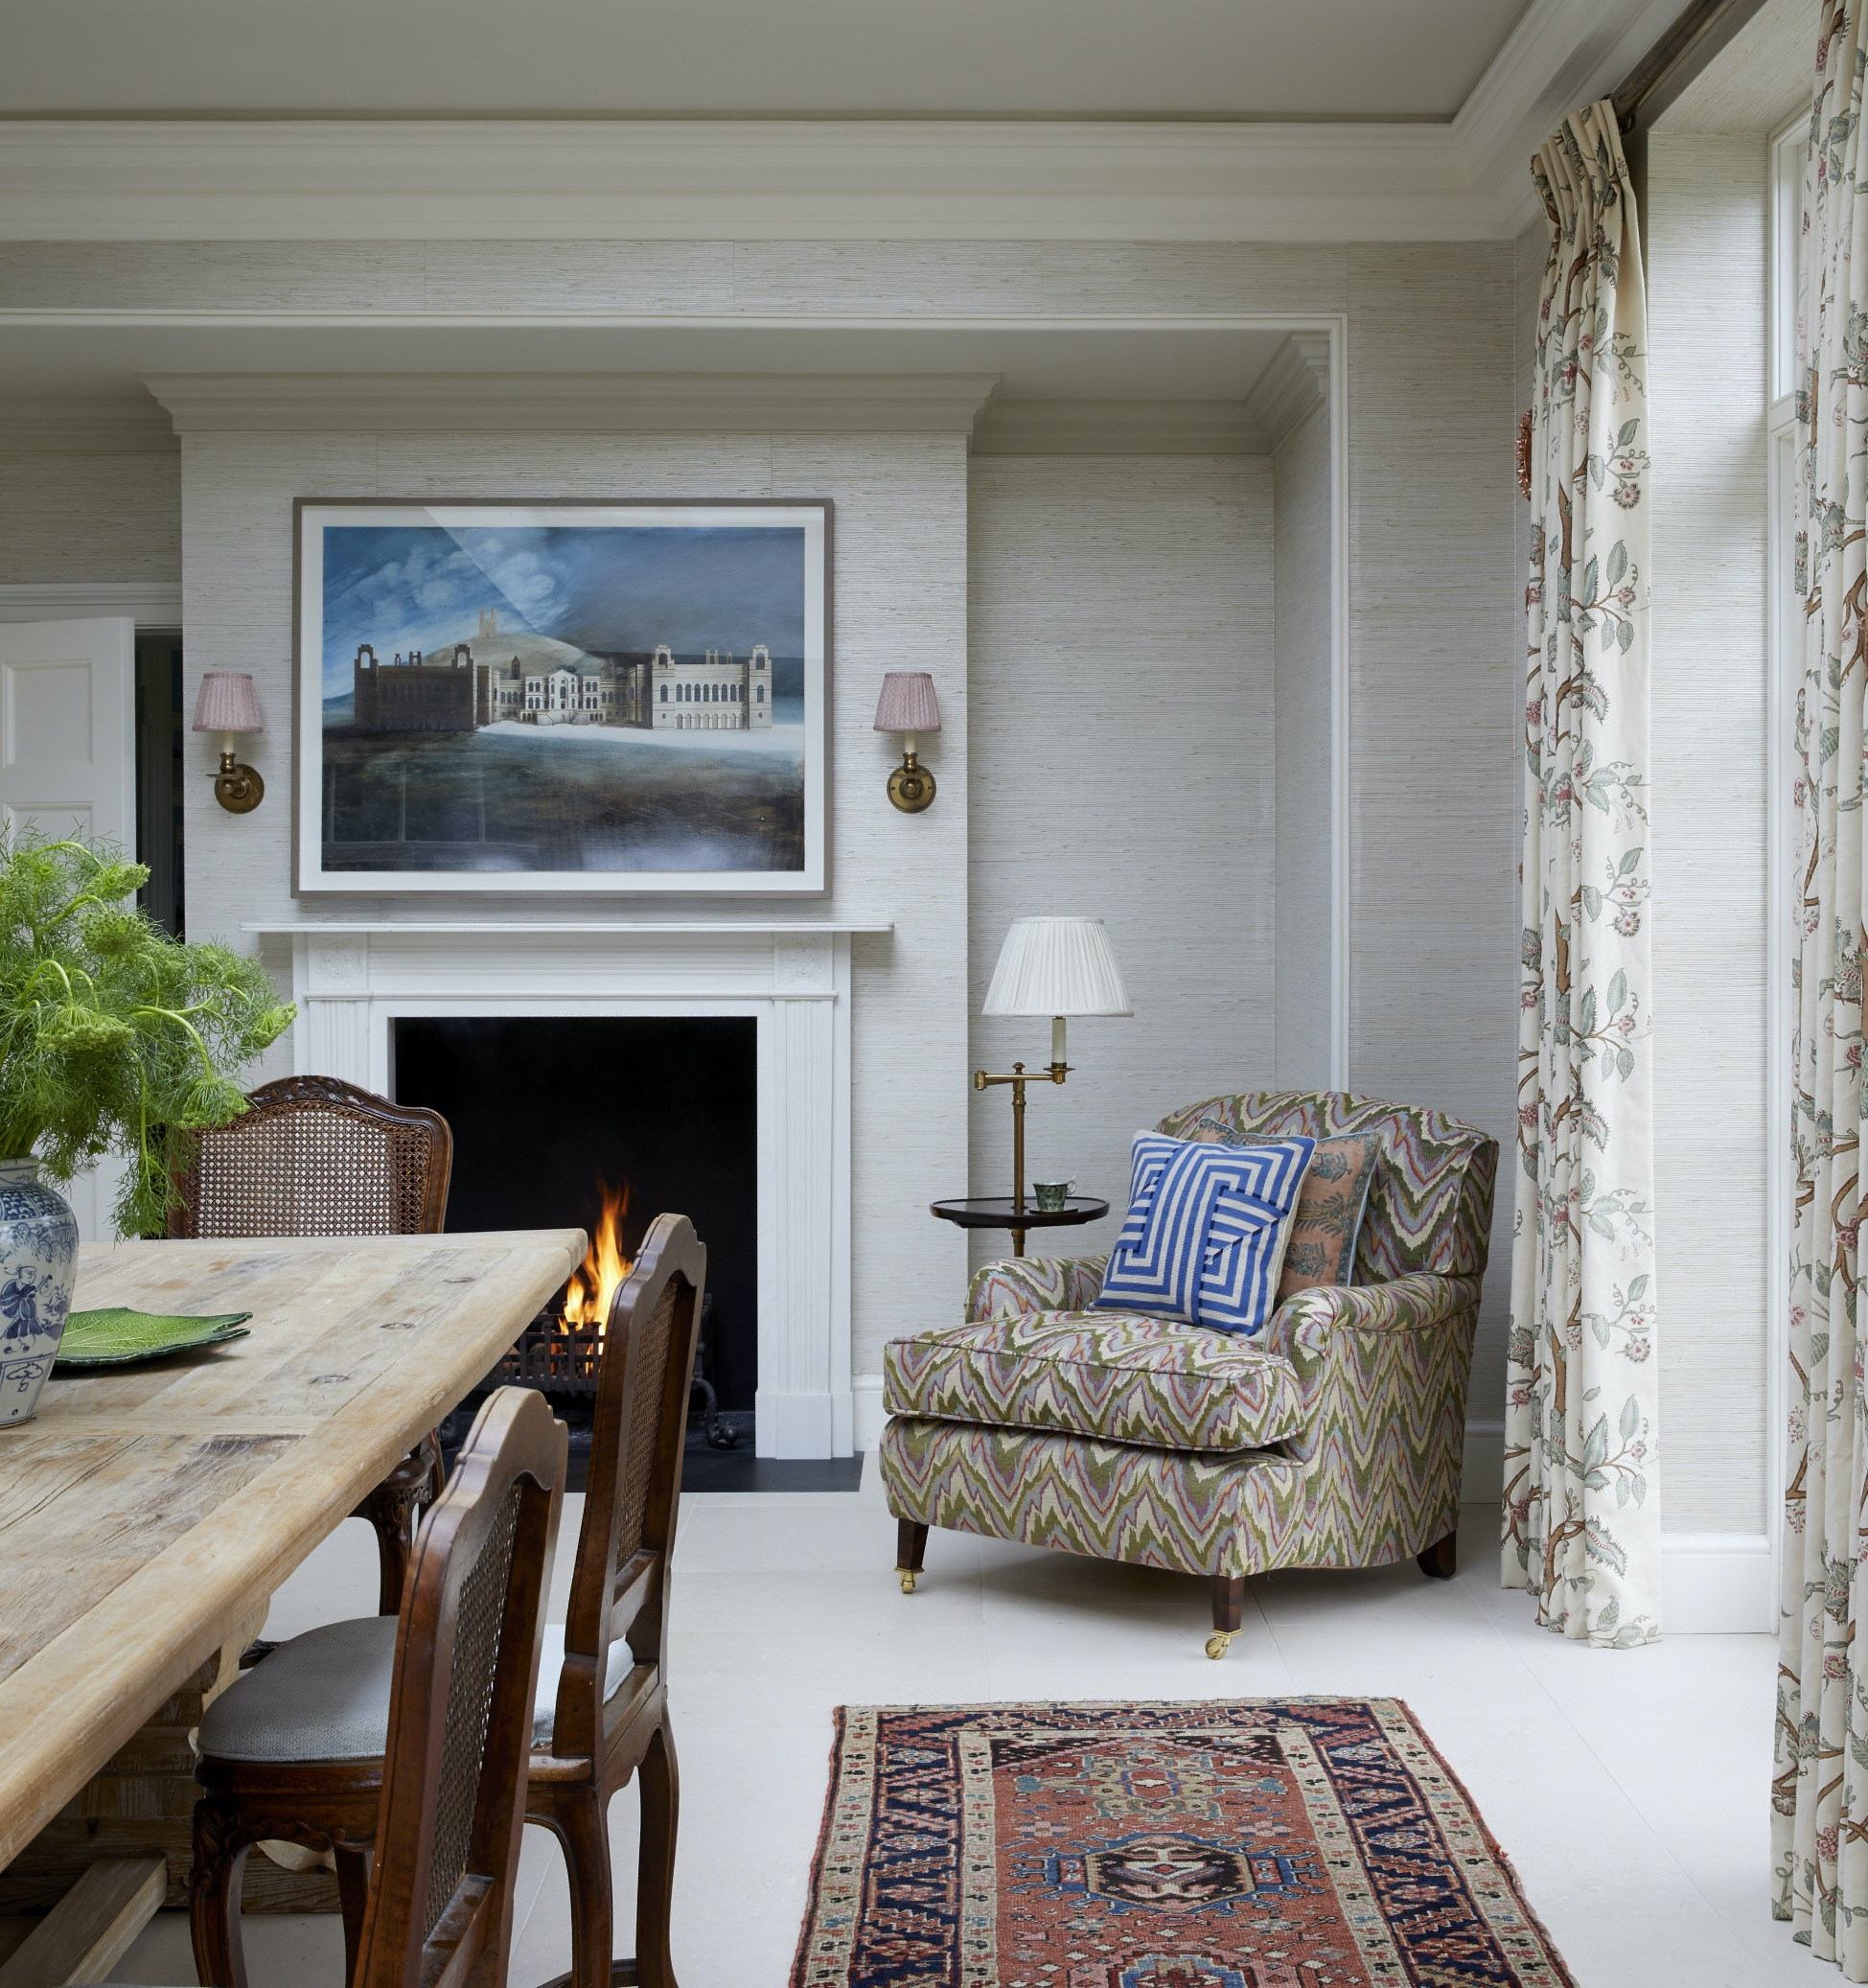
Another critical mistake is failing to research the specific type of wallpaper for its intended location. Different wallpapers have varying properties; for instance, natural wallpapers like grasscloth are not water-repellant and can fade in direct sunlight or run in high-humidity areas like bathrooms. Similarly, wallpaper used near heat sources, such as behind a range or near a fireplace, requires special protection and distance. It is essential to read manufacturer instructions and consult with sales associates to choose the appropriate wallcovering for the environment, especially considering international codes on labels.
The installation process also varies significantly depending on the wallpaper's backing. Assumptions that all wallpaper backings work the same can lead to improper application. Peel-and-stick wallpapers have adhesive backings for easy removal, while standard wallpapers can be unpasted or prepasted. Commercial-grade wallcoverings often require a heavier paste due to their weight, and natural types almost always come with unpasted backing. Understanding the specific adhesive requirements and applying it evenly is vital to prevent peeling and damage to the wallpaper's finish.
Accurate measurement and planning are paramount to avoid a mismatched or insufficient wallpaper supply. Underestimating the amount of wallpaper needed is a common error because pattern matching between strips results in usage loss. To circumvent this, it is advised to use online wallpaper calculators and always order more rolls than estimated. Checking return policies for unopened rolls is also recommended. Additionally, considering the dye lot or “run number” printed on each roll is important, as ordering from different batches can lead to noticeable color variations.
Proper wall preparation is another non-negotiable step. Some wallpapers have pre-pasted backing, while others necessitate priming. Wallpaper primer seals the wall, creating a uniform, absorbent surface for the adhesive, which helps prevent wrinkles, air bubbles, and imperfections. Primer also blocks stains and water damage from showing through the wallpaper and affects the underlying wall. Freshly painted walls need a three-week drying and curing period before wallpaper application to prevent the paint from lifting when the wallpaper is eventually removed.
Utilizing the correct tools for the job is essential for a lasting finish. Substituting household items for specialized wallpaper tools, such as smoothing tools for air bubbles or seam rollers for preventing curling edges, can compromise the final result. Having all recommended tools ready before starting the project ensures an efficient and high-quality installation.
A frequent installation error involves matching wallpaper strips directly on the wall as the work progresses. This method is slow and can cause the paper to overstretch, making pattern alignment difficult. A better approach is to lay out several strips on a flat surface beforehand, match the patterns, and then cut the strips to size, leaving a few extra inches at the top and bottom for trimming after installation.
Finally, neglecting to clean newly installed wallpaper of excess paste residue can result in shiny, unsightly spots once the paste dries. It is crucial to inspect and clean the wallpaper immediately after installation. Using a clean, damp (not wet) sponge with fresh water to wipe down the surface as soon as the project is complete will remove any residue and ensure a clean, professional appearance. This final step, along with instructions found on the wallpaper label, is key to a successful wallpapering project.
#WallpaperInstallation #DIYHomeImprovement #HomeDecor #InteriorDesign #WallpaperMistakes #WallCovering #AdhesiveApplication #WallPreparation #WallpaperInstallation #DIYHomeImprovement #HomeDecor #InteriorDesign #WallpaperMistakes #WallCovering #AdhesiveApplication #WallPreparation
0 comment in total
 No comments yet
You may also like
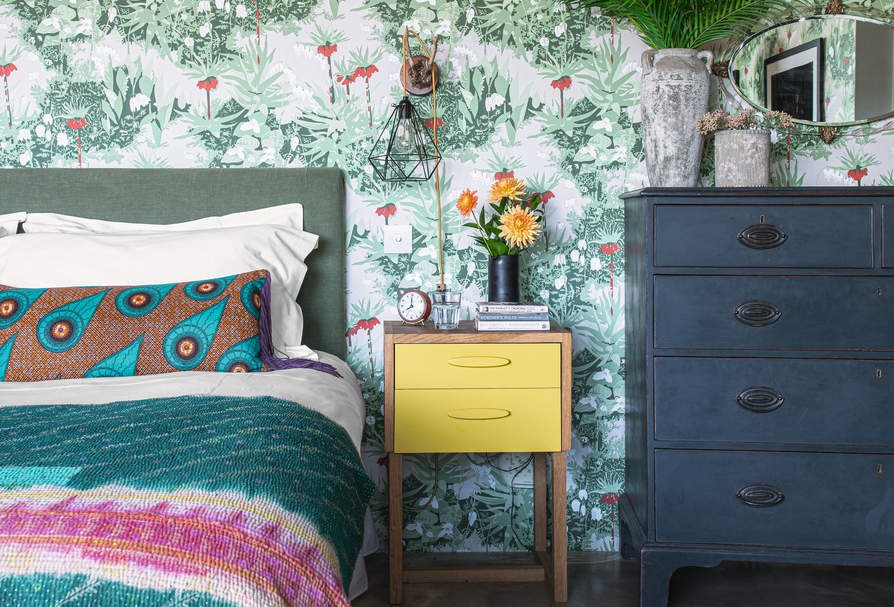
Wallpaper mistakes to avoid – 7 of the most common errors and how to solve them


How to Fix the Most Common Living Room Layout Mistakes

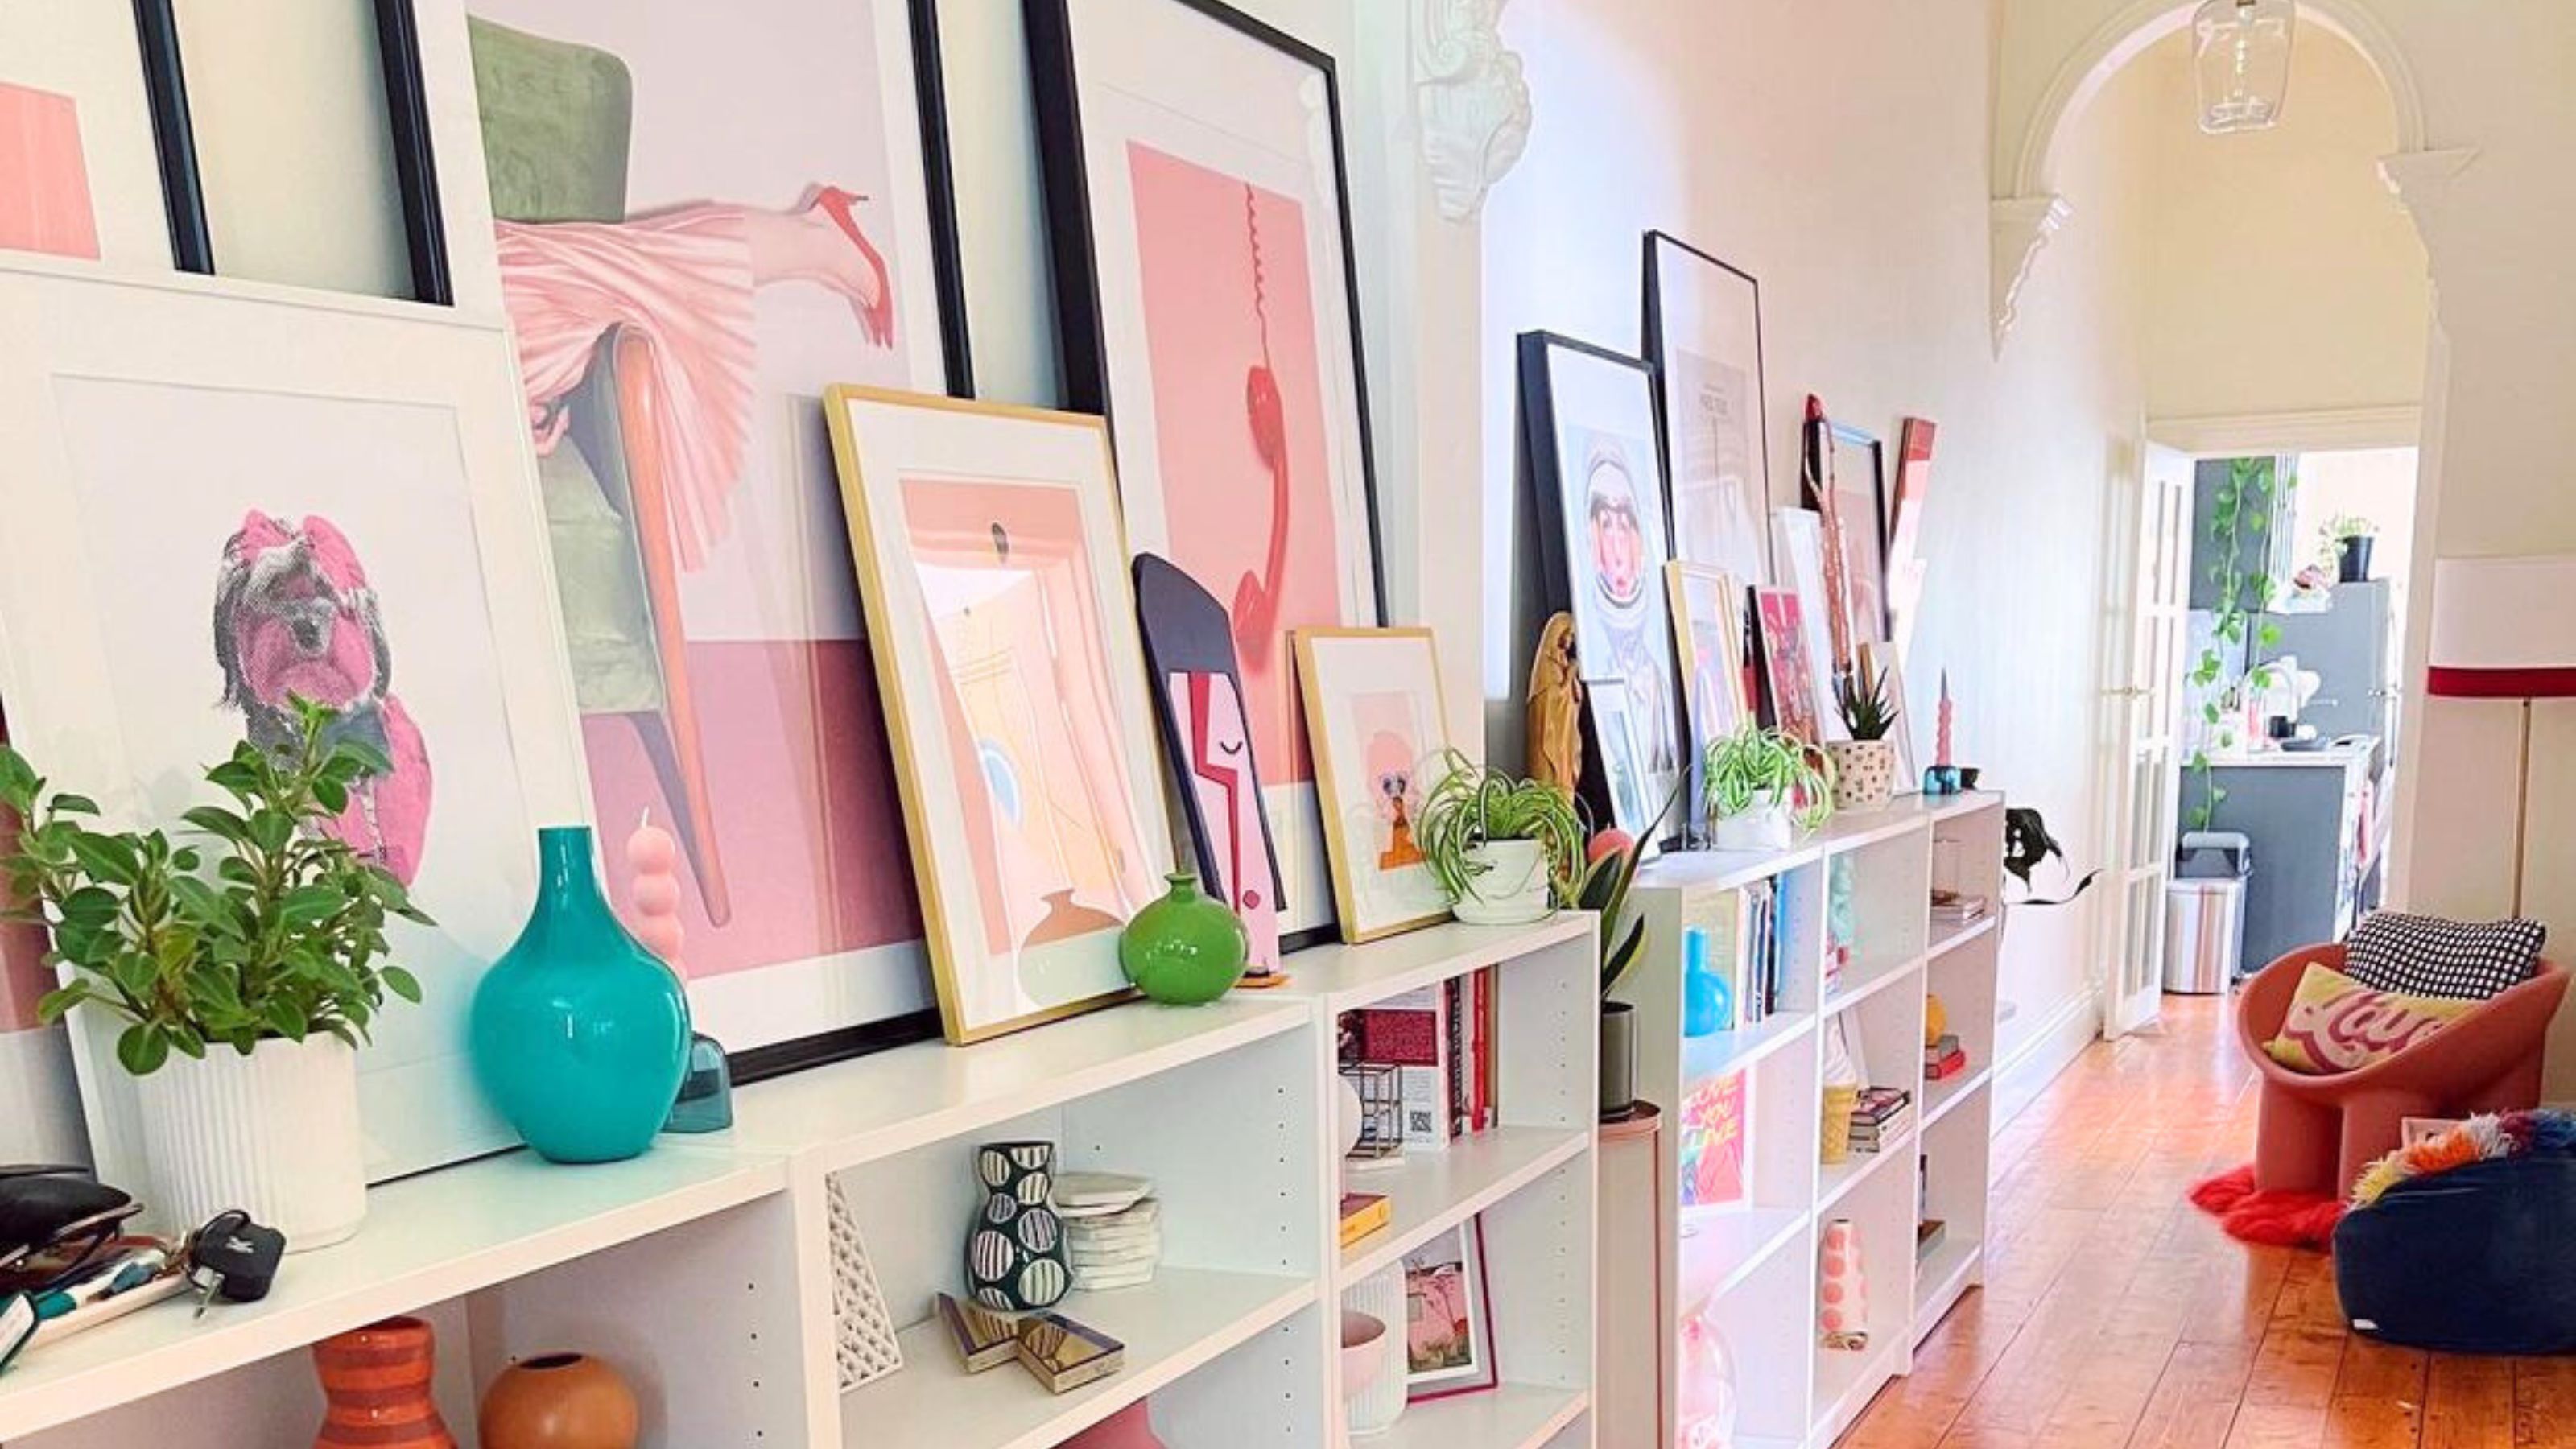
Don't make these 5 entryway decor mistakes

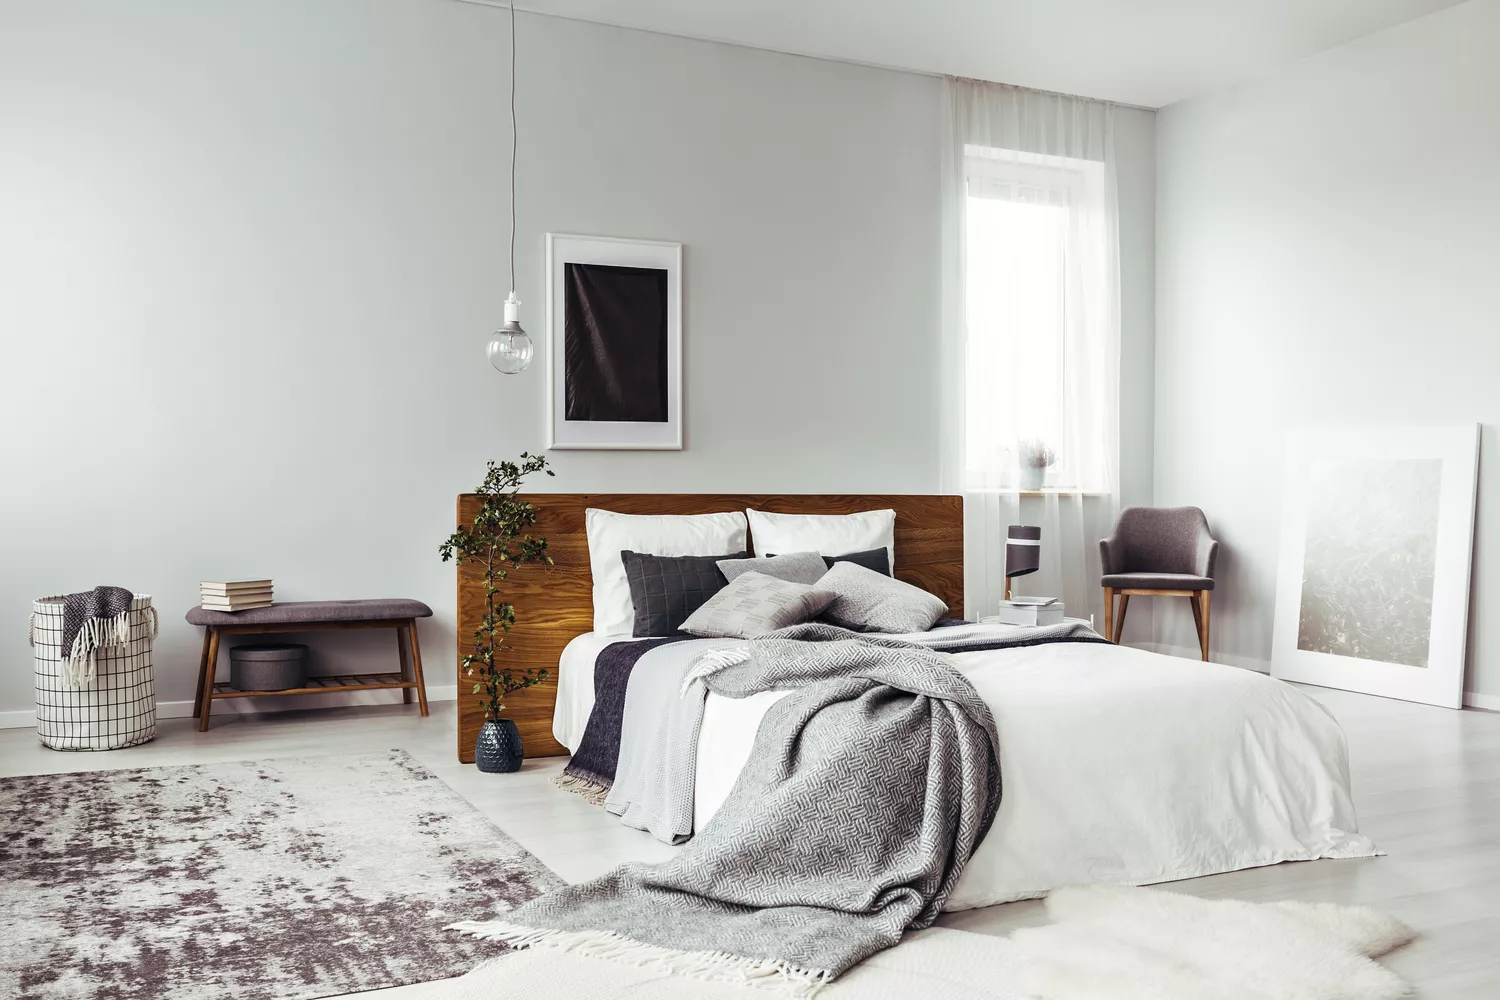
8 Bedroom Décor Mistakes That Make it Hard to Relax

6 painting mistakes that are making your walls look 'dirtier' – and what you should be doing instead
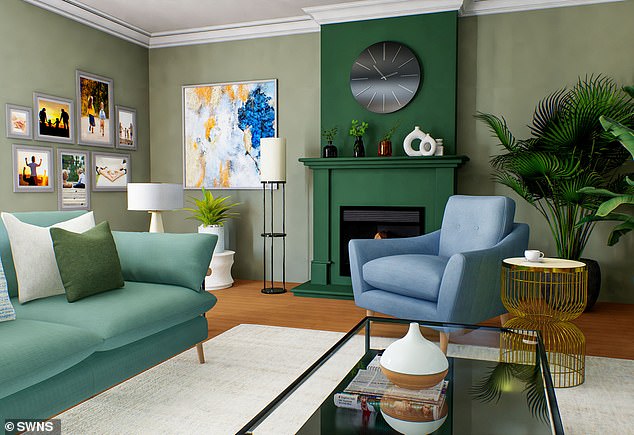
Are YOU guilty of these living room layout mistakes? Decor expert reveals the 8 sins people make

8 Bedroom Decorating Mistakes You Should Never Make
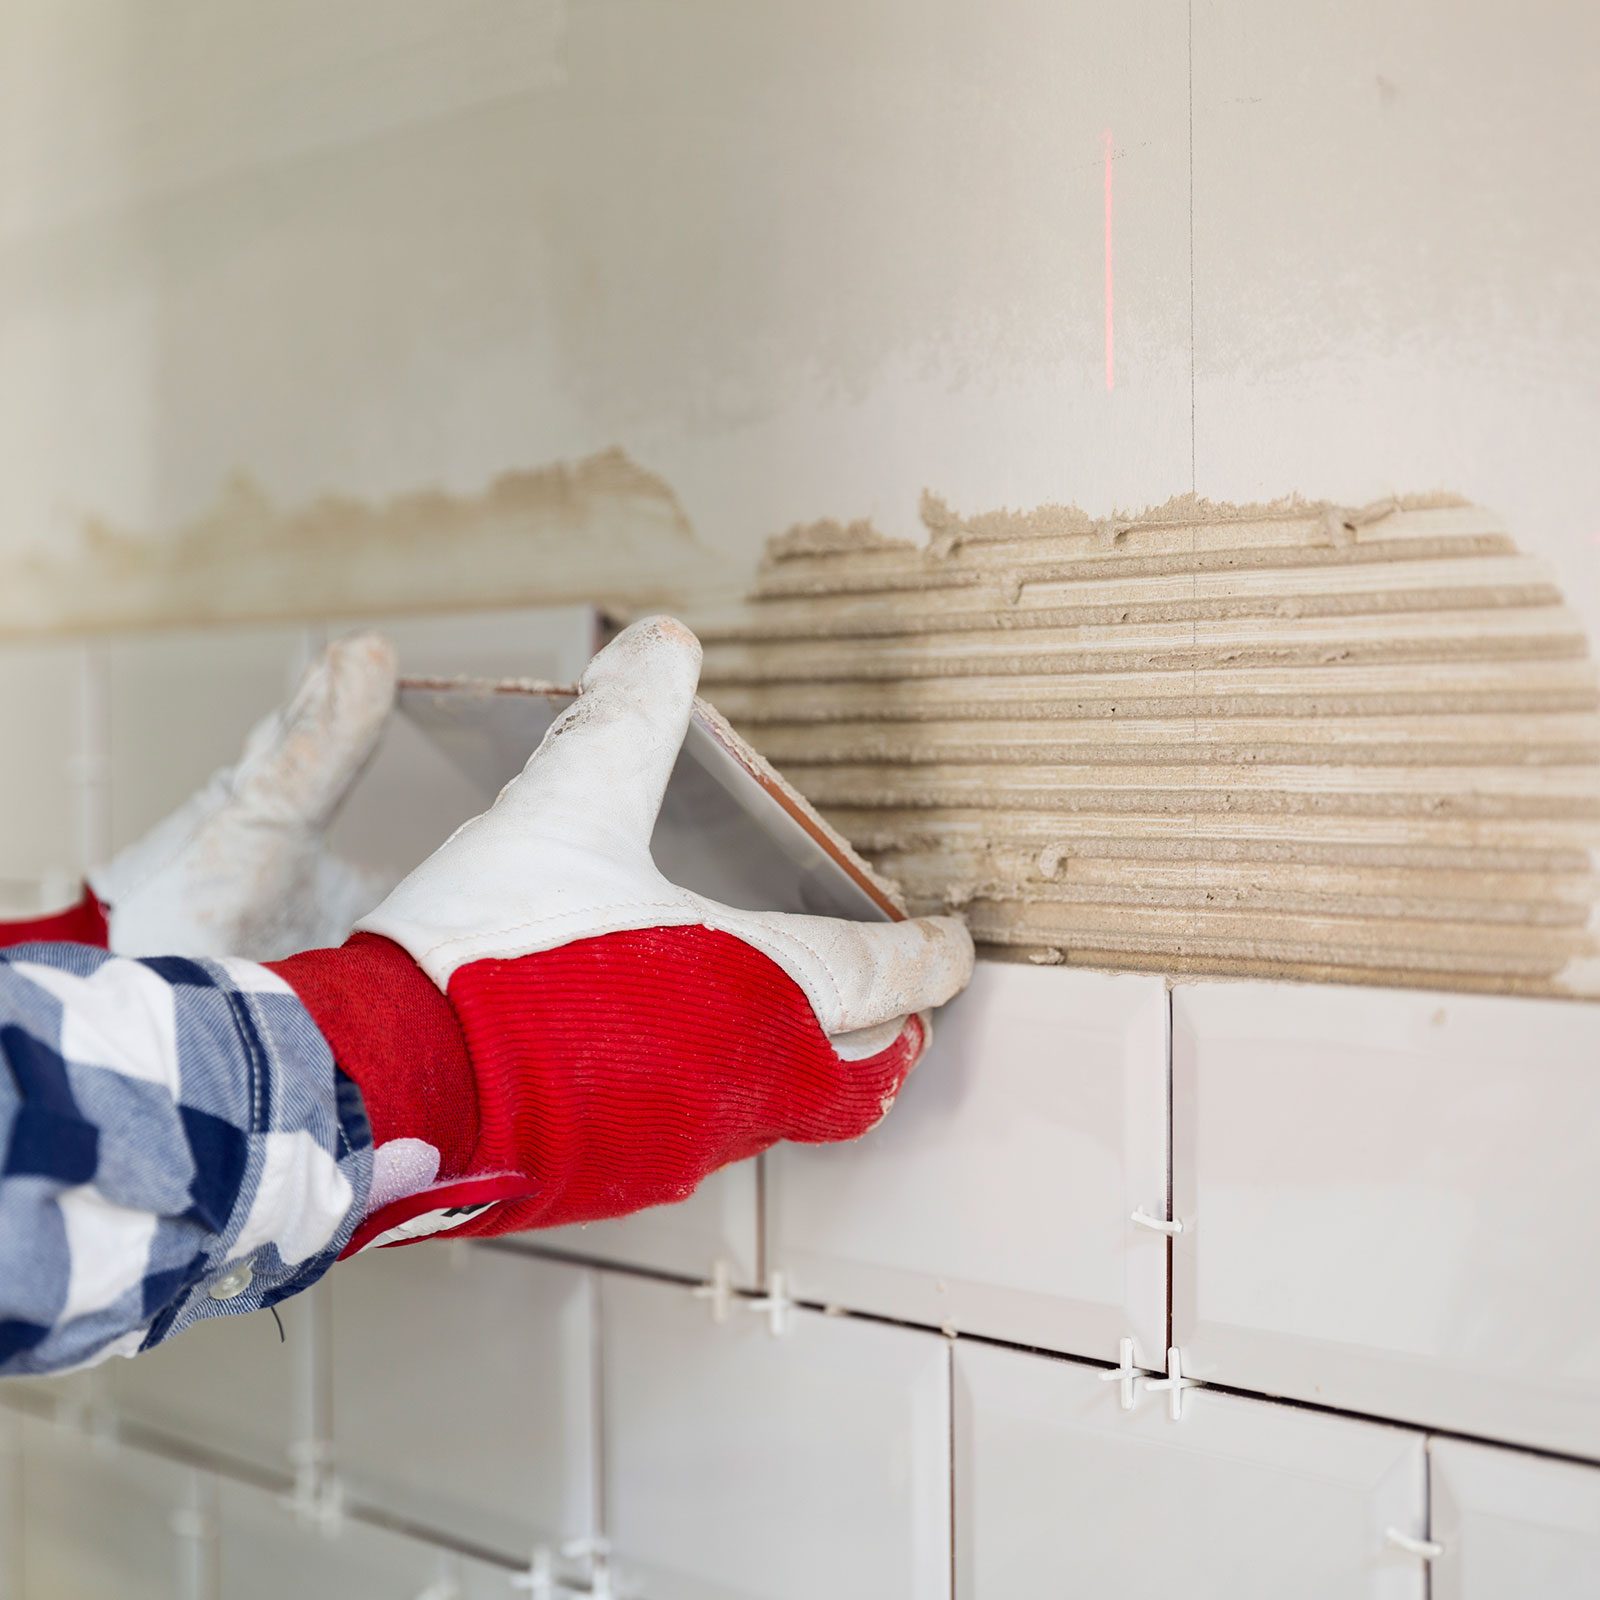
8 Backsplashes to Avoid, According to Interior Designers

8 Paint Mistakes That Make Your House Look Dingy (and How to Fix Them)

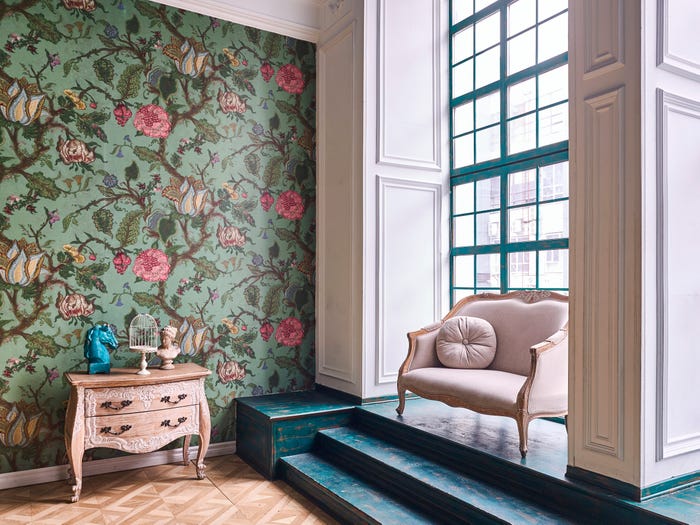
Wallpaper is so back — but don't make these 7 mistakes when using it, according to interior designers
8 of the biggest small bedroom layout mistakes designers see time and time again

Designers Share 4 Common "Mistakes" You're Making in Your Living Room—and How to Correct Them

6 Wallpaper Mistakes Designers Immediately Notice in Any Home

13 front door colours mistakes you might be making
Wallpaper Ideas To Spruce Up Your Space

8 common design mistakes that make your home look dated — and how to avoid them
5 common gallery wall mistakes designers warn to always avoid – to create the chicest of displays
8 kitchen backsplash mistakes to always avoid, according to interior designers
7 decisions I make when choosing wallpaper
Choose Your Wallpaper Like a Pro With These 8 Designer Tips