1/4
Antiquing vs. Distressing: 8 Tips on Creating the Look and Patina of a Genuine Antique
This article explores the techniques of antiquing and distressing furniture to achieve a timeworn aesthetic, drawing insights from home blogger and DIY expert Marian Parsons, known as Miss Mustard Seed. Parsons, who began replicating the look of hand-painted antique European furniture due to its high cost, developed extensive skills in refinishing and shares her expertise on transforming modern pieces into vintage-looking items.
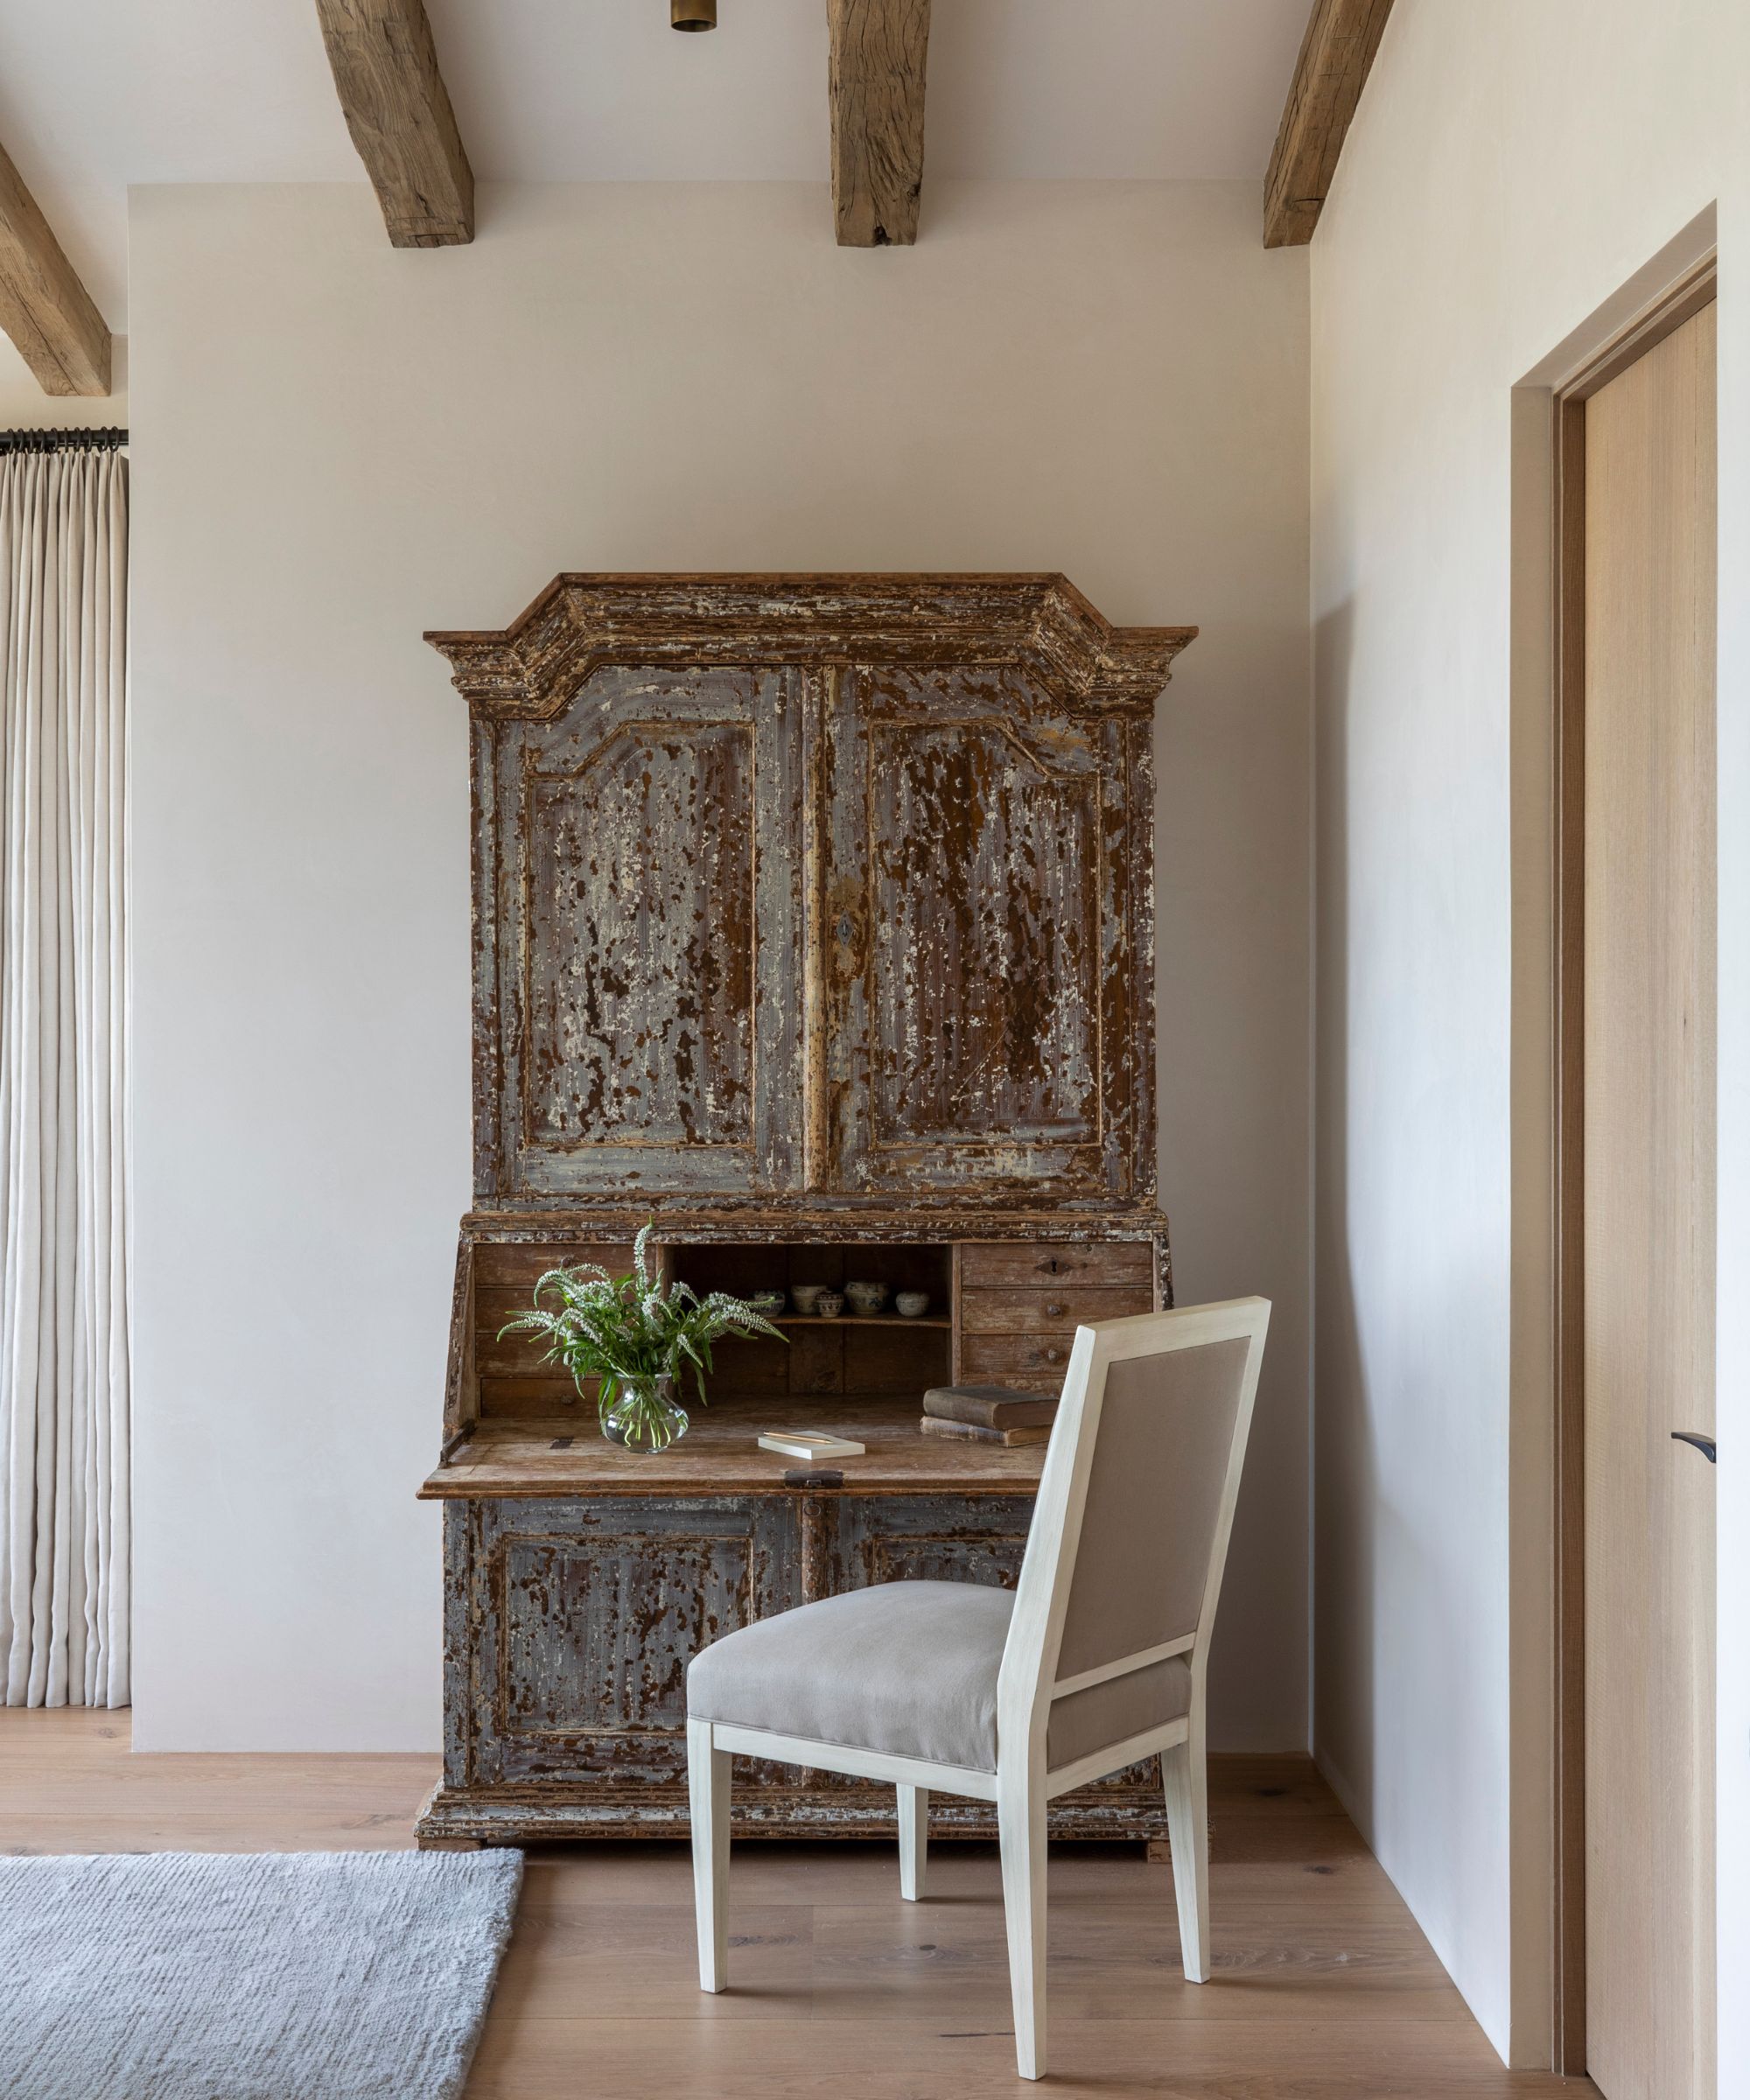
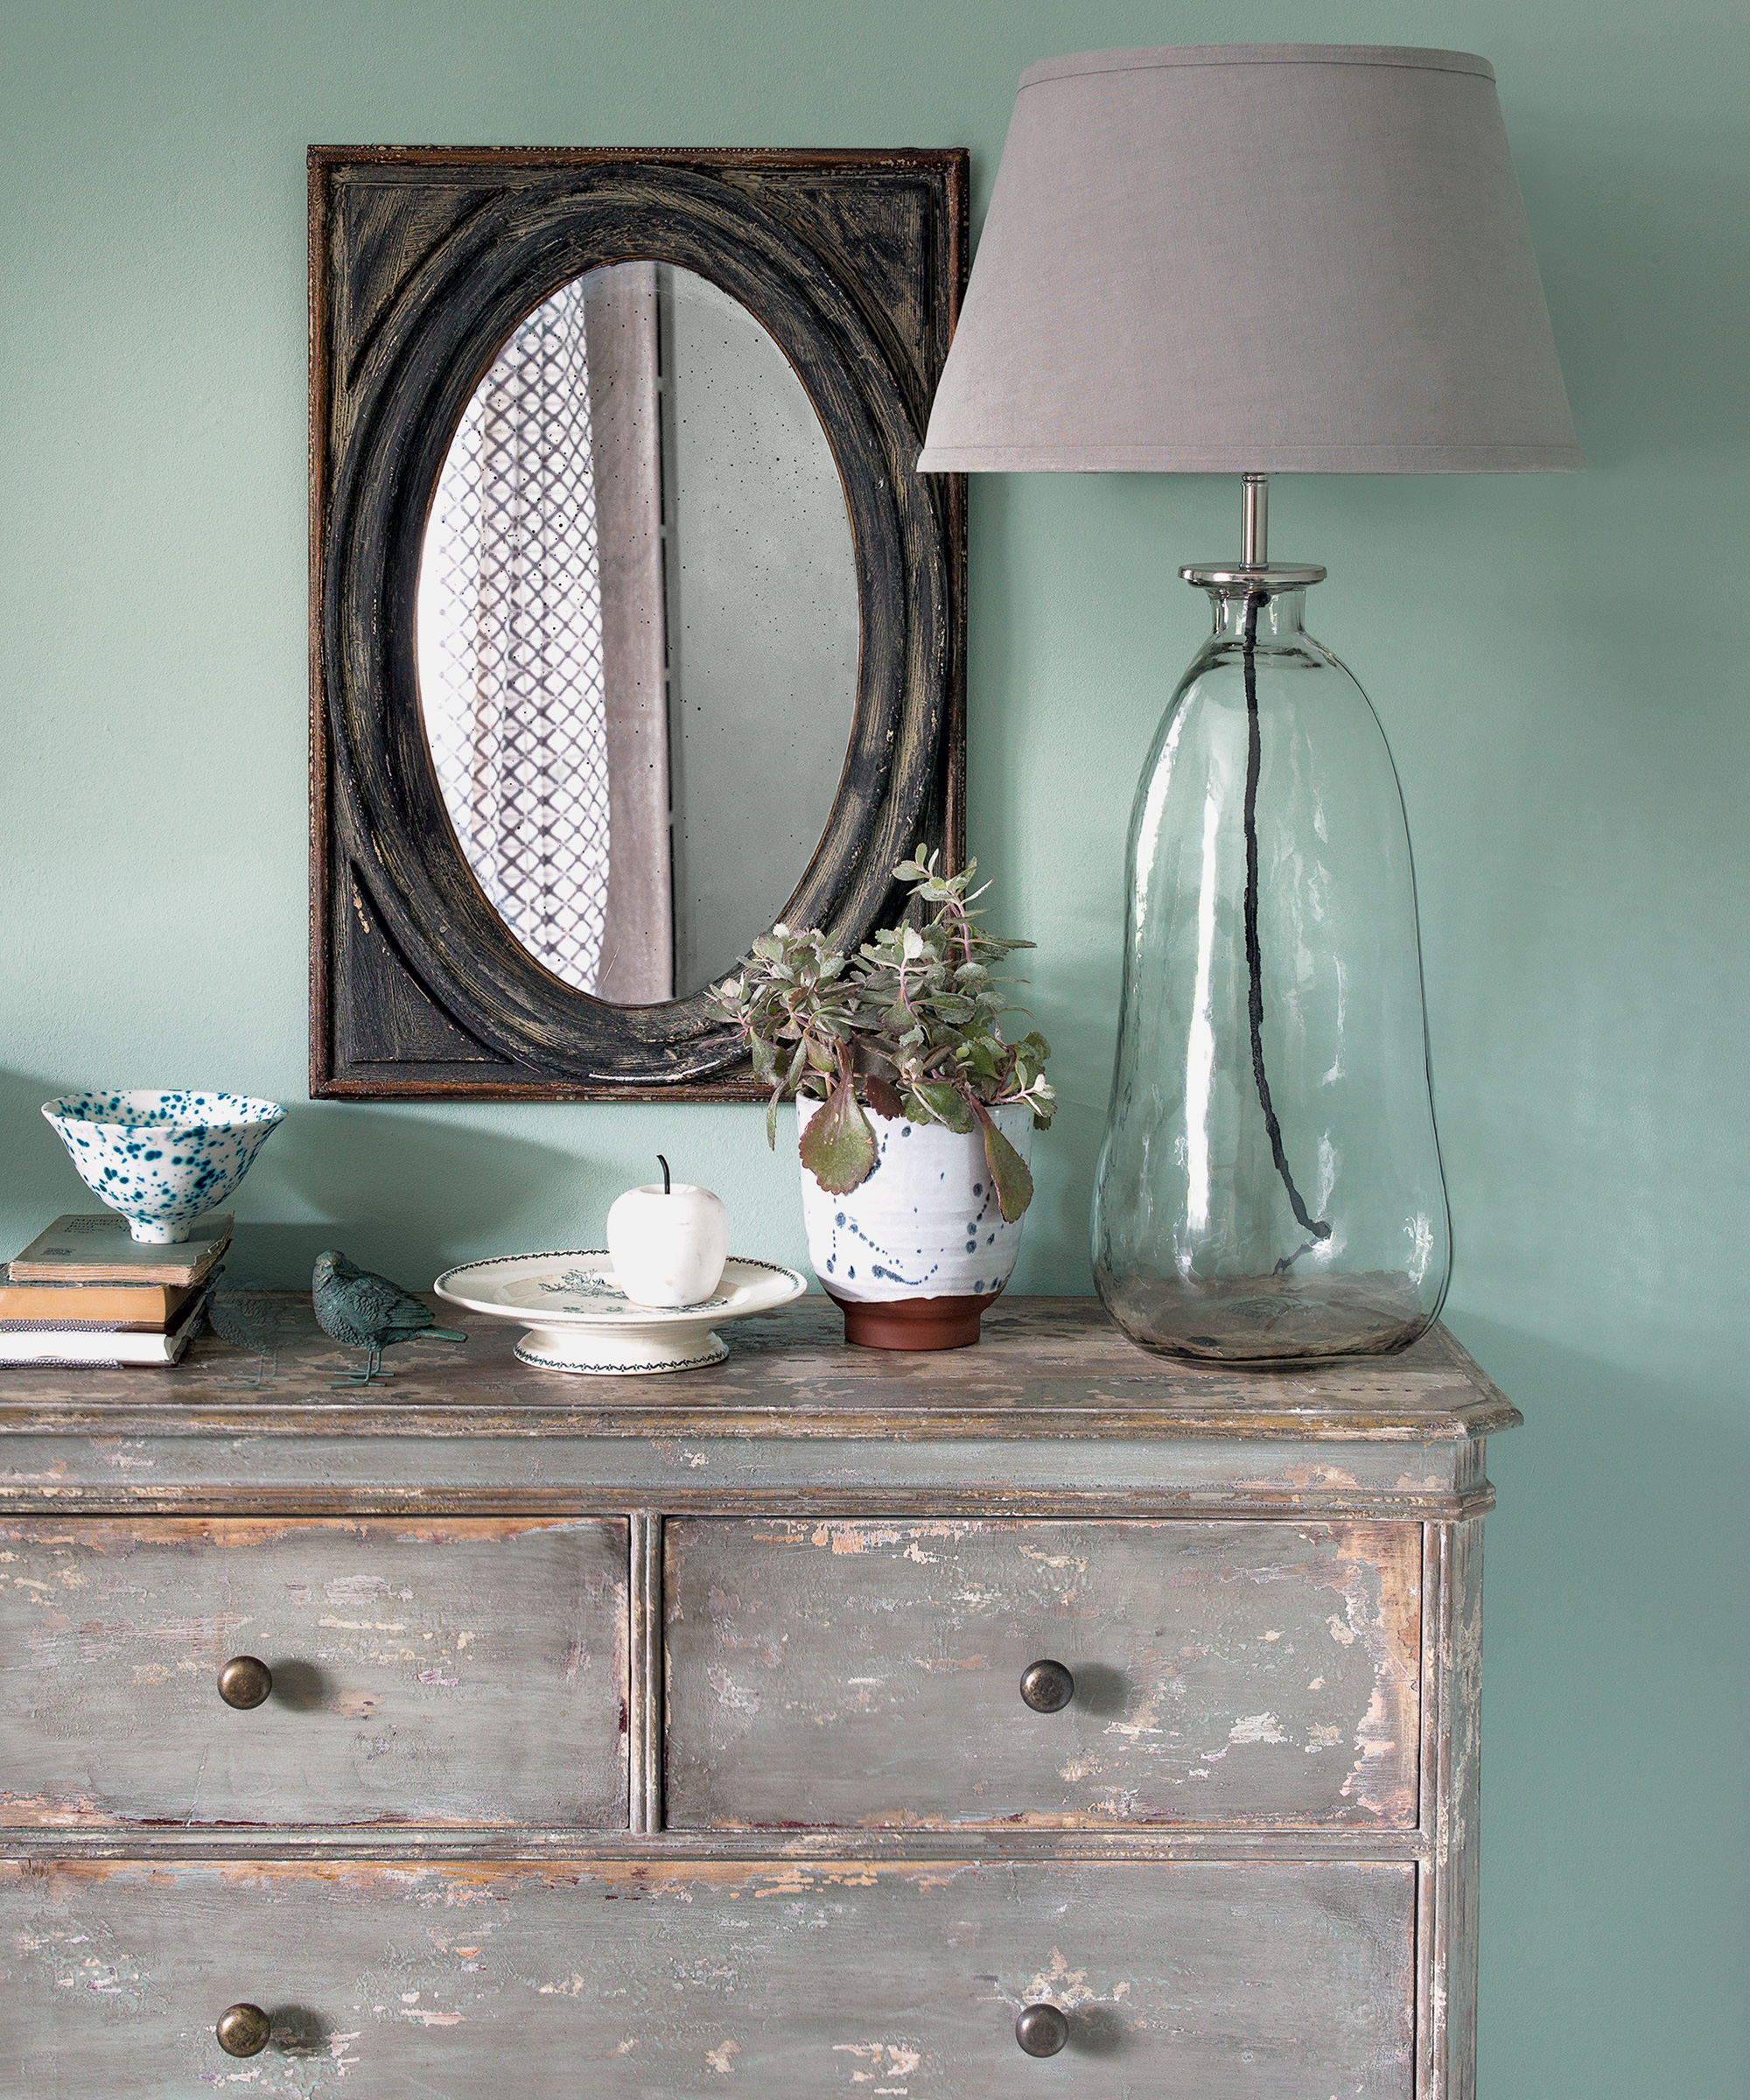
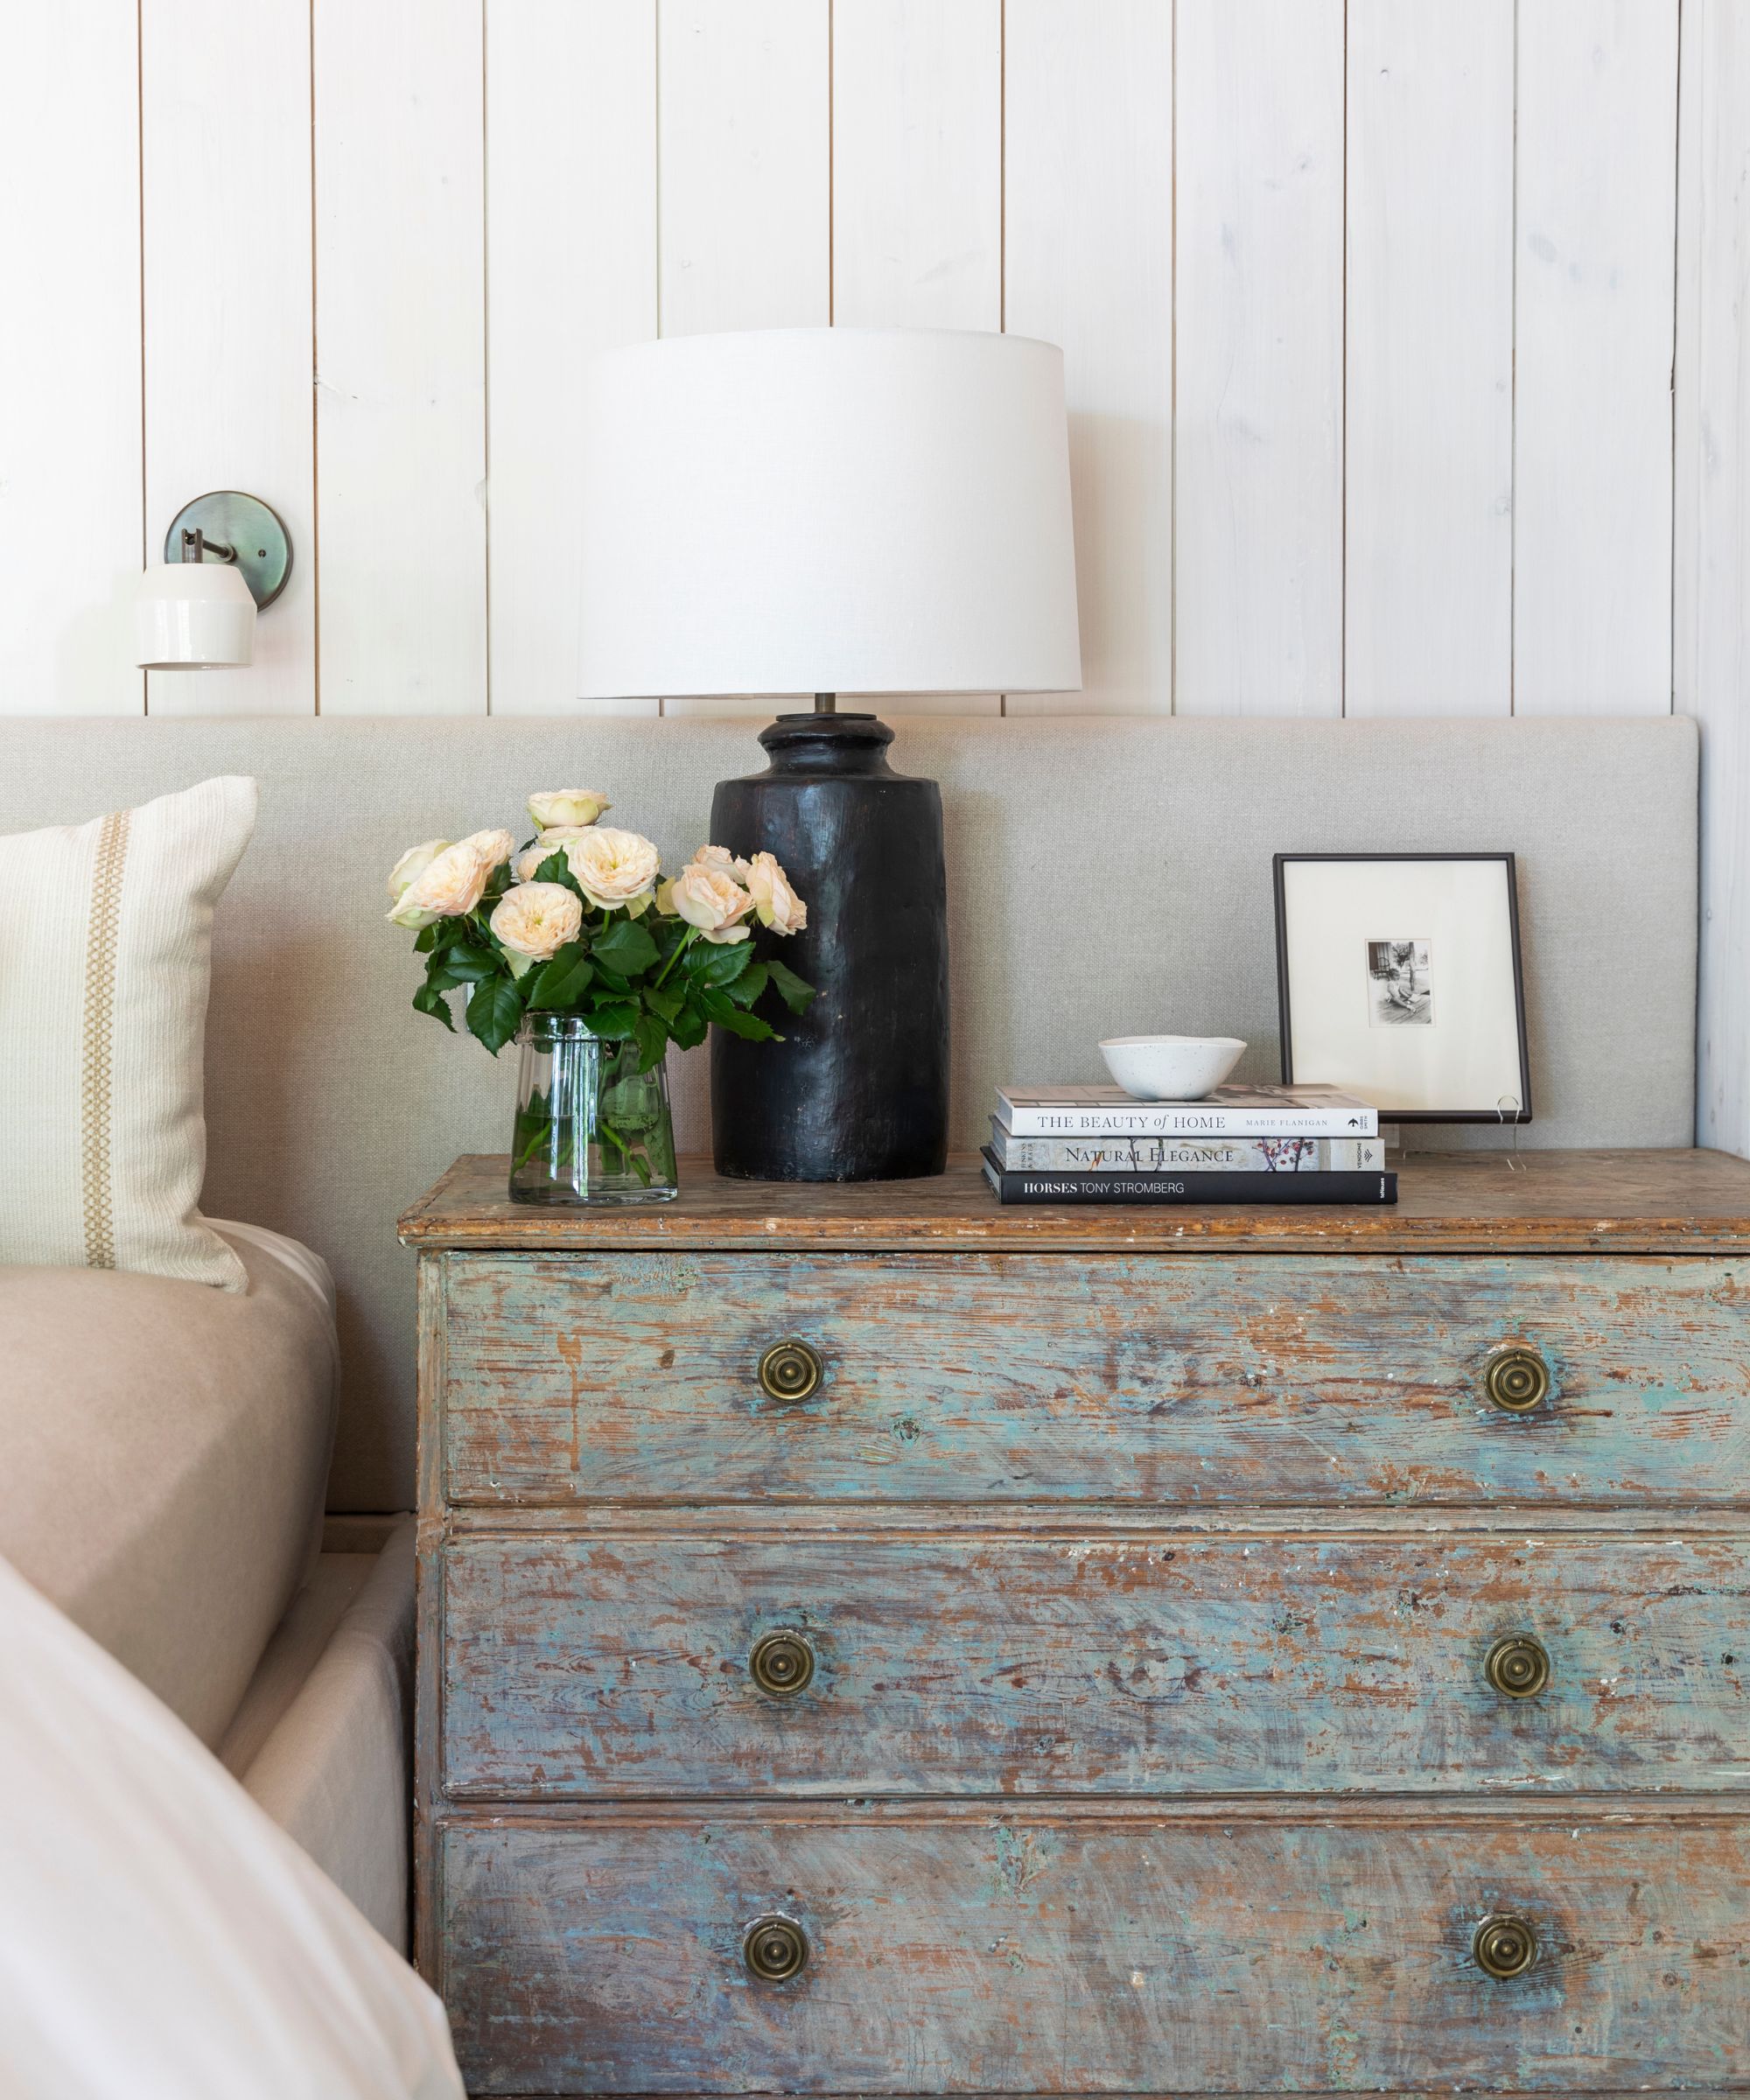
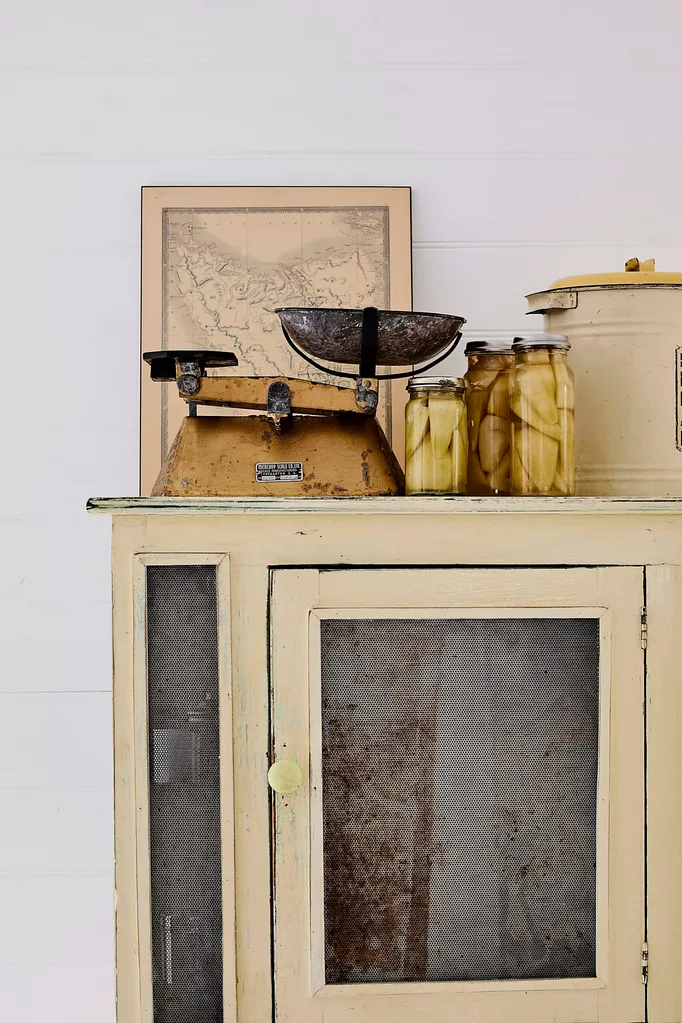
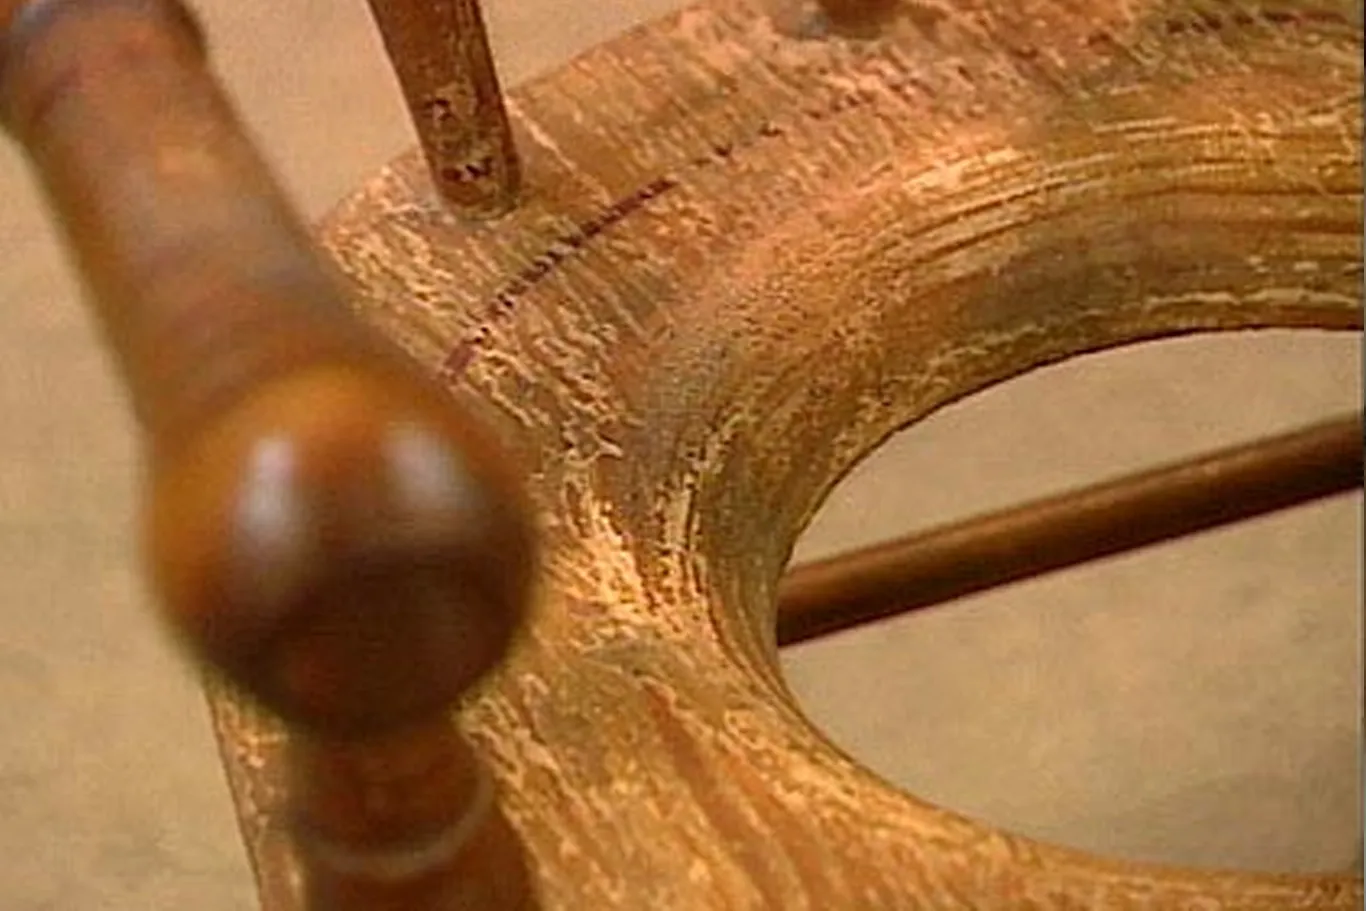
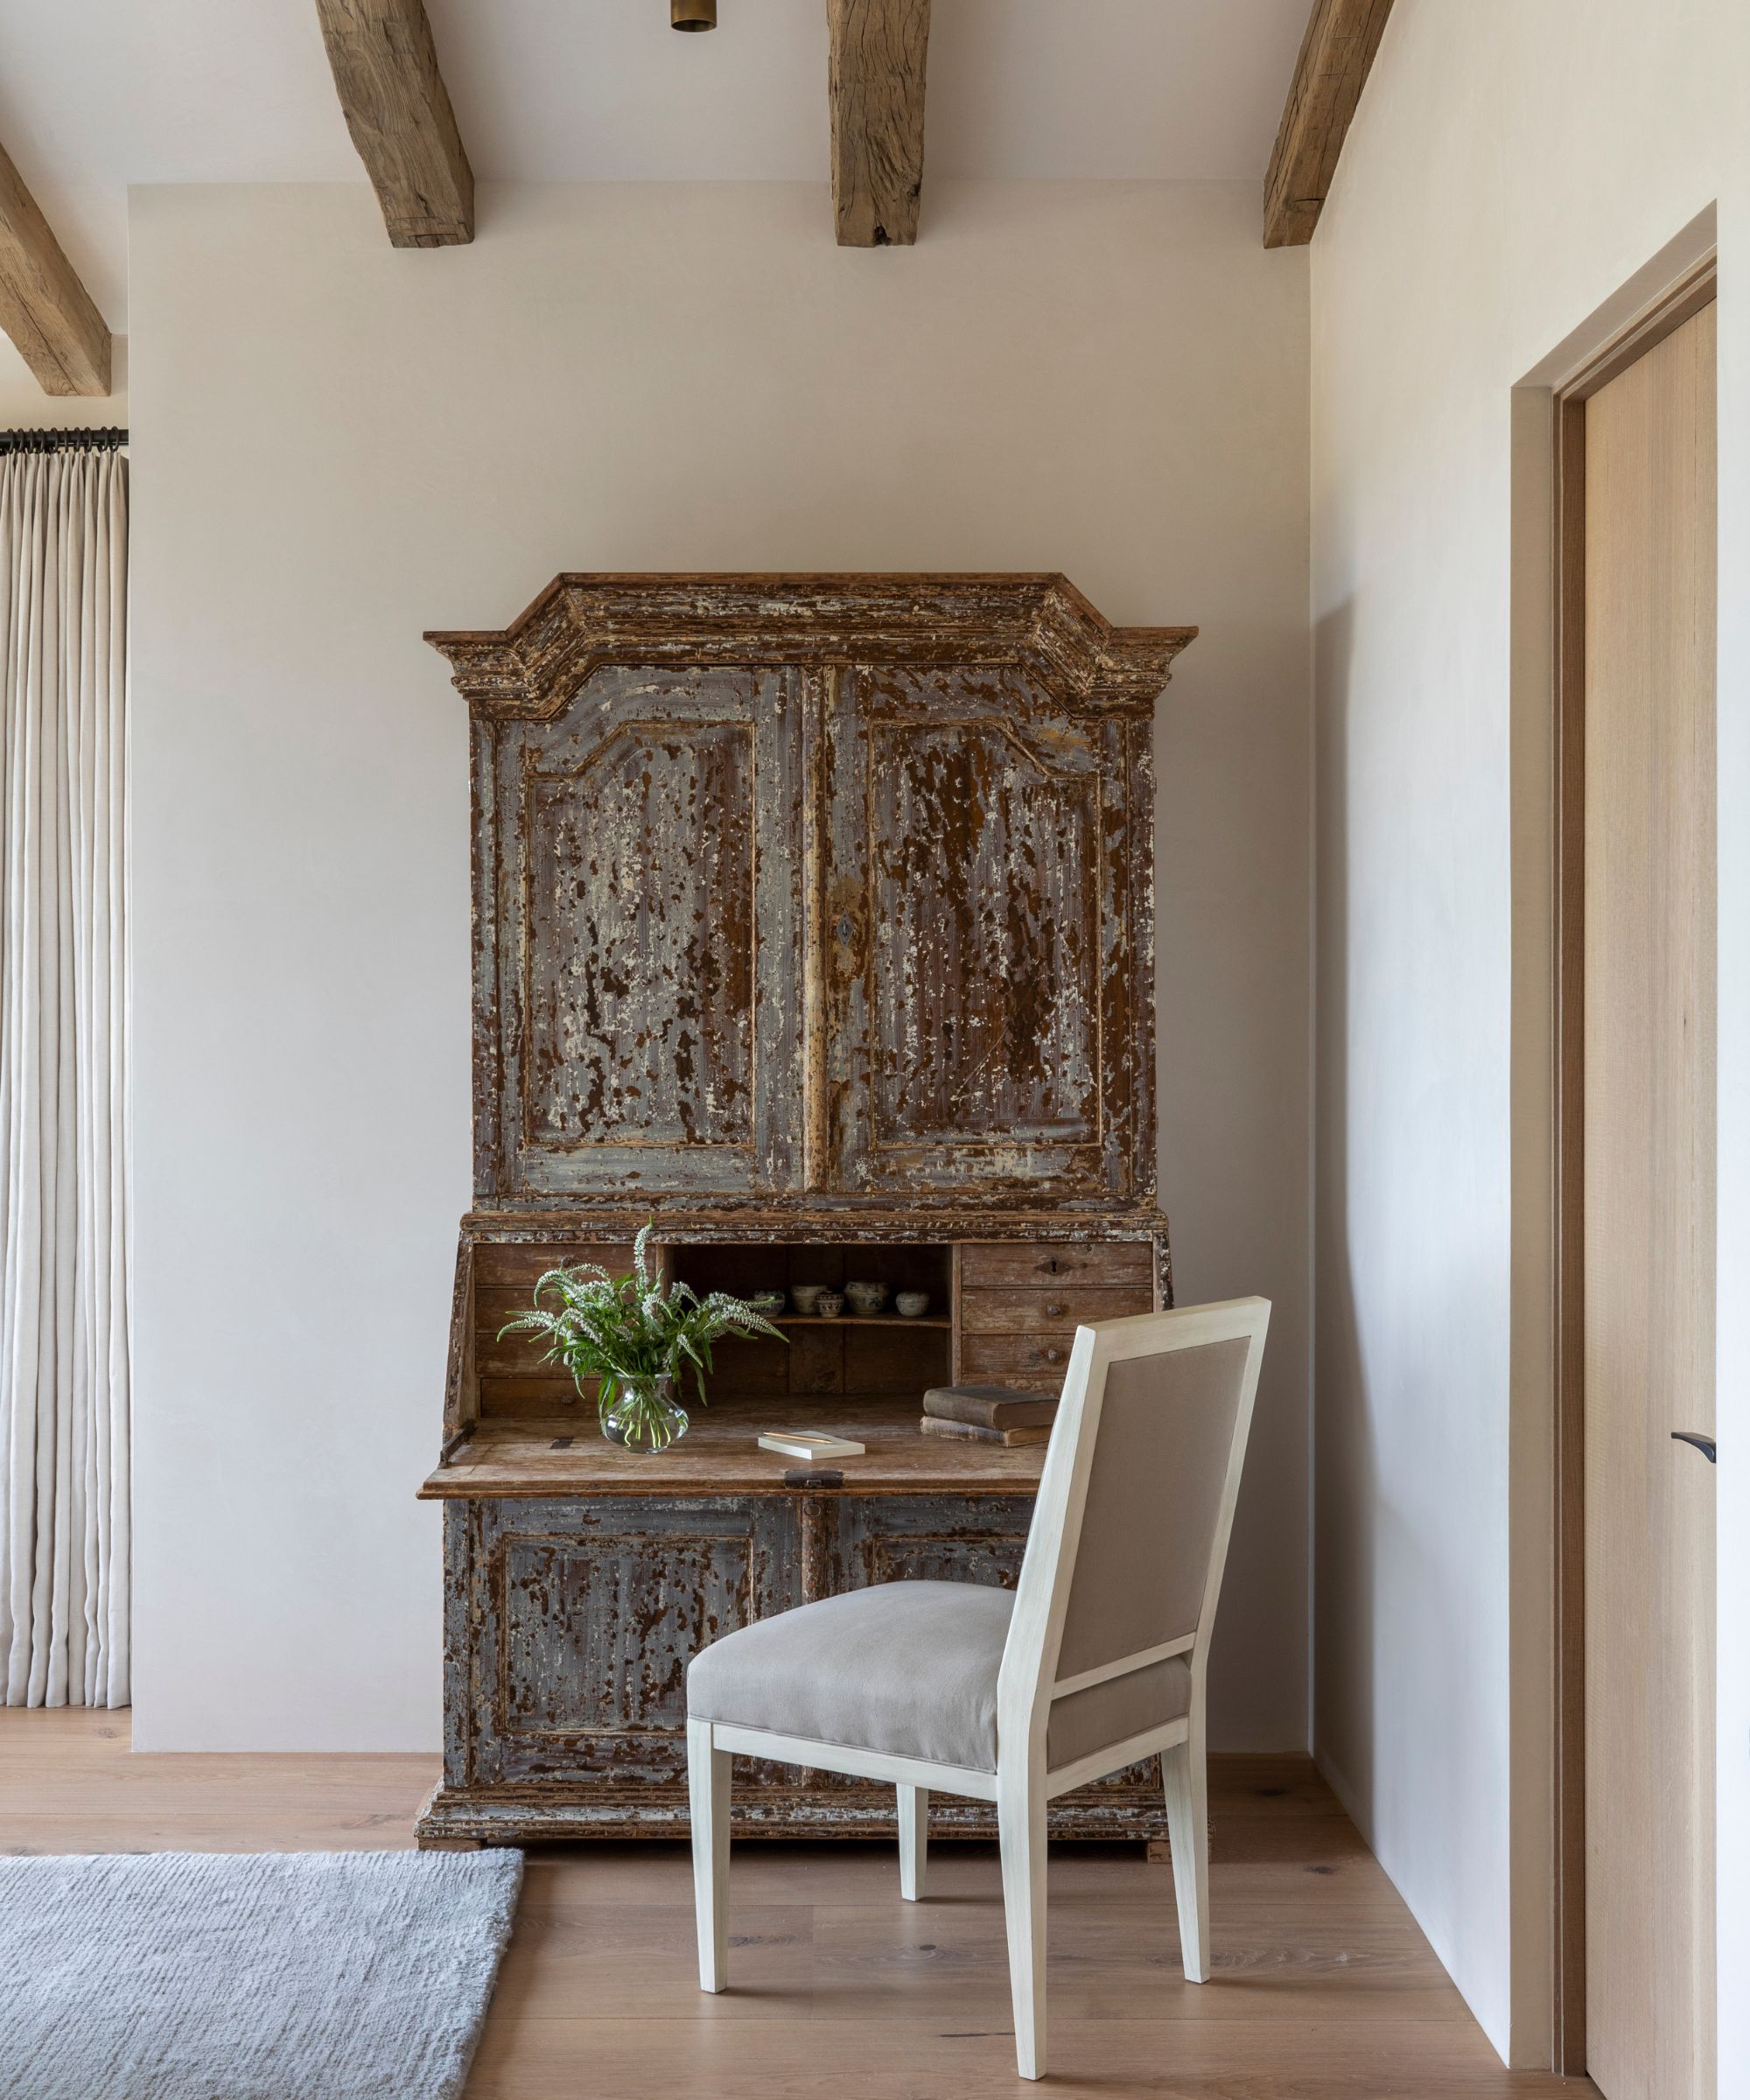
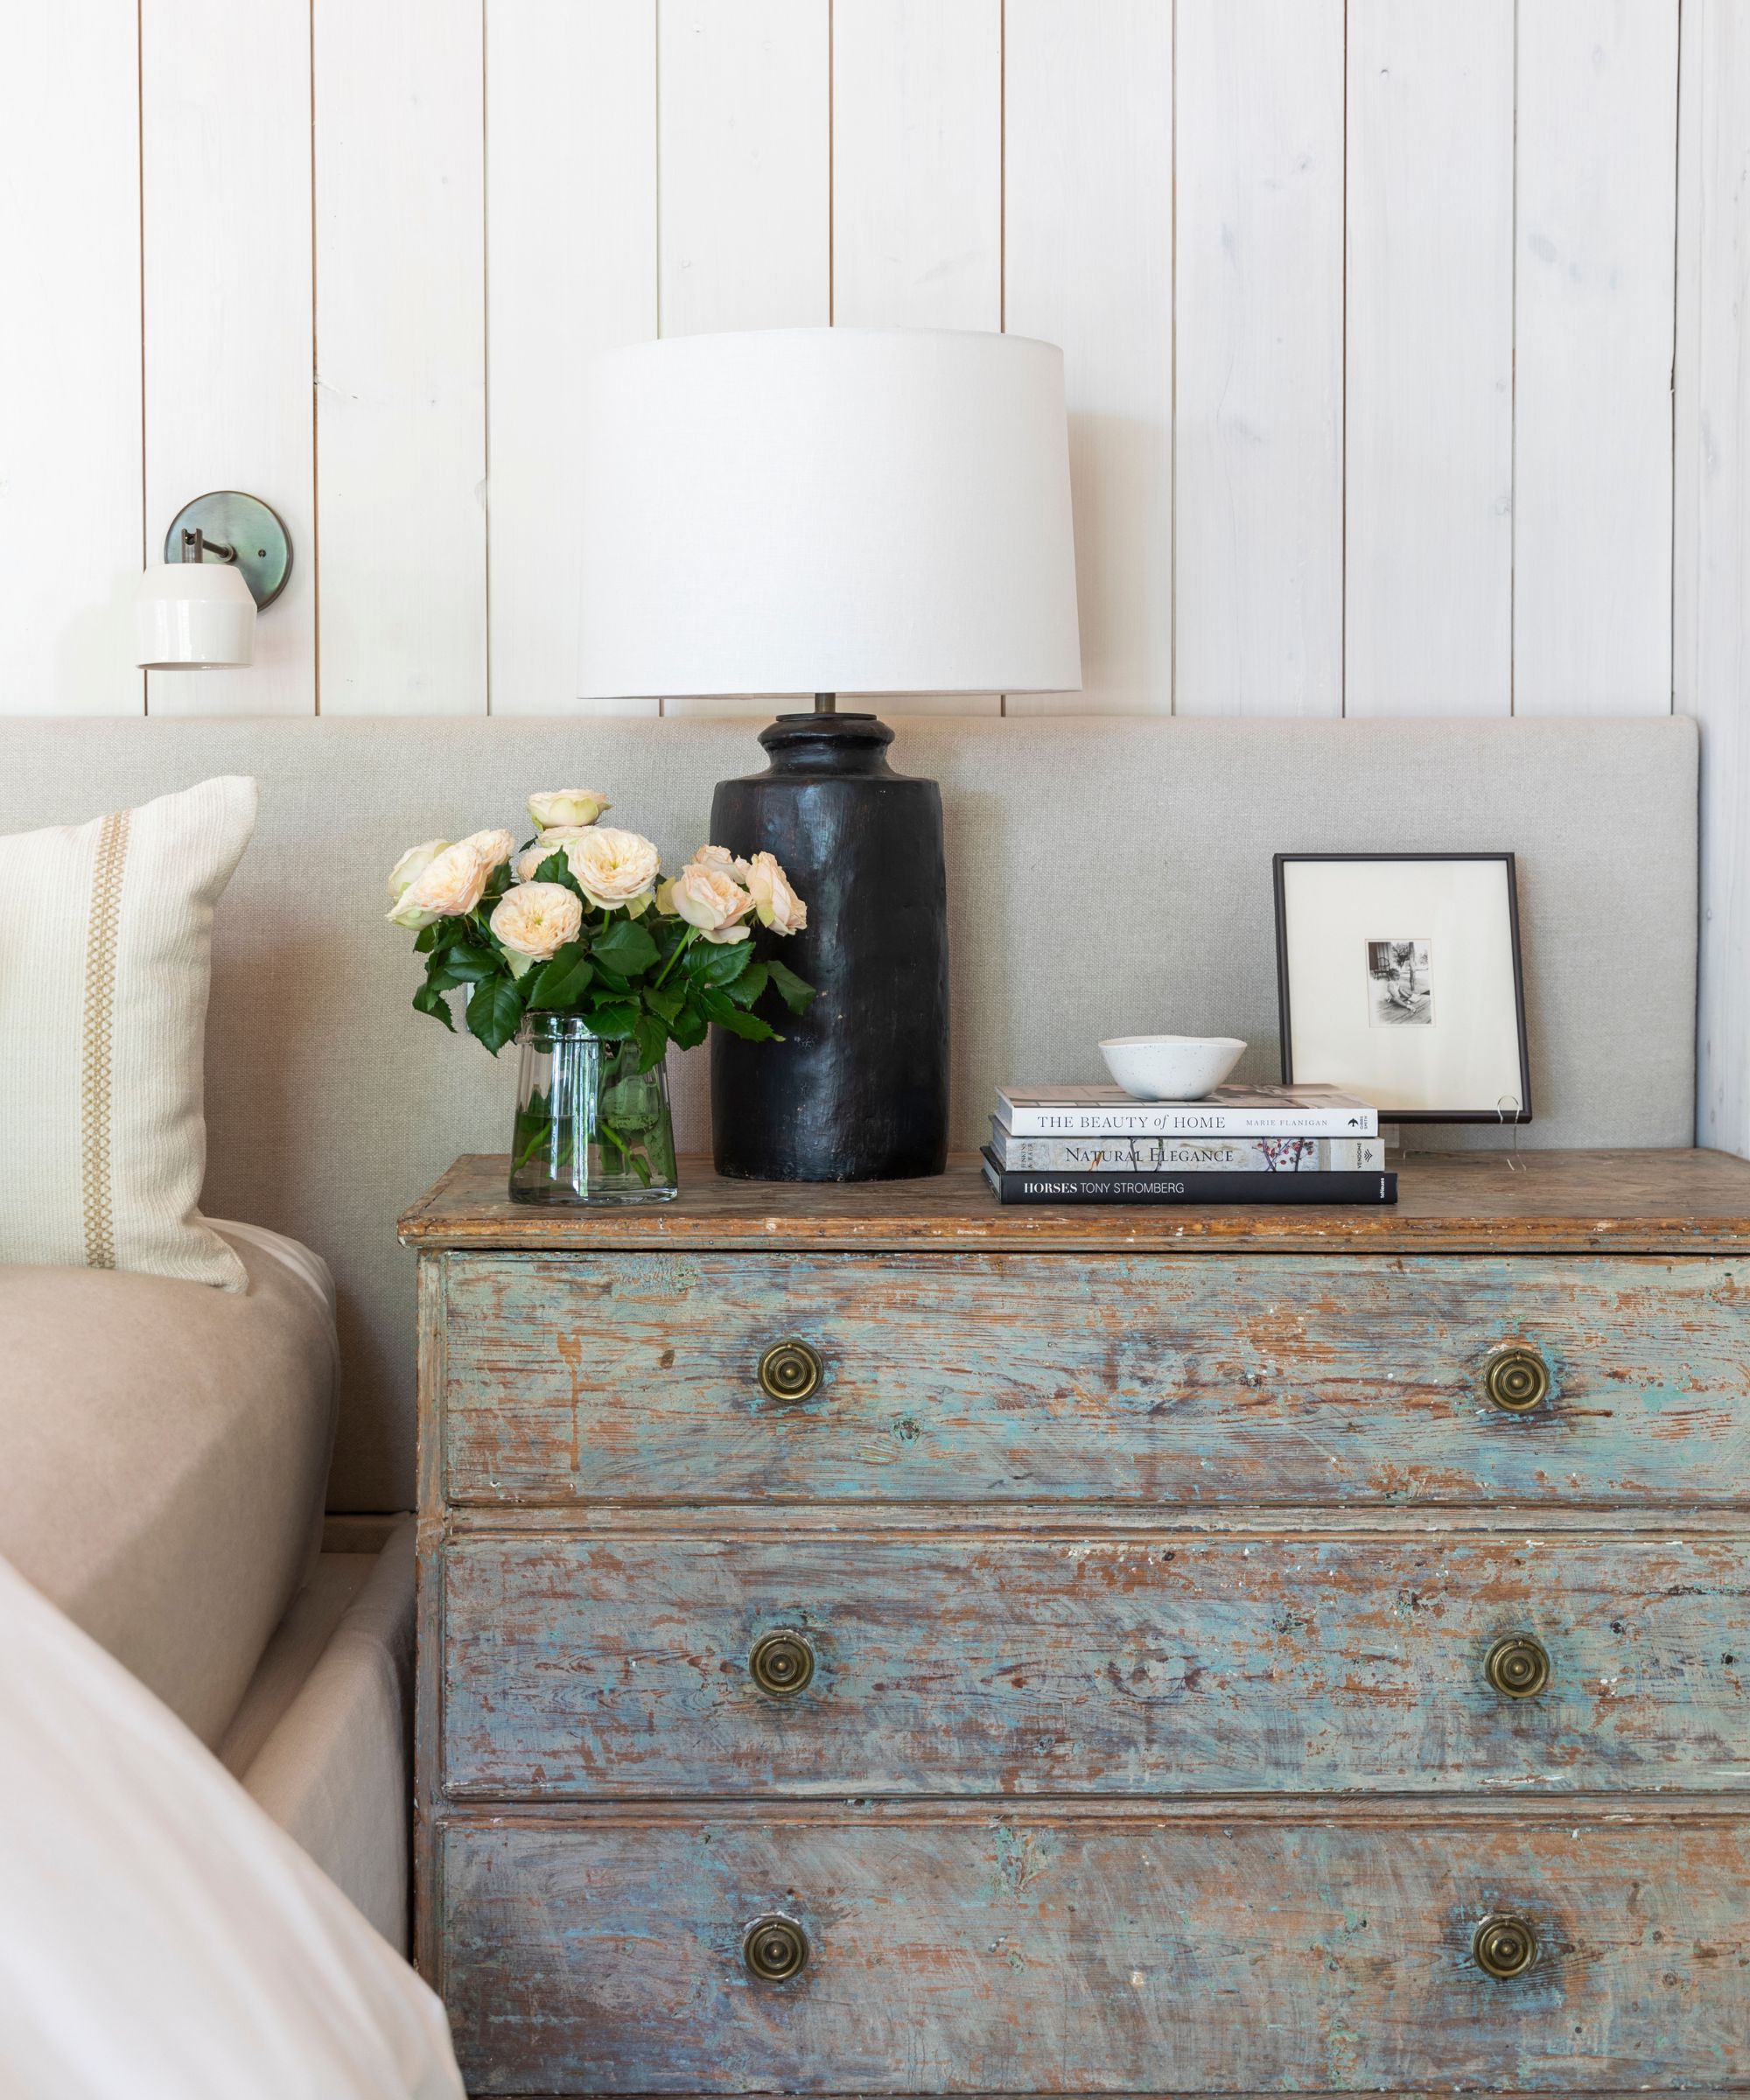
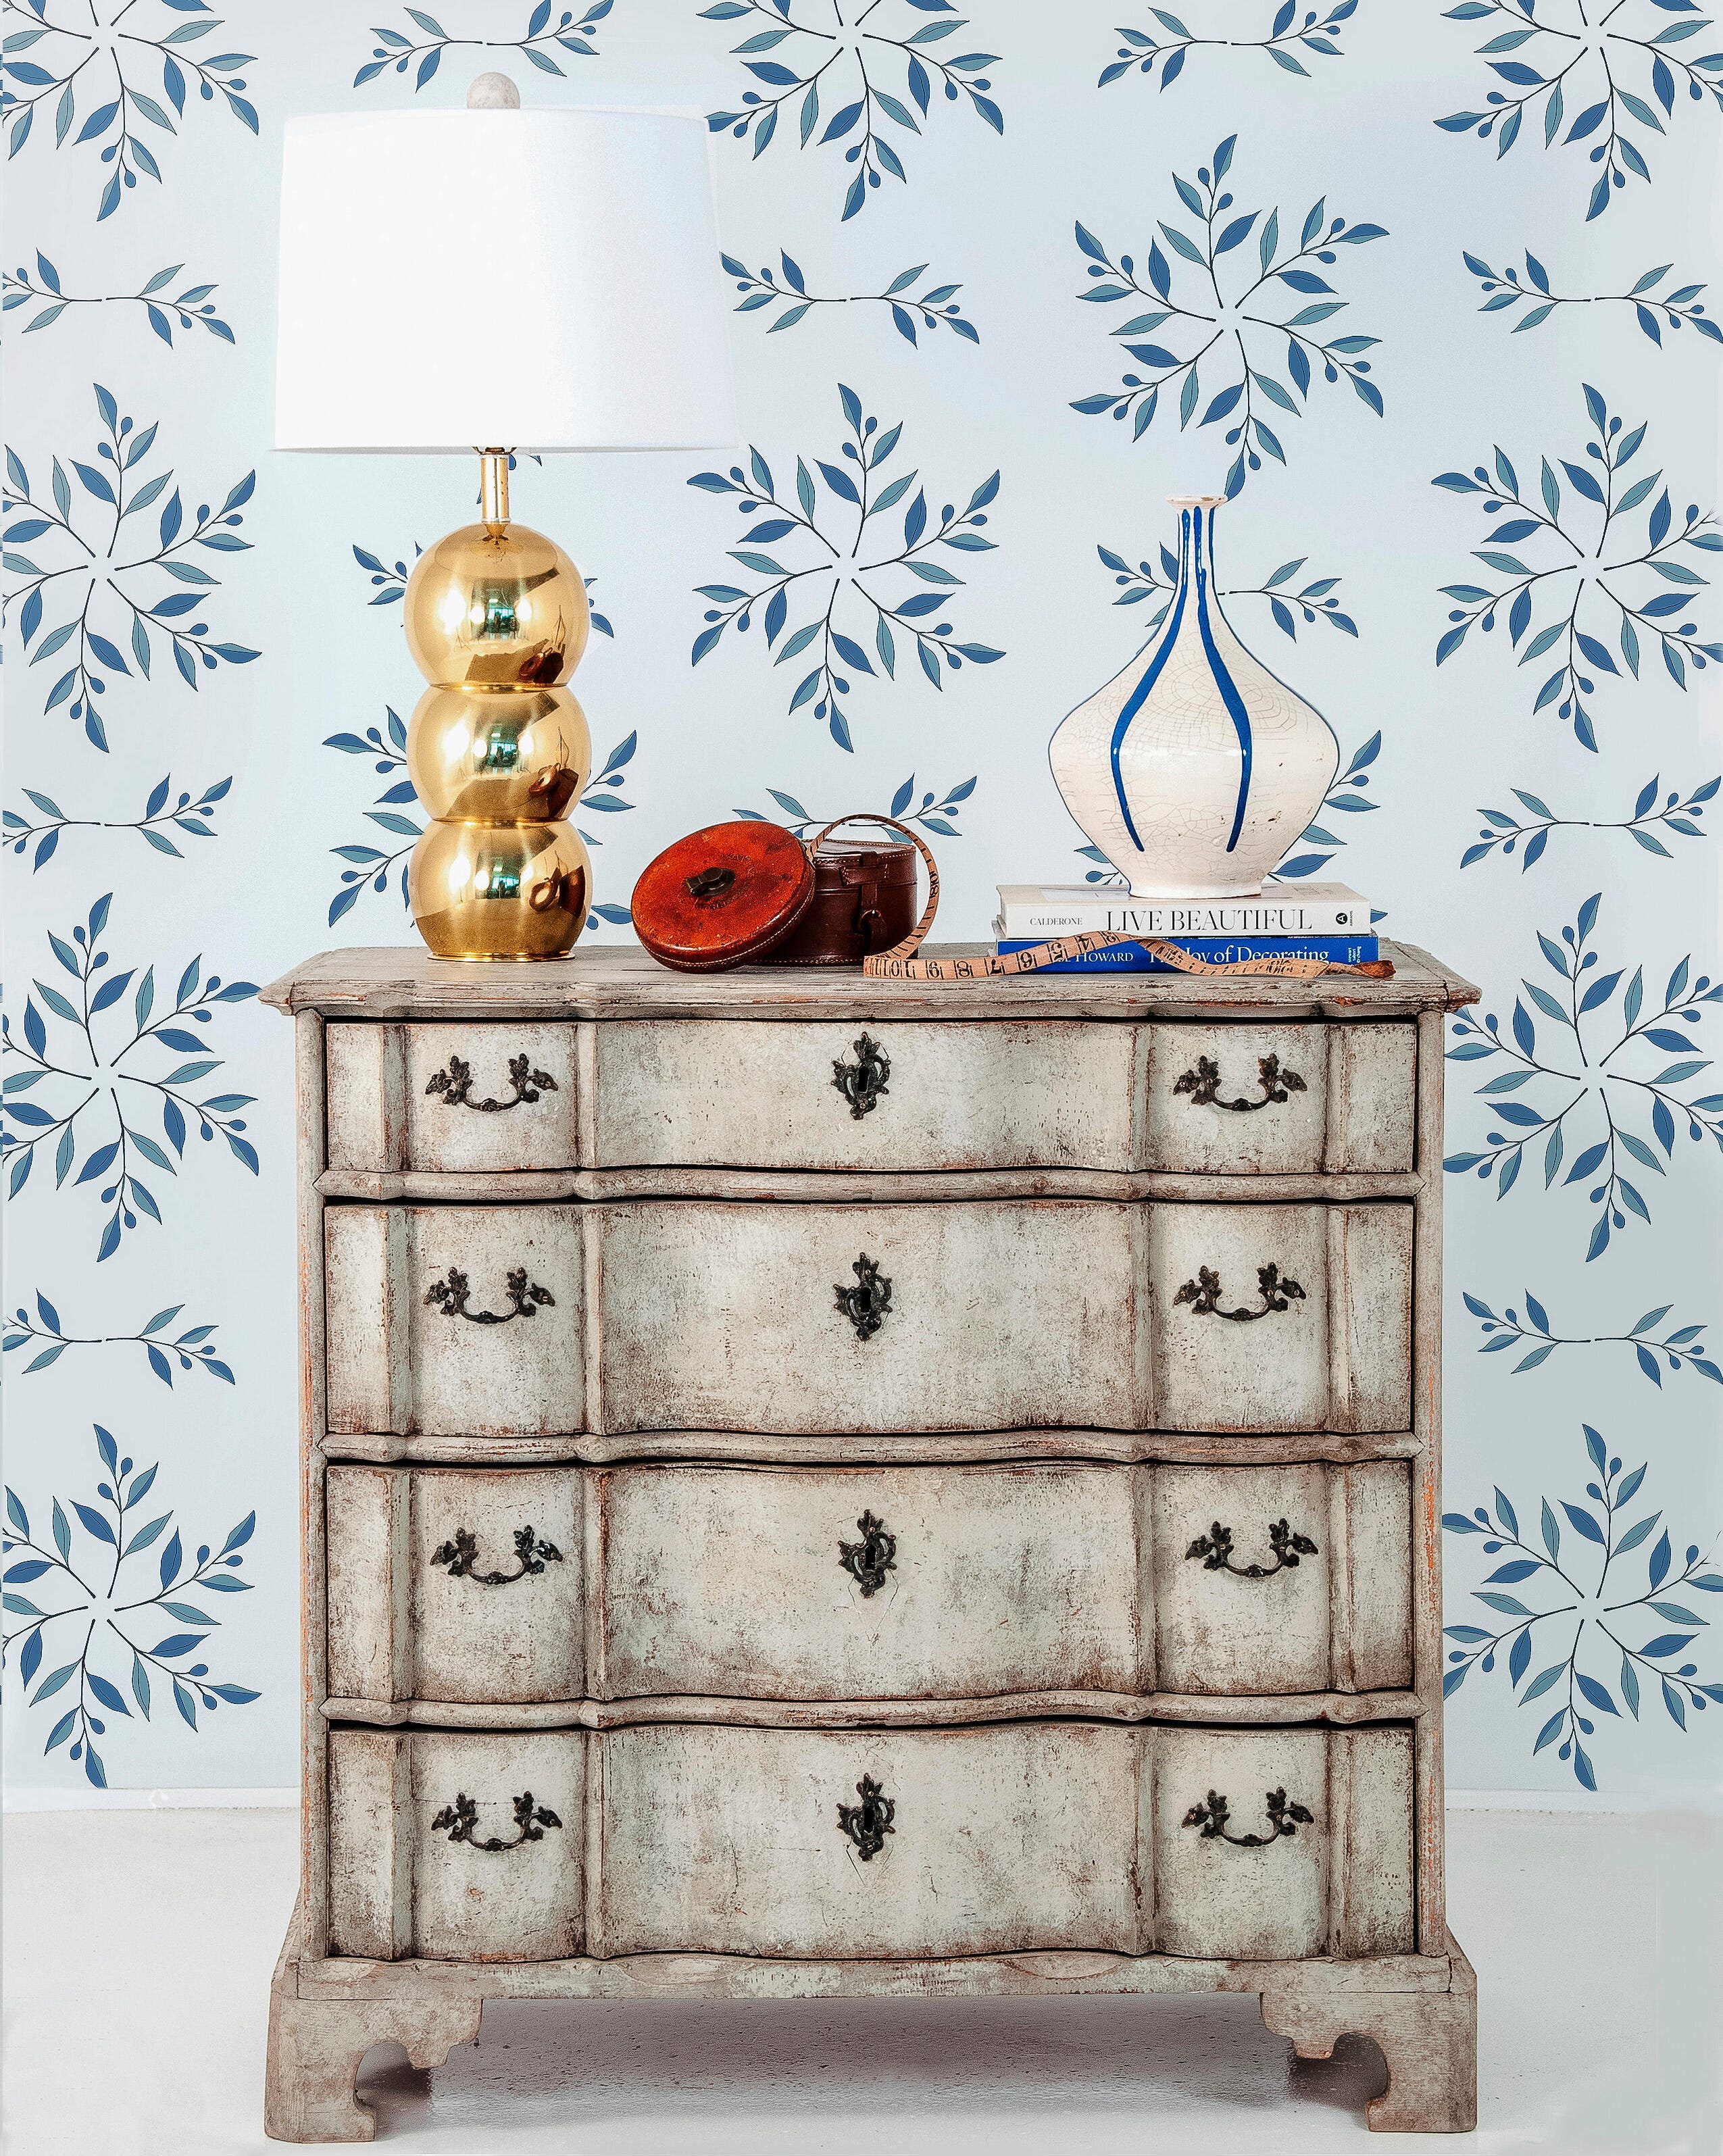
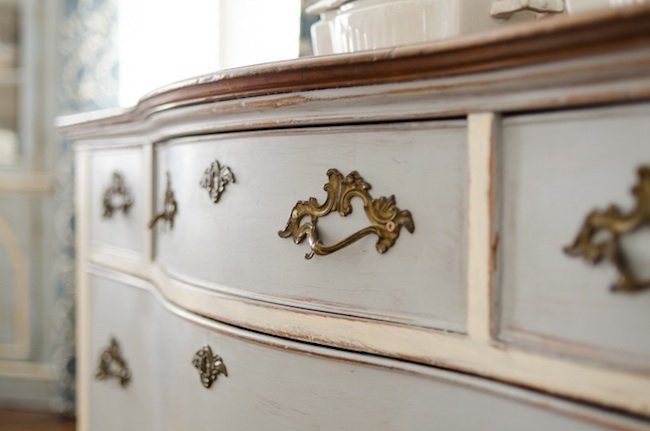
The core distinction between antiquing and distressing is clarified: antiquing involves adding layers of paint and stain to create a grunge patina, while distressing focuses on removing finish to simulate wear over time. Parsons emphasizes the importance of studying genuine antiques to understand natural wear patterns, such as where paint typically wears away from handling and where dirt accumulates.
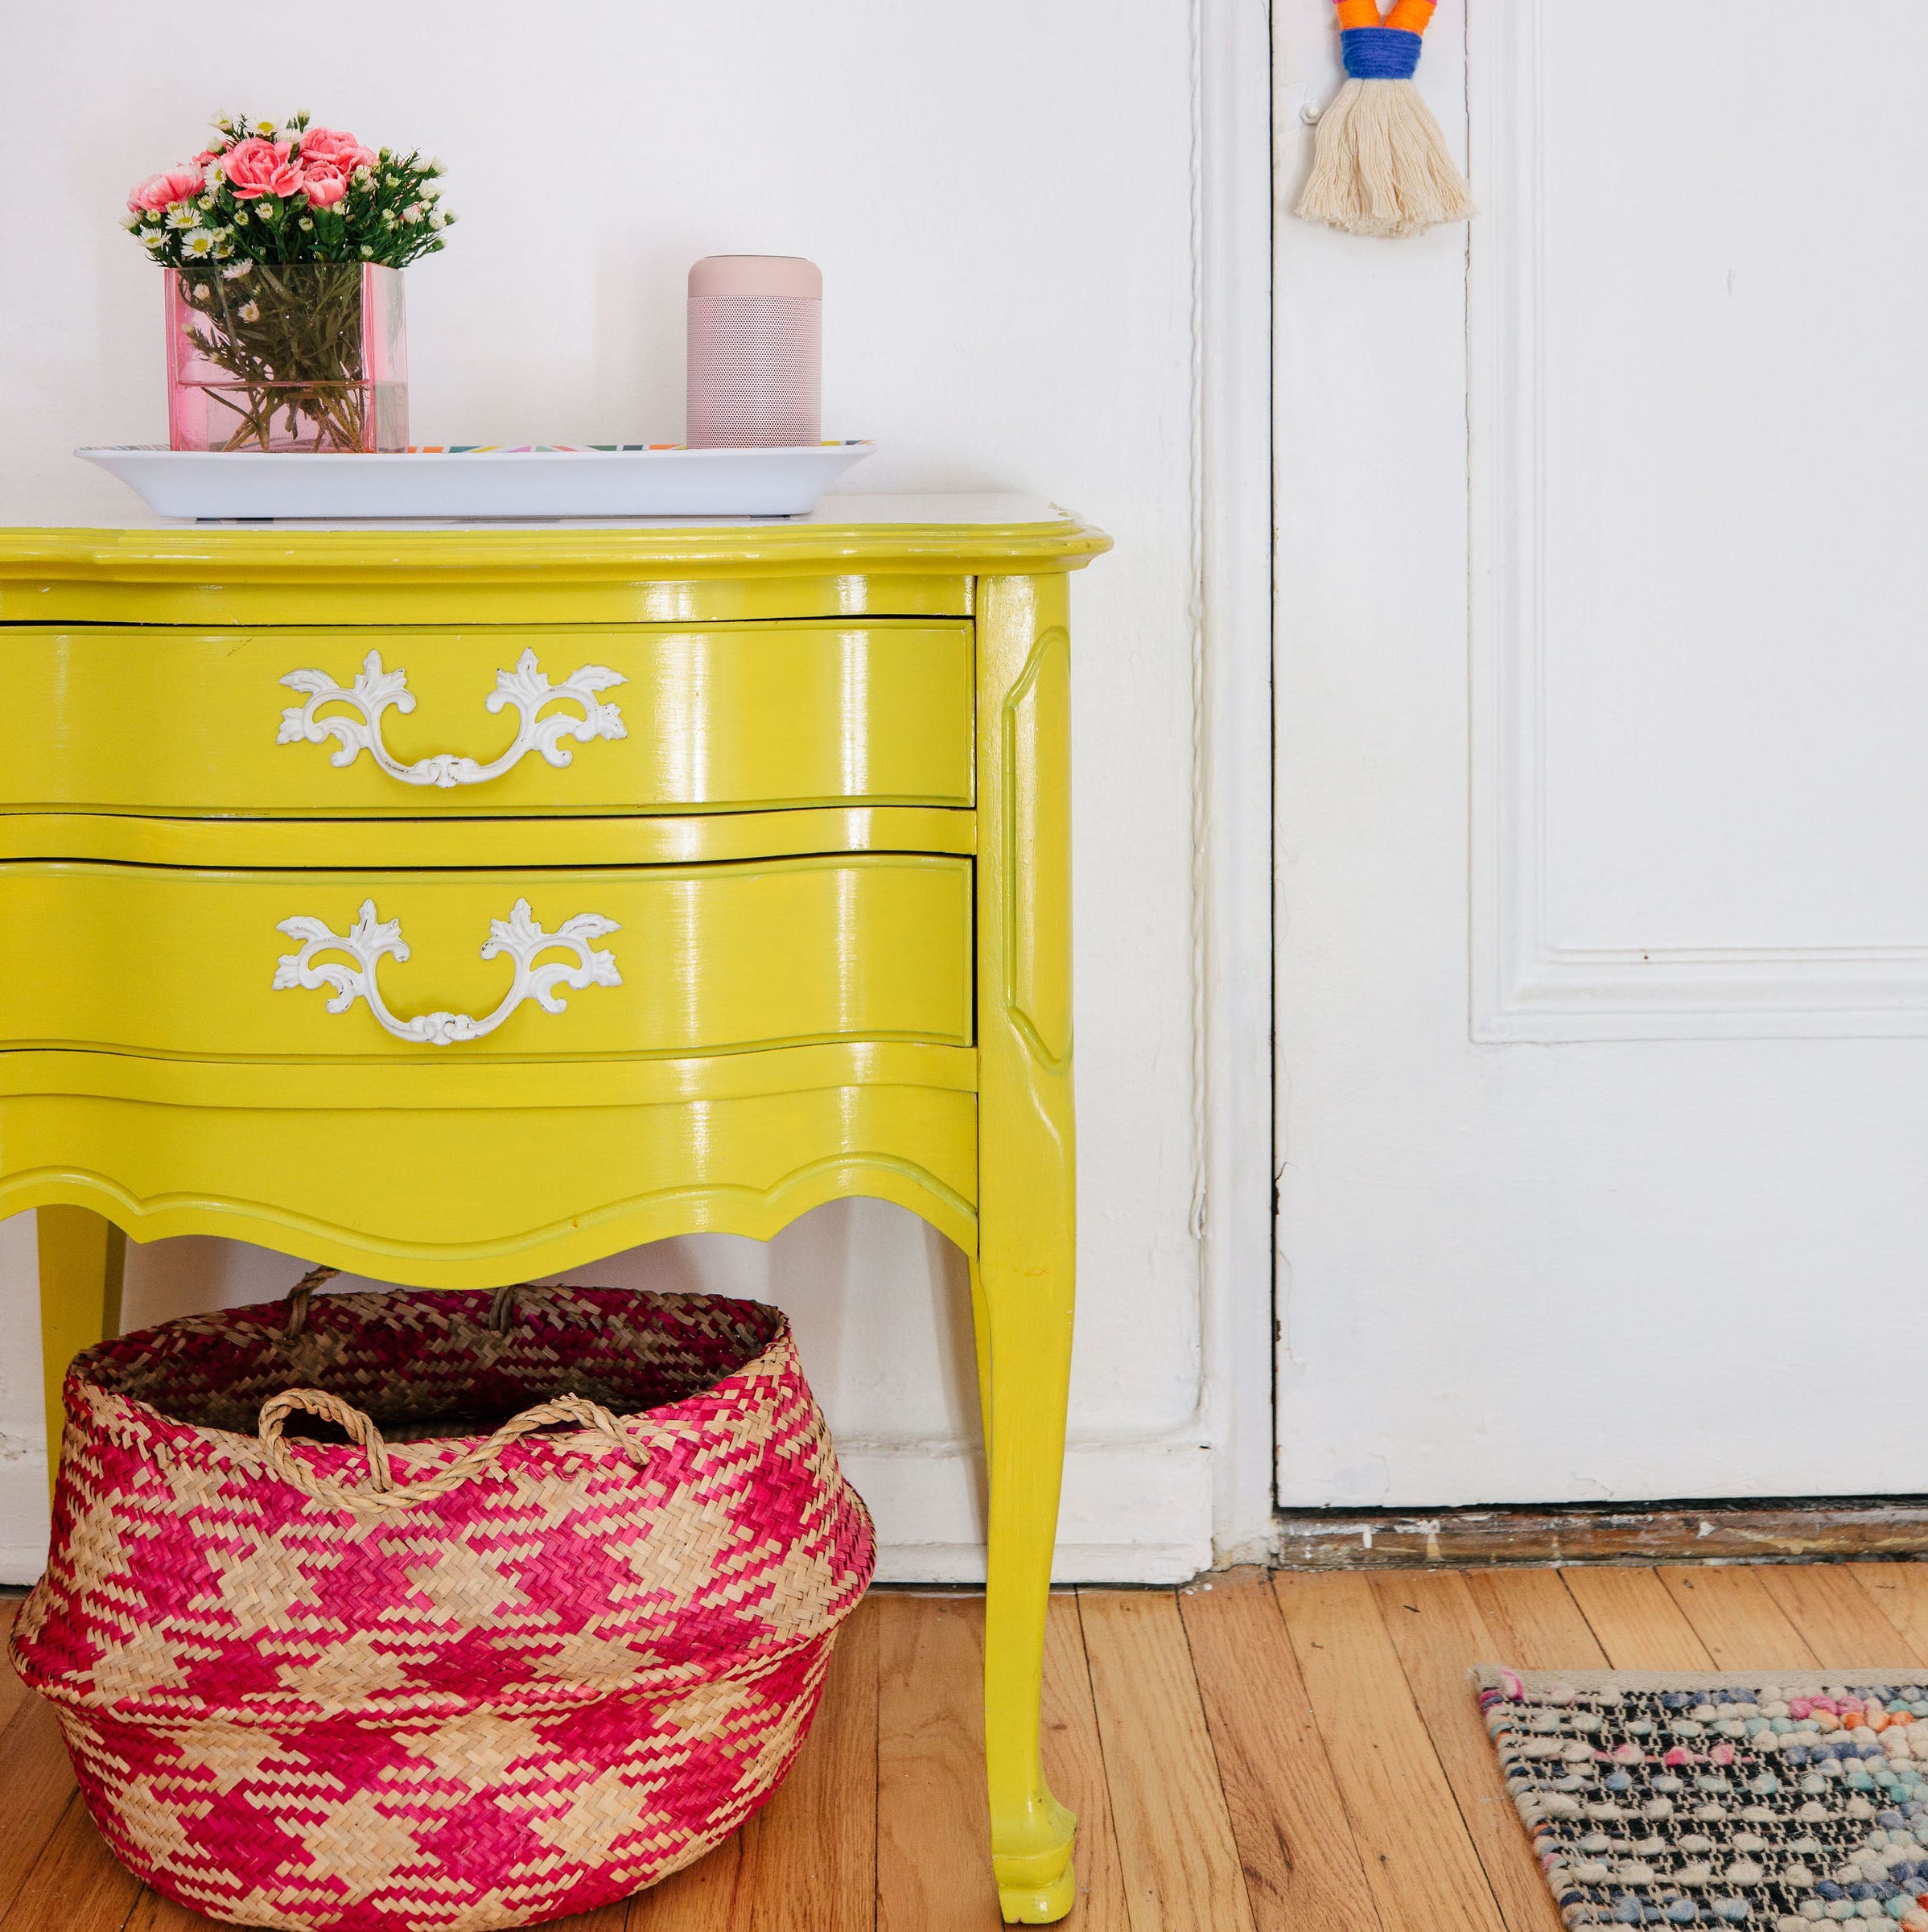
When selecting furniture for refinishing, Parsons advises considering style, price, and condition. She favors styles like Empire, American Farmhouse, and French Provincial, looking for solid wood pieces with intricate details like serpentine drawers, beading, and turned legs. The guiding principle is to choose pieces that are loved but not beyond repair, especially if they are acquired at a low cost.
Preparation for painting is crucial, though Parsons typically spends no more than five minutes sanding with medium-grit sandpaper (around 100-grit). The goal is not to scratch the piece but to roughen the surface slightly to improve paint adhesion.
Creating a convincing antique look involves telling a fictional story through the finish. This means strategically distressing high points that would naturally be handled or bumped and antiquing low points or crevices where dust would settle. Parsons highlights that paint wear usually occurs around edges and handles, rather than in the center of surfaces.
Regarding paint types, Parsons prefers milk paint for its natural composition, long shelf life, stain-like absorption, and matte finish. She also uses small bottles of craft acrylic paints for detailed work. Milk paint allows for precise mixing and opacity control, though it can be temperamental, requiring specific techniques often detailed in tutorials. To achieve a layered, repainted antique appearance, Parsons employs resist methods using materials like Vaseline, beeswax, or hemp oil to prevent the second coat from adhering uniformly, allowing the underlying layers to show through. Further refinement can be achieved by sanding with medium and then fine sandpaper to enhance the patina.
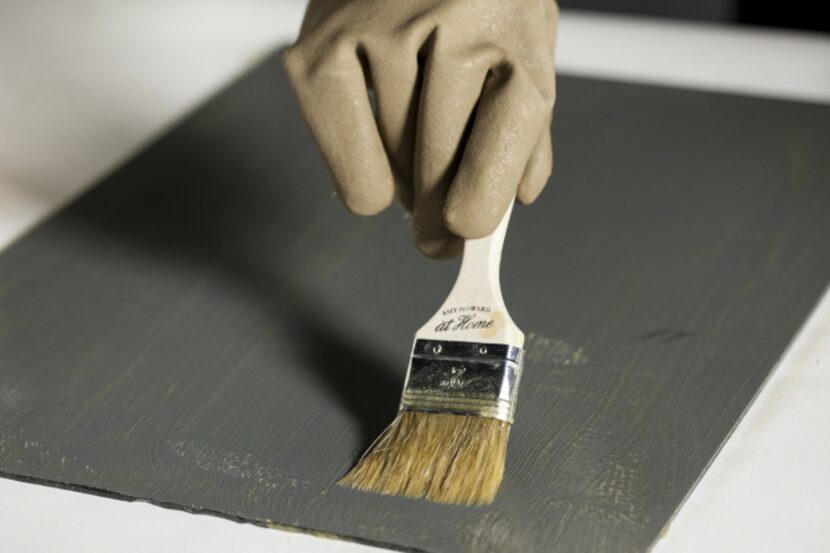
For tools, Parsons relies on a nylon bristle Purdy 2-inch angled sash brush for neat application and a large, bushy natural bristle brush for waxing carved areas. A soft cloth is used for applying wax topcoats. The finishing touches involve wax and oil to protect the painted surface. Parsons typically applies at least one coat of hemp oil to enhance color and vitality, adding more layers for increased sheen. Various waxes, such as white wax for liming, furniture wax for texture, and brown wax for antiquing, can be used to create specific effects. For hardware, she suggests salvaging original pieces but recommends exploring new options like glass knobs for a refreshed look, often purchasing extras when sales are available.
#AntiquingFurniture #DistressingFurniture #FurnitureRefinishing #MilkPaint #DIYHomeDecor #VintageFurniture #PaintingTechniques #MarianParsons #HomeImprovement #AntiquingFurniture #DistressingFurniture #FurnitureRefinishing #MilkPaint #DIYHomeDecor #VintageFurniture #PaintingTechniques #MarianParsons #HomeImprovement
0 comment in total
 No comments yet
You may also like
How to achieve an antique finish with paint– 4 crafting tips to fake a well-loved piece

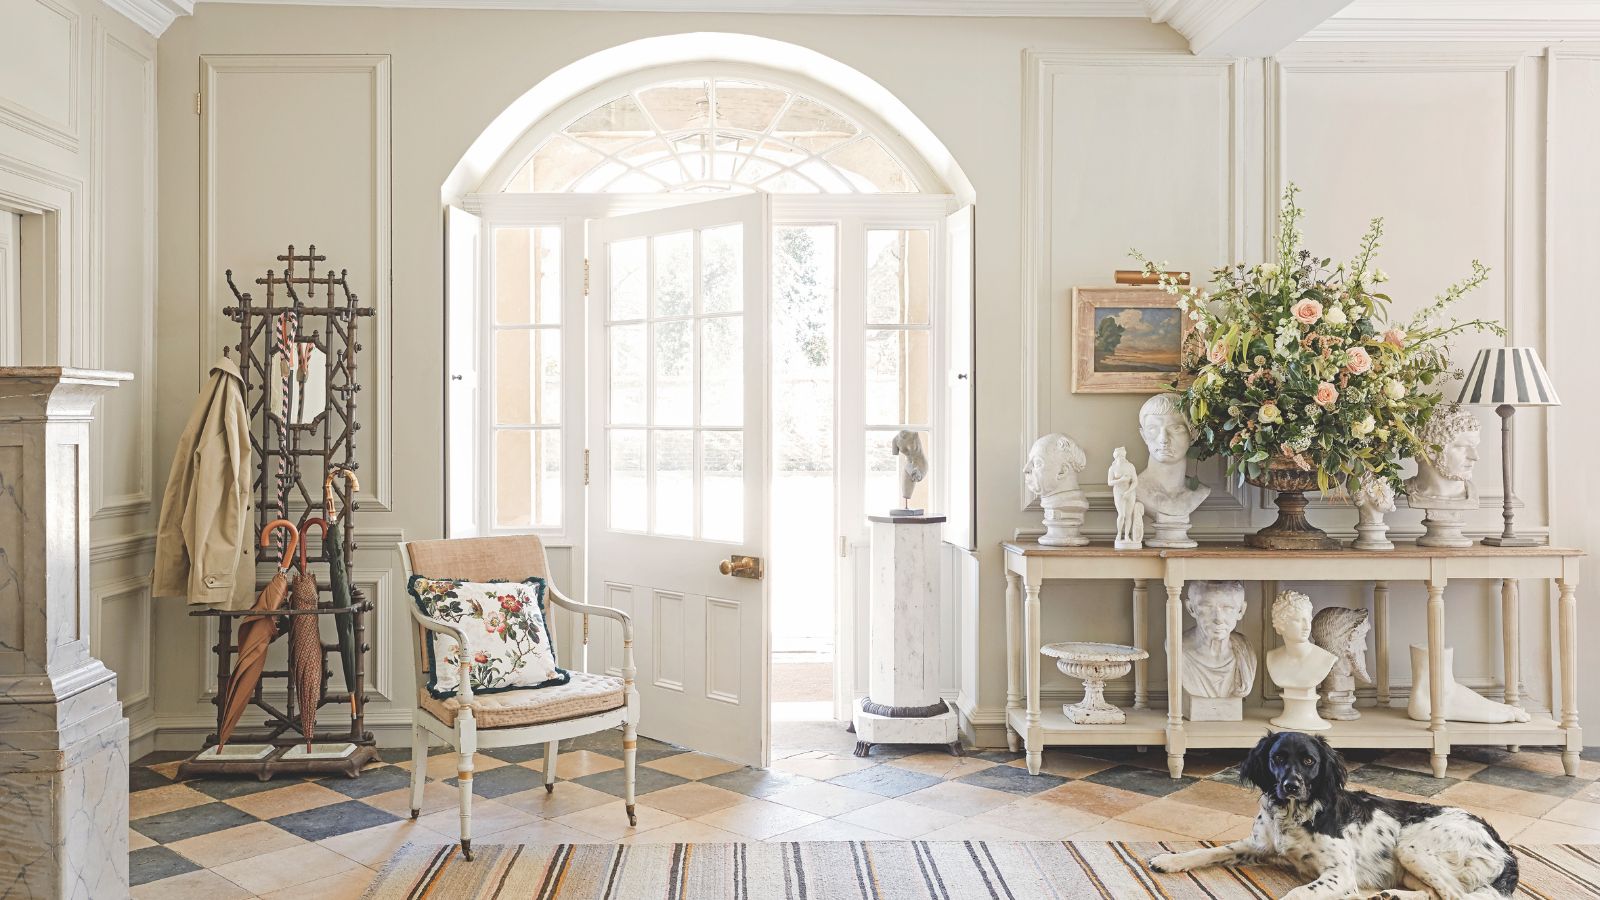
What is patina? Everything you need to know about this vintage, aged look, according to designers and antiques experts
How to Modernize Antique Furniture for a Characterful and Cohesive Look

At Home with Marni Jameson: How to update older homes without messing them up
Decorating with antiques – 8 designer tips to channel the past in the chicest way
How to decorate with antique textiles – designers share their tips for adding character with old fabrics
6 Expert Tips On How To Haggle On Antiques (Plus, When You Shouldn't!)
There’s No Secret Recipe for Restoring Wallpaper—But This Approach Is Close

A designer’s guide to decorating with antiques

Antique Originals

5 Rules for Identifying Antique and Vintage Ceramics—Plus the Types That Are Most Valuable

Is It a Crime to Paint Antique Furniture?

How To Clean And Care For Antiques, According To An Expert
How to use antique furniture in a contemporary scheme
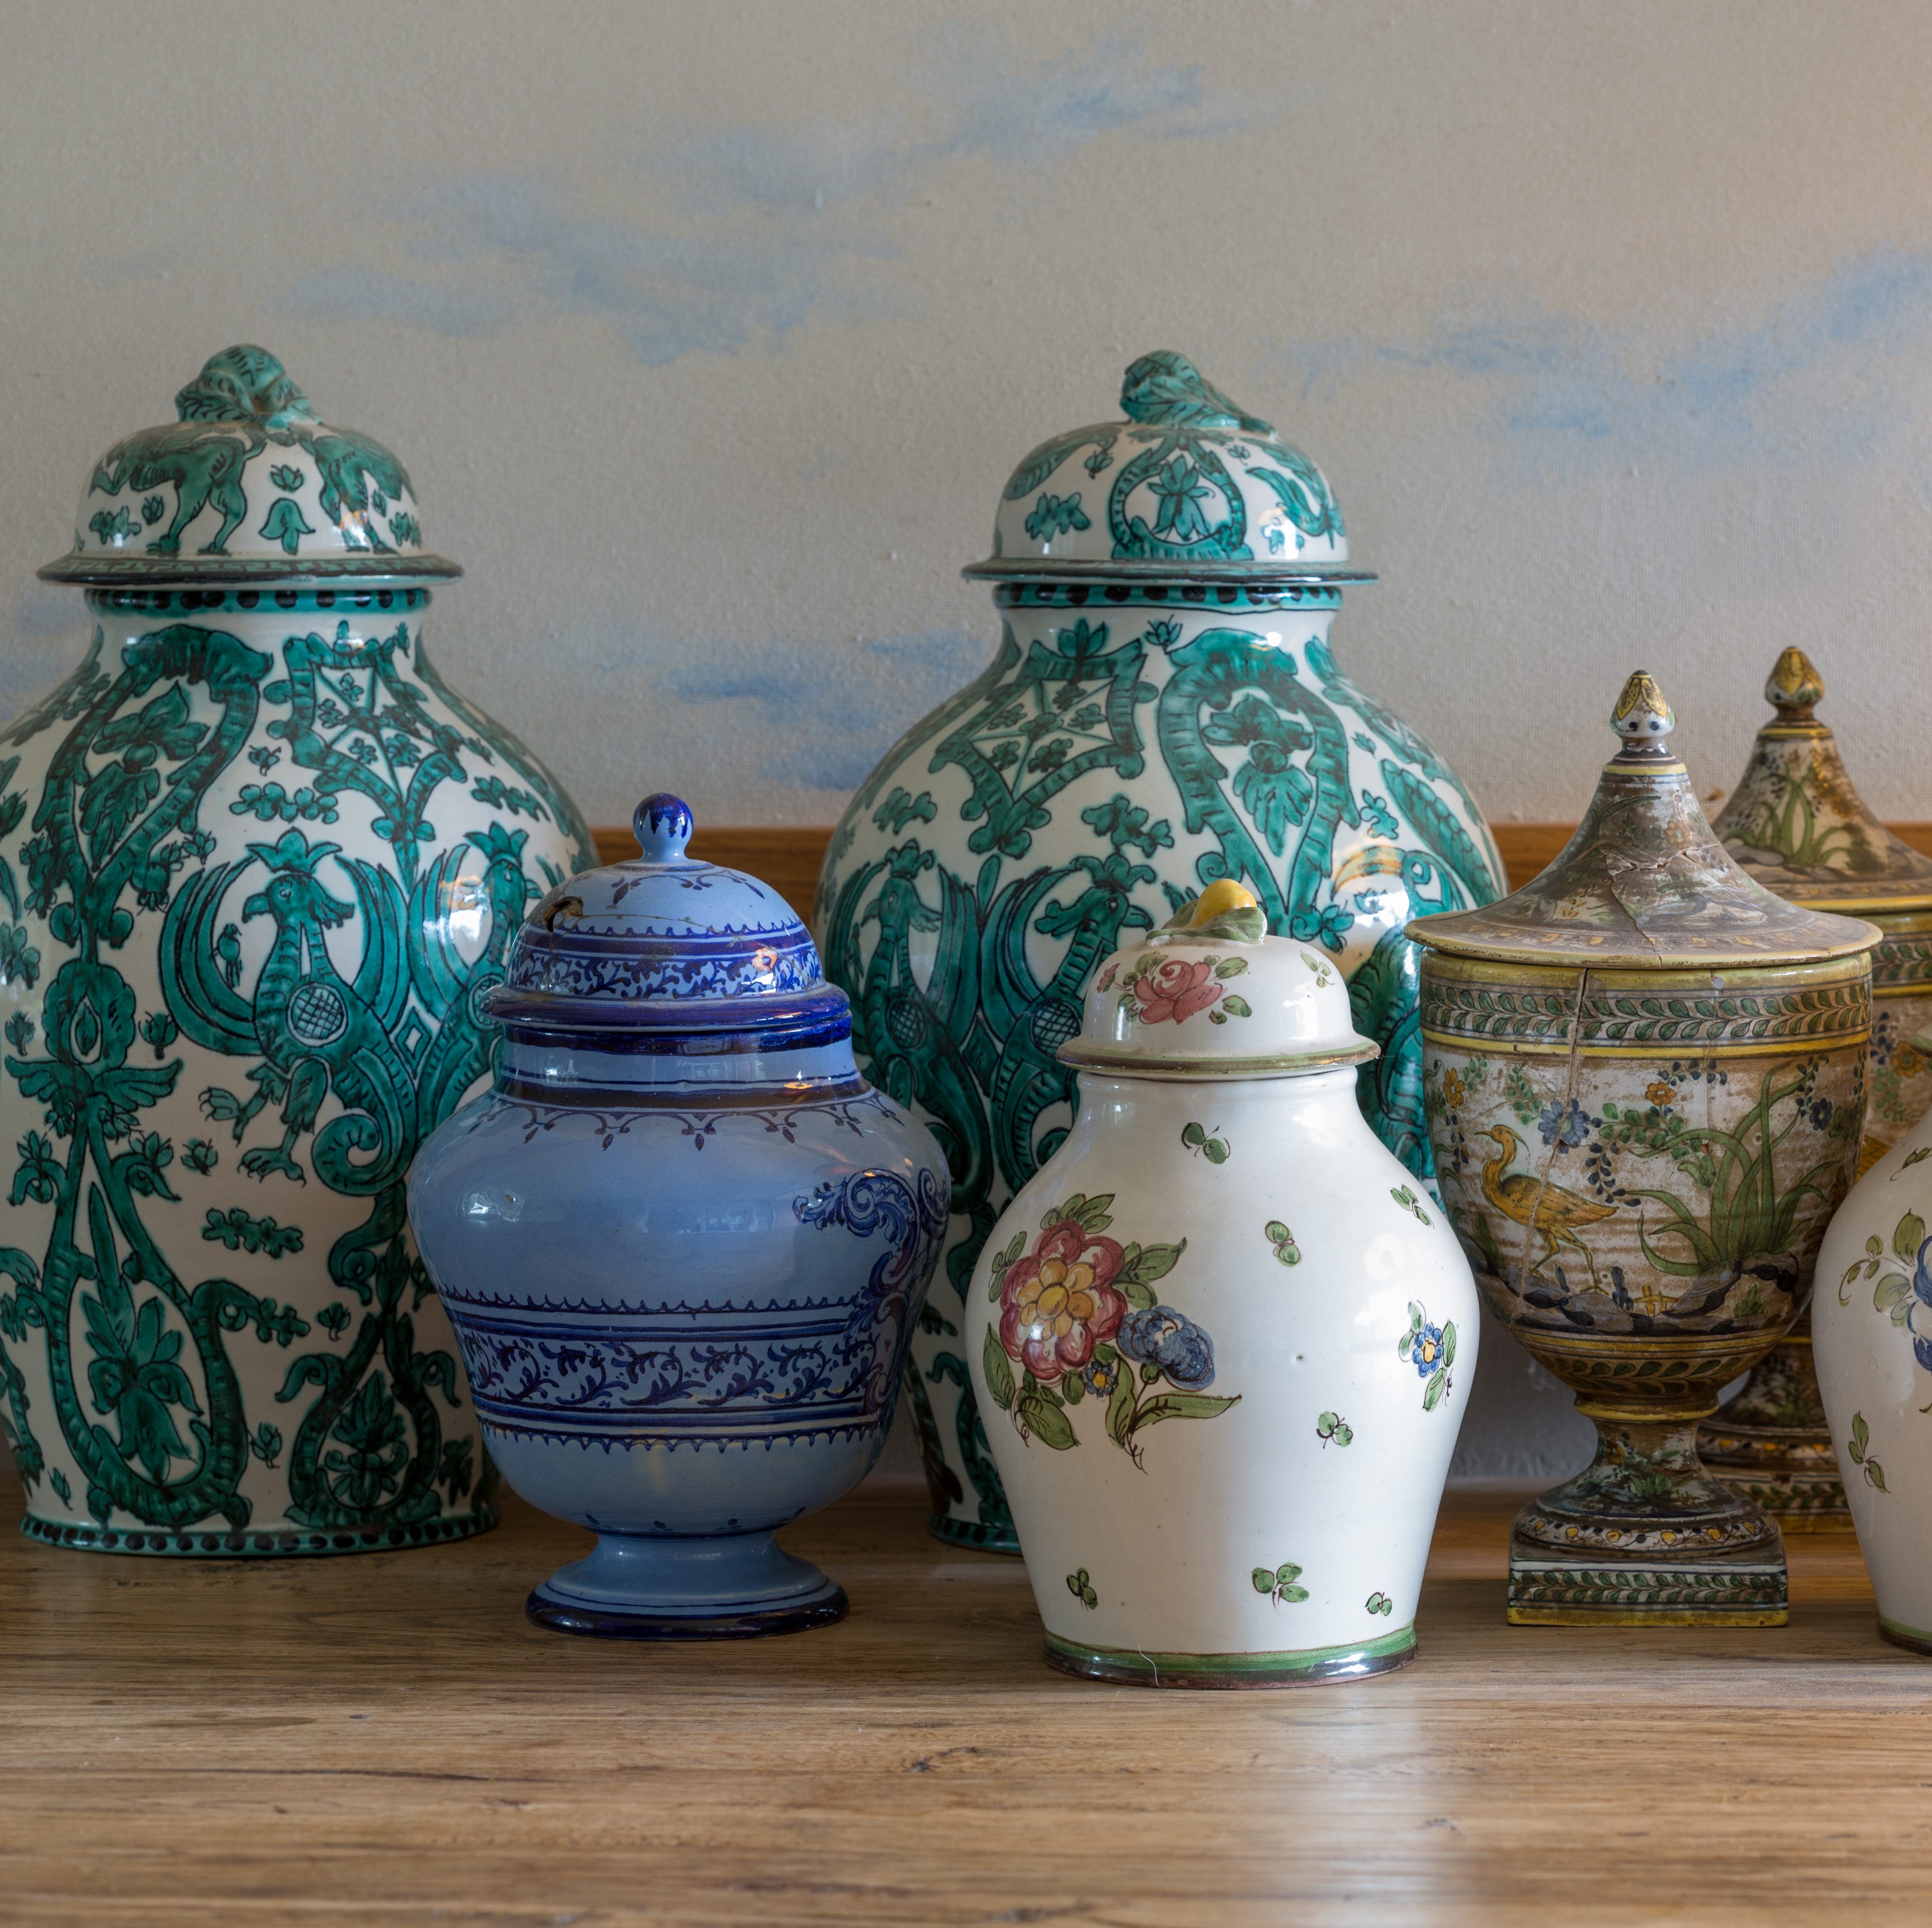
5 Rules for Identifying Antique and Vintage Ceramics—Plus the Types That Are Most Valuable

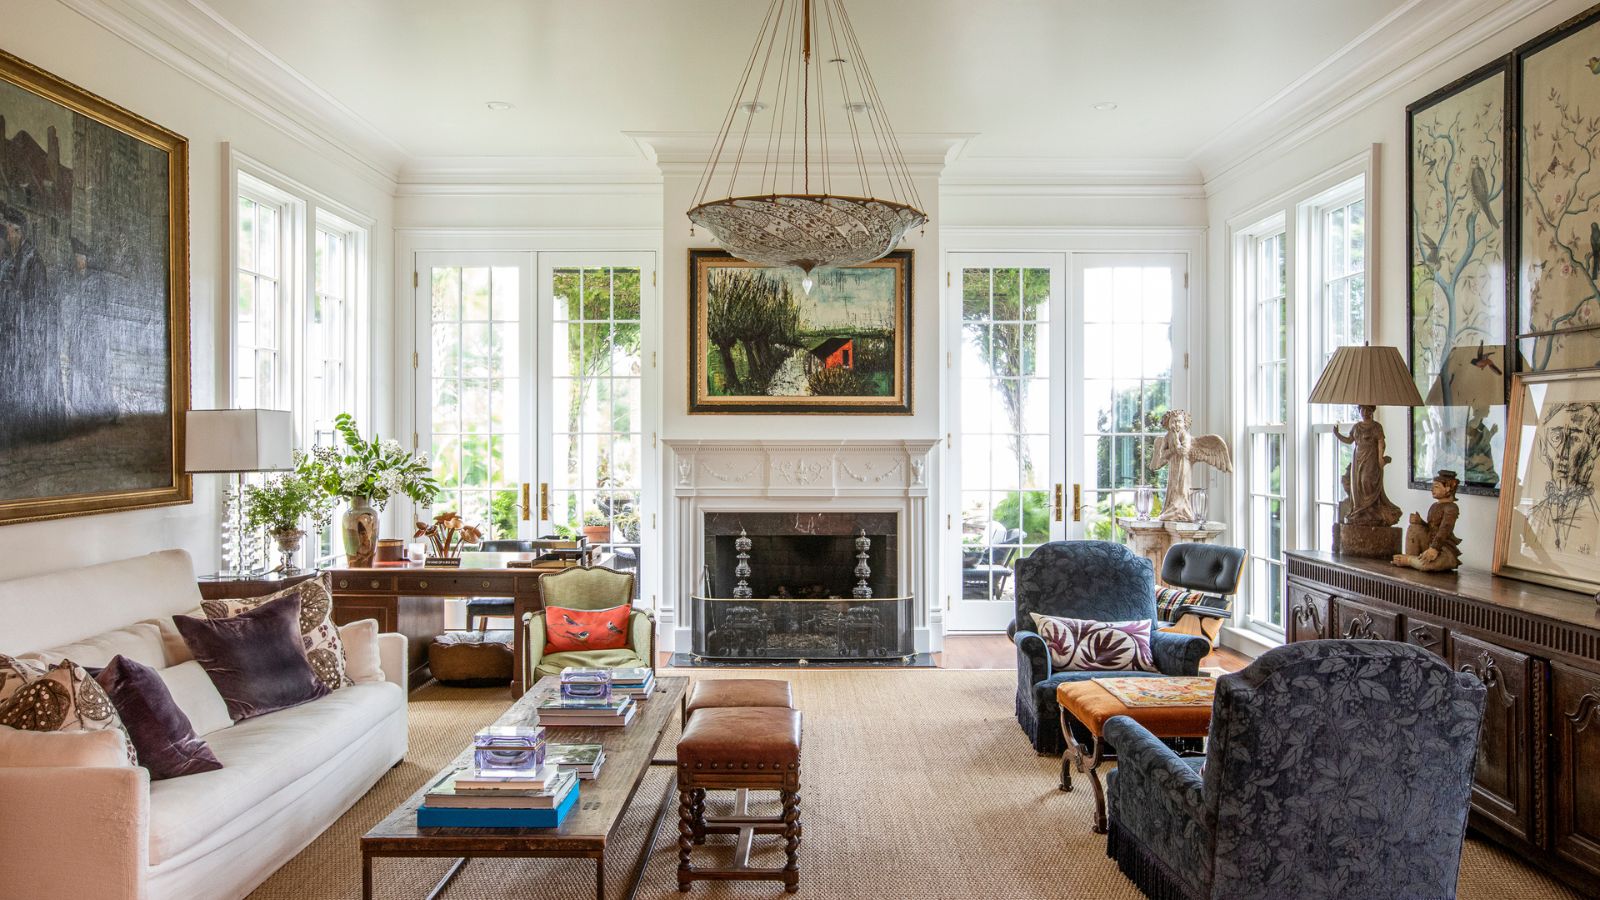
6 antiques that will always work in modern interiors – and how designers style them
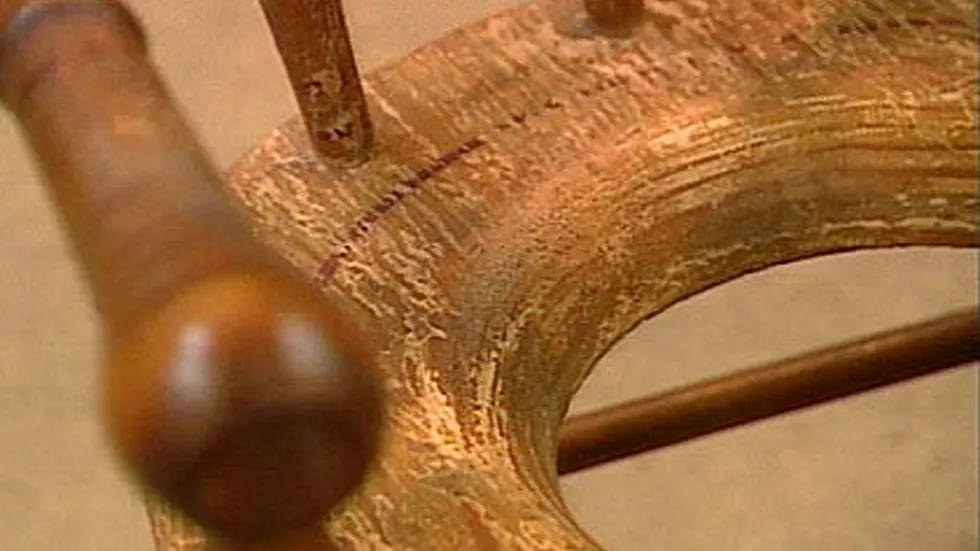
Tip: Leave the Finish Alone
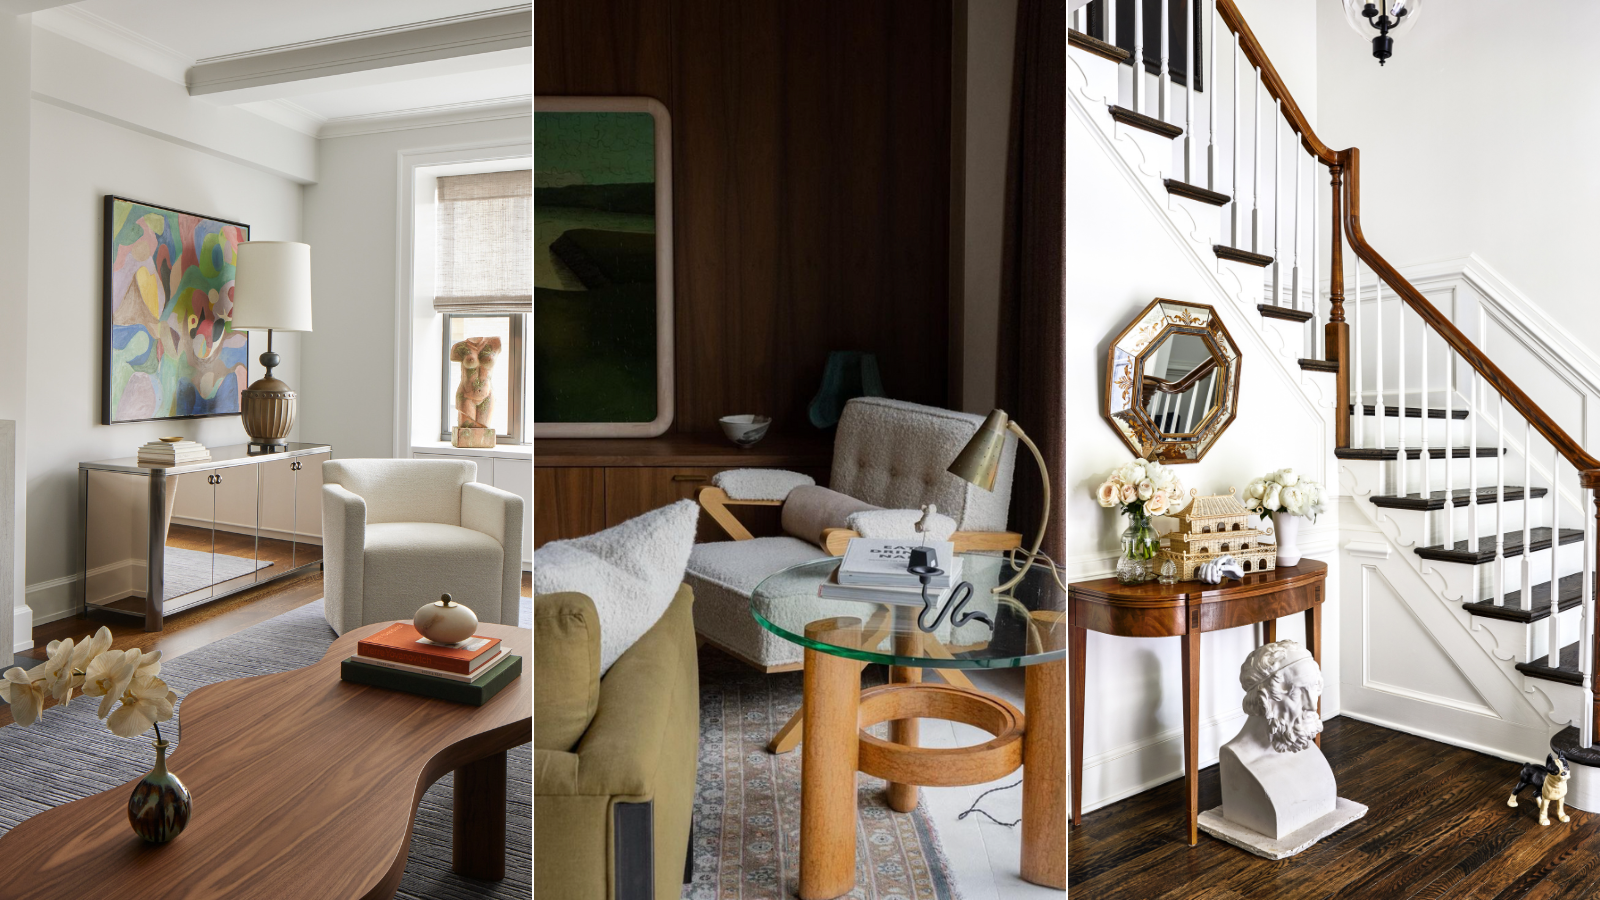
How to style antique furniture for a timeless, transitional space – 9 designers share their tips
The splendour of gilded furniture, and the experts who look after it for generations to come
How to mimic that antique-mirror look