1/5
How to tile a backsplash – everything you need to know in 7 simple steps
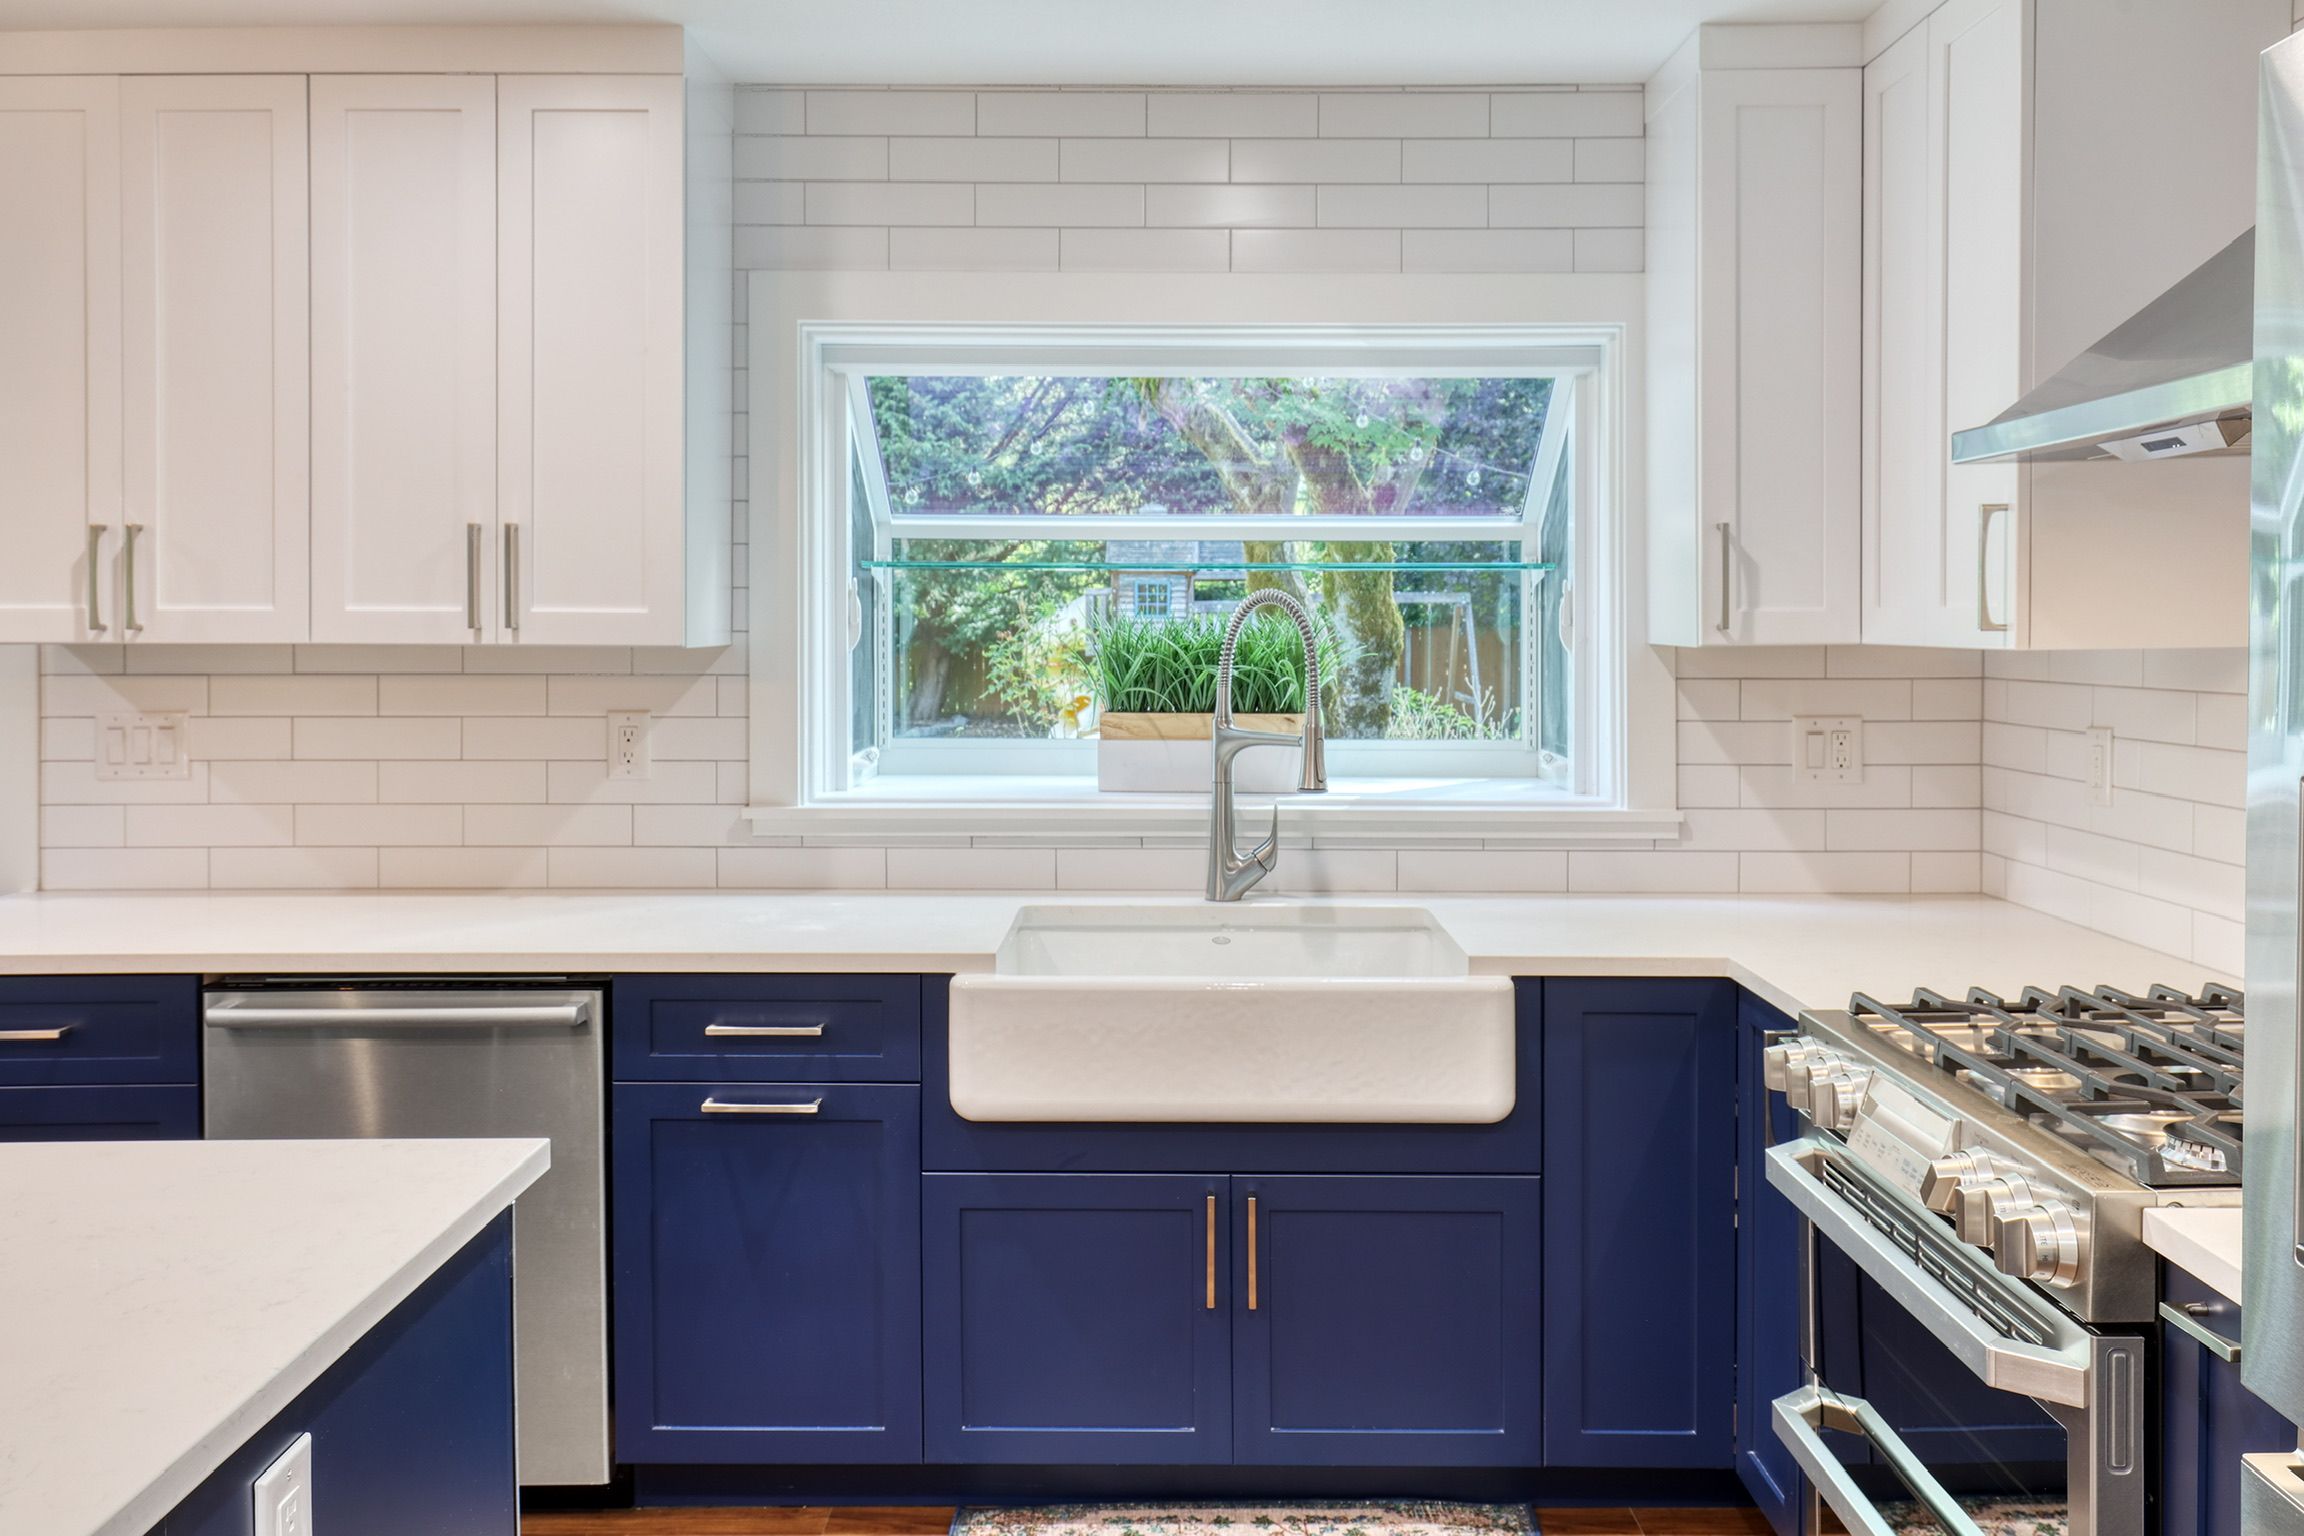
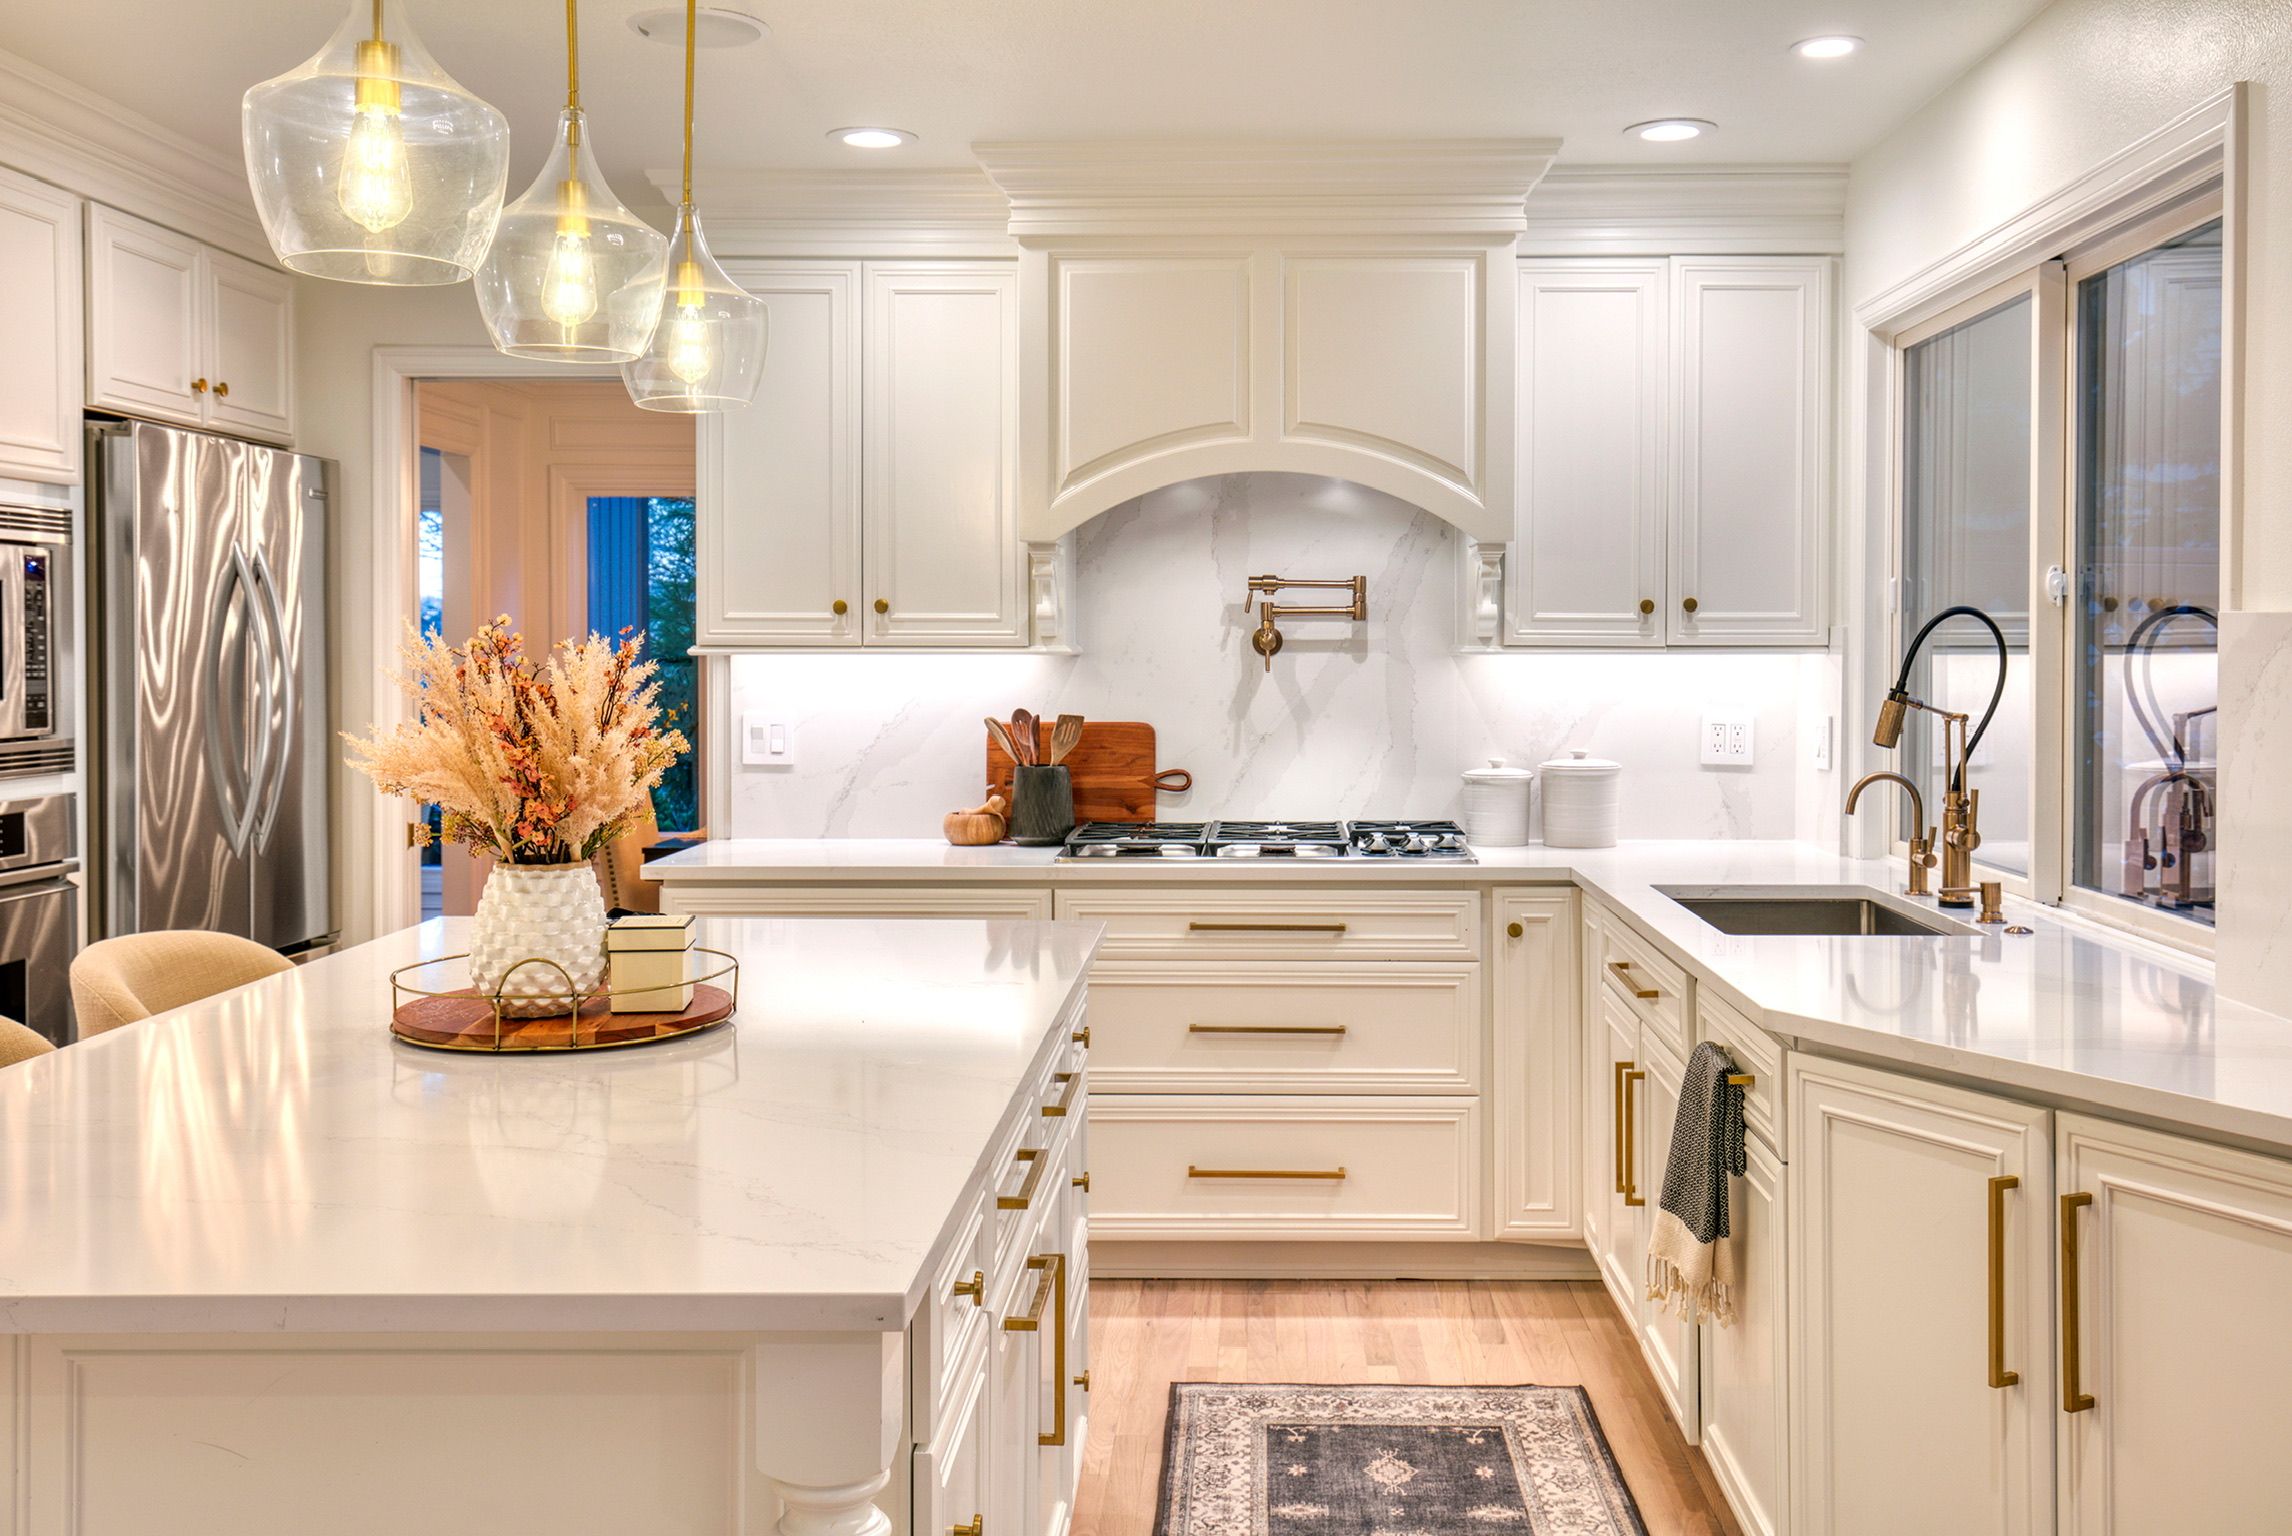
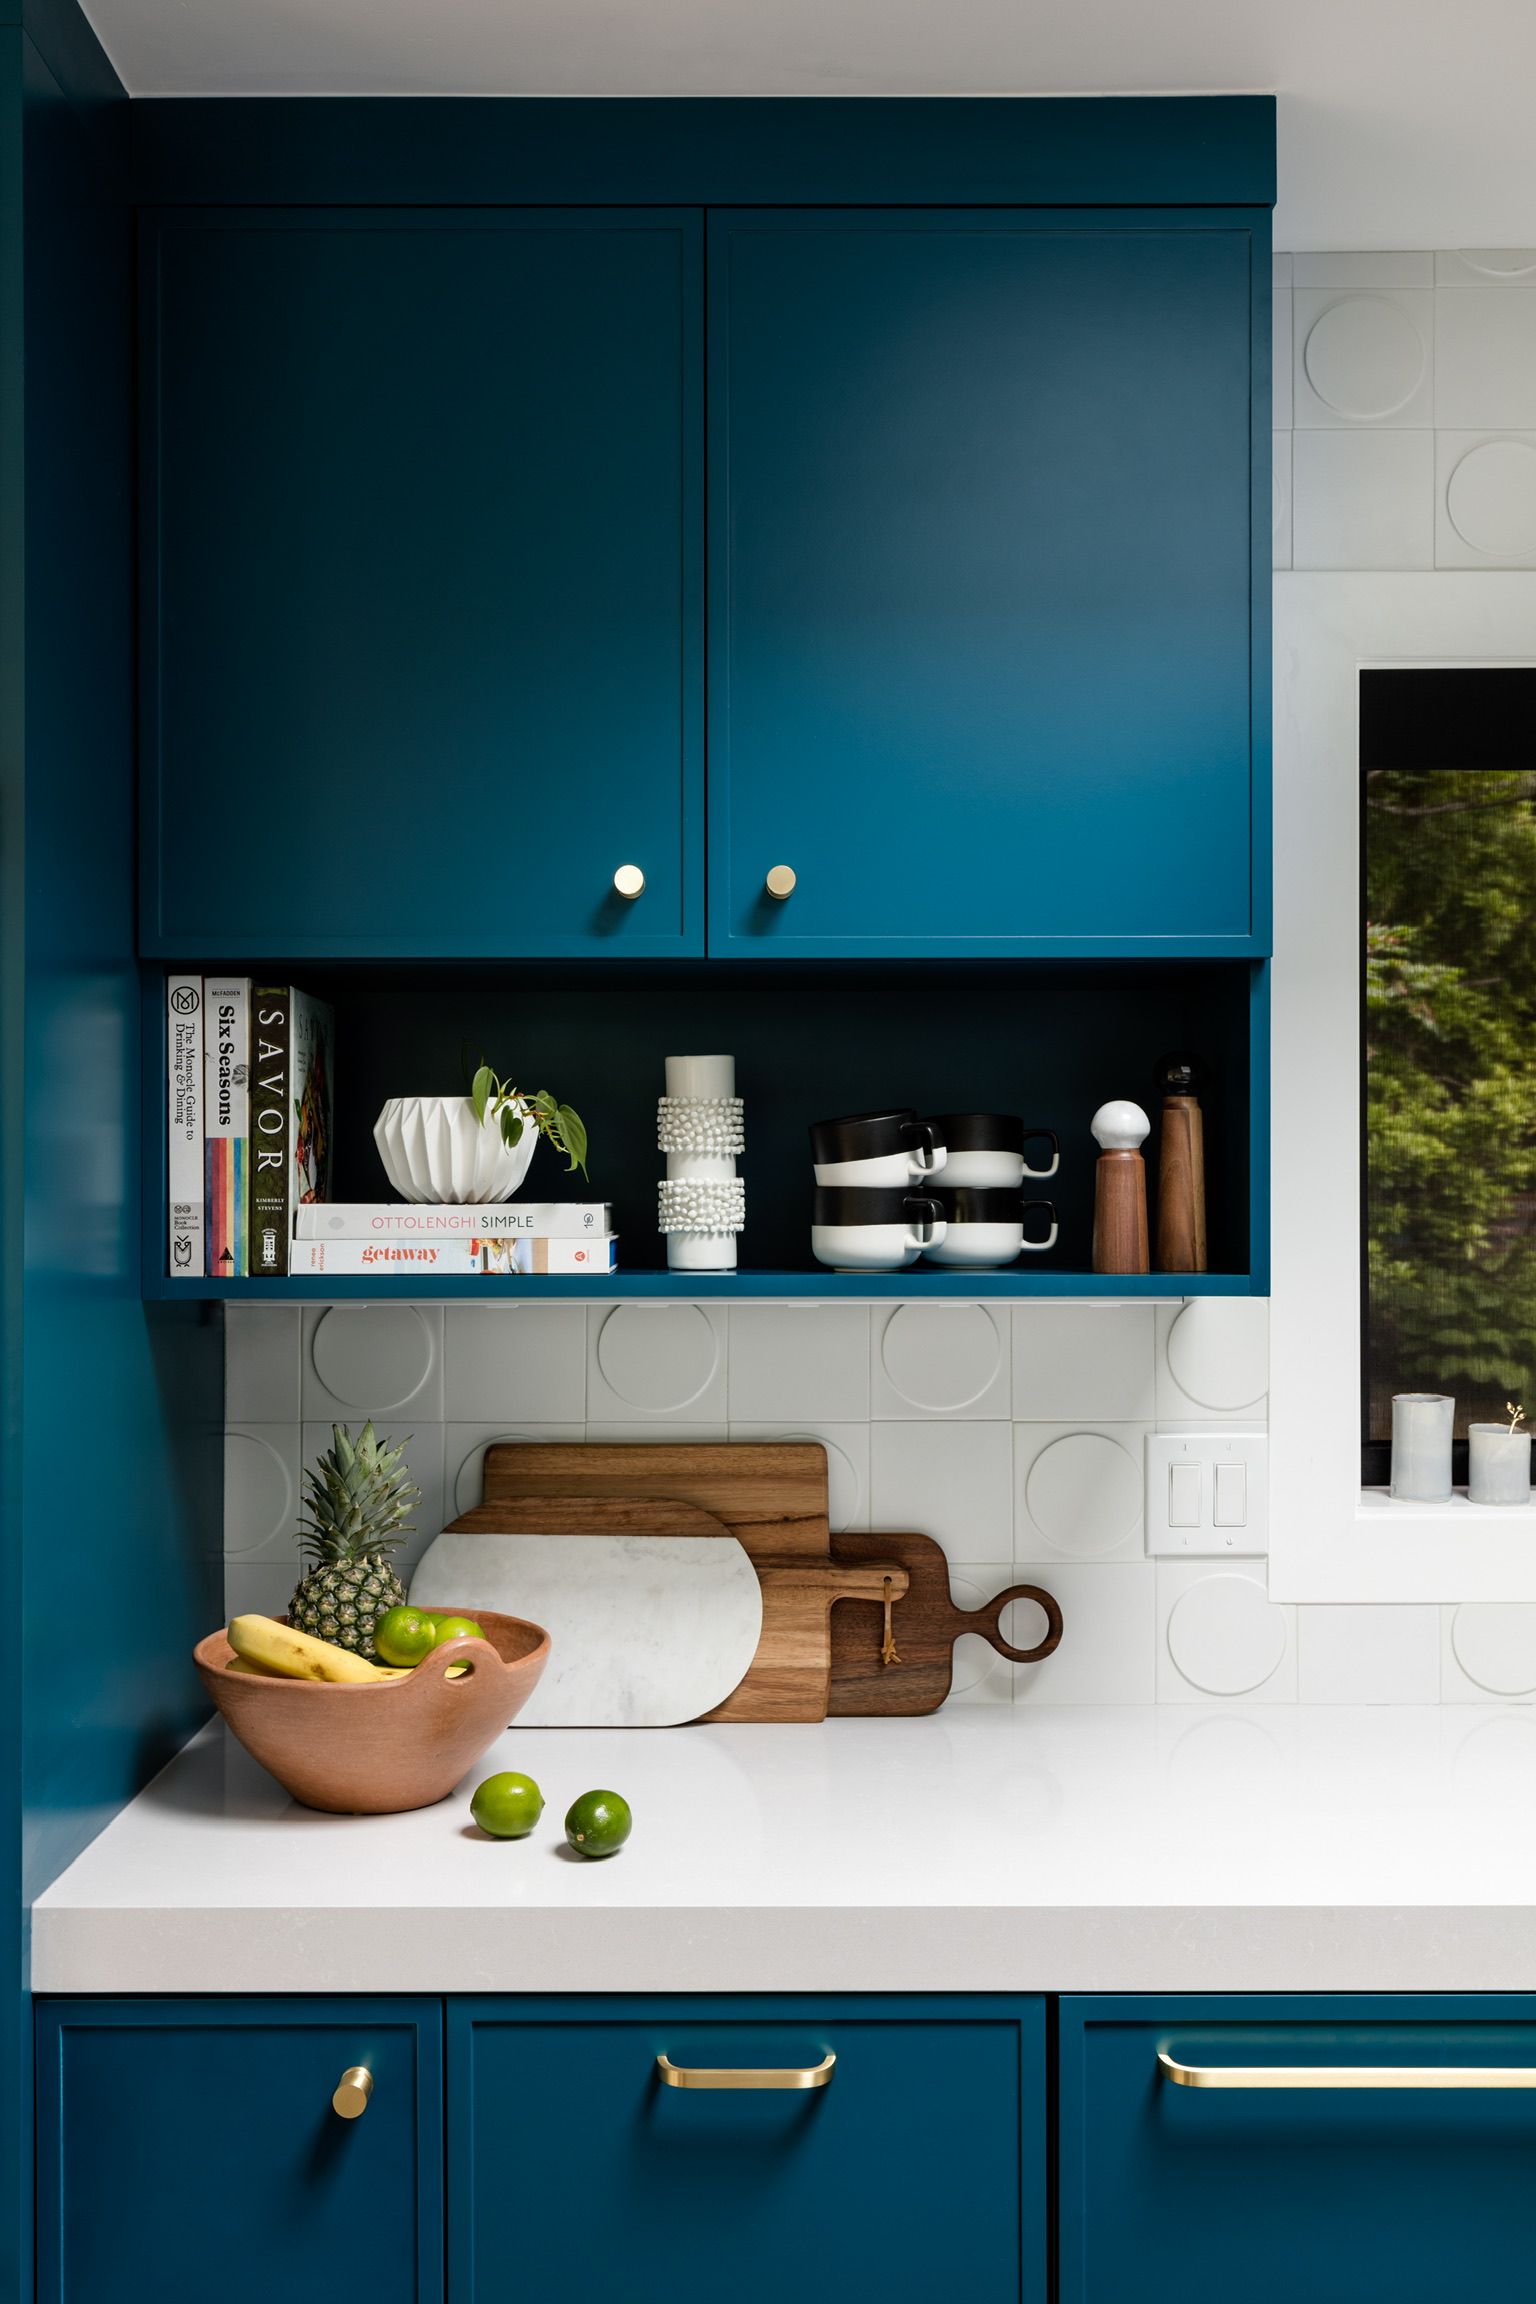
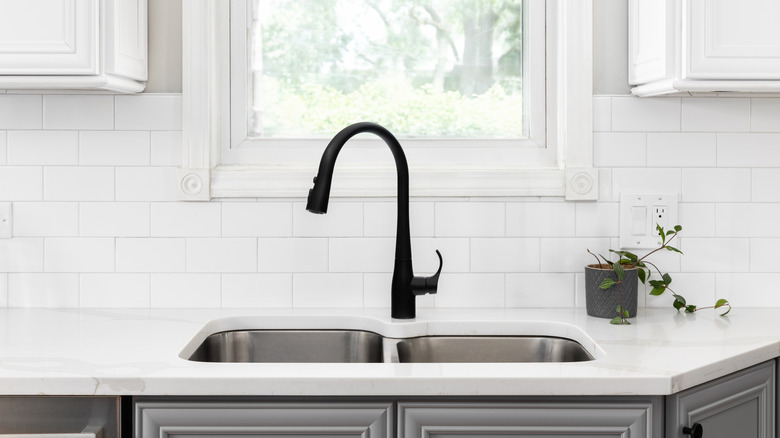
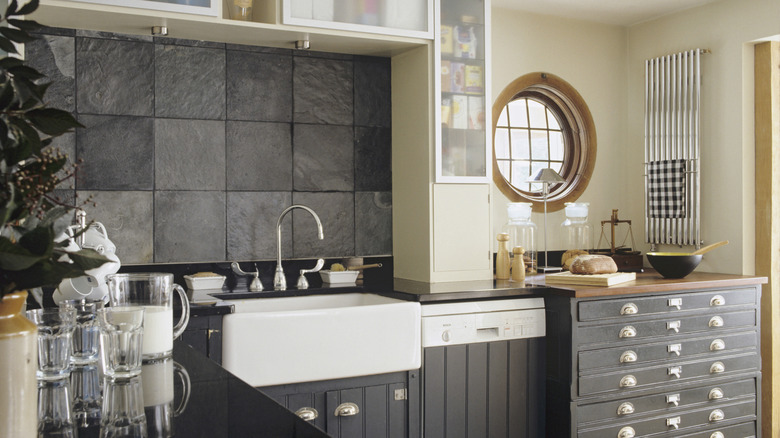
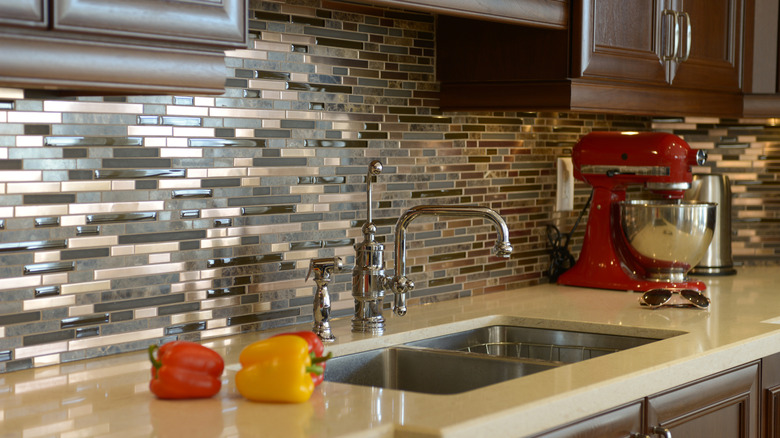
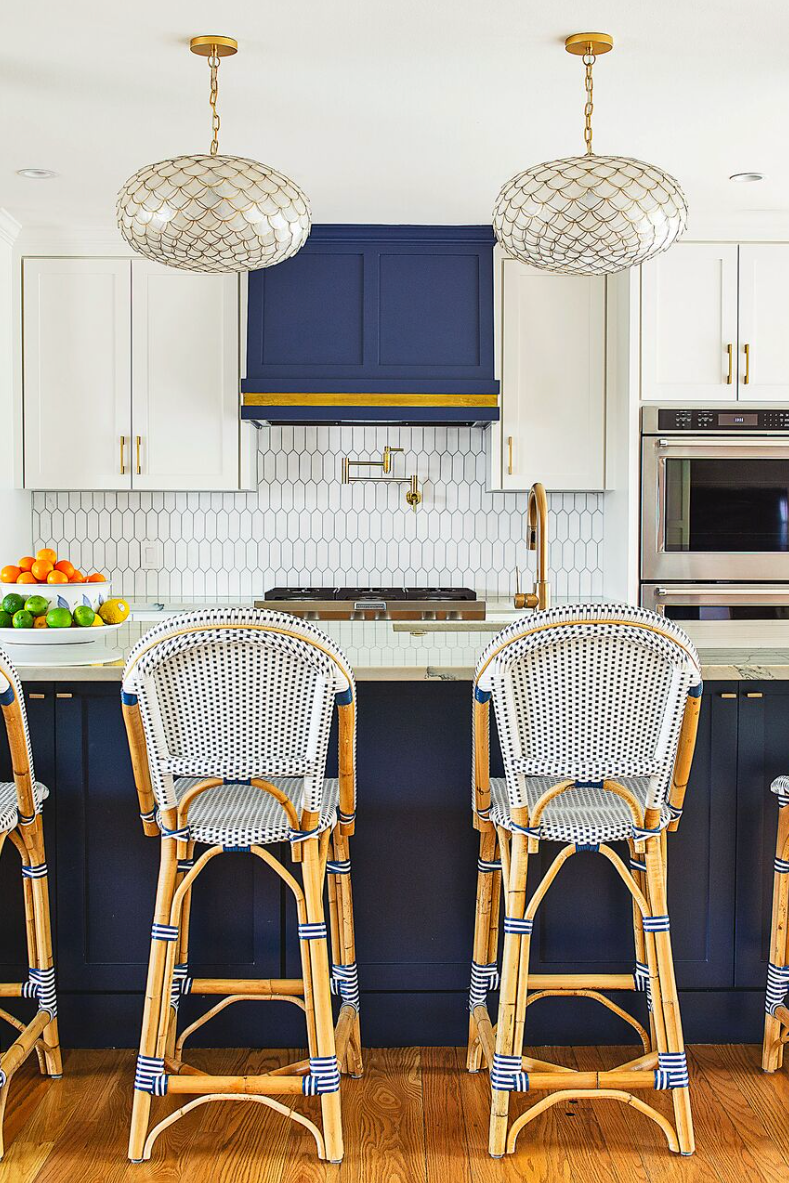
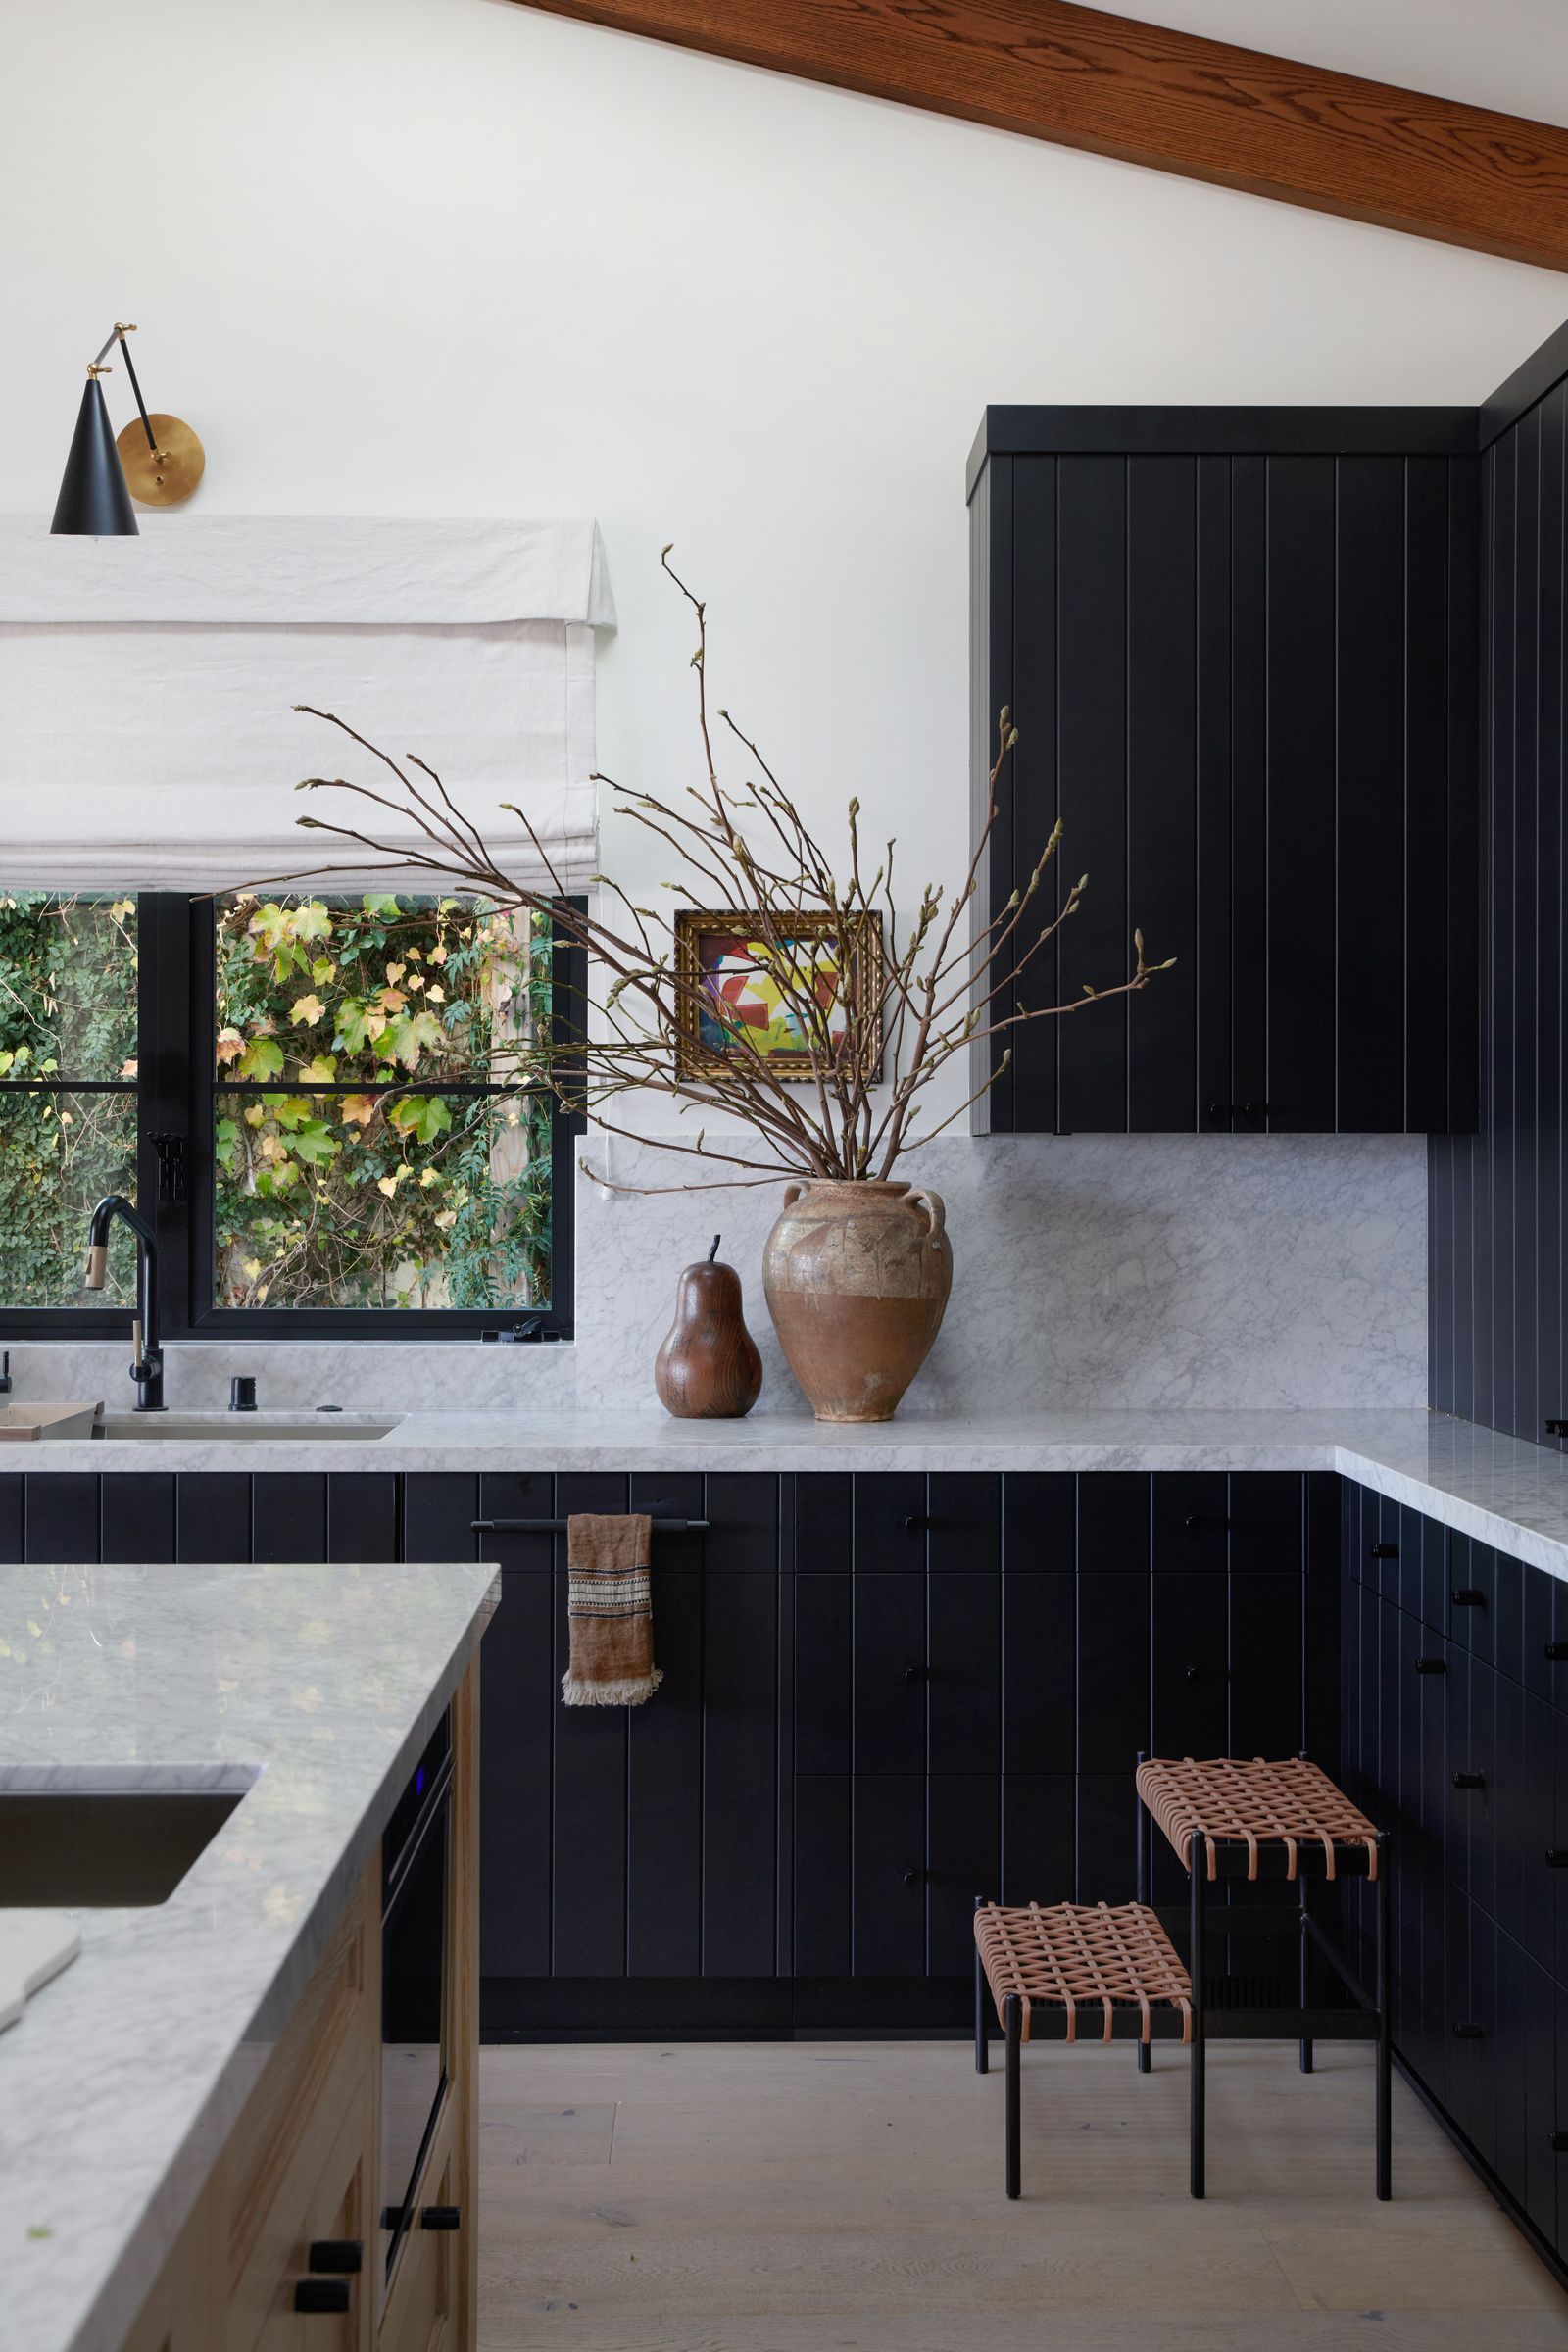
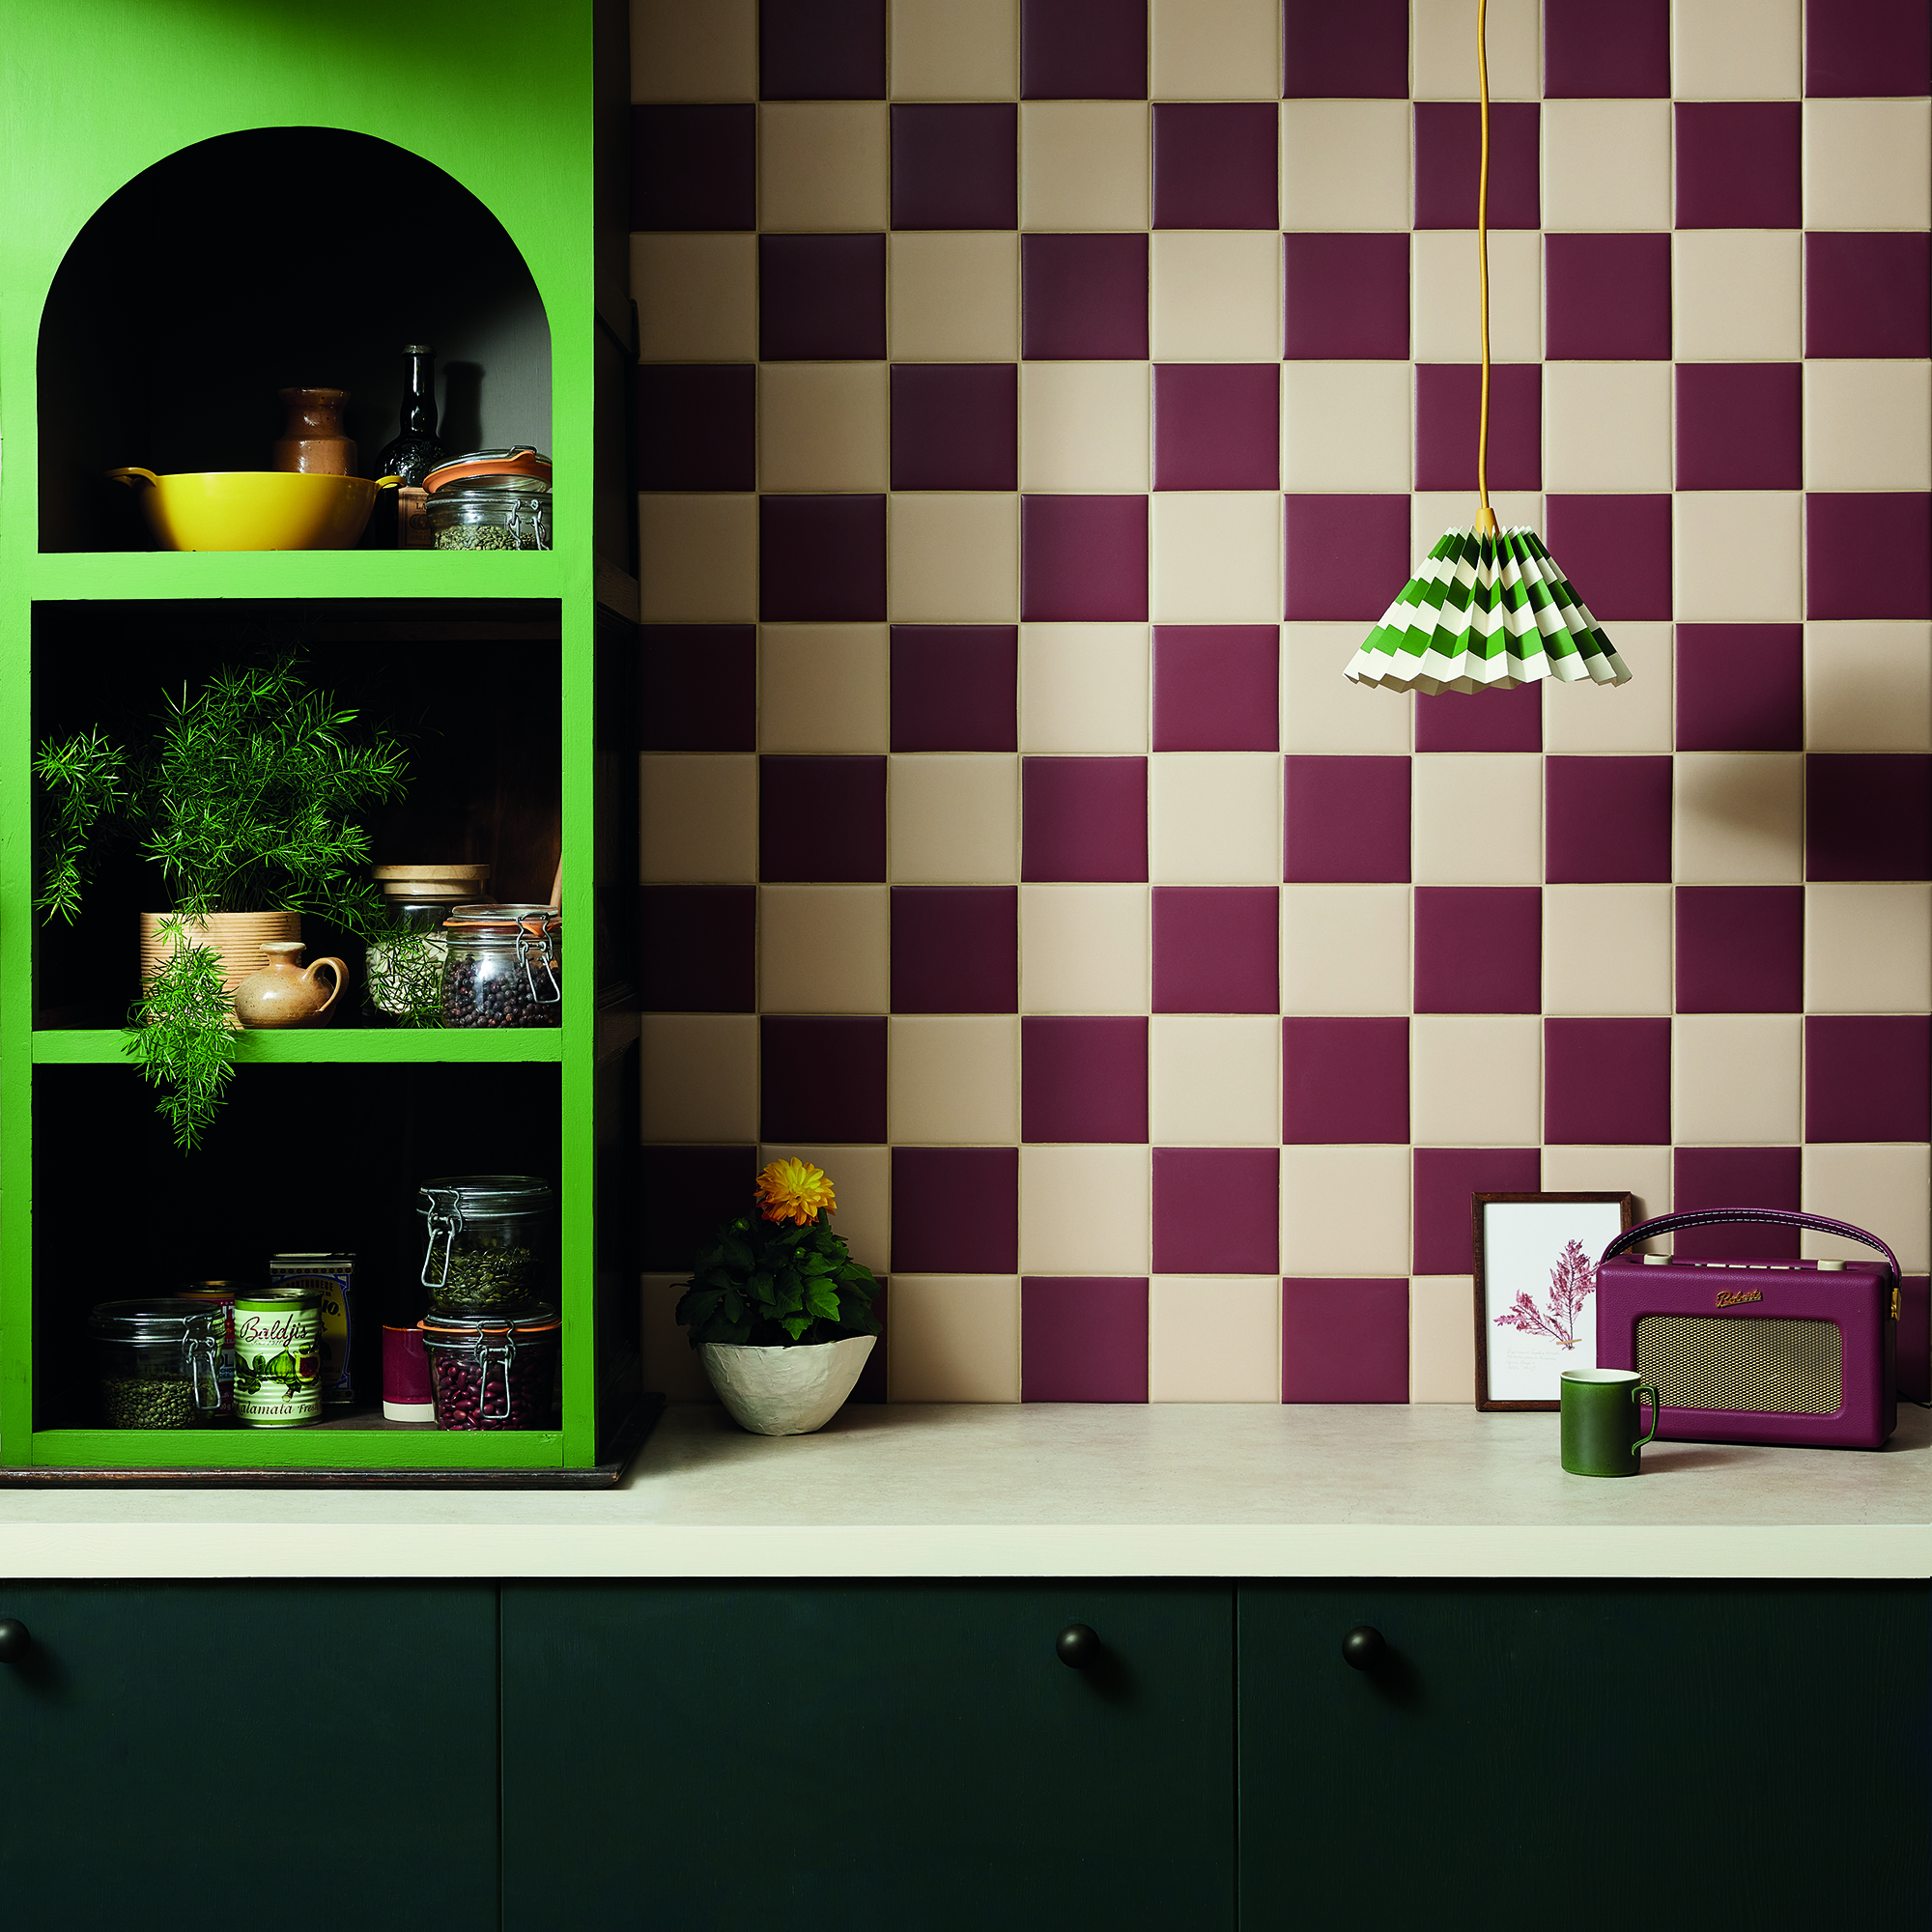
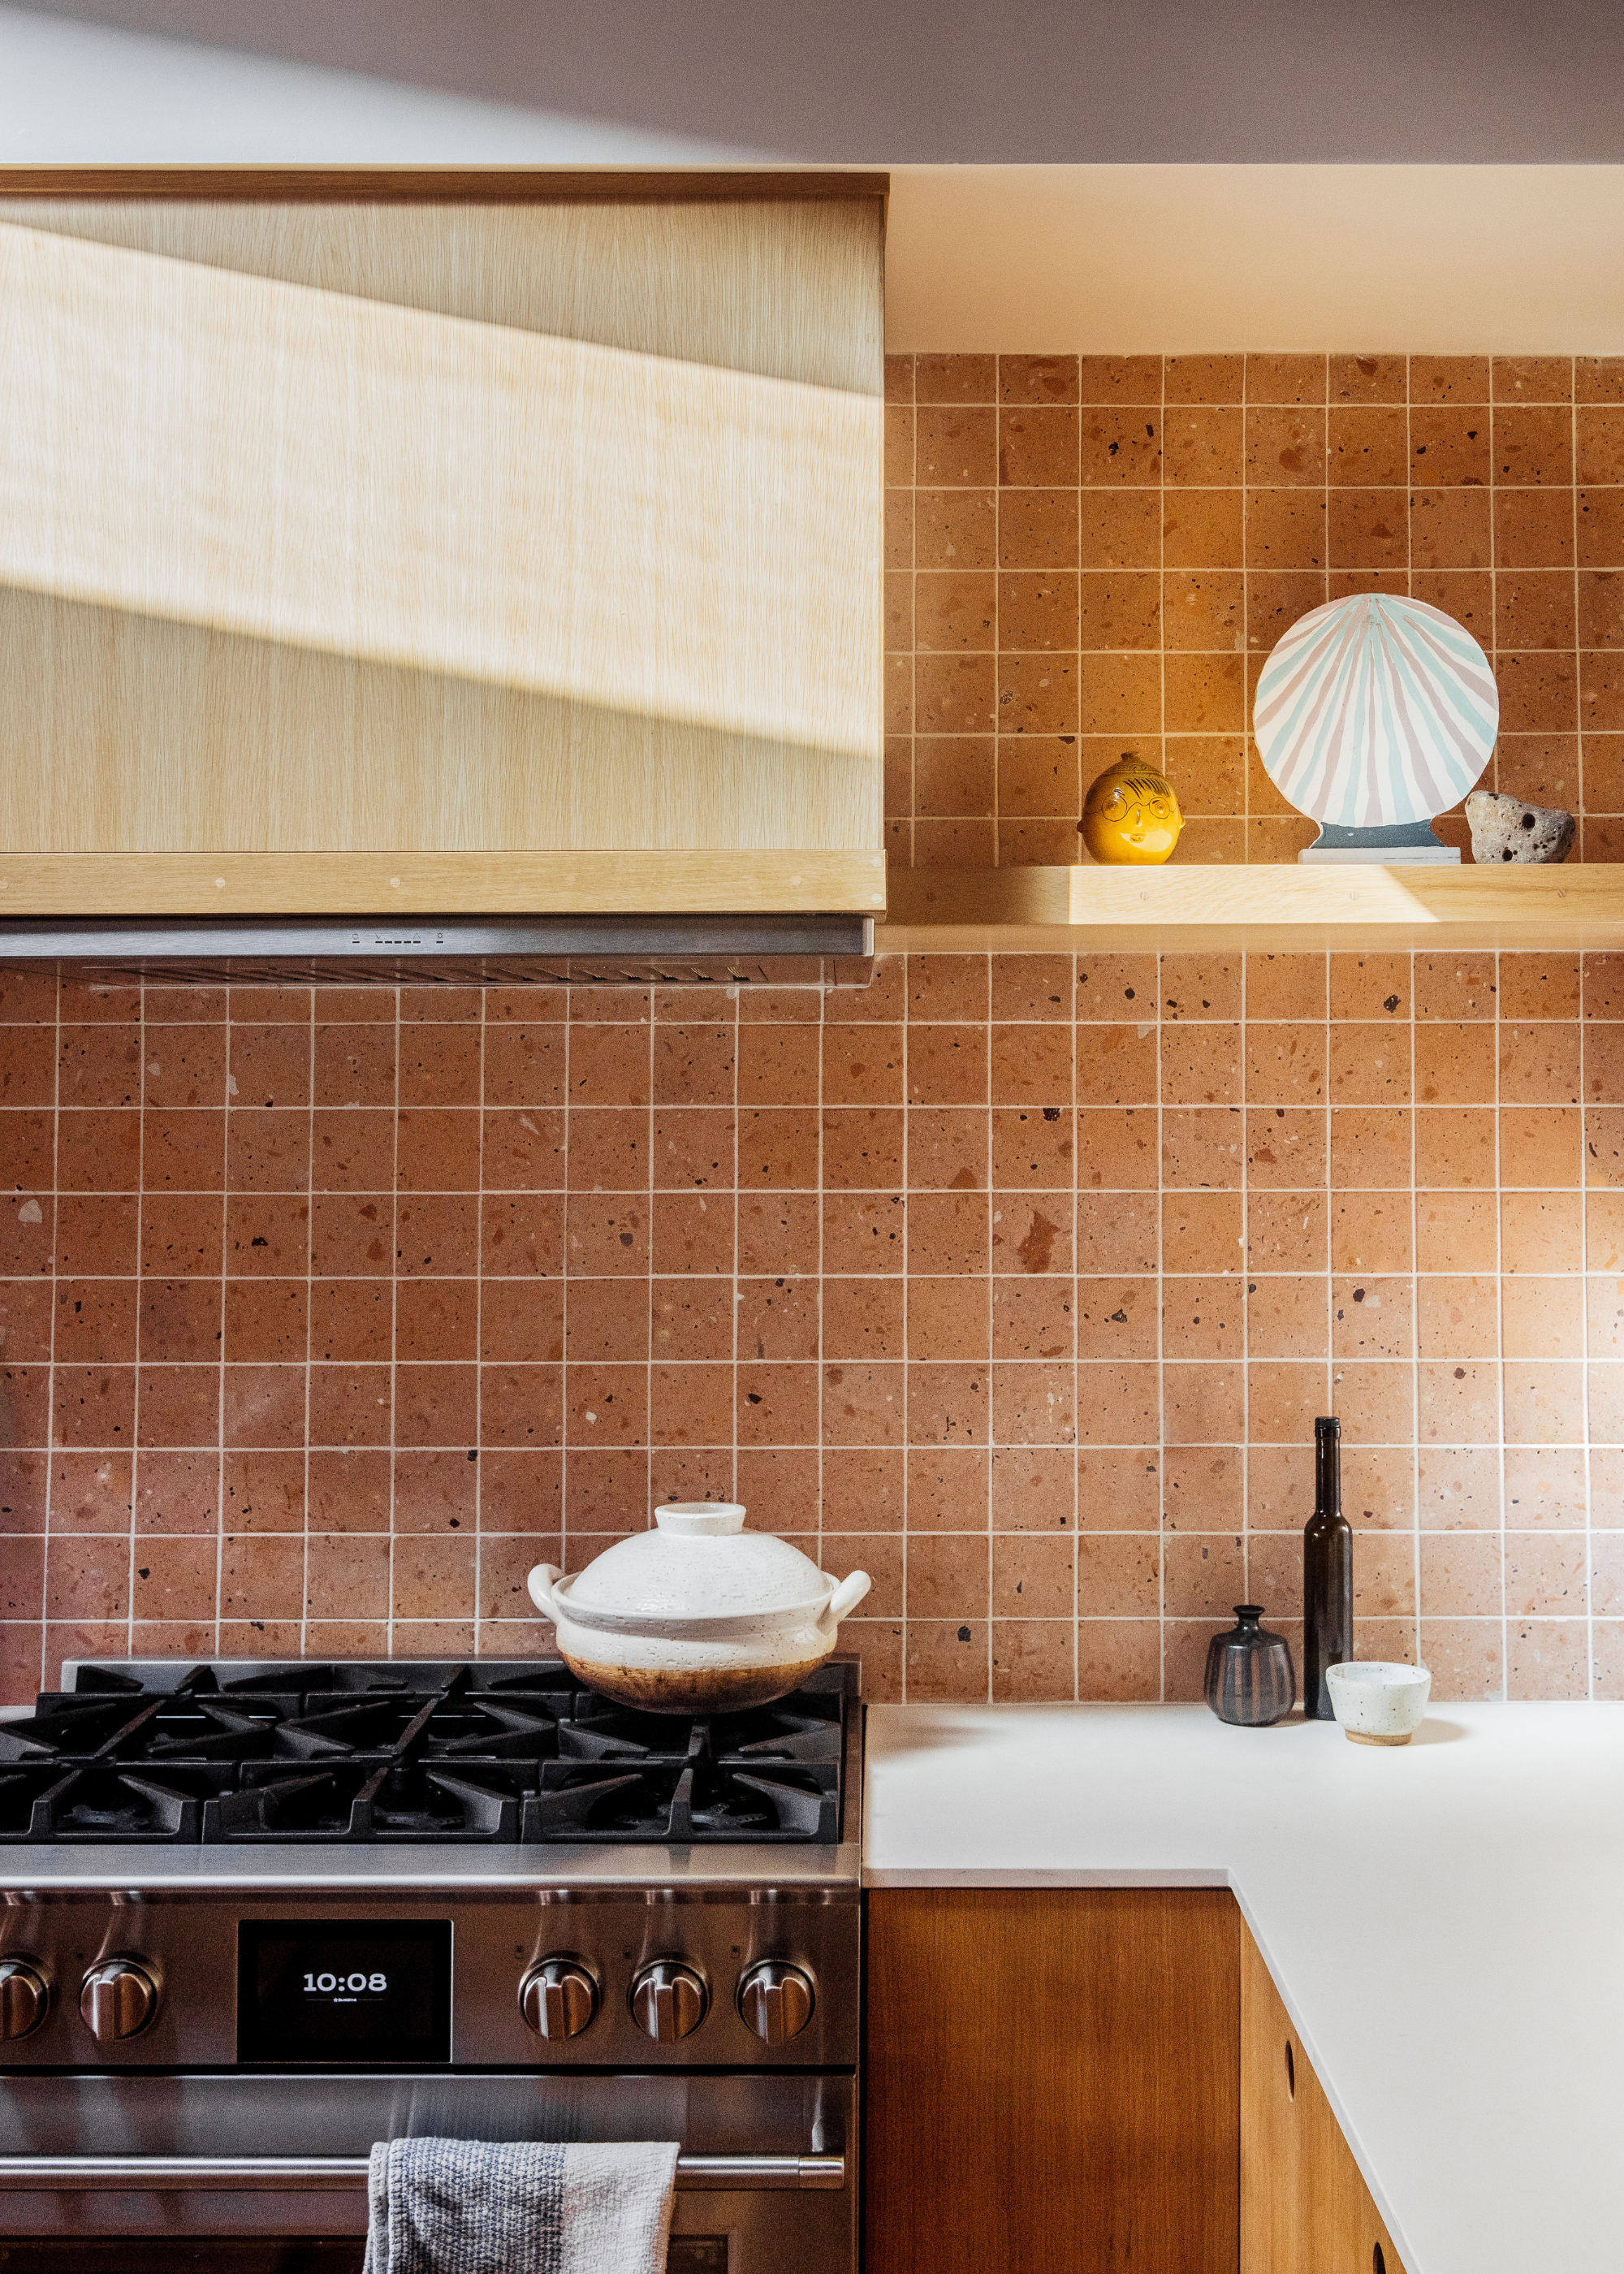
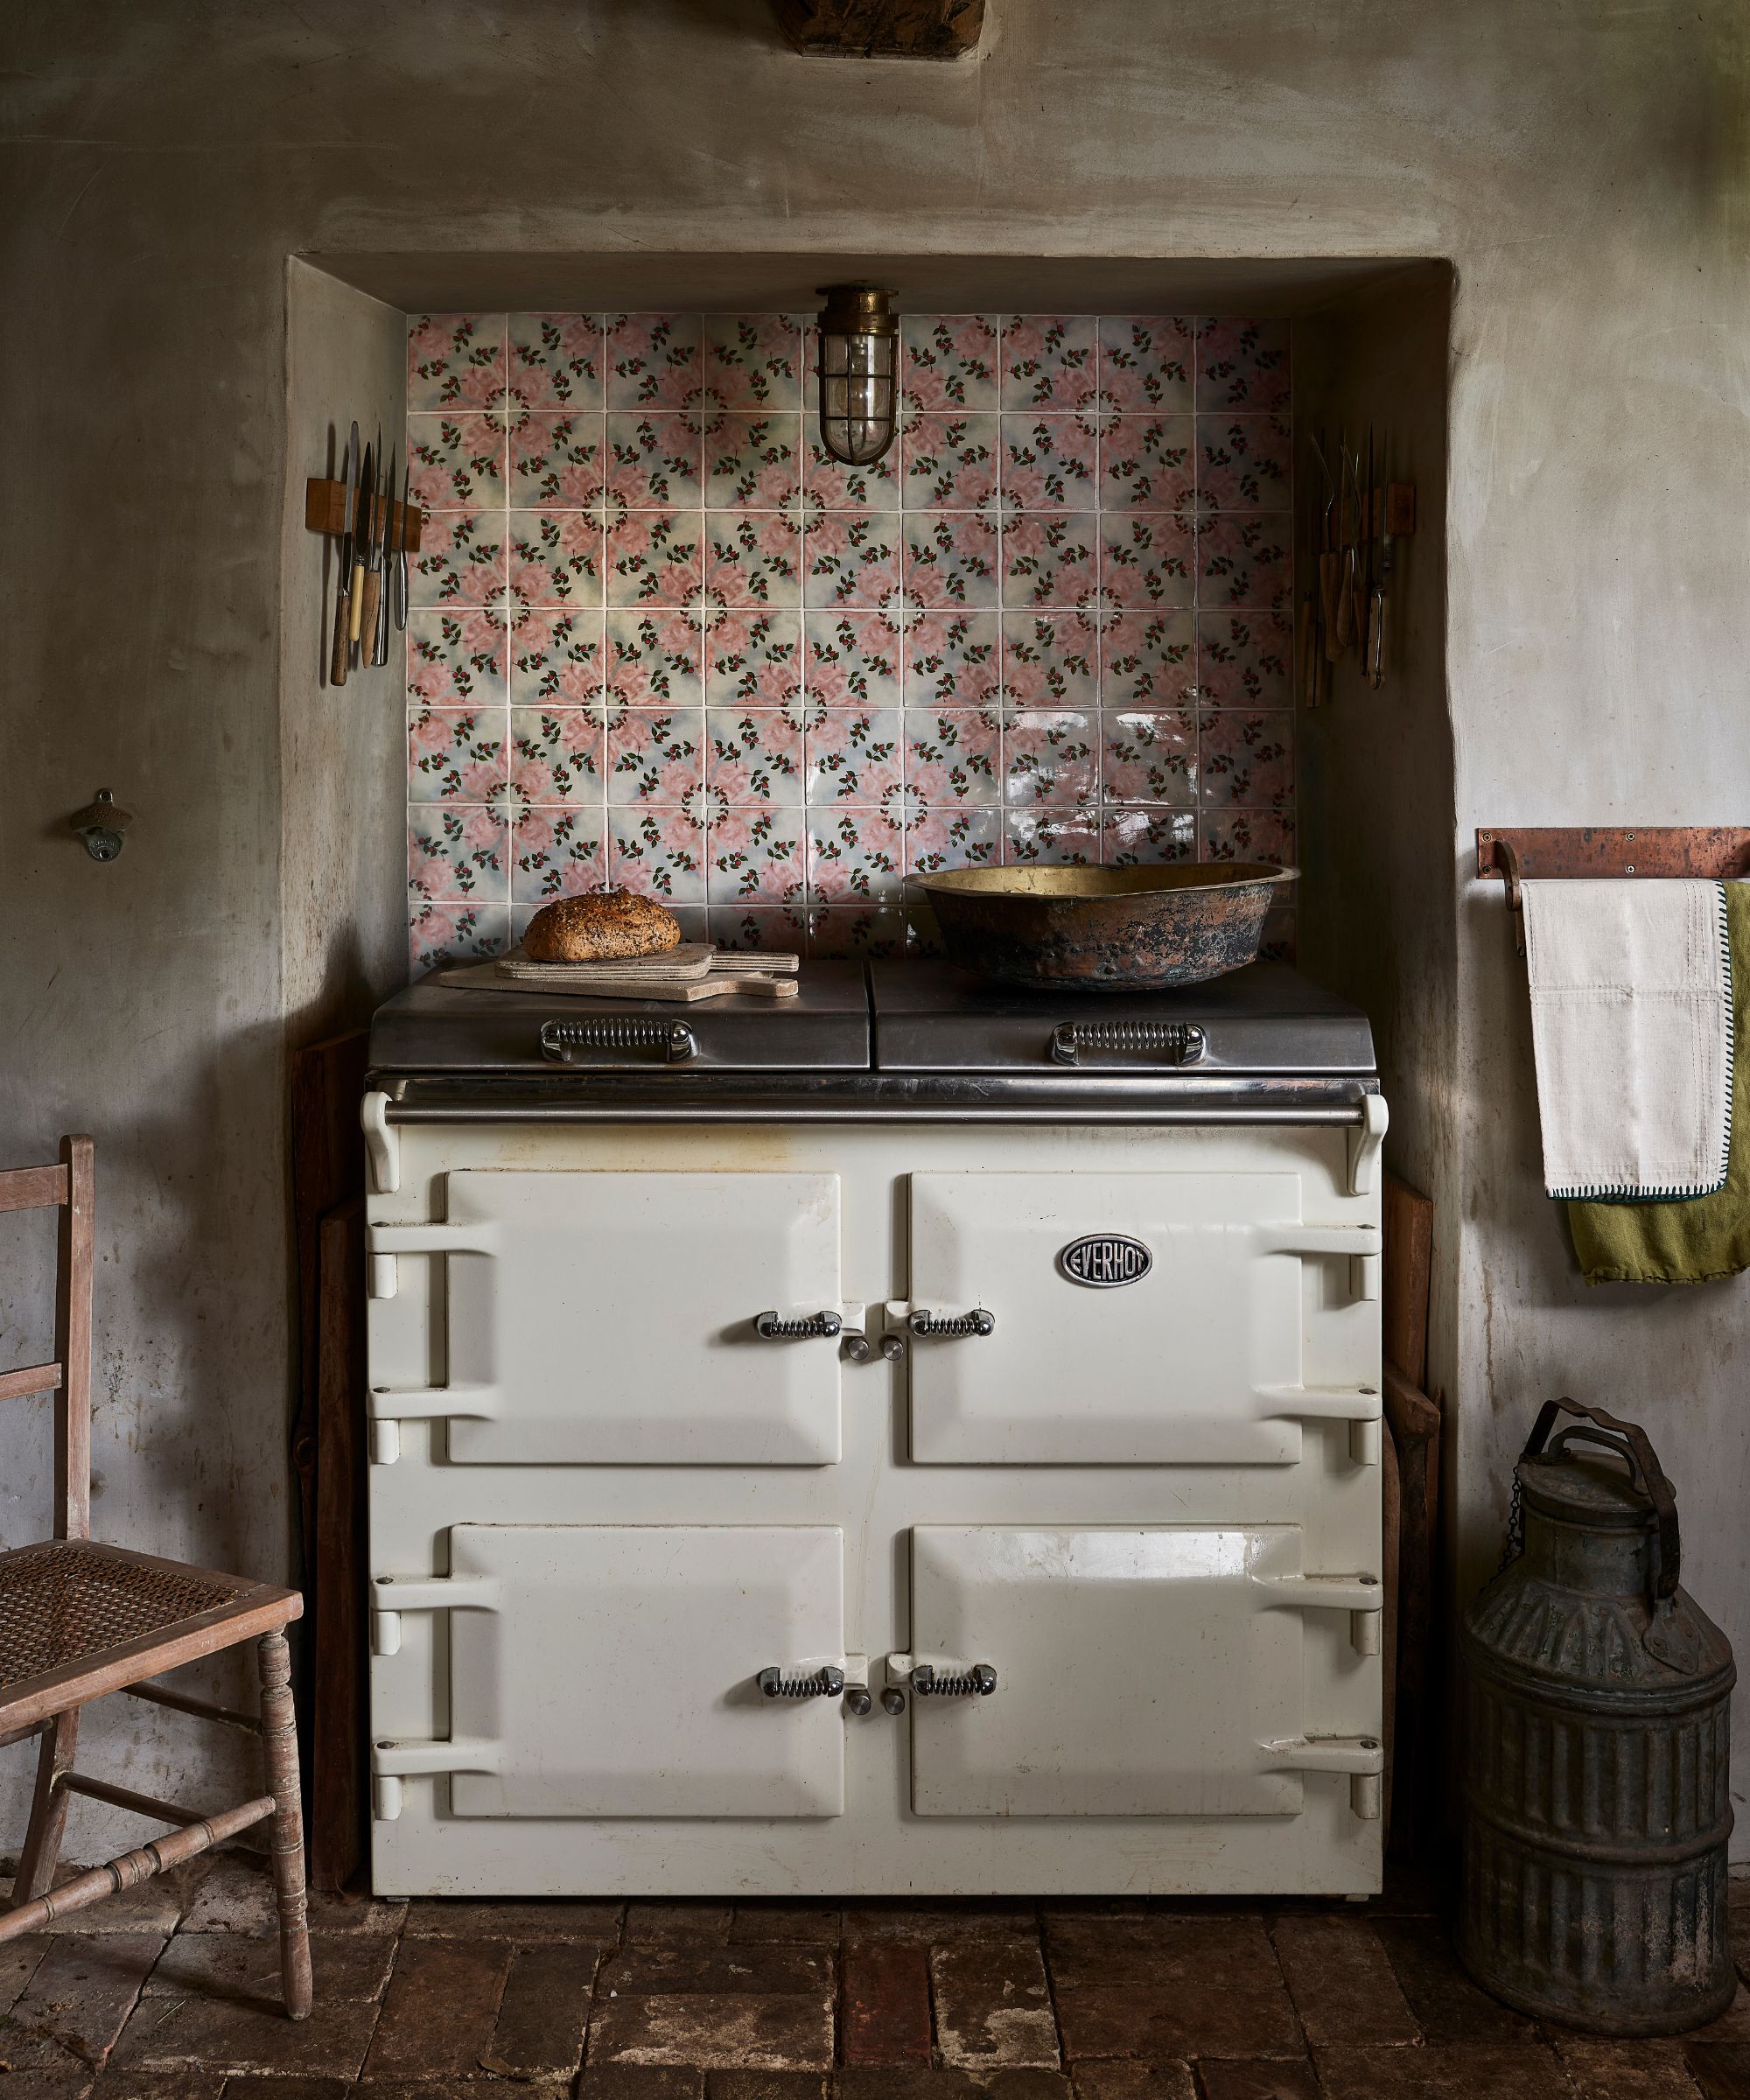
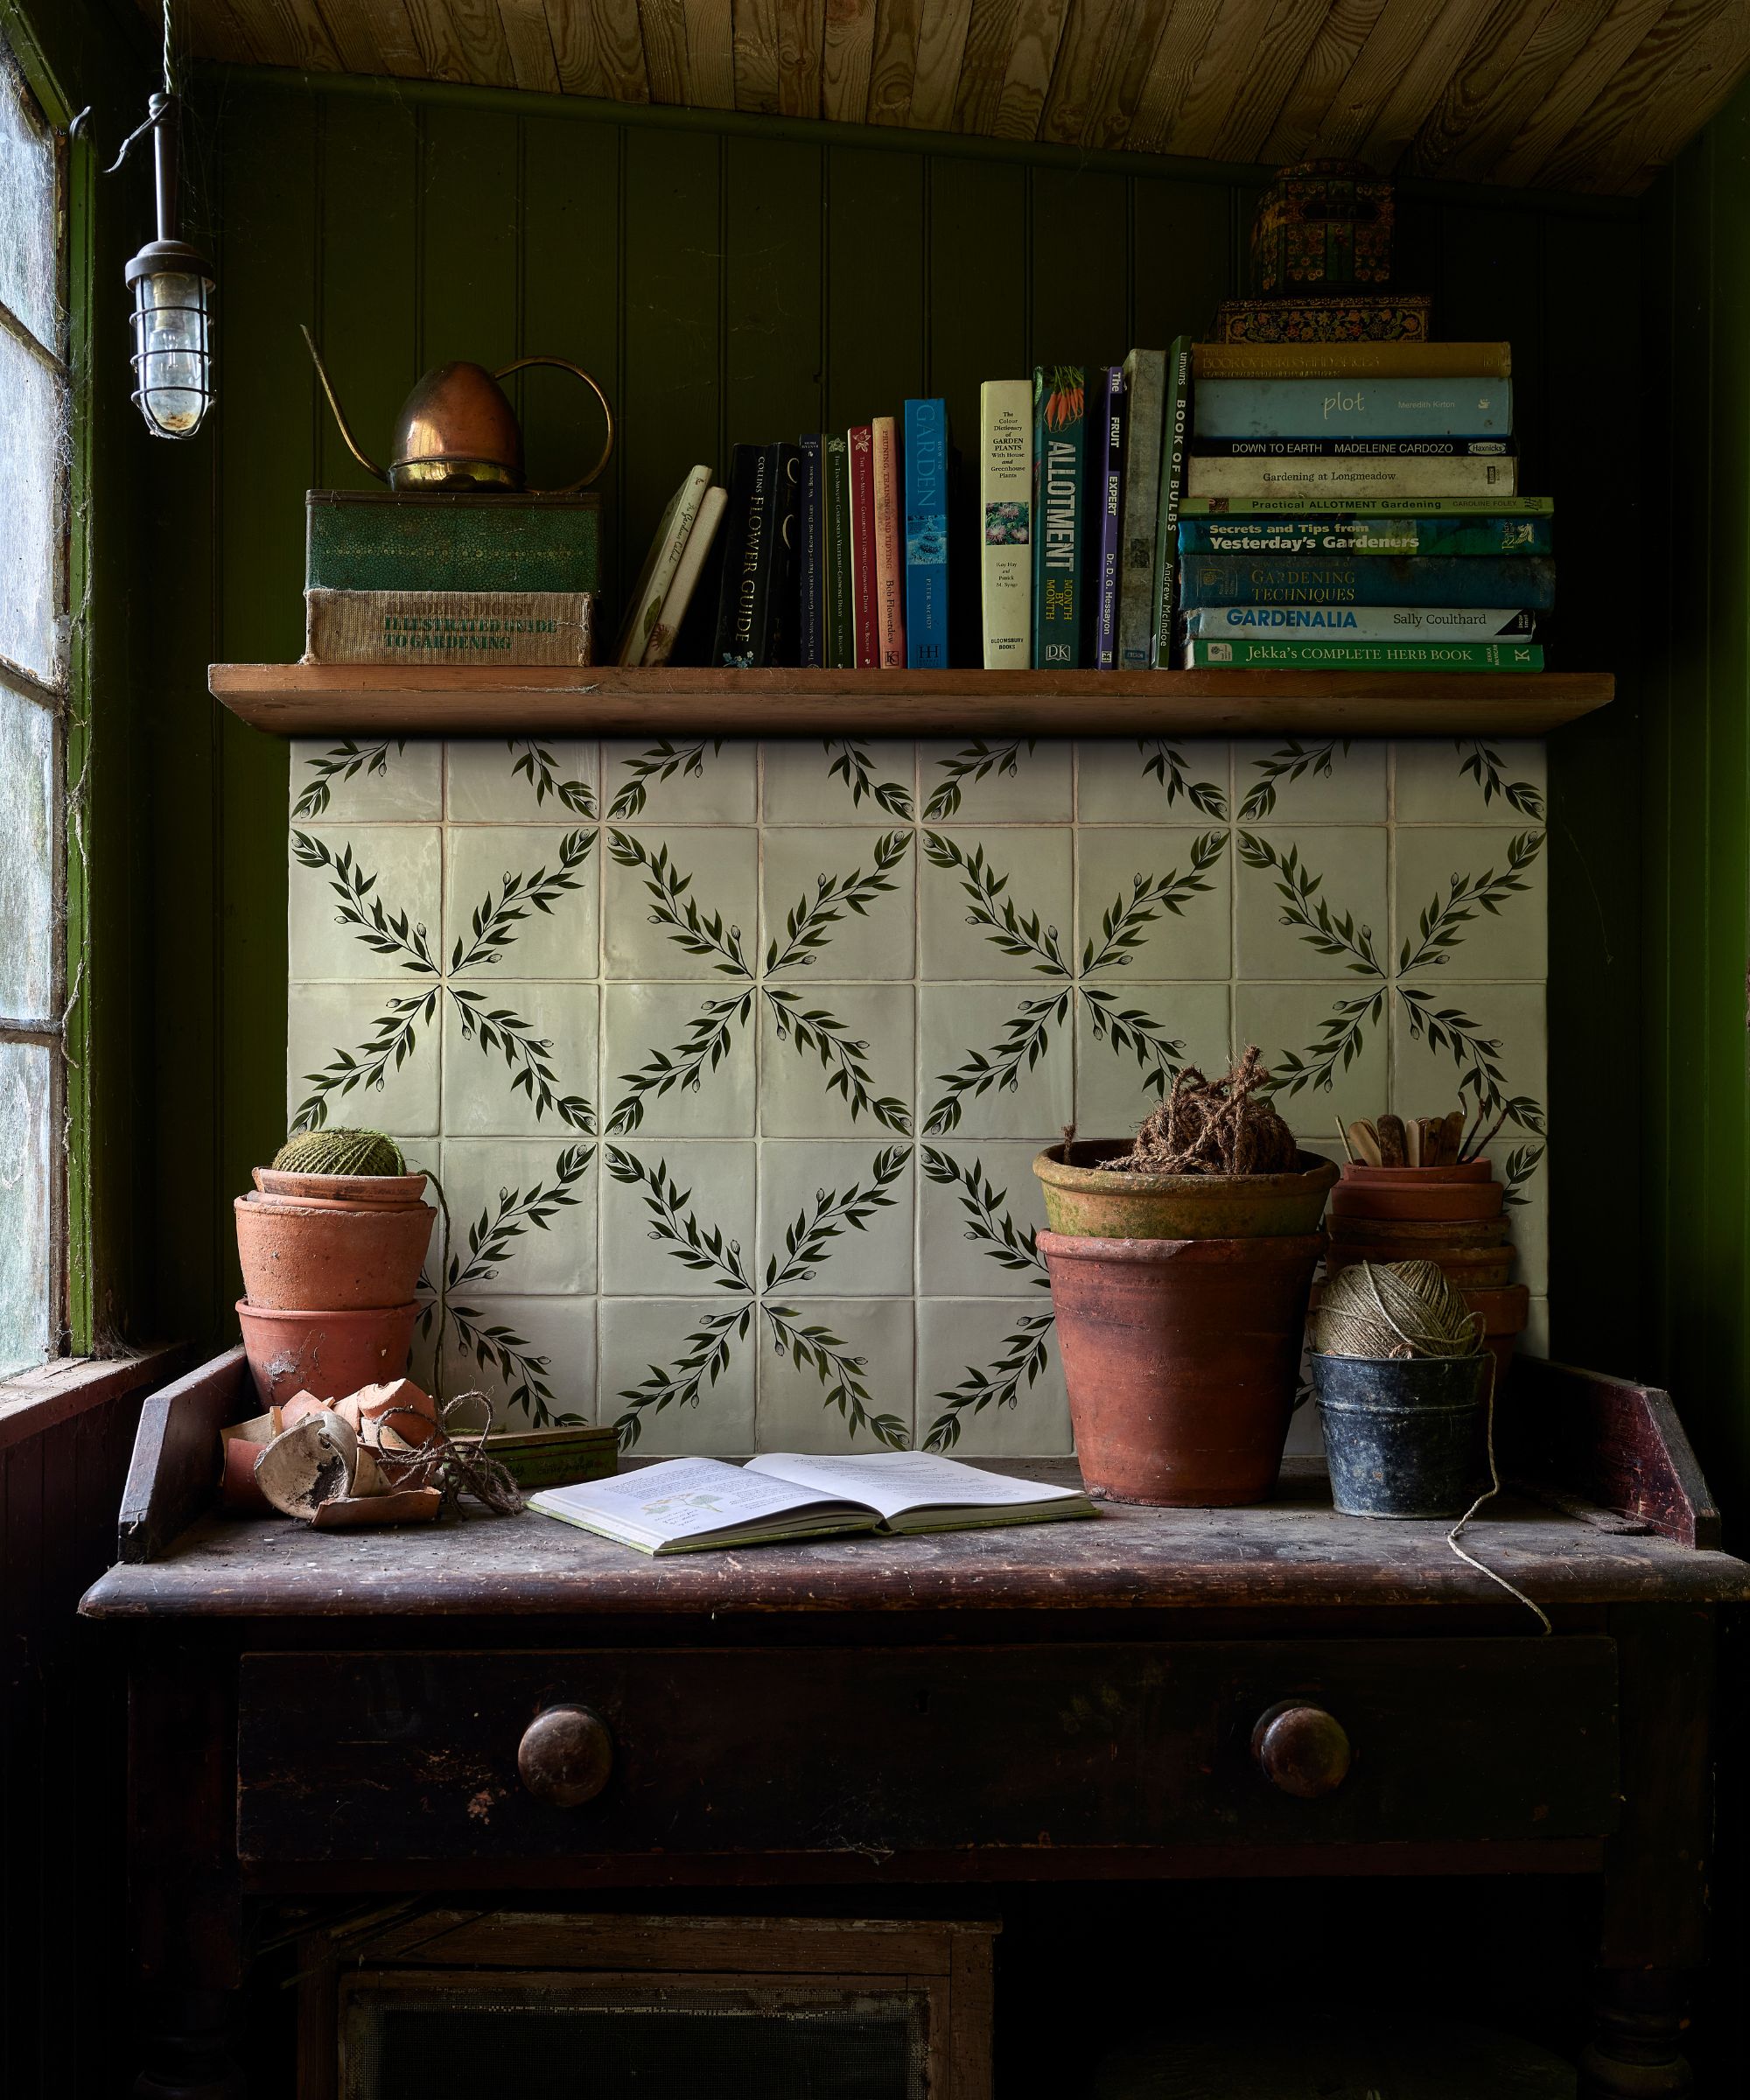
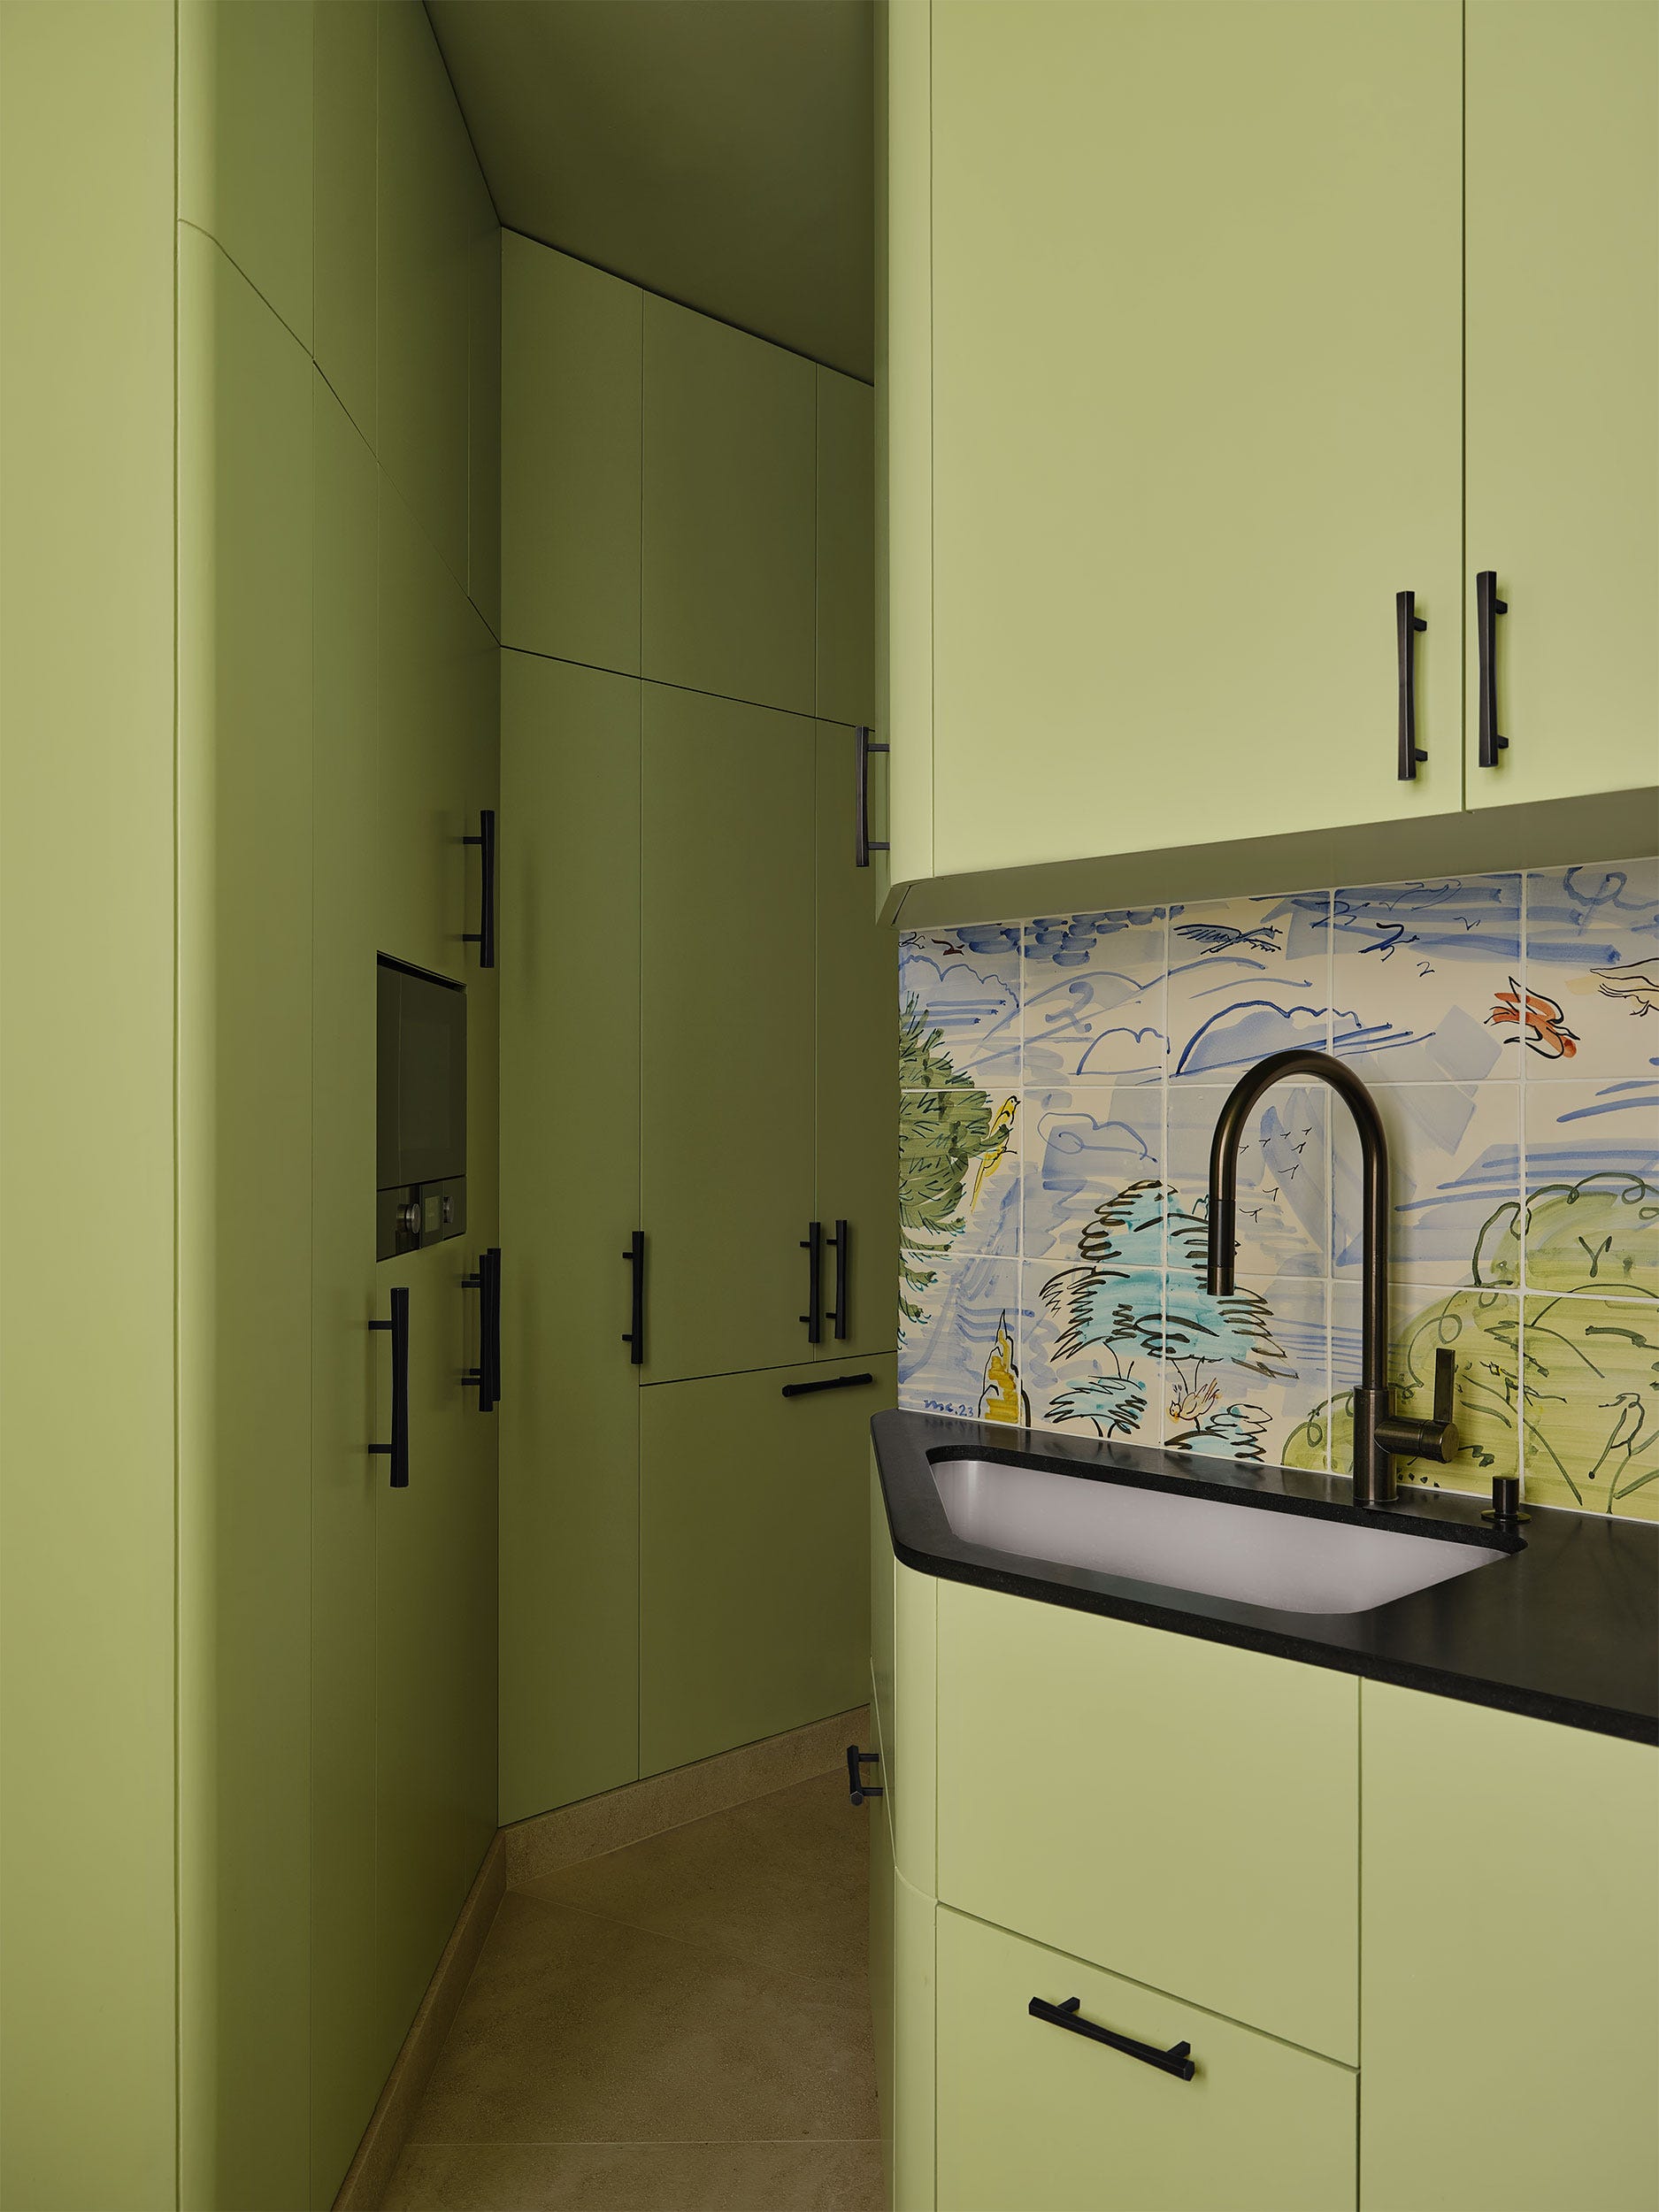
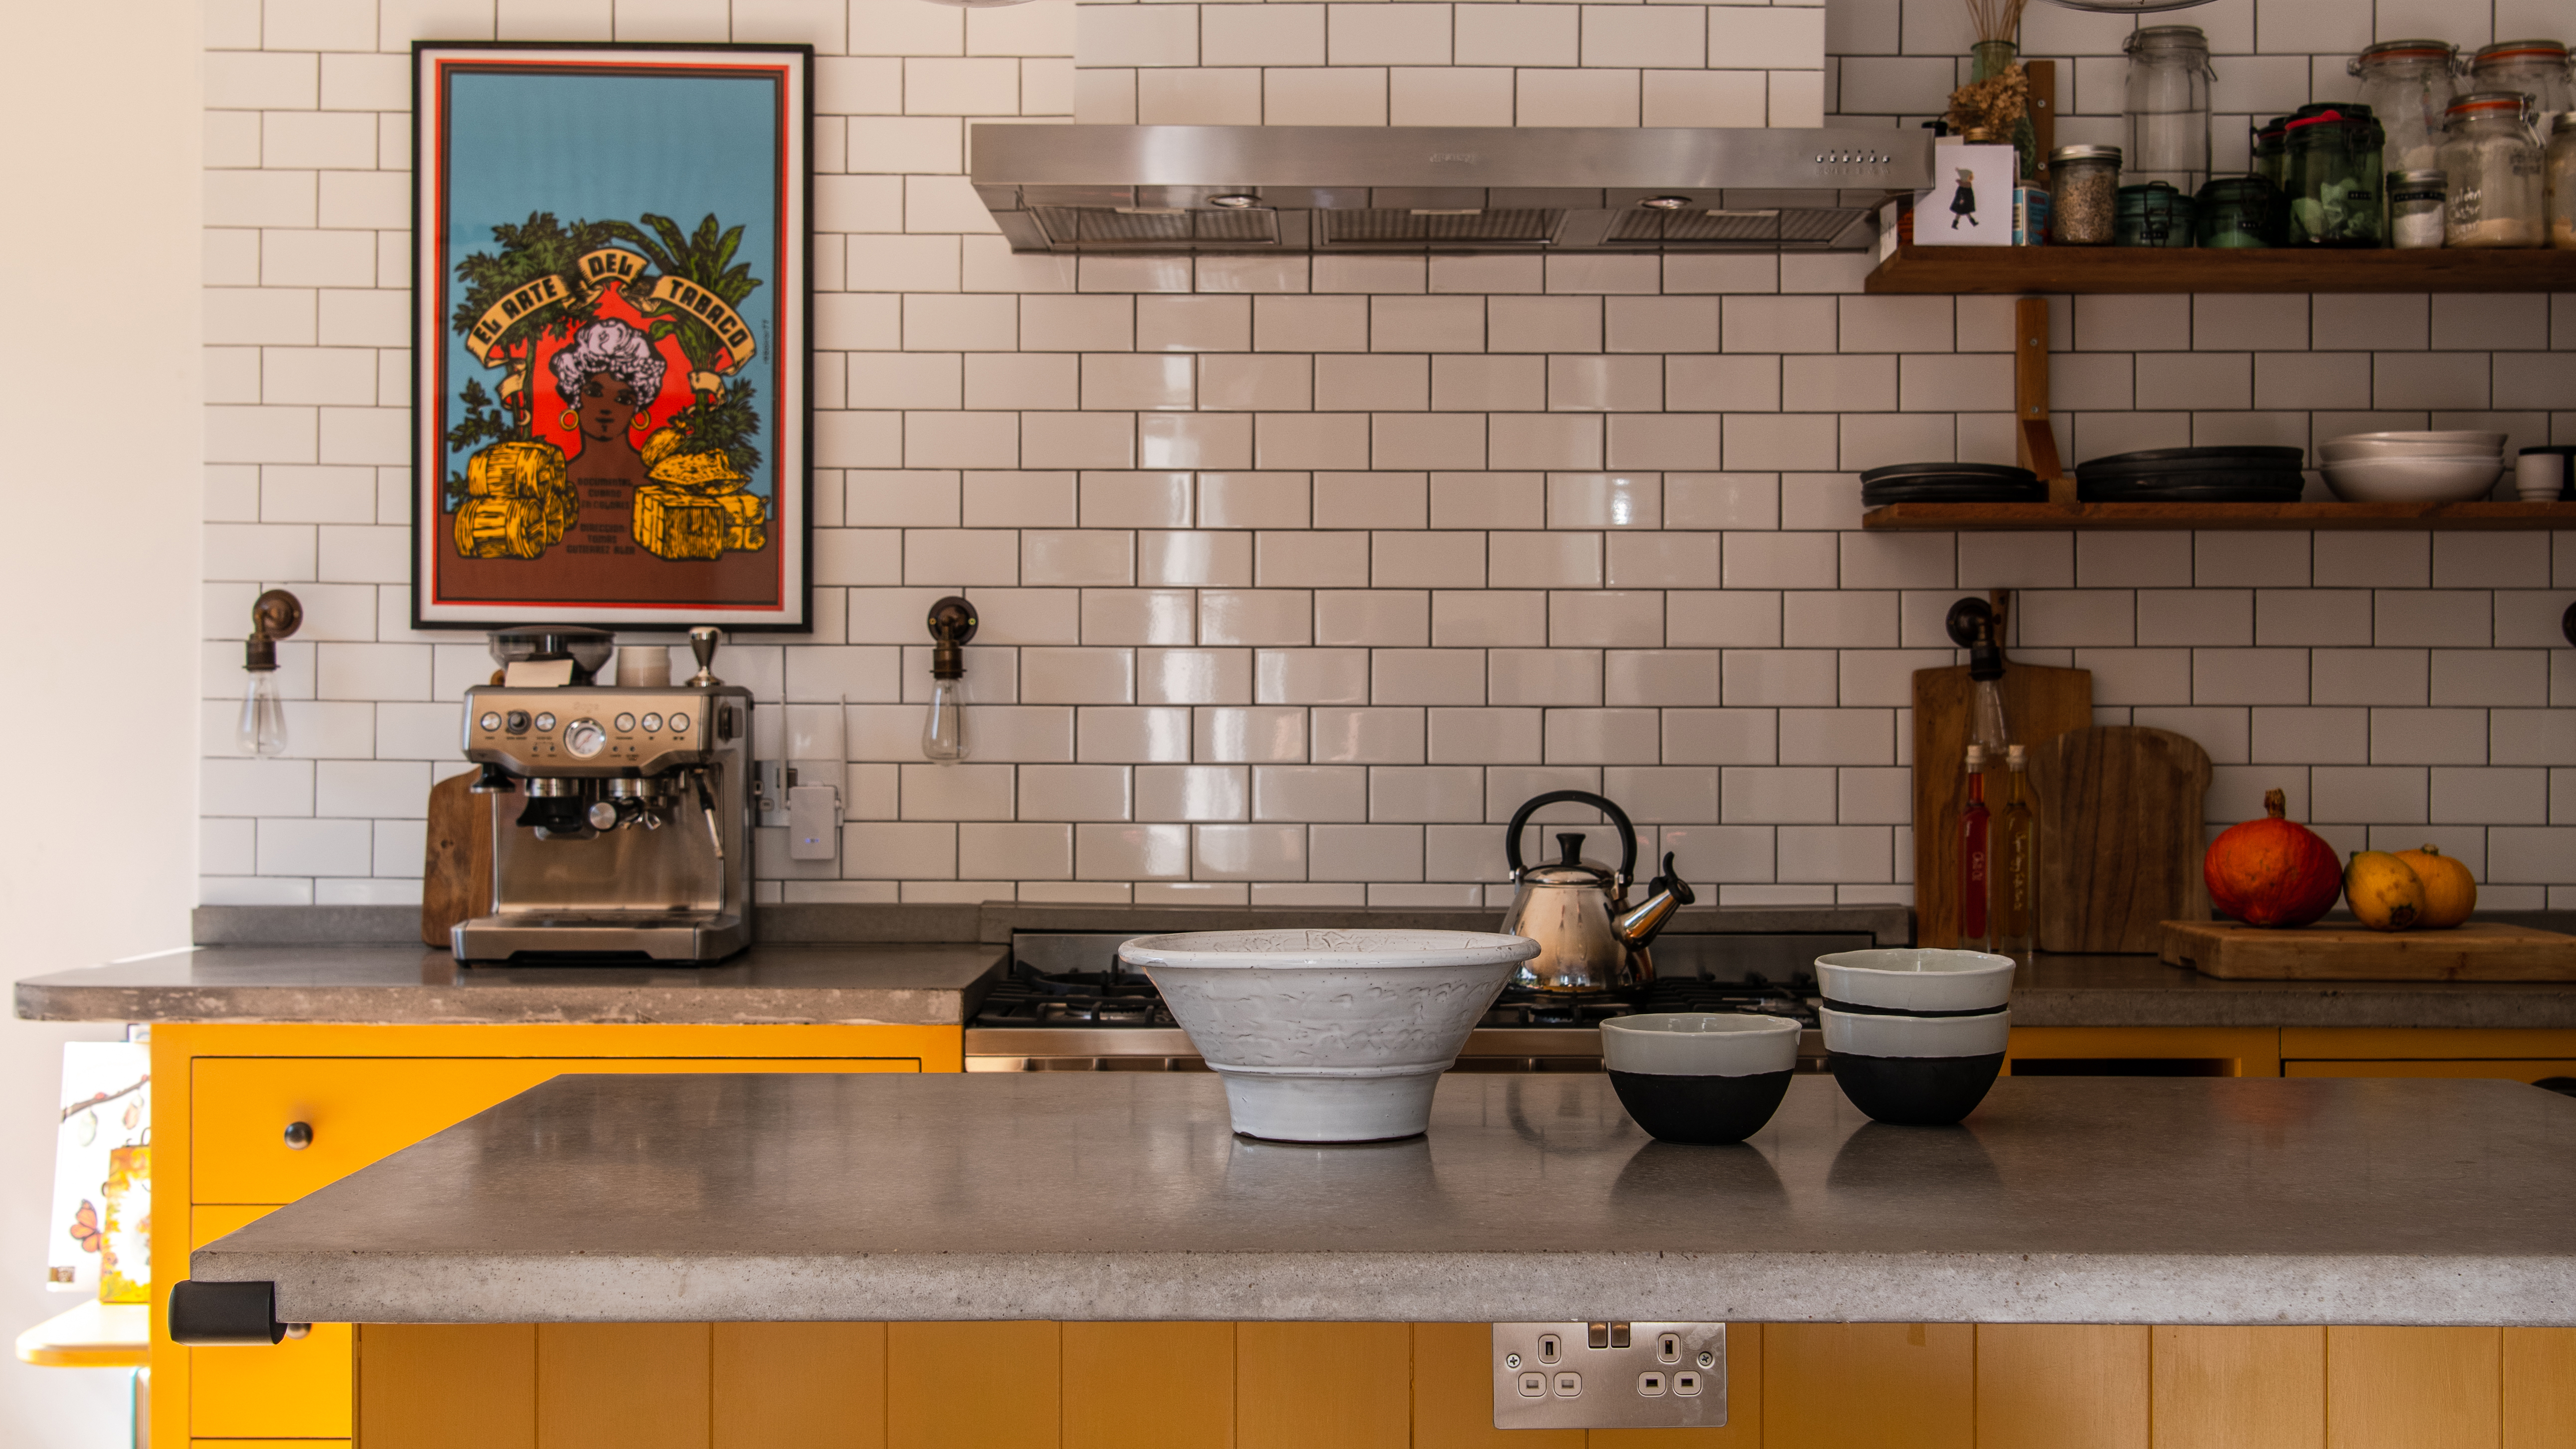
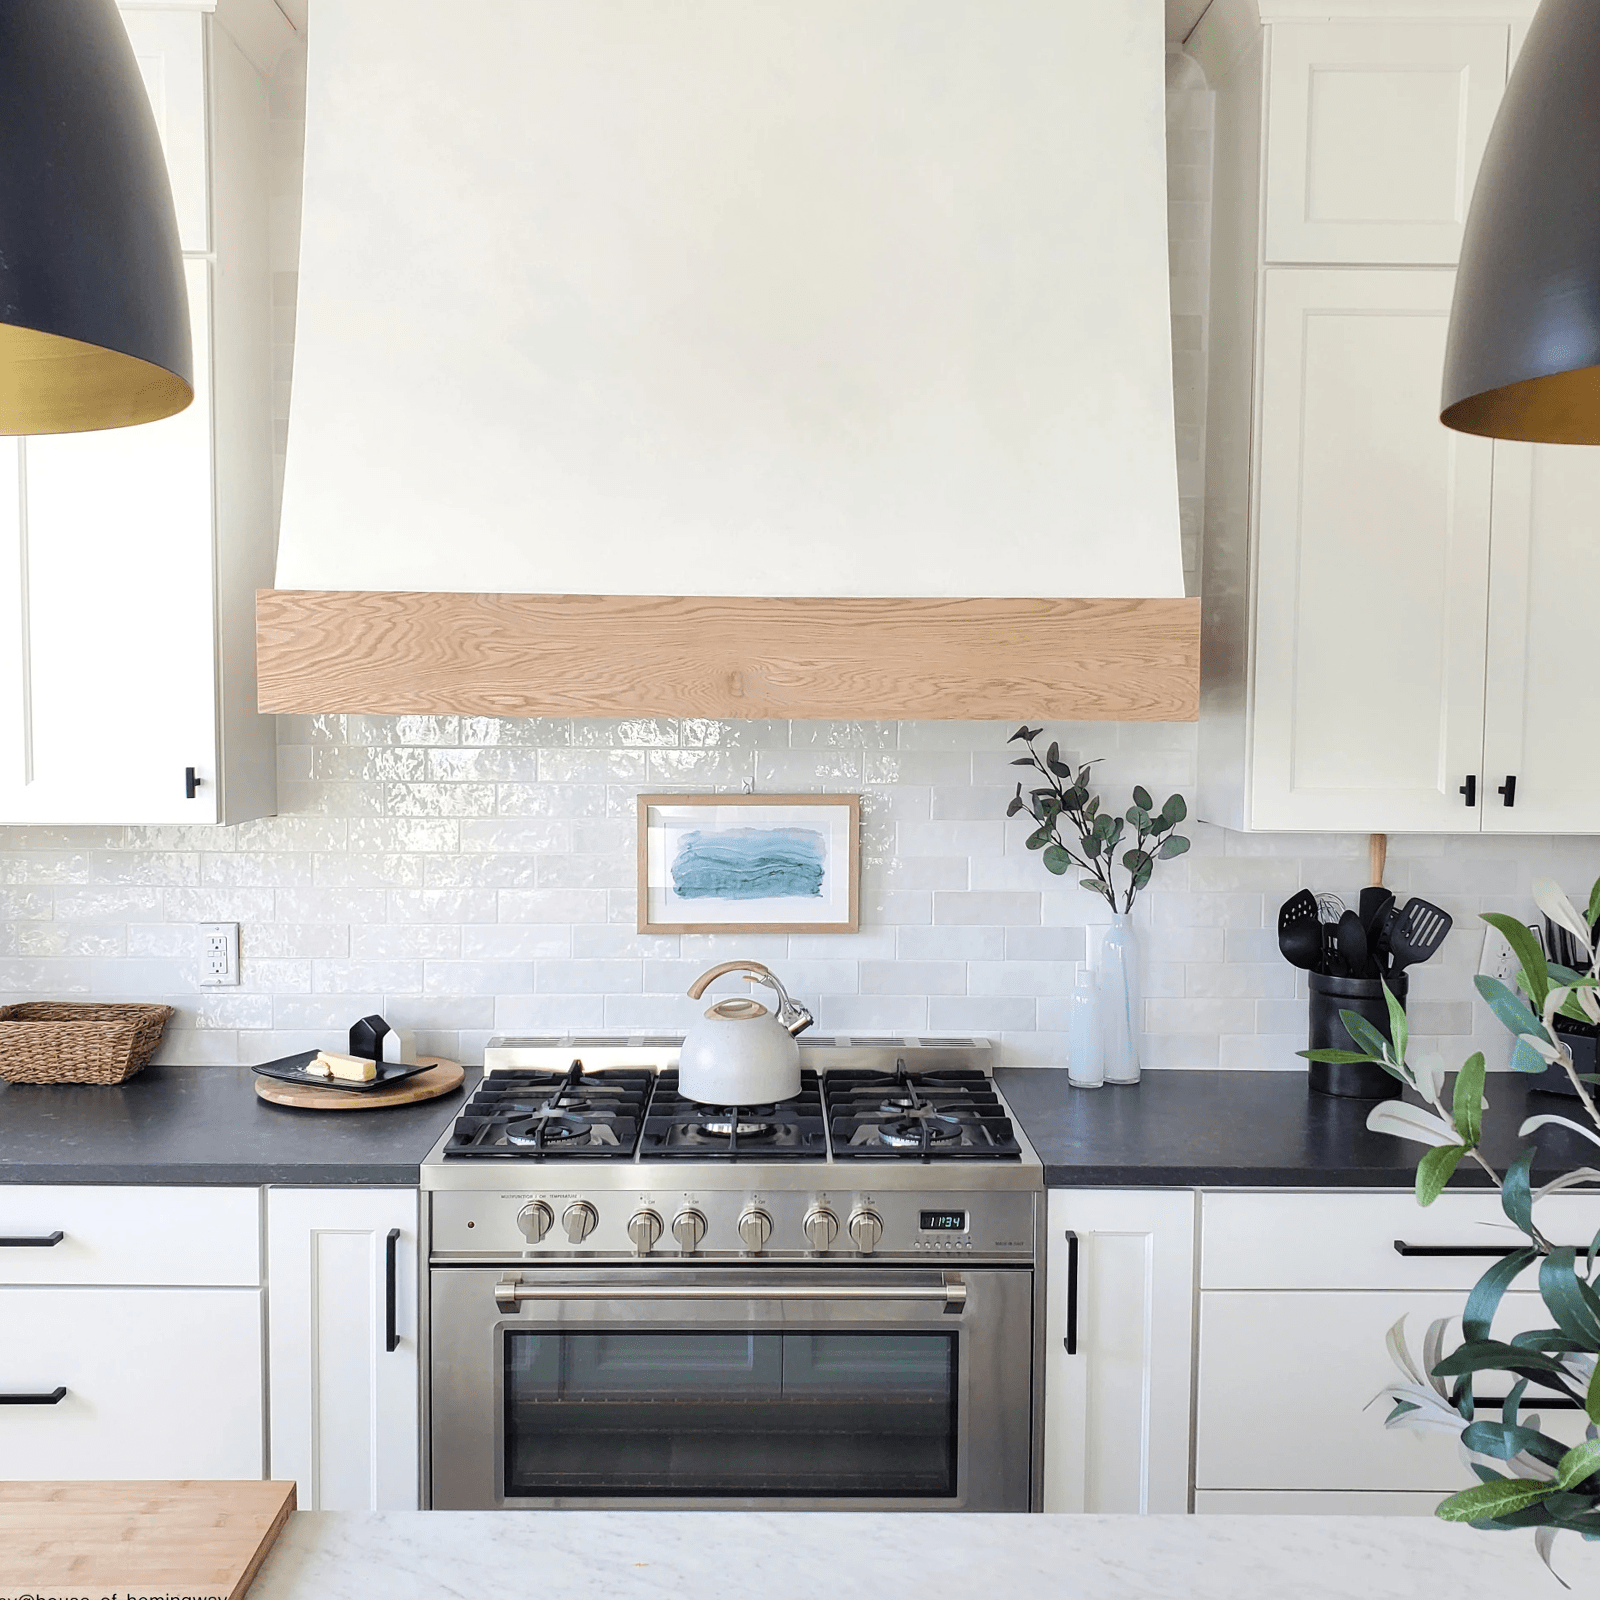
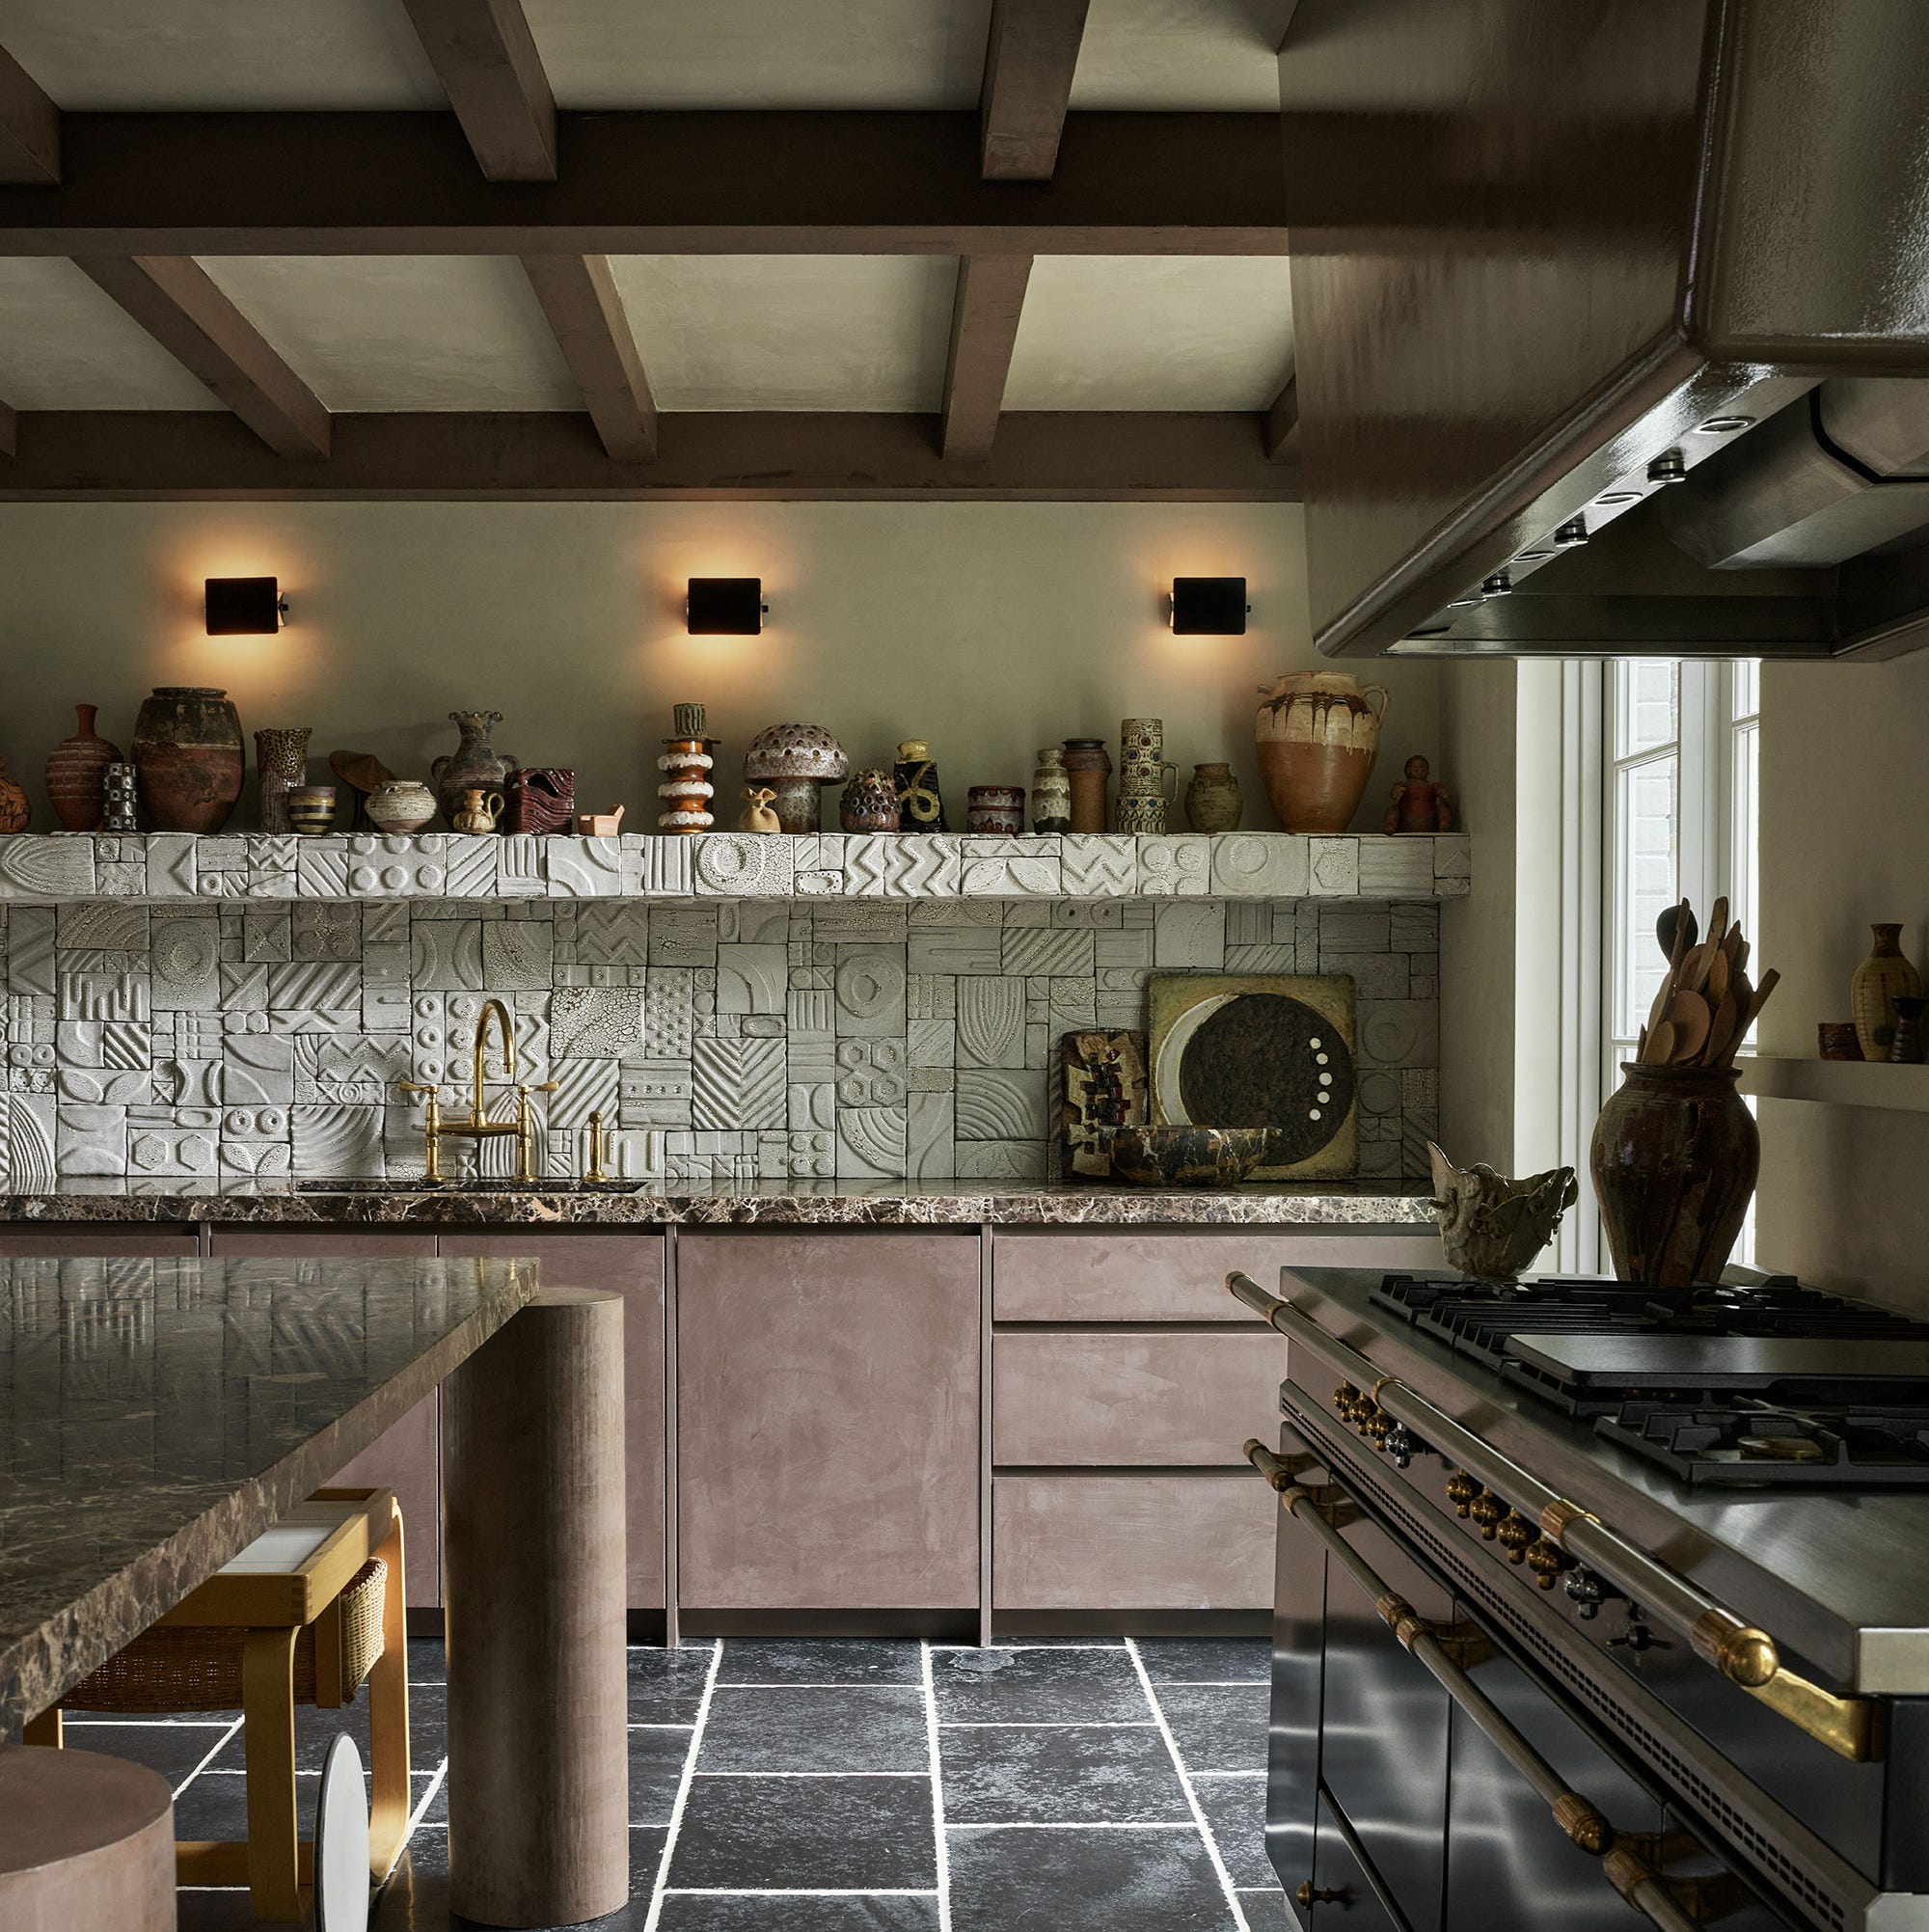
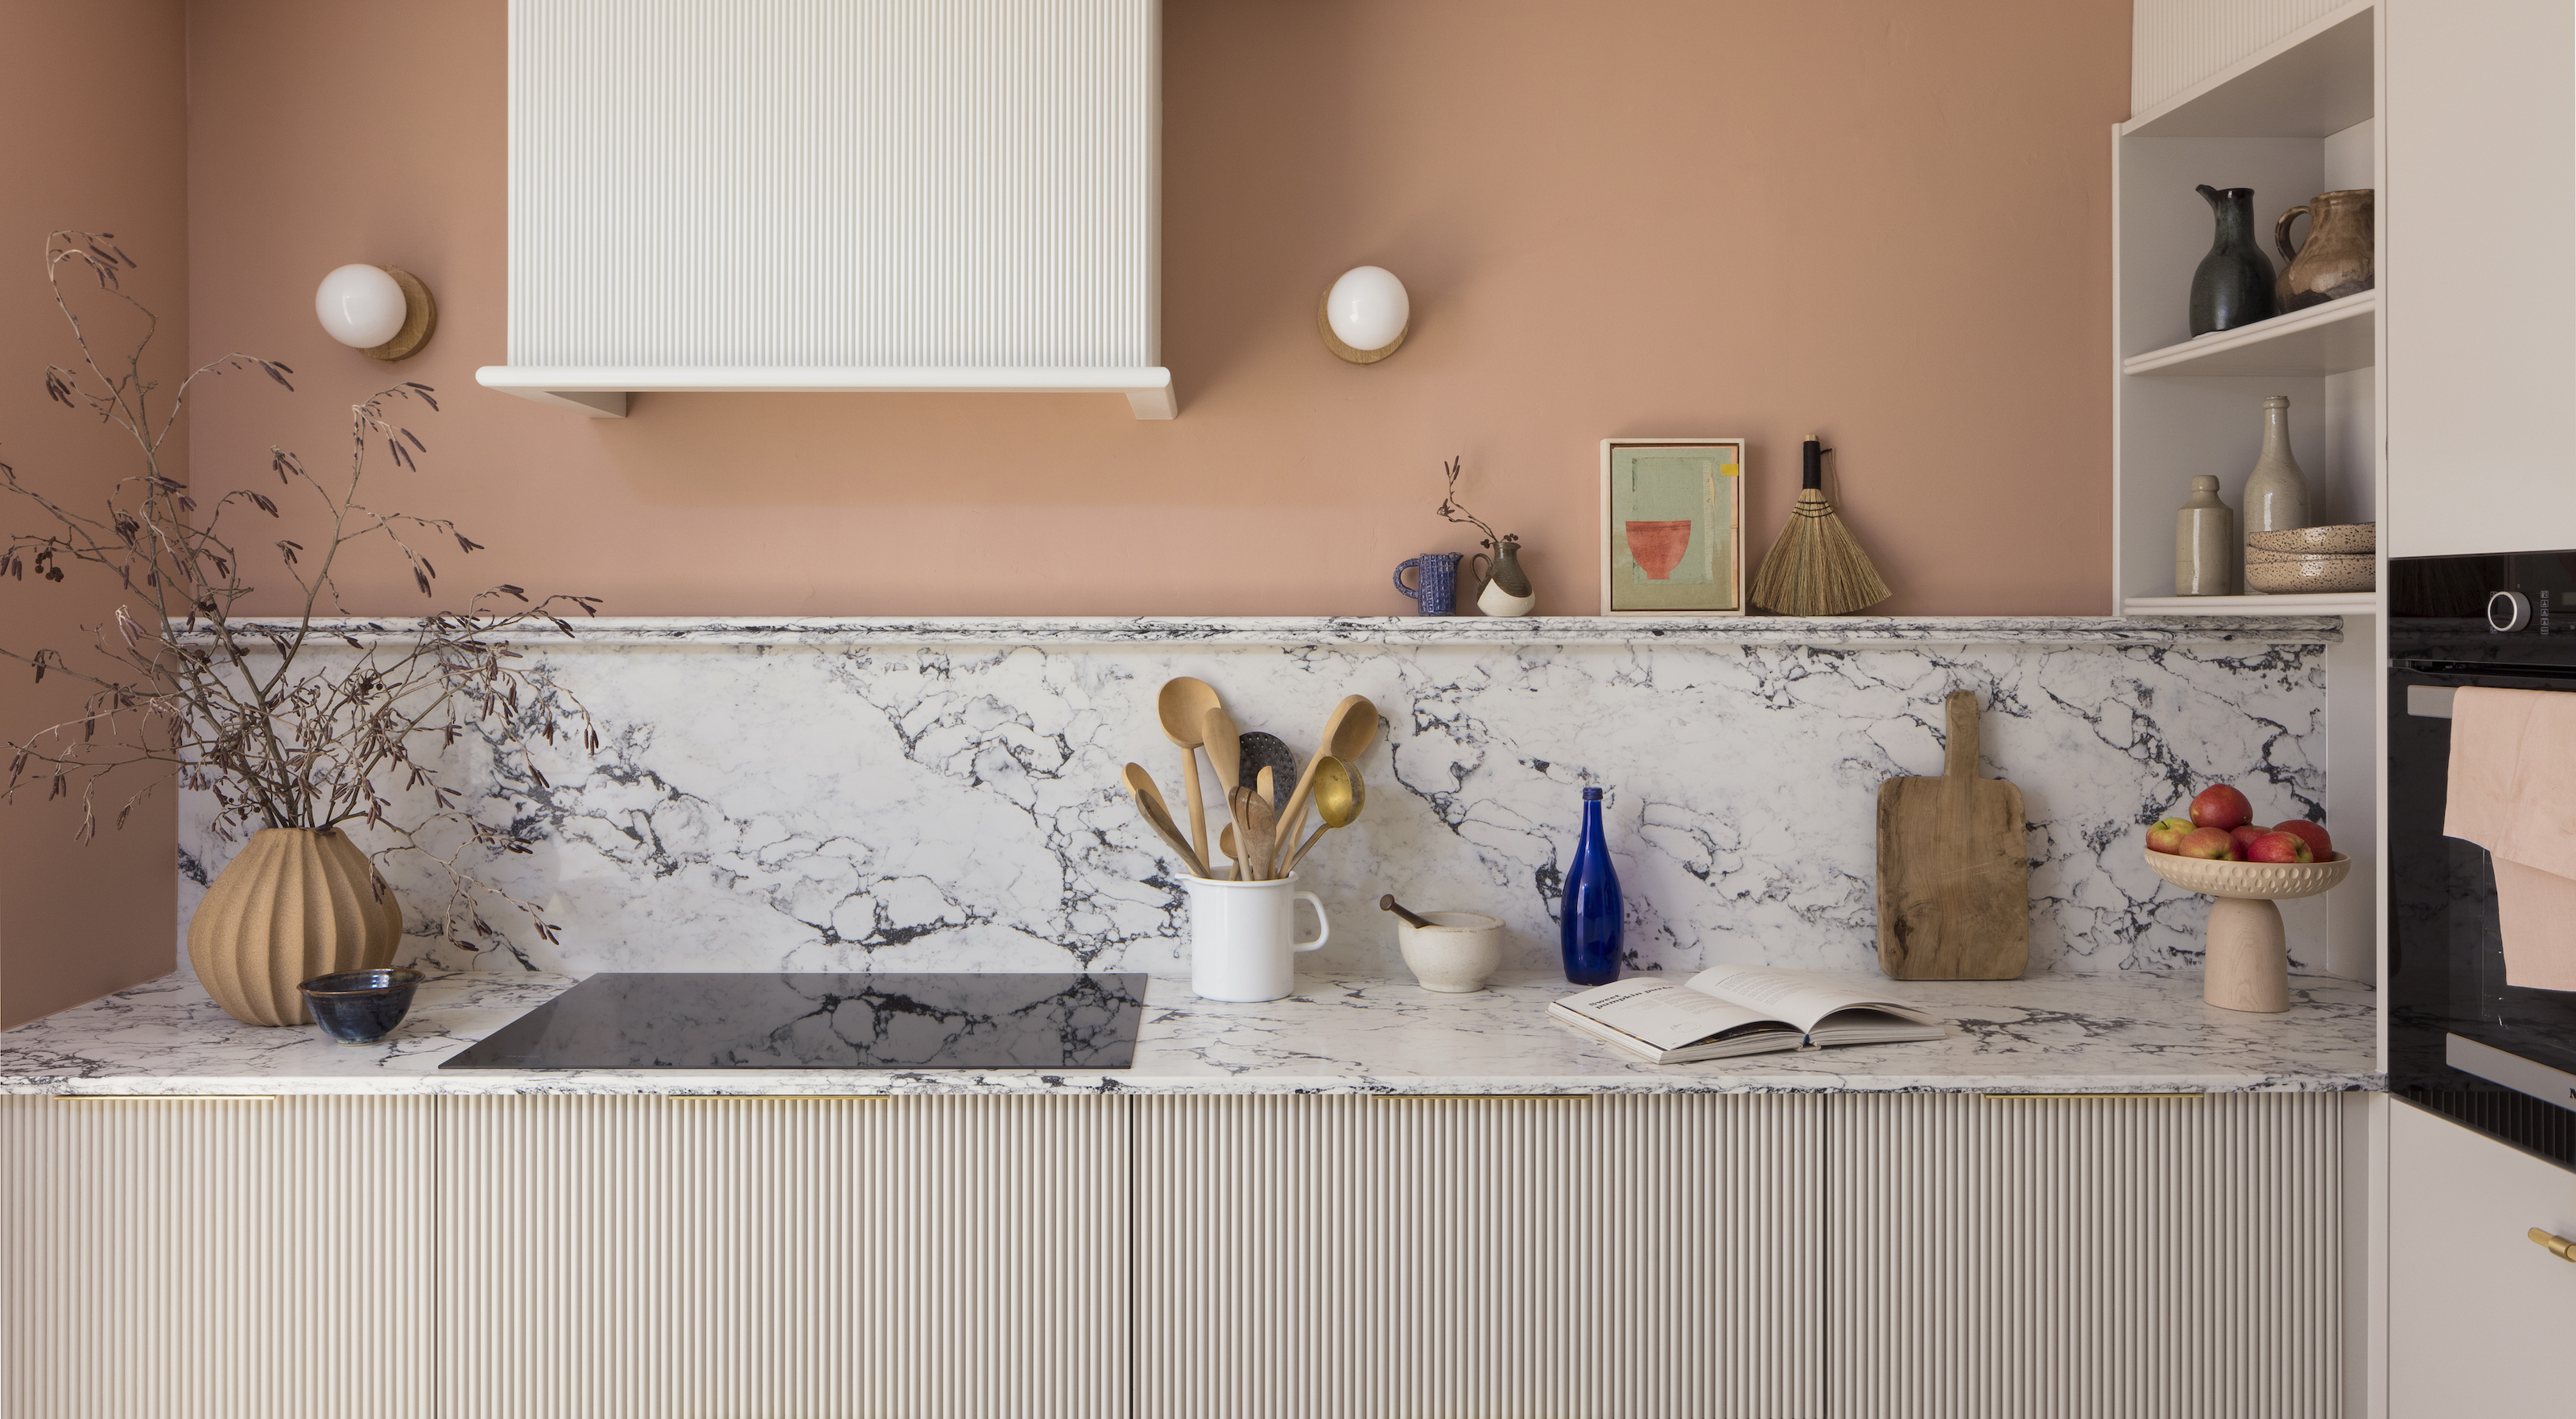
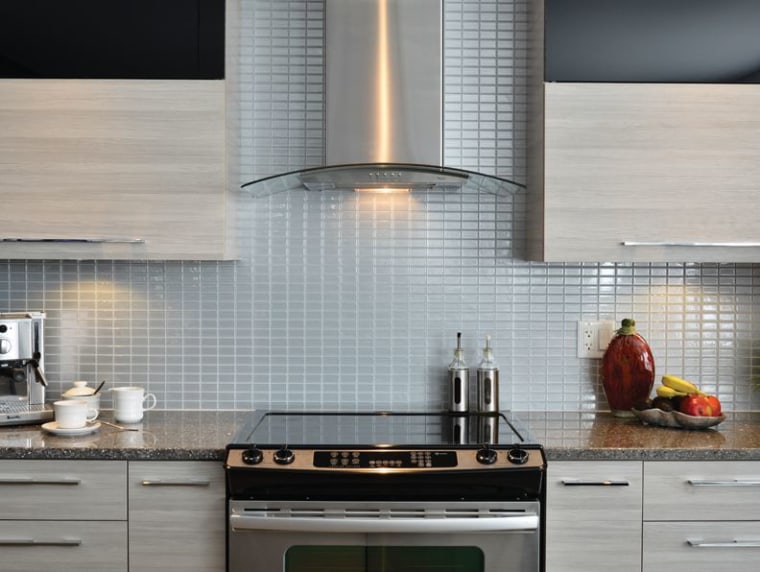
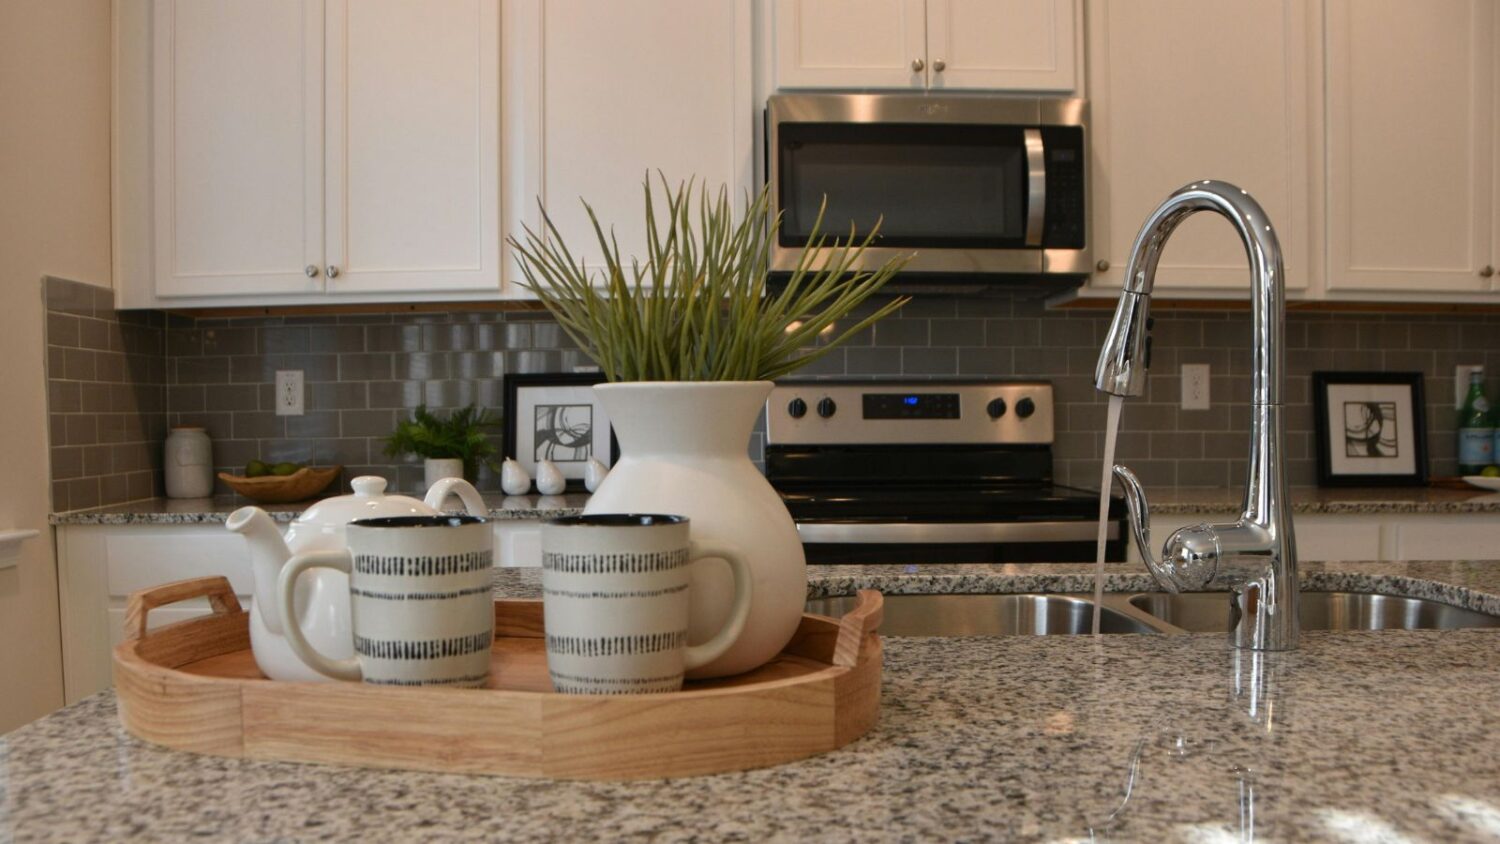
This guide details the process of tiling a kitchen backsplash, emphasizing its role in enhancing kitchen aesthetics and practicality. Linda Levene, design director at LLI Design, highlights that backsplashes offer a significant opportunity to introduce color, texture, and personality into a kitchen, serving as a focal point that can be updated relatively easily without requiring a full kitchen overhaul. Beyond aesthetic appeal, tiled backsplashes are a practical solution for managing dirt and grease.
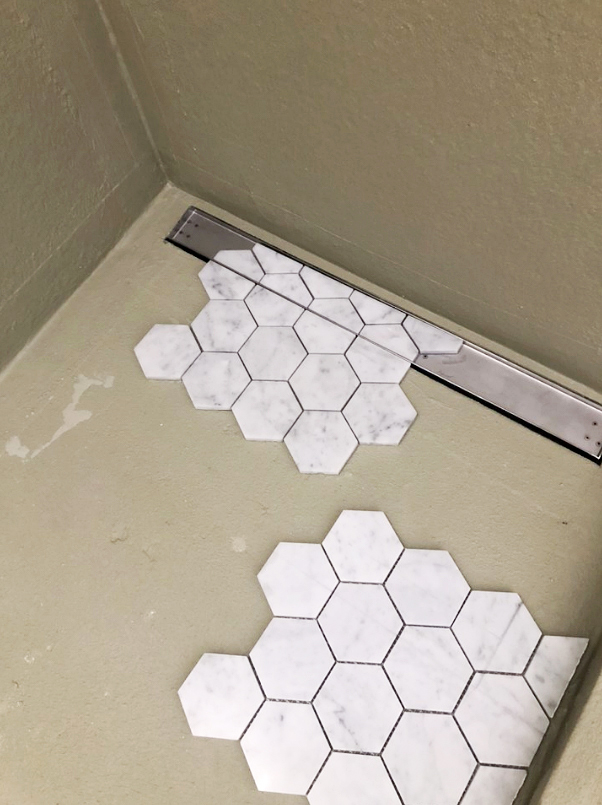
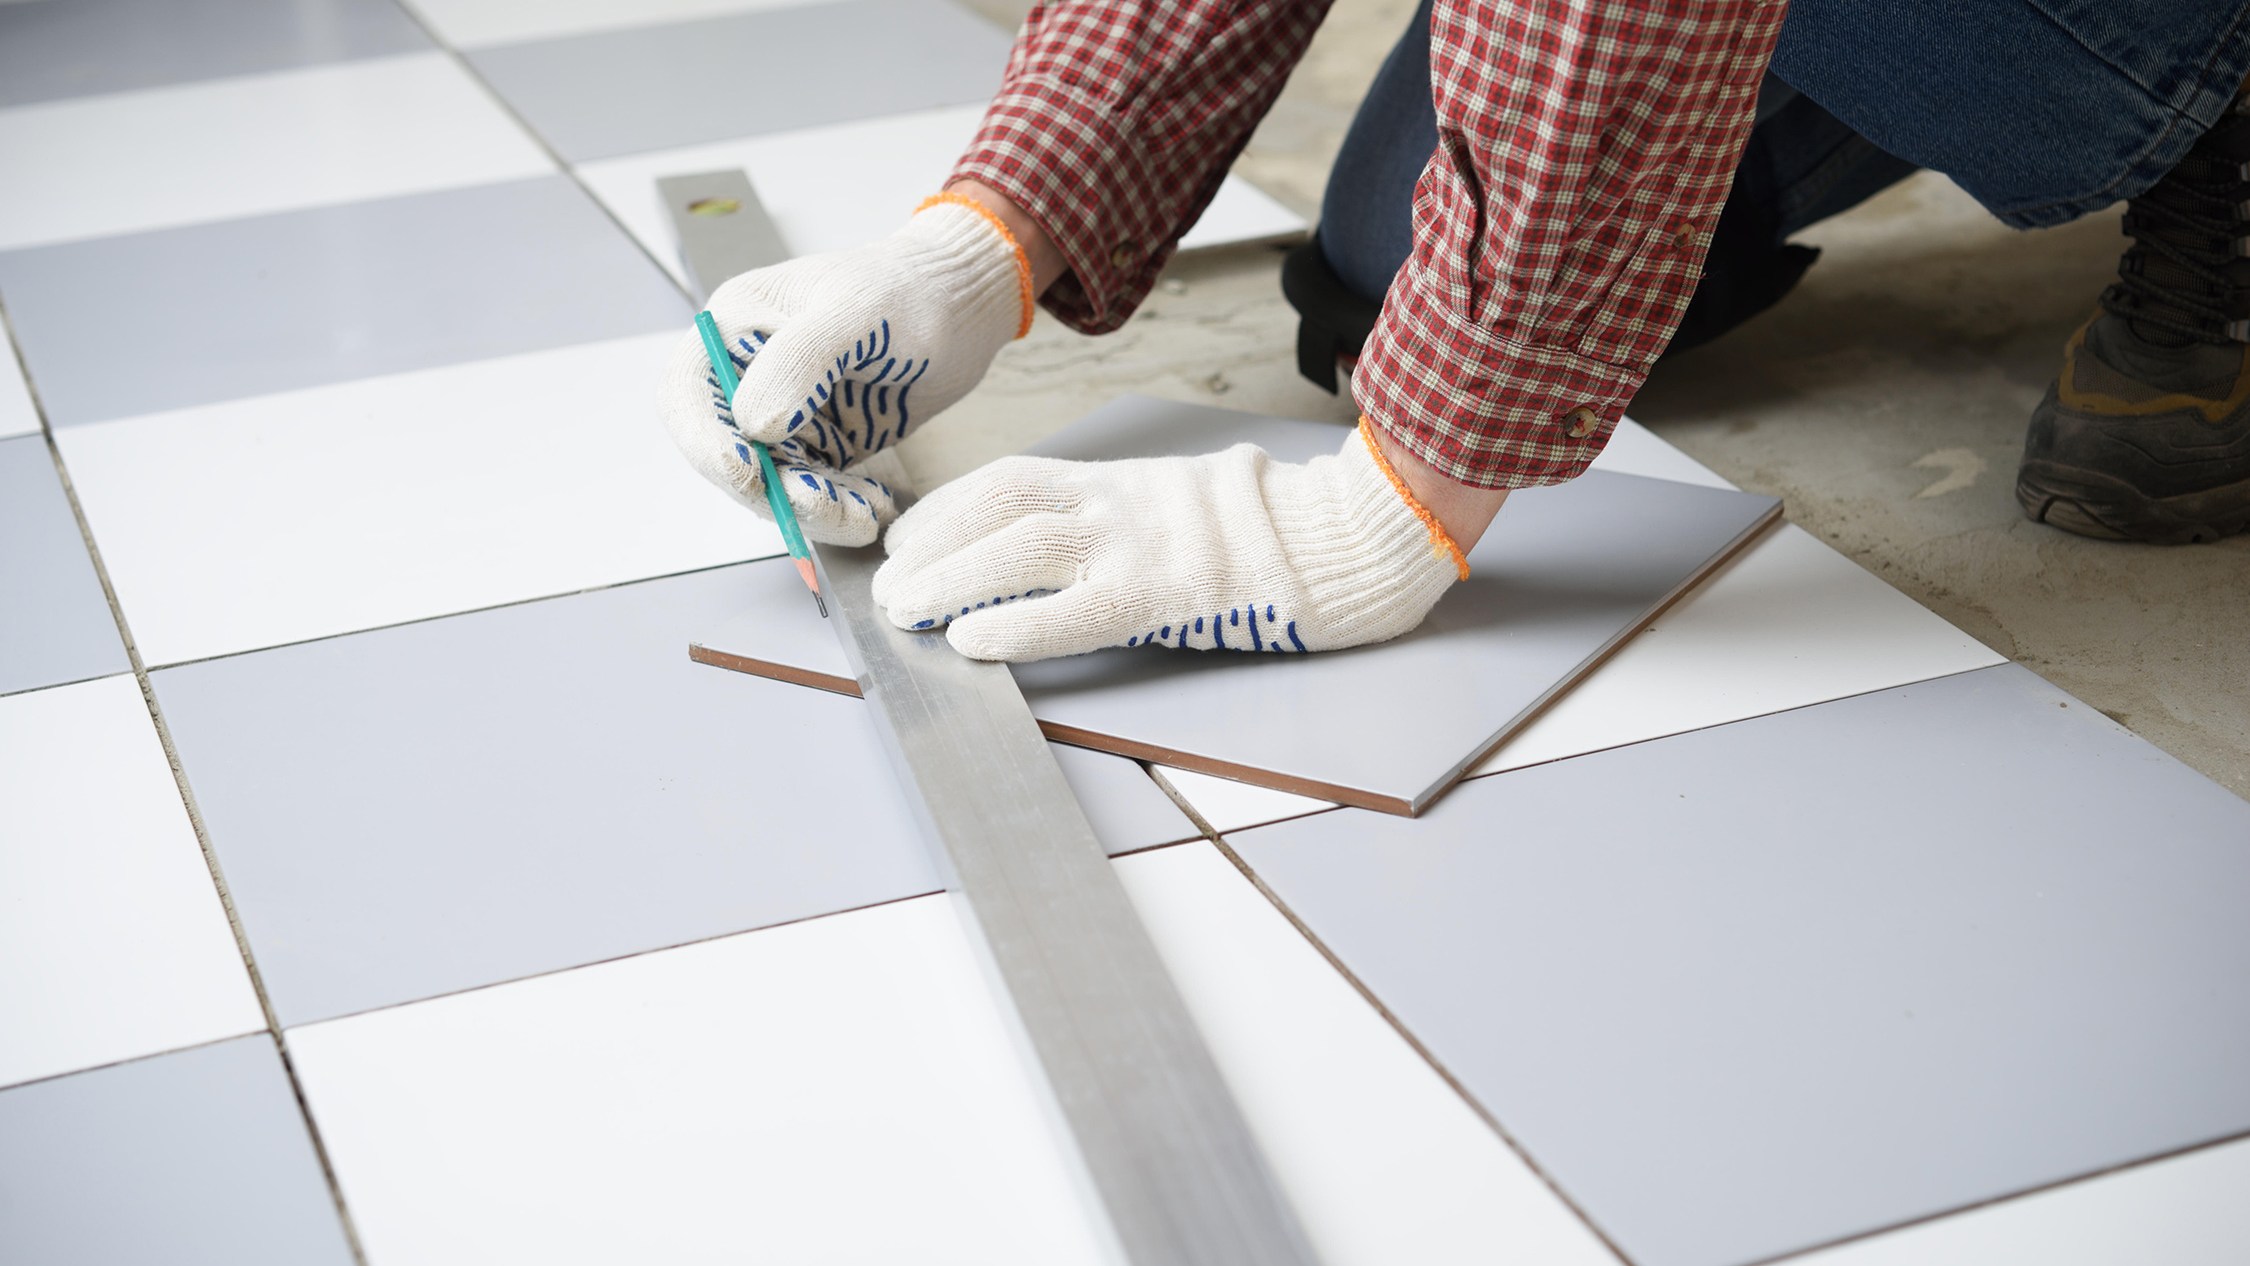
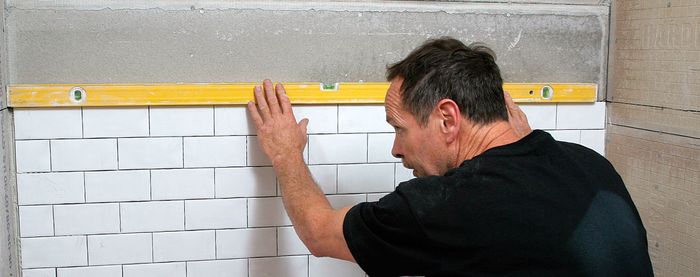
The article outlines a seven-step process for tiling a kitchen backsplash. The first step involves thorough preparation of the space, which includes removing old tiles if necessary, cleaning any grease stains with water and dish soap or paint deglosser, and protecting surrounding surfaces with masking tape and paint sheets. The second step focuses on planning the layout. For individual tiles, determining a design and a starting point is crucial, with recommendations to begin at the center of the wall for symmetrical lines or at a focal point for intricate patterns. The planned boundaries should be marked with a pencil, especially when working between cabinets, and a vertical centerline should be drawn for alignment. It is advised never to start tiling at the end of a wall to avoid an uneven appearance and concentrated minor cuts.
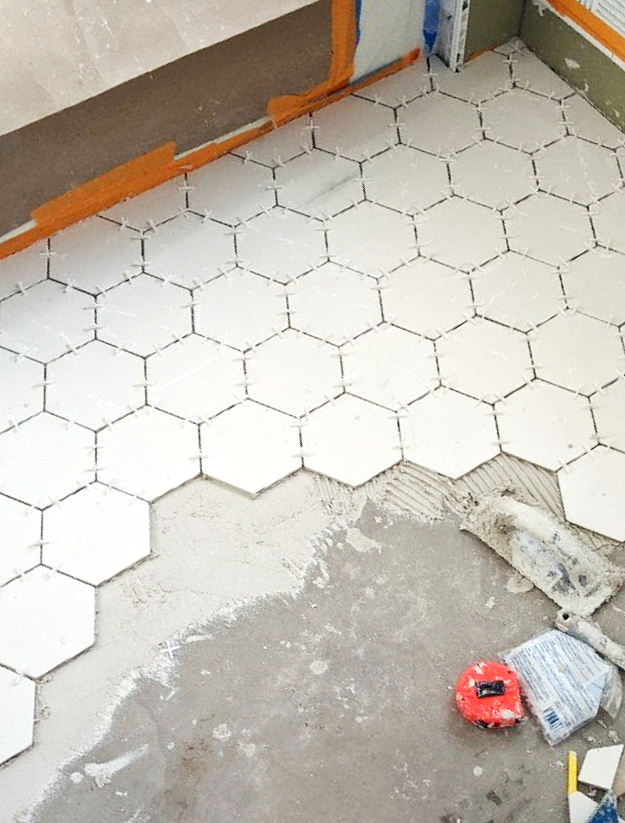
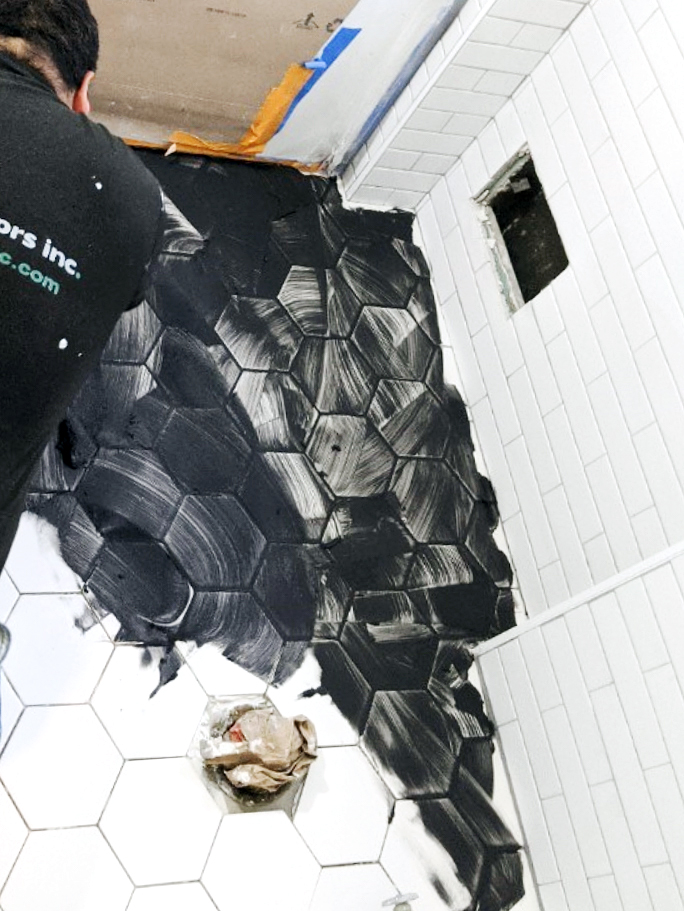
The third step covers the application of tiles. Plastic tile spacers are placed on the ledger board and countertop to create a gap, preventing tiles from sitting directly on the counter. Mastic adhesive is applied in a thin layer to the wall, starting from the centerline. Tiles or tile sheets are then pressed onto the wall, aligning with the centerline. Excess mastic in joints should be scraped out with a utility knife, and any dislodged tiles from sheets should be re-adhered individually. Tiles that require cutting, such as those at the end of the backsplash or around electrical outlets, should be cut with a wet saw before being fixed.
The fourth step involves setting the tiles in place. There is approximately 20 minutes of working time before the mastic hardens, allowing for adjustments to tile placement. A spirit level is used to ensure all tiles are perfectly level. Once satisfied with the arrangement, a piece of wood is pressed against the tiles, and a rubber mallet is used to tap them firmly into the mastic.
The fifth step details the application of grout. For natural stone or unglazed quarry tiles, a grout sealer is applied 30 minutes after tiling to prevent grout from sticking. For all tile types, a 24-hour waiting period is recommended for the tiles to set. Grout is then mixed with water and applied to the wall using a grout float. Ten minutes after application, excess grout is wiped off the tile surface with a damp sponge, rinsed regularly, until the tiles are clean. Two hours later, any remaining grout haze is removed with a cloth.
The sixth step focuses on sealing the edges. Any excess grout is cleared from edges and the bottom using a utility knife. Caulk, preferably in a color that complements the tiles, is then applied to the edges for a sleek finish. The final step, sealing the entire backsplash, requires waiting seven days for the backsplash and caulk to set completely. After this period, a grout sealer is applied to the entire backsplash with a sponge to ensure durability and resistance to grease stains. Ten minutes after absorption, the stone tiles are buffed with a clean cloth in a circular motion until they are no longer tacky.
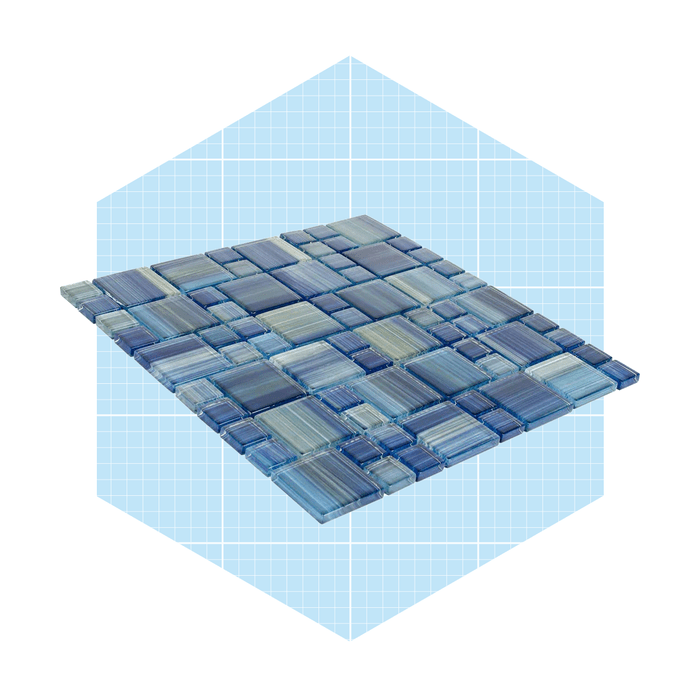
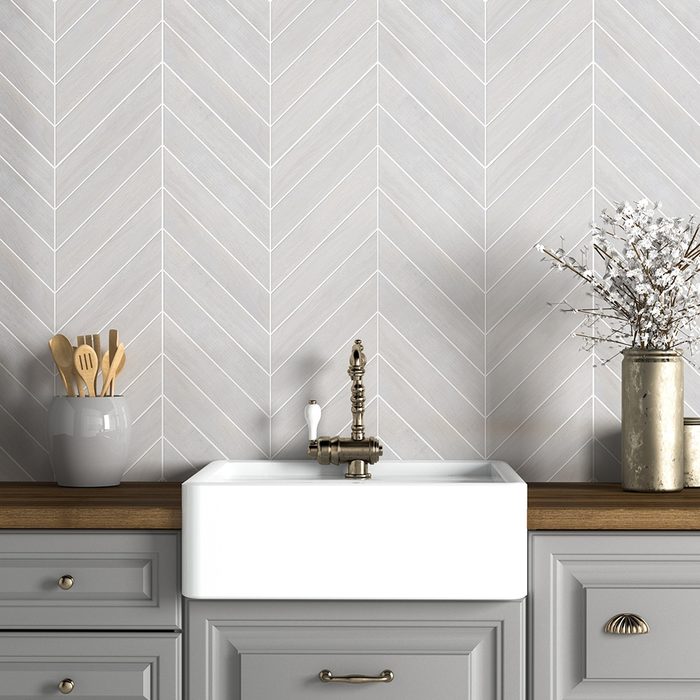
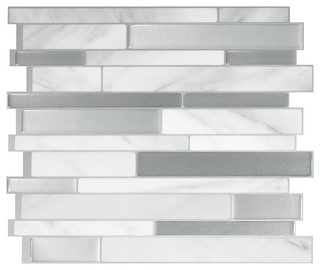
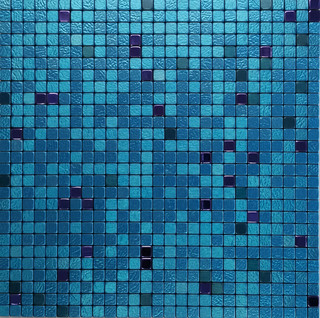
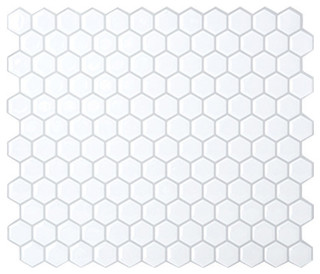
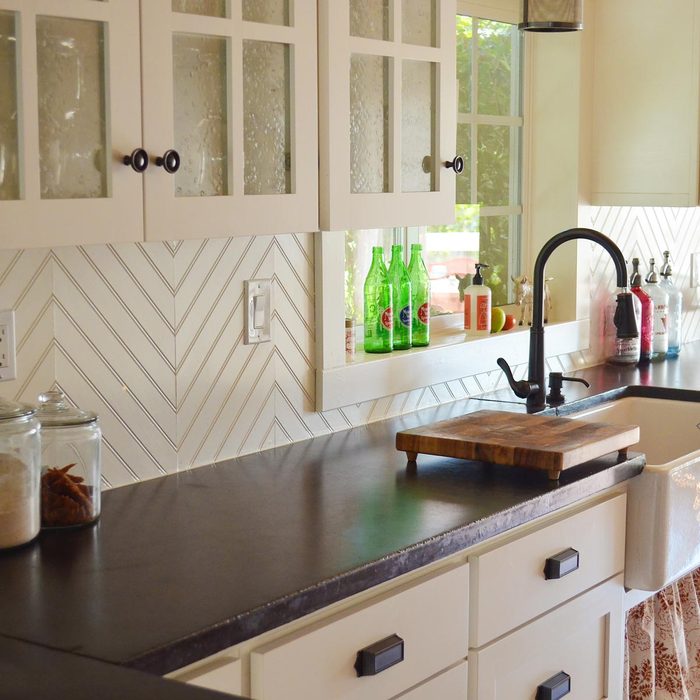
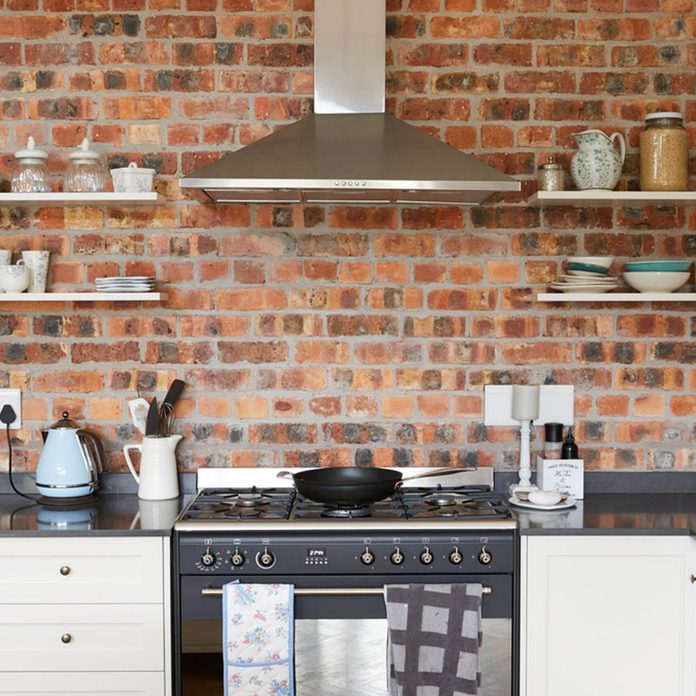
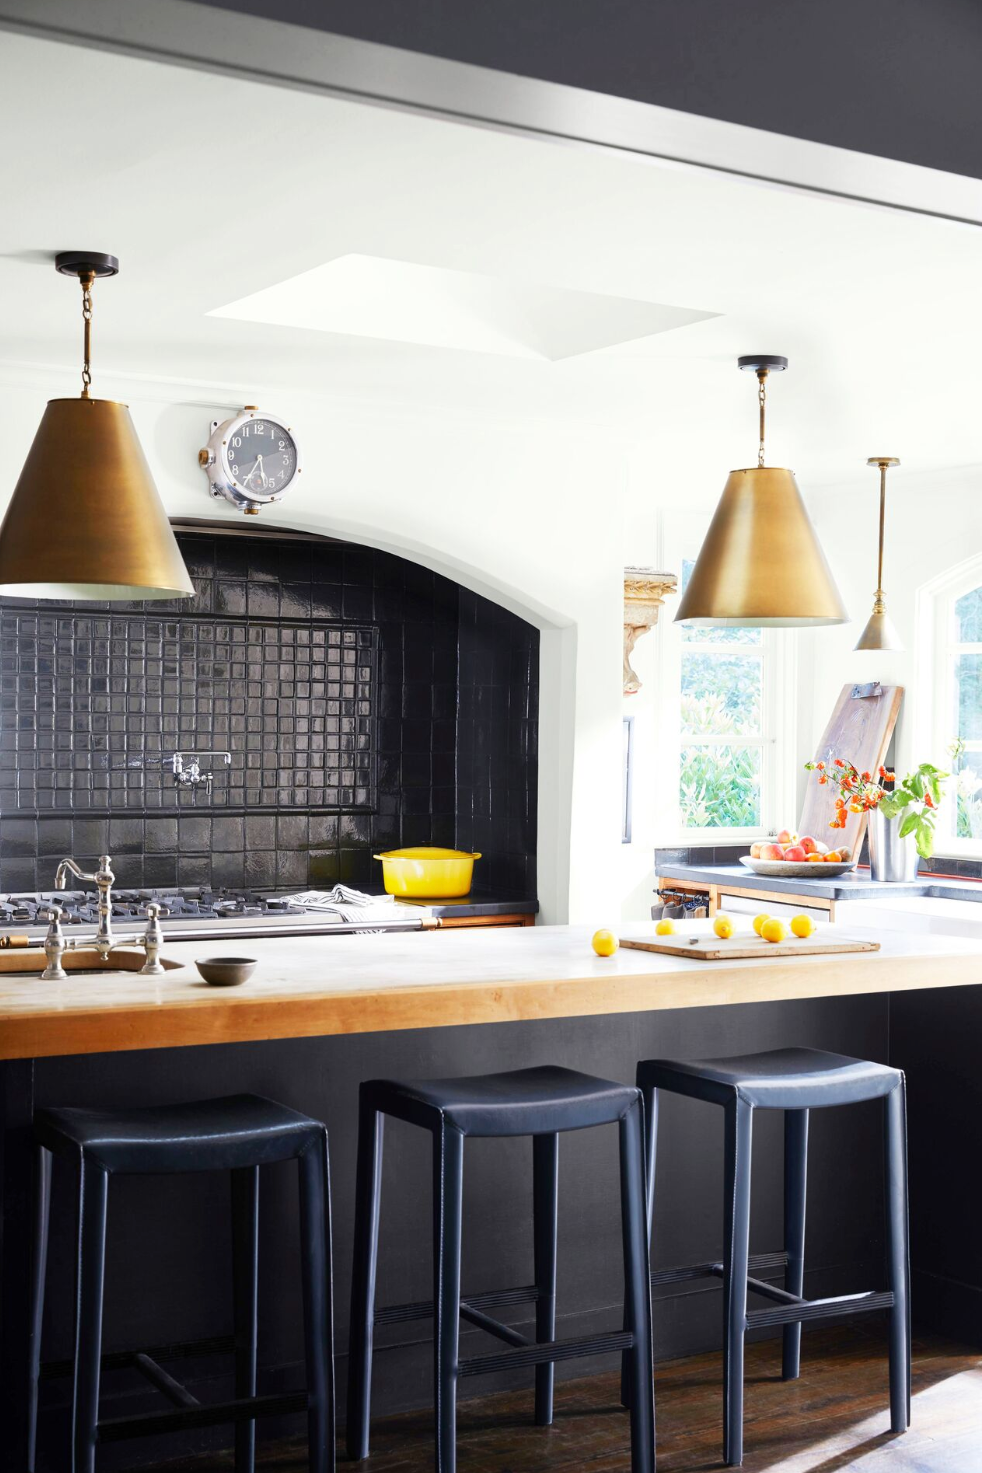
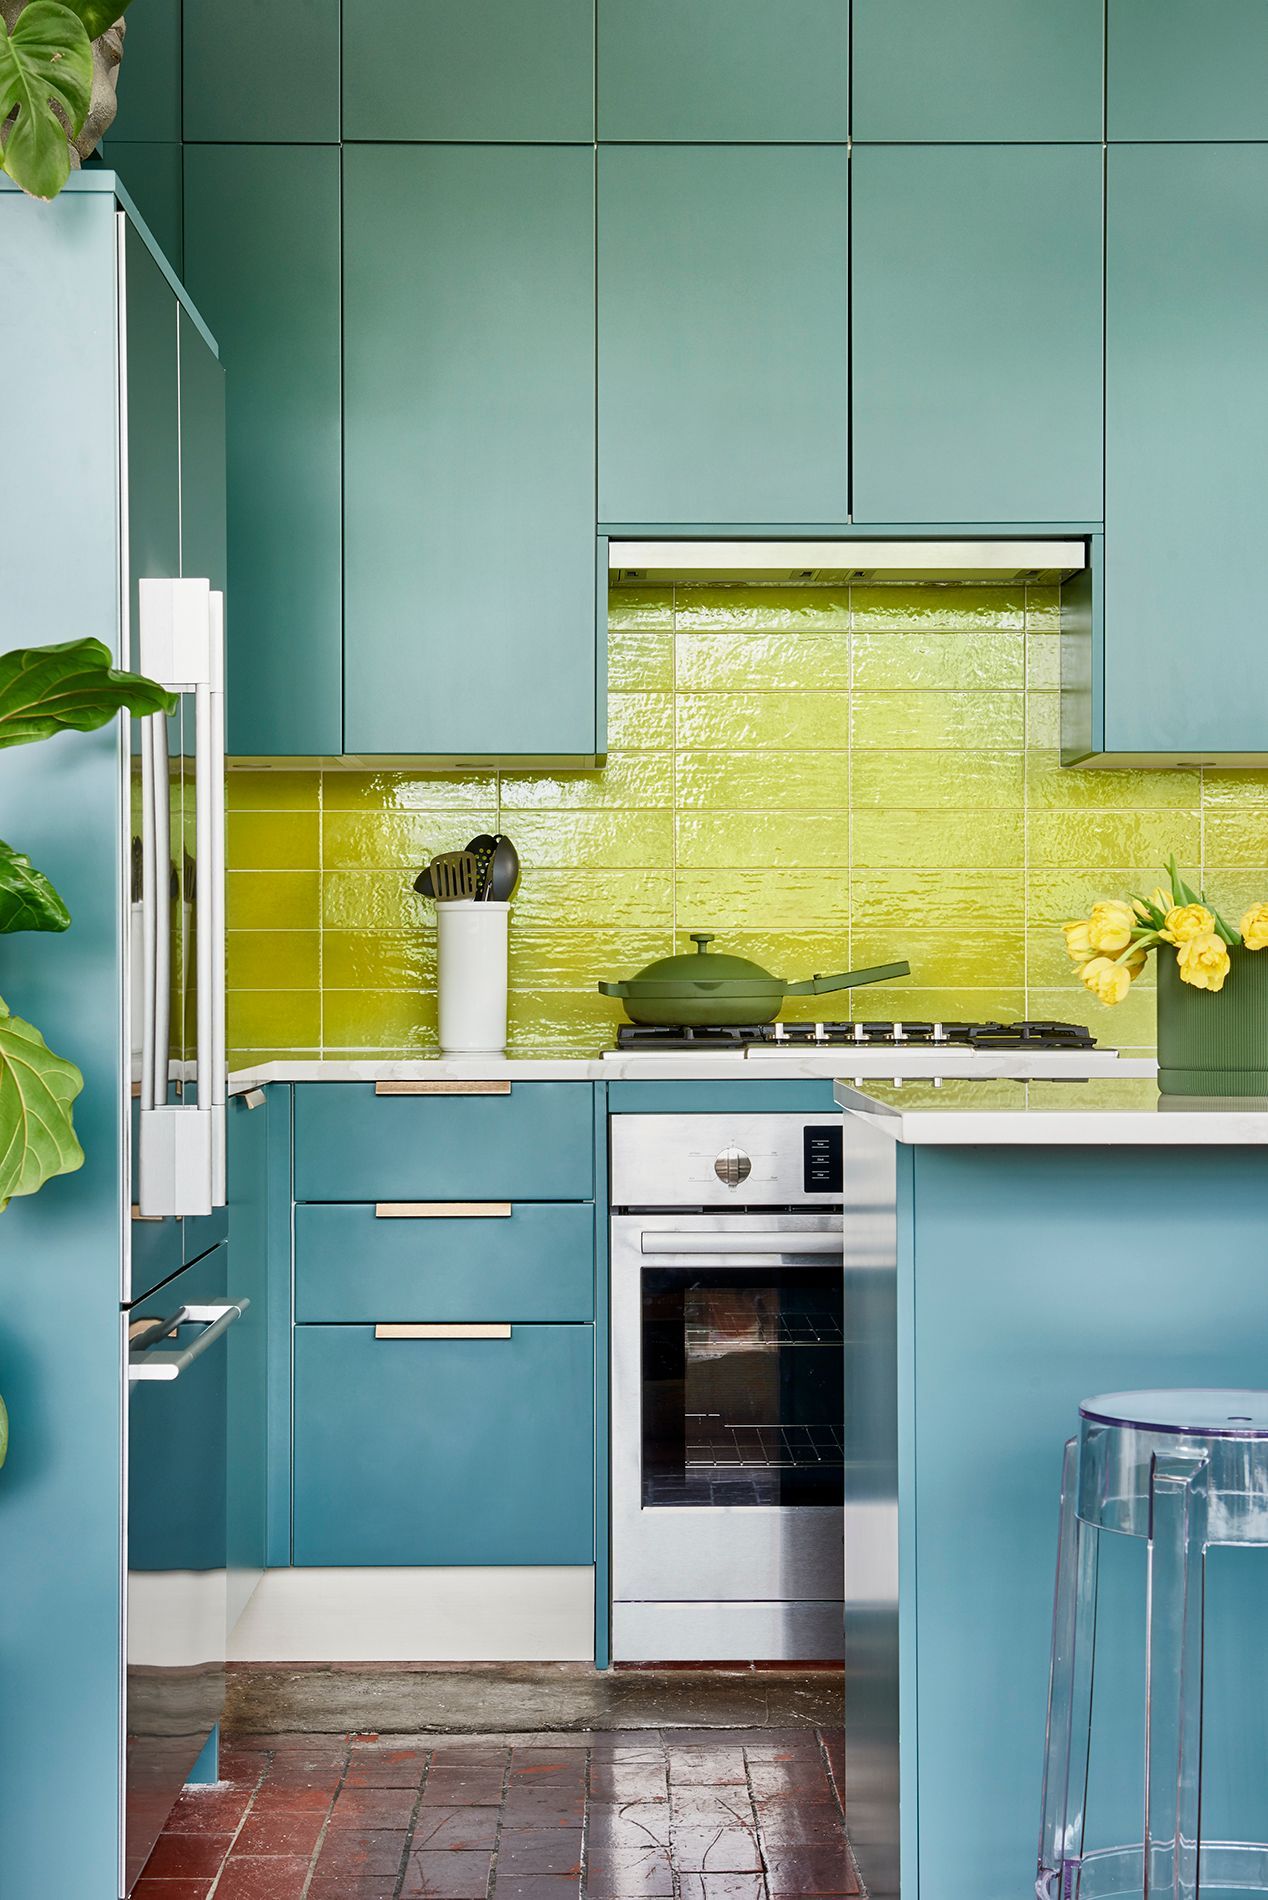
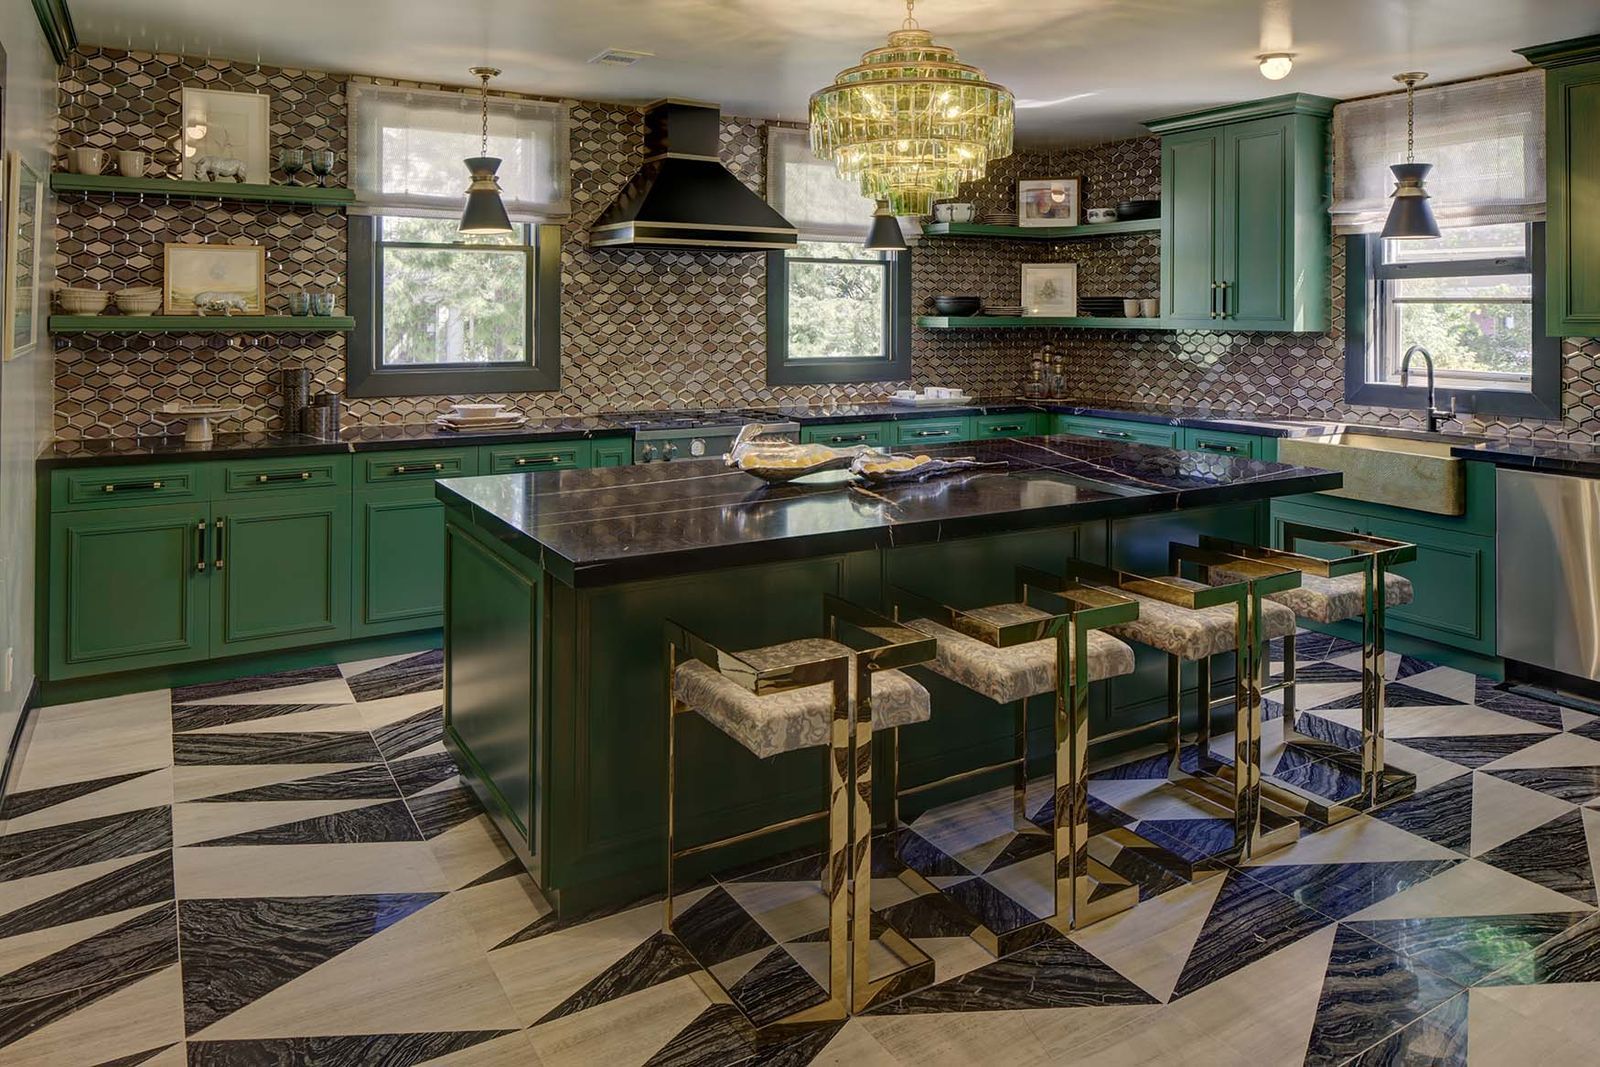
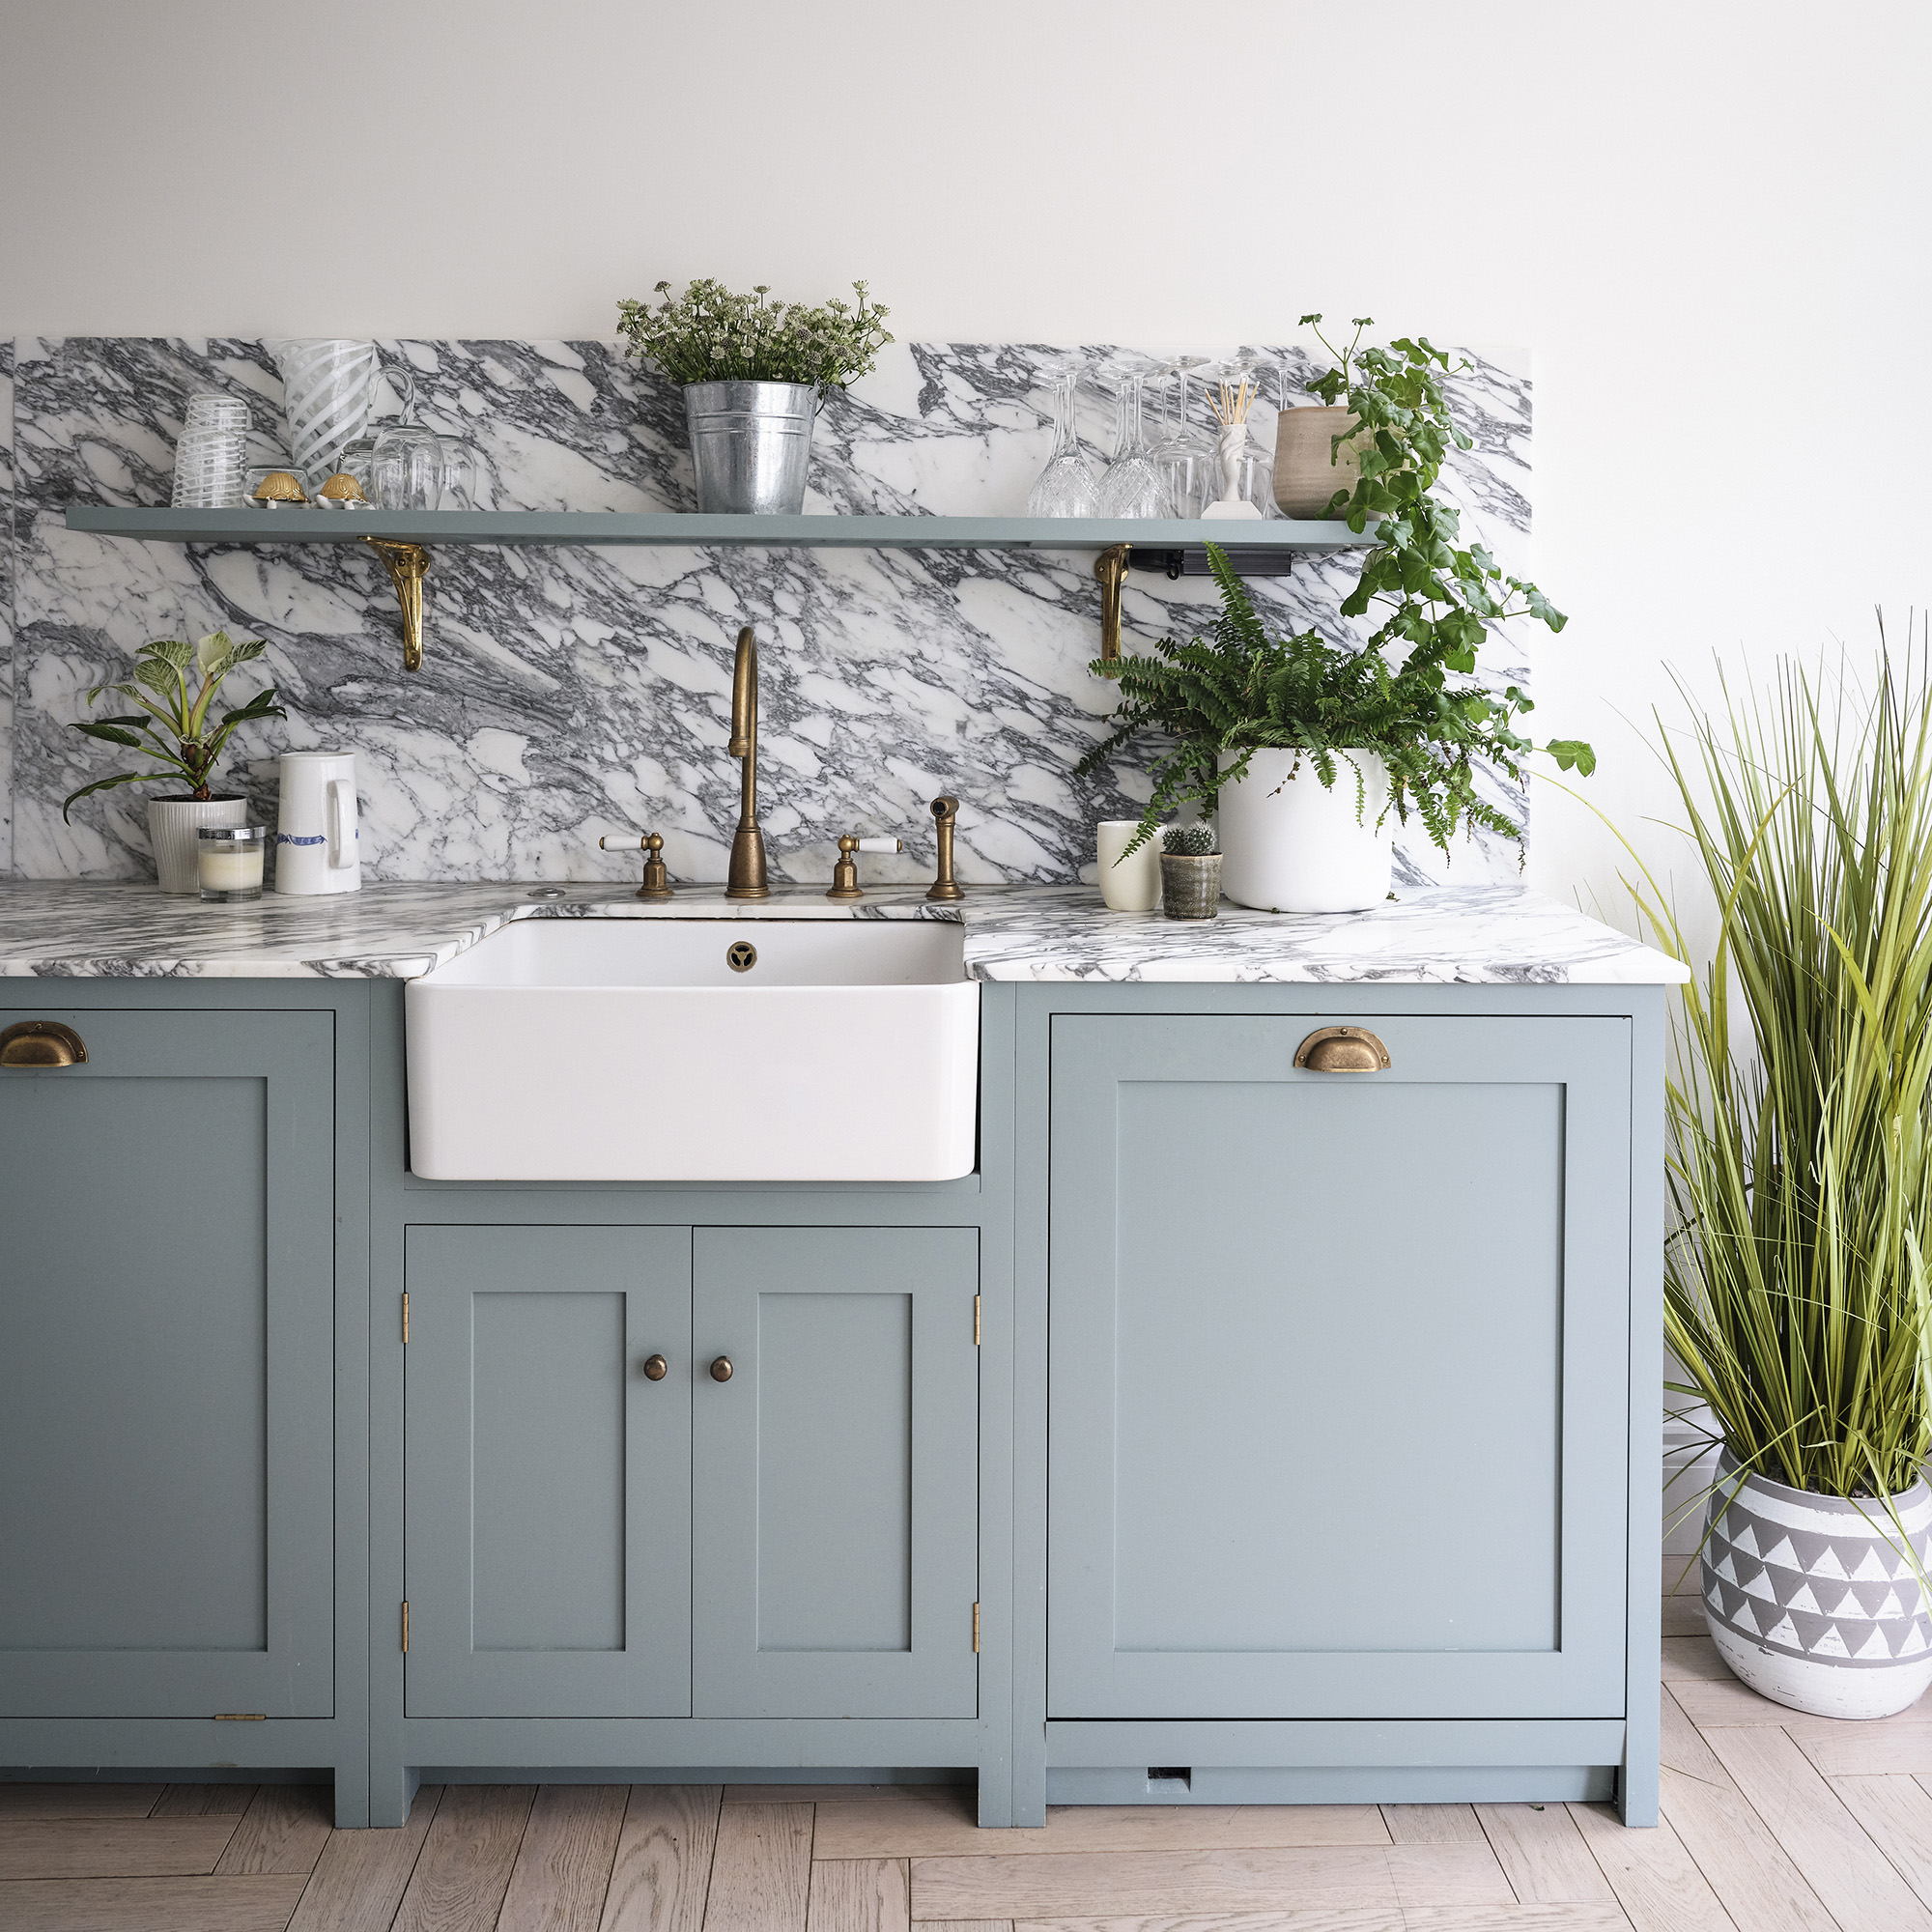
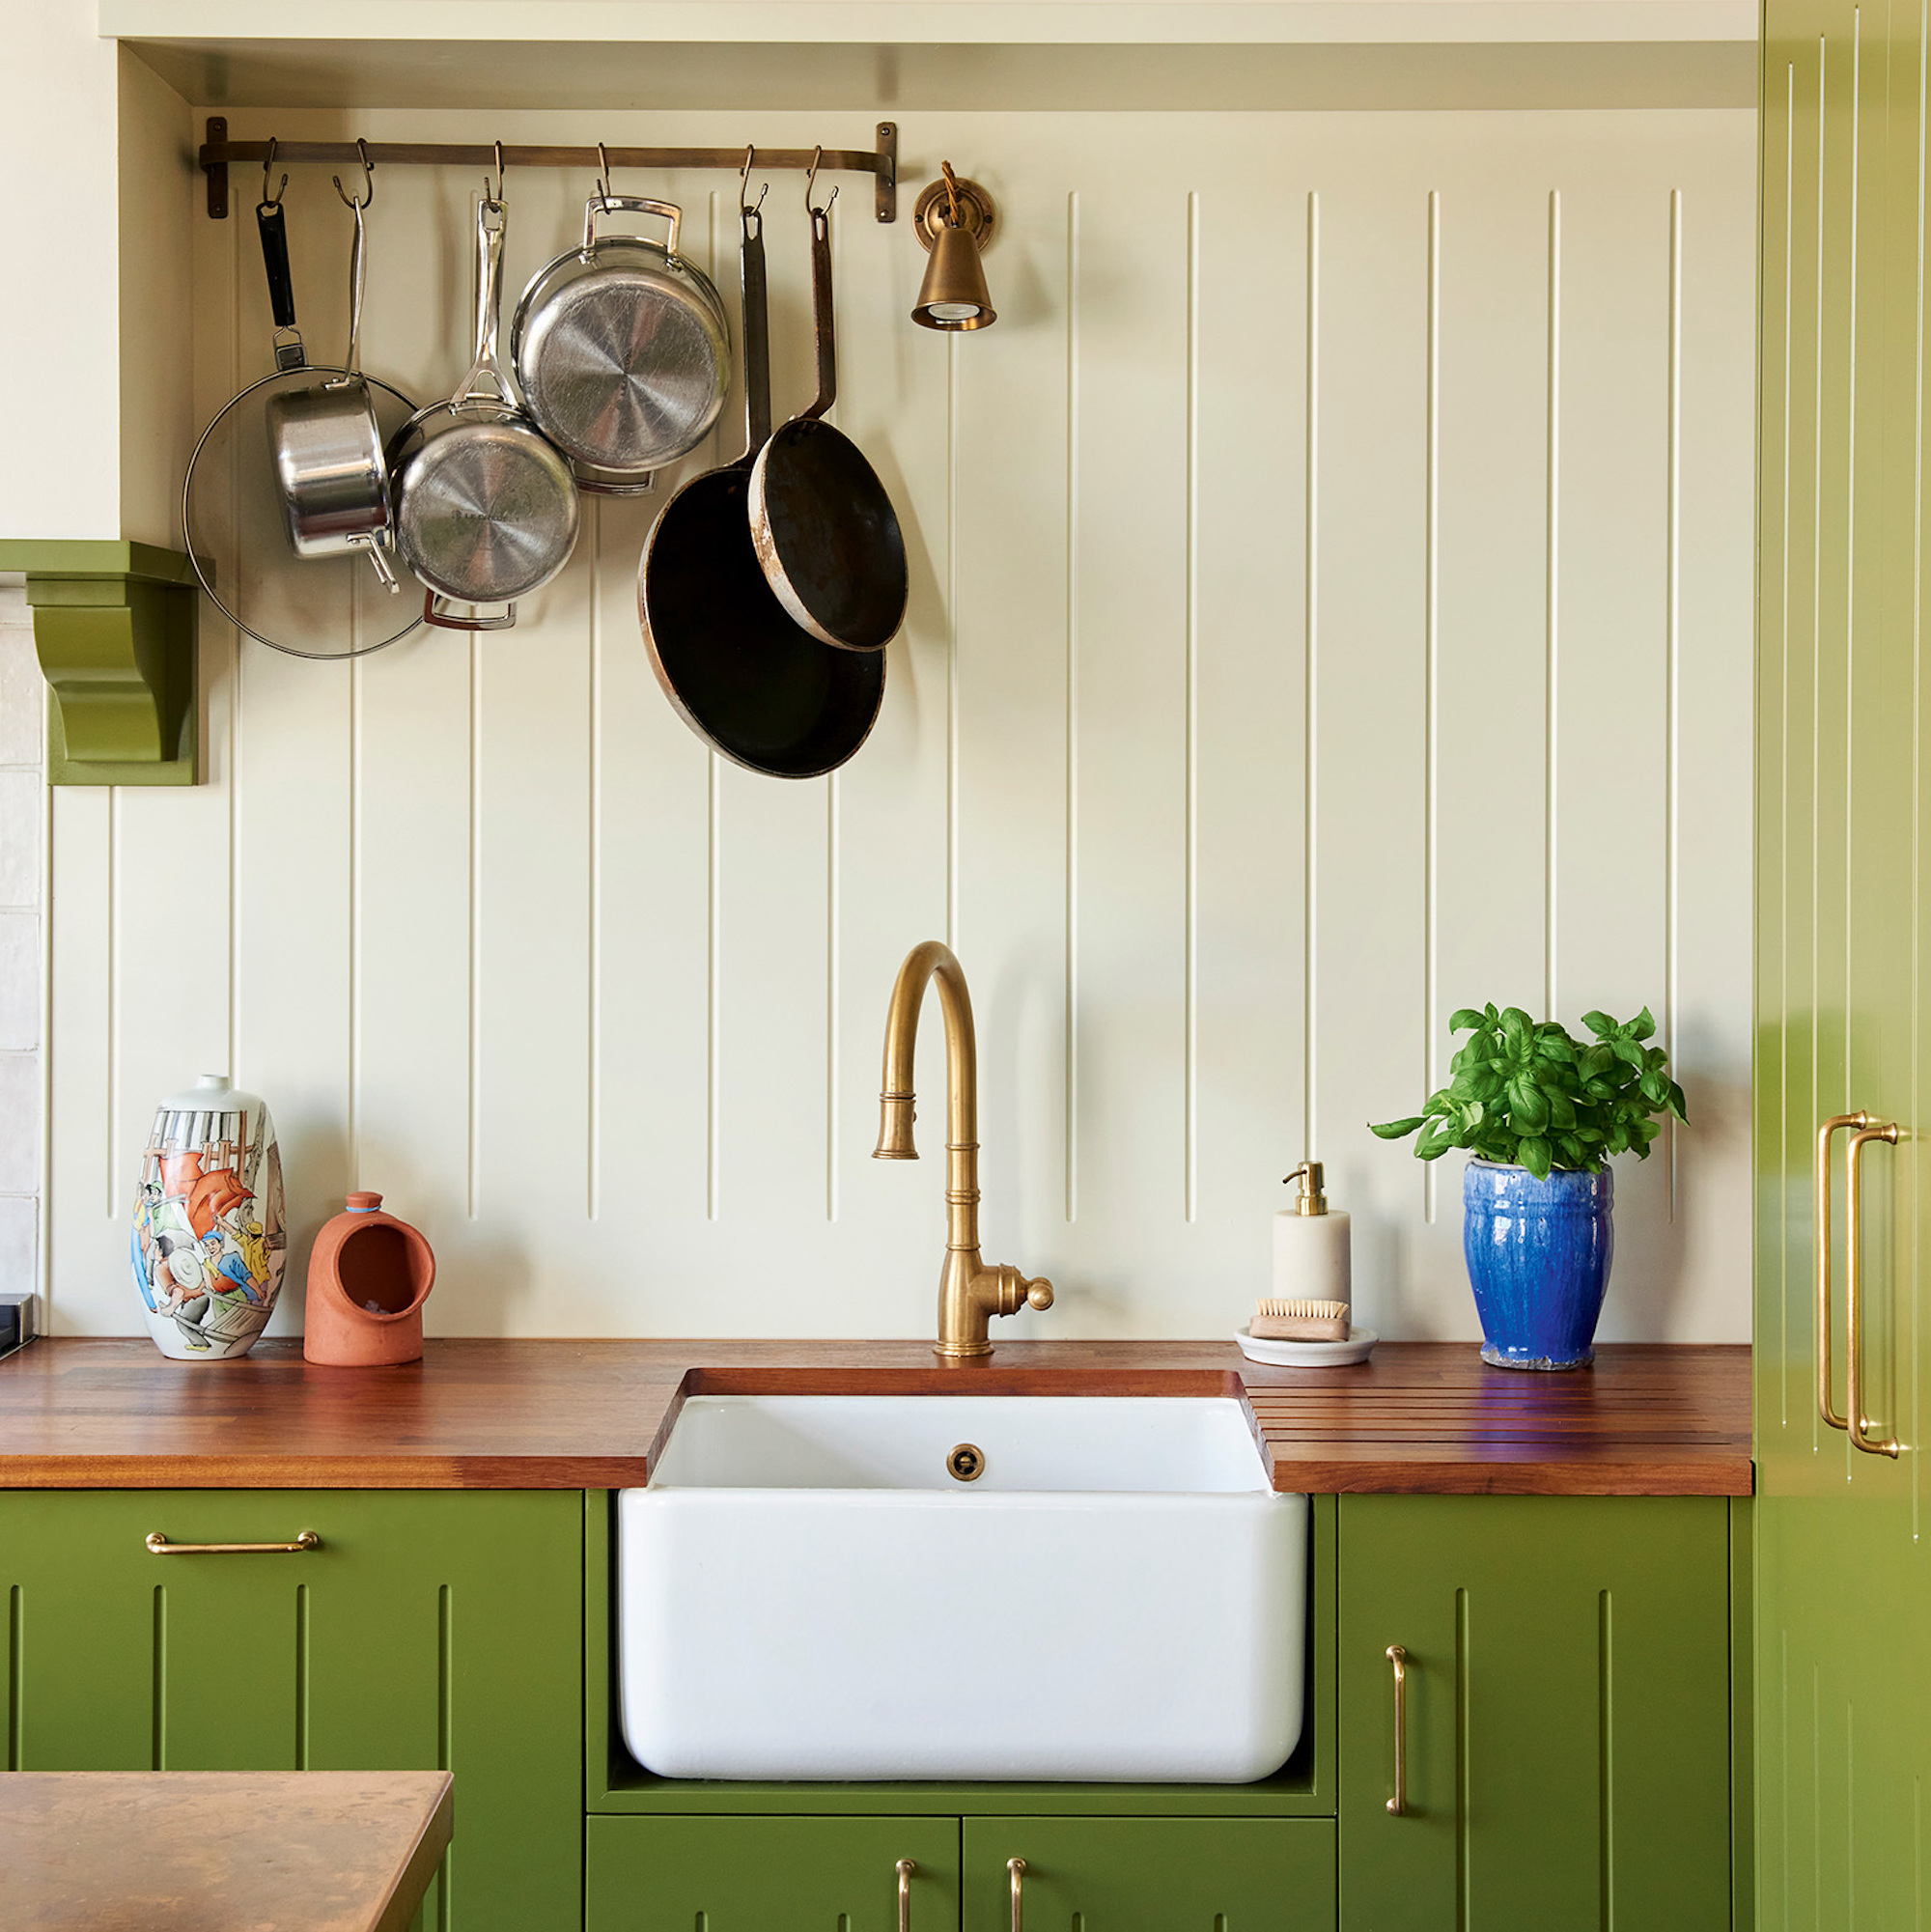
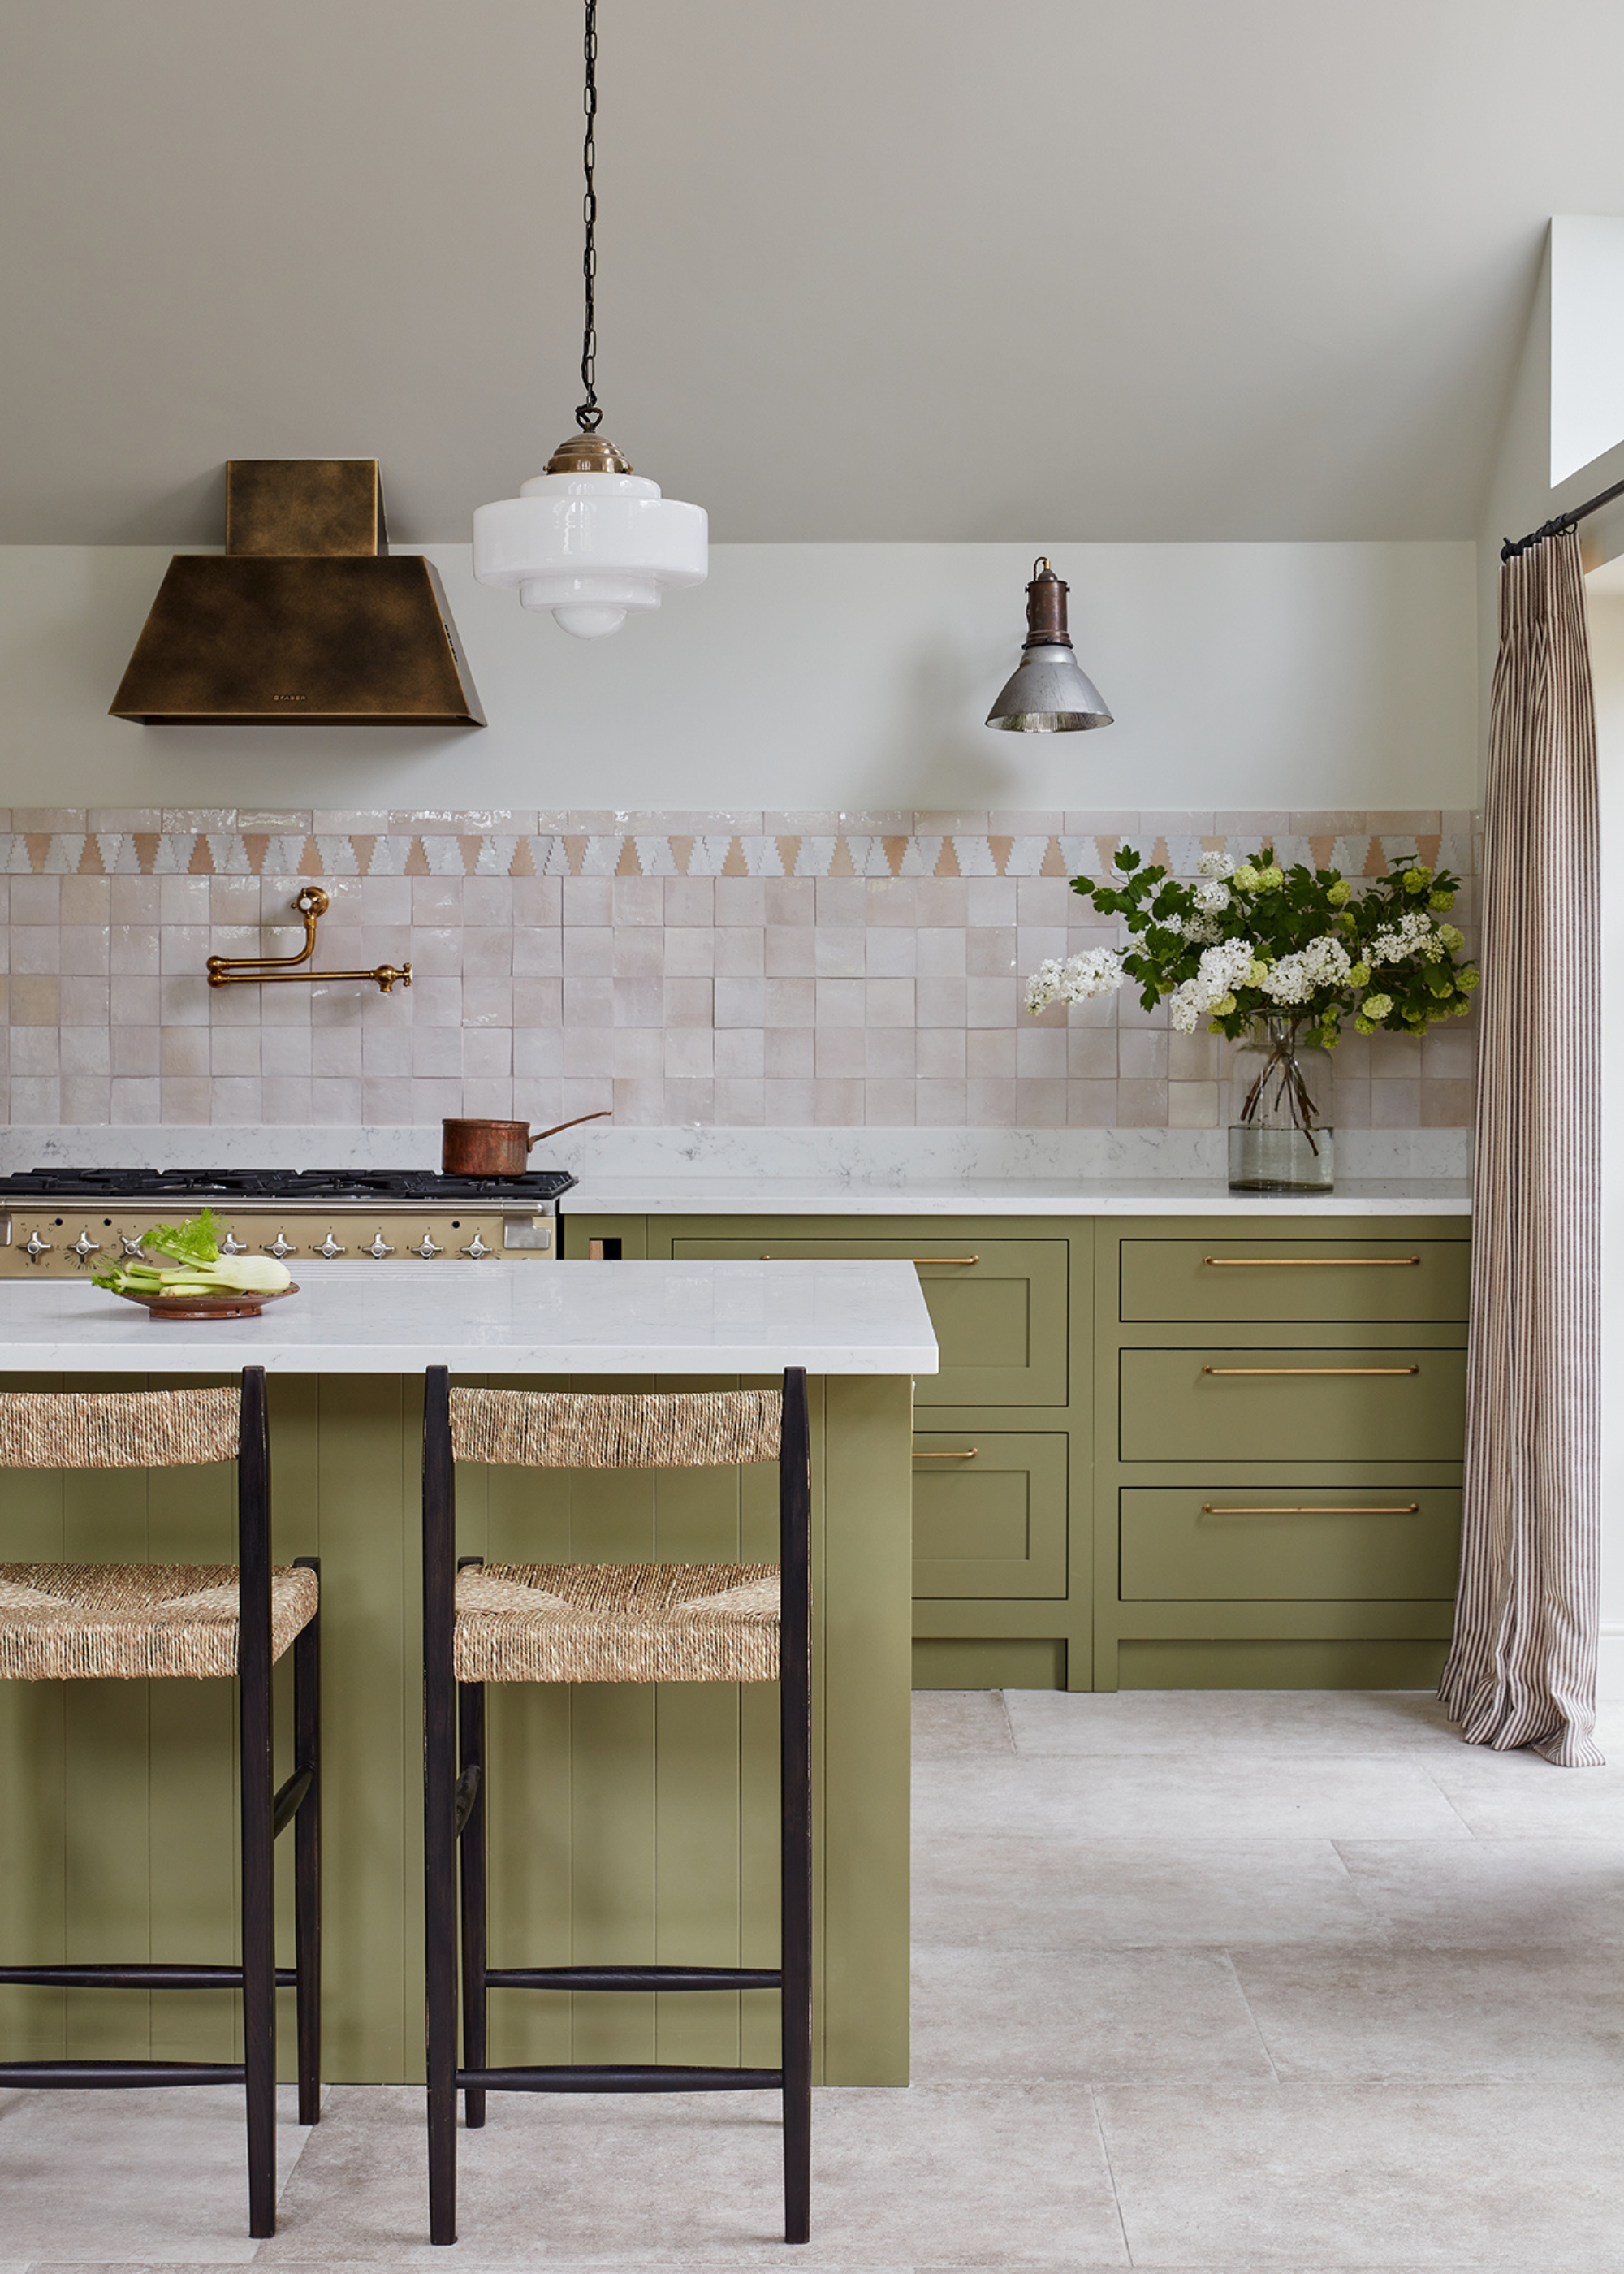
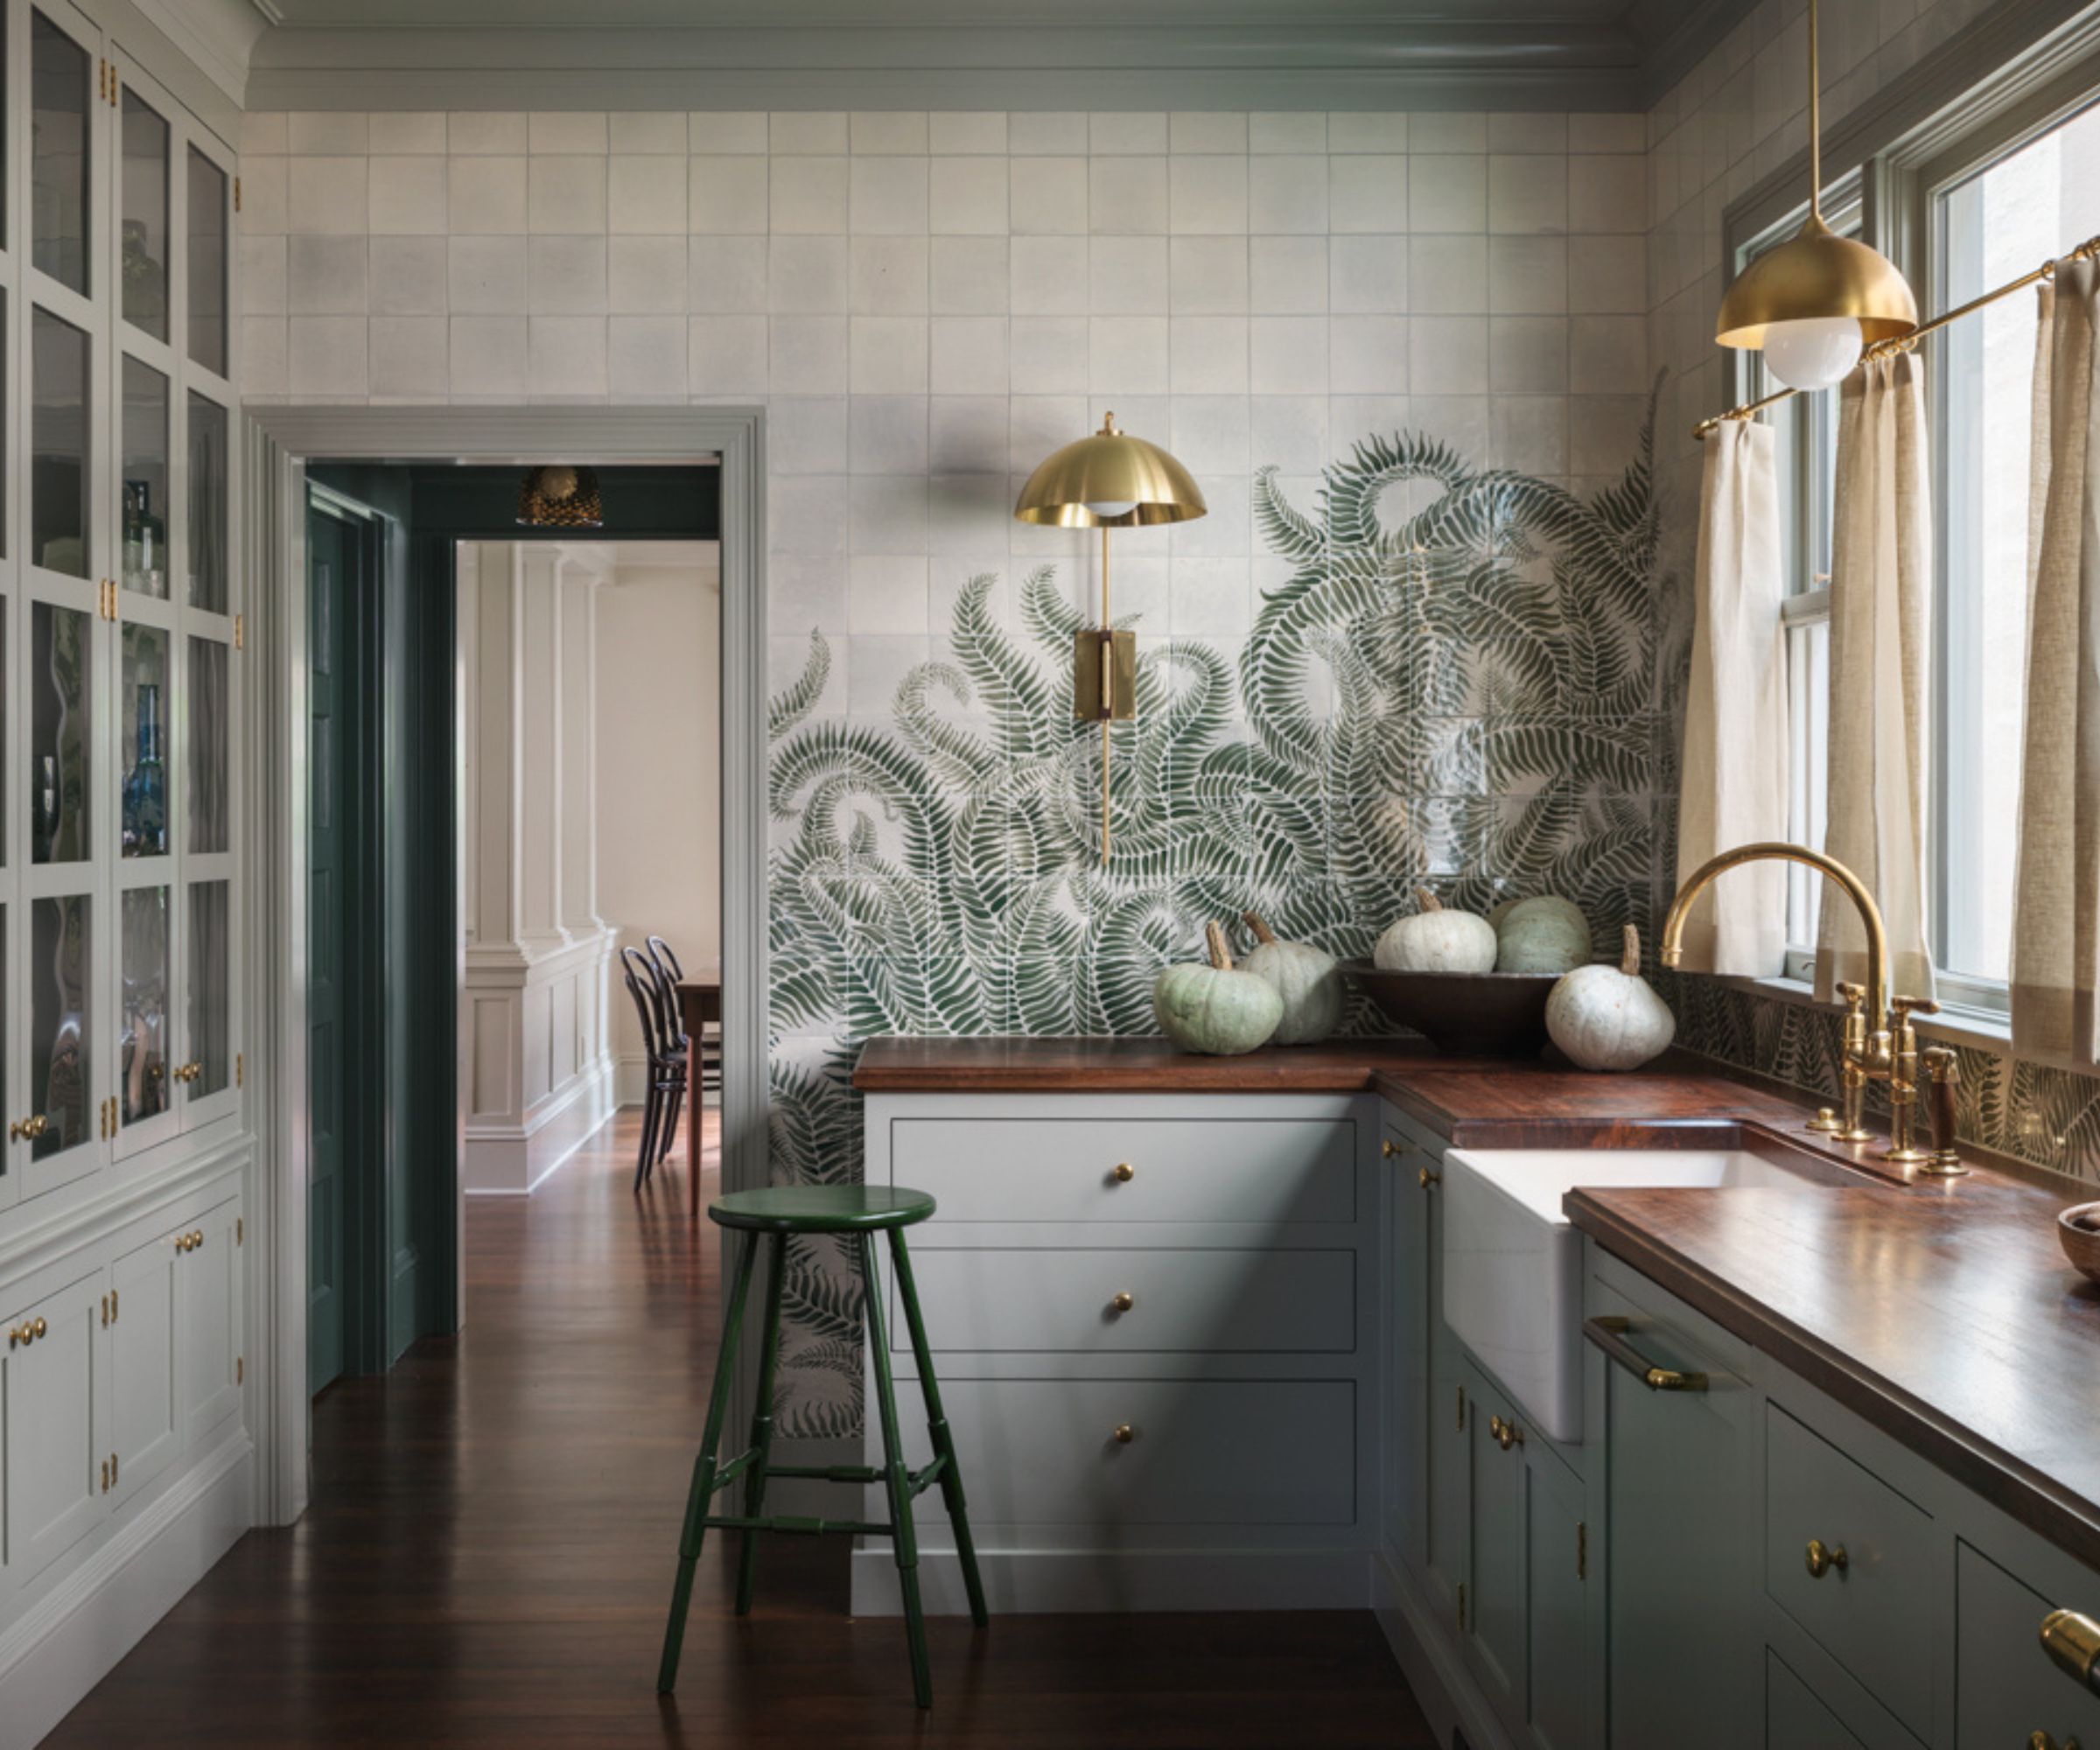
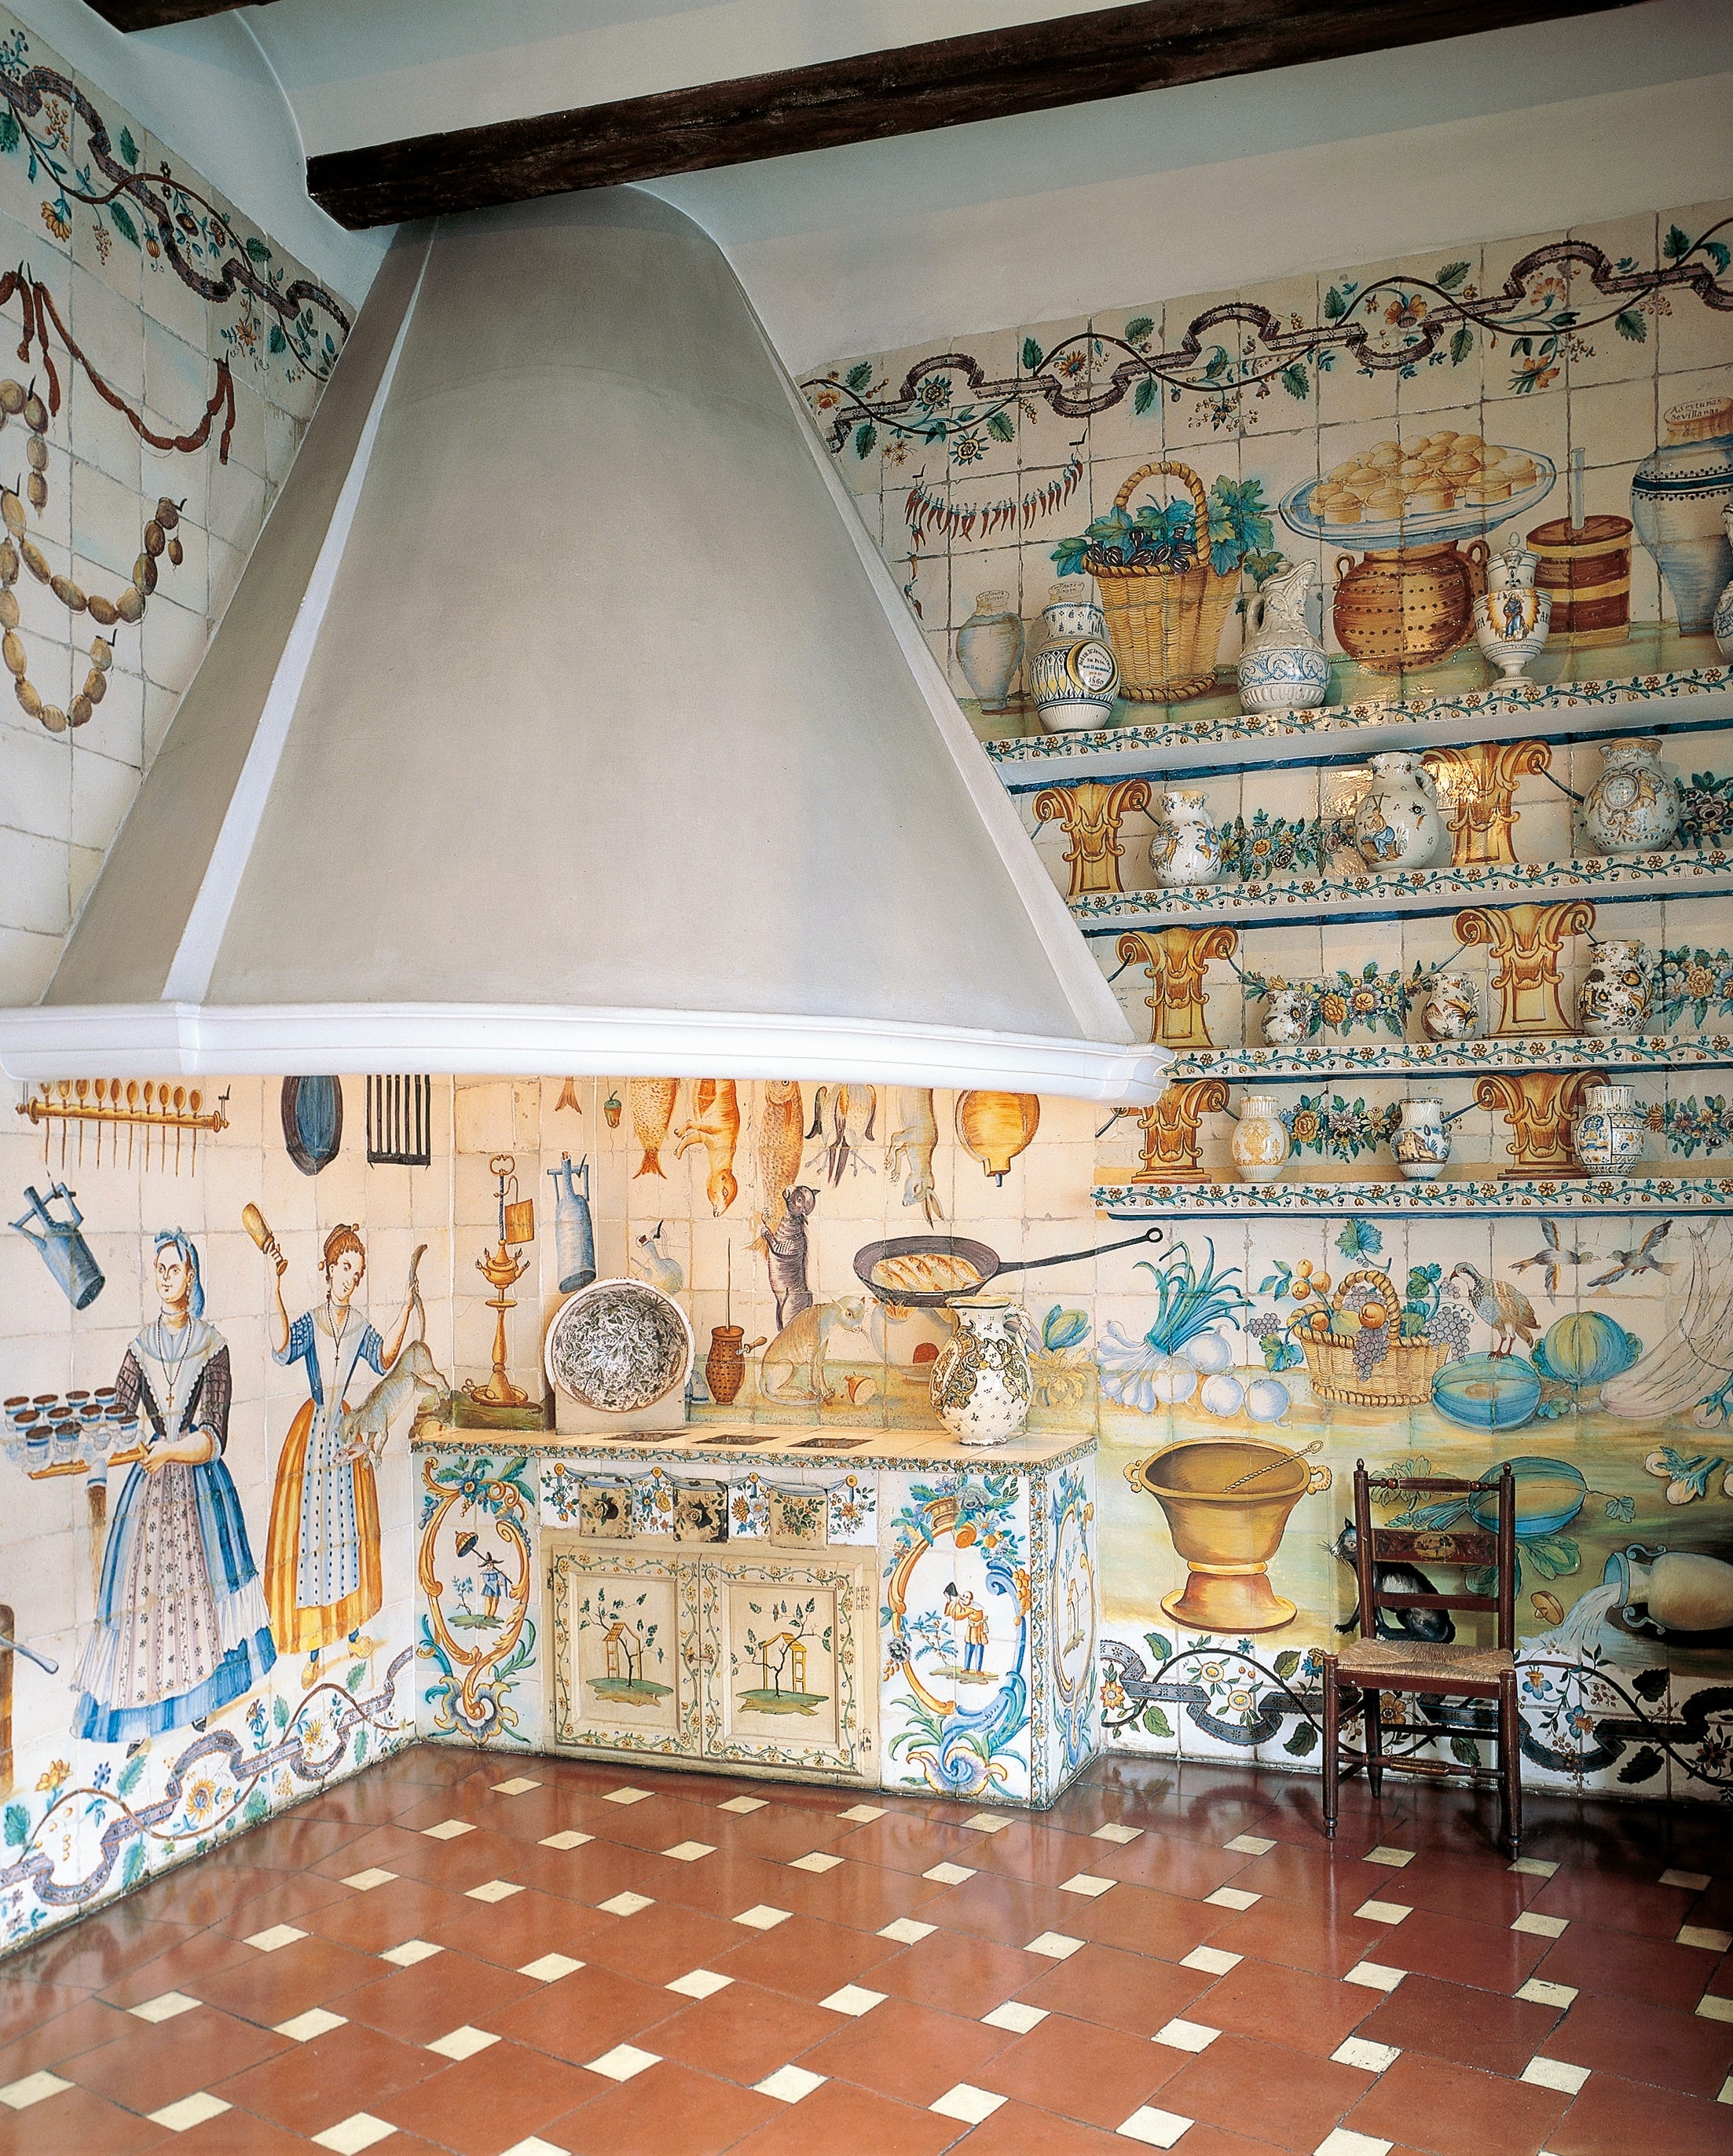
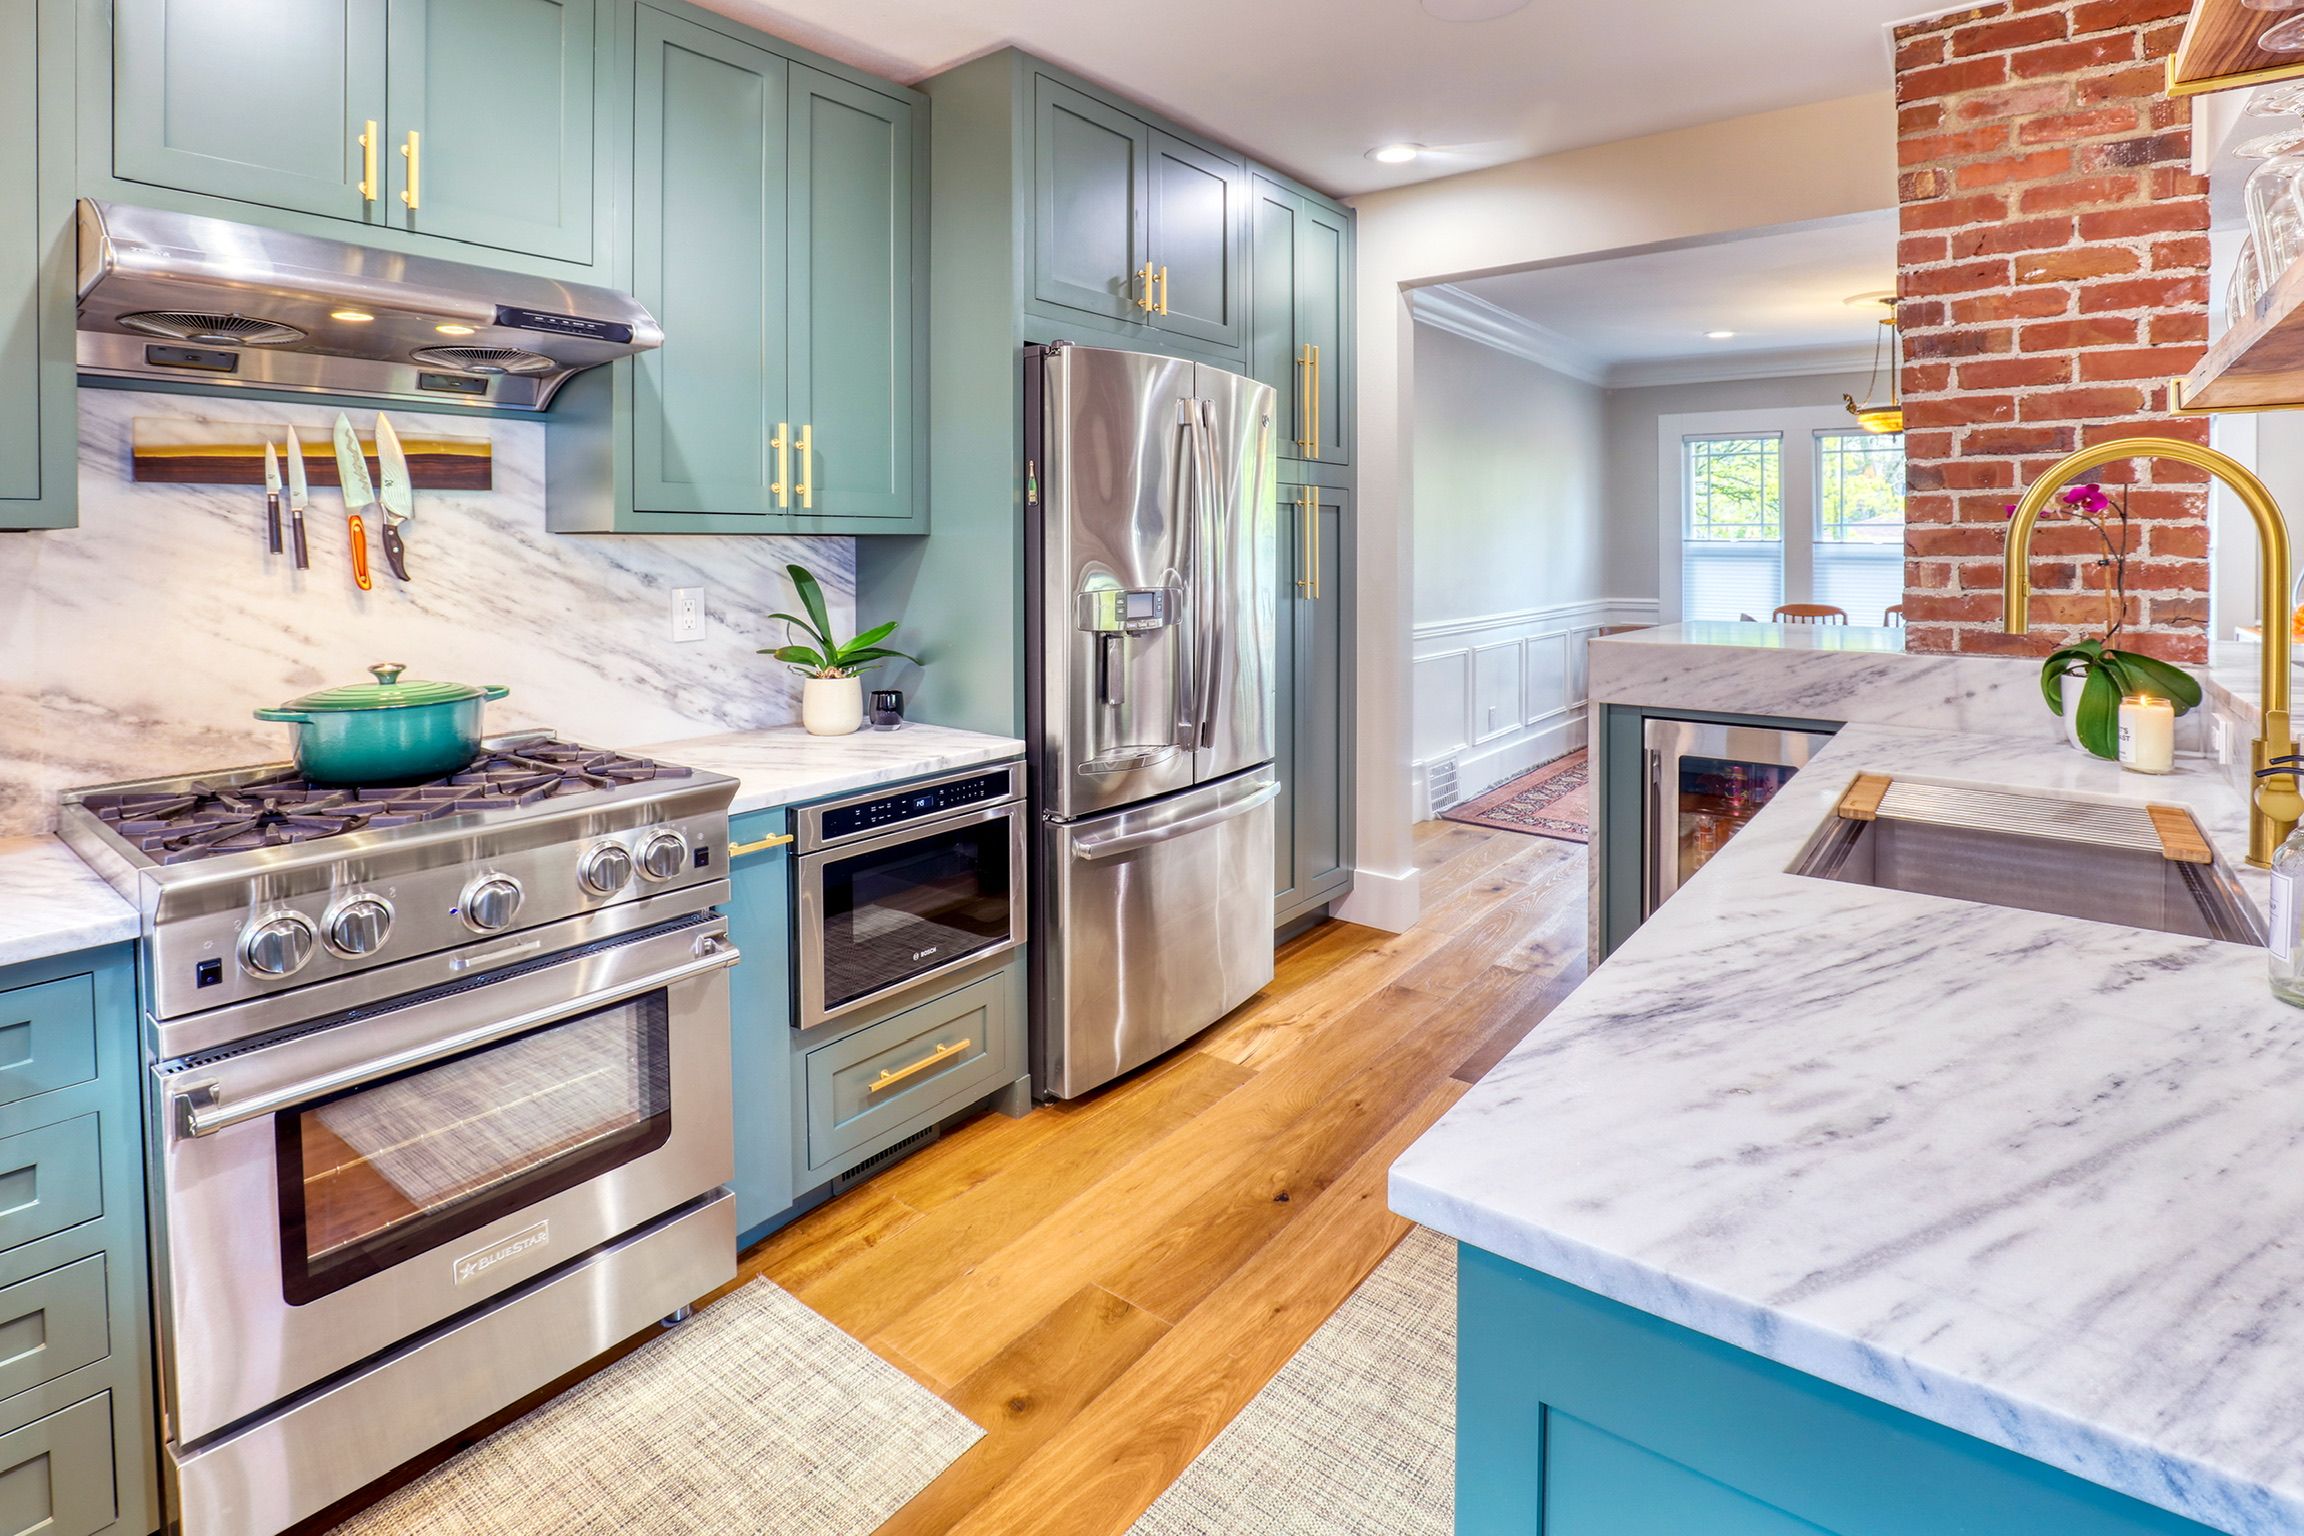
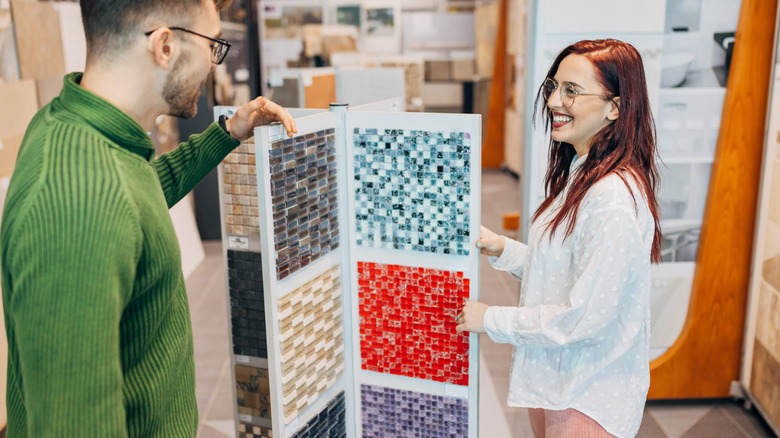
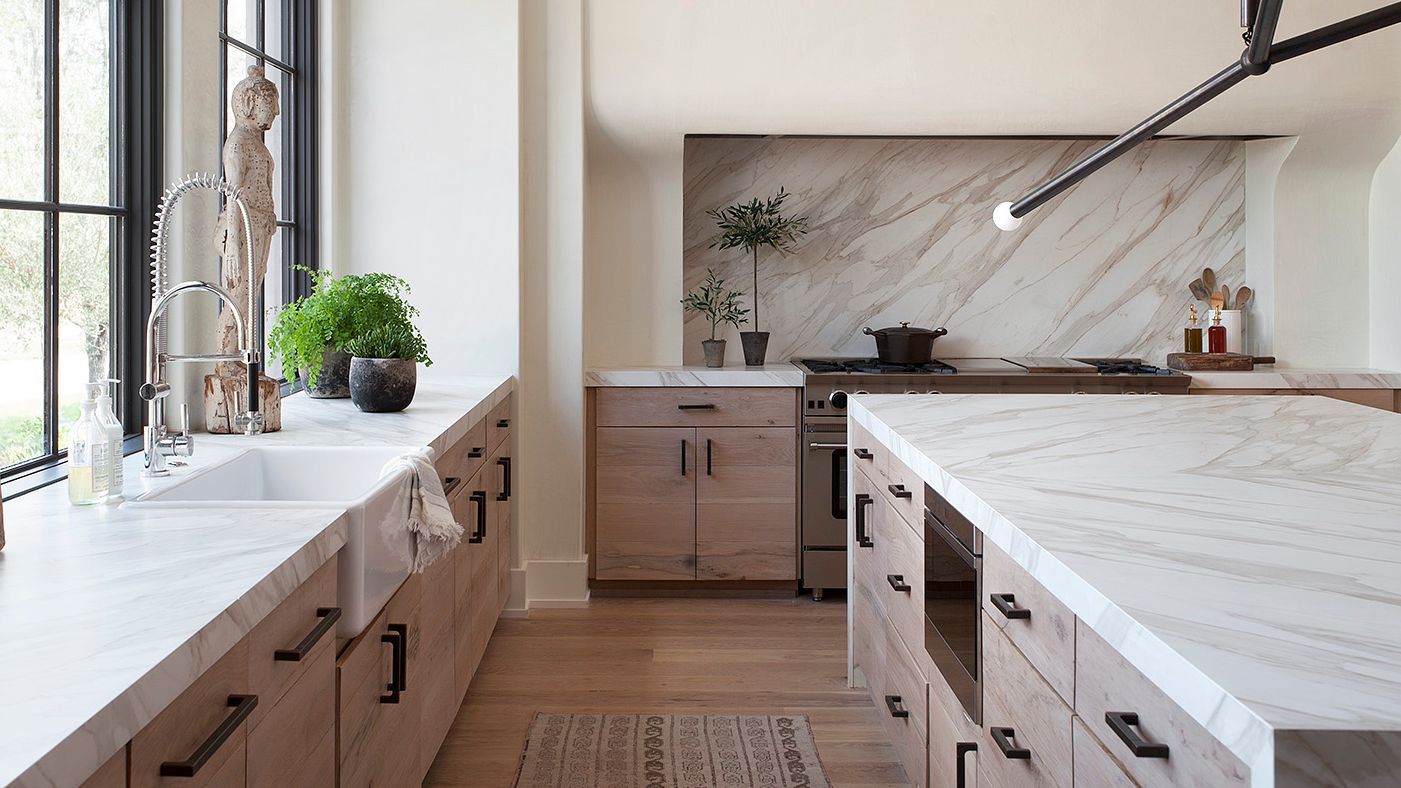
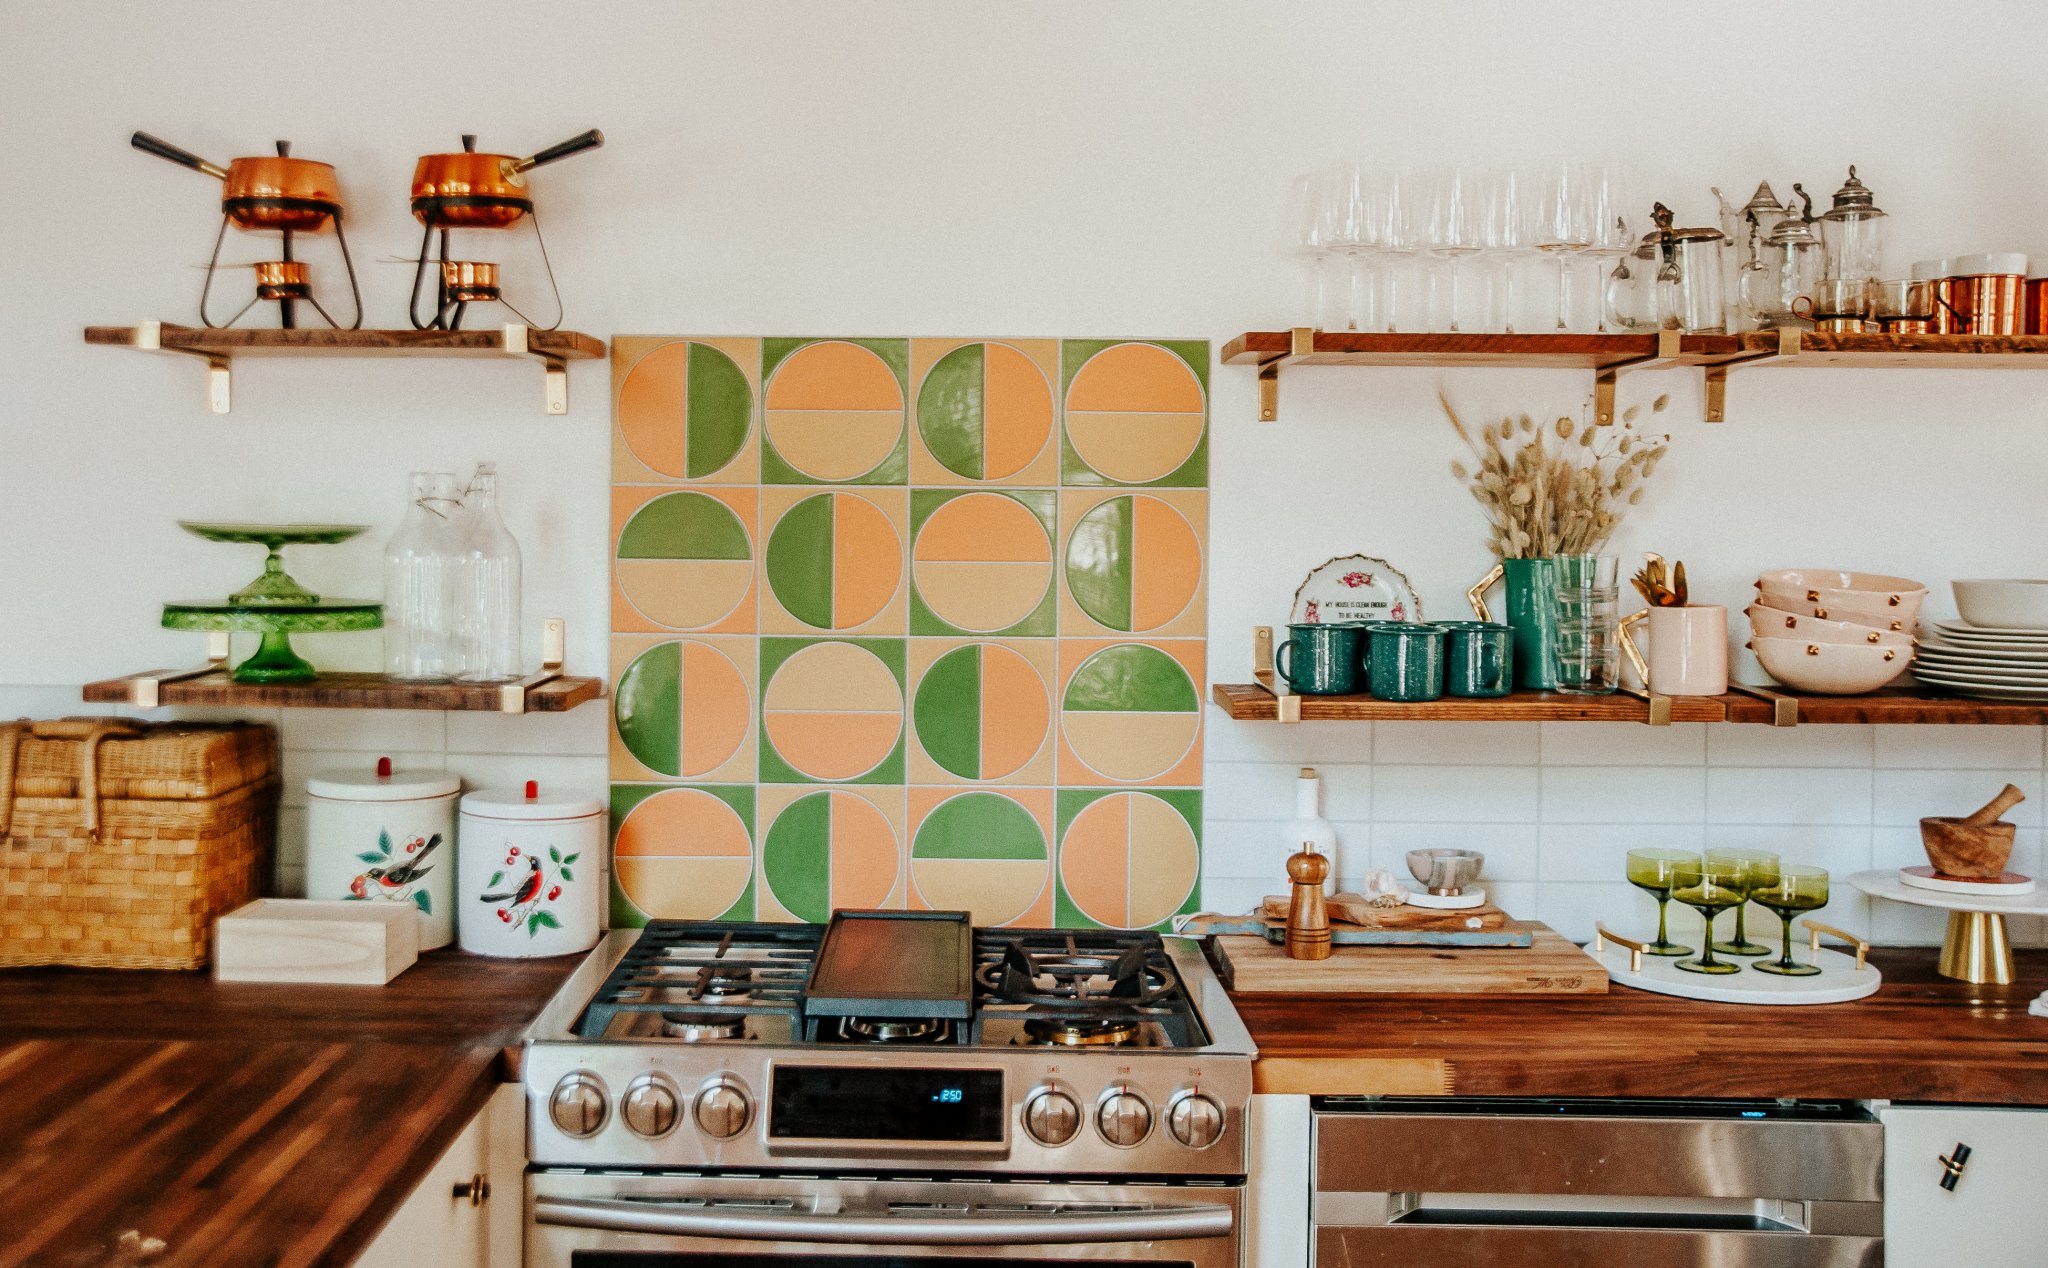
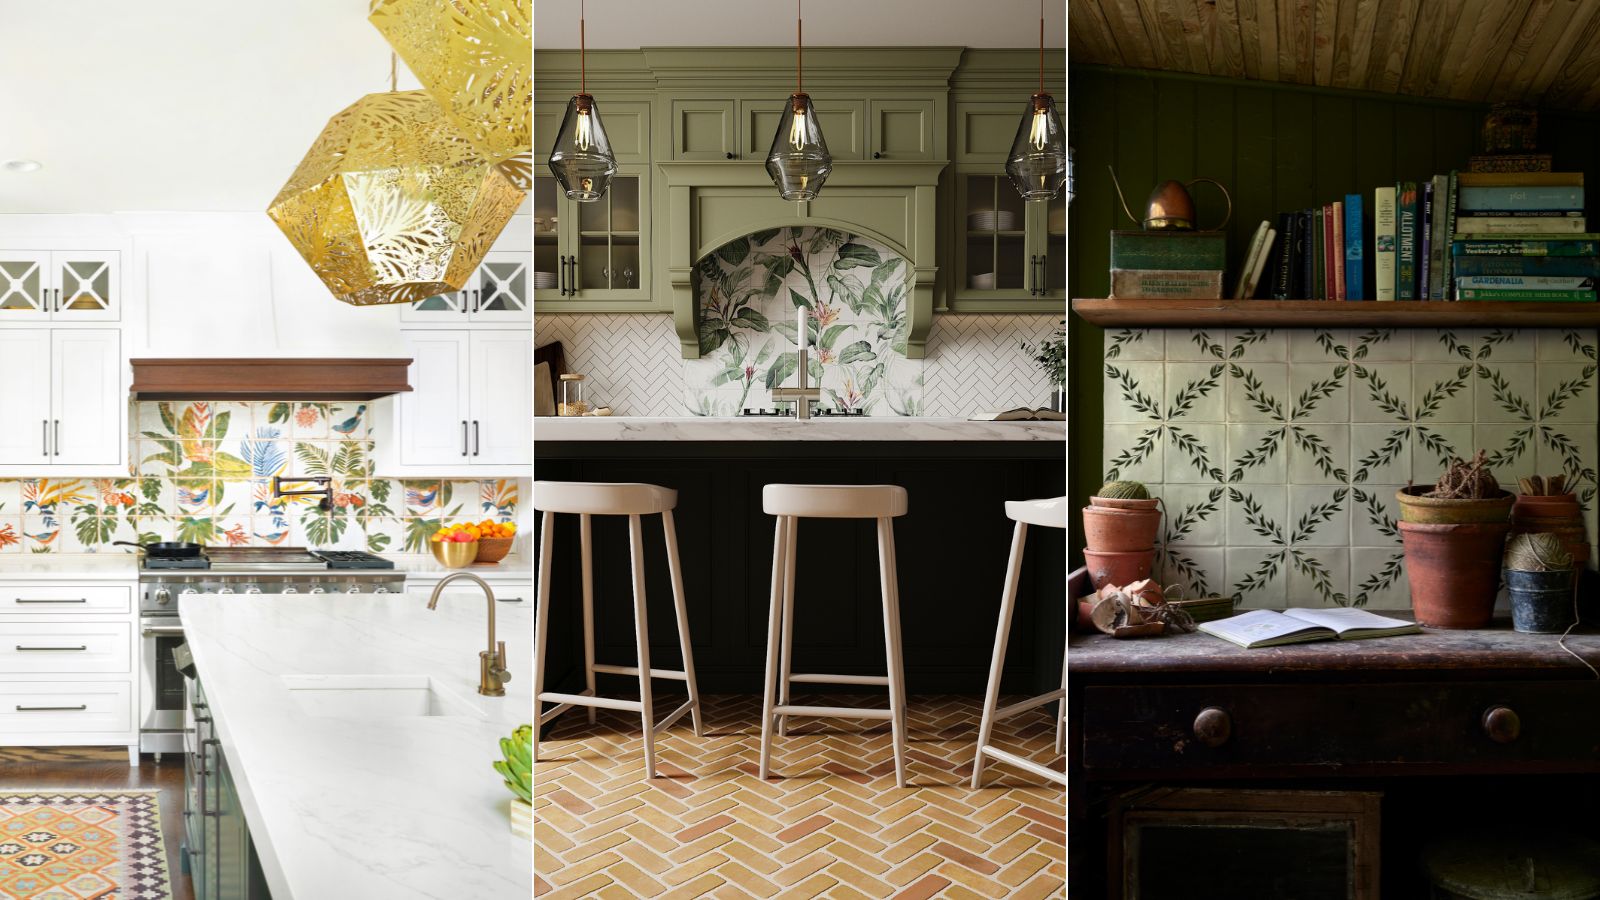
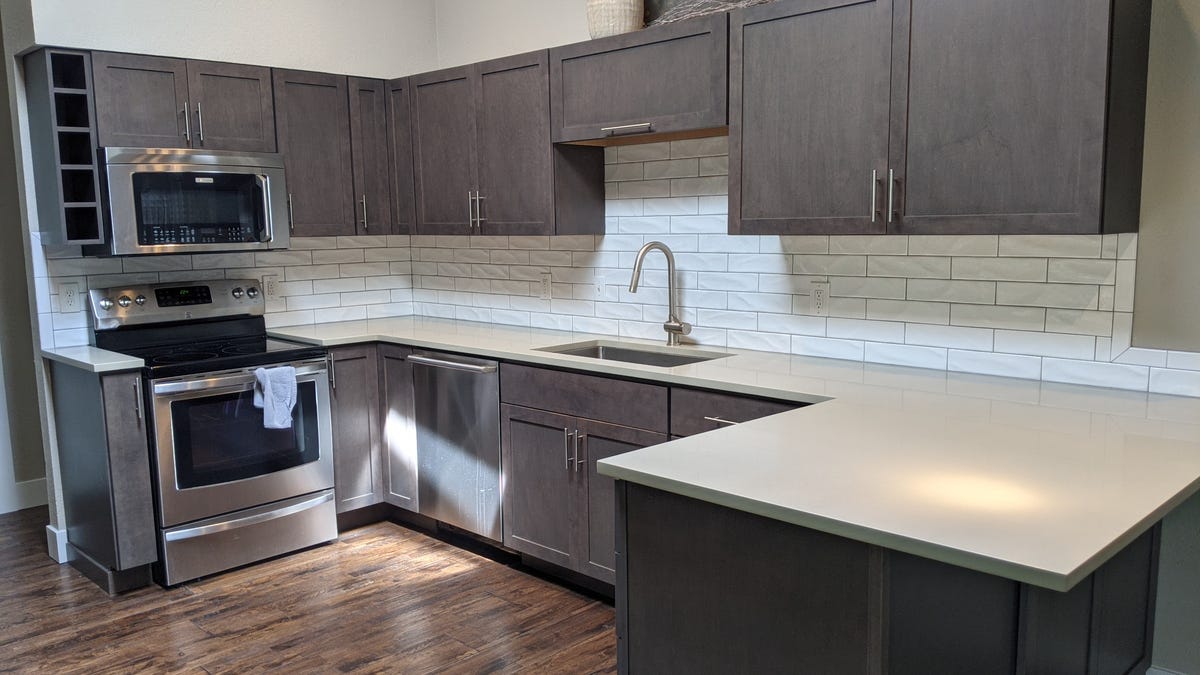
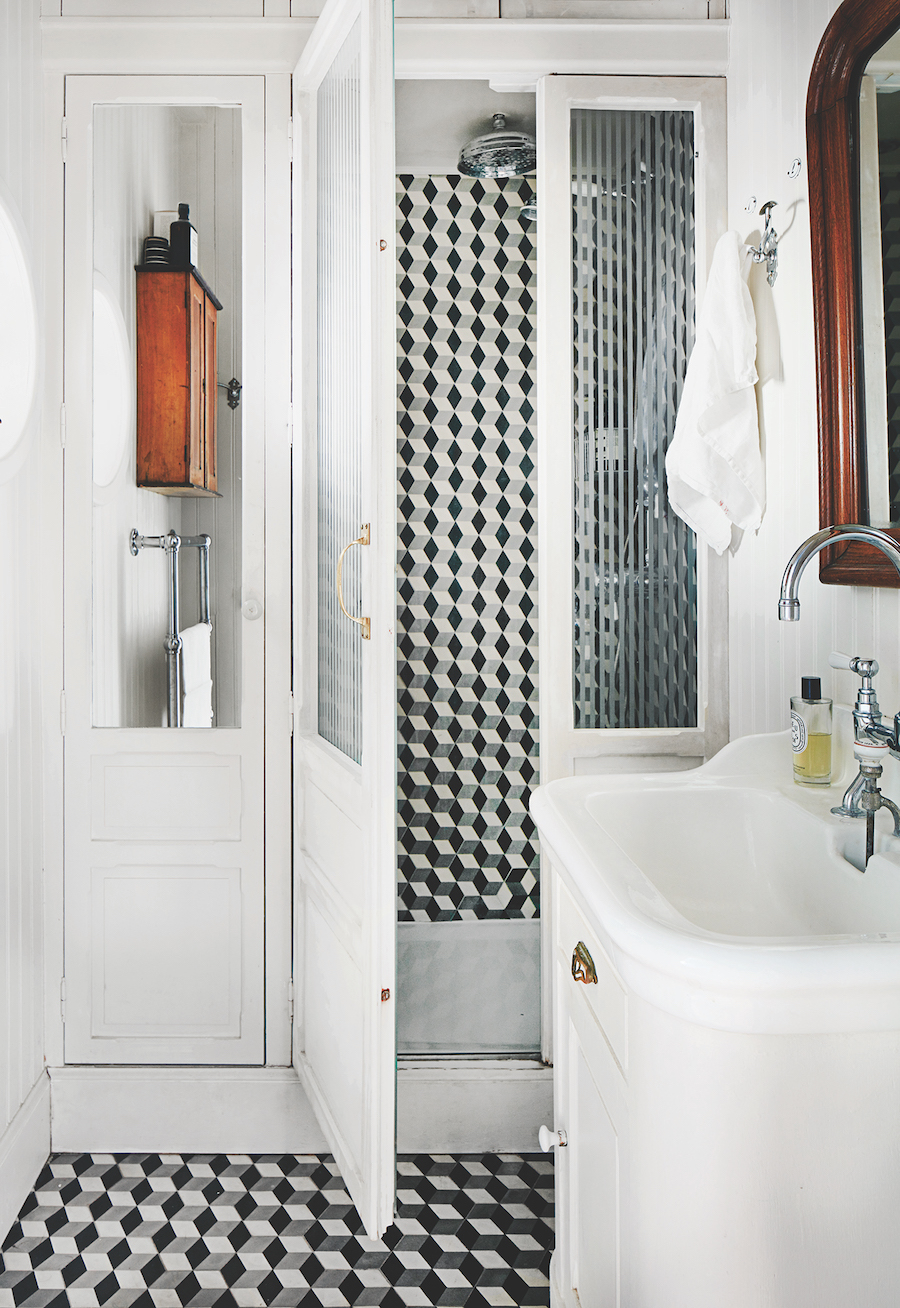
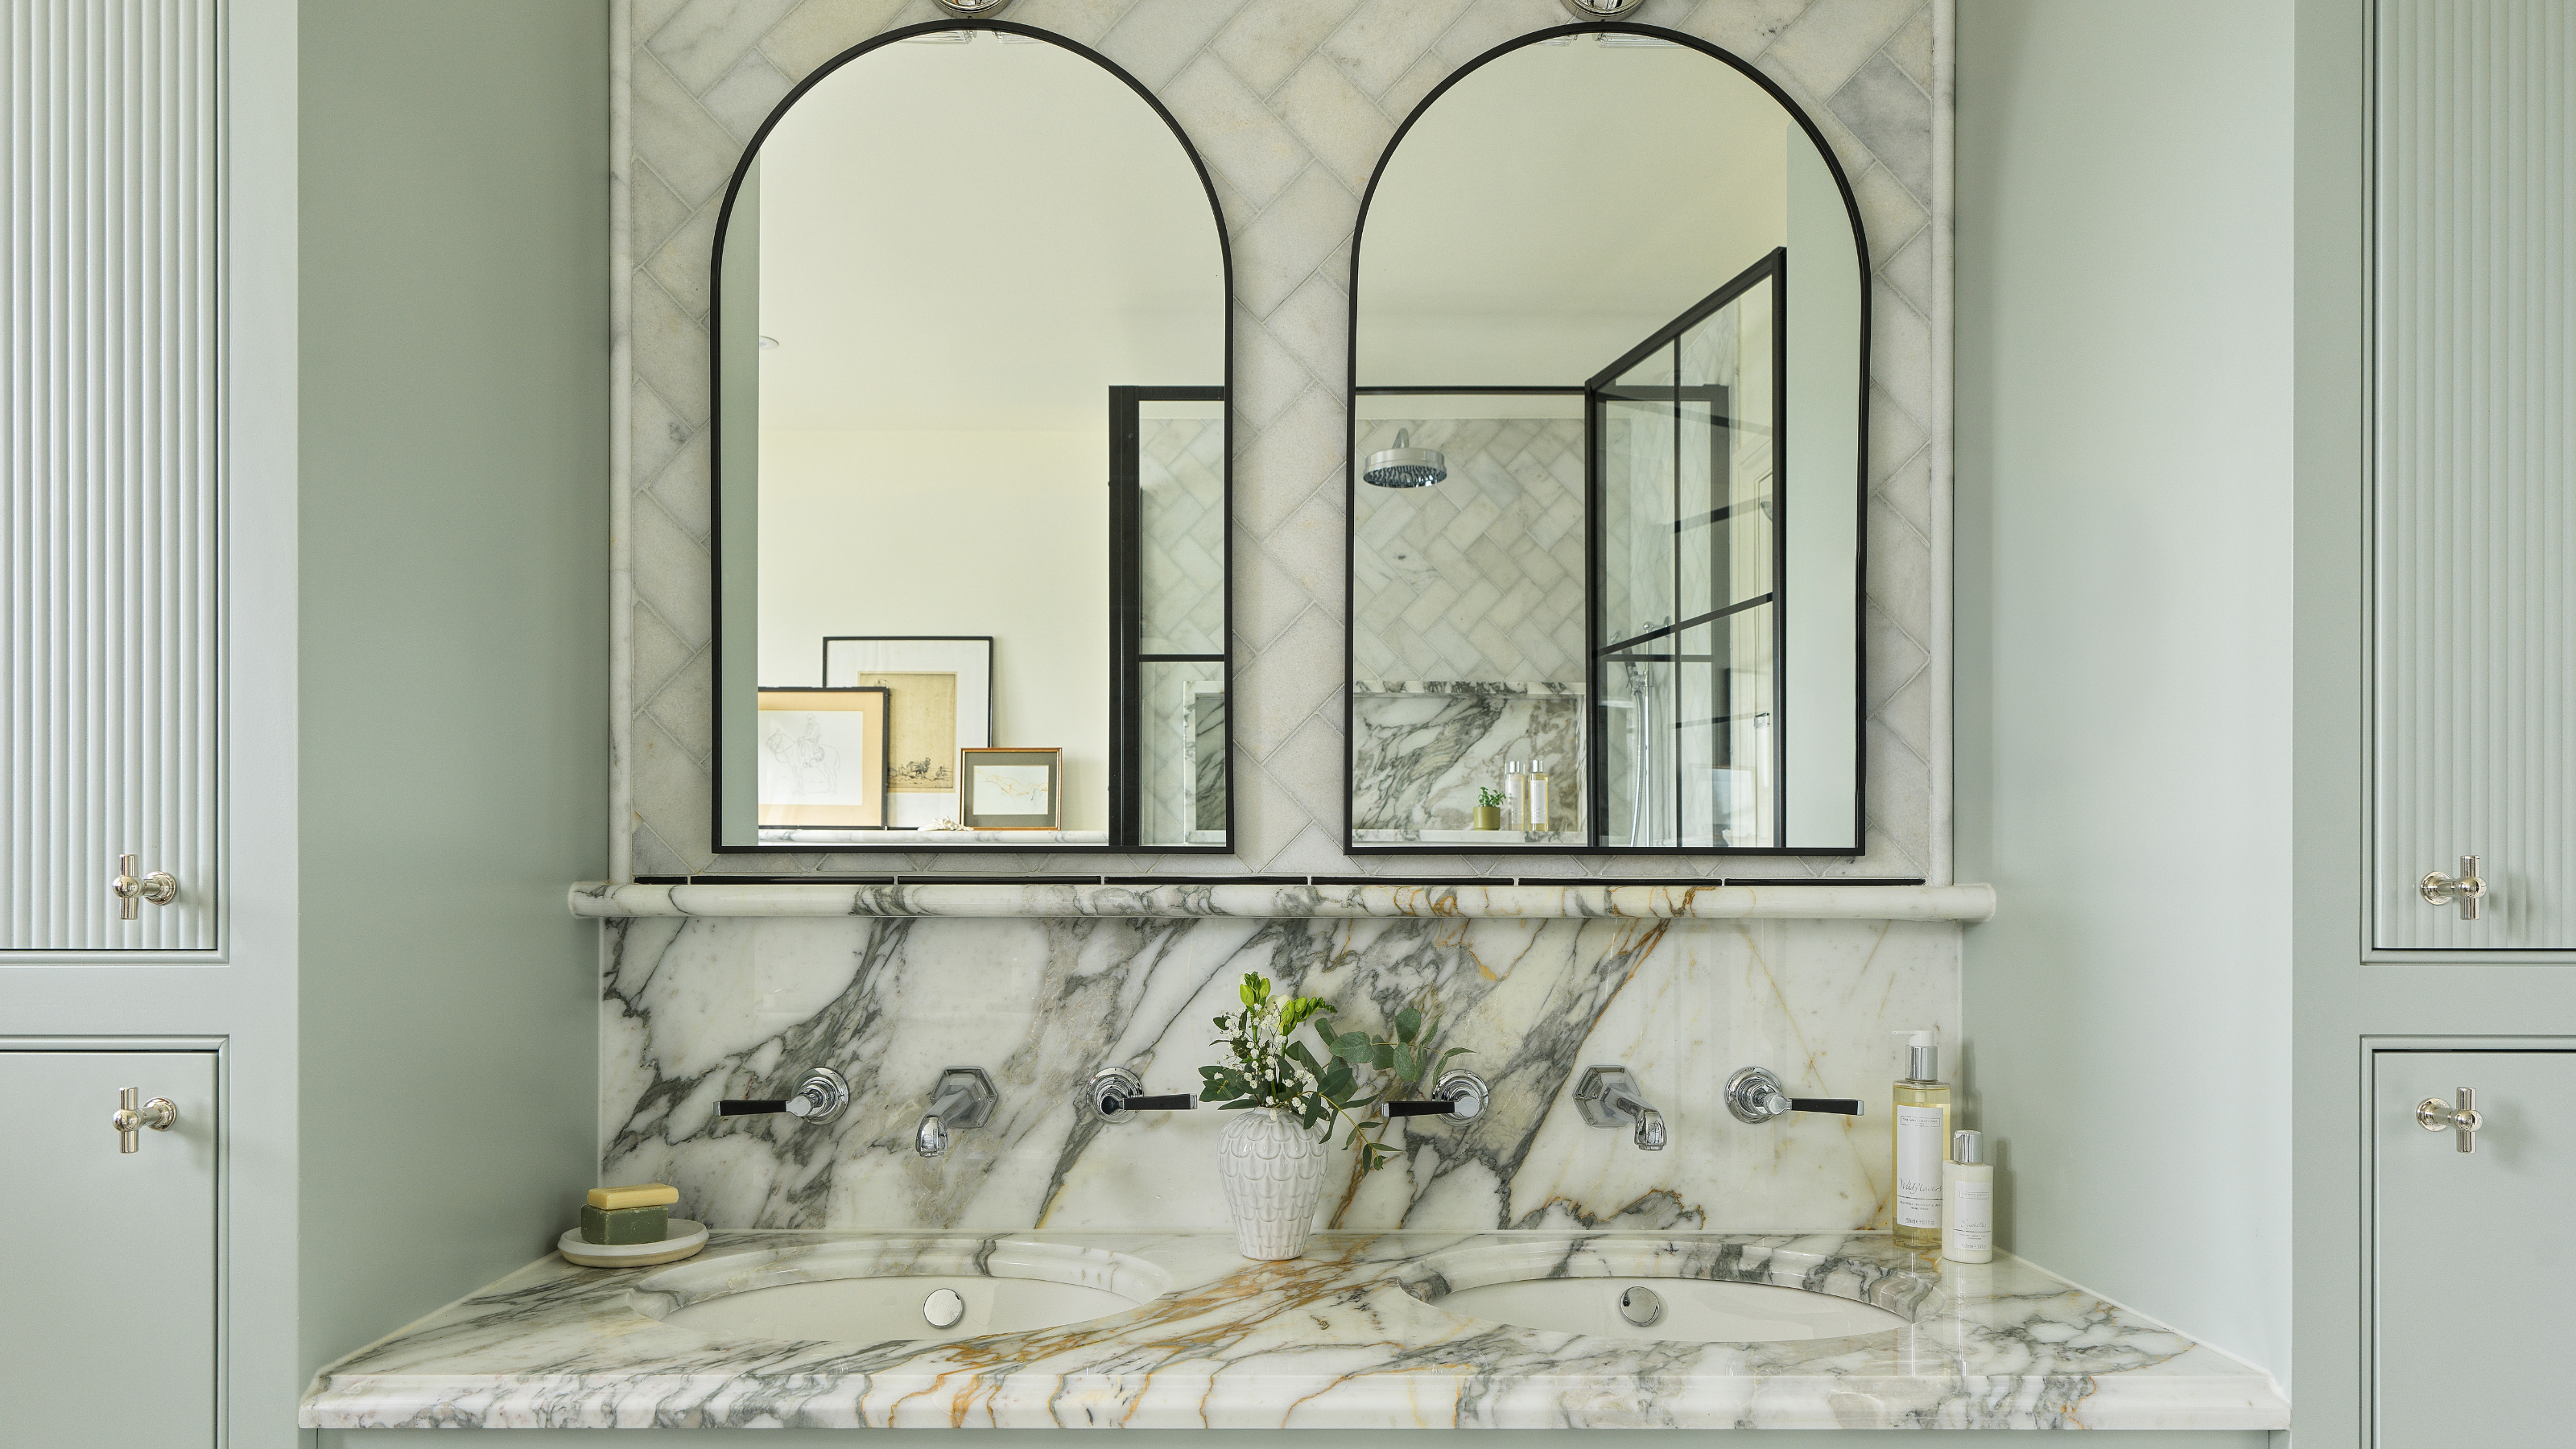
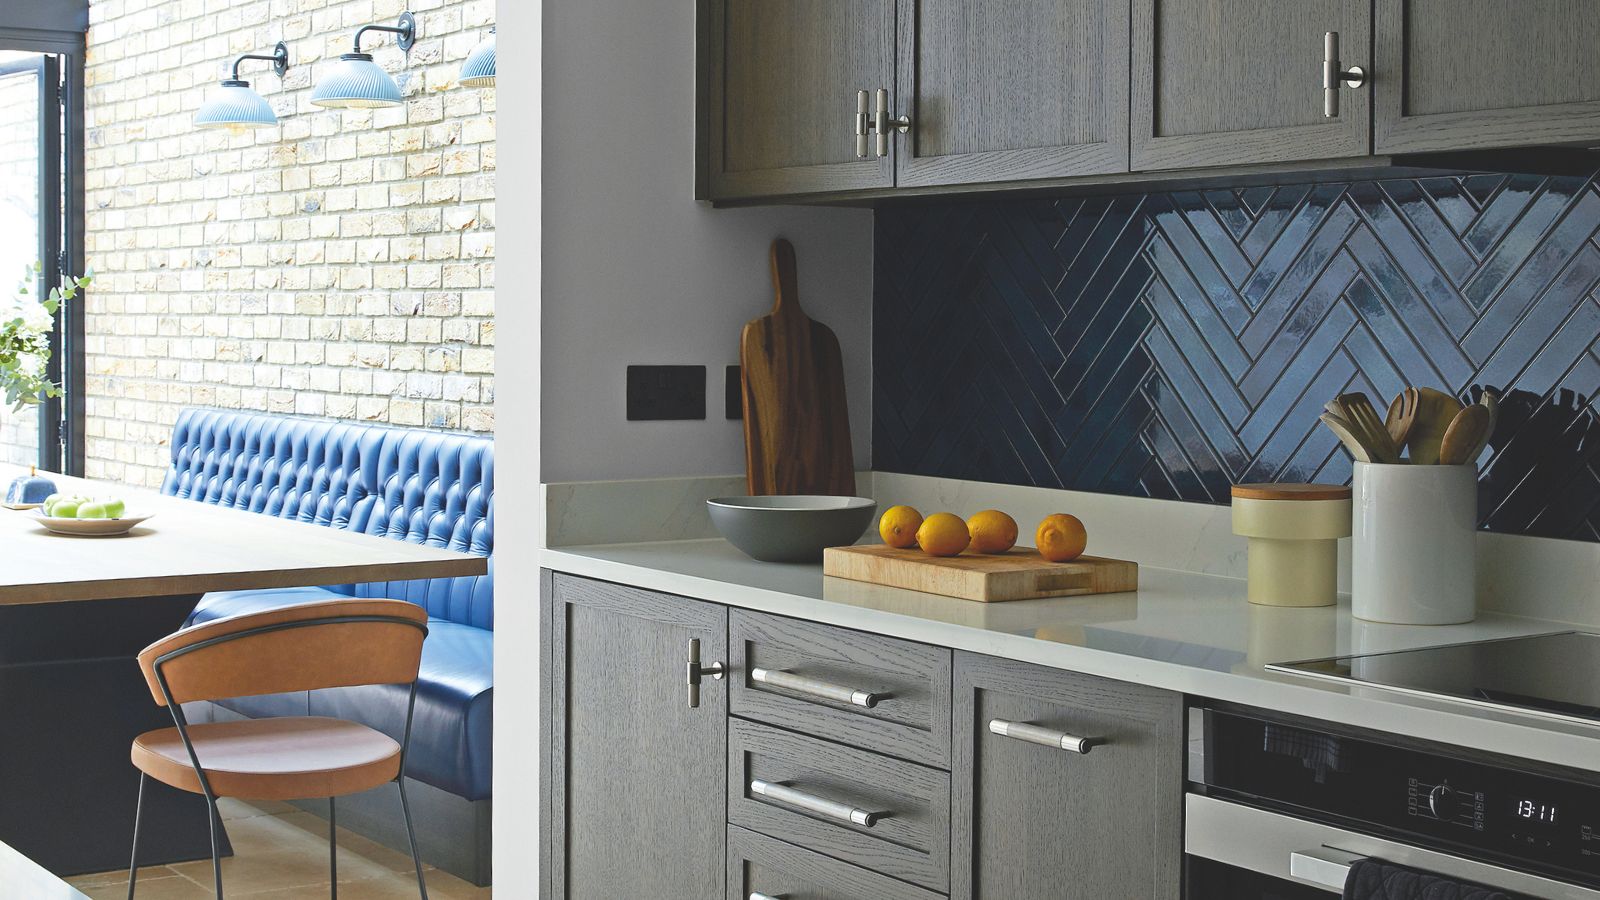
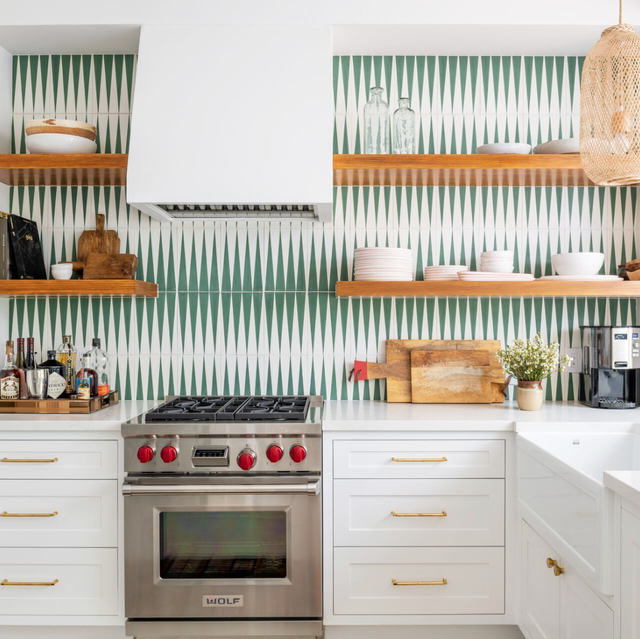
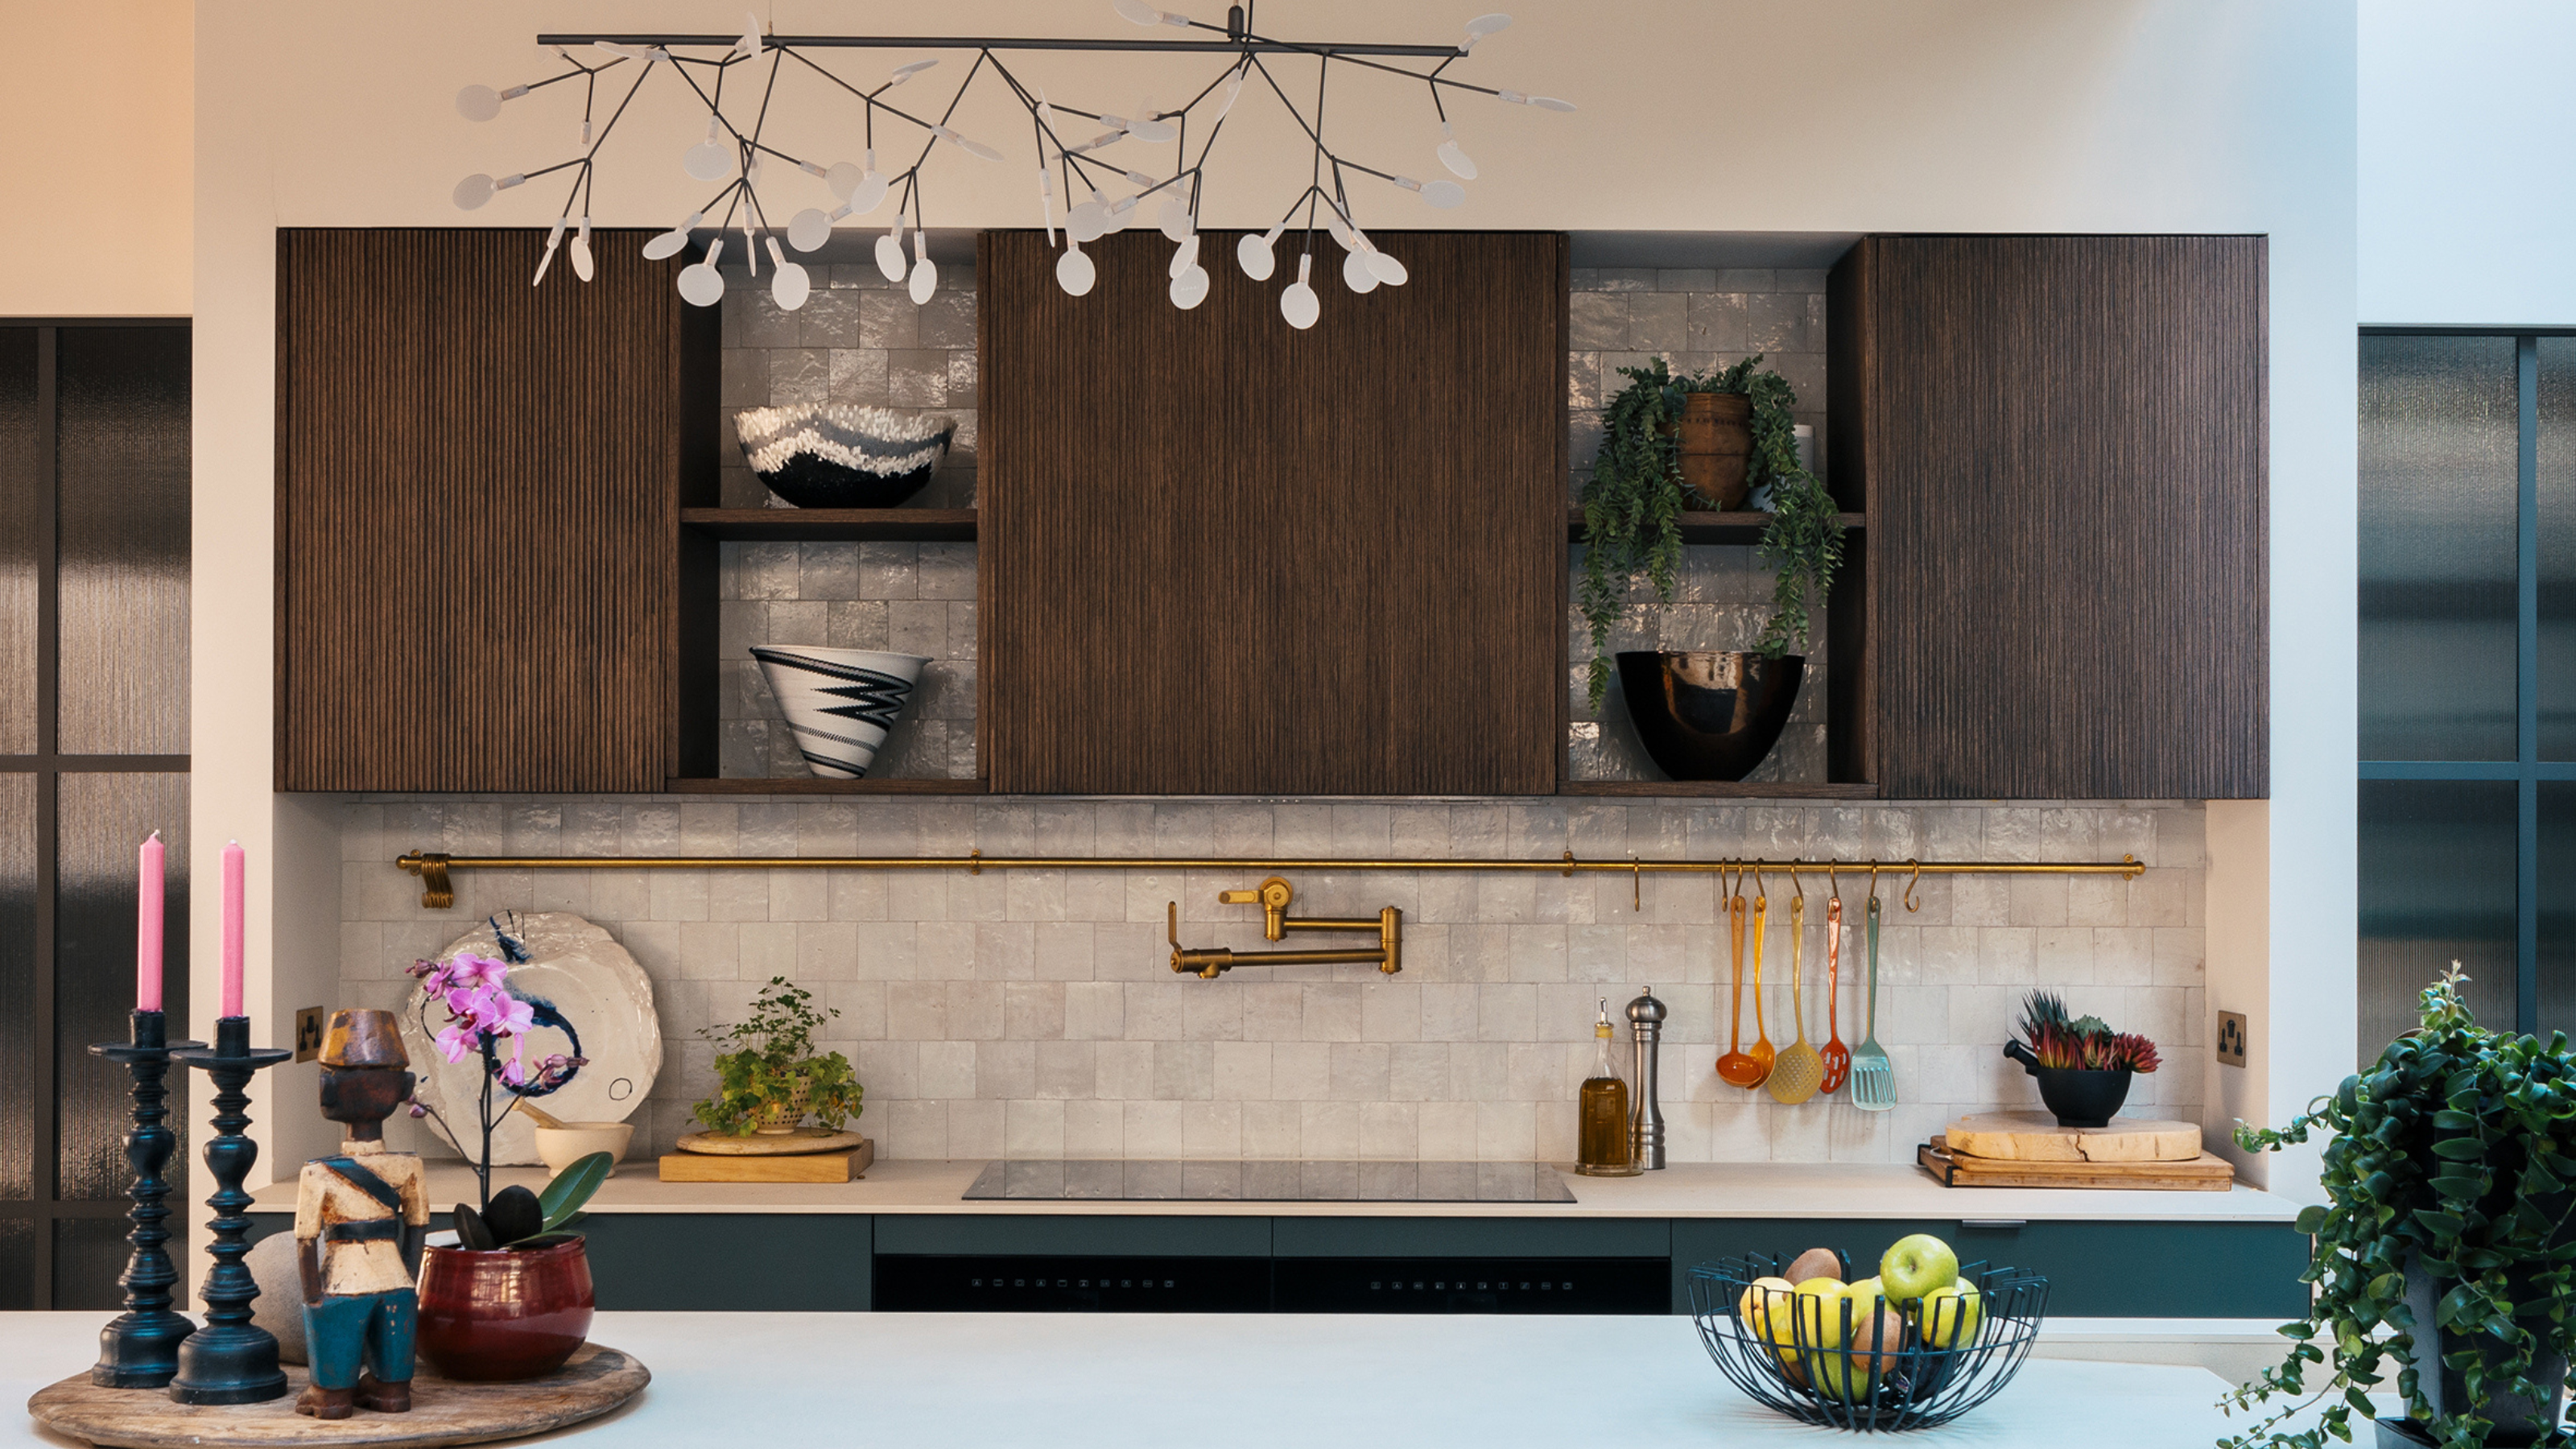
John Geraghty notes that the entire process typically takes two to four days, with much of this time dedicated to the drying periods for mortar, grout, and sealant. The article also advises on backsplash size, suggesting that tiling the entire area behind the worktop, up to the upper wall-hung cupboards, and even the sides of adjacent cupboards, creates a more complete and impactful look. Linda encourages creativity in tile design, recommending experimentation with various sizes, shapes, patterns, textures, and colors, such as scallops, octagons, mosaics, or different arrangements of rectangular tiles like vertical, herringbone, or stacked patterns, to achieve a unique and individual aesthetic.
#KitchenBacksplash #TileInstallation #DIYHomeImprovement #KitchenRenovation #InteriorDesign #HomeDecor #TilingTips #KitchenTiles #GroutApplication #KitchenBacksplash #TileInstallation #DIYHomeImprovement #KitchenRenovation #InteriorDesign #HomeDecor #TilingTips #KitchenTiles #GroutApplication
0 comment in total
You may also like
Transform the look of your kitchen with a new backsplash | Produced by Seattle Times Marketing

Ditch These Dated Backsplash Trends For Timeless Alternatives
35 kitchen backsplash ideas for every kind of aesthetic

From preparation to cutting, here's how to lay floor tiles

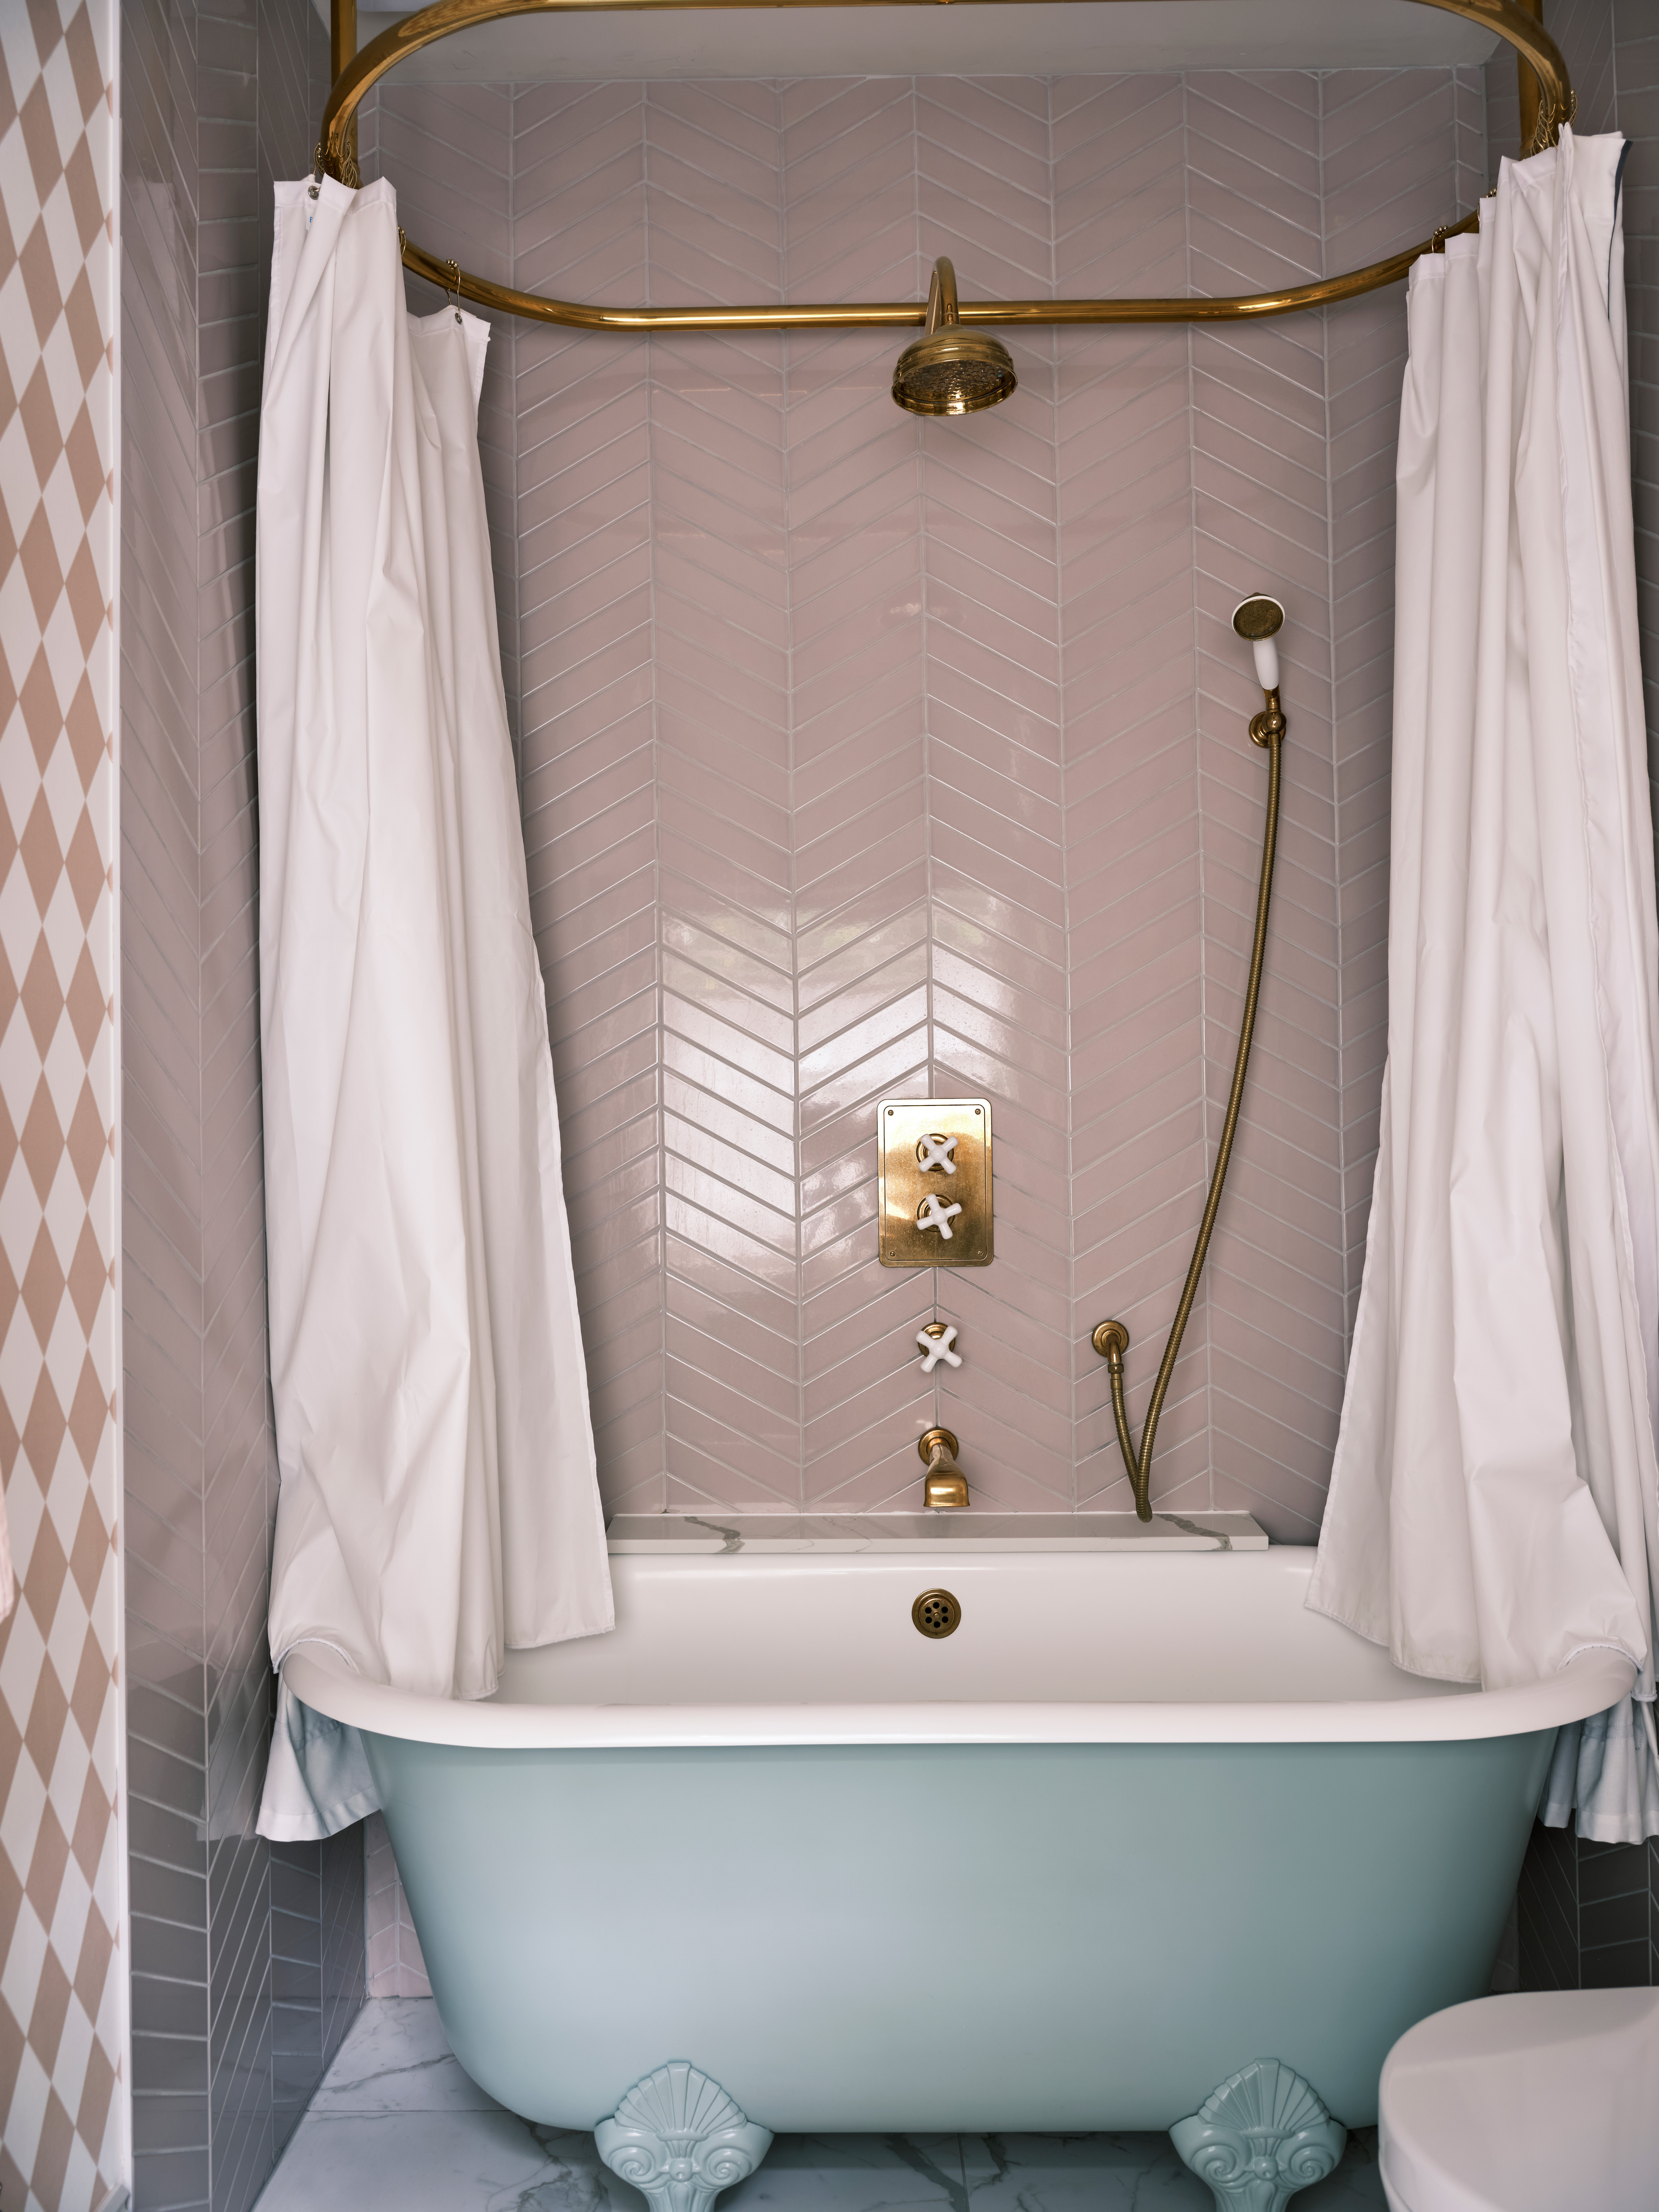
How to tile a bathroom wall – 10 steps to give your space a DIY refresh
20 Amazing Kitchen Backsplash Ideas

Before You Splurge on Backsplash Tile, Consider This Clever Hack
3 on-trend ways to create a tile mural kitchen backsplash

These Are the Best Tile Options for Your Kitchen Backsplash
DIY backsplash makes a big impact on a tight budget

How to Tile a Bathroom Floor Yourself
75 Kitchen Tile Backsplash Ideas for the Ultimate Culinary Refresh
Install Tile Backerboard

5 Bathroom Backsplash Materials Designers Tend to Avoid for Practical Reasons — And What They're Choosing Instead When Renovating
Kitchen splashback ideas for beautiful wall protection that is packed with style
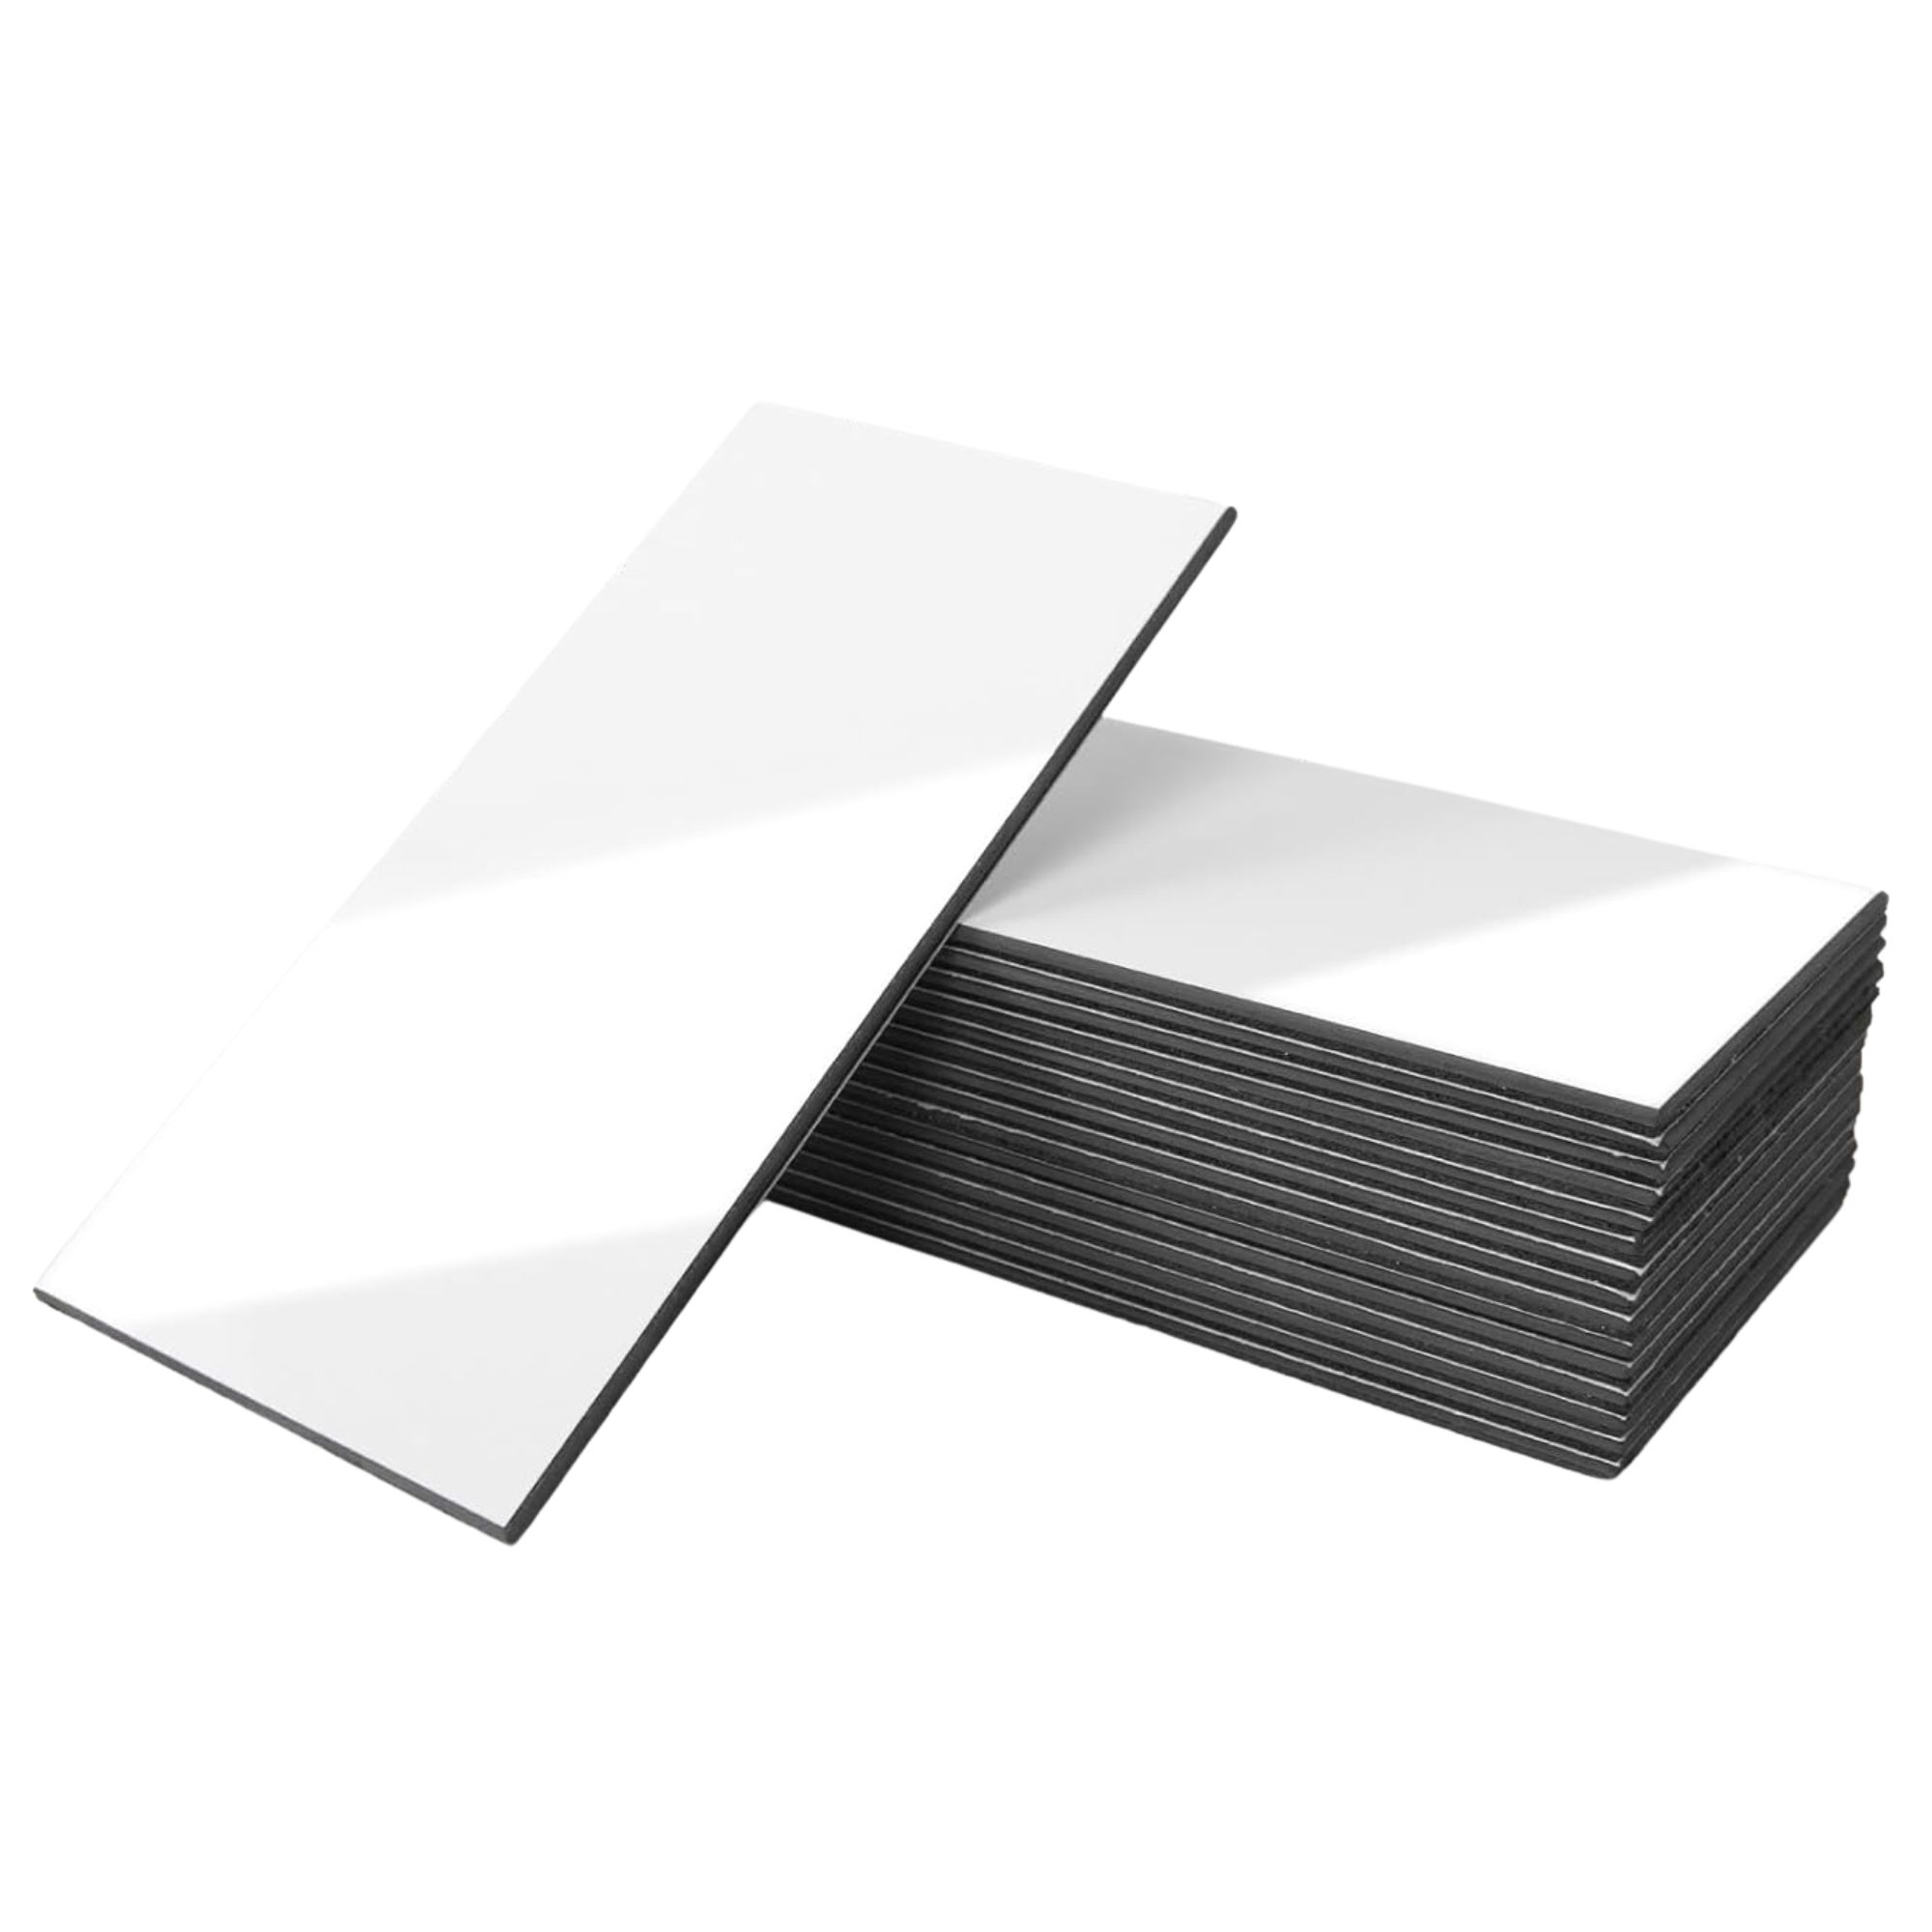
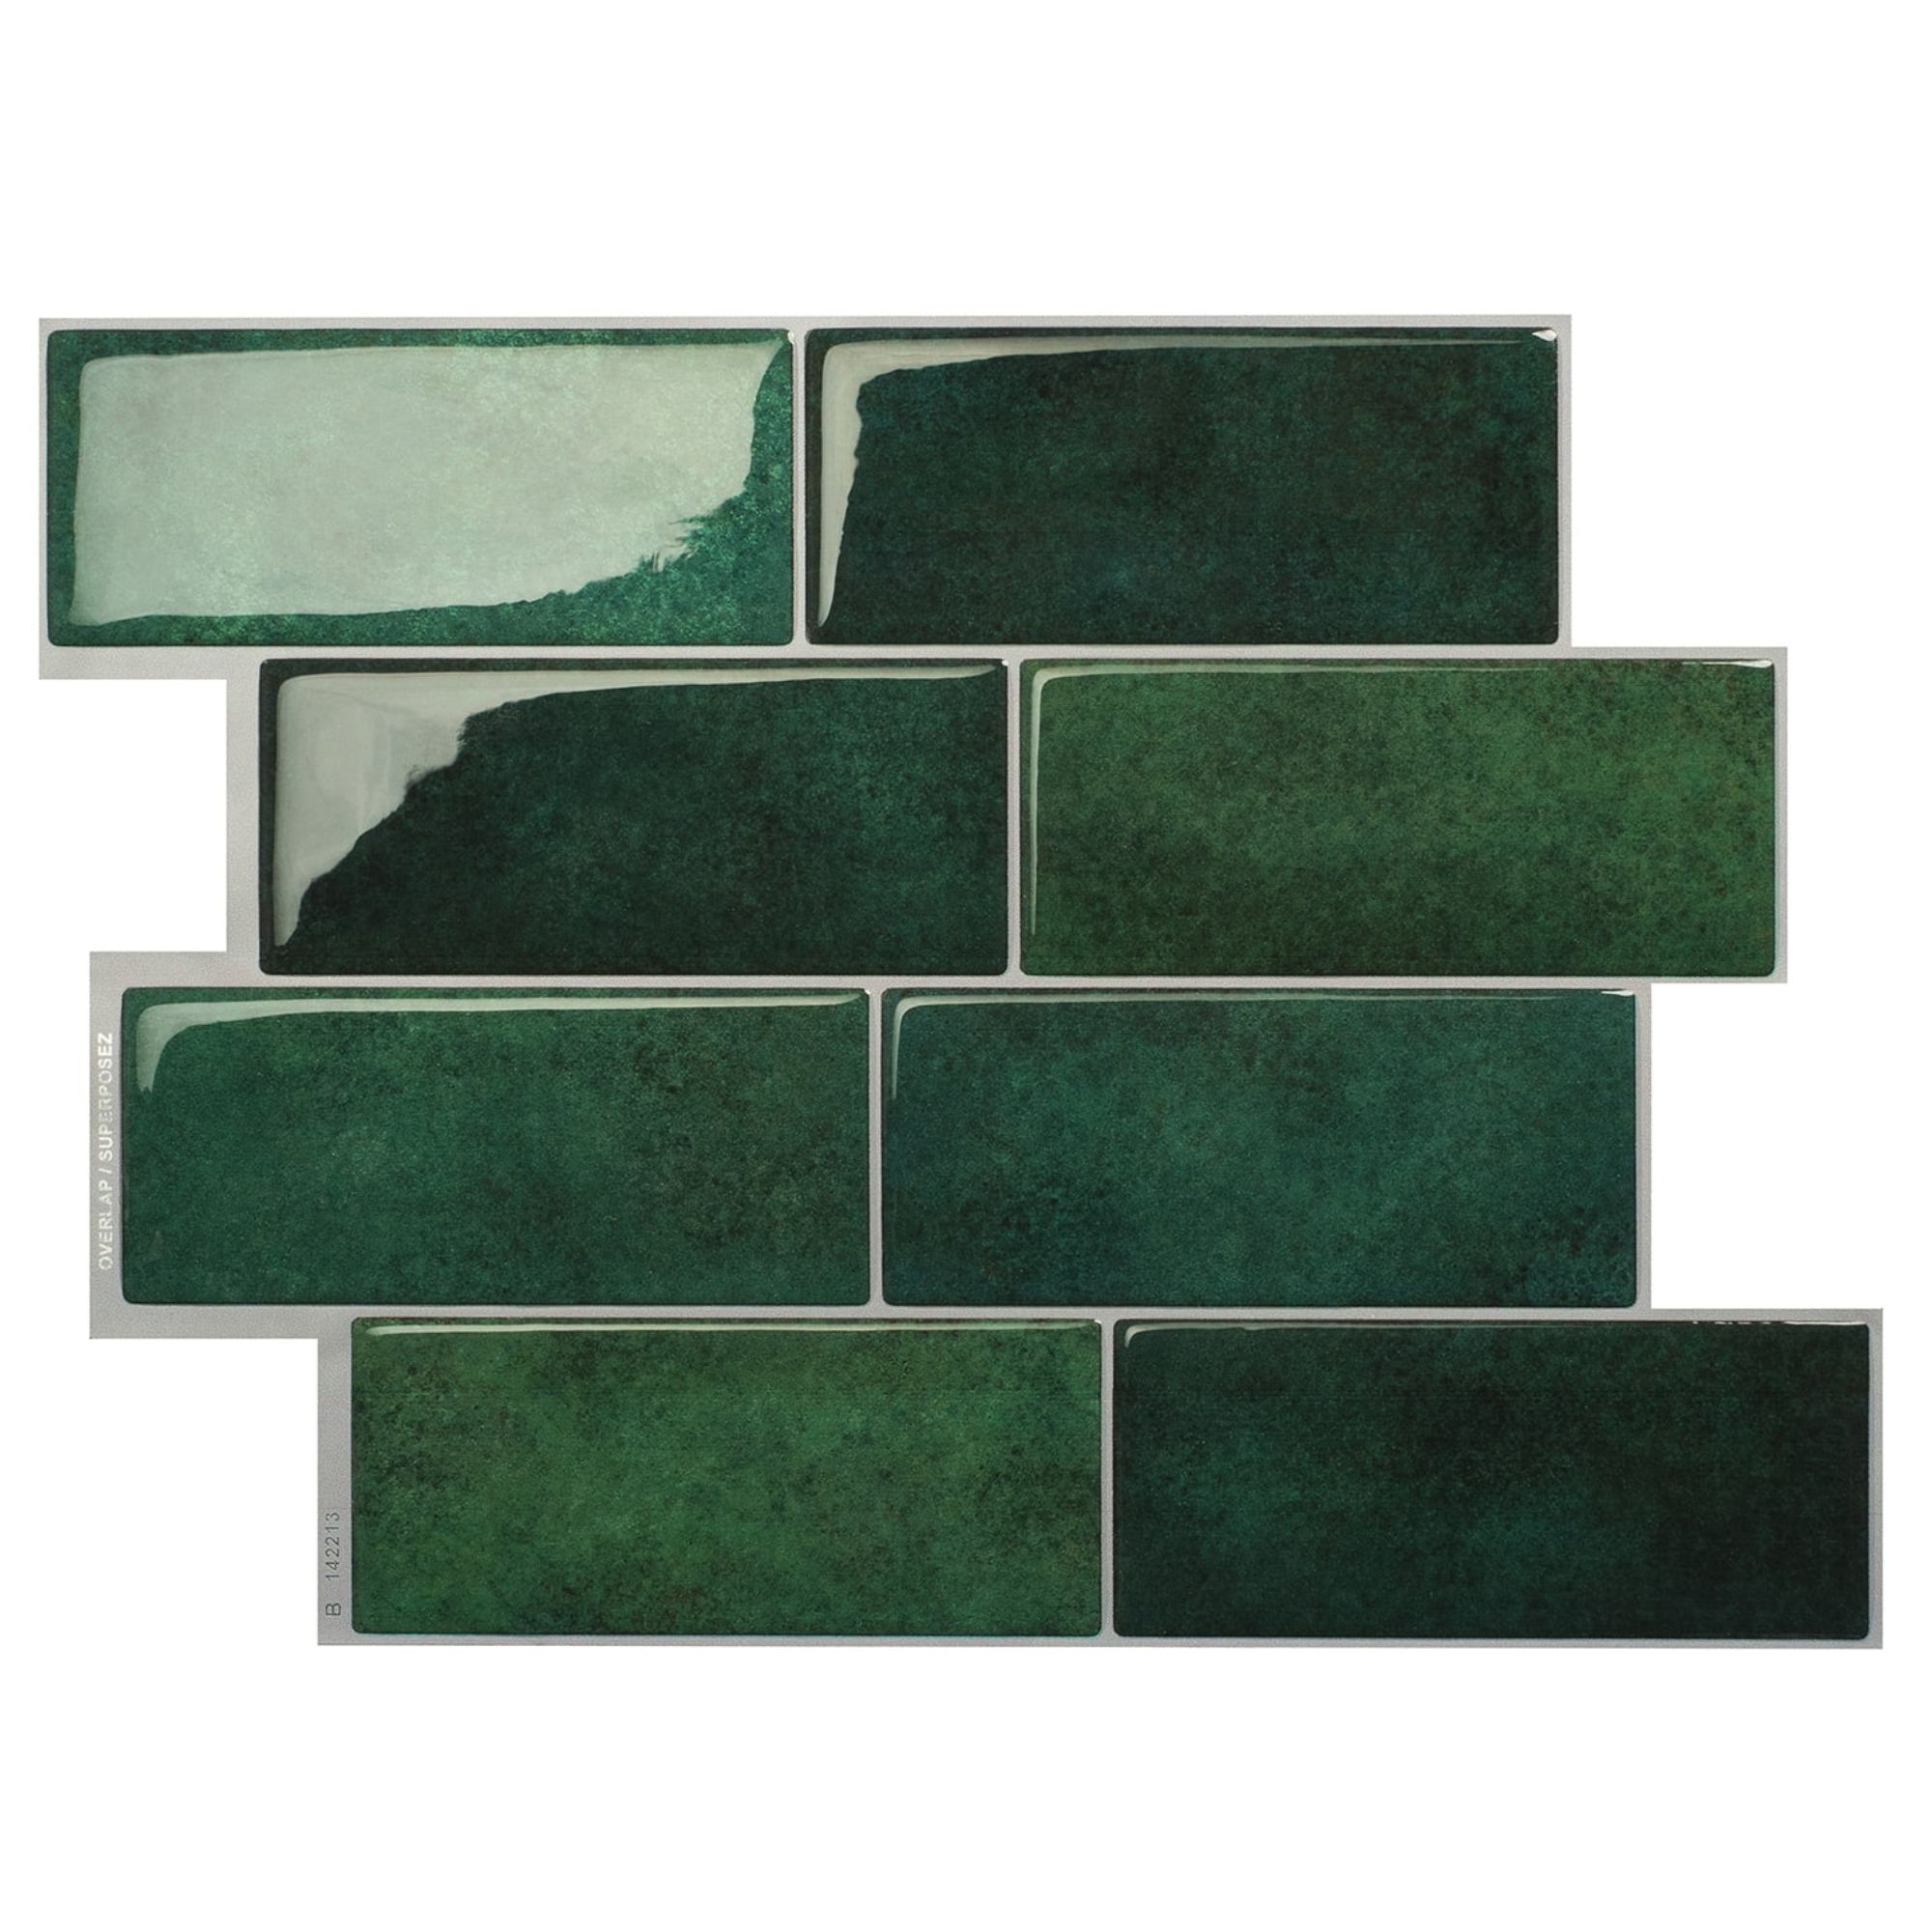
We've spoken to the experts – this is everything you need to know before trying peel and stick tiles
Kitchen tile makeover: Use Smart Tiles to update your backsplash

This Striking Geometric Backsplash Is Just the Thing to Upgrade Your Kitchen

5 Problems With Tiled Backsplashes in Kitchens That No One Ever Talks About
Backsplash tips for Arizona homeowners going into 2025