1/6
How to tile a bathroom wall – 10 steps to give your space a DIY refresh
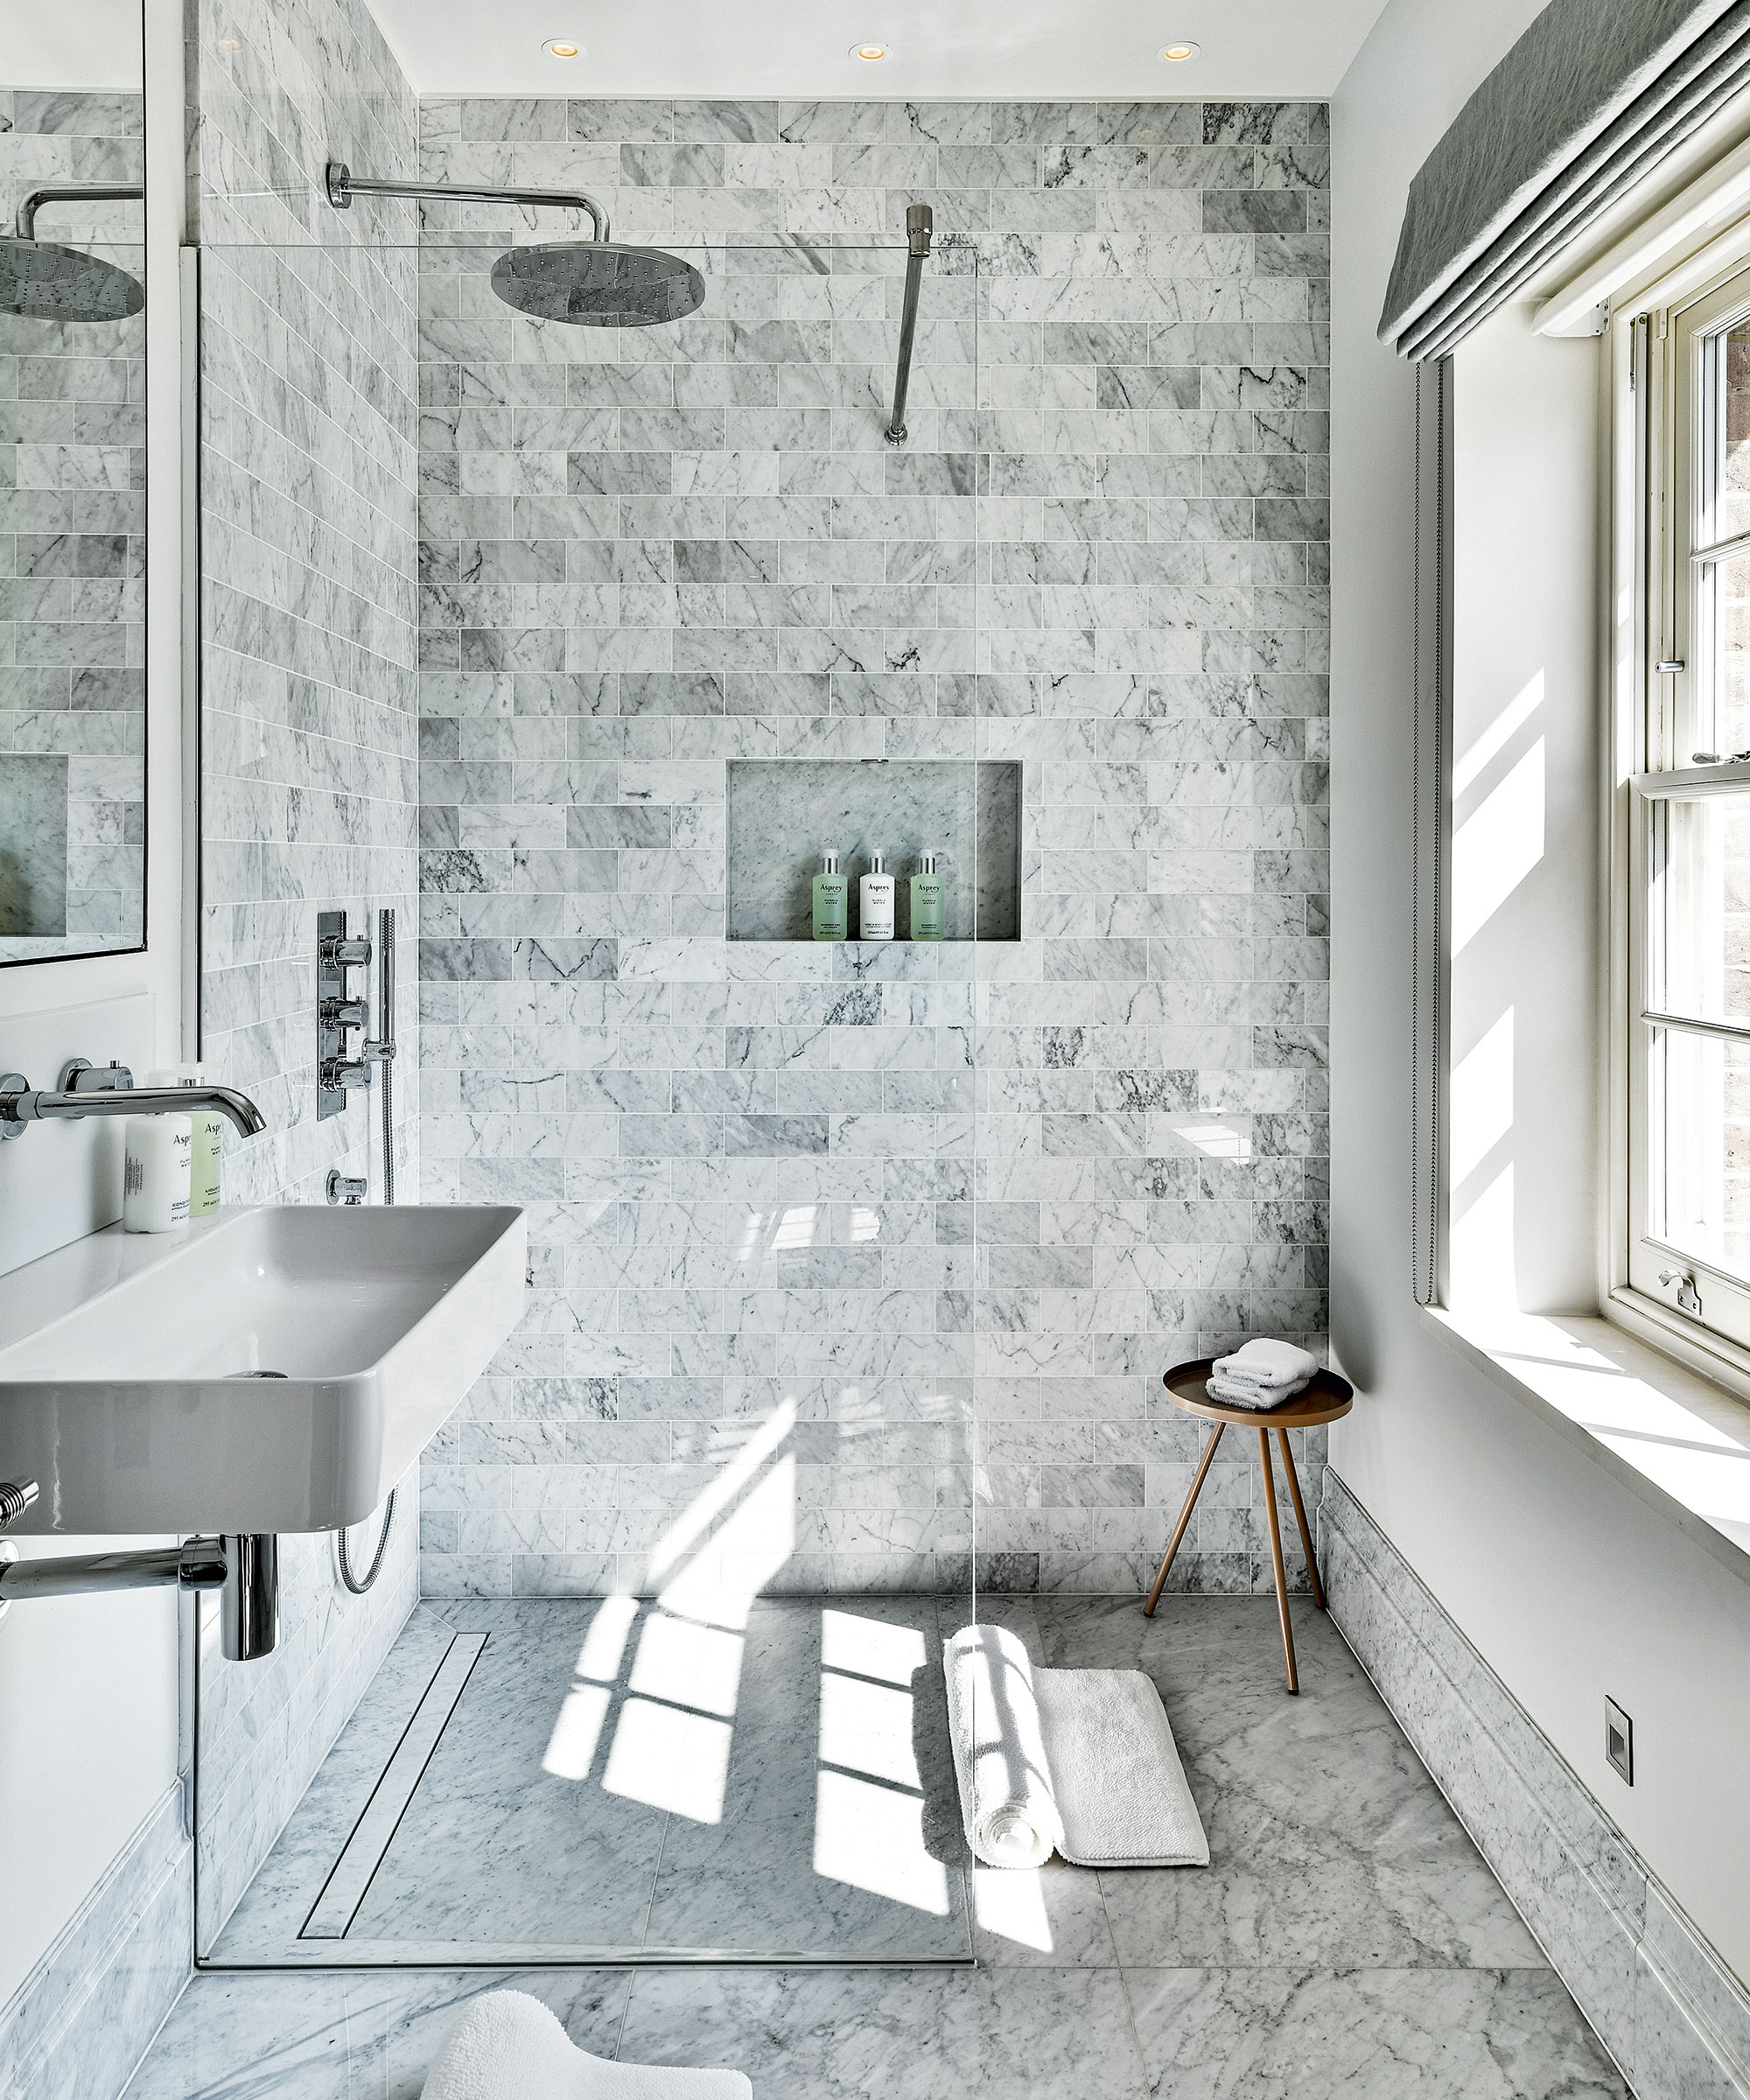
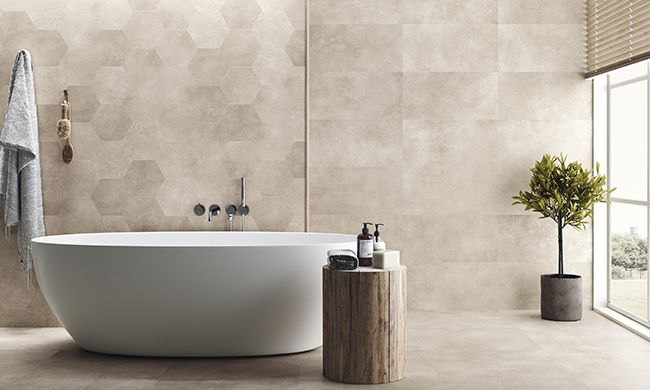
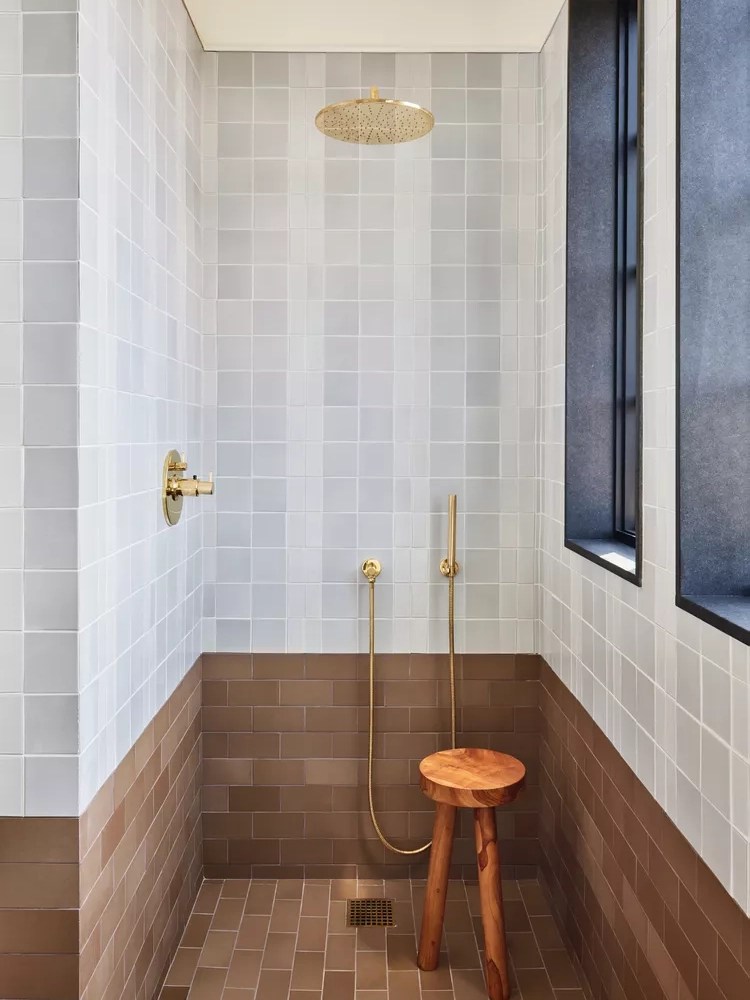
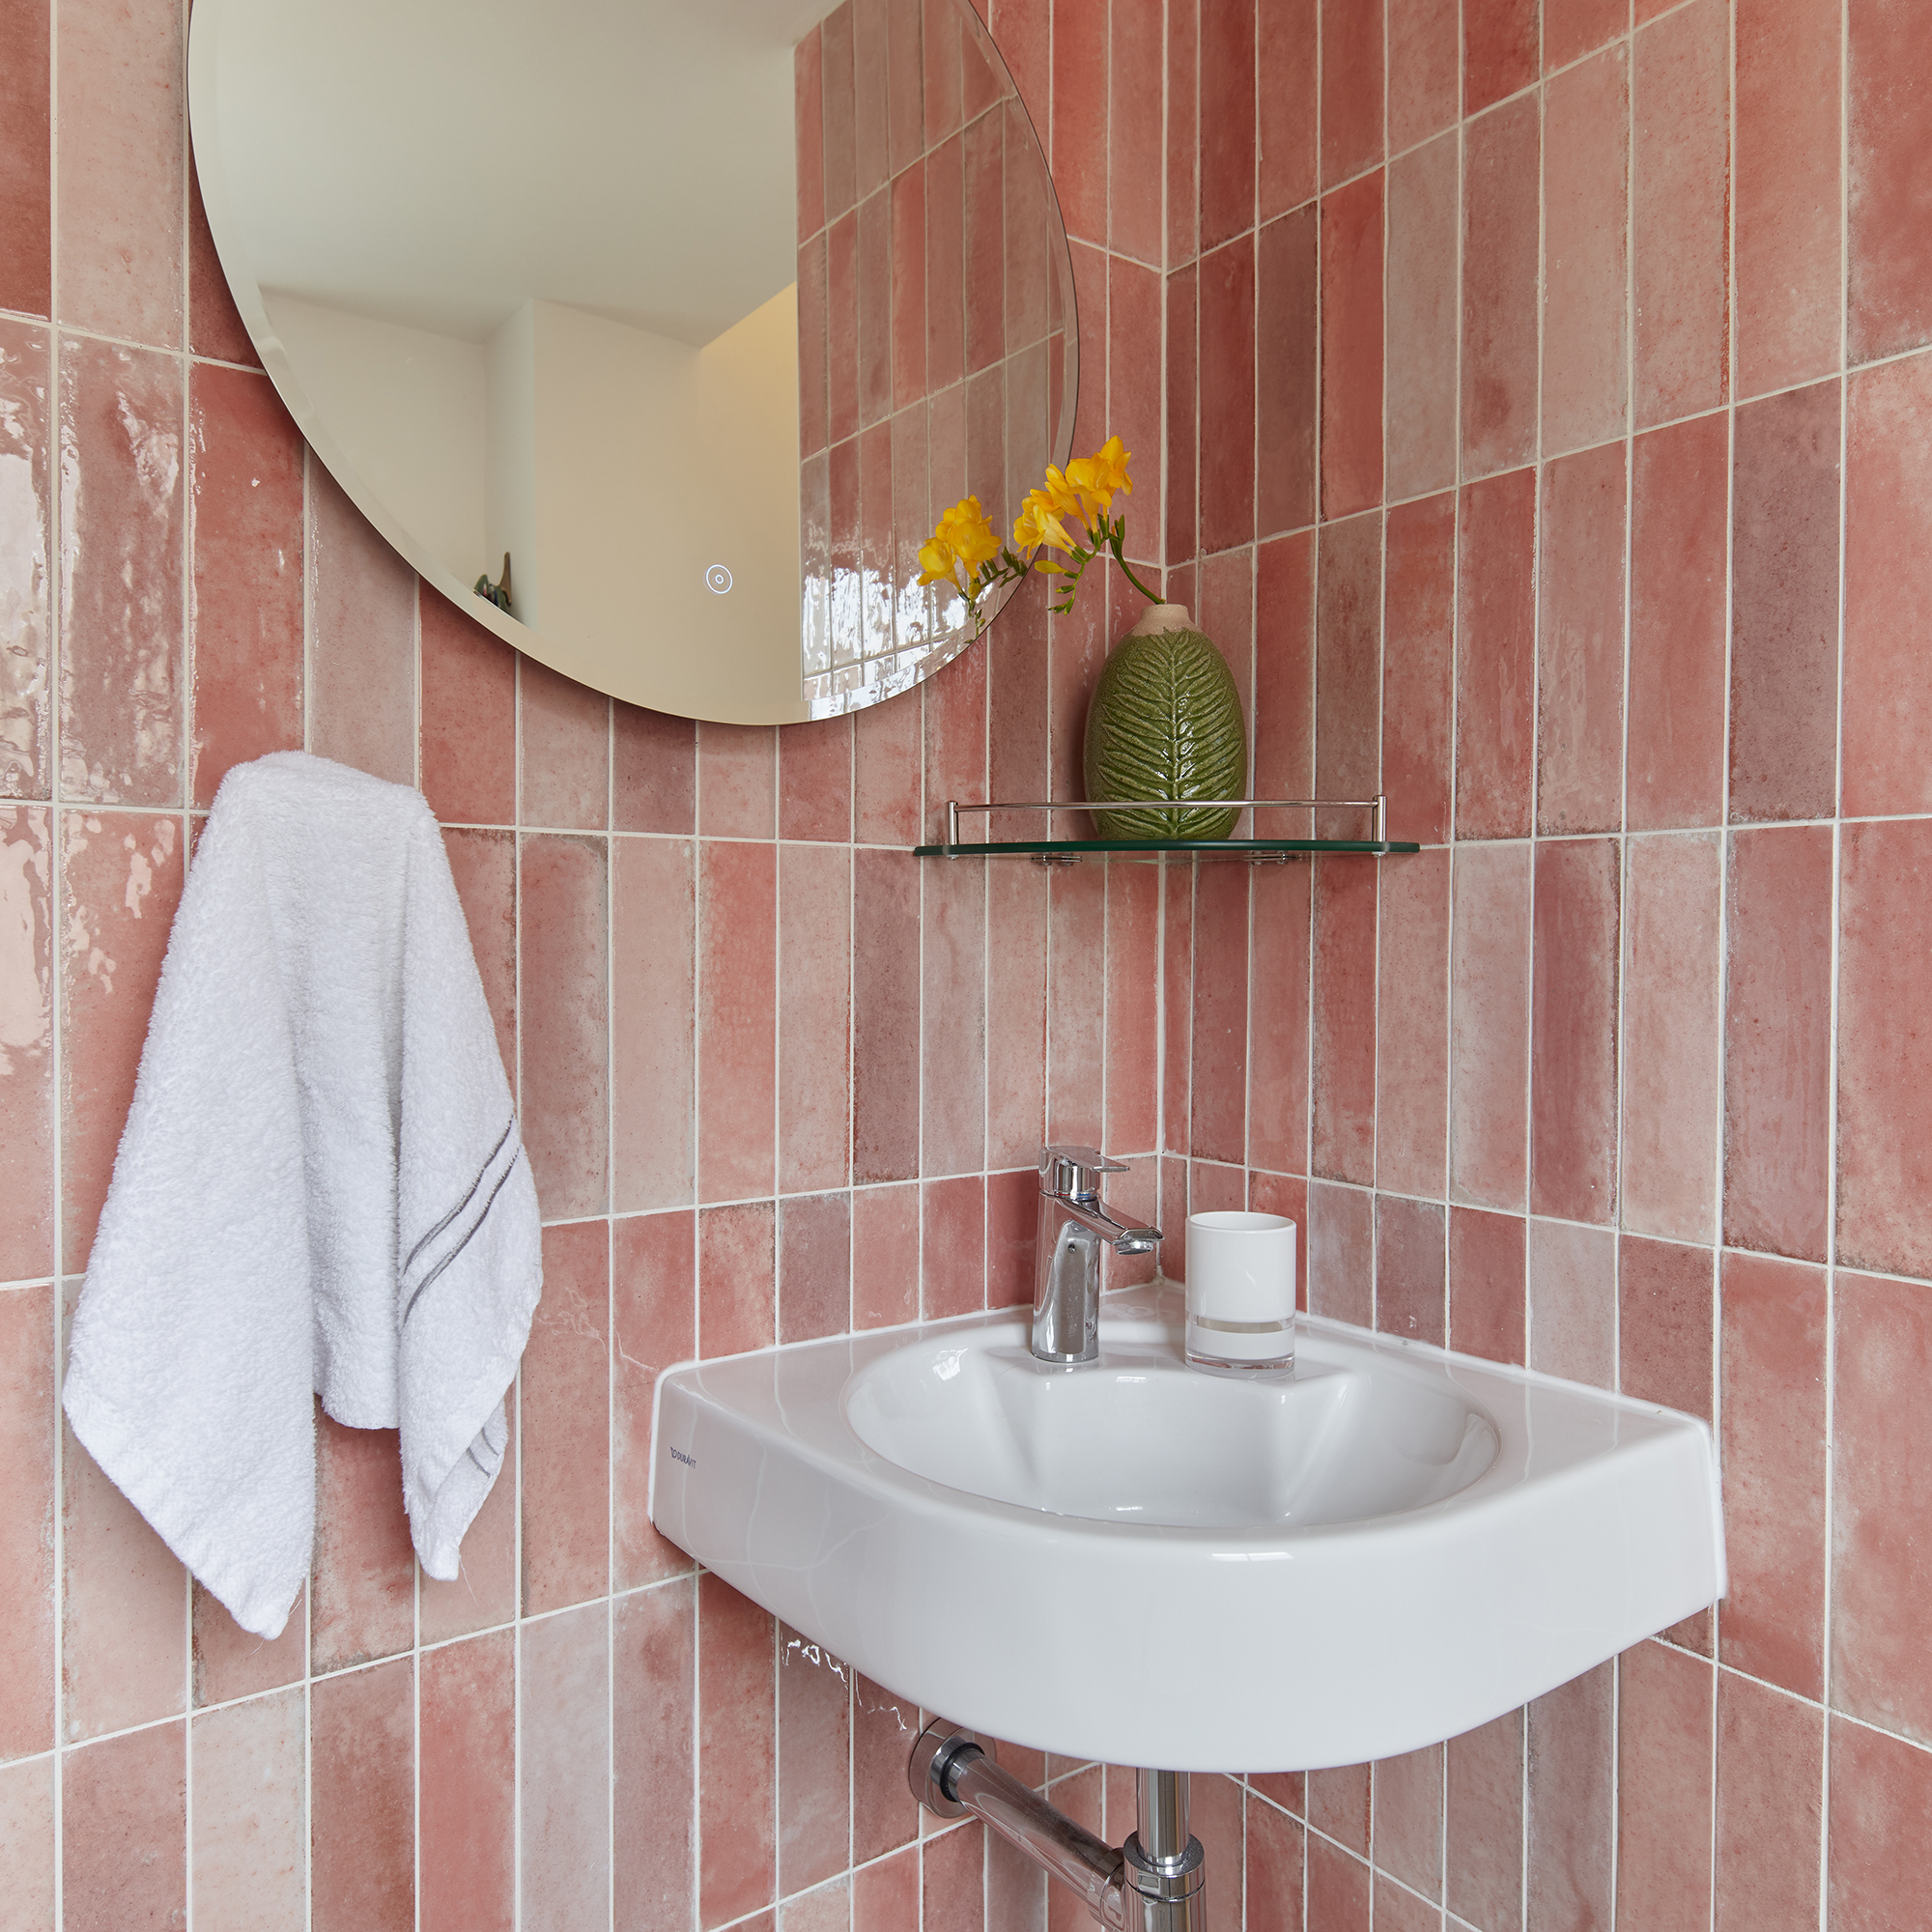
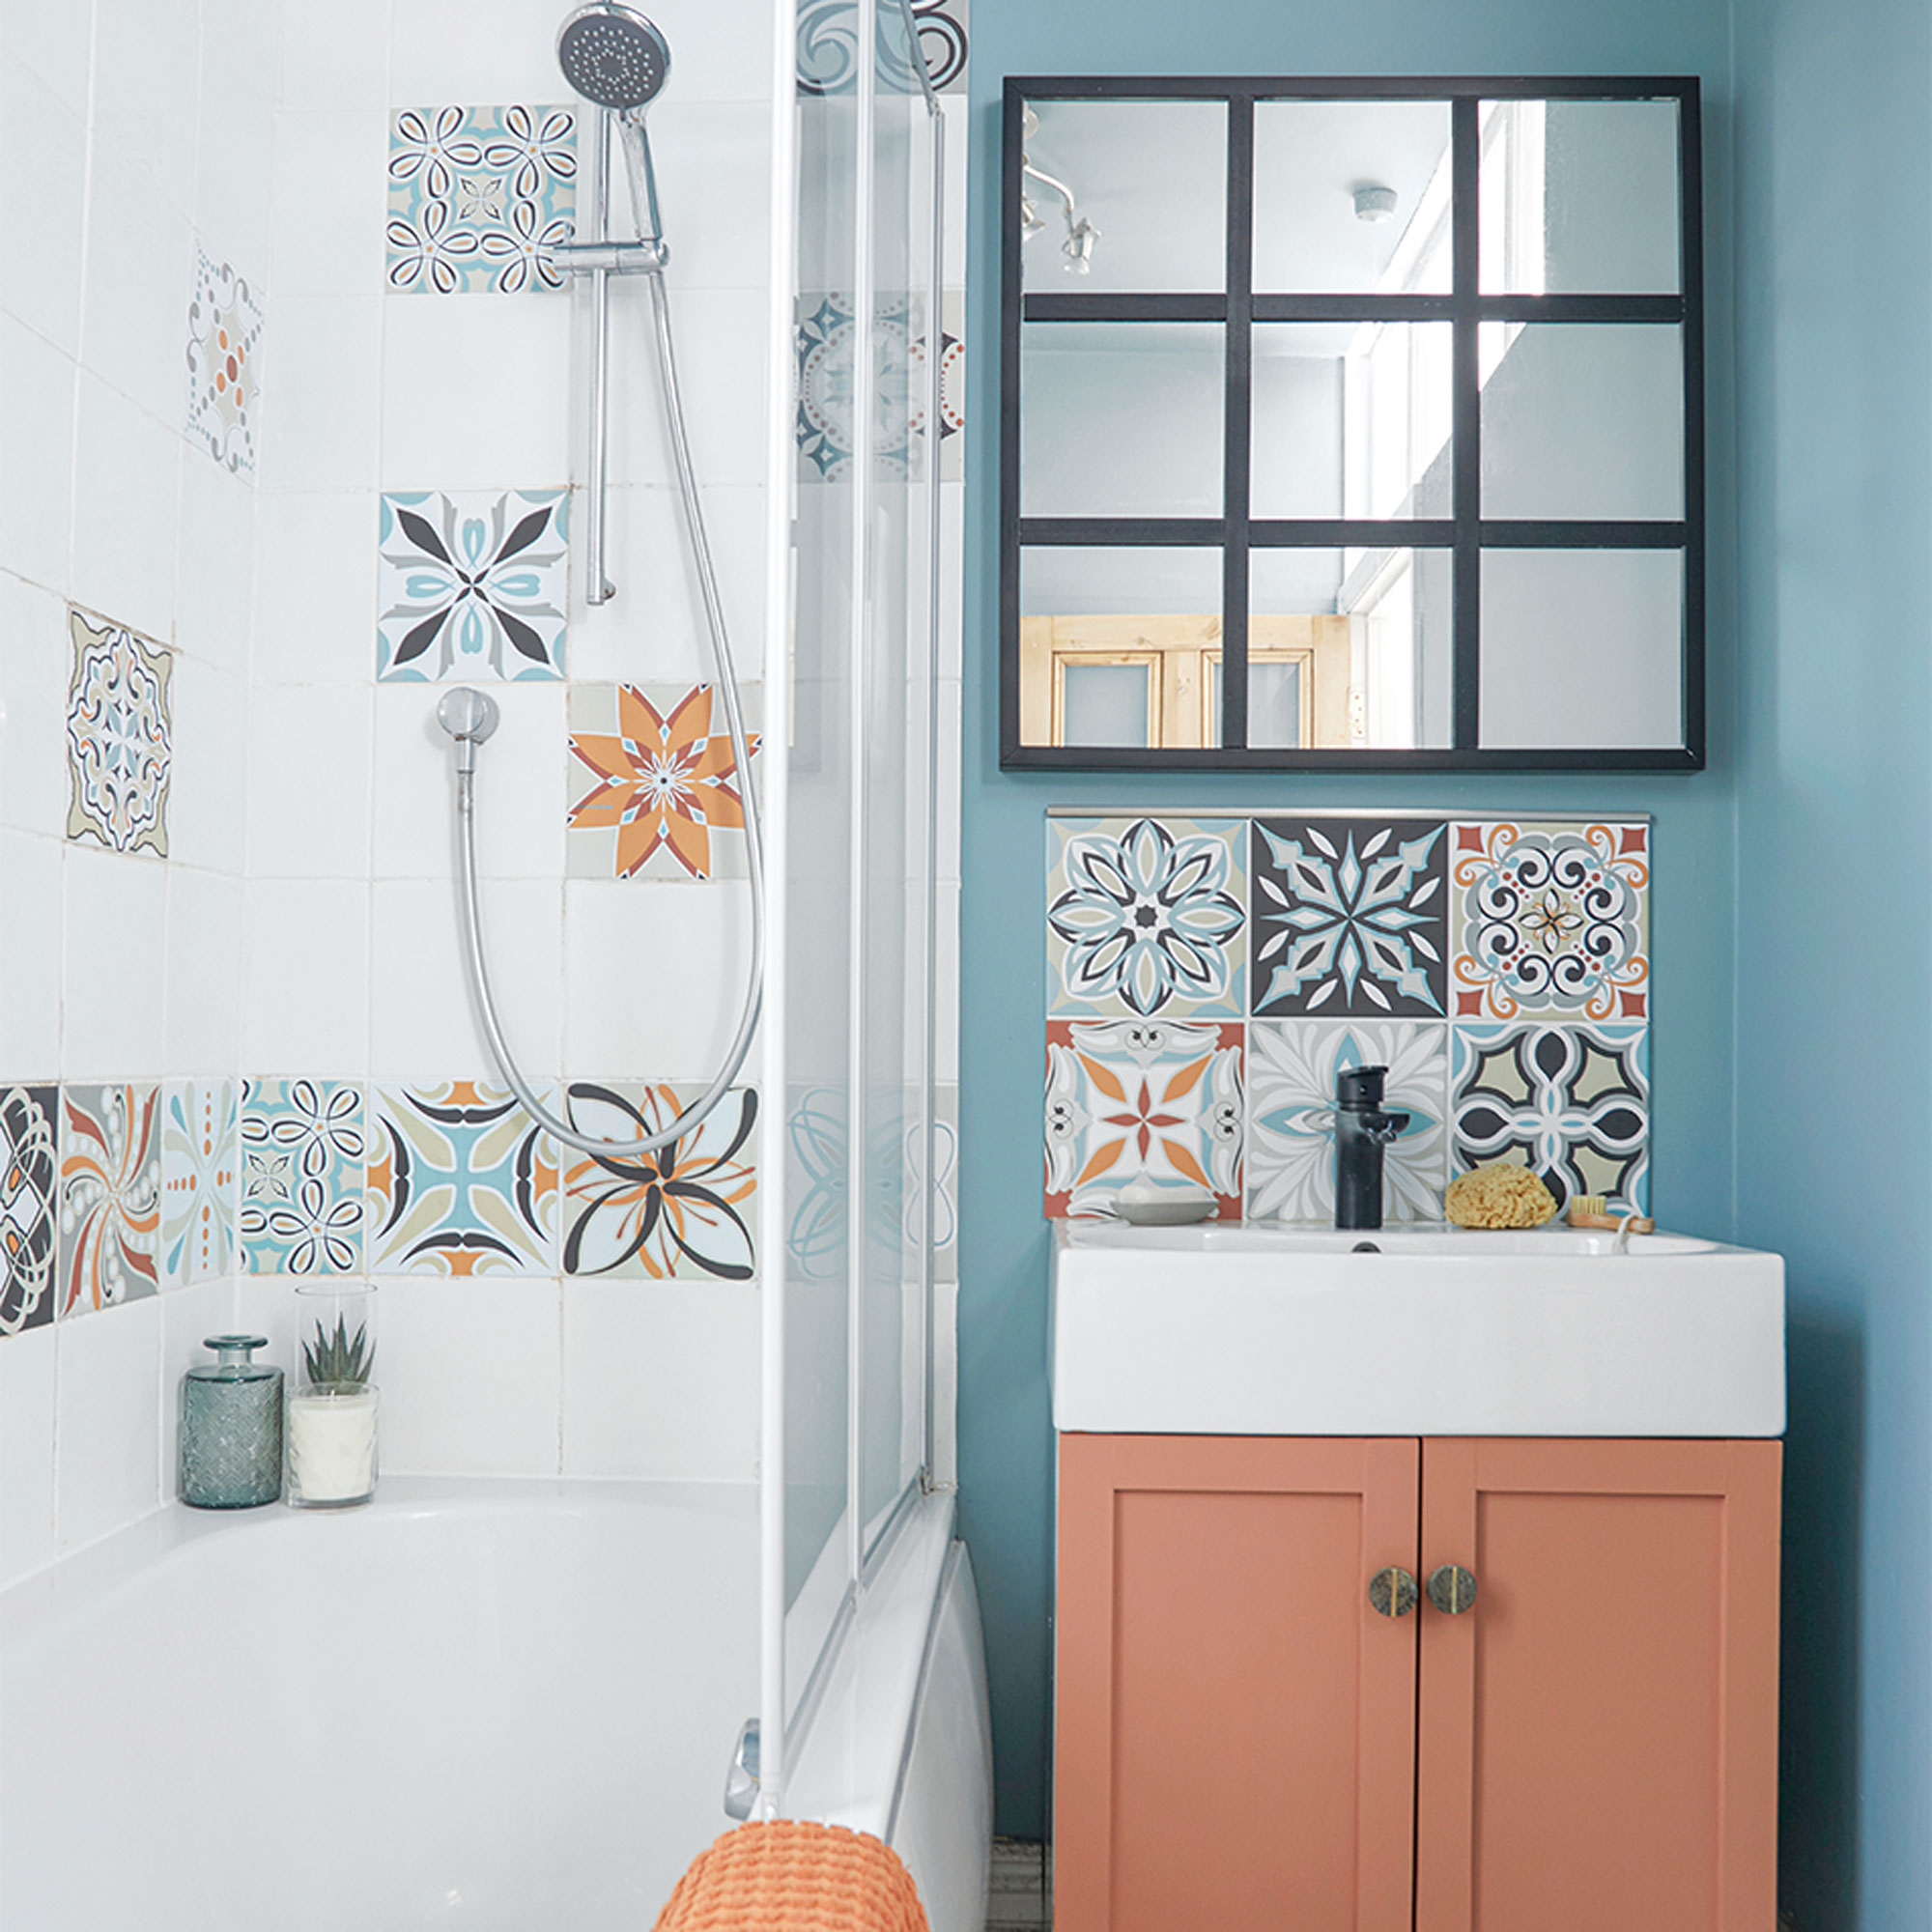
This guide provides a comprehensive, step-by-step approach to tiling a bathroom wall, enabling a DIY enthusiast to achieve a professional finish. It begins by emphasizing the critical role of preparation, highlighting that a well-planned and carefully considered renovation is essential for bathrooms, given their complexity and cost. Experts advise investing significant time upfront in preparation, as this is key to a flawless and long-lasting result. Before starting, it is crucial to gather all necessary tools and materials, including tiles, adhesive, grout, a tile cutter, primer, spacers, a tape measure, a notched trowel, a grout float, a spirit level, a wall baton, a rubber mallet, and safety gear such as gloves, goggles, and knee pads.
The first step involves preparing the bathroom wall. This entails removing any existing tiles or wall coverings. While it is possible to tile over old tiles, the existing surface must be exceptionally smooth, clean, and dry, and adding a new layer should not create excessive thickness. Once old tiles are removed using a hammer and chisel, any leftover adhesive should be scraped off, and holes or cracks filled. Waterproofing the area is also critical, especially if using ply or backer board. The second step focuses on planning the tile layout to ensure an aesthetically pleasing arrangement with minimal small cuts. This involves finding the center of the wall, marking it, and drawing a vertical centerline. Tiles are then dry-laid from this centerline, allowing for grout lines, to determine the optimal layout and number of tiles needed. This helps avoid awkward cuts and ensures a balanced appearance.
Next, the bathroom wall needs to be primed. After ensuring the wall is free of dirt, grease, and debris, an acrylic primer is applied with a brush, sponge, or roller. A second coat may be necessary after the first has dried. Priming is vital as it stabilizes and seals the surface, enhancing the adhesive bond and providing more working time. The fourth step details how to mix the tile adhesive. A standard-setting cement-based adhesive is recommended for wall tiling, as its slower drying time allows for adjustments. The adhesive should be mixed with clean water in a bucket using a drill and paddle mixer, following the manufacturer’s instructions to achieve the correct consistency. For safety and ease of application, it is suggested to start on a slow speed.
To ensure the first row of tiles is perfectly straight, a horizontal wooden baton is fixed to the wall. This baton should be level with where the bottom of the second row of tiles will be, as bathroom floors or baths are often not perfectly flat. This method provides a reliable starting point for subsequent rows. The sixth step covers applying the tile adhesive to the wall. After lightly mixing the adhesive to loosen it, a small amount is applied to a notched tiling trowel and then to the wall. It is important to work in small sections, covering no more than a square meter at a time, or an area that can be tiled within twenty minutes, to prevent the adhesive from drying. Forming ribs in the adhesive by dragging the notched trowel at a 45-degree angle creates an ideal surface for tile application.
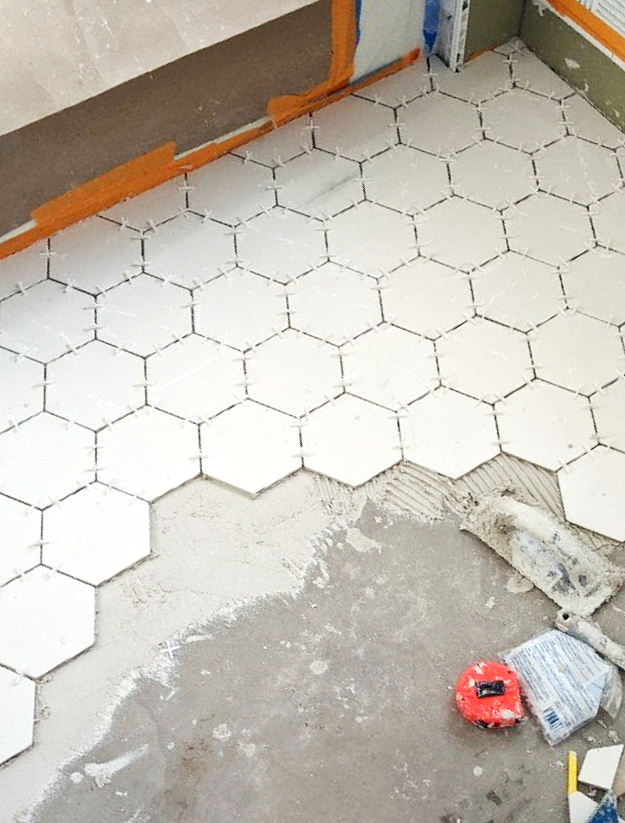
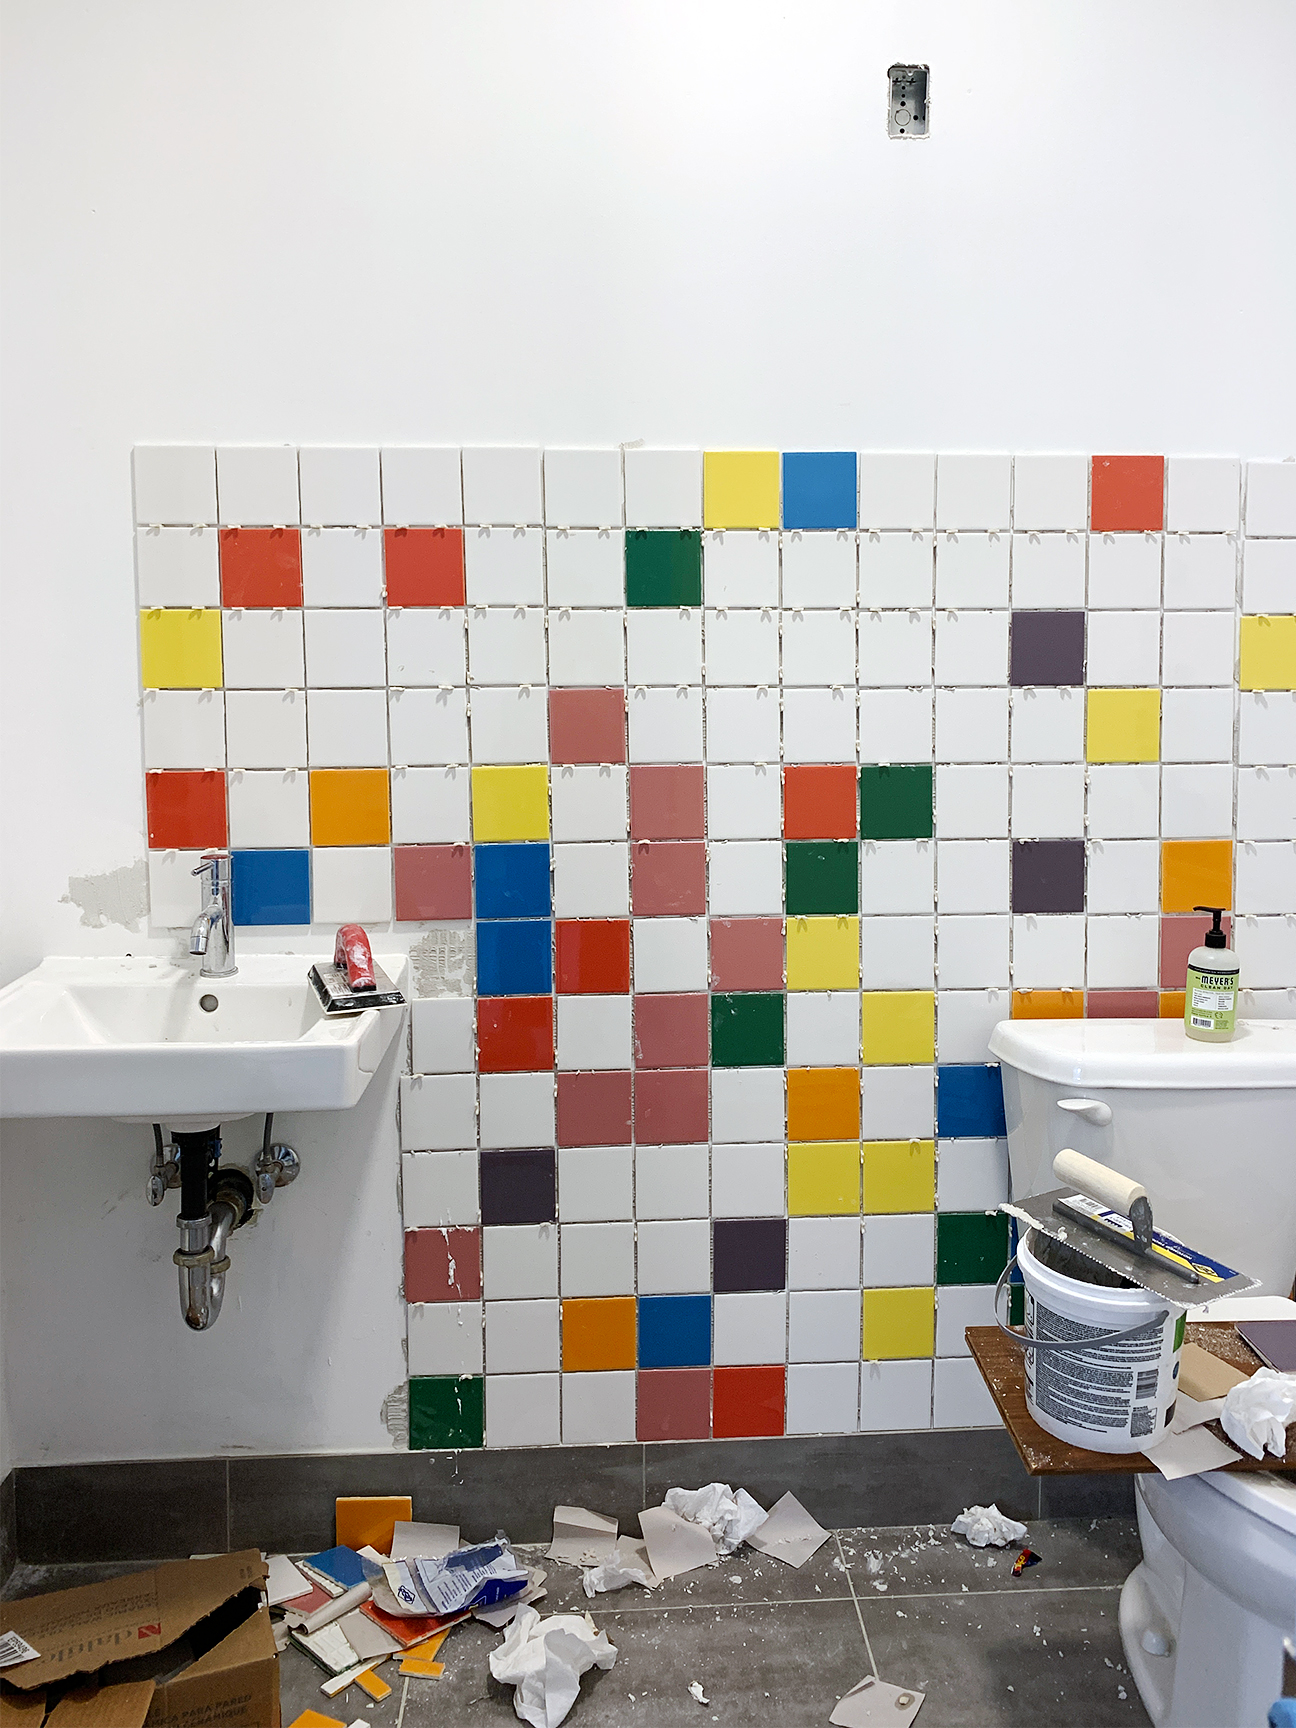
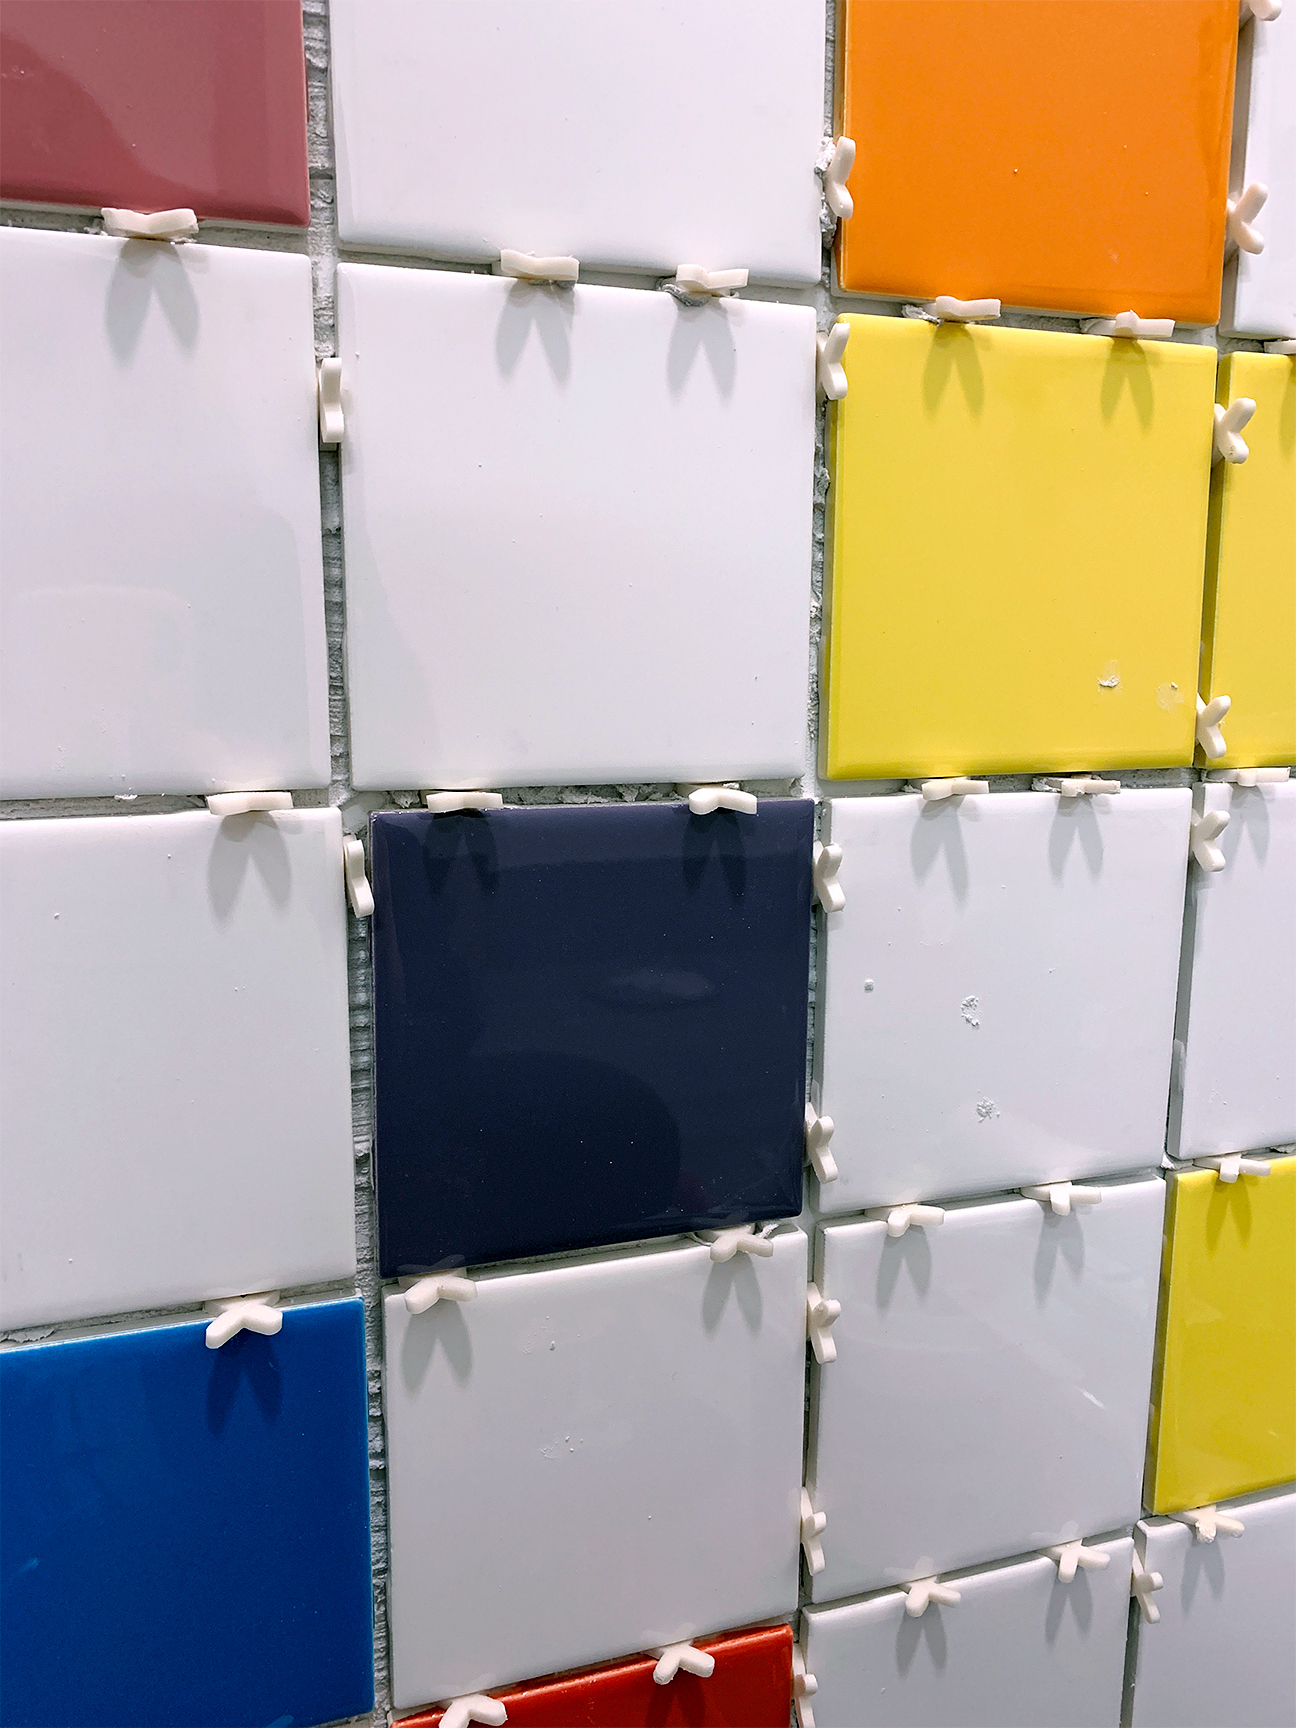
The seventh step involves fixing the tiles to the wall. Starting from the planned center, each tile is placed on the baton with a light twisting and pressing motion. Tile spacers are inserted into the gaps to ensure consistent grout lines. The quality of work should be continuously checked, ensuring tiles are straight, flat, and free of adhesive residue. Any adhesive on the tile surface should be wiped away with a damp sponge before it hardens. Tiles that are not satisfactory should be removed and refitted immediately. For areas where full tiles do not fit, the eighth step explains how to cut them. Ceramic tiles are relatively soft and can be cut with a manual tile cutter for straight cuts, while a wet tile cutter is recommended for more complex shapes. Measuring twice and cutting once is a crucial piece of advice to minimize errors.
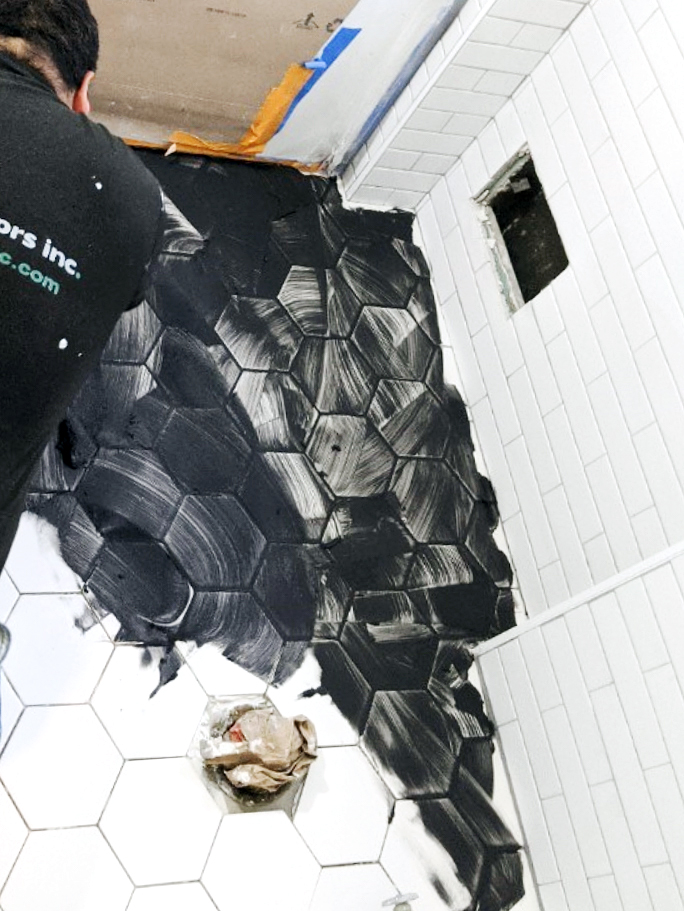
Applying grout is the ninth step. Grout not only prevents moisture and dirt from penetrating behind the tiles but also serves as a decorative element. Once the adhesive is fully cured, tile joints are cleaned of debris, and grout is mixed according to manufacturer instructions. Grout is applied to a grout float and spread across the tile surface at a 45-degree angle, working in diagonal lines to push it into the gaps. Excess grout should be removed as you work. Finally, the tenth step involves cleaning away any grout haze and sealing the tiles. Grout haze, an almost invisible film, can attract dirt, so it should be removed by polishing tiles with a dry microfiber cloth once the grout has almost set. Stubborn stains may require a specialist remover. Glazed ceramic tiles typically do not need sealing, but porous materials like stone do, following the manufacturer's recommendations. Silicone should be used to seal areas where tiles meet baths or showers for a watertight finish. The article also touches upon considerations for tile size, recommending large-format tiles for a high-end look and easier cleaning due to fewer grout lines, and techniques for waterproofing wet areas like shower cubicles using foam tile backing boards, waterproofing tape, and tanking pastes. Regarding adhesive, while ready-mix paste adhesives can be used for small ceramic wall tiles, cement-based adhesives are generally superior for their stronger bond.
#BathroomRenovation #DIYTiling #WallTiles #HomeImprovement #InteriorDesign #BathroomDecor #TileInstallation #HomeDesign #Waterproofing #BathroomRenovation #DIYTiling #WallTiles #HomeImprovement #InteriorDesign #BathroomDecor #TileInstallation #HomeDesign #Waterproofing
0 comment in total
 No comments yet
You may also like
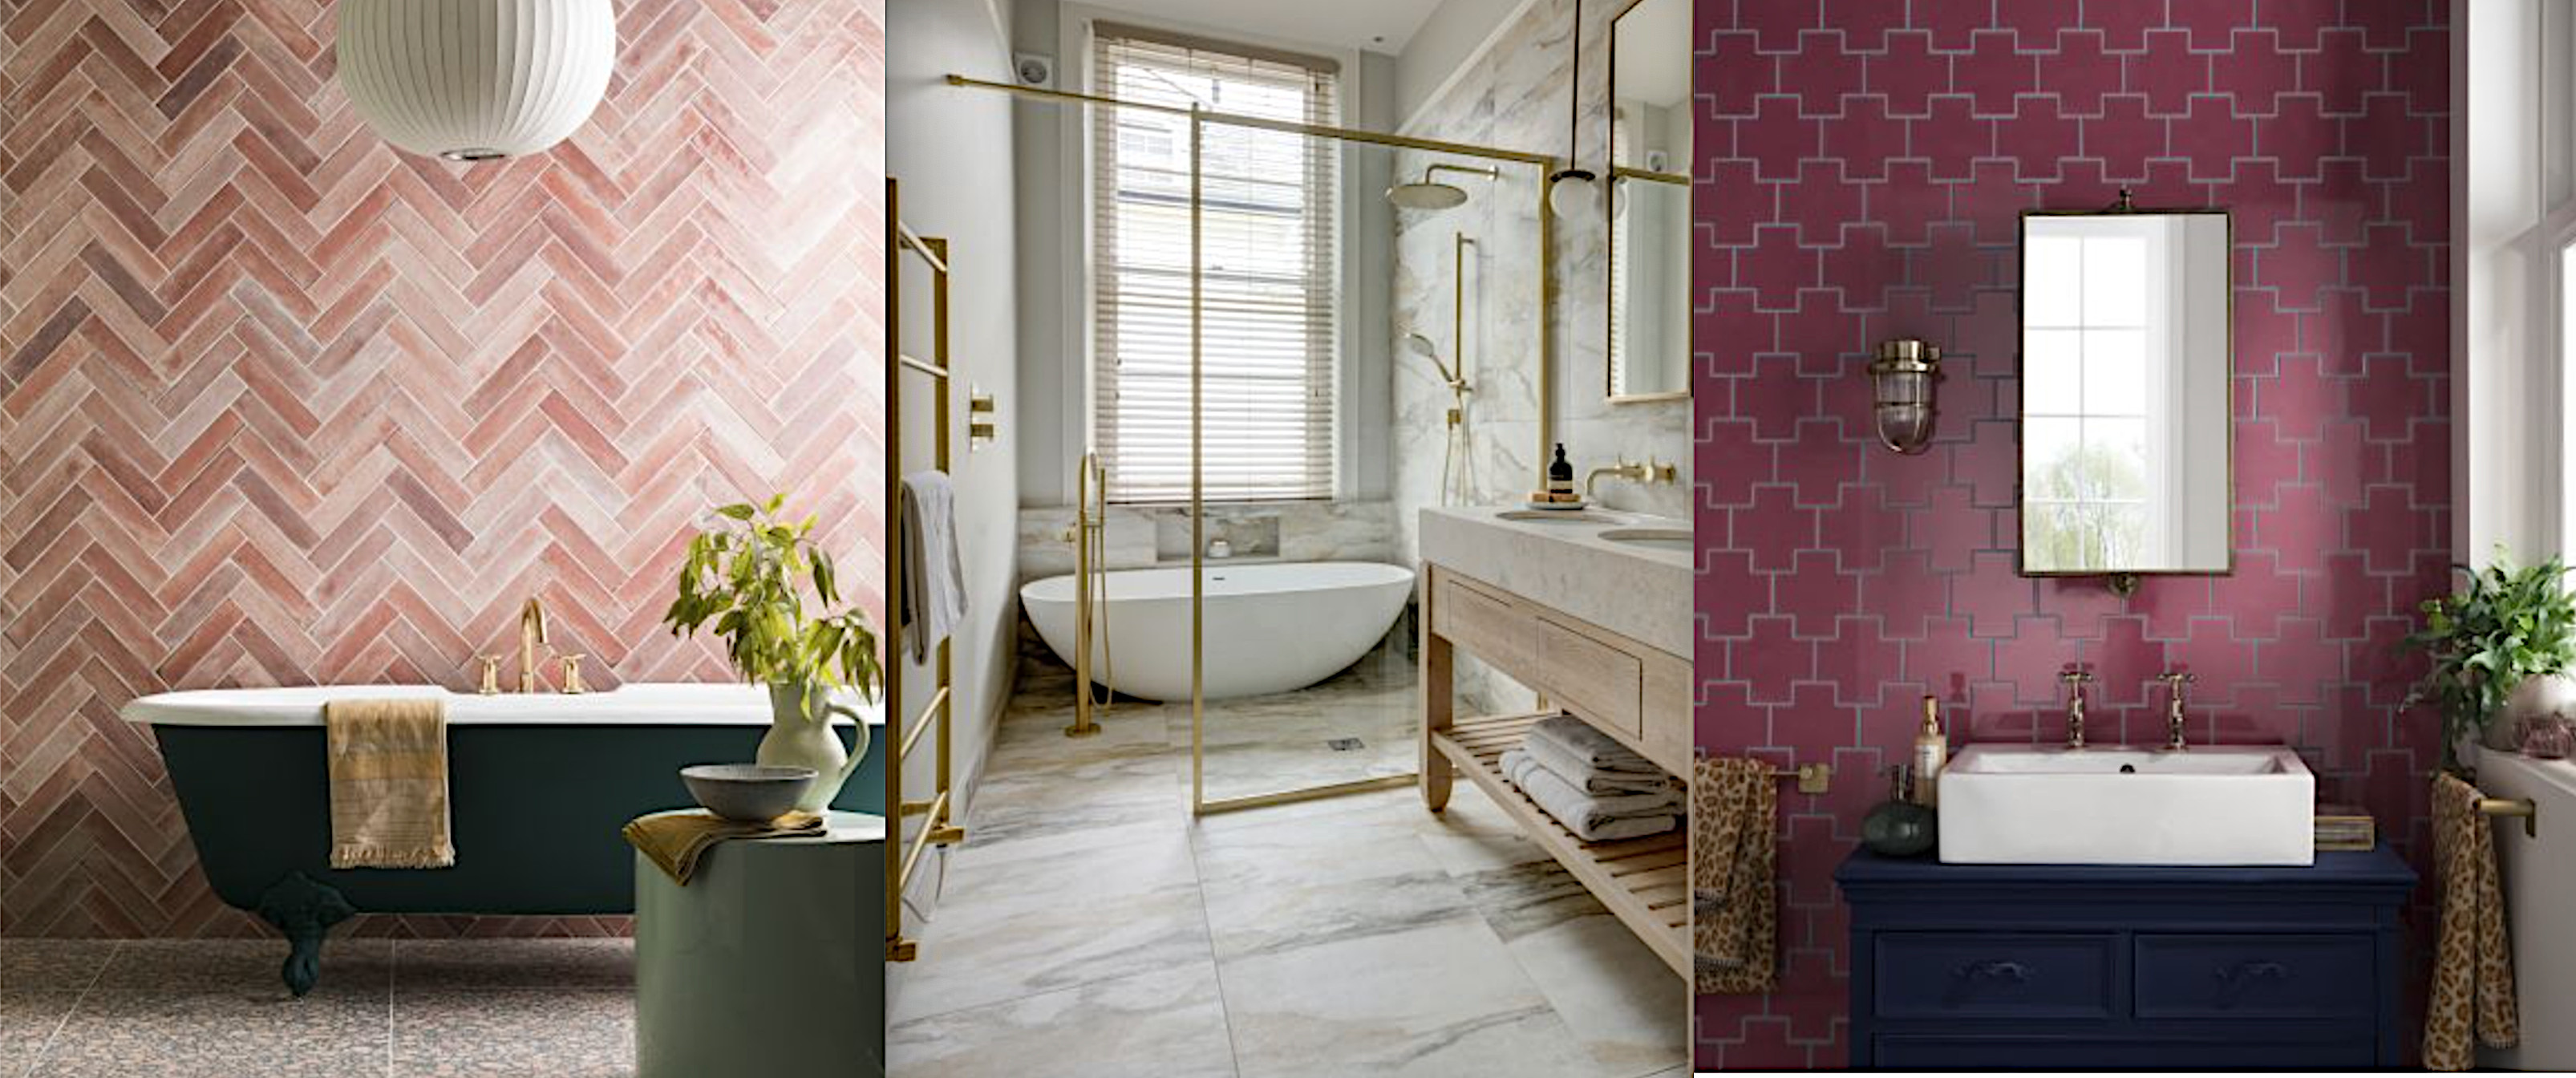
Bathroom wall tile ideas – 10 inspiring looks for your space

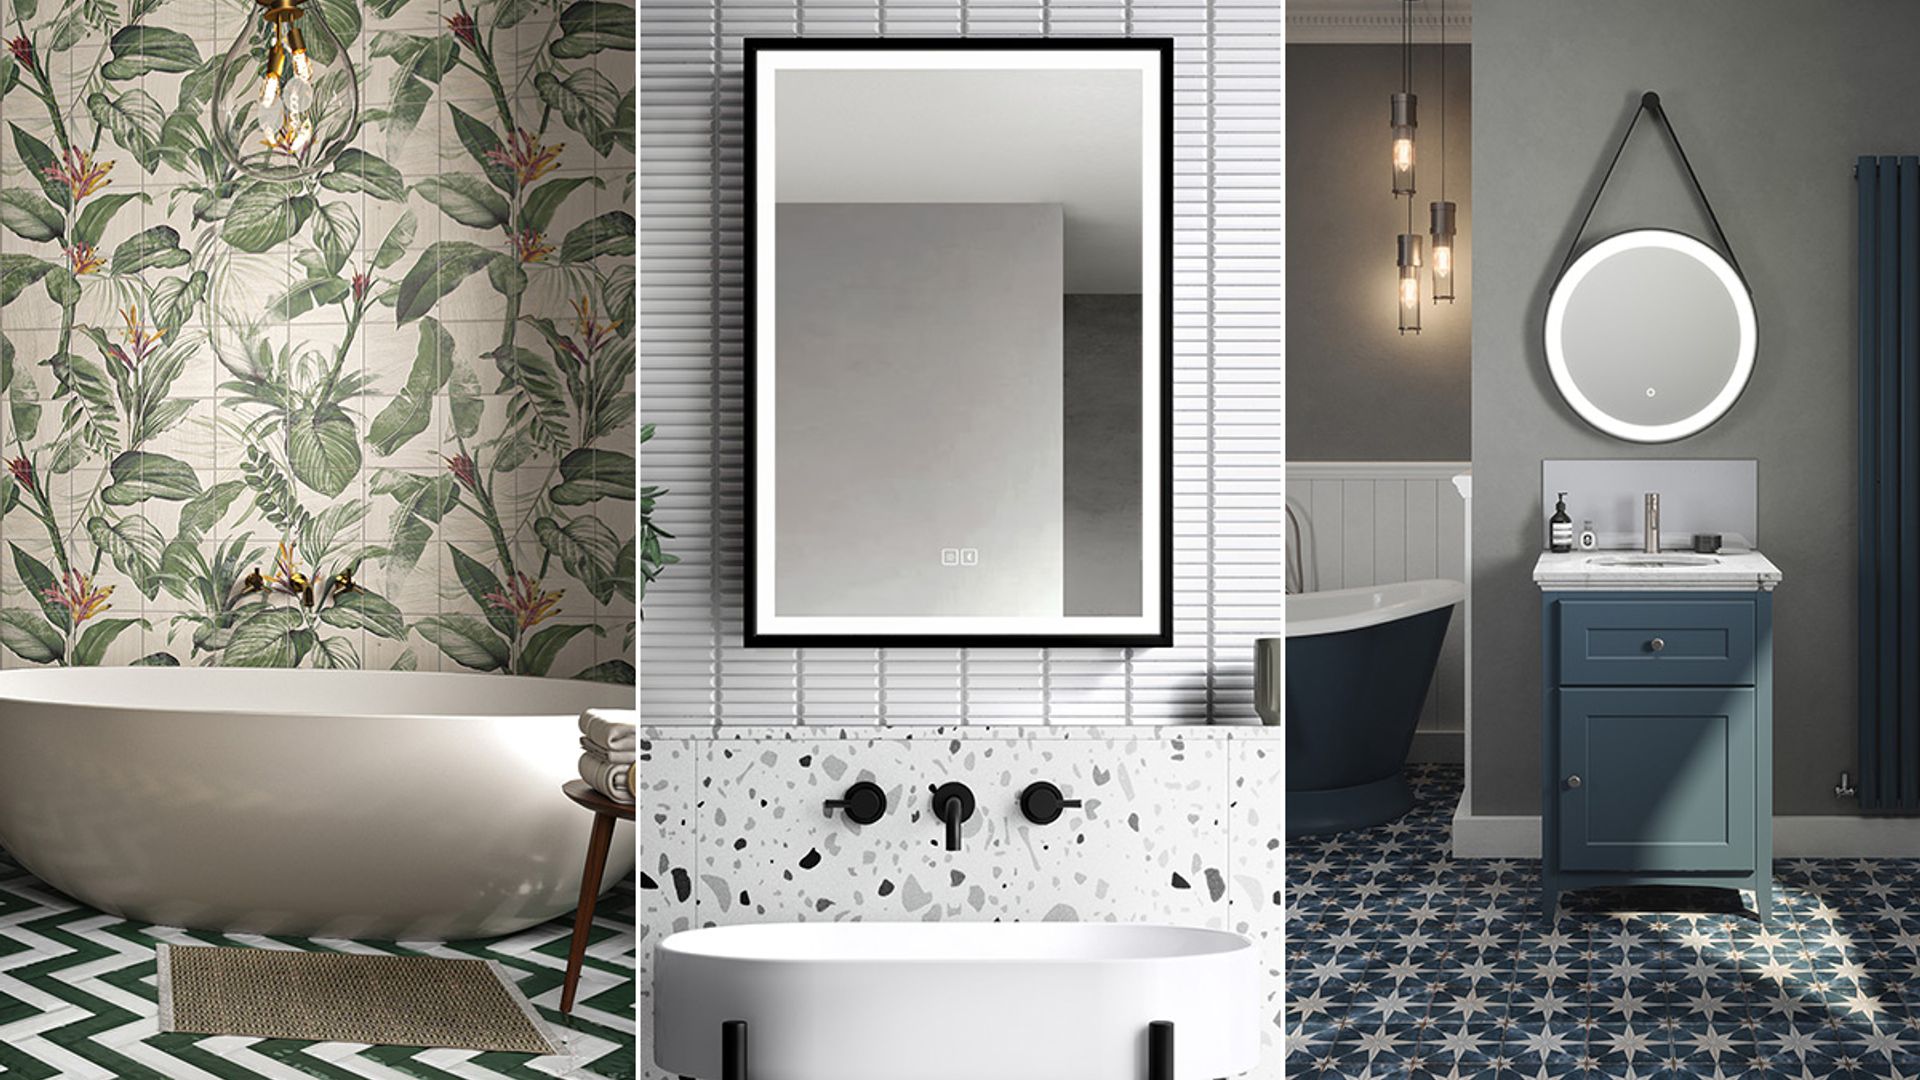
16 bathroom tile ideas to transform your space

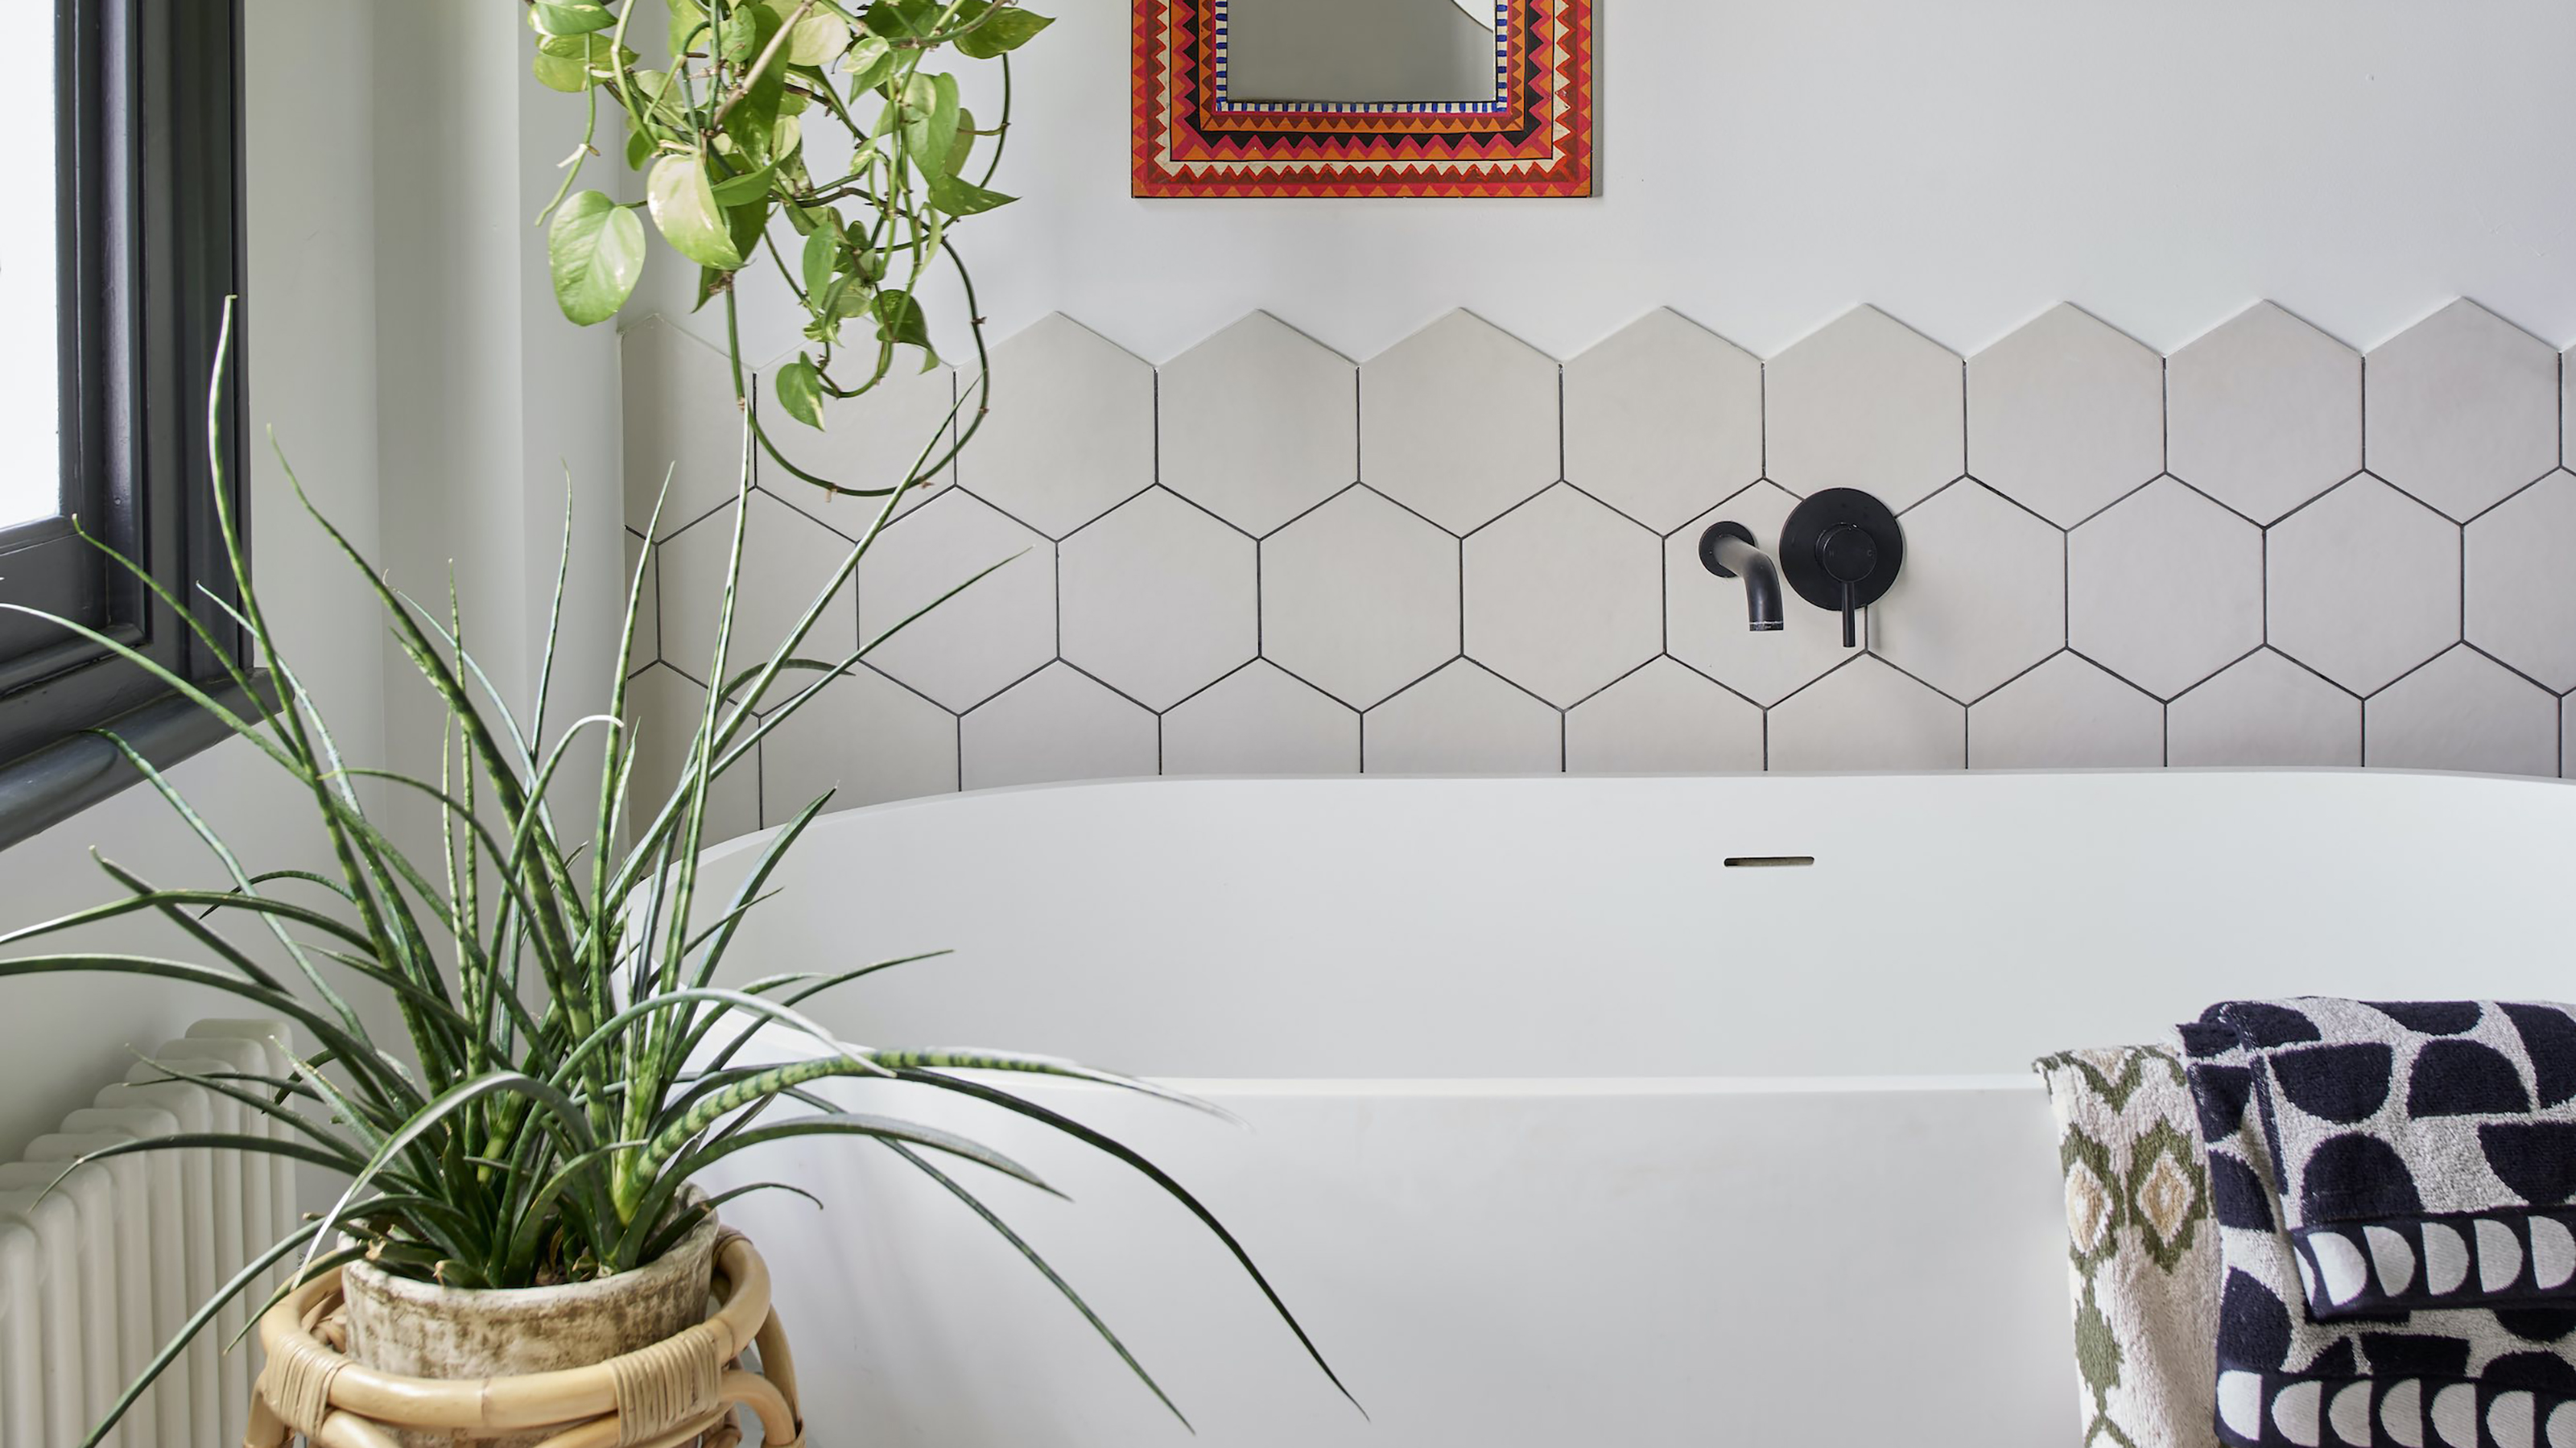
6 ways to update bathroom tile ideas on a budget - trend-led ways to revamp a look for less
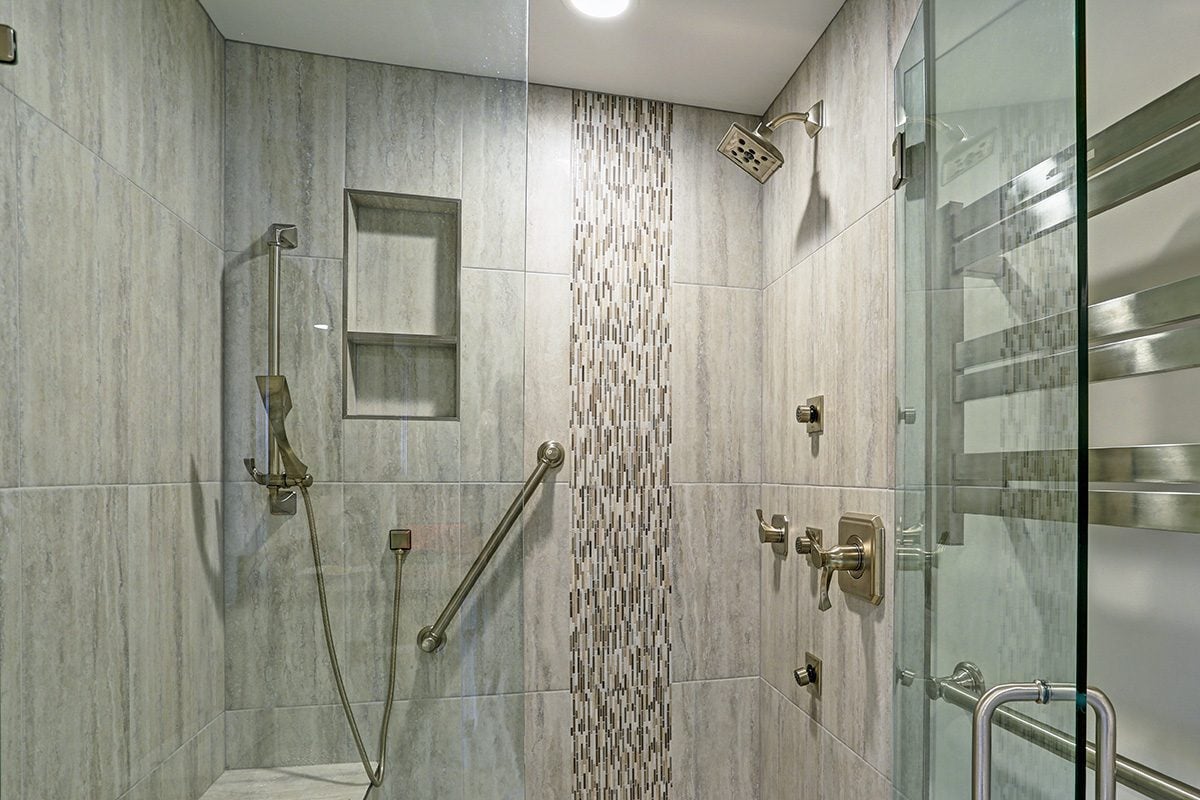
Upgrade Your Shower With These 8 Gorgeous Tile Design Ideas

How to Tile a Bathroom Floor Yourself
16 bathroom tile ideas to transform your space

14 Types of Bathroom Tiles You Need to Know Before You Remodel


How to design a bathroom: decor ideas and tips

Bathroom Tiles

This Genius Tile Hack Could Transform Your Bathroom—But Pros Say There's a Catch

11 Ways to Decorate Your Bathroom for a One-of-a-Kind Look on a Budget

What’s making your bathroom tiles look cheap? 7 things to look out for, according to experts
Tiling 102: The Bathroom Floor (Published 2013)
The Layout Tweak That Made This 27-Square-Foot Bathroom Feel Less Mini | domino
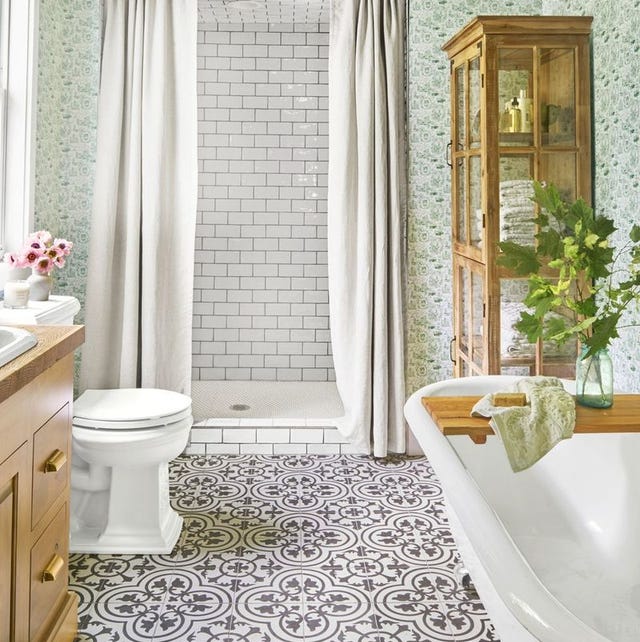
These Bathroom Tile Ideas Make a Major Design Statement

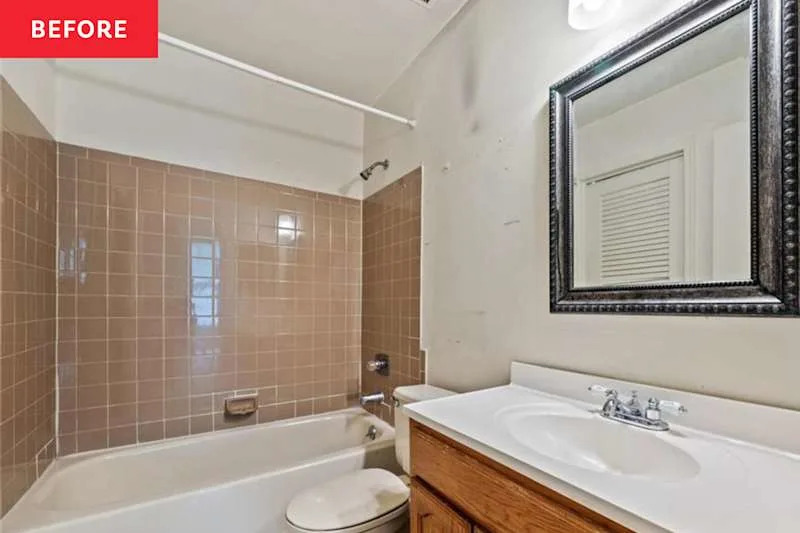
An ’80s Bathroom with “Yellow Undertones” Gets the Most Stunning Makeover
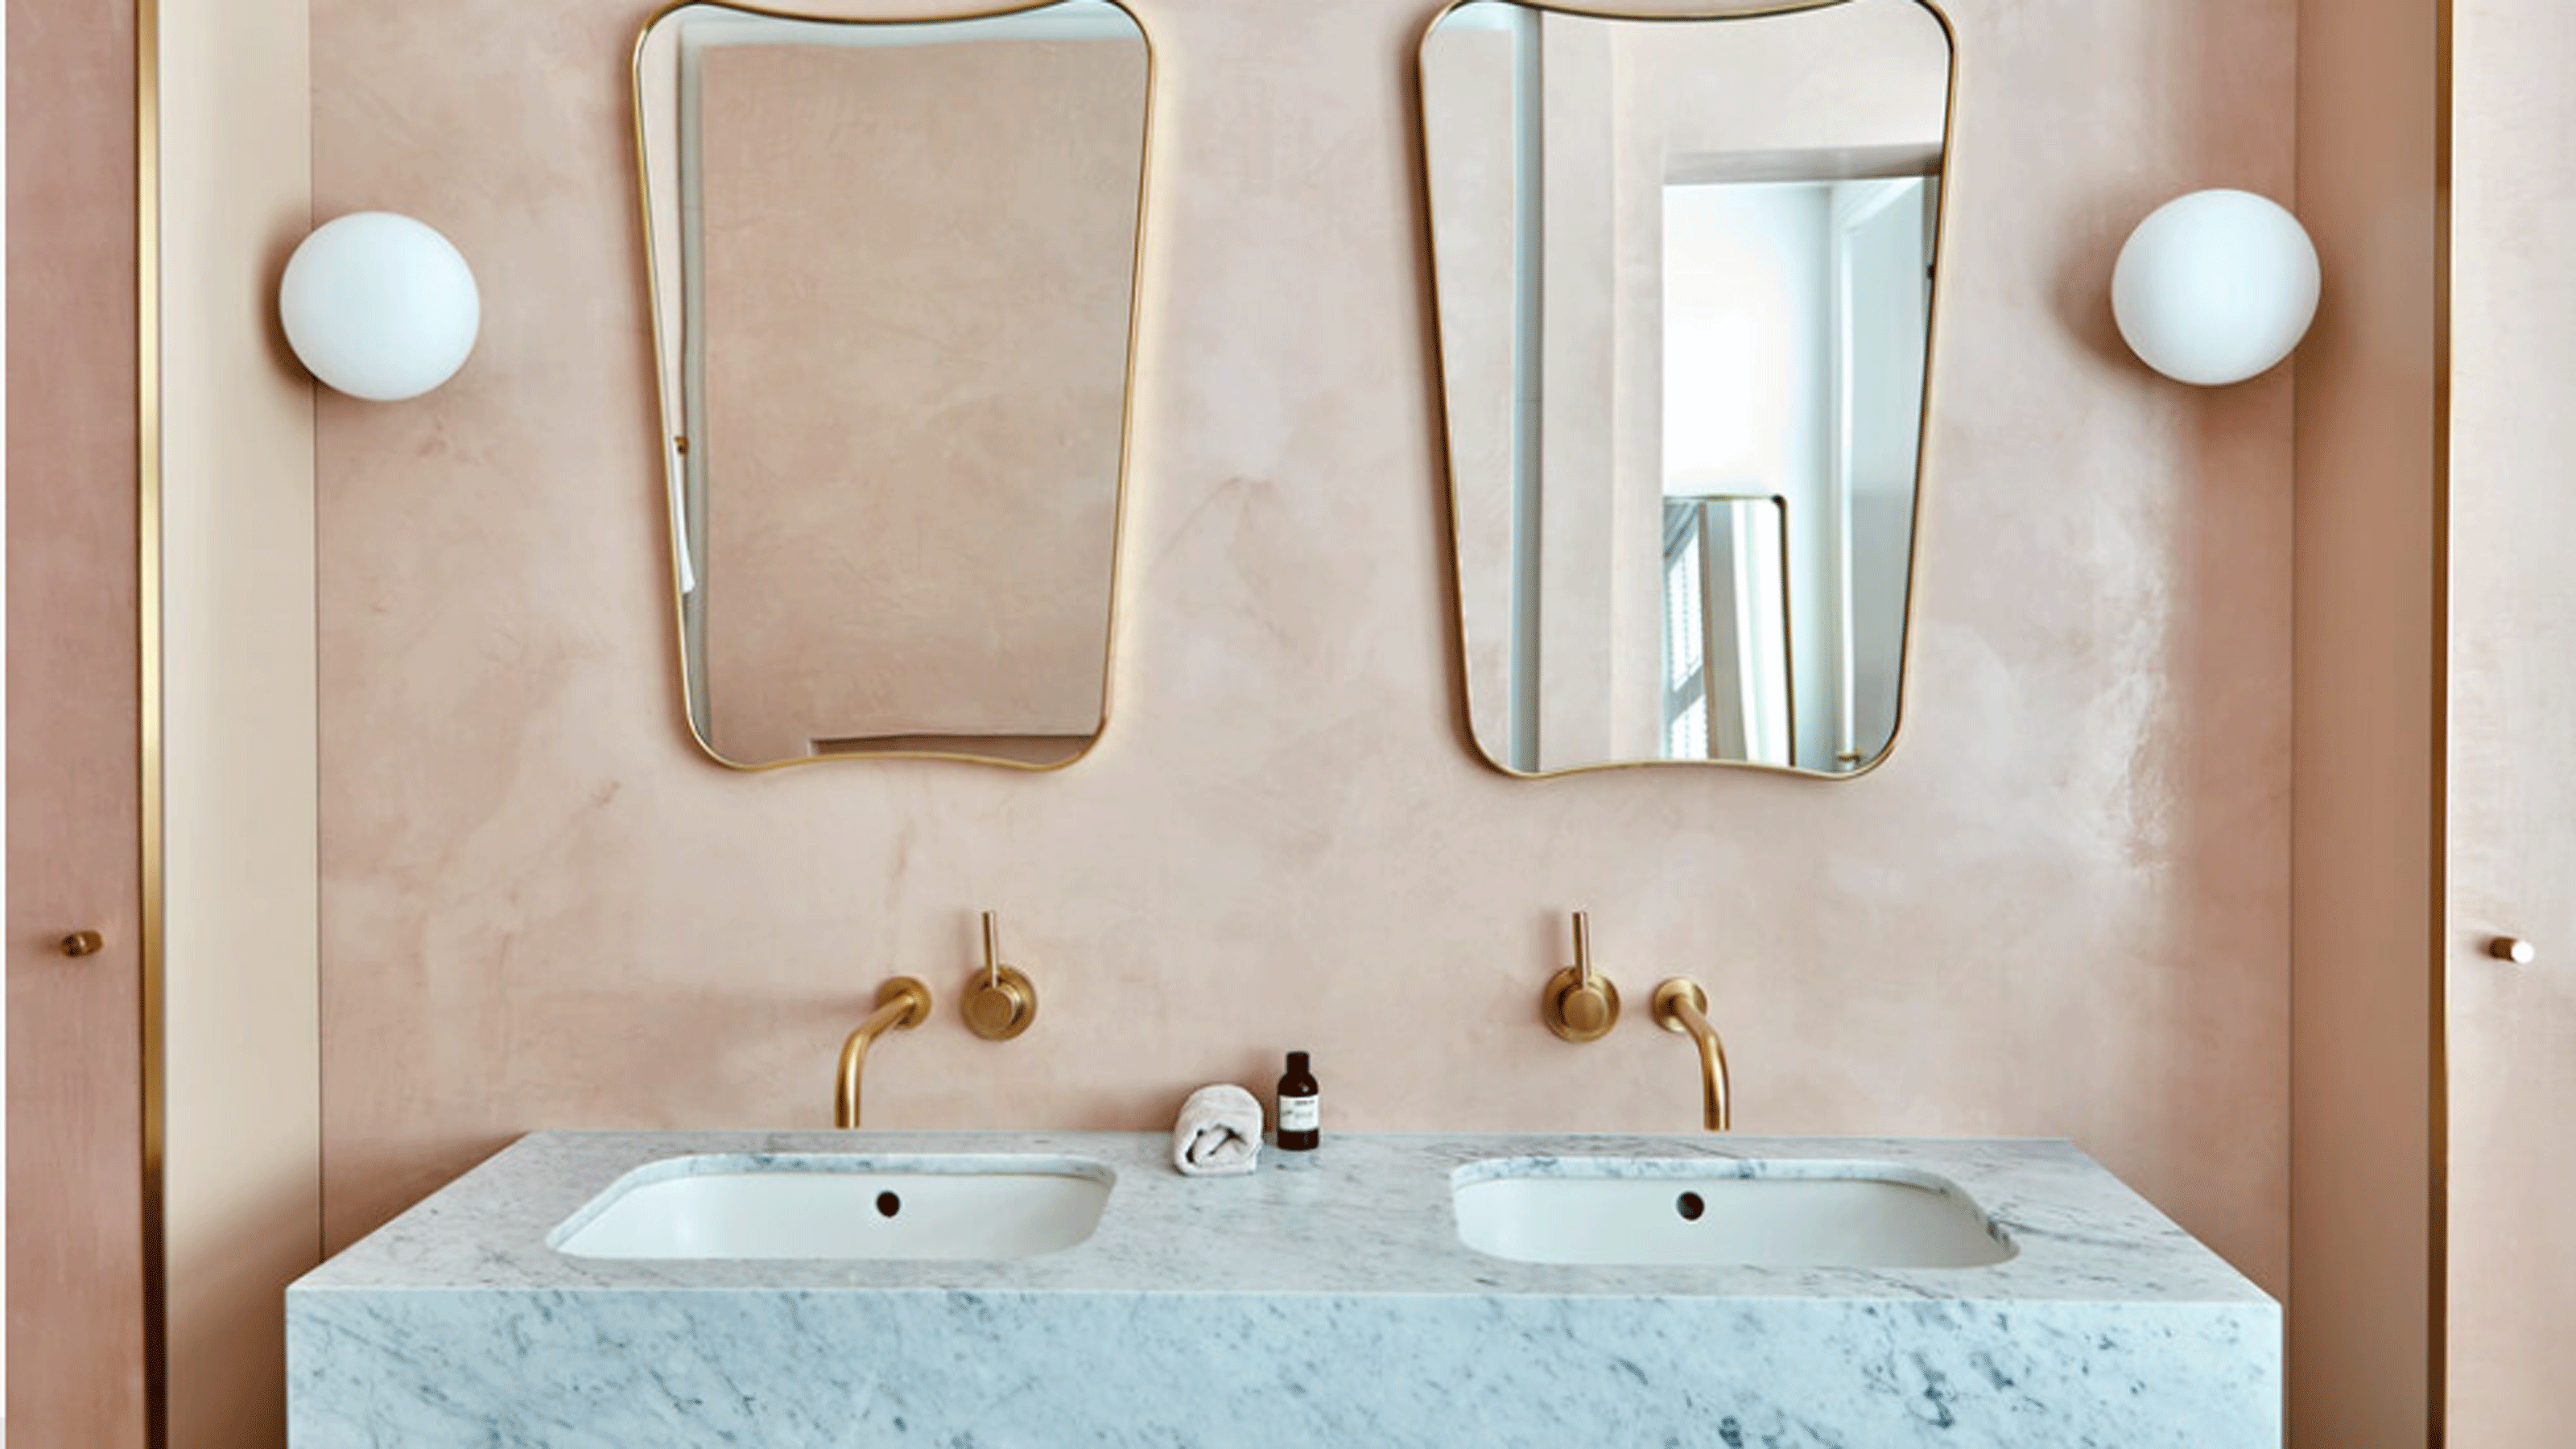
Bathroom wall ideas – 10 fresh ways to breathe life into your bathroom walls

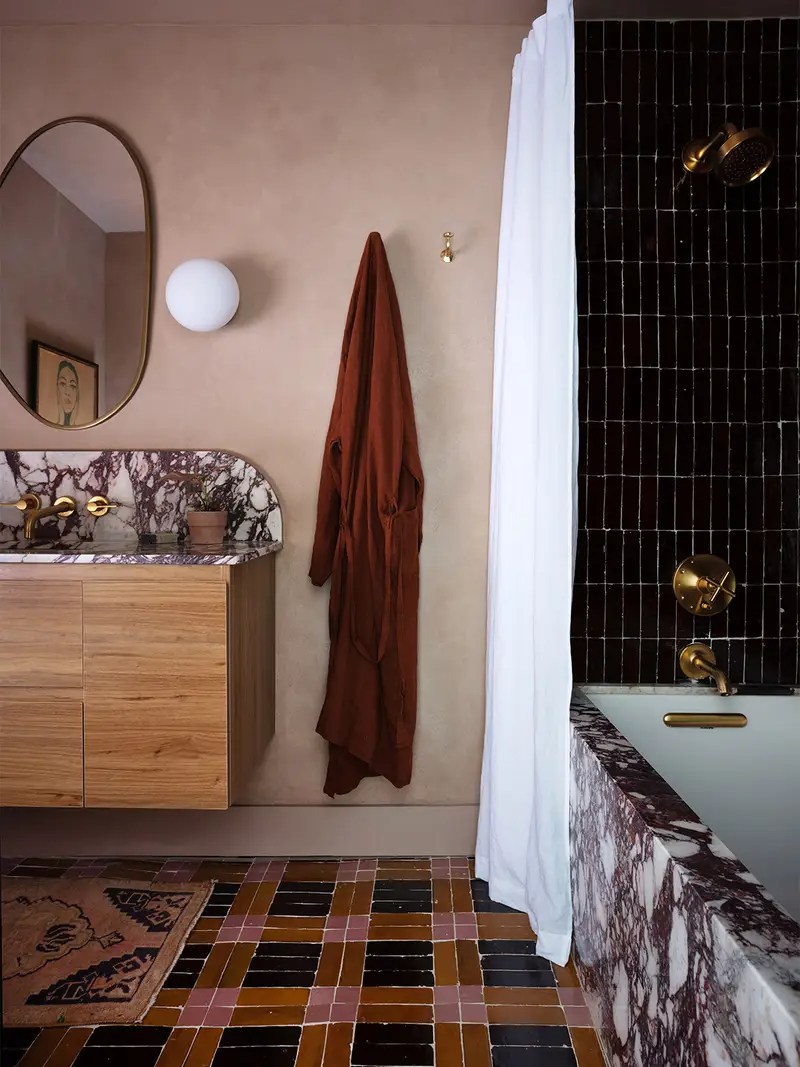
Treat Your Shower Wall as a Mural, and 14 More Bathroom Tile Ideas That Make a Splash
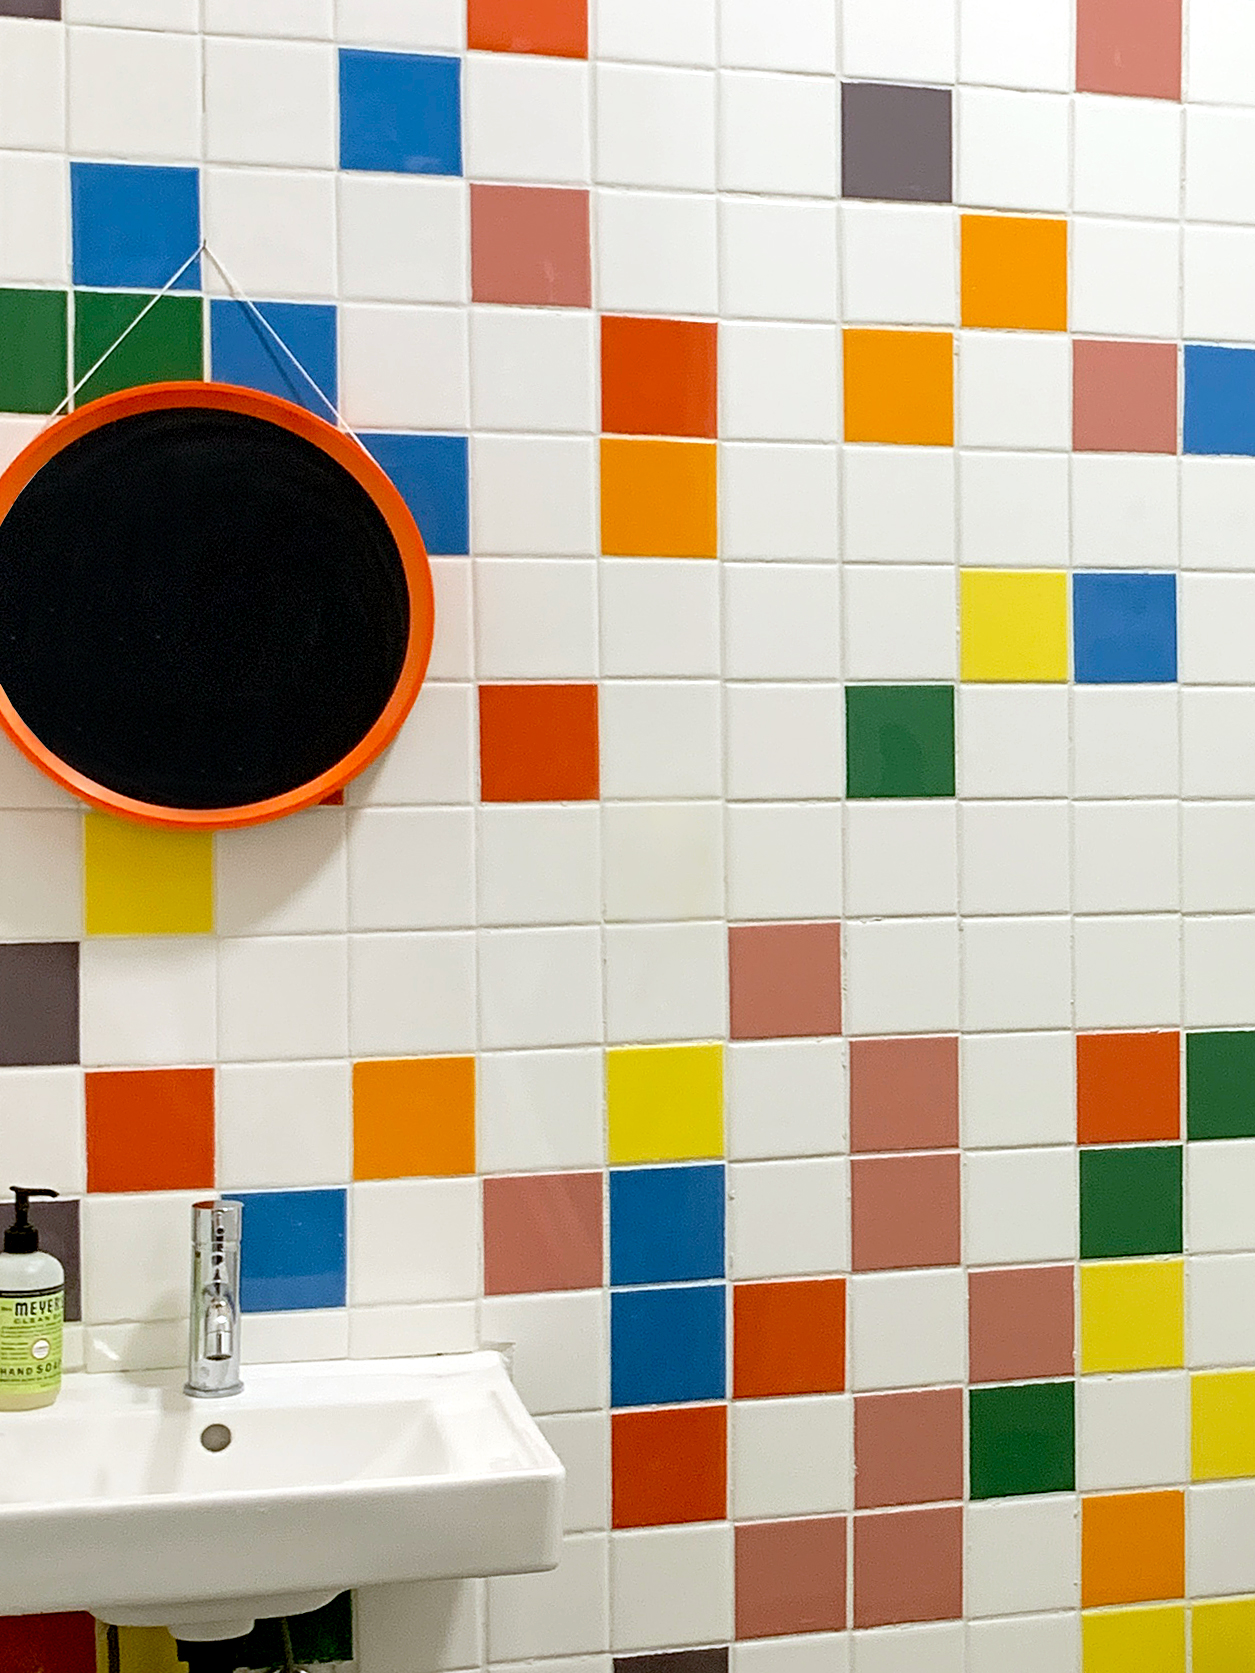
The Home Union Founders Retiled Their Bland Bathroom in Less Than a Week

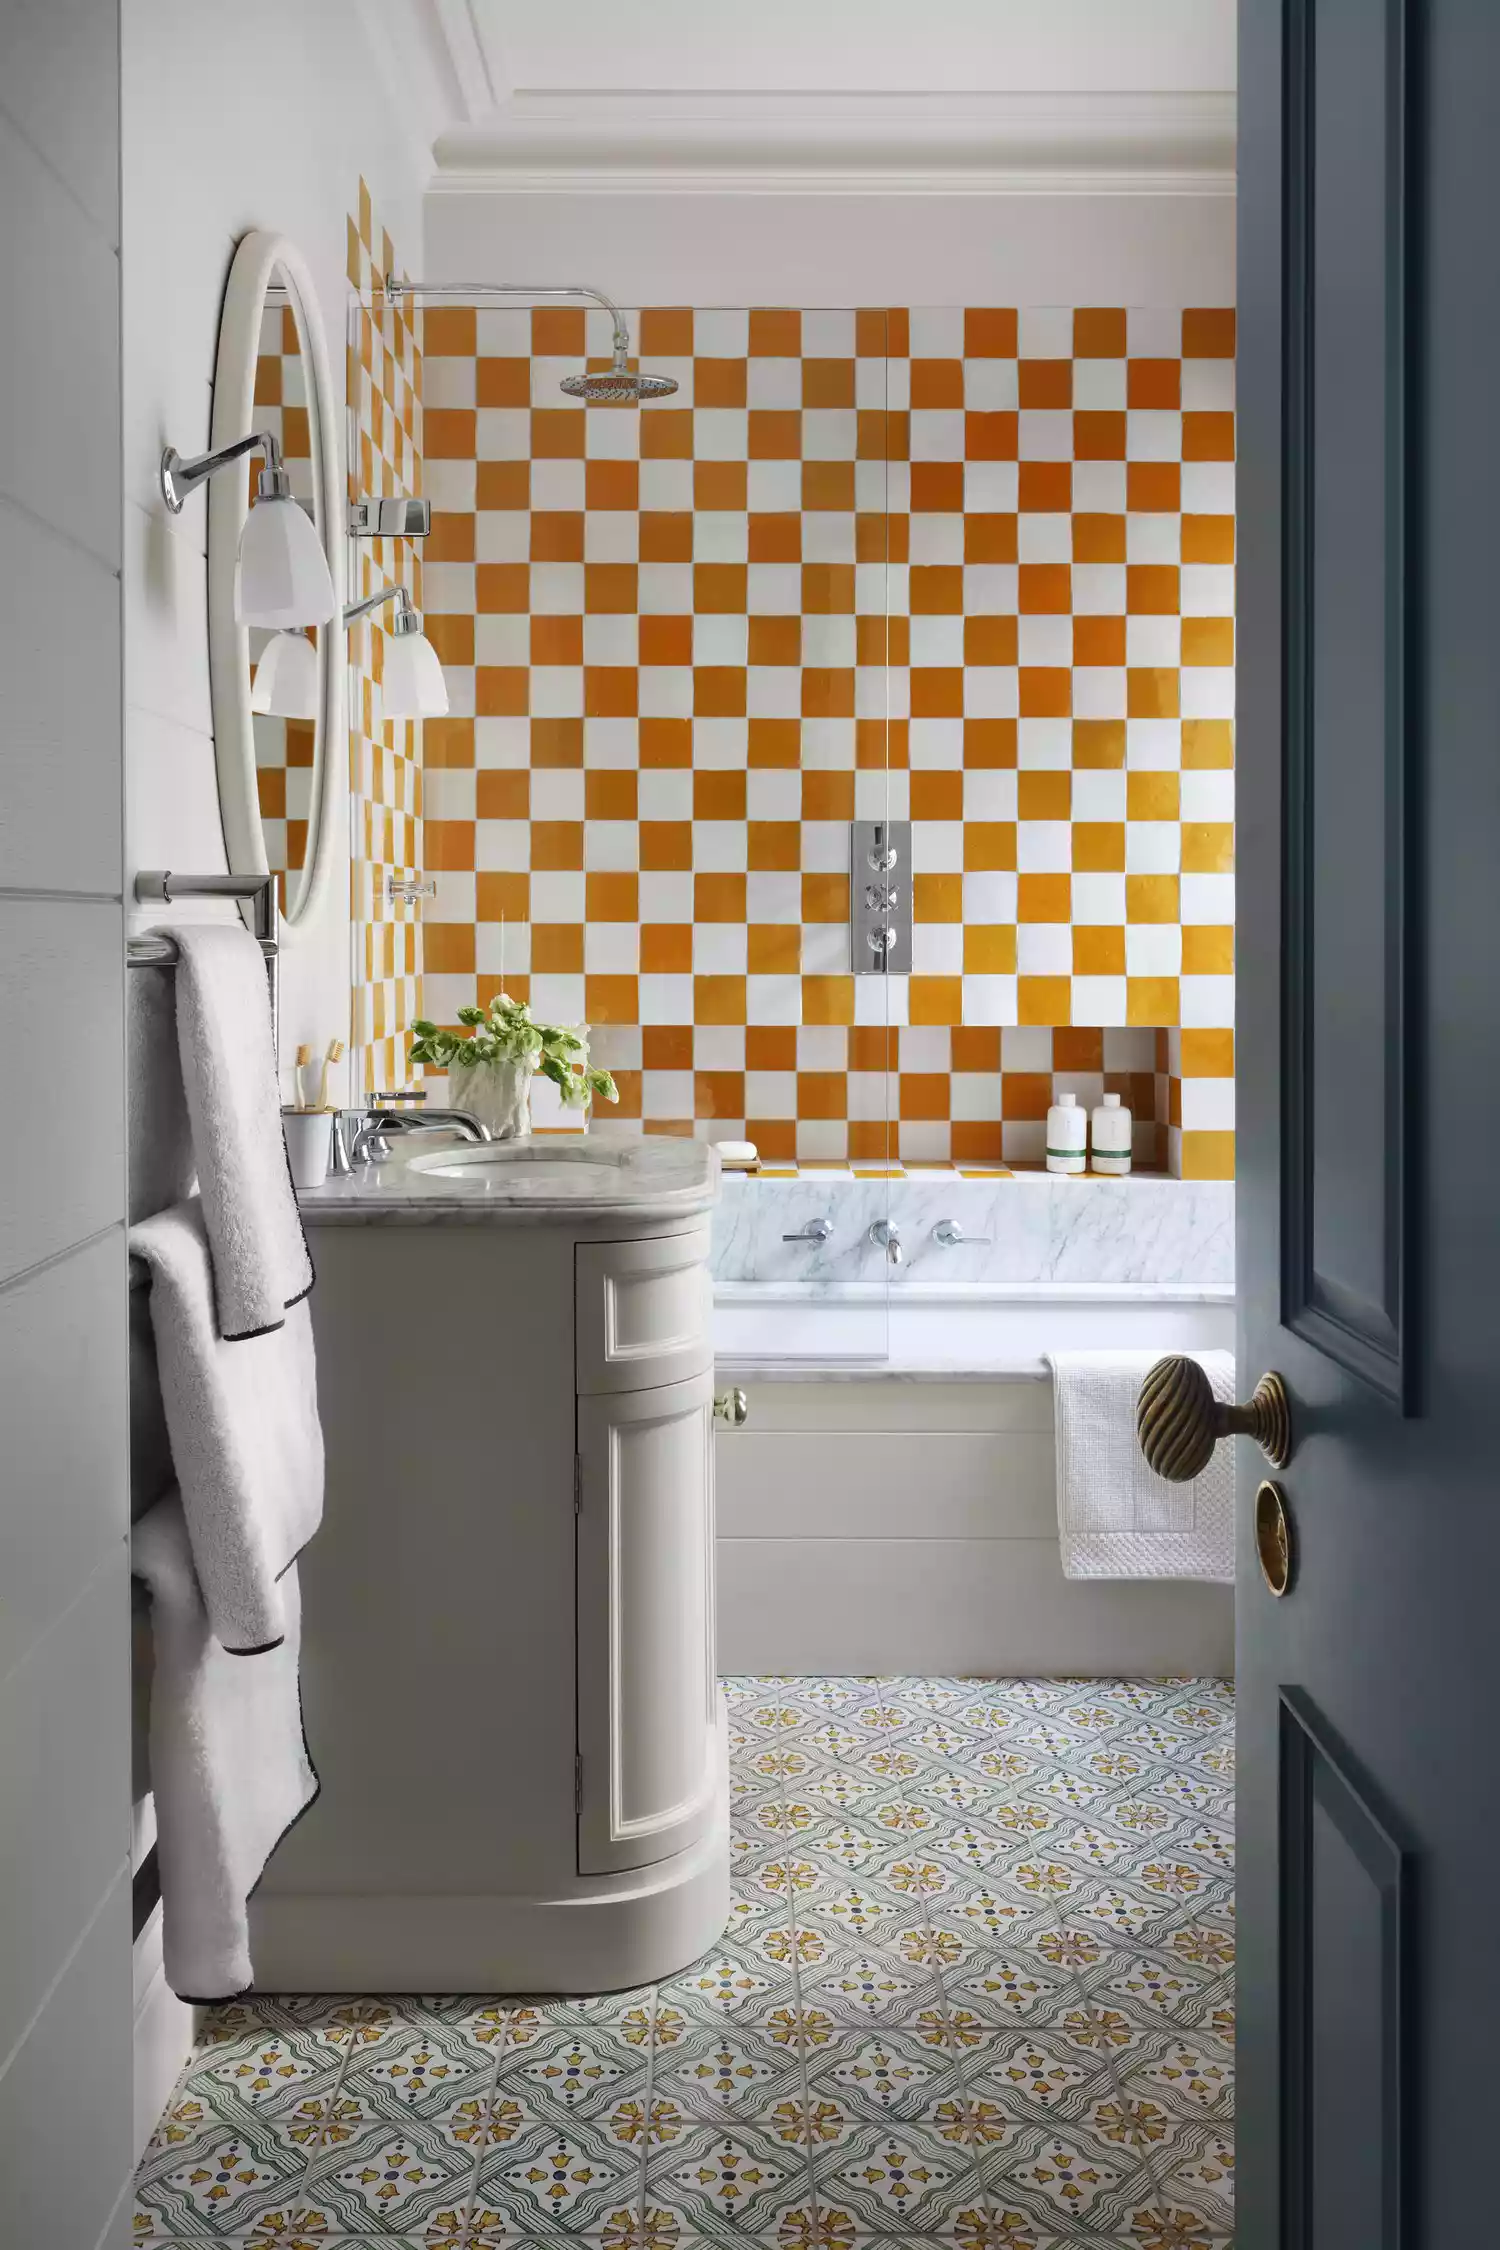
71 Bathroom Tile Ideas to Upgrade Your Space