Tiling 102: The Bathroom Floor (Published 2013)
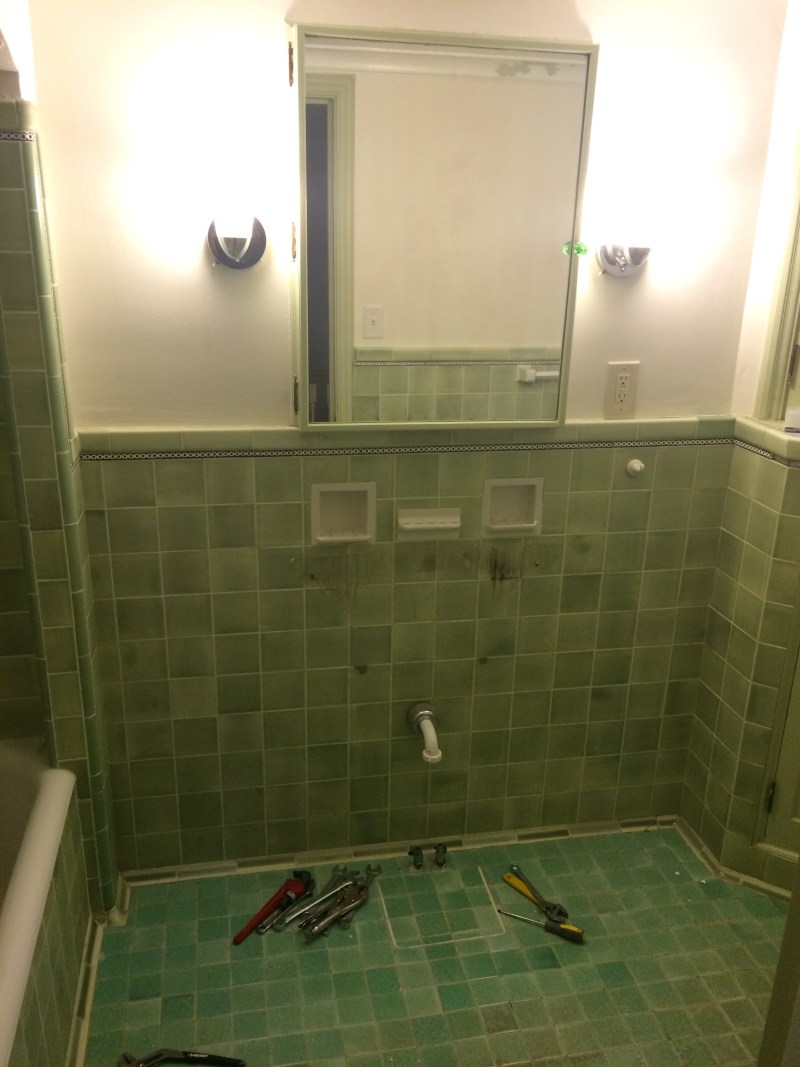
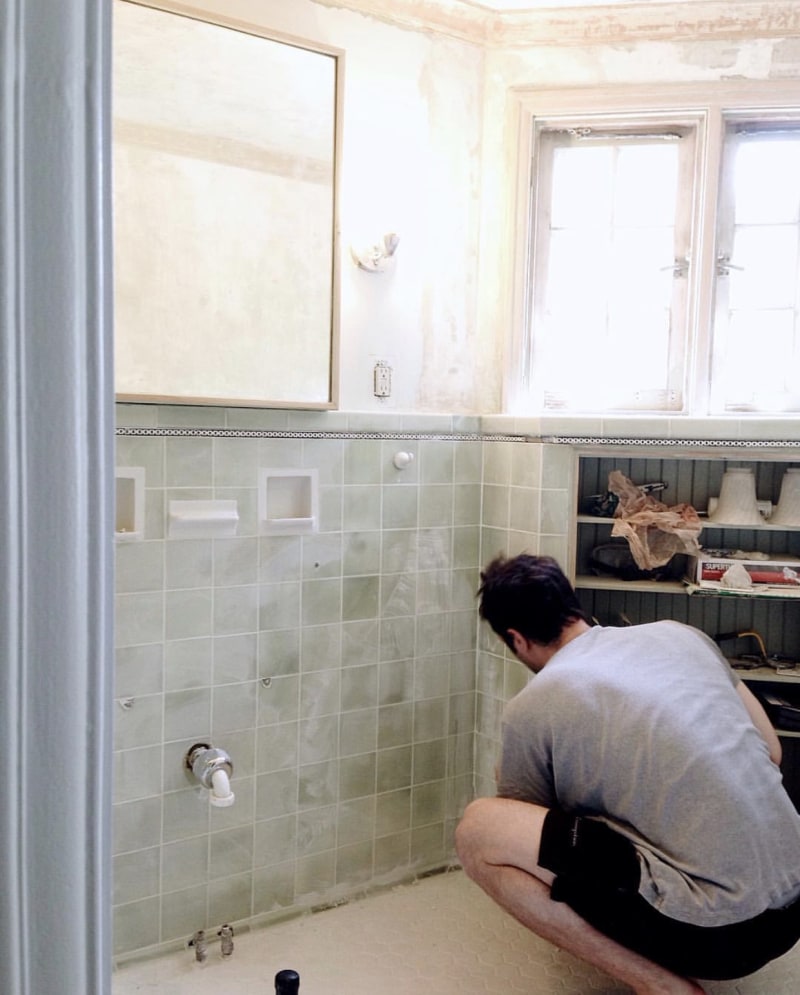
This article details the process and challenges of a DIY bathroom floor tiling project, following a previous less successful attempt at tiling. The author, Bob Tedeschi, embarks on tiling a 30-square-foot bathroom floor, aiming to save money by doing it himself rather than hiring a contractor. He seeks advice from experts, including Arthur Moloian of Ann Sacks and authors Michael Schweit and Robin Nicholas of “Tiling Complete,” who emphasize that while a bathroom floor is an intermediate-level project due to its manageable size, it is more complex than often perceived by DIY enthusiasts.
Key initial considerations include assessing the existing floor's condition; weak, warped, rotted, or asbestos-containing floors are deemed unsuitable for DIY tiling. The project requires significant time, with at least a week for tile selection and ordering, and another week for installation. The article notes the added complication of a toilet in a bathroom, advising that professional plumbers should handle its removal and reinstallation, though more ambitious homeowners might attempt it with careful water shut-off and sewer line sealing. After removing the toilet and wood trim, the author inspects the subflooring and decides to tile over the existing vinyl flooring by adding backer board, a method suggested by an expert to avoid removing the old floor.
Preparation involves purchasing thinset cement, rubber gloves, a dust mask, safety goggles, joint tape, and backer board. Cutting the backer board proves challenging for the author, who struggles with various tools before learning that scoring and snapping is the recommended method. The backer boards are then screwed down to the floor over a layer of thinset mortar, a crucial step to prevent future floor failures. This stage involves driving 115 screws and then taping and coating the joints with more thinset.
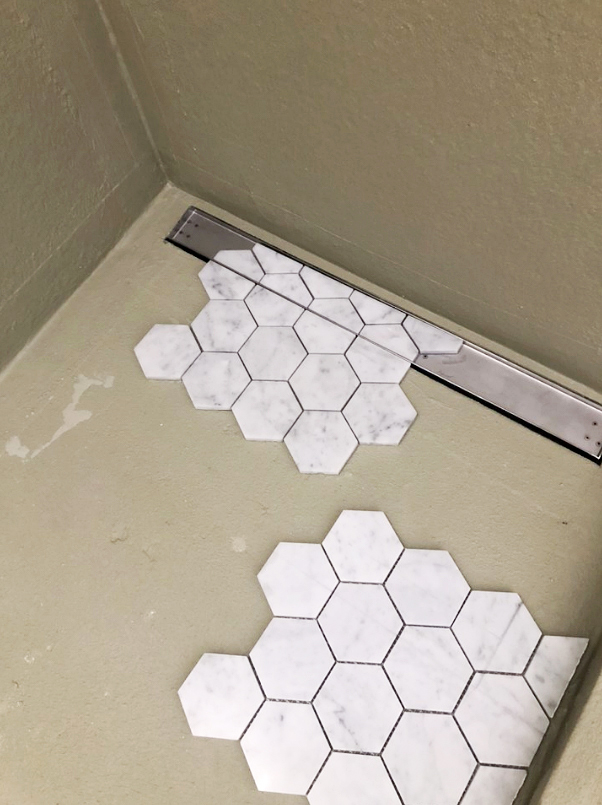
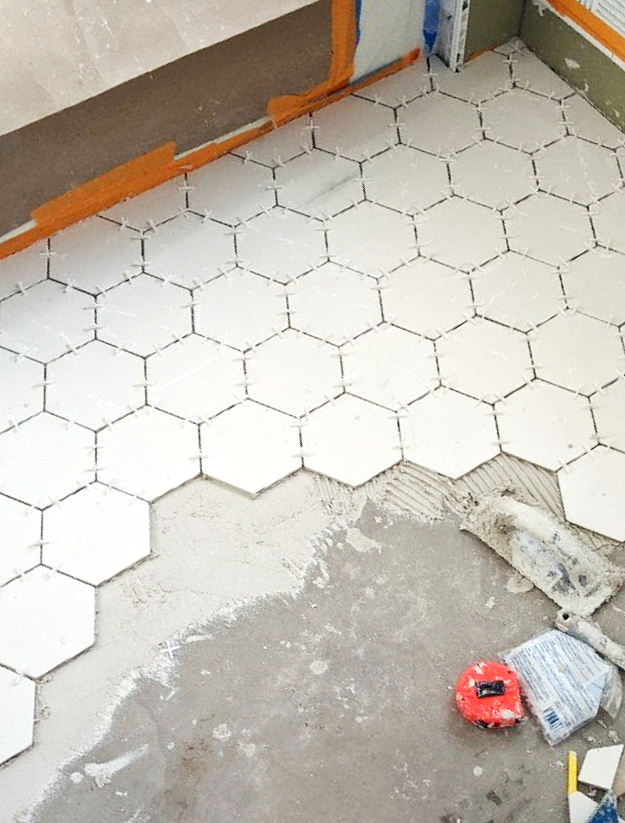
Laying and cutting tiles form the next, and arguably most difficult, phase. The author chooses 6x6-inch tiles over mosaic sheets, which are considered harder for beginners to cut precisely. He uses a snap-line and a framer’s square to mark the layout, working from the farthest corner towards the doorway, and using one-eighth-inch spacers for grout lines. The most significant challenge arises during tile cutting. Initially using tile nippers for curved and L-shaped cuts, the author finds them ineffective for modern dense ceramic tiles, breaking two pairs of nippers and a tile in the process. A call to a local tile store reveals that a wet saw is necessary for such tiles, which he rents for $50, greatly simplifying the cutting process.
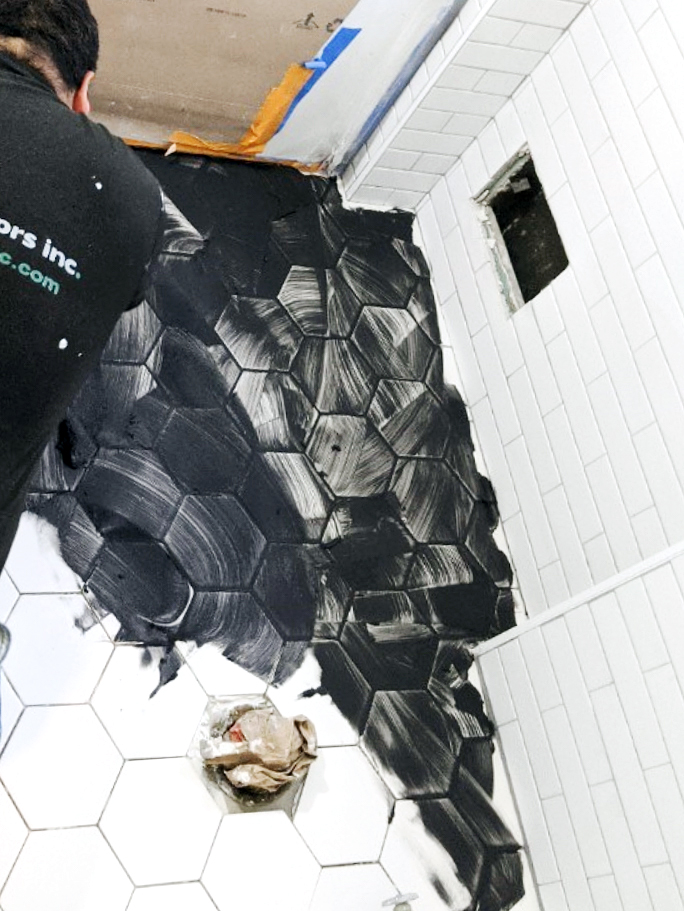
Finally, the author mixes thinset to a peanut butter-like consistency and begins setting tiles. He encounters a “rookie mistake” by inserting spacers vertically instead of flat at the tile intersections, resulting in slightly skewed but otherwise well-set tiles. After a 24-hour curing period, he prepares for grouting, which involves scraping excess cement from the channels—a task made harder by not having dragged the spacers through the channels initially. He uses a 10-pound bag of grout mixed with GroutOnce, a product designed to eliminate the need for sealing. The grouting process is generally straightforward but he makes another mistake by delaying the shaping of the grout joints with a sponge, allowing the grout to calcify and requiring significant effort to refine. Despite the numerous difficulties and mistakes, the author successfully completes the project, resulting in a satisfactory new bathroom floor. He concludes that while it took him twice as long as a professional, the experience was valuable, and he looks forward to applying his newfound knowledge to future tiling projects, such as a mosaic surrounding the front entrance.
#HomeImprovement #DIYProject #BathroomRenovation #TileInstallation #FloorTiling #HomeDecor #RenovationTips #InteriorDesign #HomeMaintenance #HomeImprovement #DIYProject #BathroomRenovation #TileInstallation #FloorTiling #HomeDecor #RenovationTips #InteriorDesign #HomeMaintenance
0 comment in total
 No comments yet
You may also like

Bathroom Tiles

14 Bathroom flooring ideas to create a stylish and sensible space in 2025
Showstopping Tile


The Bathroom Floor Tile Trend That Will Dominate In 2025
7 Designers Weigh in on the Best Tile for Bathroom Floors
The Block 2023: Bathroom reveal
7 Tacky Bathroom Tile Patterns That Designers Are So Tired of Seeing

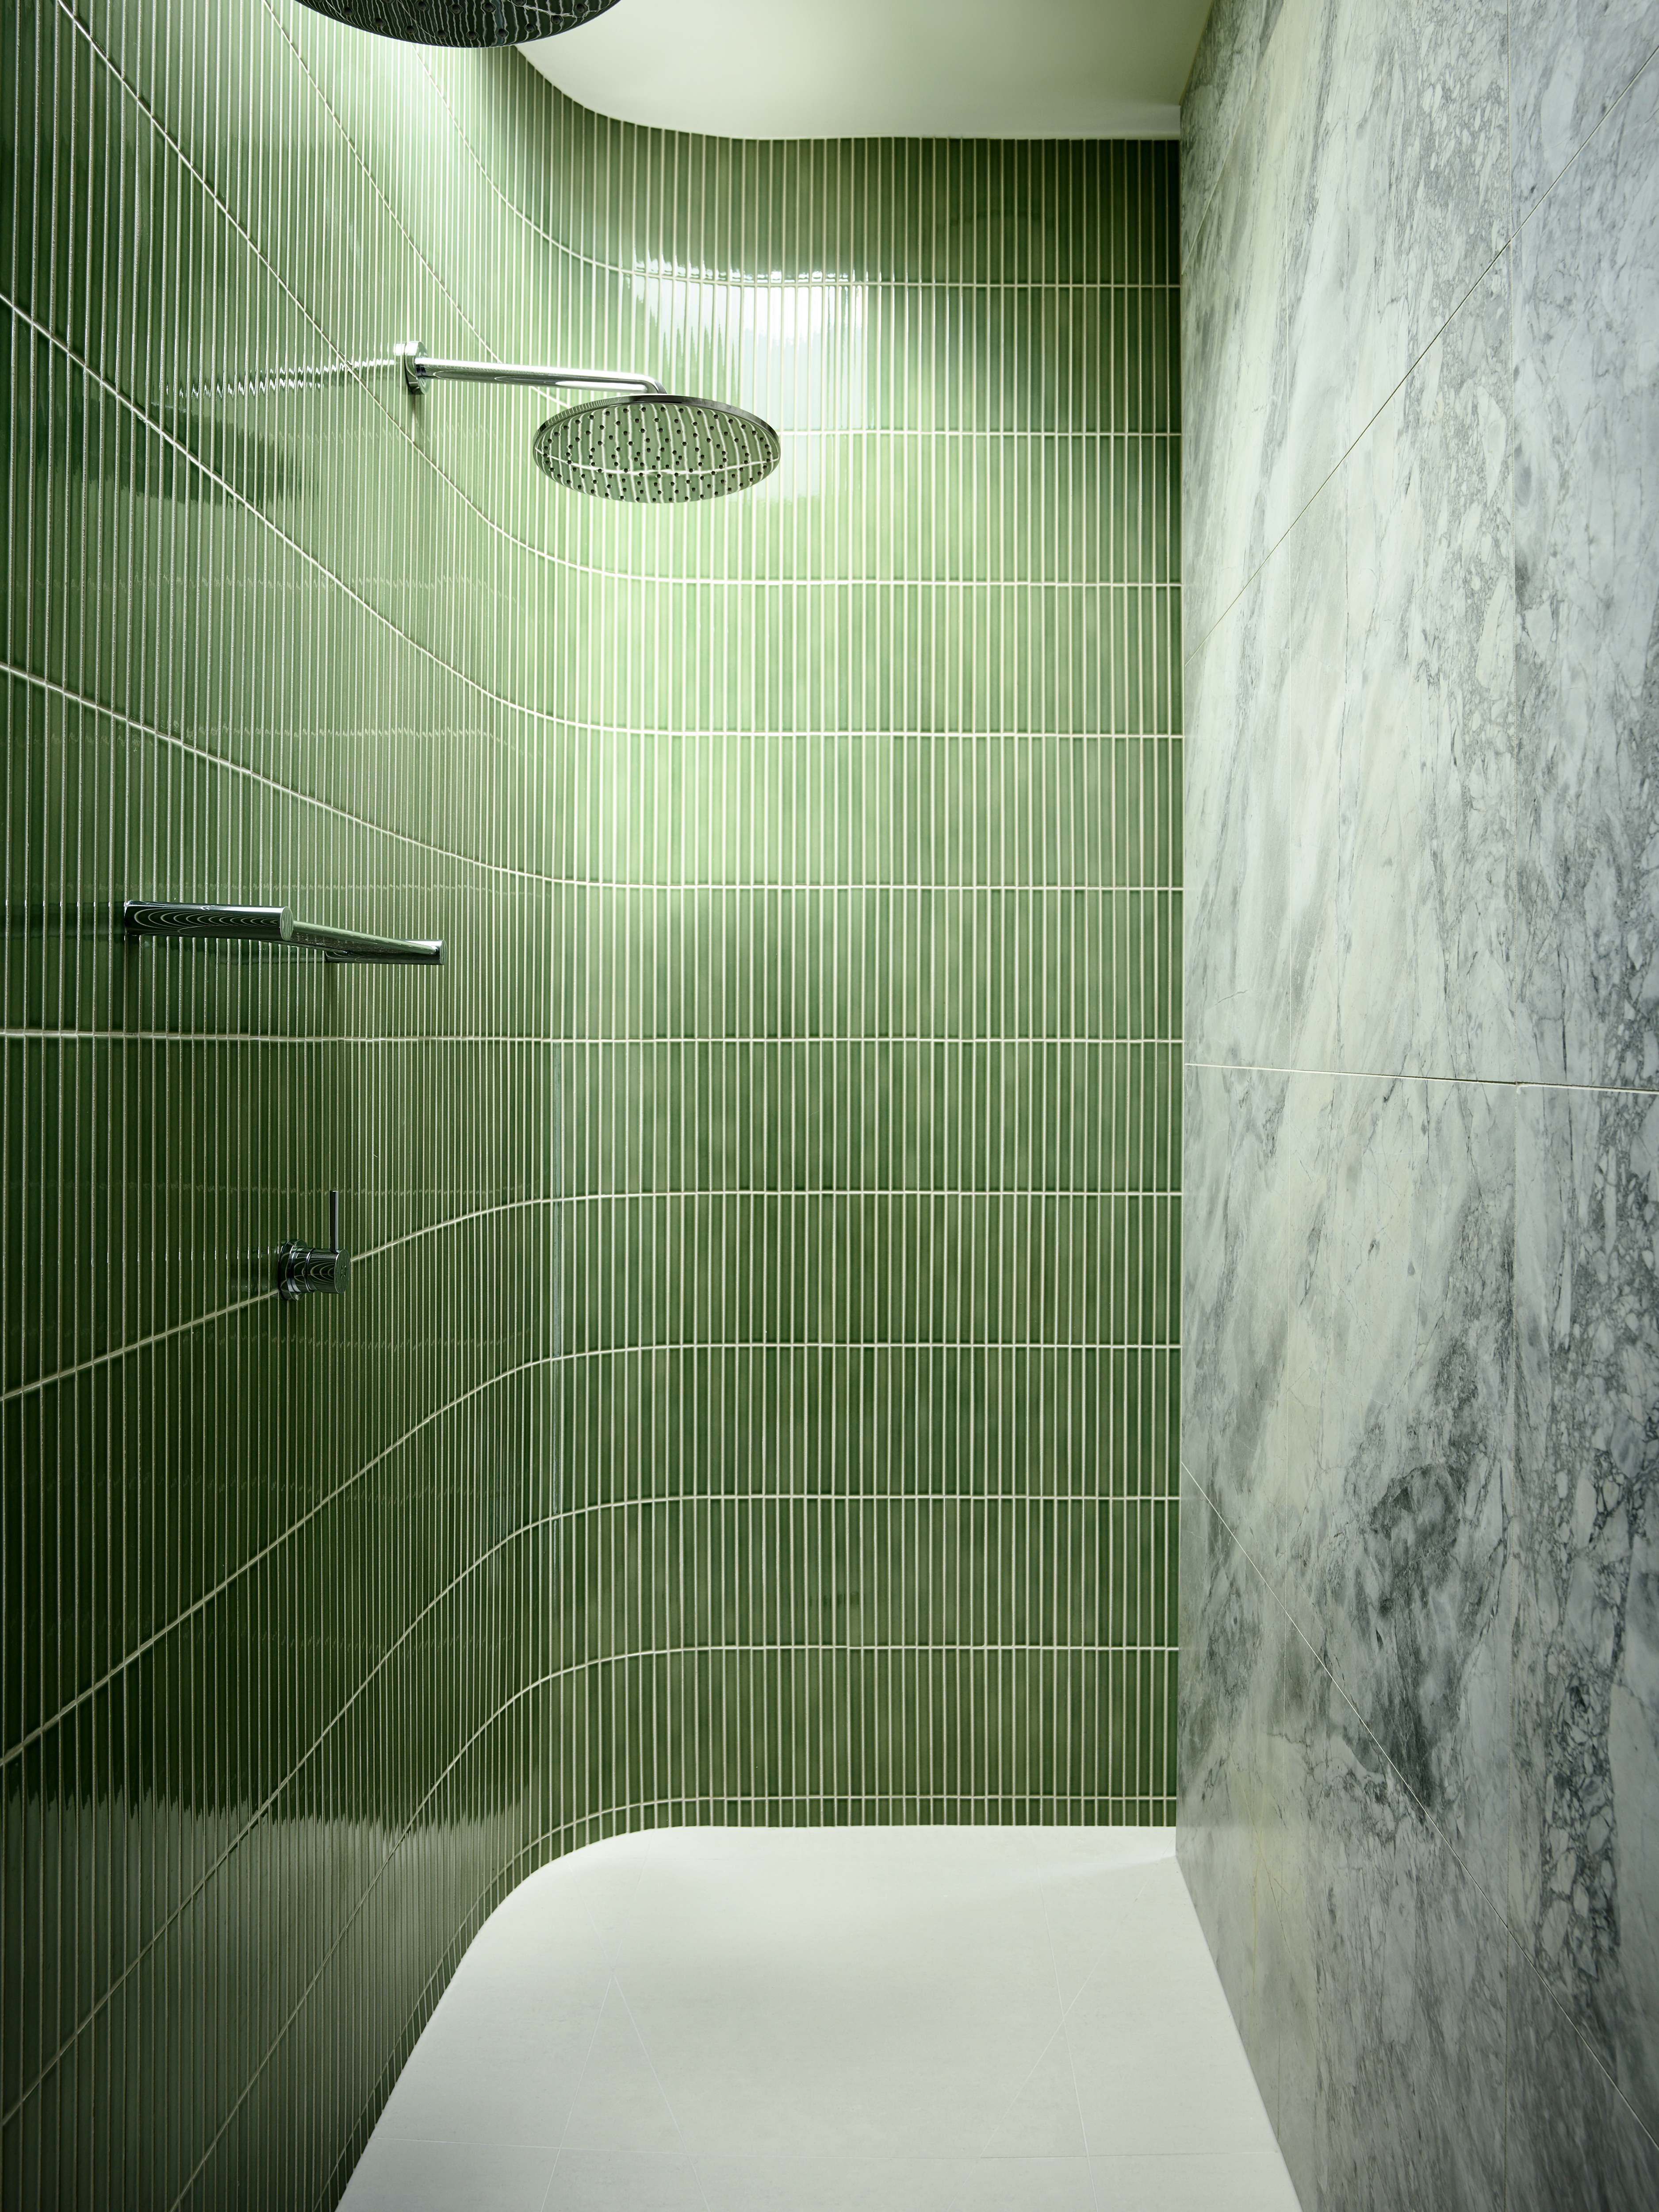
5 Experts Share Their Favorite Tile for a Knockout Shower

How to design a bathroom: decor ideas and tips
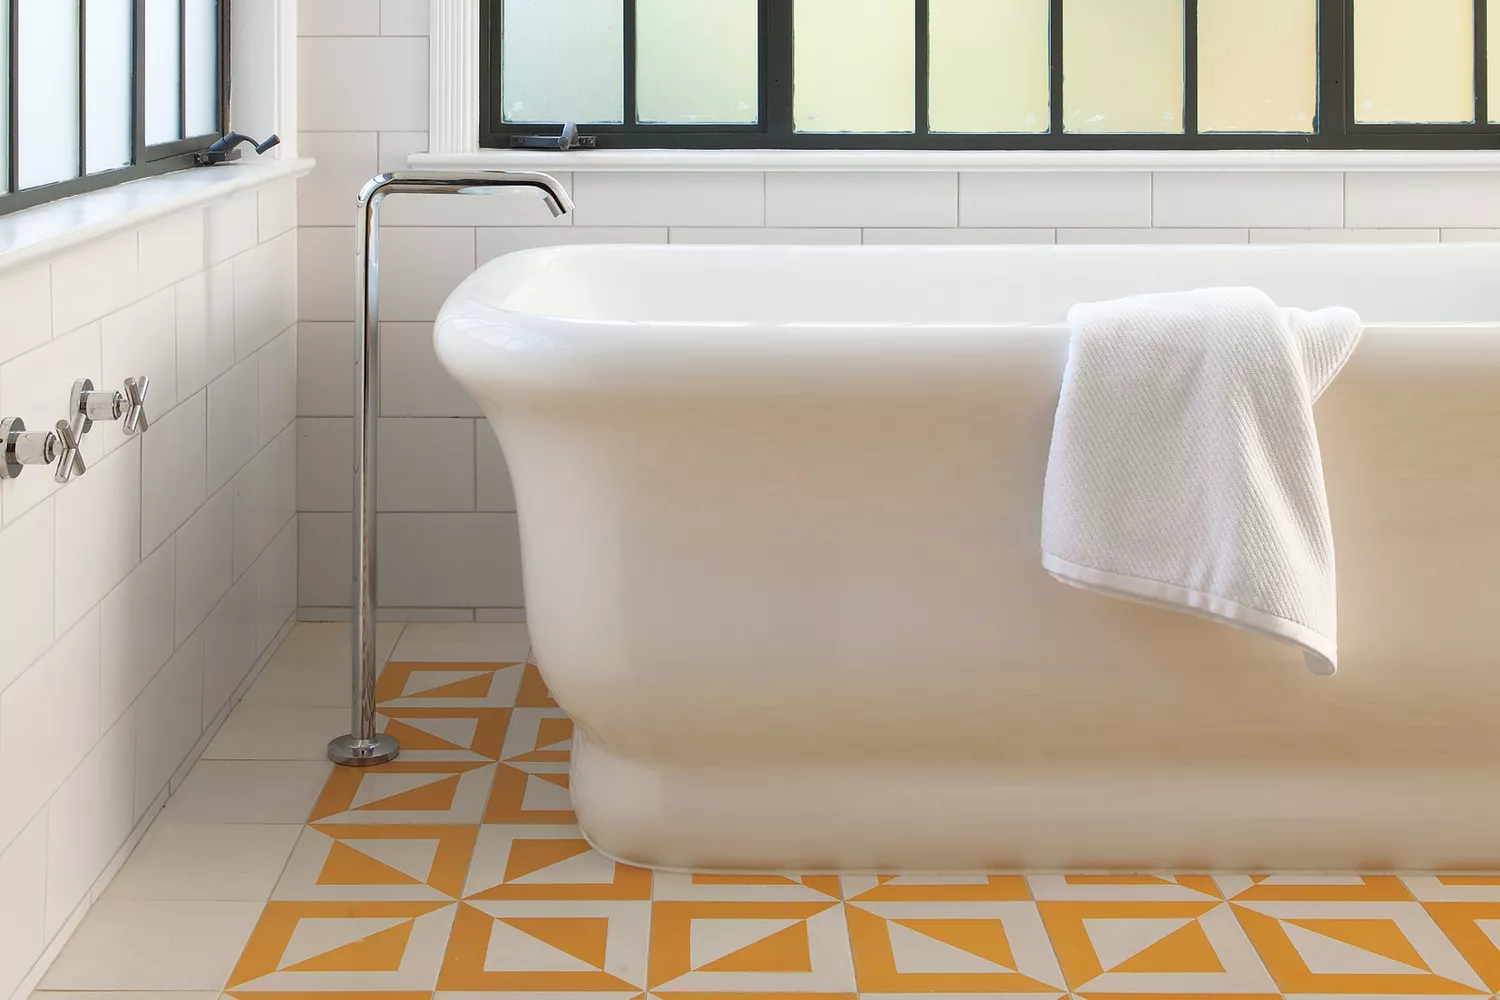
11 Bathroom Tile Trends to Try in 2024, From Black Marble to Mosaic
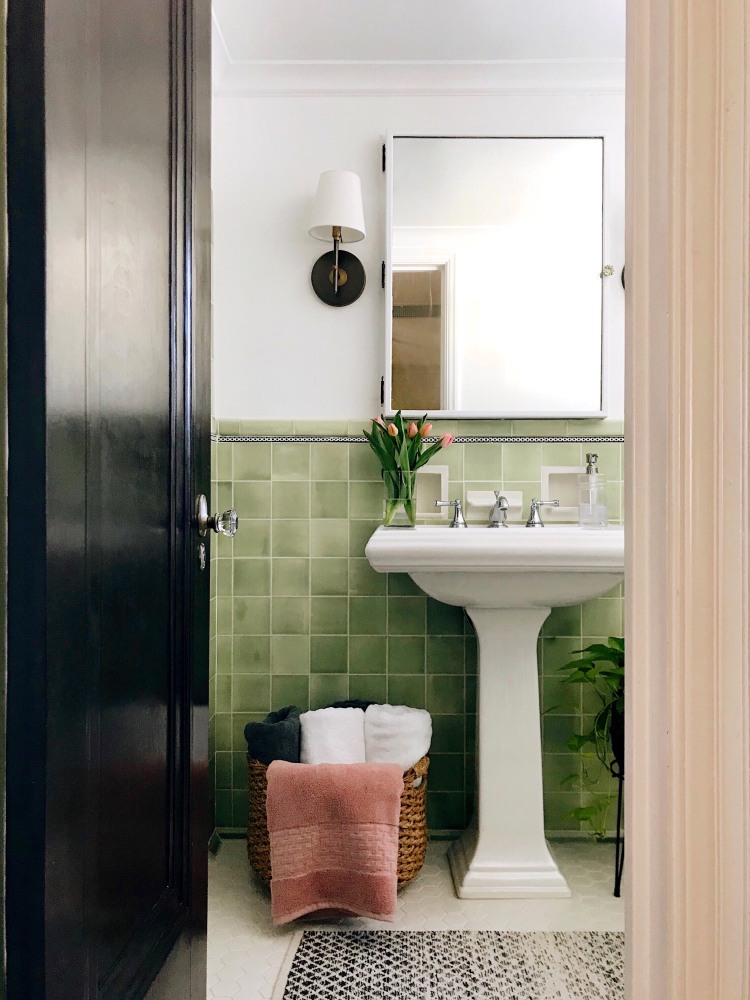
How One Couple Upgraded the Floor in Their 47-Square-Foot Bath Themselves
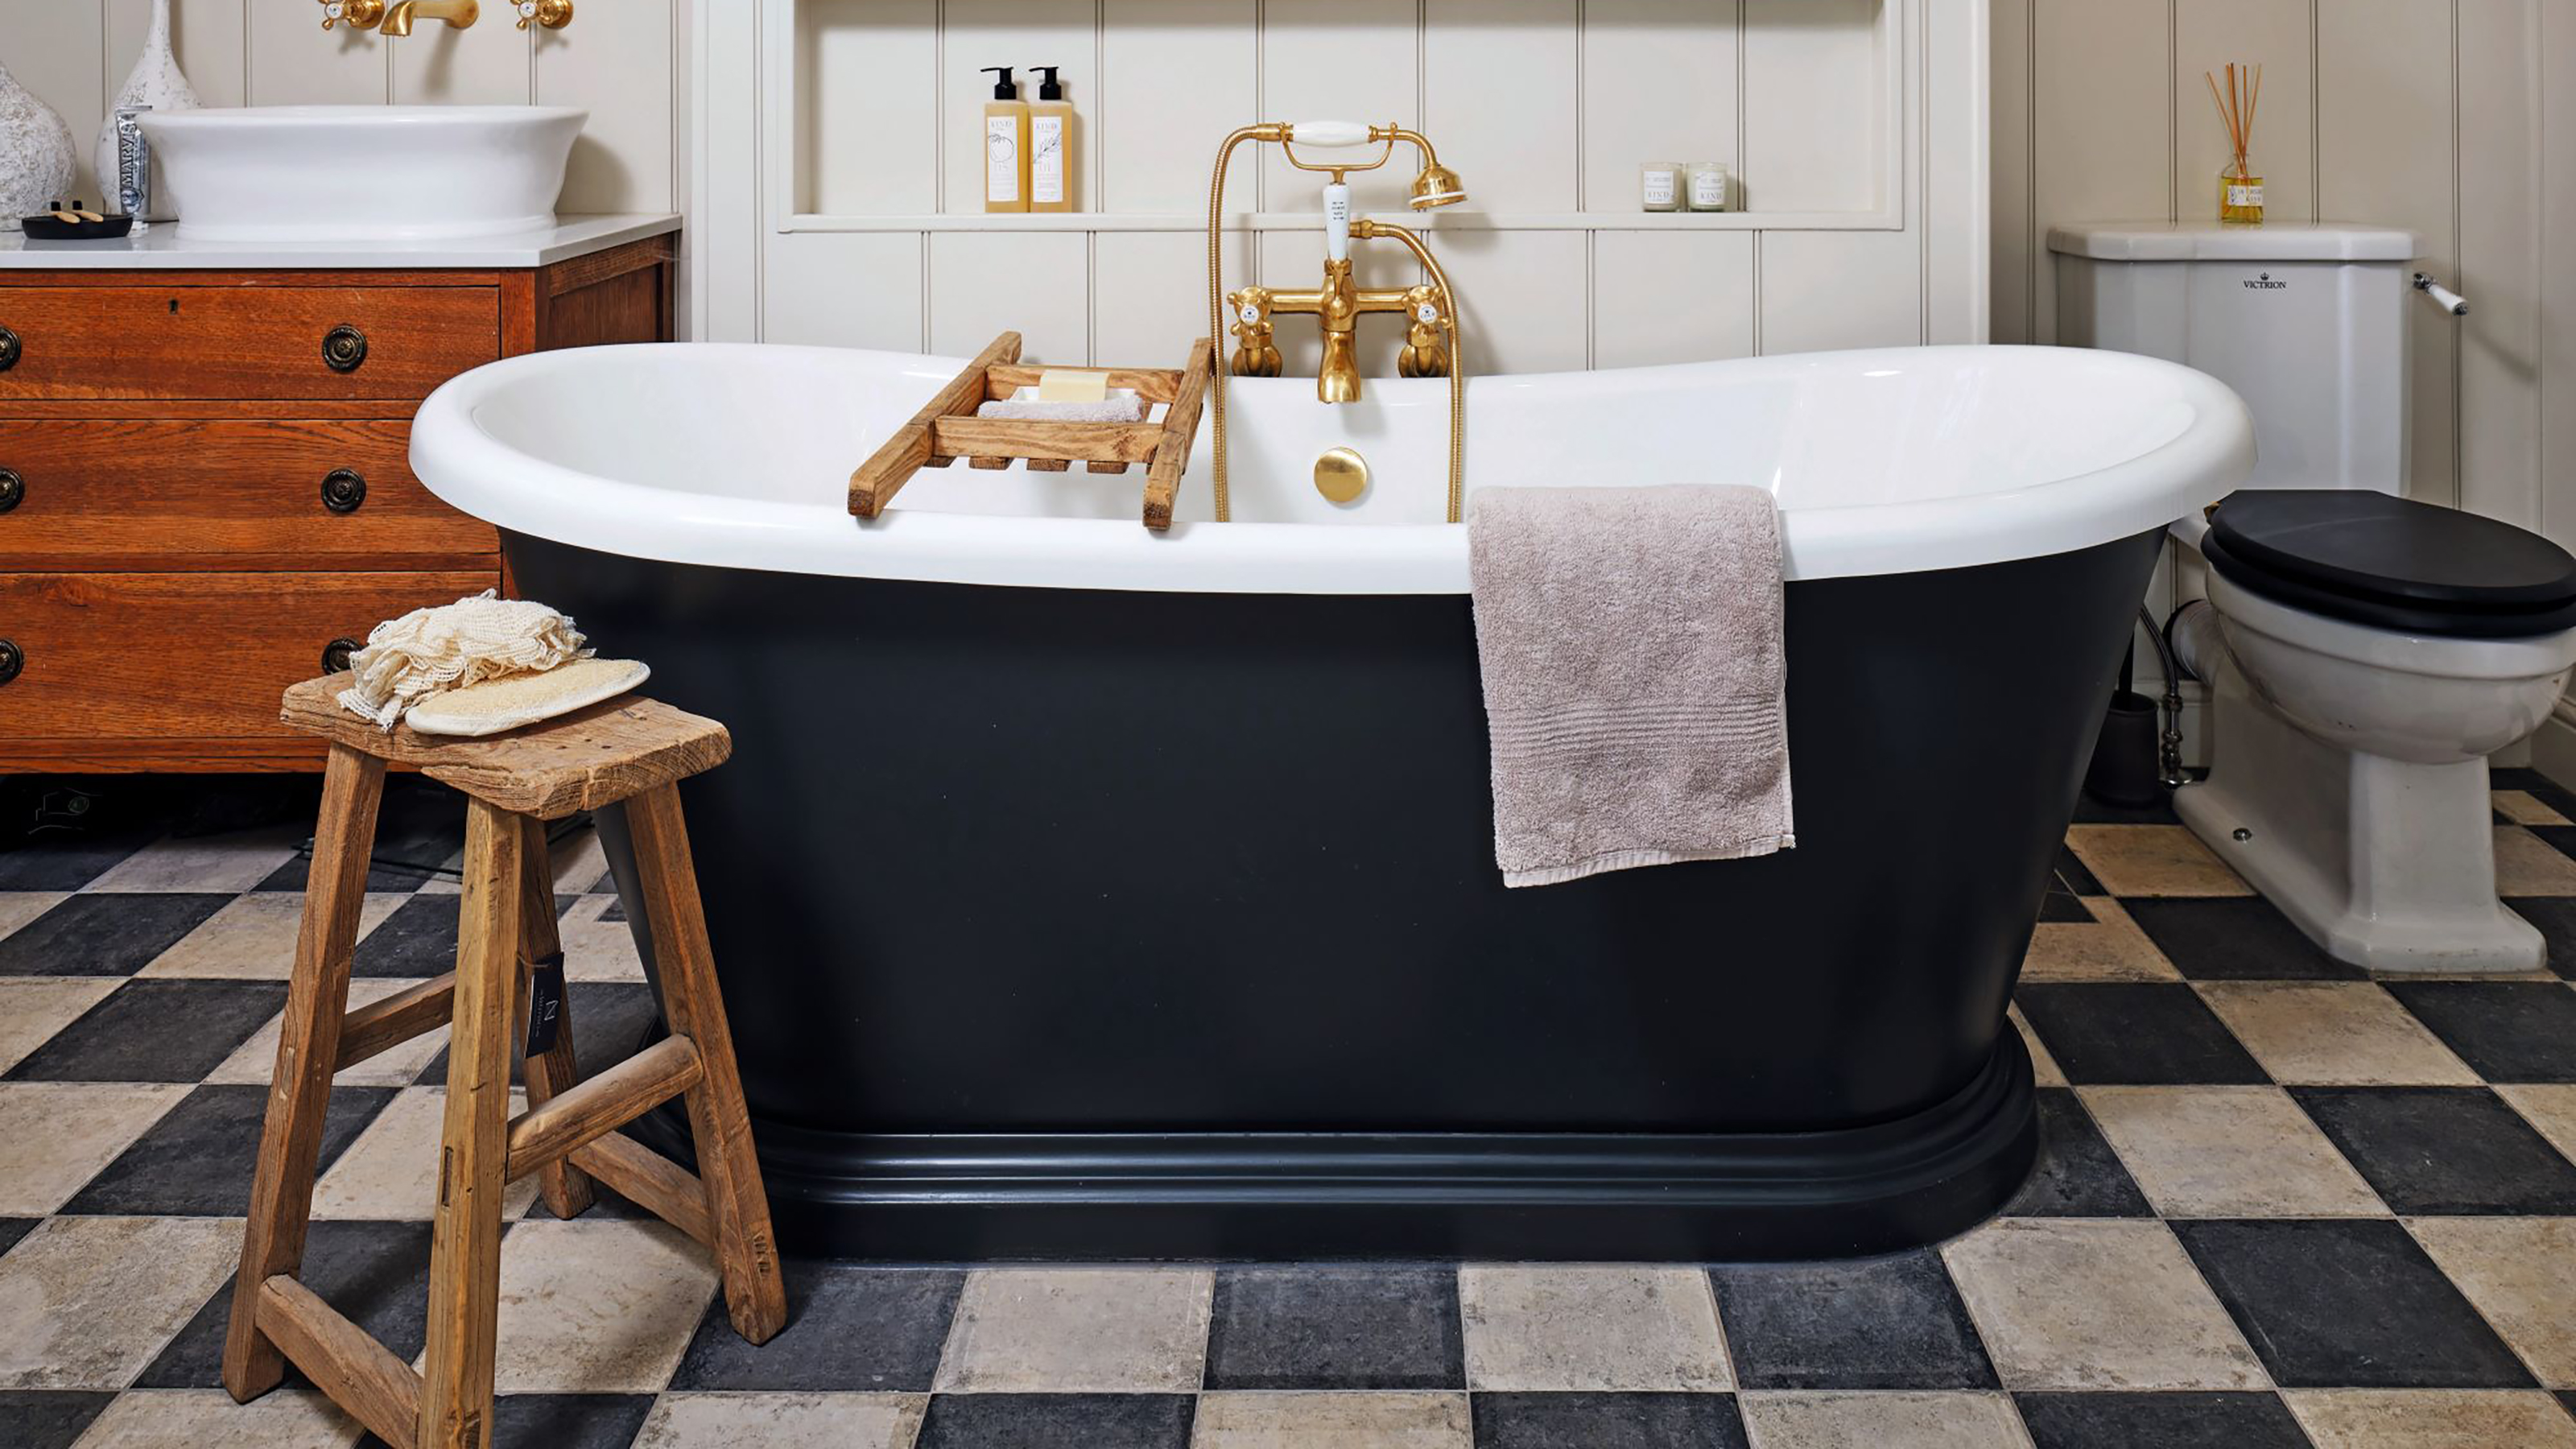
Bathroom floor tile ideas – 15 ways to incorporate stylish tiles underfoot
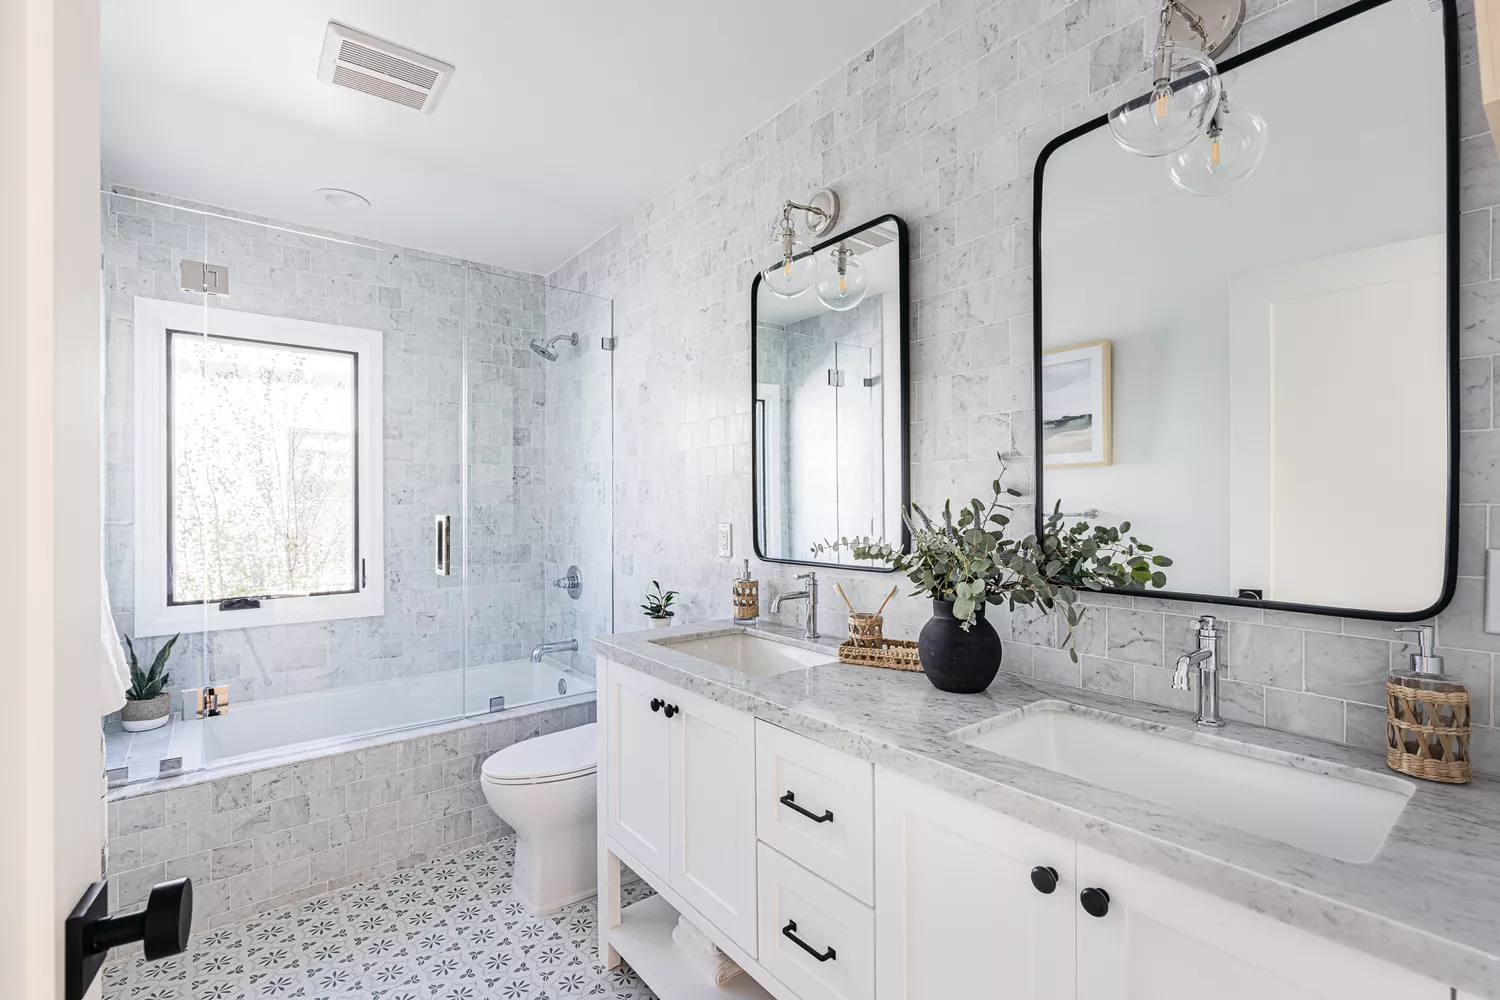
15 Bathrooms With Amazing Tile Flooring
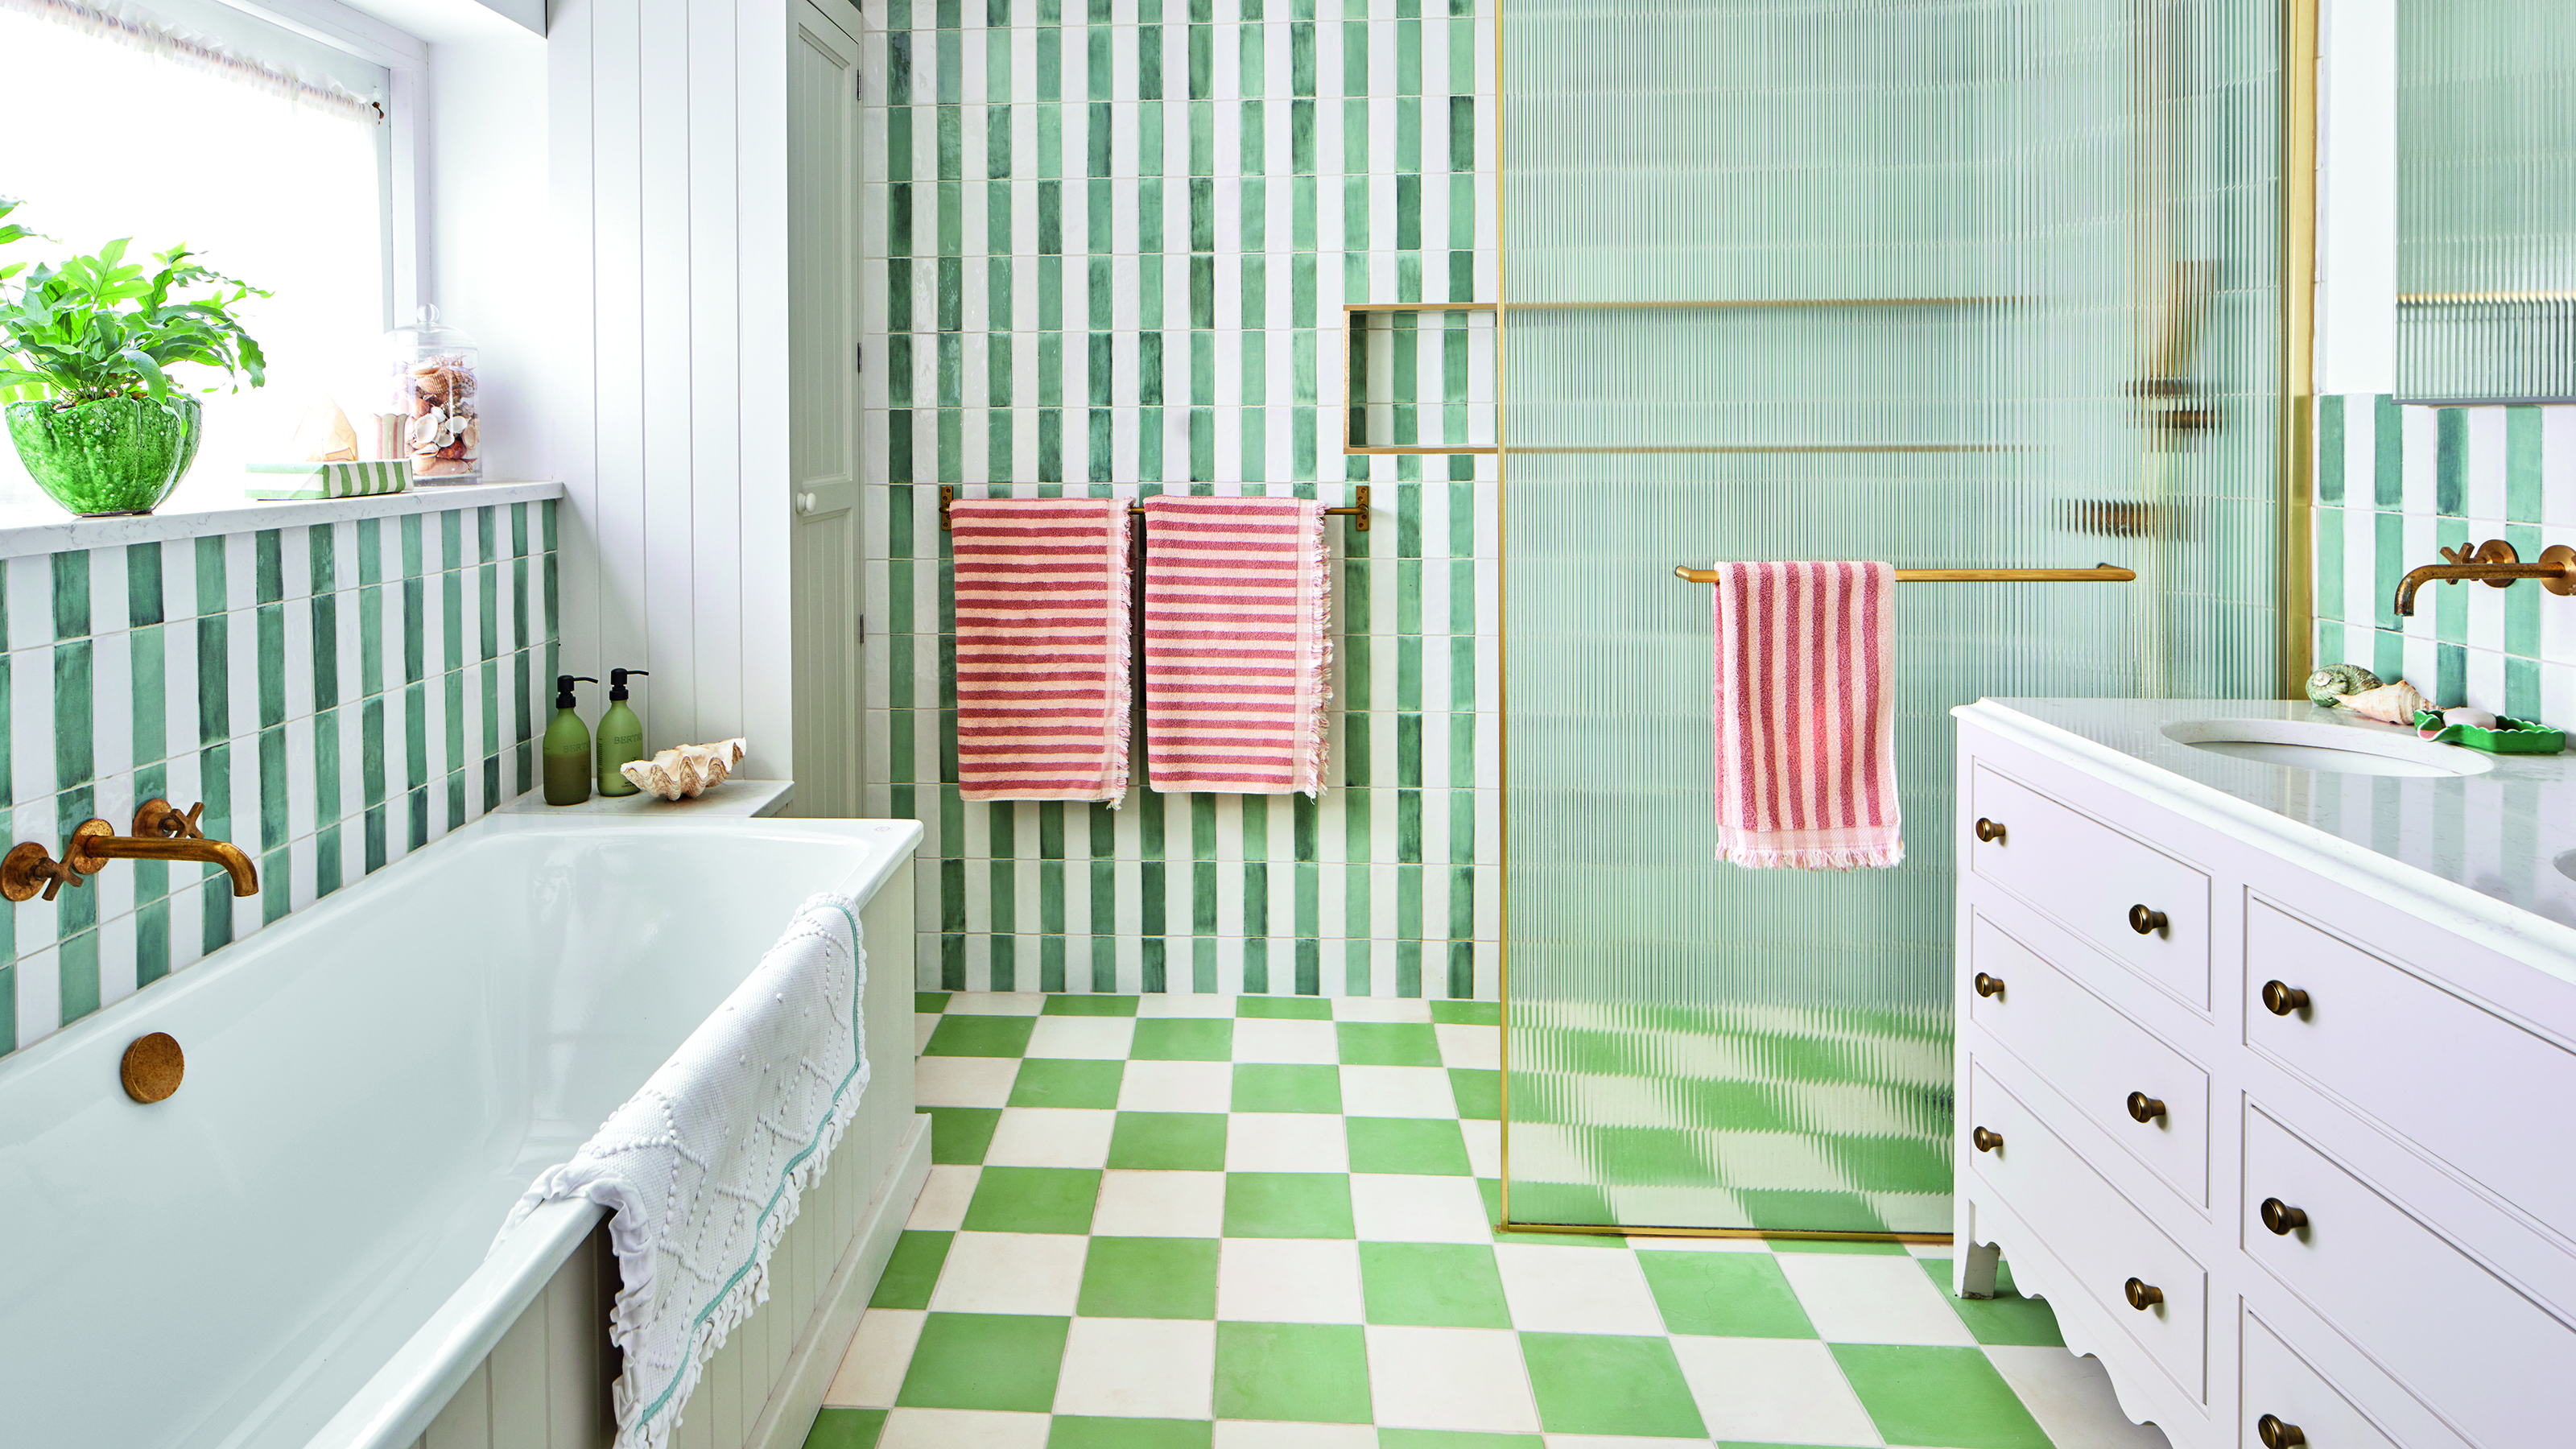
The bathroom tile trends to watch for 2025 — 7 inspiring new looks to have on your radar
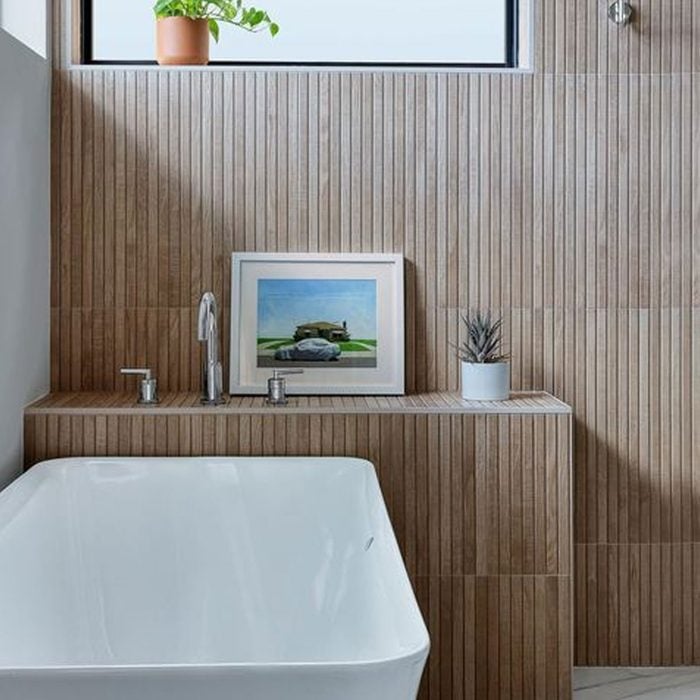
10 Bathroom Tile Trends That We Love

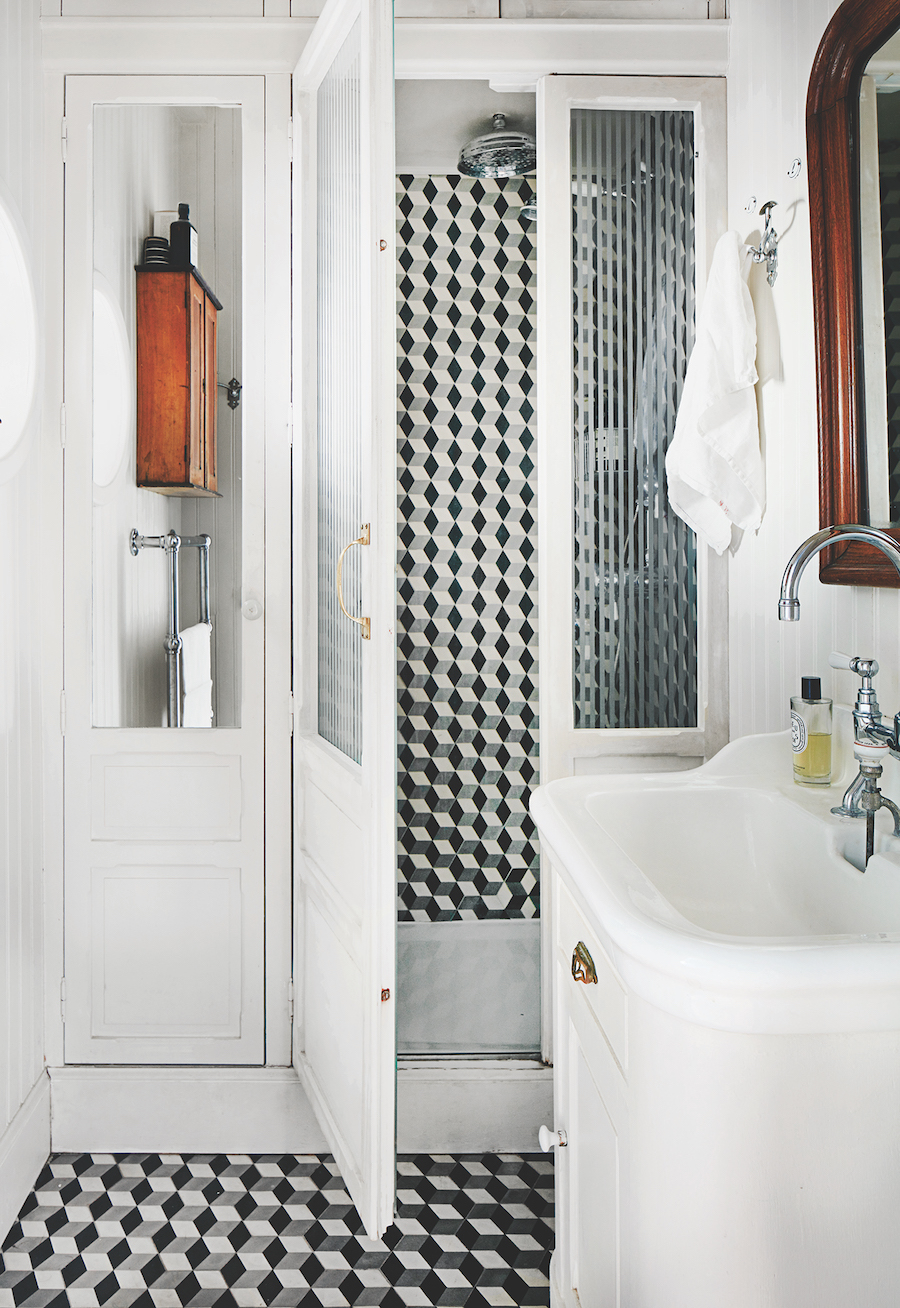
How to Tile a Bathroom Floor Yourself
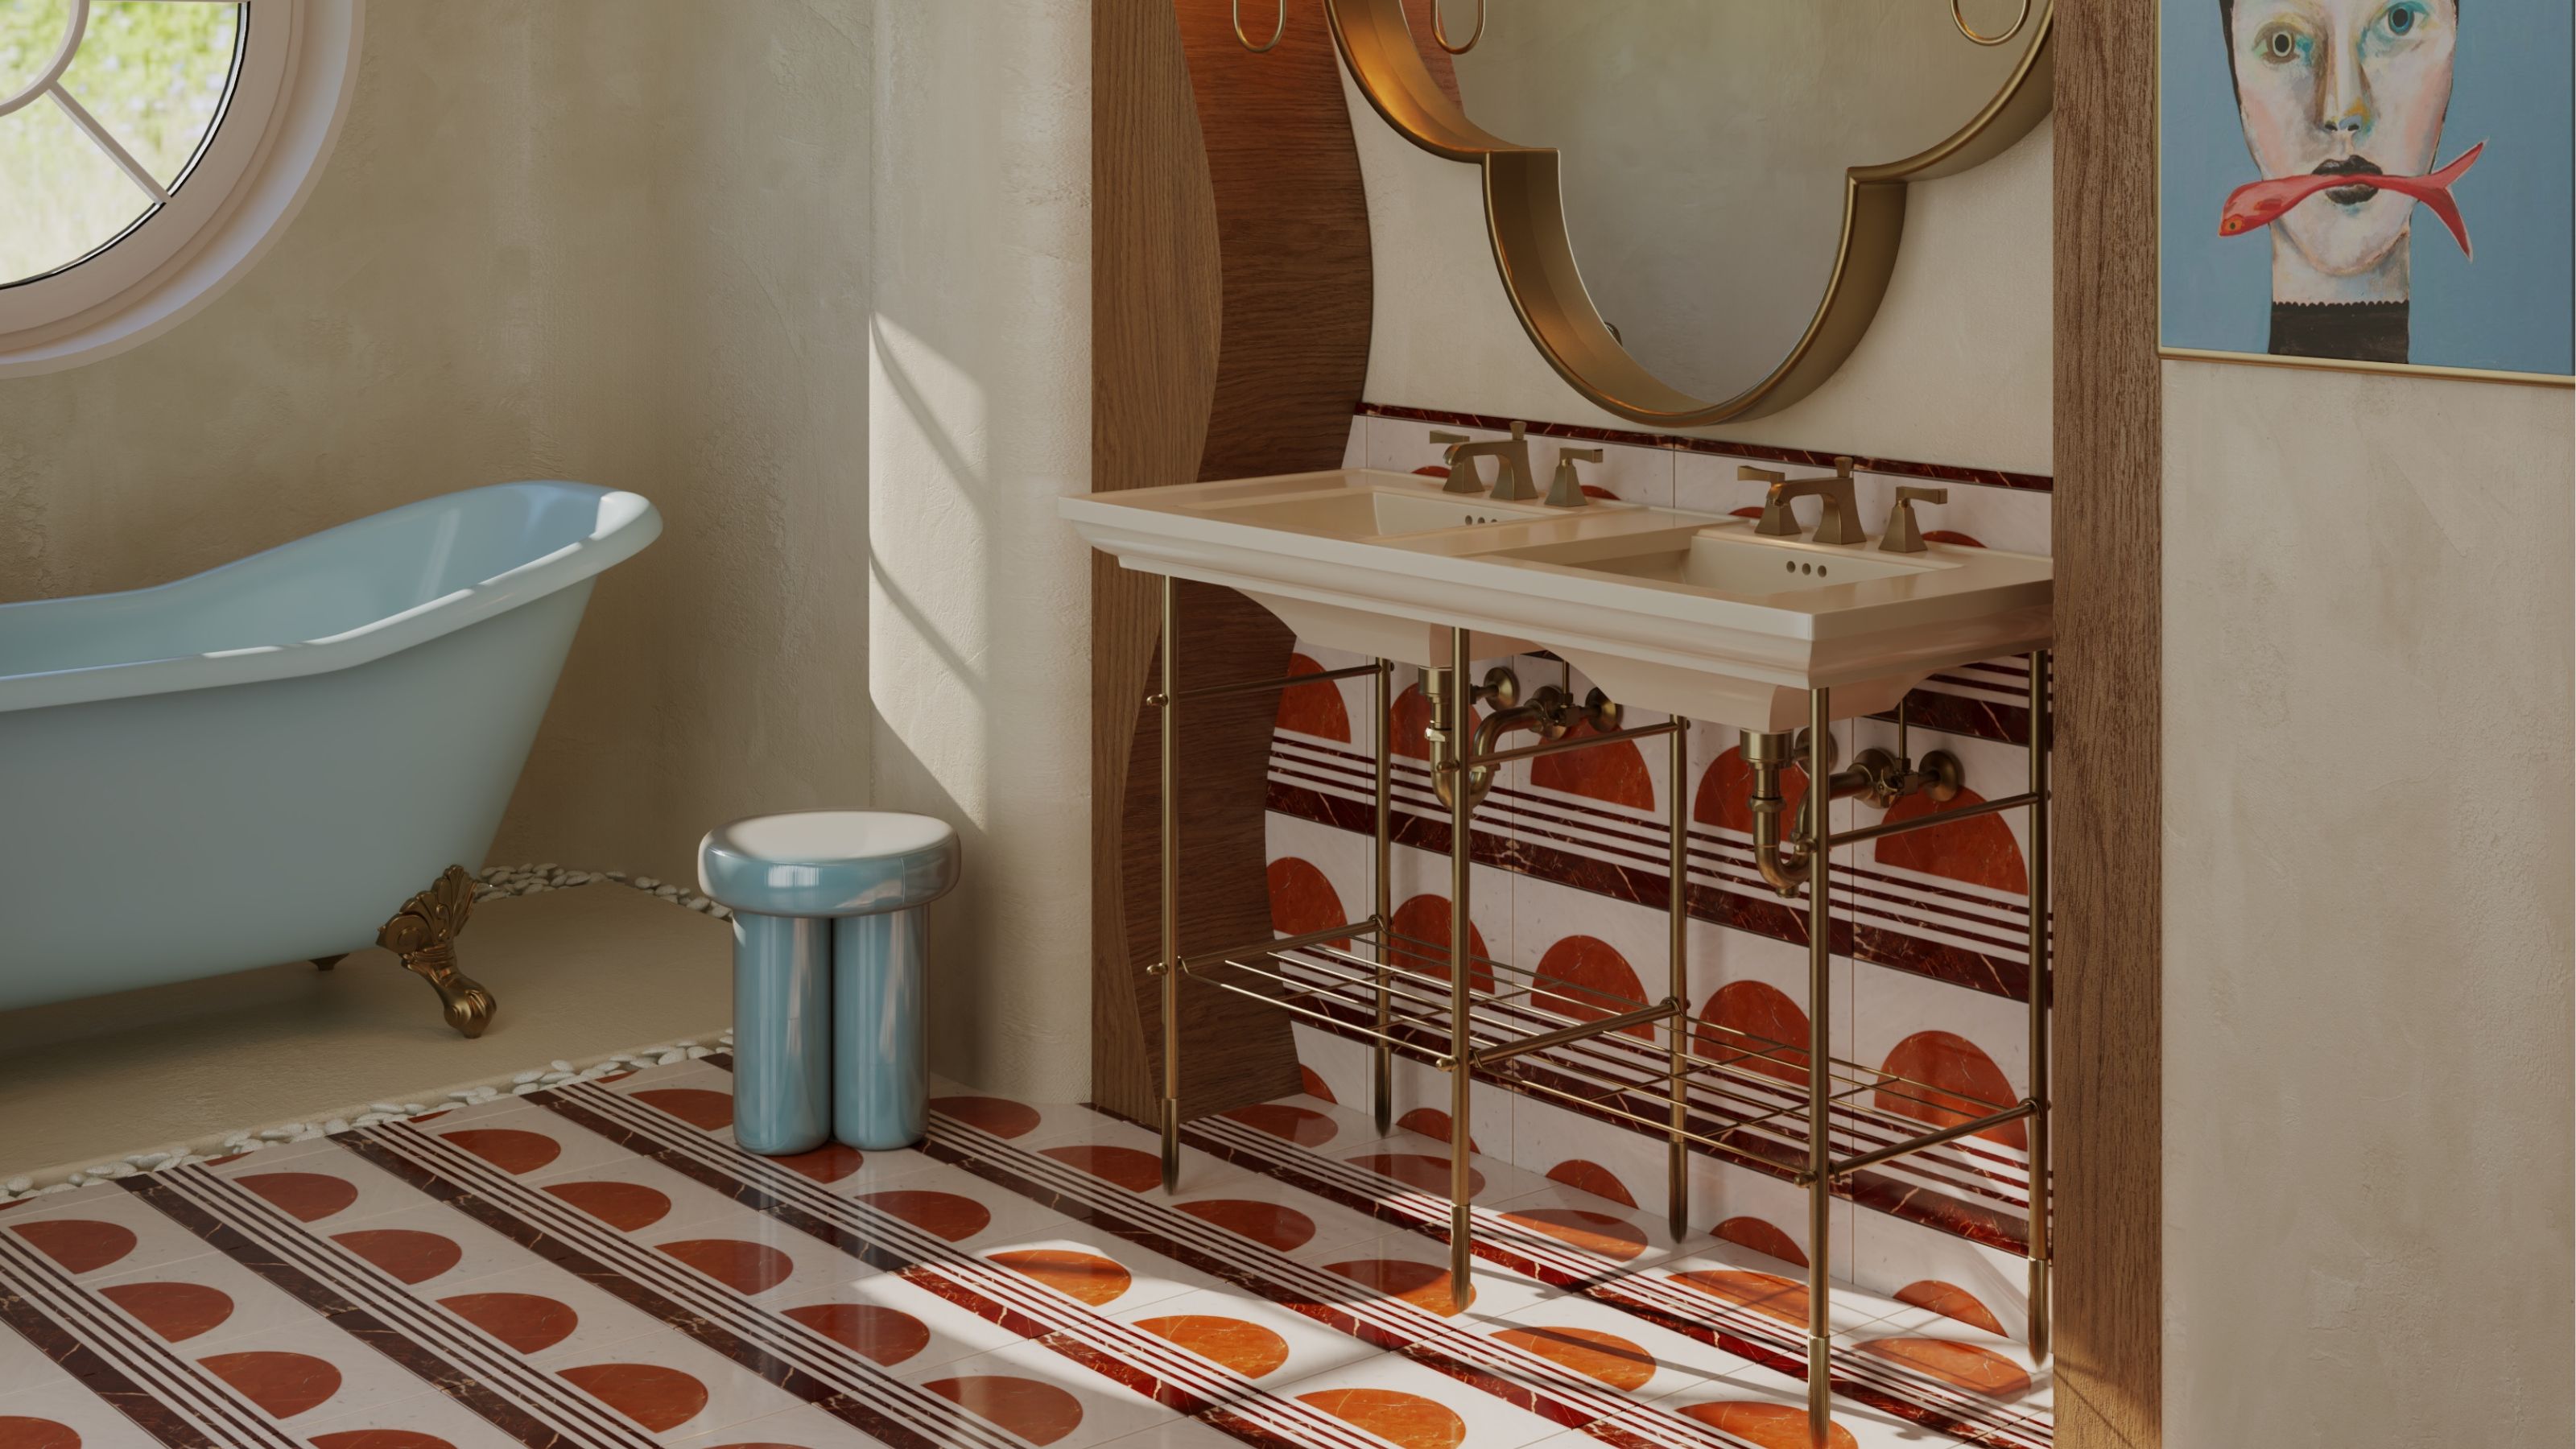
15 of the Most Important Bathroom Flooring Ideas You Need to Know When You're Planning a Makeover This Year

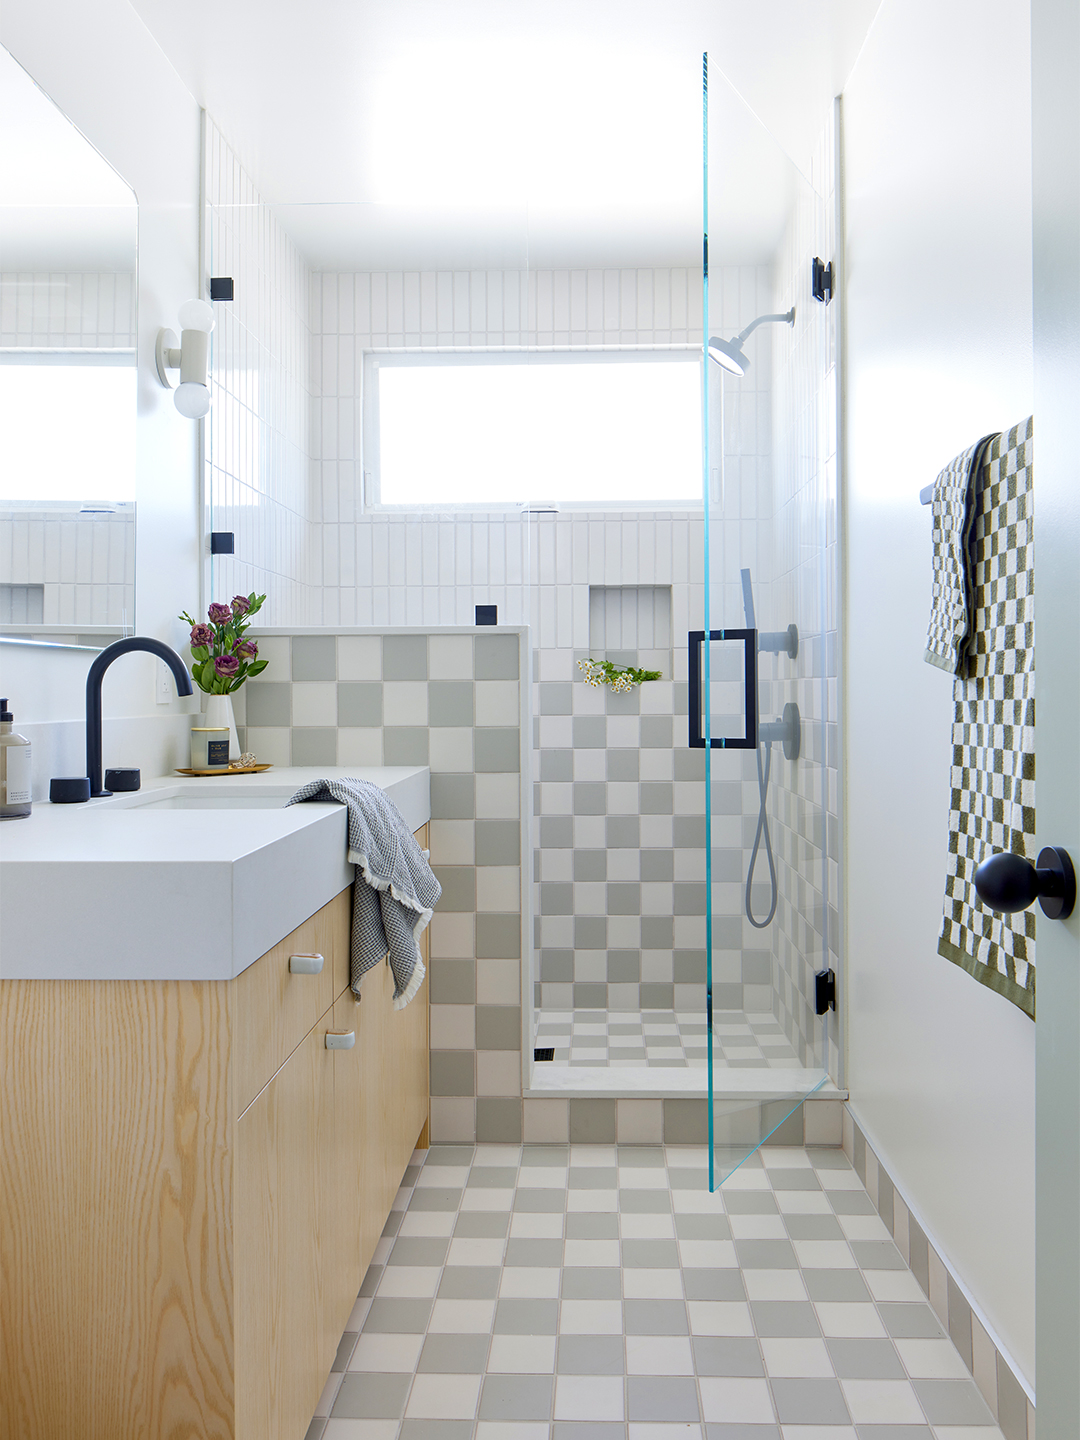
Nixing the Medicine Cabinet Streamlined This Tiny Bathroom Remodel
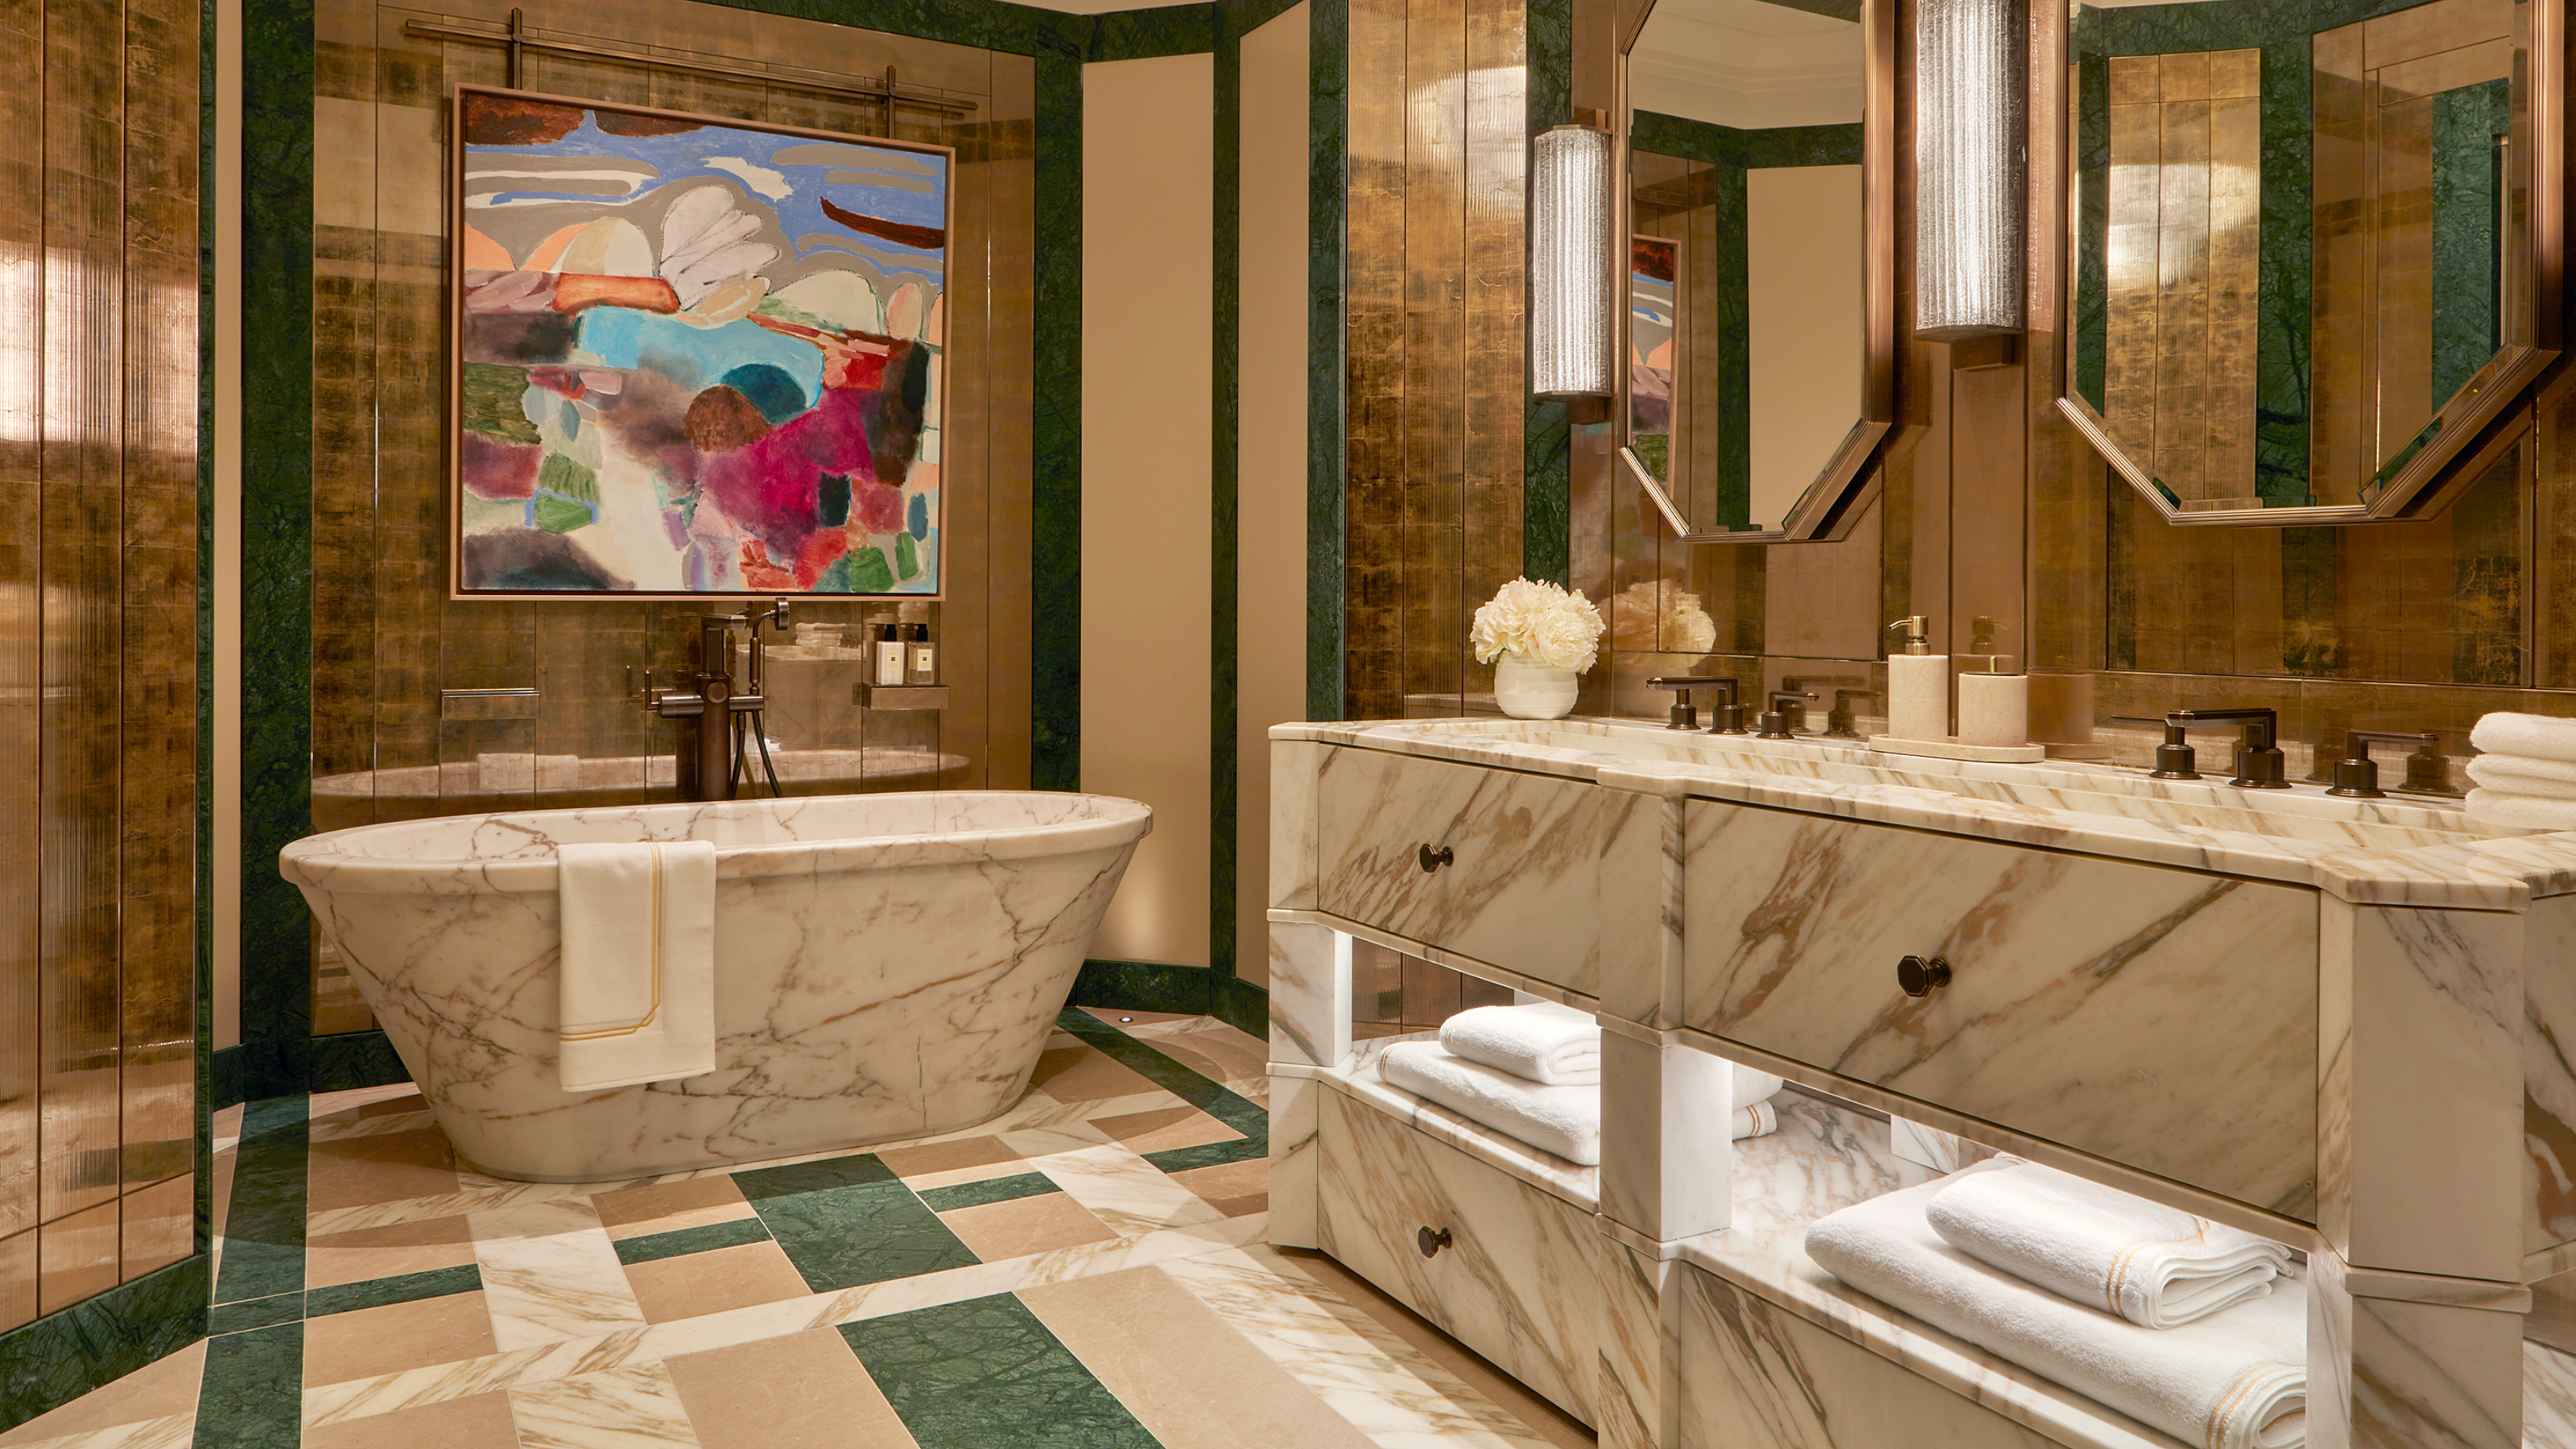
5 Outdated Bathroom Flooring Trends to Avoid in 2025 — Plus the Ones the Experts Want to See More of in Your Home
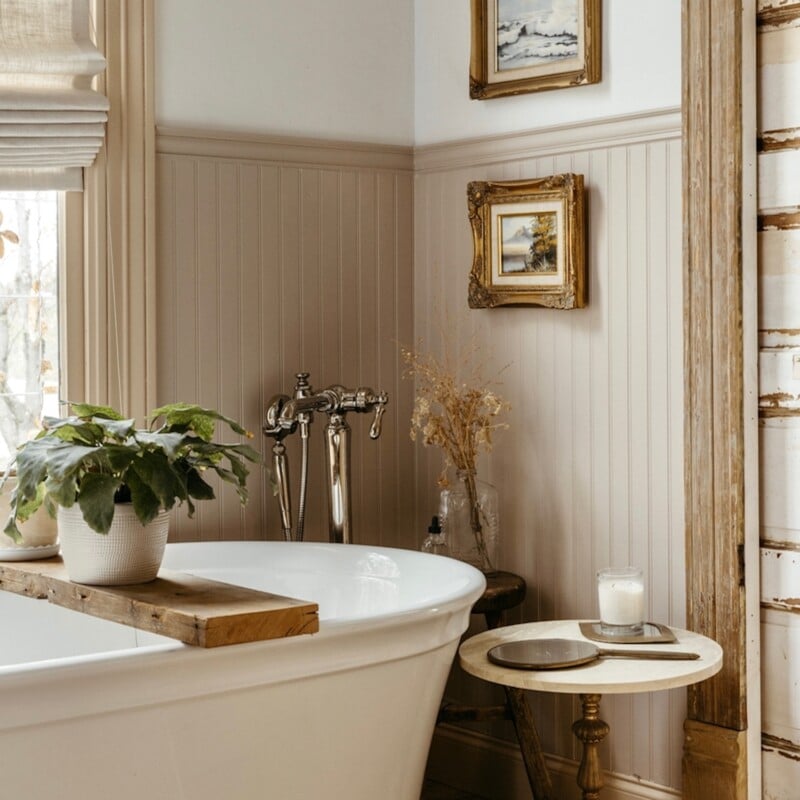
At-Home Spa? Yes, Please—Designers Share Their Bathroom Trend Forecast for 2024