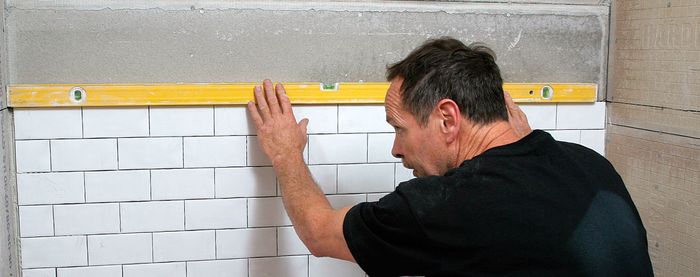
Install Tile Backerboard
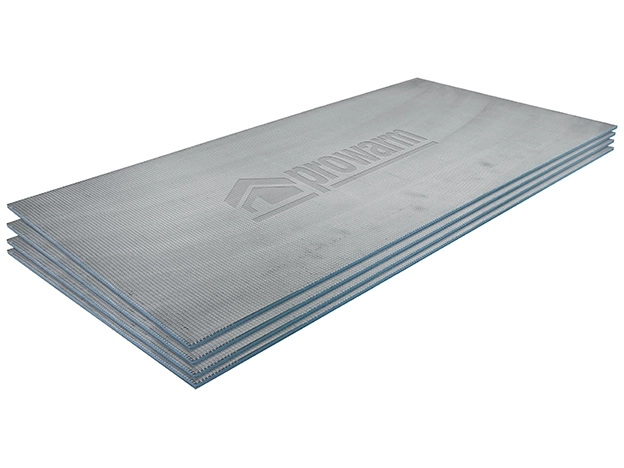
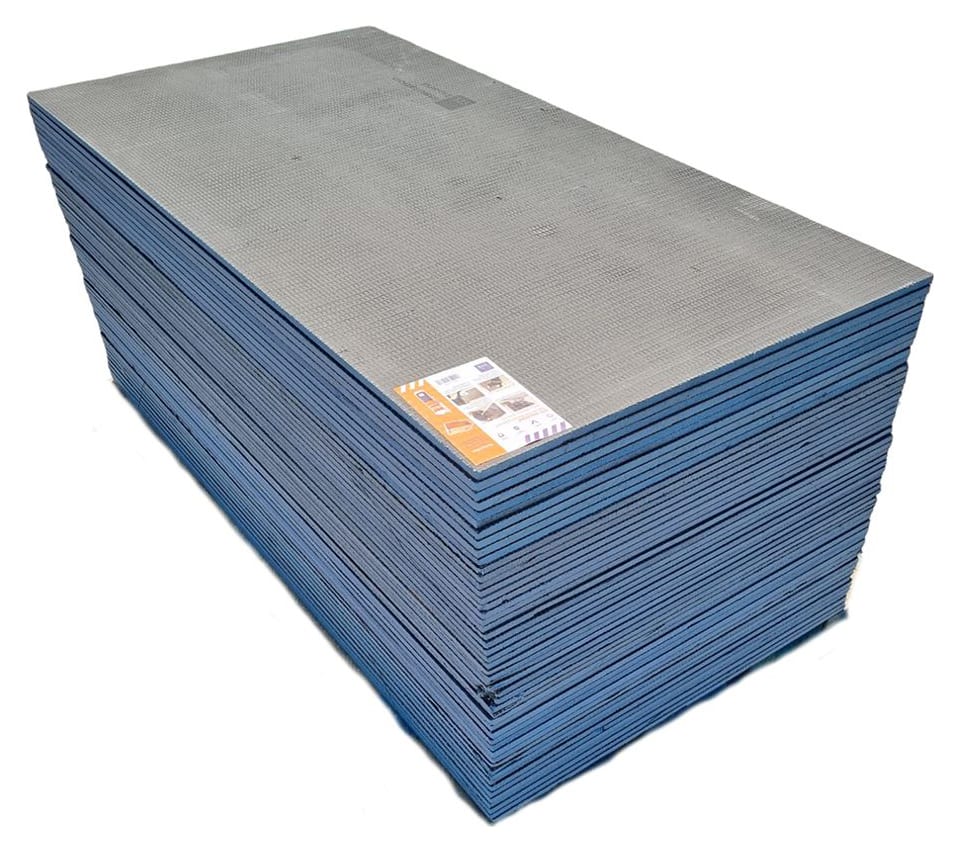
This guide outlines an eight-step process for installing tile backerboard, specifically focusing on concrete-core and fiber-cement types. The first step emphasizes the importance of starting with a flat wall where studs are spaced no more than 16 inches apart. Following this, the studs must be furred out to align with the flange of the tub or shower base, ensuring a flush surface for installation. The third step involves installing blocking at locations where horizontal seams of the backerboard will meet, and quarter-inch spacers are placed to create a necessary gap between the base and the backerboard itself.
Cutting the backerboard is detailed as a simple score-and-snap method using a utility knife, with a drywall rasp recommended for cleaning up any rough edges. For fastening the backerboard, the guide specifies the use of high-quality 1-1/4 inch corrosion-resistant screws designed for this particular application. These fasteners should be installed no more than 8 inches apart. Crucially, they must be kept 3/8 inch away from the edges of the backerboard panels and 2 inches away from corners to prevent cracking or damage. The final step involves using backerboard screws as temporary spacers between panels to establish an 1/8-inch expansion gap, which accommodates material movement and prevents buckling.
The article also includes a comment section where readers discuss alternative approaches and offer supplementary advice. One commenter, Gampy1, expresses concern about the recommendation of concrete-core and fiber-cement backerboards, citing past failures and advocating for Schluter products due to their lighter weight, cleaner installation, and faster process. Another reader, mdornheim, highlights the importance of incorporating a vapor barrier between the backerboard and the framing members, suggesting plastic sheeting for interior walls and tar paper for exterior walls with insulation. They also note the significance of ensuring the vapor barrier drains into the bath, positioned 1/4 inch below the tub or shower enclosure.
Kuzan defends the use of cement products, stating that failures often stem from improper preparation, including the lack of appropriate thinset and fiberglass tape, rather than inherent flaws in the materials themselves. Jonnyjonjon further elaborates, suggesting that while Schluter systems are effective, skilled installers can achieve equally durable results with traditional materials by paying close attention to detail, such as pre-sloping beneath the pan, overlapping wall membranes, and ensuring clear weep holes. TF Workshop offers a differing view on vapor barriers, arguing that plastic barriers behind the backerboard are illogical due to penetrations and potential moisture trapping. Instead, they recommend using #15 felt strips on studs for a moisture break, then applying a waterproofing membrane like Redgard over the installed backerboard to allow any moisture to dry inwards without harming the framing. These discussions collectively underscore the critical role of proper installation techniques and material selection in ensuring the long-term durability of tiled surfaces.
#TileInstallation #Backerboard #HomeImprovement #DIY #ConstructionTechniques #BathroomRemodel #BuildingMaterials #TilingProject #TileInstallation #Backerboard #HomeImprovement #DIY #ConstructionTechniques #BathroomRemodel #BuildingMaterials #TilingProject
0 comment in total
 No comments yet
You may also like
Tile Adhesives


Tile Grout
The 8 Best Tile Brands for Floors and Backsplashes


Deck Tiles


Fit to be tiled

Video Series: Foyer Tile Installation
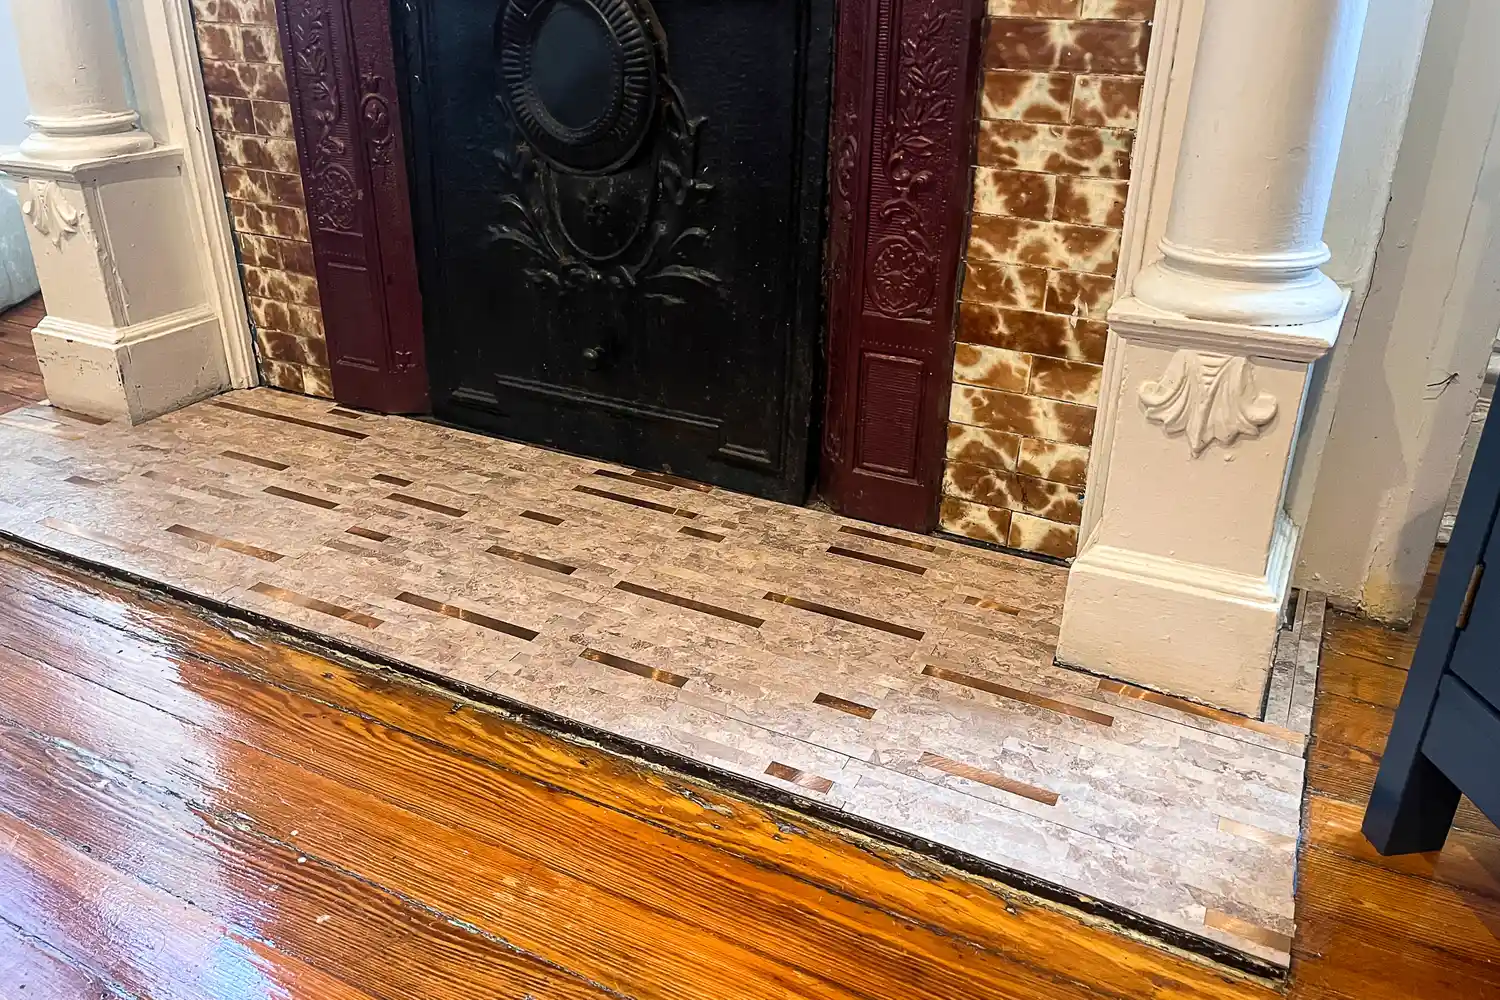
I Almost Swore Off Peel and Stick Tiles, But These Options Redeemed Their Status as an Easy DIY

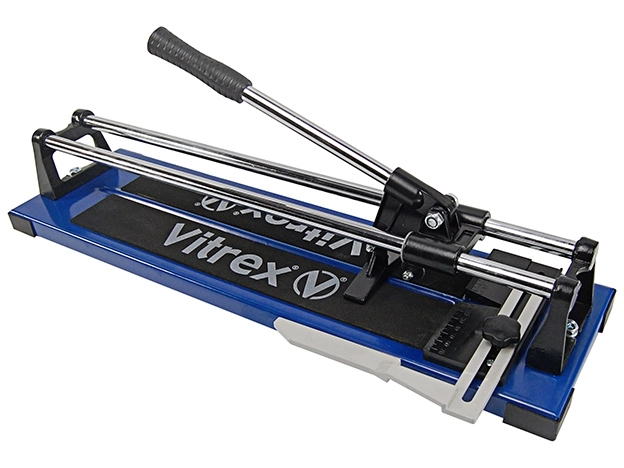
Tile Tools & Accessories
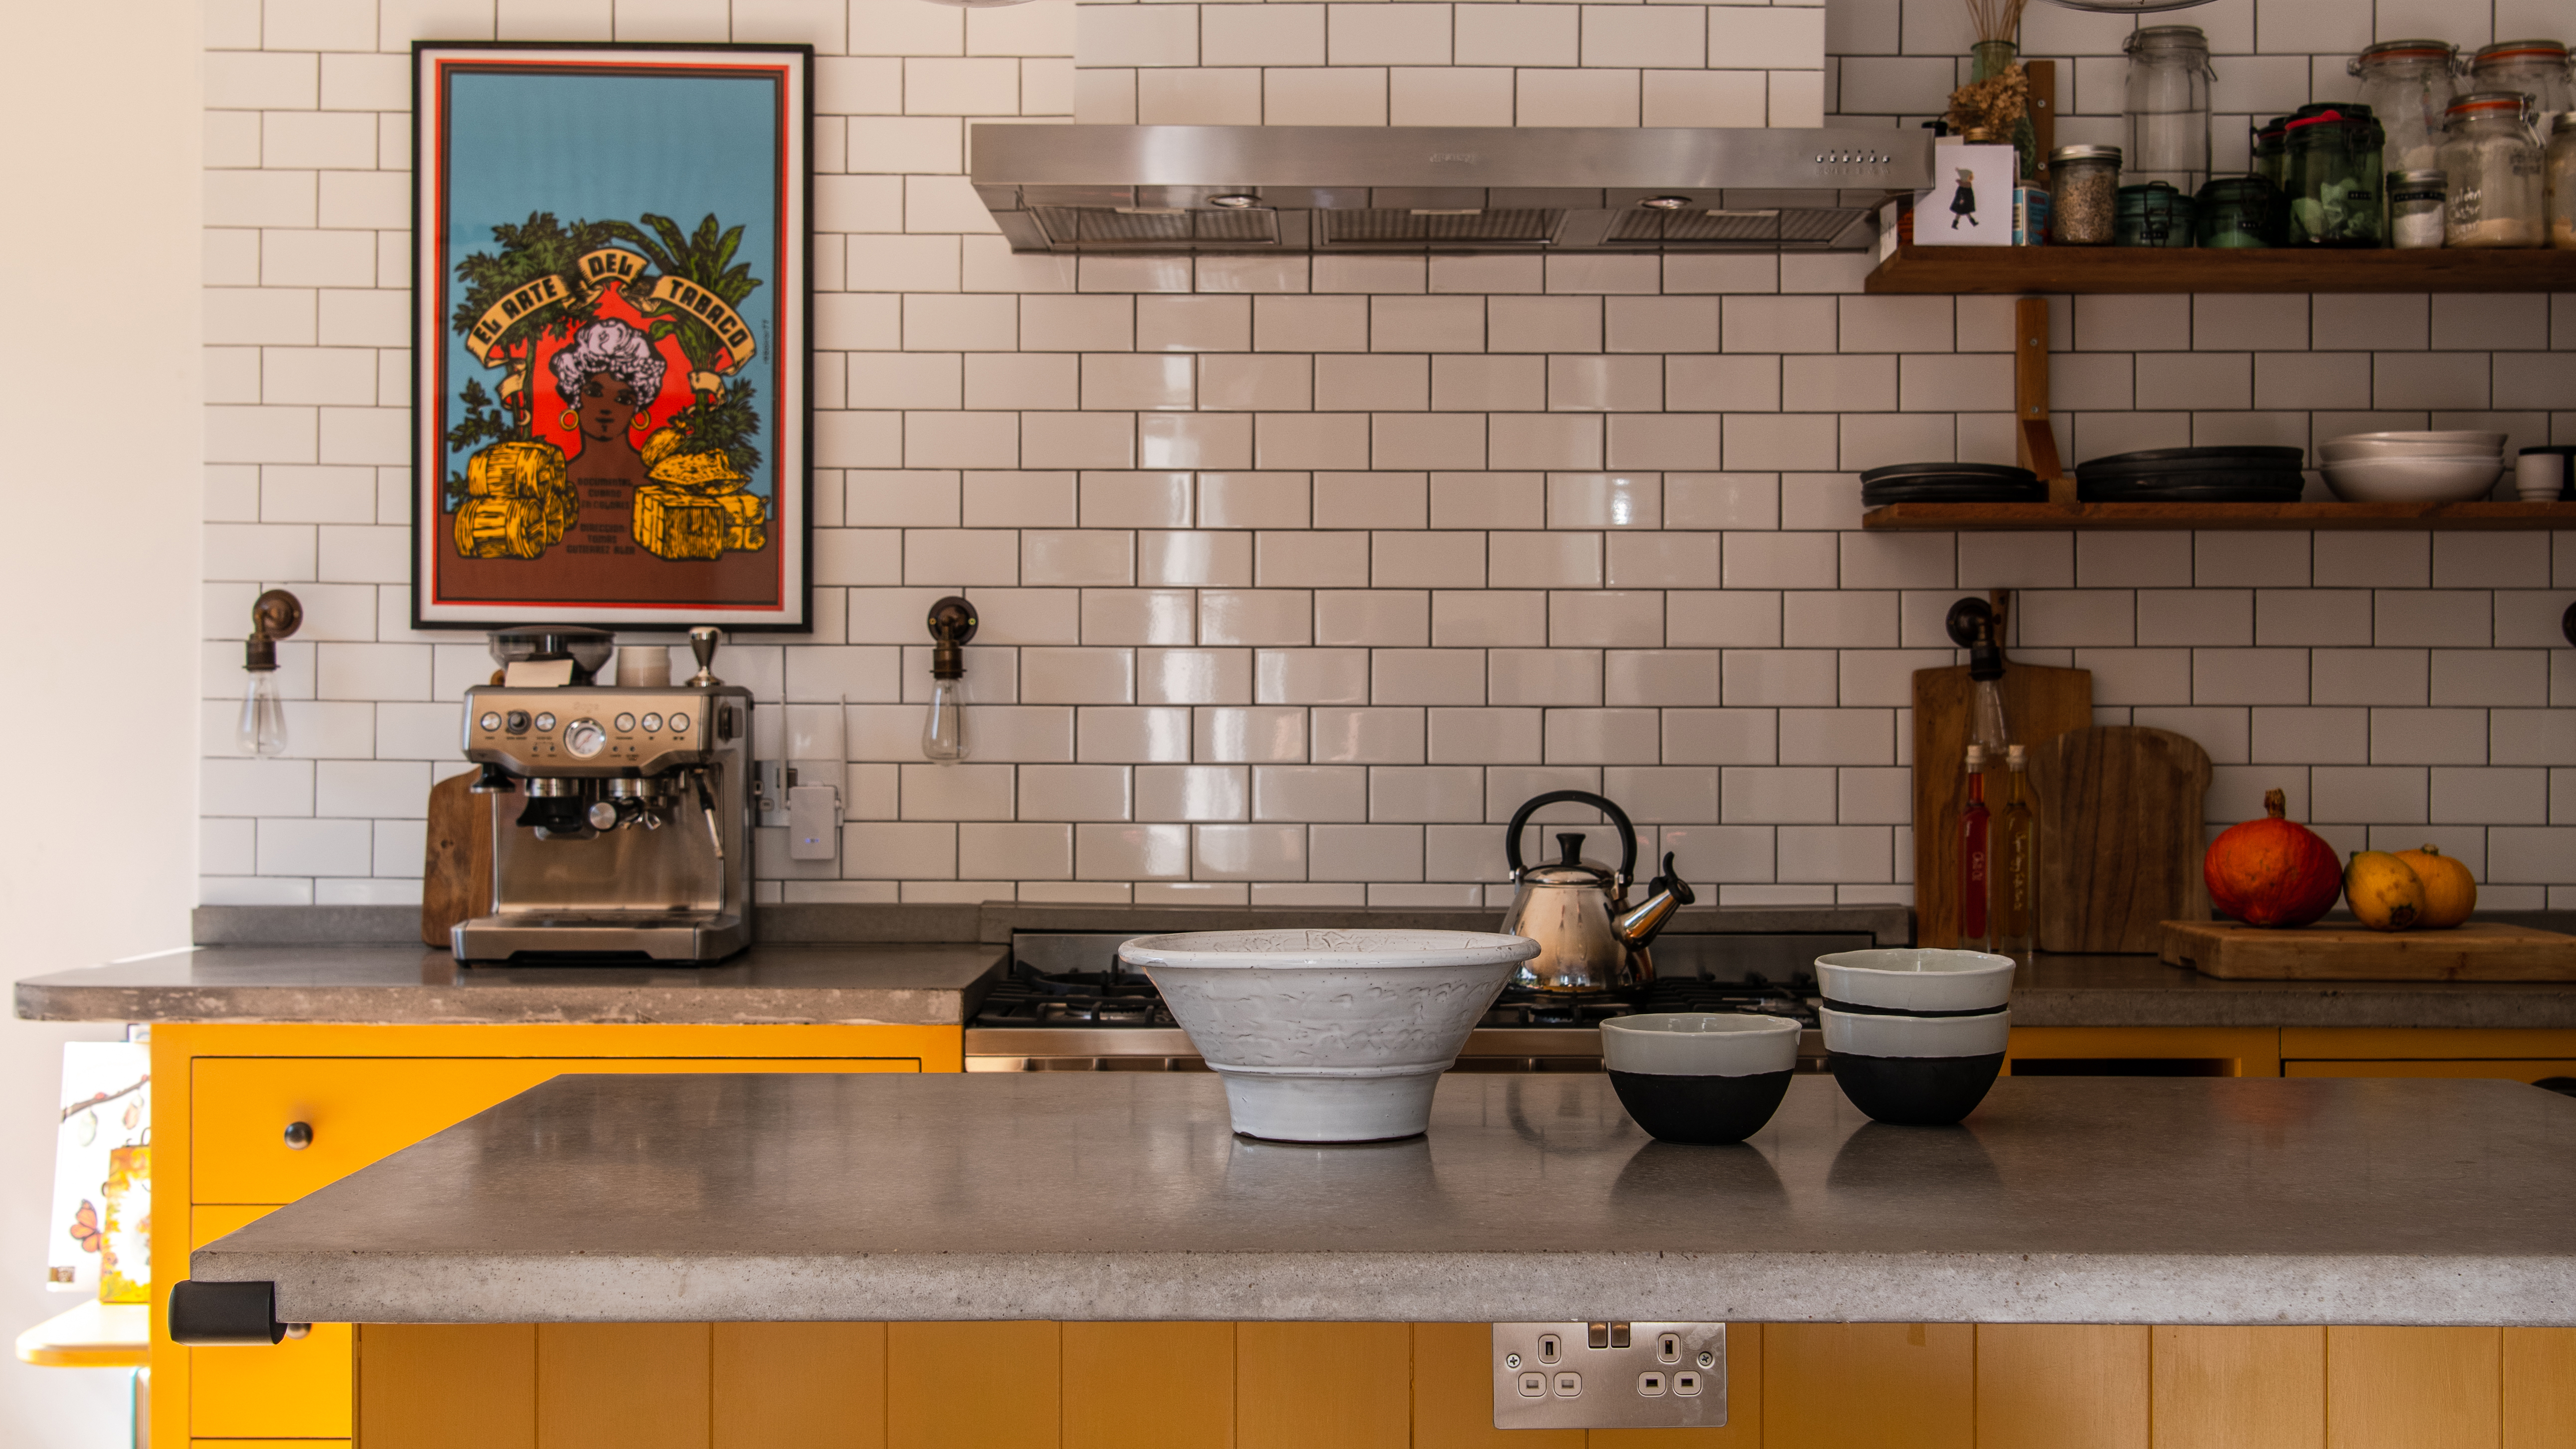
How to tile a backsplash – everything you need to know in 7 simple steps

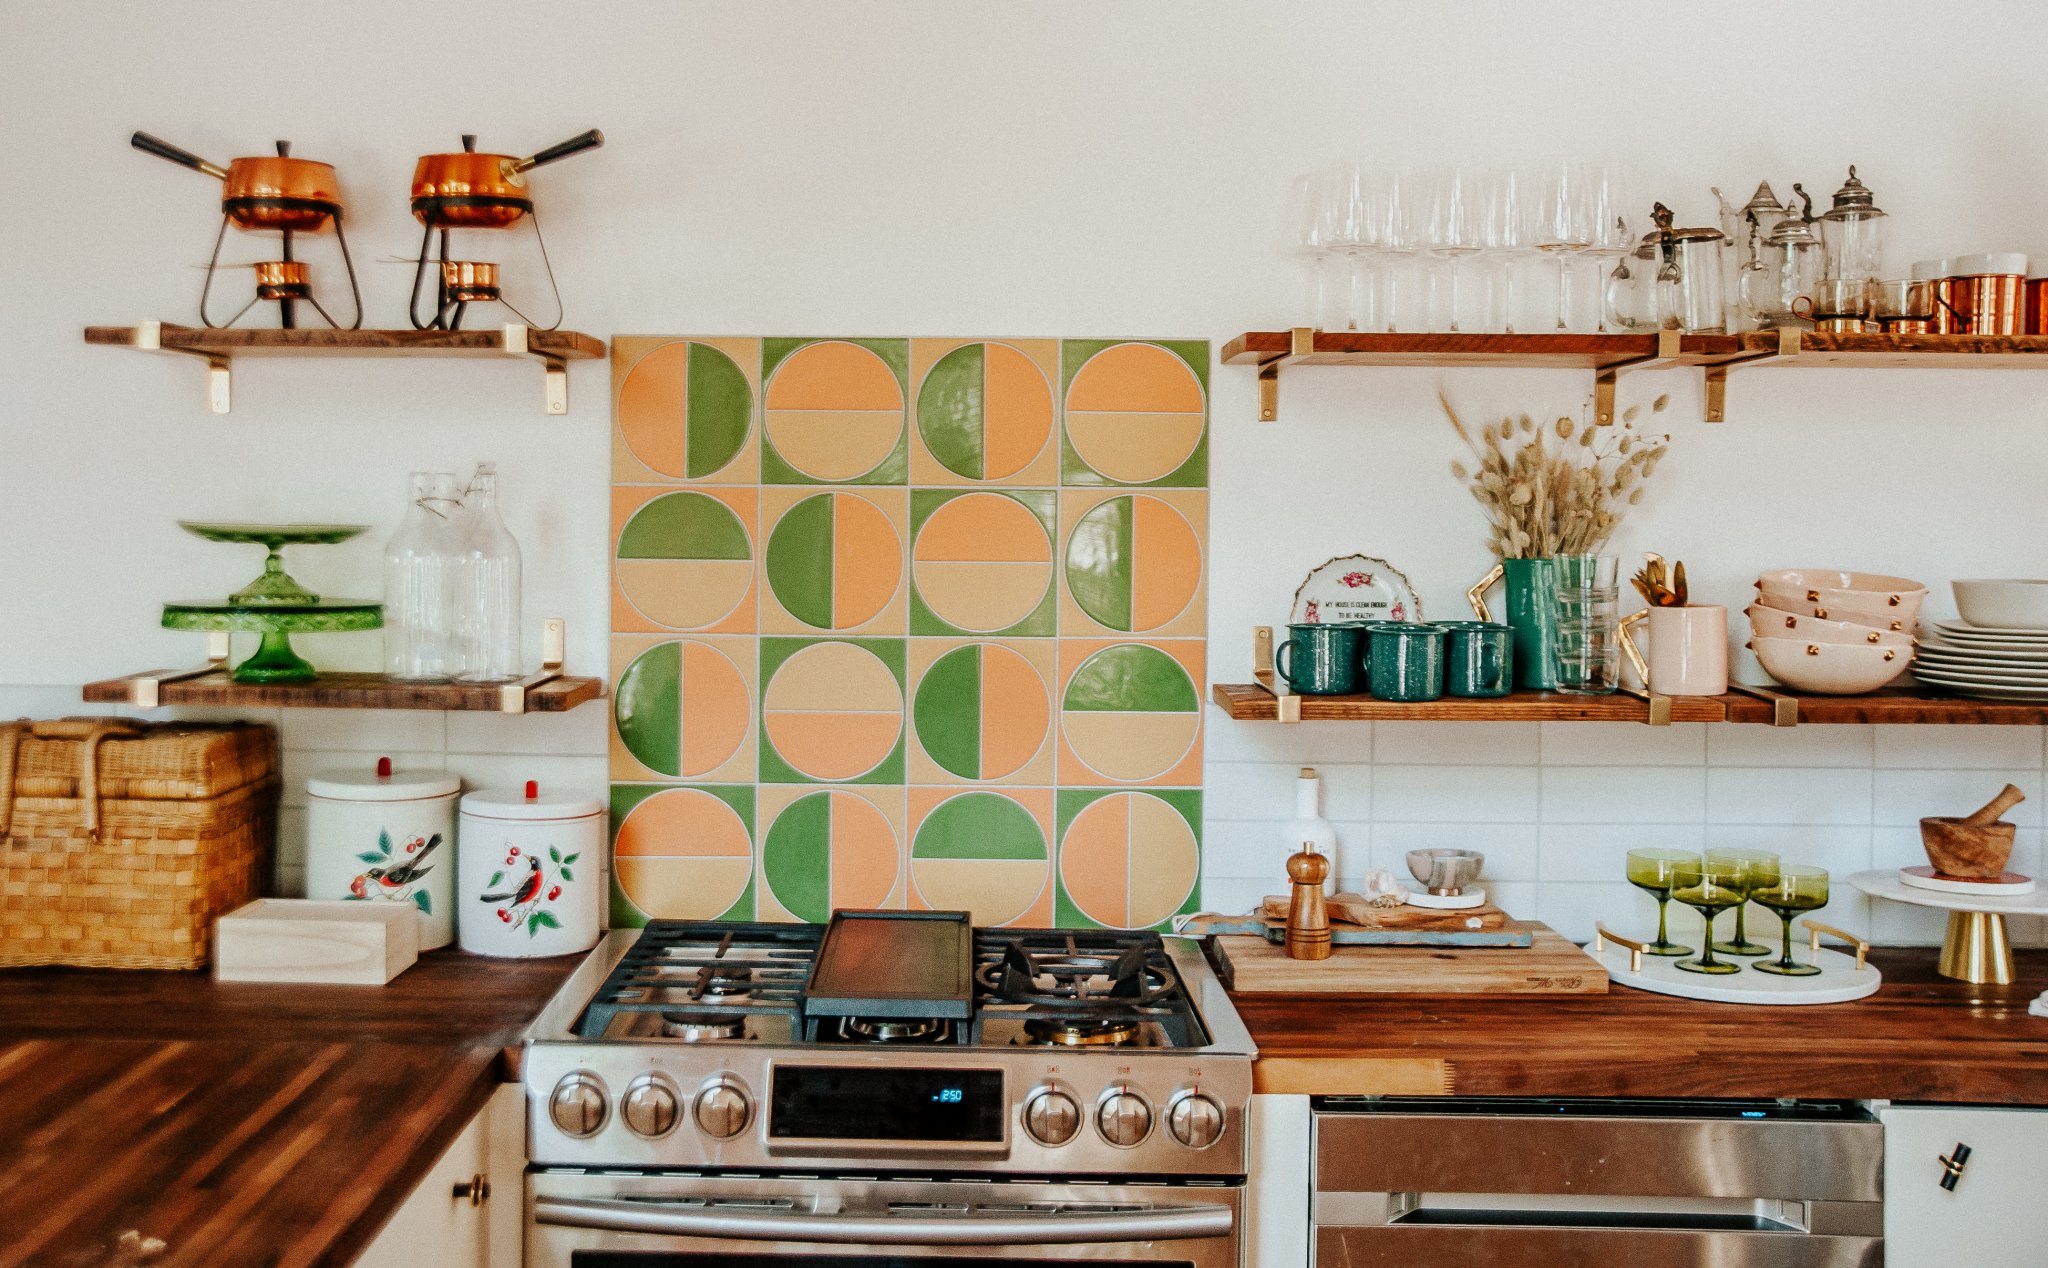
Before You Splurge on Backsplash Tile, Consider This Clever Hack
Showstopping Tile

Transform the look of your kitchen with a new backsplash | Produced by Seattle Times Marketing

Tile Style


Bathroom Tiles
How to Tile a Bathroom Floor Yourself

Plasterboard

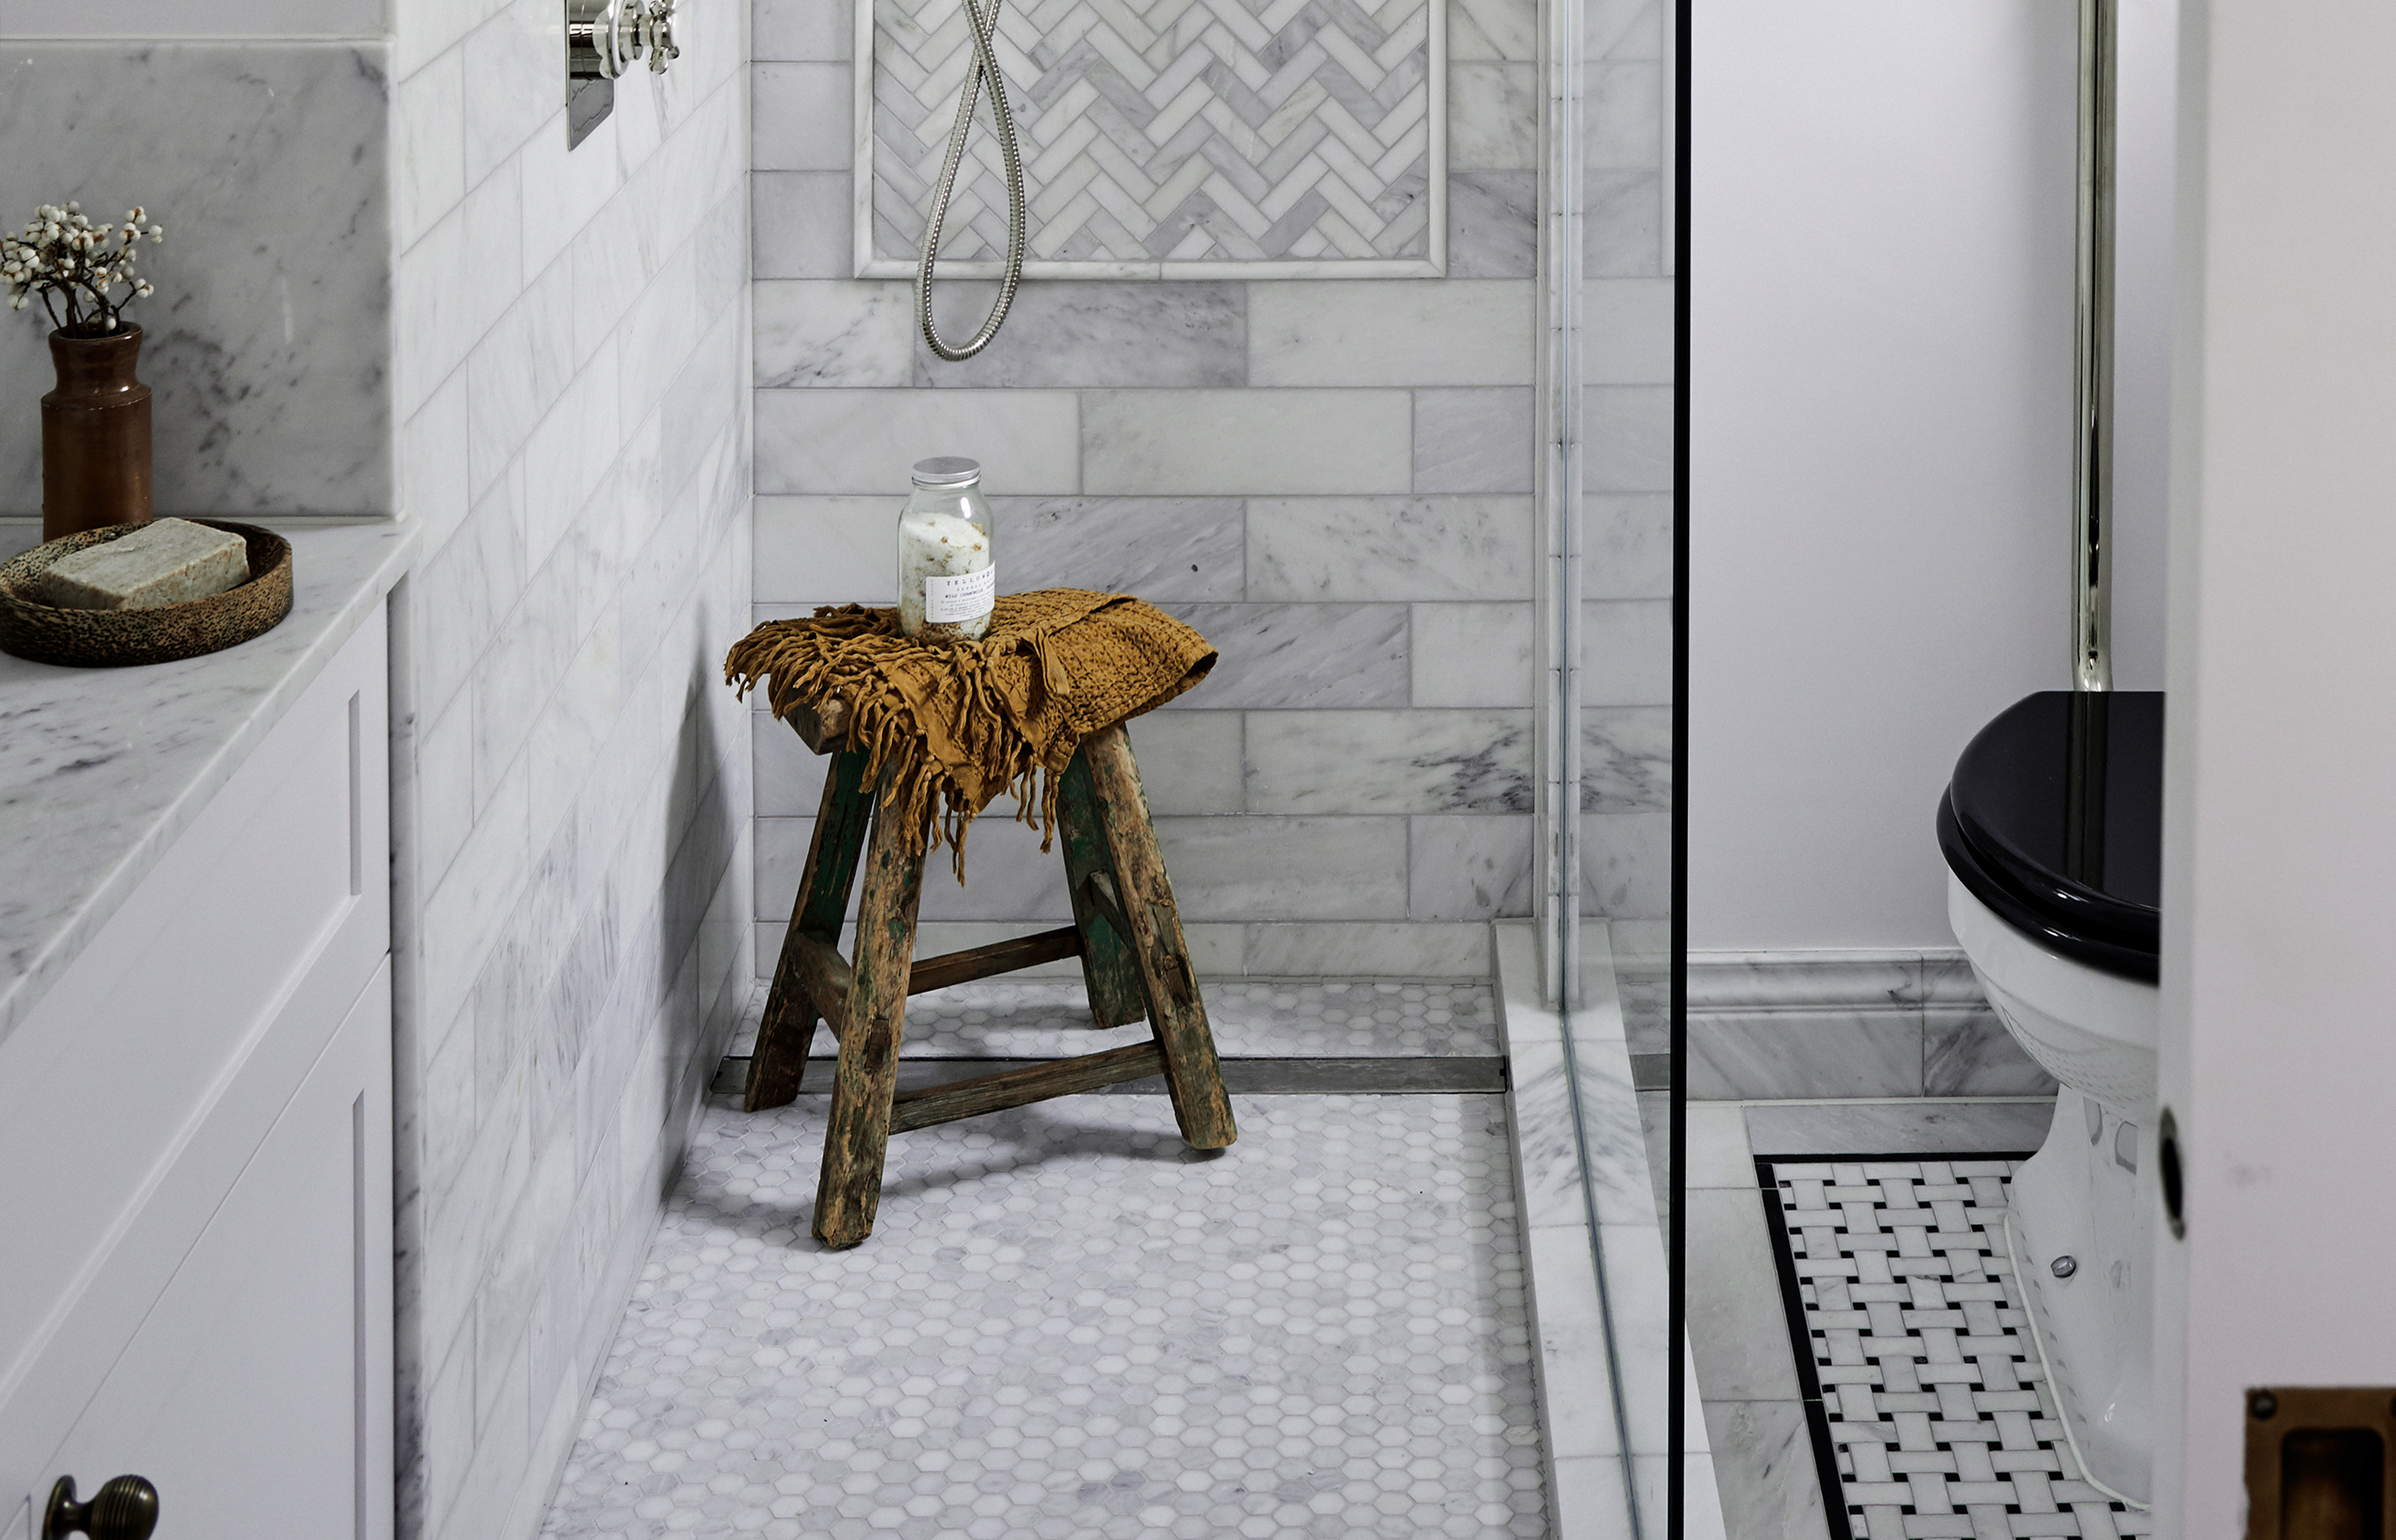
Can I use mosaic tiles on the floor? Expert advice you need to know before making your decision

Homestyle: Terrific tiles

Captivated by bold tile? Here’s what to consider before using it.