Backsplash tips for Arizona homeowners going into 2025
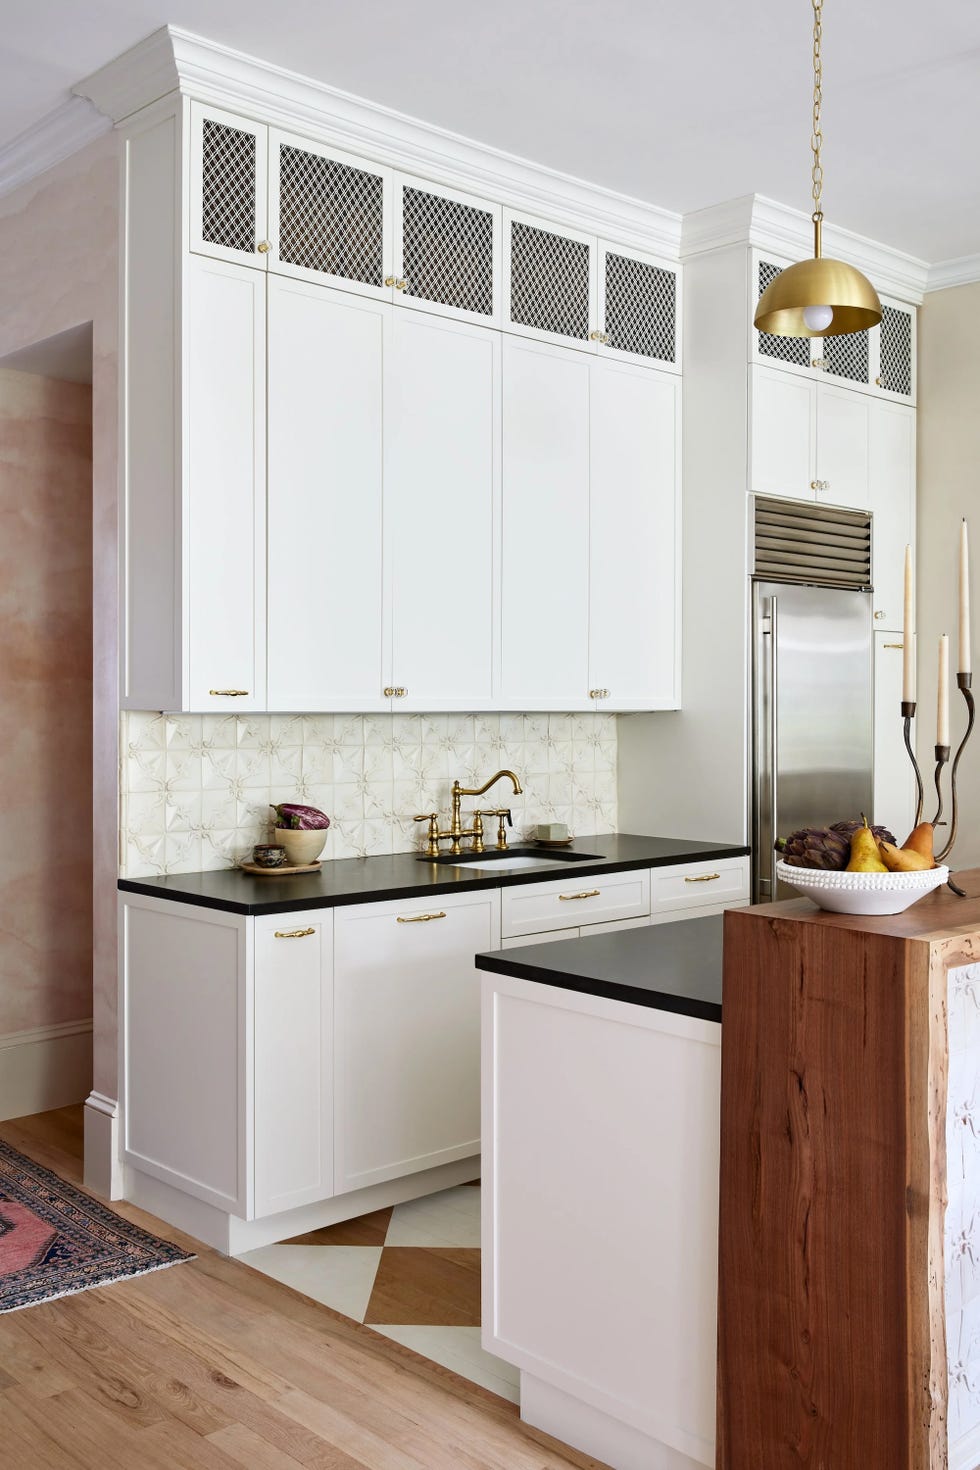
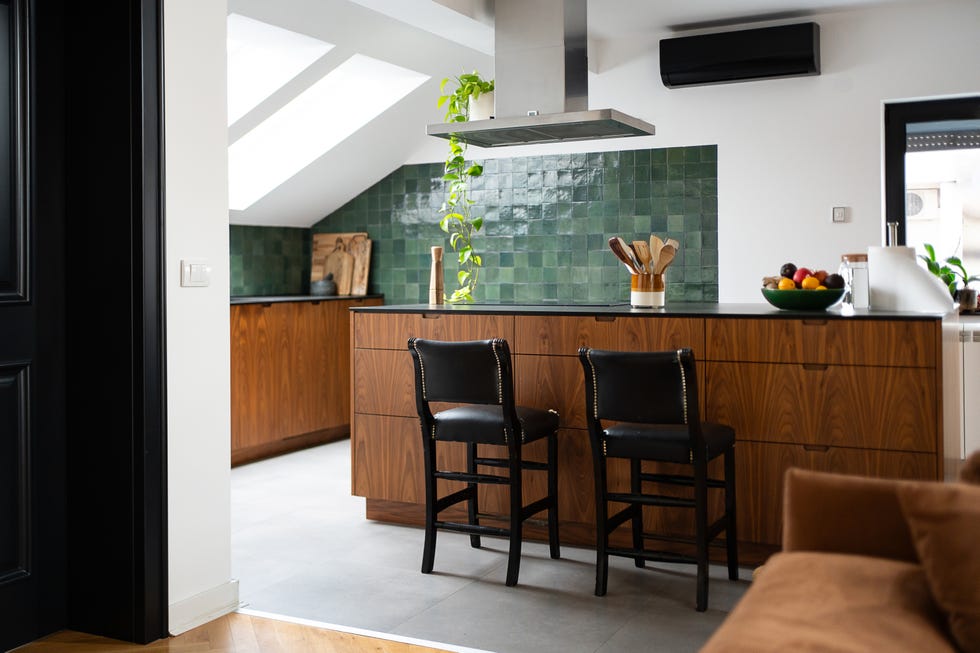
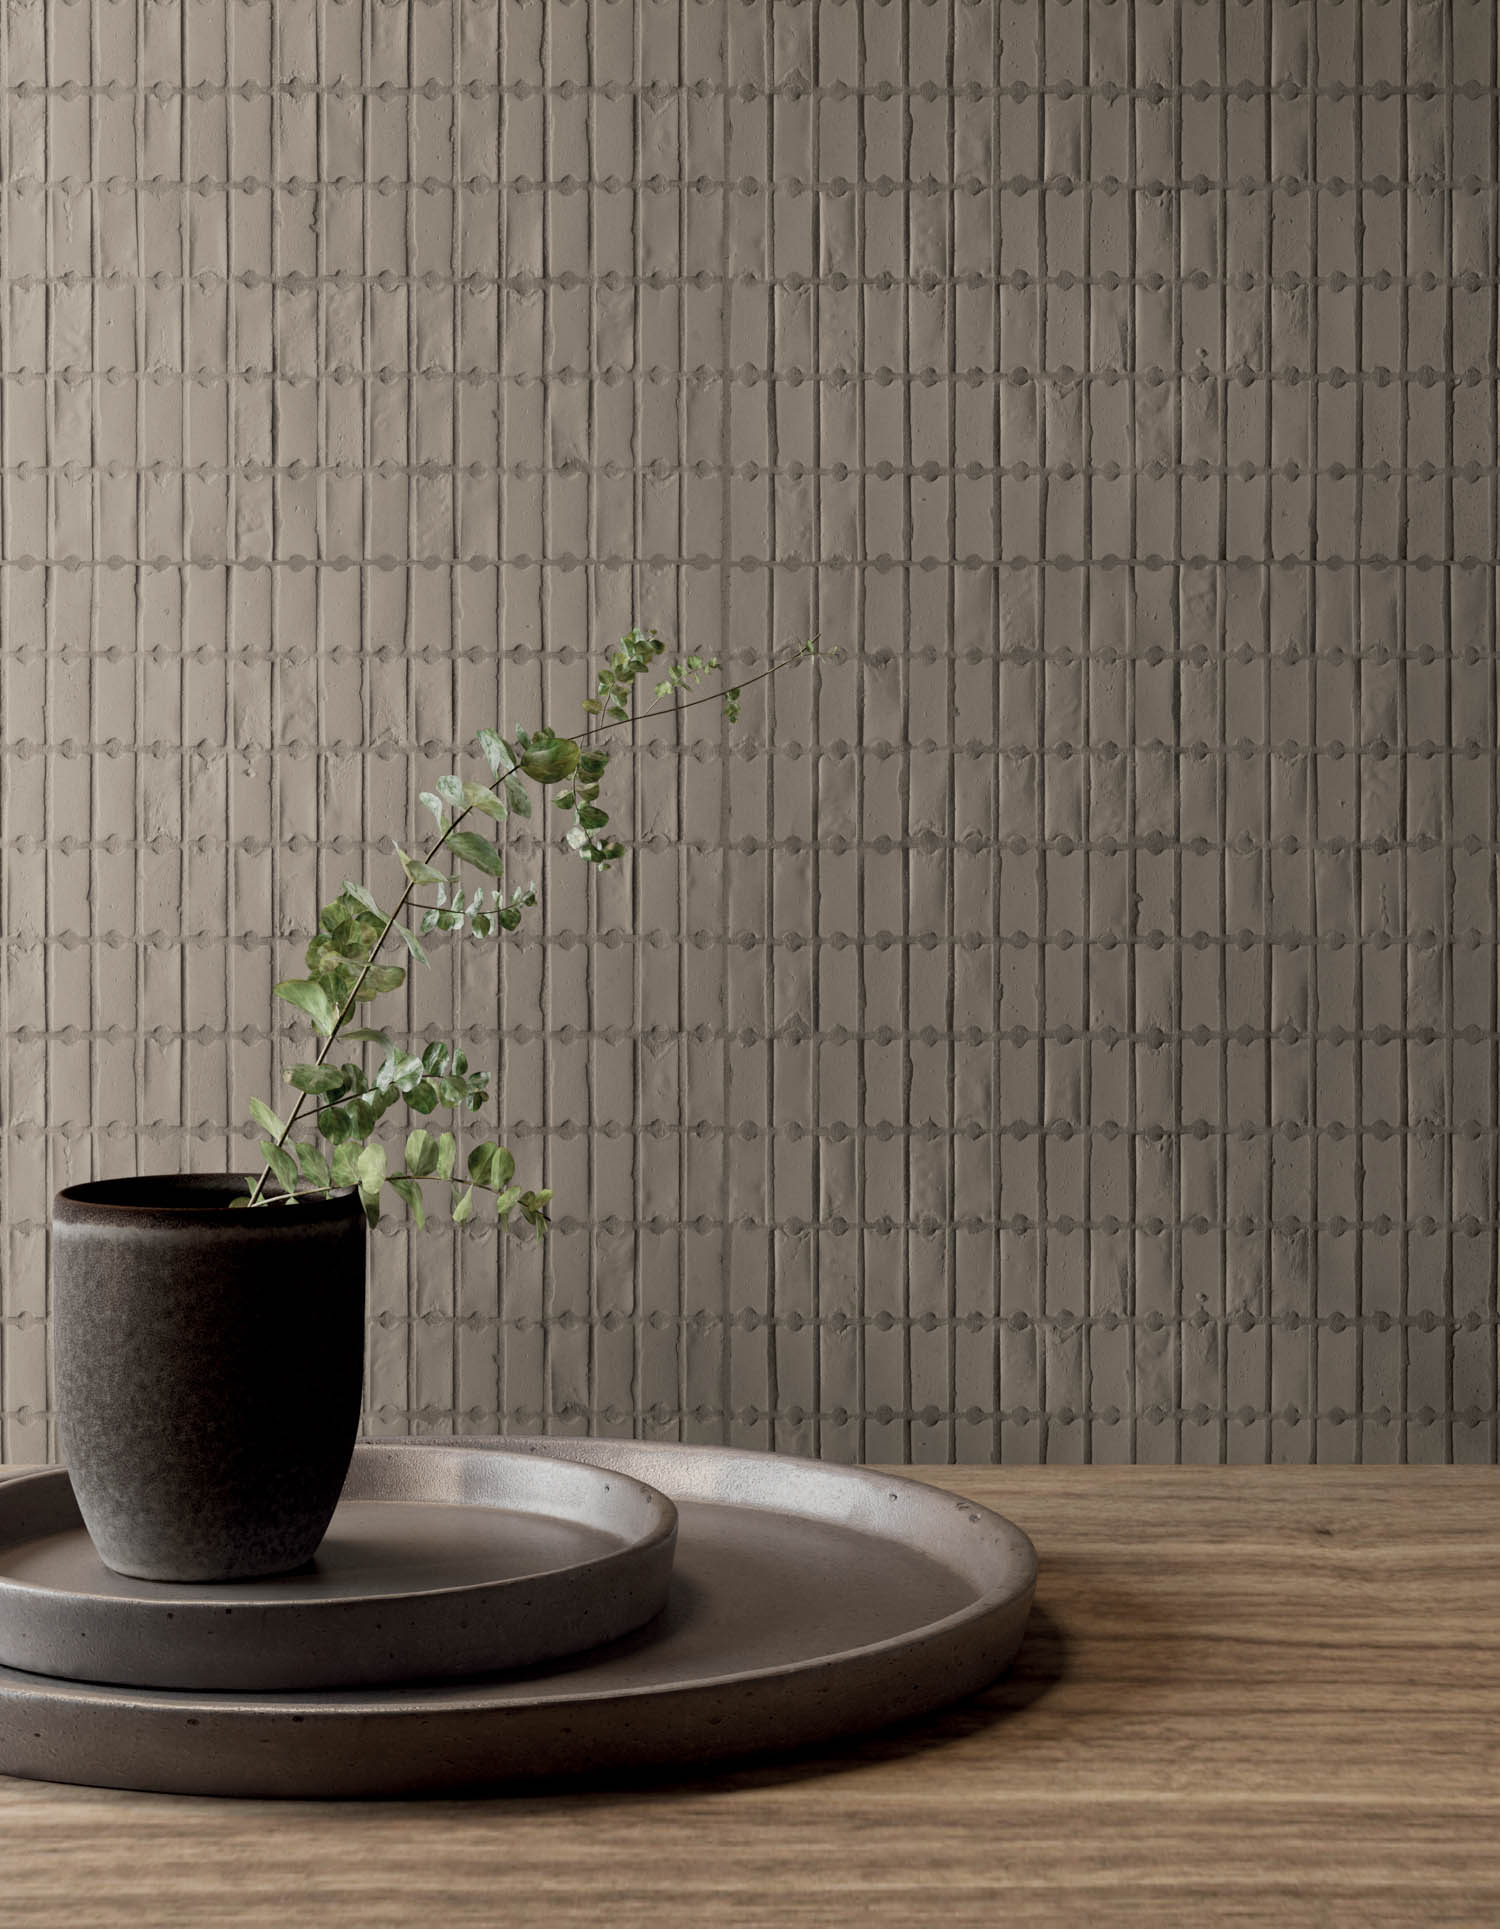
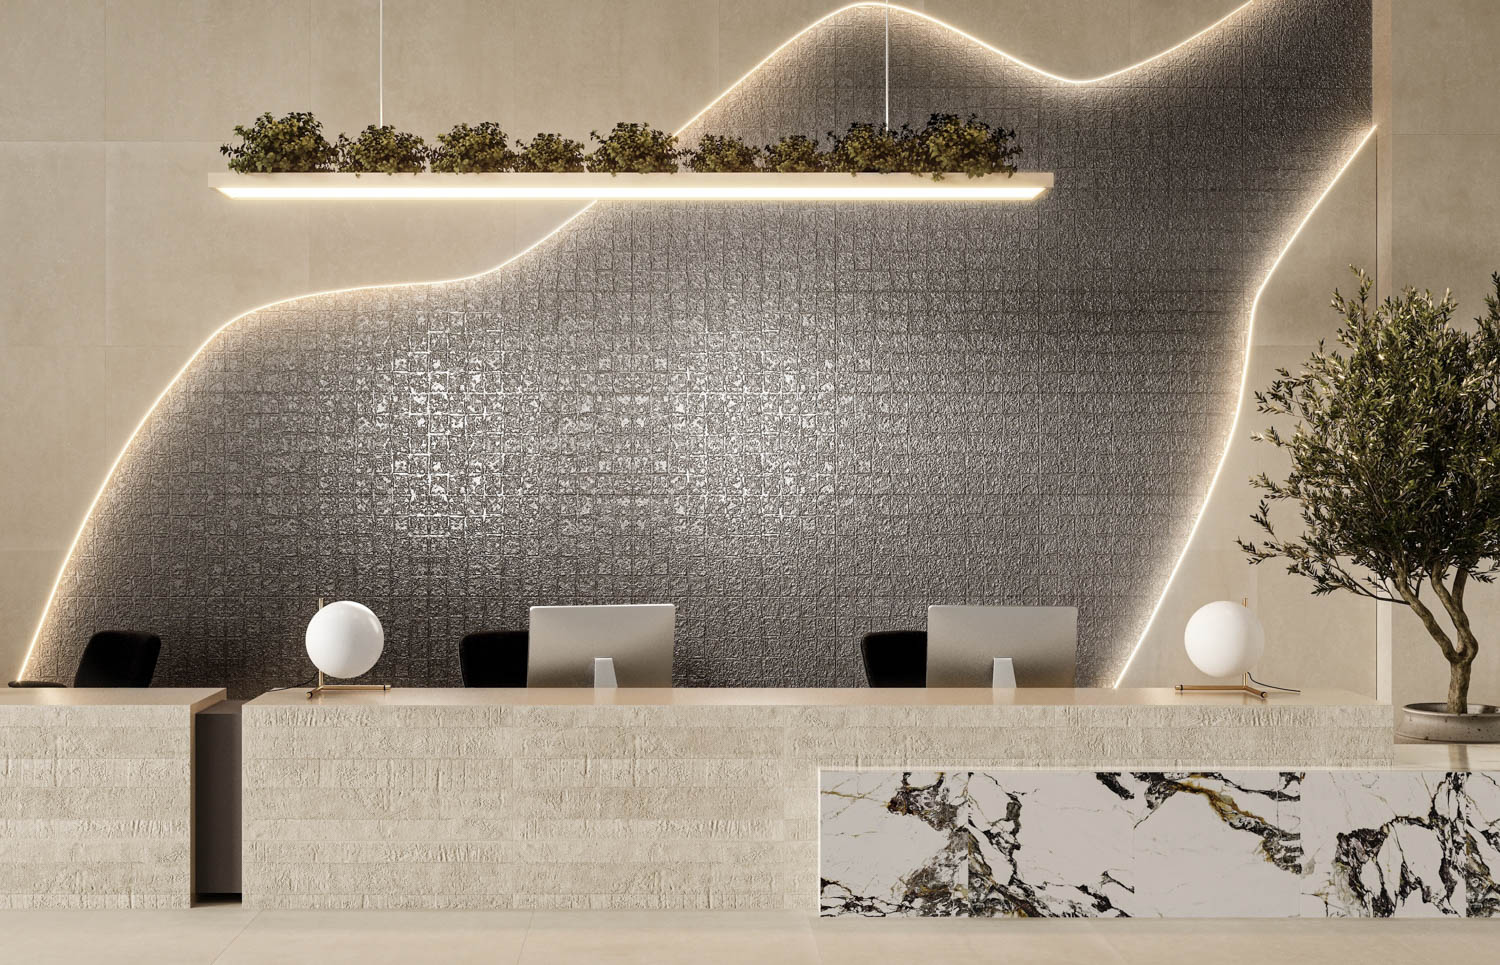
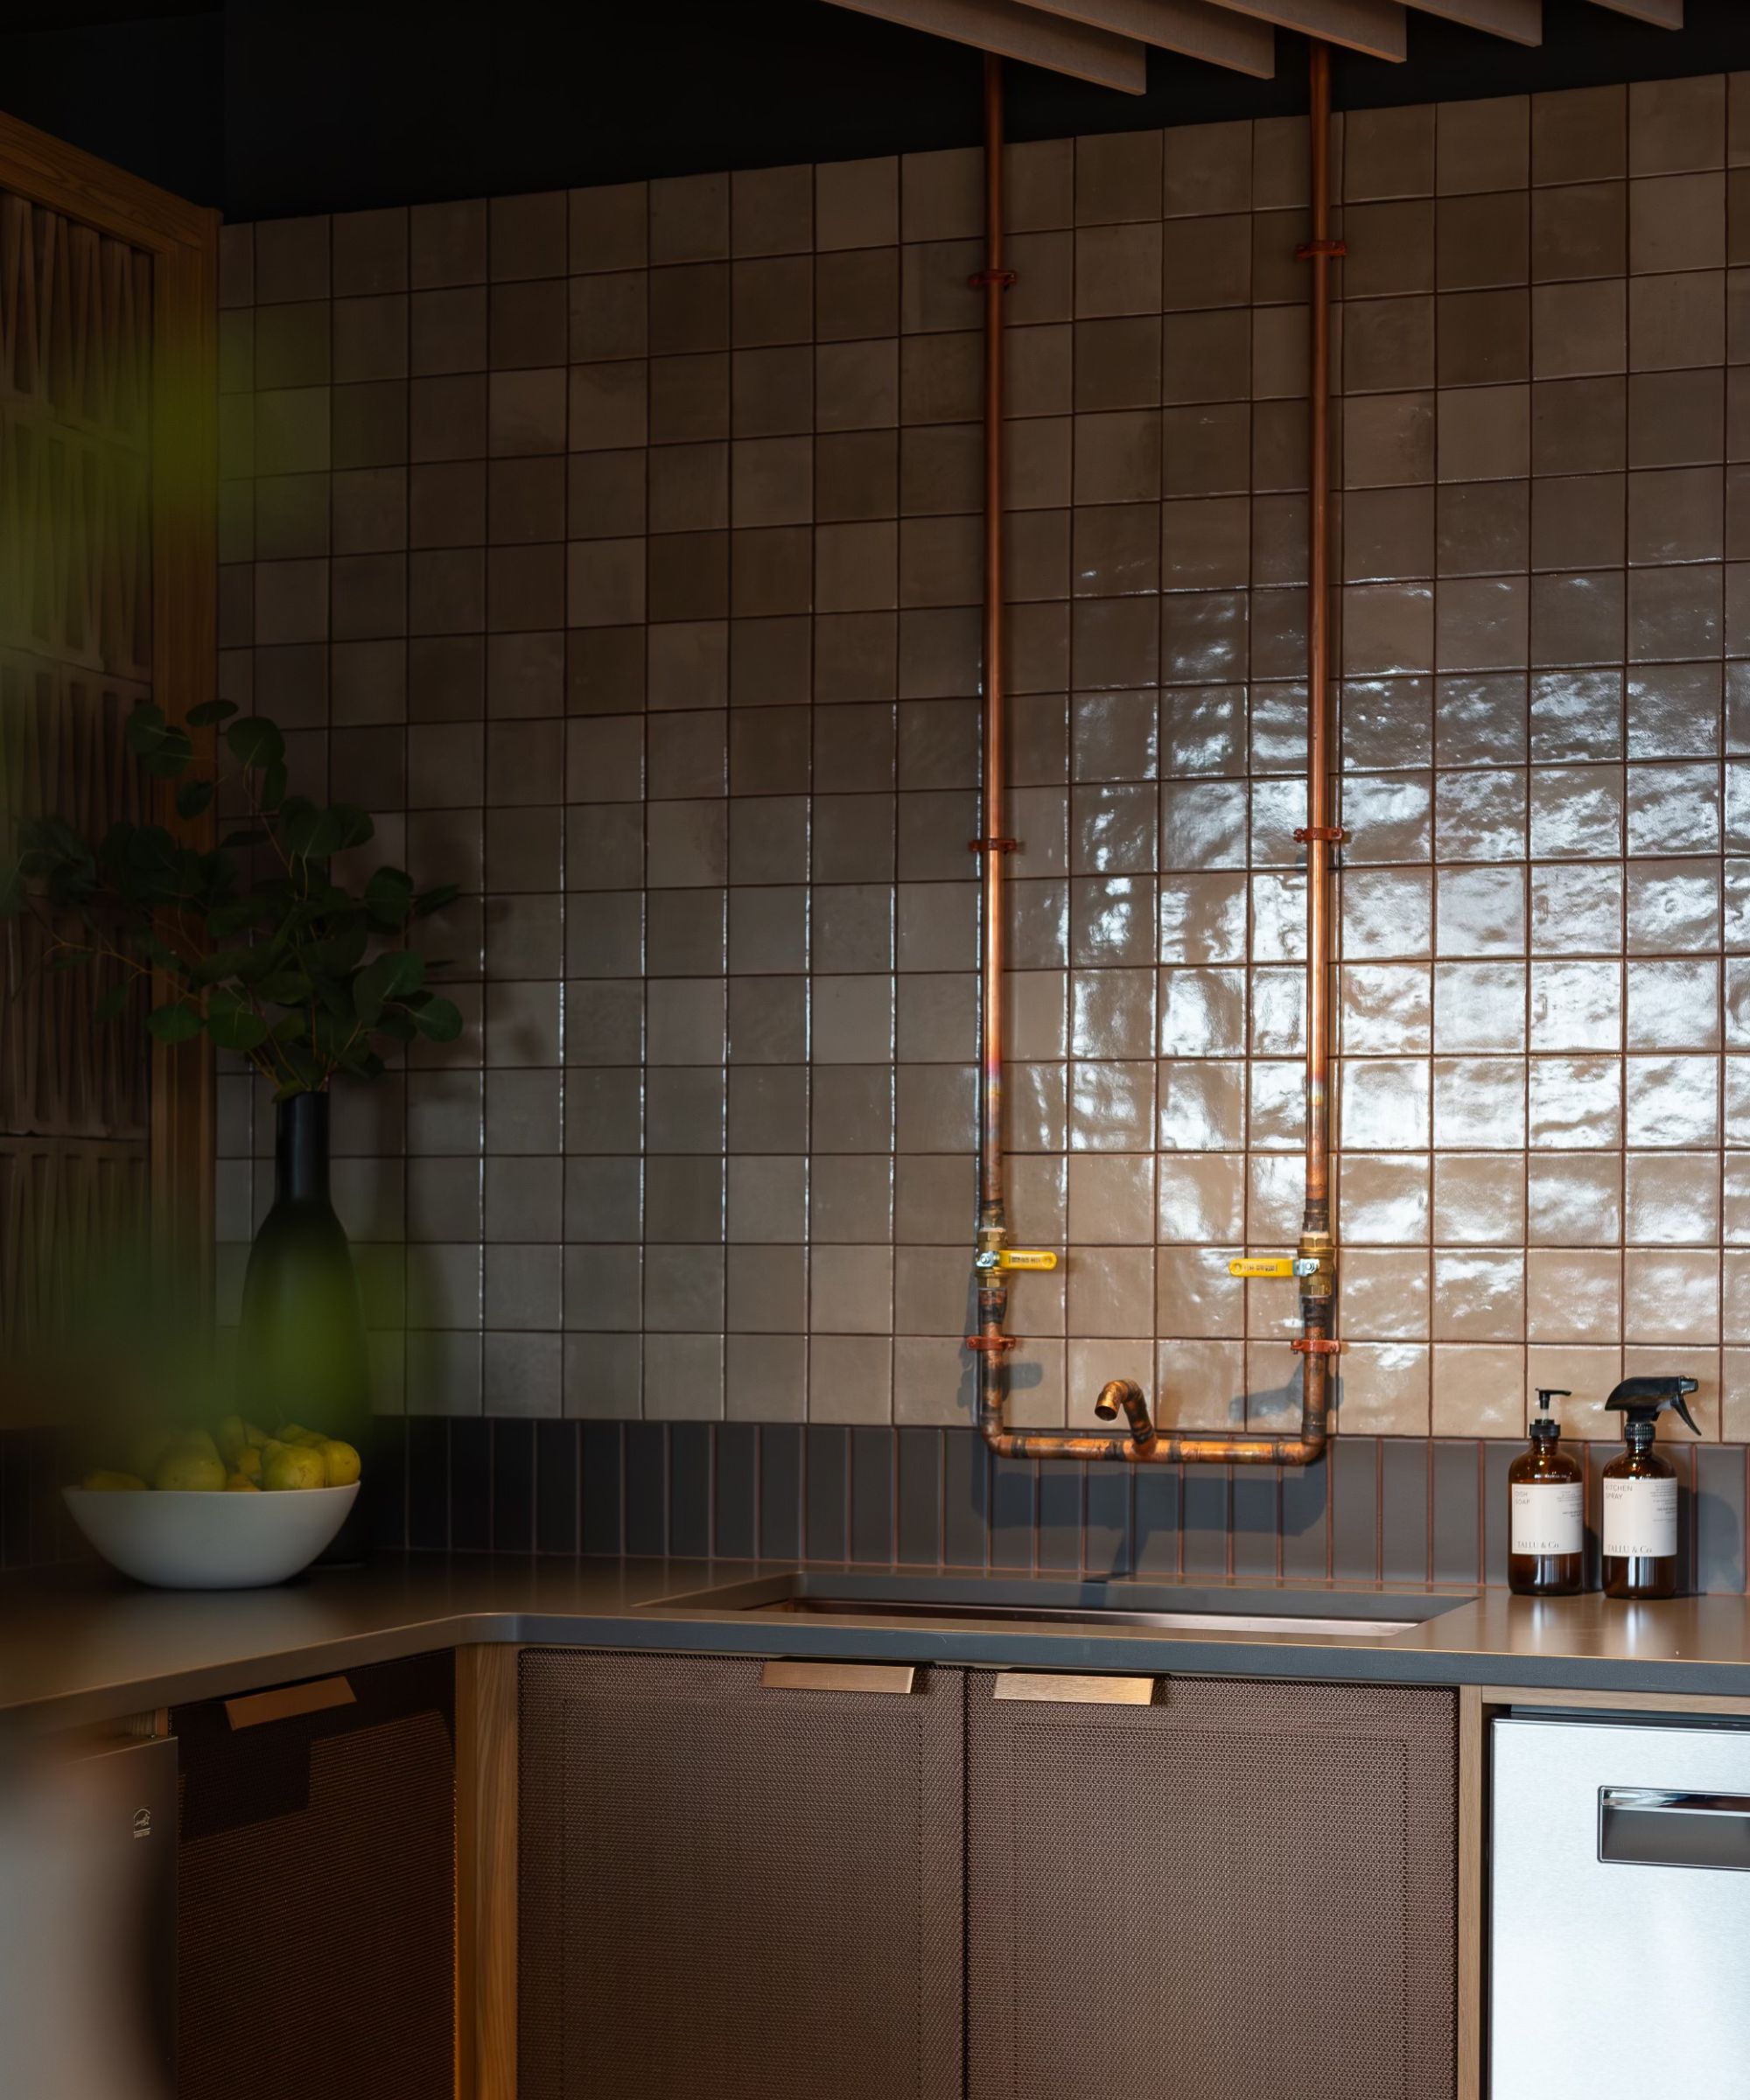
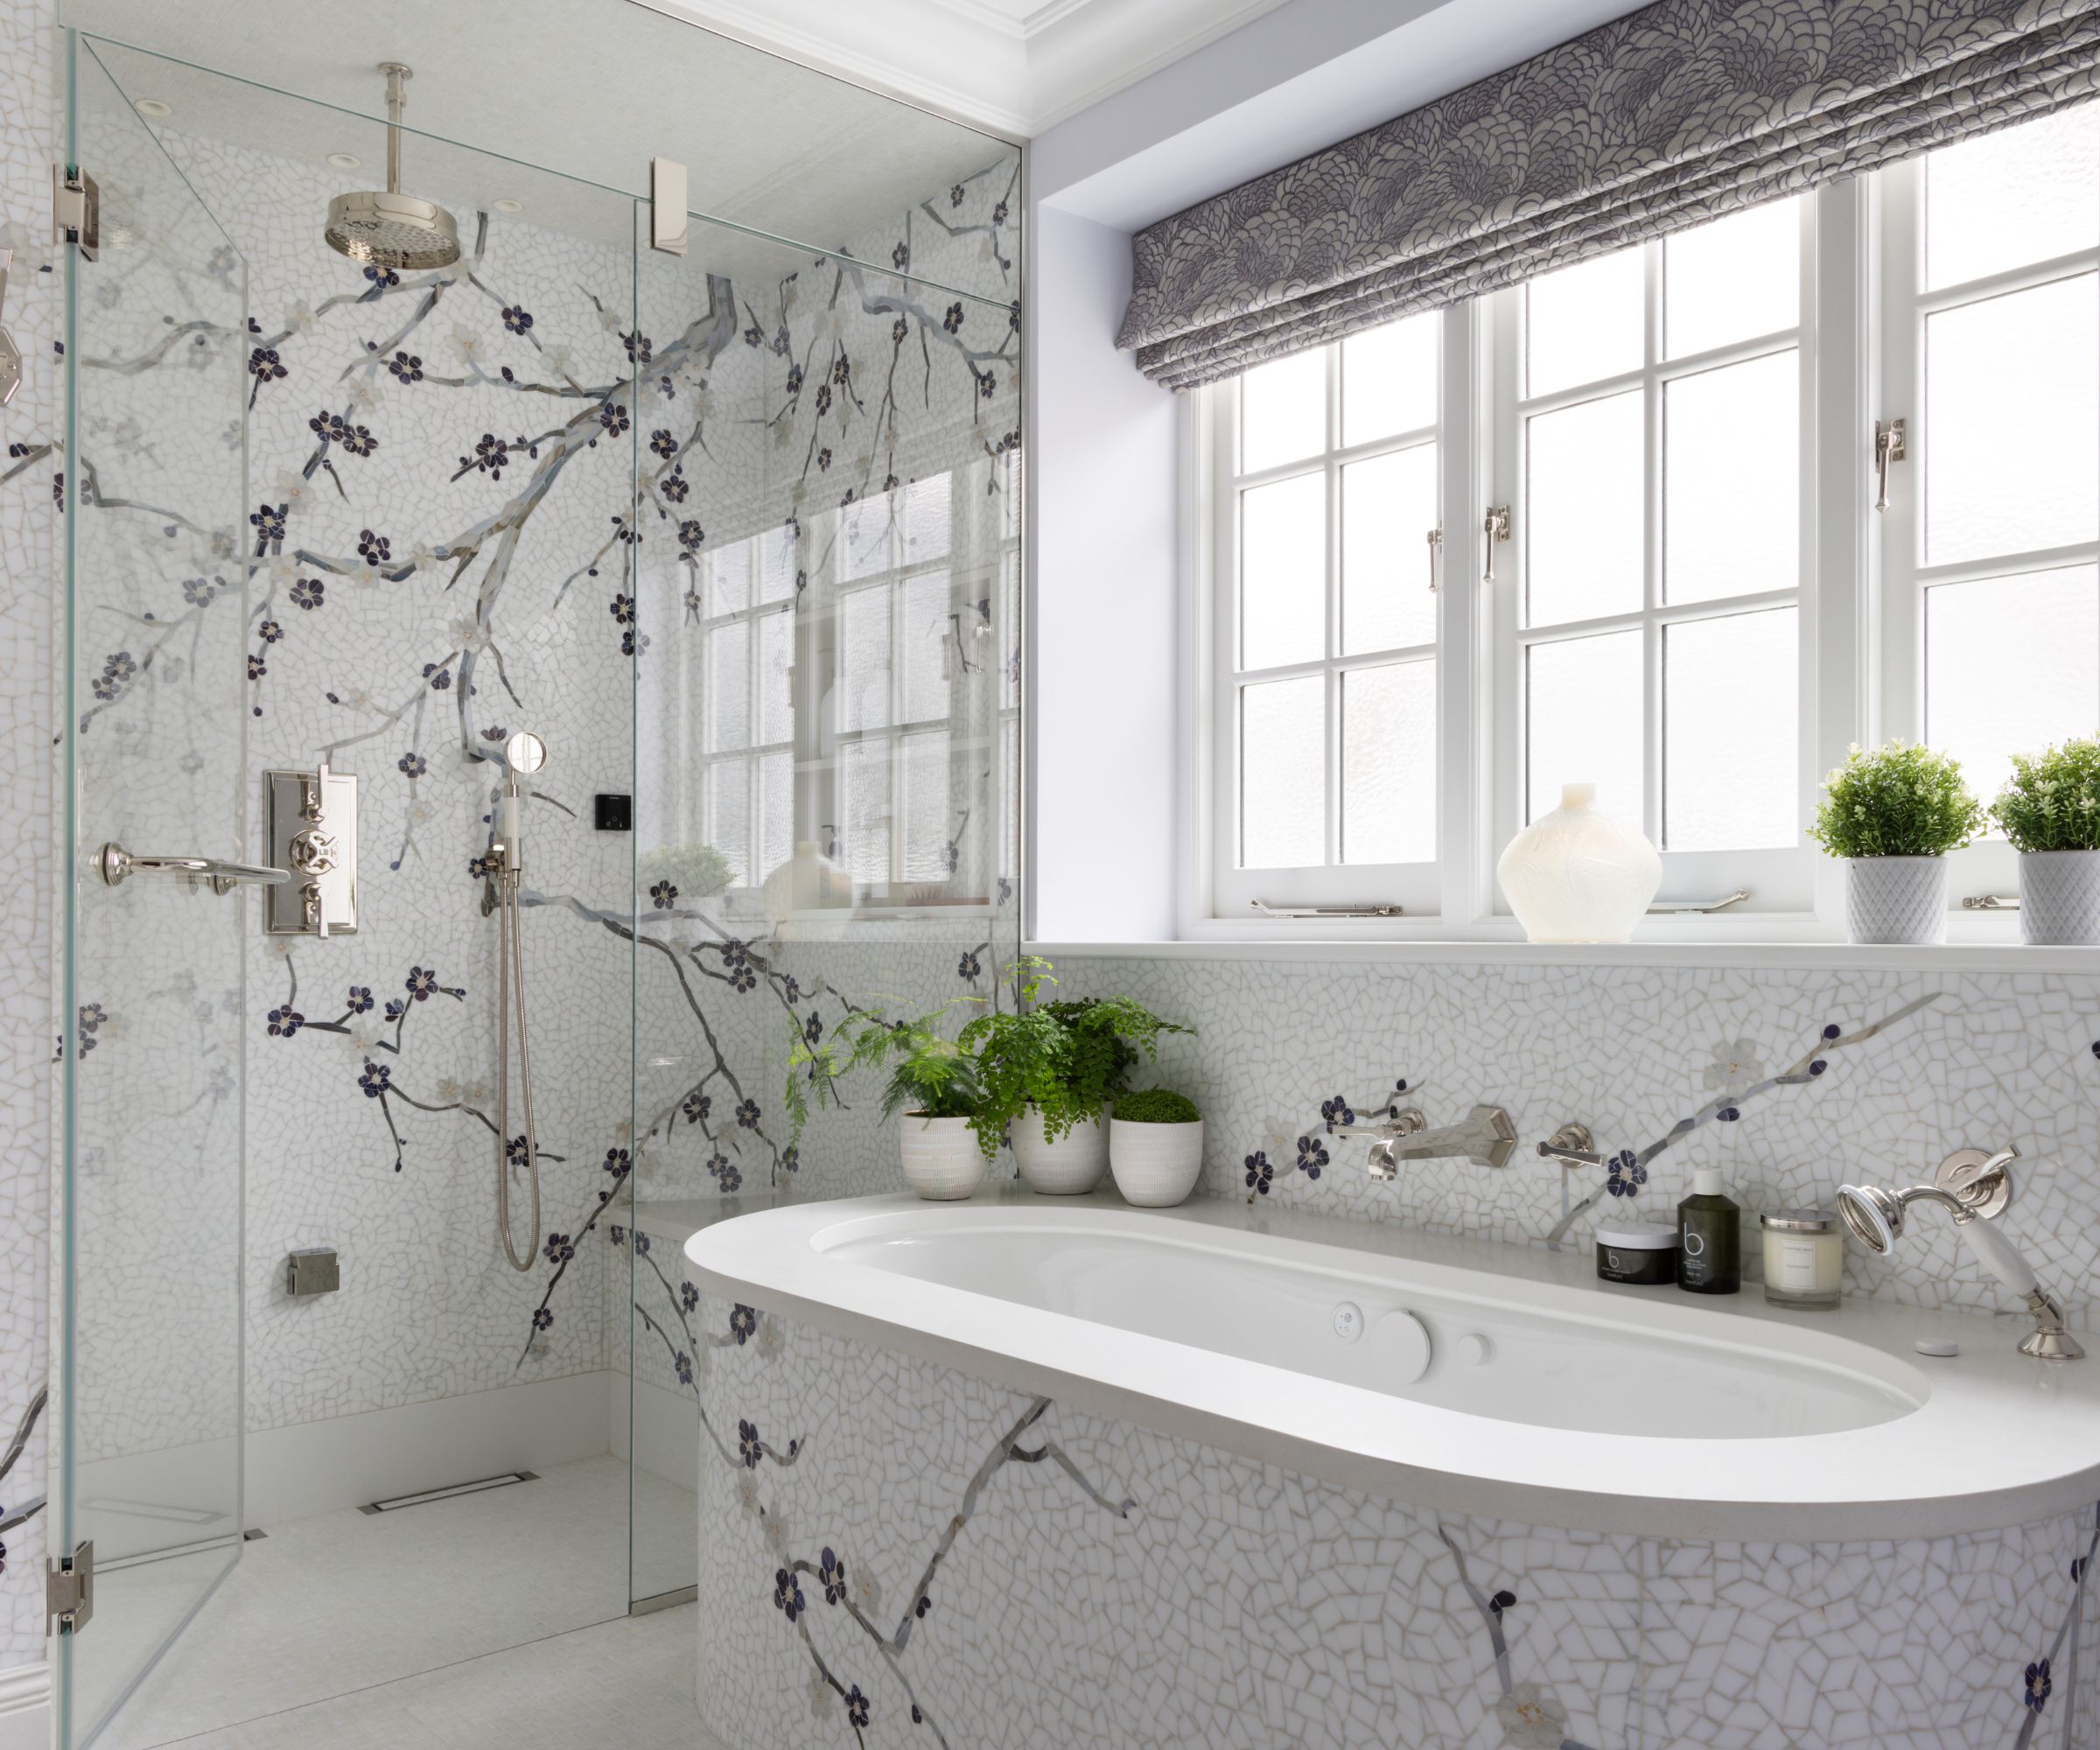
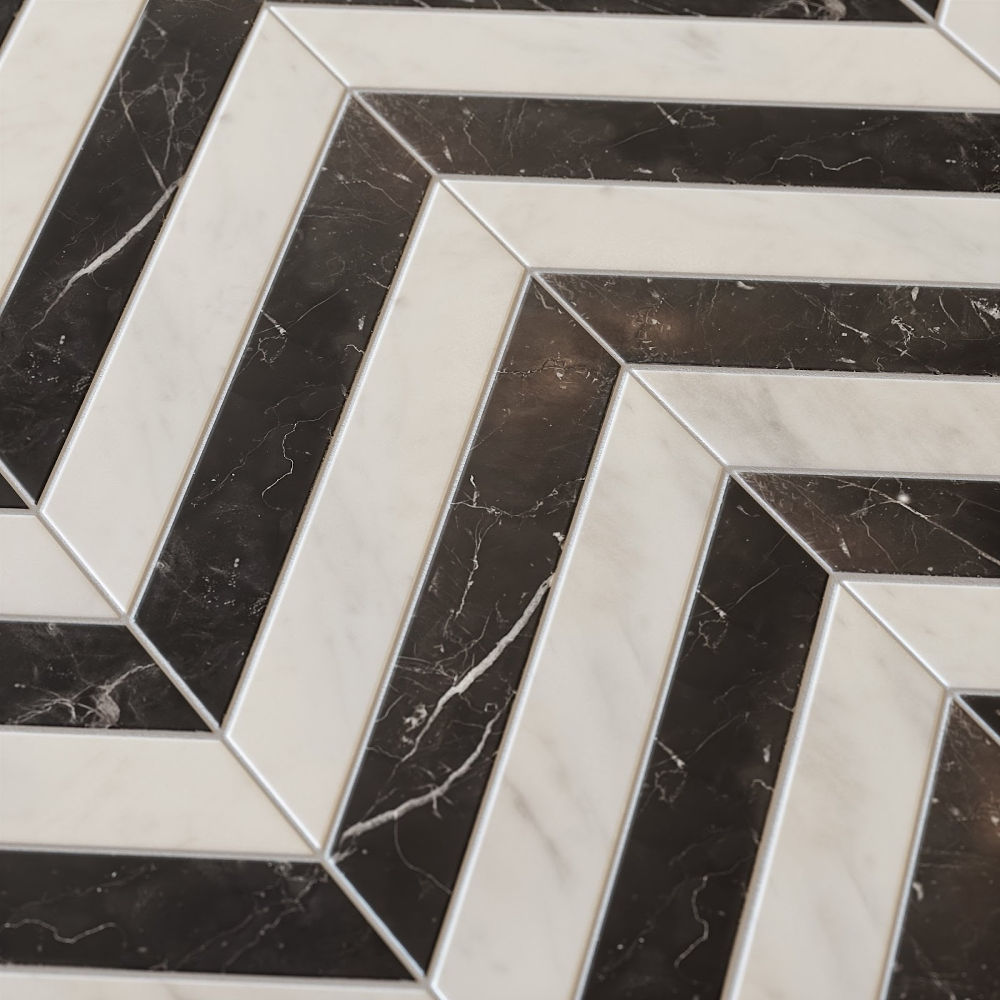
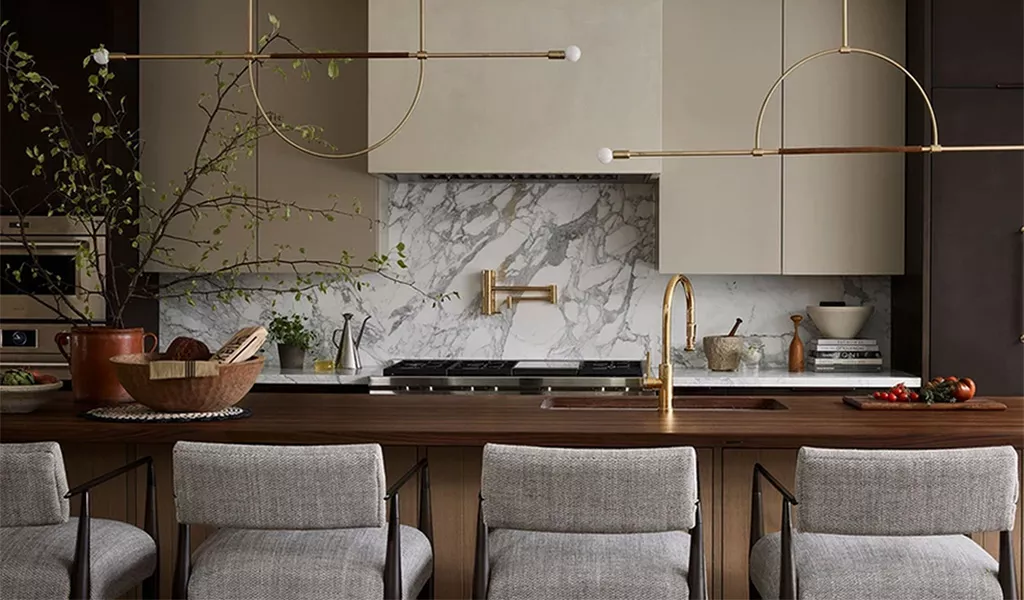
Once primarily functional to prevent splashes, the kitchen backsplash has evolved into a significant design element, serving as a creative canvas for homeowners and designers. Modern backsplashes showcase diverse materials and designs, ranging from intricate mosaic murals and metallic-toned tiles to large mirrors, 3-D textures, and expansive sheets of quartz, marble, or granite. Luxury vinyl planks and colored glass are also popular choices, allowing for limitless imagination in creating unique visual statements.
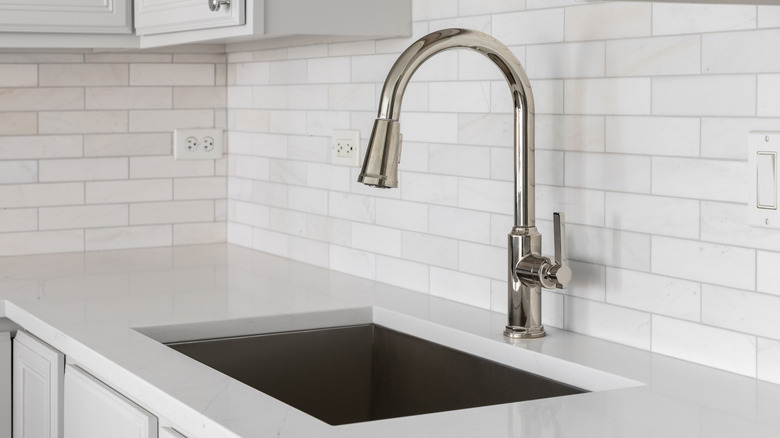
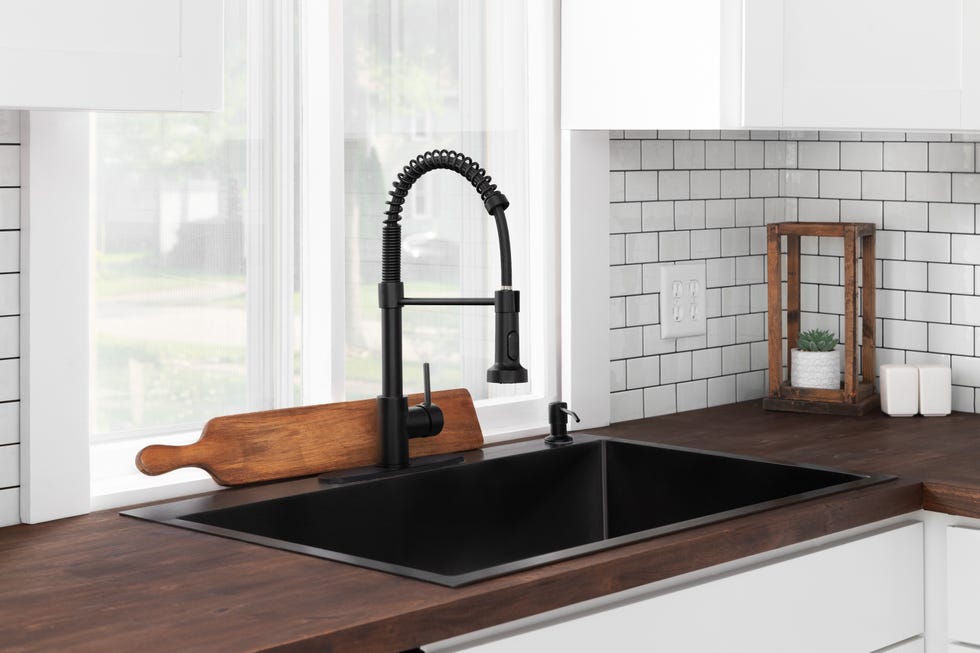
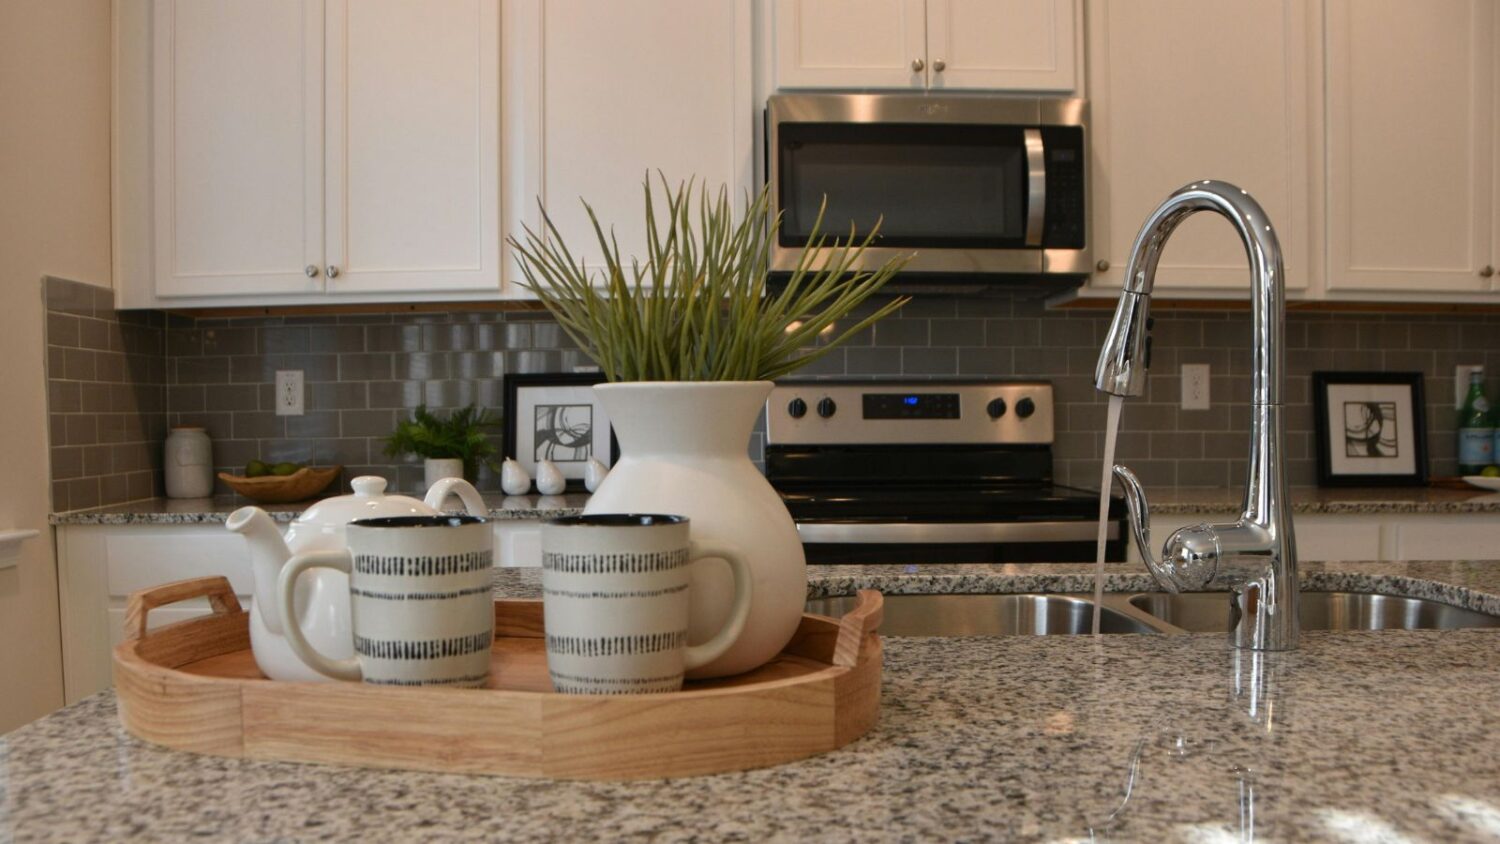
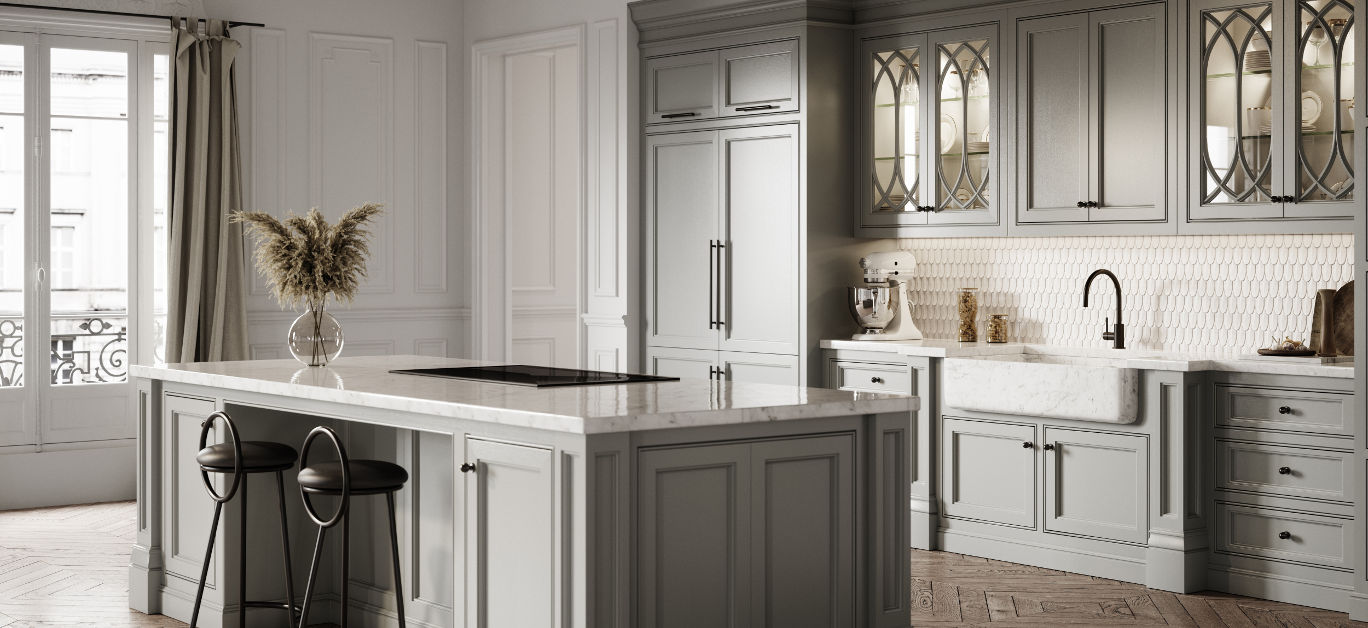
Most contemporary kitchens include at least a 4-inch mini-backsplash, typically made from the same material as the countertop, extending along all kitchen walls. Larger backsplashes are often installed above cooktops and sinks, reaching from the appliance or basin up to the cabinetry. The cost of a backsplash project depends on the quantity and type of material selected, with pricing based on square footage. An additional 15% to 30% of material should be purchased to account for cuts and waste. Cost savings can be achieved through DIY installation and by seeking out material deals.
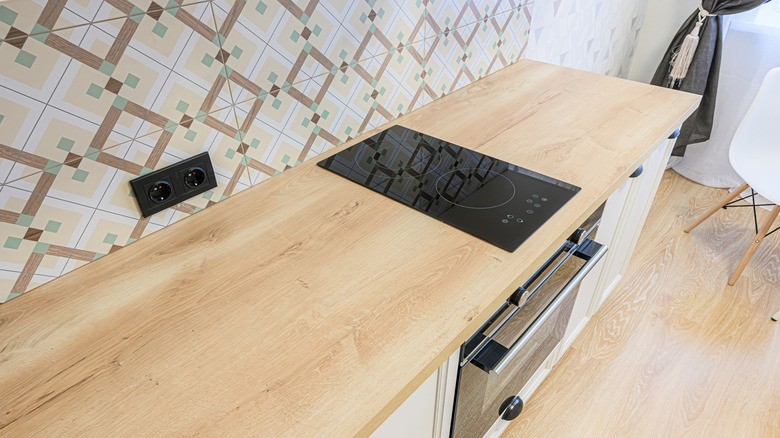
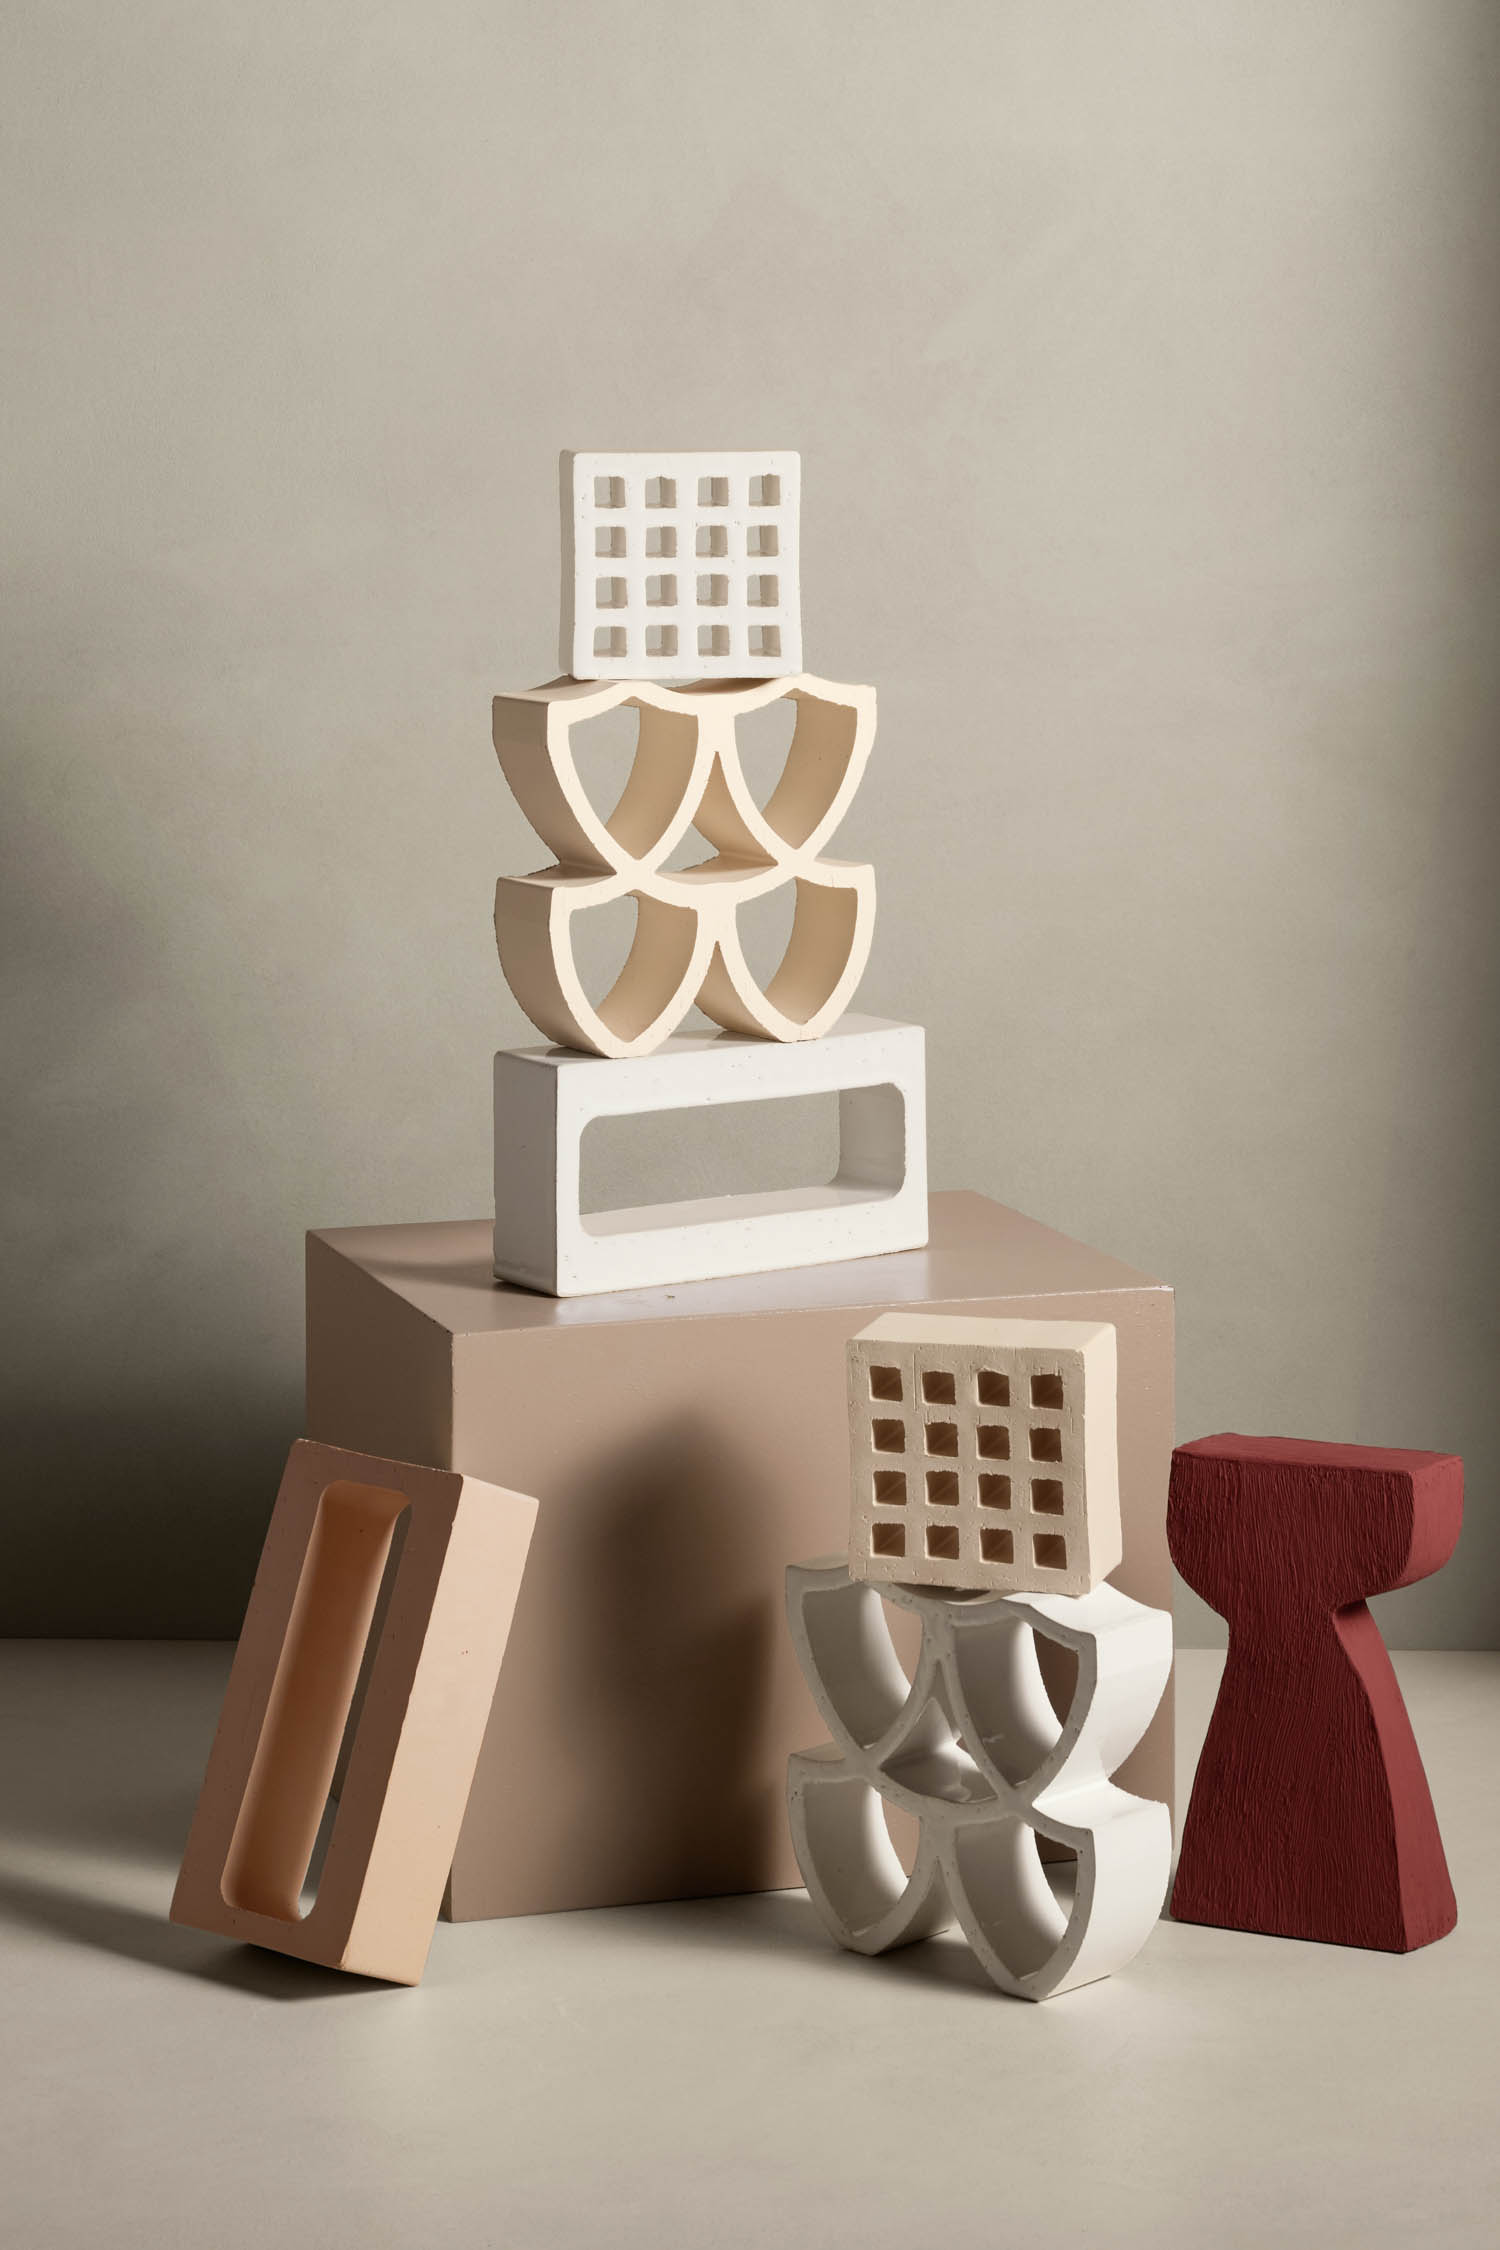
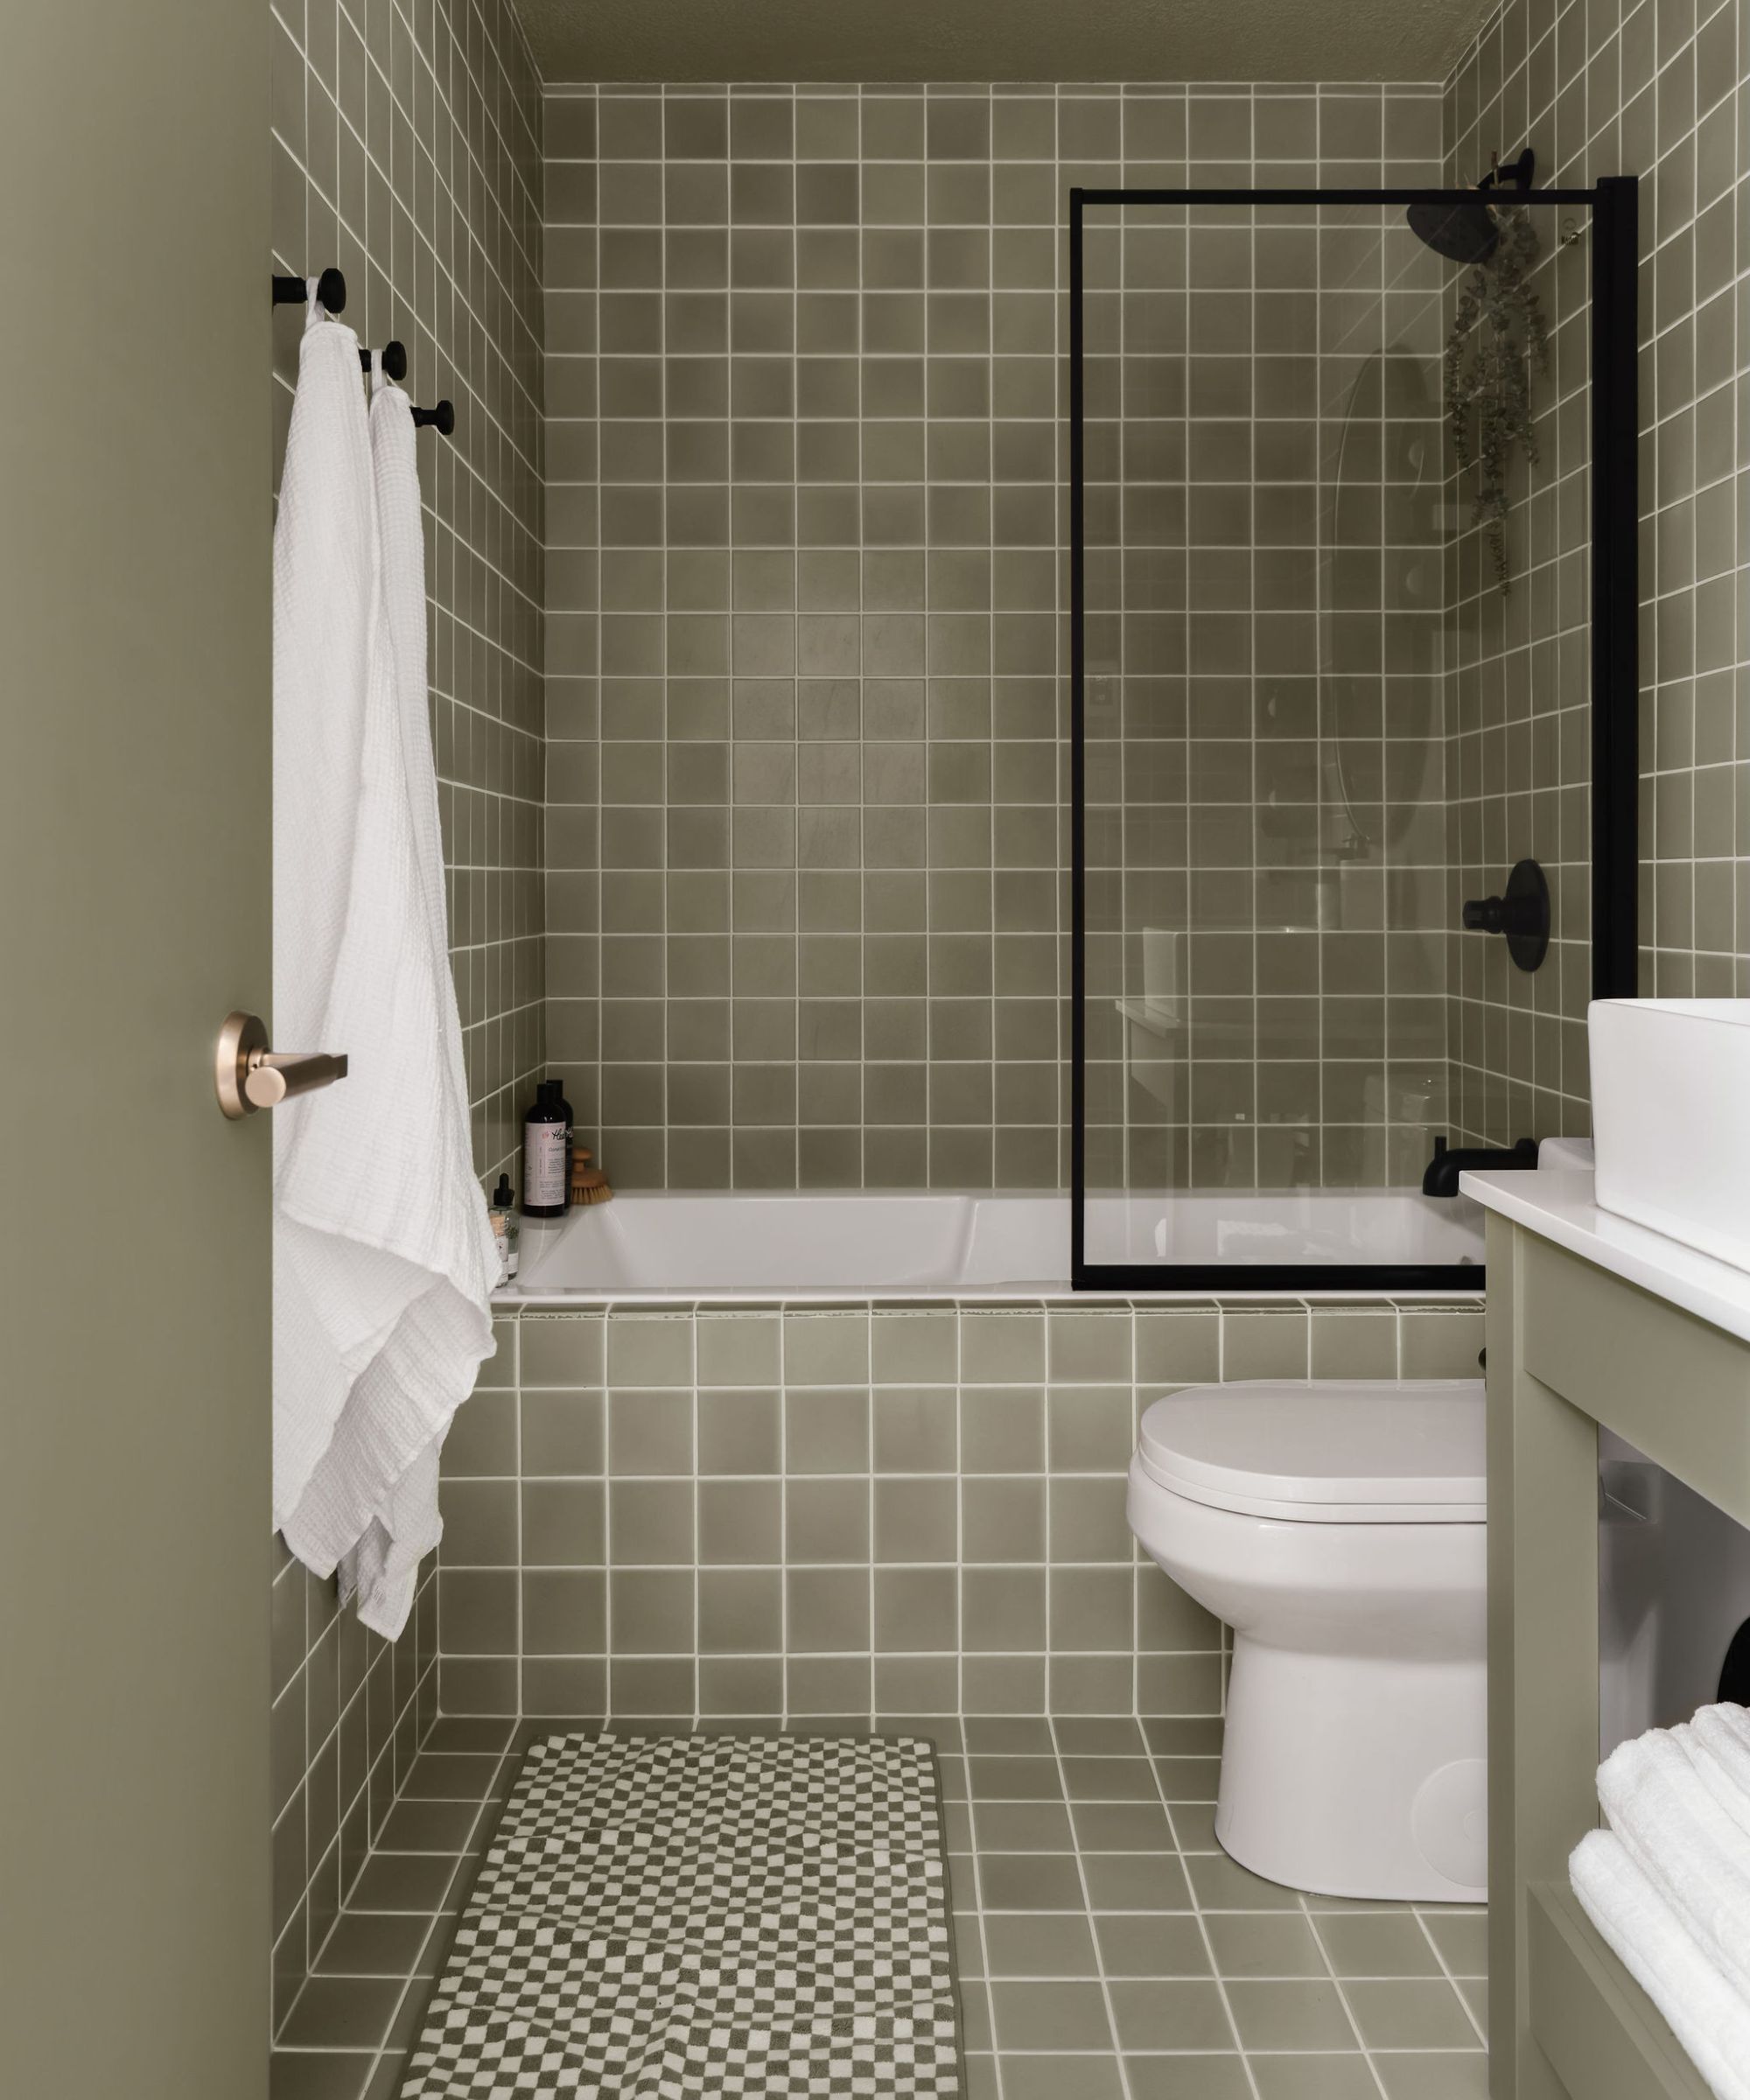
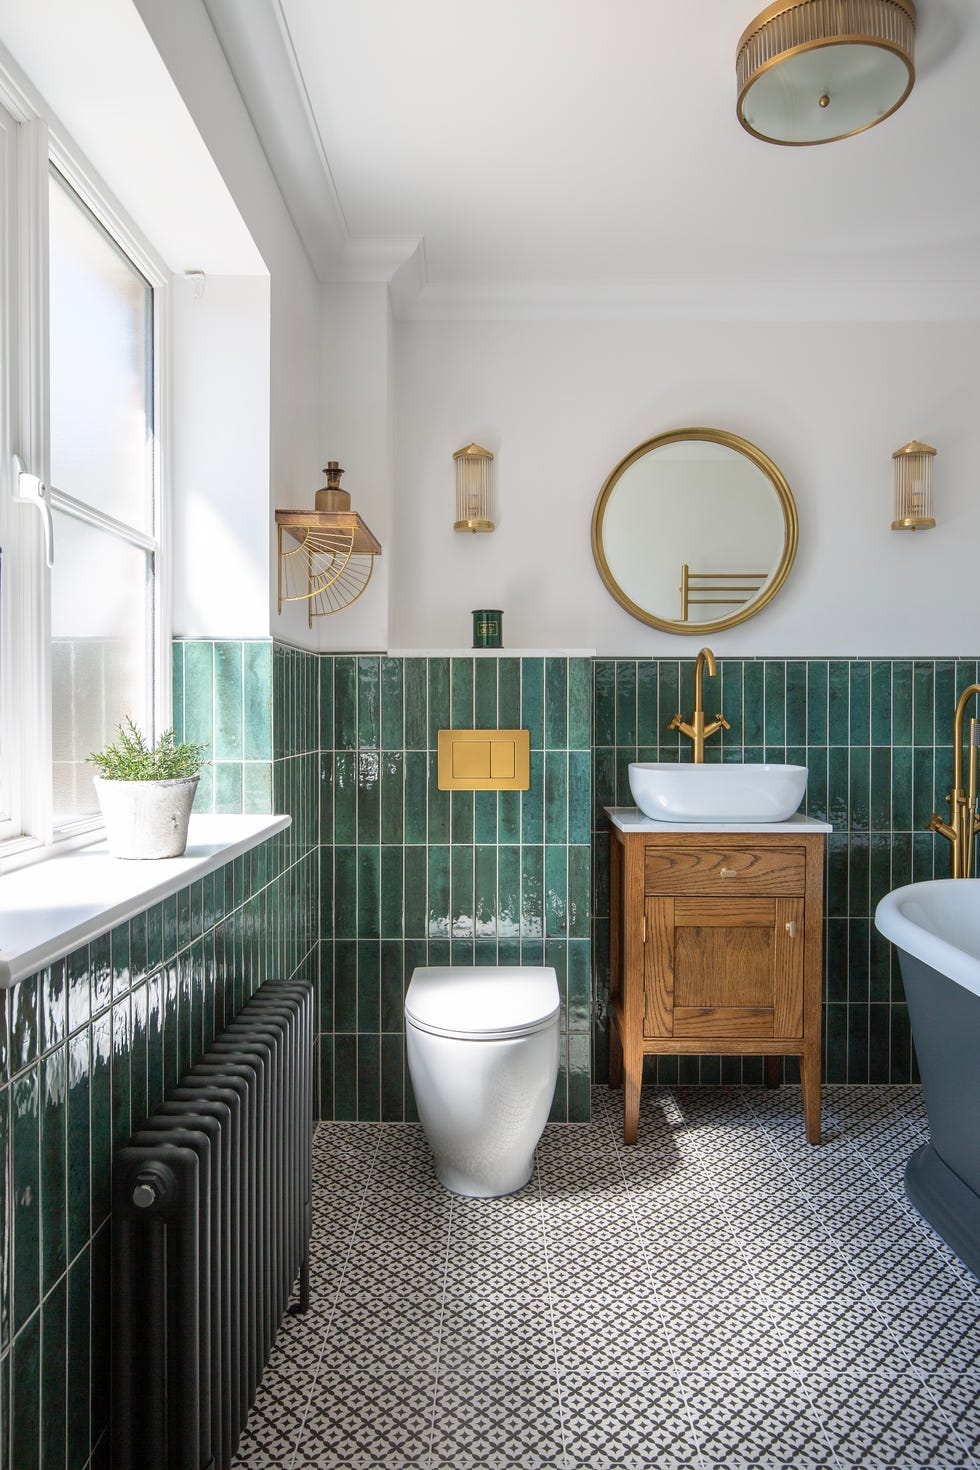
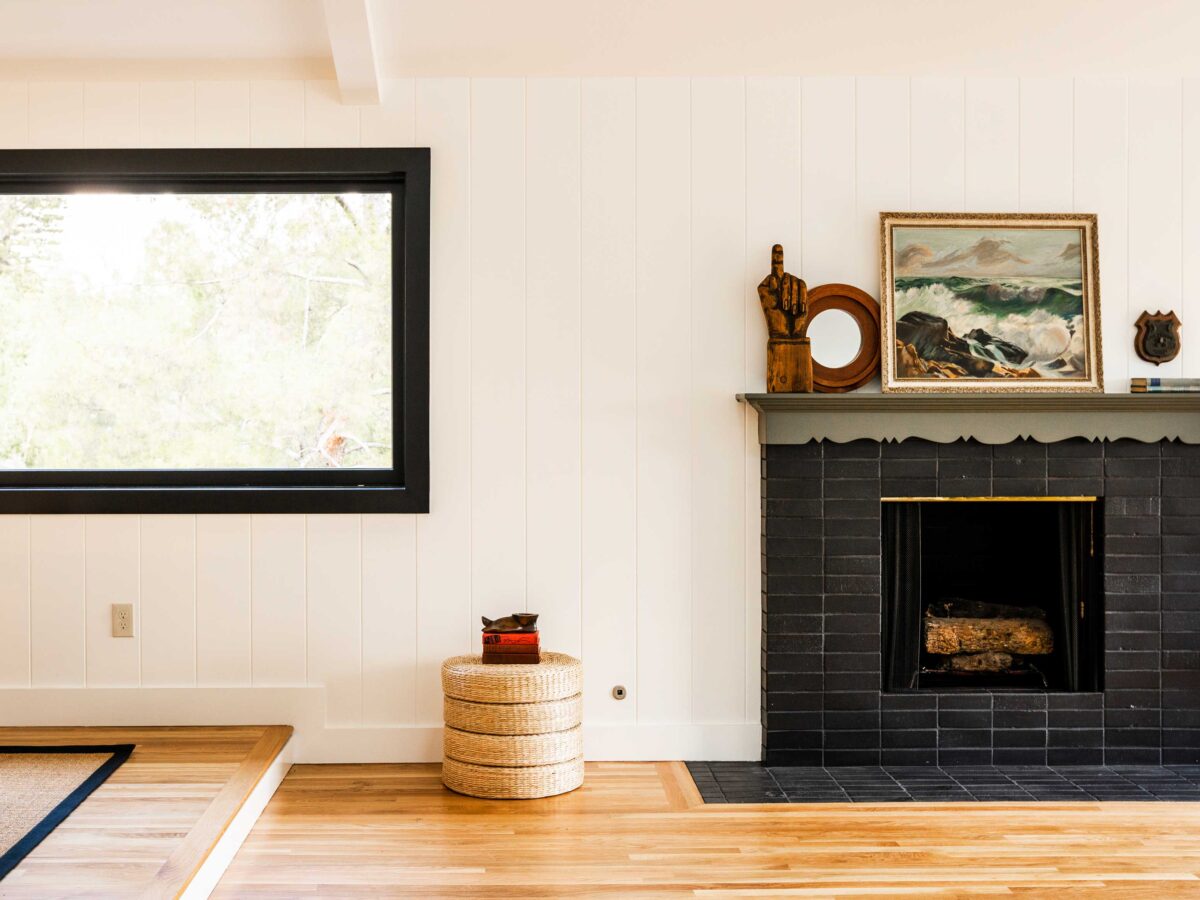
Material options are extensive. Natural materials like brick and stone offer distinct design statements, with brick providing rustic charm or elegant polish depending on its finish. Ceramic tiles remain a popular choice due to their versatility in color, style, shape, and pattern, which can significantly enhance kitchen aesthetics. Glass and metal tiles can be integrated into ceramic designs or used independently to create vibrant patterns. Stone, similar to brick, conveys various impressions and is often used as a continuous extension of granite countertops, extending up the wall to the cabinet undersides. Polished marble and other stones are also viable options.
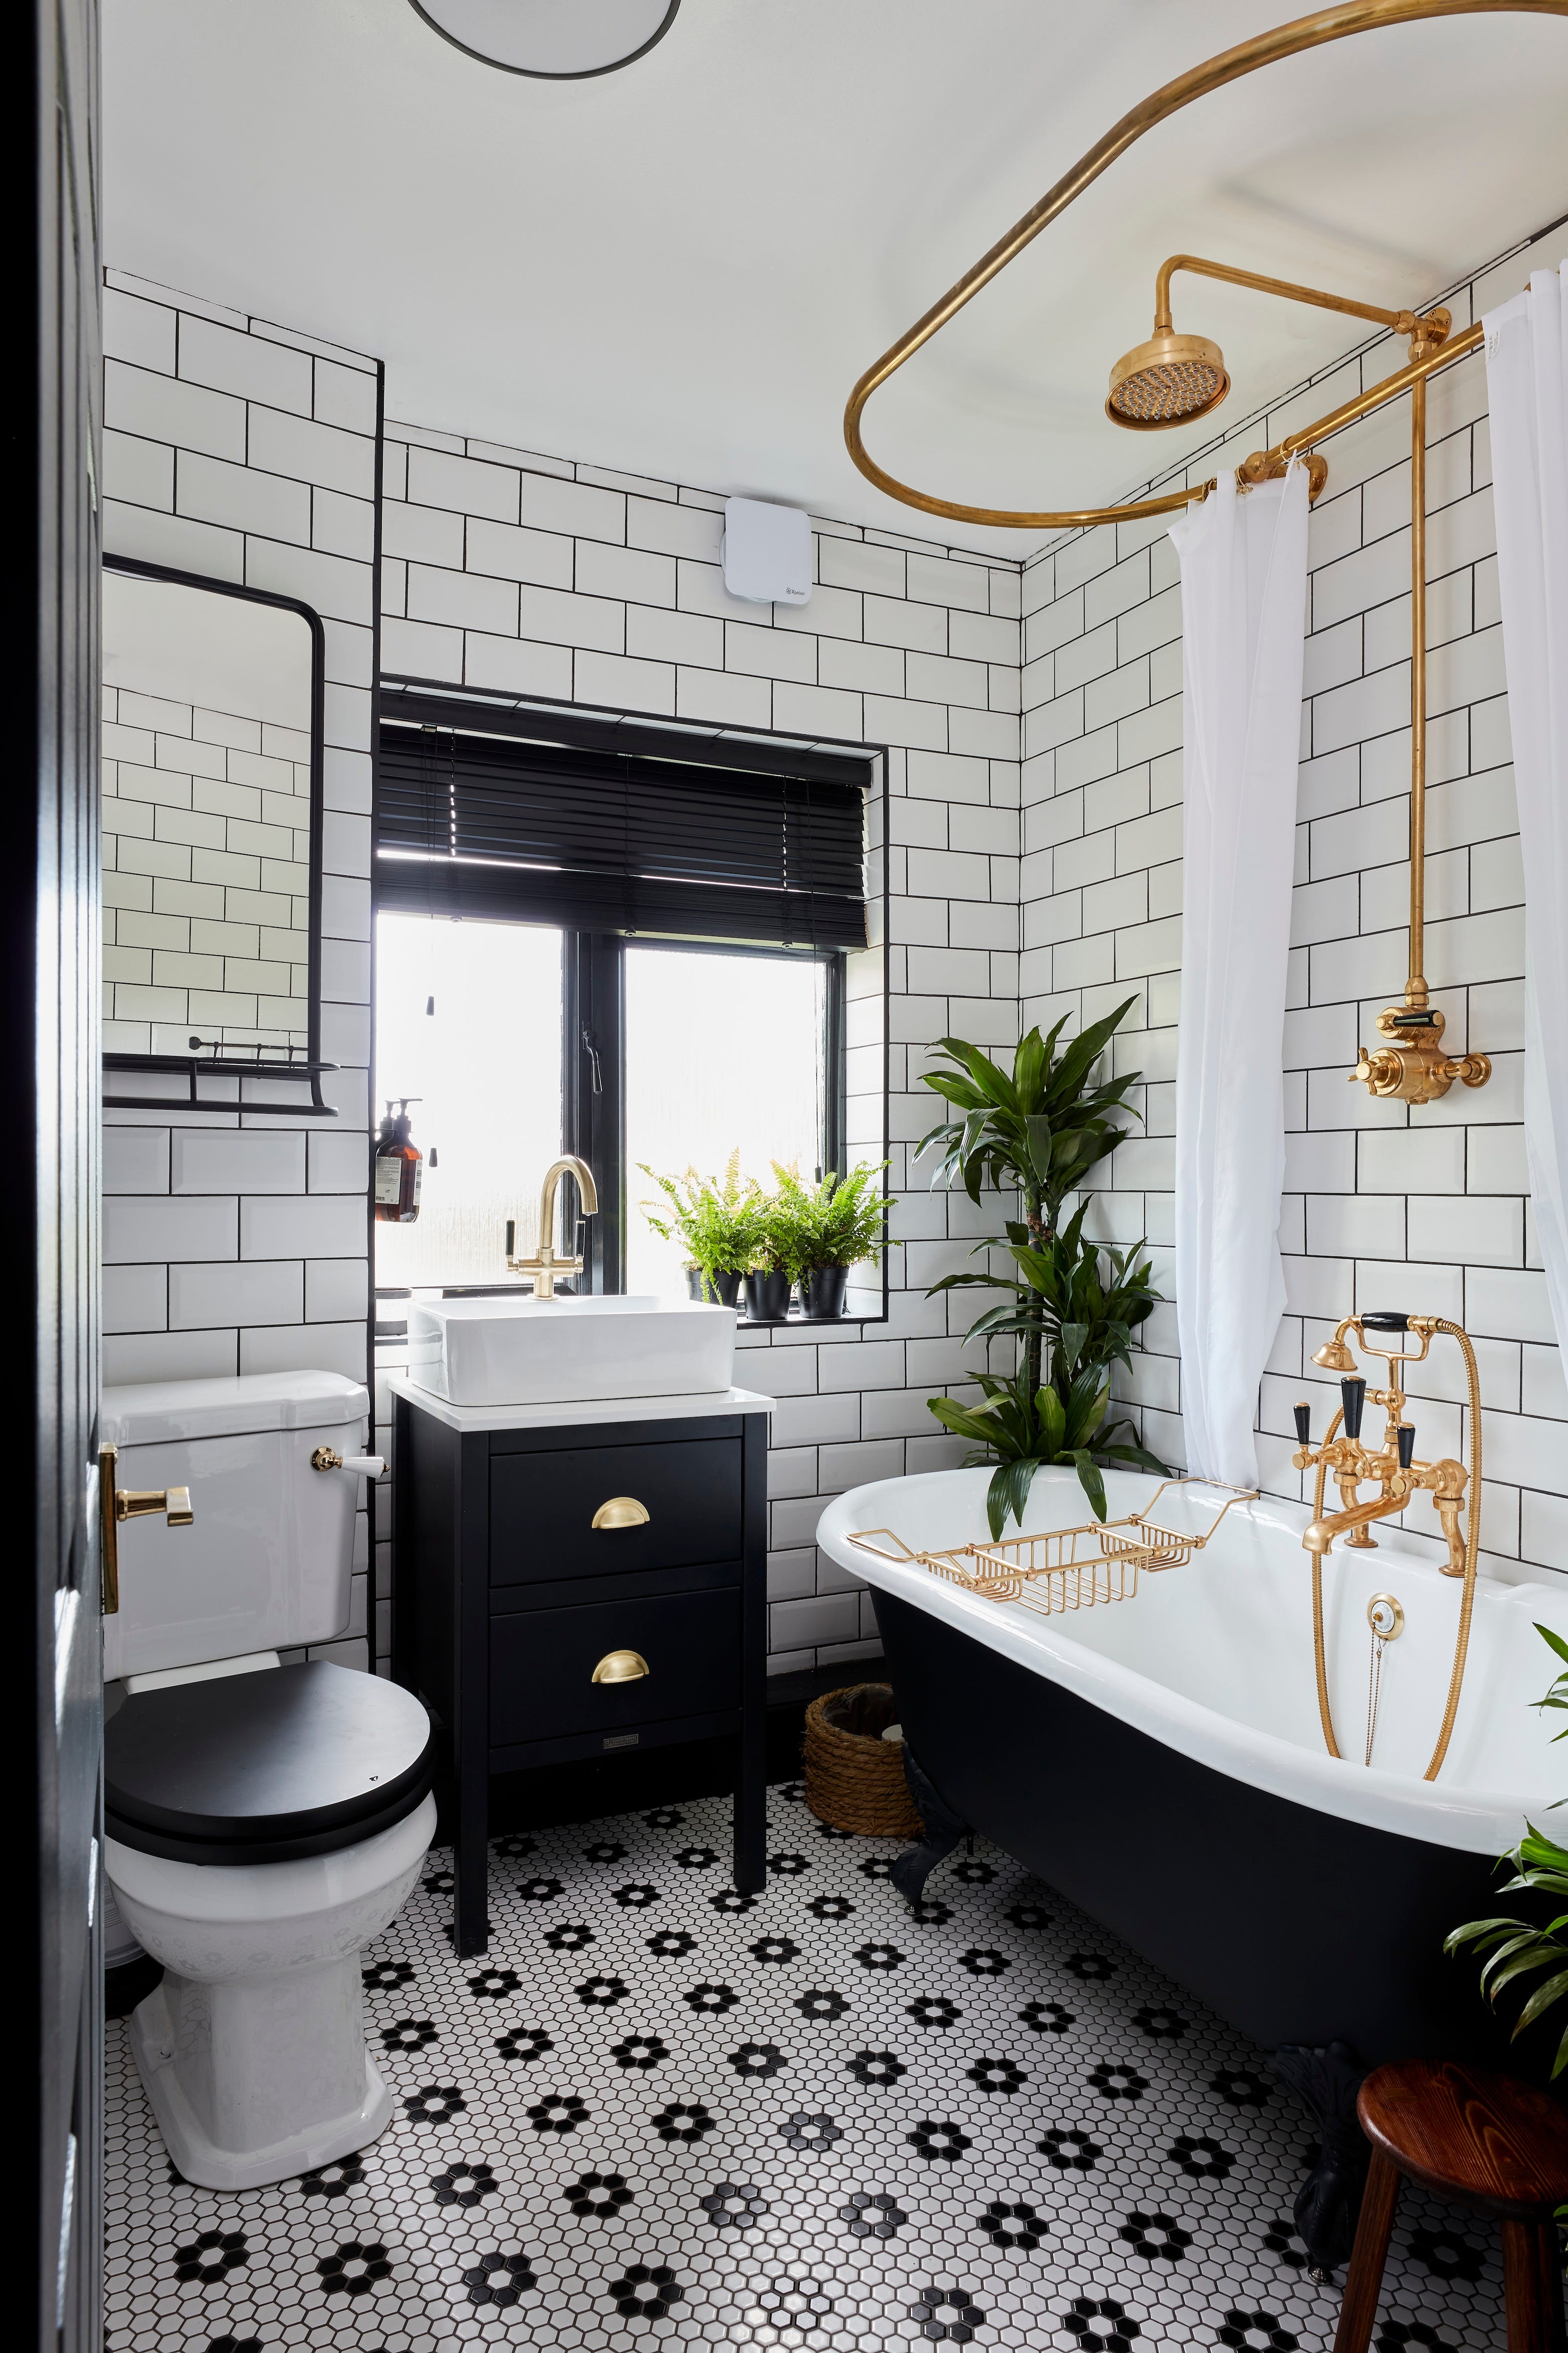
Ease of cleaning is a crucial consideration, as porous surfaces are harder to maintain. Most materials can be sealed to prevent staining. The example of an unsealed stone backsplash being damaged by spaghetti illustrates the importance of proper sealing. Grout lines, notorious for being difficult to clean, can be minimized by choosing narrower lines or sealed to prevent stains. A popular design trend, white subway tiles with dark grout, effectively addresses grout staining concerns. Under-cabinet lighting is recommended to highlight the new tile work, and proper alignment of outlets and switches is essential for a clean finish.
Removing an existing backsplash can damage the underlying drywall, necessitating professional repair for extensive damage. When selecting a colorful backsplash or wall tiles, it is advisable to pair them with neutral countertops to maintain balance. Homeowners should test small samples of chosen materials against their existing décor at different times of the day to ensure color compatibility. Ultimately, a backsplash project offers an opportunity for creative expression and enjoyment.
For those considering a DIY backsplash, a visit to a tile showroom for inspiration and information is recommended. However, complex or dramatic designs may be best handled by professional craftspersons. Simple tile installations on clean, painted wall surfaces are manageable for DIY enthusiasts. This involves removing wallpaper, sanding, and cleaning the surface. Mesh-backed mosaic glass or ceramic tiles are particularly user-friendly. Accurate measurement of the area, plus an allowance for waste, is necessary. Practicing tile setting on scrap wood can help beginners familiarize themselves with grout lines. Creating a cardboard template on the floor to map out tile placement ensures proper fitting and helps identify areas where partial or extra tiles are needed, ideally placing these in less visible spots. Tools such as a tile saw or carbide nipper may be required for cutting tiles, and spacers ensure uniform joint sizes. The most challenging step is the smooth application of thin-set adhesive to the wall before carefully setting the tiles, ensuring even application for slightly concave tiles. Essential tools include a pencil, tape measure, level, speed square, grout application trowel, rubber float, grout sponge, tile spacers, notched trowel, power drill, mixing paddle, 5-gallon buckets, kneepads, safety glasses, earplugs, scoring cutter or wet saw, handsaw, and a handheld grout saw.
#KitchenDesign #BacksplashIdeas #HomeRenovation #DIYHomeImprovement #TileInstallation #InteriorDesign #KitchenRemodel #KitchenDesign #BacksplashIdeas #HomeRenovation #DIYHomeImprovement #TileInstallation #InteriorDesign #KitchenRemodel
0 comment in total
 No comments yet
You may also like
10 Kitchen Backsplash Trends That Are Out In 2025


5 "Tariff-Proof" Home Renovations That Experts Recommend in 2025

New Year, New Look: Exploring Pool Tile Trends for 2025

Common kitchen backsplash trends to avoid in 2025

Designers Are Calling It: Here Are the Biggest Kitchen Backsplash Trends for 2026

Top Tile Trends Spotted At Coverings 2025

Stucco tips all Arizona homeowners should know
7 Essential Design Tips From Los Angeles’s Top House Flipper

Stand Out with 2026 Home Trends

The future of home remodeling: What Arizona contractors need to know
6 things you should look past when viewing a property, according to real estate experts and interior designers

6 Interior Trends Entering Cleveland Homes in 2025

Fluted Tile Is the Eye-Catching Backsplash Upgrade for 2025

9 tile trends for 2025 that add character, interest, and style to your home
'Tile drenching': The statement-making interiors trend to try in 2025
This SURPRISING Feature May Make Your Home Harder to Sell, According to Designers
Tile Stickers Are The Budget-Friendly Trend Taking Over Homes In 2025
Burgundy kitchens, bold backsplashes, and rustic bathrooms named amongst 2025 home interior trends

Hottest Home Trends in 2025
5 Backsplash Trends That Will Be Everywhere in 2026, Designers Say