1/2
DIY Ideas: Tips For Refinishing Wood Floors
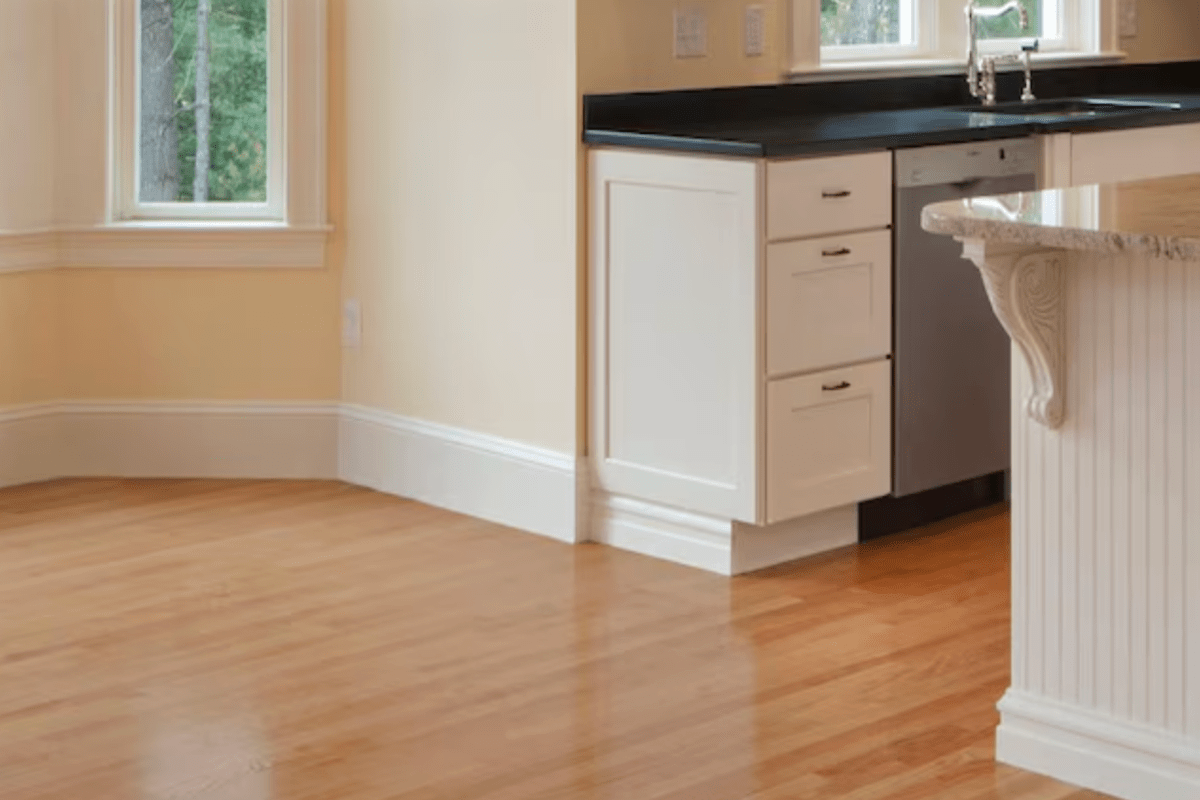
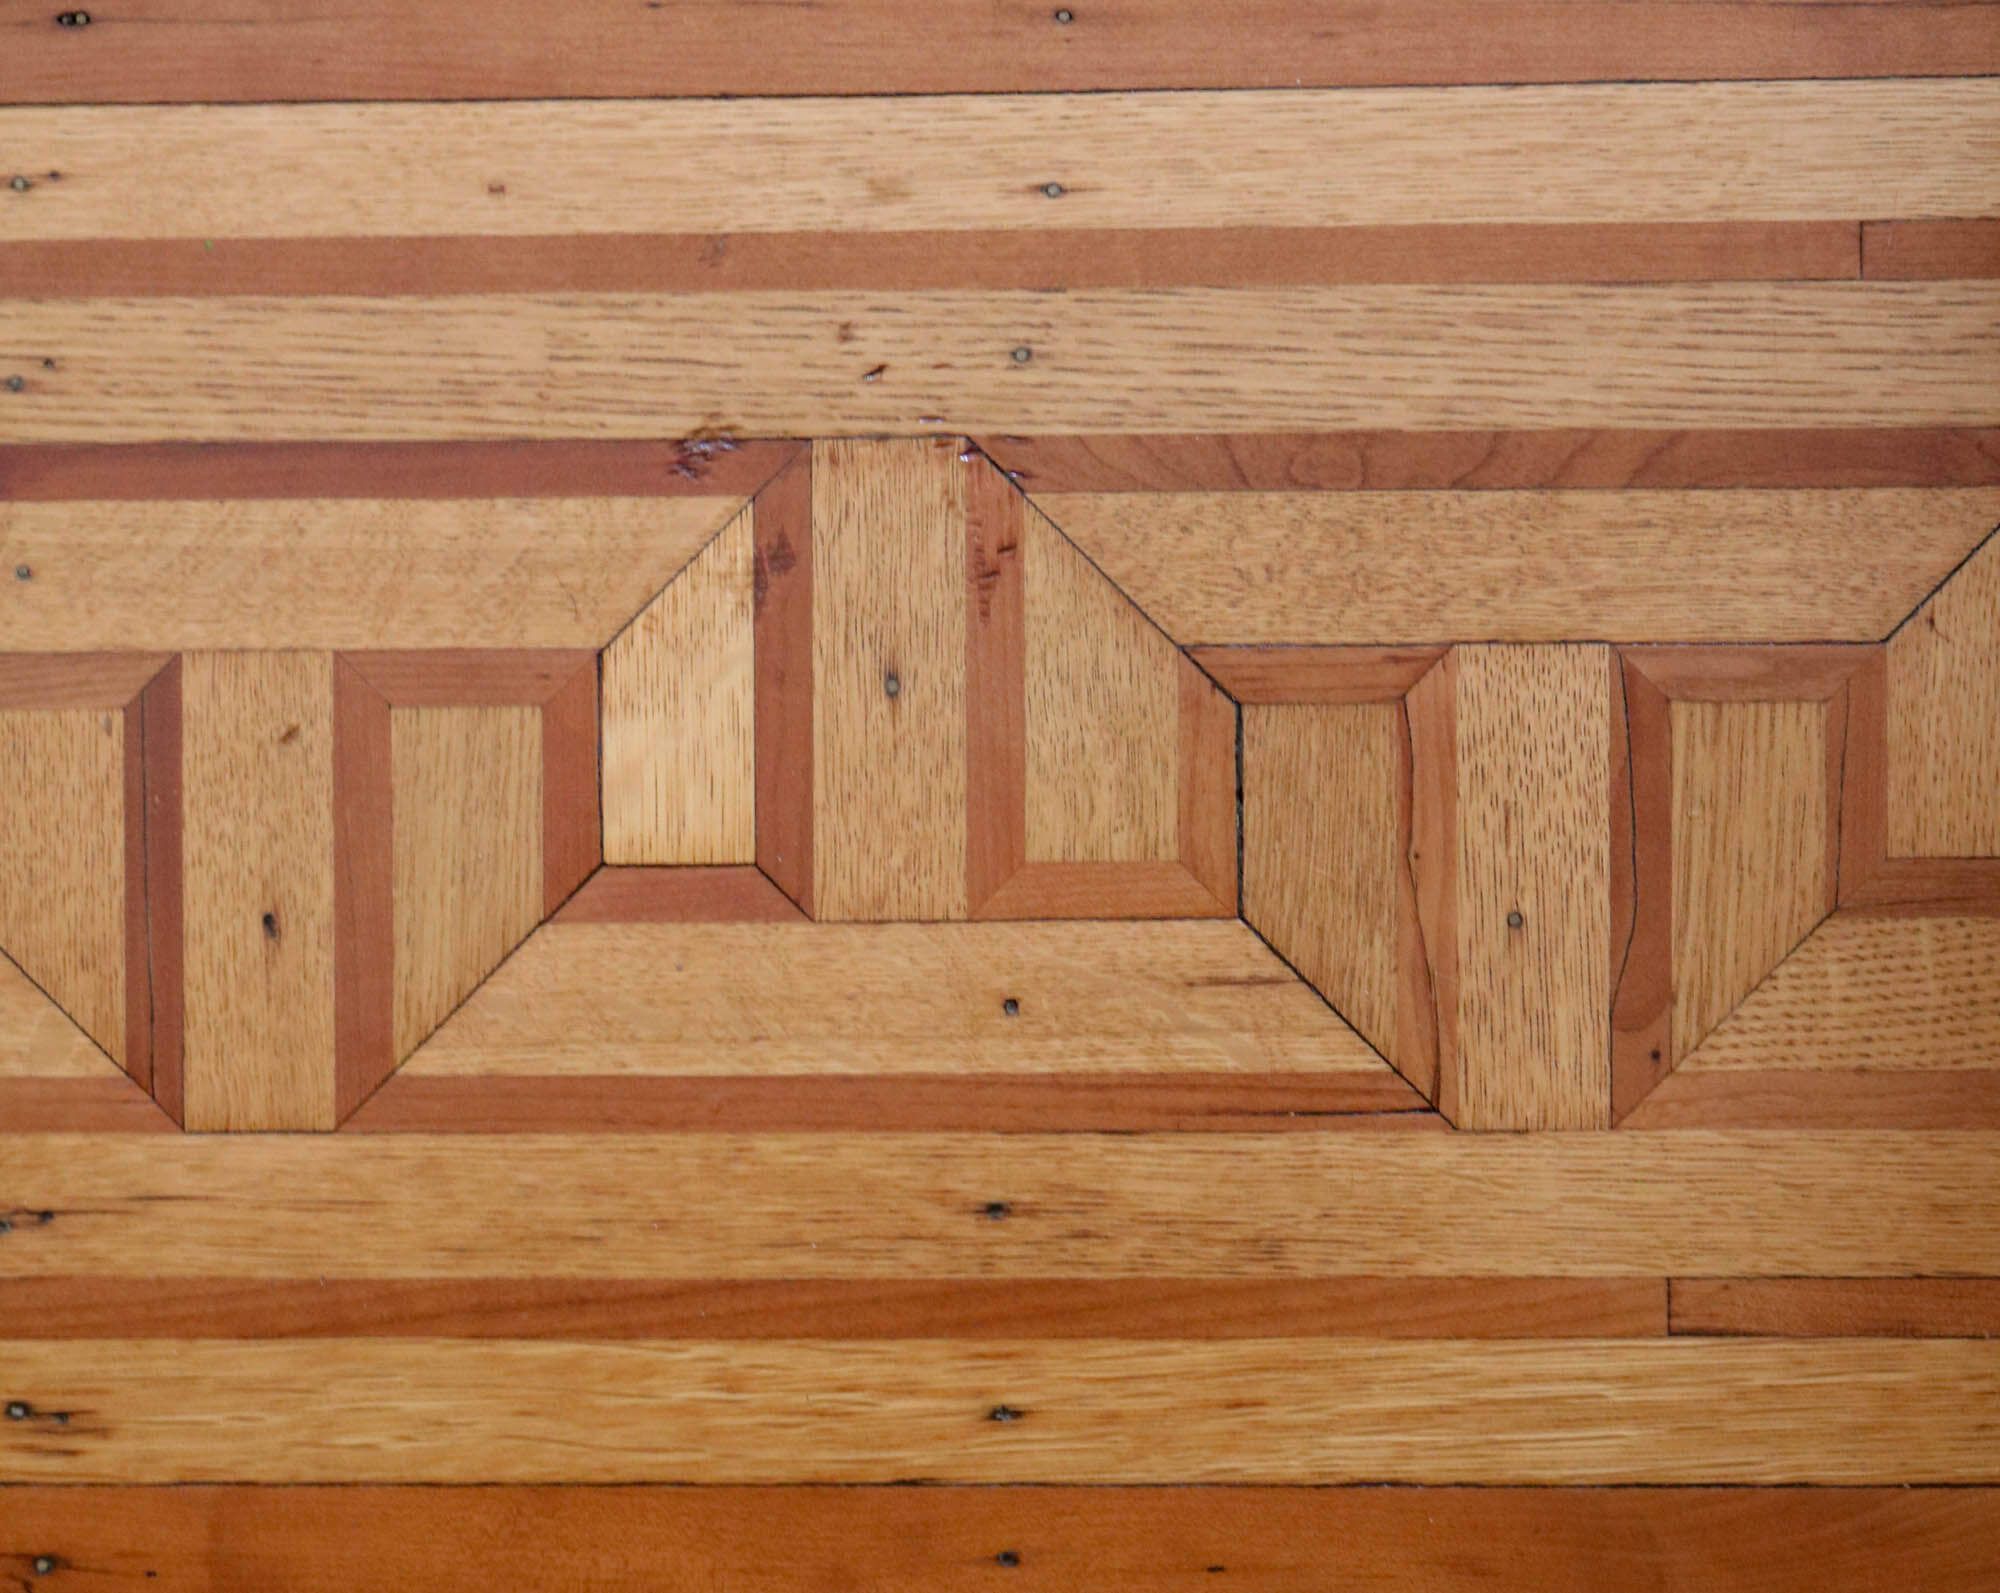
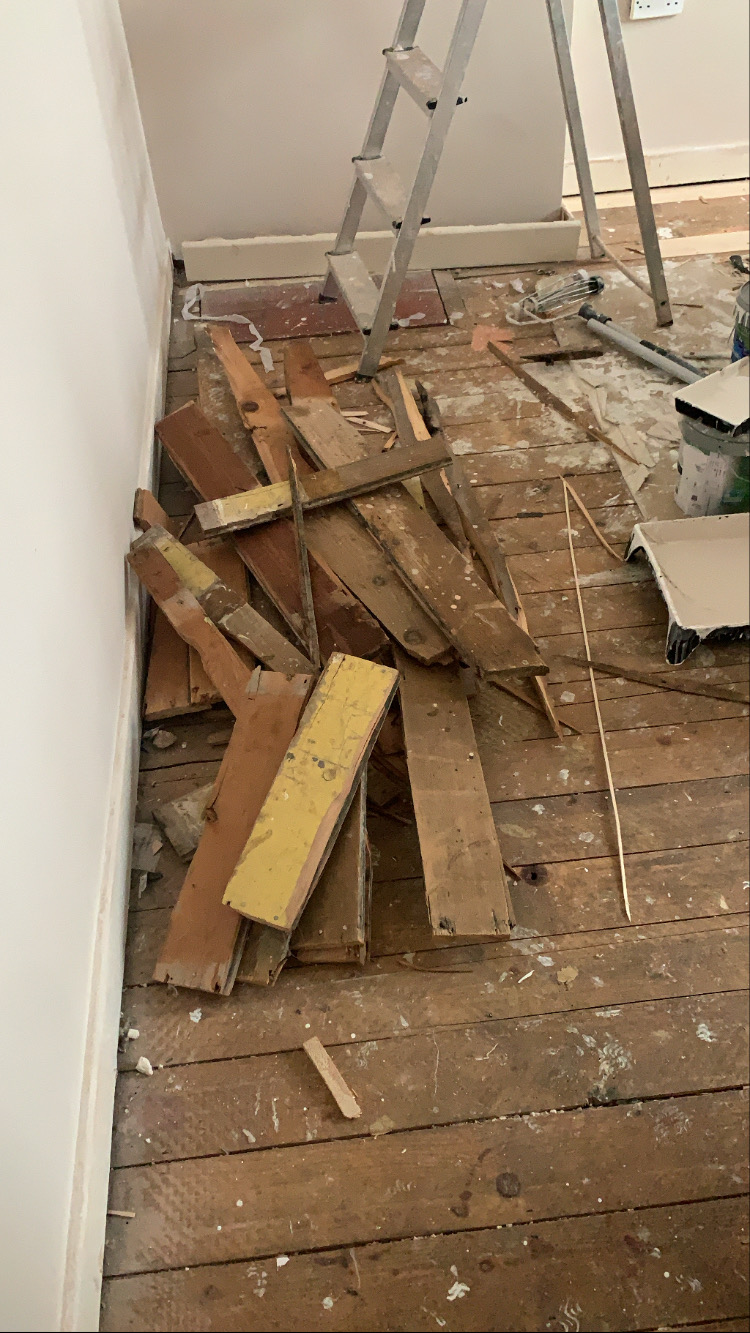
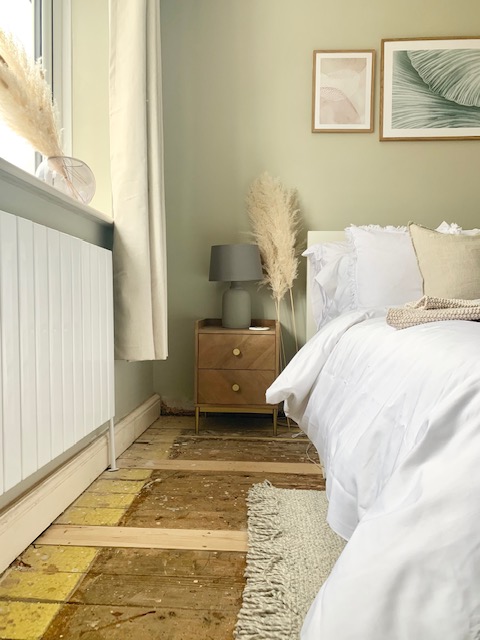
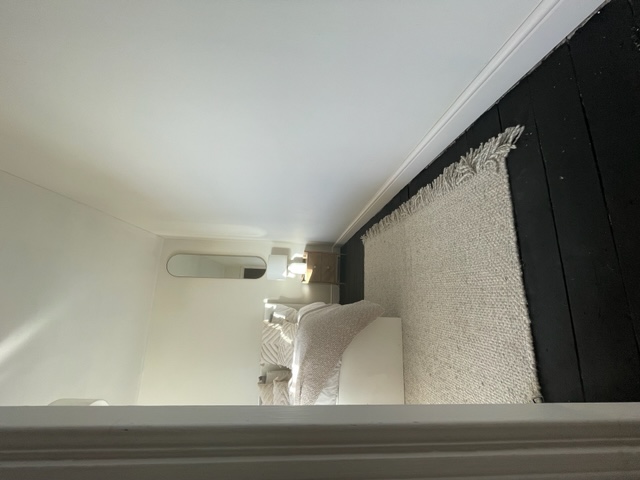
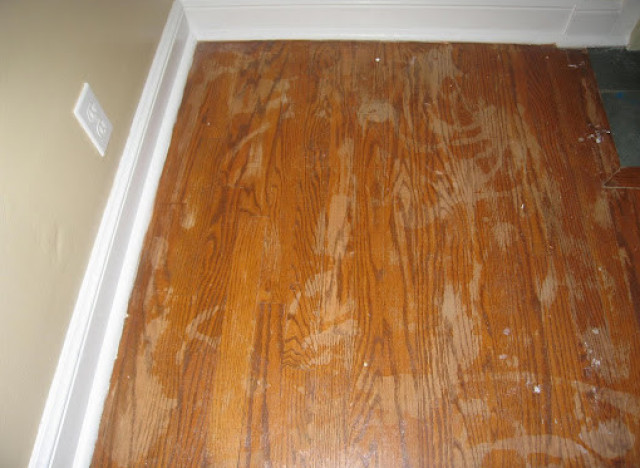
This article offers a comprehensive guide to refinishing wood floors, presented as a DIY project, drawing on the experience of home renovations blogger Sara Hilton from Russet Street Reno. The process is broken down into several key stages: preparation, sanding, staining, and applying polyurethane, providing detailed instructions and practical advice for each step. The author notes that while refinishing floors can seem daunting, it is achievable for a homeowner, with Hilton herself completing her living room floor in about two weeks while managing full-time jobs.
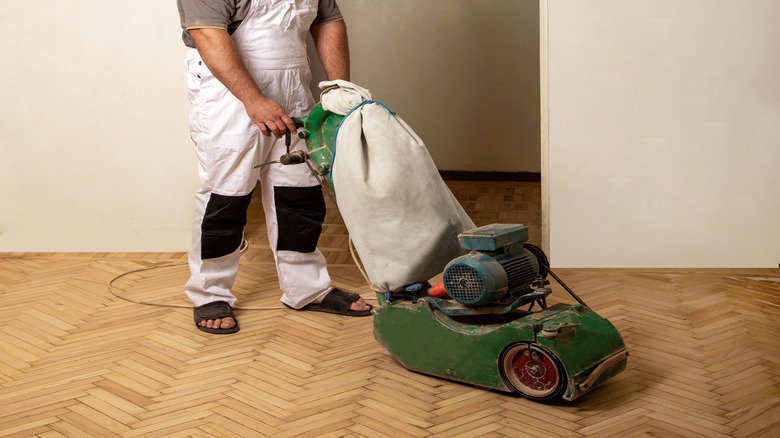
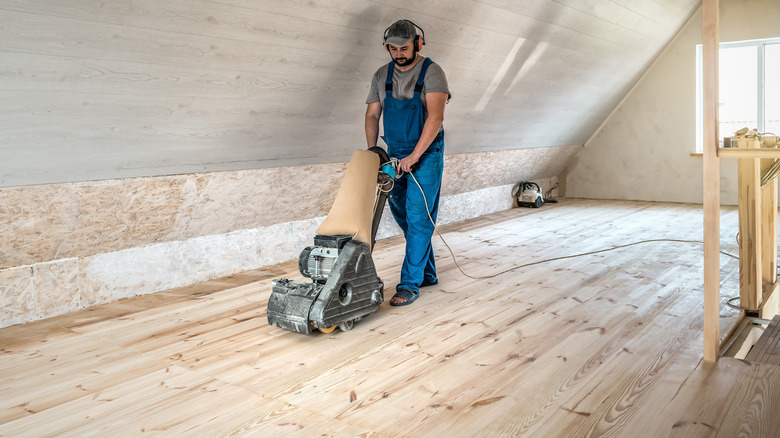
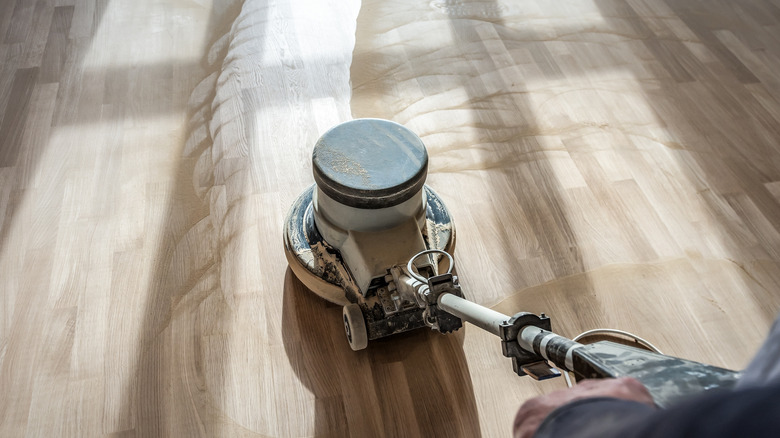
The preparation phase emphasizes checking the floor's history to ensure it hasn't been sanded too many times, which can be indicated by exposed nails or staples. A crucial decision involves selecting the right type of sander: orbital or drum. Hilton advises that an orbital sander is more forgiving and suitable for beginners, though it takes longer, whereas a drum sander is more aggressive. The article also stresses the importance of acquiring three to four times more sandpaper than initially estimated and thoroughly sealing off the room and vents to prevent dust from spreading throughout the house.
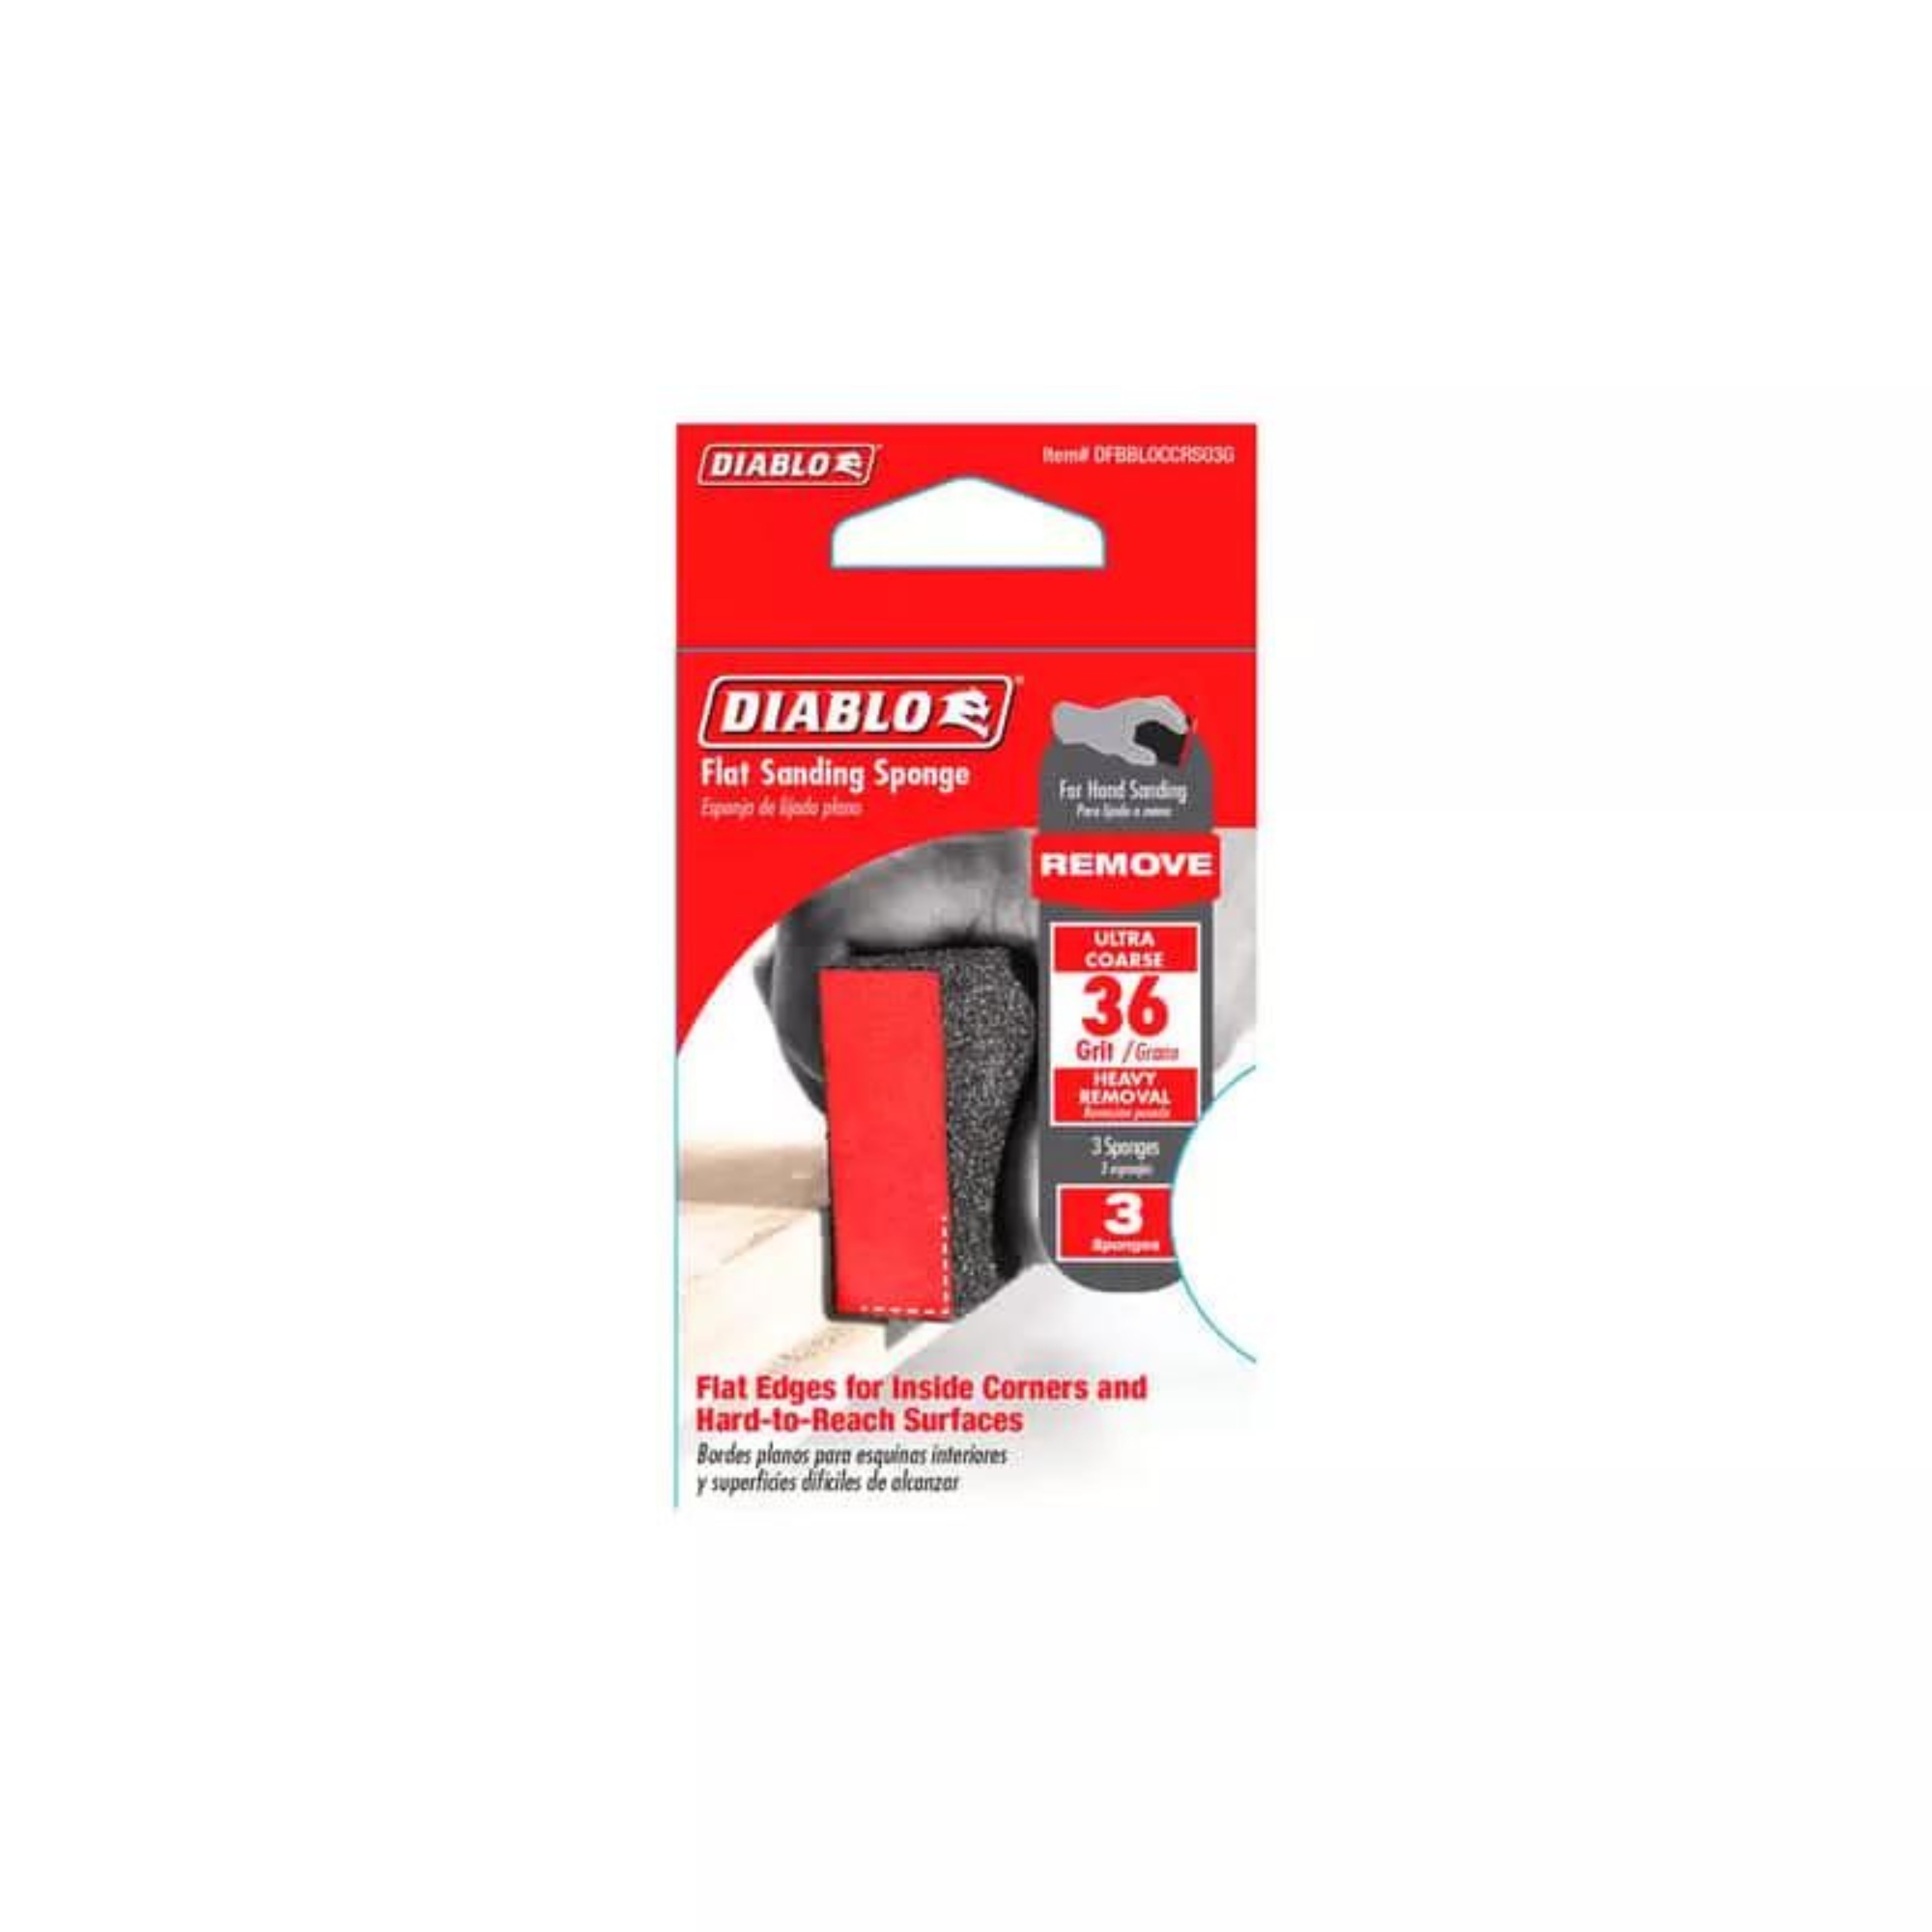
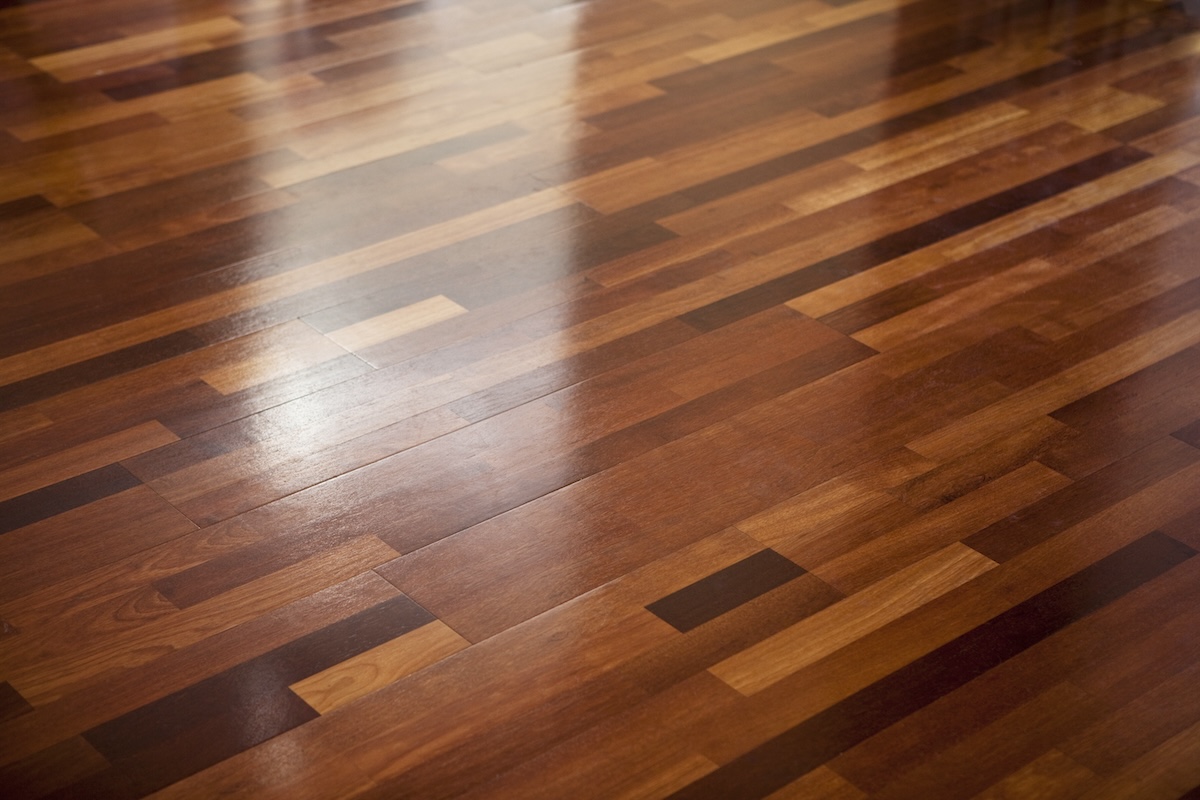
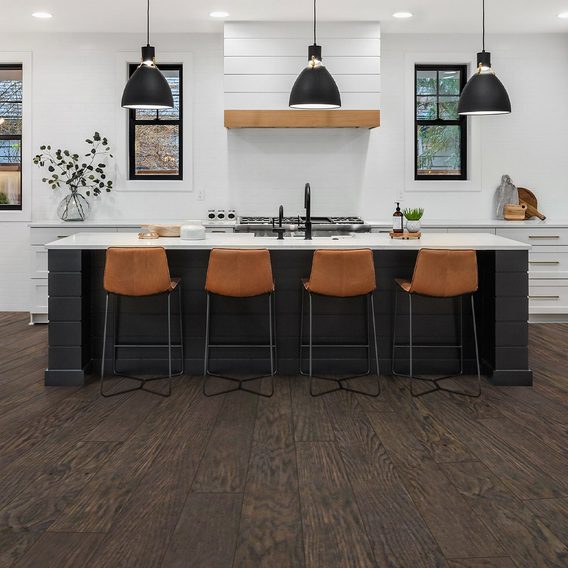
For sanding, the guide recommends starting with very coarse sandpaper, typically in the 20s to 36-grit range, and progressively moving to finer grits like 100 to 120 for the final passes. It highlights the necessity of keeping the sander in continuous motion to avoid creating uneven surfaces and suggests using a hand sander for corners. The staining section advises applying only one coat of stain, cautioning against attempting a darker shade with multiple coats, as this can lead to uneven absorption and an undesirable 'lint magnet' effect, especially with dark colors like espresso. The article also warns against using oil-based stains if quick drying is desired and reminds readers to wear rubber gloves to protect their hands.
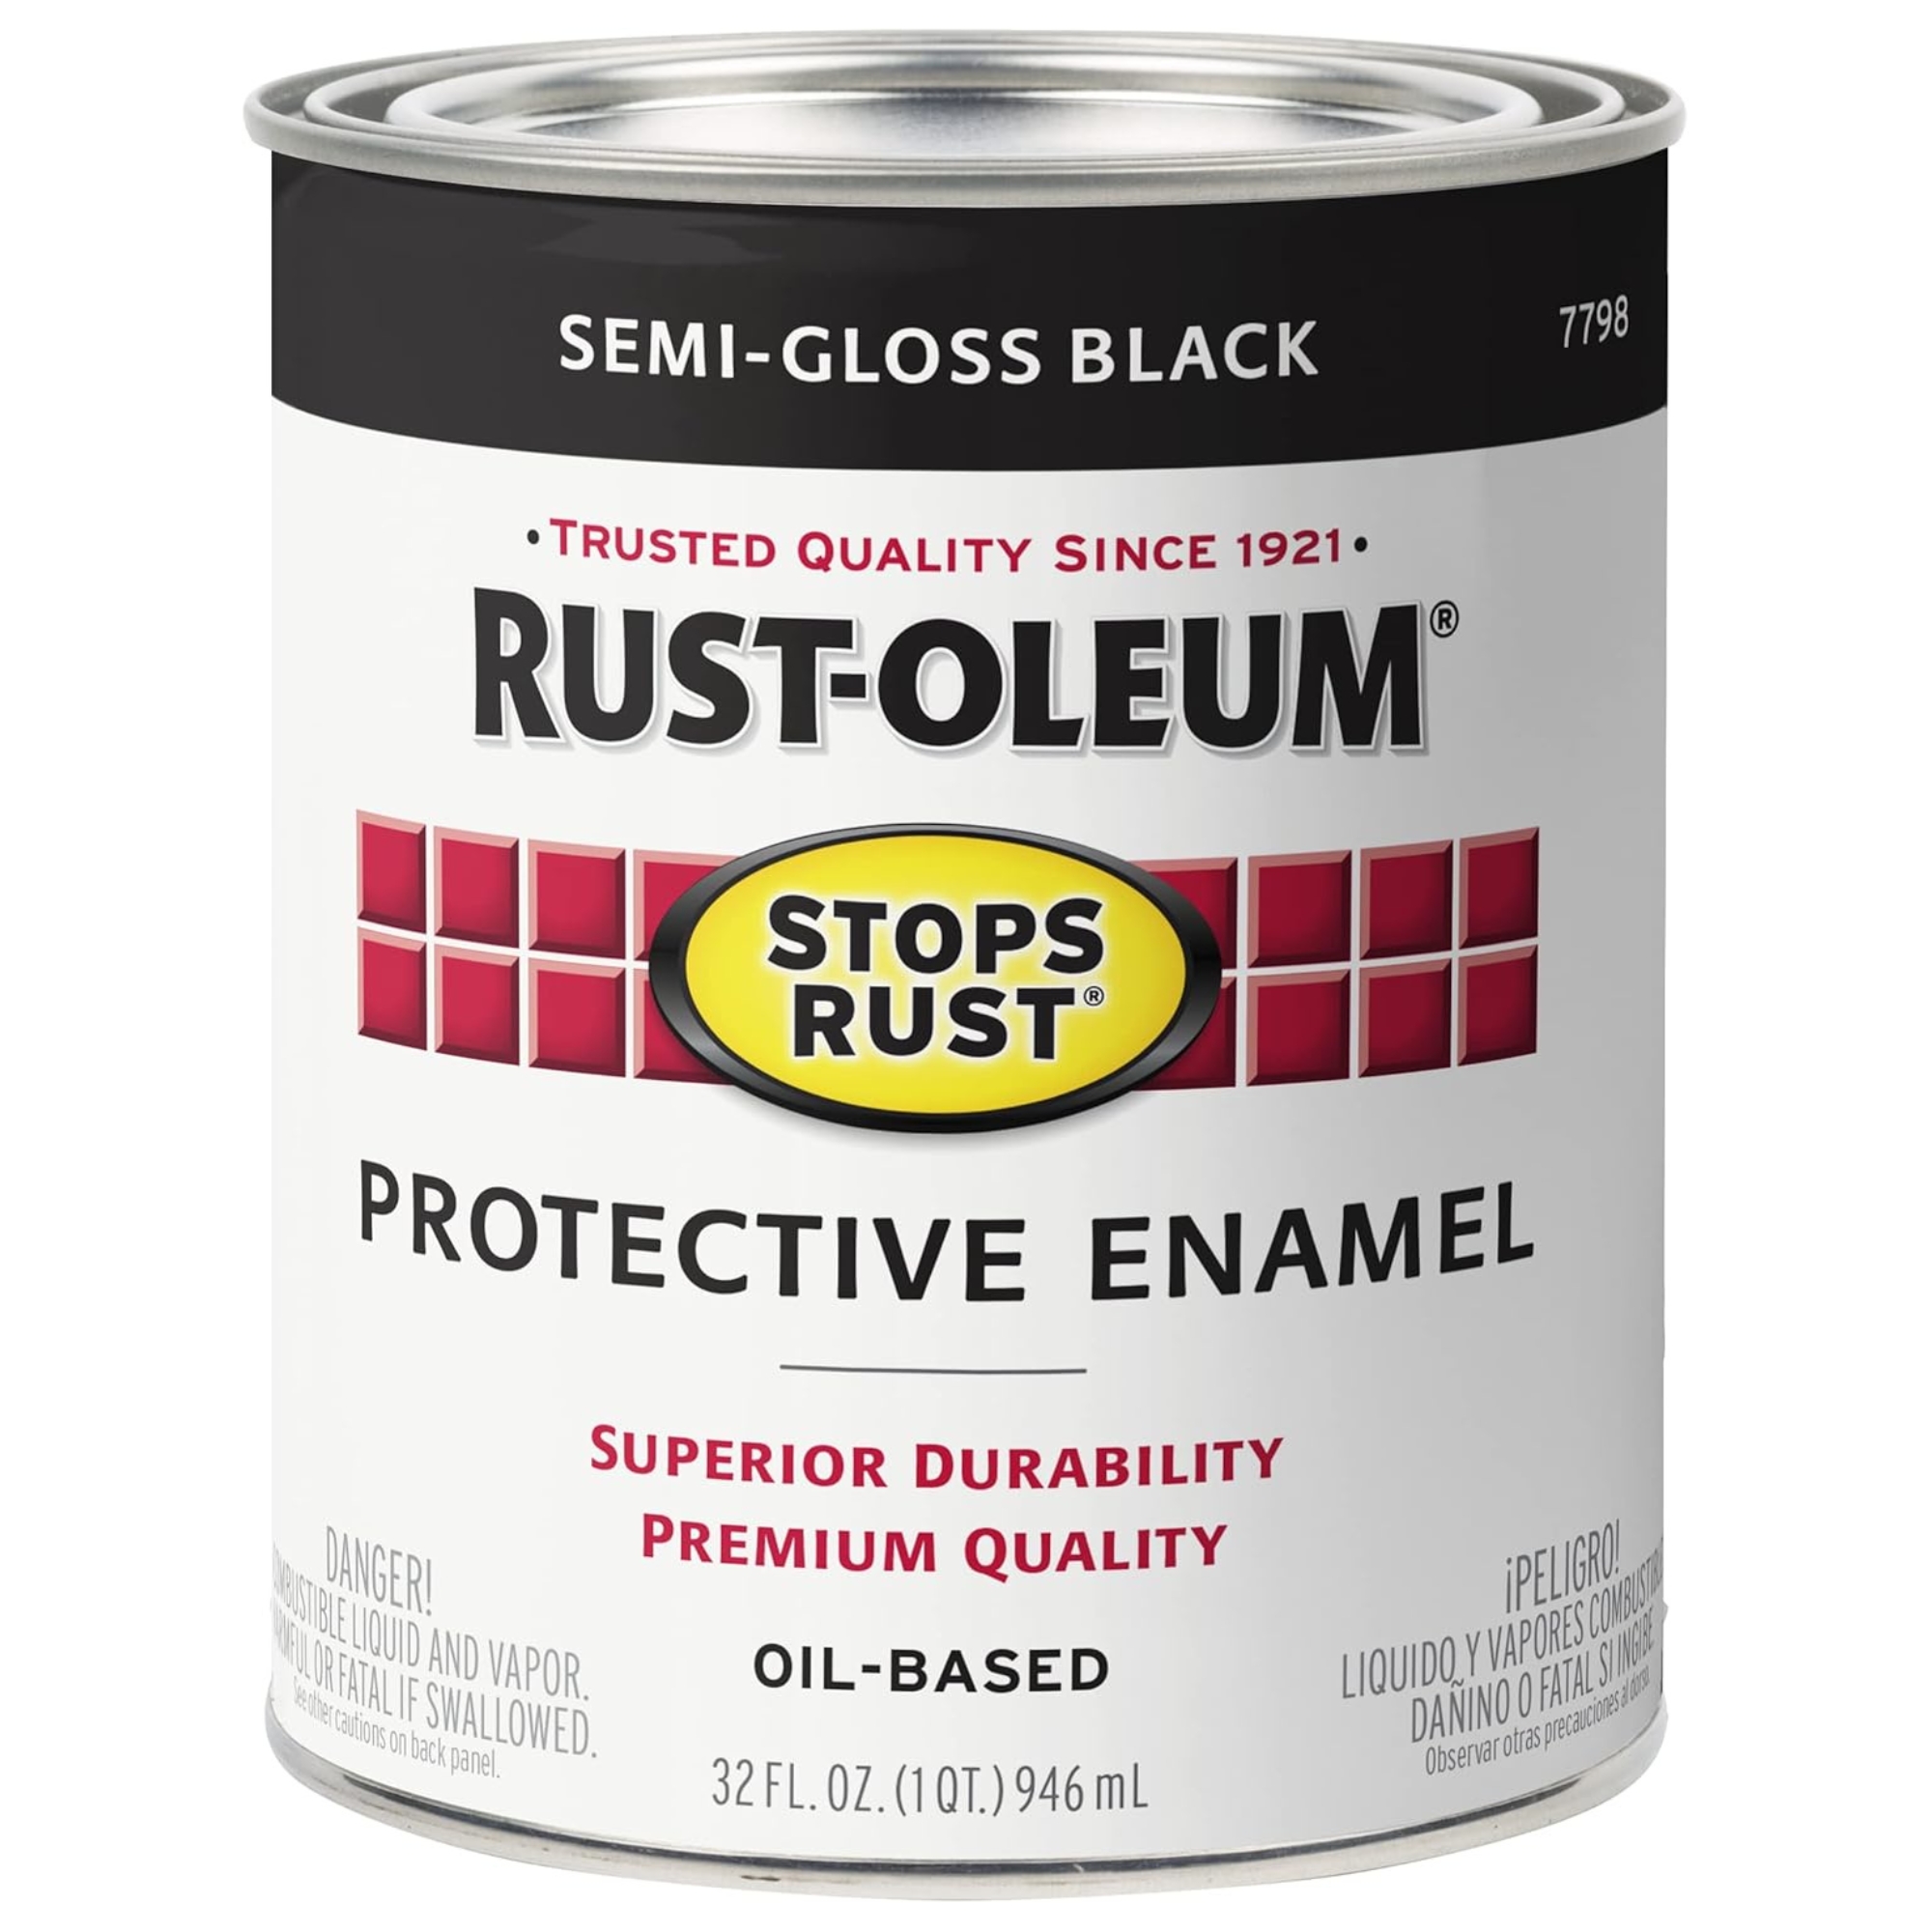
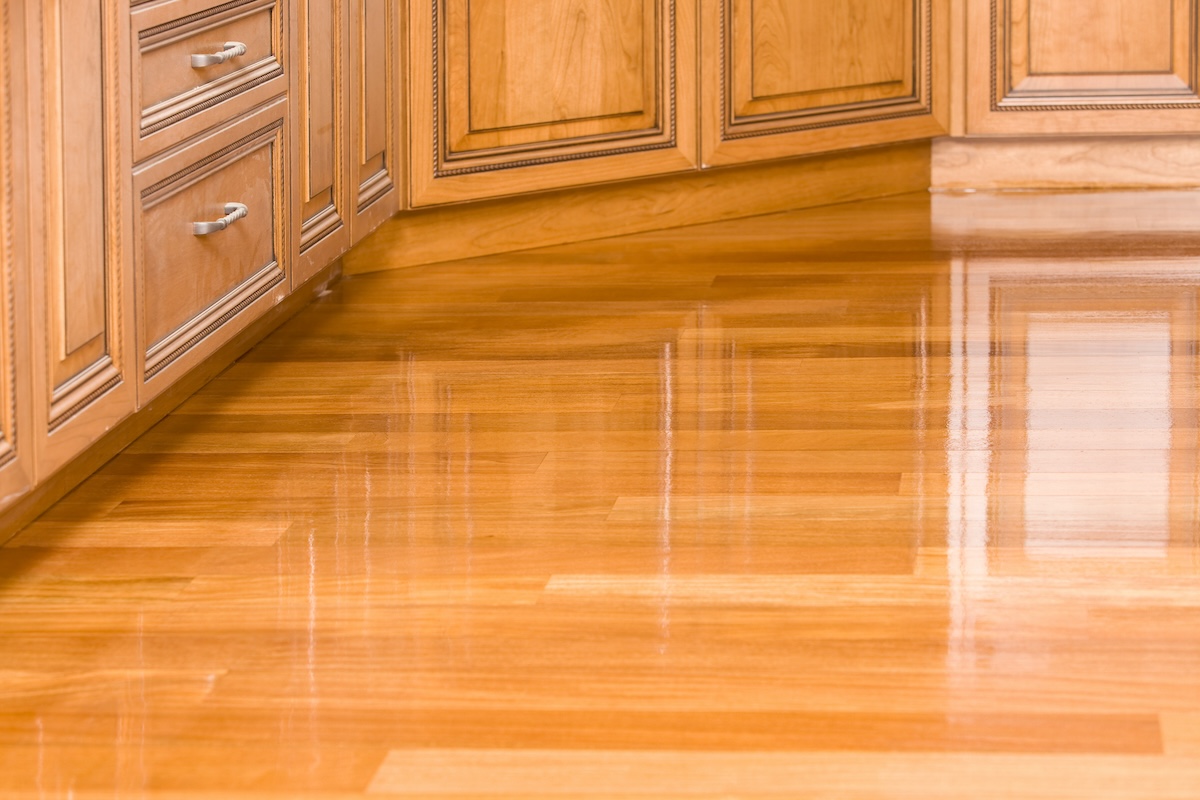
The final stage involves applying polyurethane. Hilton suggests experimenting with different applicators, such as a three-inch brush and a lambswool applicator, and emphasizes the need to defuzz the lambswool applicator to prevent bubbles. This step is highlighted as potentially the most challenging due to the tendency for dust and hair to cause bubbles in the coating. Hilton applied four coats, allowing 24 hours of drying time between each. The article concludes by advising against replacing furniture until the polyurethane is fully cured, which can take up to a week for oil-based poly and about three days for water-based poly. Despite initial challenges, Hilton's success as a beginner, even leading her to use a drum sander for subsequent projects, demonstrates the feasibility and rewarding nature of DIY floor refinishing. The author suggests that while professional help is an option, the sense of accomplishment from doing it yourself is significant.
#DIYHomeRenovation #WoodFloorRefinishing #HomeImprovement #FlooringTips #SandingTechniques #StainingWood #PolyurethaneApplication #RussetStreetReno #DIYHomeRenovation #WoodFloorRefinishing #HomeImprovement #FlooringTips #SandingTechniques #StainingWood #PolyurethaneApplication #RussetStreetReno
Há 0 comentários no total
 Ainda não há comentários
Você também pode gostar
How to paint wood floors – get a lasting shine in 5 easy steps

Guide to Hardwood Floor Finishes

Home Flooring Installation and Repair


Ask The Builder: Installing border strip makes hardwood repair less conspicuous

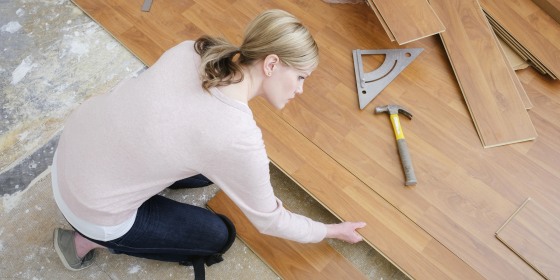
Tips for DIY flooring projects: Everything you need to know


How to Know When an Old Wood Floor Is Worth Restoring or Should Be Replaced
Recommendations for hardwood floor refinishing?
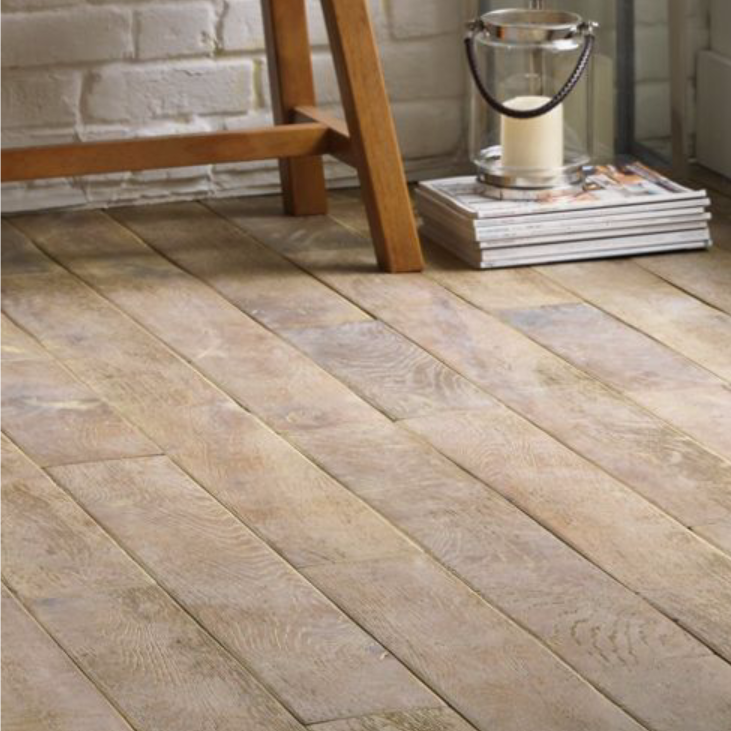
Wood Flooring – Our Pick of the Best
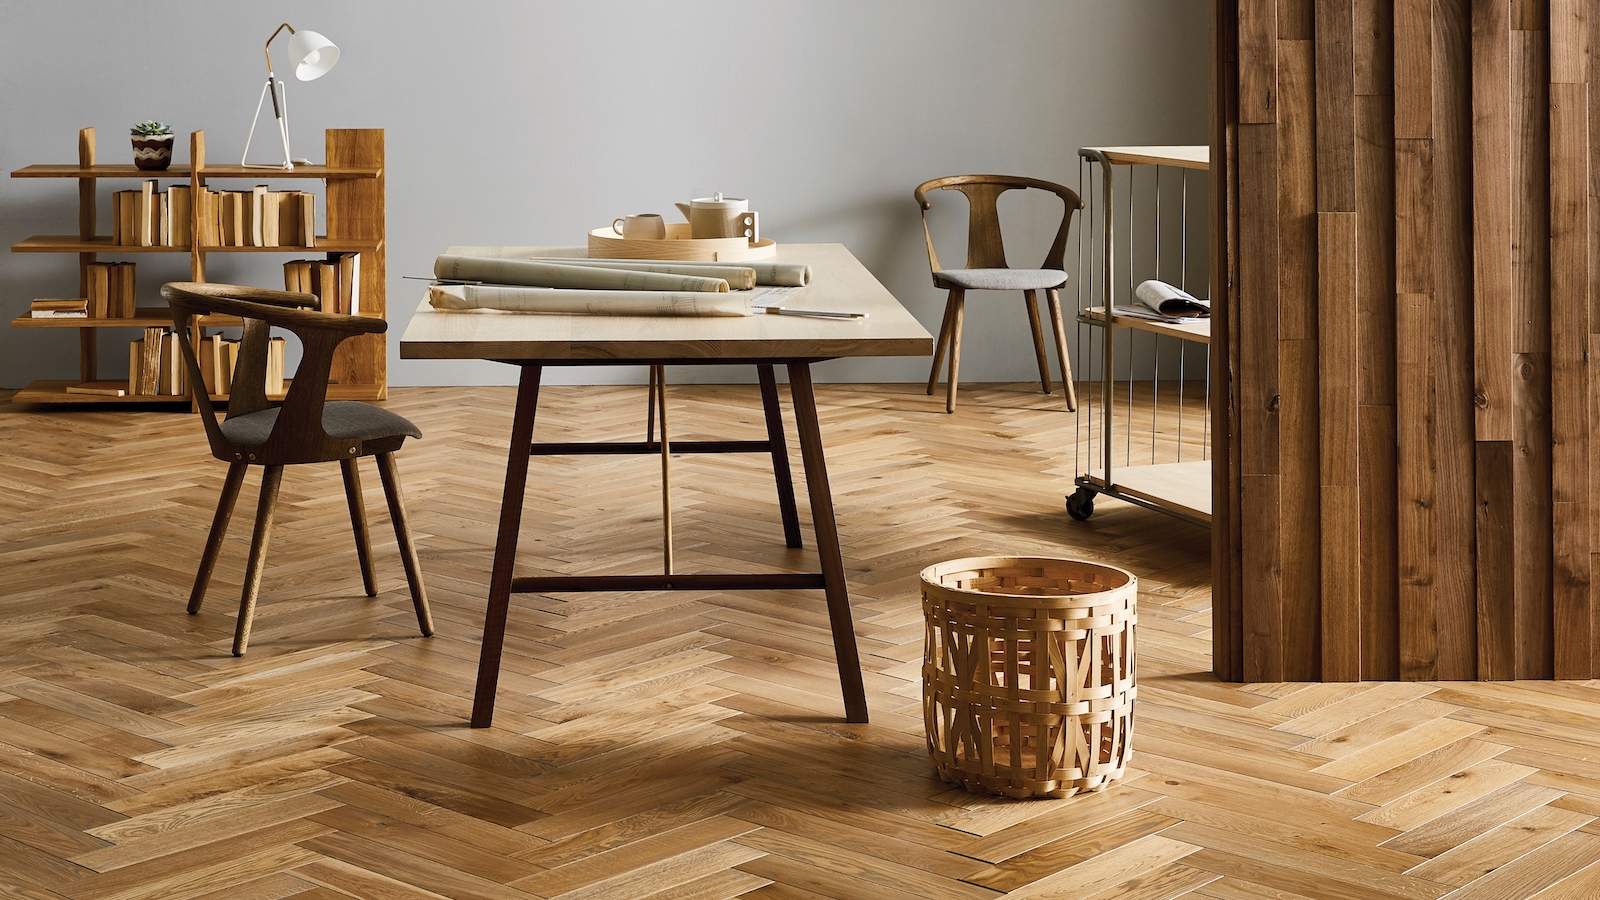
How to restore hardwood floors without sanding – a step-by-step guide

Try These 10 Stylish Ideas to Bring Out the Natural Beauty of Wood Floors

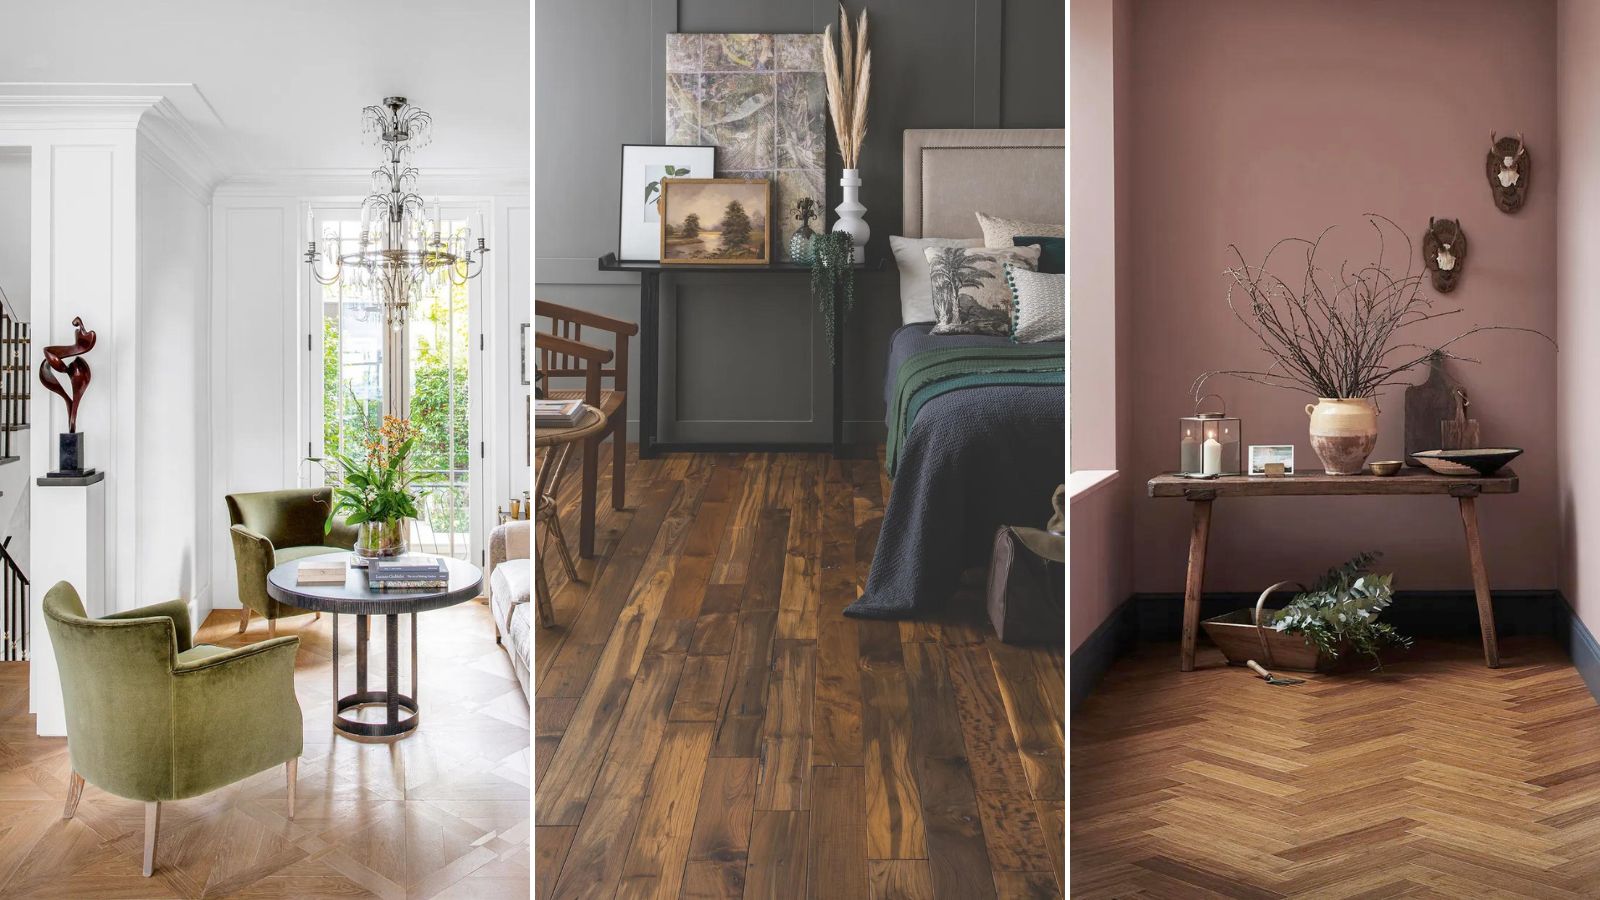
I swear by this incredibly easy 5-step method for cleaning real wood floors
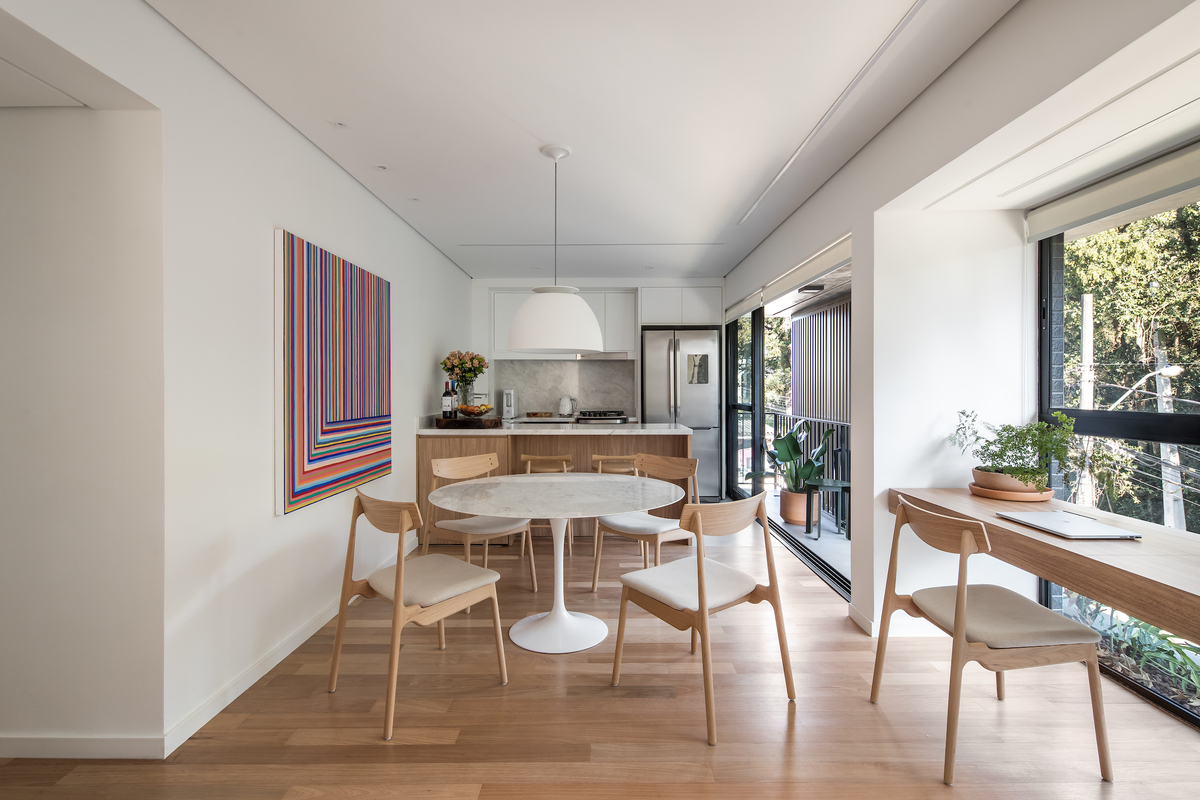
How to Lay Engineered Wood Flooring — 3 Tactics Experts Swear by for the Very Best Finish

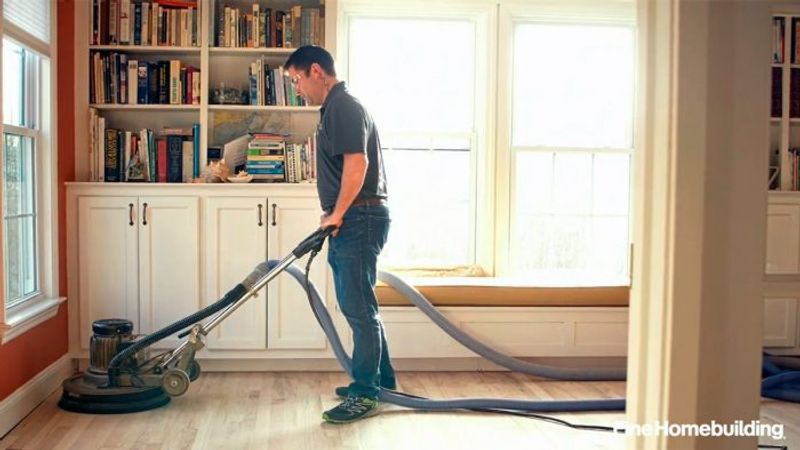
Why I Build: Brent Kelosky, Wood-Flooring Specialist

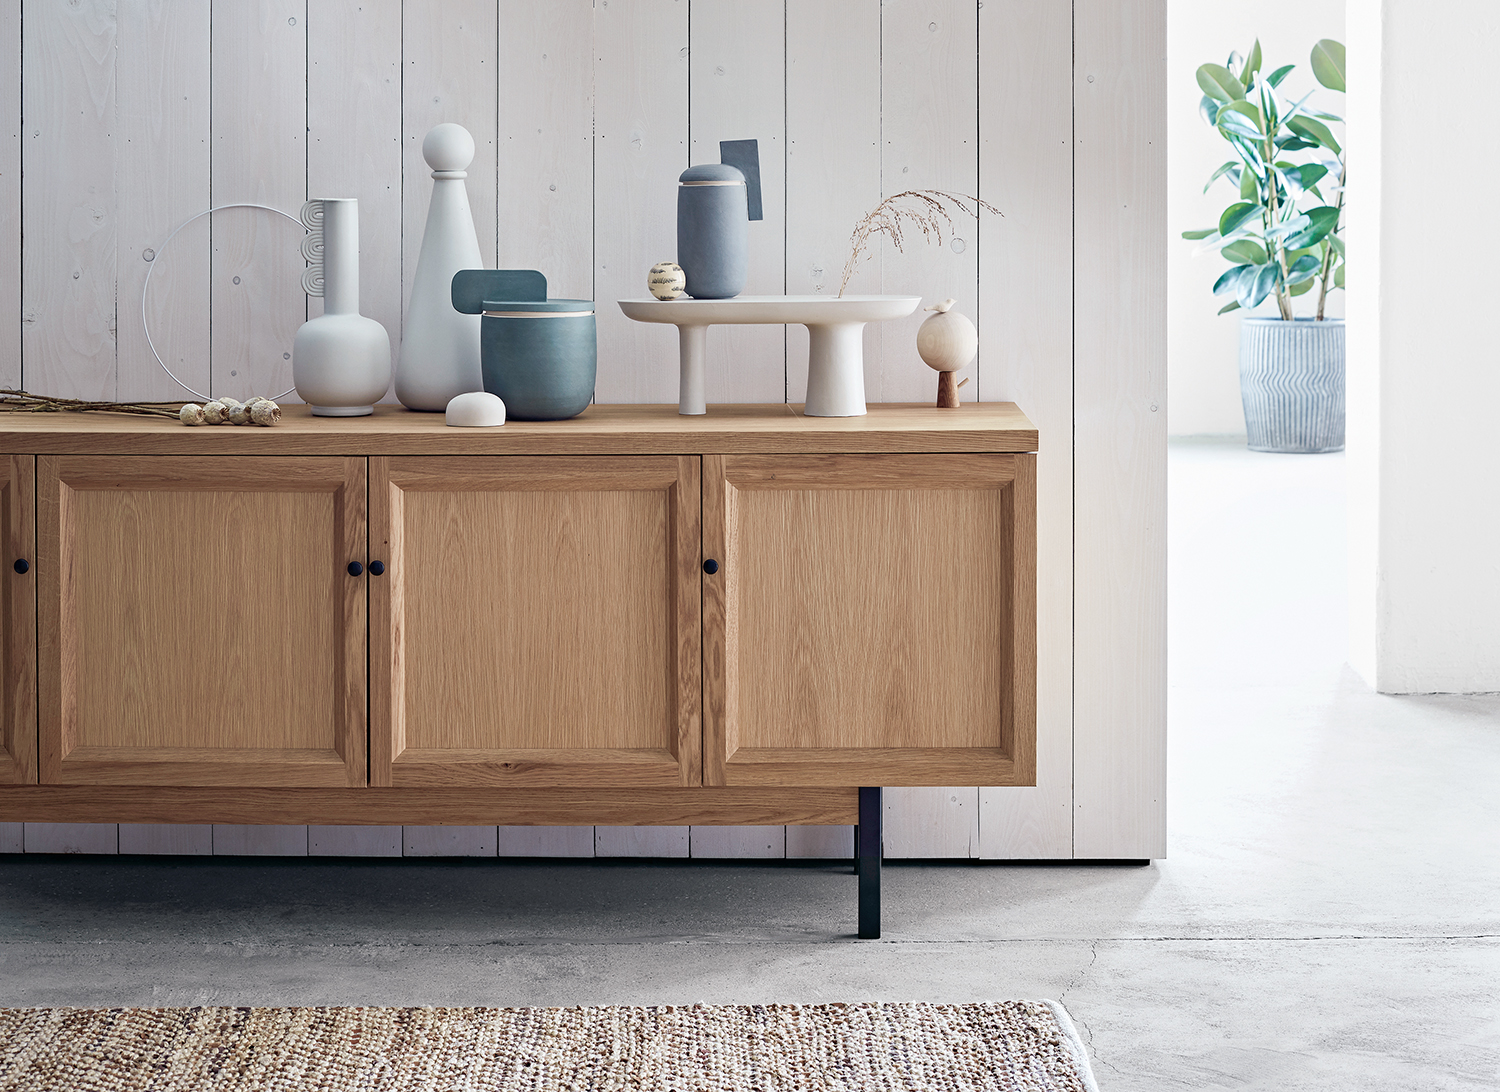
How to refinish wood furniture - easy ways to totally overhaul your decor
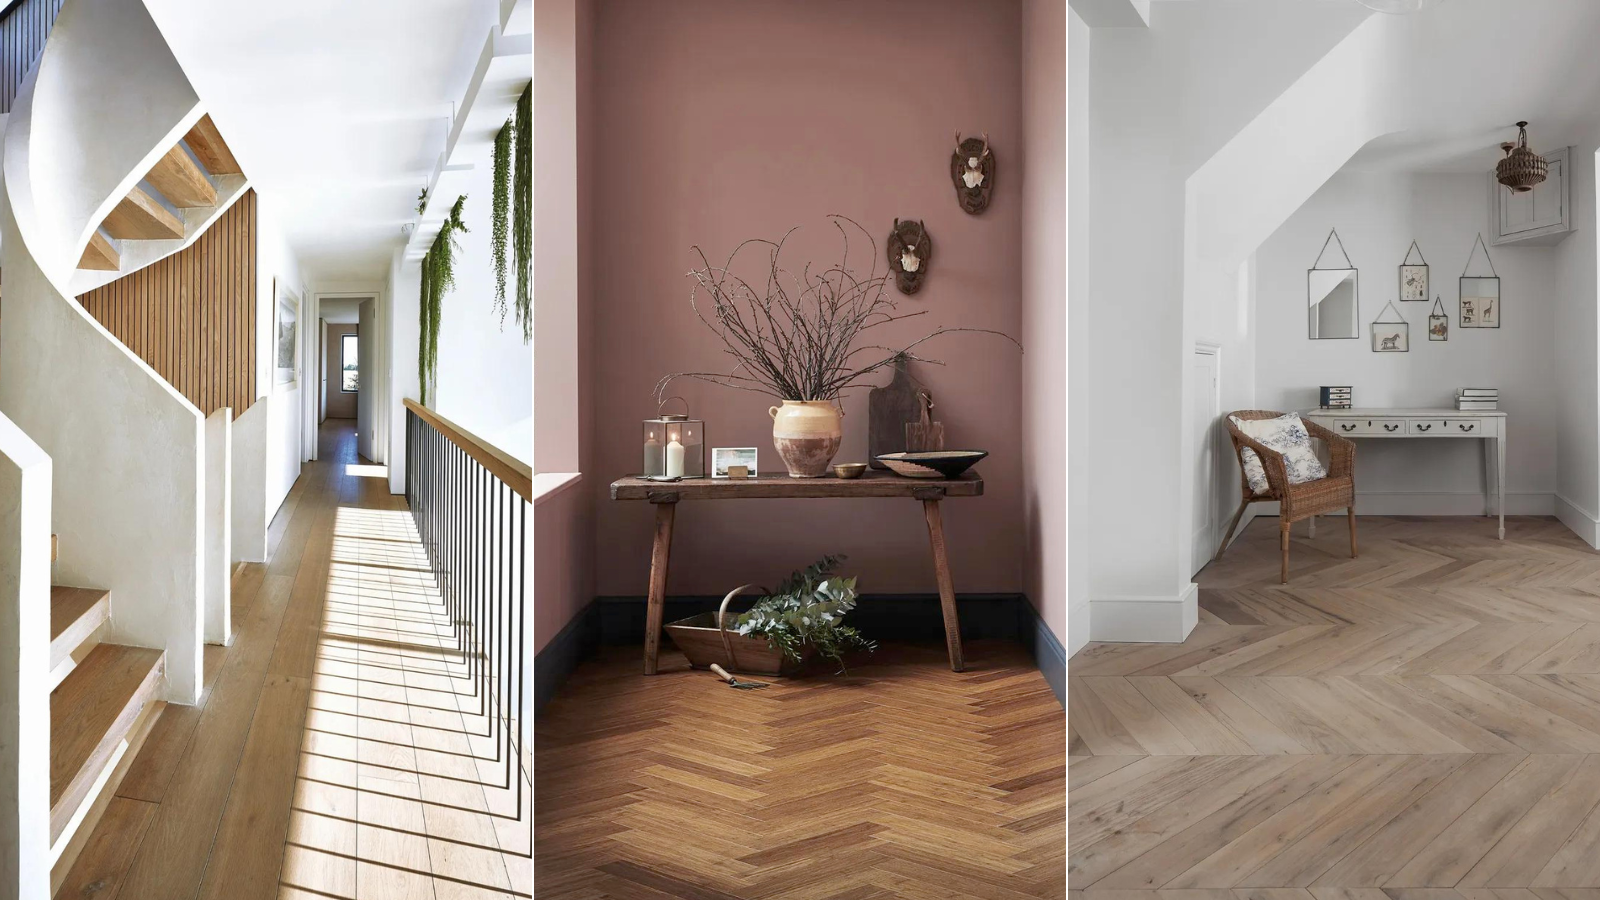
Can a DIY wood floor cleaner leave your floors gleaming? Experts share their favored techniques
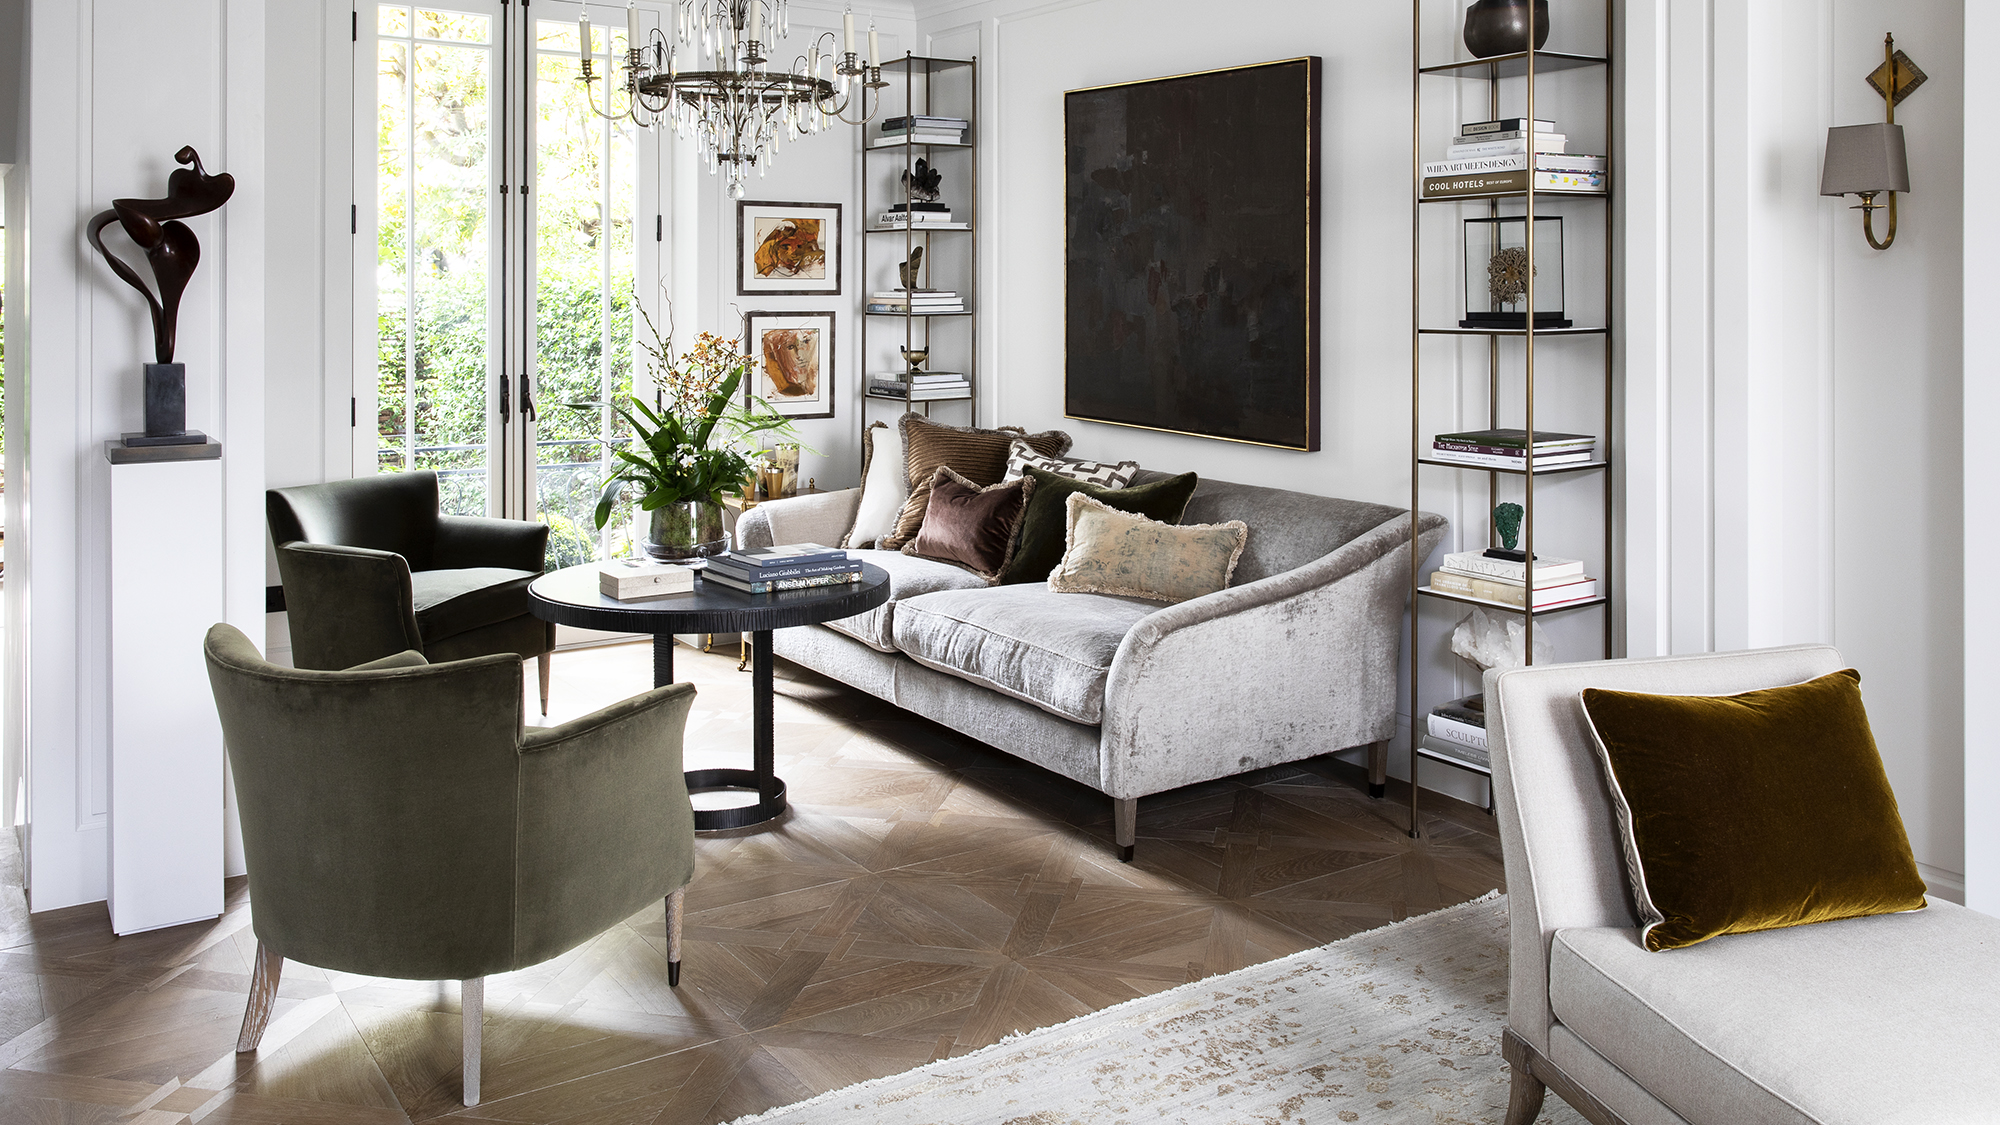
Wood floor ideas for a living room – 10 practical and stylish looks for flooring
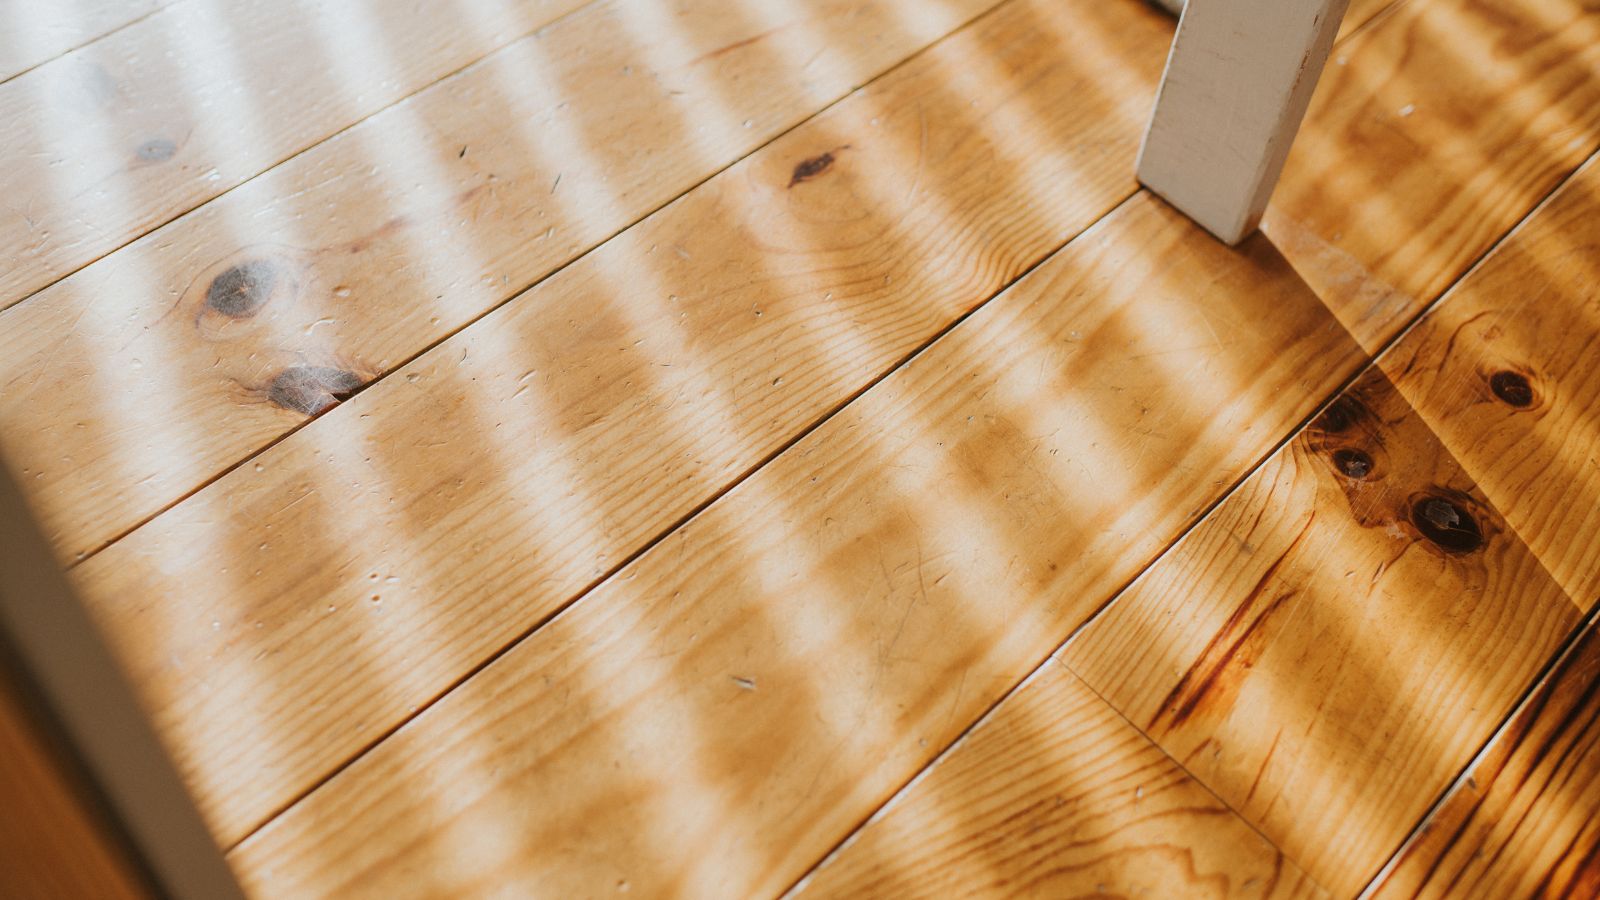
Tired of tiptoeing? These 5 methods for fixing creaking wooden floors are approved by the pros

3 steps to cover ugly wood floors mid-home reno

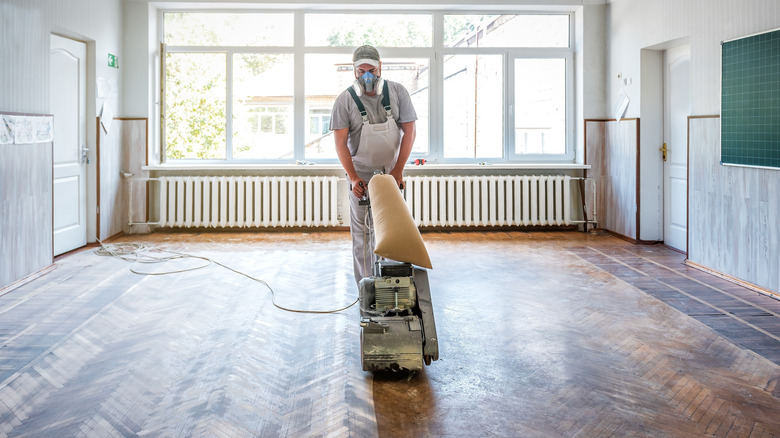
Your Step-By-Step Guide To Sanding A Hardwood Floor

DIY dilemmas: How to lay your own wooden plank flooring at home without hiring an expert