1/4
How to Hang Wallpaper (the Permanent Kind!)
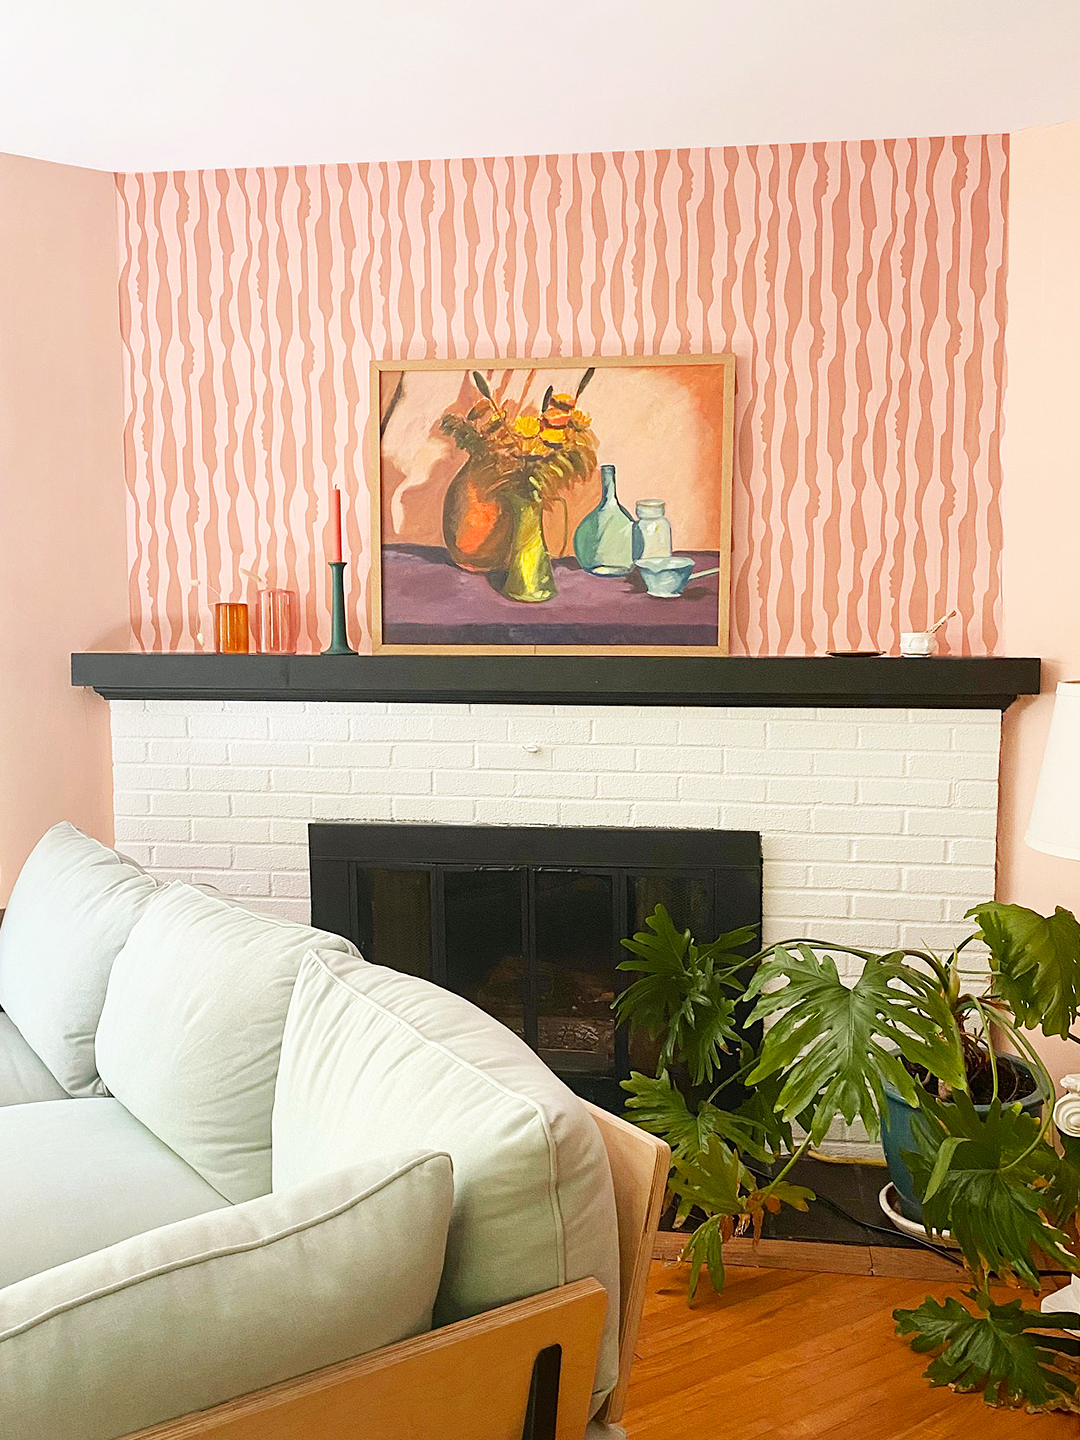
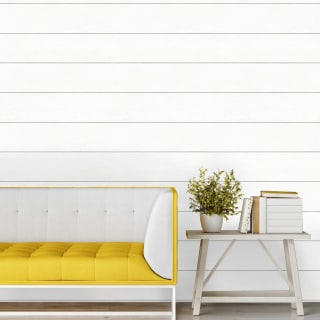
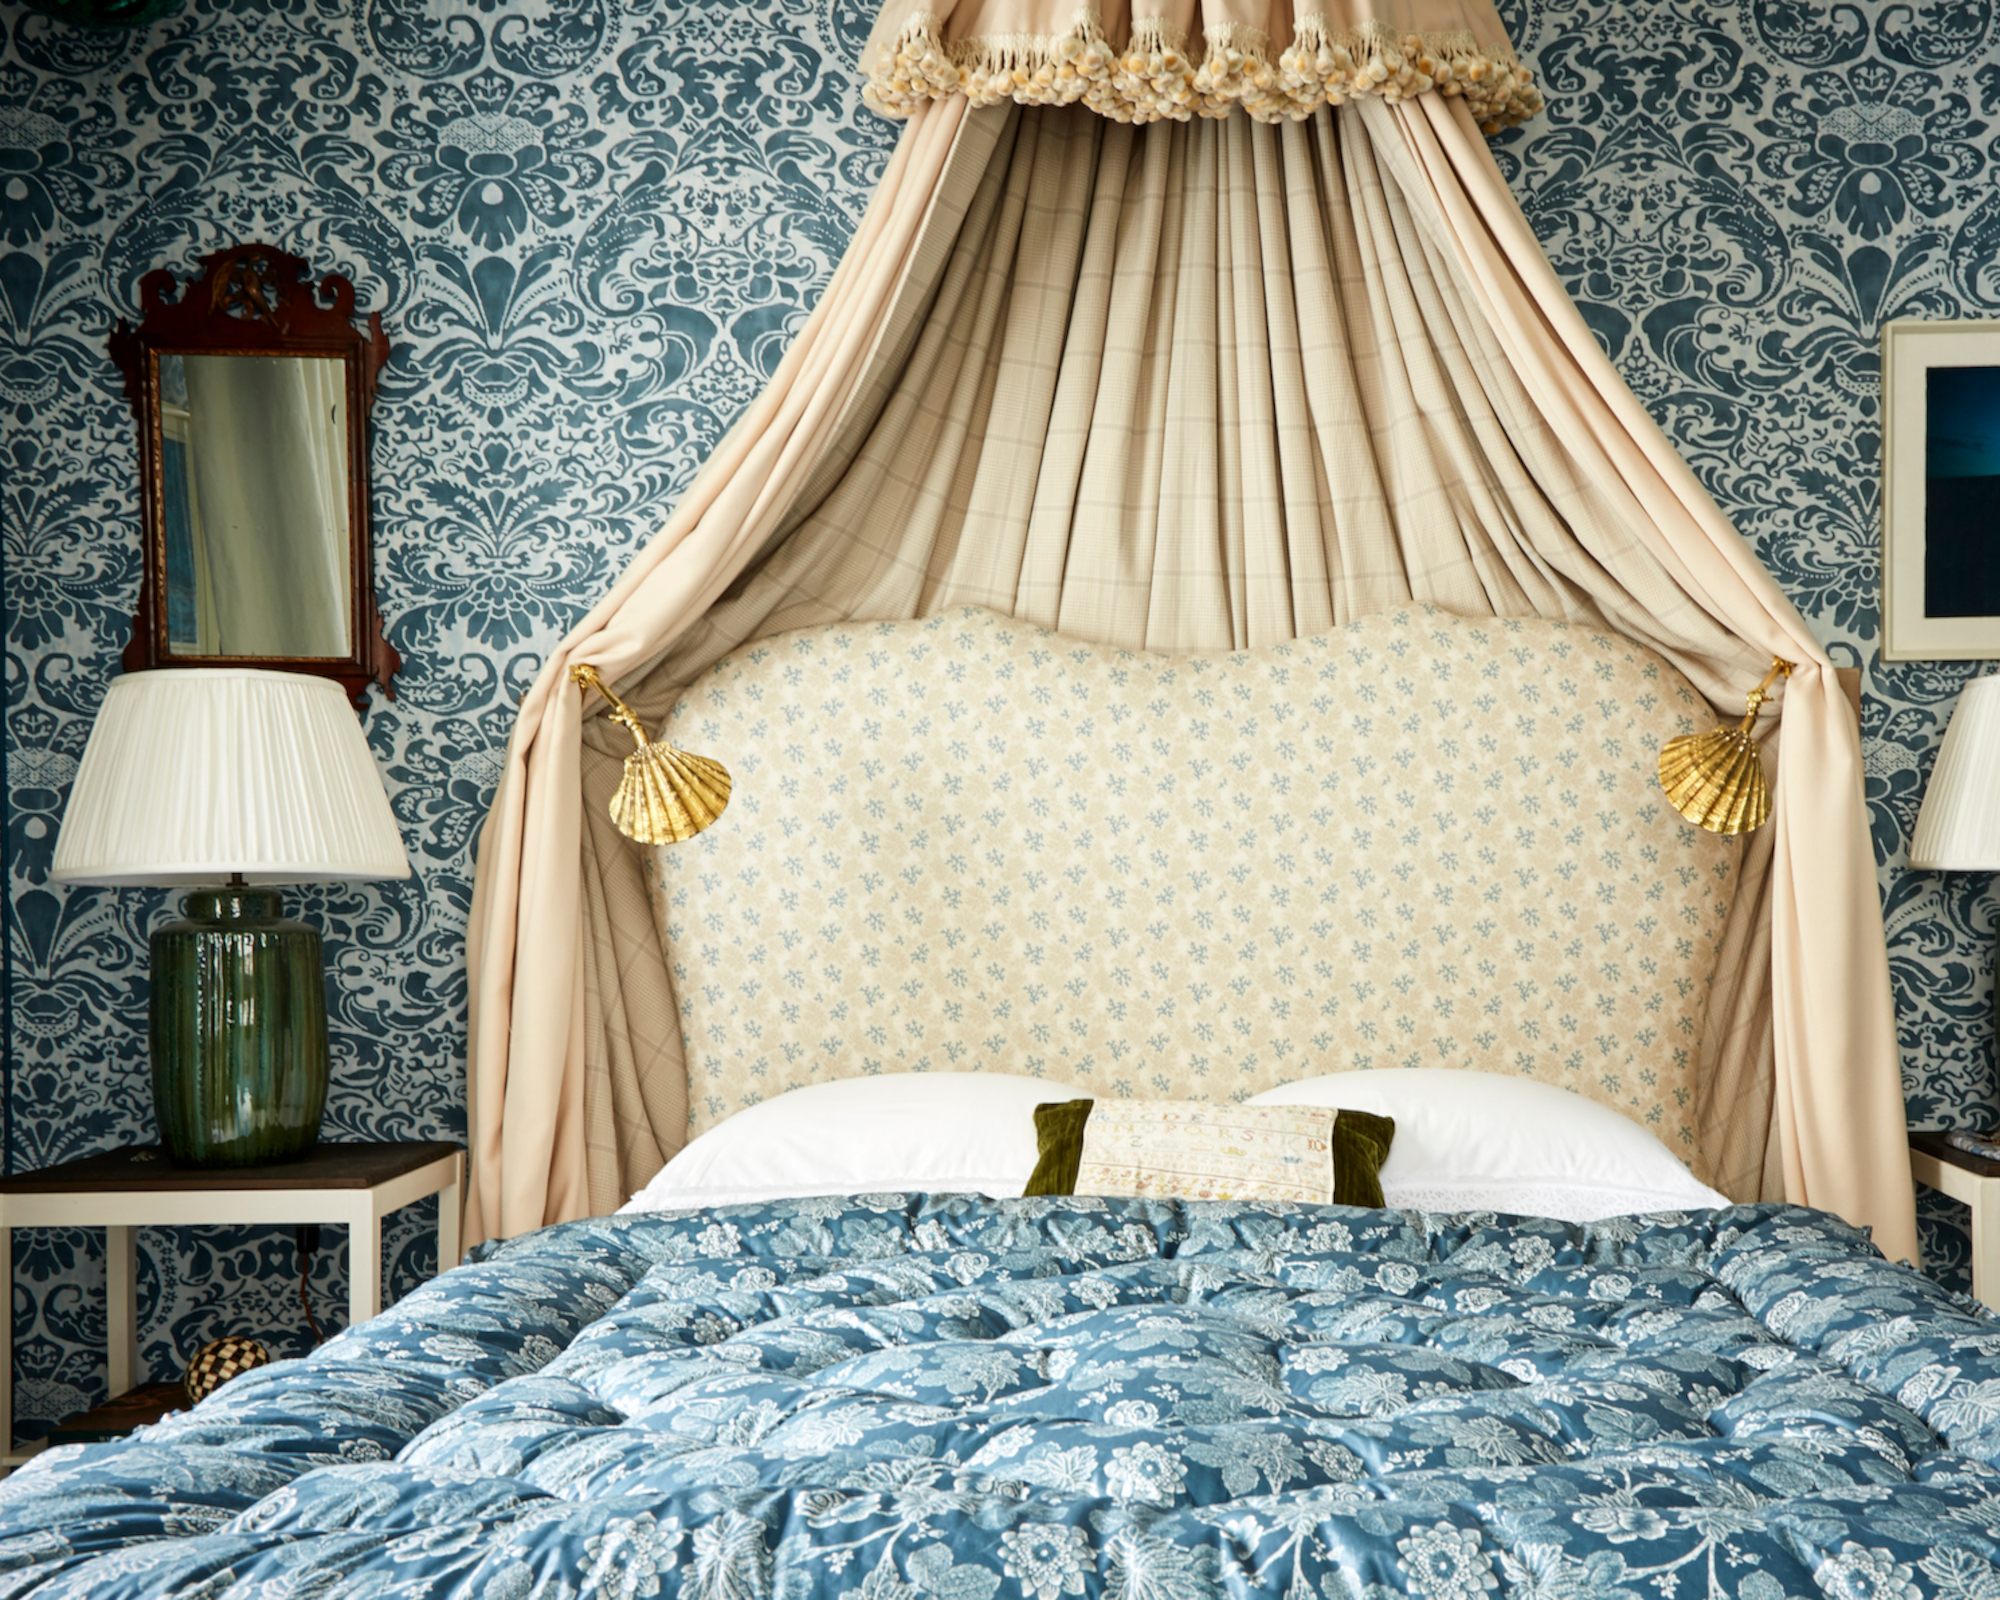
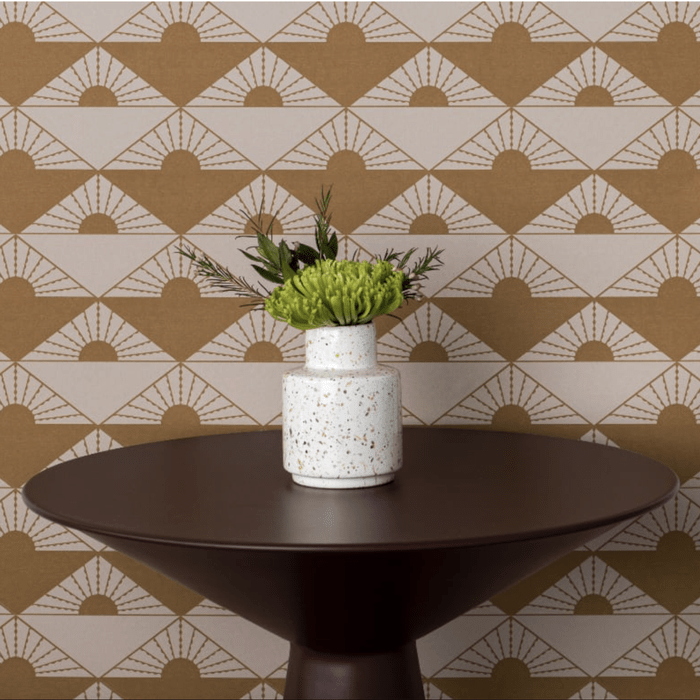
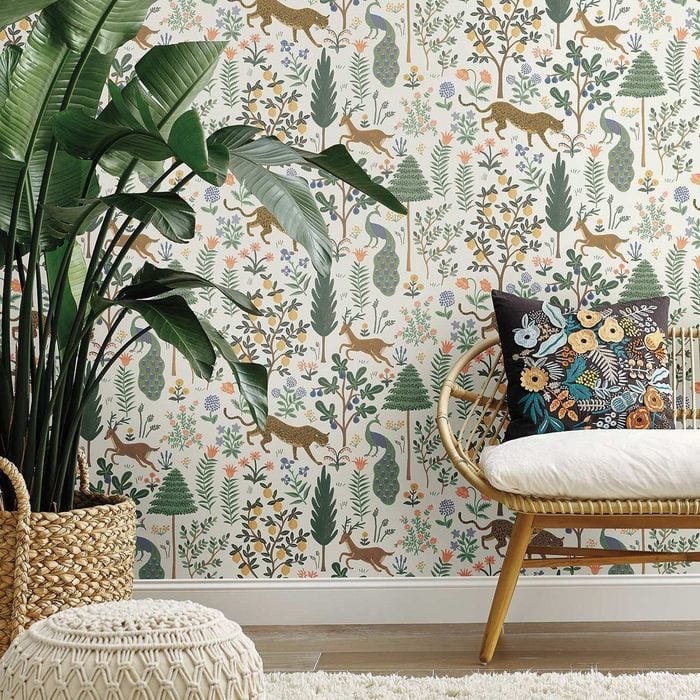
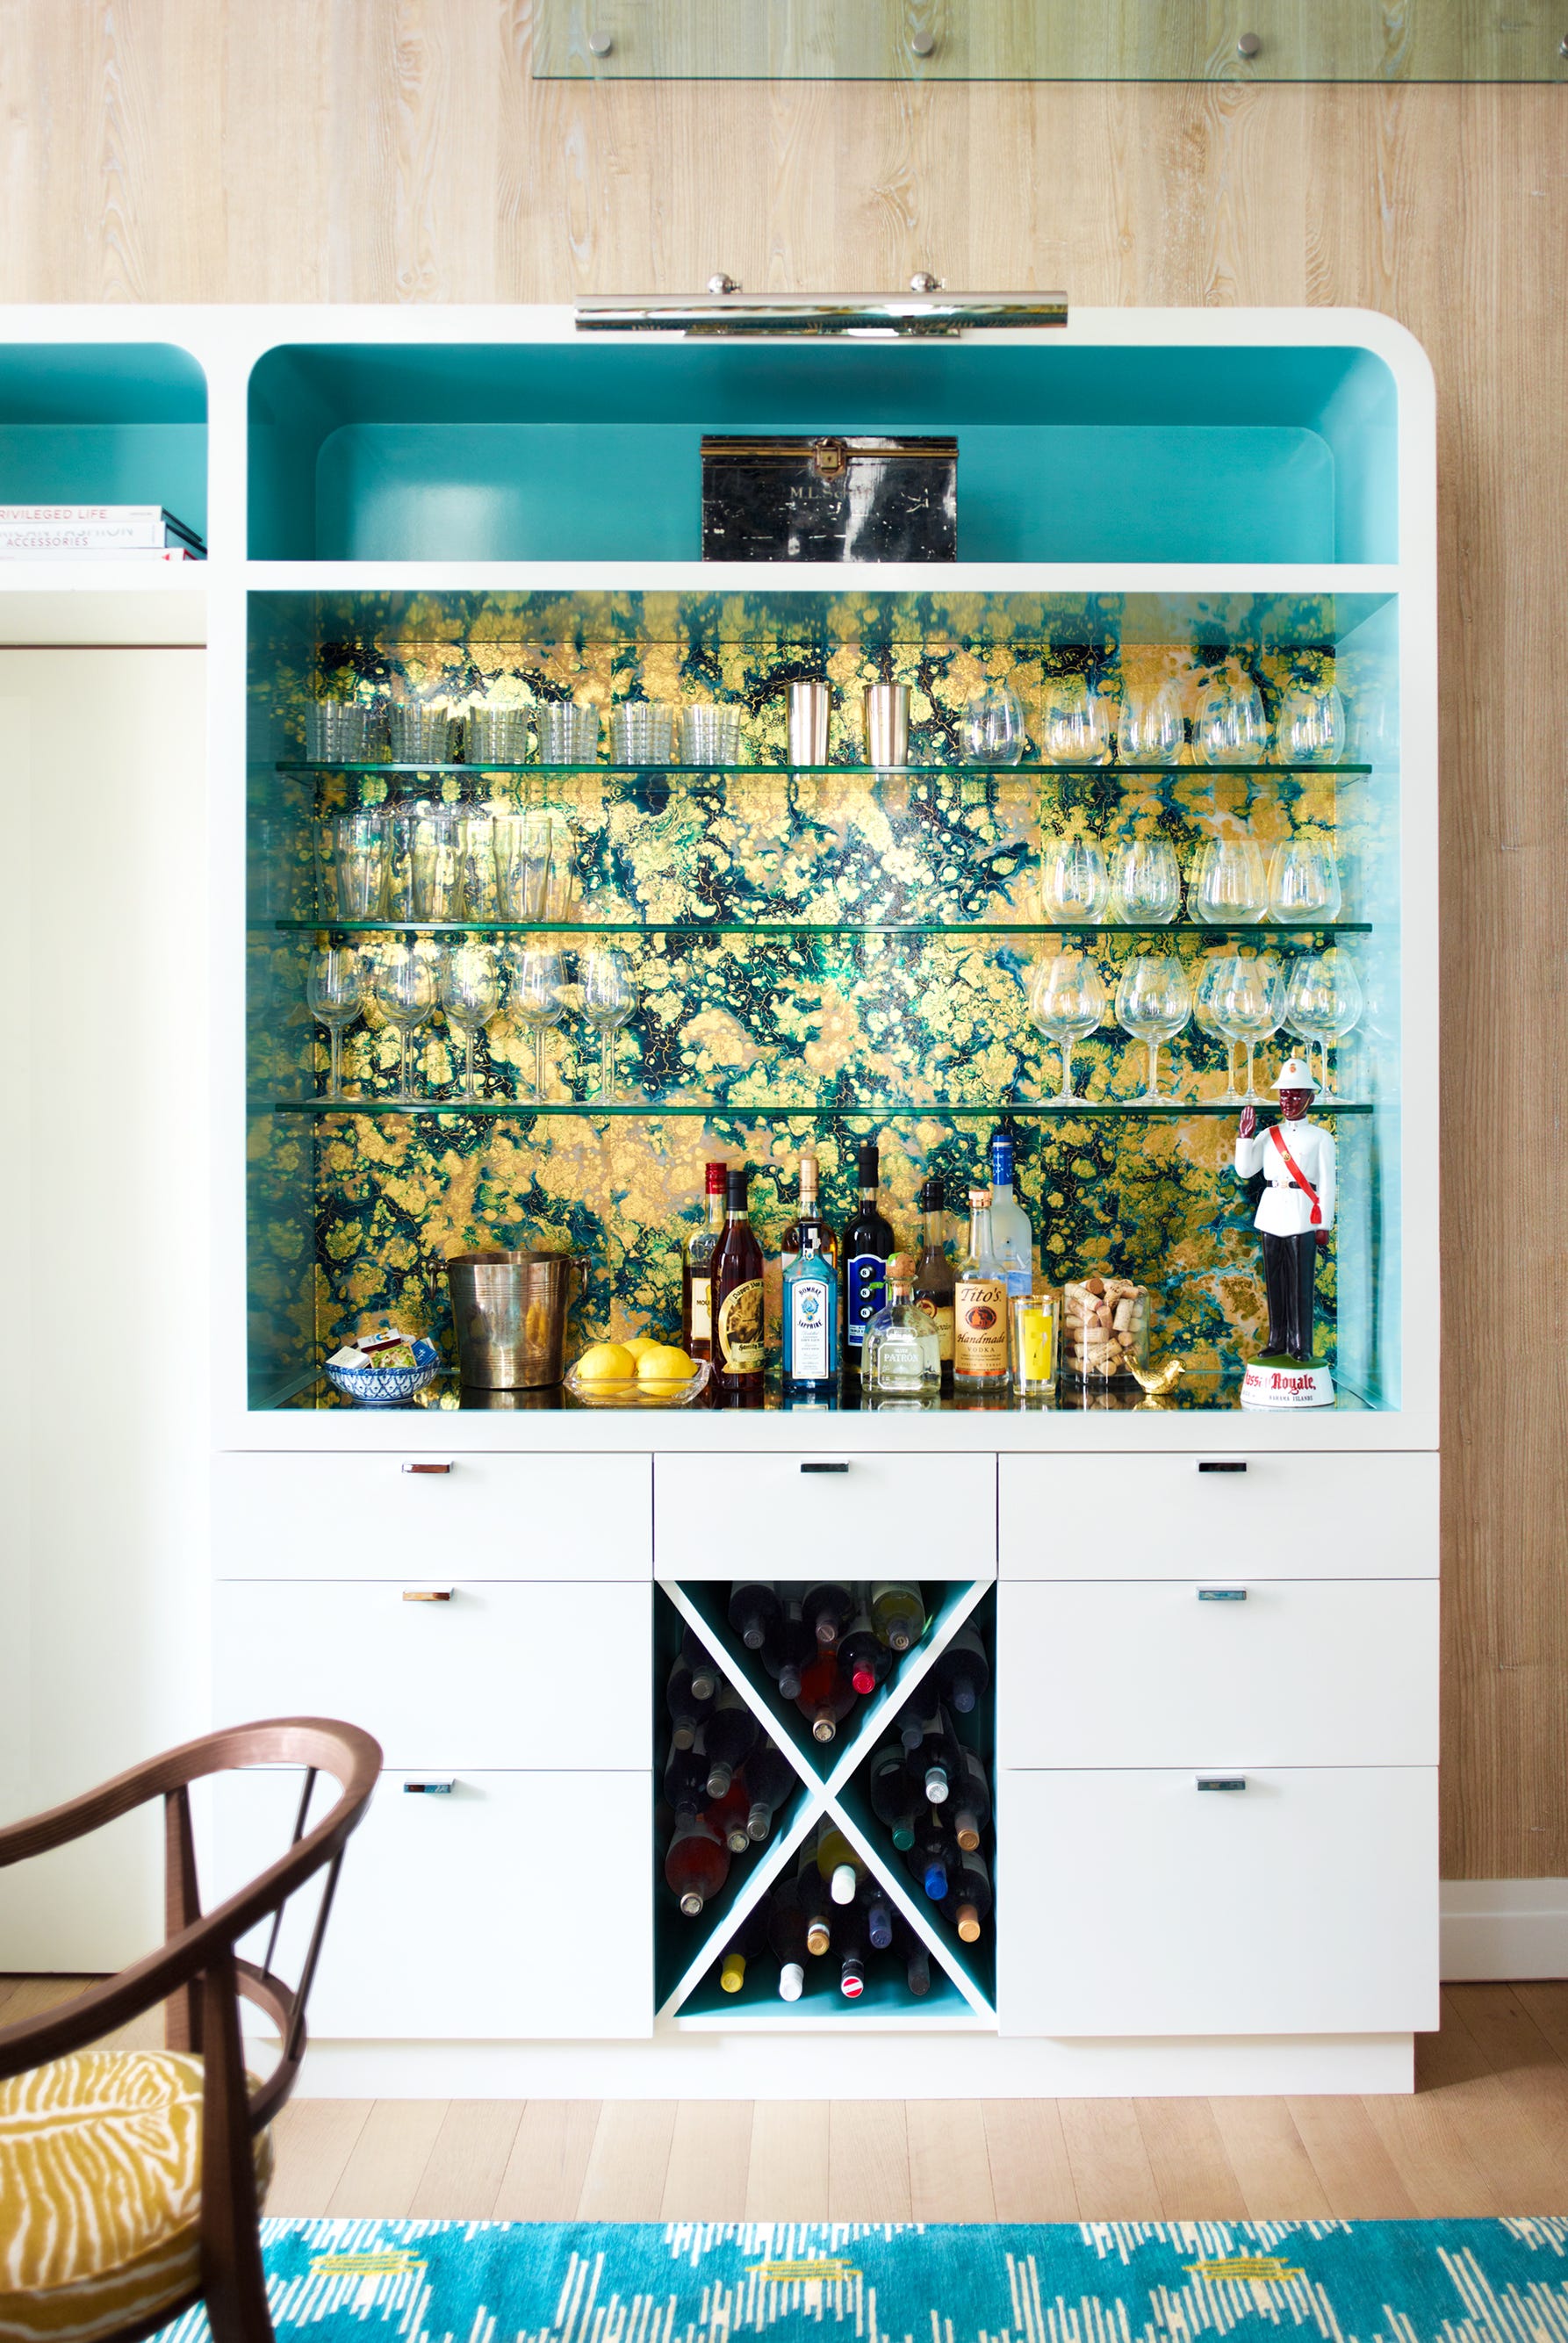
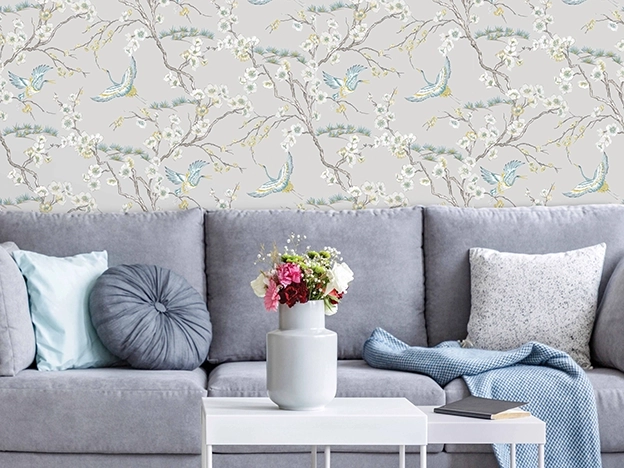
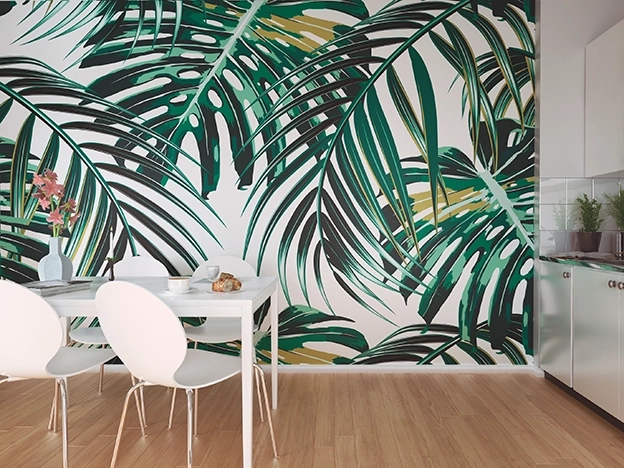
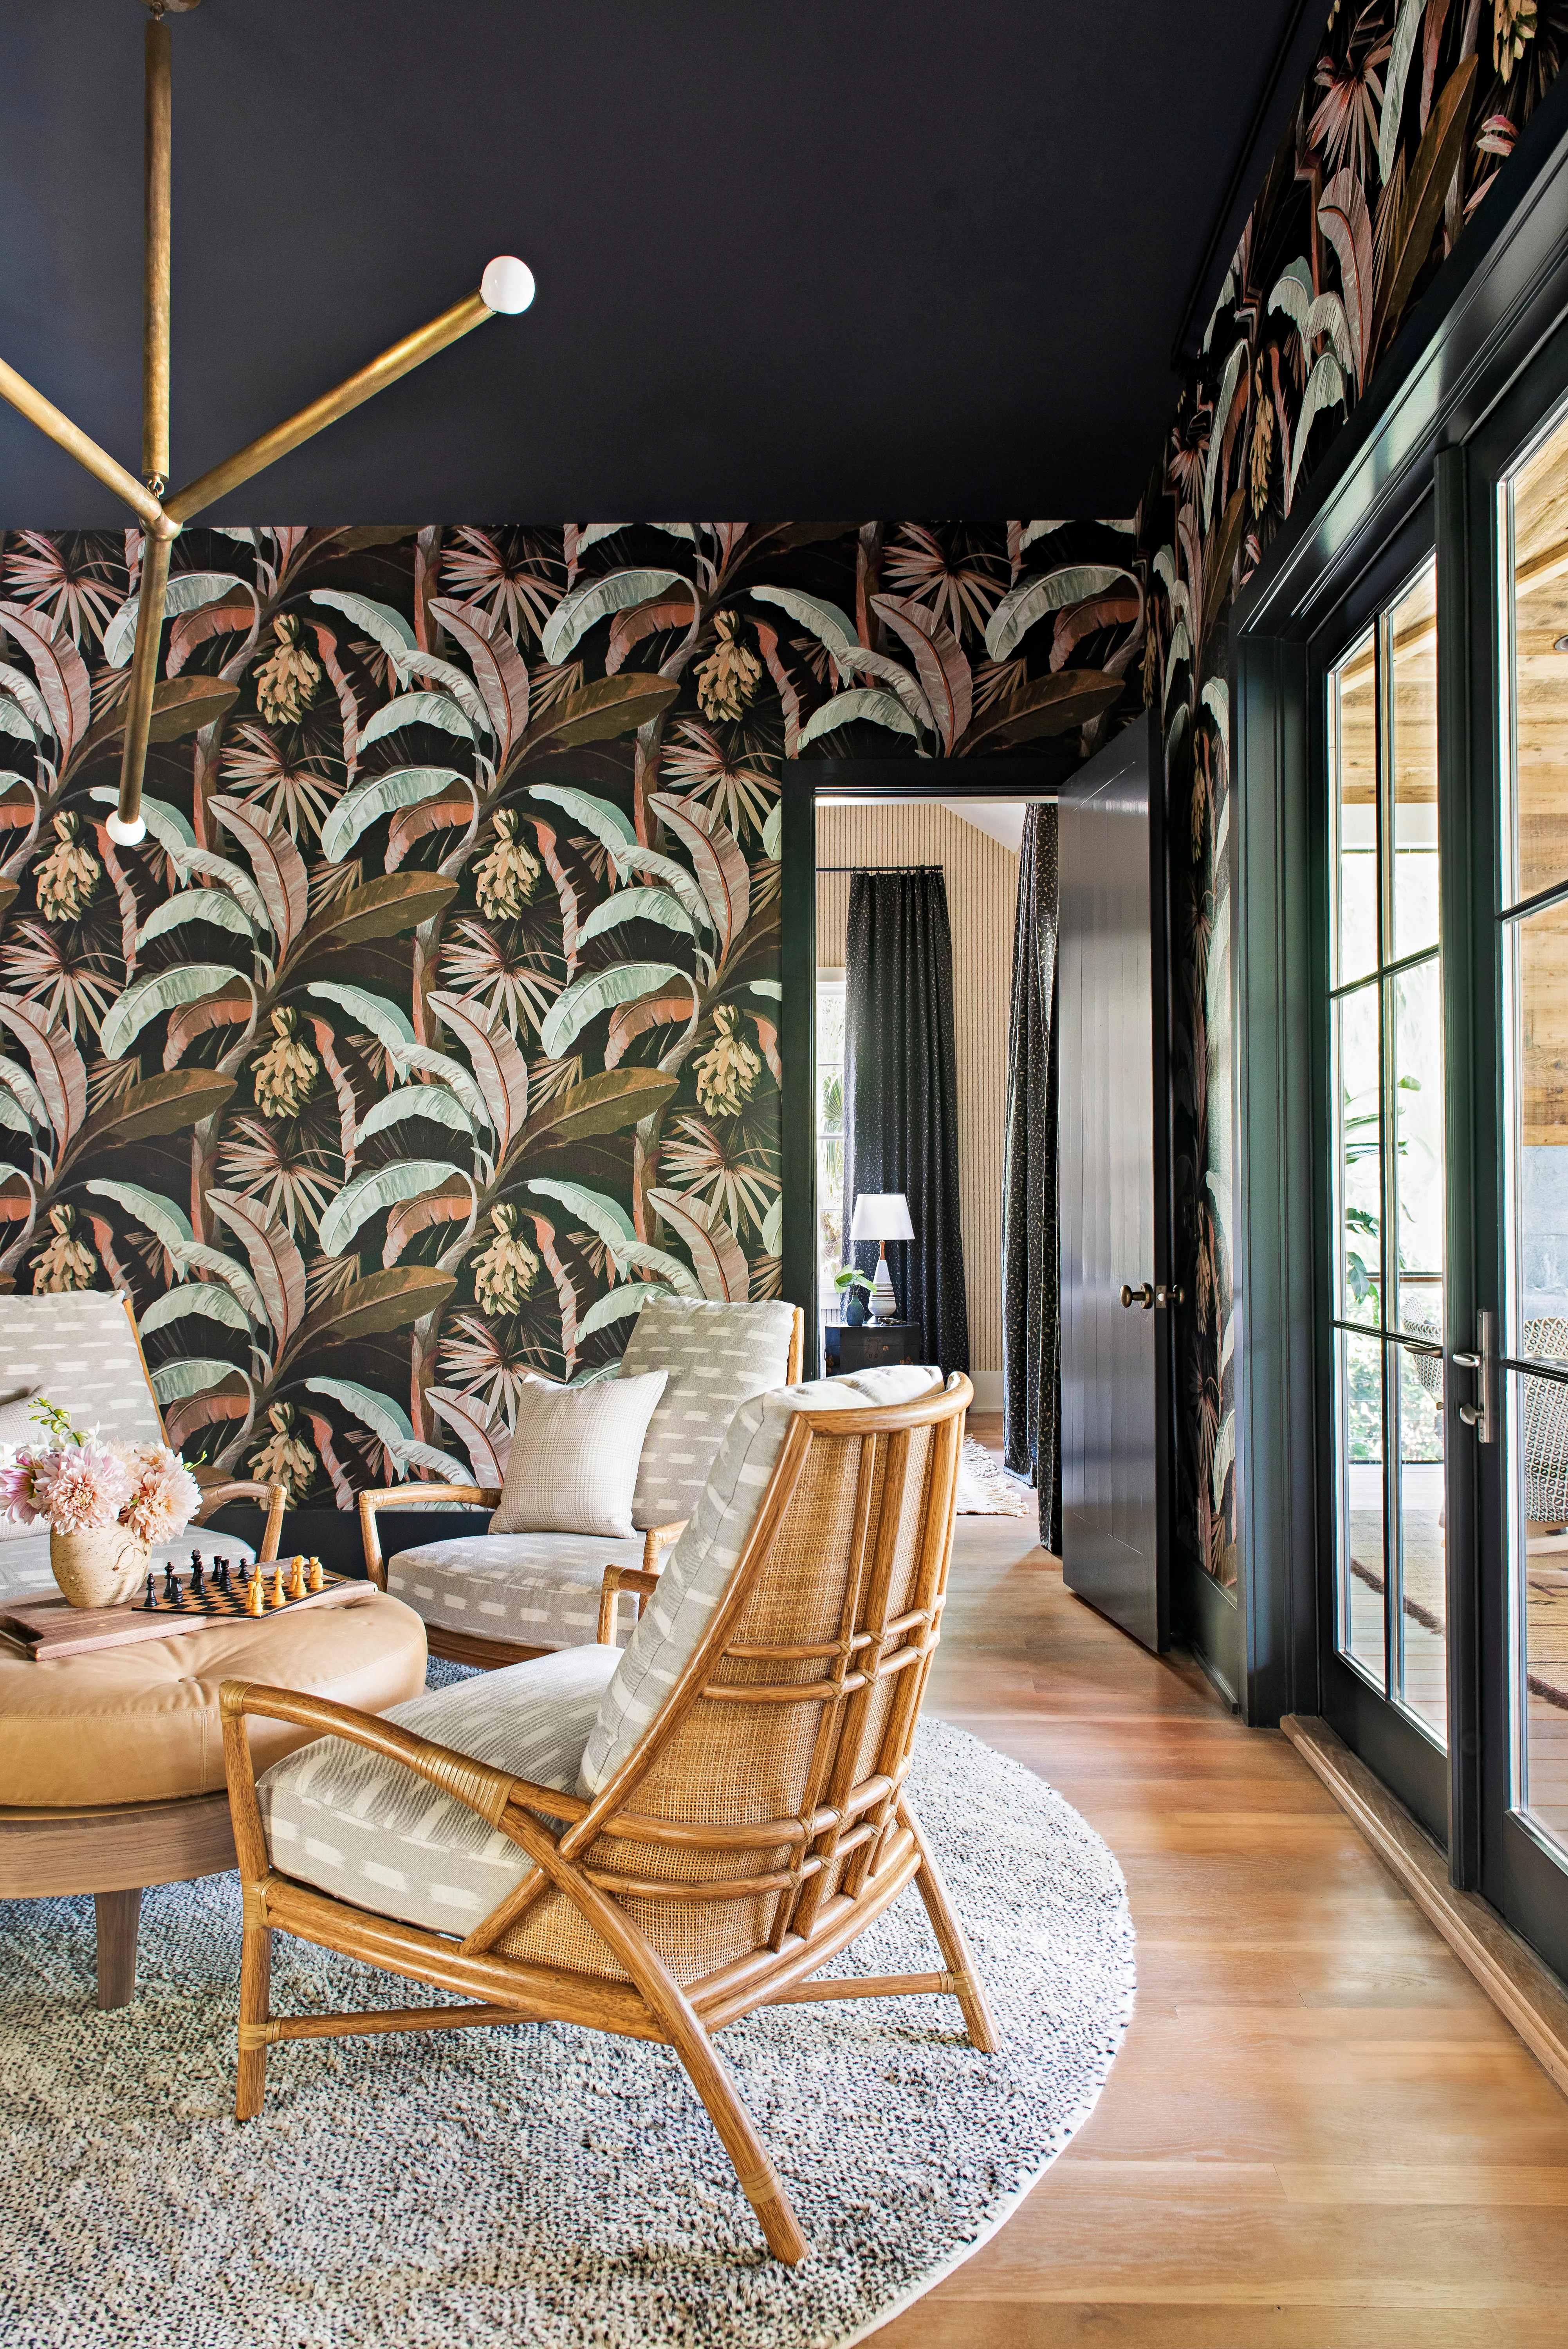
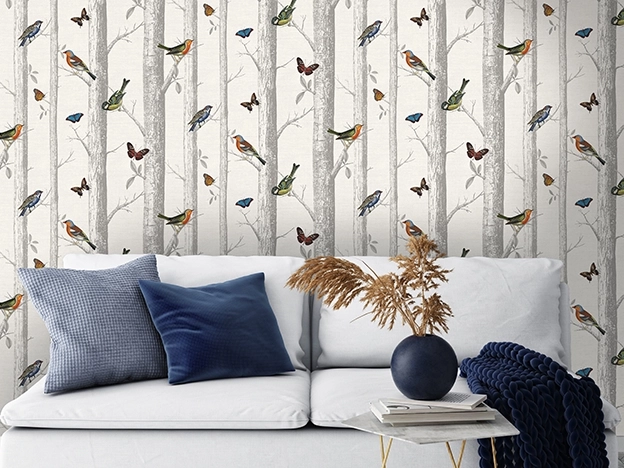
This blog post provides a comprehensive guide on how to hang permanent wallpaper, emphasizing that while peel-and-stick options are popular, many of the most appealing prints are traditional. Shanan Campanaro, creative director and founder of Eskayel, suggests that DIY installation is feasible for smaller projects, such as an accent wall or the back of a bookcase, provided the installer has the correct tools, products, and patience. Artist and wallpaper designer Kate Zaremba advises caution for DIY novices or those undertaking large, complex spaces, recommending professional installation due to the cost of materials and the difficulty of handling thick, permanently glued paper. She notes that permanent glue requires specific knowledge for removal if mistakes occur. For beginners, Zaremba suggests pre-pasted removable wallpaper, which only requires water activation, or pre-trimmed styles for added convenience.
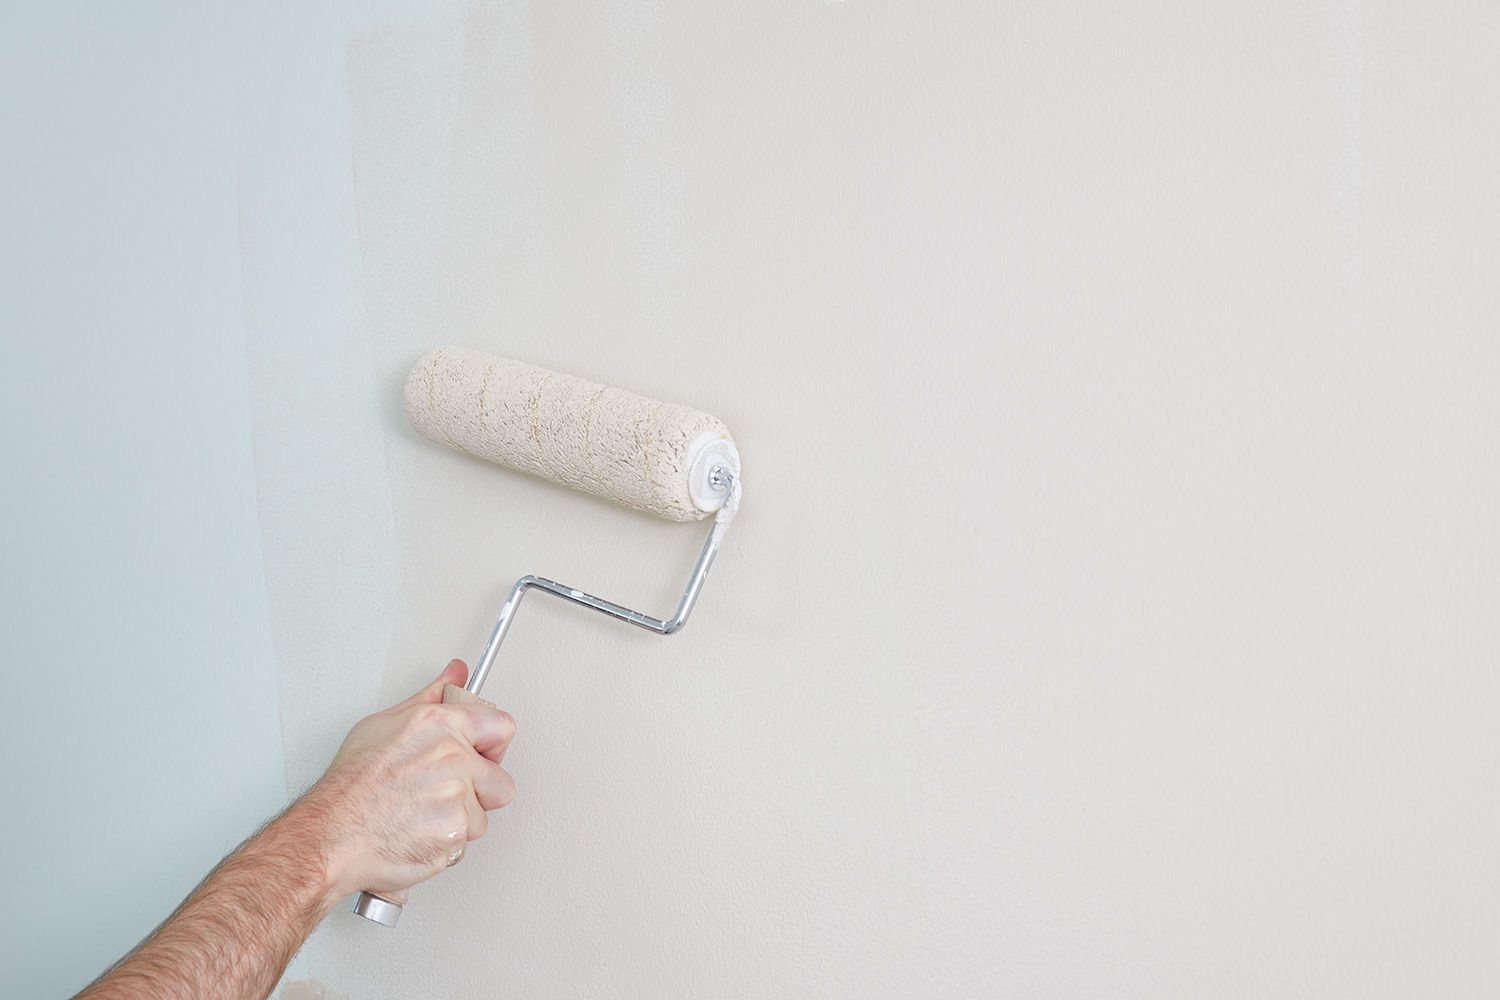
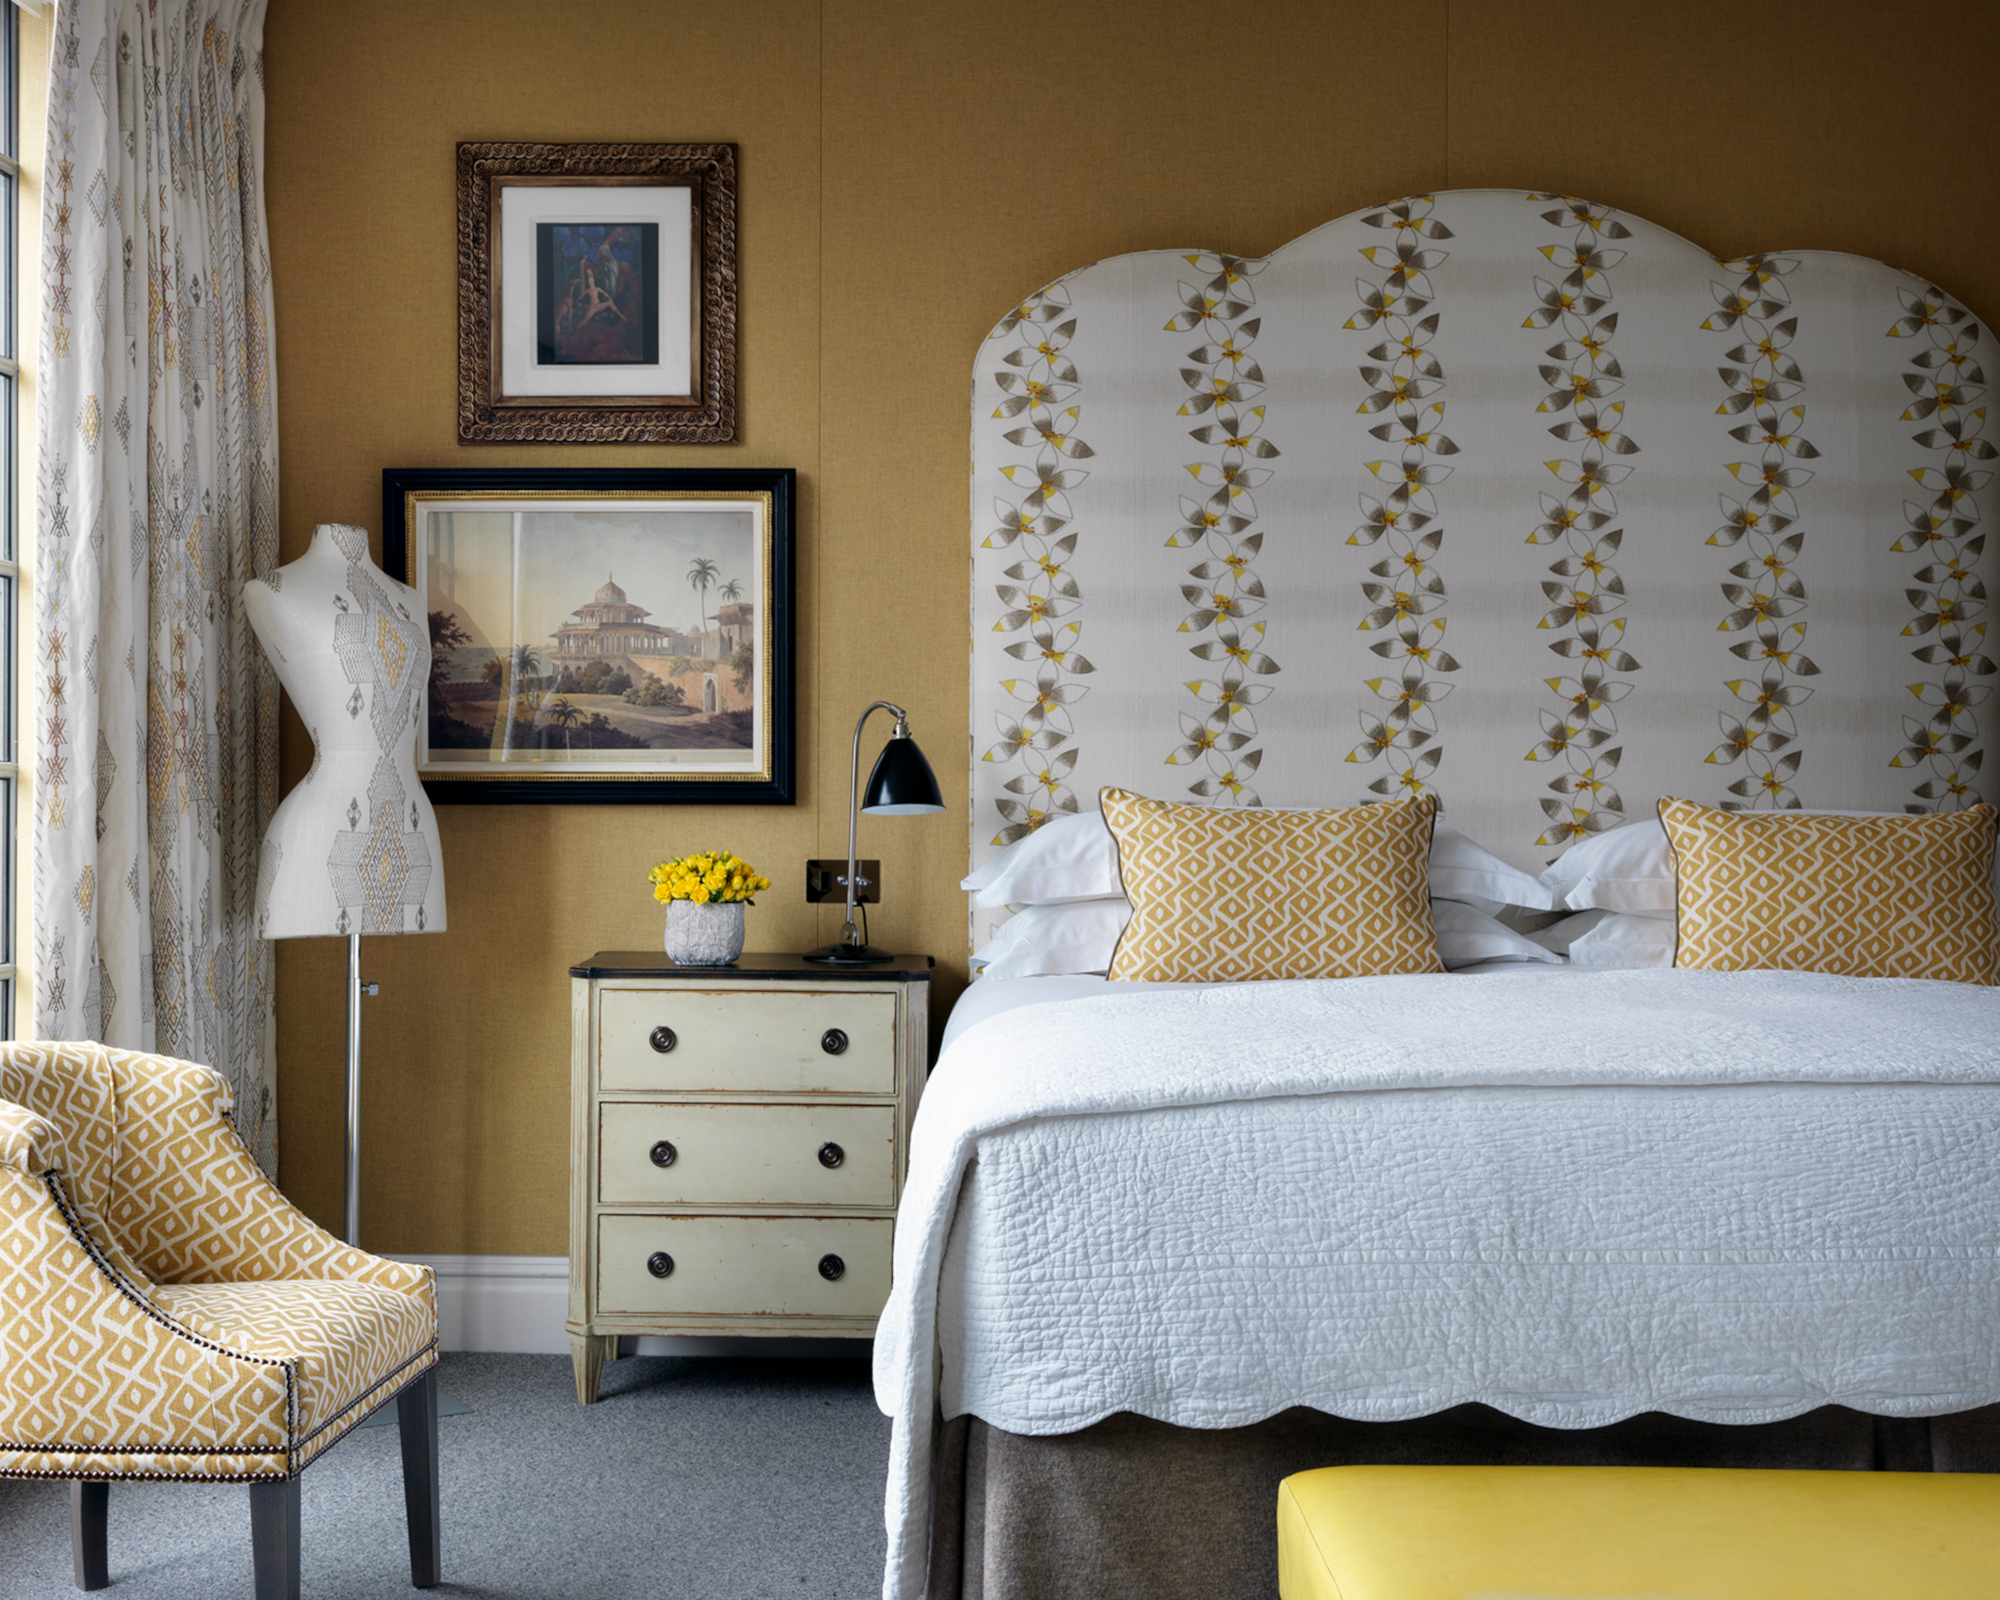
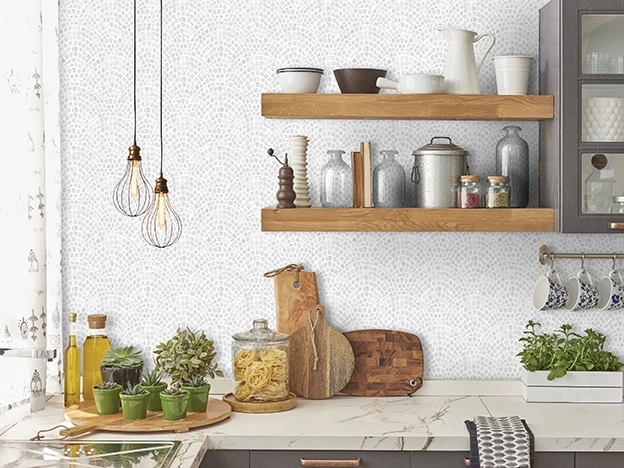
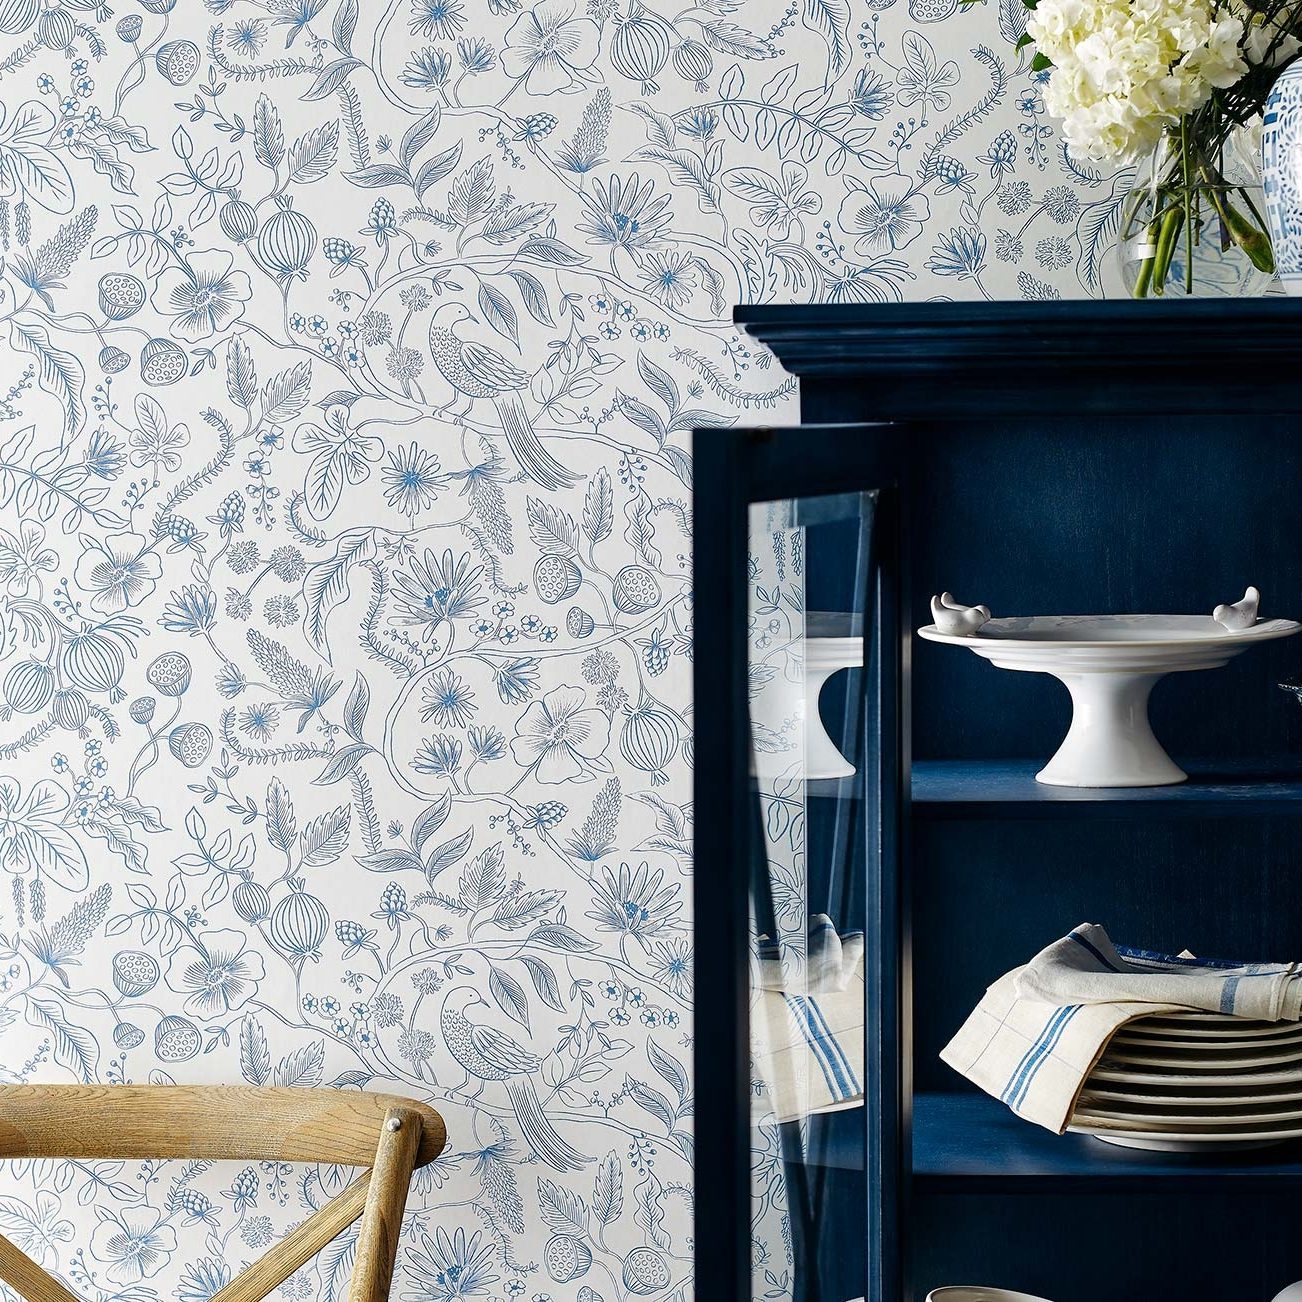
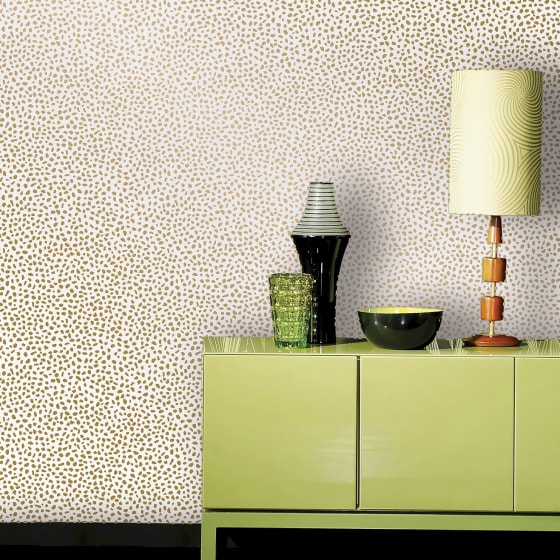
The article highlights several common mistakes to avoid during wallpaper installation. It recommends choosing dense prints or textured papers, as busy patterns can effectively camouflage imperfections on older walls. It clarifies that pre-pasted wallpaper, which remains slippery when wet, is often easier to align than peel-and-stick options, which are essentially large stickers and harder to reposition. Essential preparation steps include spackling walls, light sanding, and applying a primer coat, especially on new walls, to ensure proper adhesive bonding. Promptly cleaning up any paste spills on the wallpaper's surface with clean water and a microfiber cloth (or baby wipes) is crucial to prevent damage. The use of a sharp utility knife with segmented blades is also advised to prevent tearing the wallpaper.
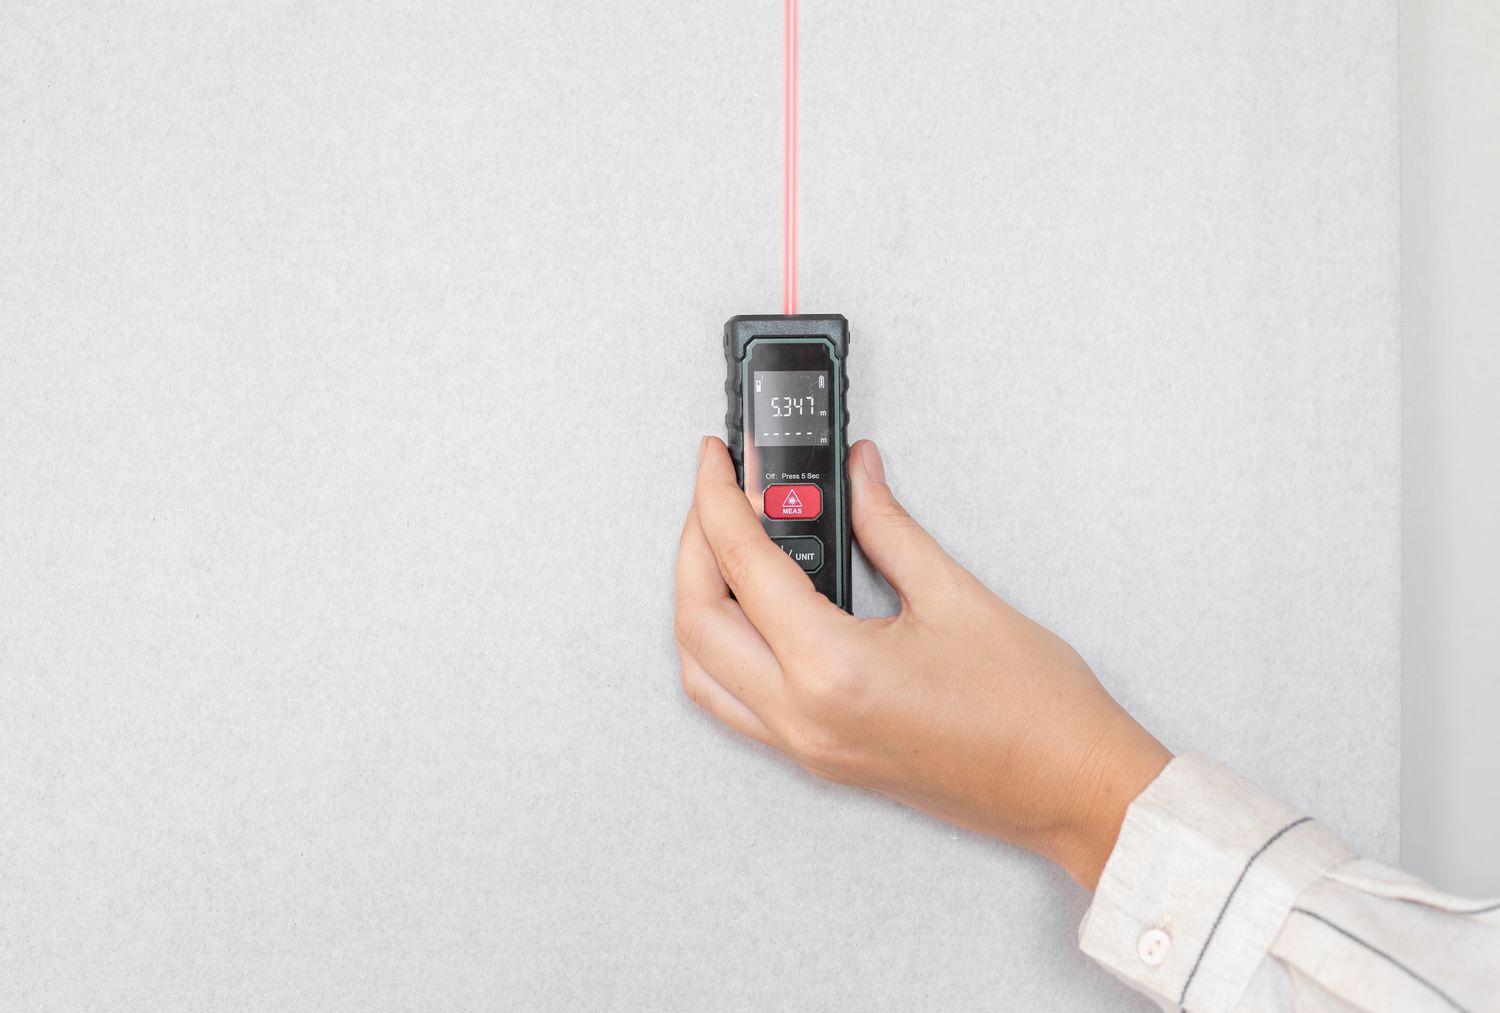
Calculating the required amount of wallpaper involves multiplying the wall's height by its length and then dividing by the square footage of a single roll (an American double roll typically covers about 66 square feet). The article recommends using an online wallpaper calculator for accuracy and purchasing 10 to 20 percent more wallpaper than estimated to account for errors or future repairs, noting that roll definitions and pattern repeats can vary between manufacturers. The necessary supplies for hanging wallpaper include a ladder, fine sandpaper, pencil, tape measure, ruler, metal straightedge, segmented utility knife with extra blades, sharp scissors, a 9-inch medium-nap paint roller, primer, heavy-duty premixed clear paste, an 8-inch wallpaper smoother, broad knife, seam roller, microfiber towels, glue syringe, and baby wipes.
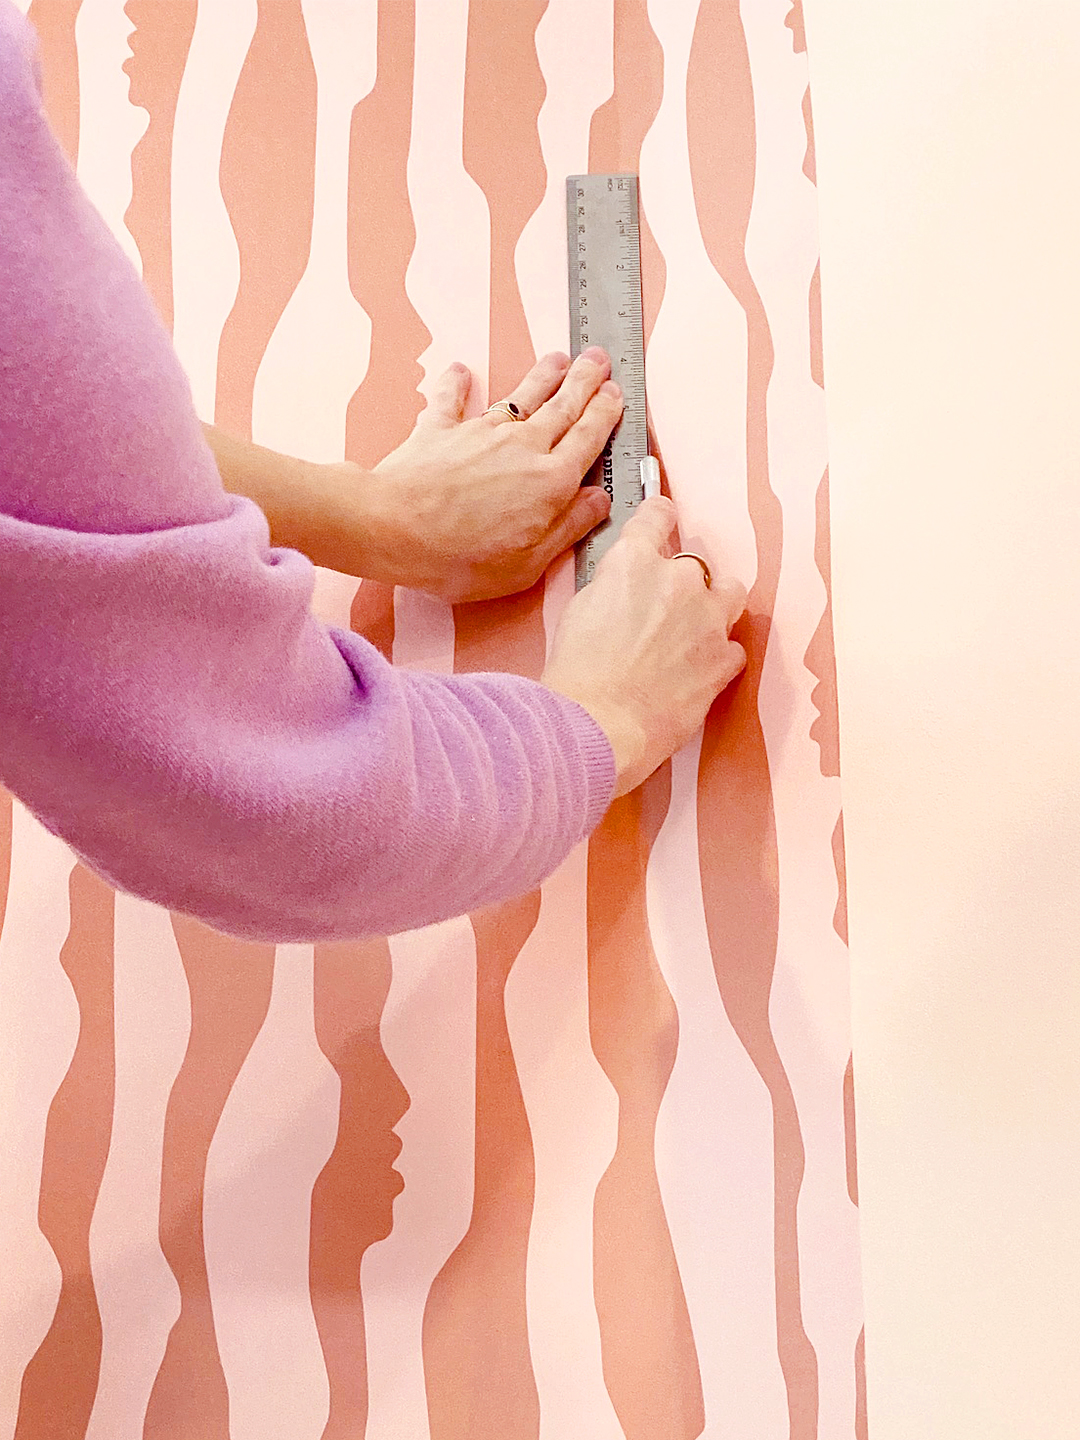
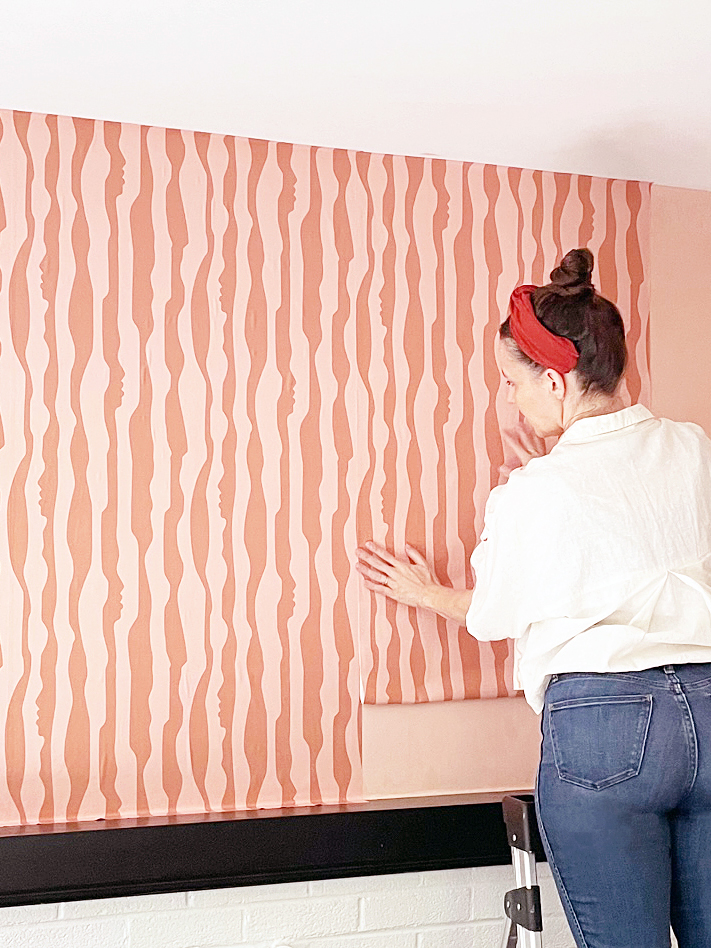
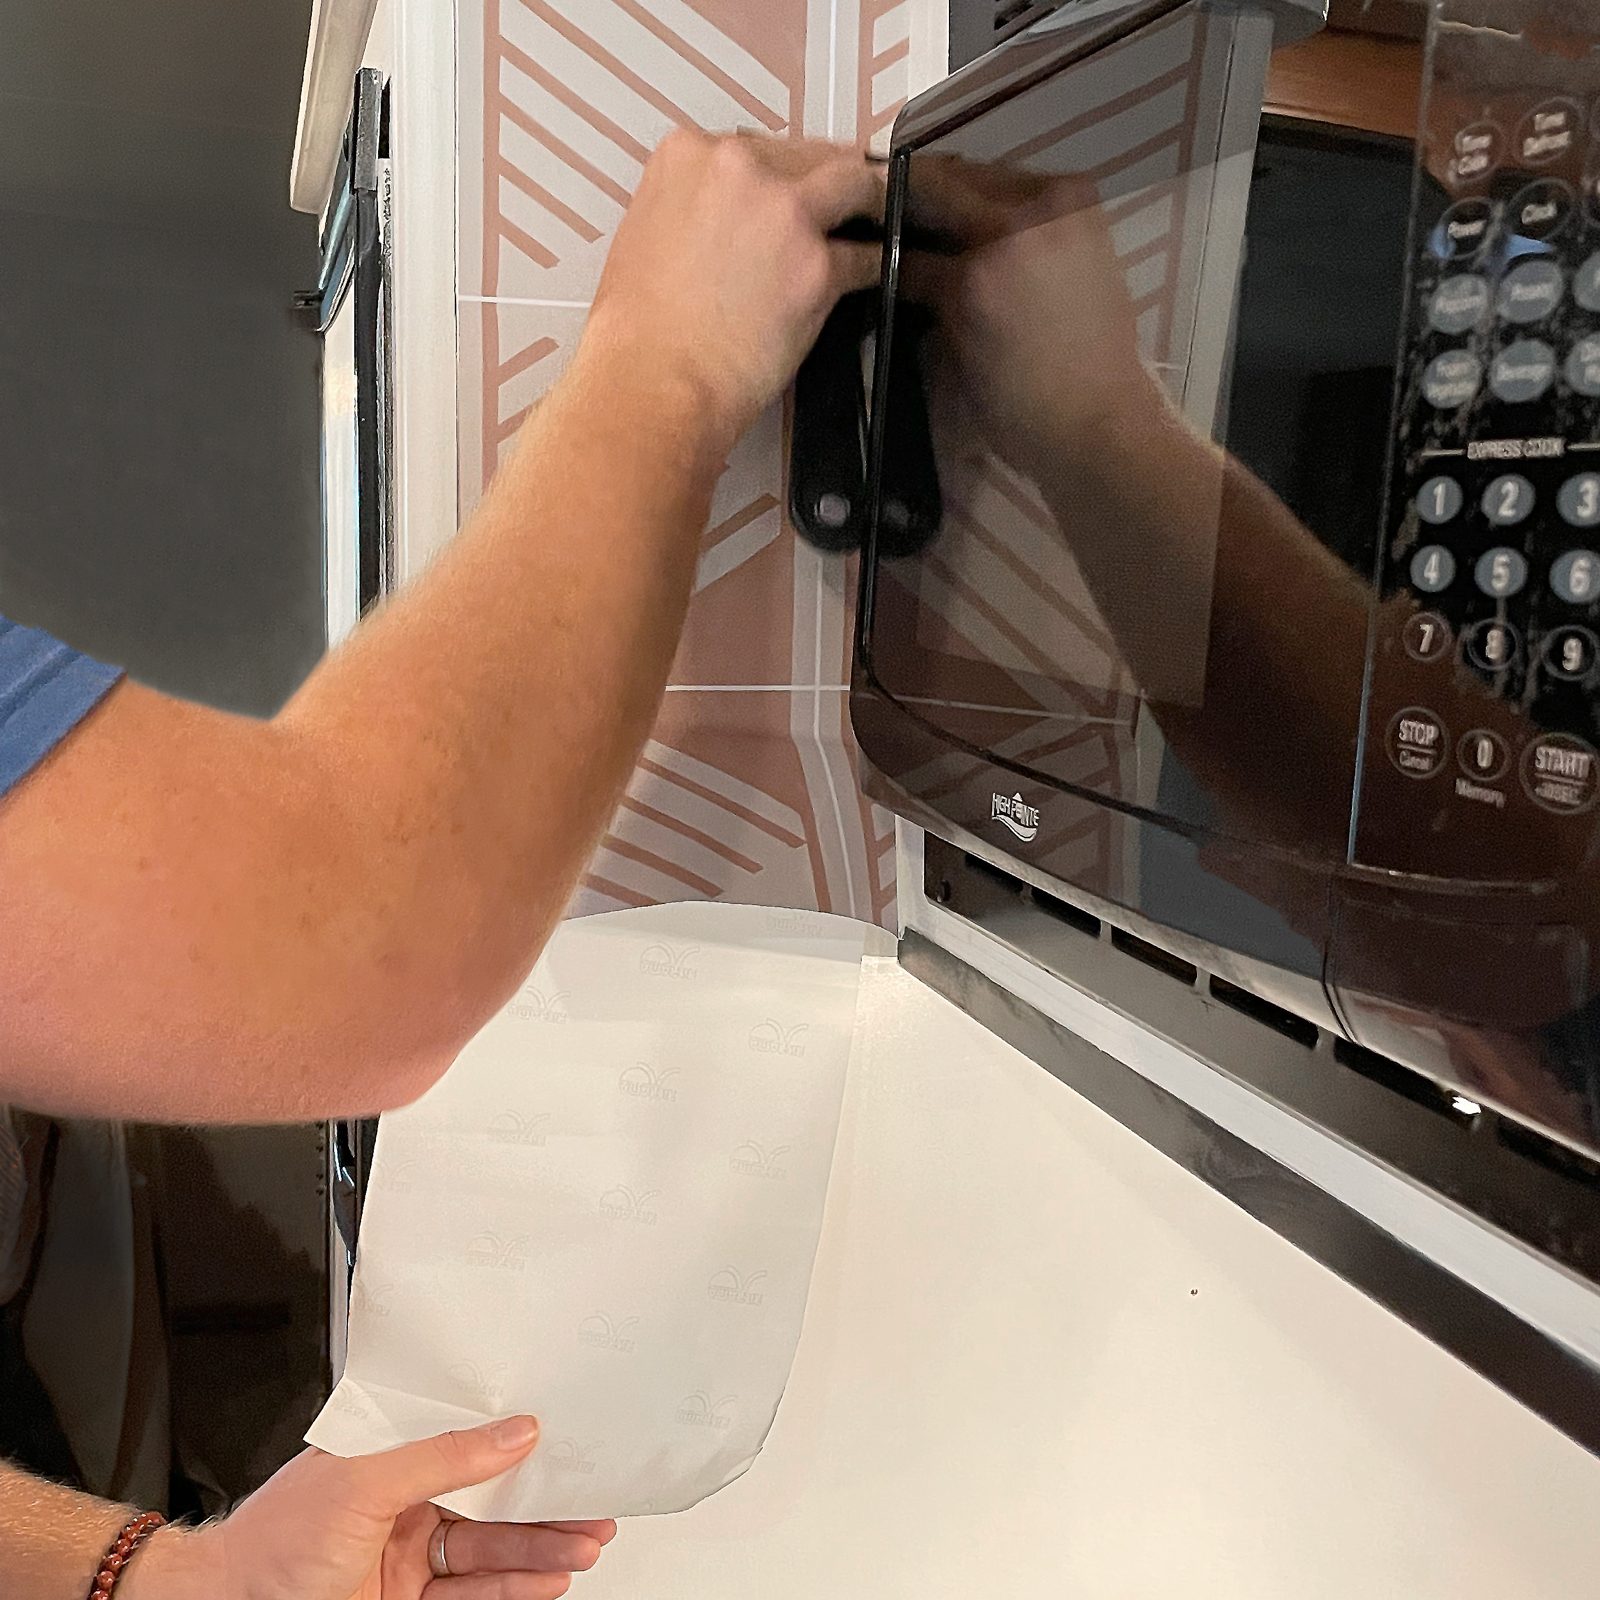
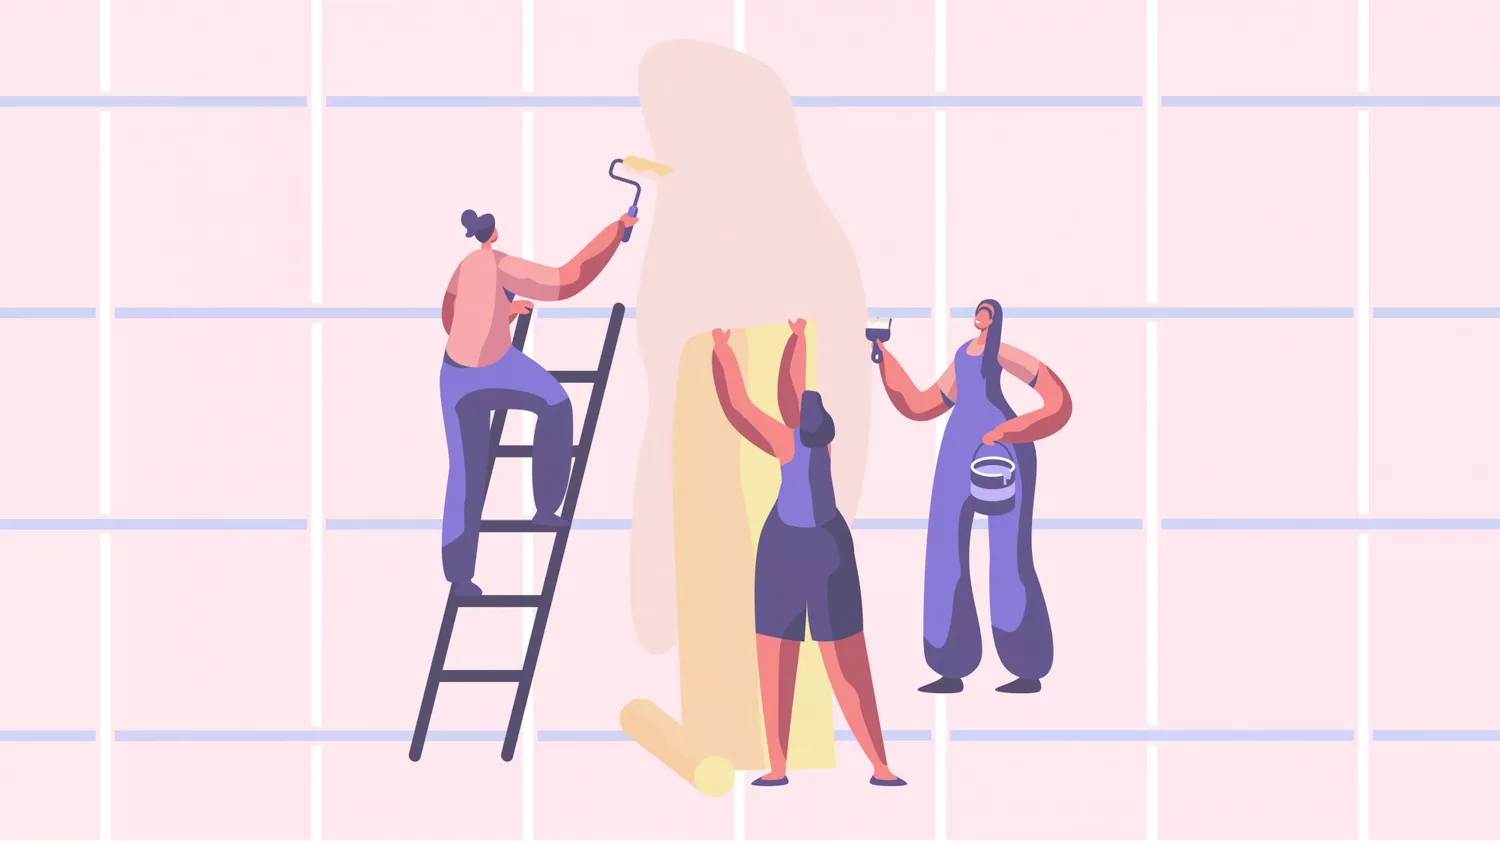
The detailed step-by-step process begins with surface preparation, which involves working with a partner for amateurs, laying down a drop cloth, removing switch plates, spackling and sanding walls, cleaning dust, and priming surfaces for two hours. The next step is measuring and cutting the wallpaper, adding about 4 inches to the wall height for the 'drop length' and ensuring the design is face-up before cutting. Pattern matching is crucial; installers must consult the packaging to determine if it's a straight or drop match. Paste application involves laying cut sheets face-down and applying paste evenly with a paint roller, allowing it to soak for the recommended time before accordion-folding the paper. The first piece is then carefully hung, starting at the top with a slight overlap, smoothed with hands or a dry cloth, and the process repeated for subsequent sheets, aligning them closely. After 15 minutes of drying, a seam roller is used to smooth the seams. Finally, after at least three hours of drying, excess paper is trimmed with a straightedge and utility knife, and any air pockets are addressed with a glue syringe and smoother. For pre-pasted wallpaper, the primary difference is activating the glue by submerging the paper in water and eliminating the need for pattern matching if starting each roll from the top.
#WallpaperInstallation #DIYHomeImprovement #InteriorDesign #HomeRenovation #WallpaperTips #HomeDecor #DIYProjects #WallpaperInstallation #DIYHomeImprovement #InteriorDesign #HomeRenovation #WallpaperTips #HomeDecor #DIYProjects
0 comment in total
You may also like

How to Hang Wallpaper (the Permanent Kind!)

'No forking way!' – this genius hack might have just solved our biggest problem with hanging art on a wall

Setting Up Wallpapers With Hyprpaper in Hyprland

8 Common Wallpaper Mistakes (and How to Fix Them)

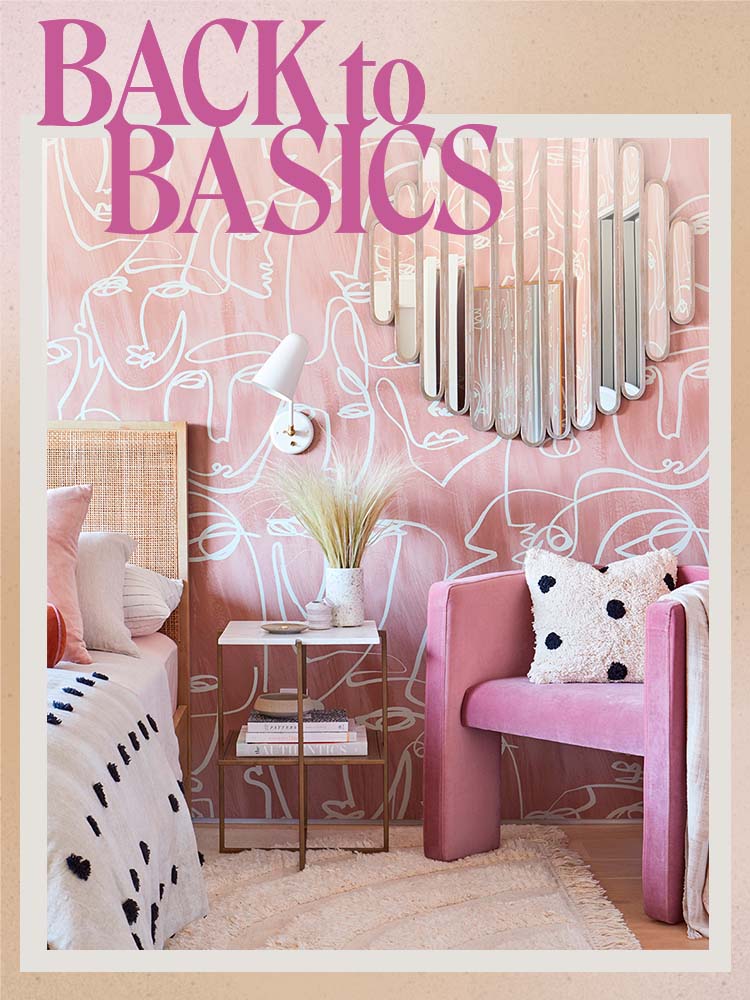
How to Hang Wallpaper (the Permanent Kind!) | domino

How to hang paintings: Everything you need to know
Tips for Applying Peel and Stick Wallpaper

12 unique wallpaper ideas for renters and homeowners at every budget


How to Hang Wallpaper Yourself in 8 Simple Steps, Straight from a Pro

A real person’s 5-step guide to putting up temporary wallpaper
How to install fabric walling – the unique alternative to wallpaper


13 Creative Ways to Use Peel-and-Stick Wallpaper

7 Simple Steps for Hanging Wallpaper Yourself

7 DIY tips for how to hang a gallery wall from experts
12 Best Peel-and-Stick Wallpapers
Wallpaper

Peel-and-stick wallpaper tips and shopping


Yes, You Can Hang Art Like a Pro | Reviews by Wirecutter
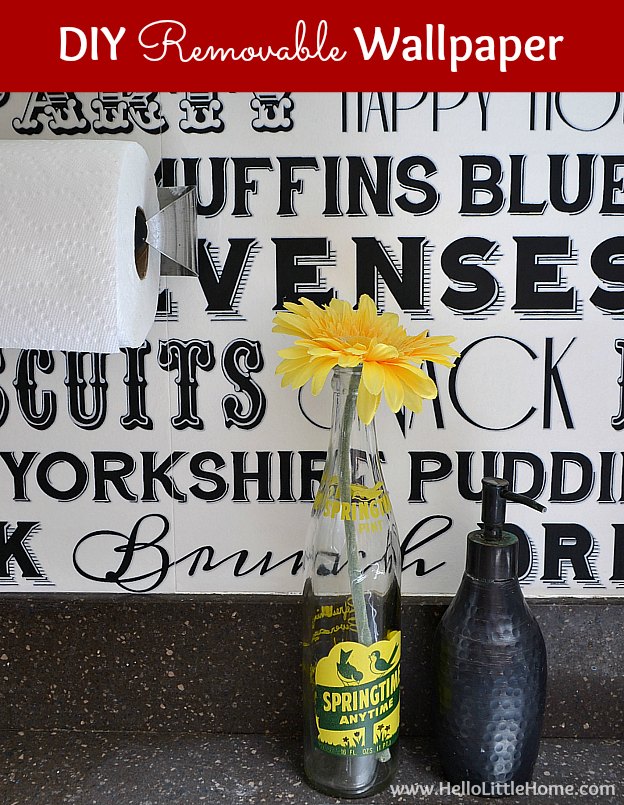
DIY Removable Wallpaper

This Is The Best Way To Hang Pictures, According To An Expert