1/4
How to Hang Wallpaper (the Permanent Kind!) | domino
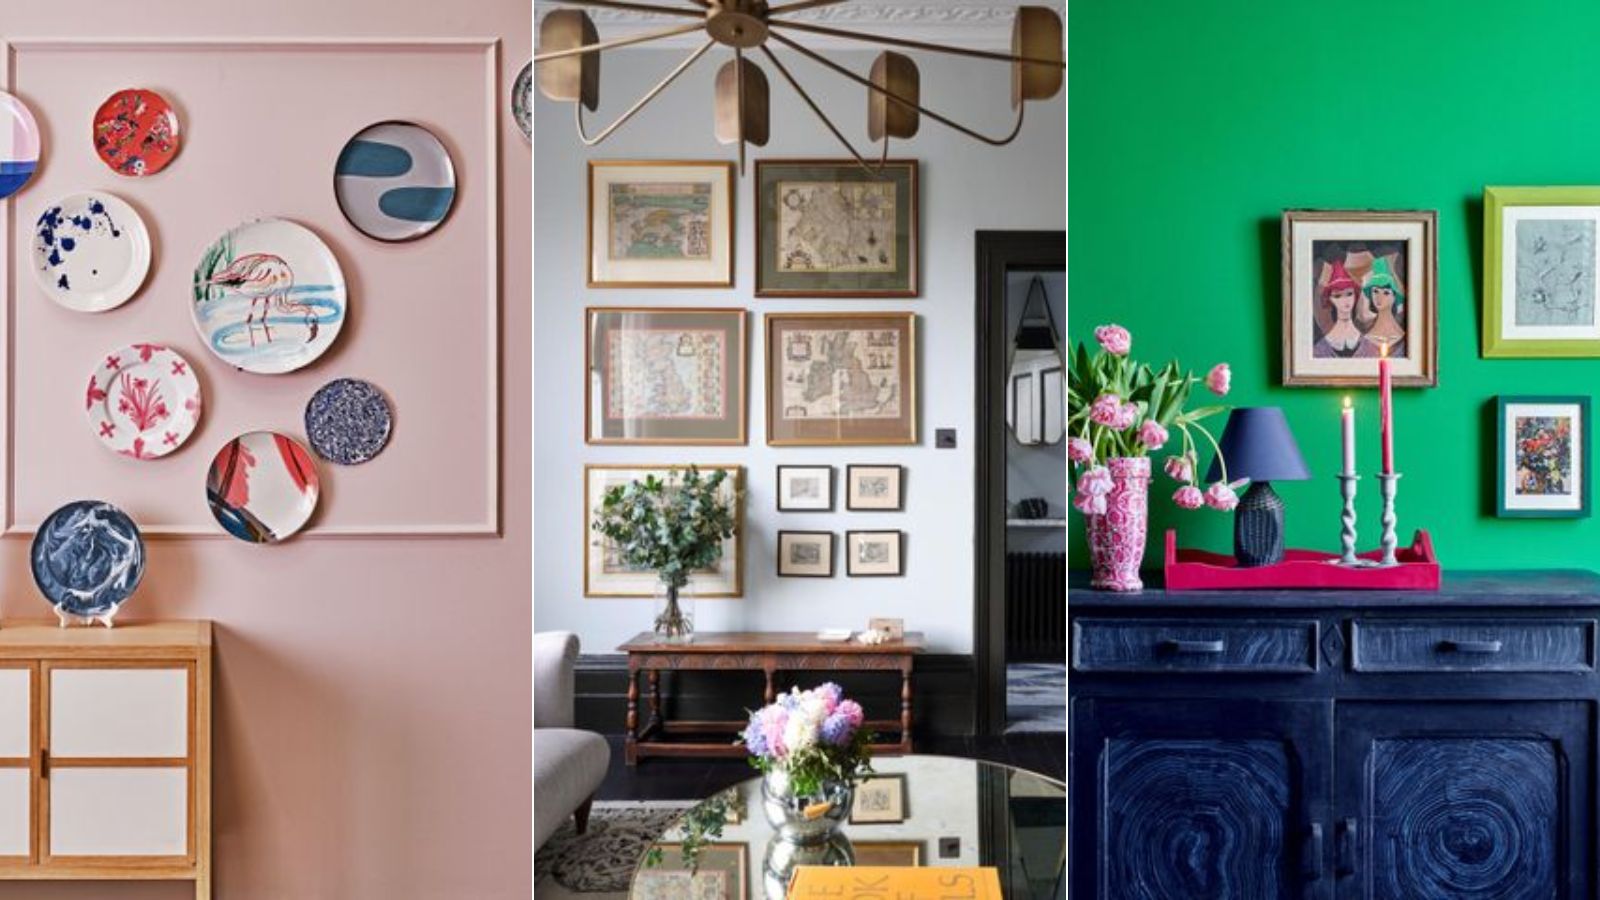
This blog post offers a comprehensive guide on how to install permanent wallpaper, targeting DIY enthusiasts. It acknowledges the popularity of peel-and-stick wallpaper but focuses on traditional, permanent options, highlighting that many of the best prints fall into this category. The article advises that while a DIY approach is possible for smaller projects like accent walls or the back of a bookcase, extensive or complex areas might be better handled by professionals due to the material's thickness and the permanent nature of the adhesive. It introduces insights from experts like Shanan Campanaro, founder of Eskayel, and artist/wallpaper designer Kate Zaremba, who both encourage self-installation for those who enjoy meticulous tasks but caution against it for absolute beginners in large spaces.
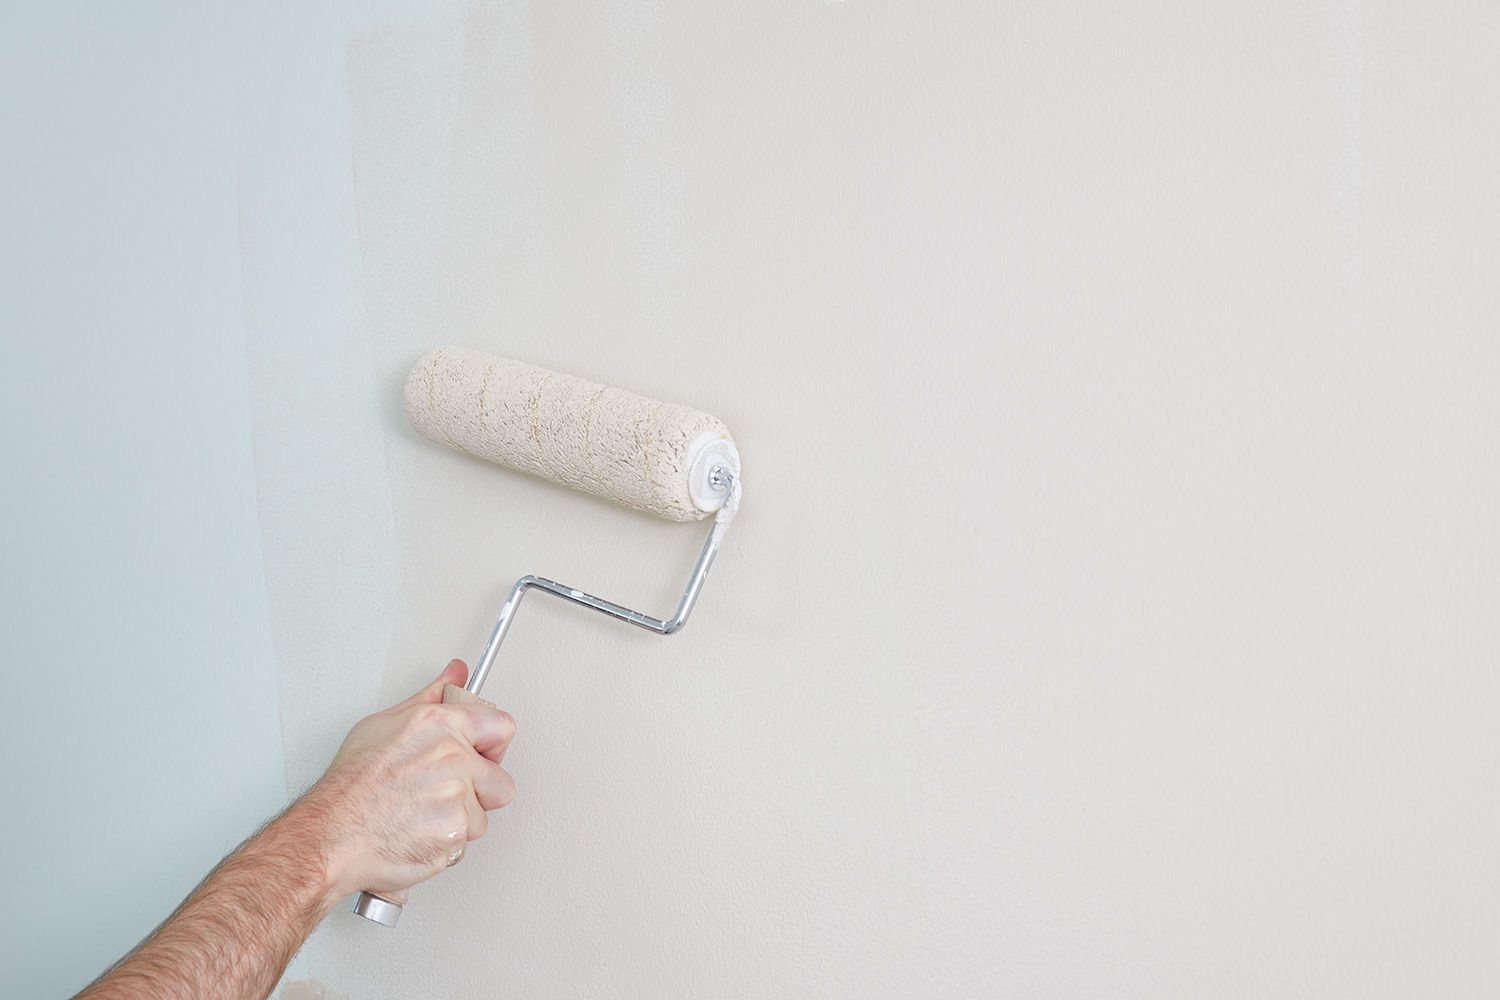
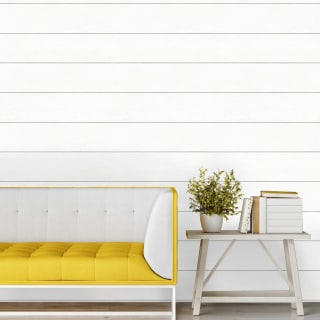
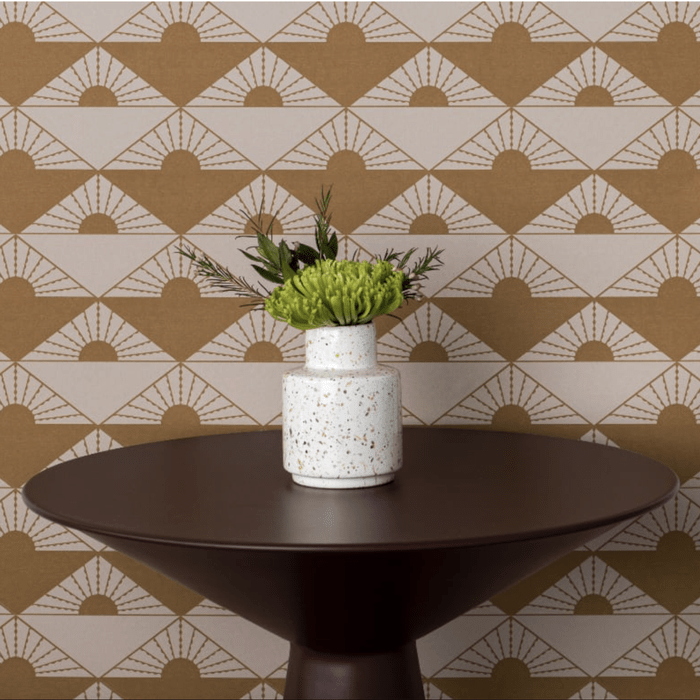
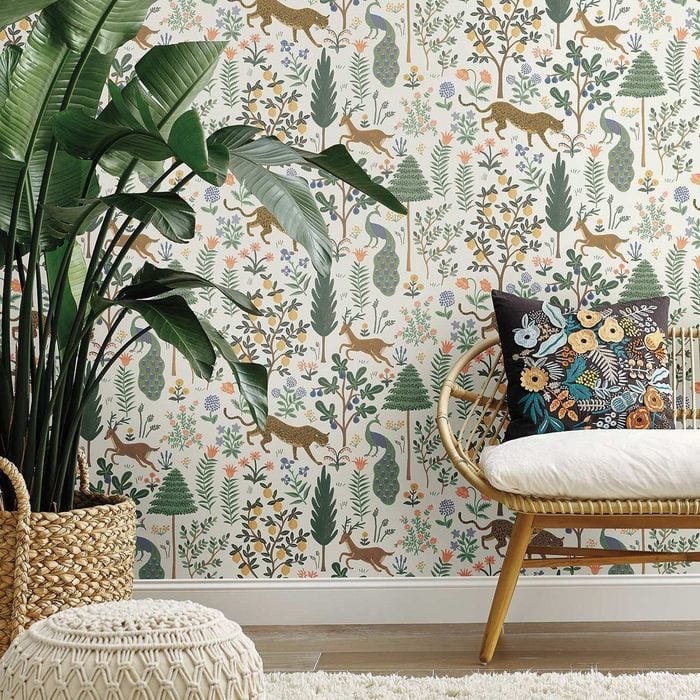
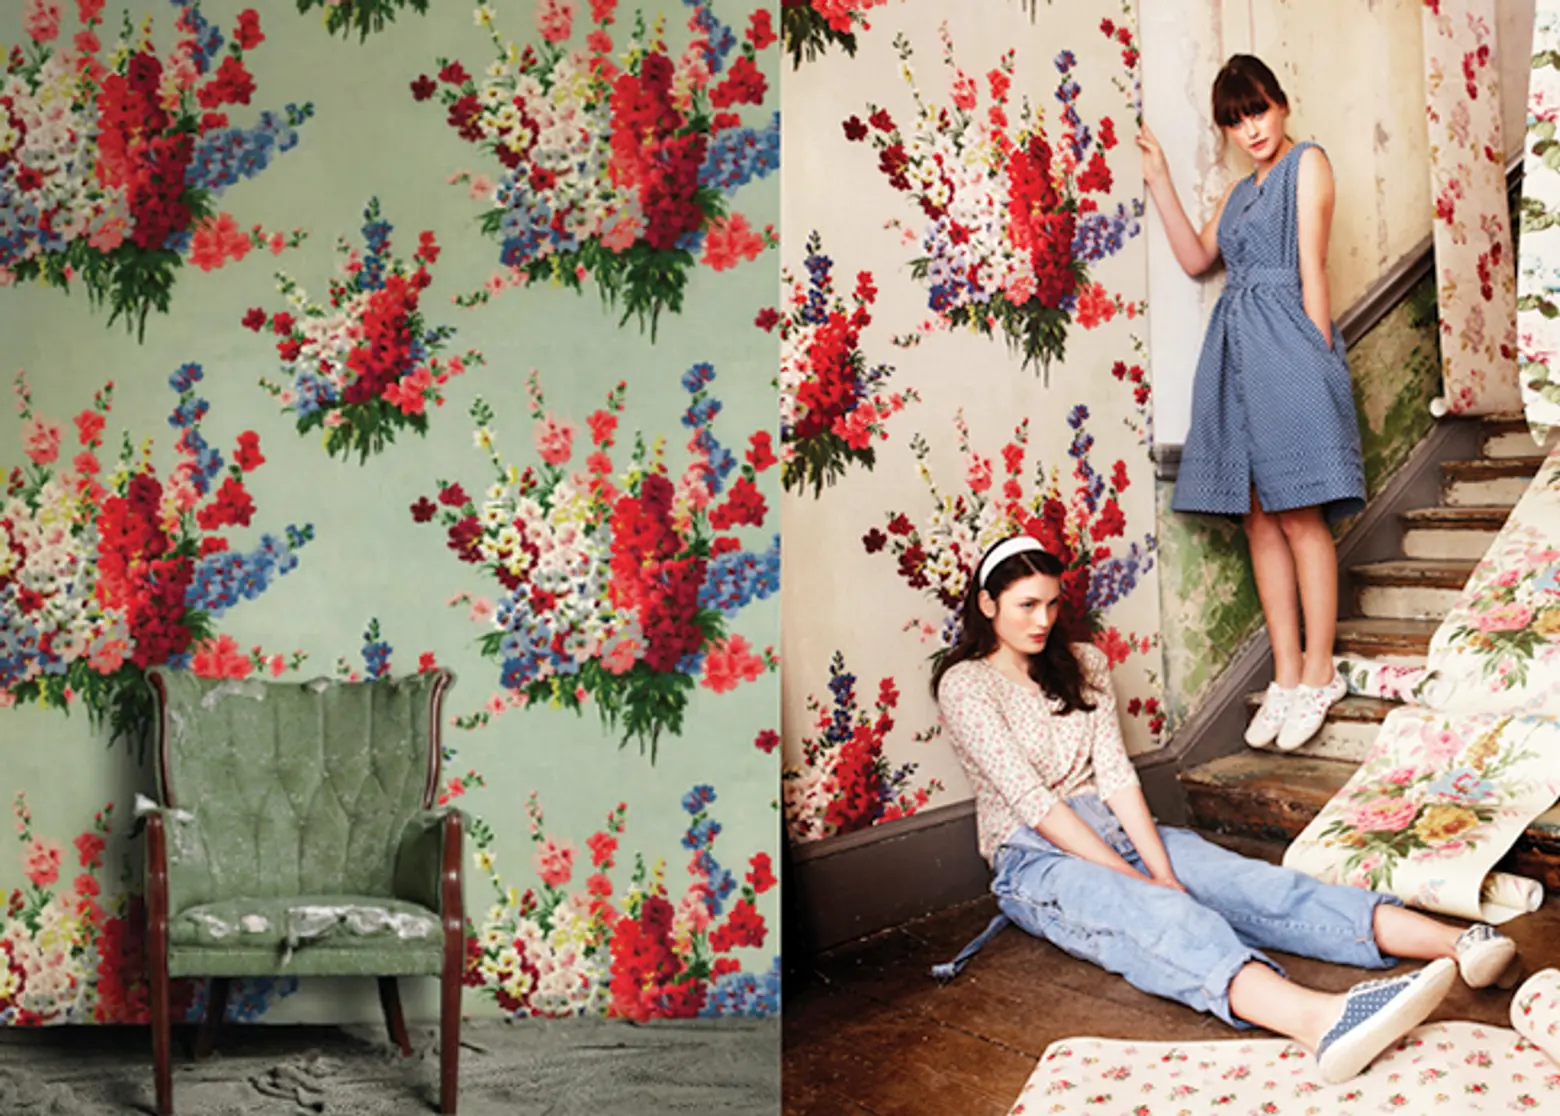
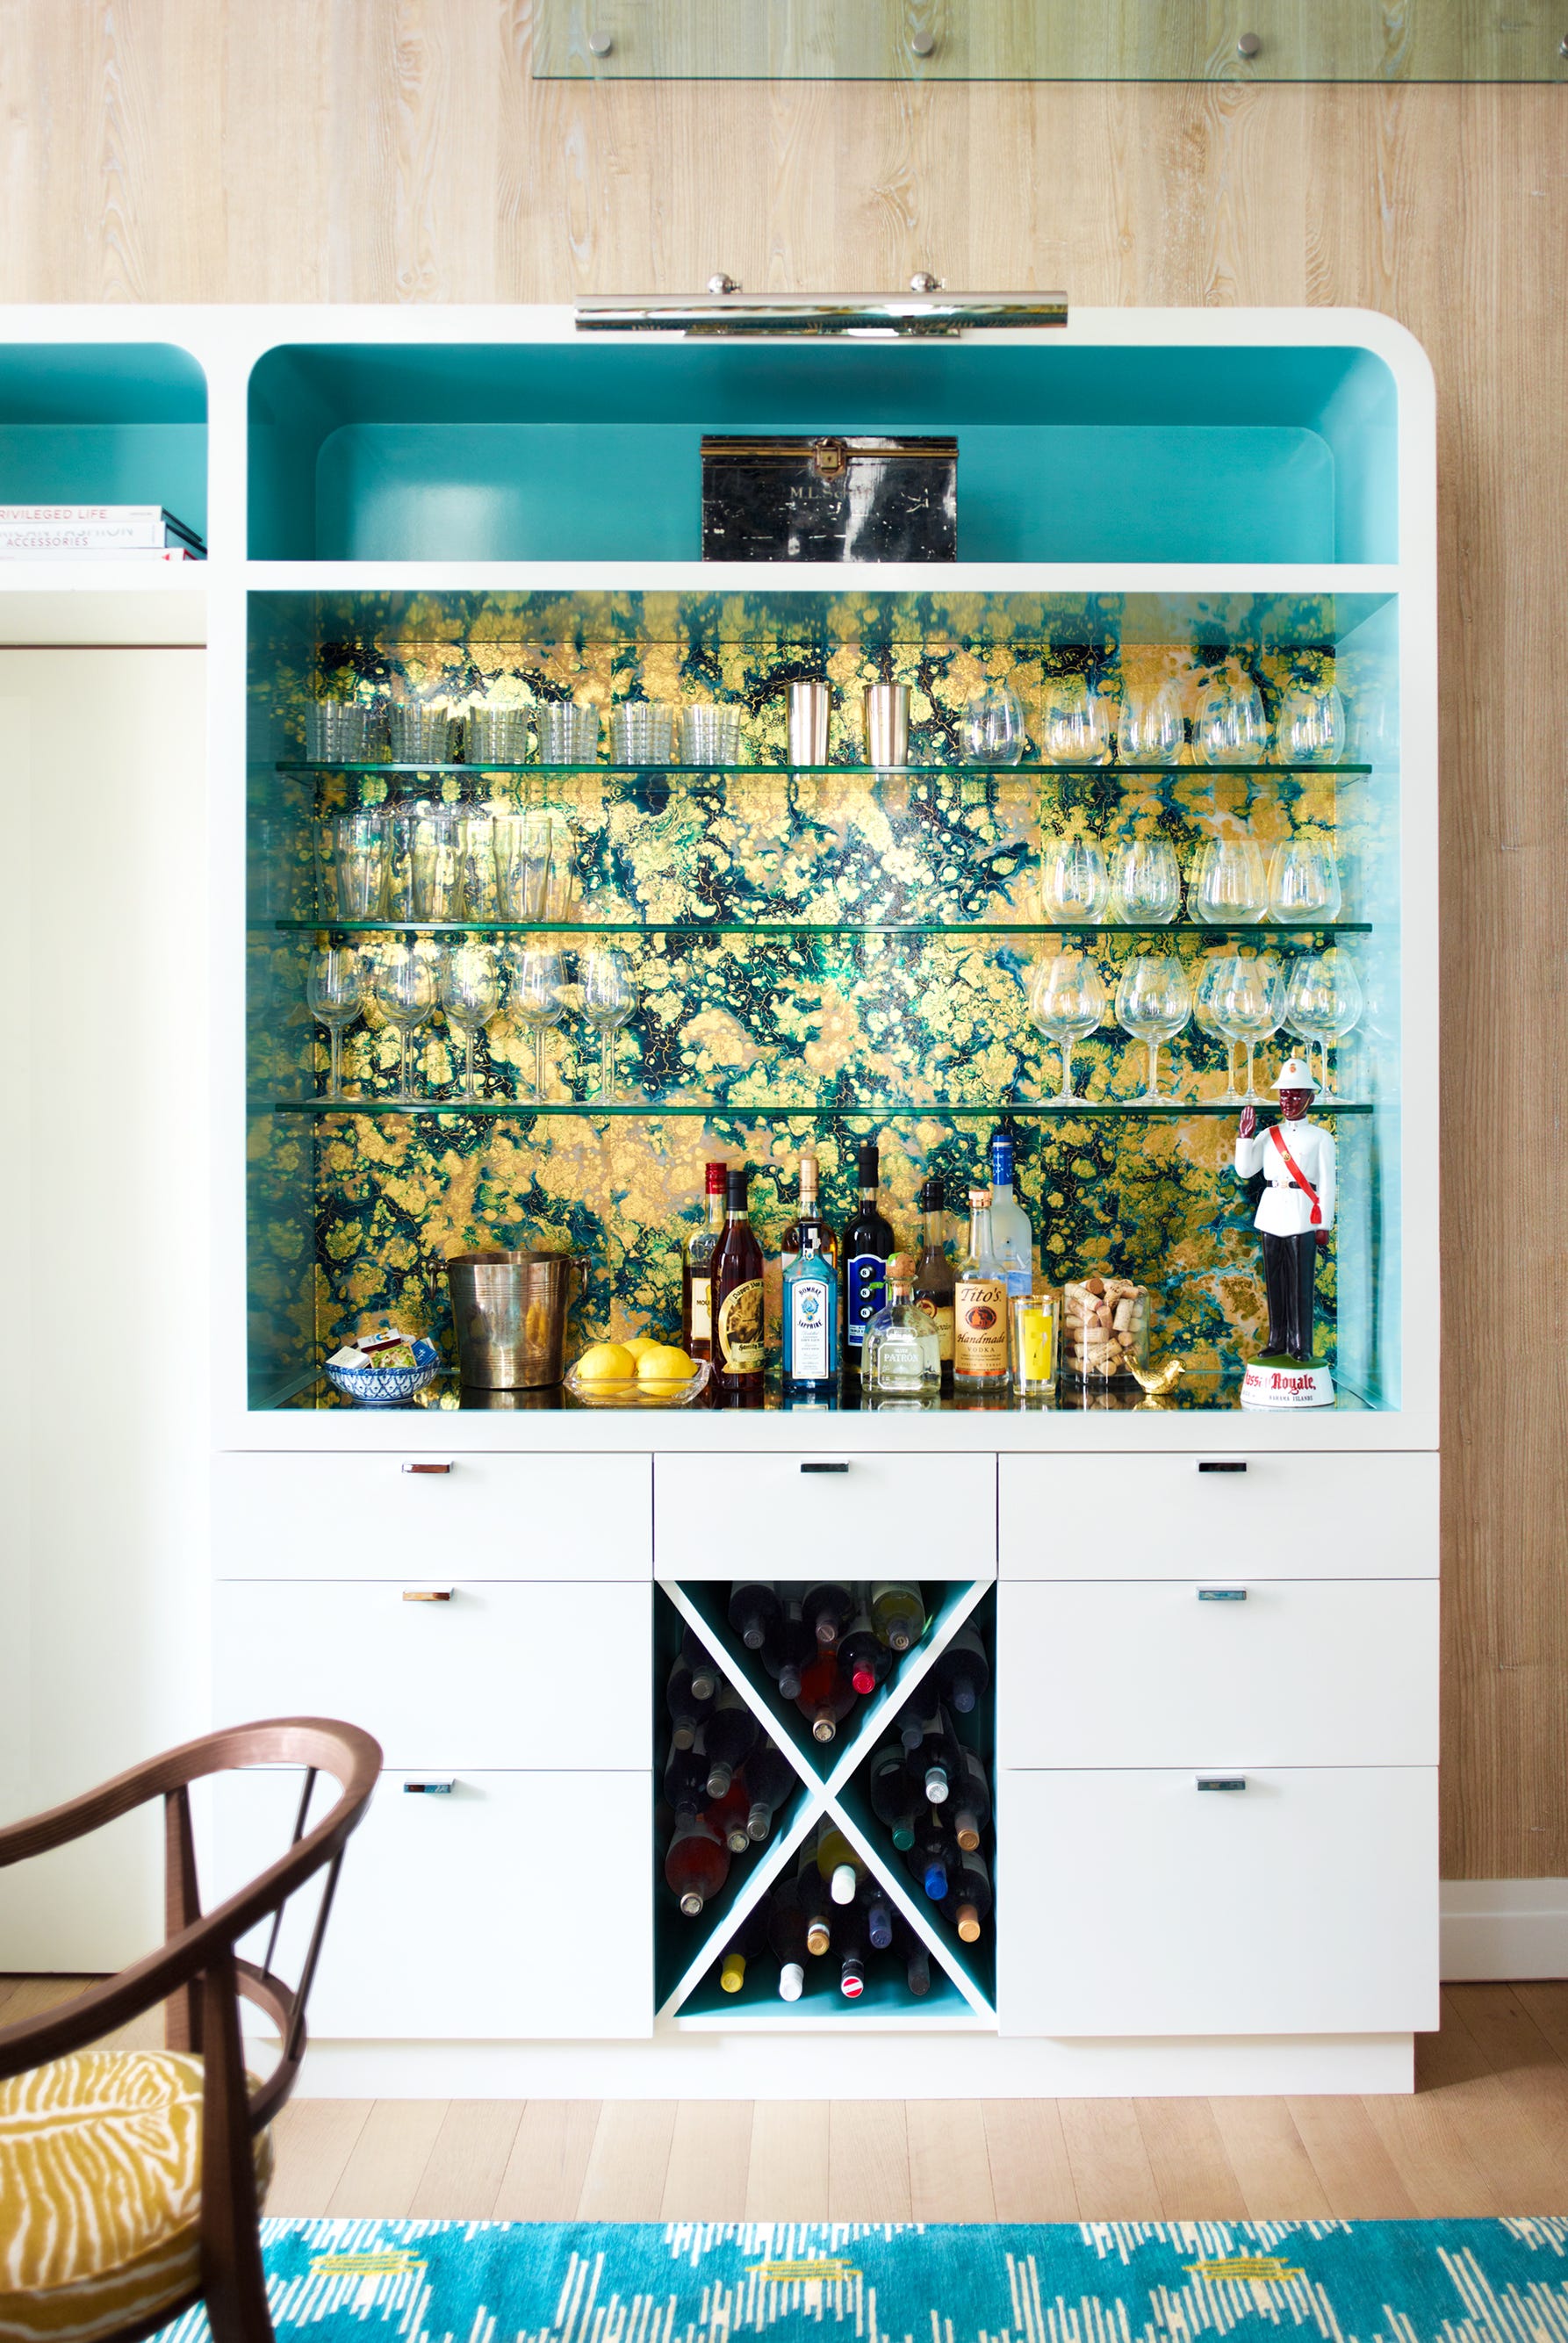
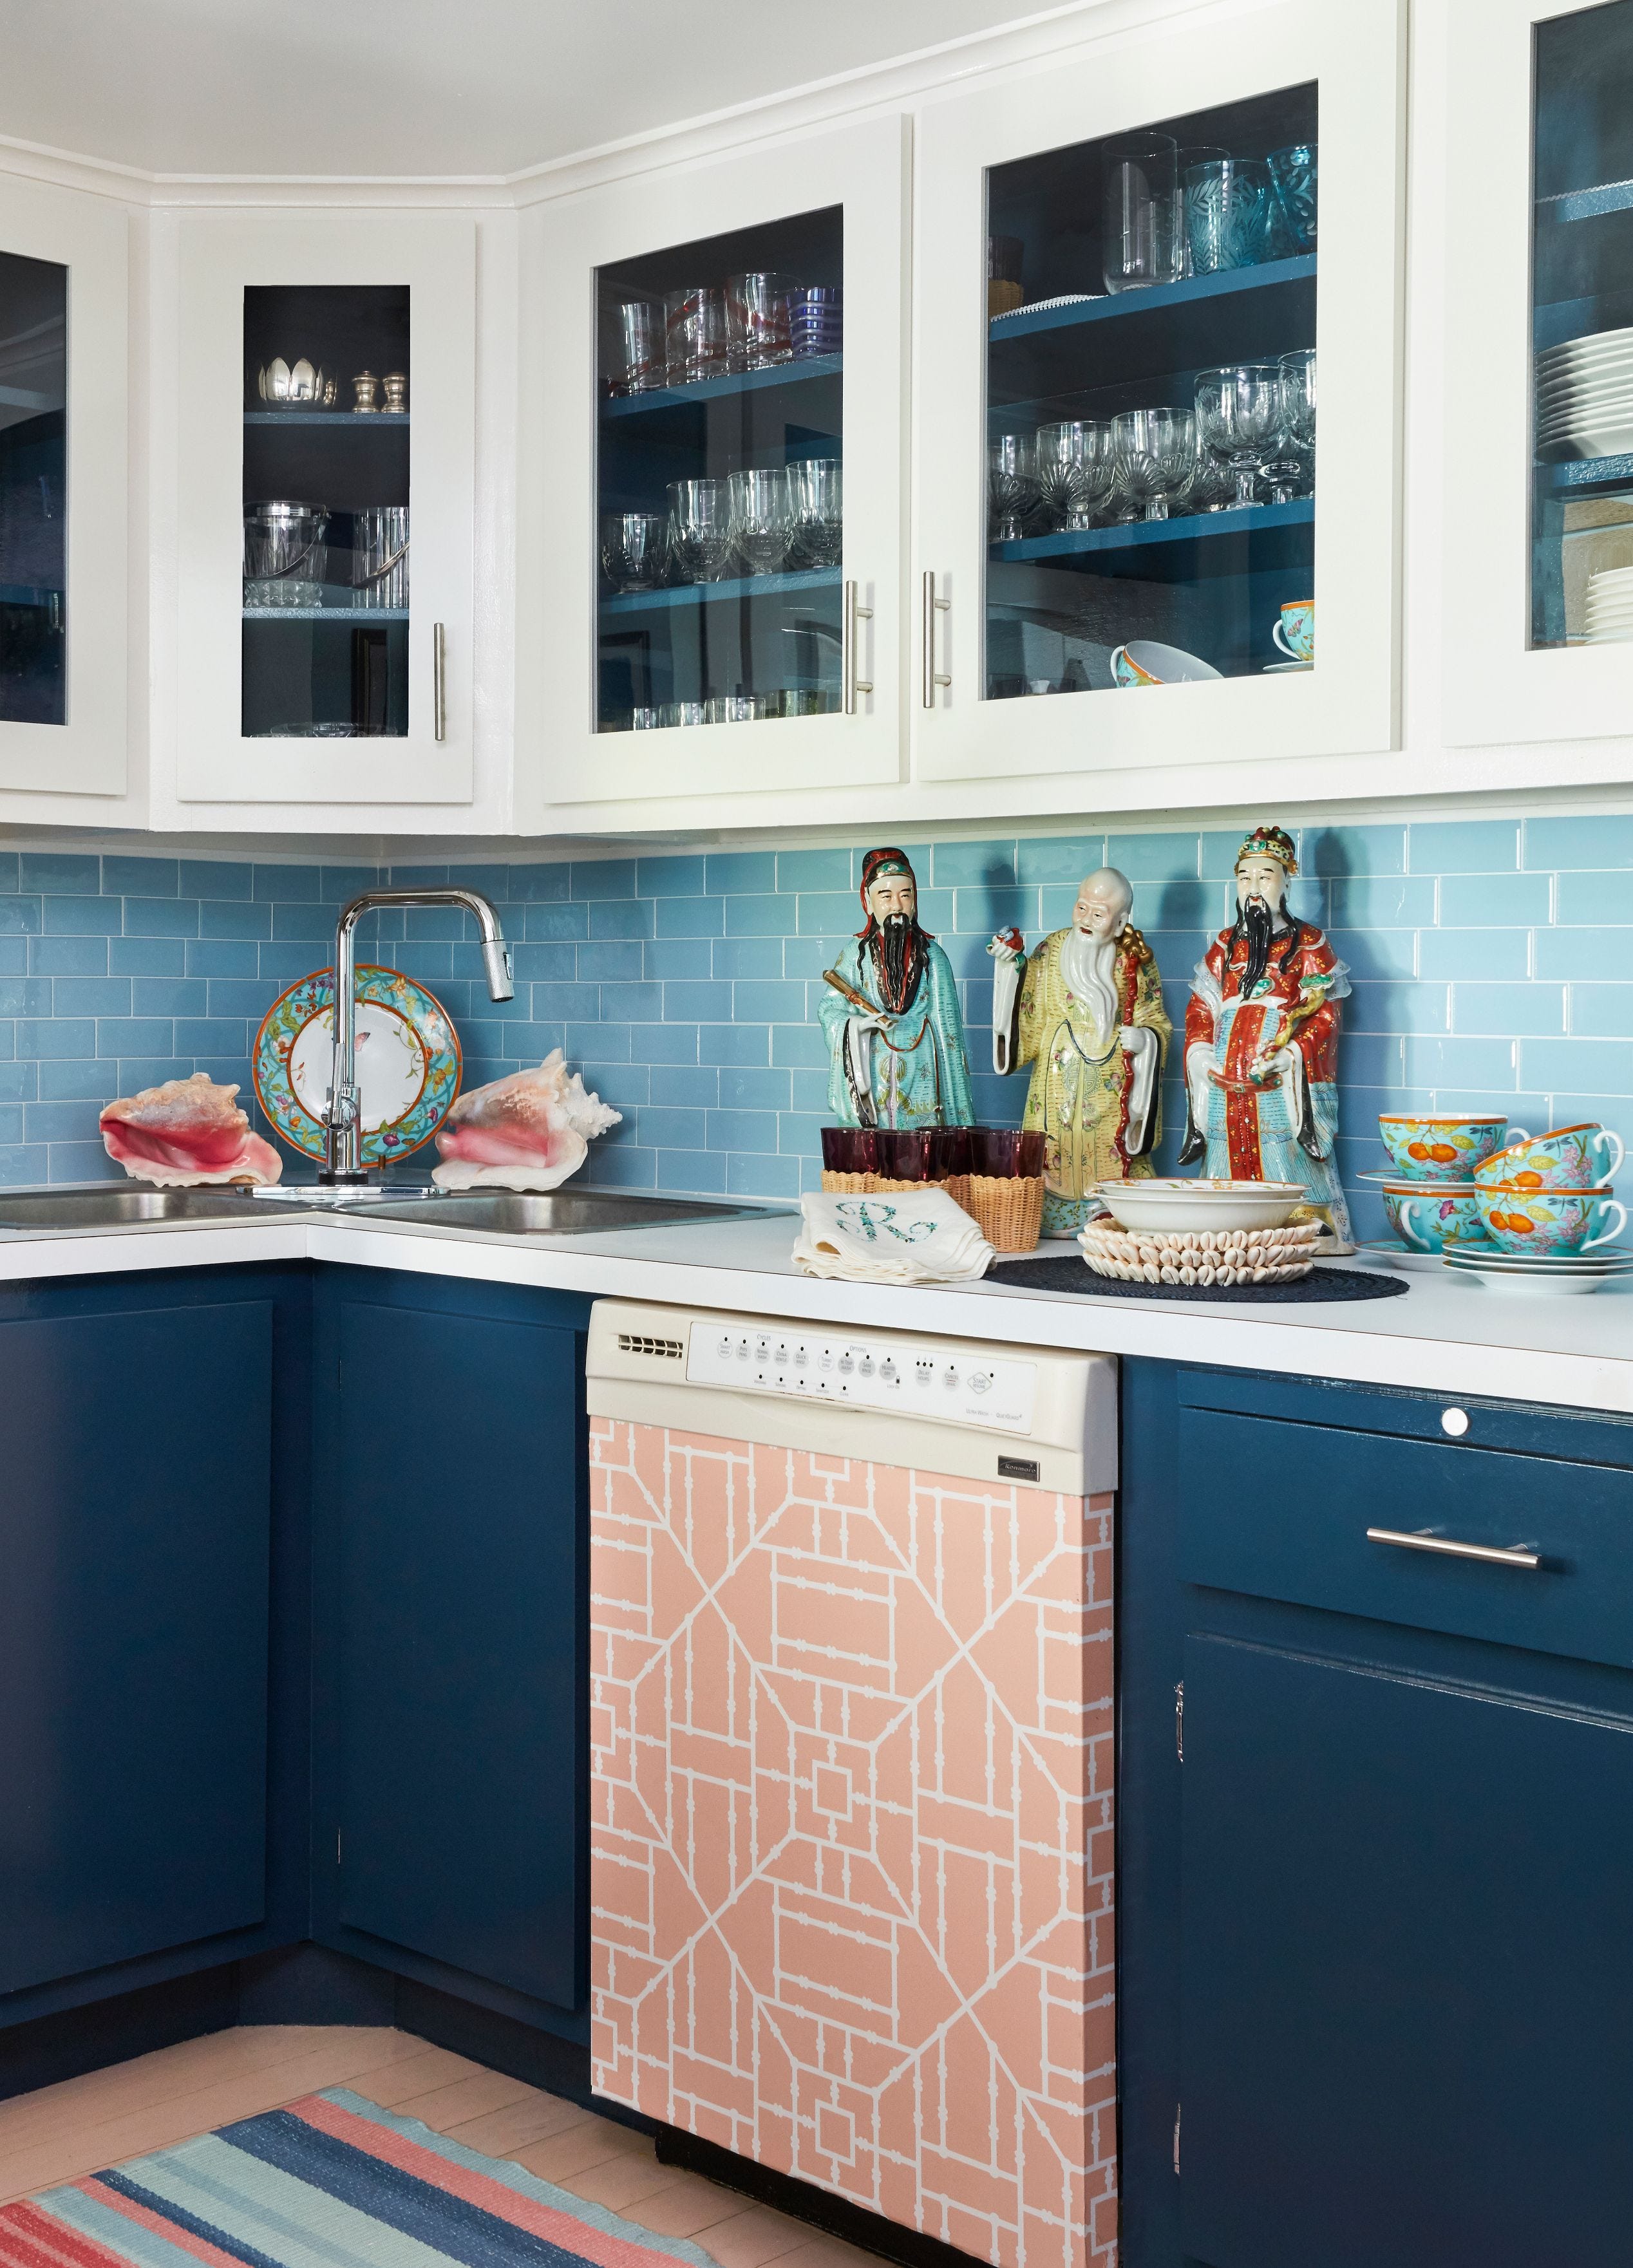
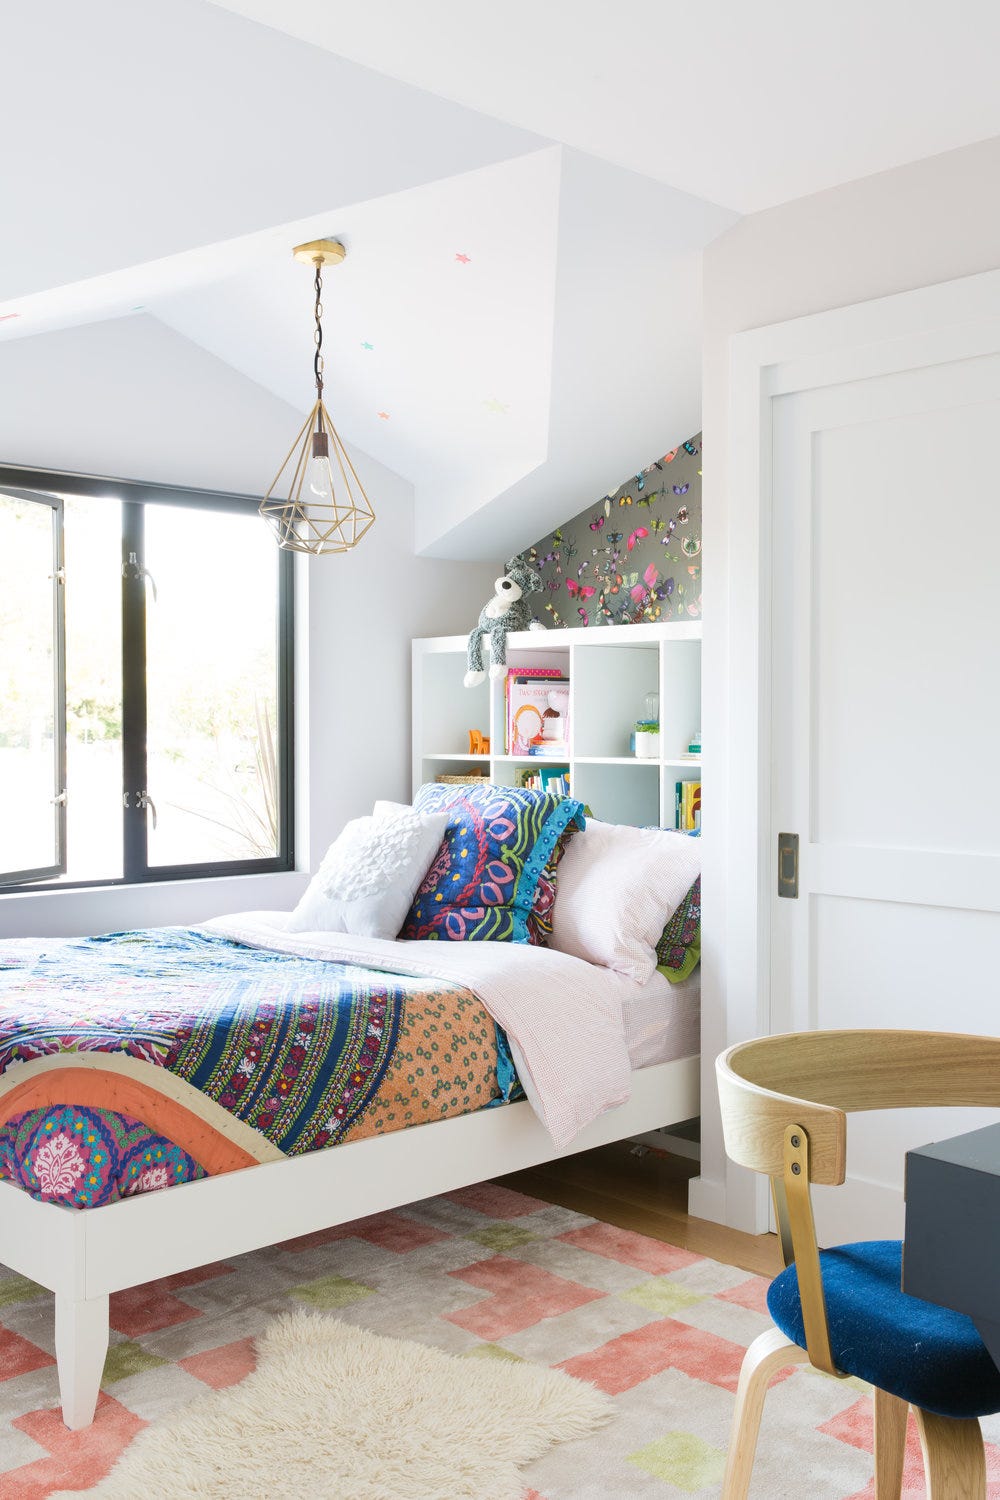
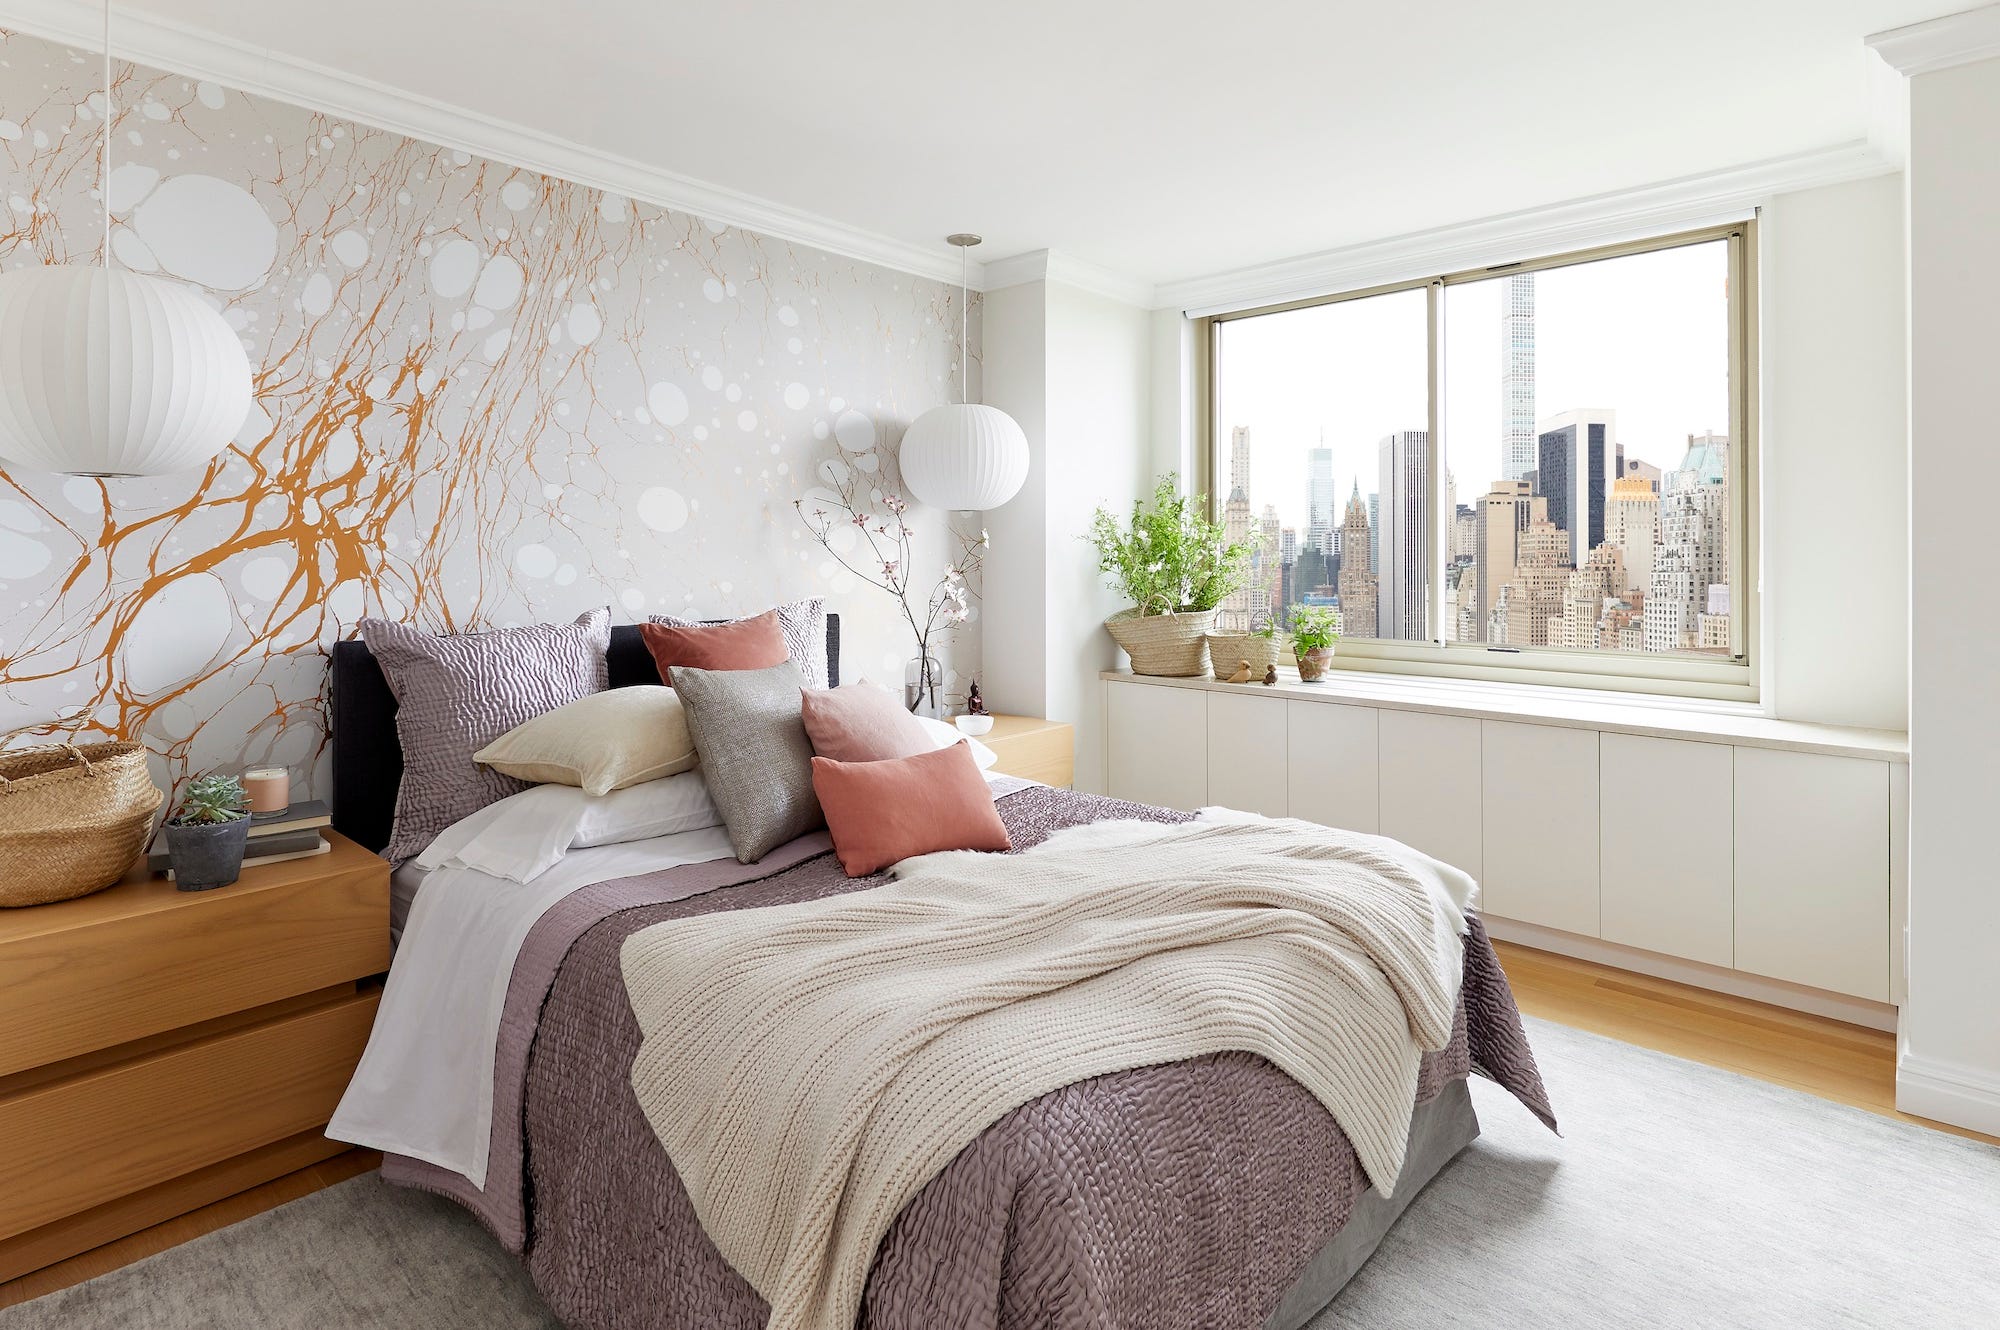
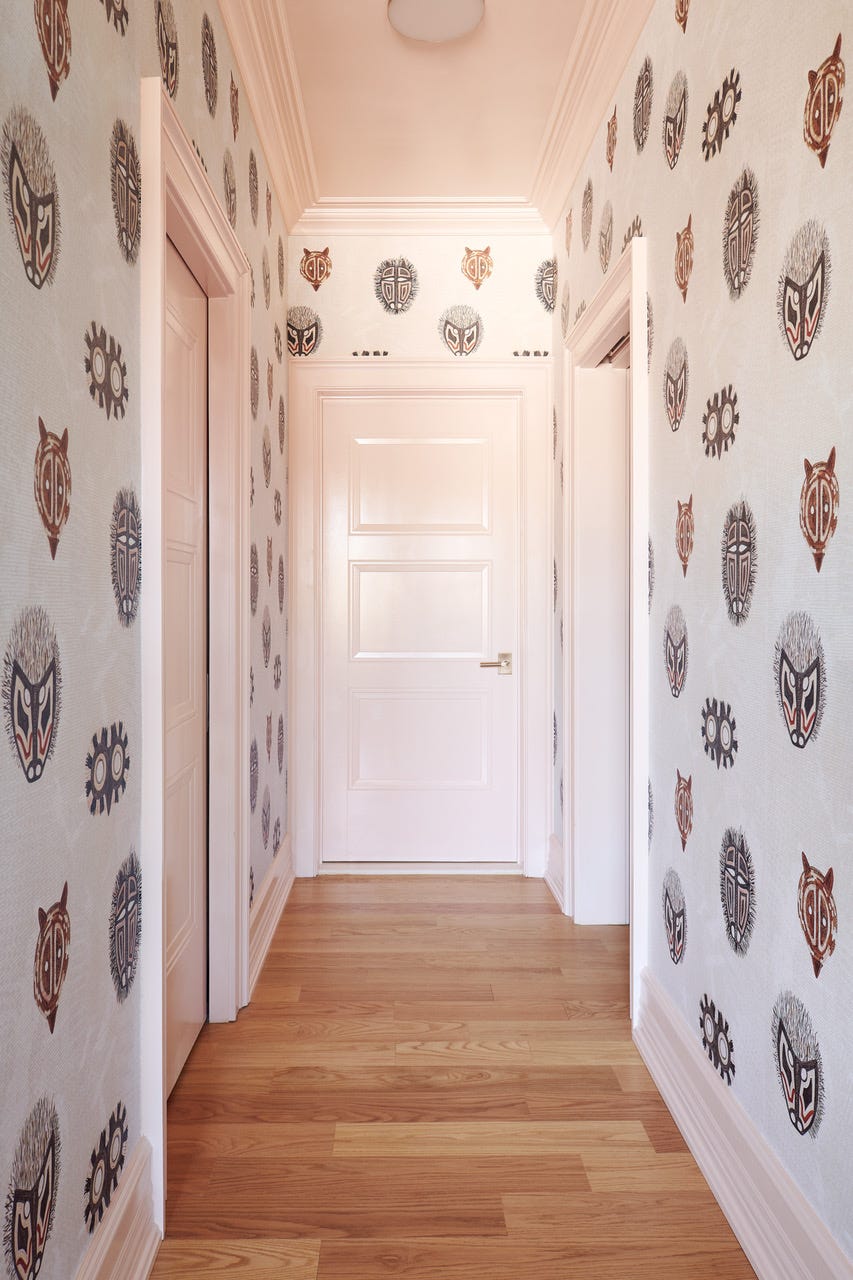
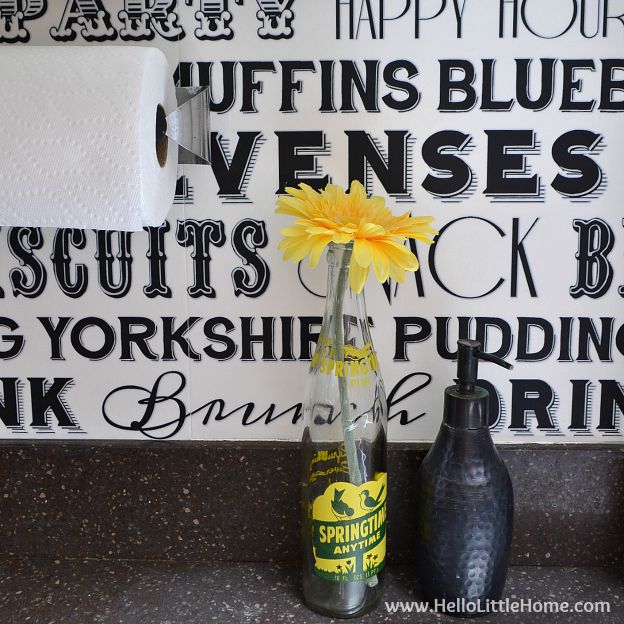
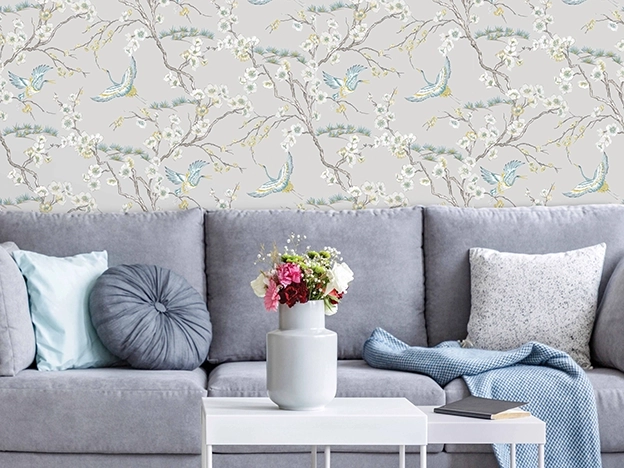
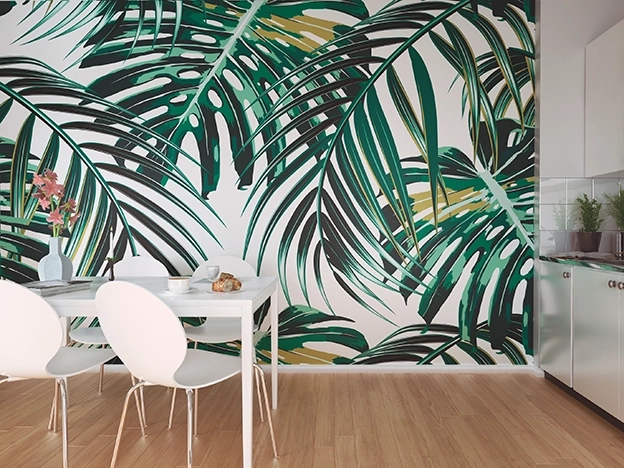
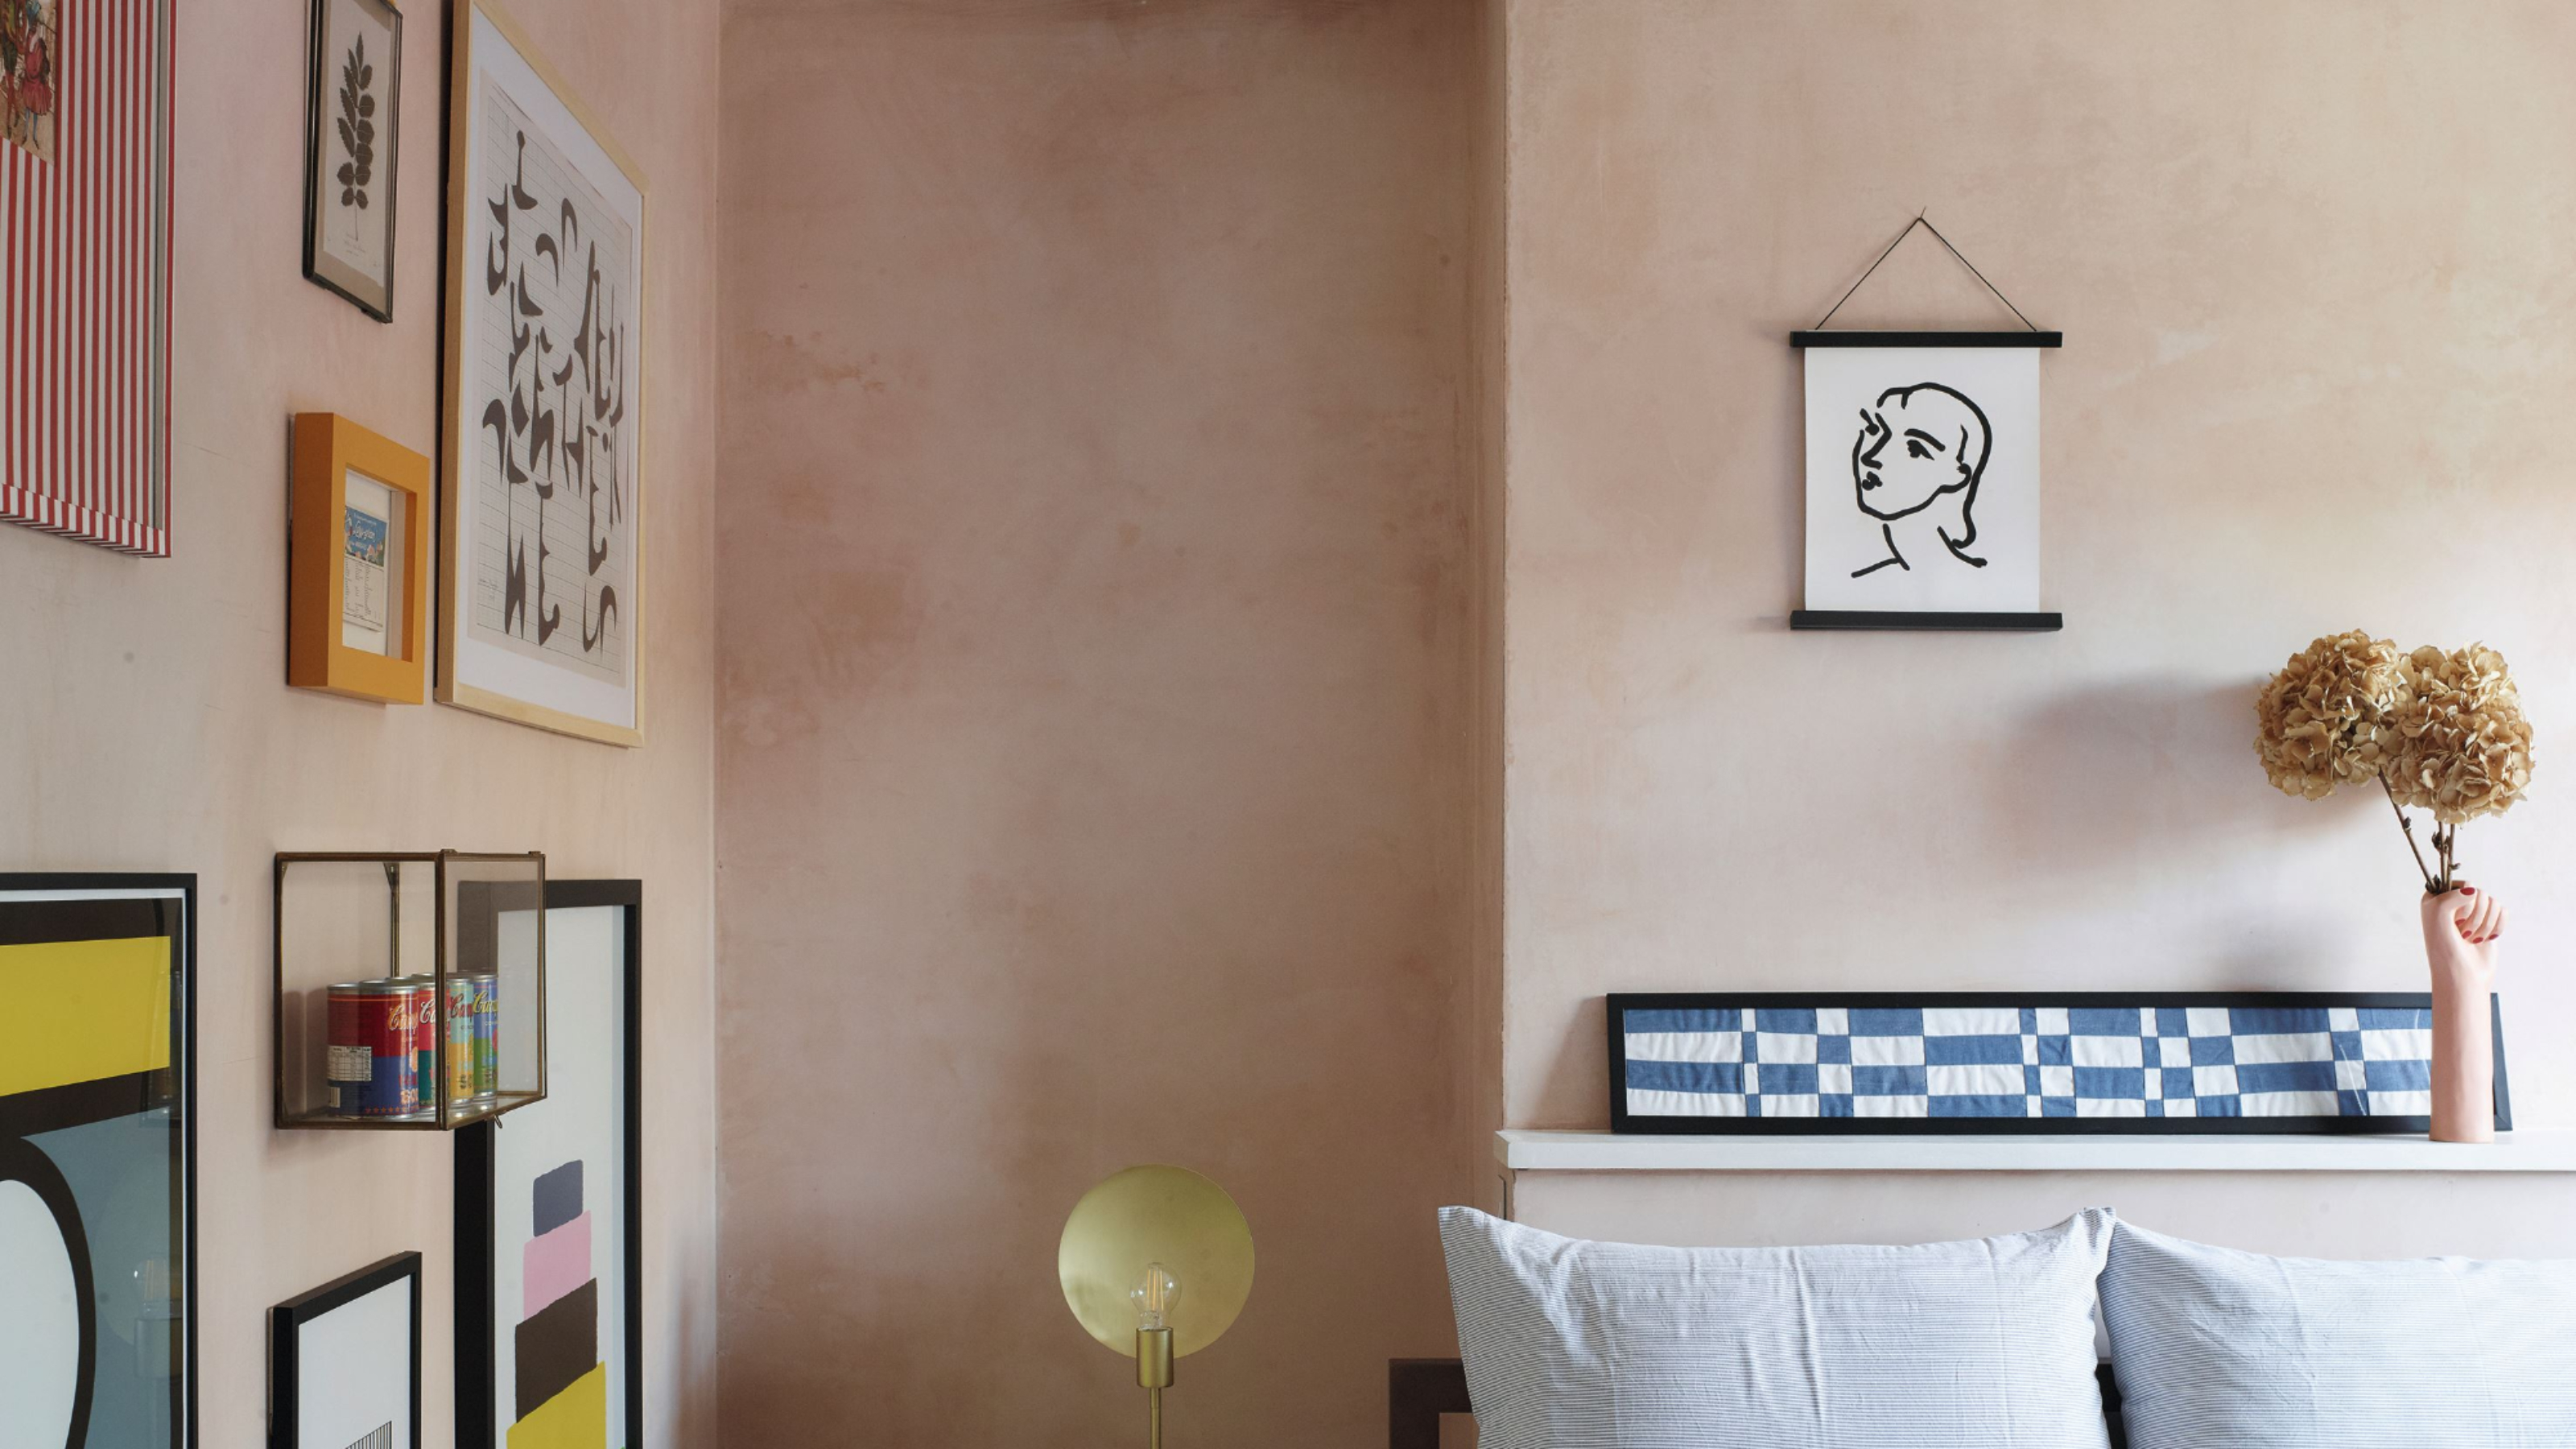
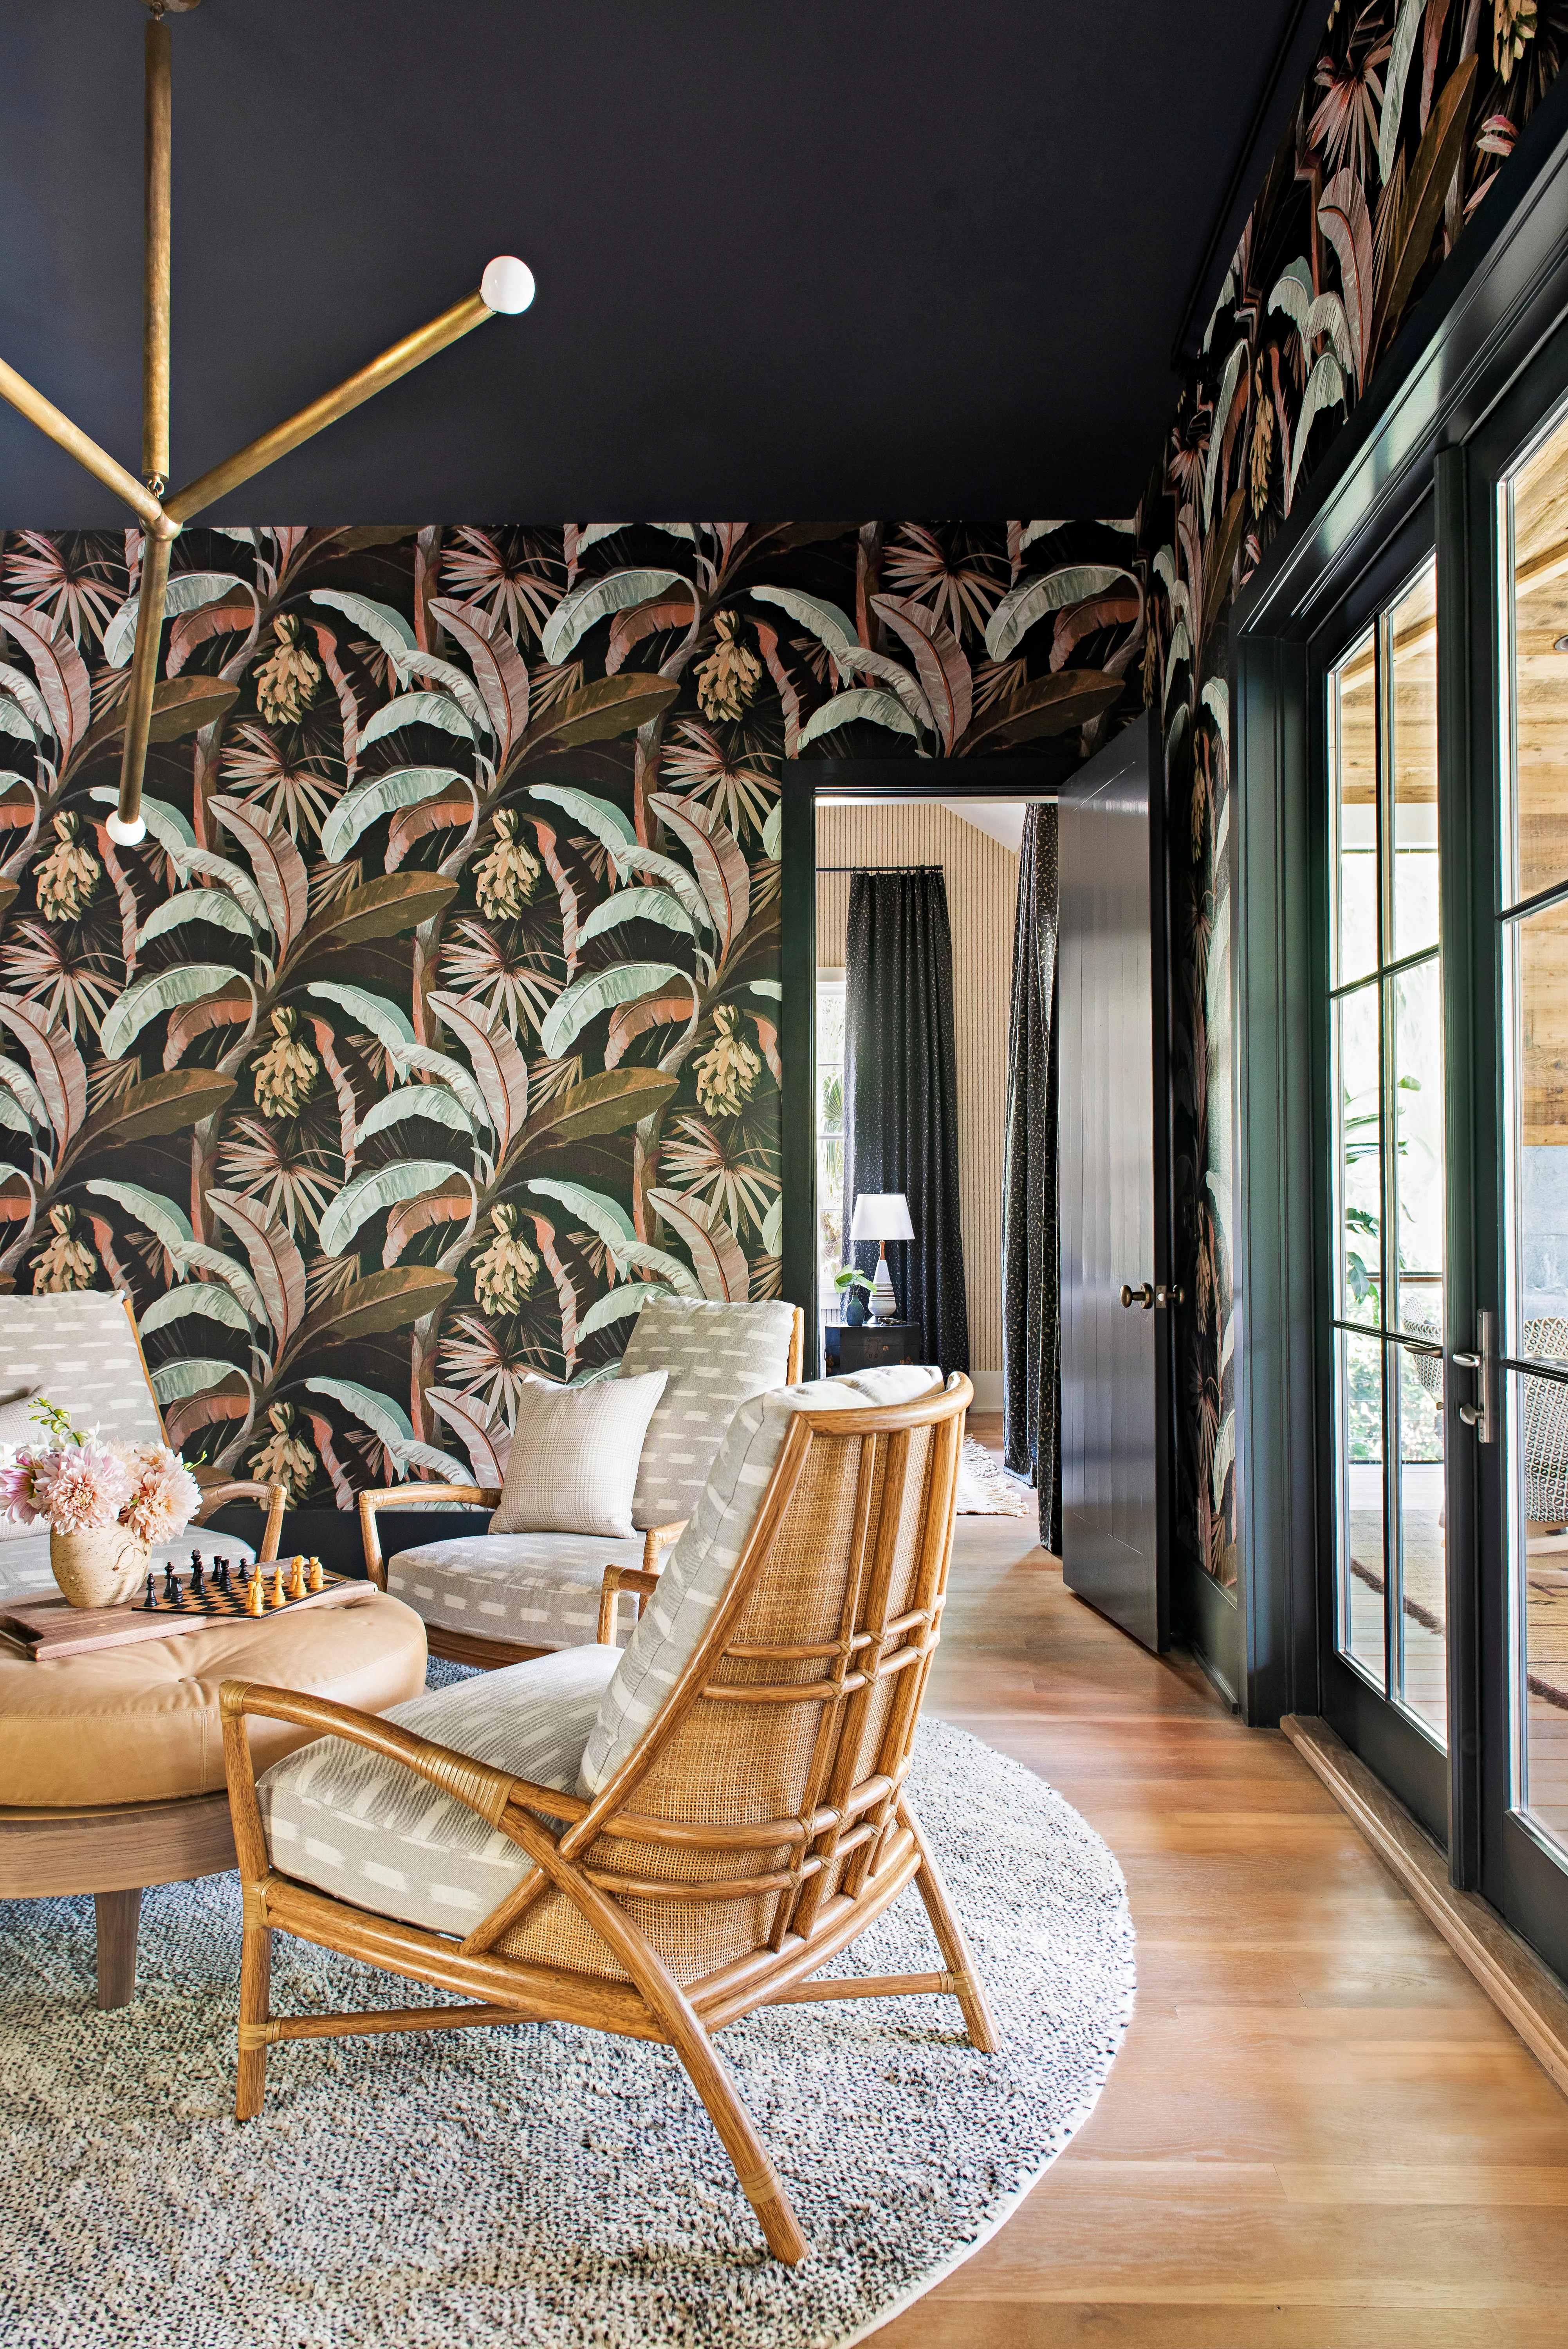
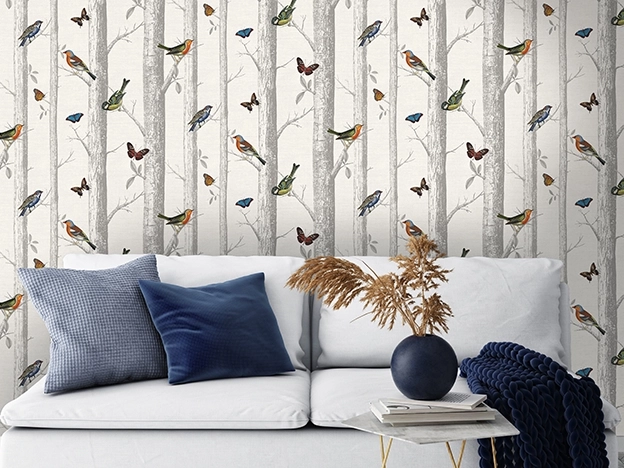
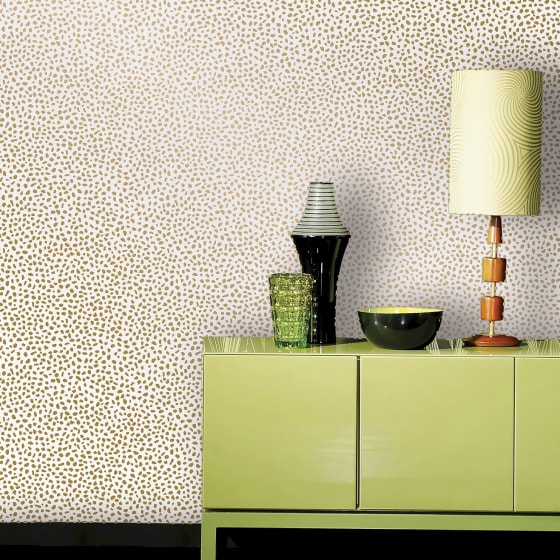
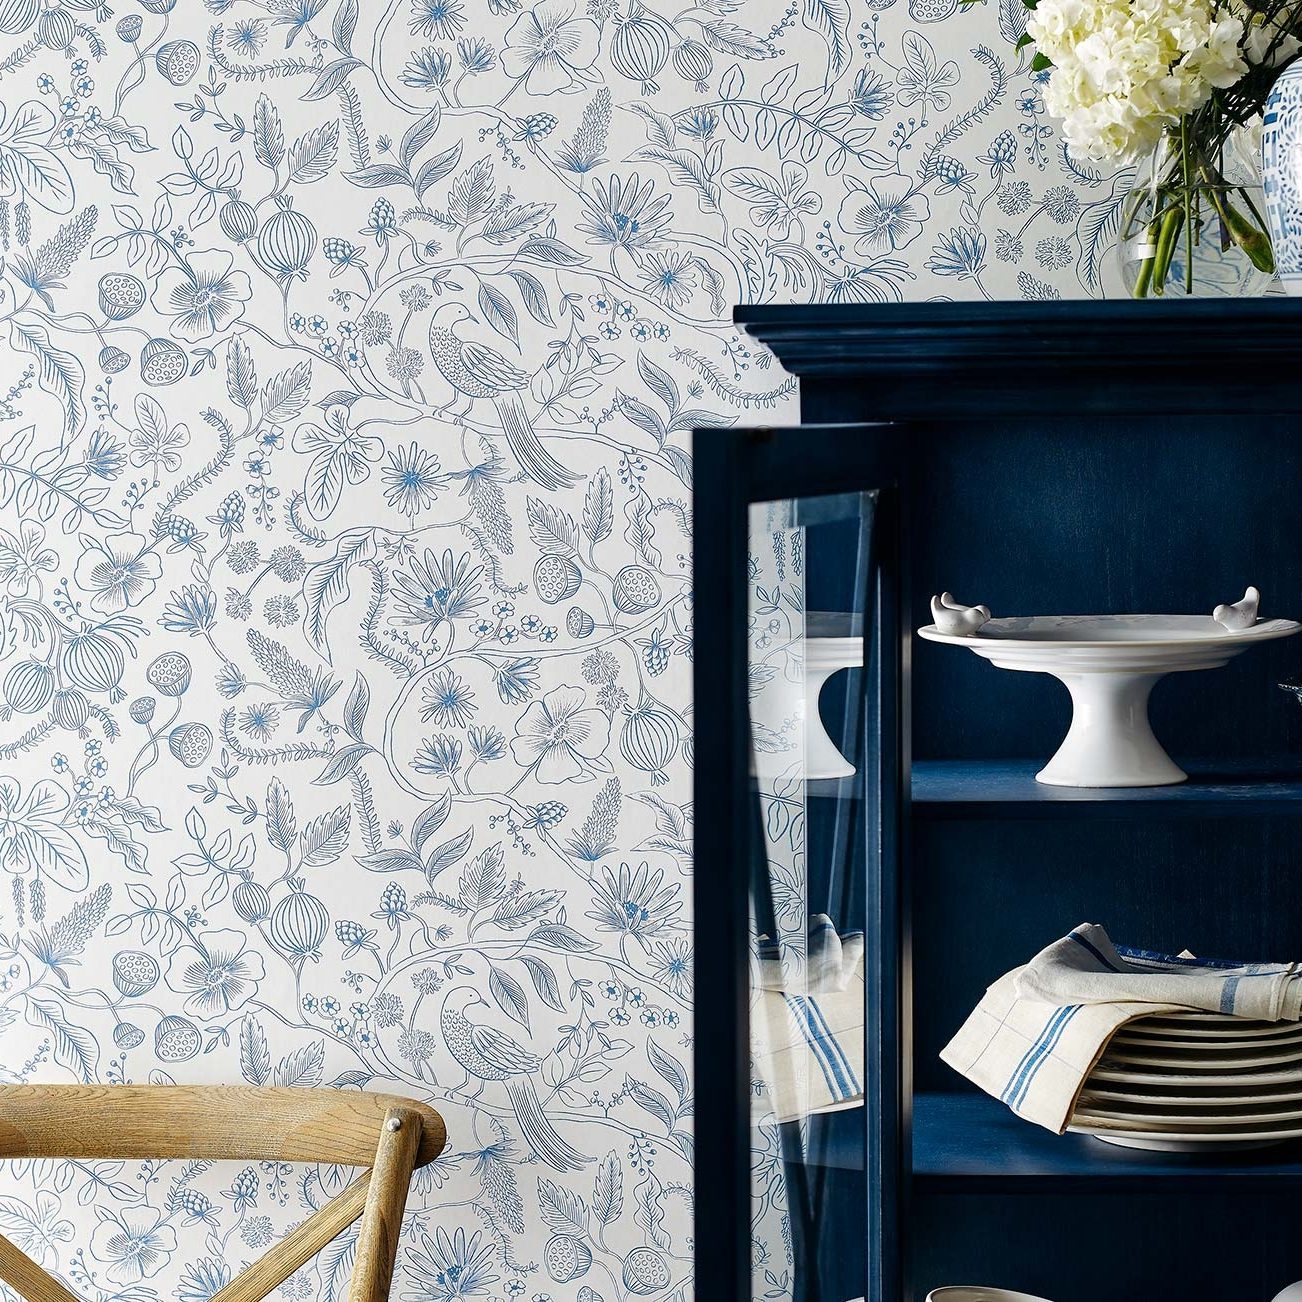
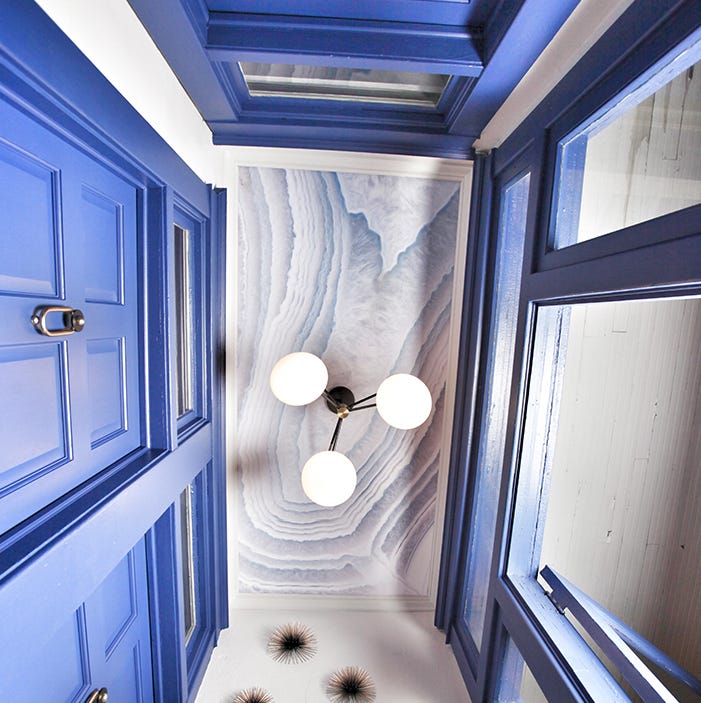
The article outlines several common mistakes to avoid during wallpaper installation. Firstly, it recommends choosing dense or busy patterns, as these are more forgiving and effectively conceal imperfections on older walls, citing an example from Emily Henderson Design. Secondly, it clarifies that pre-pasted wallpaper, which becomes pliable when wet, is often easier to work with than peel-and-stick options, as the latter behaves like a large sticker and is harder to reposition. Thirdly, proper wall preparation, including spackling, light sanding, and priming, is crucial for optimal adhesive bonding. Fourthly, prompt cleaning of any spilled paste is essential to prevent damage to the wallpaper surface. Lastly, using a sharp, segmented utility knife is advised to prevent tearing the paper.
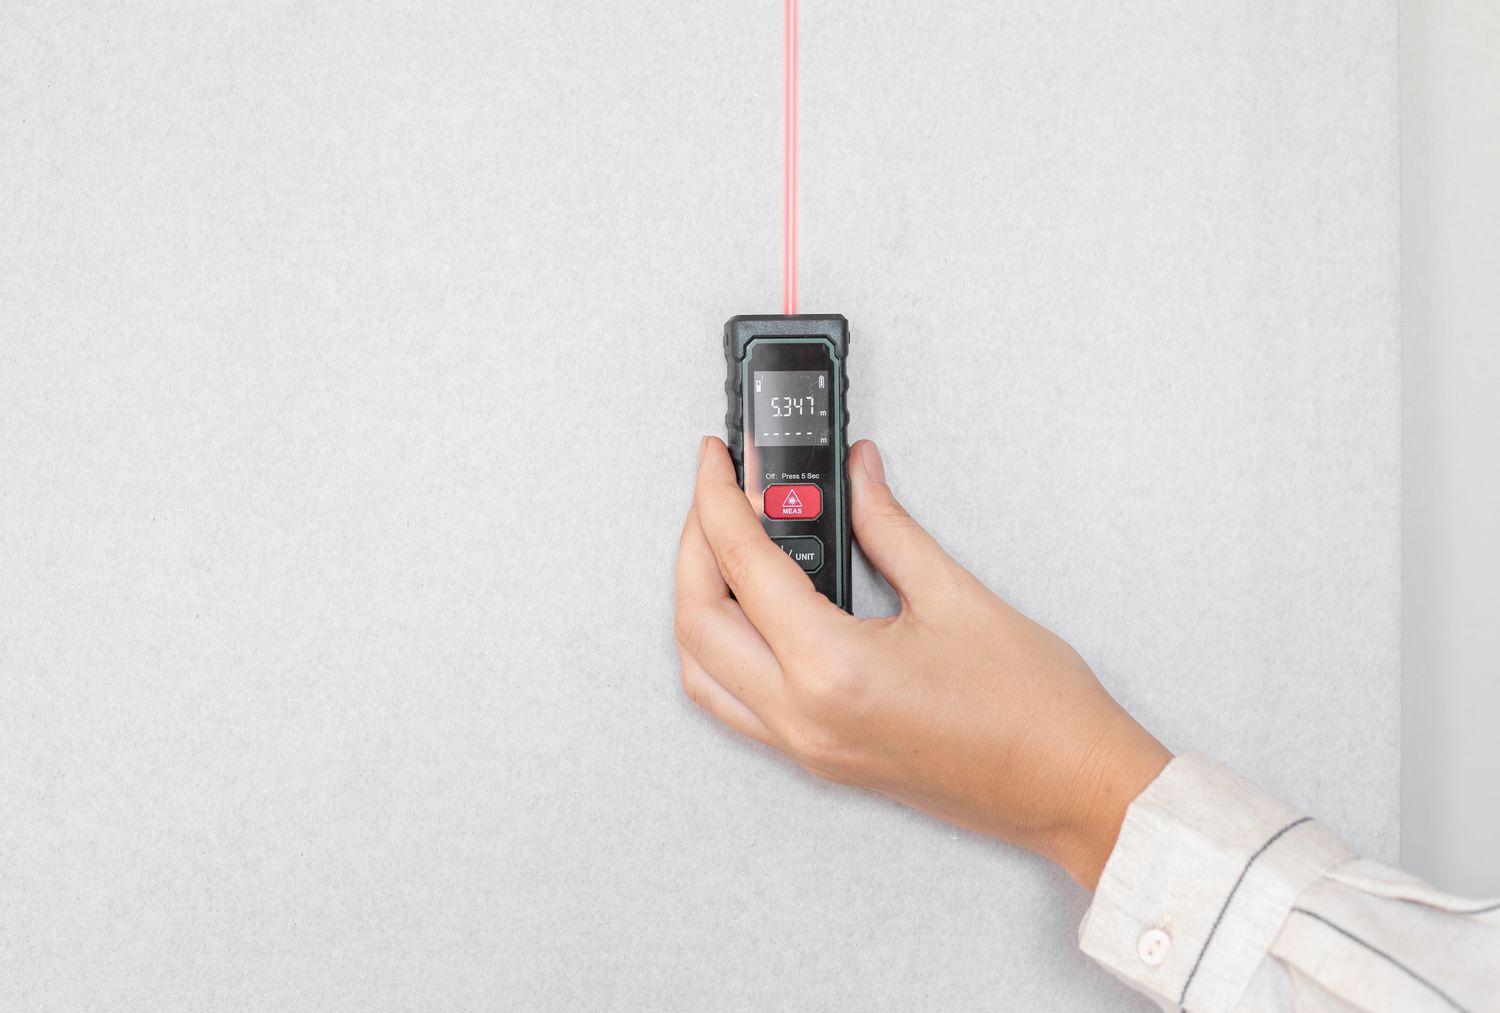
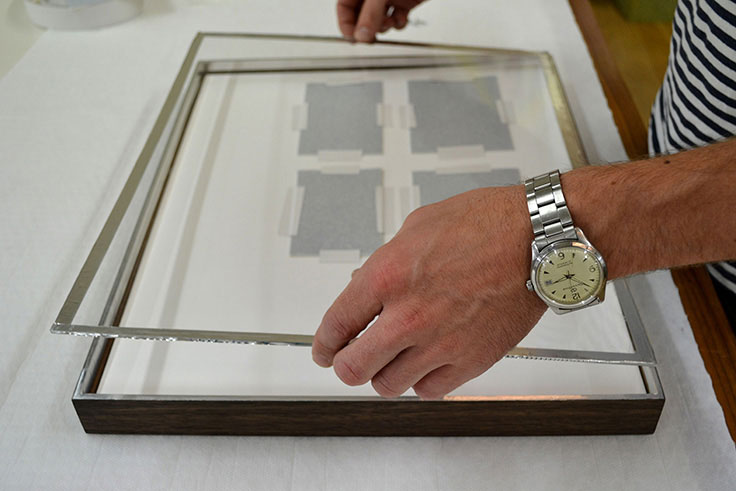
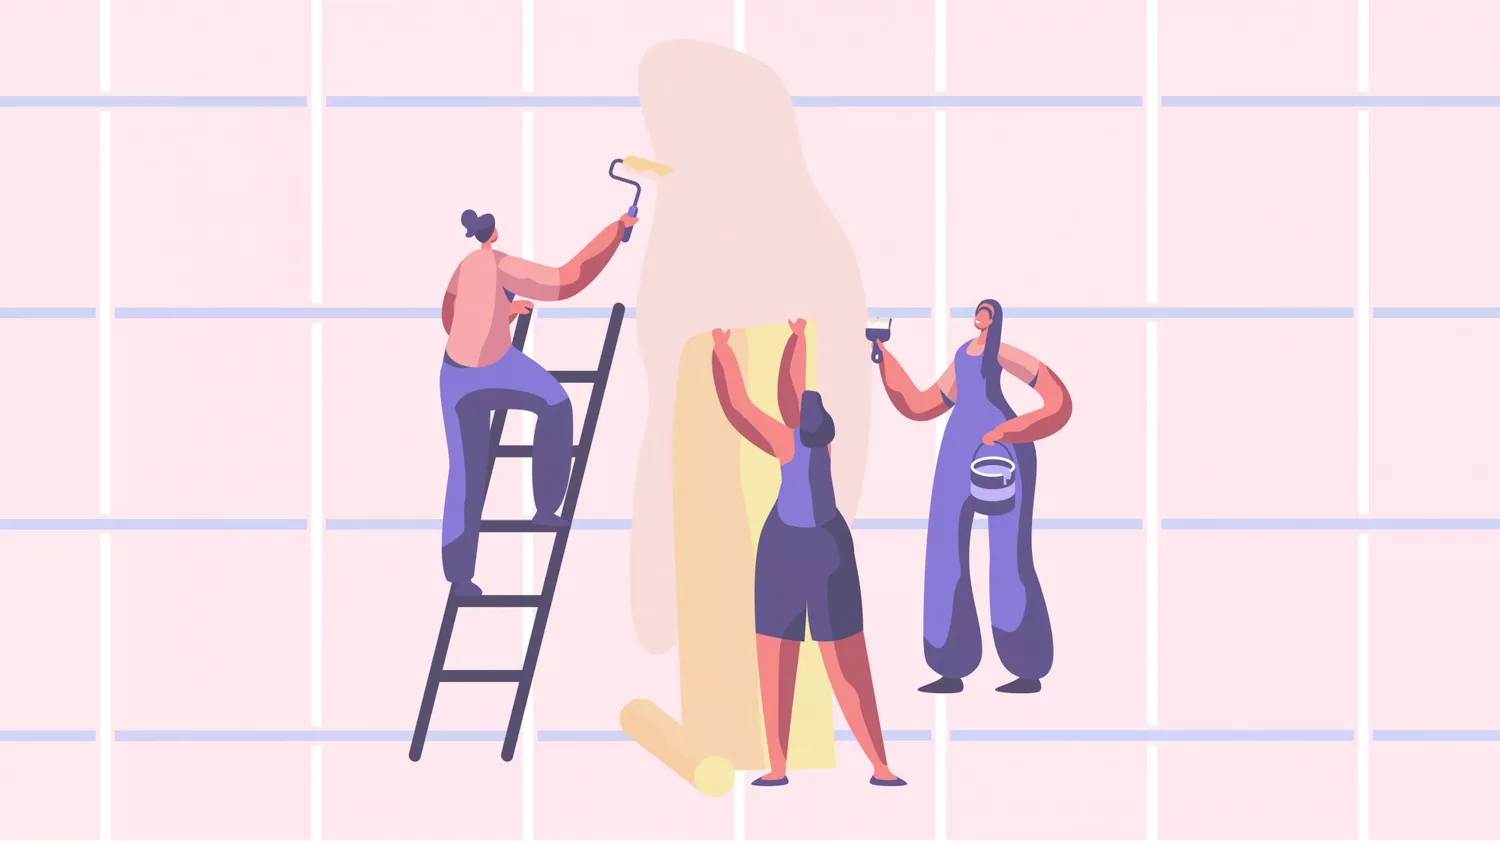
Guidance is provided on calculating the amount of wallpaper needed, suggesting a calculation based on wall square footage and adding 10-20% extra for mistakes and future repairs. The article then details the supplies required for hanging permanent wallpaper, including a ladder, fine sandpaper, pencil, tape measure, ruler, metal straightedge, segmented utility knife, sharp scissors, paint roller, primer, heavy-duty premixed clear paste, wallpaper smoother, broad knife, seam roller, microfiber towels, glue syringe, and baby wipes. It emphasizes that this is a two-person project for amateurs.
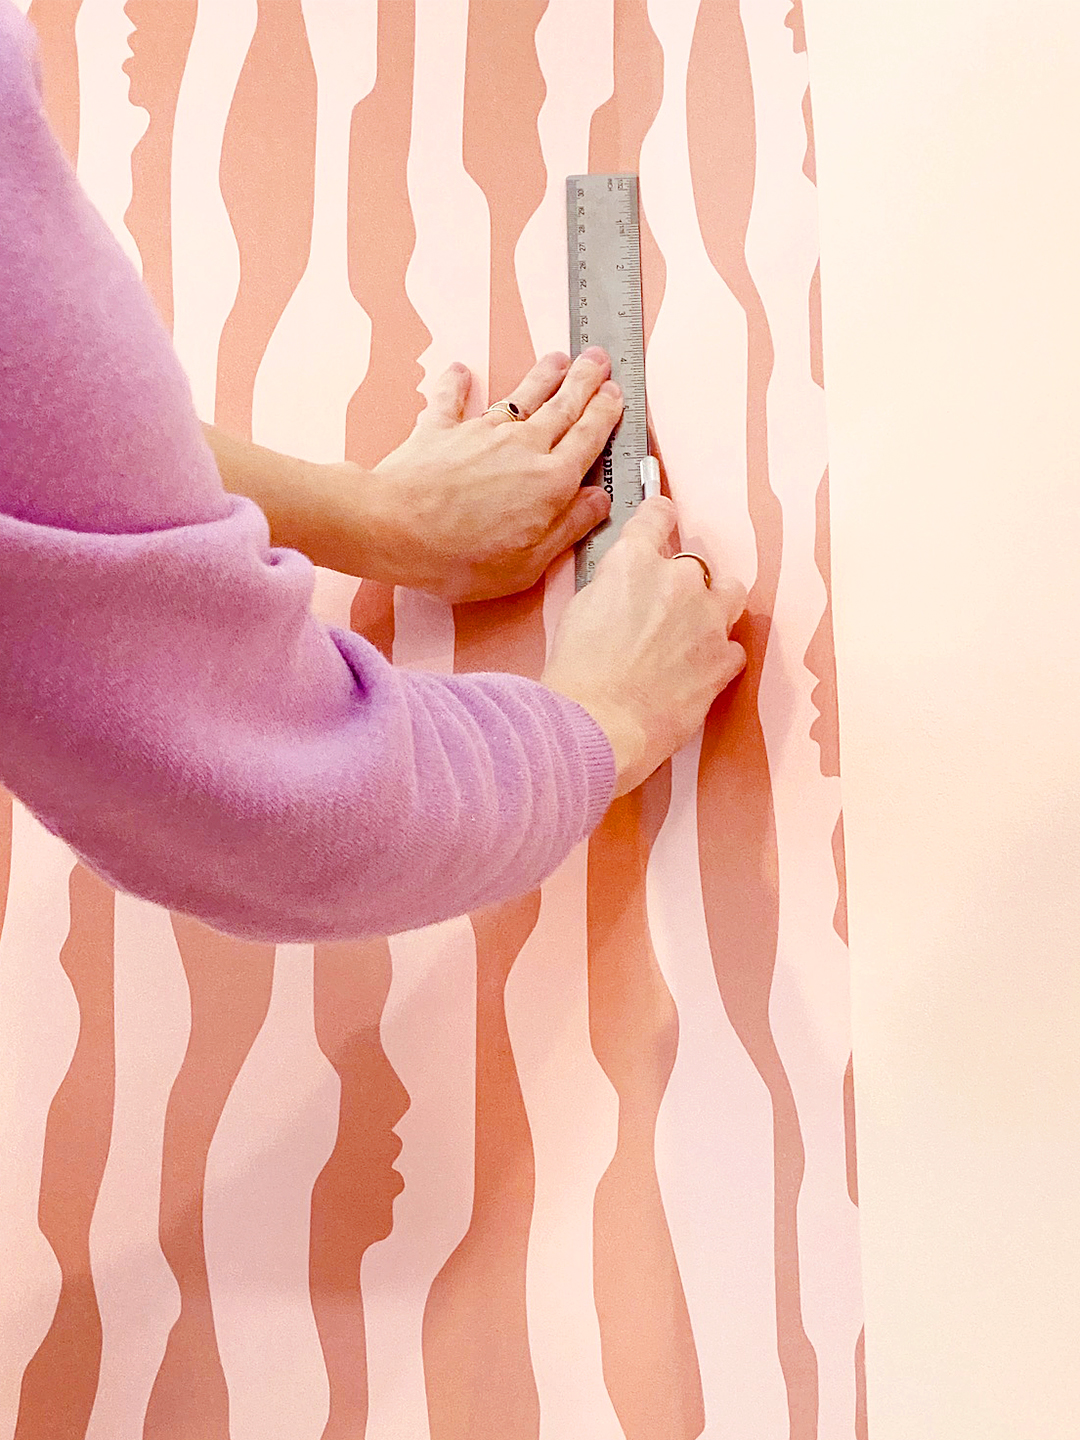
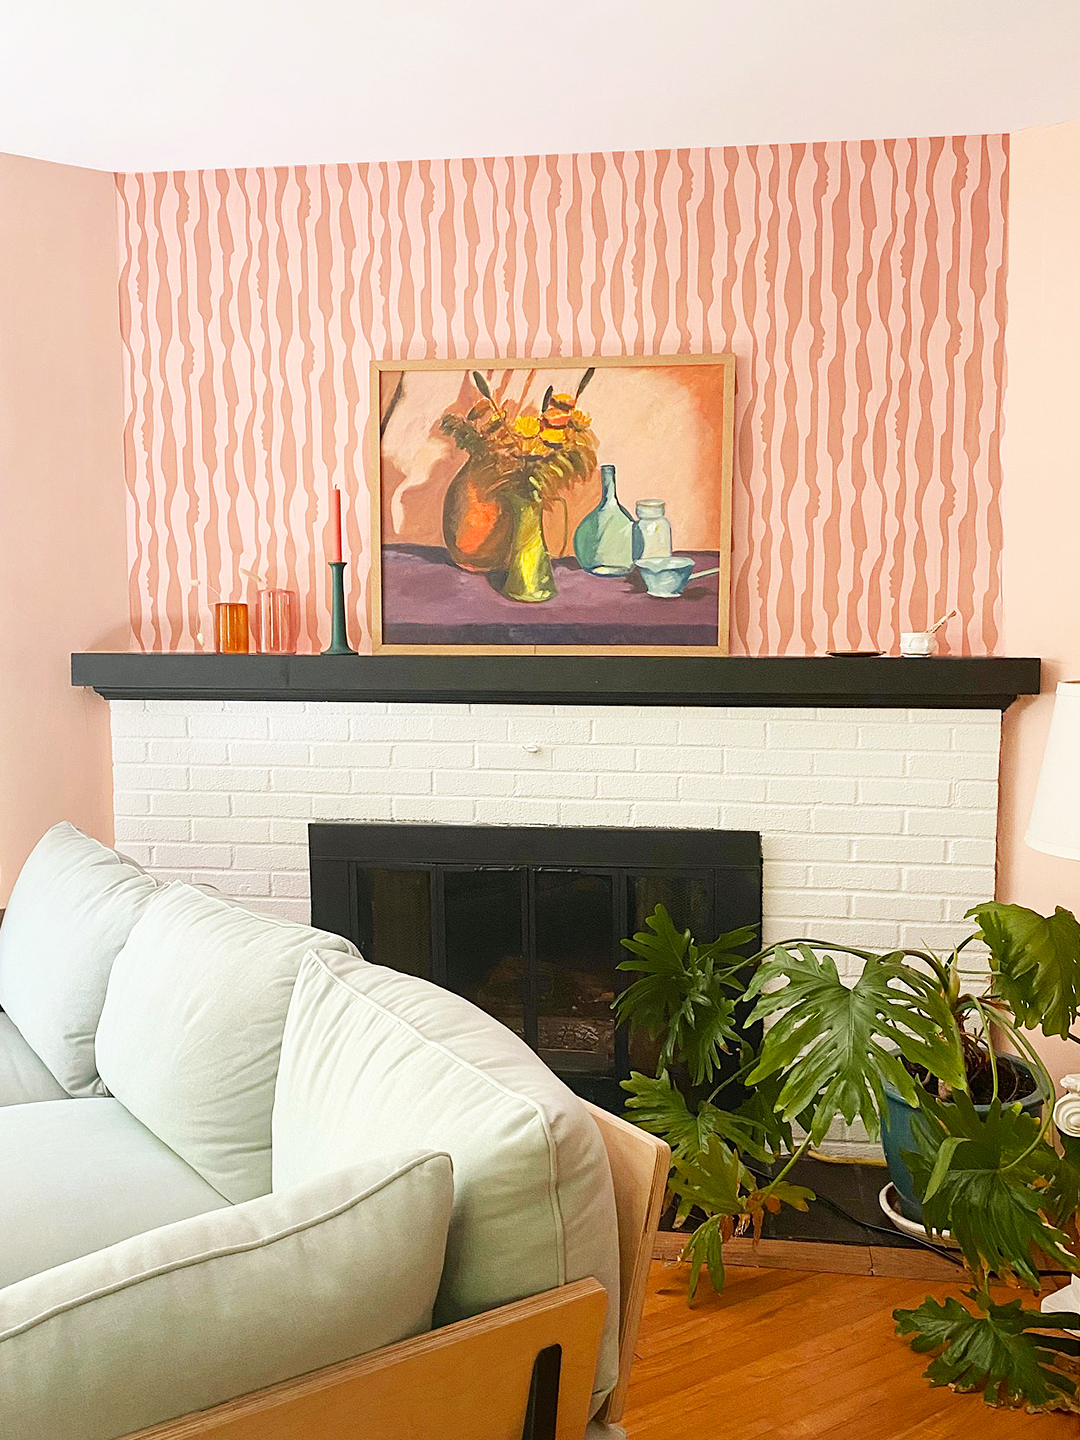
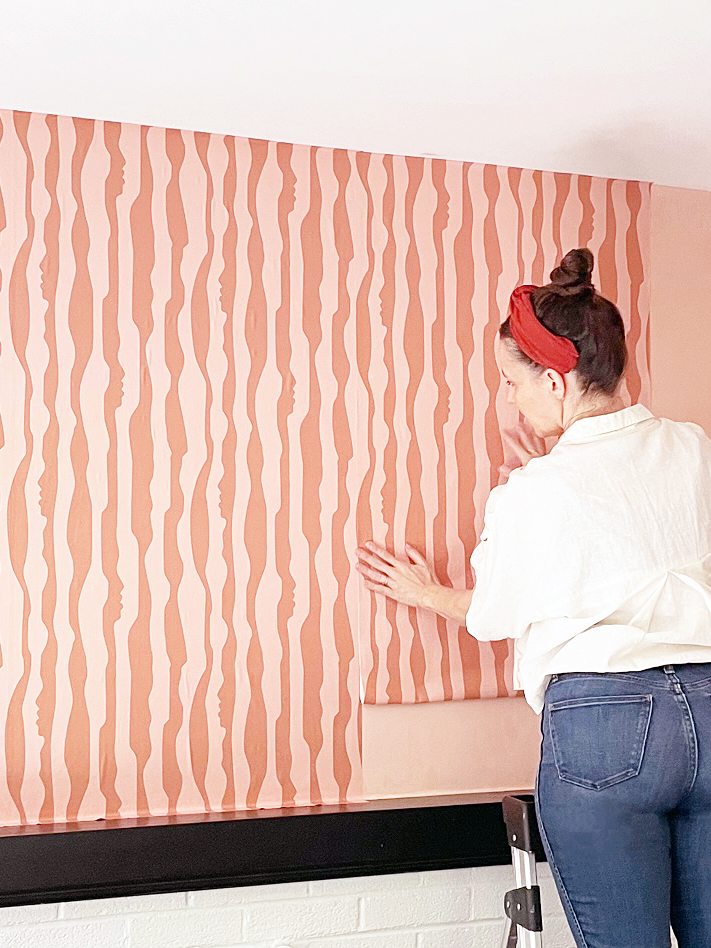
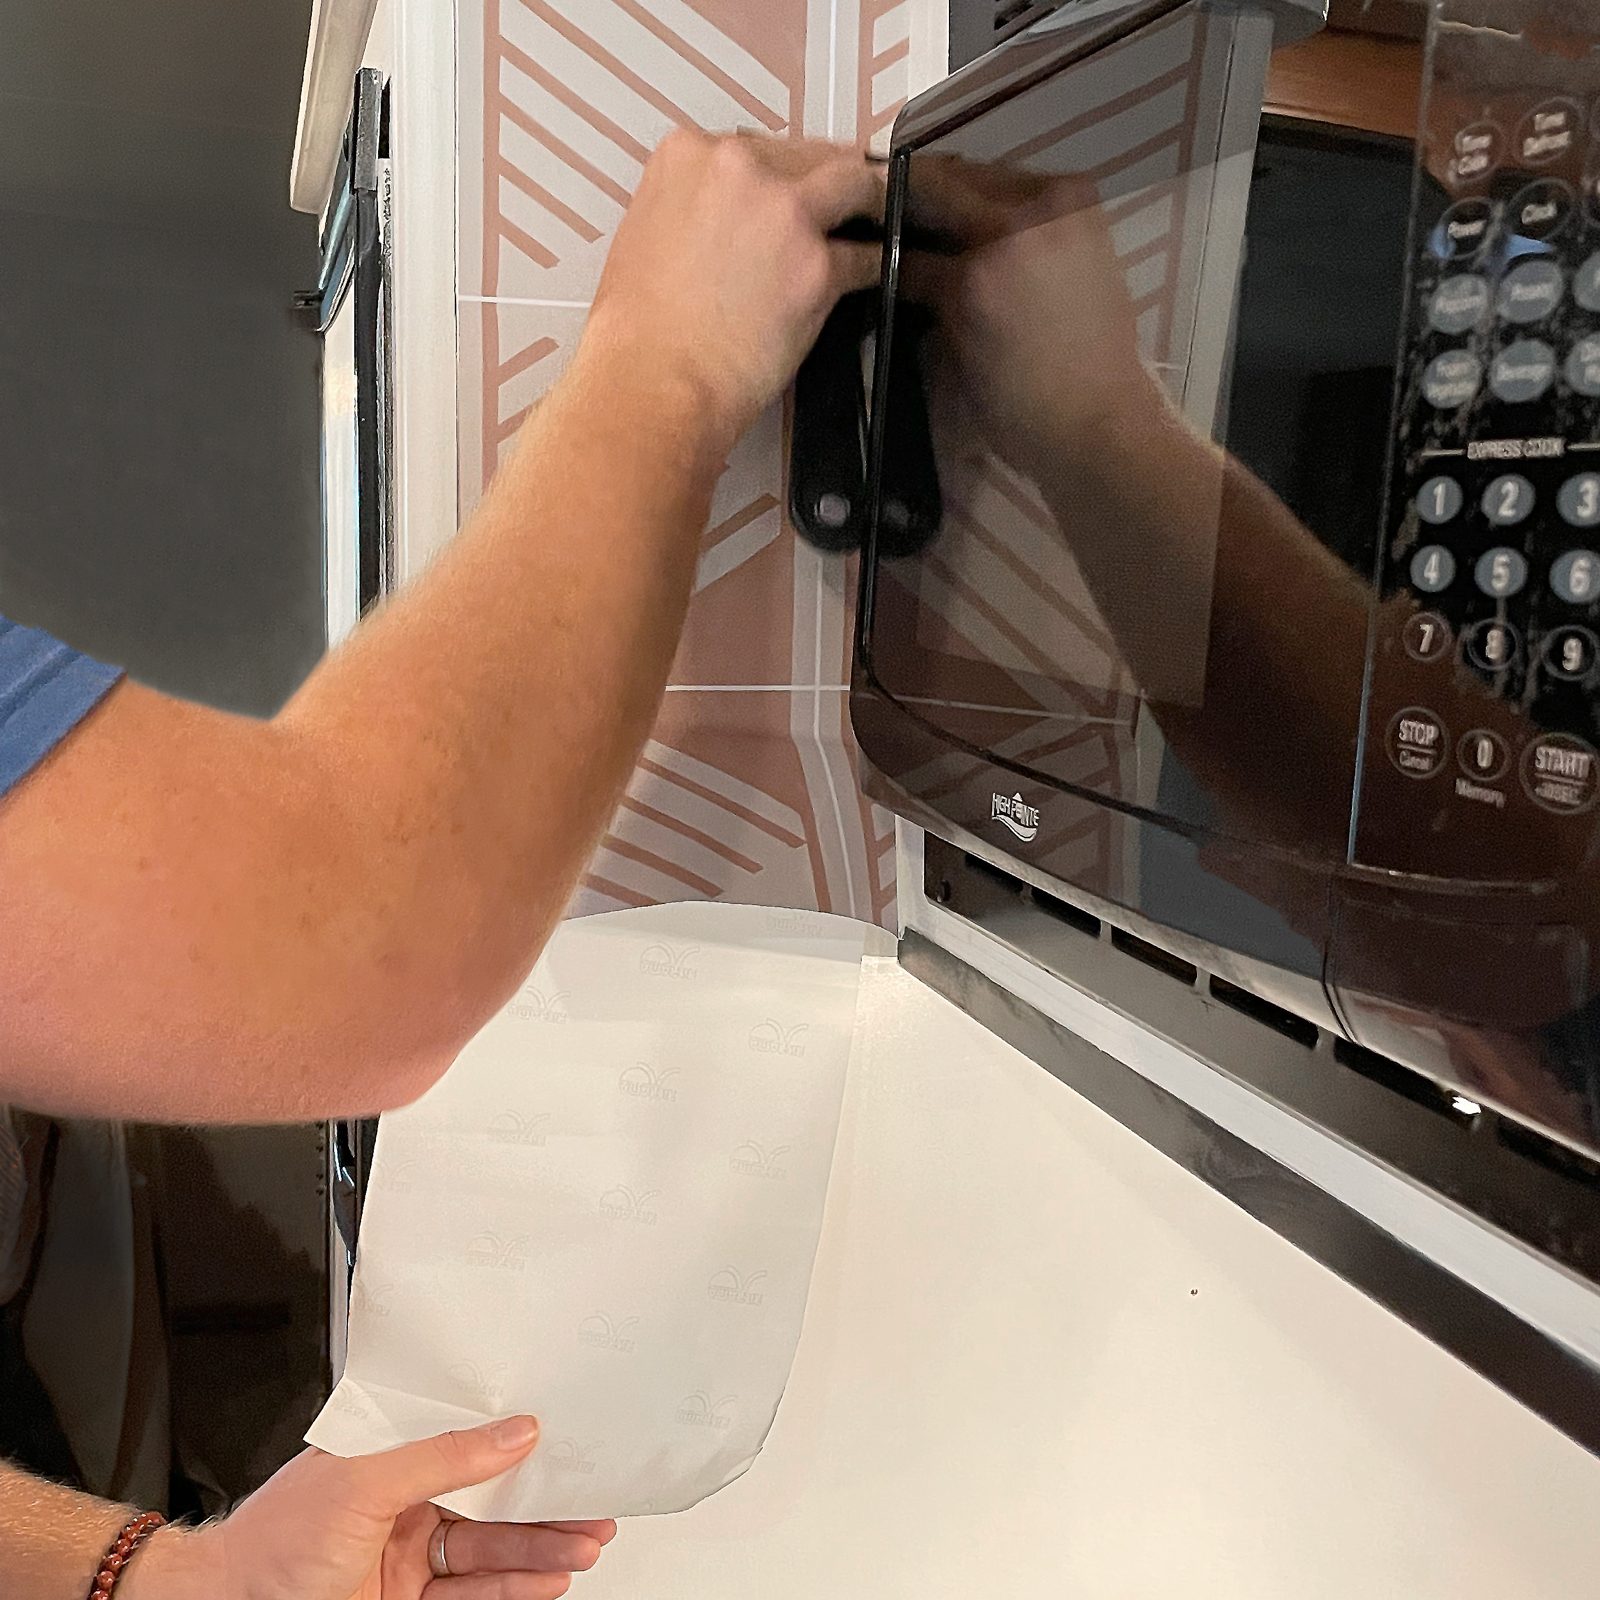
The step-by-step installation process for a statement wall begins with surface preparation, including spackling holes, sanding, cleaning, and priming the walls. This is followed by measuring and cutting the wallpaper strips, ensuring an extra 4 inches for the 'drop length' and careful alignment of patterns. The article elaborates on how to apply the paste evenly and accordion-fold the paper for easier handling. Subsequent steps cover hanging the first strip, repeating the process for additional sheets, smoothing seams with a seam roller, cleaning up edges with a straightedge and utility knife after drying, and addressing any air pockets with a glue syringe. A final section briefly covers the differences when using pre-pasted wallpaper, noting that these are often pre-trimmed and simplify the process of activating the adhesive and pattern matching.
Overall, the article serves as a practical guide for those considering installing permanent wallpaper, emphasizing careful planning, appropriate tools, and patience to achieve a successful outcome, particularly for smaller, manageable projects. It also stresses the importance of understanding the material and being prepared for the nuances that come with using permanent adhesive.
#WallpaperInstallation #DIYHomeDecor #InteriorDesign #HomeRenovation #AccentWall #PermanentWallpaper #HomeImprovement #DesignTips #WallpaperInstallation #DIYHomeDecor #InteriorDesign #HomeRenovation #AccentWall #PermanentWallpaper #HomeImprovement #DesignTips
0 comment in total
You may also like

How to Hang Wallpaper (the Permanent Kind!)
'No forking way!' – this genius hack might have just solved our biggest problem with hanging art on a wall
12 unique wallpaper ideas for renters and homeowners at every budget

8 Common Wallpaper Mistakes (and How to Fix Them)


How to Hang Wallpaper (the Permanent Kind!)


How to hang paintings: Everything you need to know
Tips for Applying Peel and Stick Wallpaper

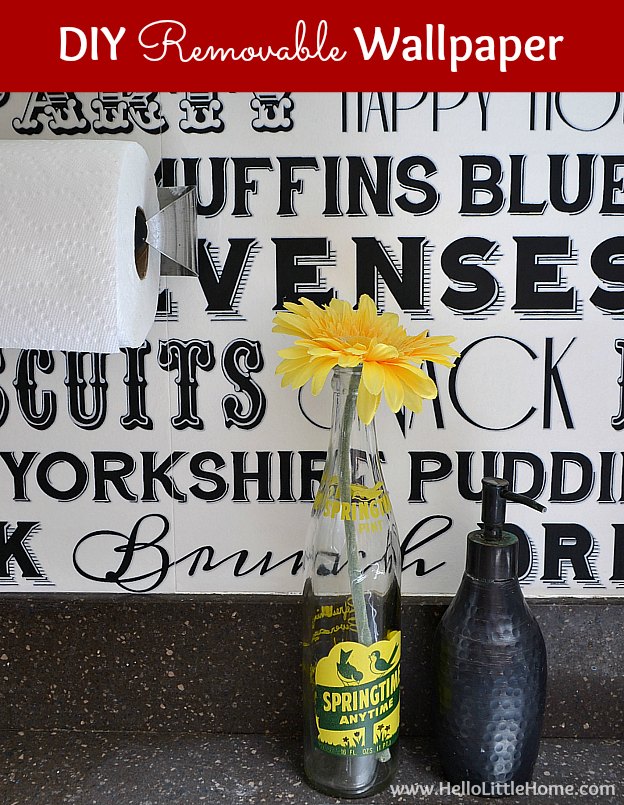
DIY Removable Wallpaper

How to Hang Wallpaper Yourself in 8 Simple Steps, Straight from a Pro

A real person’s 5-step guide to putting up temporary wallpaper

Yes, You Can Hang Art Like a Pro | Reviews by Wirecutter
How to install fabric walling – the unique alternative to wallpaper

7 Simple Steps for Hanging Wallpaper Yourself

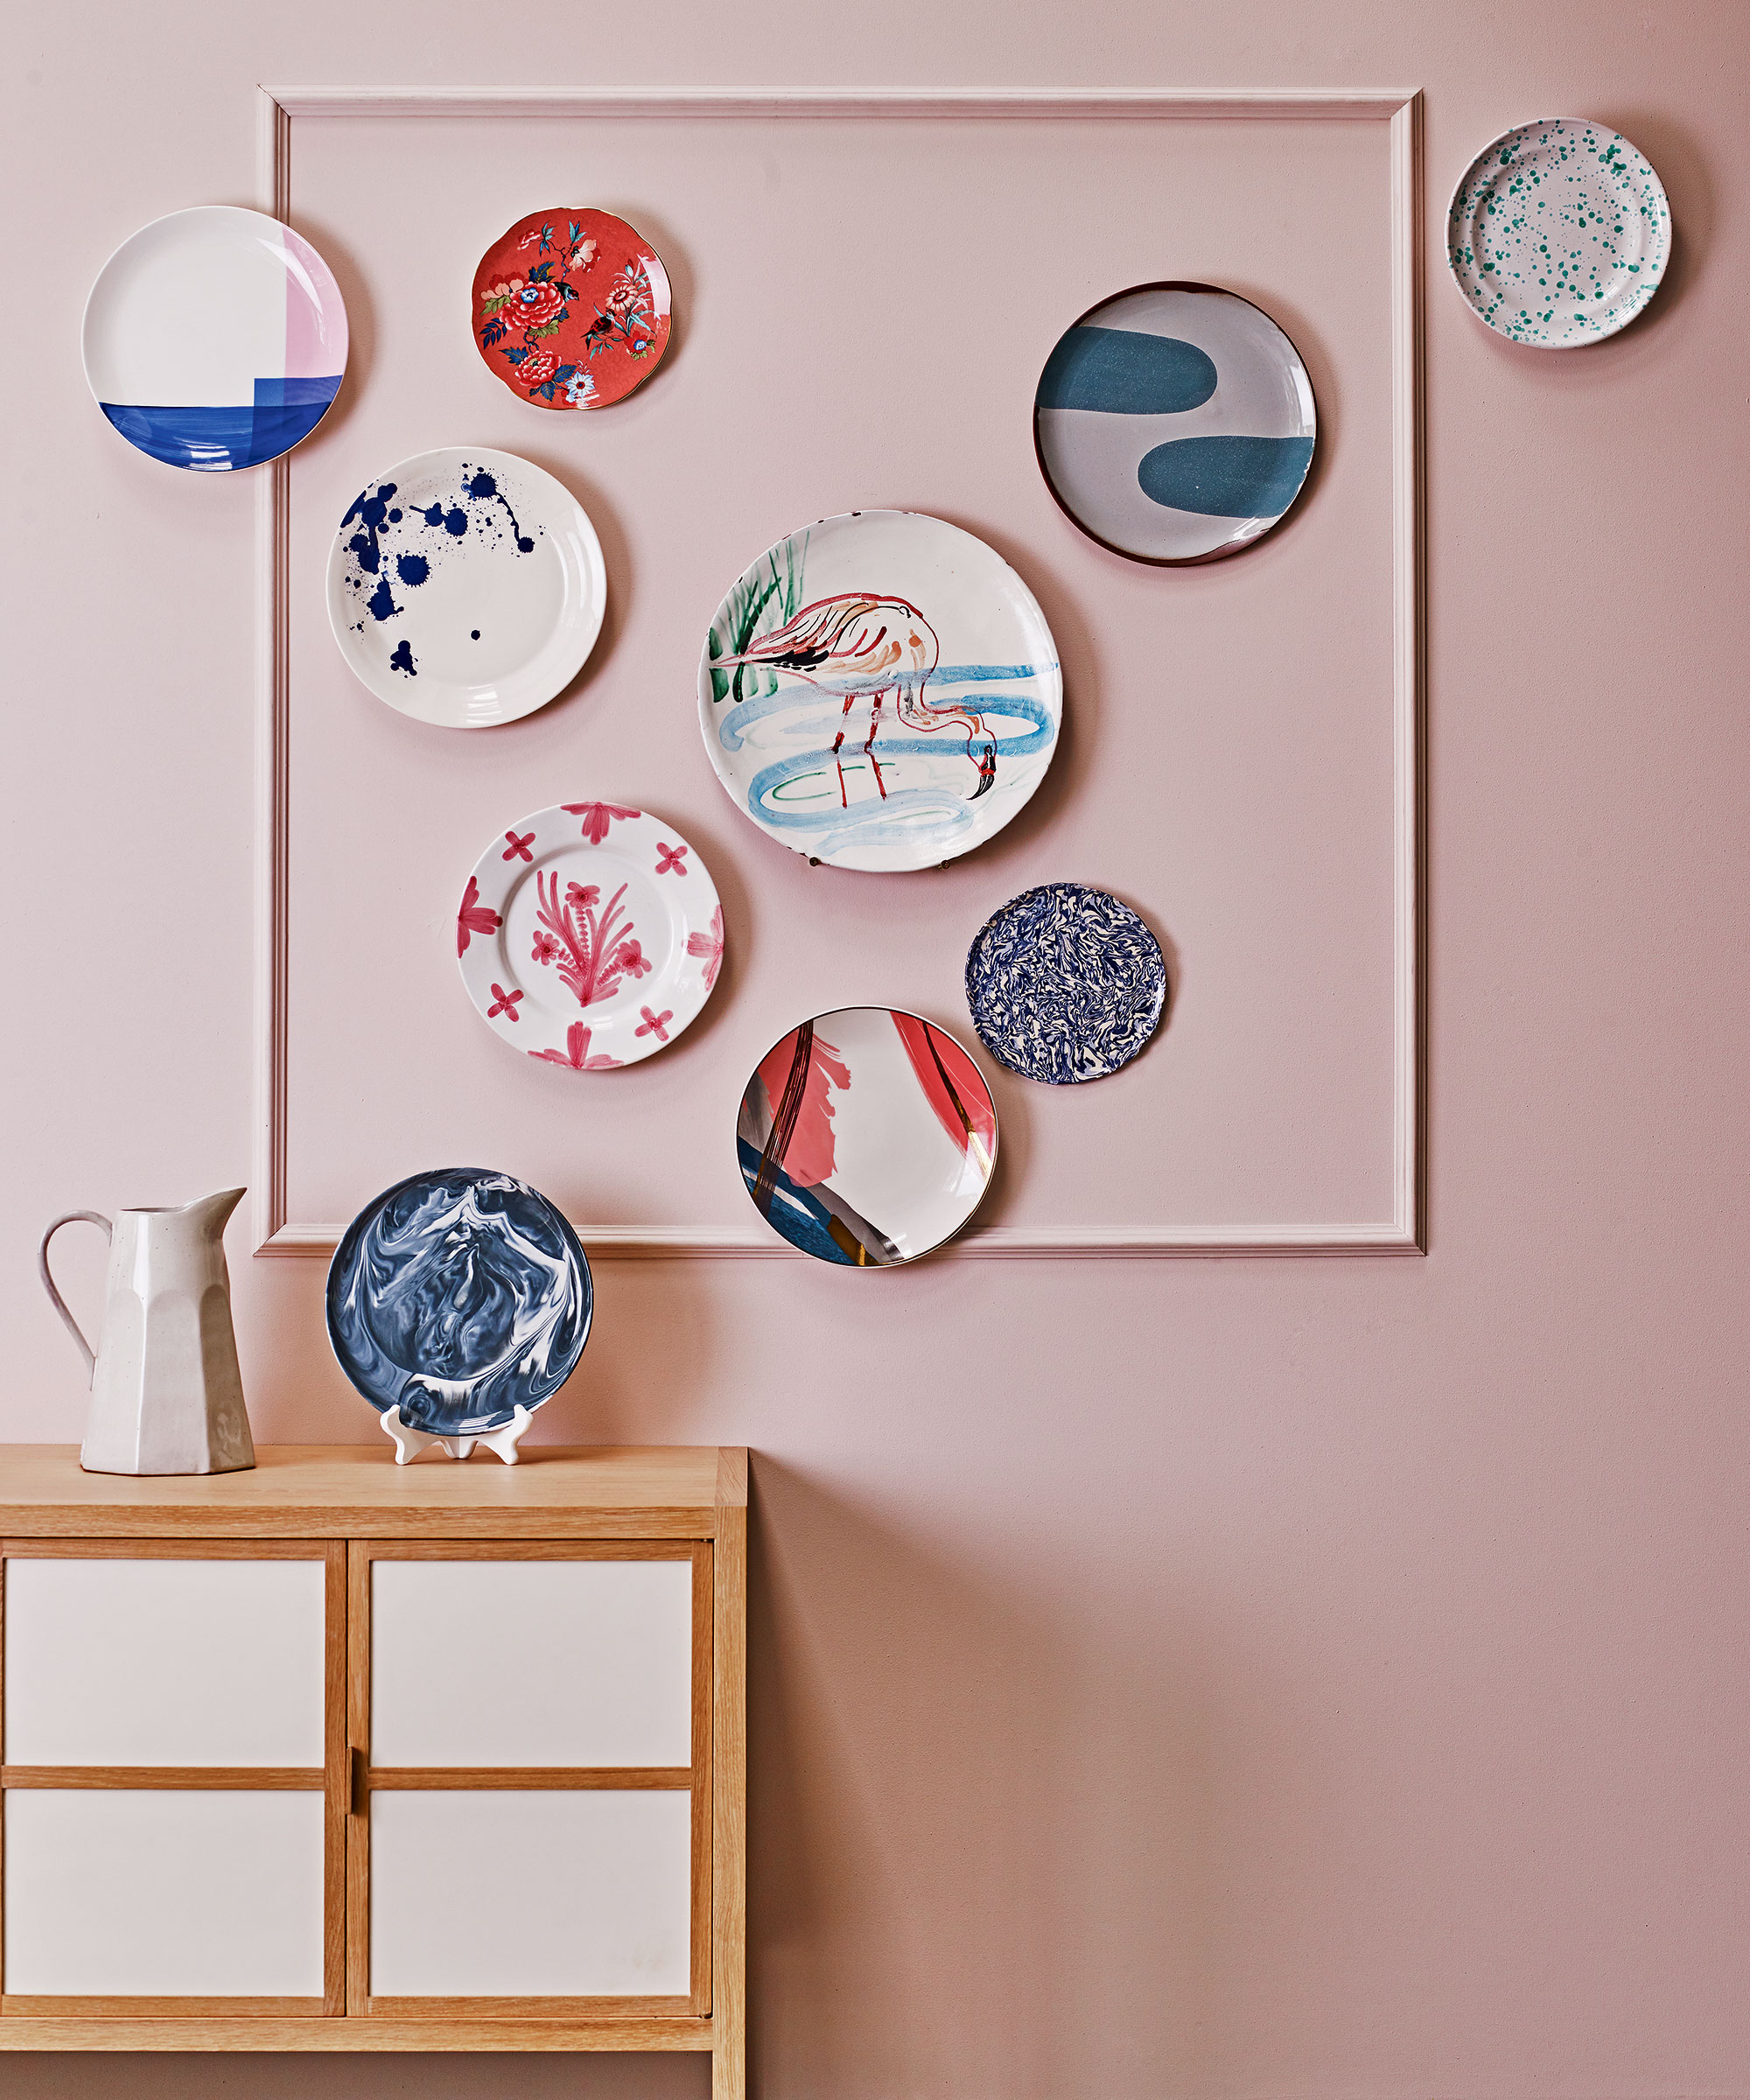
7 DIY tips for how to hang a gallery wall from experts

13 Creative Ways to Use Peel-and-Stick Wallpaper

Wallpaper

Peel-and-stick wallpaper tips and shopping

12 Best Peel-and-Stick Wallpapers
Designer-Approved Ways to Add Wallpaper to Your Space

Wallpaper Paste