This Is The Best Way To Hang Pictures, According To An Expert
Properly hanging pictures is a crucial step in completing a room's decor, adding visual interest and a finishing touch to bare walls. While it might seem straightforward, hanging pictures, whether individual pieces or an entire gallery wall, requires careful consideration of hardware installation, frame leveling, and thoughtful placement. Lucie Voves, CEO and founder of custom frame company Church Hill Classics, provides expert guidance on the best methods for achieving a professional look.
Before embarking on the hanging process, two initial steps are essential: determining eye level and planning the frame's placement. Voves advises hanging pictures at eye level, specifically 55-60 inches from the ground, to ensure they are comfortably within the line of sight and not positioned too high or too low. To visualize the arrangement and avoid unnecessary holes, Voves suggests using paper templates cut to the exact size of the frames. These templates can be taped to the wall for a few days to assess the aesthetic and ensure satisfaction with the layout before any permanent alterations are made.
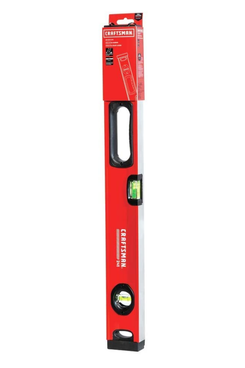
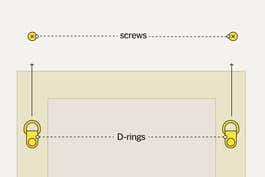
The hanging process begins by marking the template. Once the paper templates are in their desired positions, a level should be used to confirm each "frame" is perfectly straight. The next step involves measuring the distance from the top of the actual picture frame to its hanging hardware. This measurement is then transferred to the paper template, marking the precise spot where the hardware will be installed.
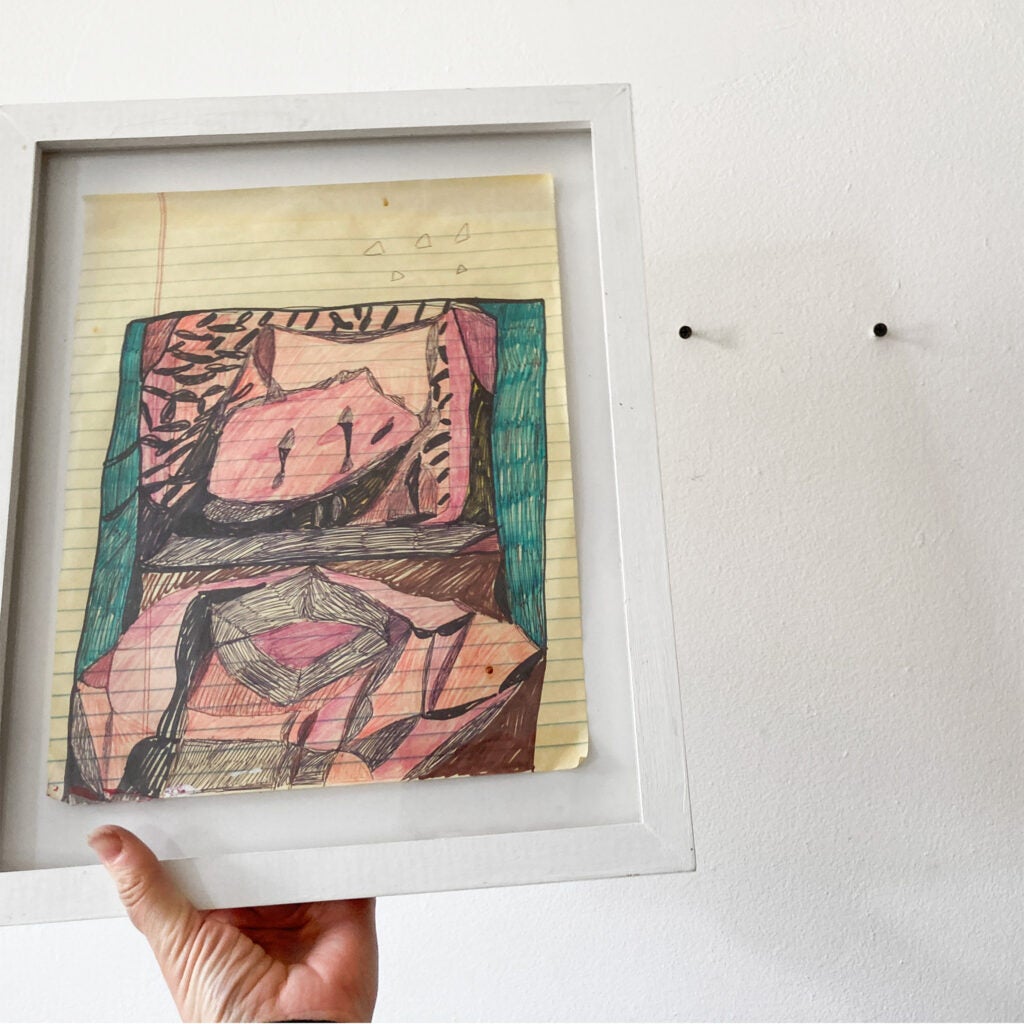
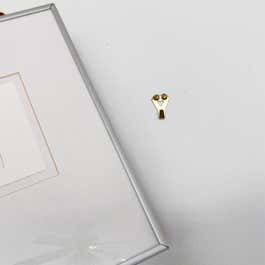
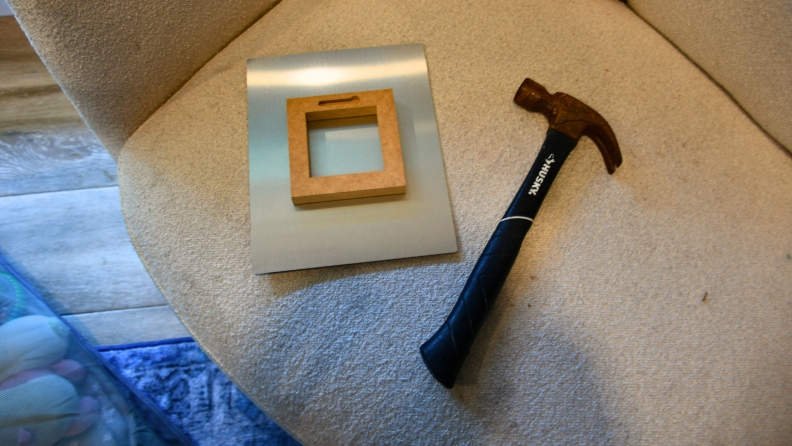
For installation, the type of hardware depends on the picture's weight. Lightweight frames may only require a few nails. A nail should be hammered into the marked spot on the template, leaving approximately 1/4 to 1/2 inch protruding from the wall. For heavier frames, anchors and screws are necessary. A drywall drill bit, matching the width of the anchor, is used to create a hole. The anchor is then inserted into this hole, followed by slowly drilling the screw into the anchor, again leaving about 1/4 to 1/2 inch of overhang.
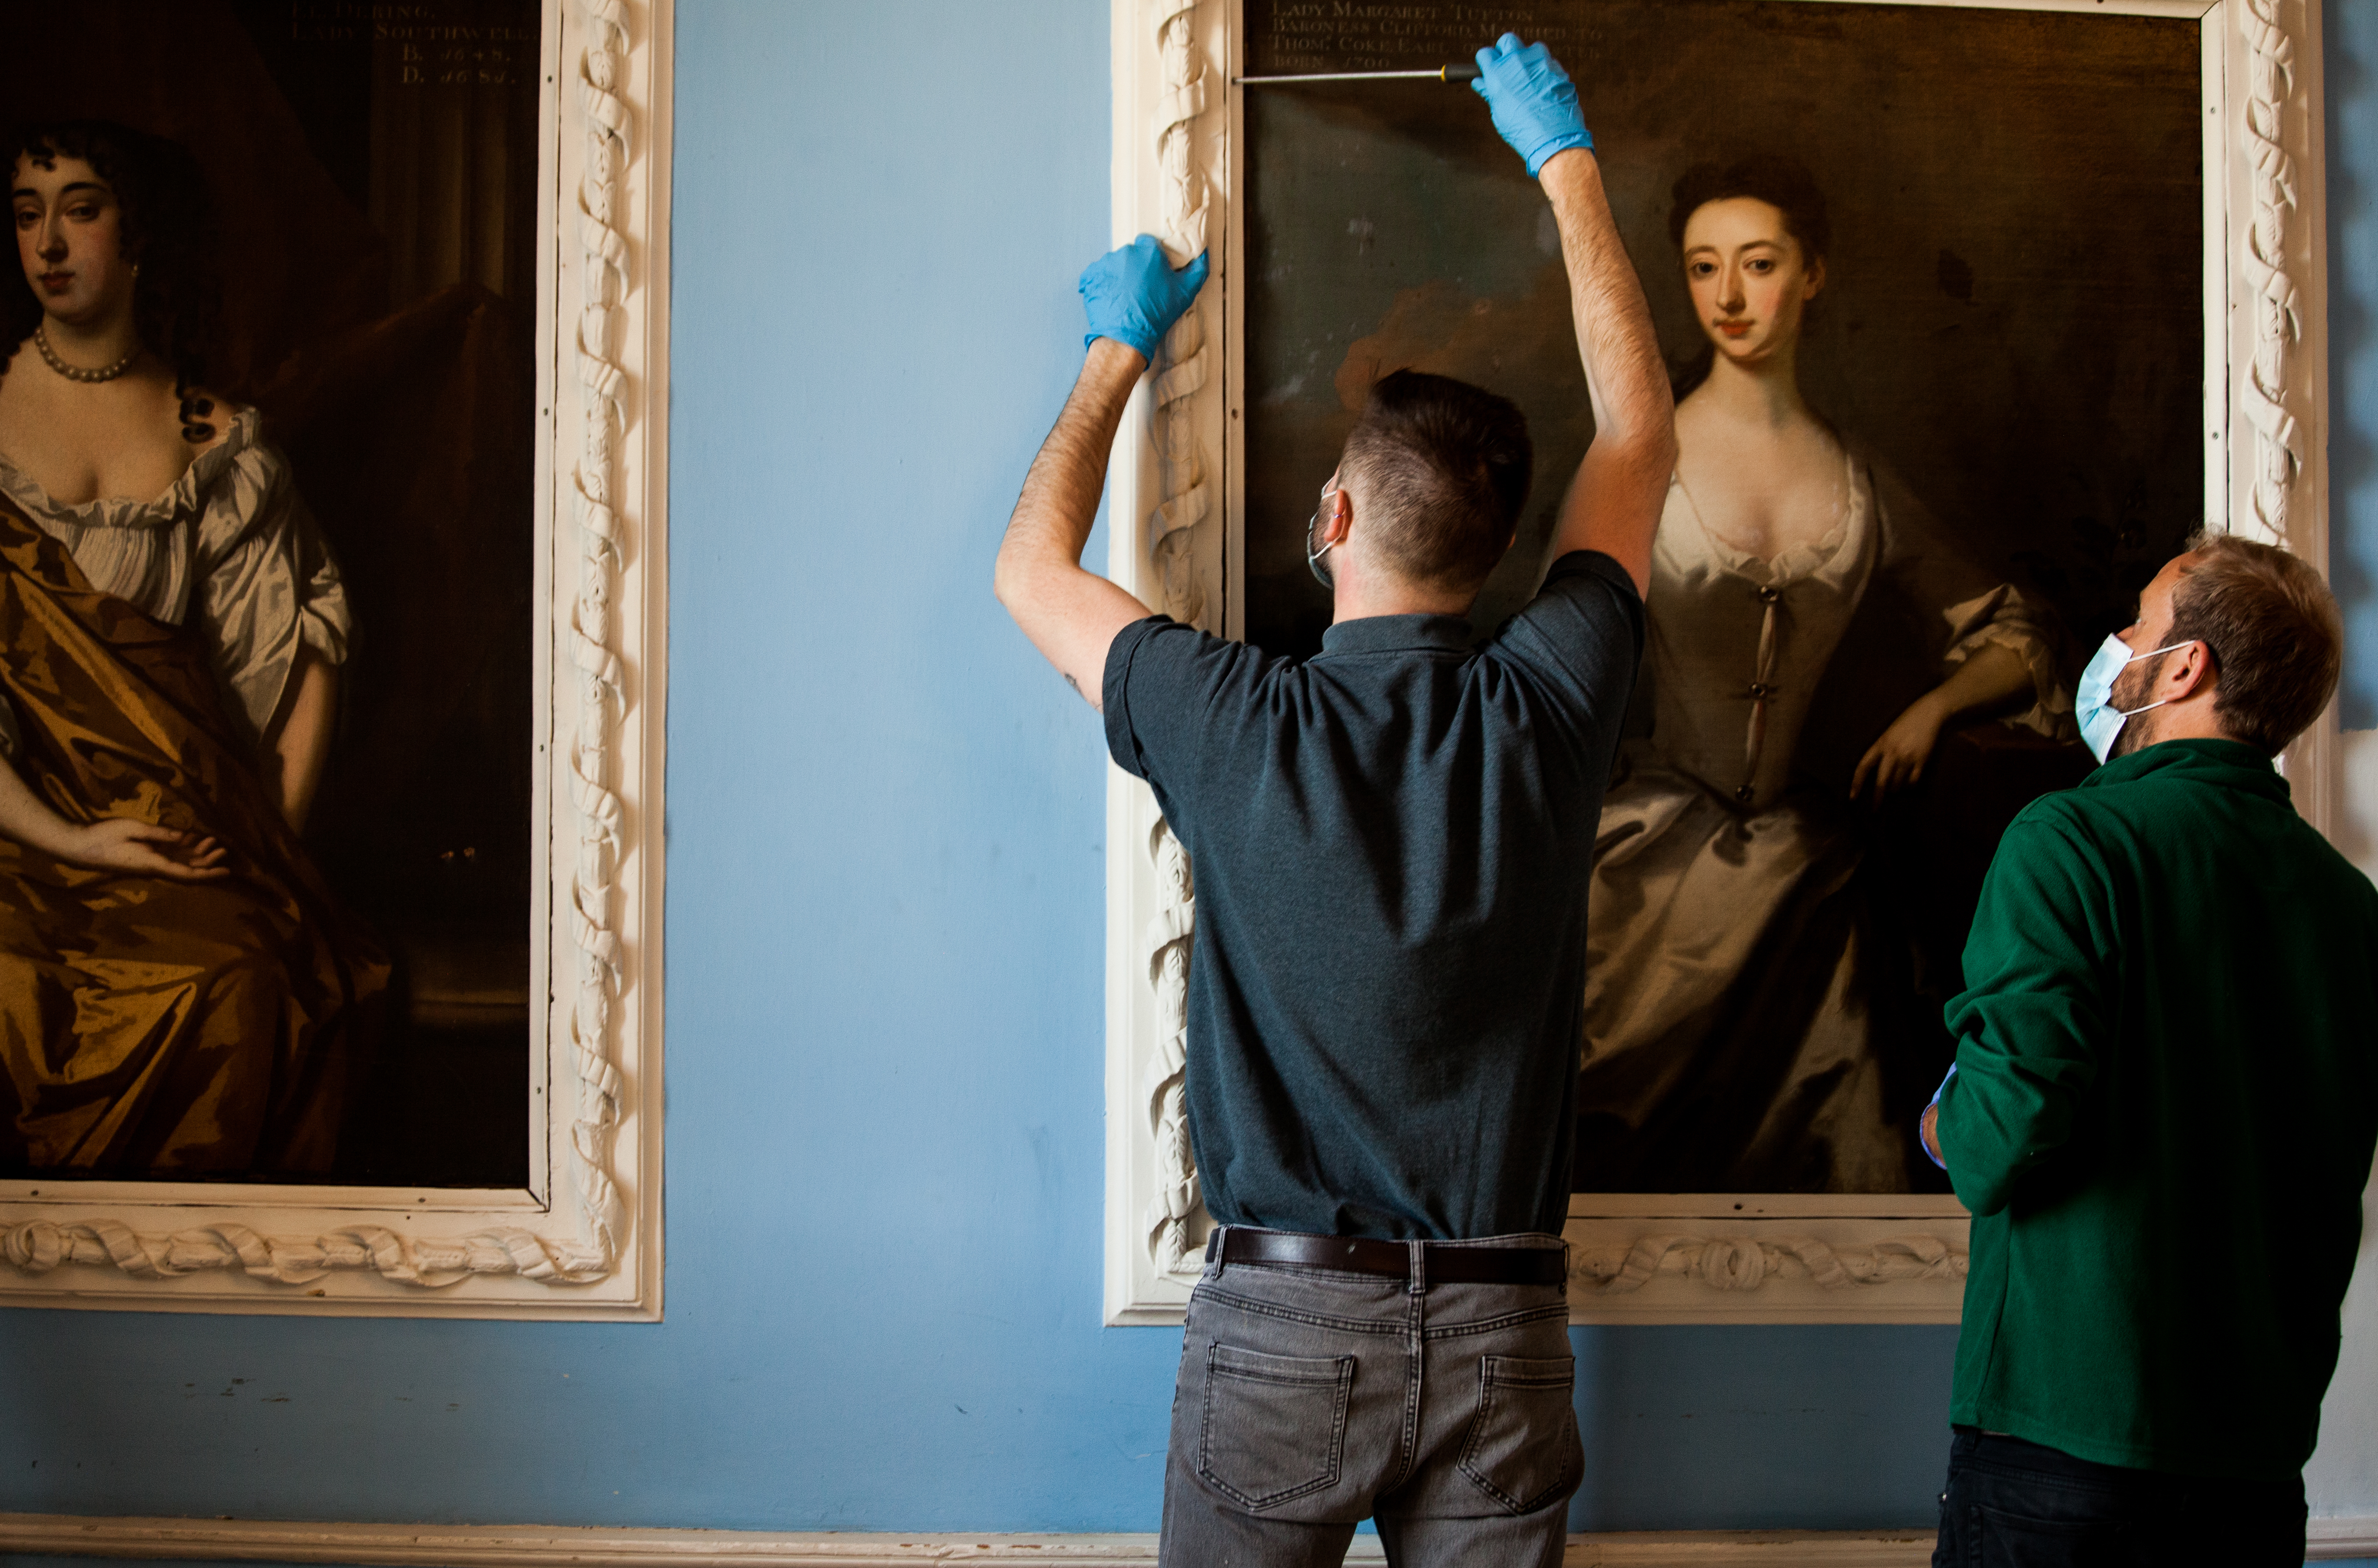
After the hardware is installed, the picture frame is placed onto it and gently wiggled to ensure security. If the frame is not stable, the hardware should be adjusted as needed. Once secure, the paper template is carefully removed from behind the screws or nails. A level is used one final time to verify that the frame is perfectly straight.
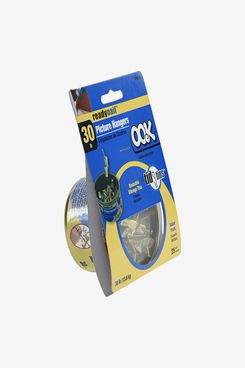
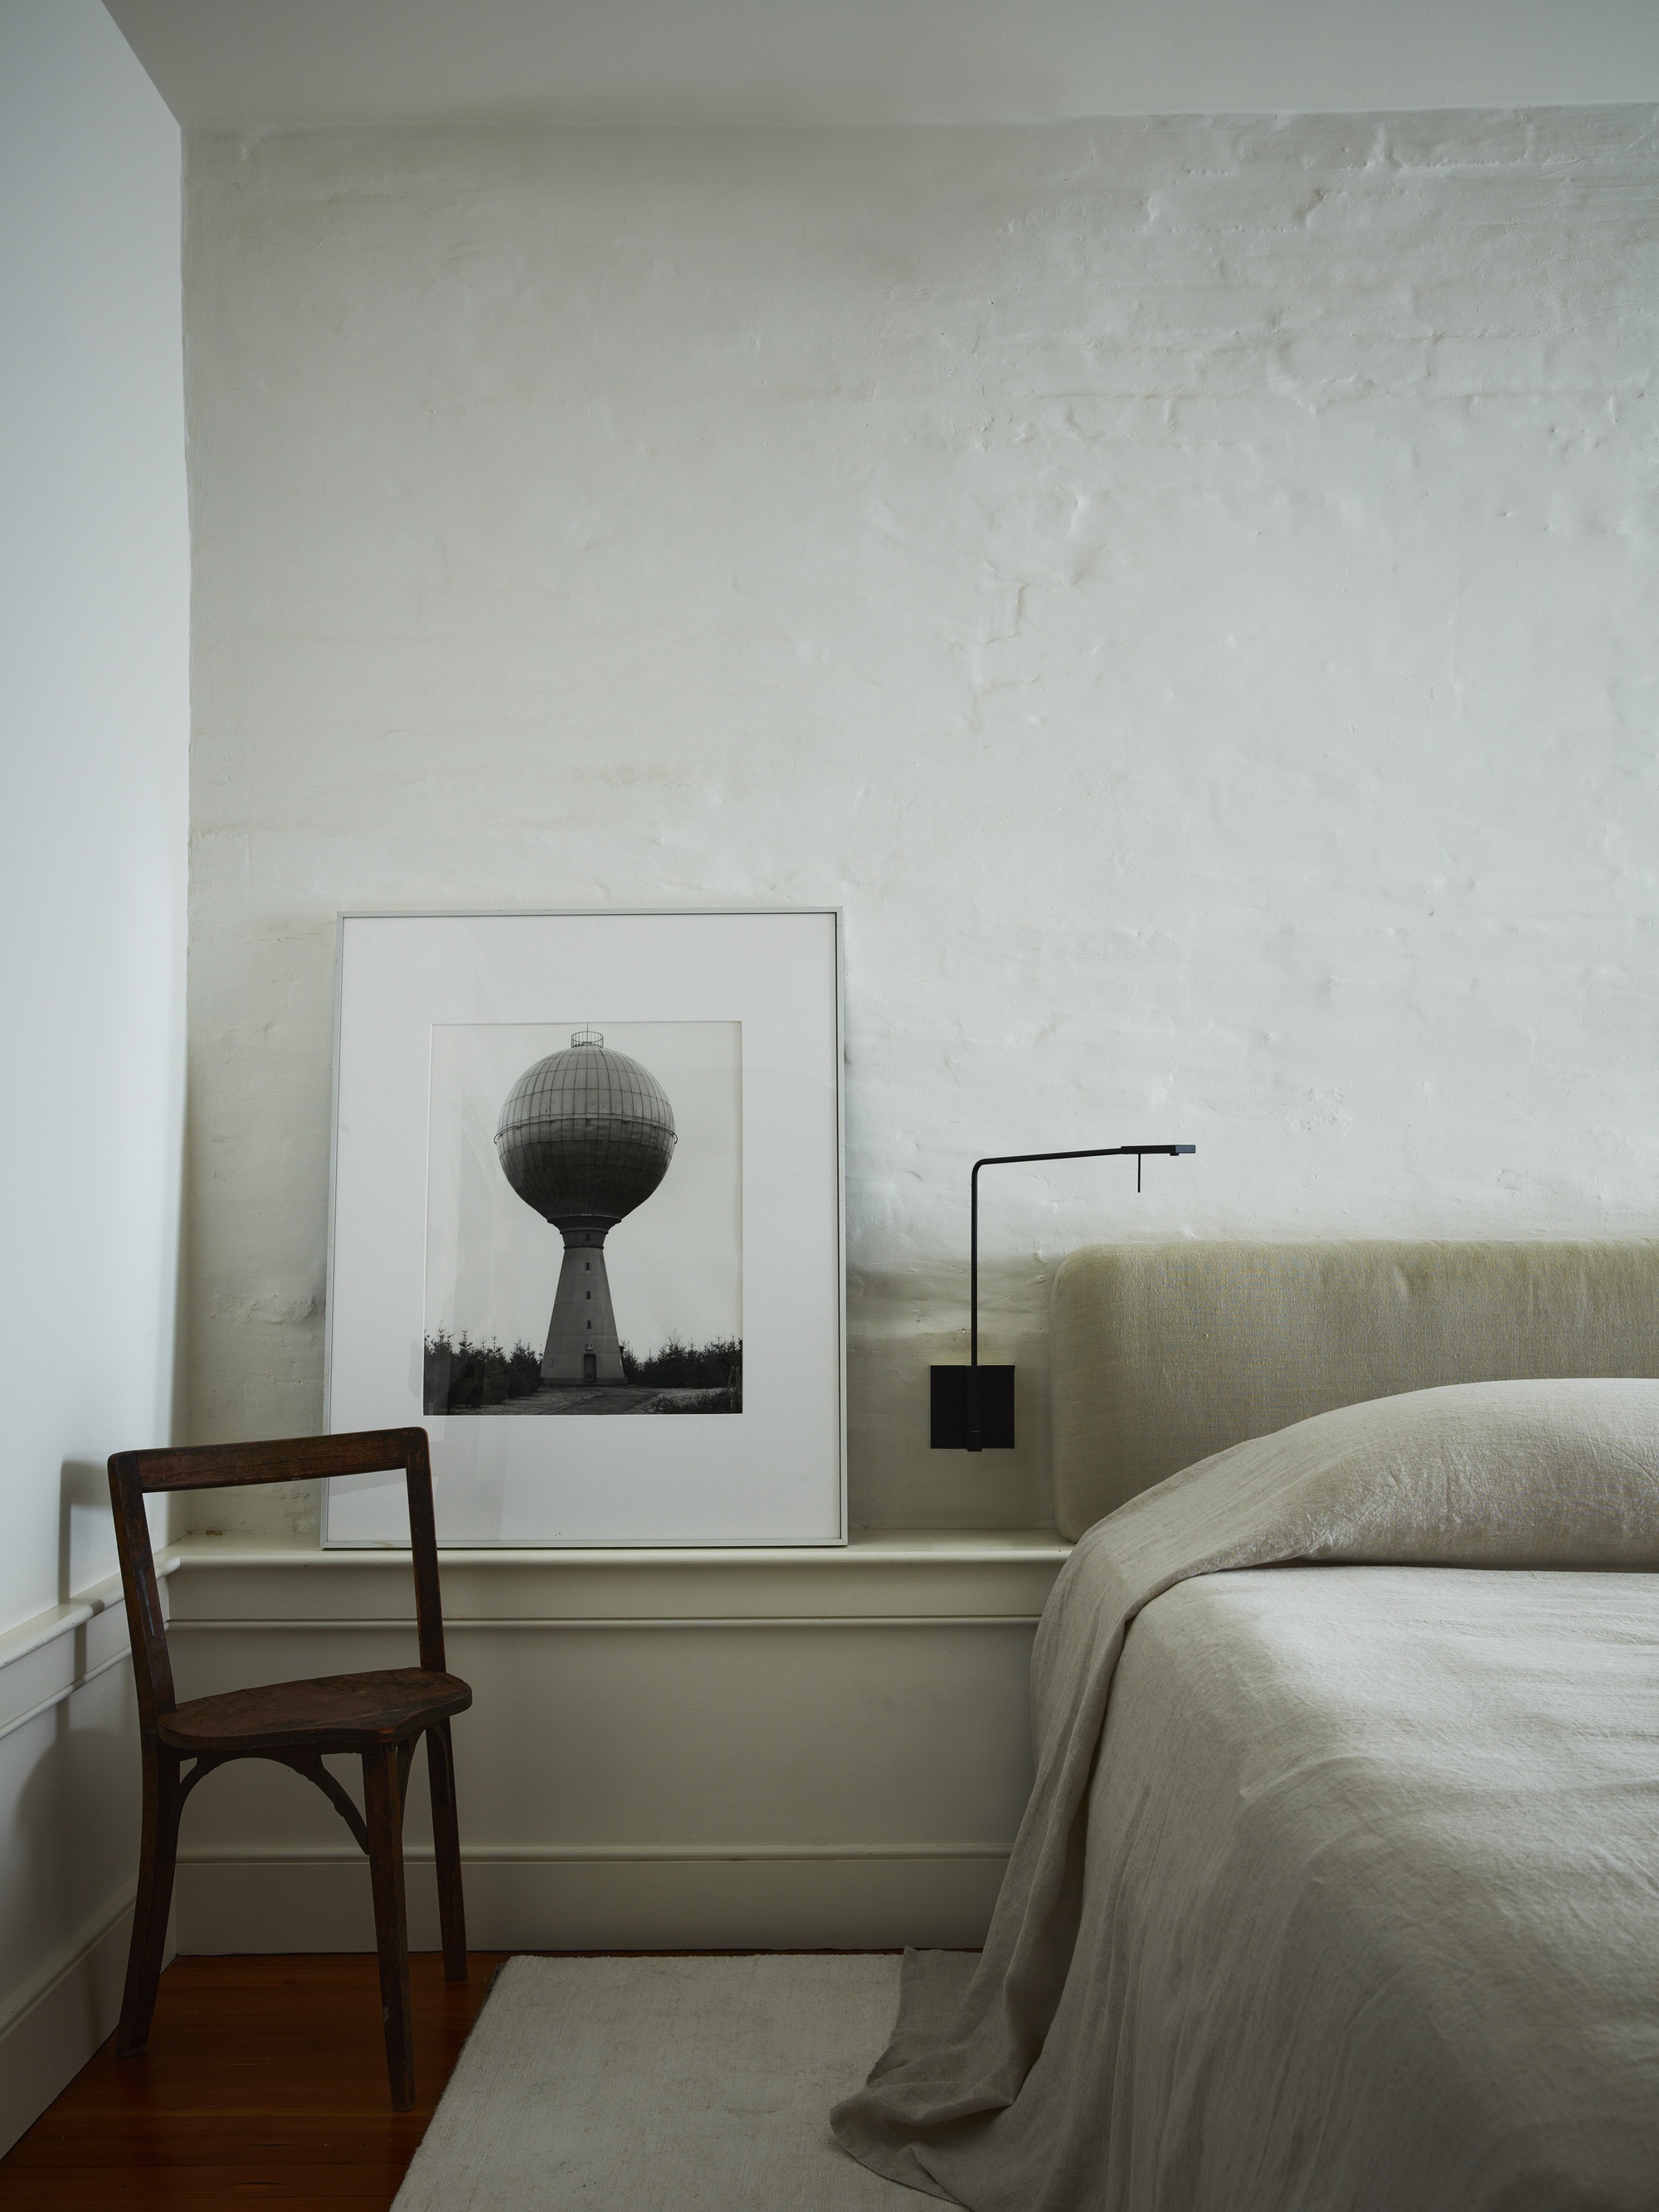
For those who cannot make holes in their walls, alternative methods exist. Stick-on picture hangers, available in strip or hook forms, offer a convenient solution. It is crucial to meticulously follow the manufacturer's instructions for a secure and lasting hold. Another hole-free option is to lean pictures against existing shelving or walls. To prevent sliding, a small strip of adhesive can be applied where the bottom of the frame meets the shelf.
Common issues during picture hanging include crooked frames or slipping pictures. If a frame is crooked, a level can be used to straighten it. If it repeatedly fails to stay straight, reinstalling the hardware with greater precision is recommended. If a picture shows signs of slipping, the hardware can be screwed in closer to the wall. If the issue persists, the frame might be too heavy for the current placement, and reinstalling the hardware on a wall stud is advisable.
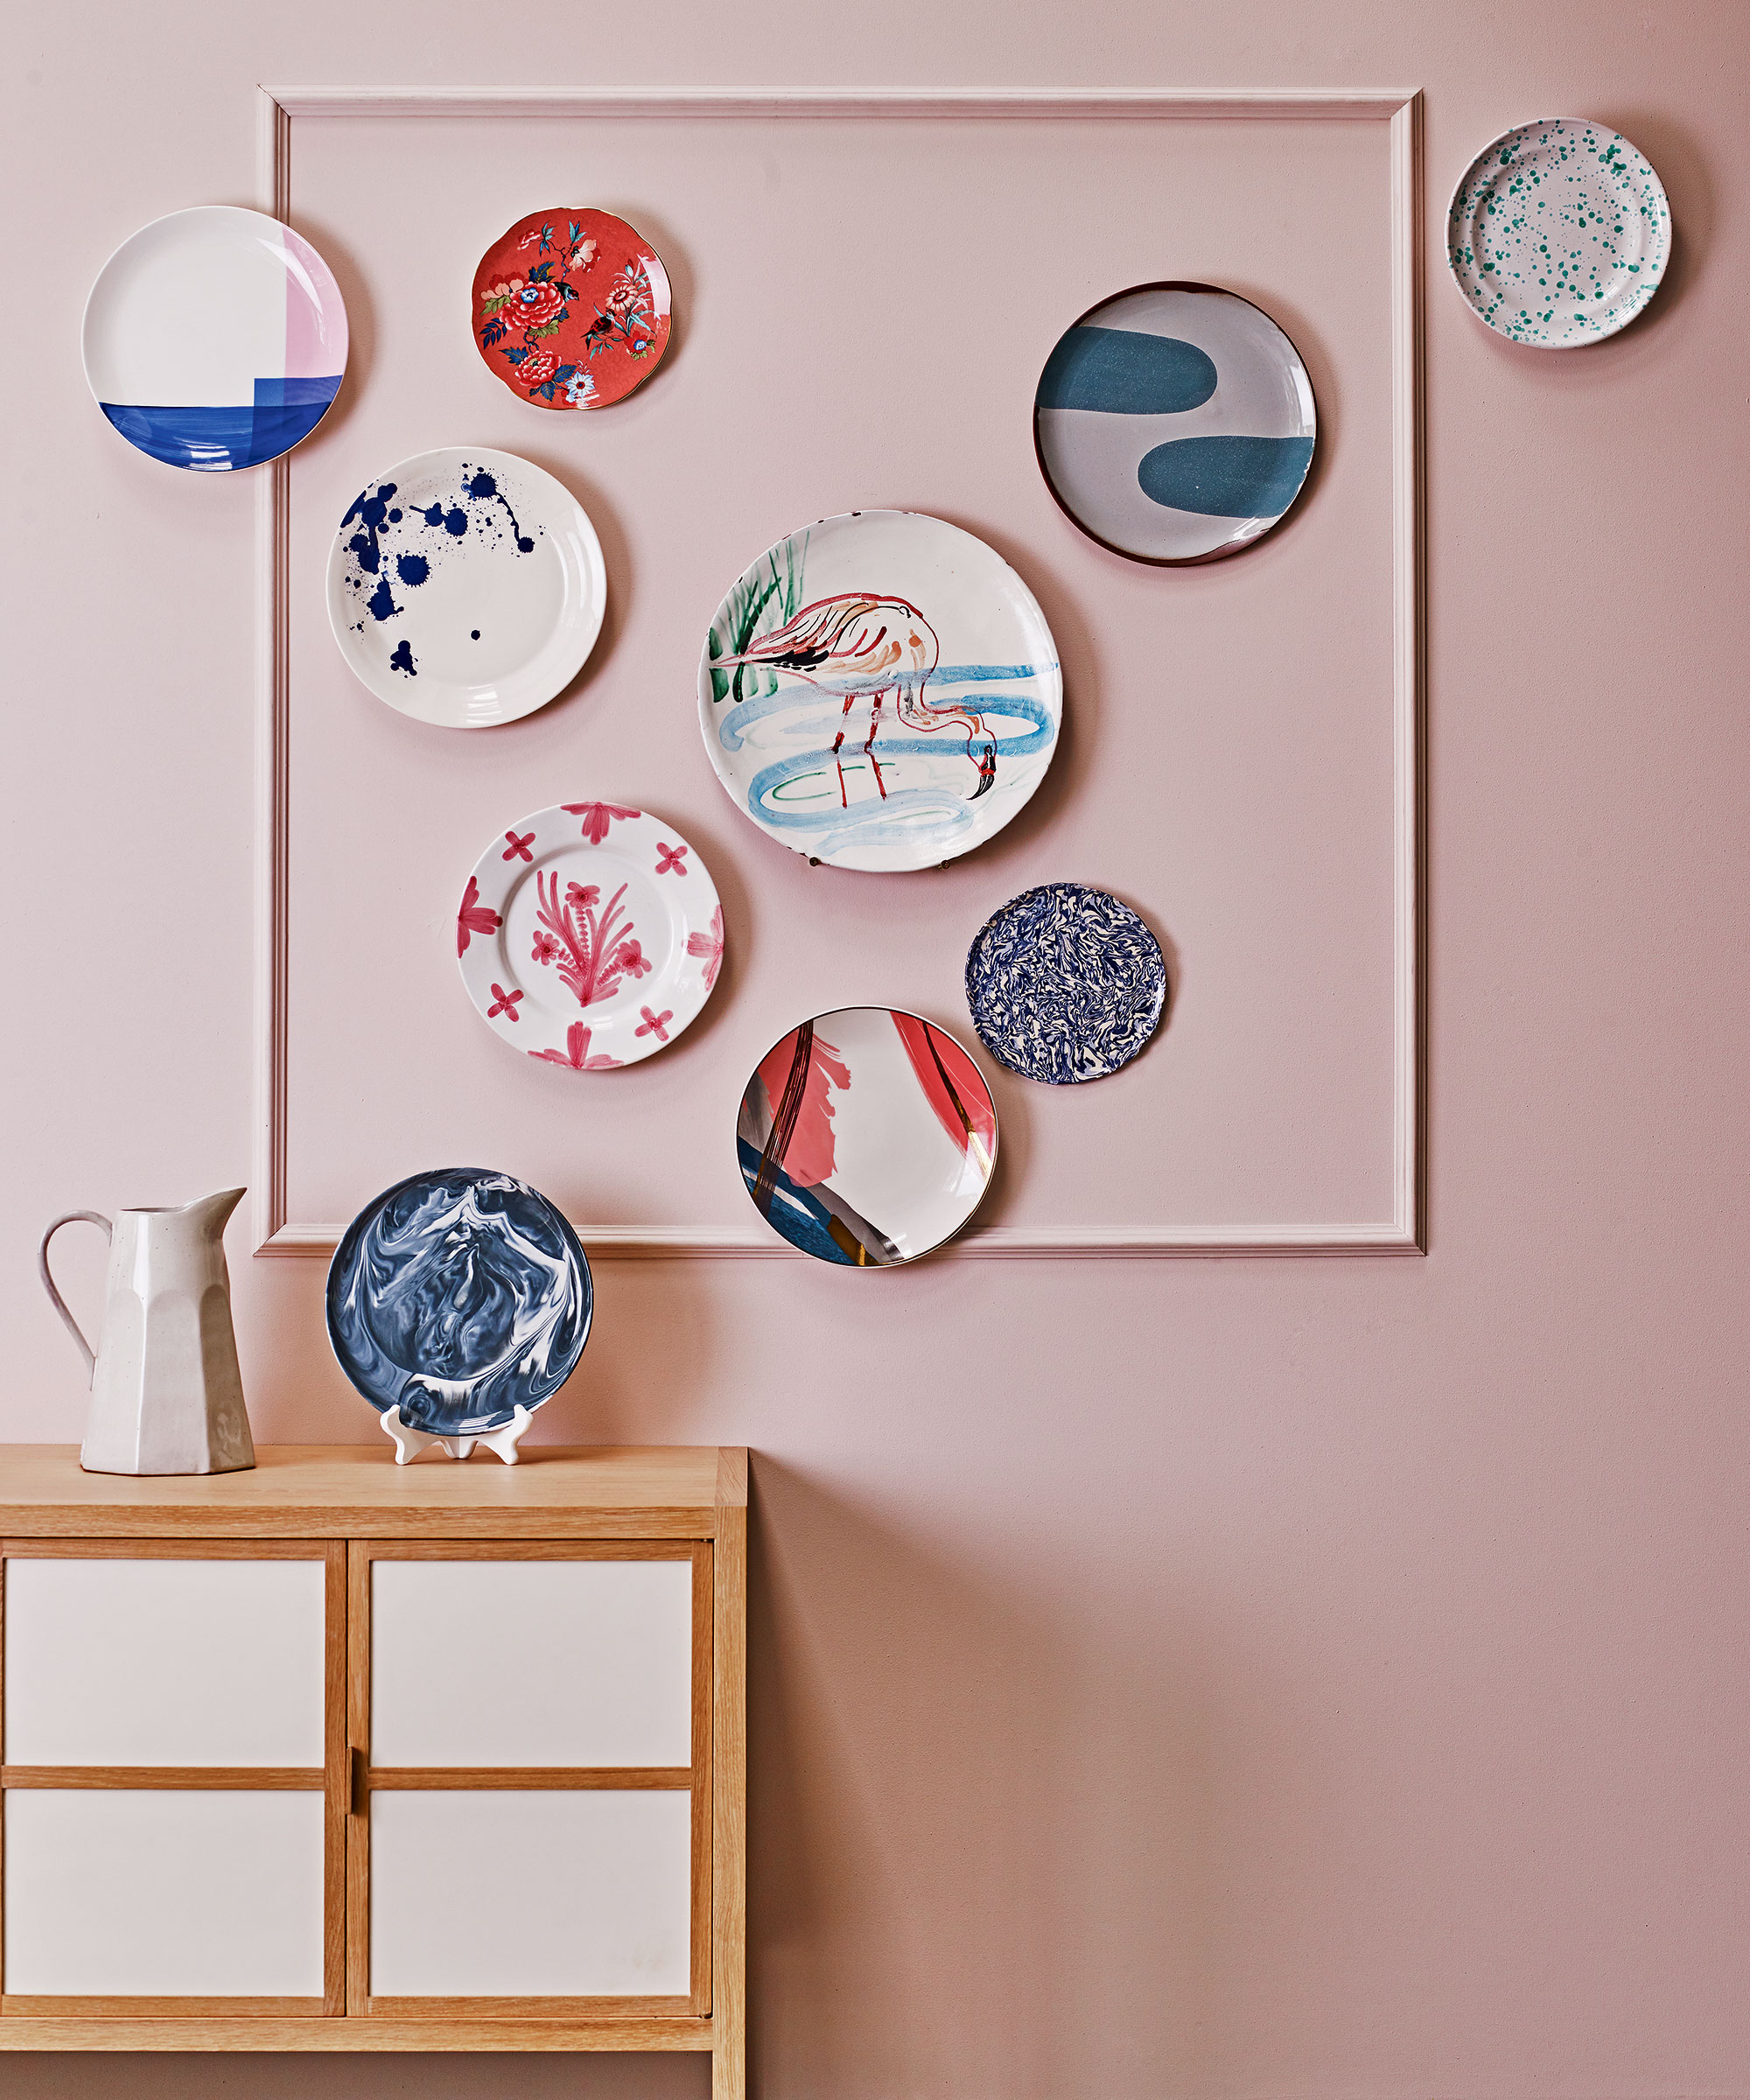
Hanging pictures on different wall types requires specific approaches. Drywall is ideal due to its ease of drilling and repair. For brick walls, masonry screws, anchors, and specialized drill bits are needed, emphasizing the importance of precise hole placement due to the difficulty of correcting mistakes. When dealing with plaster walls, hammers and nails should be avoided to prevent cracking; instead, specially designed plaster screws are recommended. Hanging pictures on tile demands extreme care, as a misstep can crack the tile. It is best to install hardware into the tile mortar if possible. If not, multiple measurements and a diamond-head drill bit are essential for creating holes, and the tile should be cleaned beforehand.
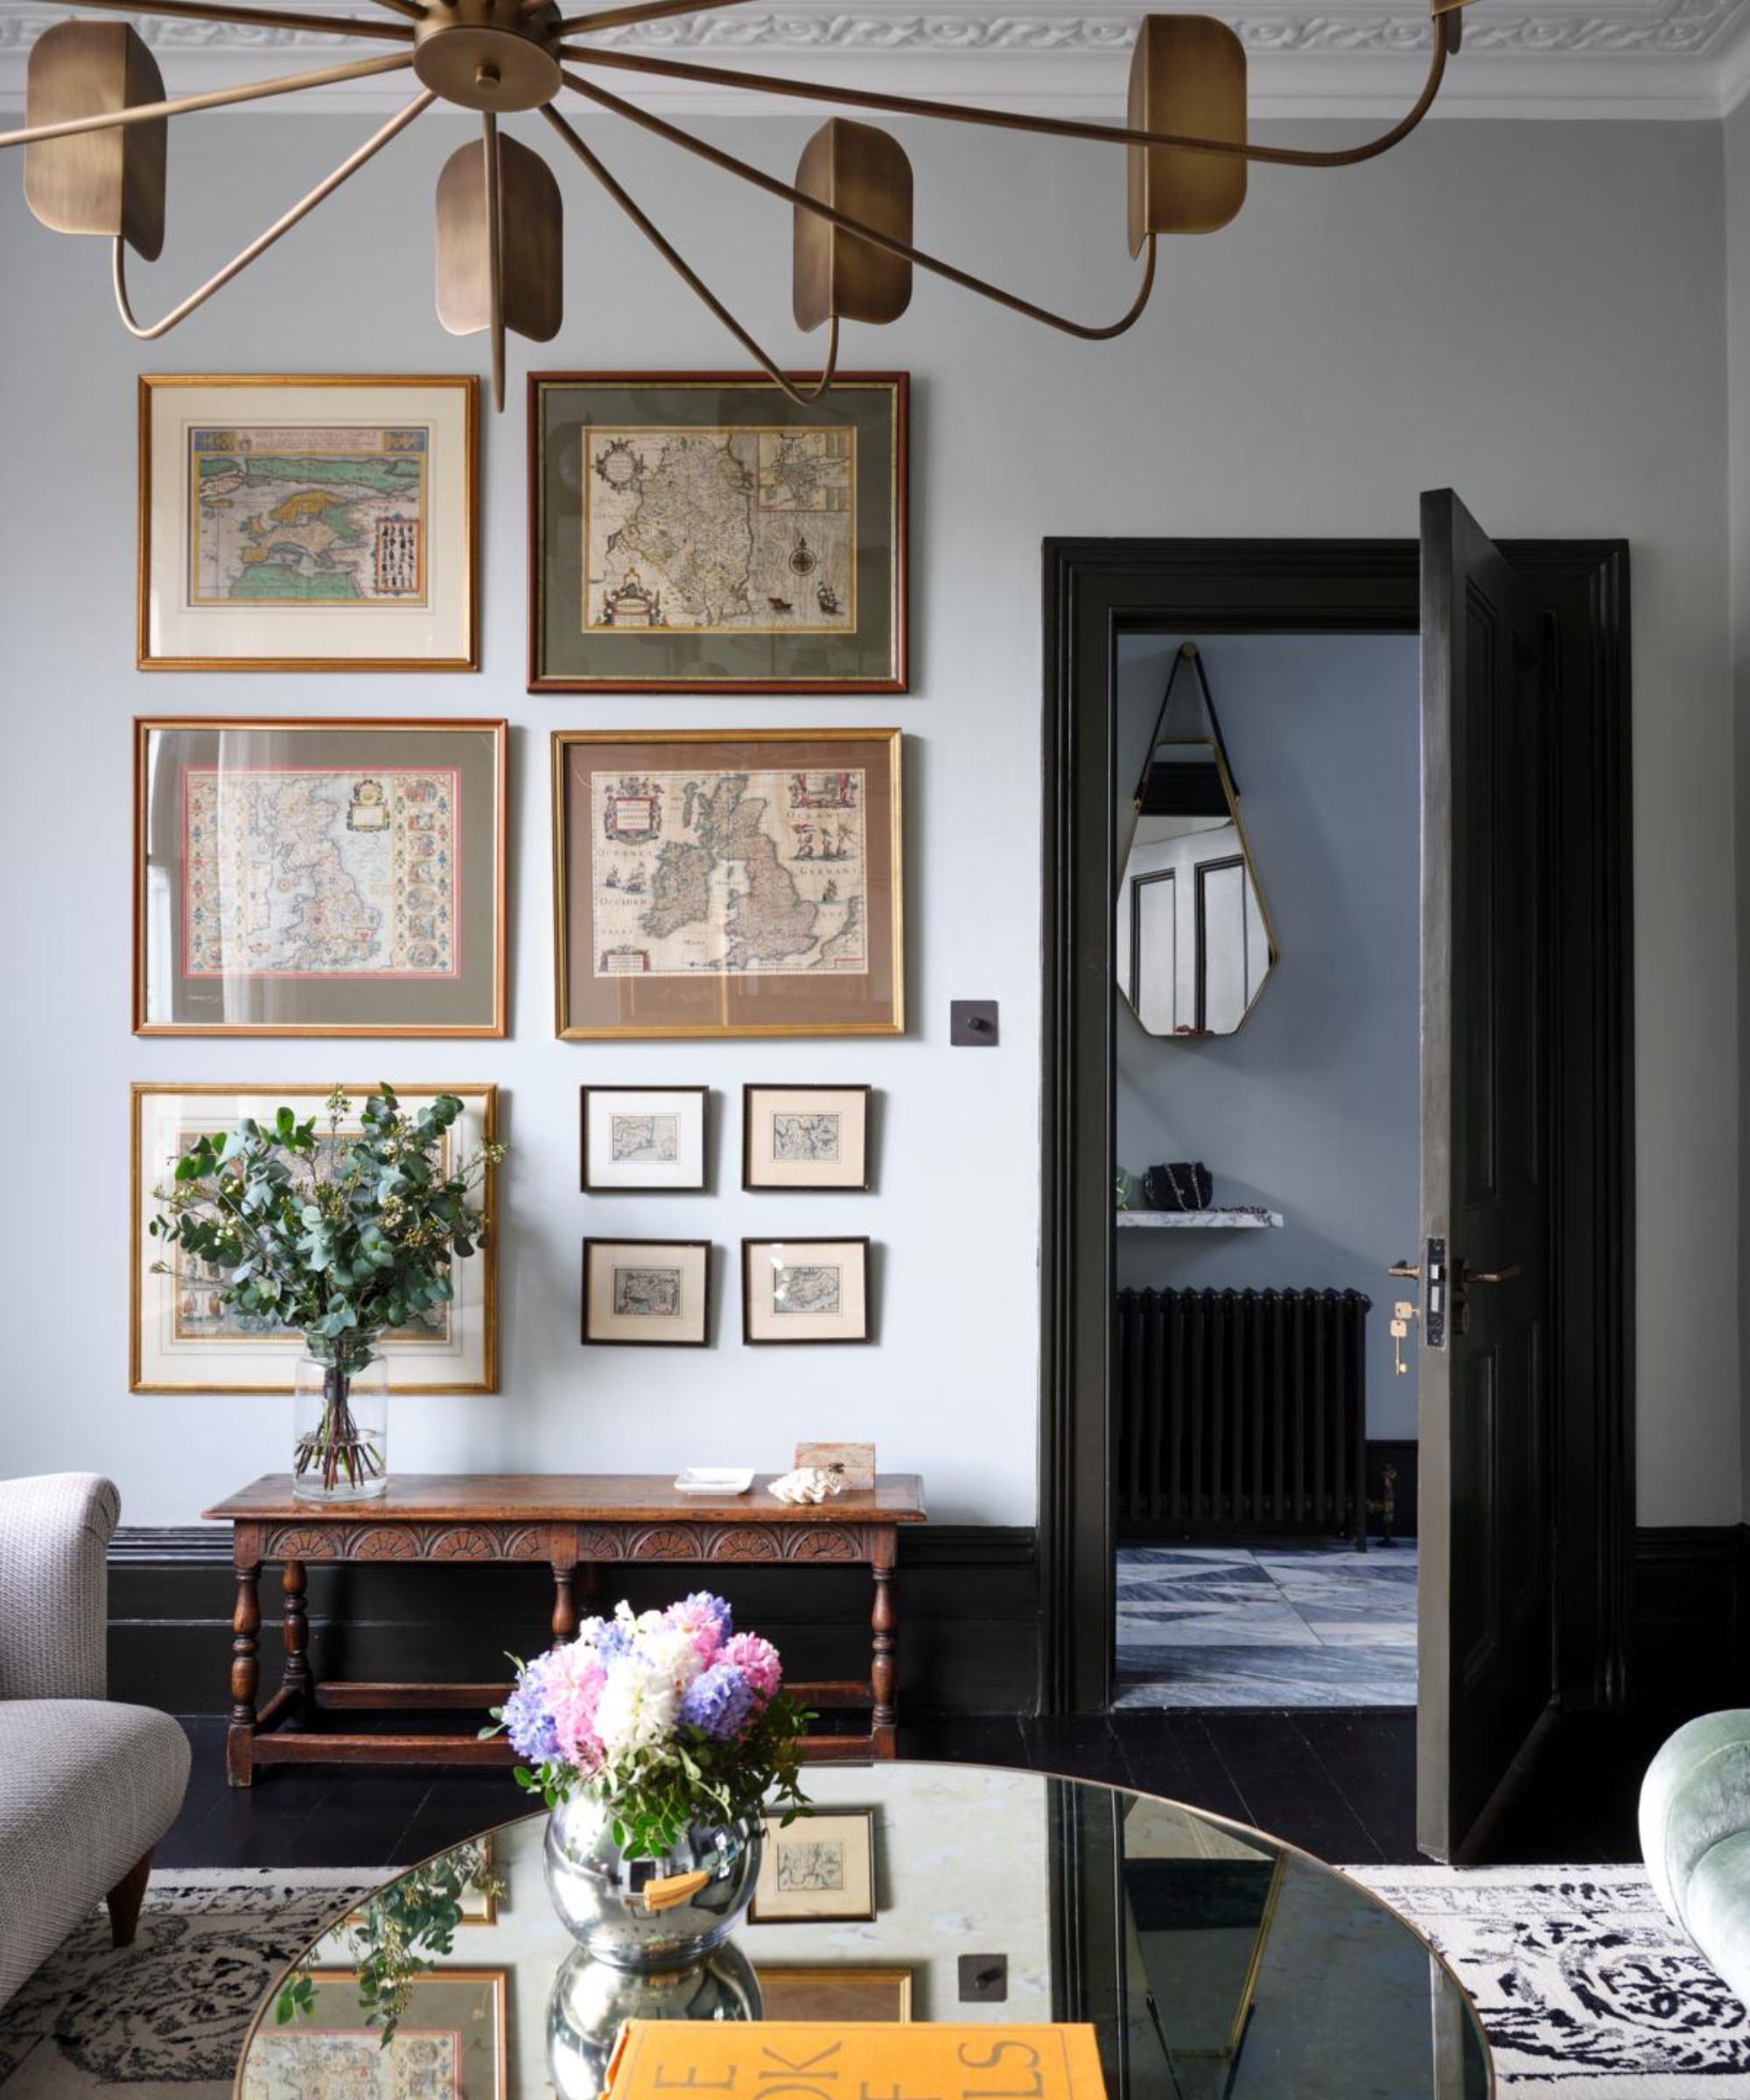
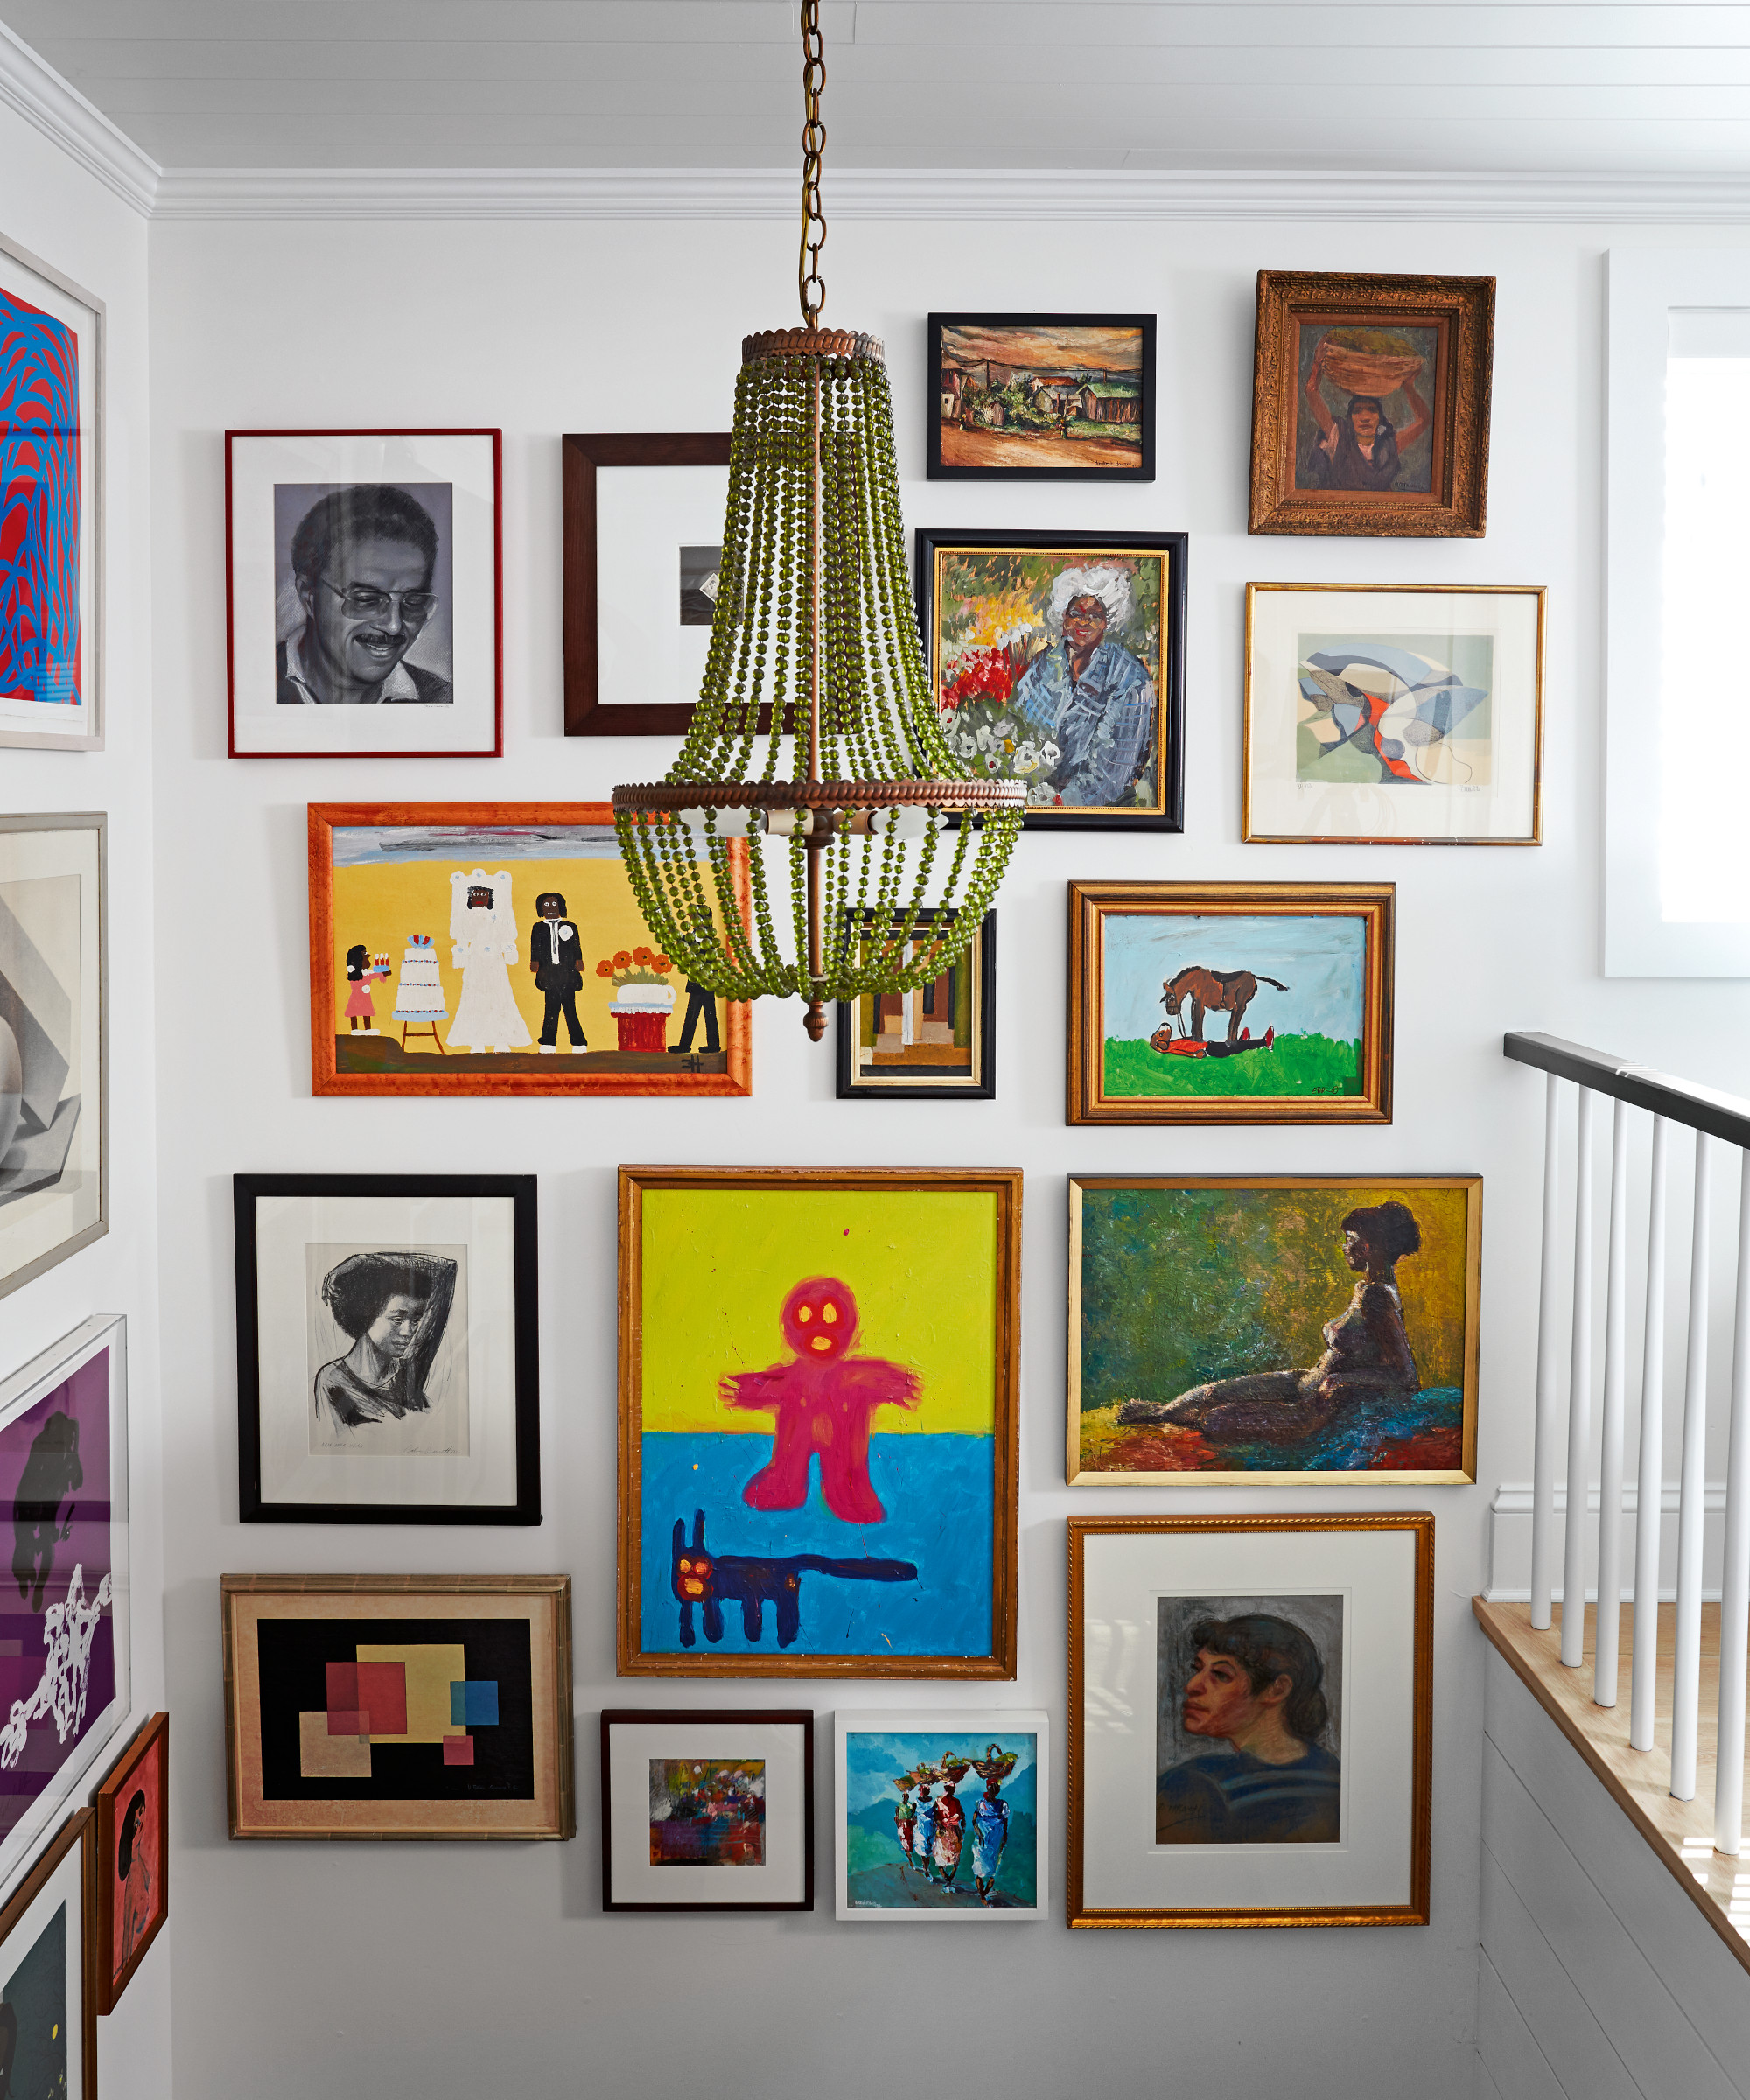
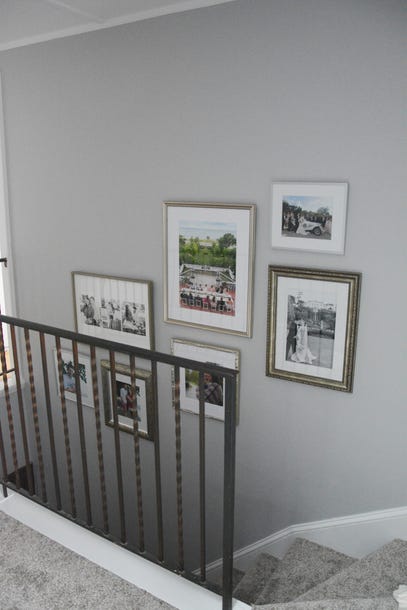
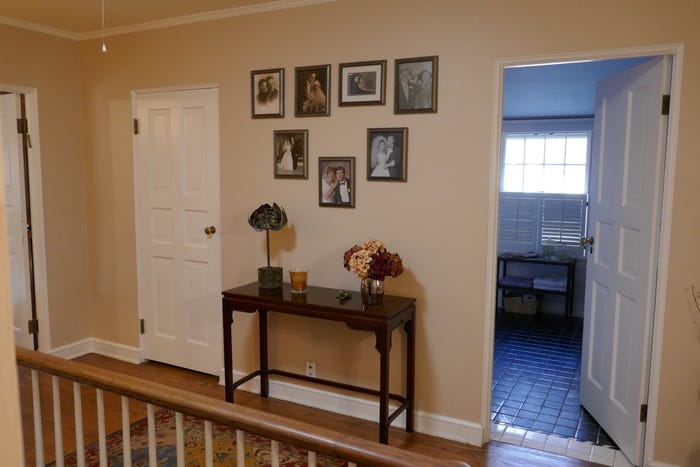
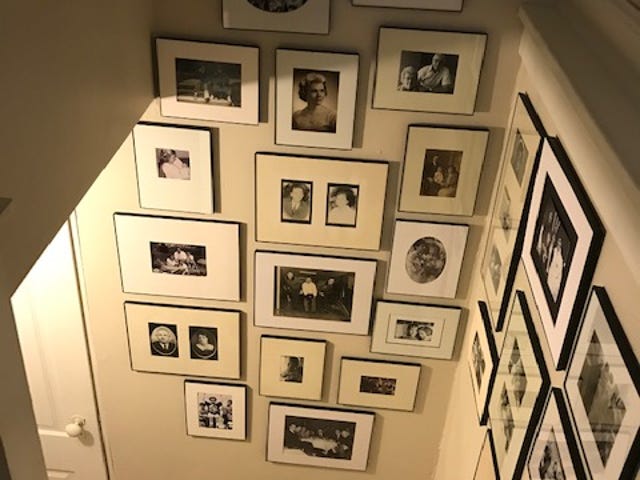
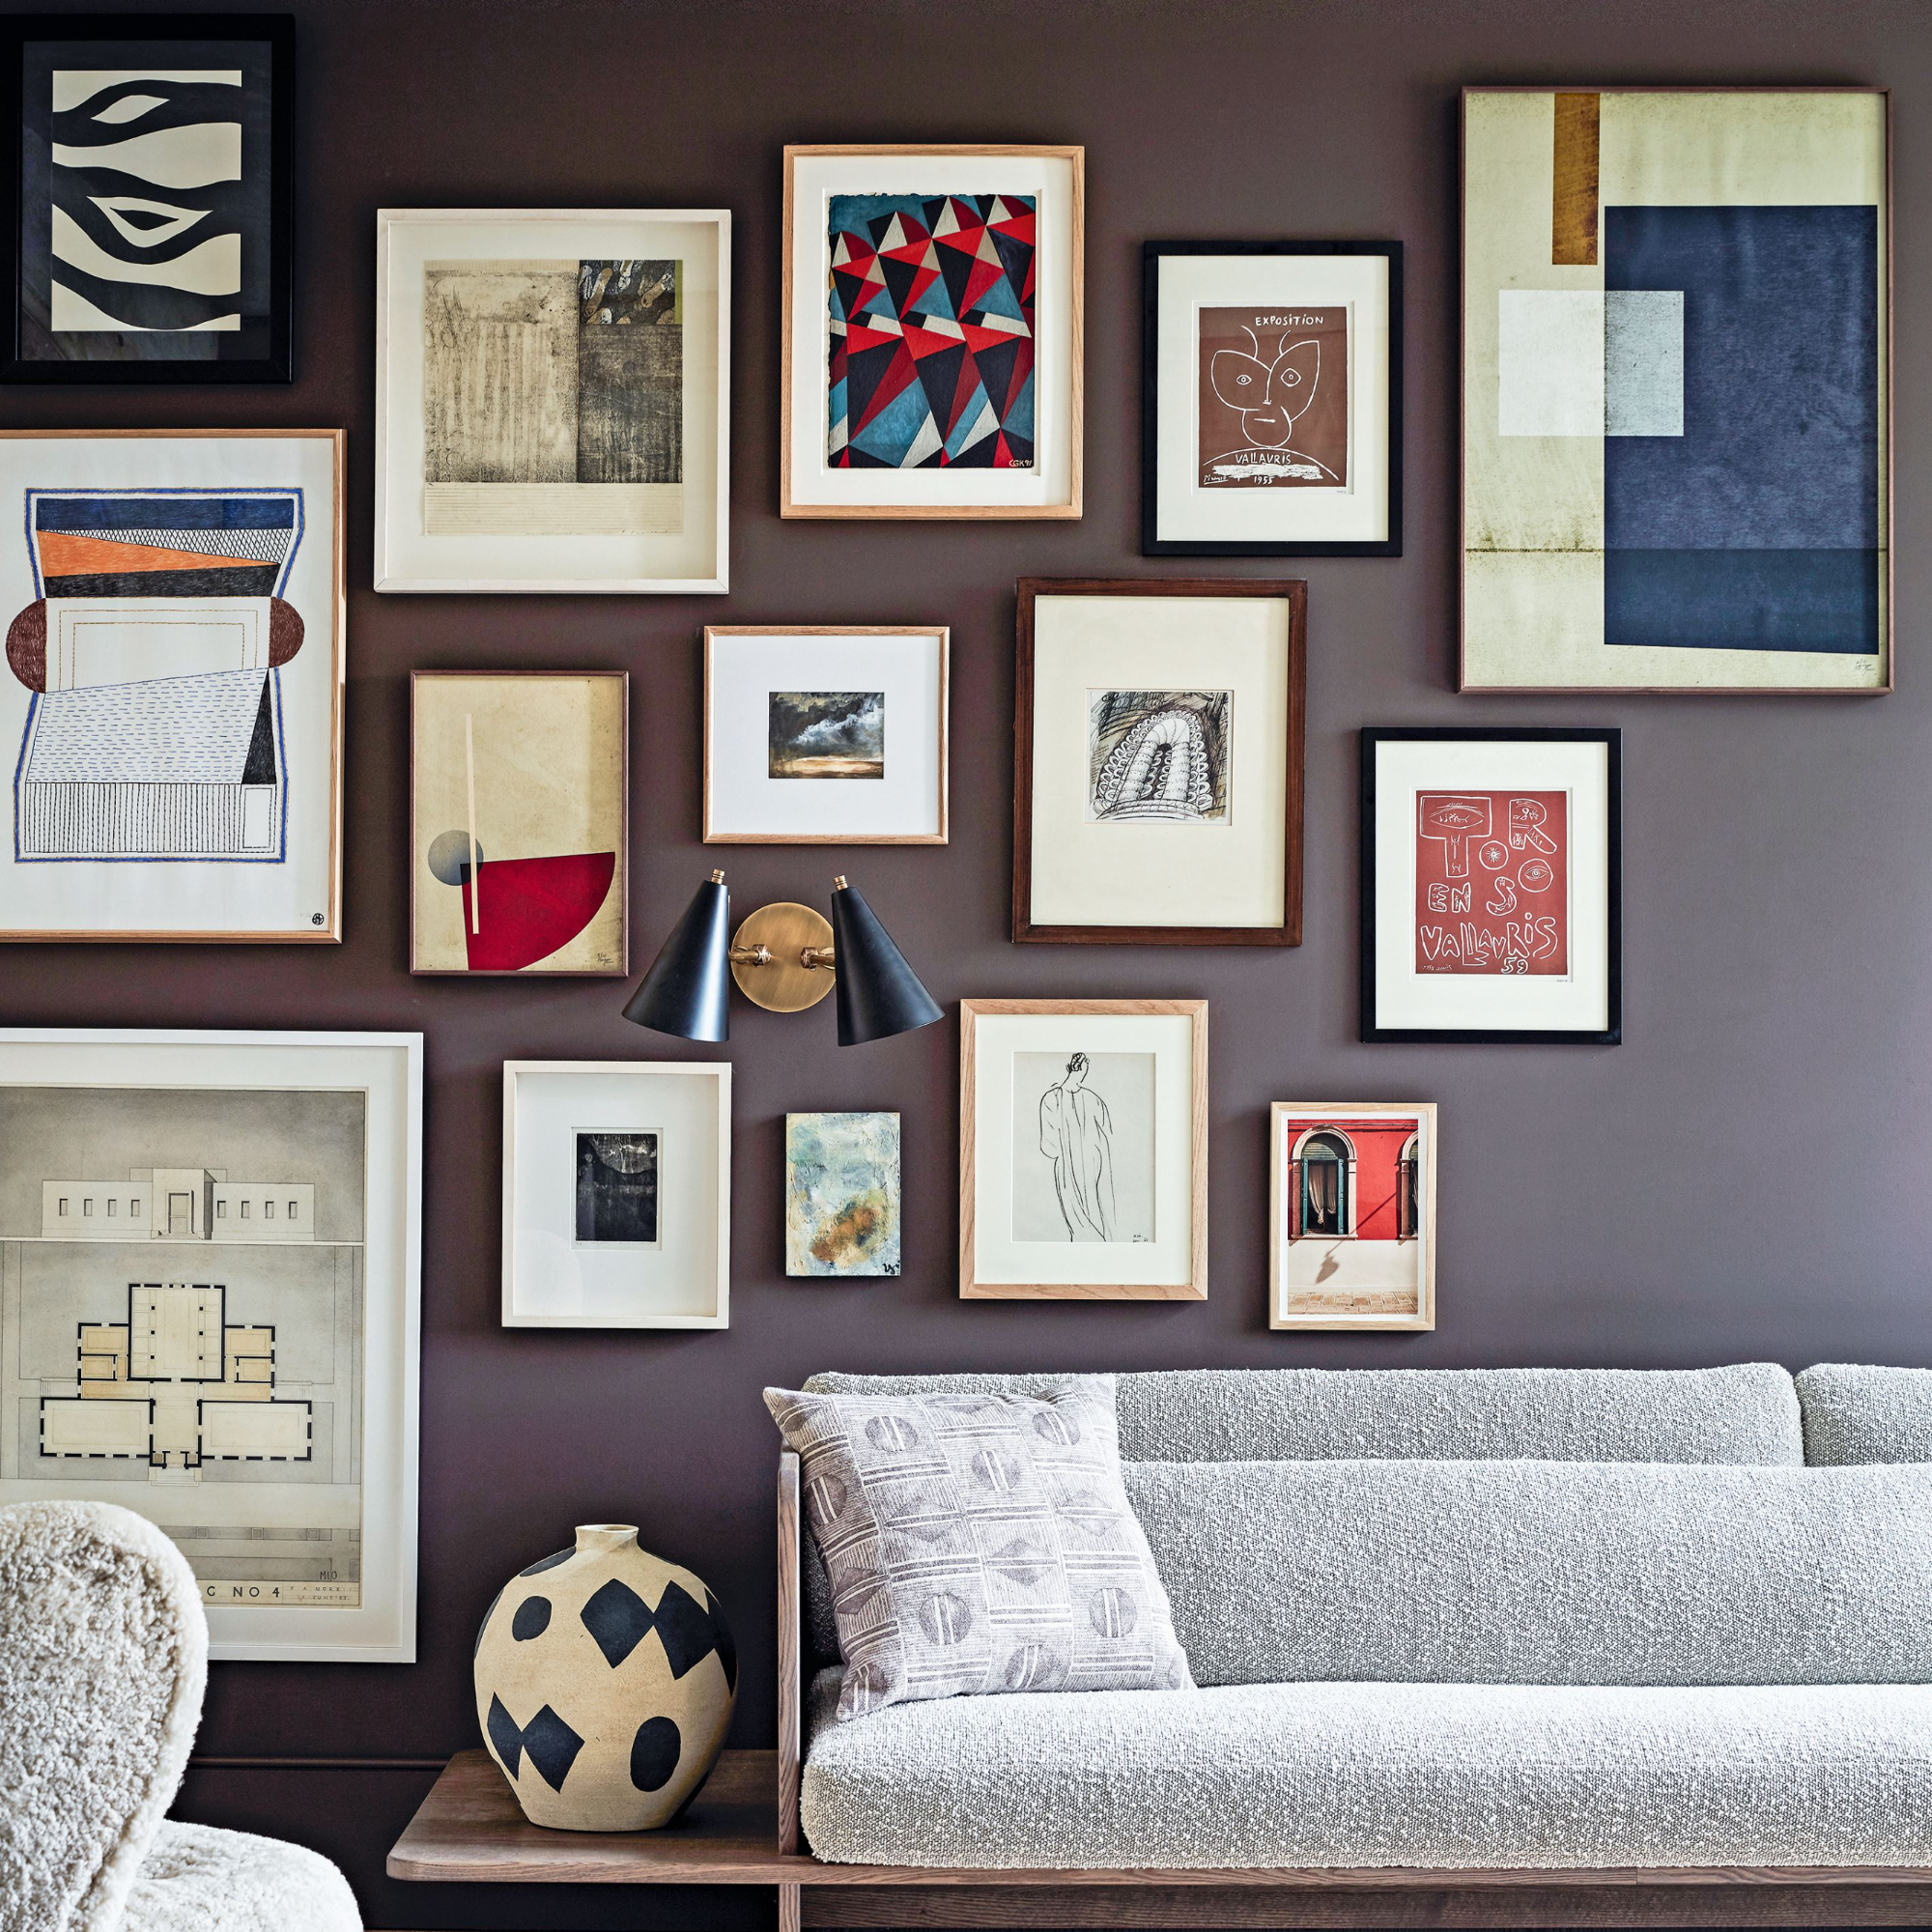
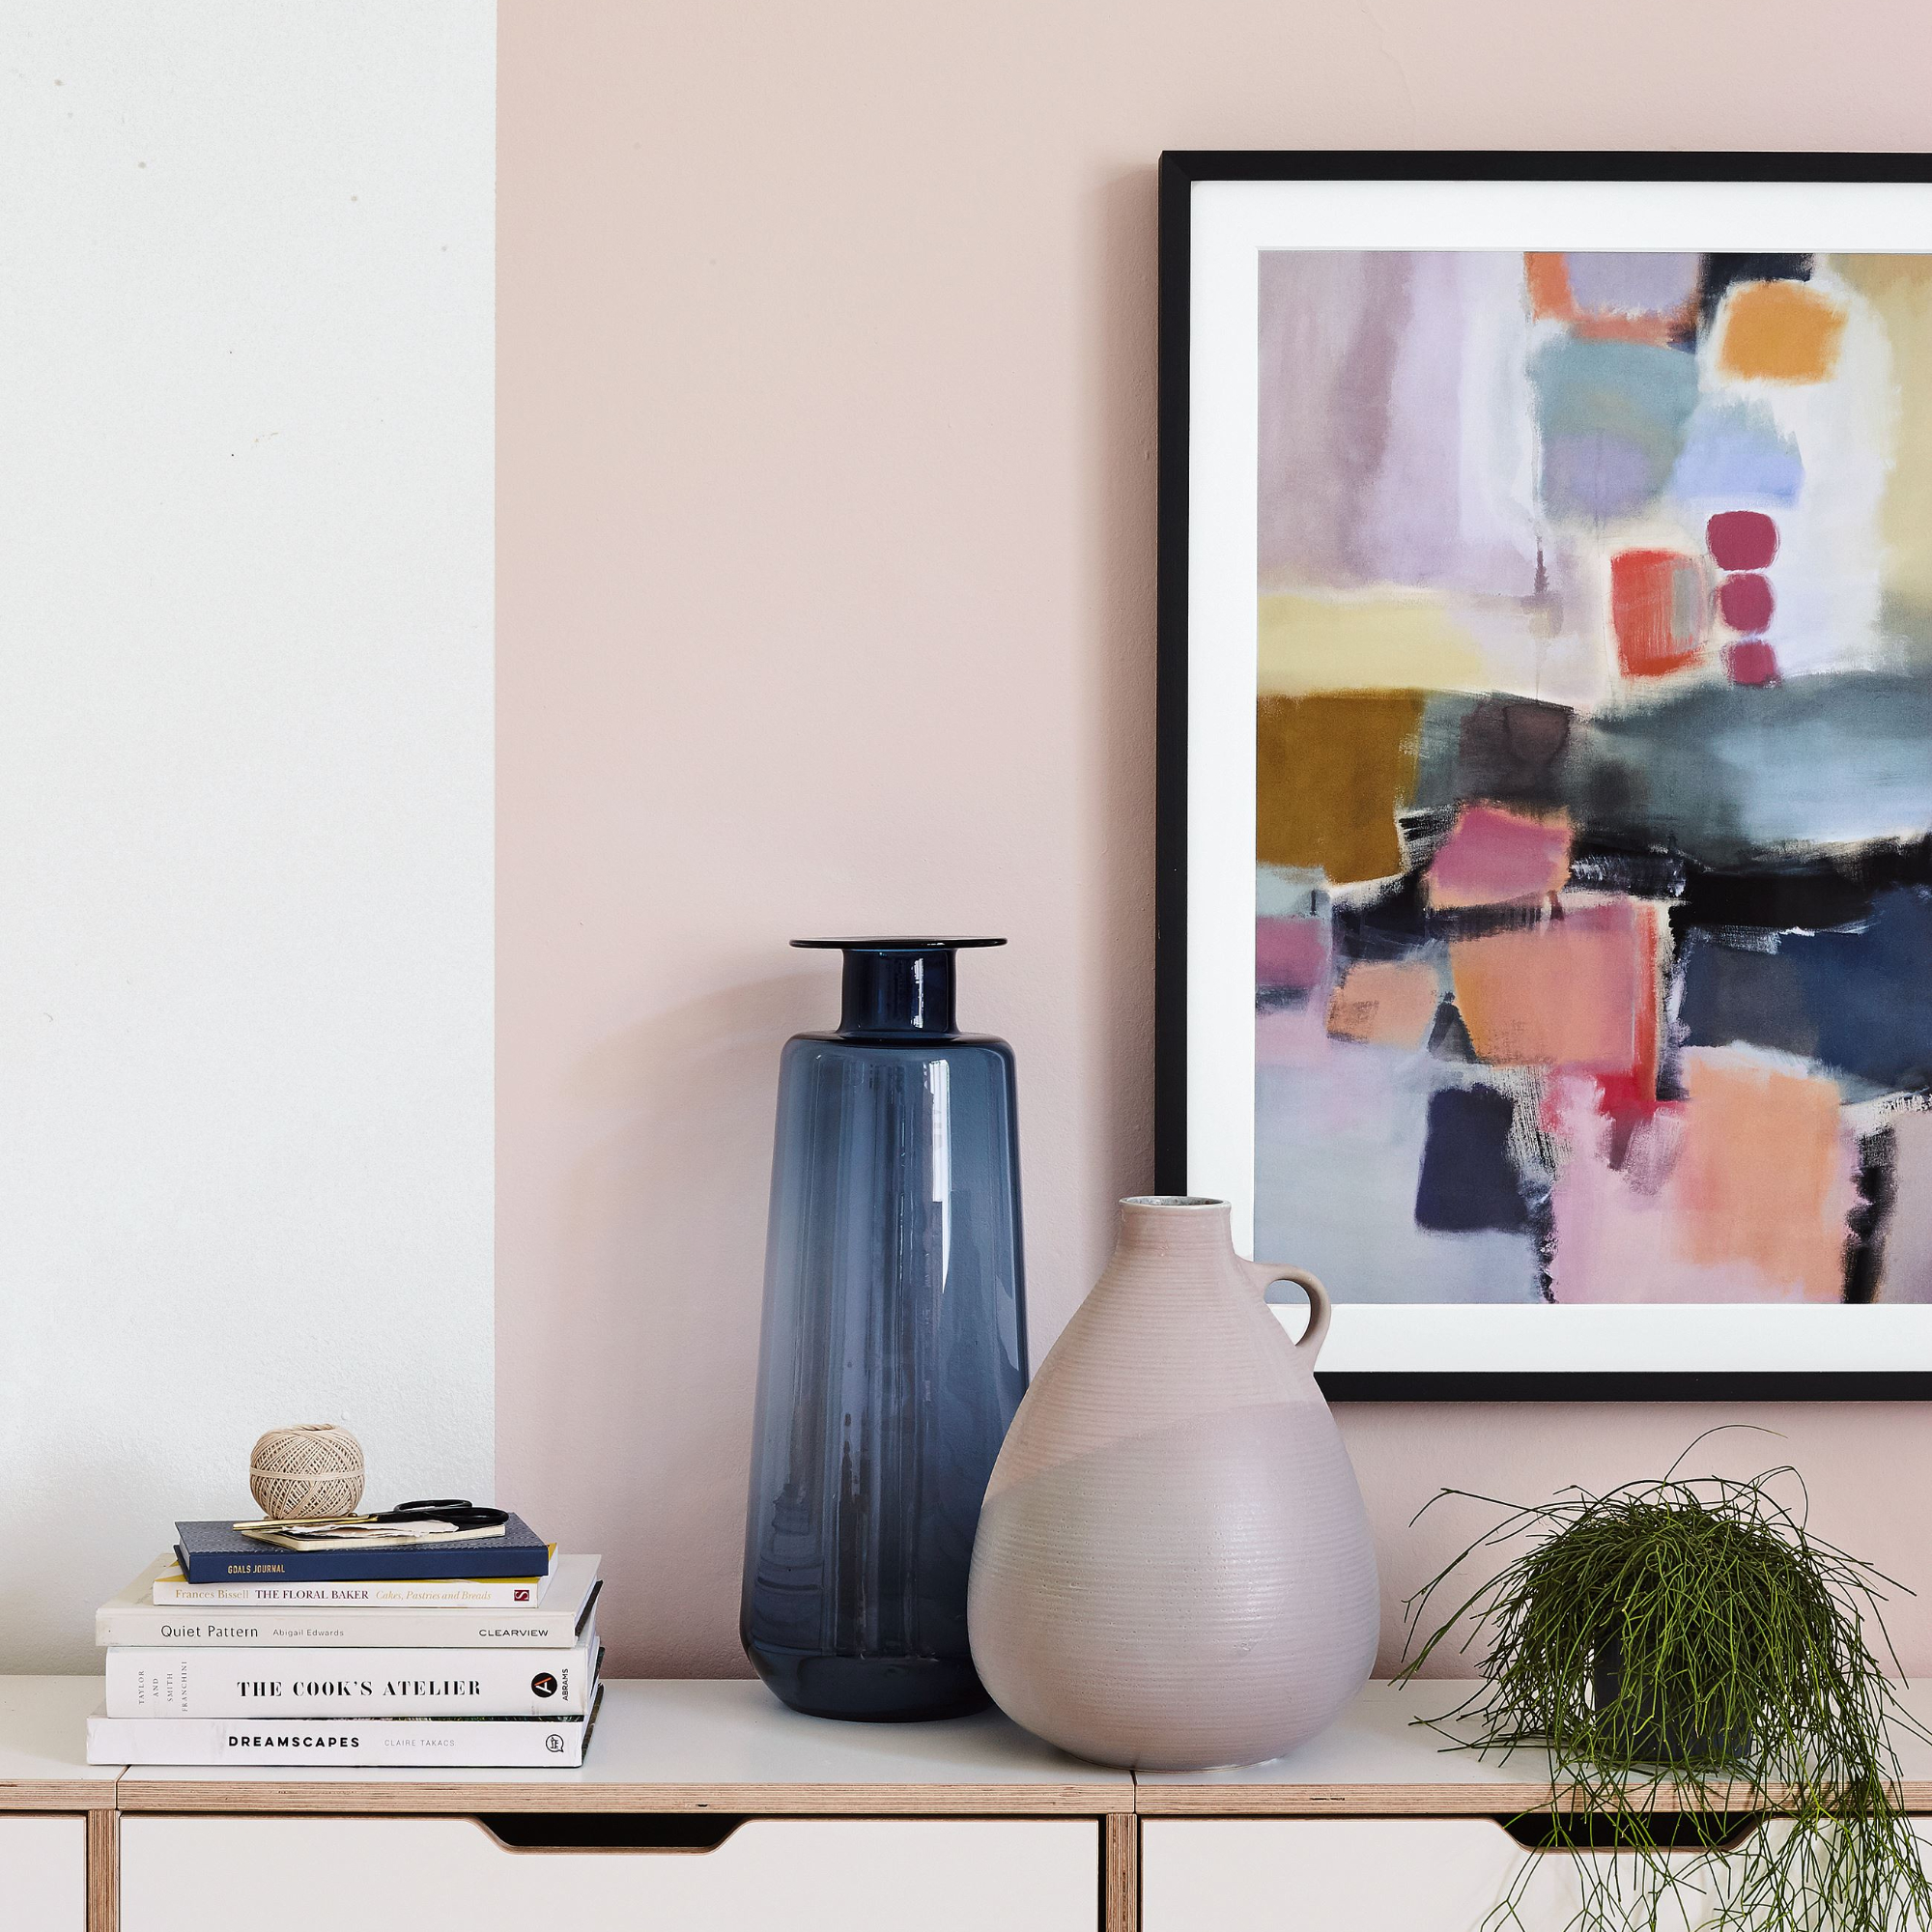
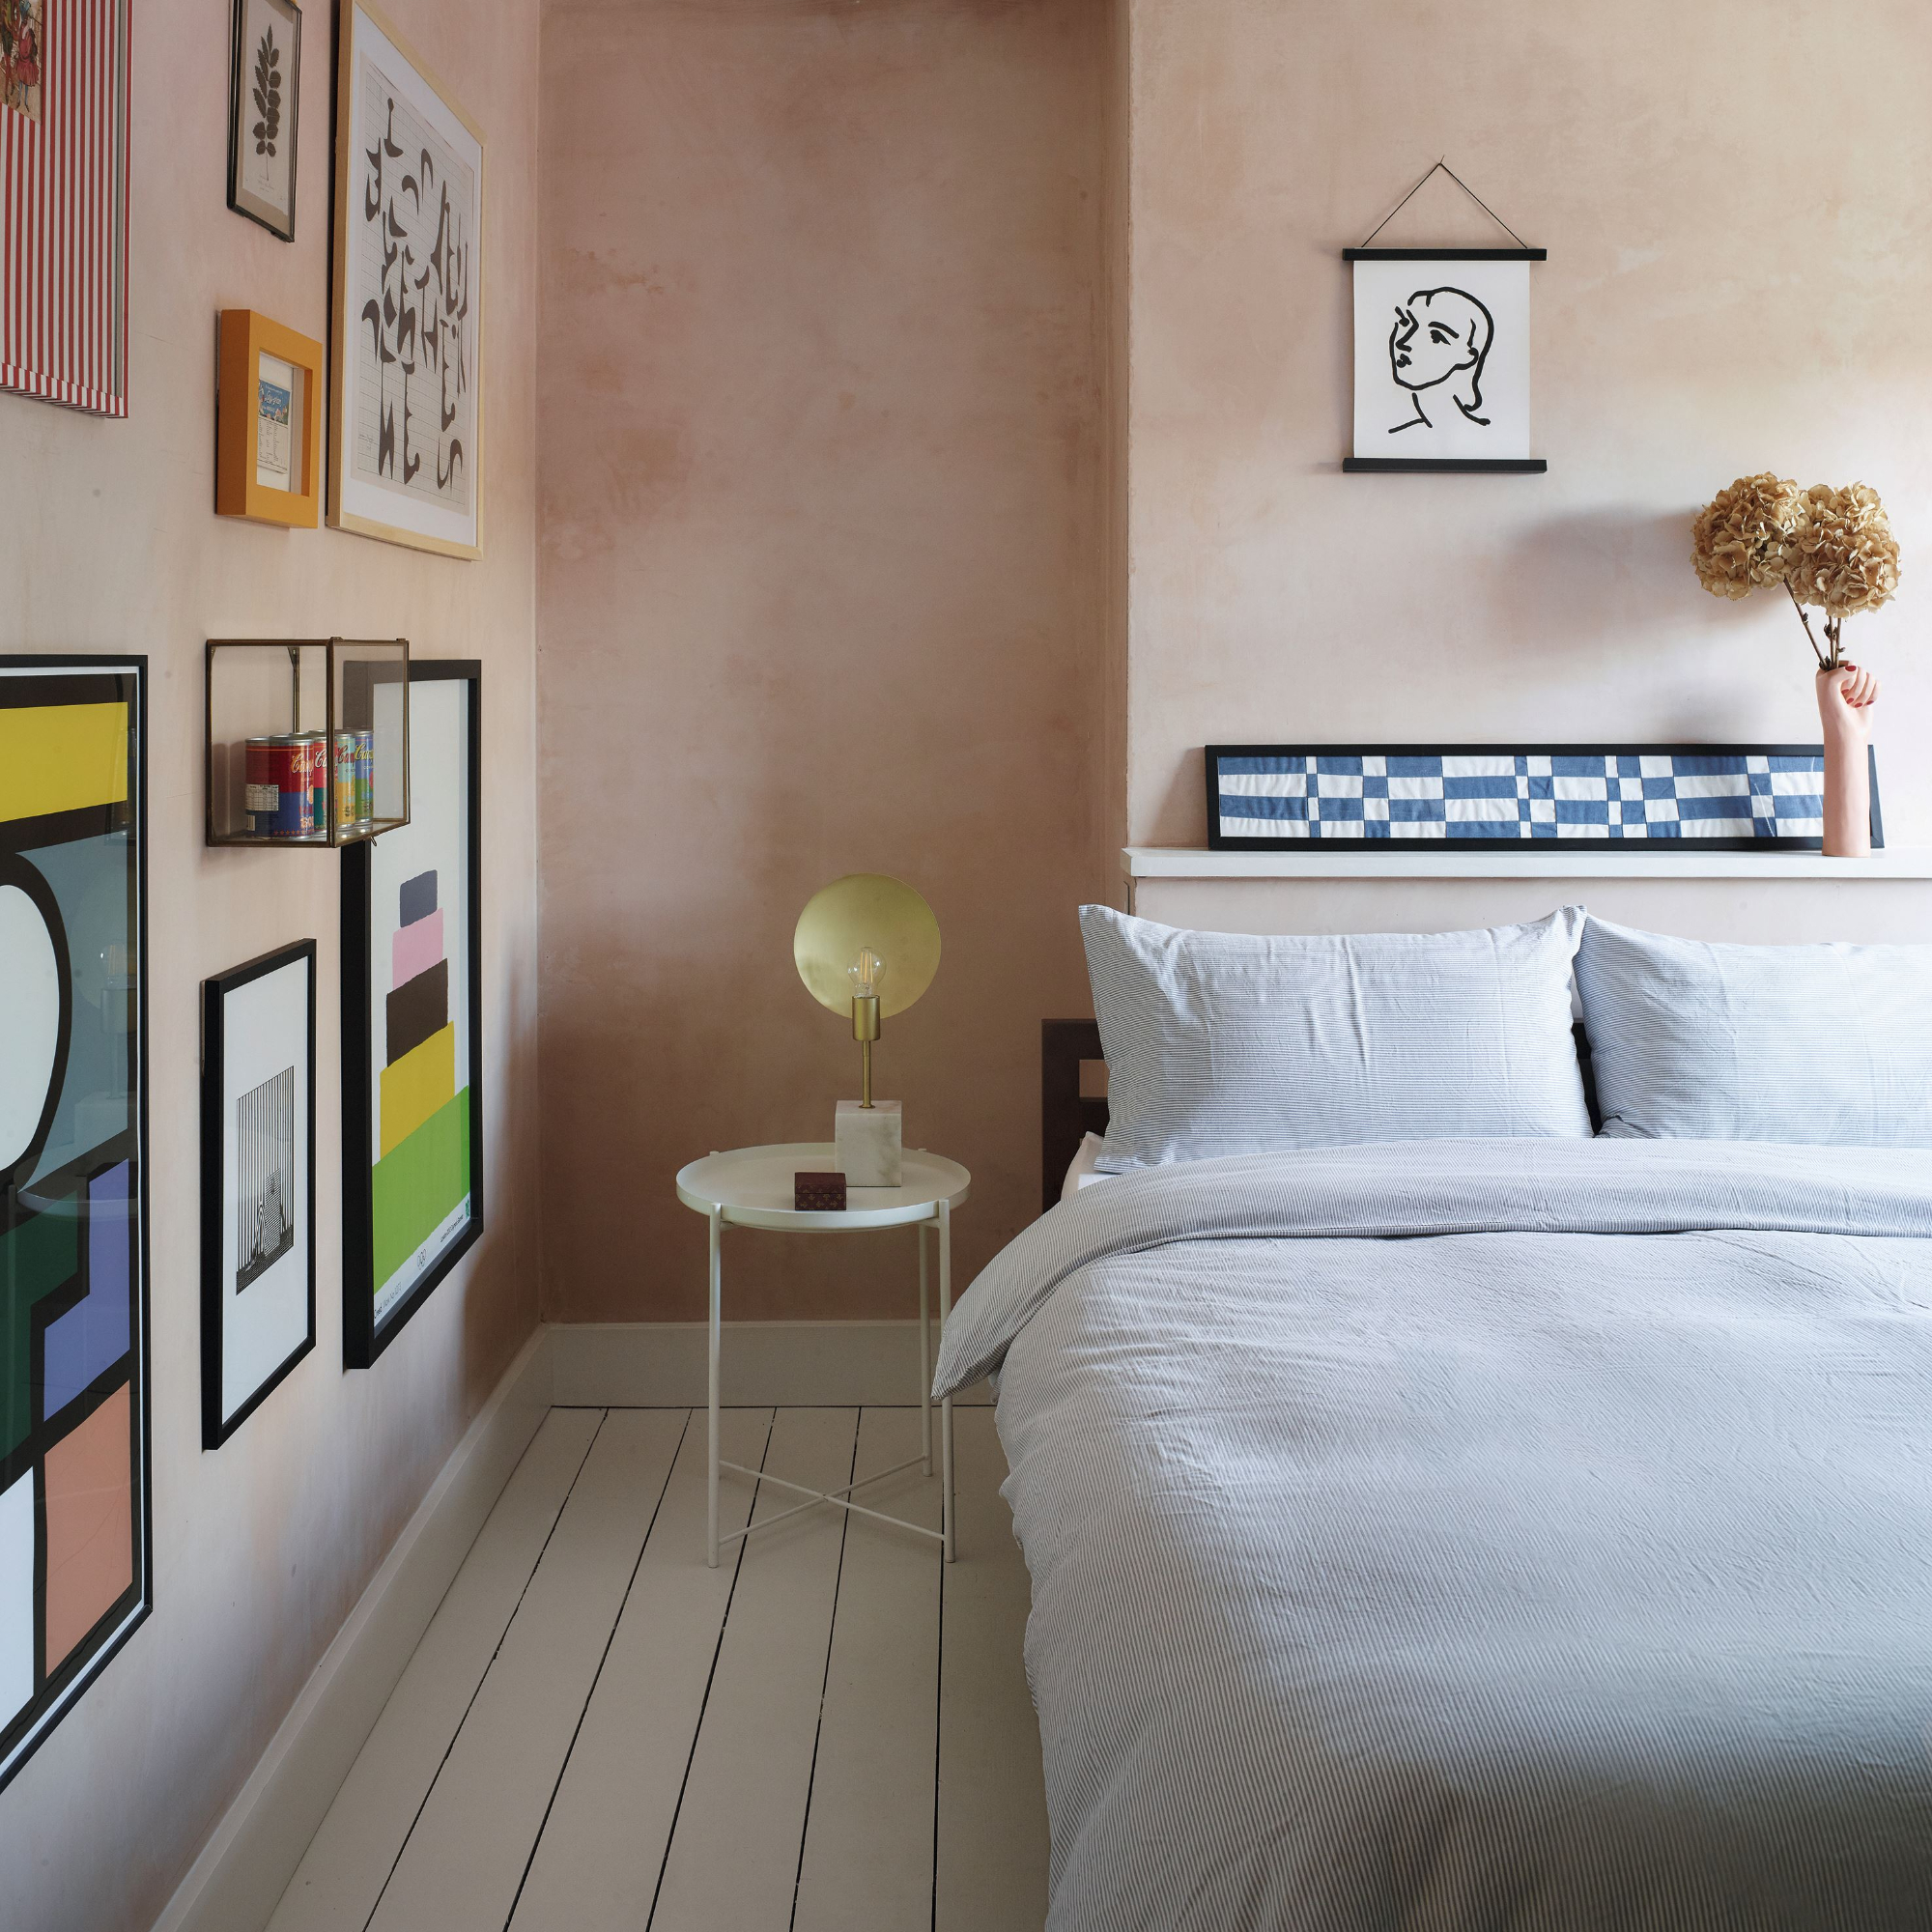
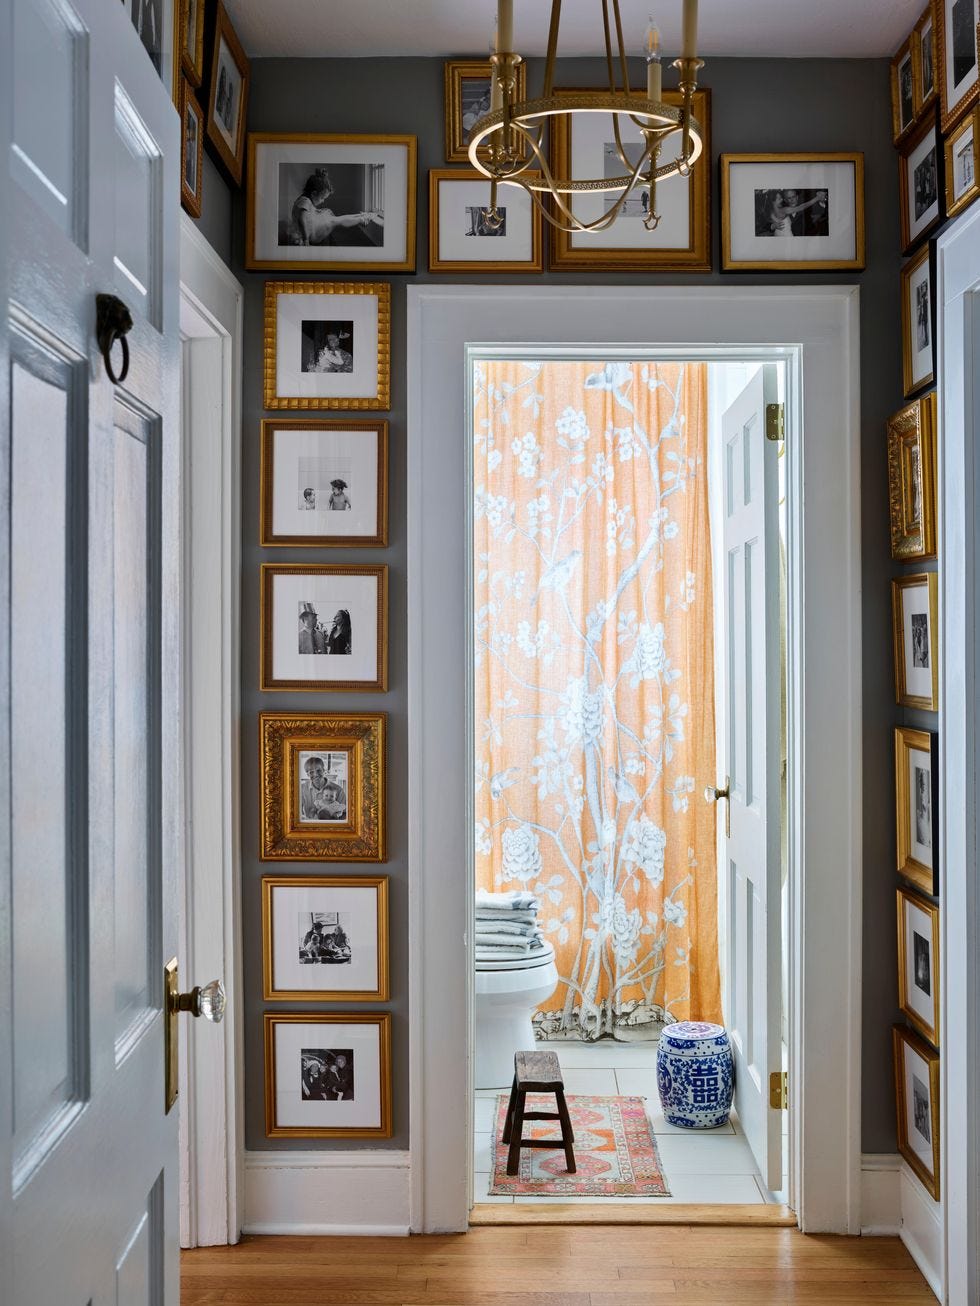
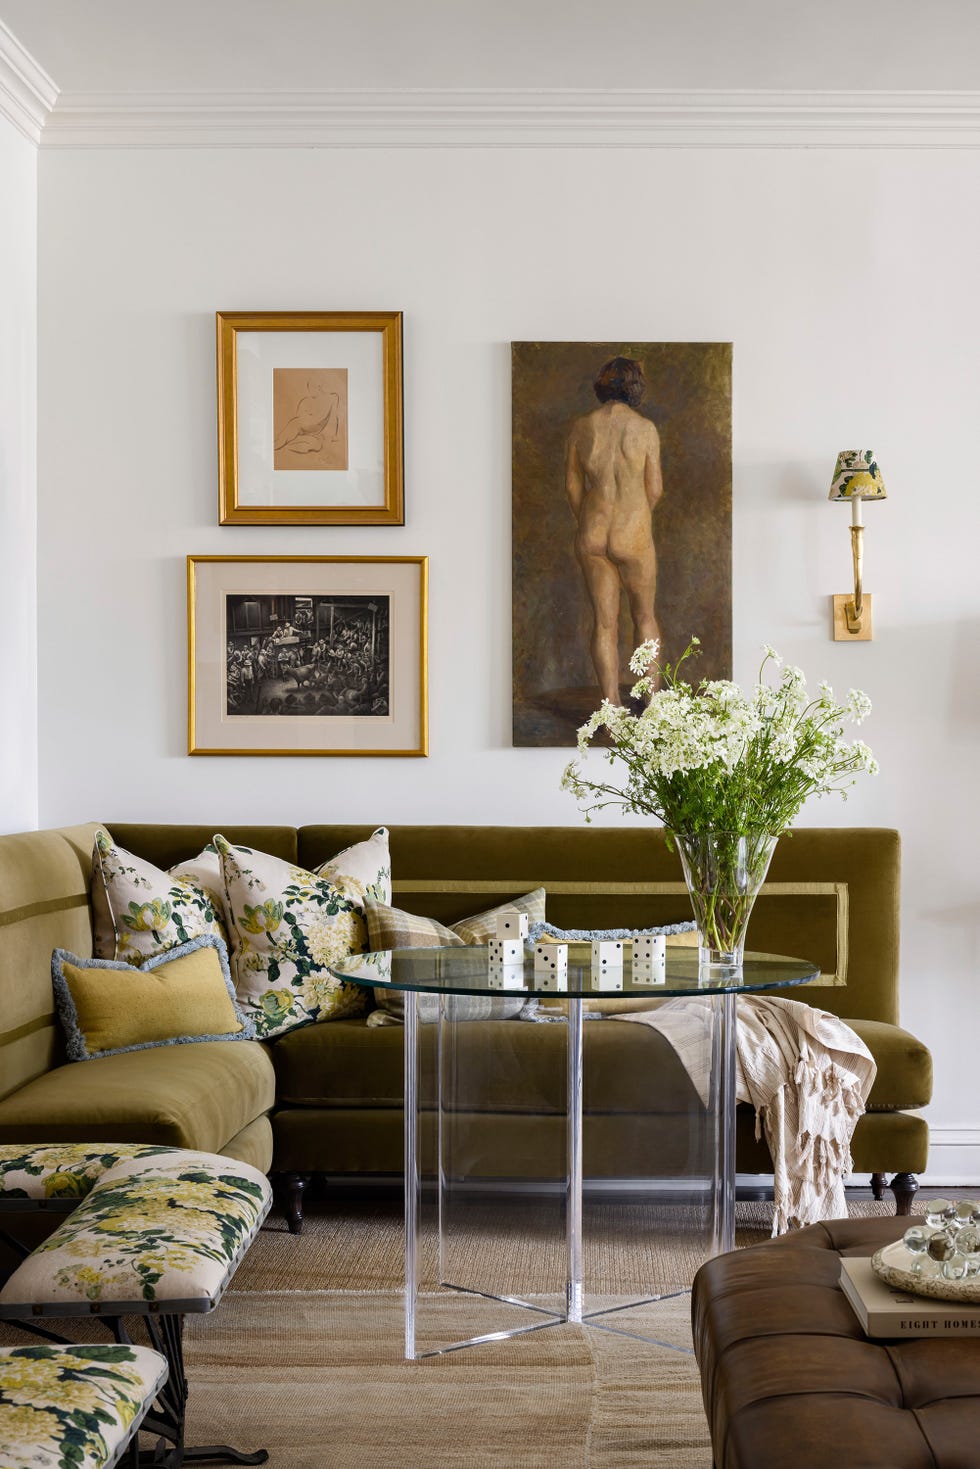
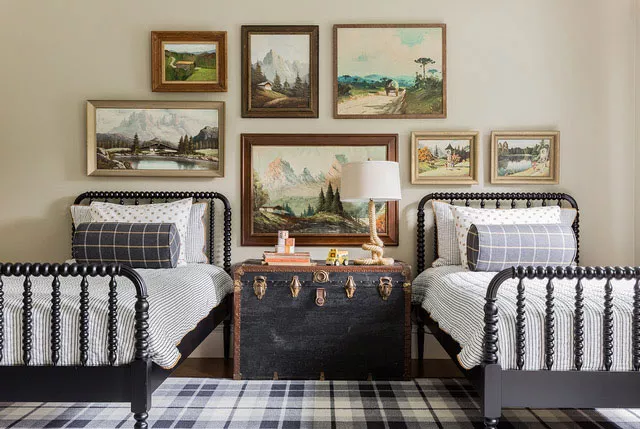
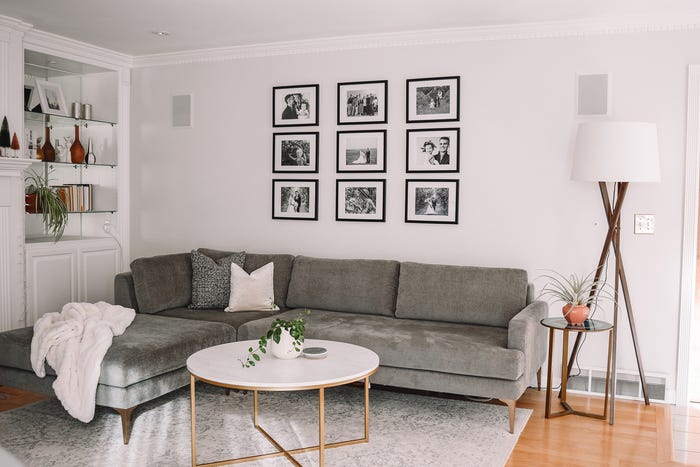
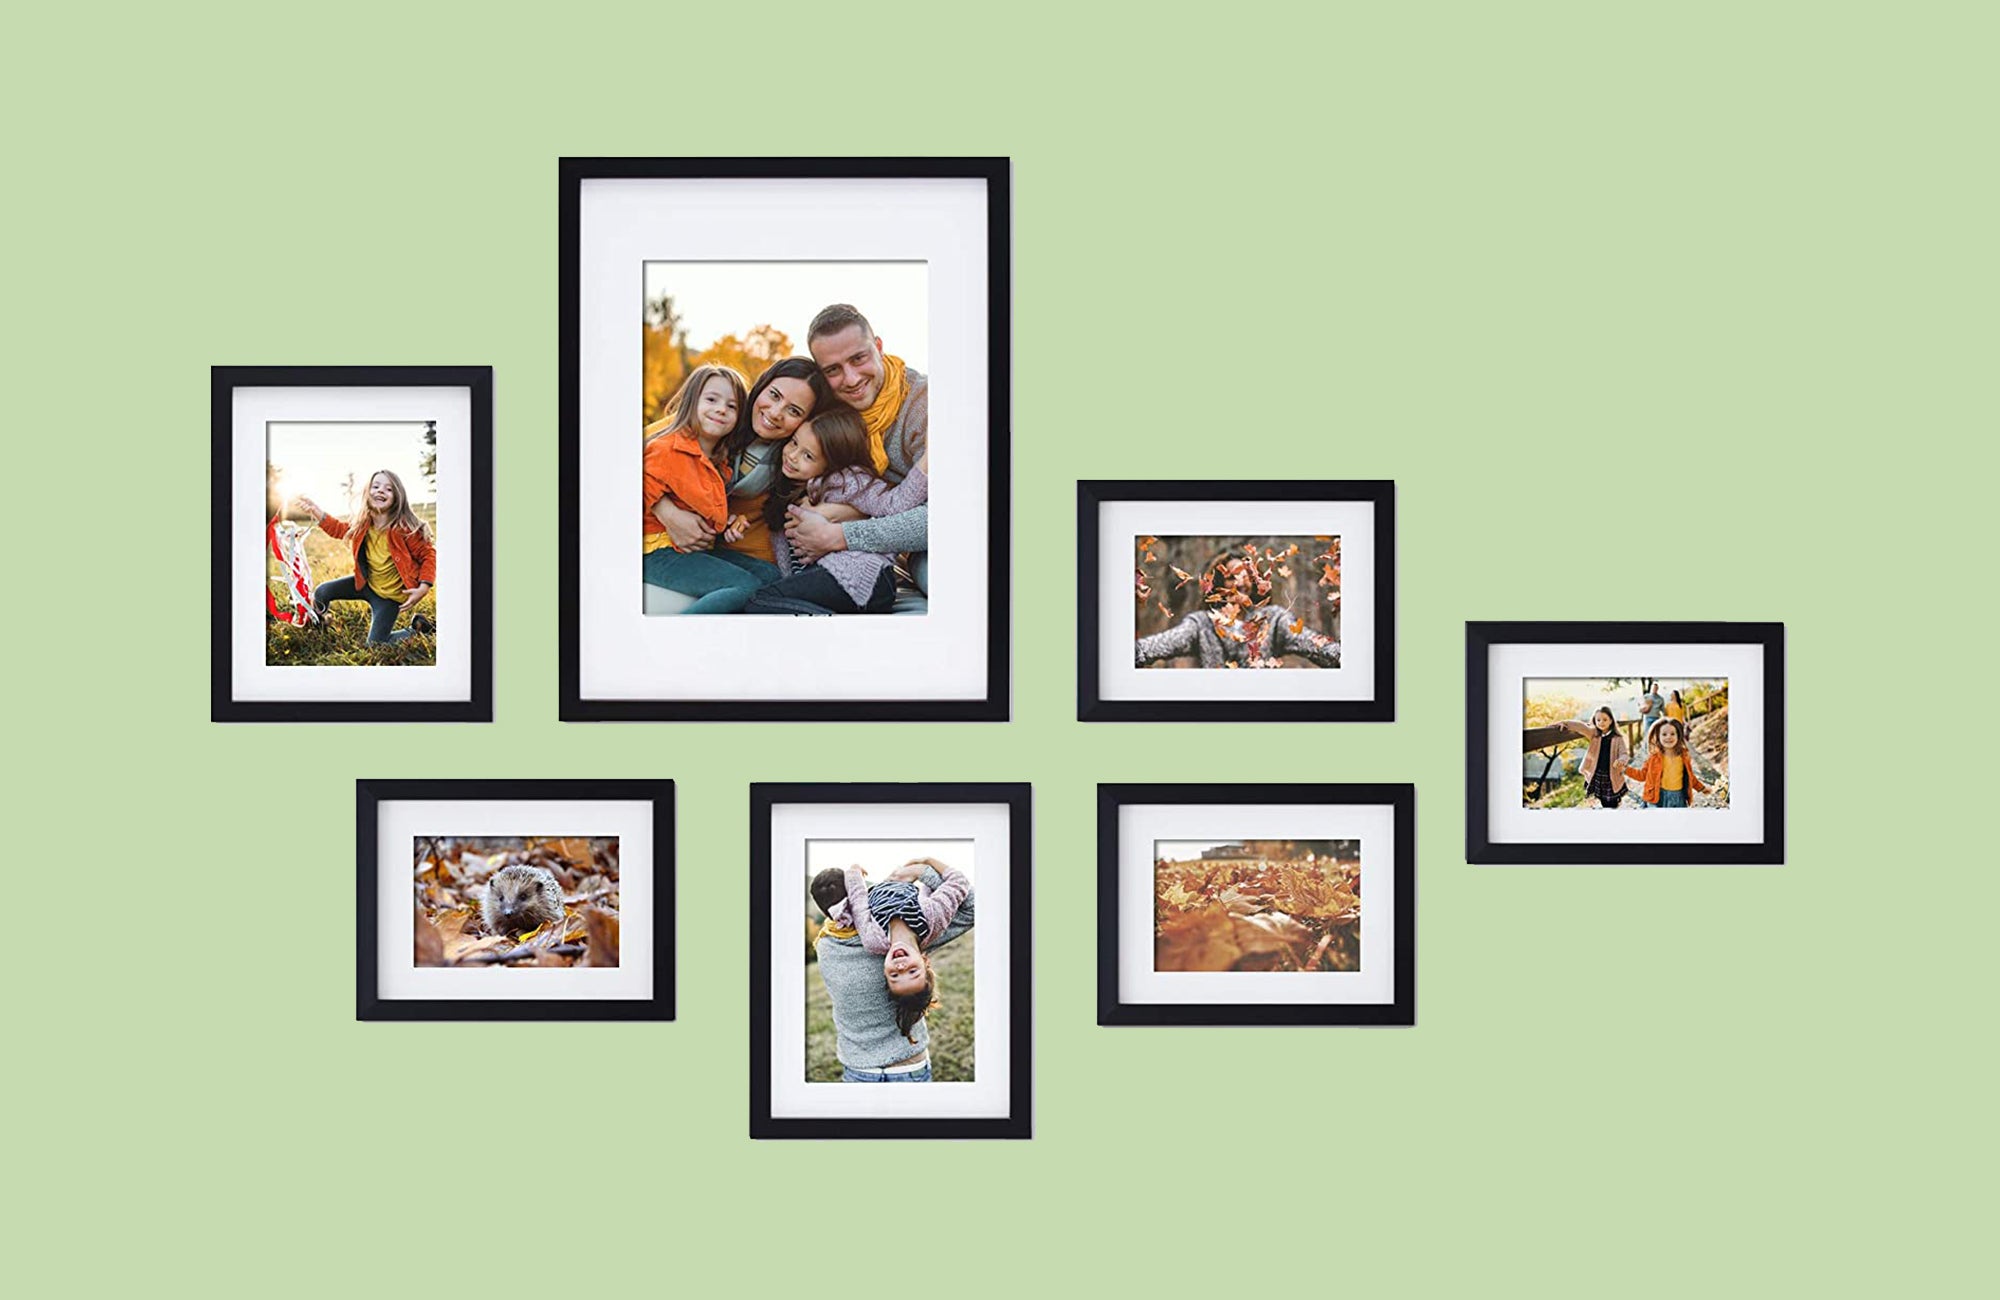
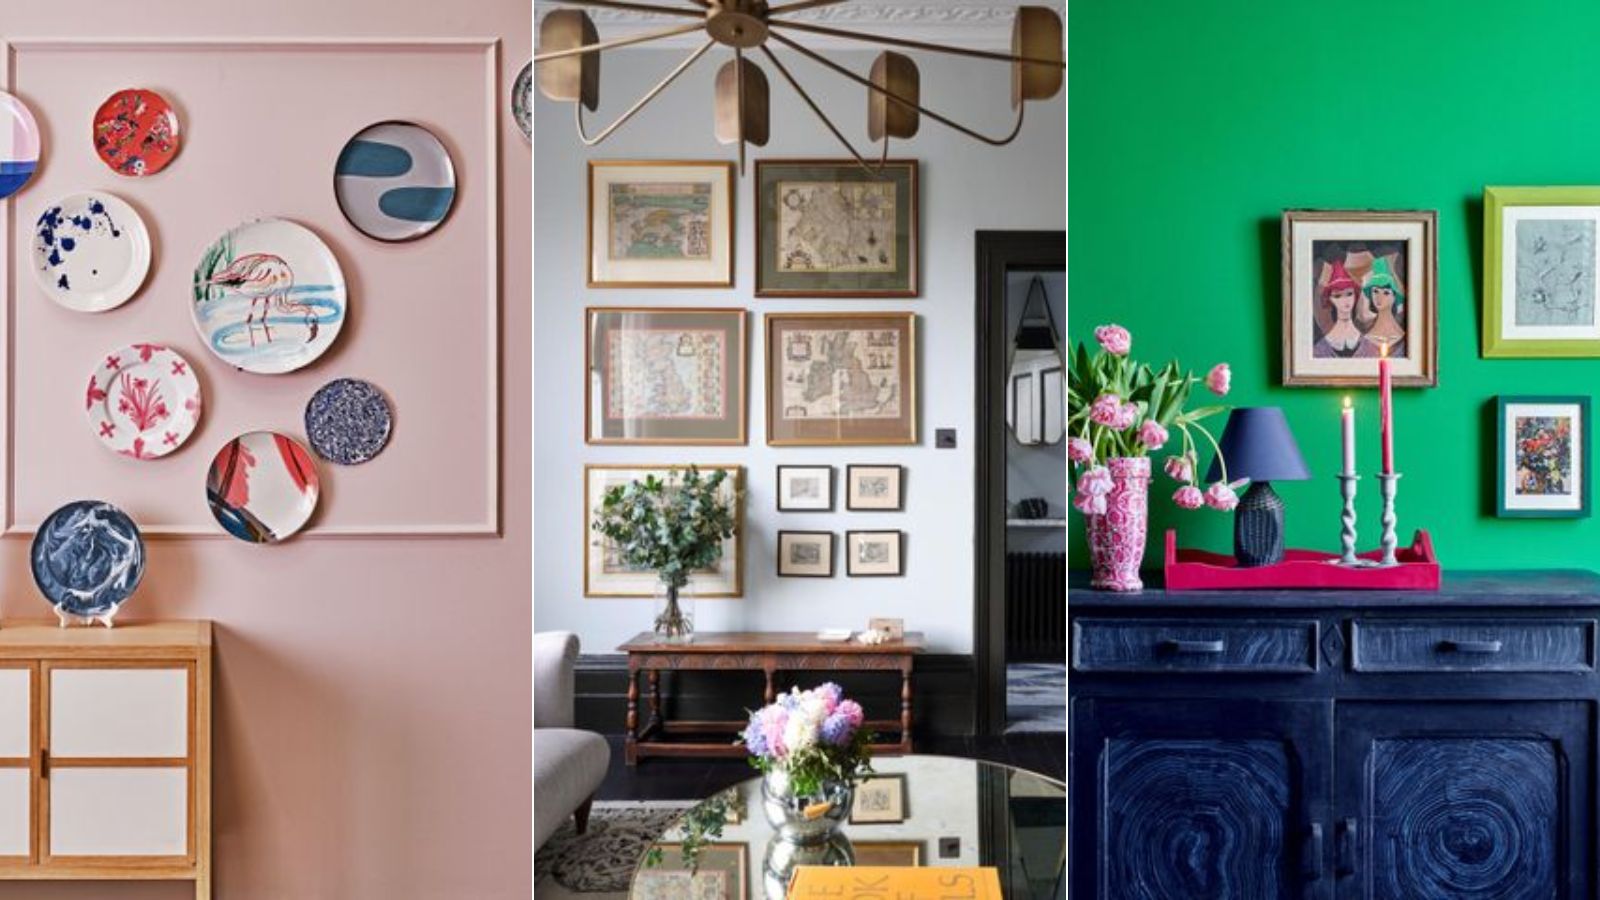
Expert decorating tips for hanging pictures include avoiding overcrowding, ensuring at least 2-3 inches of space around each piece for it to stand out. Scale and proportion are also critical; small pictures should not be hung on oversized walls, and vice versa. A useful guideline is the 2/3 rule: the width of the artwork (or combined width for a gallery) should be approximately two-thirds the width of the furniture piece beneath it. Creating a gallery wall is simplified by tracing frames onto paper, cutting out these shapes, and arranging them on the wall with tape to visualize different layouts, avoiding overly close placement or awkward heights.
#PictureHanging #HomeDecor #GalleryWall #InteriorDesign #DIYHome #WallArt #HomeImprovement #DecoratingTips #PictureHanging #HomeDecor #GalleryWall #InteriorDesign #DIYHome #WallArt #HomeImprovement #DecoratingTips
0 comment in total
 No comments yet
You may also like
How to Hang Pictures, Mirrors, and Plates, According to an Expert

RS Recommends: The Best Hanging Kits Will Make Your Gallery Wall Dreams Come True

This Colorful Trick Is How Cool People Frame Their Pictures These Days


Art Hanging Tips From an Expert

Yes, You Can Hang Art Like a Pro | Reviews by Wirecutter
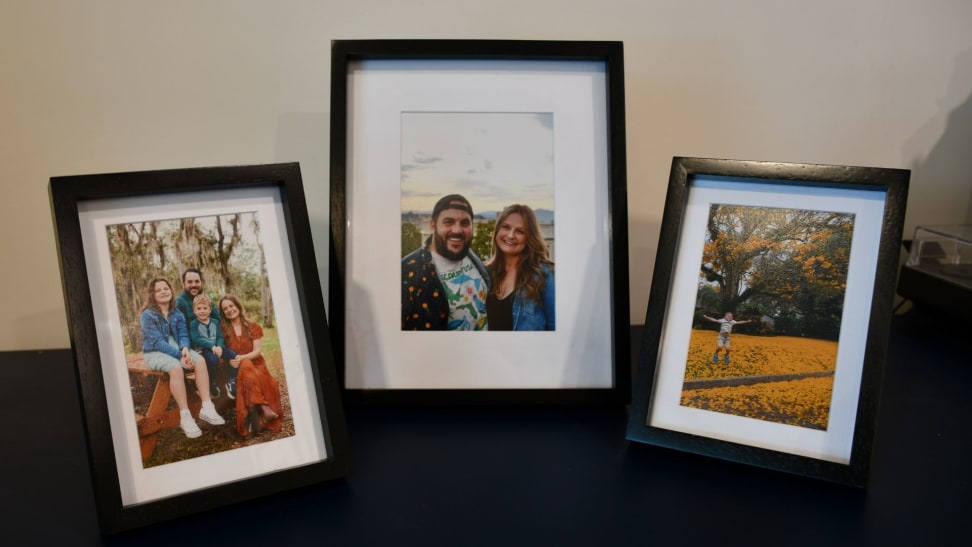
Frameology offers high-quality, affordable photo framing online (and it makes a great gift)

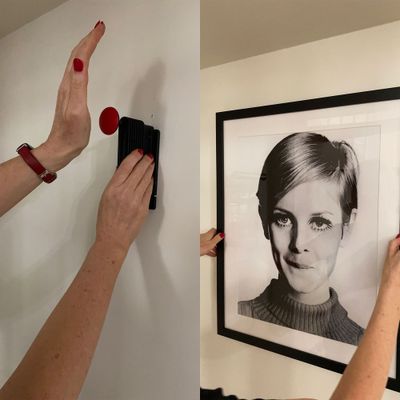
This Nail-Shooter Hangs Pictures Right on the First Try
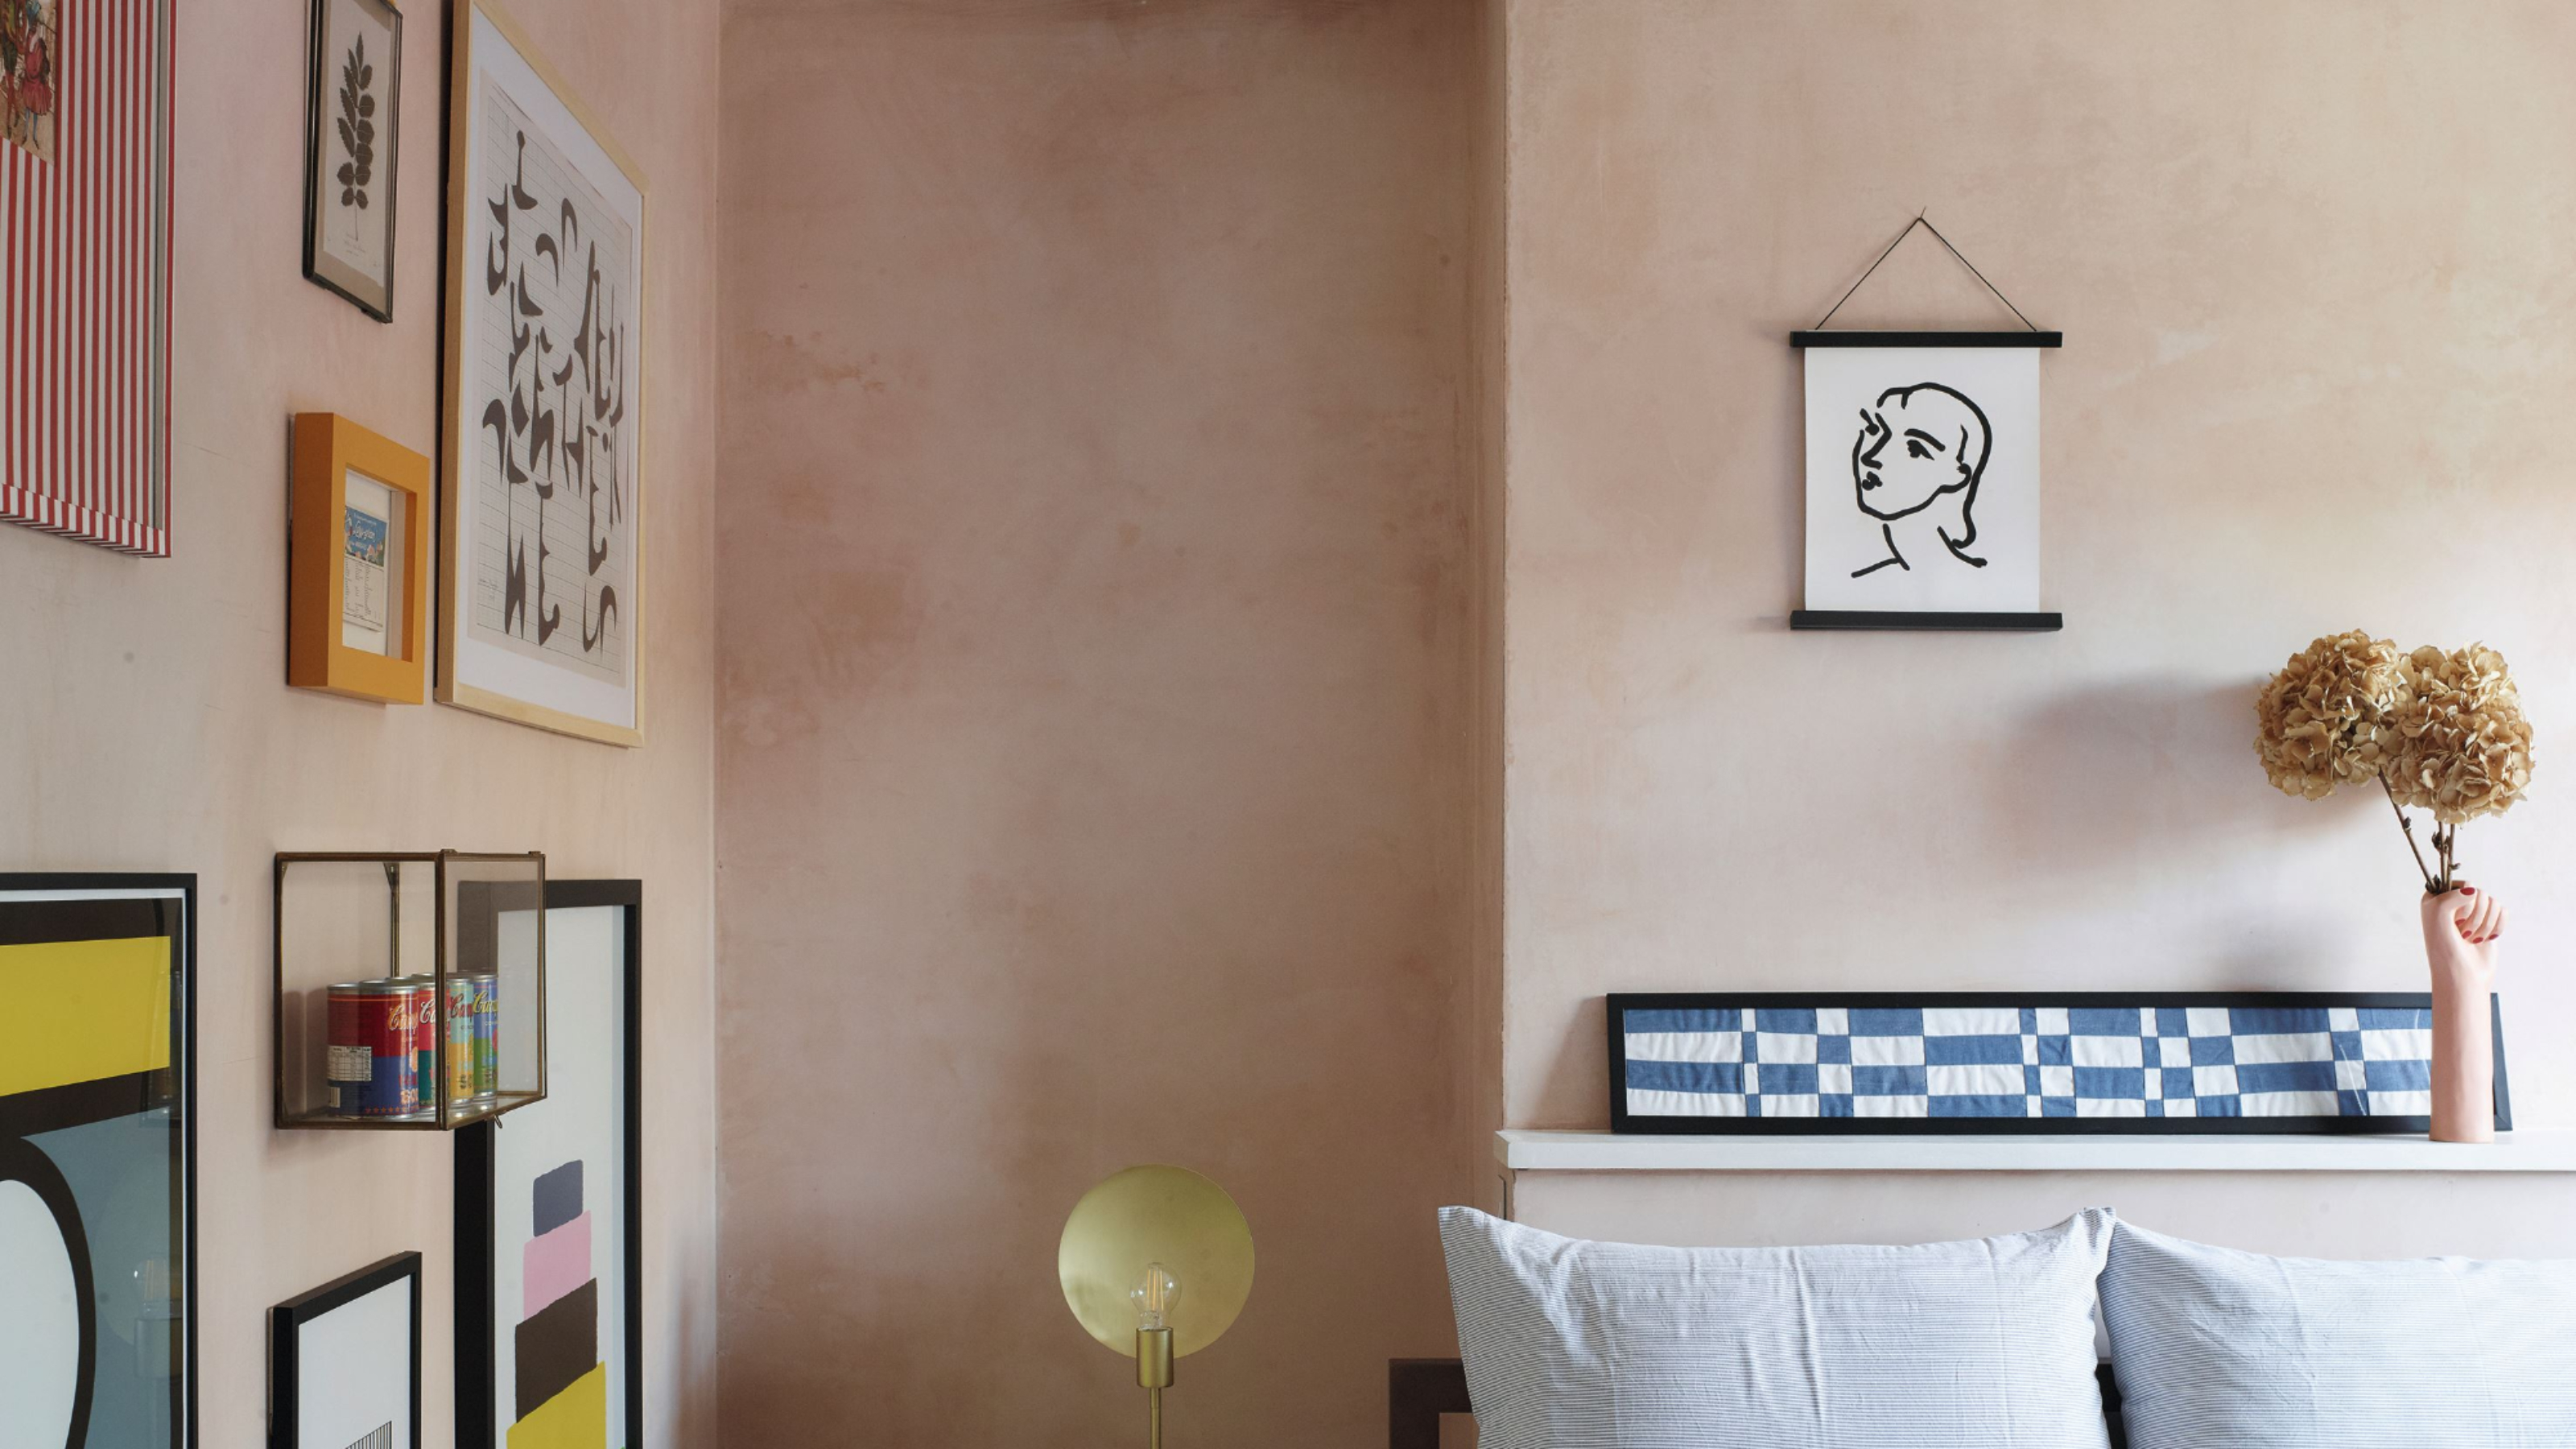
'No forking way!' – this genius hack might have just solved our biggest problem with hanging art on a wall
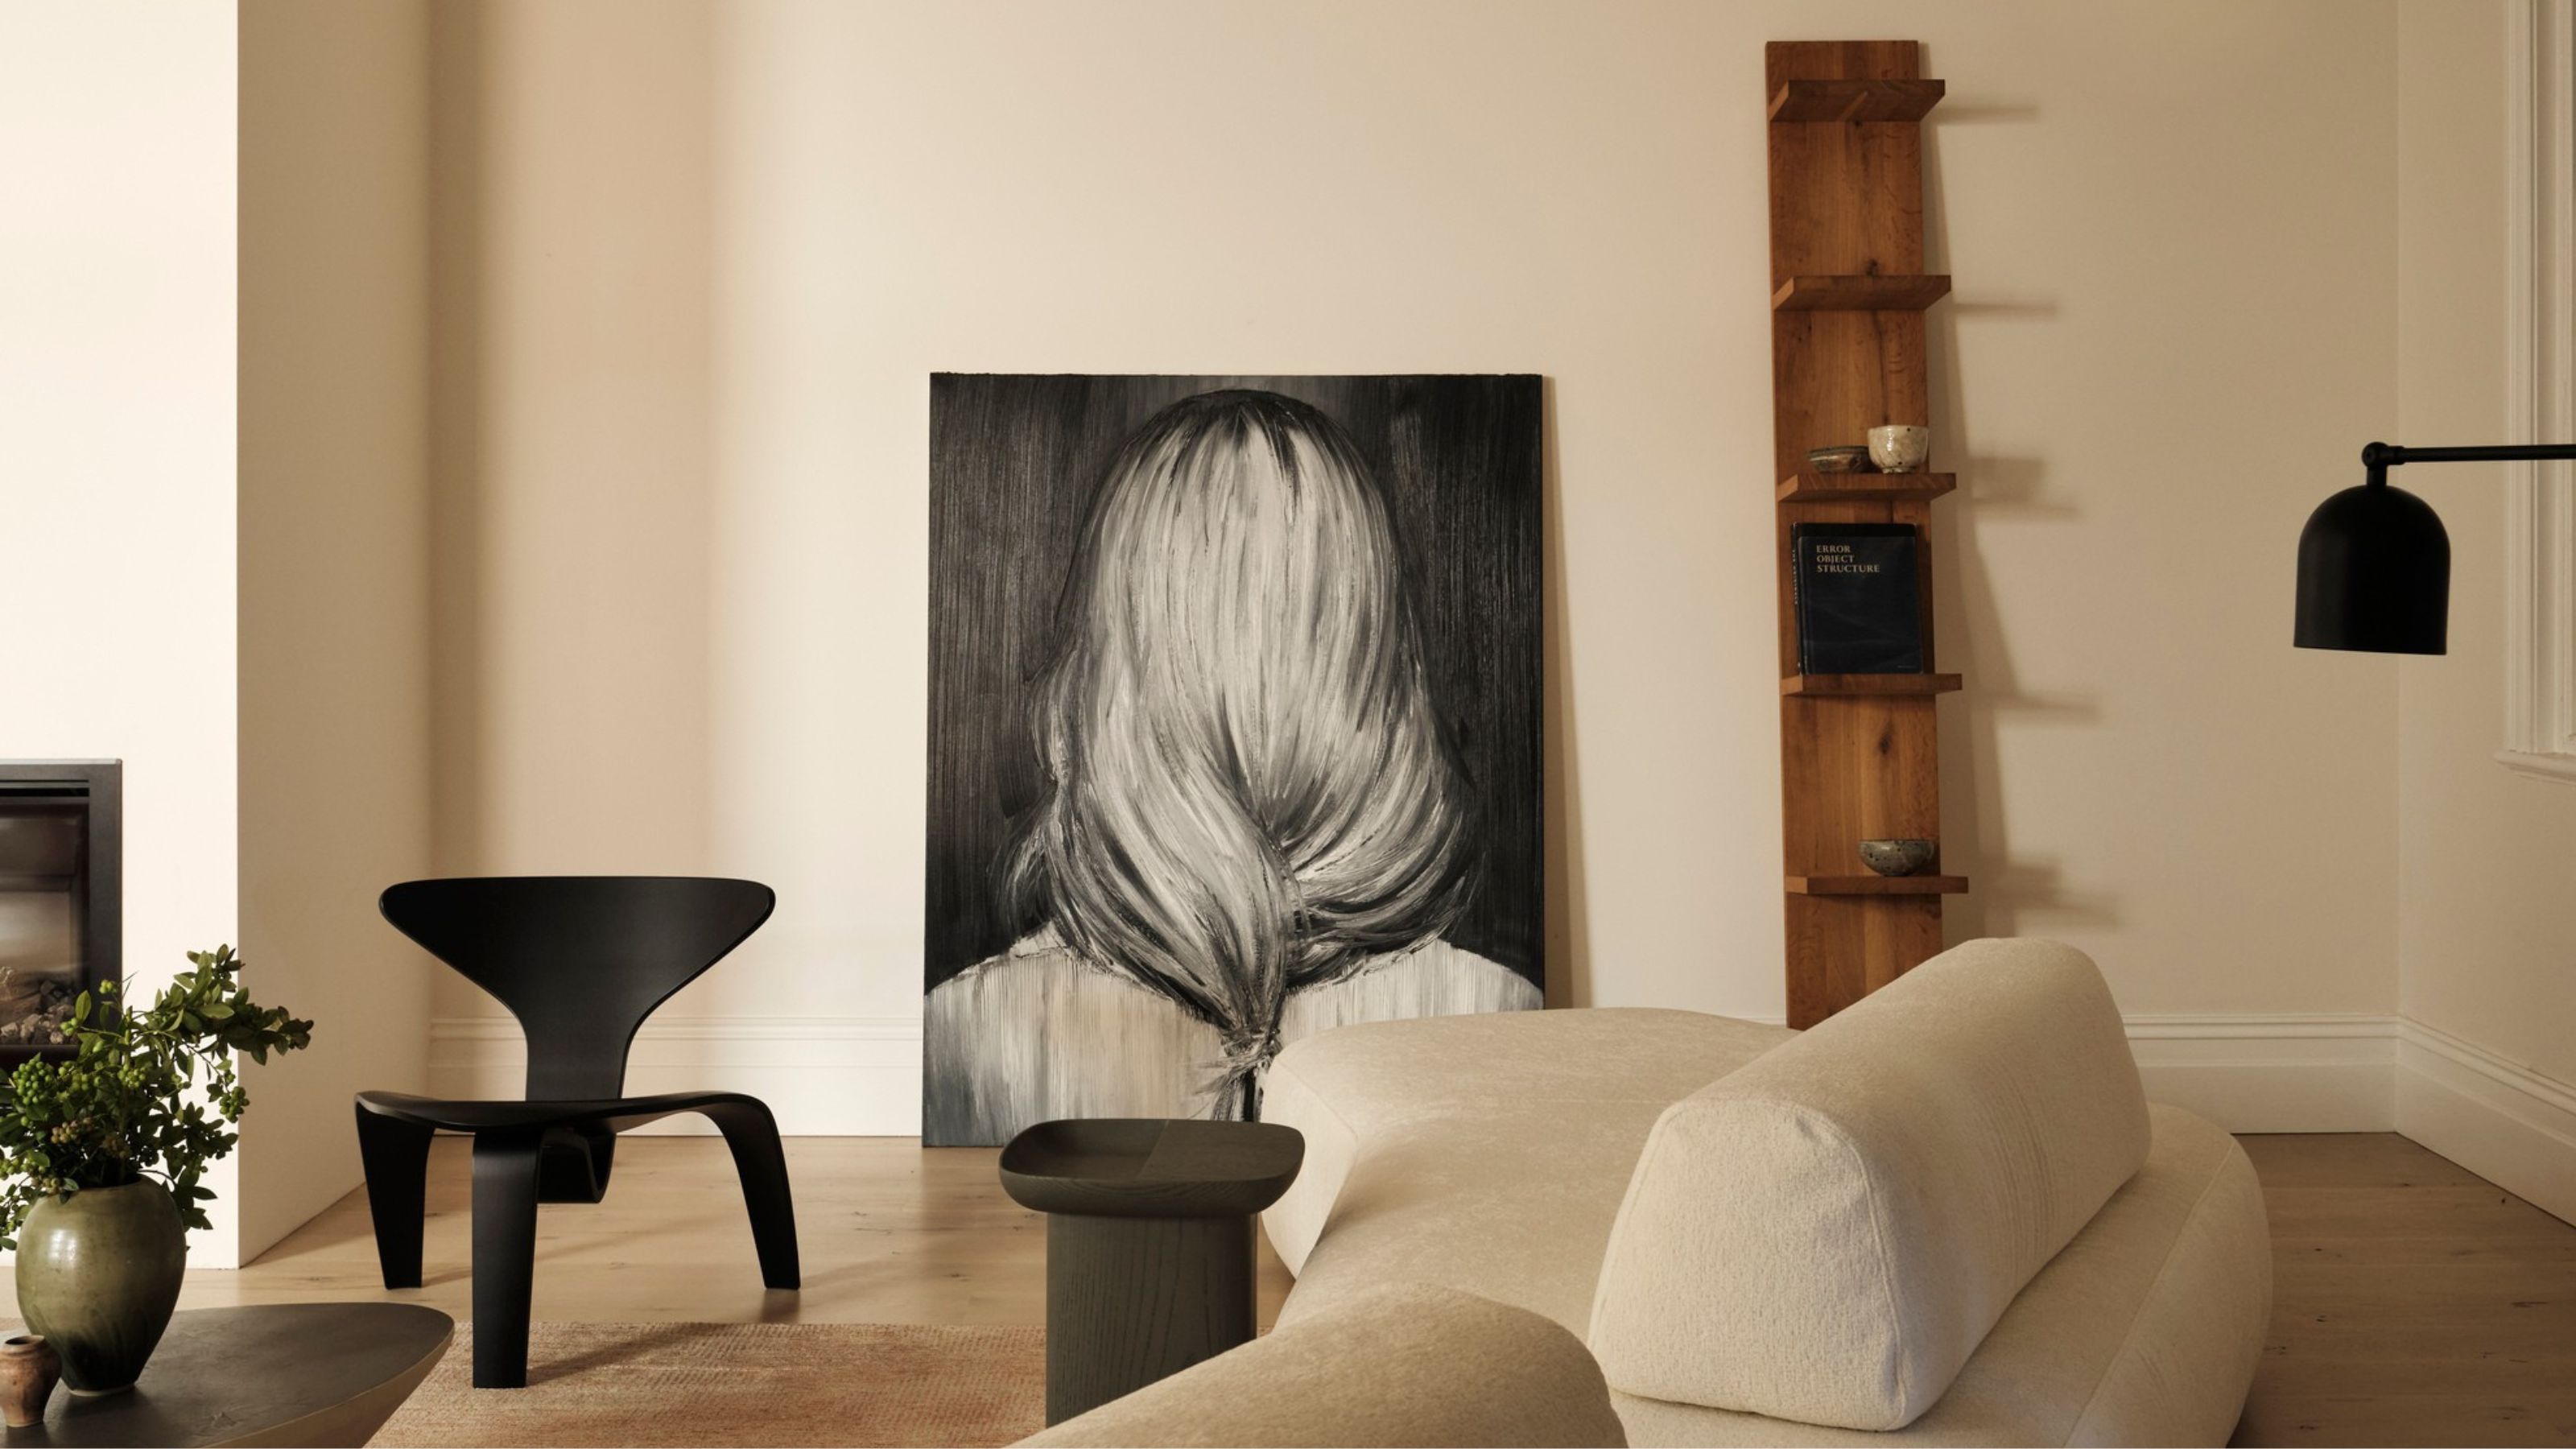
This 'Lazy' Way of Displaying Art, Conveniently, Also Happens to Be the Best Looking

The 8 Picture Hangers We Trust to Hold It All Up

Shopping edit – the best photo frames to display treasured snaps in style
You're Styling Your Gallery Wall All Wrong—Here's How to Get It Right, According to Experts

The Best (and Easiest!) Ways To Hang Pictures, According to Art Pros

We Ordered 7 Different Picture Frames to Find the Best Online Service
A look at various ways to display your photos
Share Your Favorite Memories With the Best Digital Picture Frames of 2023

The best picture frames of 2023

7 DIY tips for how to hang a gallery wall from experts

How to Hang an Art Collection Like an Expert

5 Ways to Make Hanging Picture Frames So Much Easier