5 Ways to Make Hanging Picture Frames So Much Easier
Hanging pictures and artwork is a popular method for personalizing living spaces, transforming a house into a comfortable home. Despite their aesthetic appeal, the actual process of hanging them can often be challenging. This article, inspired by Real Simple magazine's "Simple Twists" column, offers five practical hacks to simplify the task of hanging picture frames.
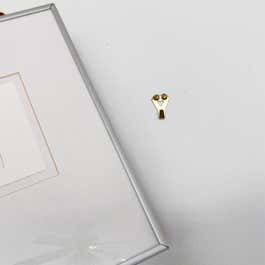
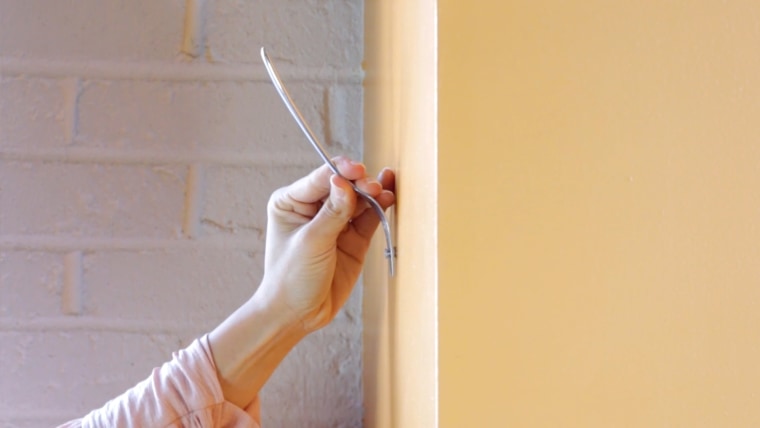
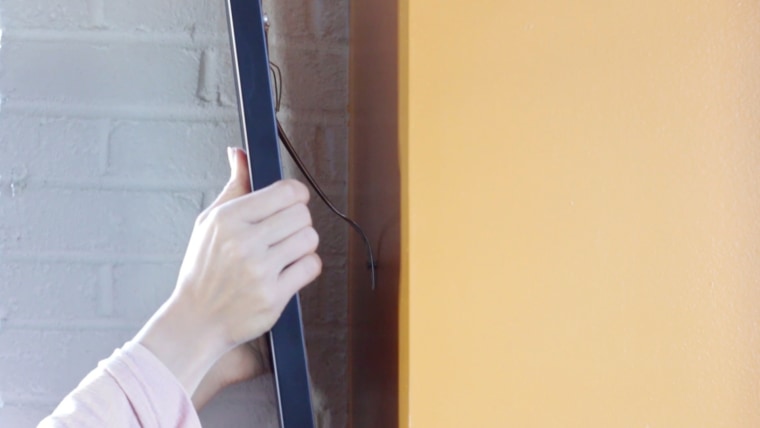
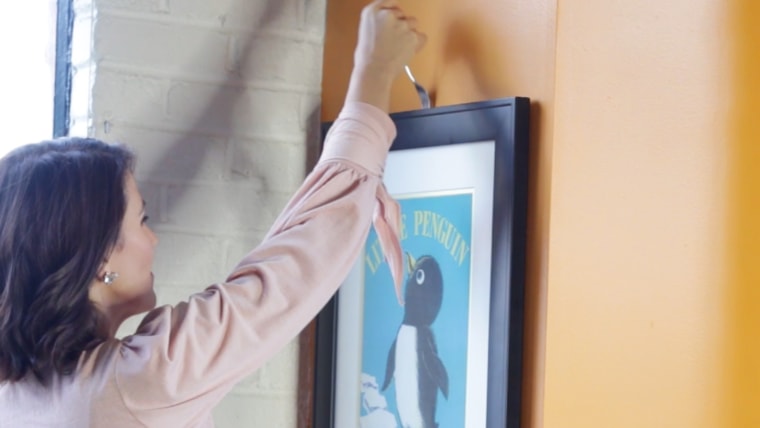
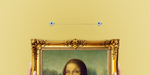
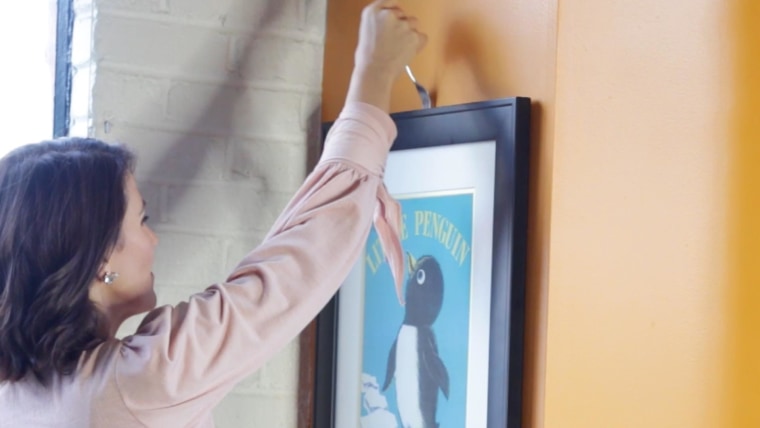
The first hack addresses the common frustration of aligning a wire hanger with a tiny hook. The solution involves using a common kitchen fork. By slipping the tines of a fork onto the nail and looping the picture frame's wire over the fork's handle, the utensil acts as a guide, making it easier to position the frame correctly. Once the wire is secured, the fork can be easily removed.
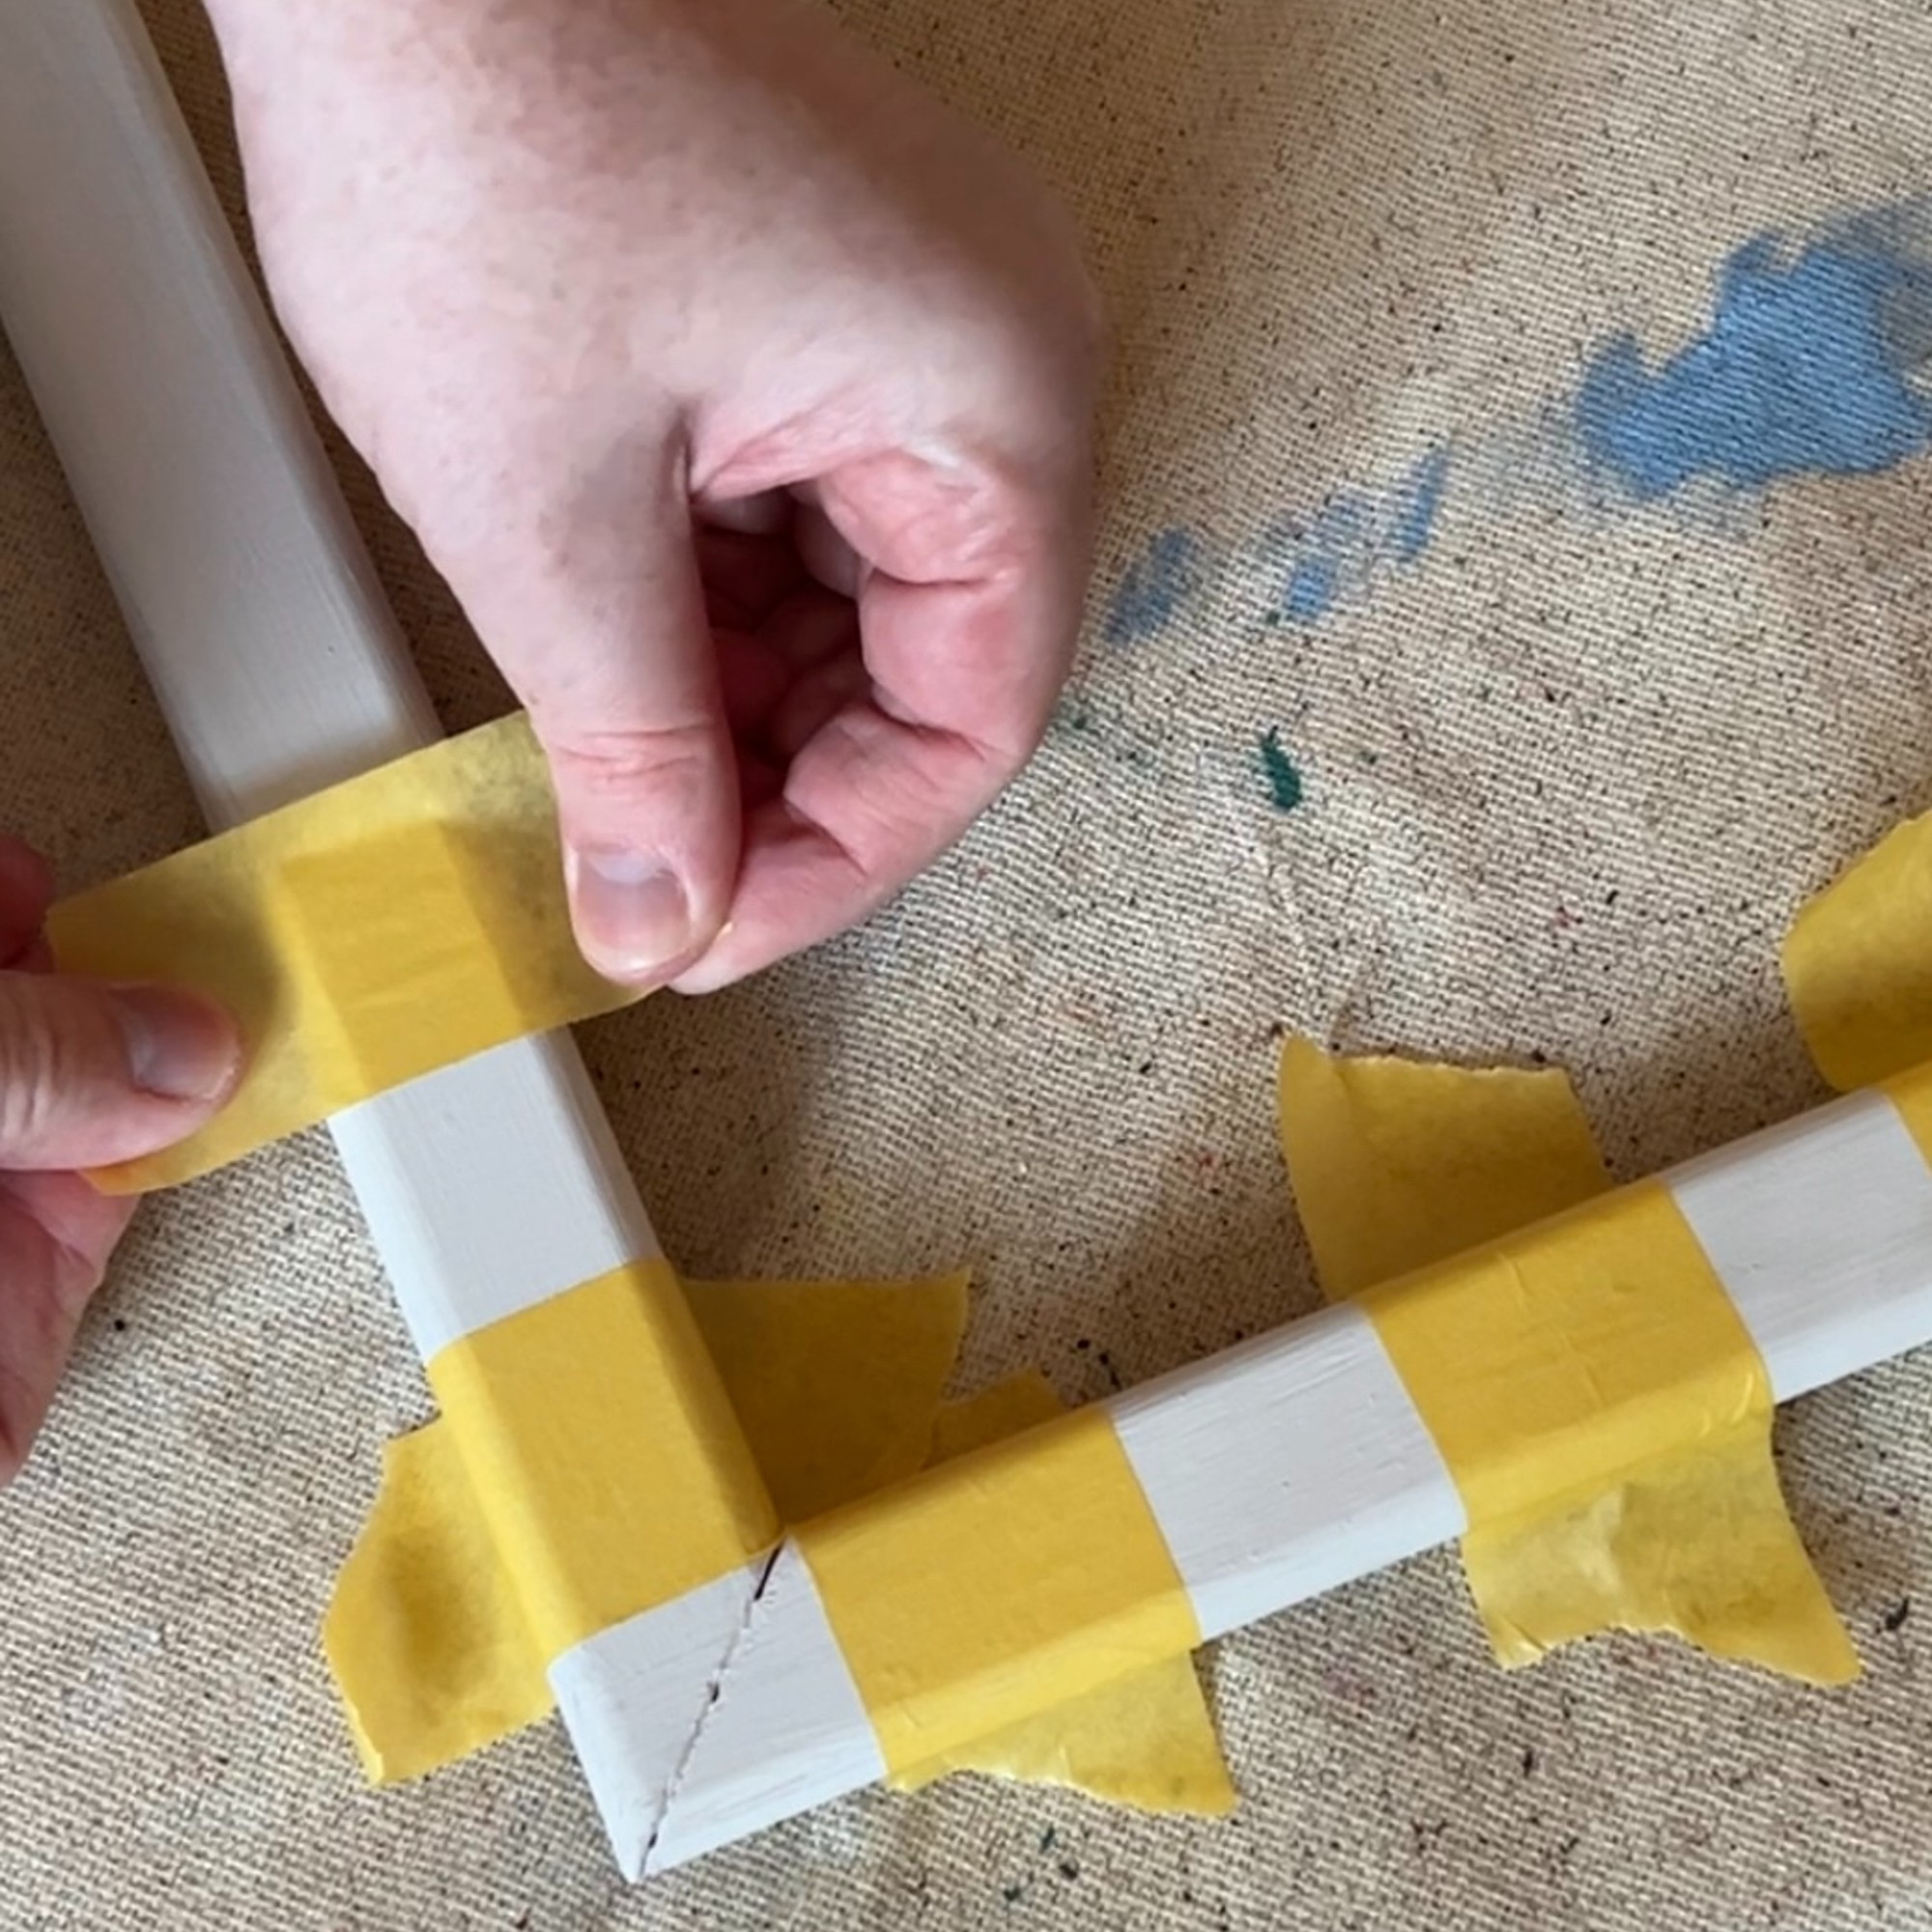
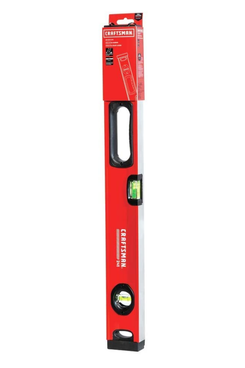
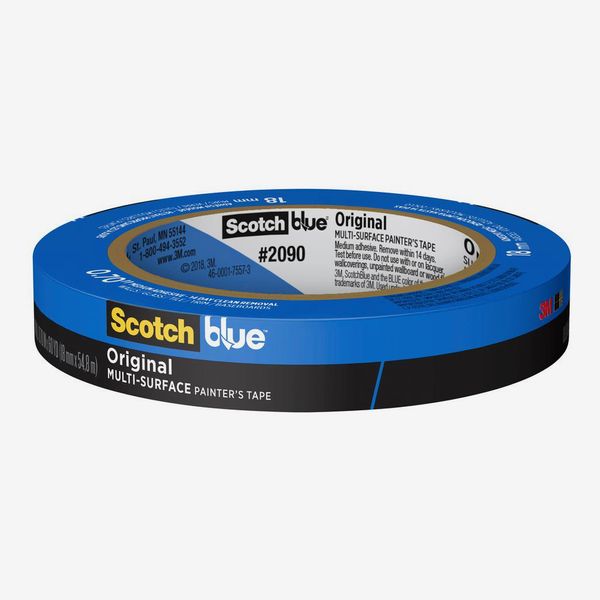
The second tip provides a method for hanging wide frames that require two brackets. This often presents a challenge in ensuring both hooks are level. Painter's tape is recommended for this task. A piece of tape, long enough to span both brackets, is applied directly beneath the mounting hardware. The midpoints of each bracket are marked on the tape. After removing the tape, it is then placed on the wall, and a level is used to make any necessary adjustments. Nails are then hammered into the marked points on the tape, which is subsequently removed, allowing for a perfectly aligned frame.
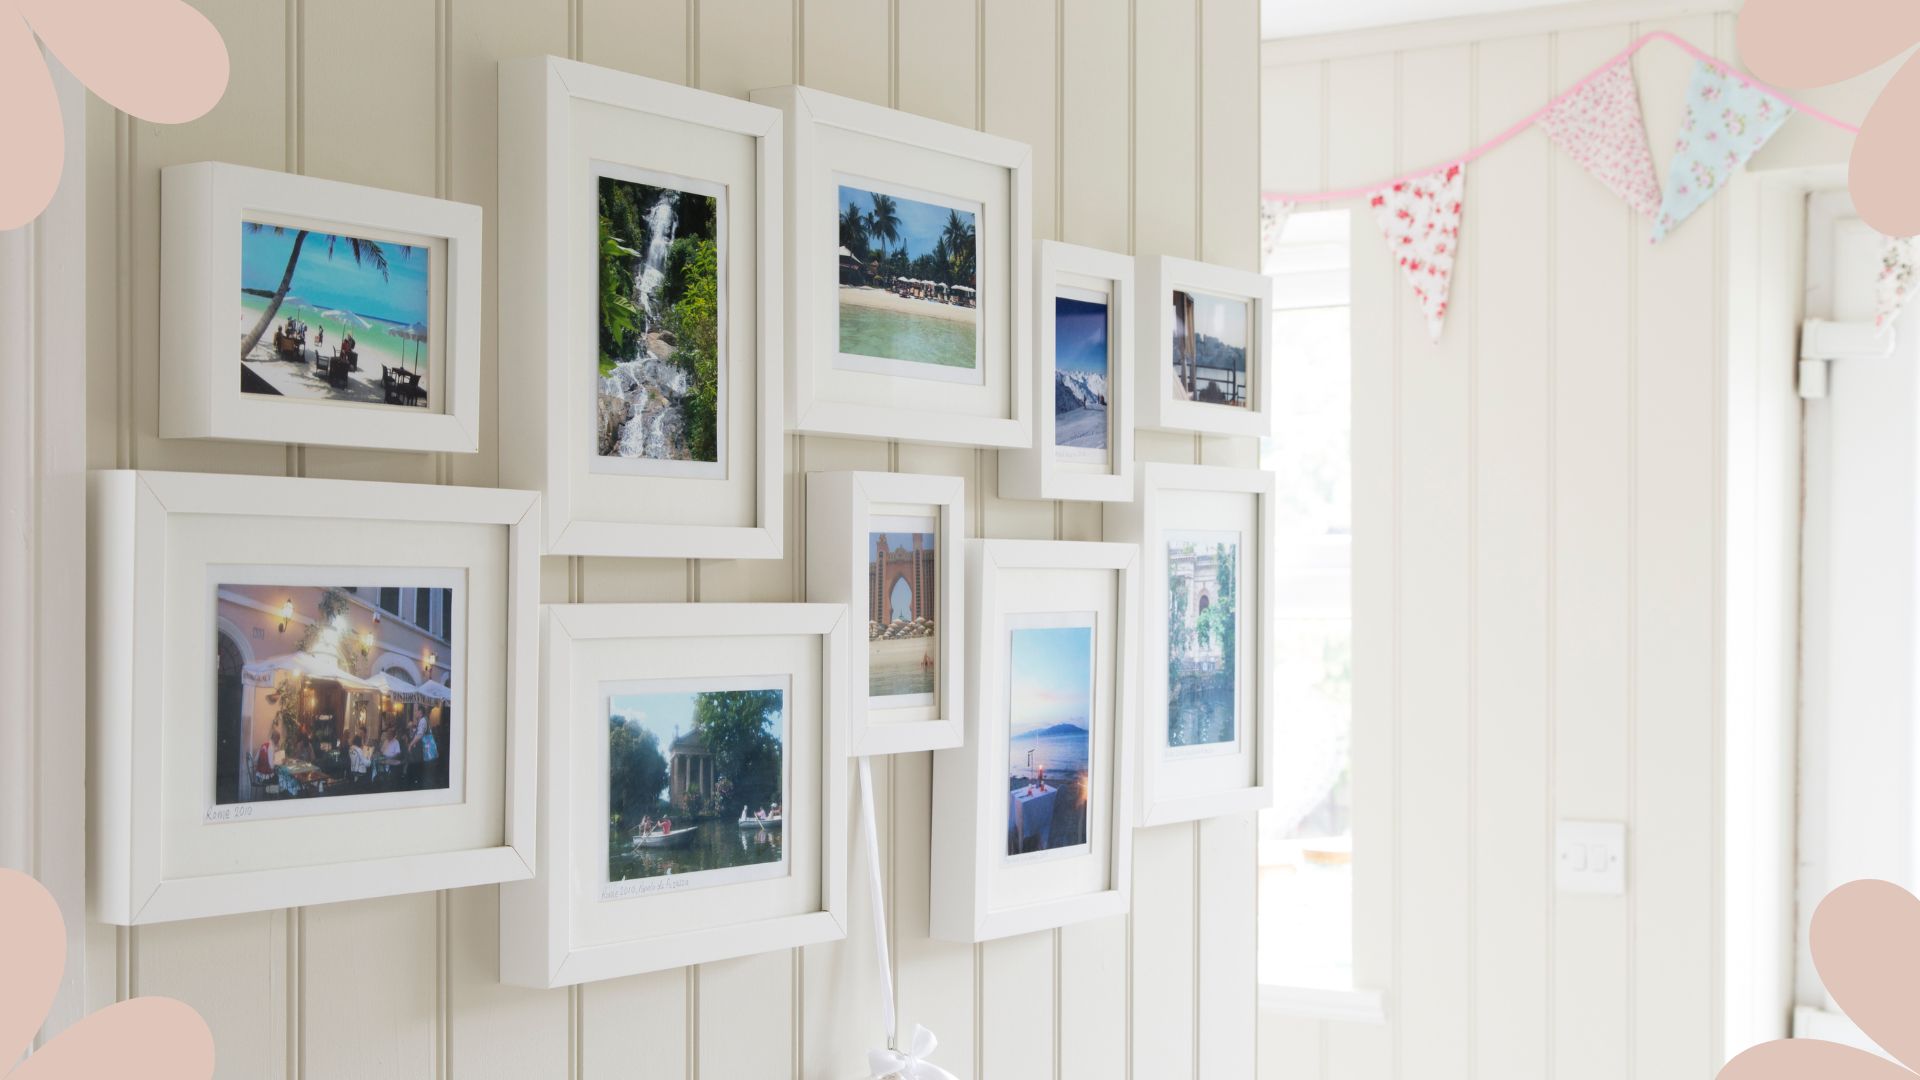
For those who need to drill holes for wall anchors and want to avoid the mess of drywall dust, the third hack suggests using sticky notes. One or two sticky notes are placed below the intended drilling spot, with the bottom half folded upwards to create a small paper 'shelf'. This improvised shelf effectively catches the dust as drilling occurs. Once drilling is complete, the sticky note can be carefully peeled off and discarded, along with the collected dust.
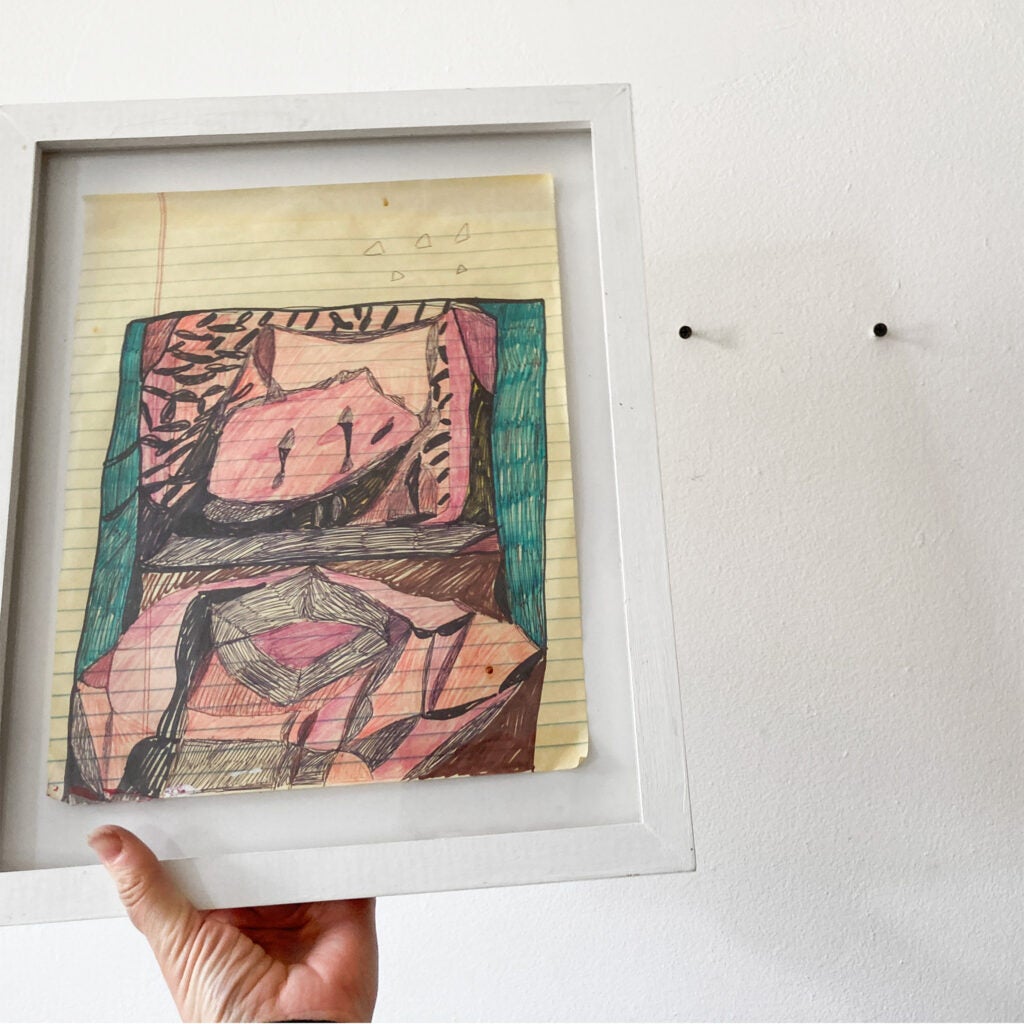
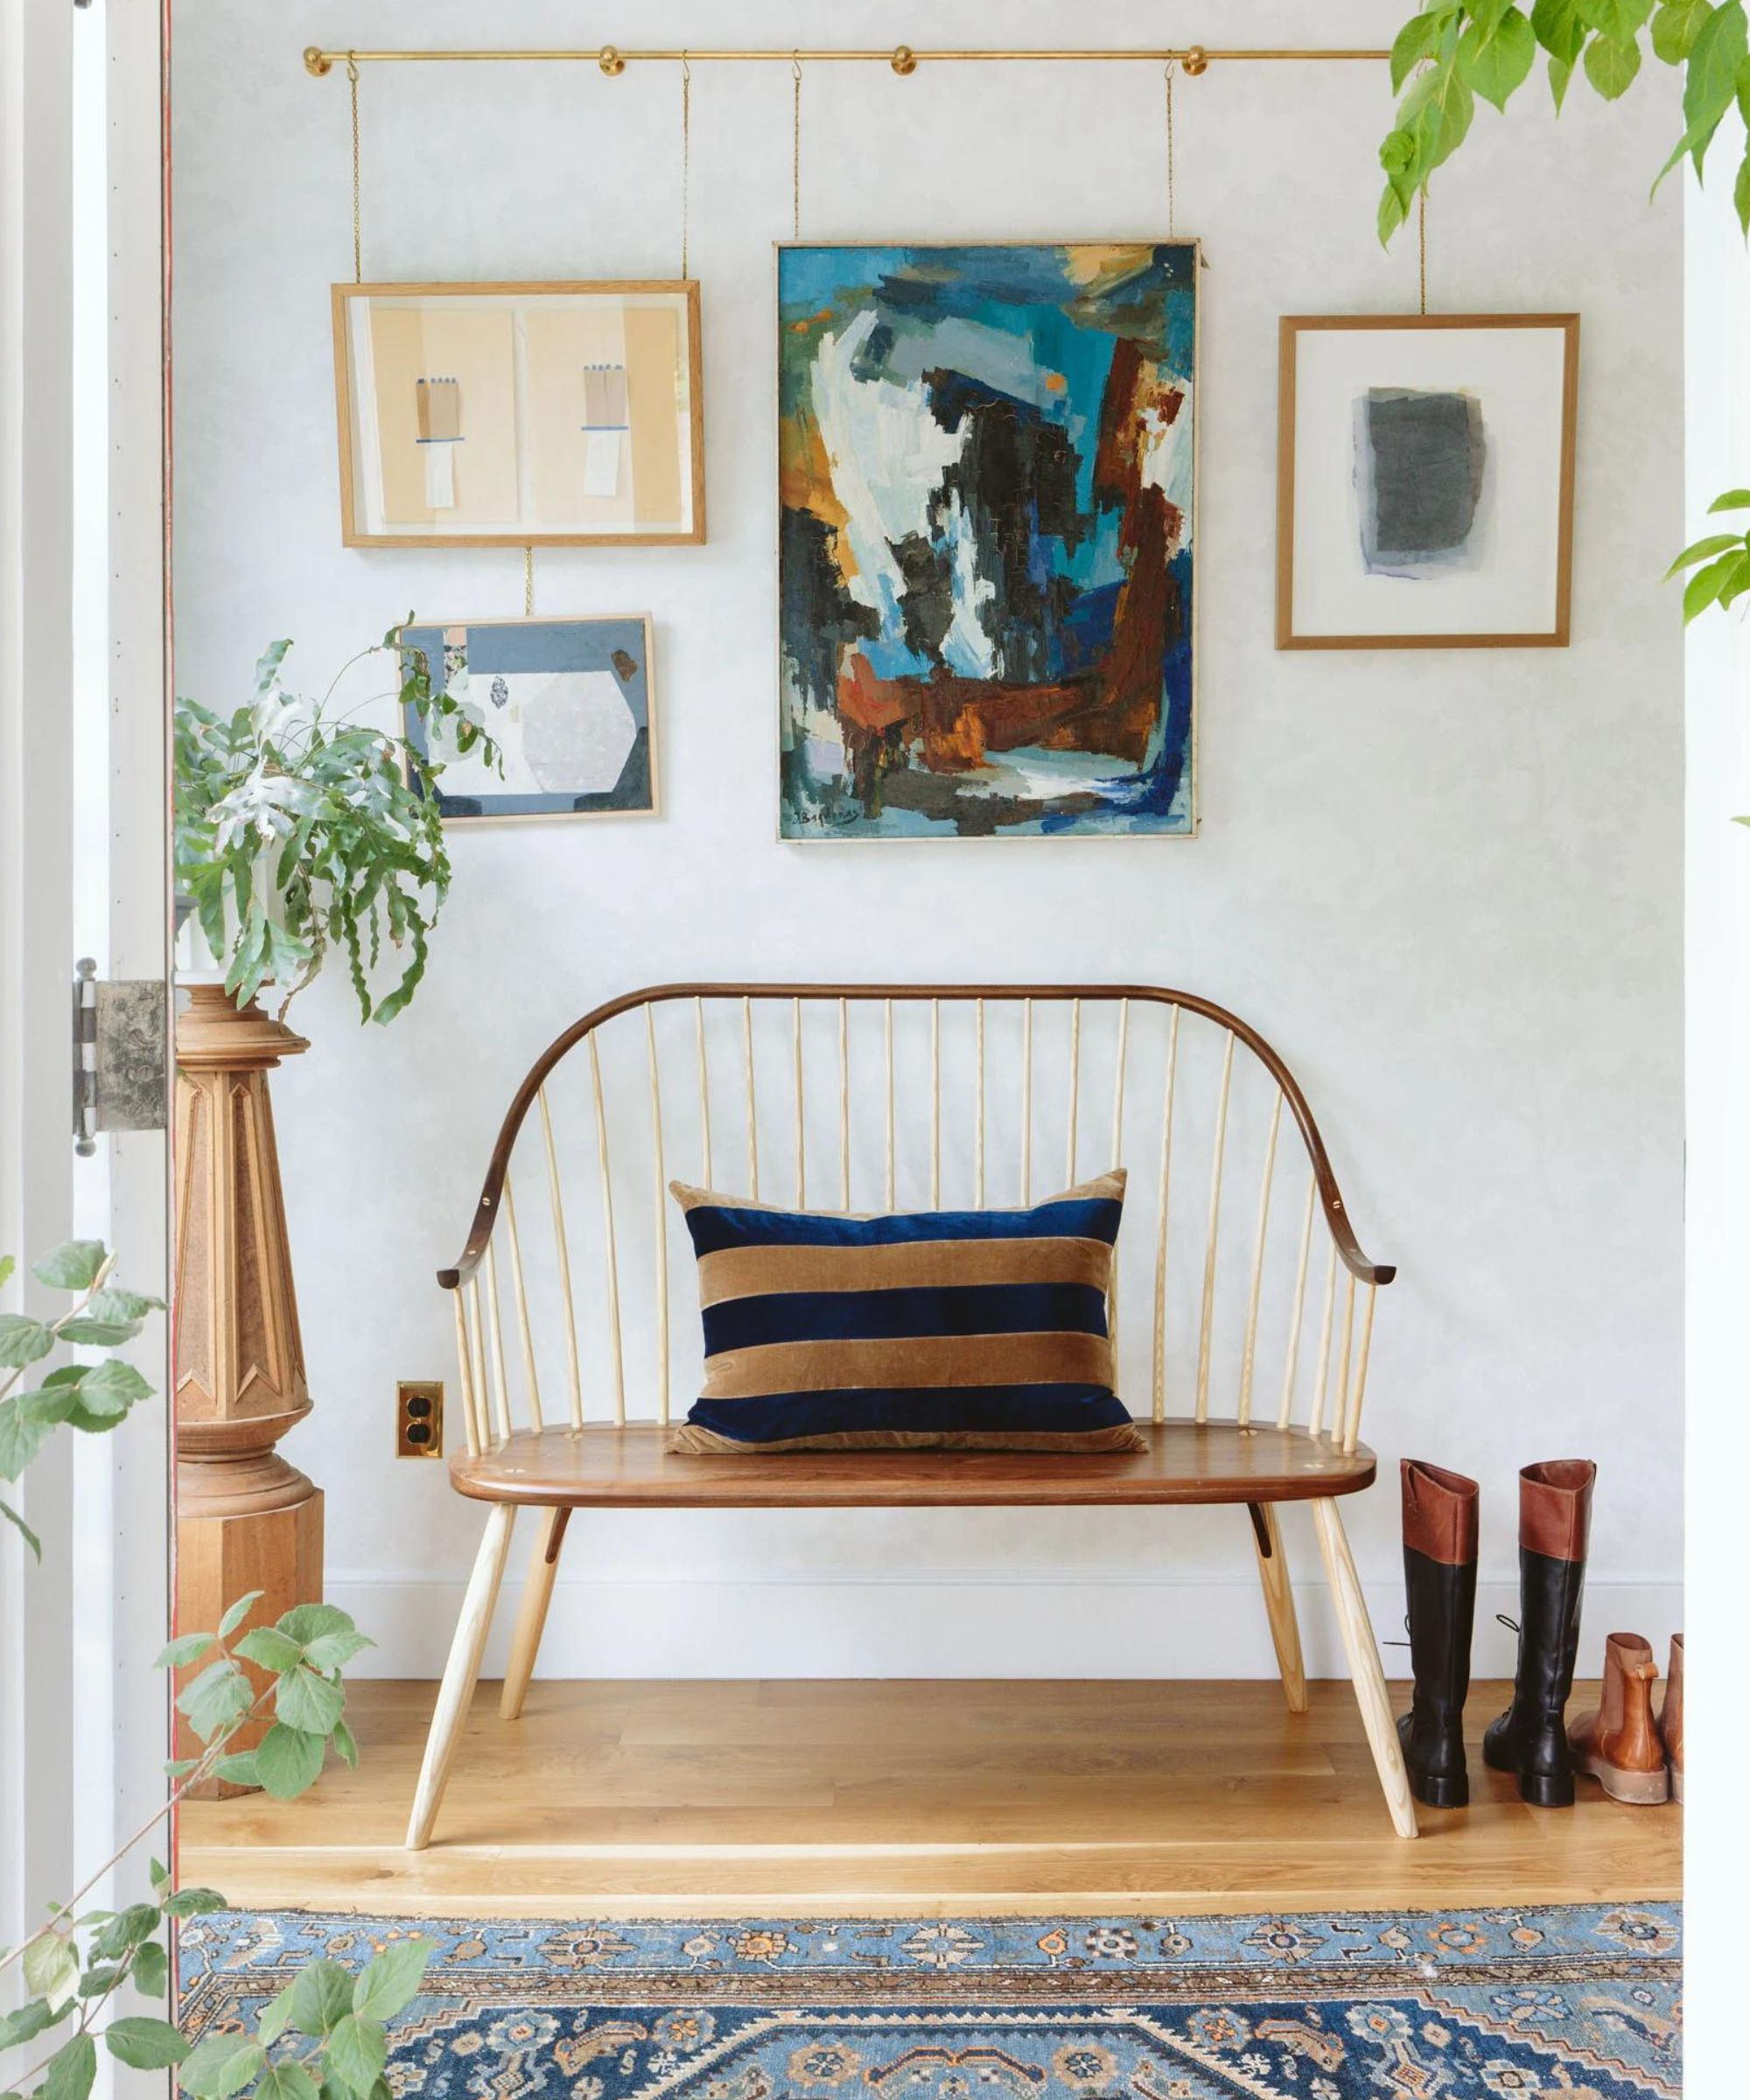
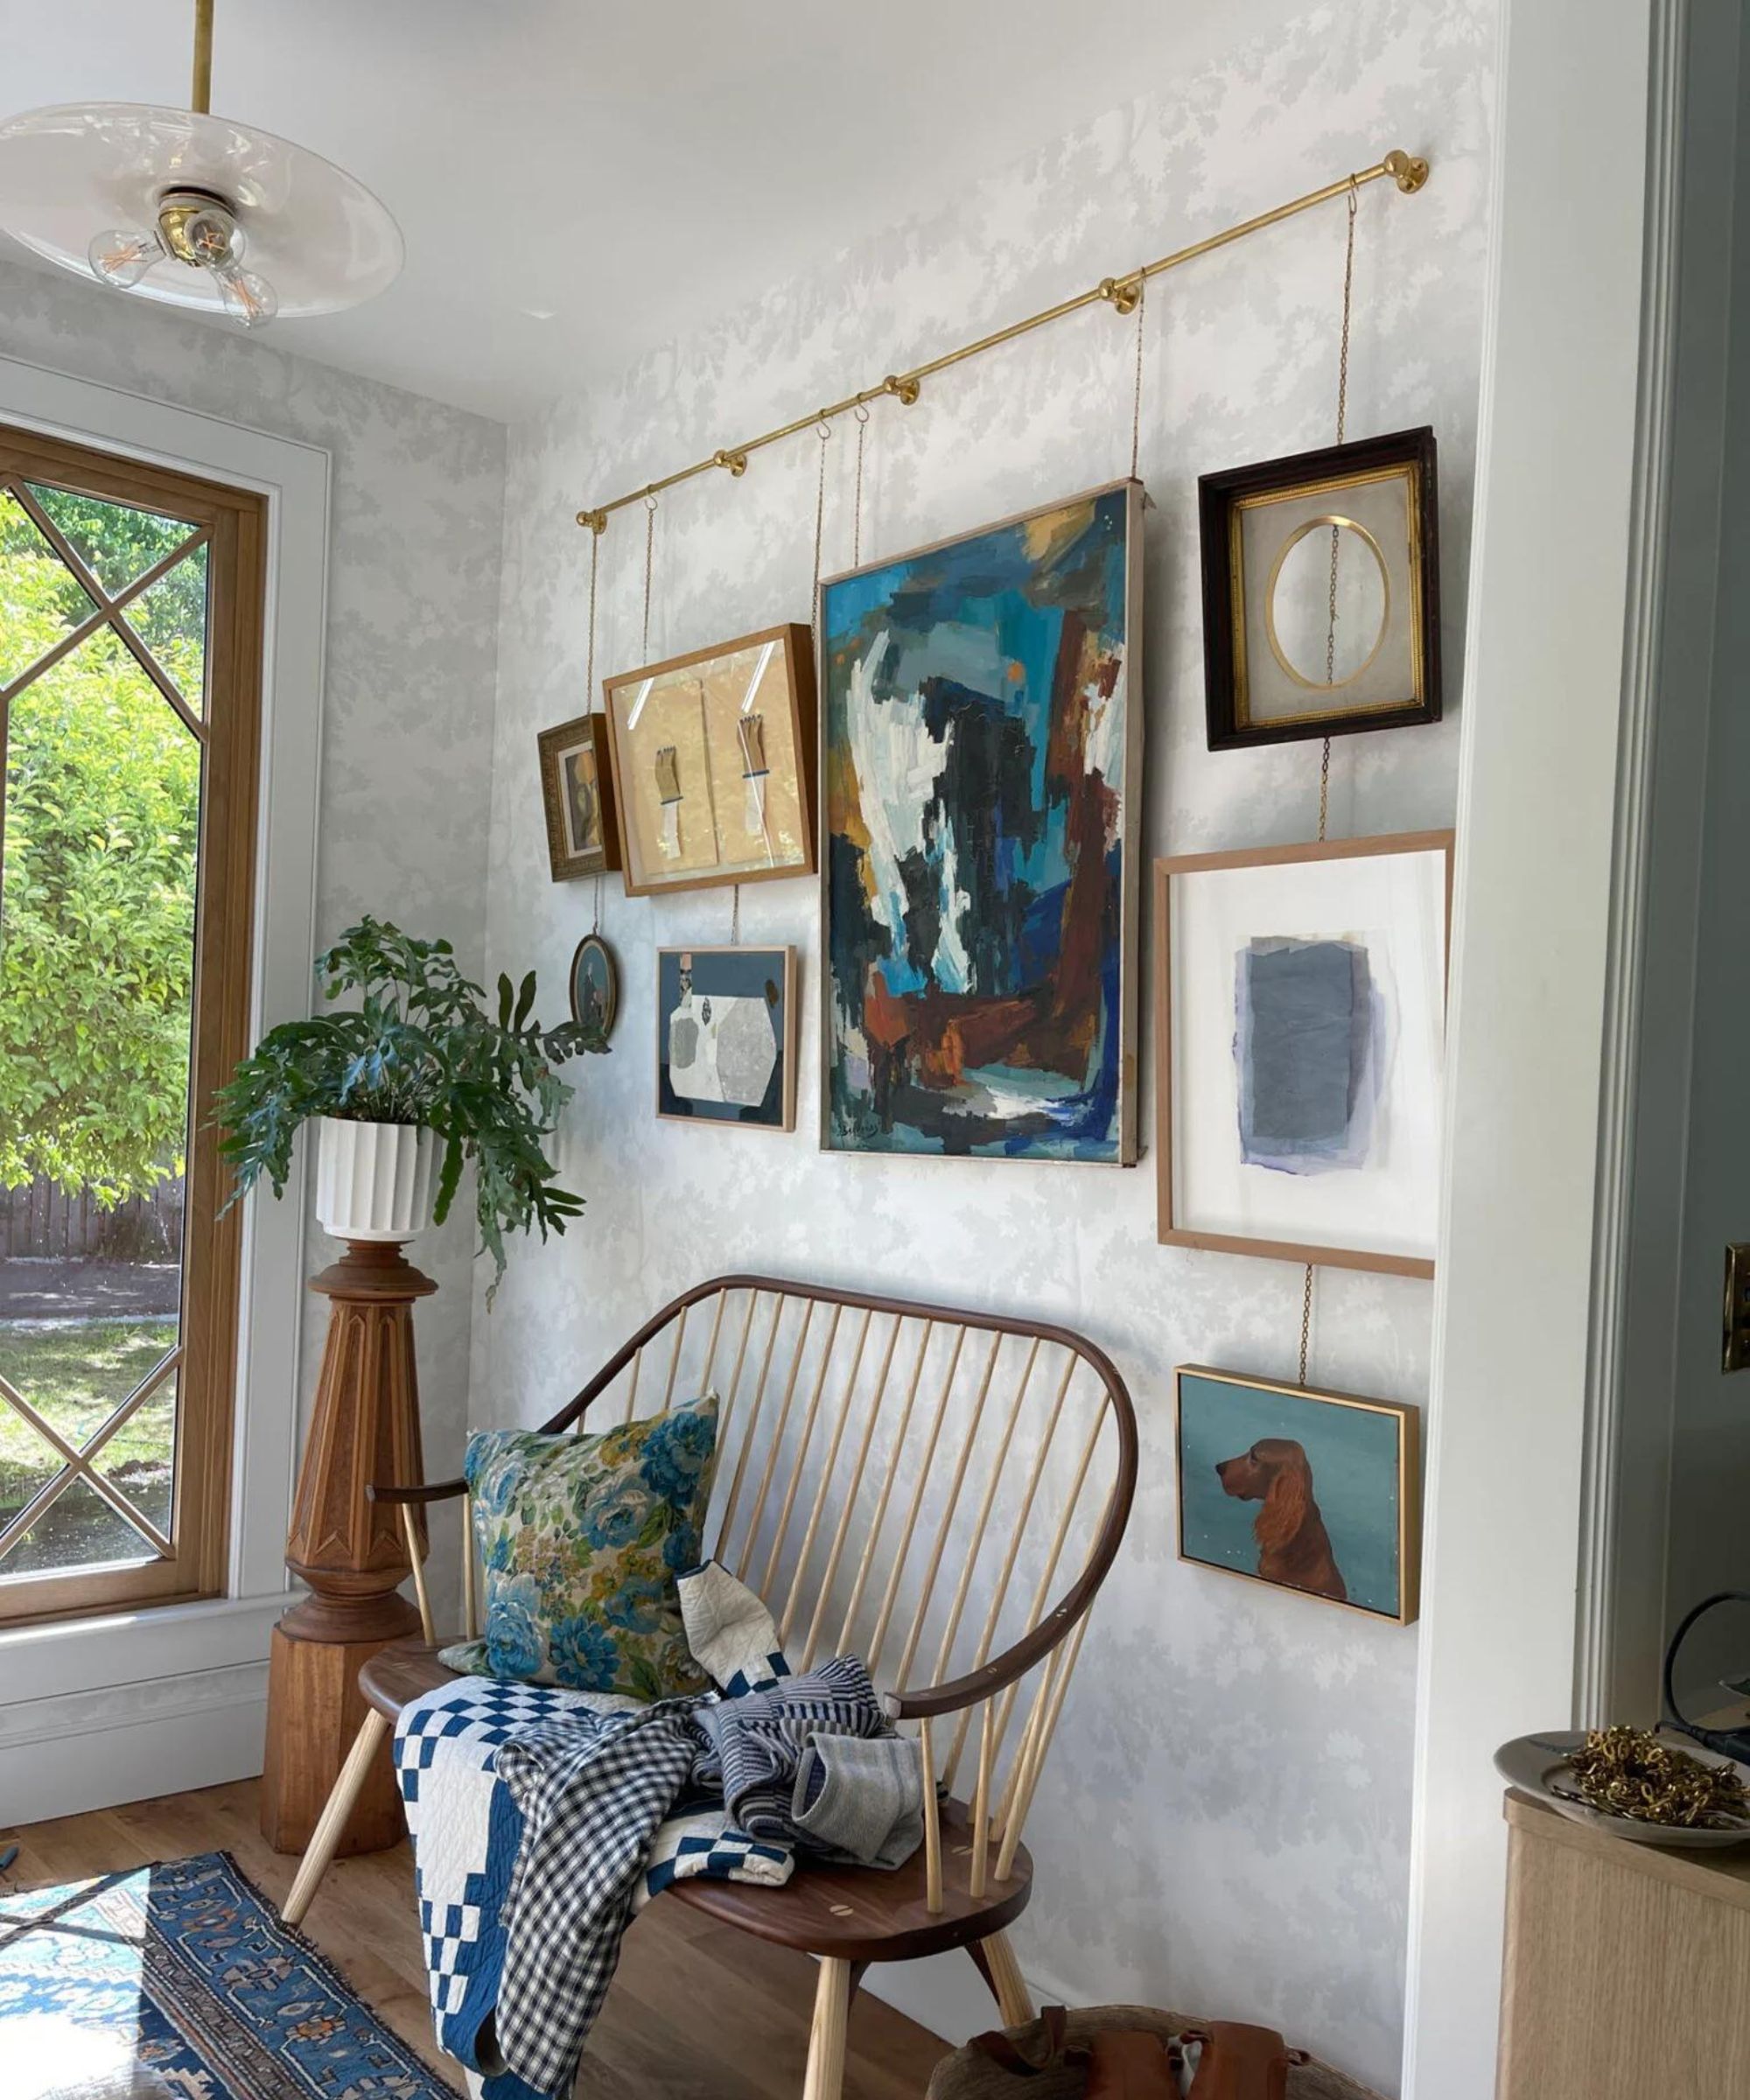
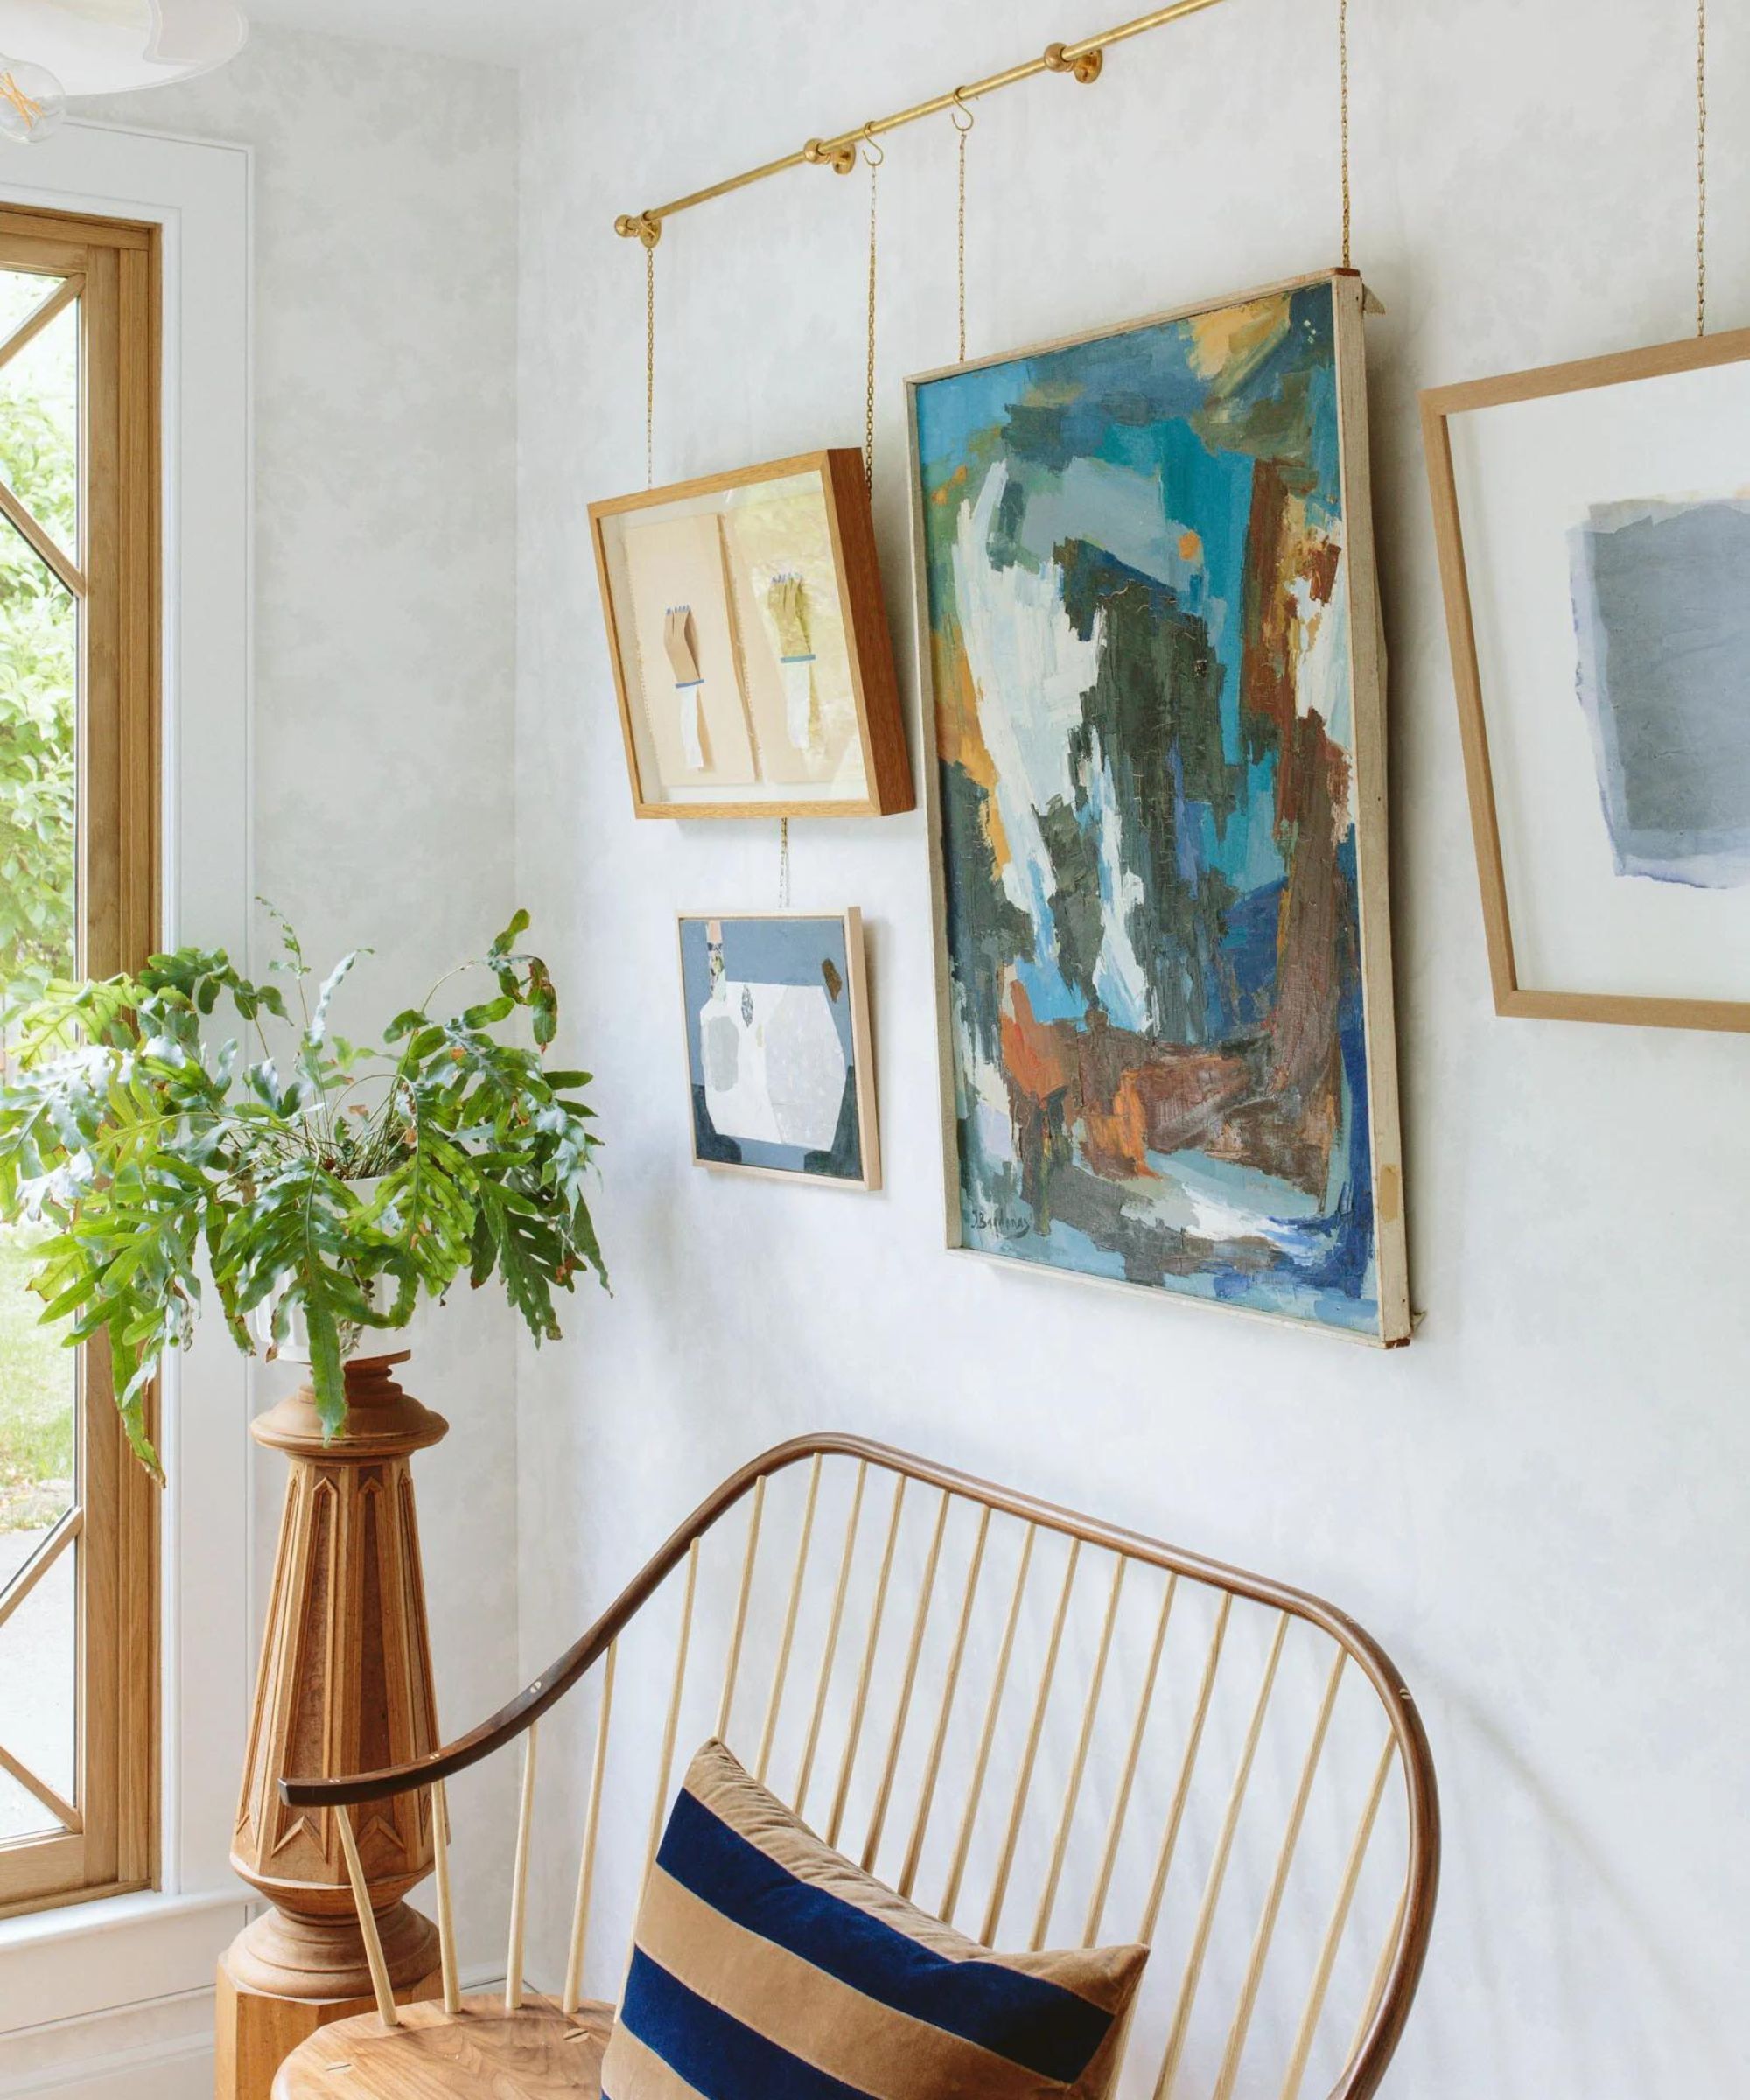
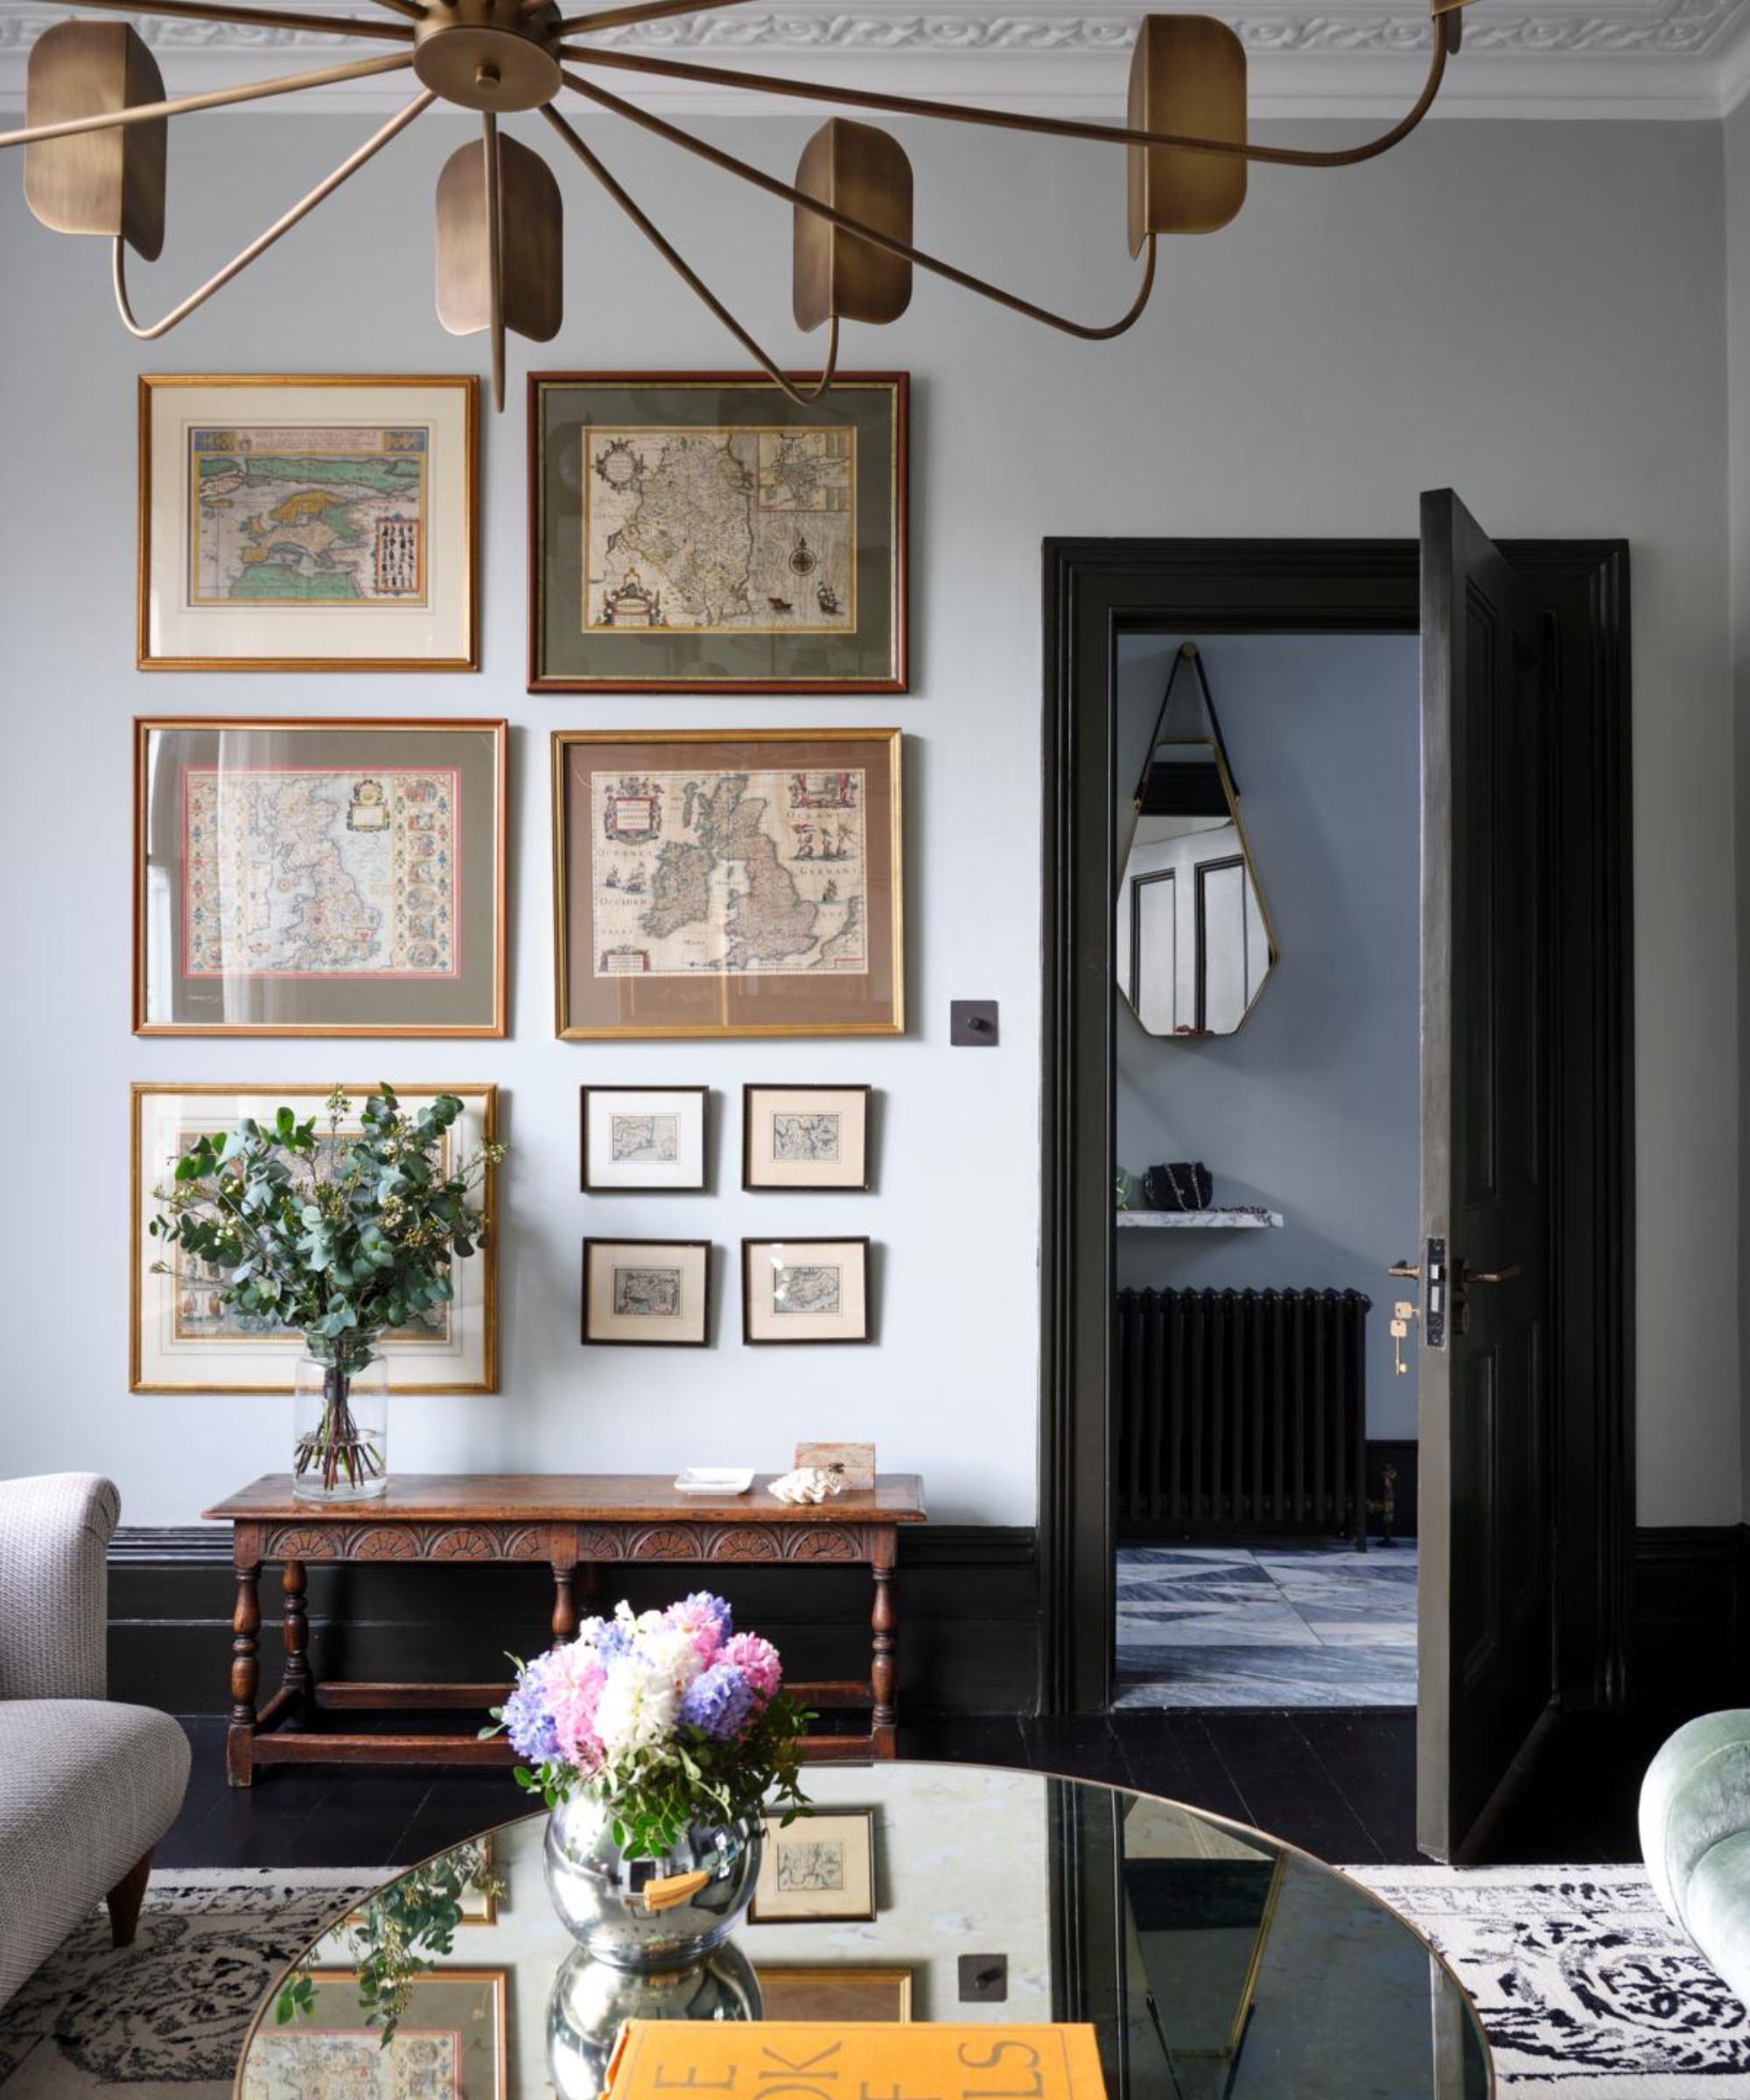
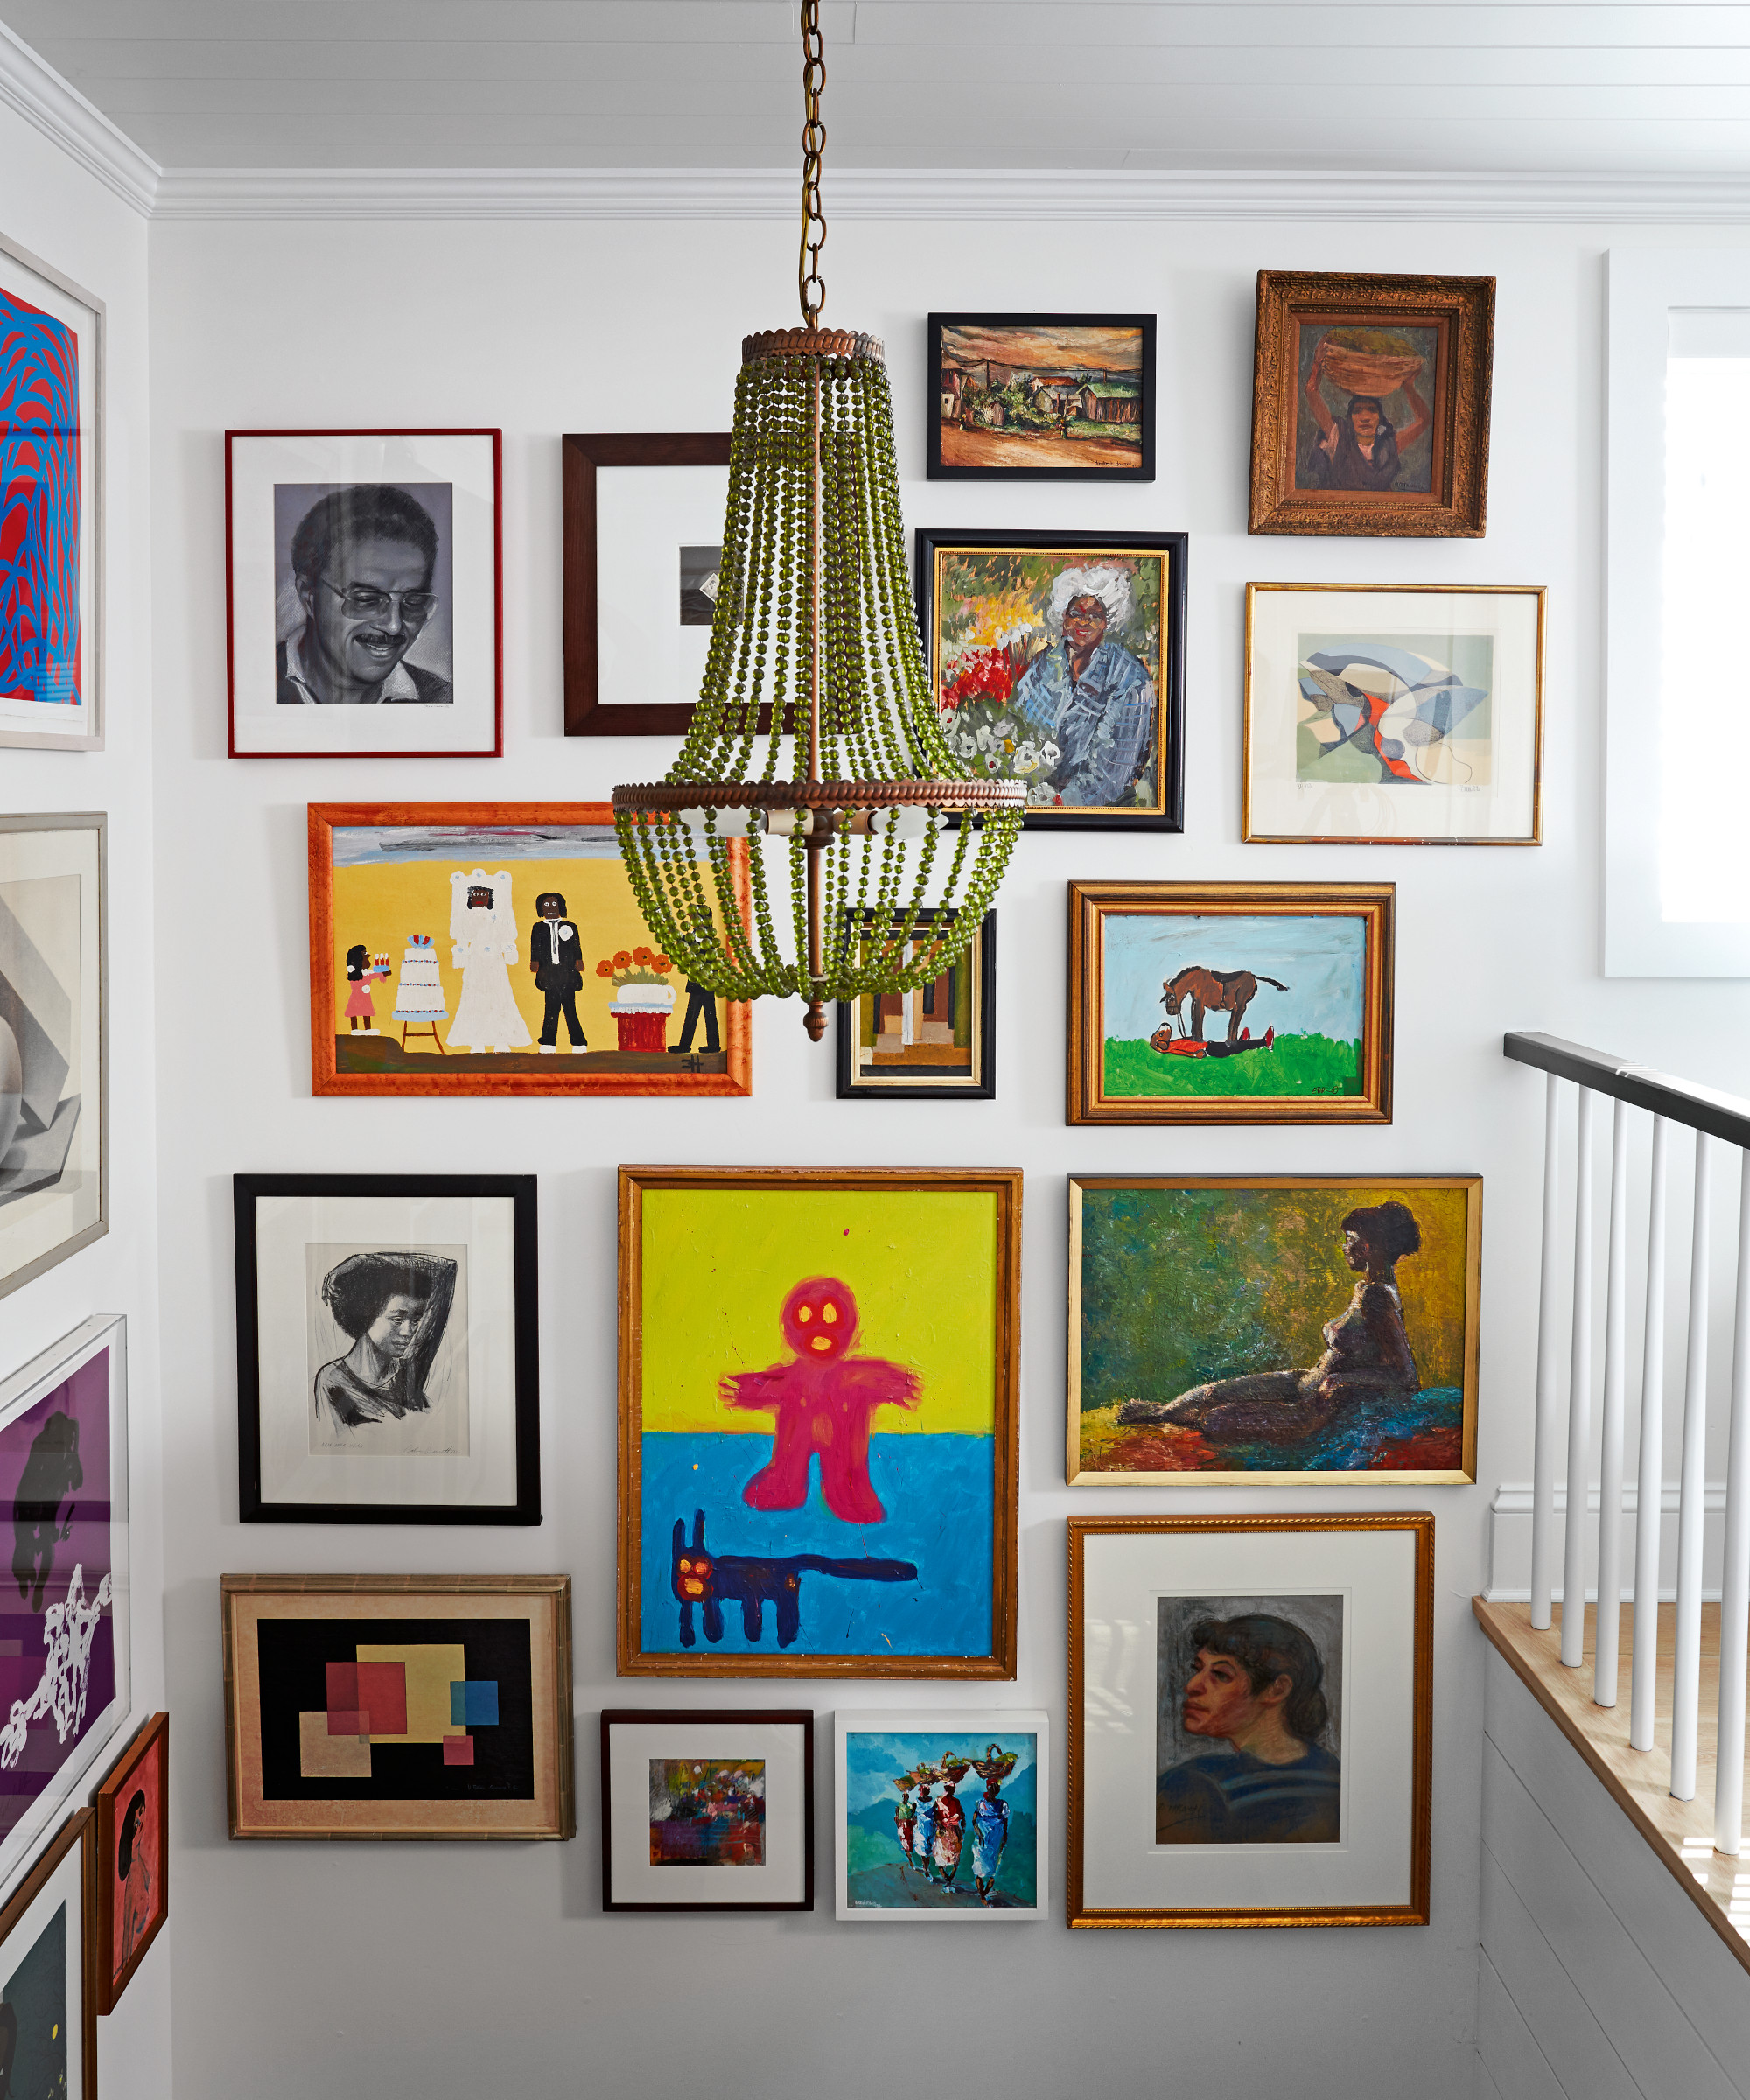
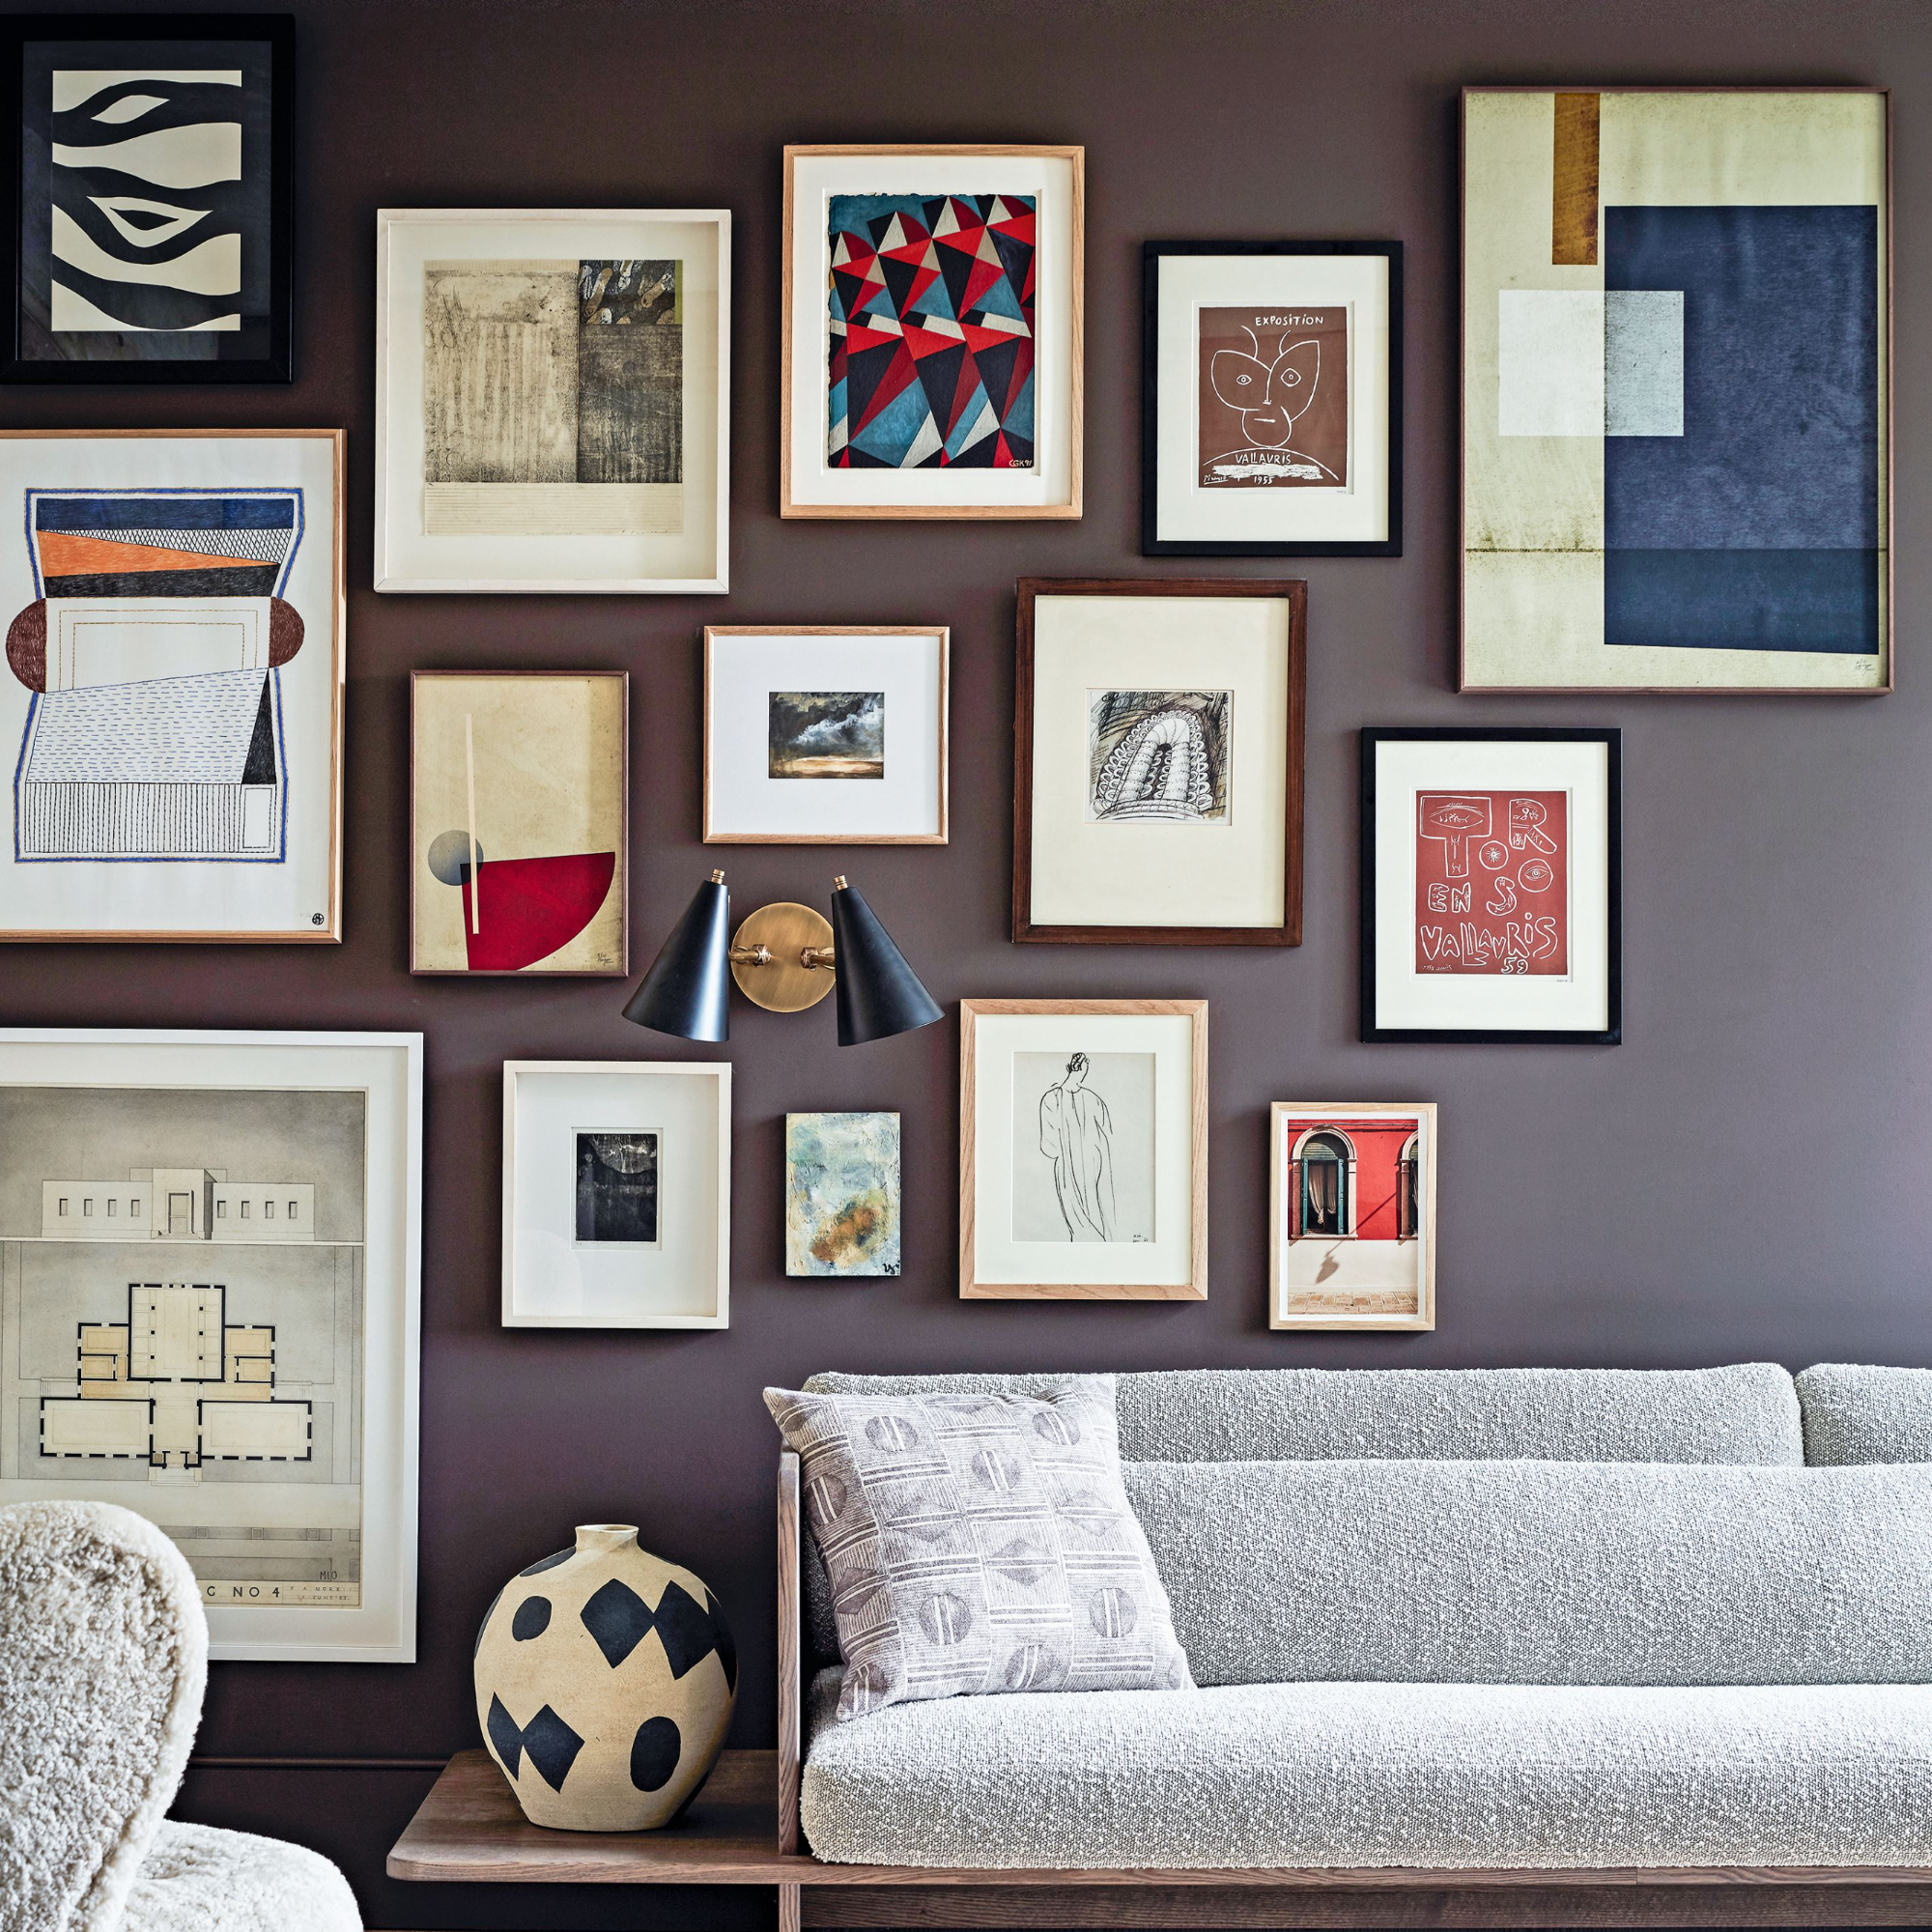
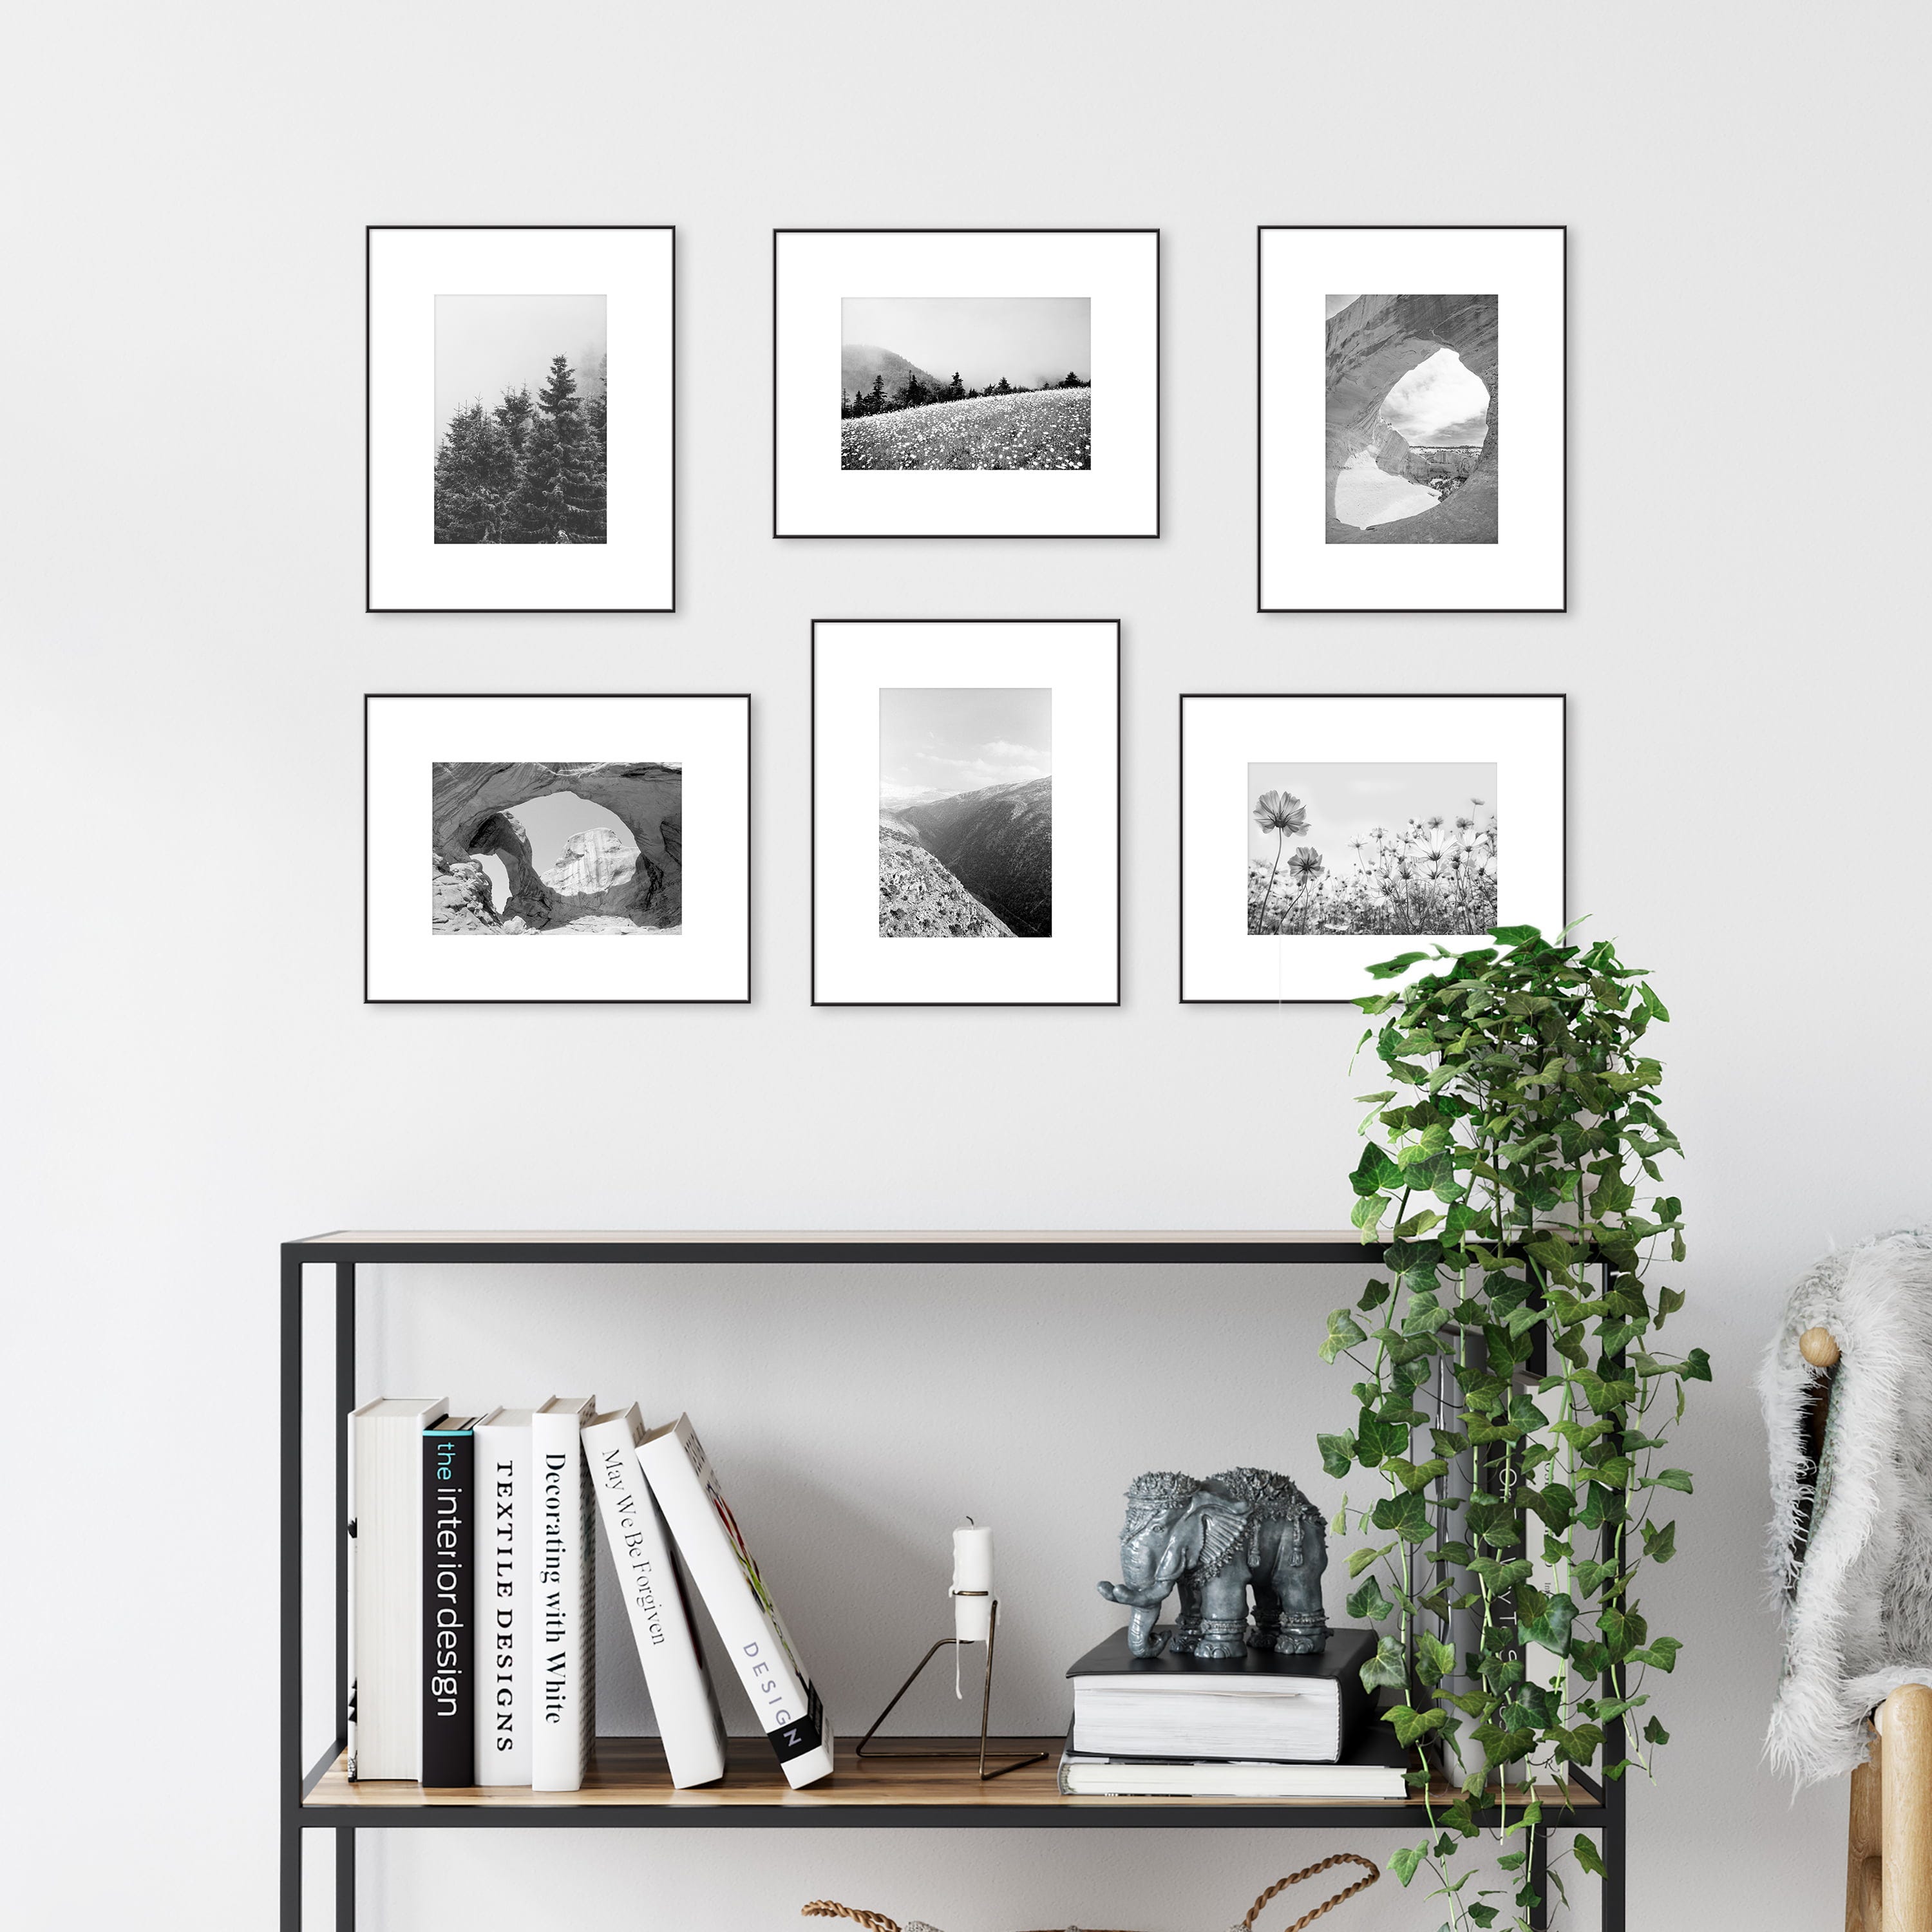
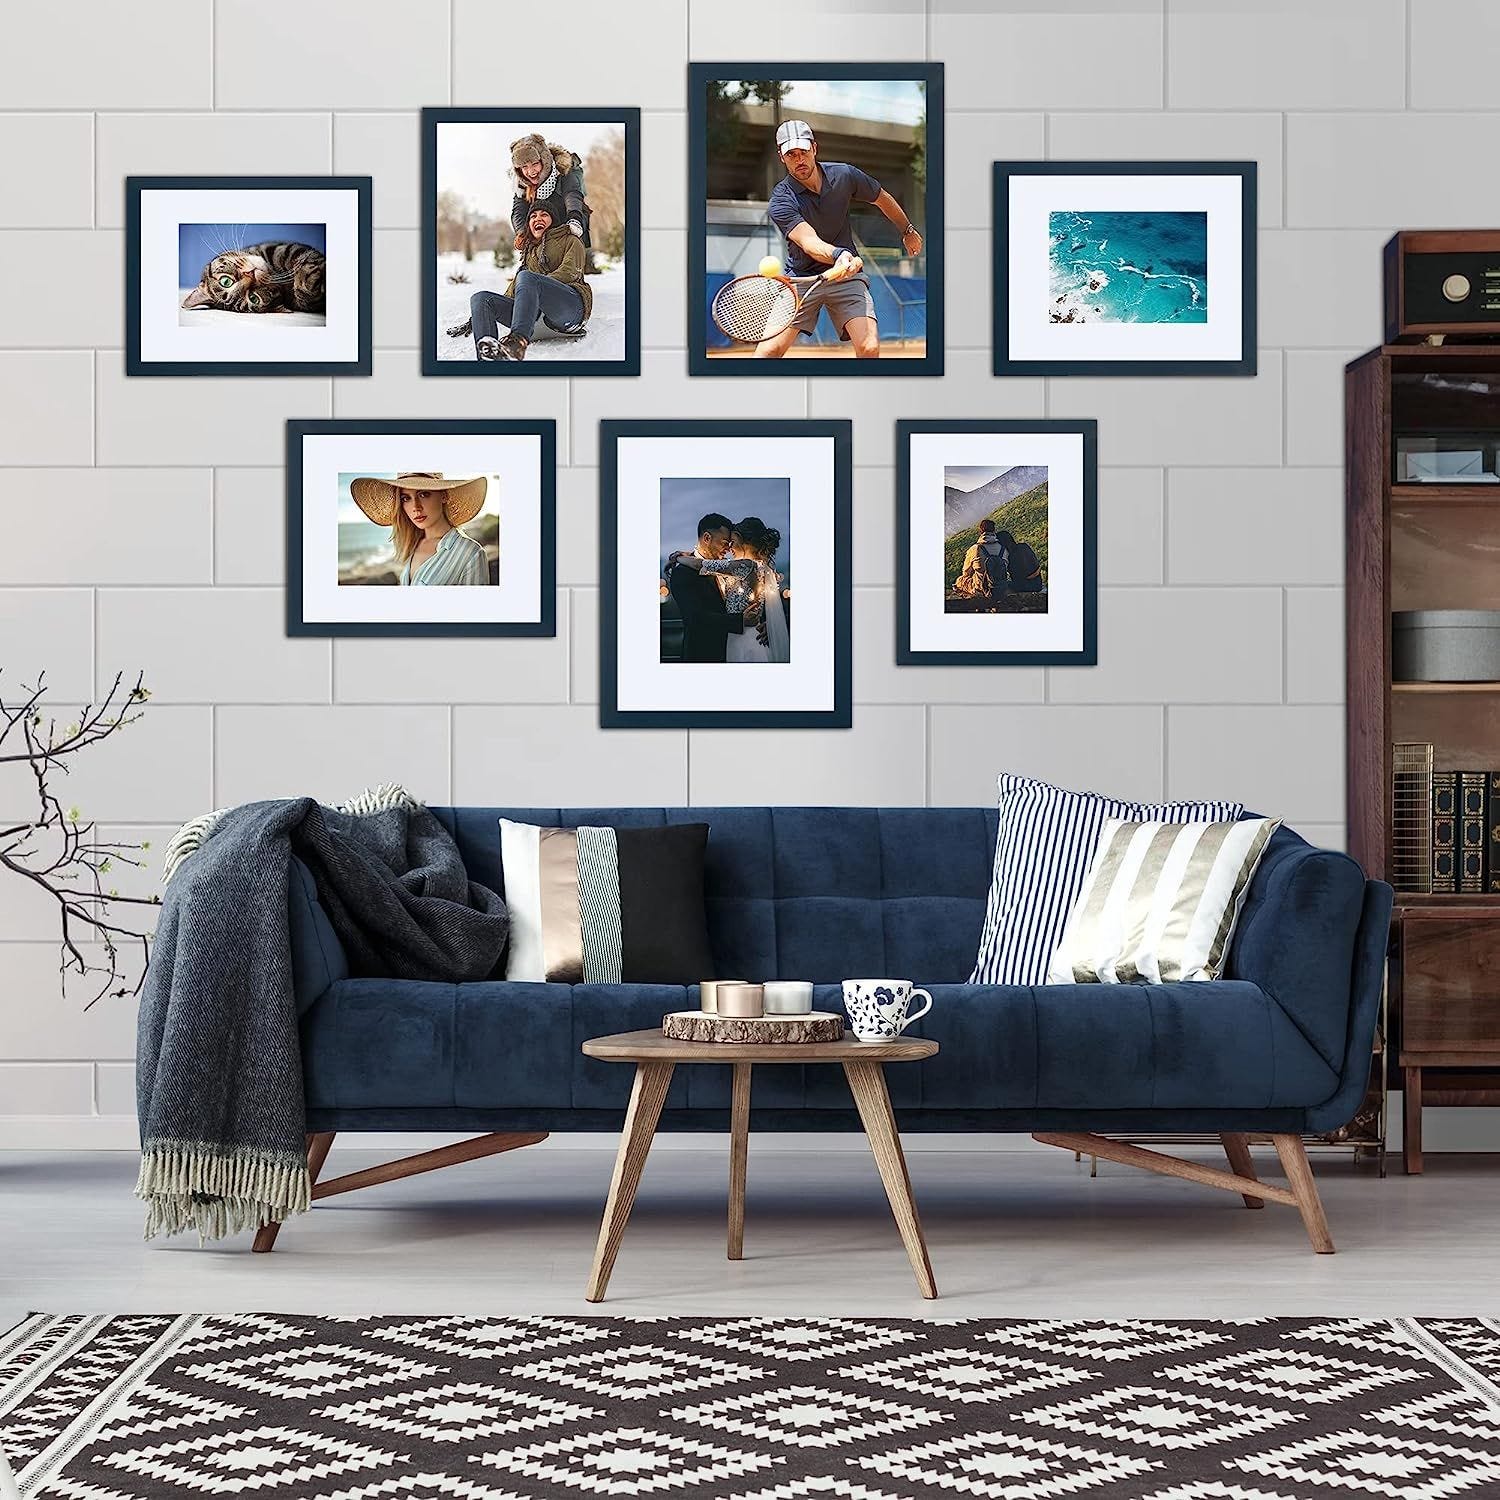
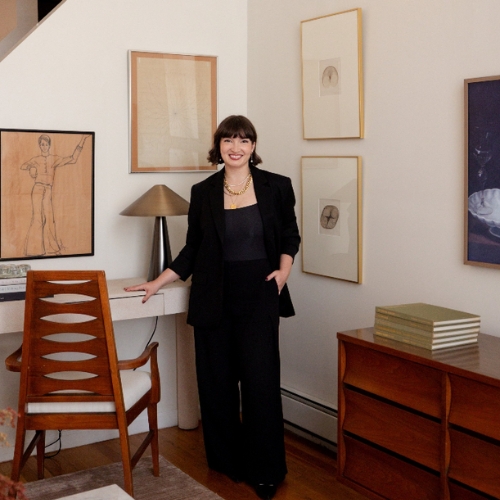
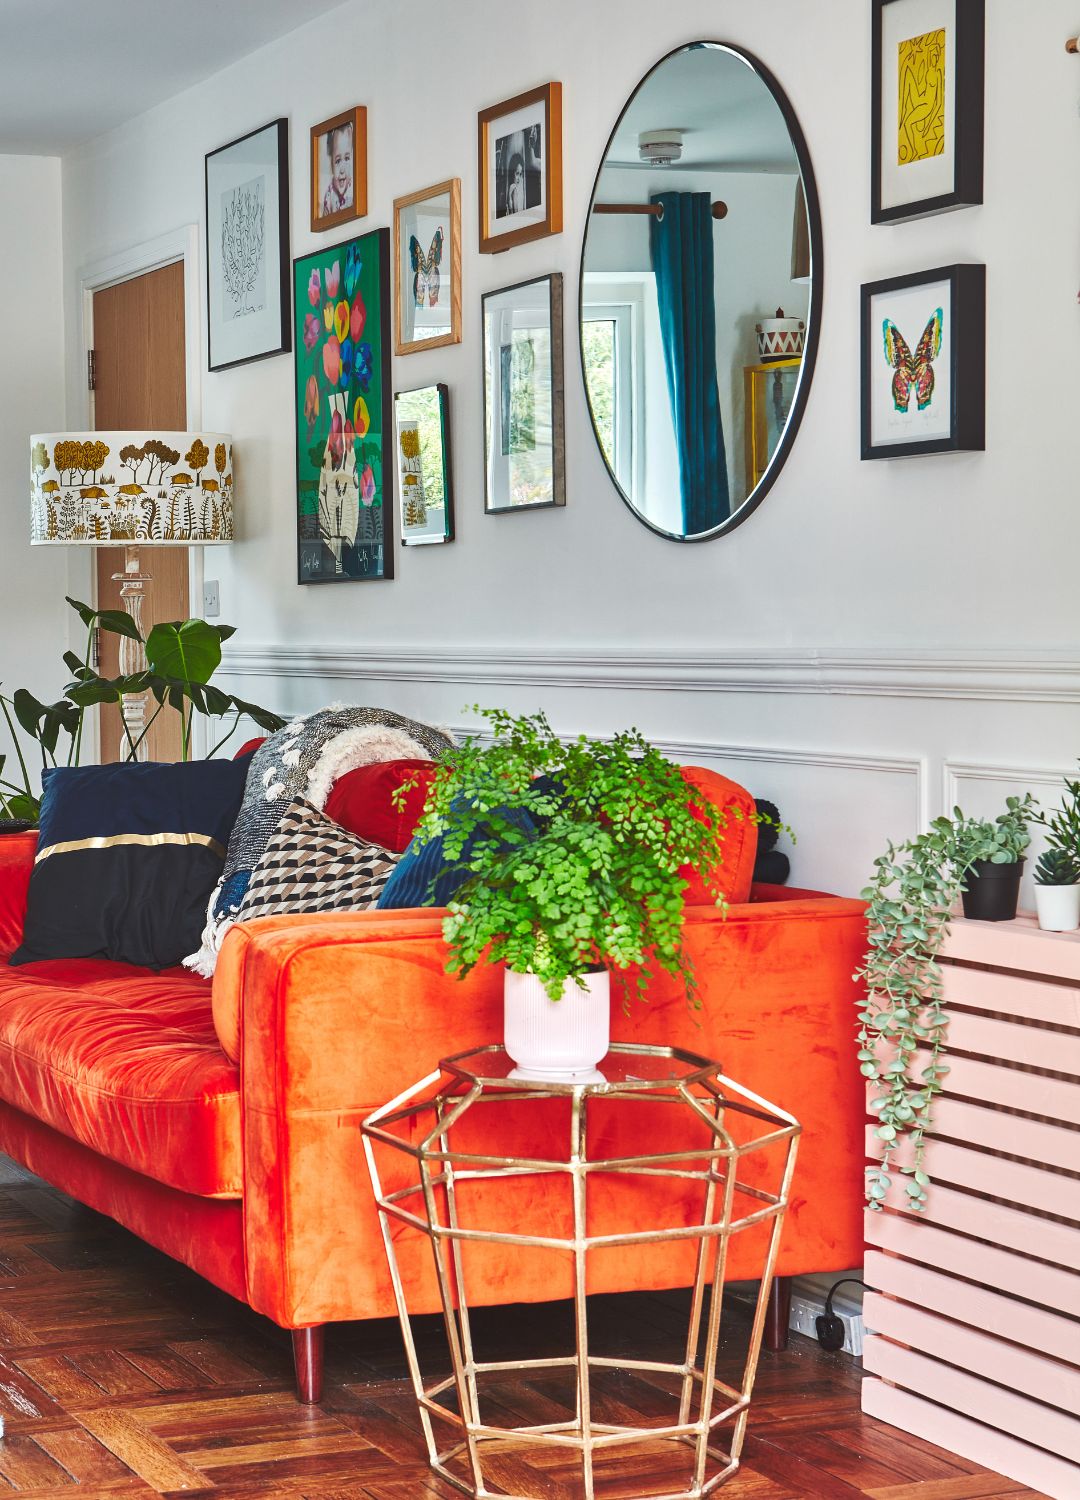
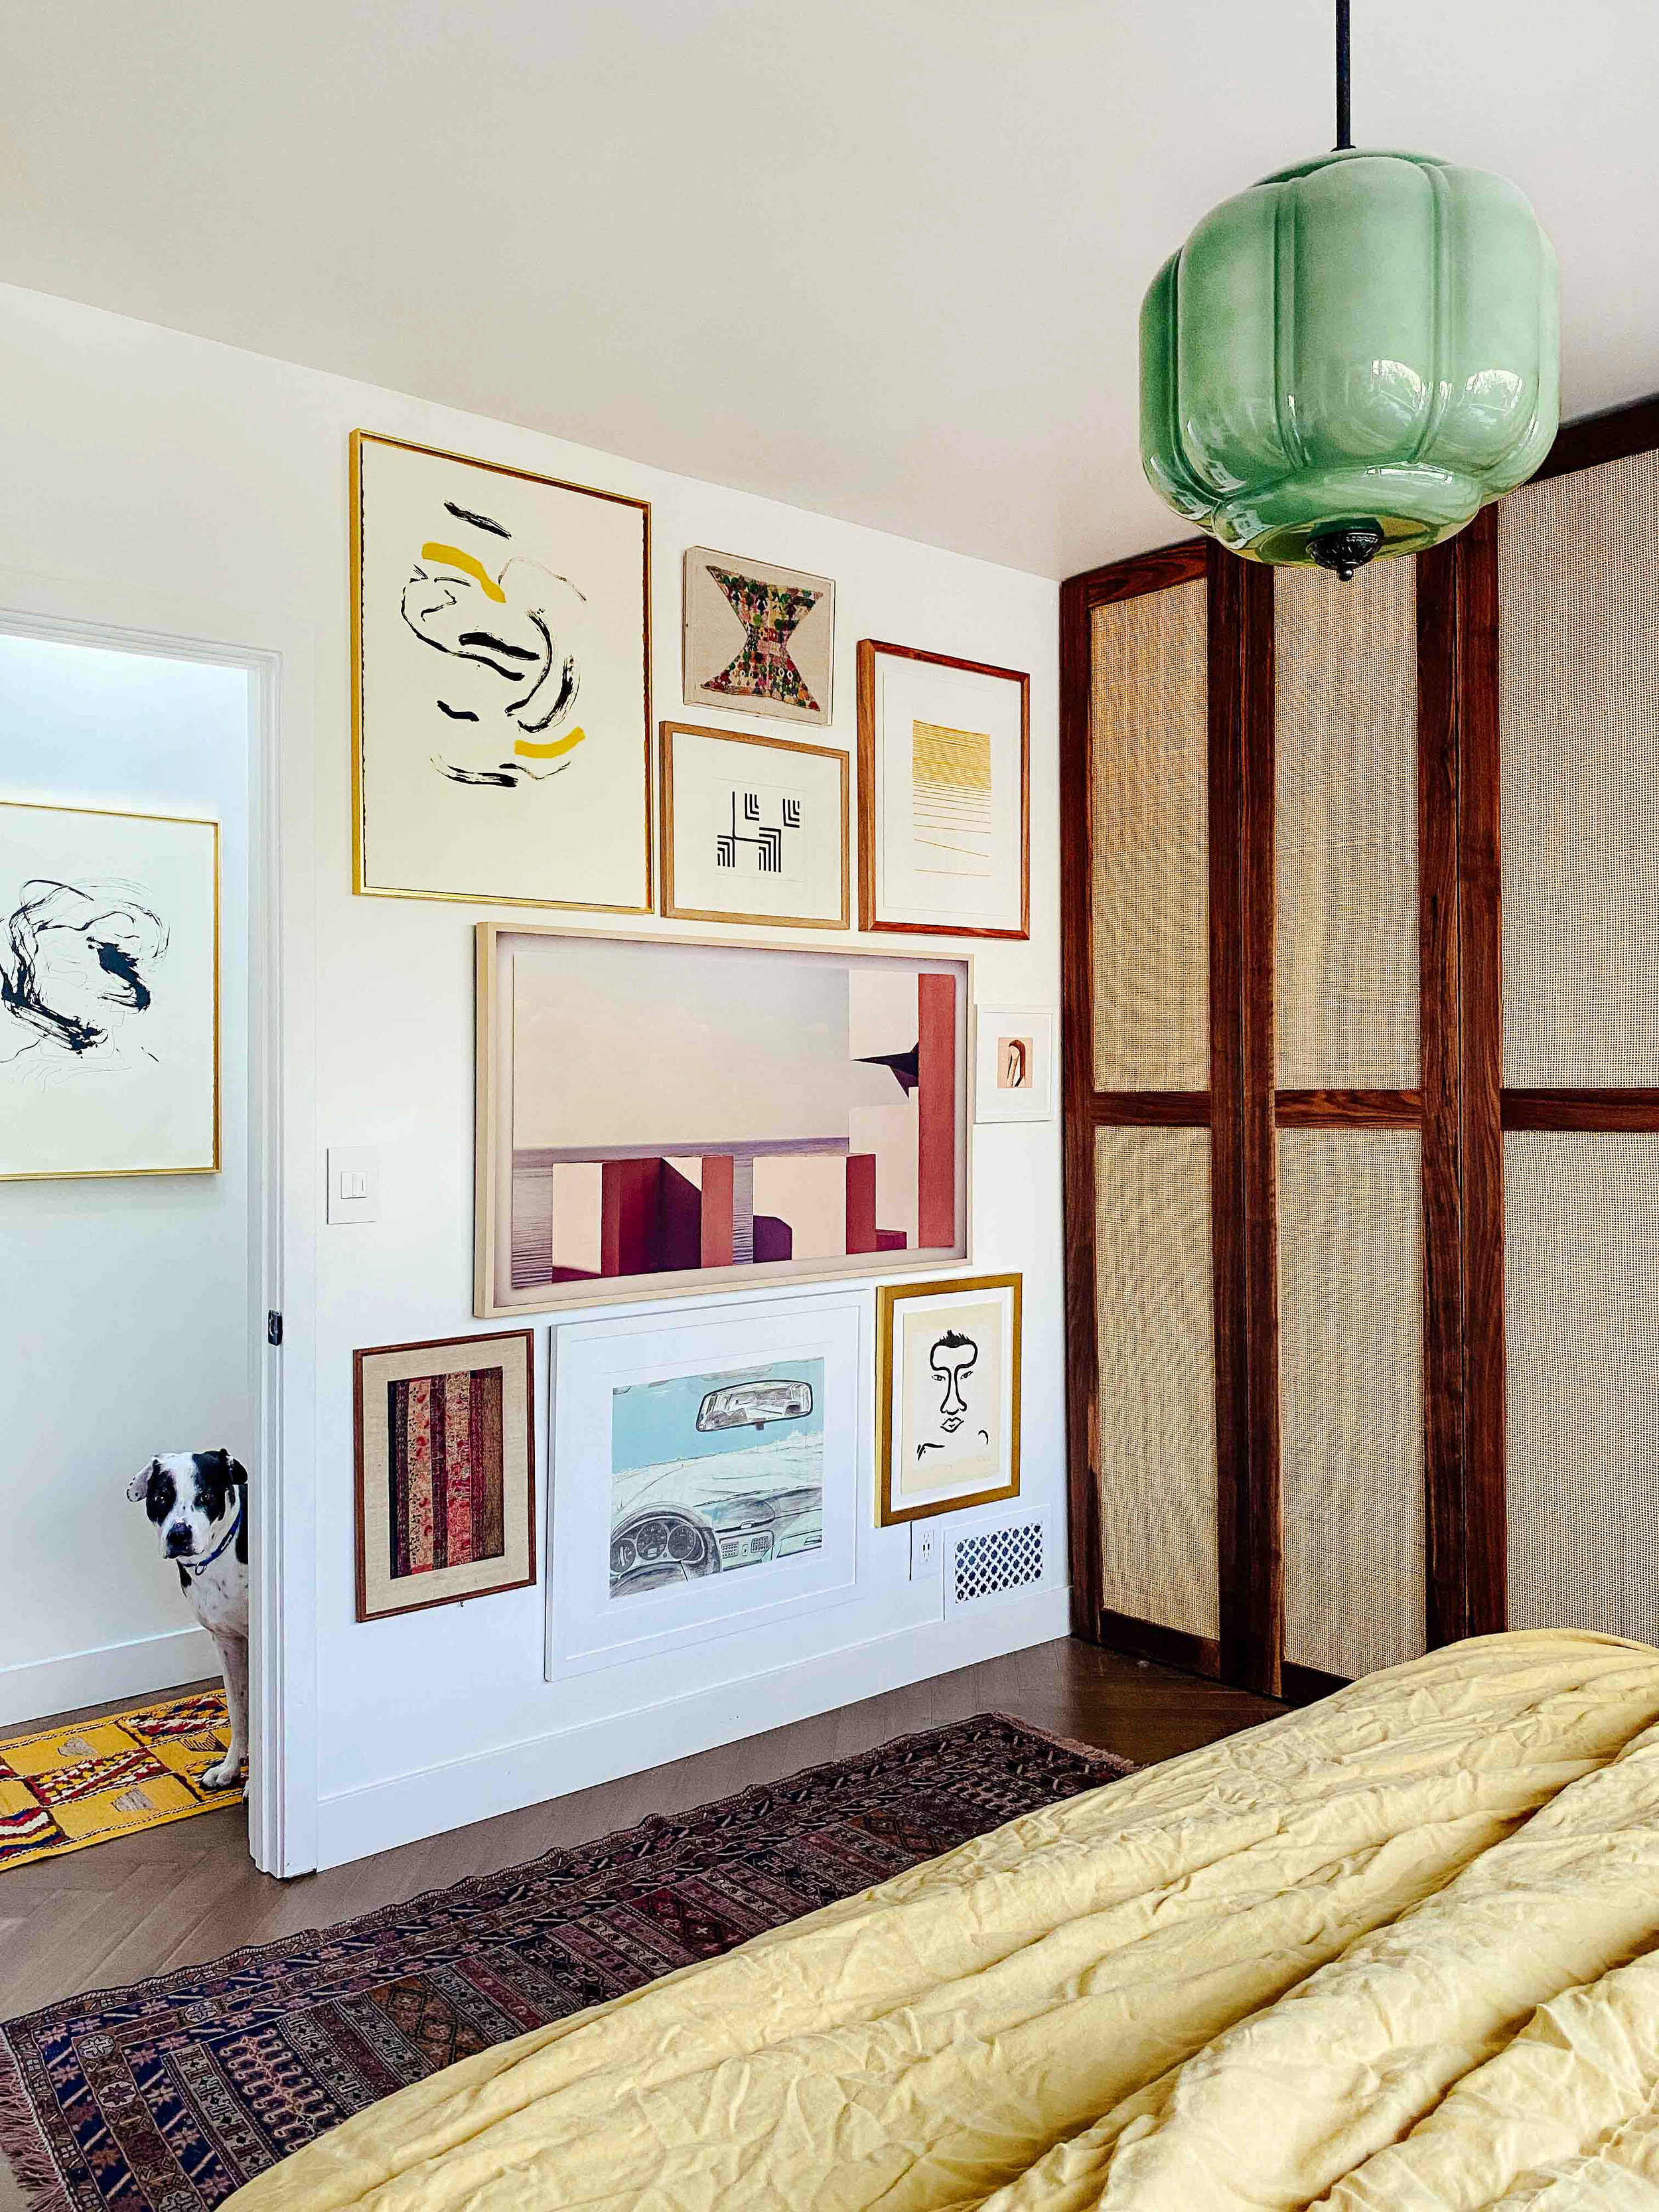
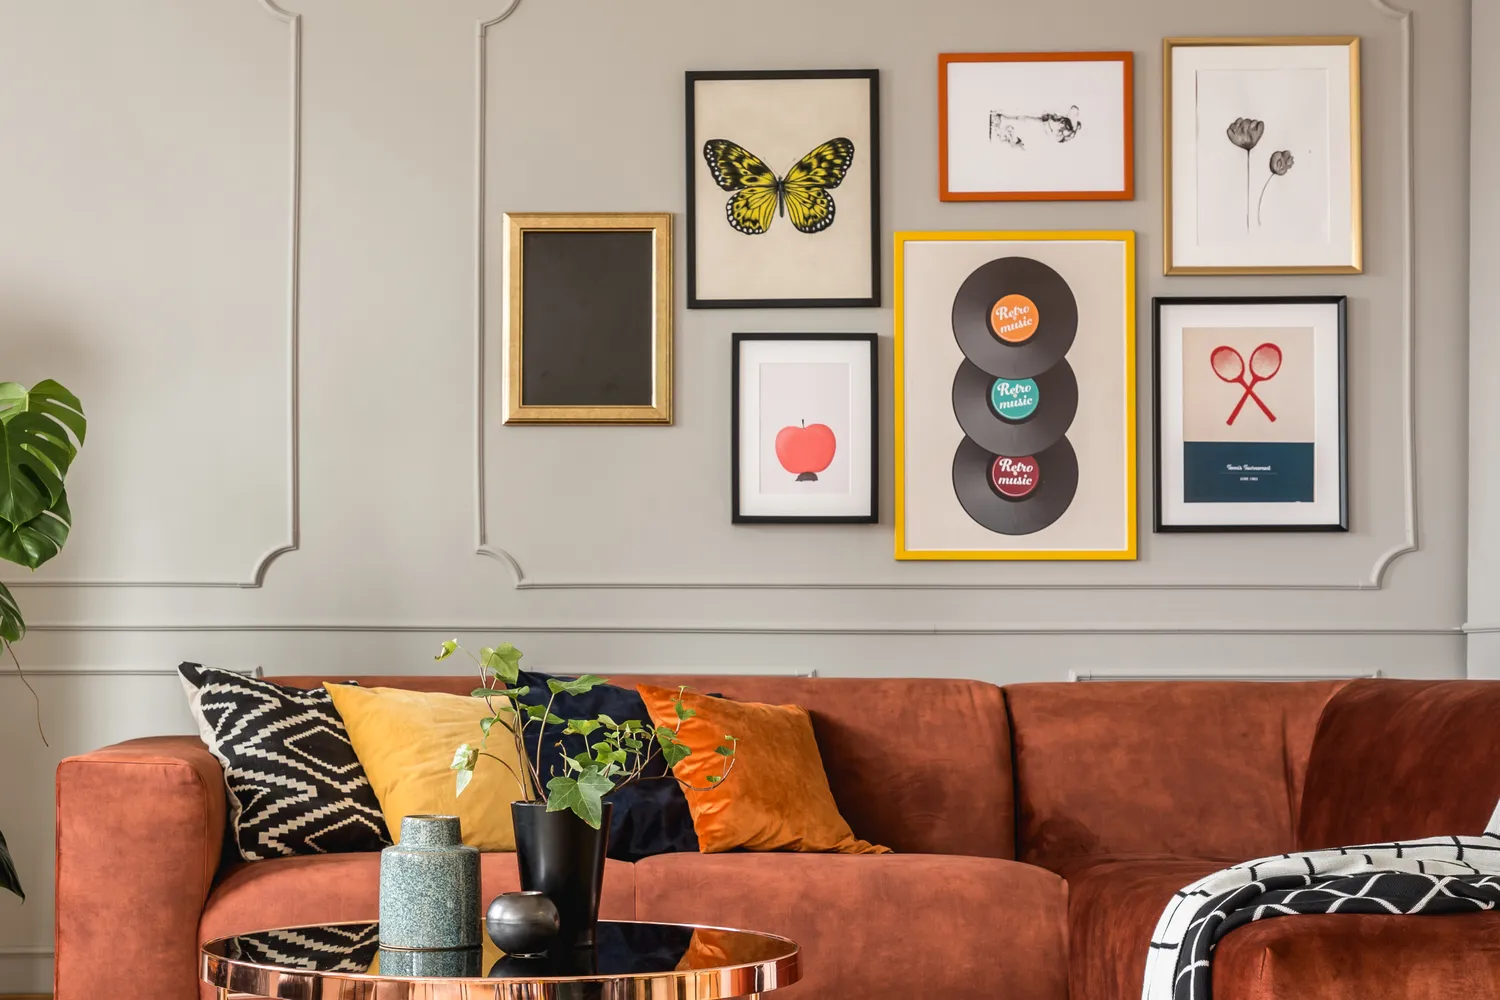
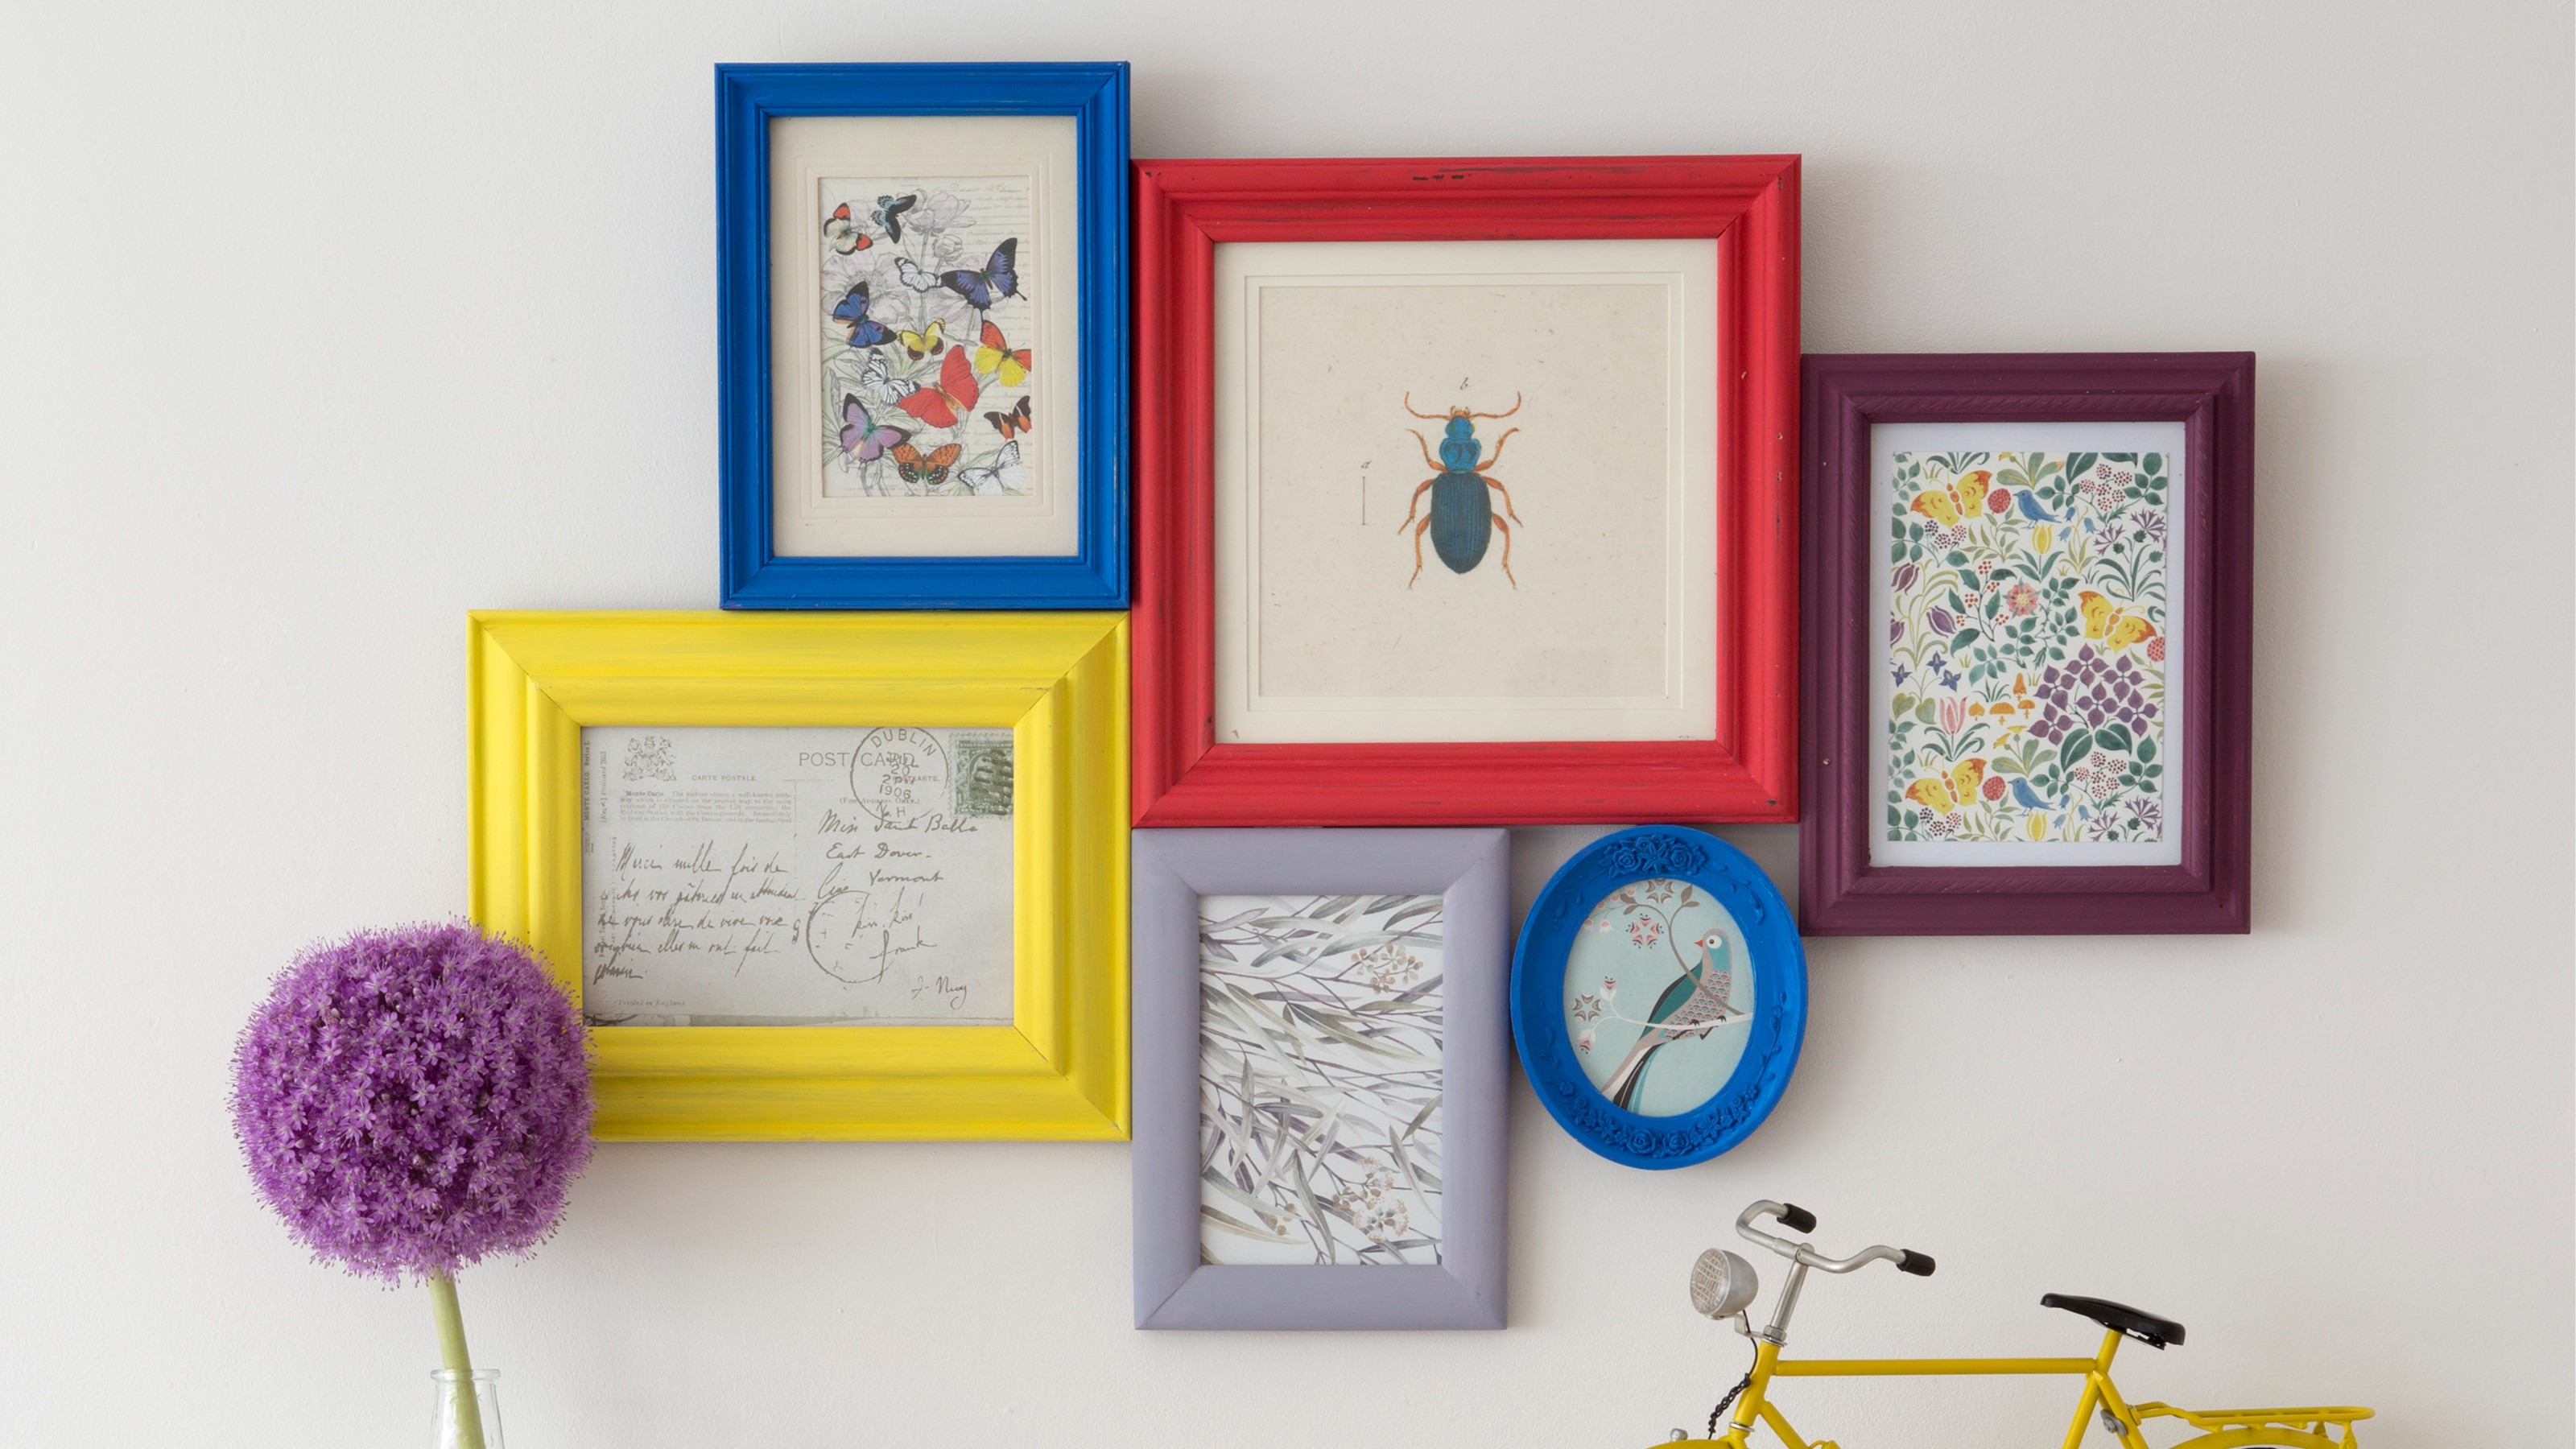
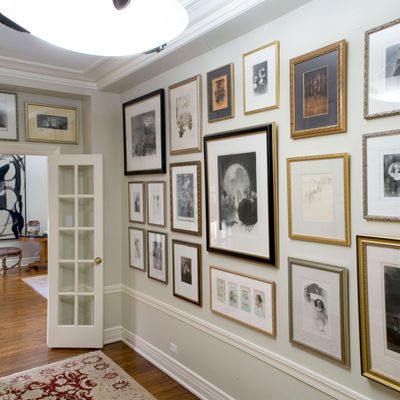
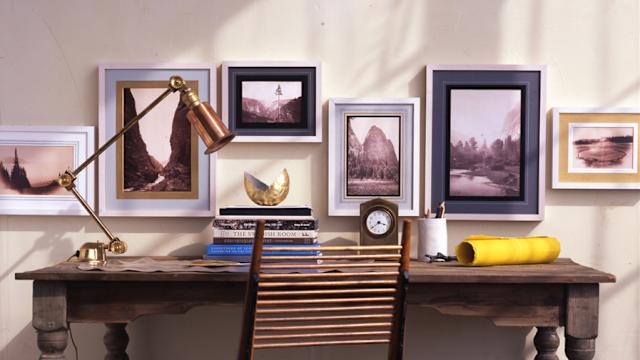
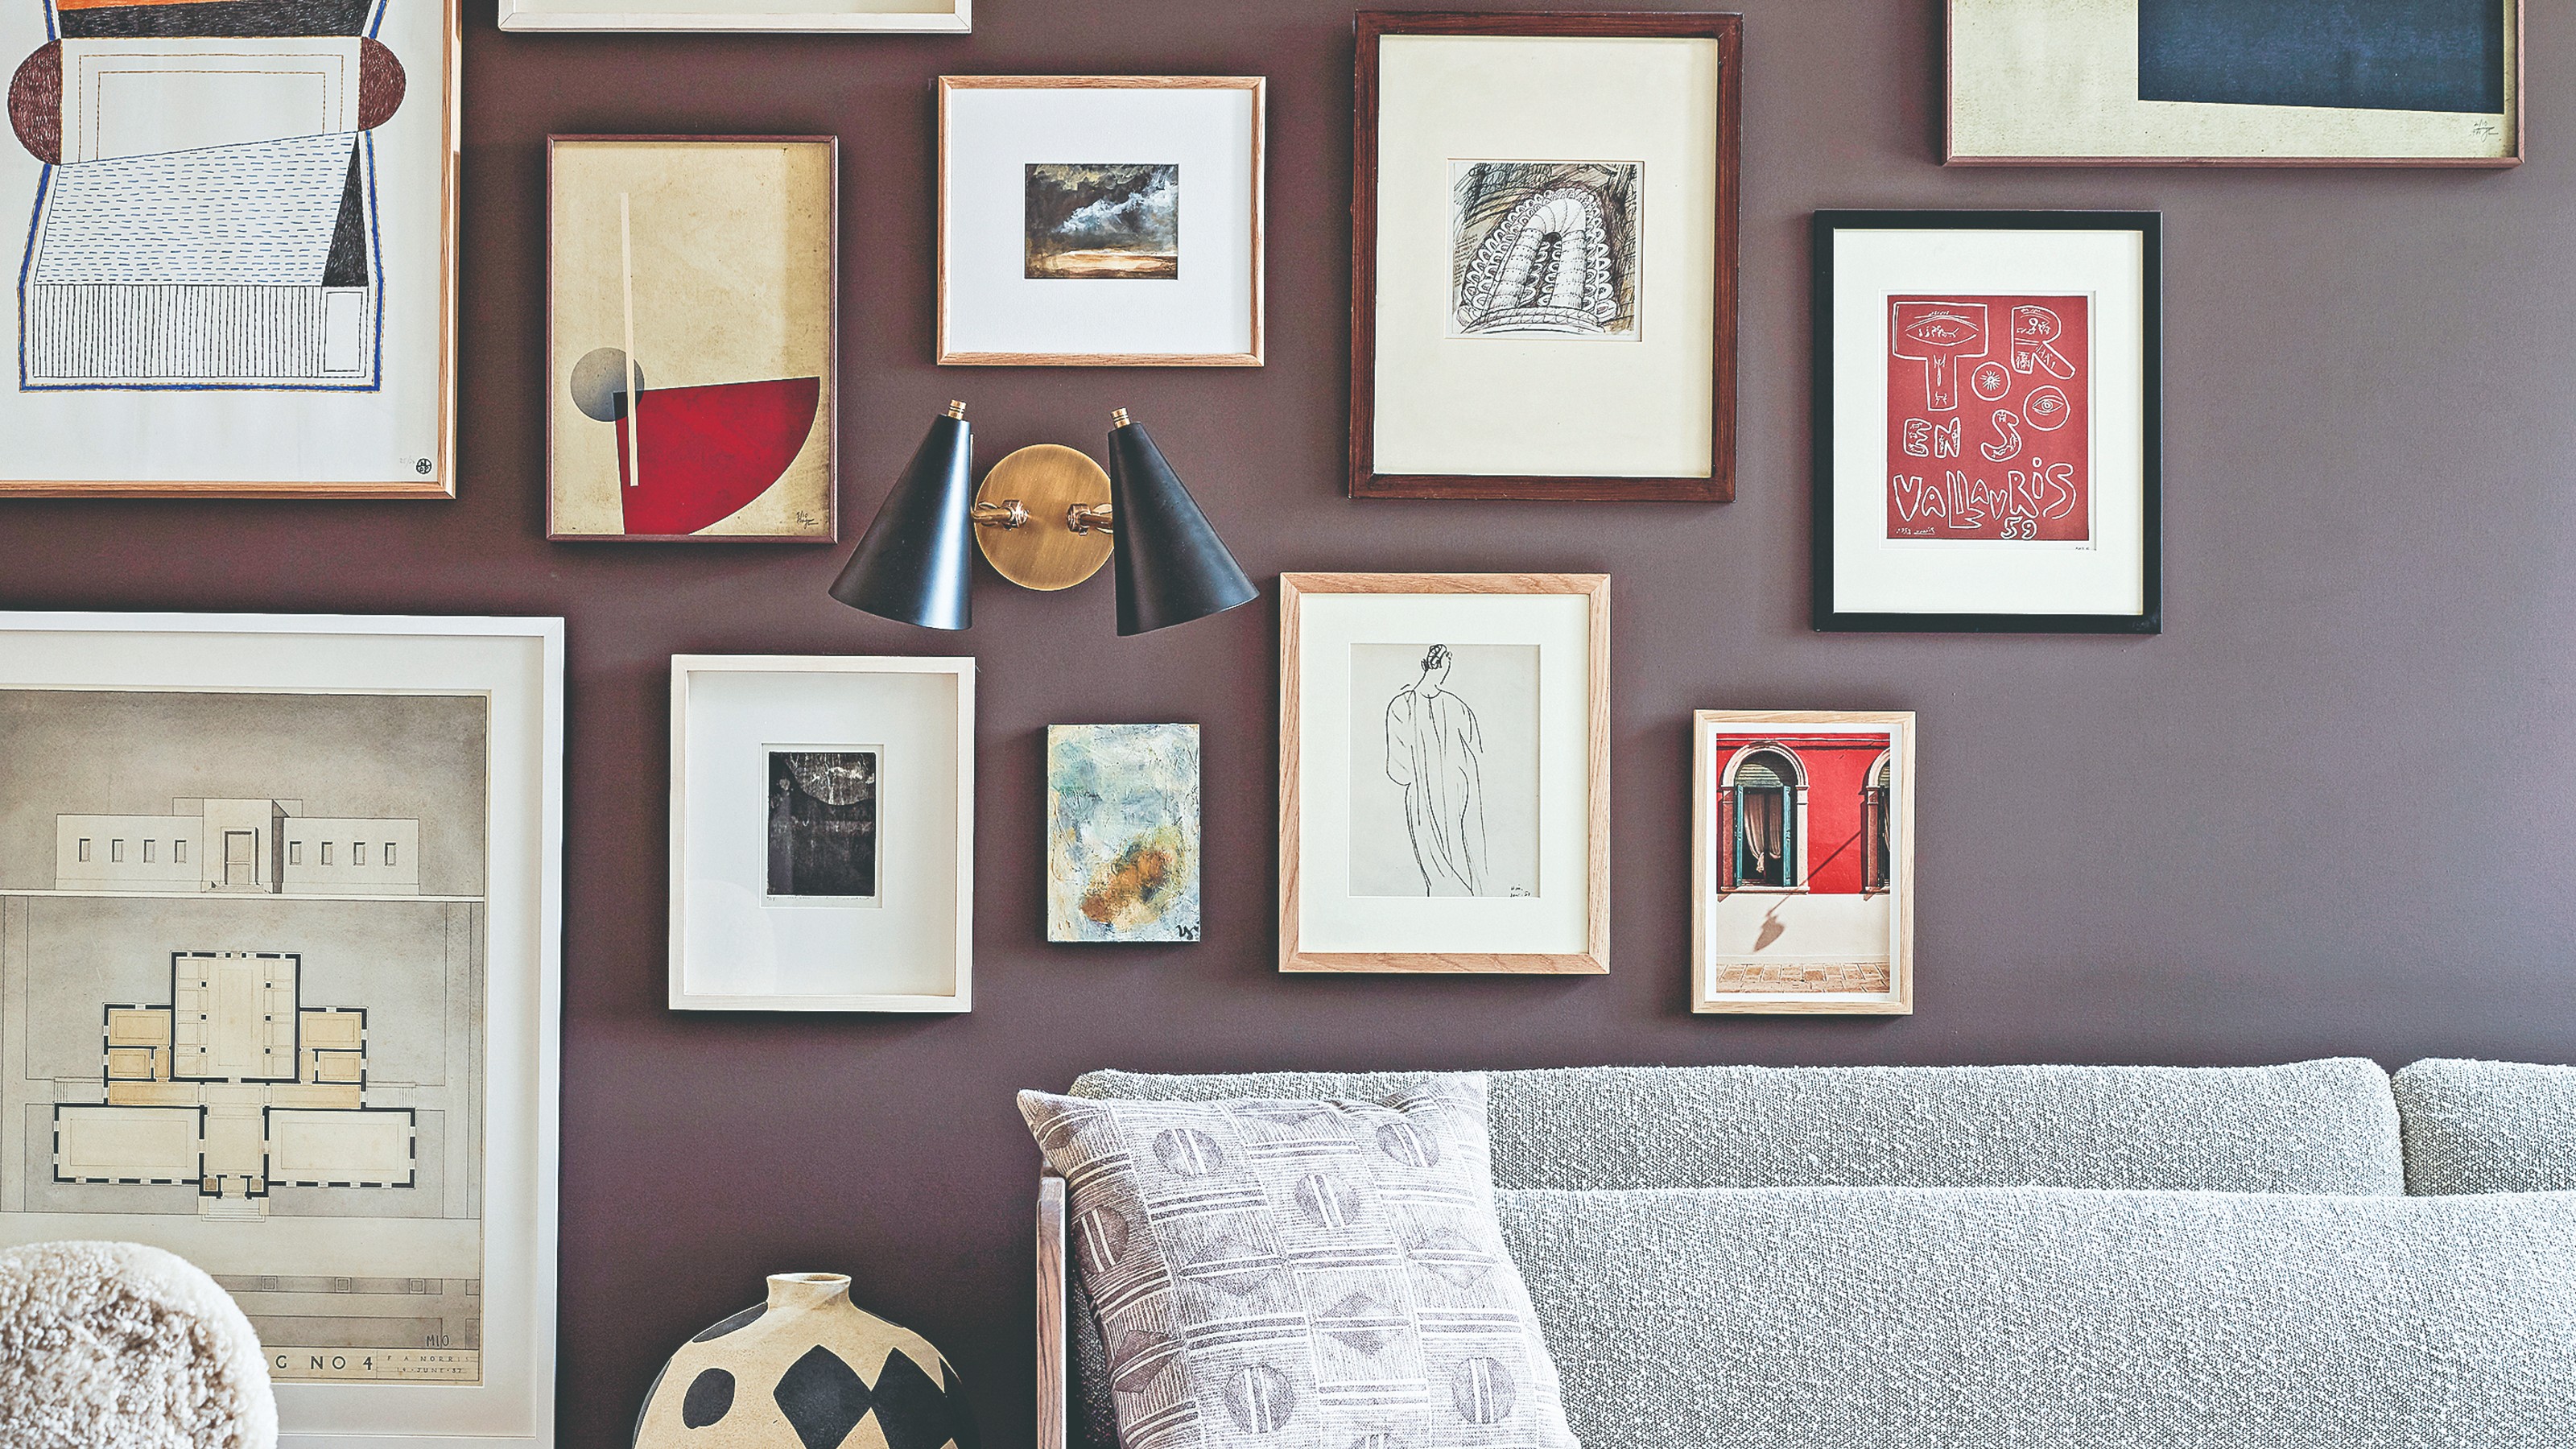
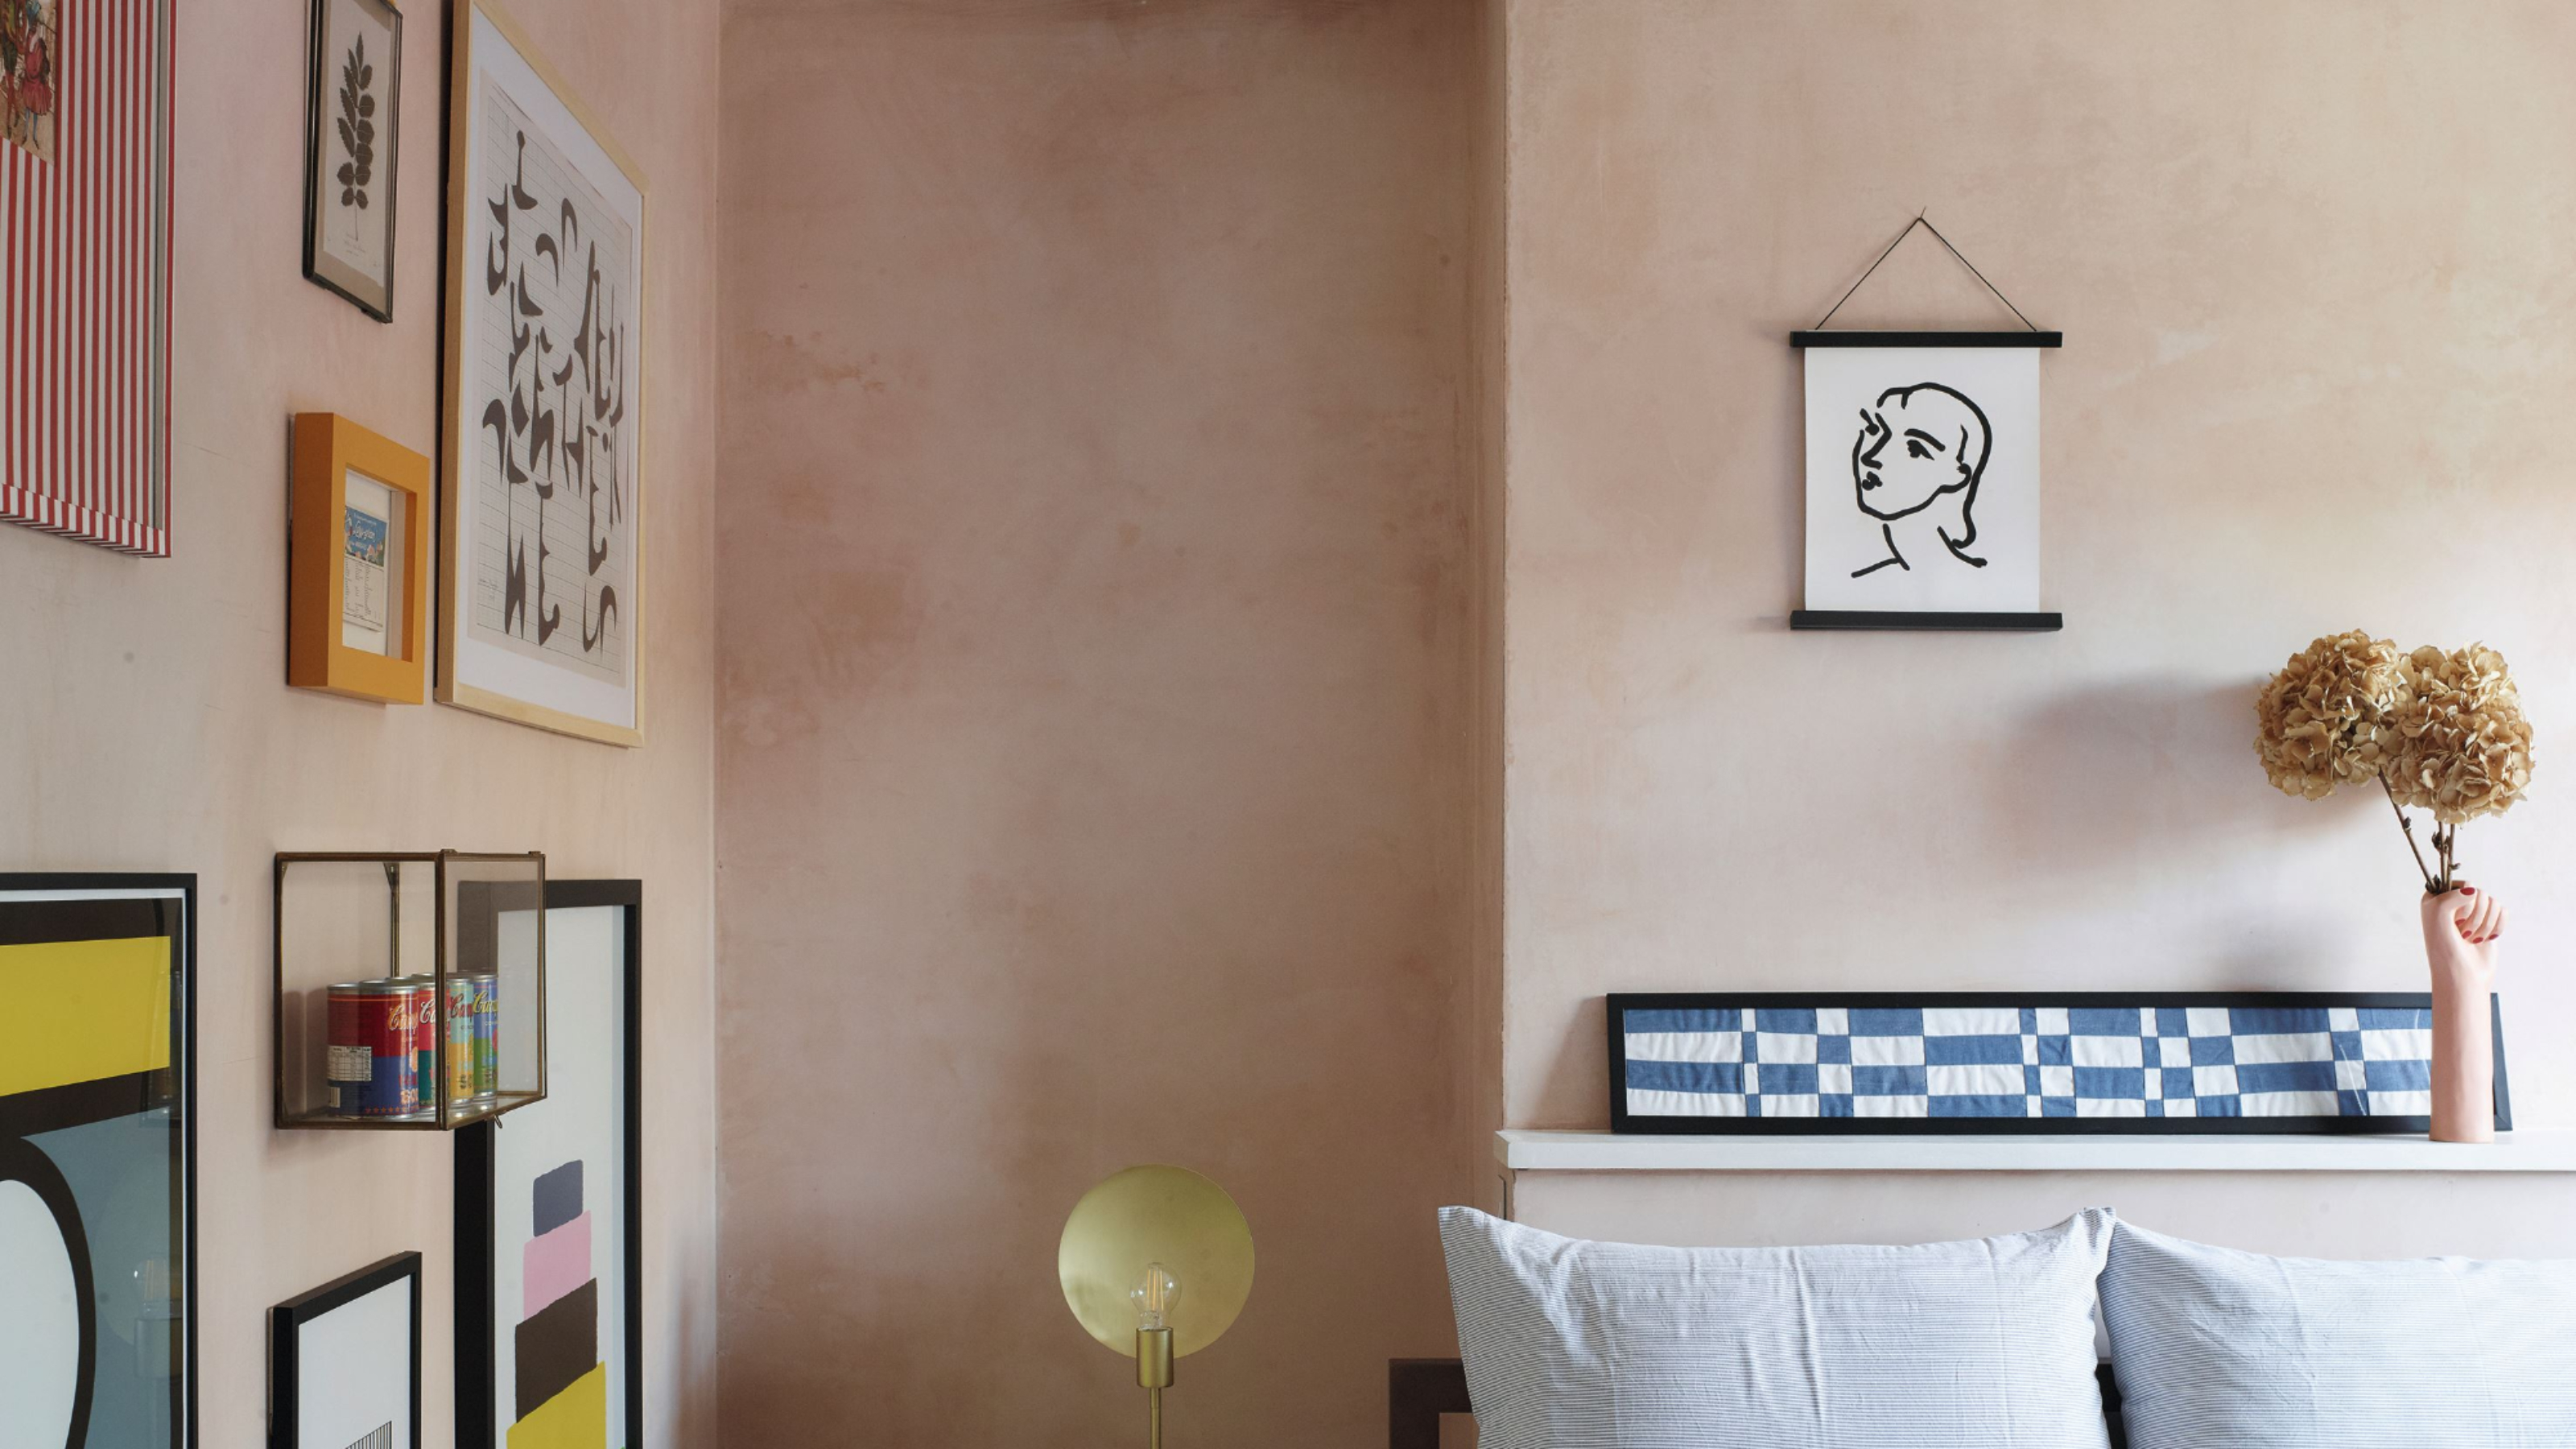
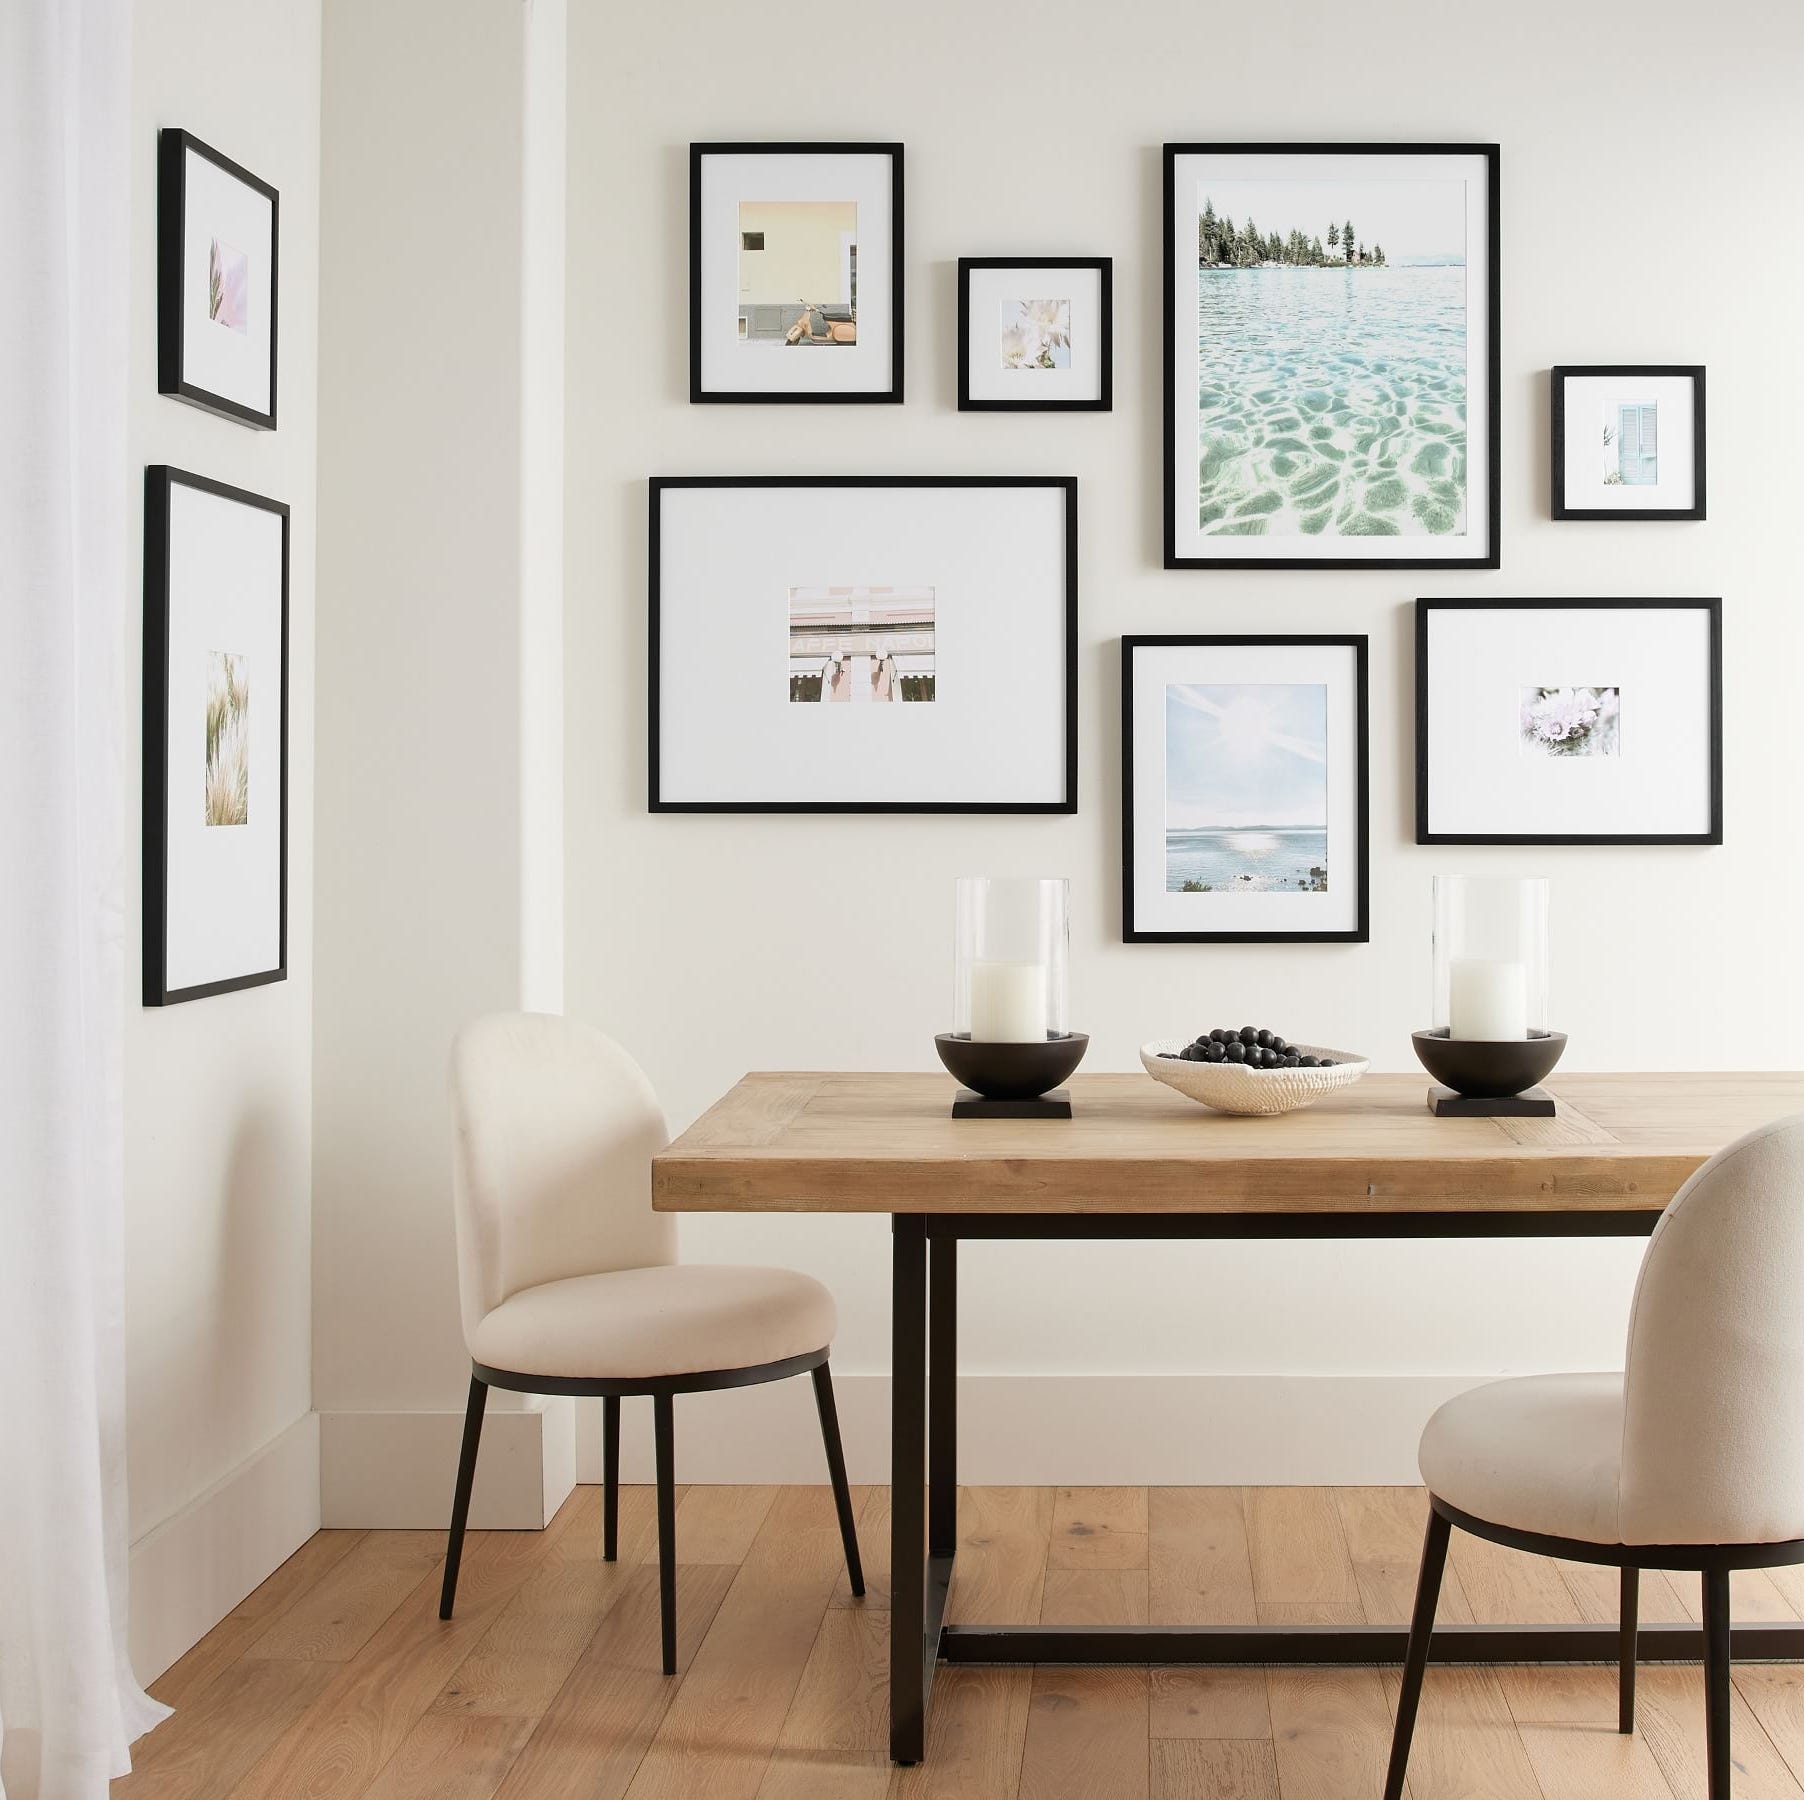
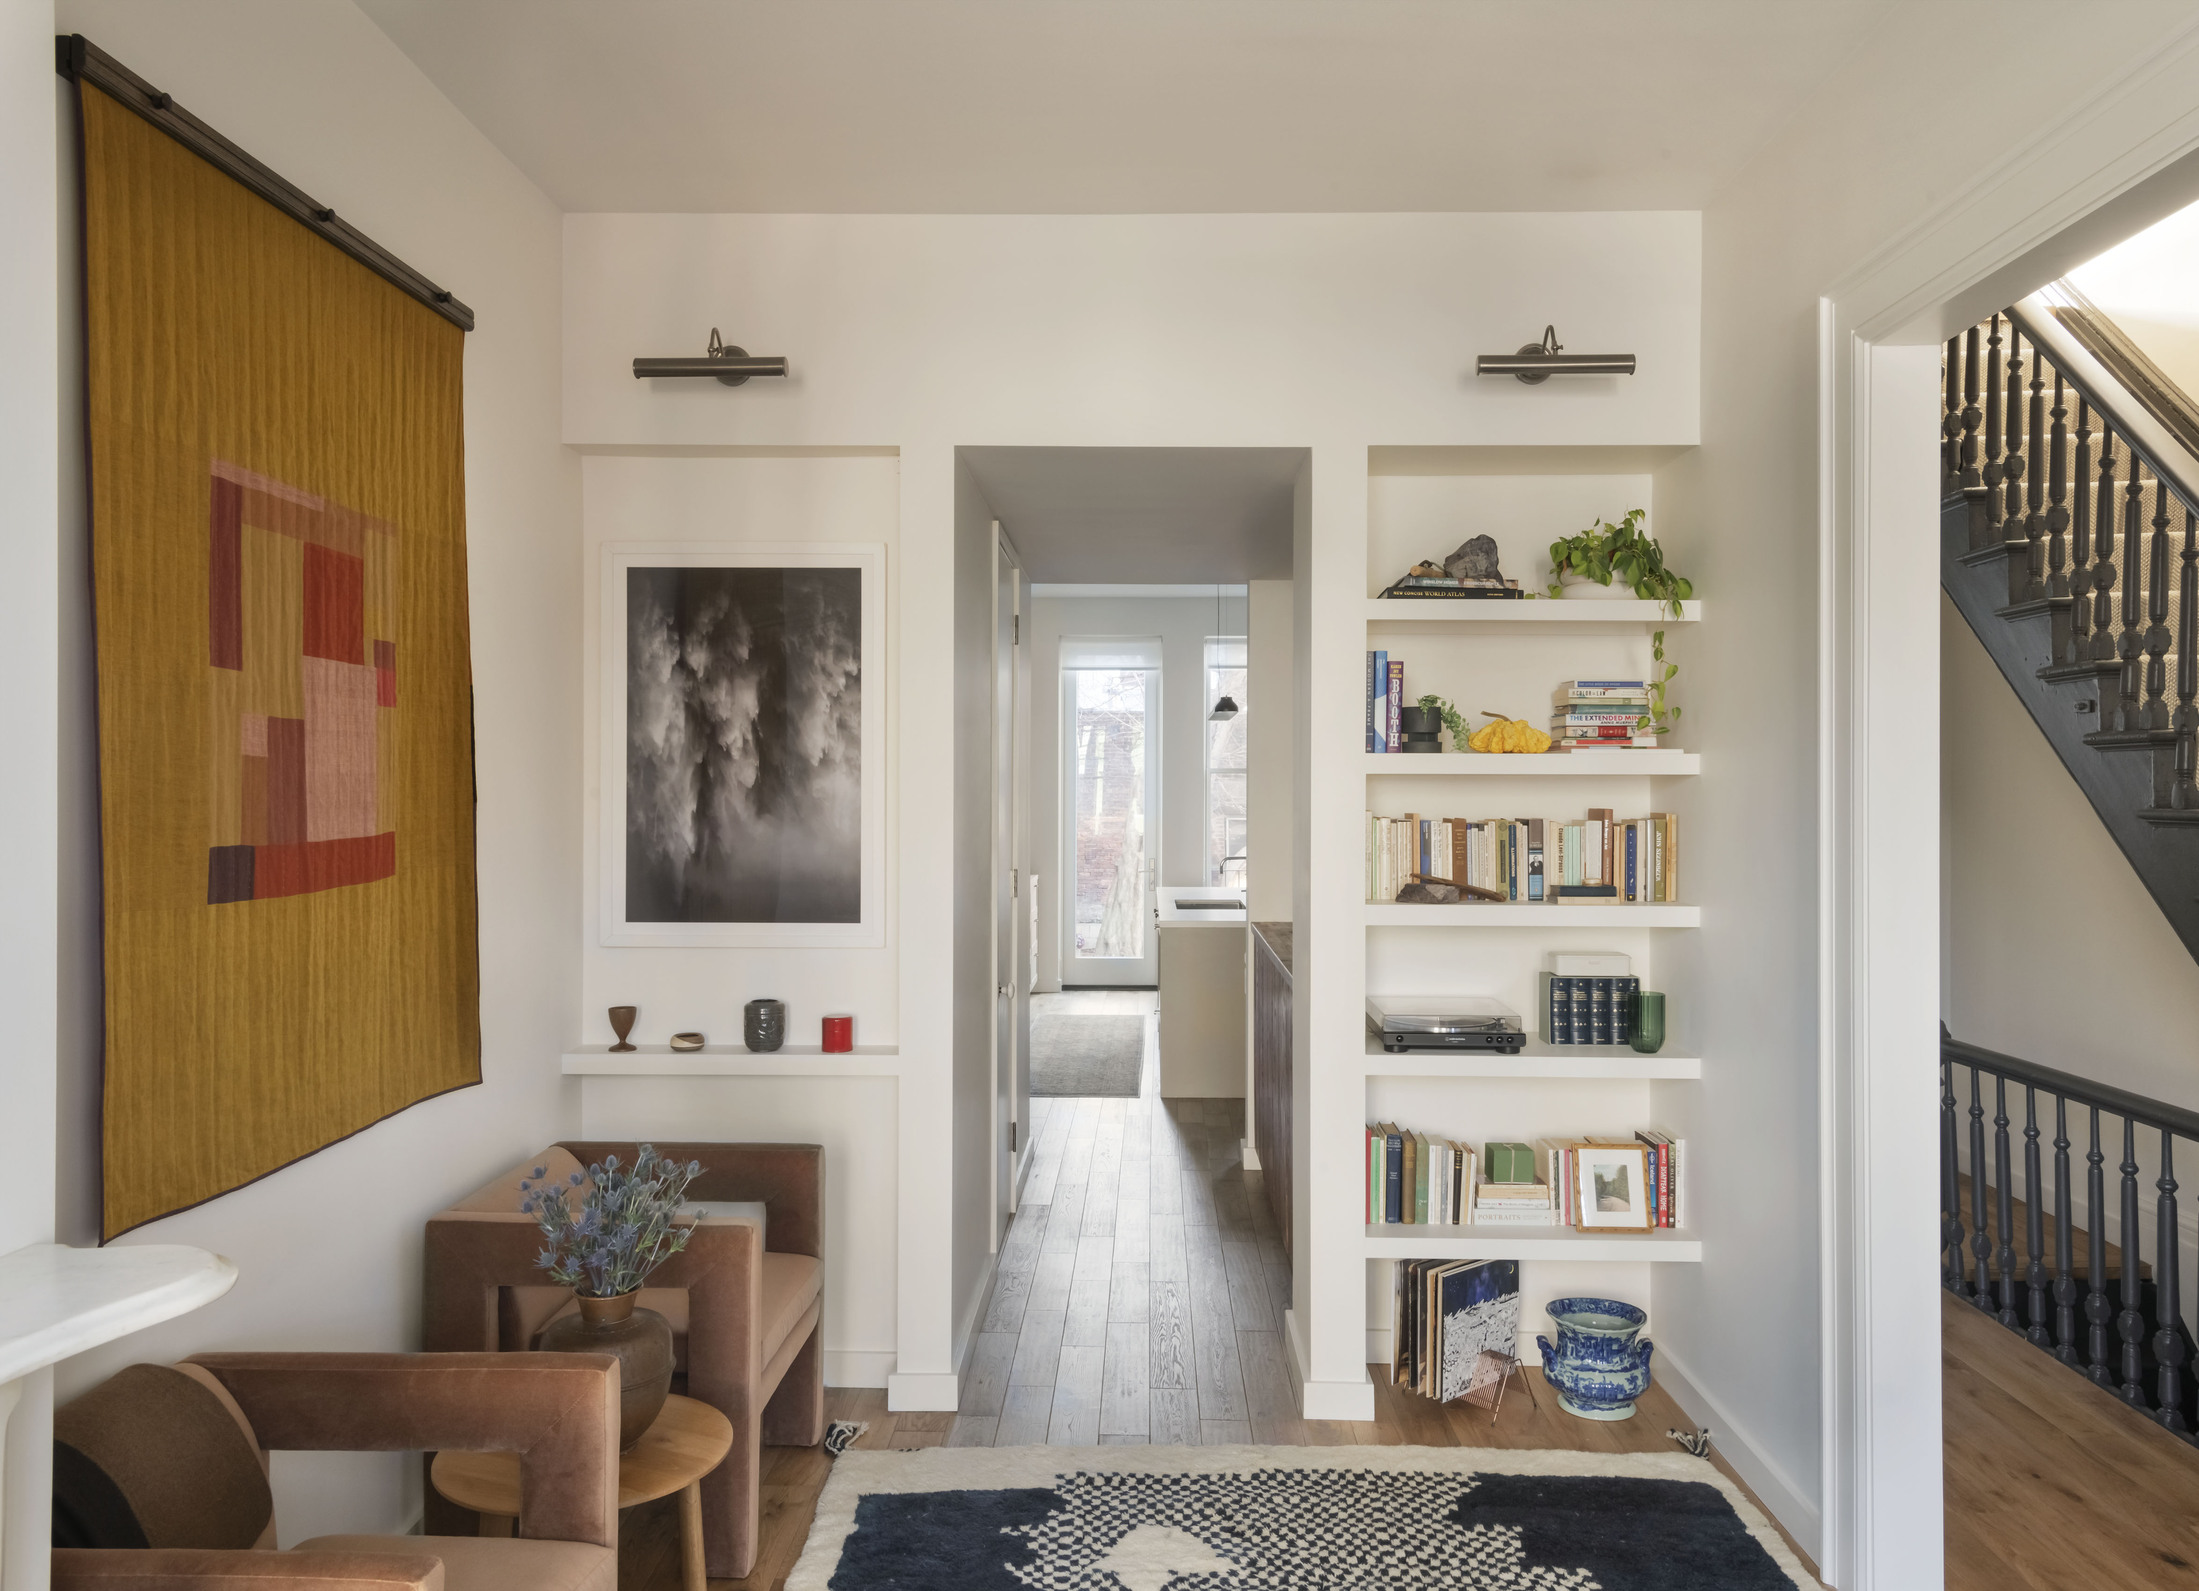
The fourth hack focuses on planning the layout of a gallery wall, a task that can be difficult to visualize before committing to permanent placements. The article suggests using kraft paper, construction paper, or wrapping paper. Pieces of paper are cut to match the size and shape of each item intended for the gallery wall. These paper cutouts are then taped to the wall, allowing for easy rearrangement until the desired layout and spacing are achieved. Only after the arrangement is finalized should the actual frames be hung.
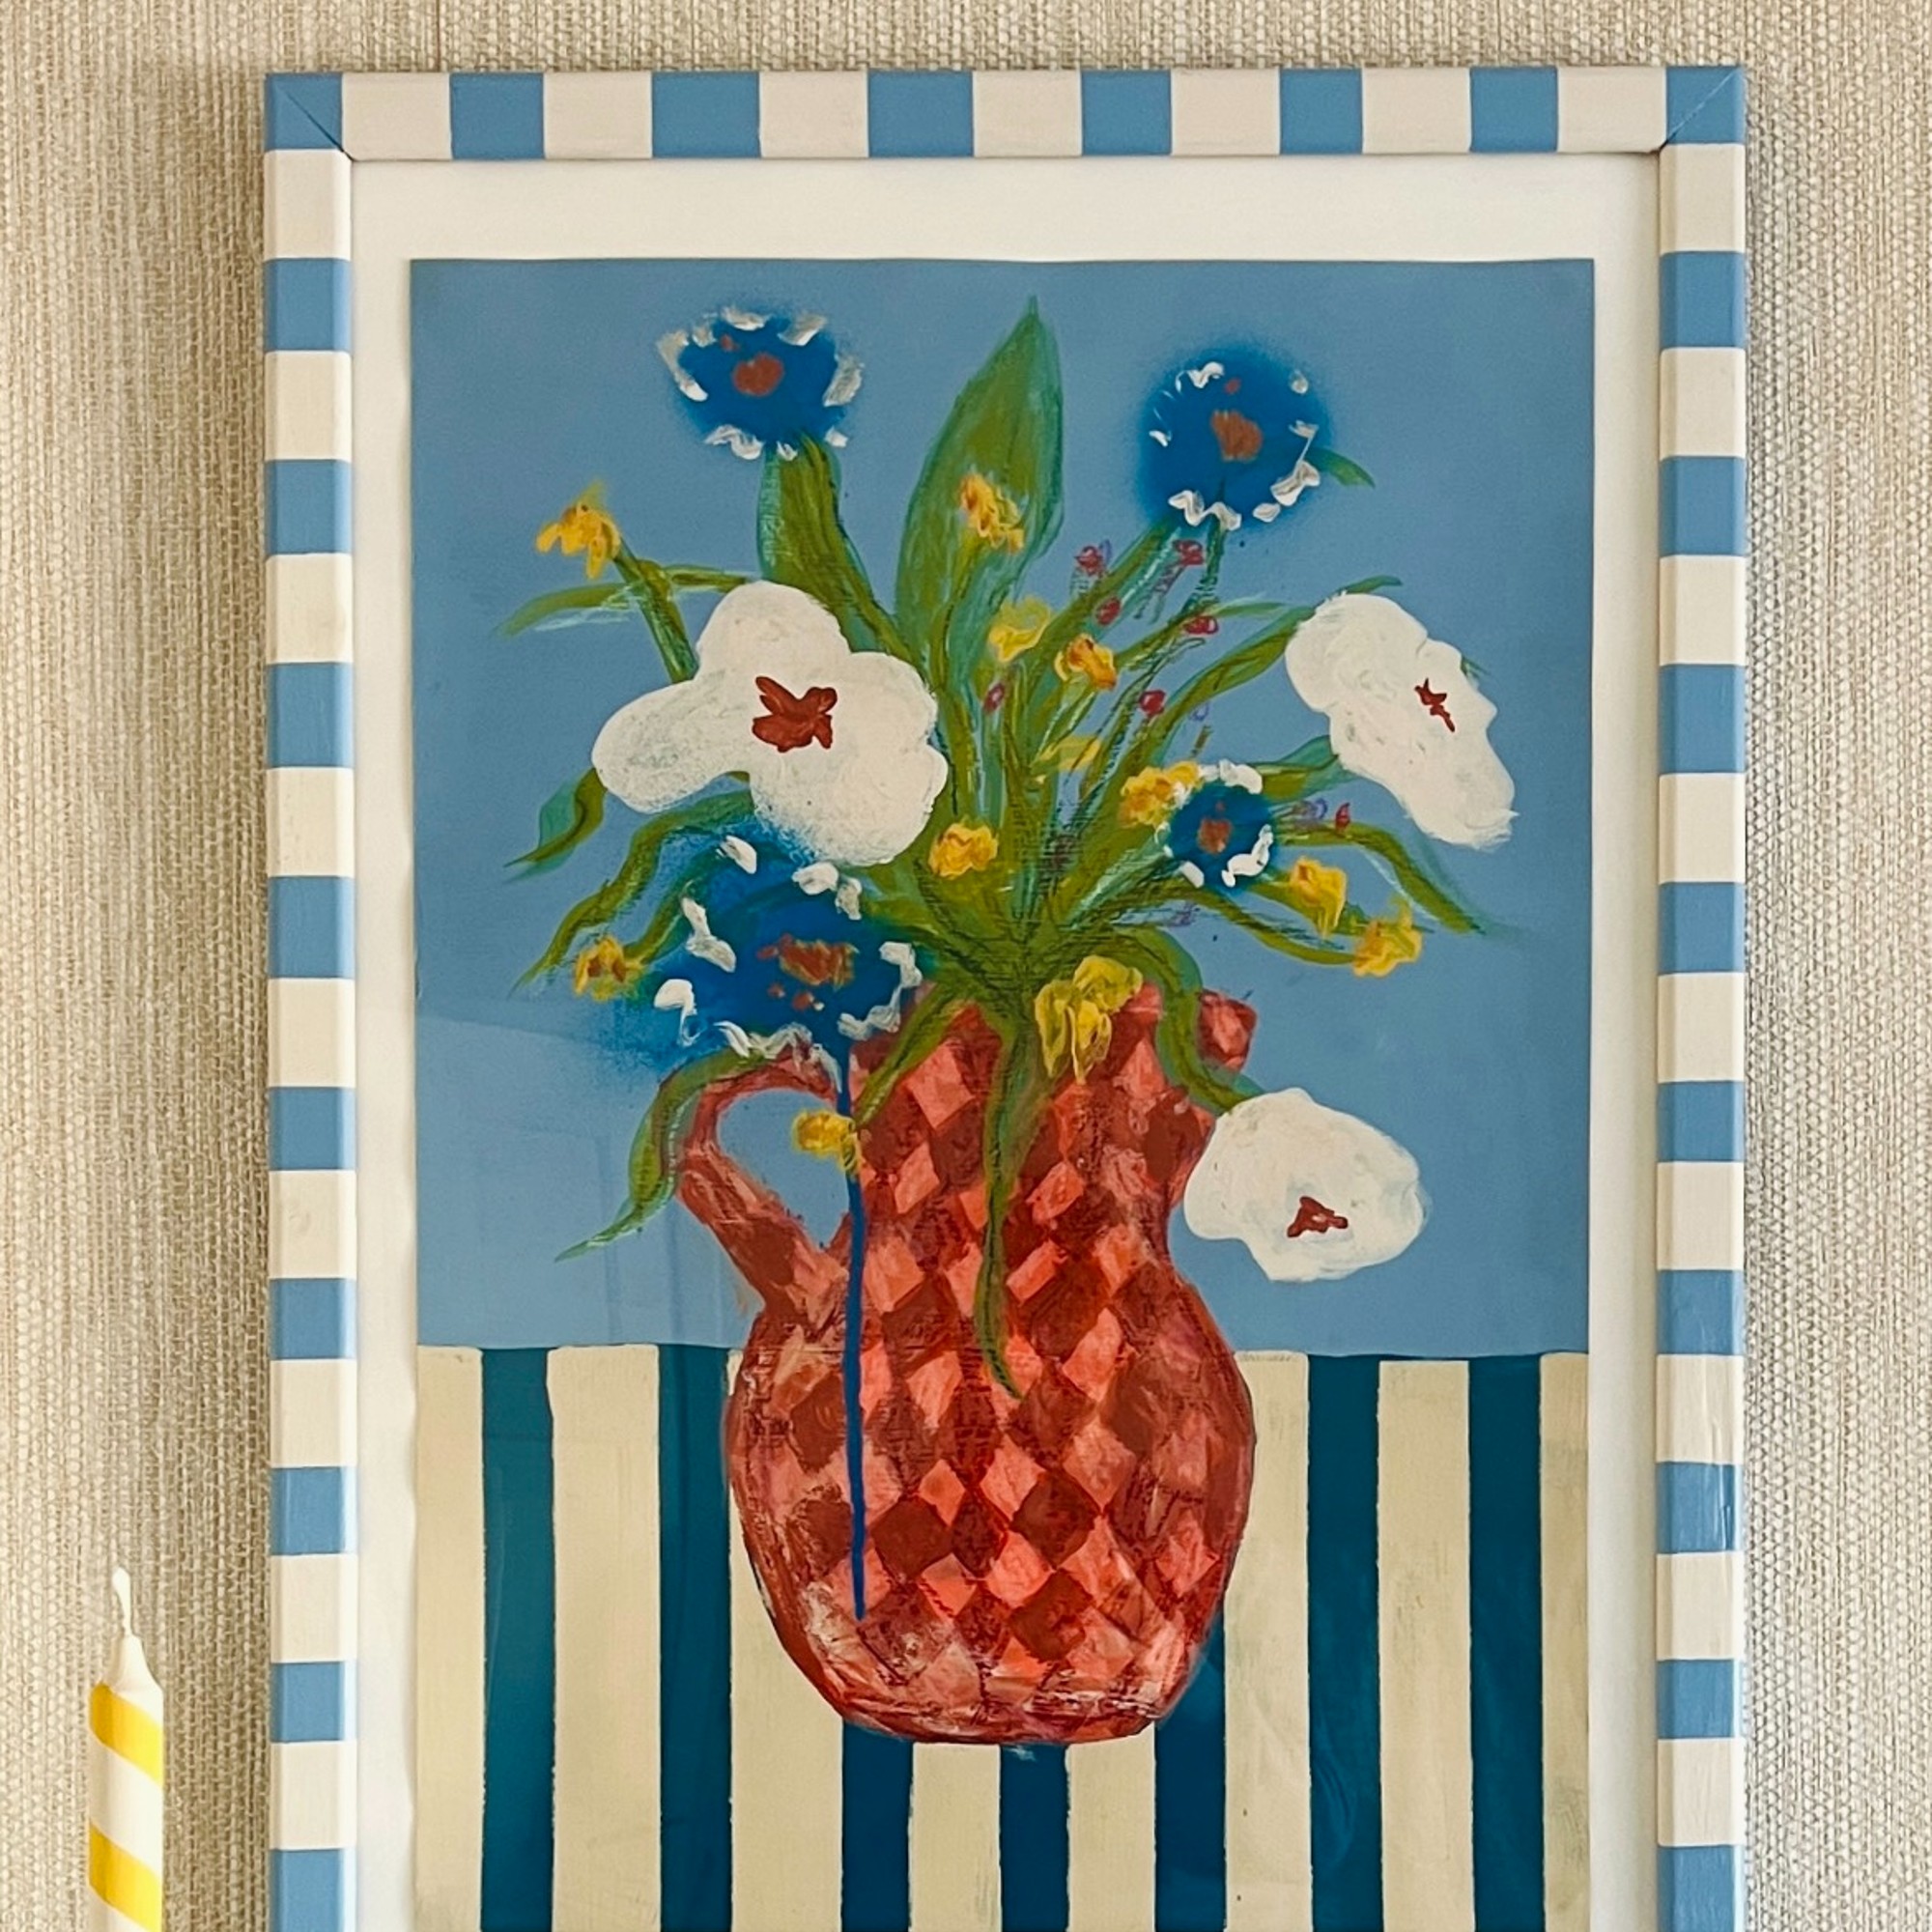
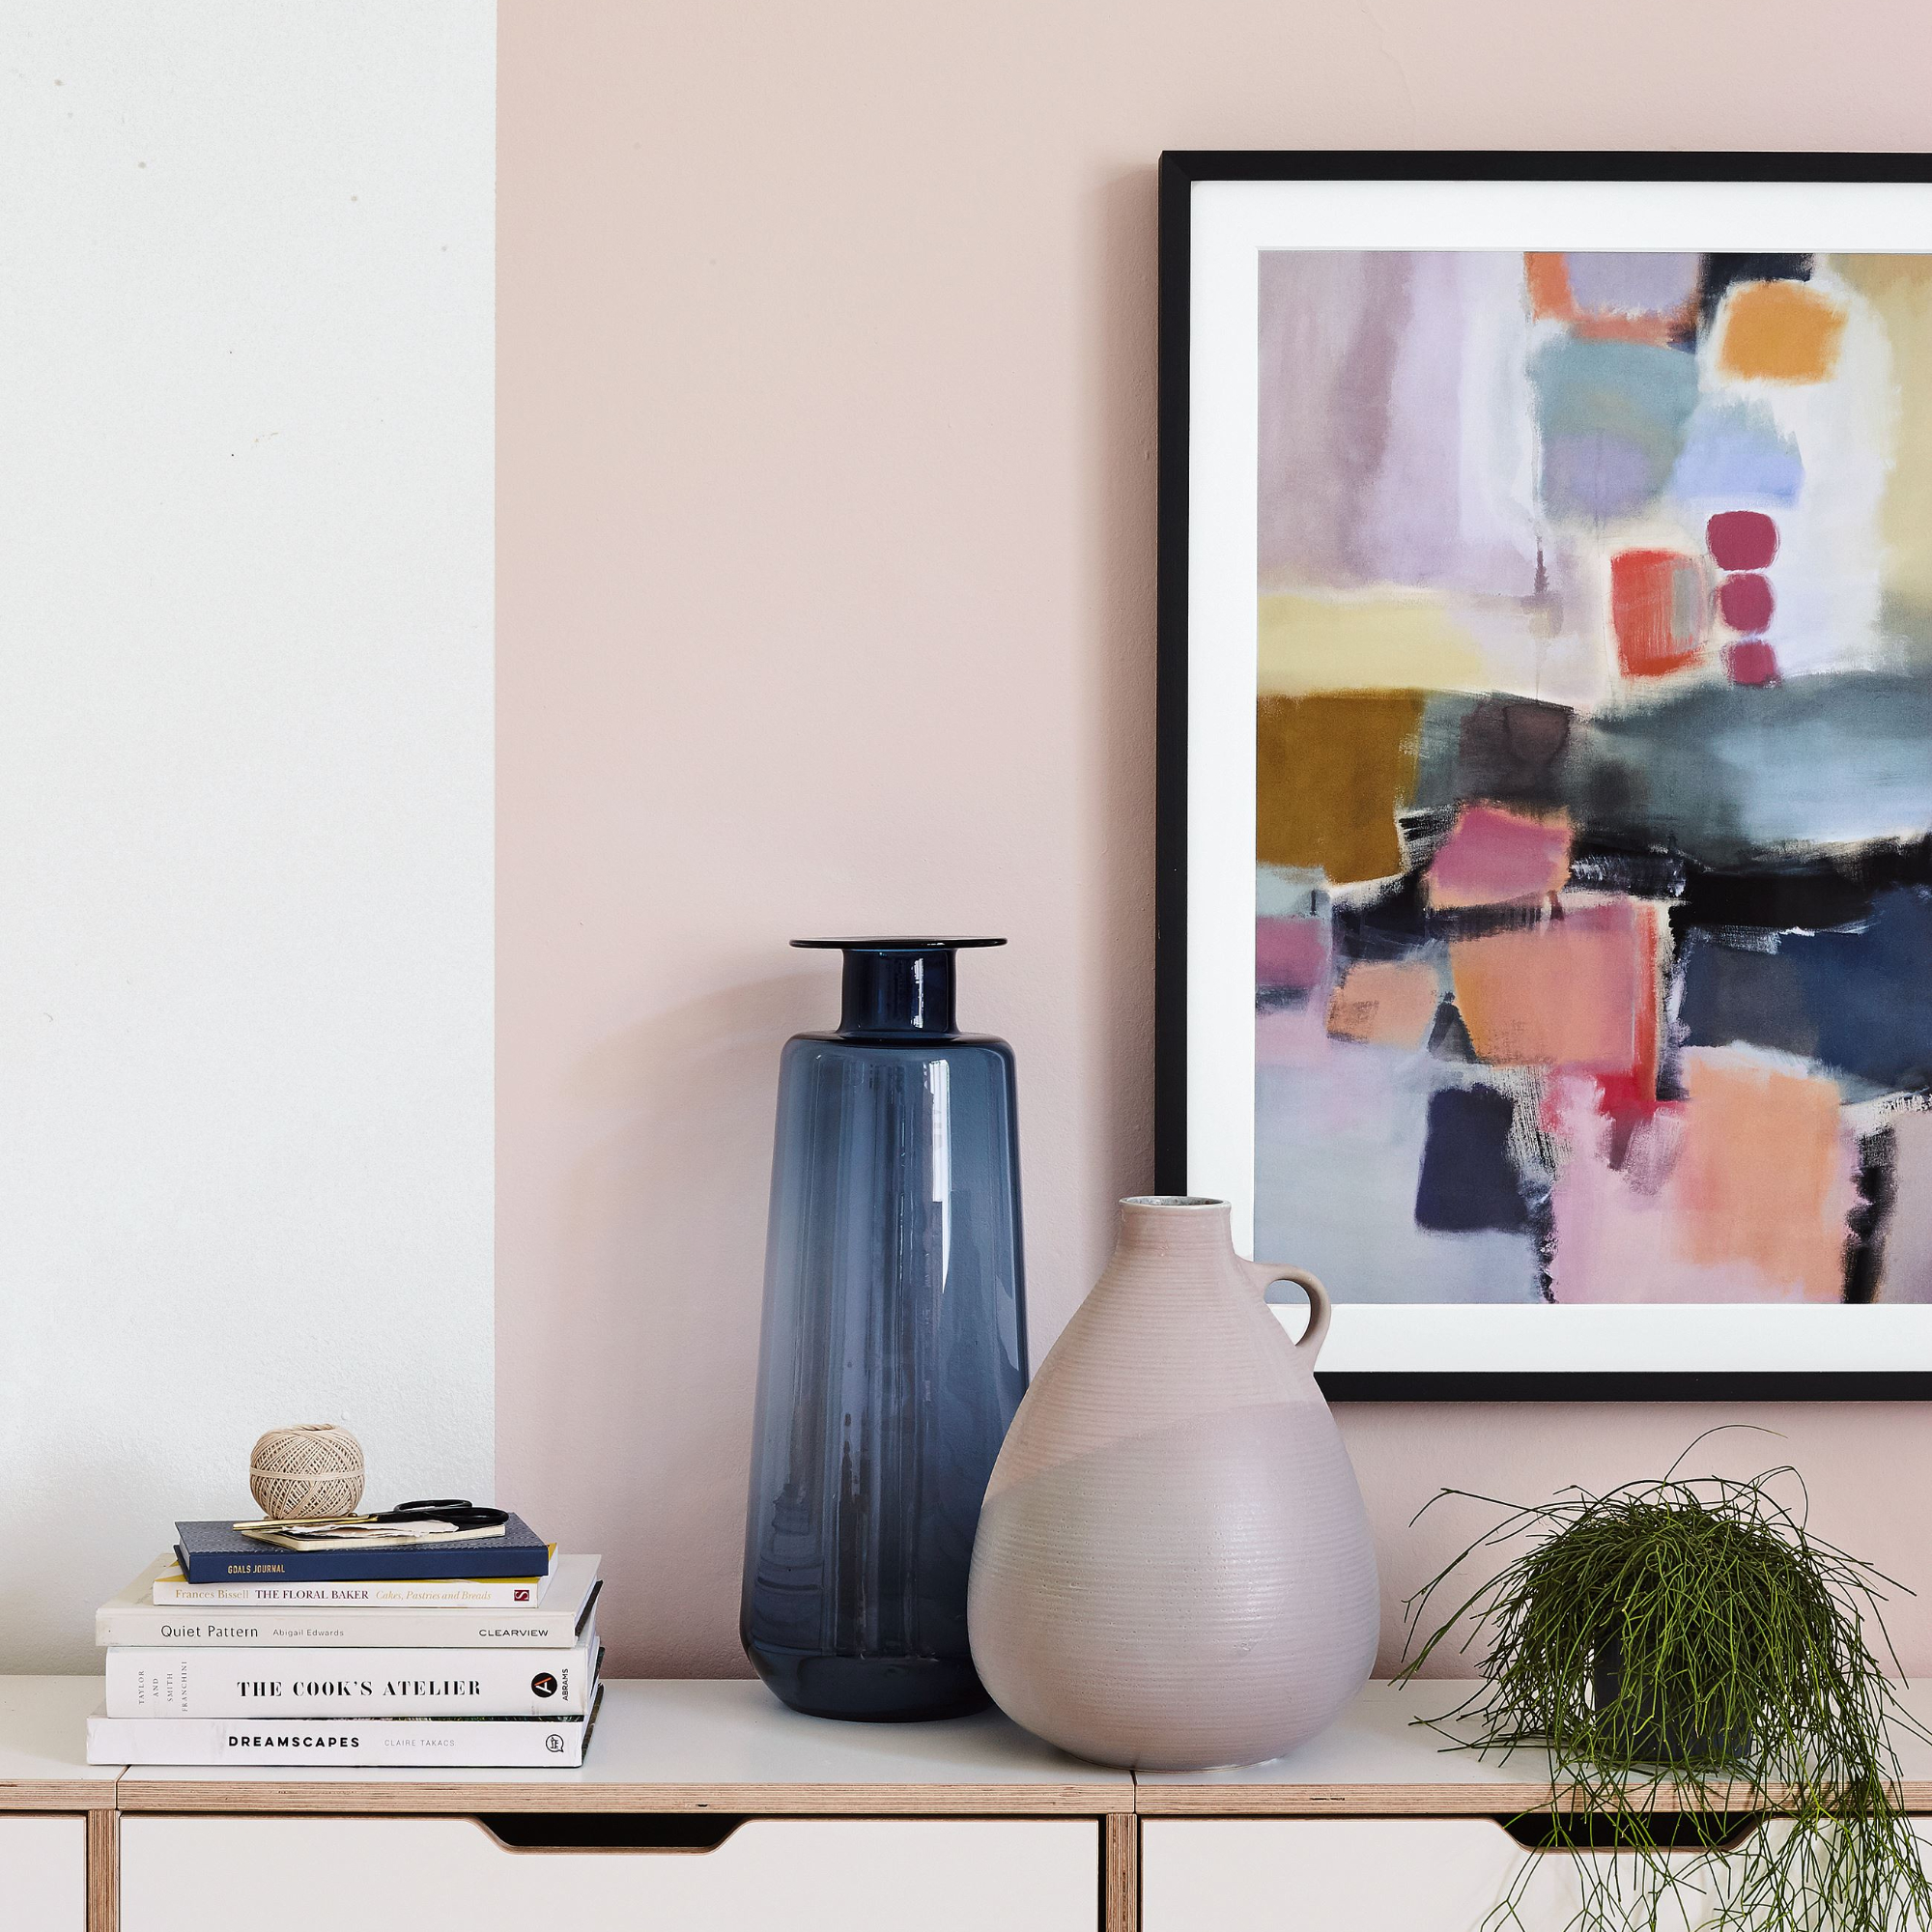
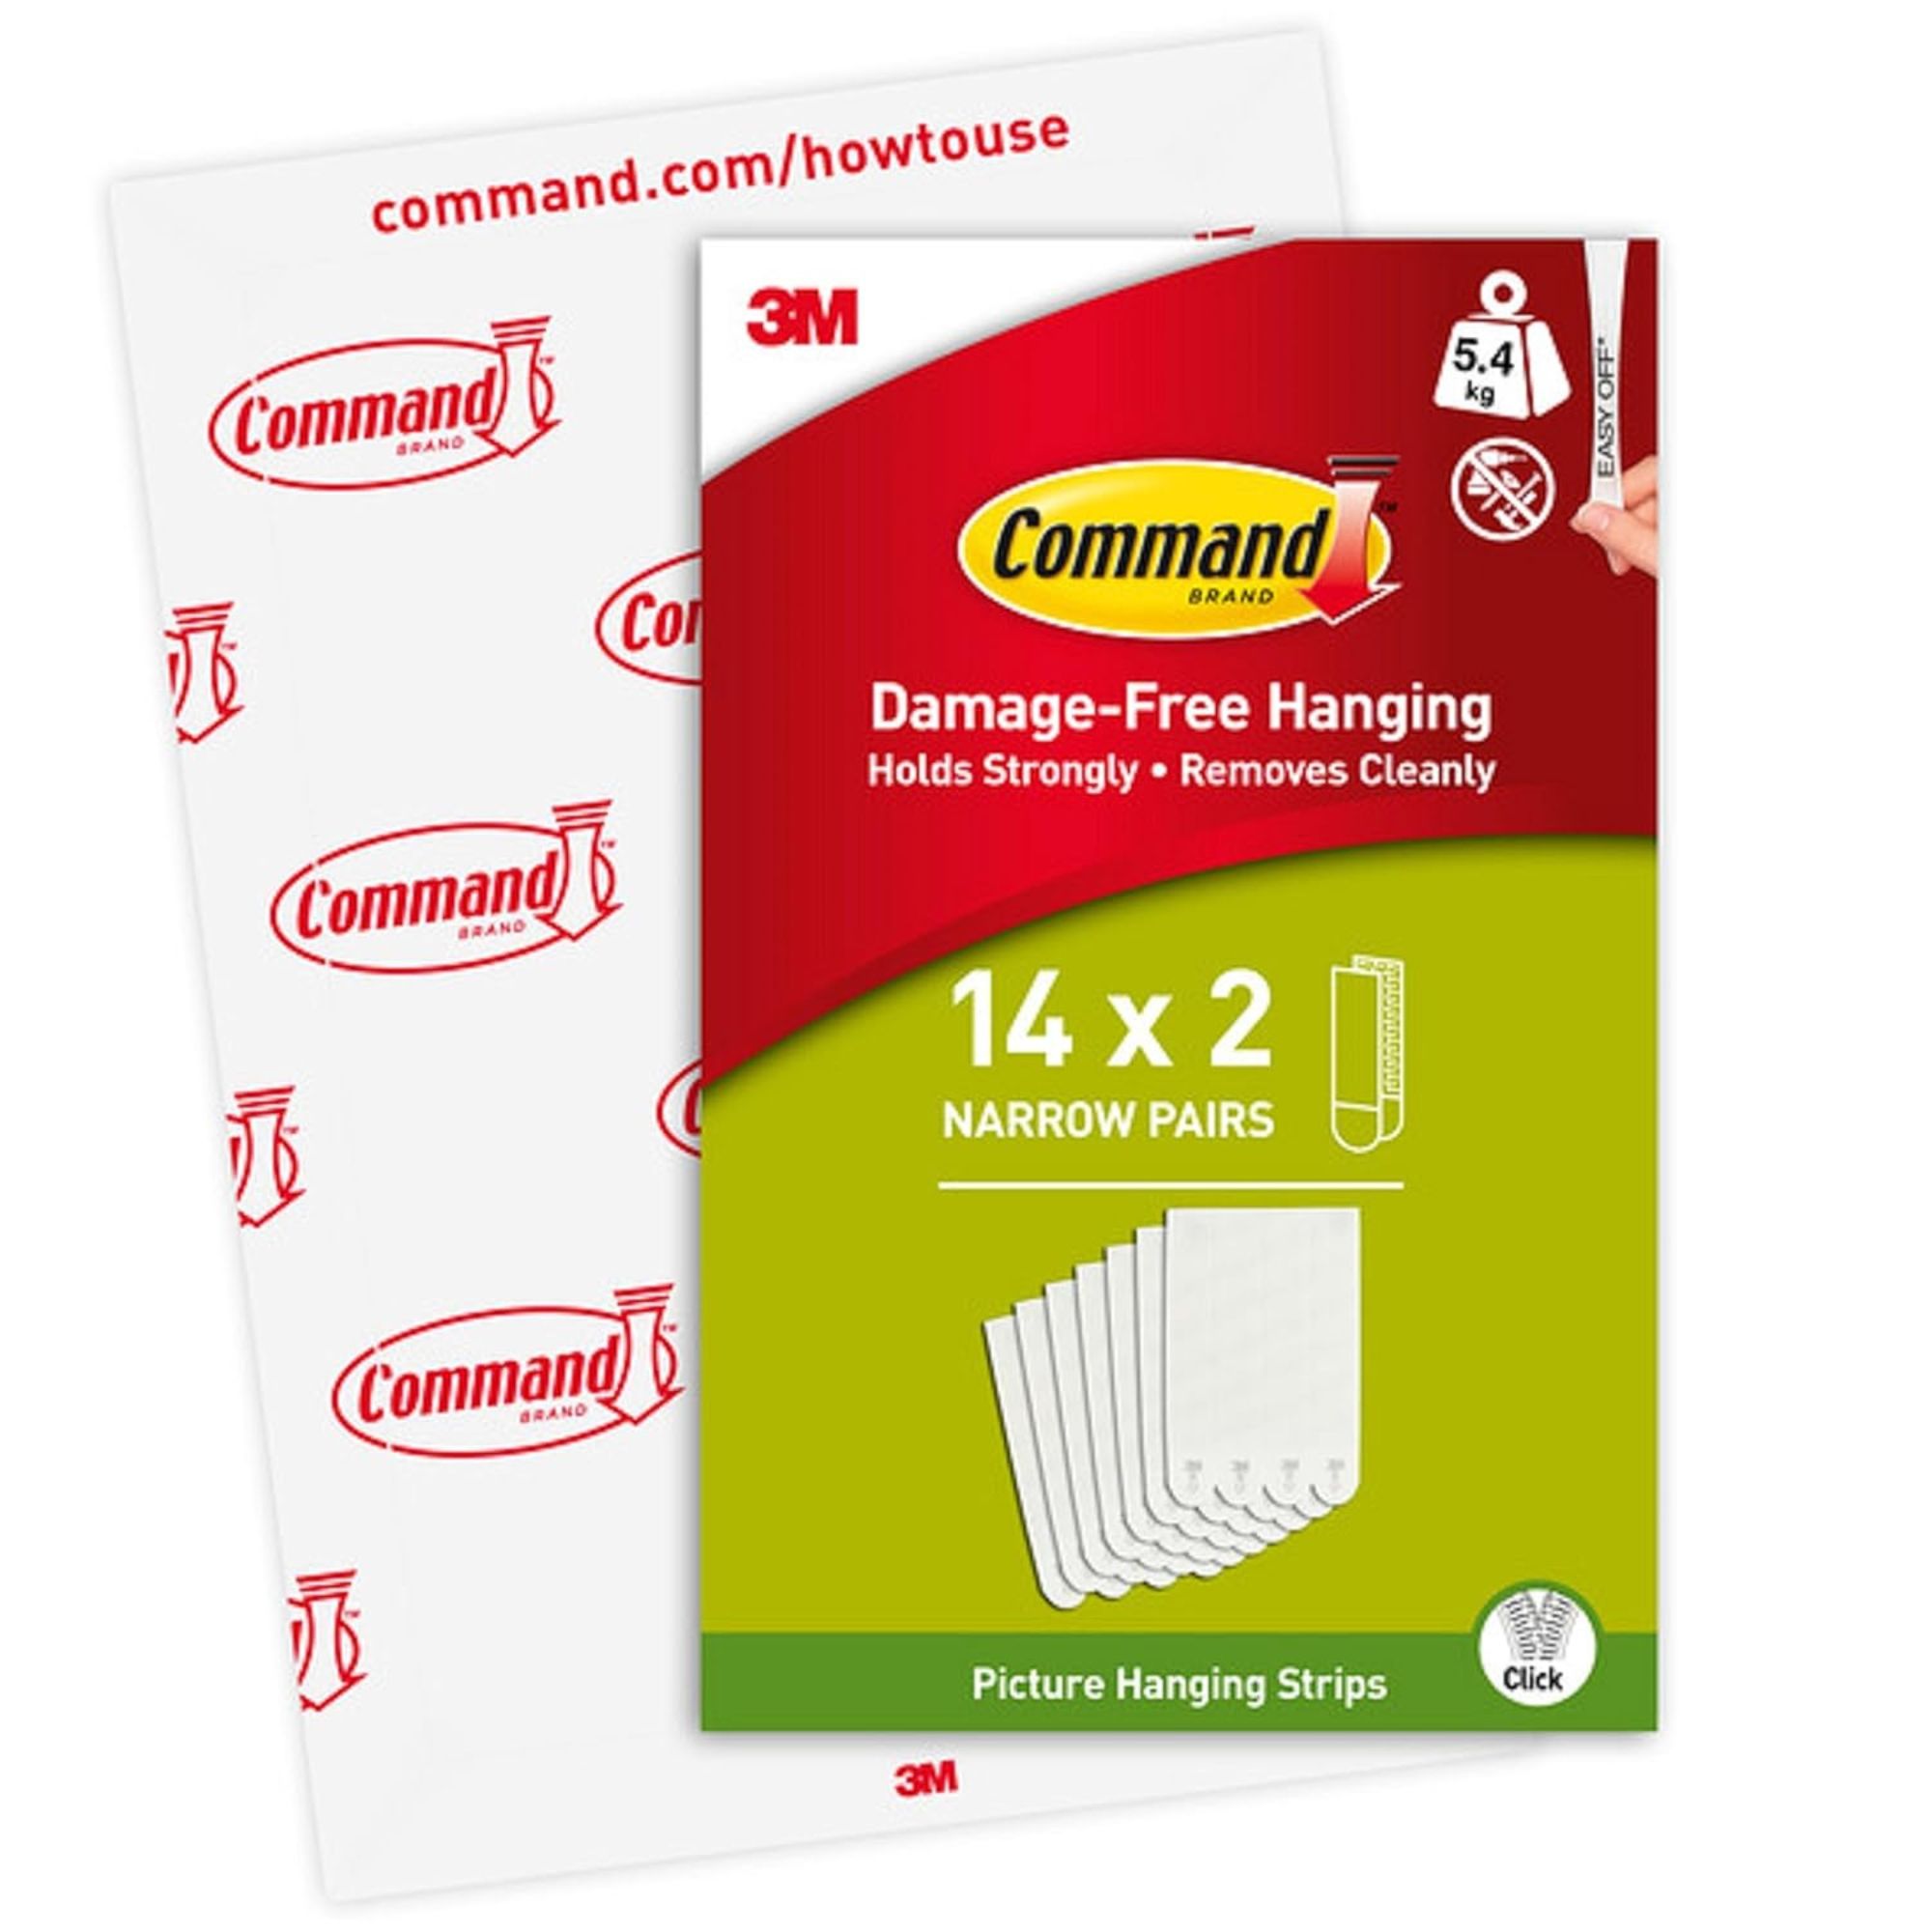
Finally, the fifth hack addresses wobbly picture frames, often a problem with inexpensive frames where mounting hardware protrudes too much, causing the frame to rattle against the wall or hang crookedly. The solution is to apply felt furniture pads, typically used on chair legs, to the back corners of the frames. These pads help the frames sit more flush against the wall, preventing wobbling and ensuring they remain straight. These five simple yet effective techniques aim to make the process of hanging picture frames less cumbersome and more efficient, enhancing the home decorating experience.
#PictureFrameHanging #HomeDecor #DIYHacks #WallDecor #HomeImprovement #Organizing #InteriorDesign #RealSimpleTips #PictureFrameHanging #HomeDecor #DIYHacks #WallDecor #HomeImprovement #Organizing #InteriorDesign #RealSimpleTips
0 comment in total
You may also like
3 ways to update picture frames for elevated displays of art and photos
The Best Affordable Wall-Art Frames, According to Experts
7 DIY tips for how to hang a gallery wall from experts

The 8 Picture Hangers We Trust to Hold It All Up


RS Recommends: The Best Hanging Kits Will Make Your Gallery Wall Dreams Come True

How to Hang Pictures, Mirrors, and Plates, According to an Expert
How to Convert Tabletop Photo Frames to Hang on the Wall

My editor swears by this framing trick to make any wall art look more expensive – I’m taking her advice on board, and so should you
Yes, You Can Hang Art Like a Pro | Reviews by Wirecutter

This Is The Best Way To Hang Pictures, According To An Expert
'No forking way!' – this genius hack might have just solved our biggest problem with hanging art on a wall

This Colorful Trick Is How Cool People Frame Their Pictures These Days

The Best (and Easiest!) Ways To Hang Pictures, According to Art Pros
Shopping edit – the best photo frames to display treasured snaps in style
Don't Spend Too Much on Picture Frames—Snag These 14 Finds on the Cheap

Kelly Hoppen reveals her foolproof trick for achieving perfect gallery wall placement every time

Emily Henderson just shared a simple trick for hanging art – giving your gallery wall a refresh has never been easier
How to hang wall perfectly: Use a fork

The Best Online Framing Services
This DIY is a Genius Way to Make Custom Picture Frames to Display Your Favorite Art