The Best (and Easiest!) Ways To Hang Pictures, According to Art Pros
Properly displaying artwork can be a challenging task, often leading to crooked frames, damaged walls, or poorly arranged art. To achieve a professional look and avoid common pitfalls, it is essential to be equipped with the right tools and knowledge. This guide provides expert tips from art and framing specialists at Minted and Framebridge to ensure your pictures are hung correctly, allowing the art itself to be the focal point.
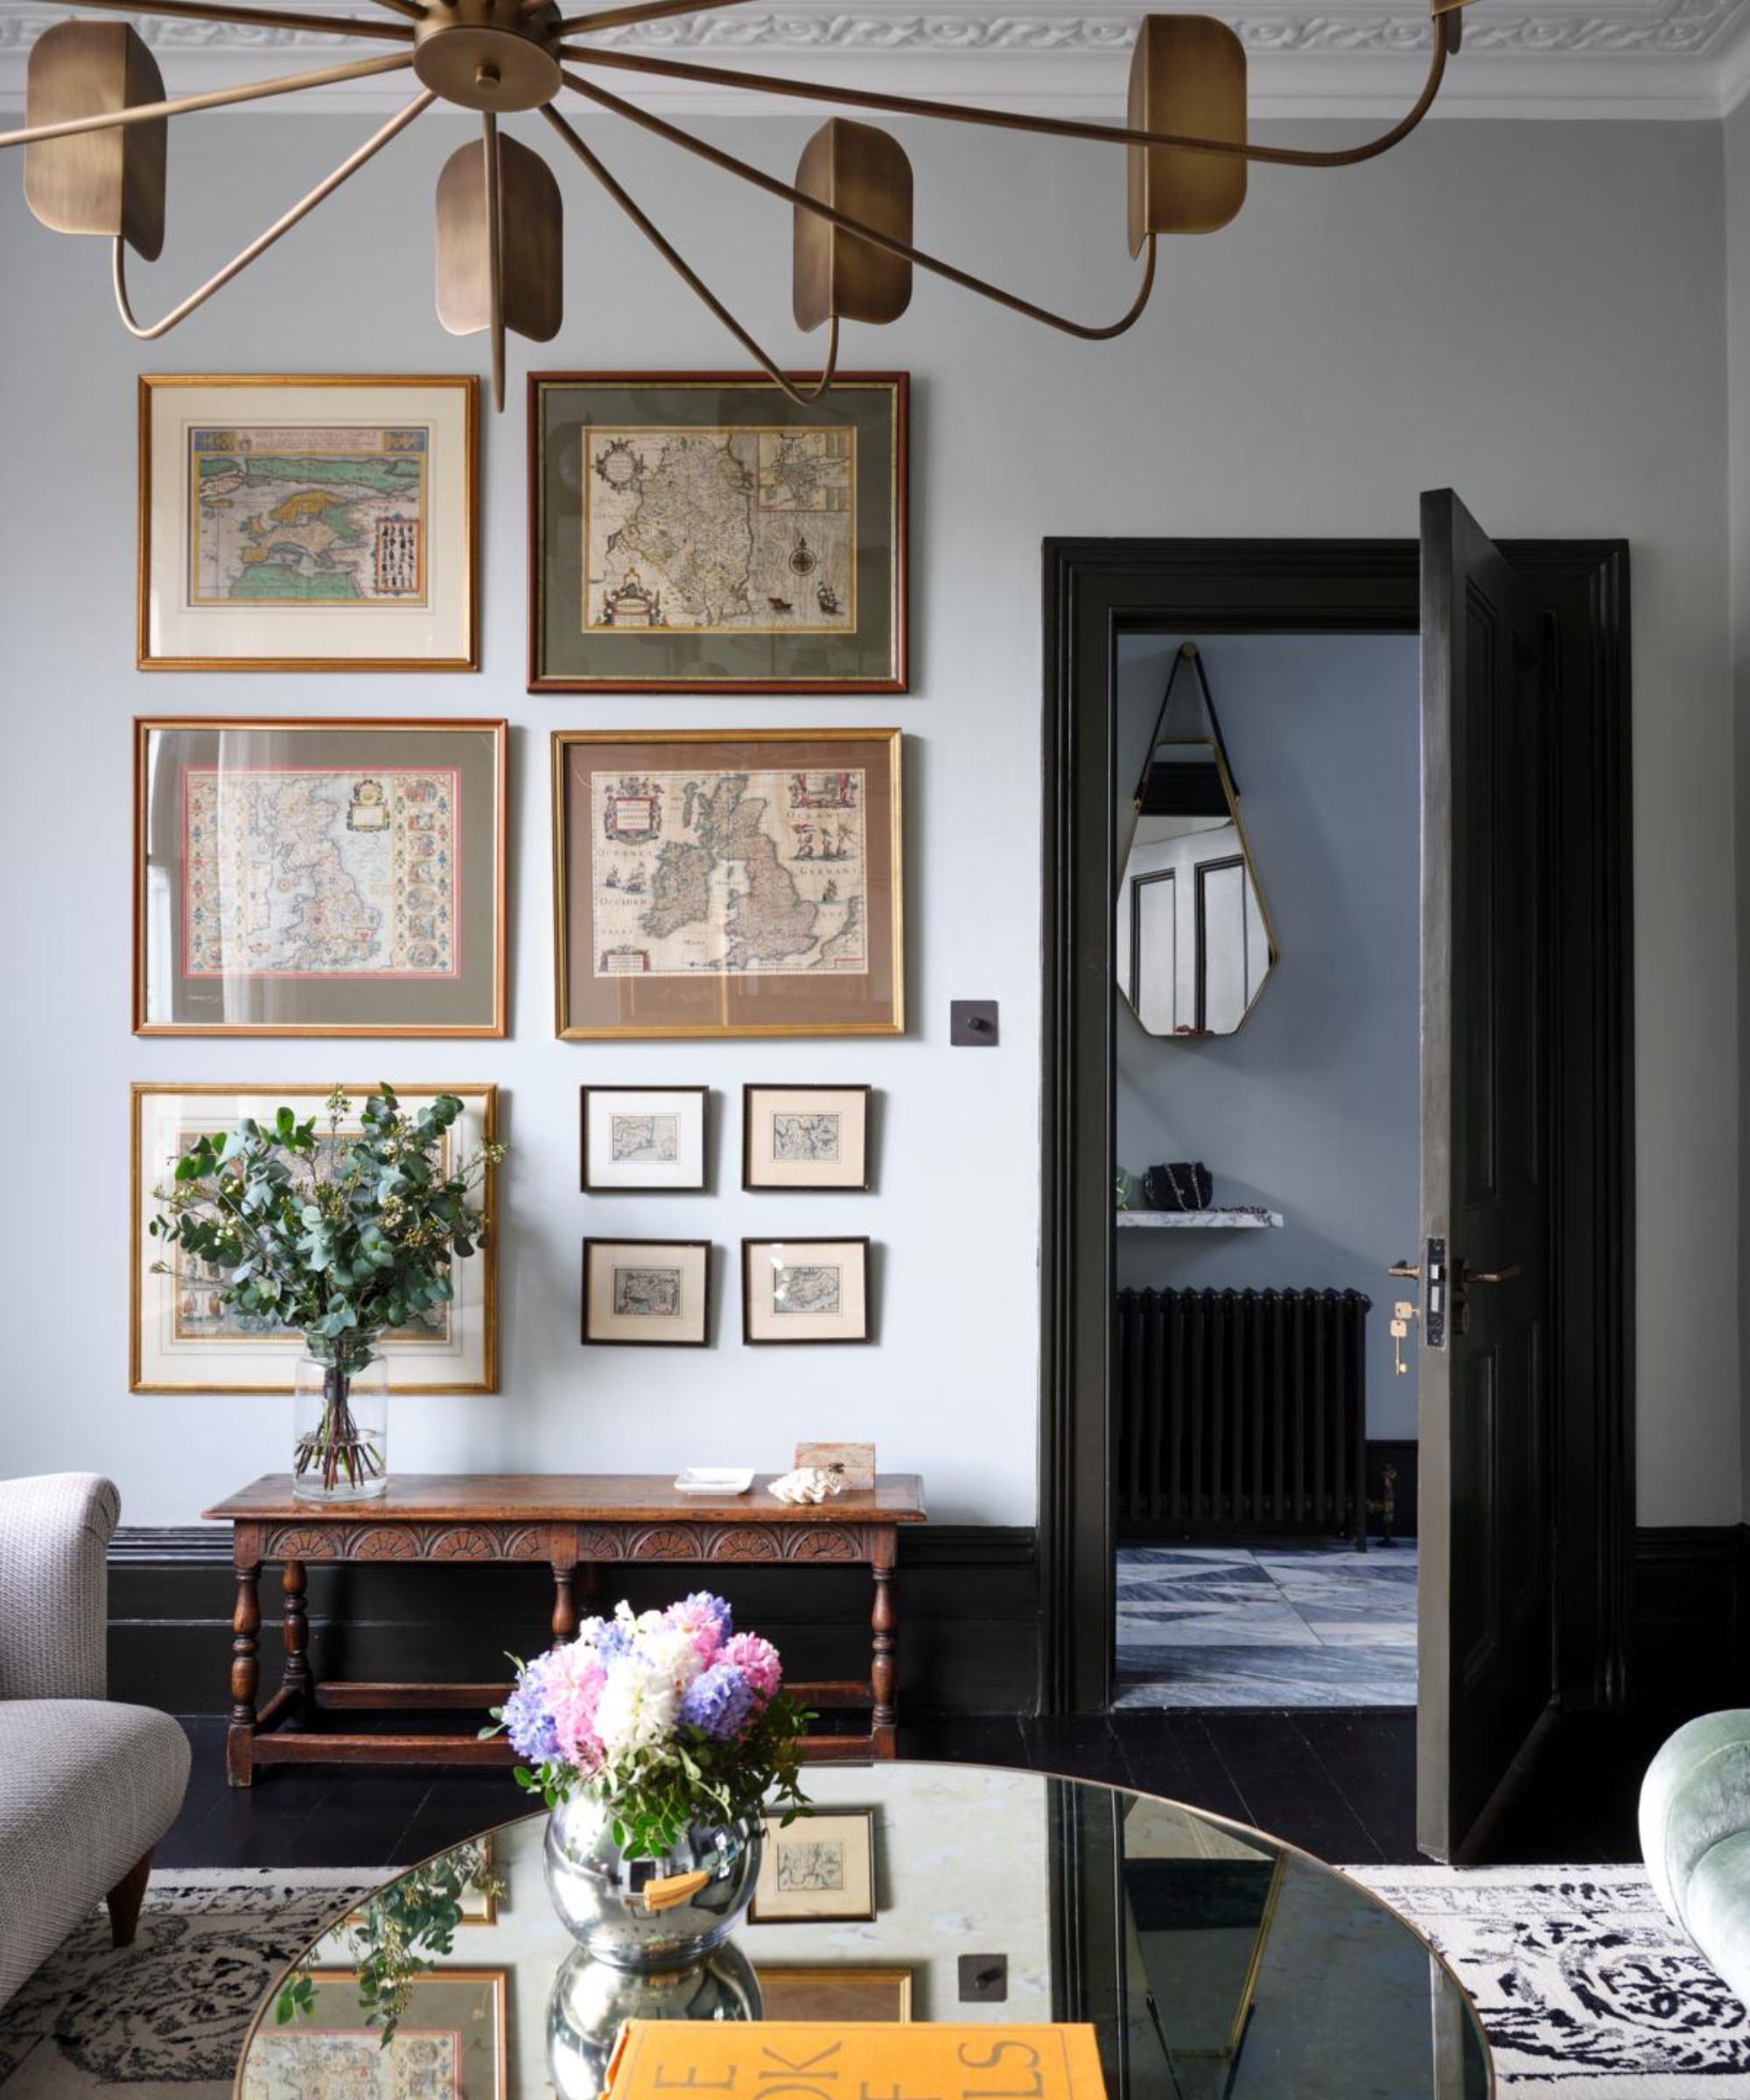
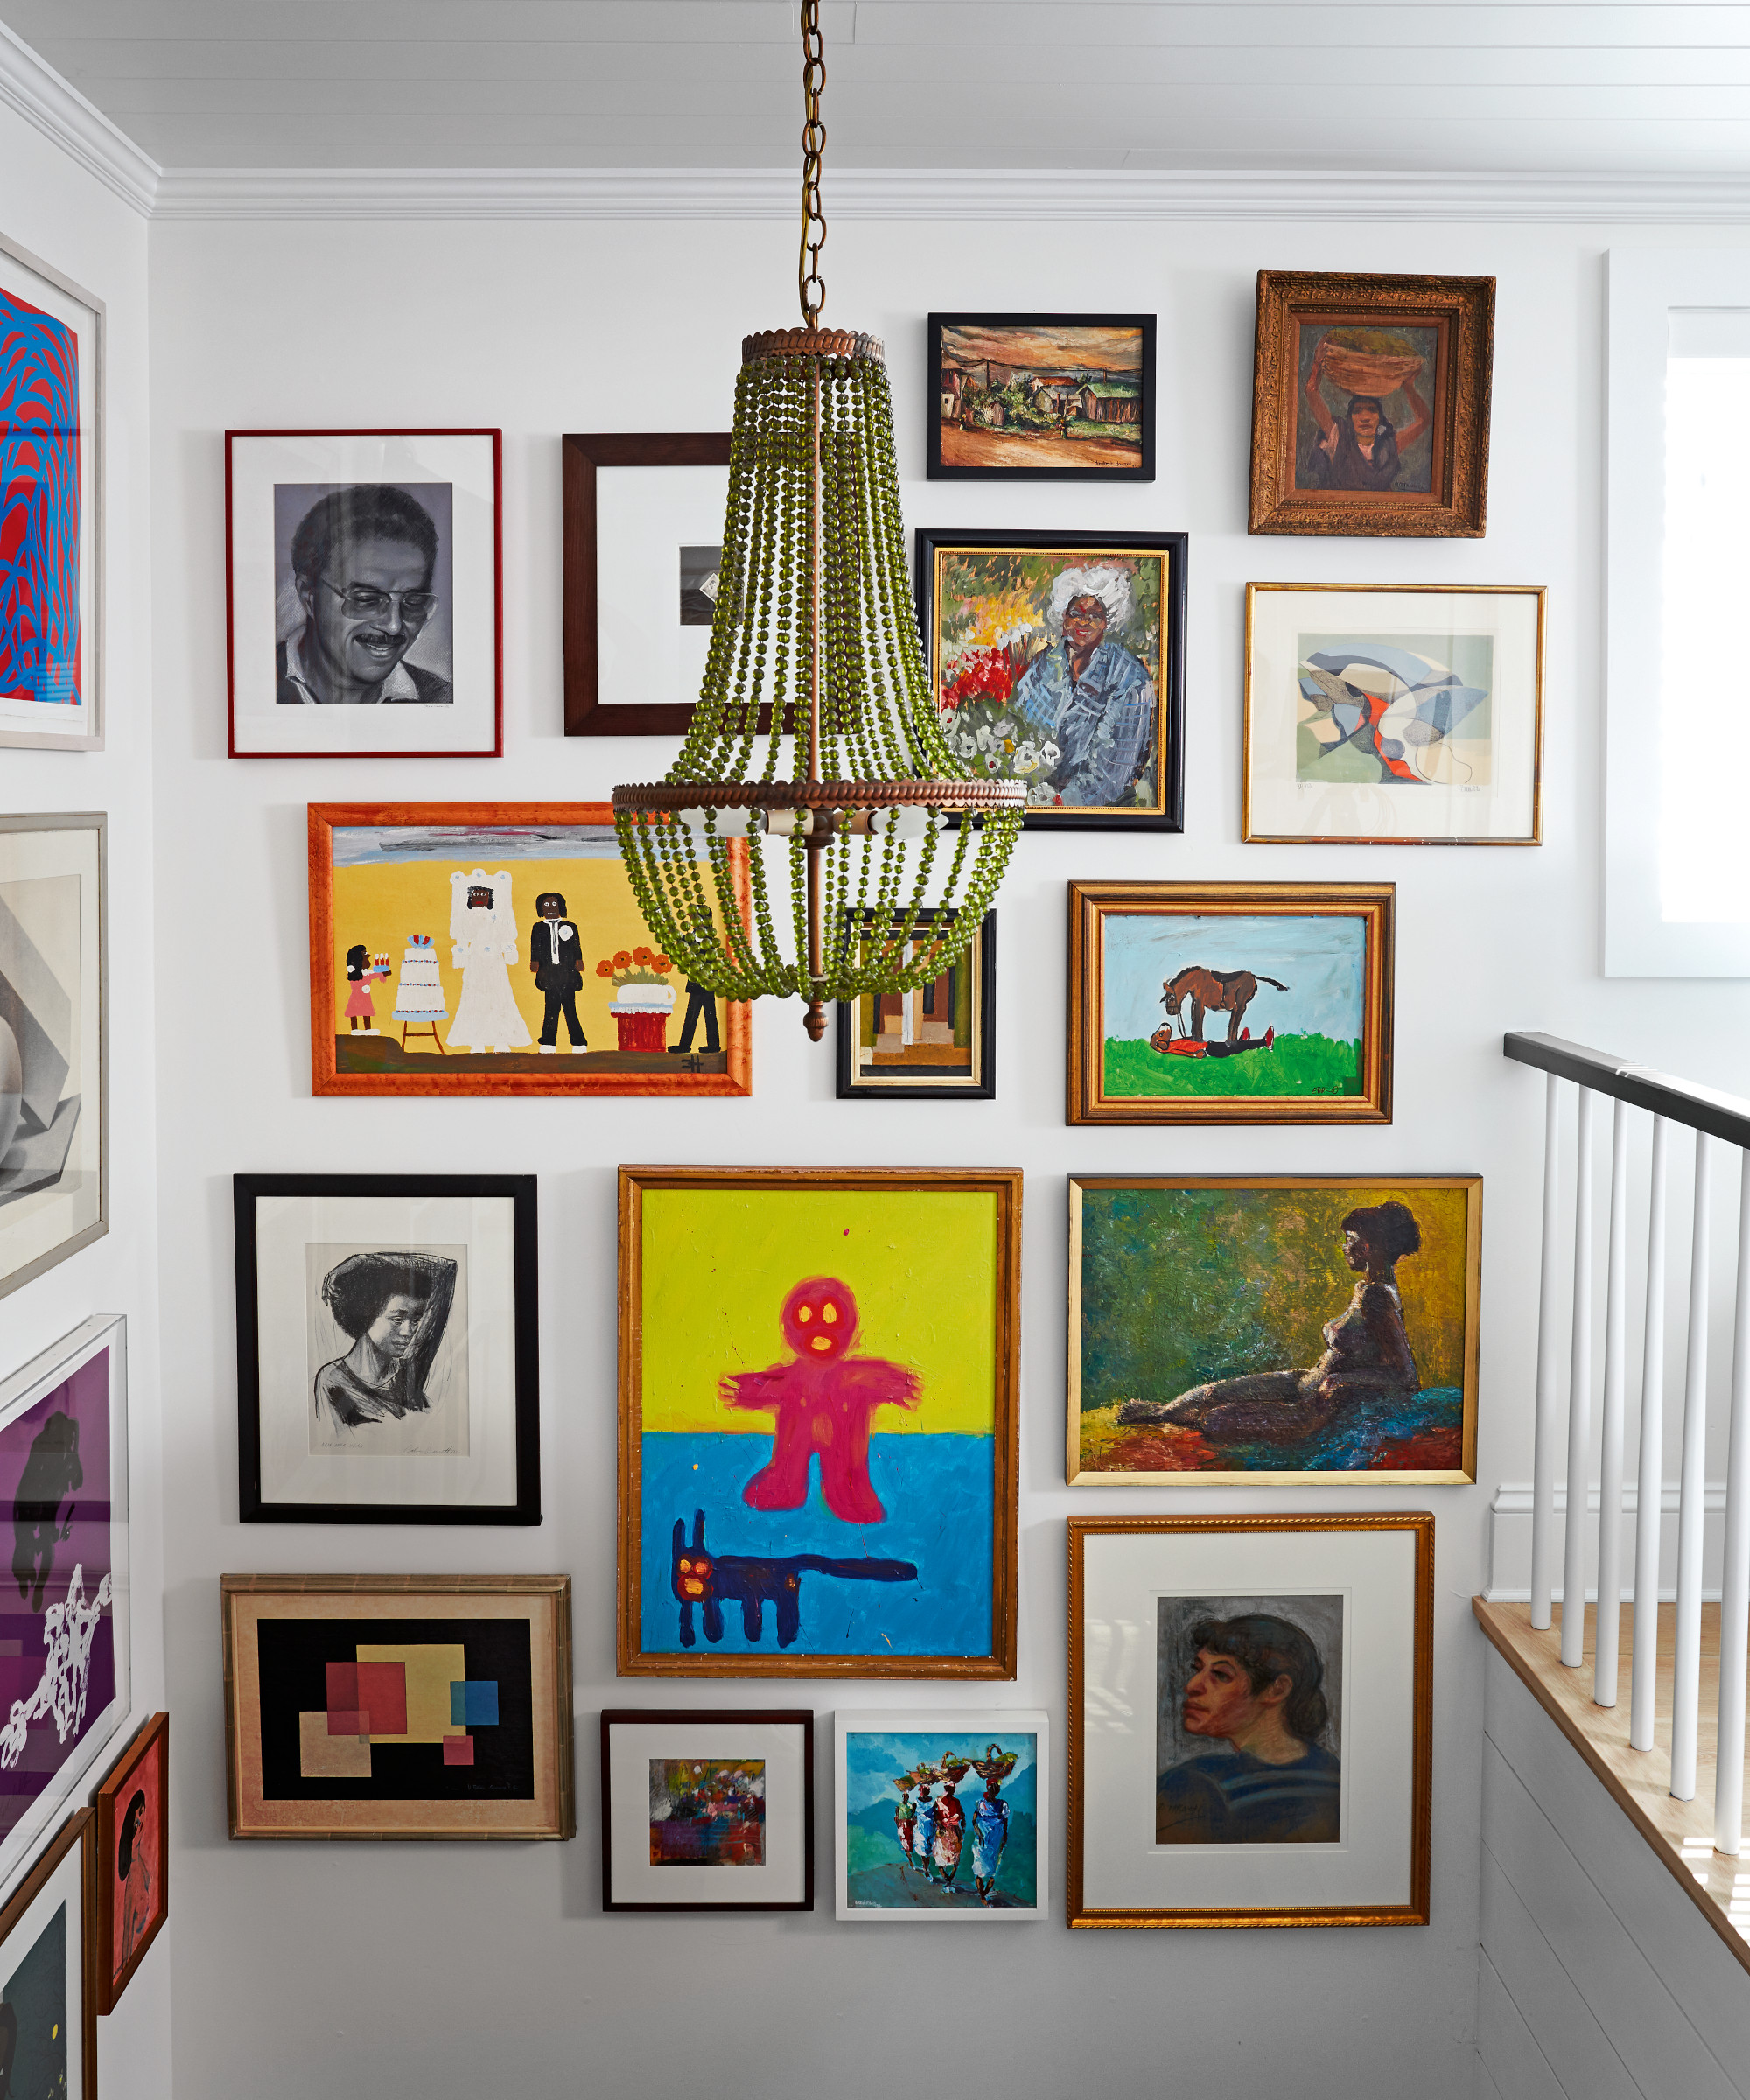
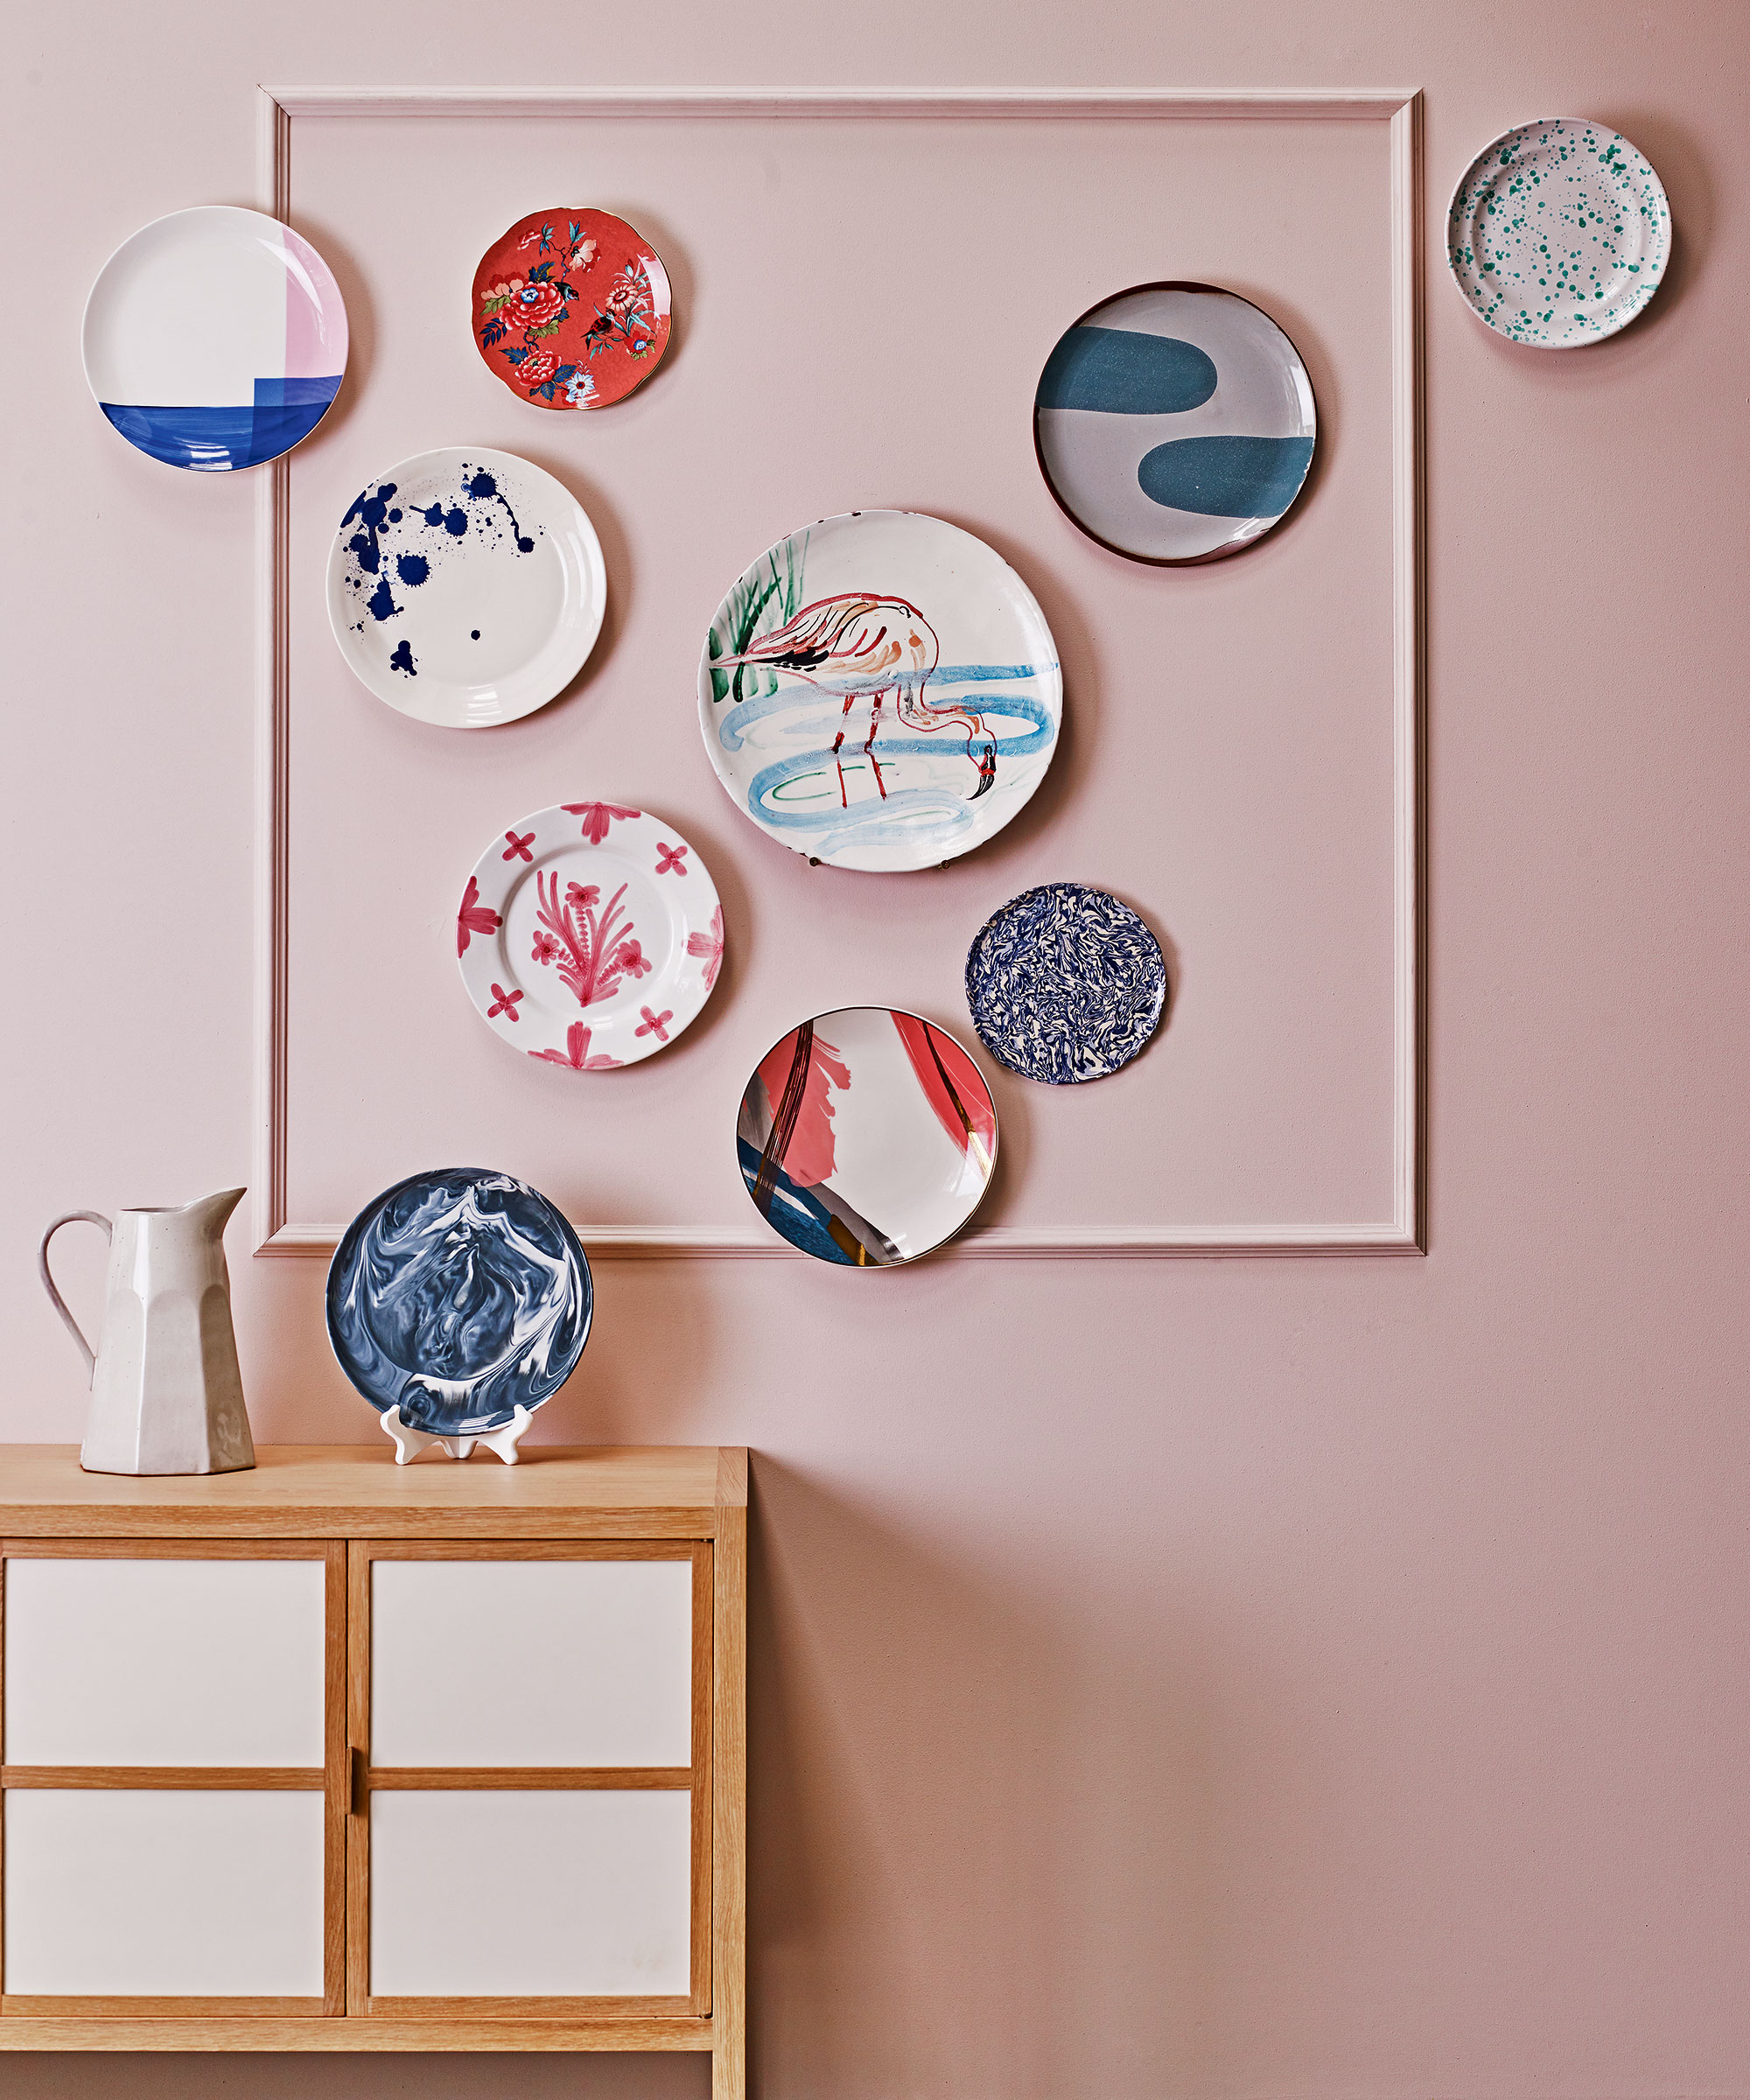
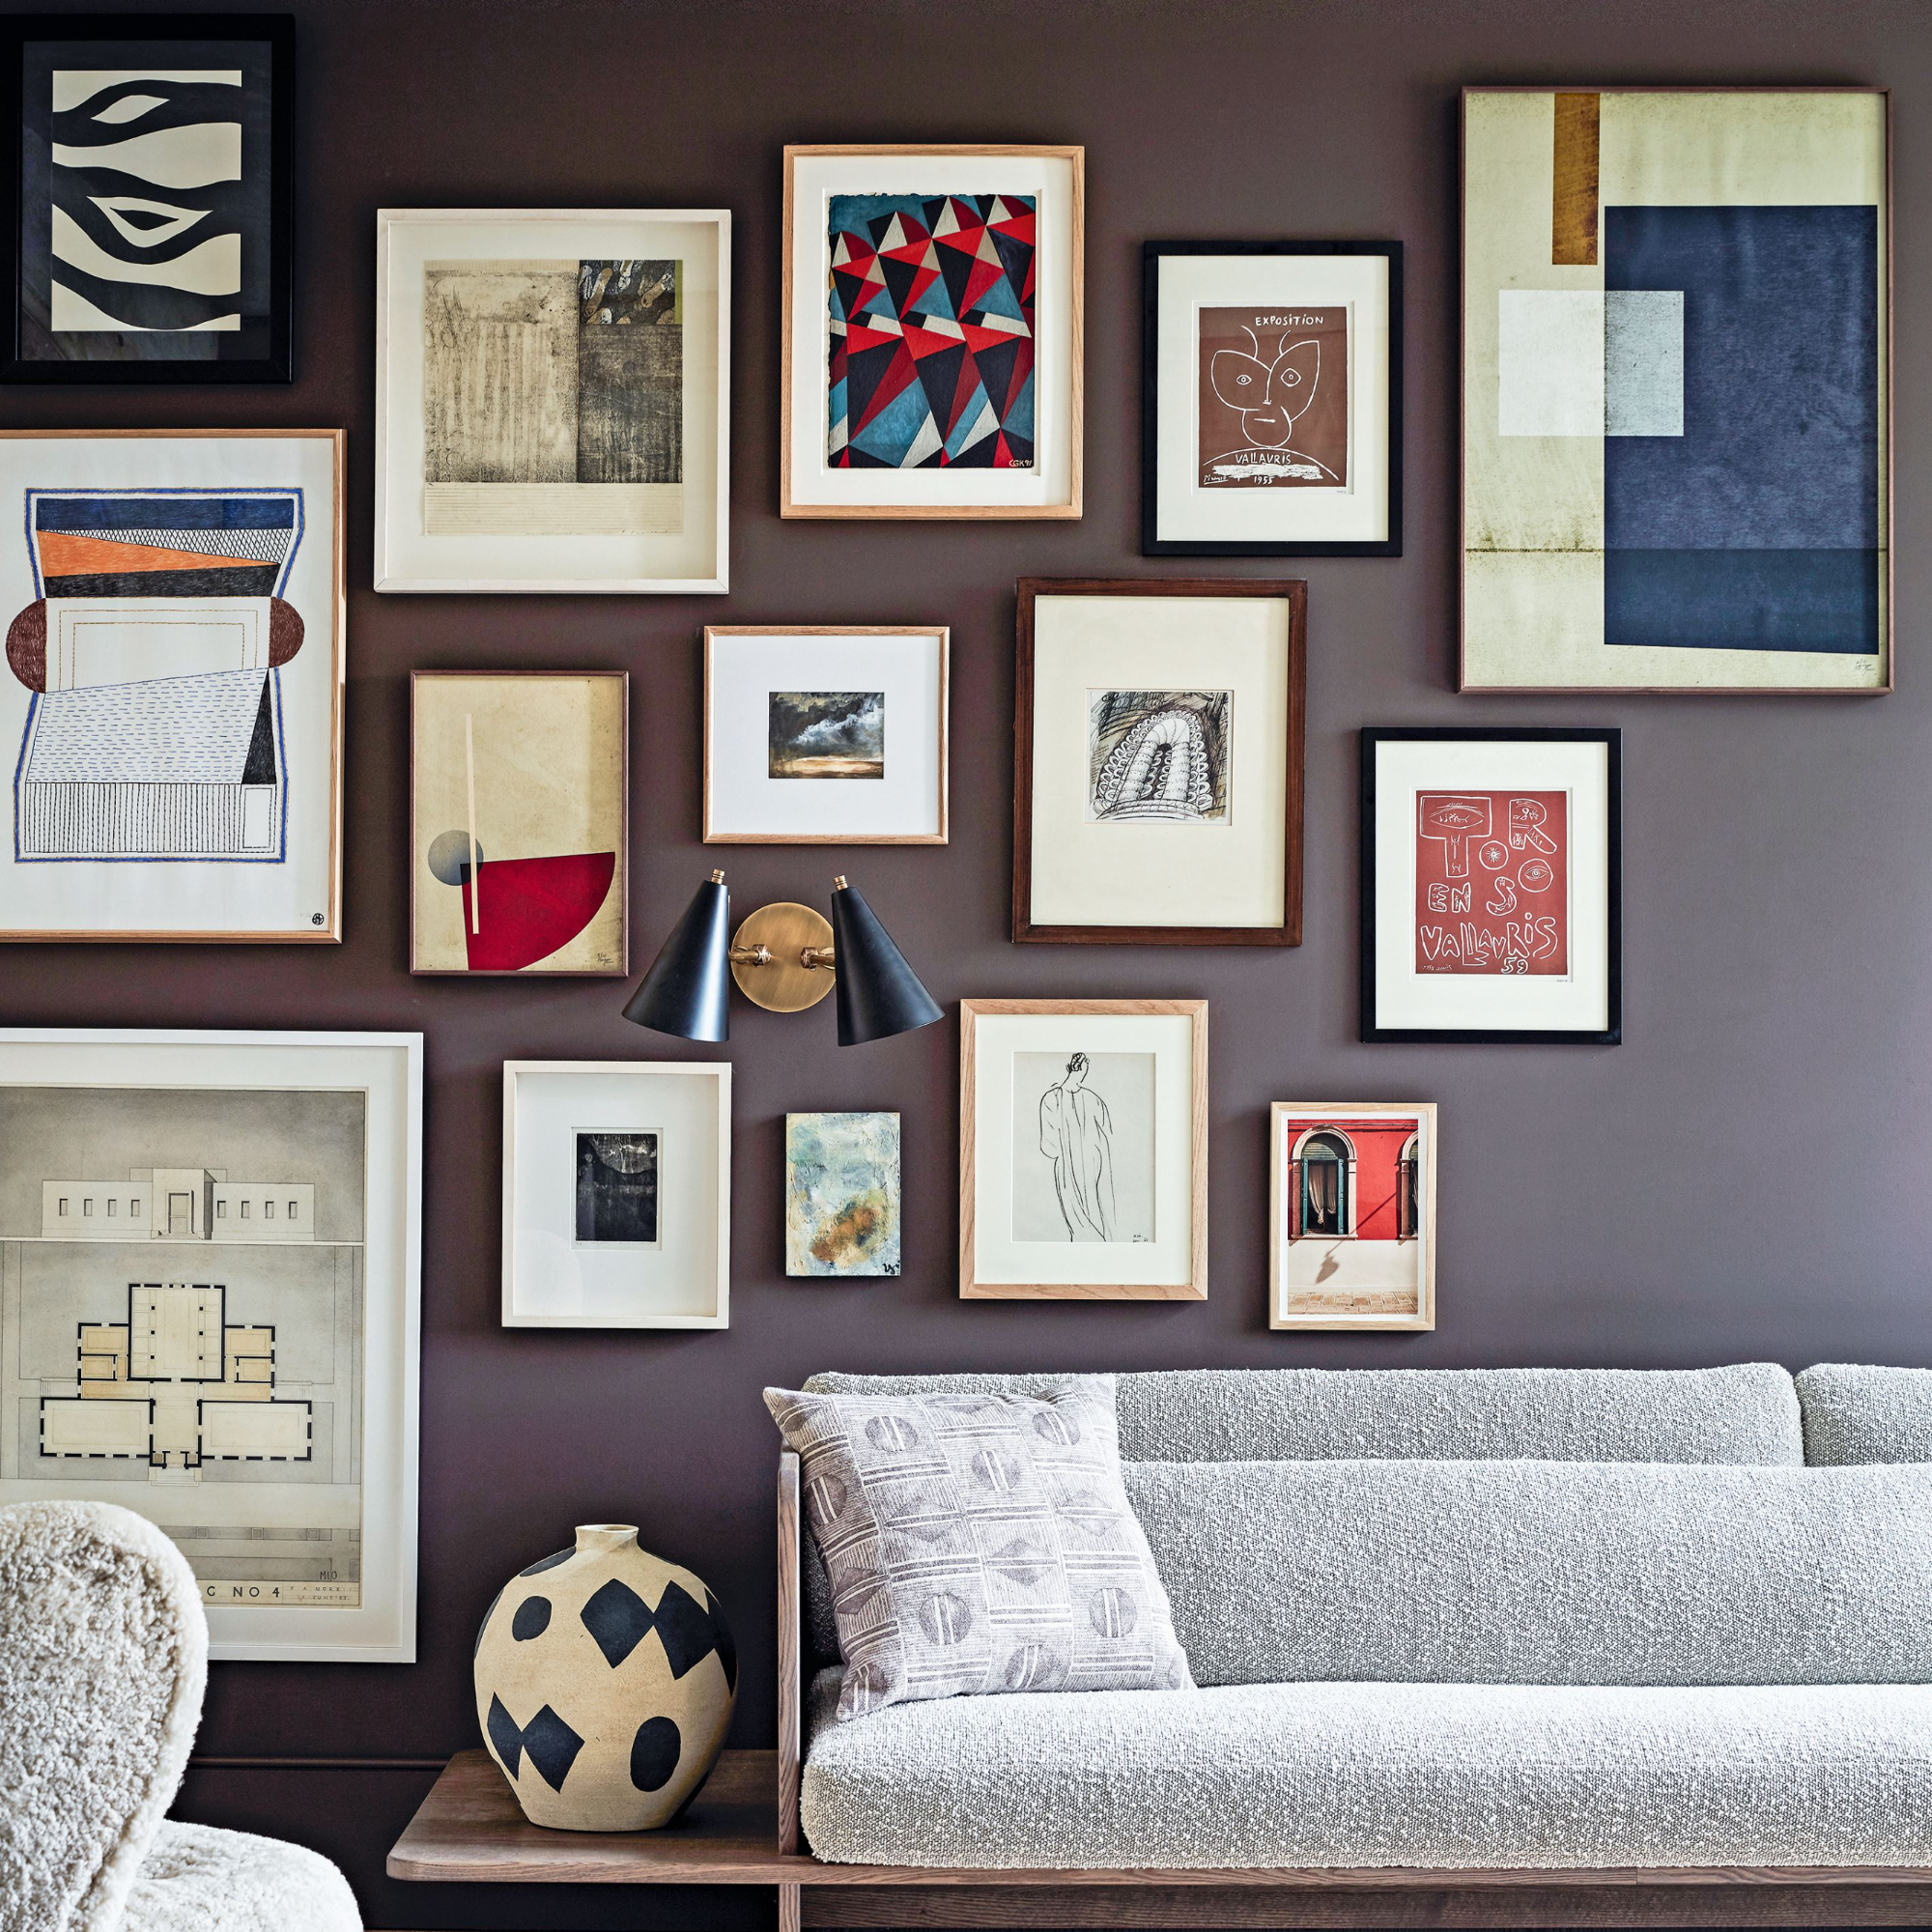
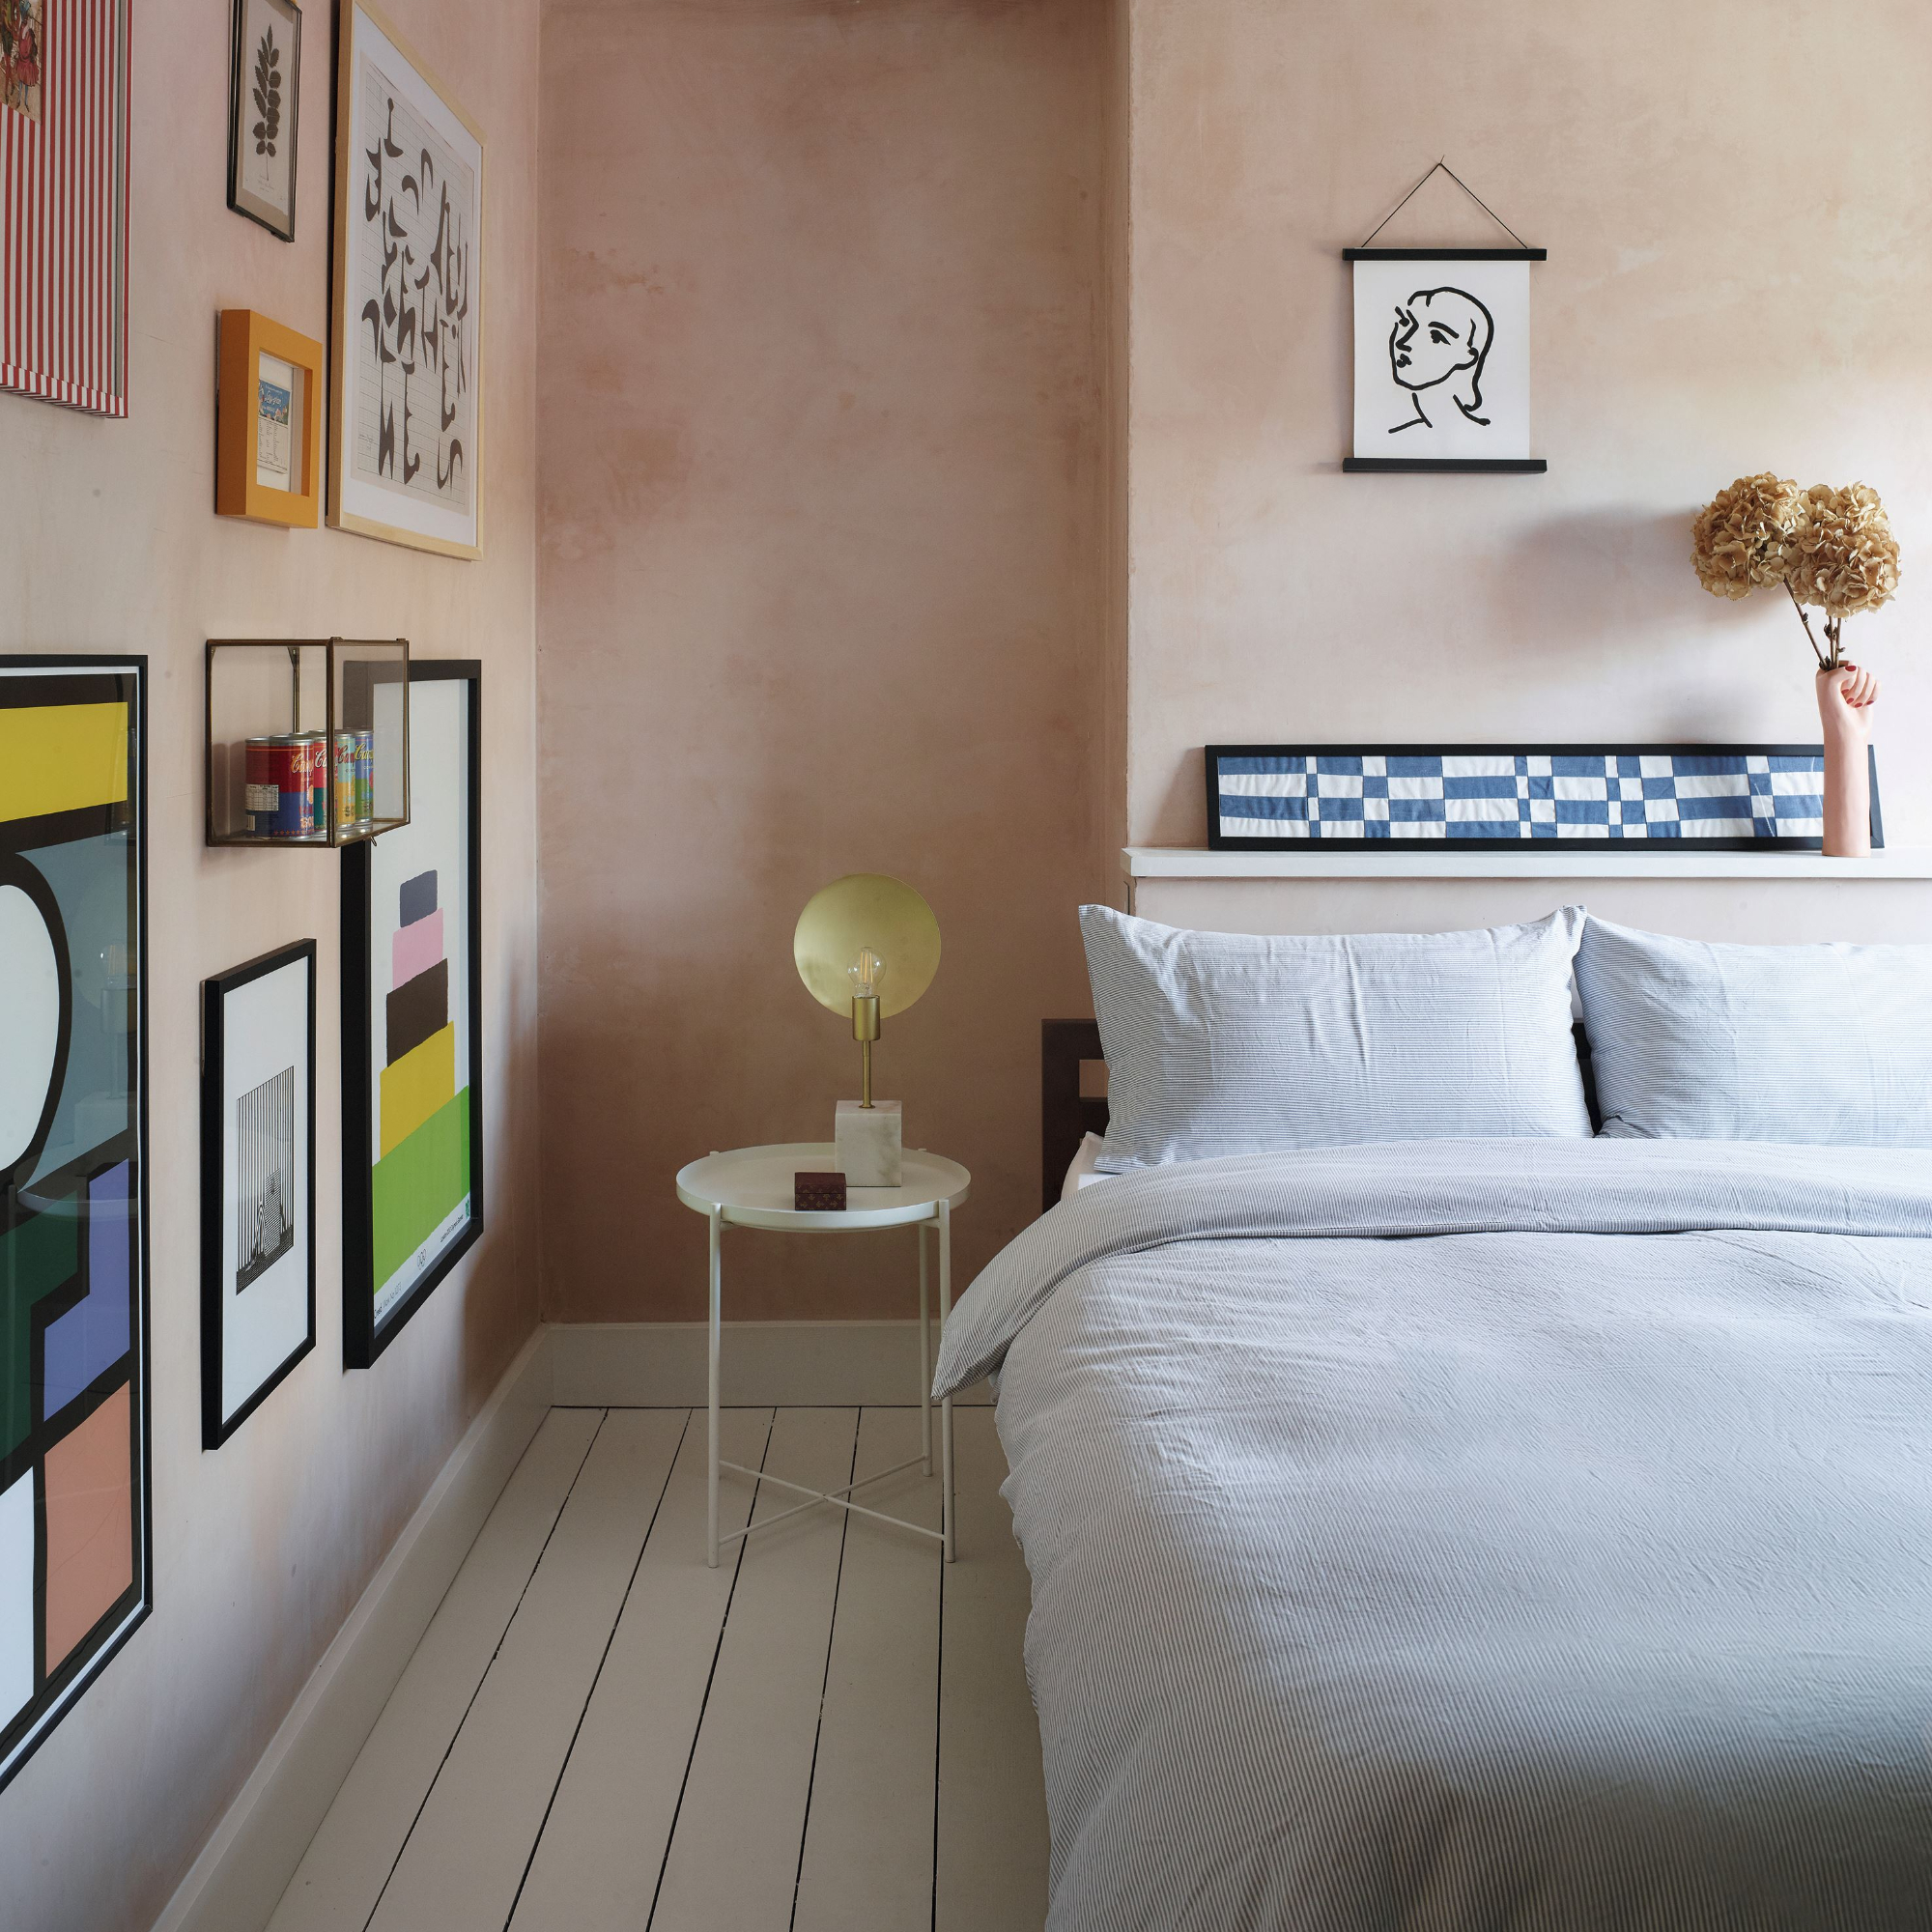
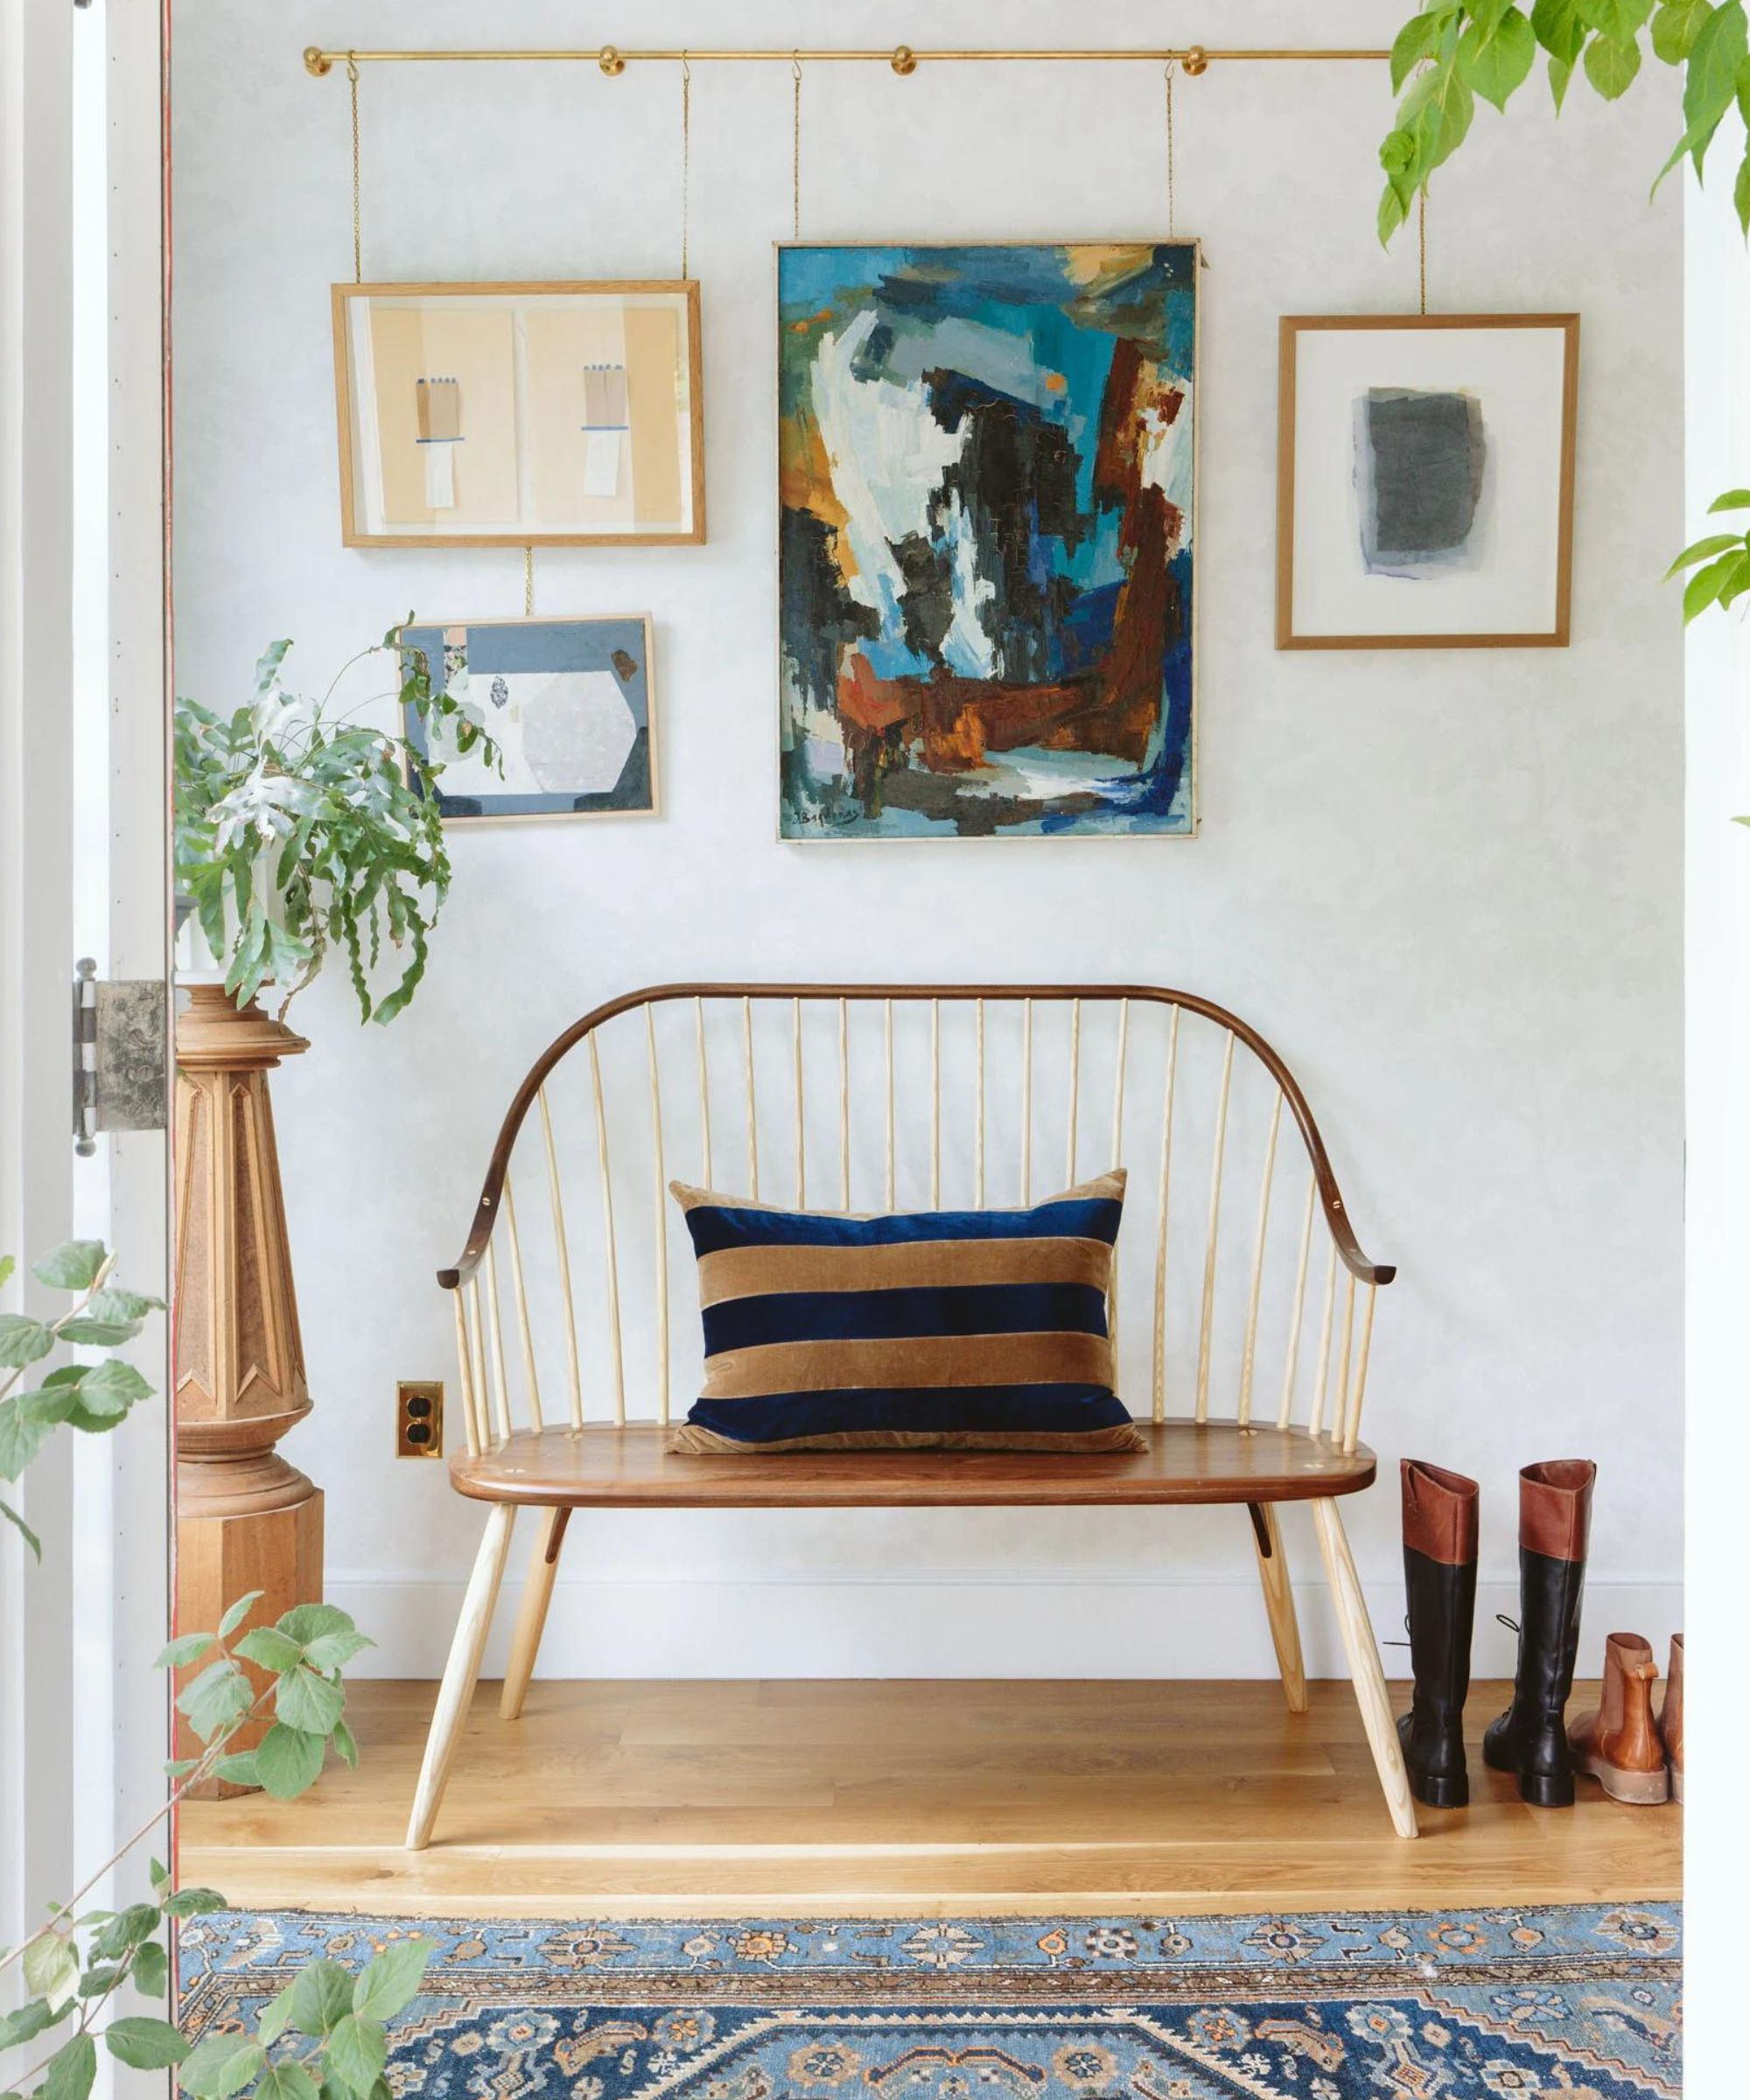
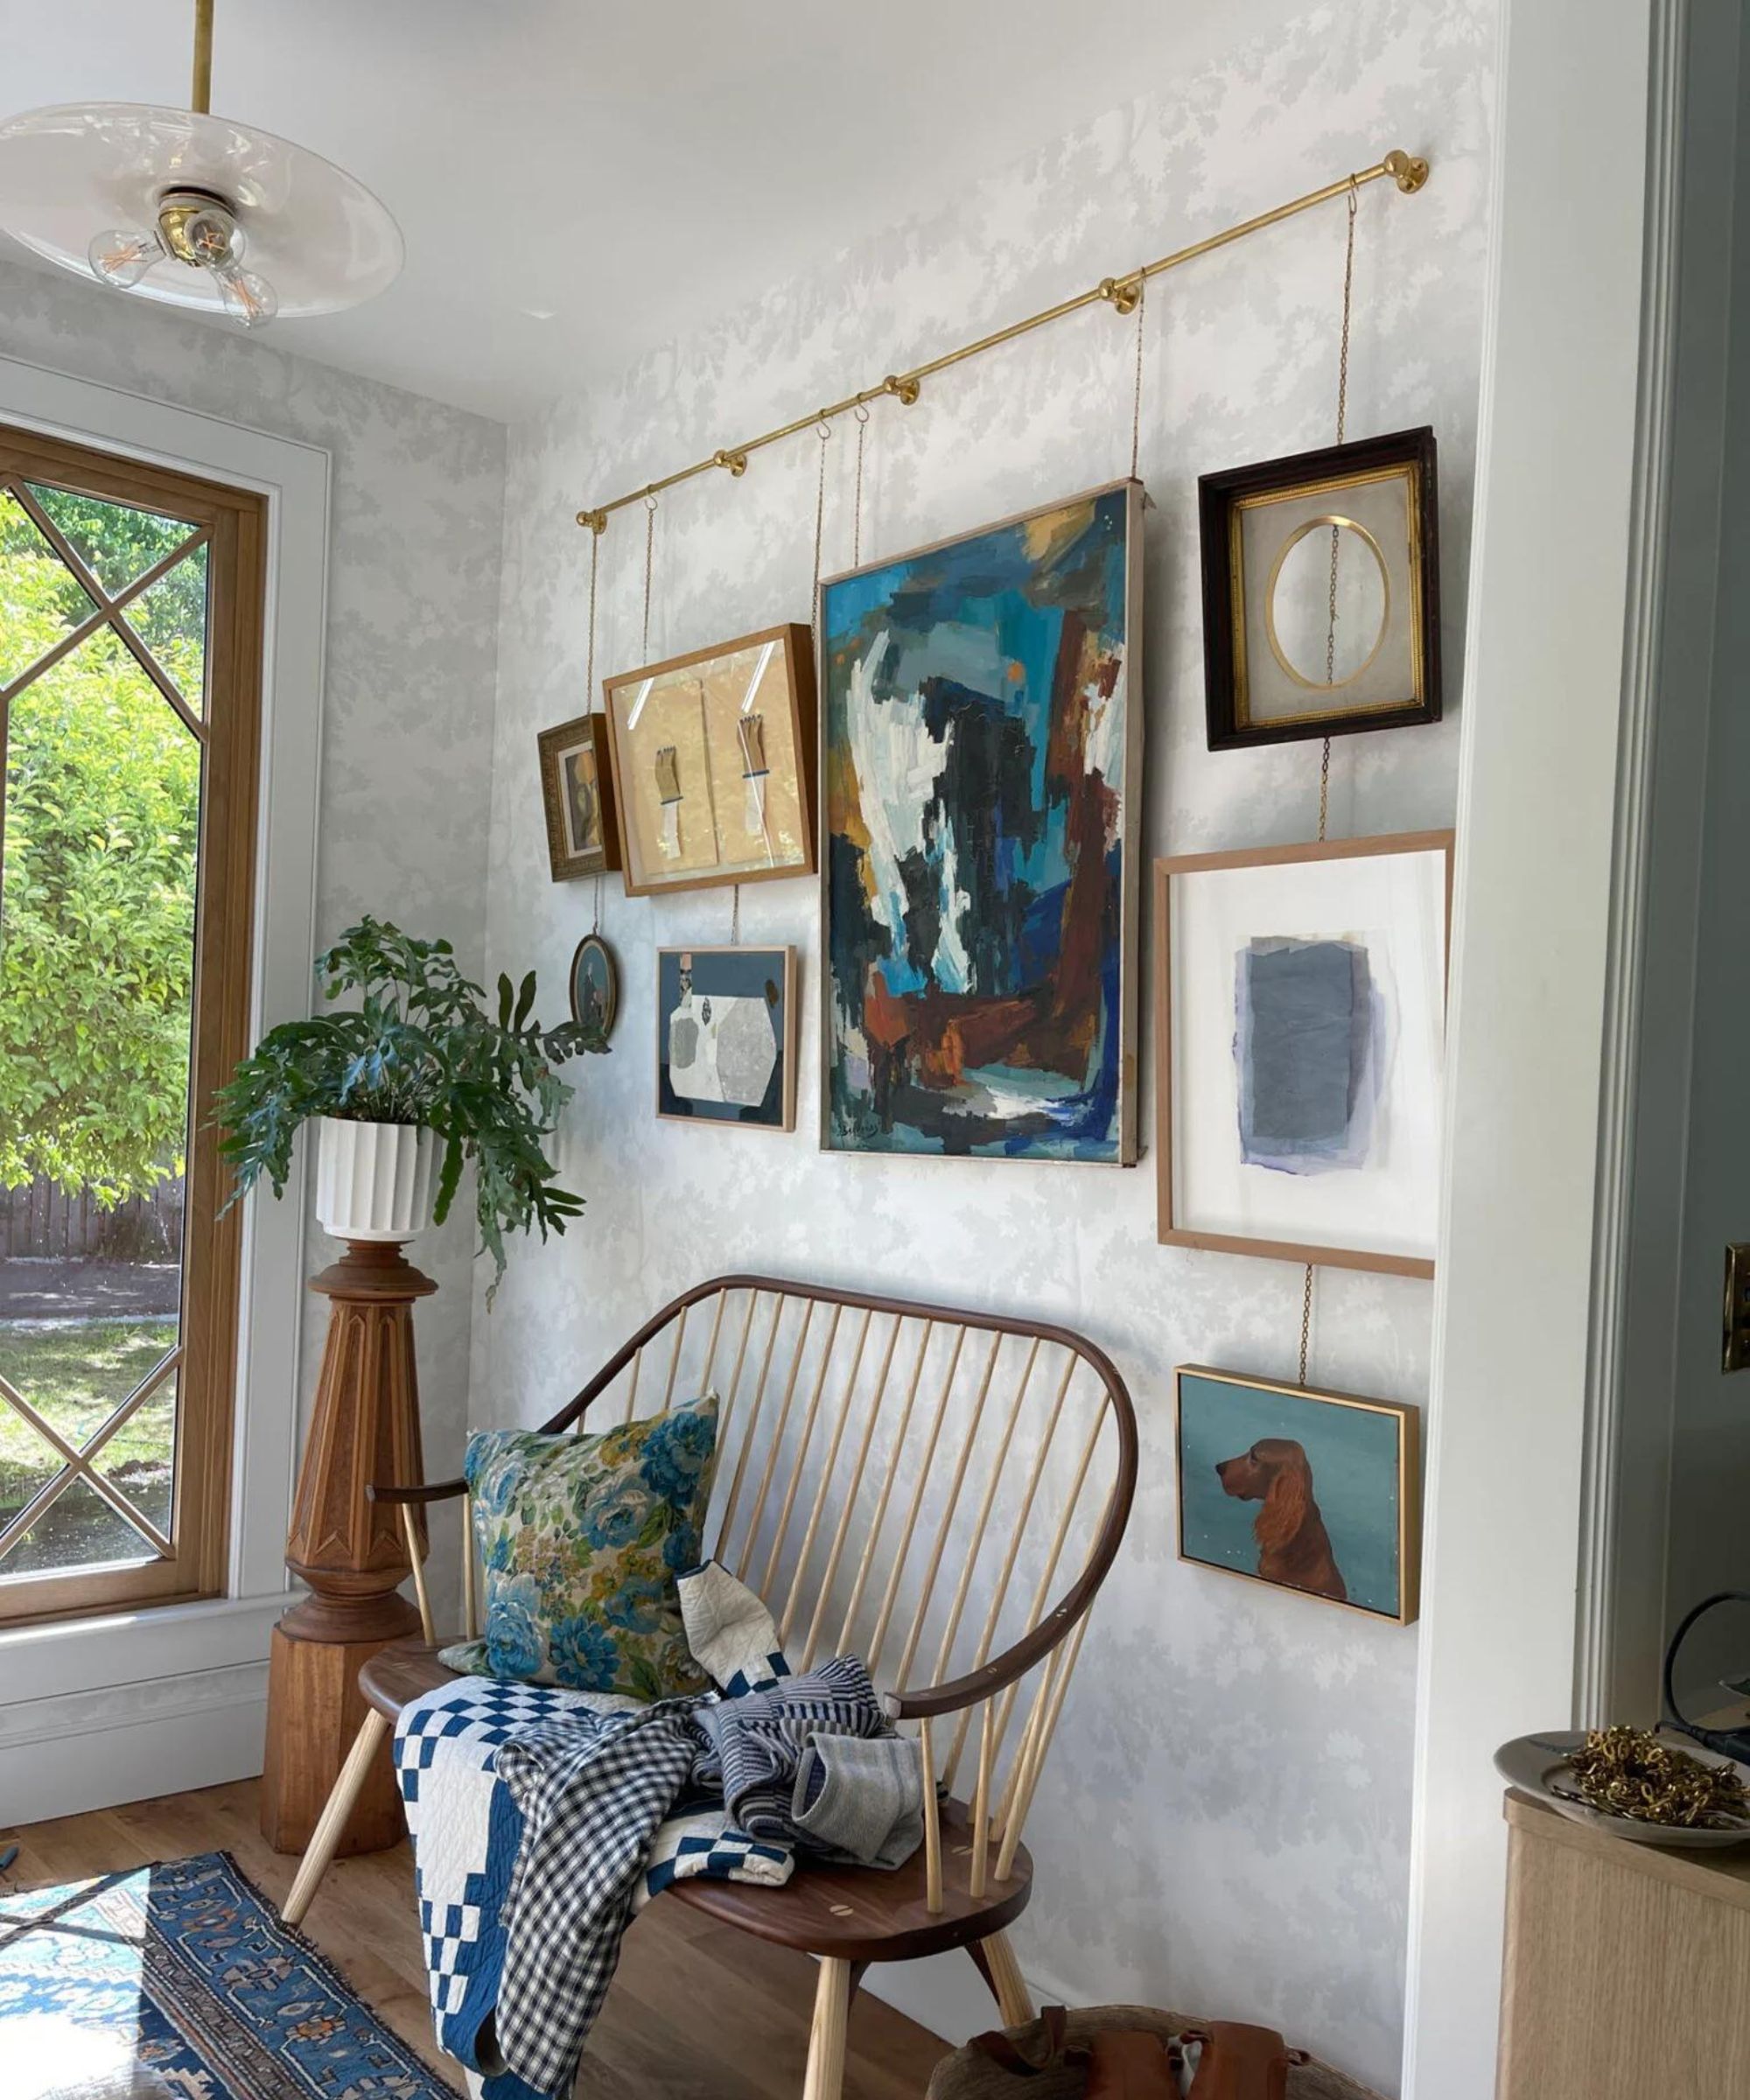
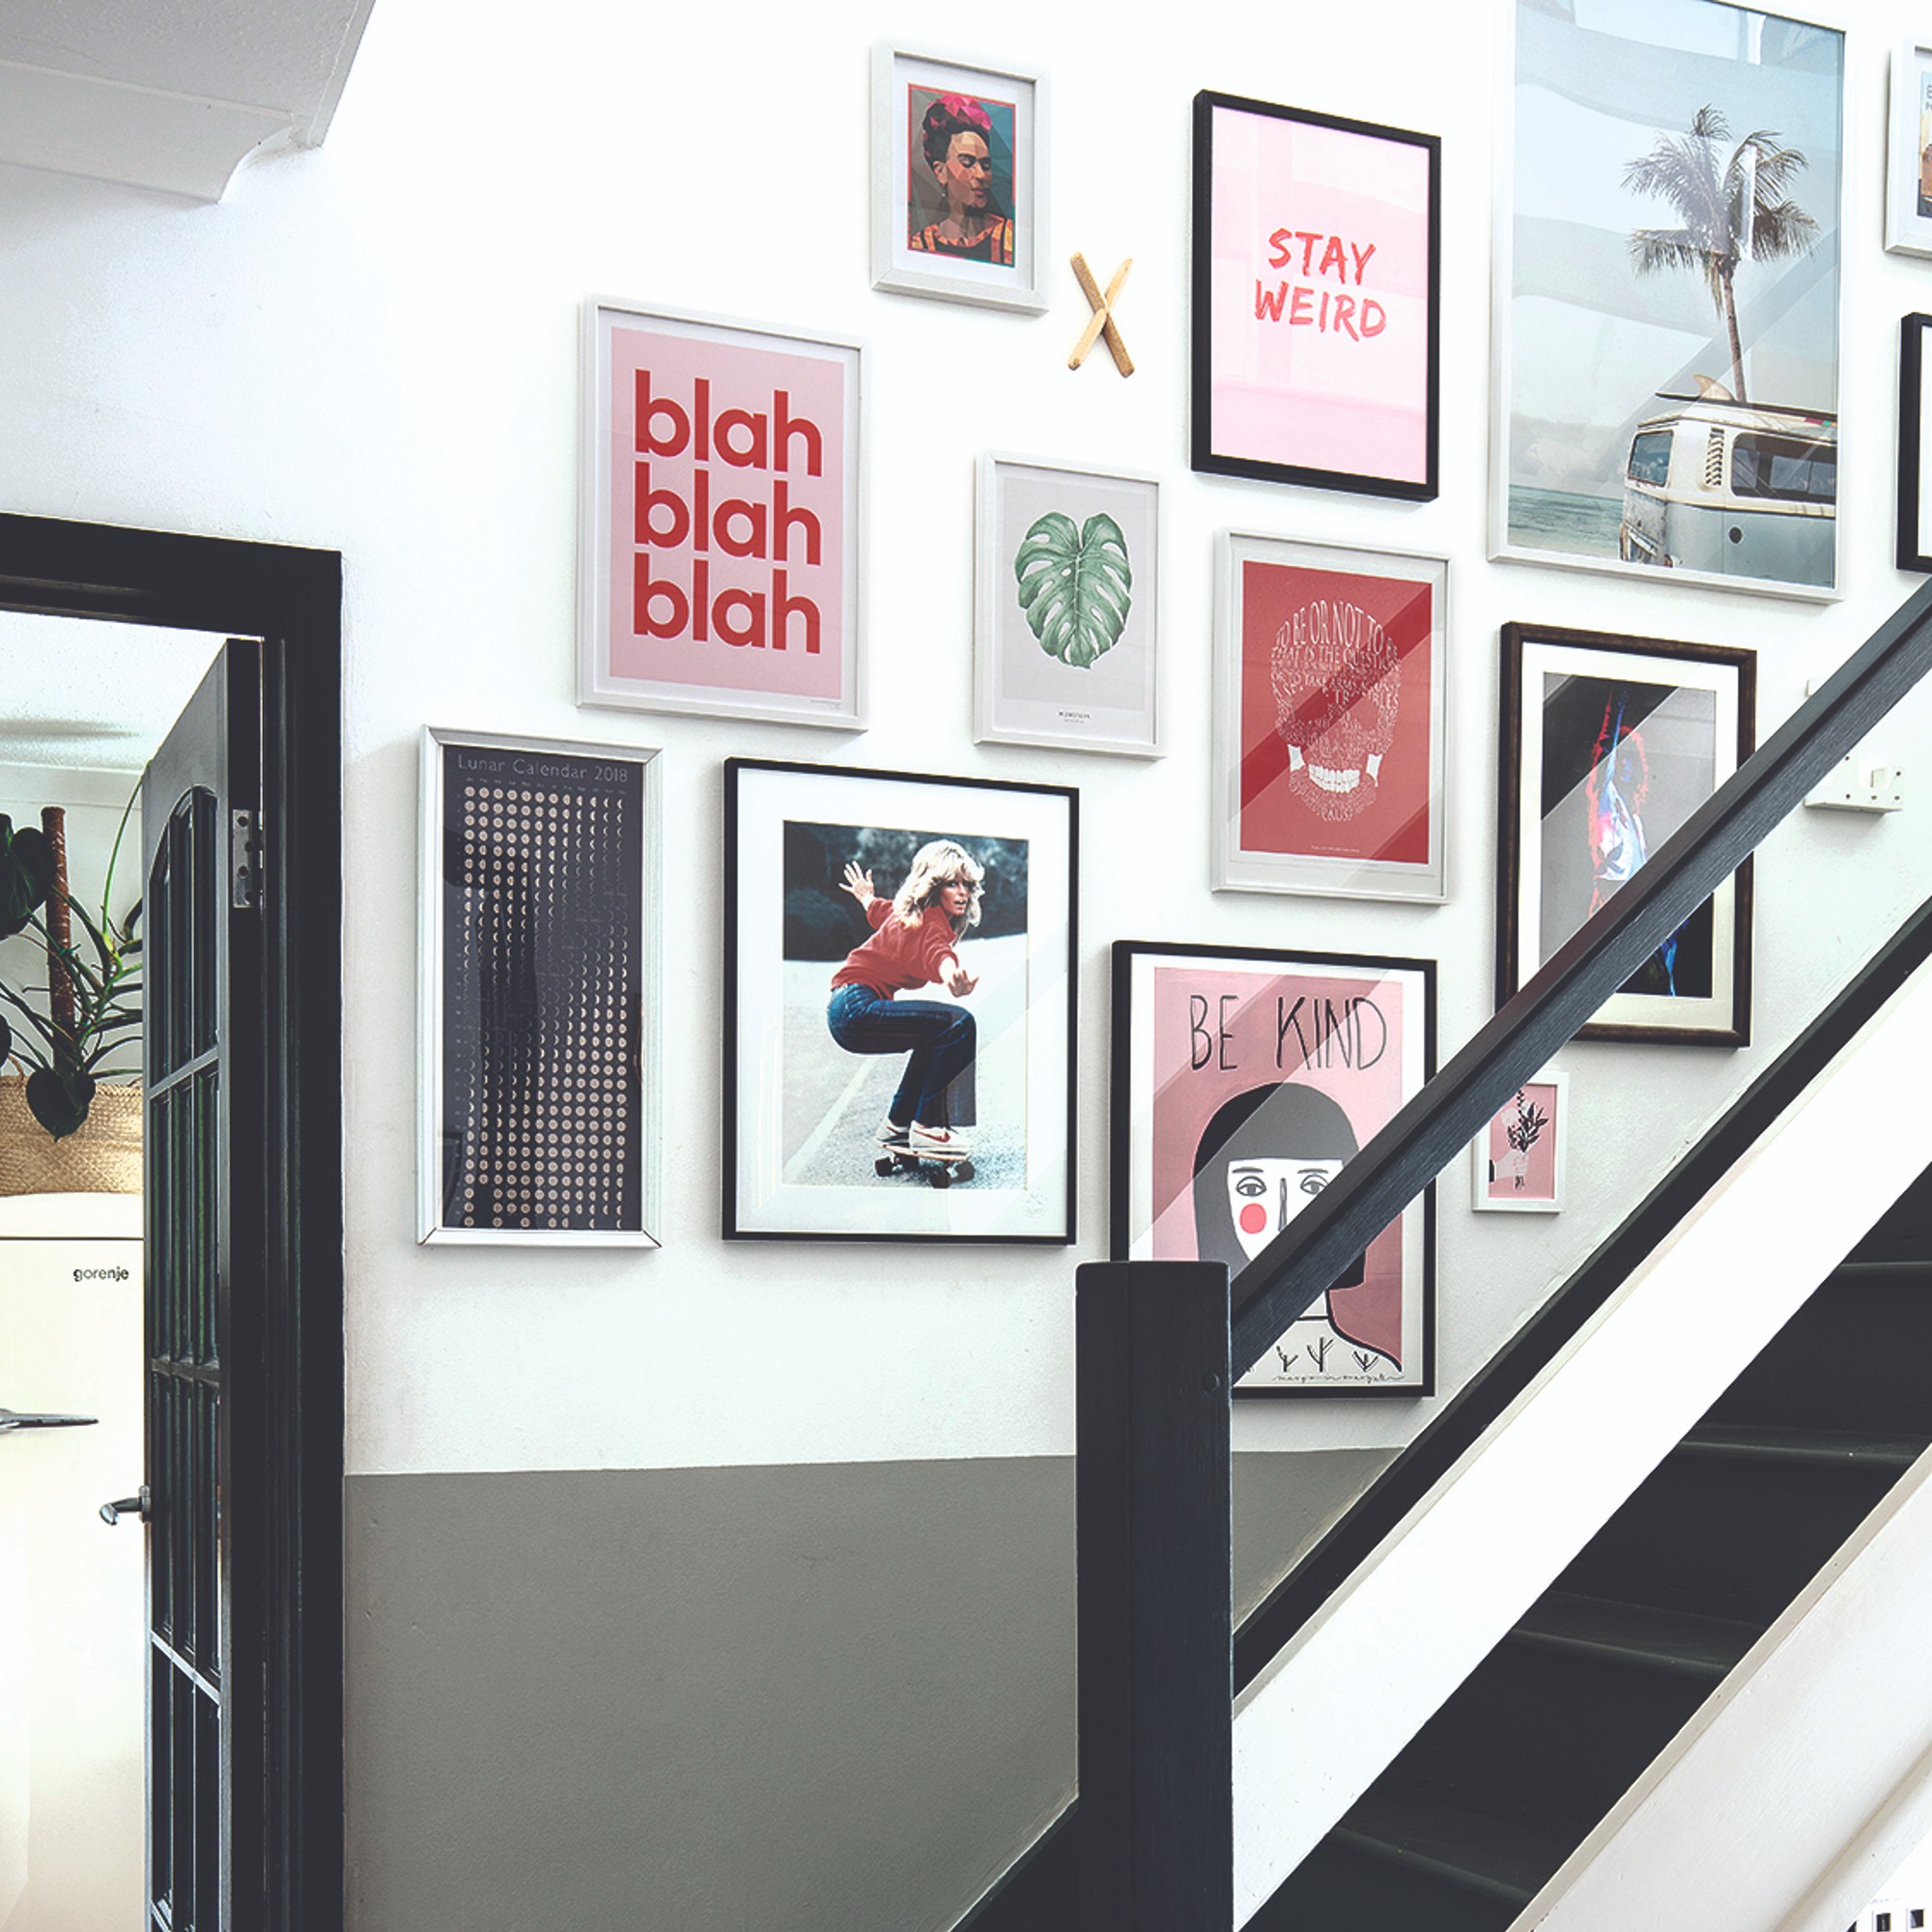
One crucial step, especially when dealing with multiple pieces, is to plan the layout in advance. Chrissy Morford, Minted’s general art manager, suggests using painter’s tape or paper cutouts to visualize the arrangement on the wall before making any permanent changes. This method is particularly effective for gallery walls, enabling experimentation with placement to achieve the desired aesthetic.
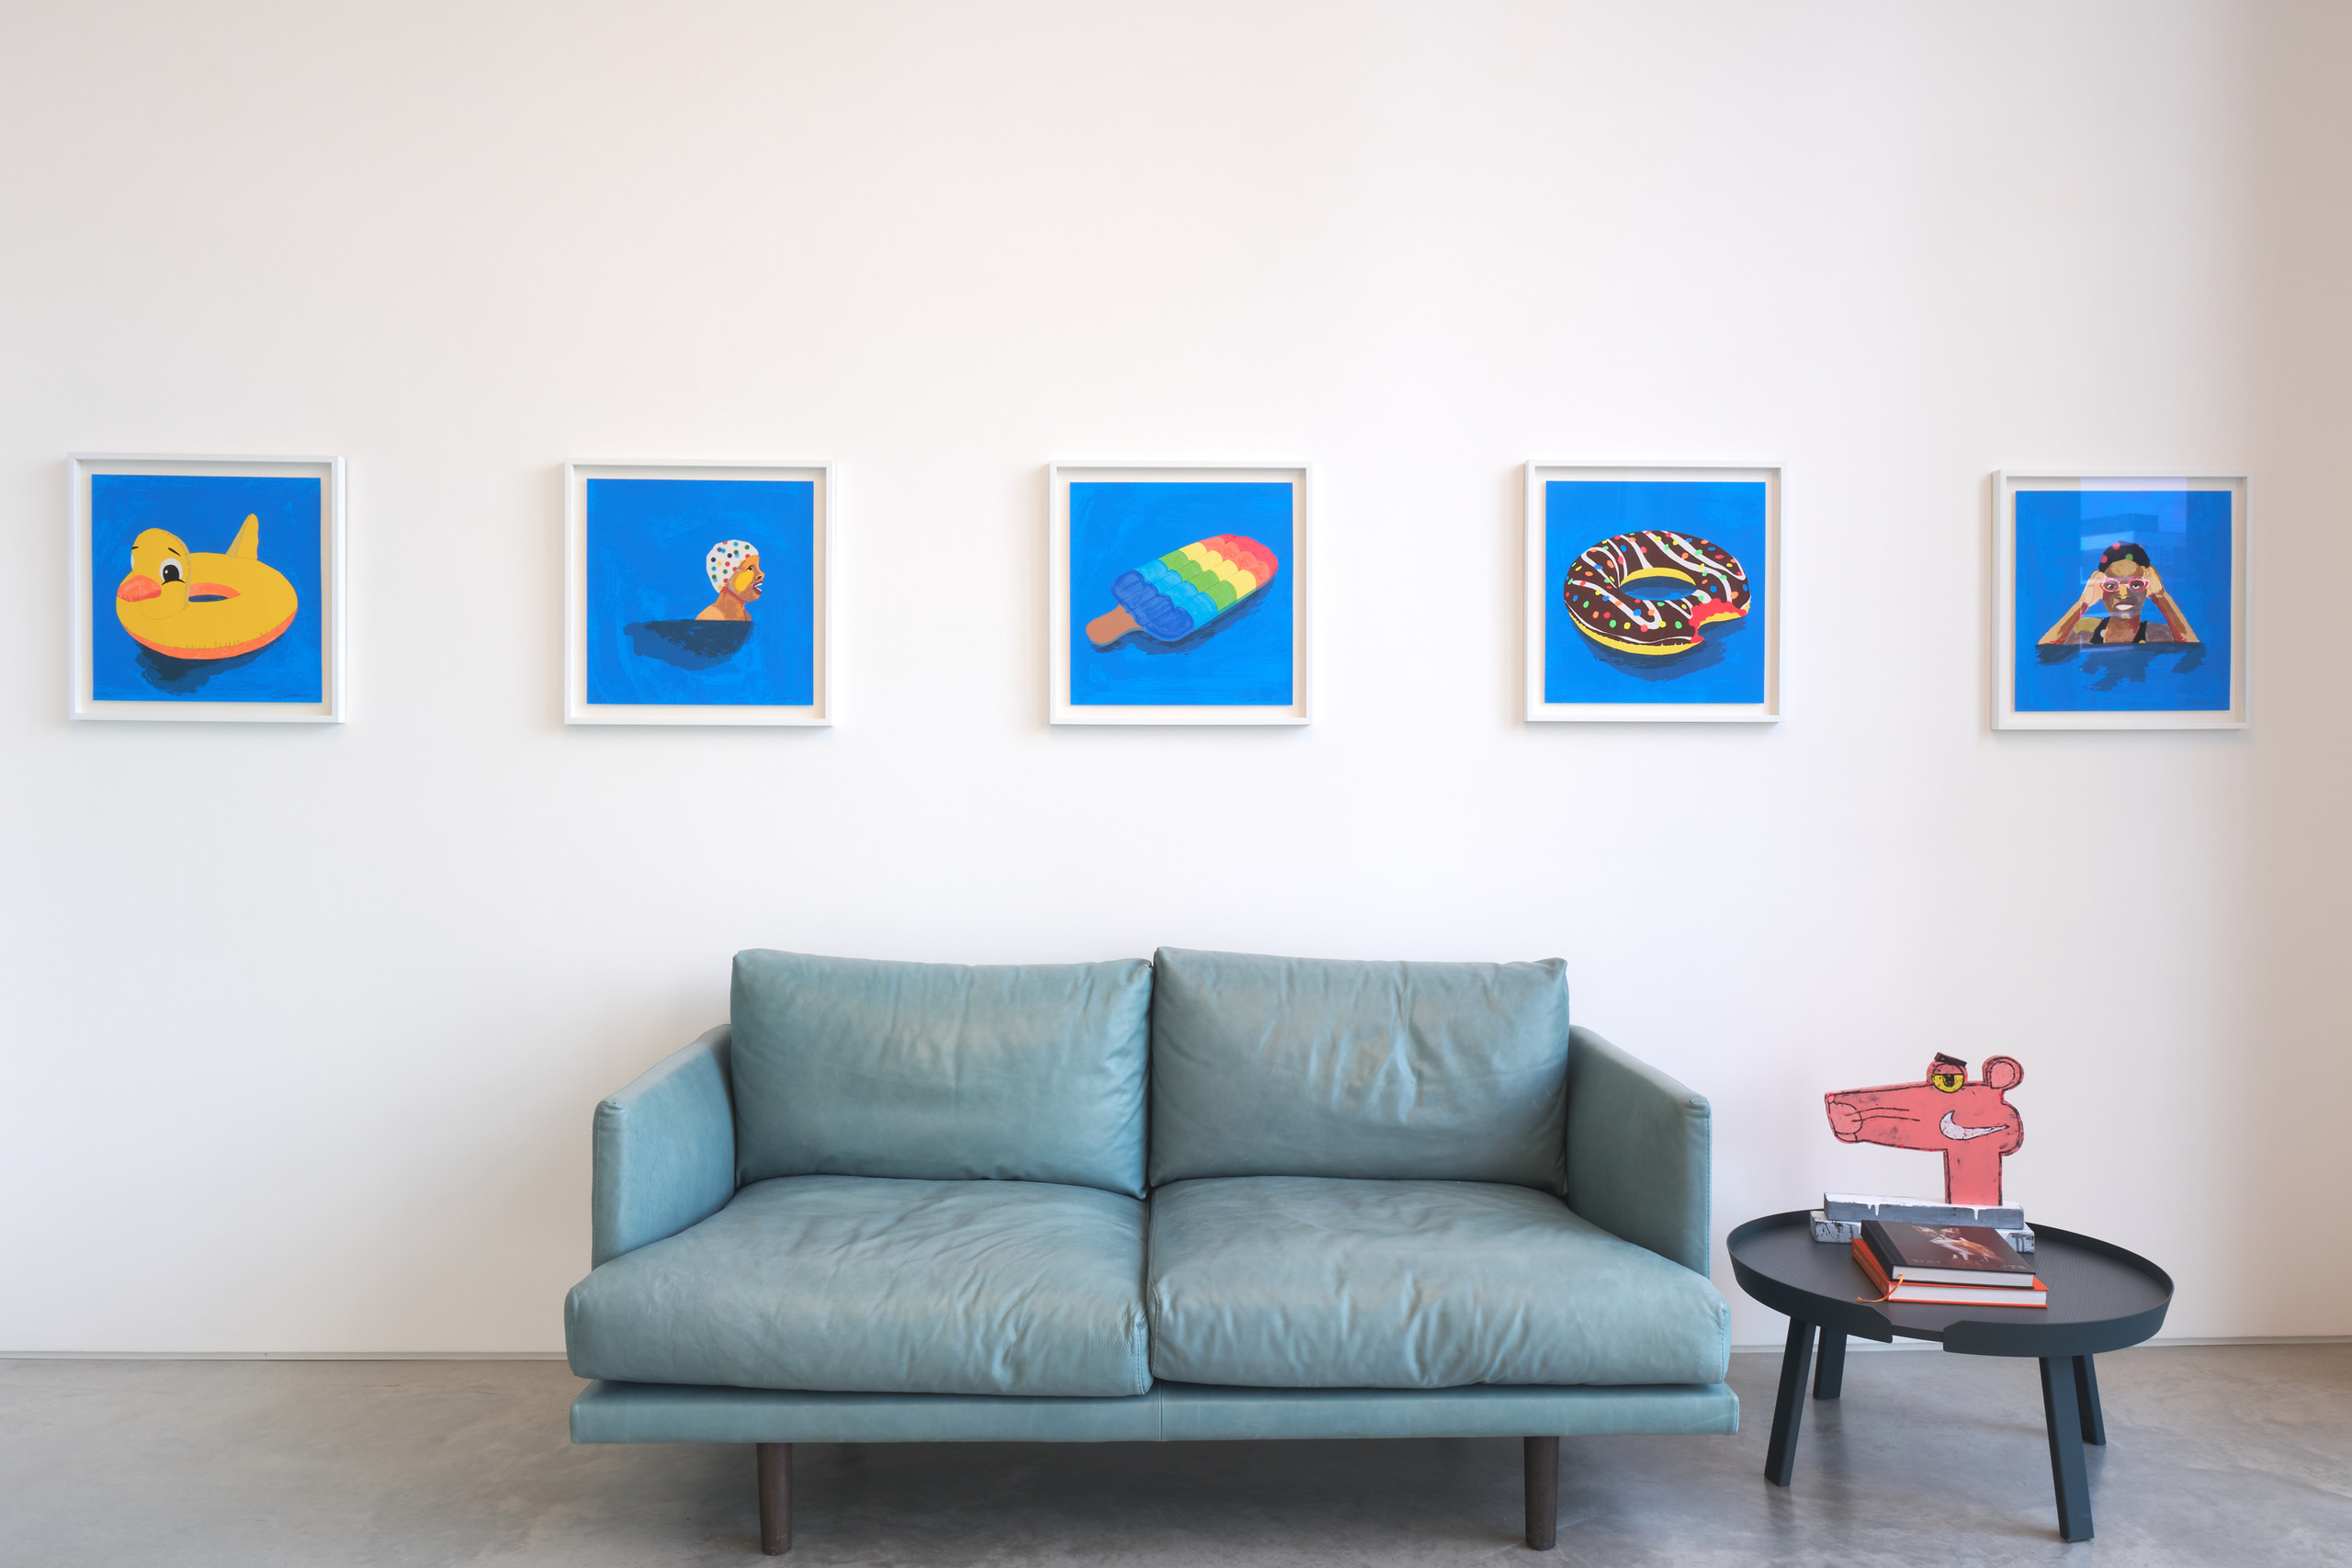
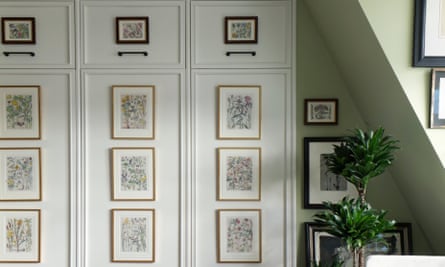
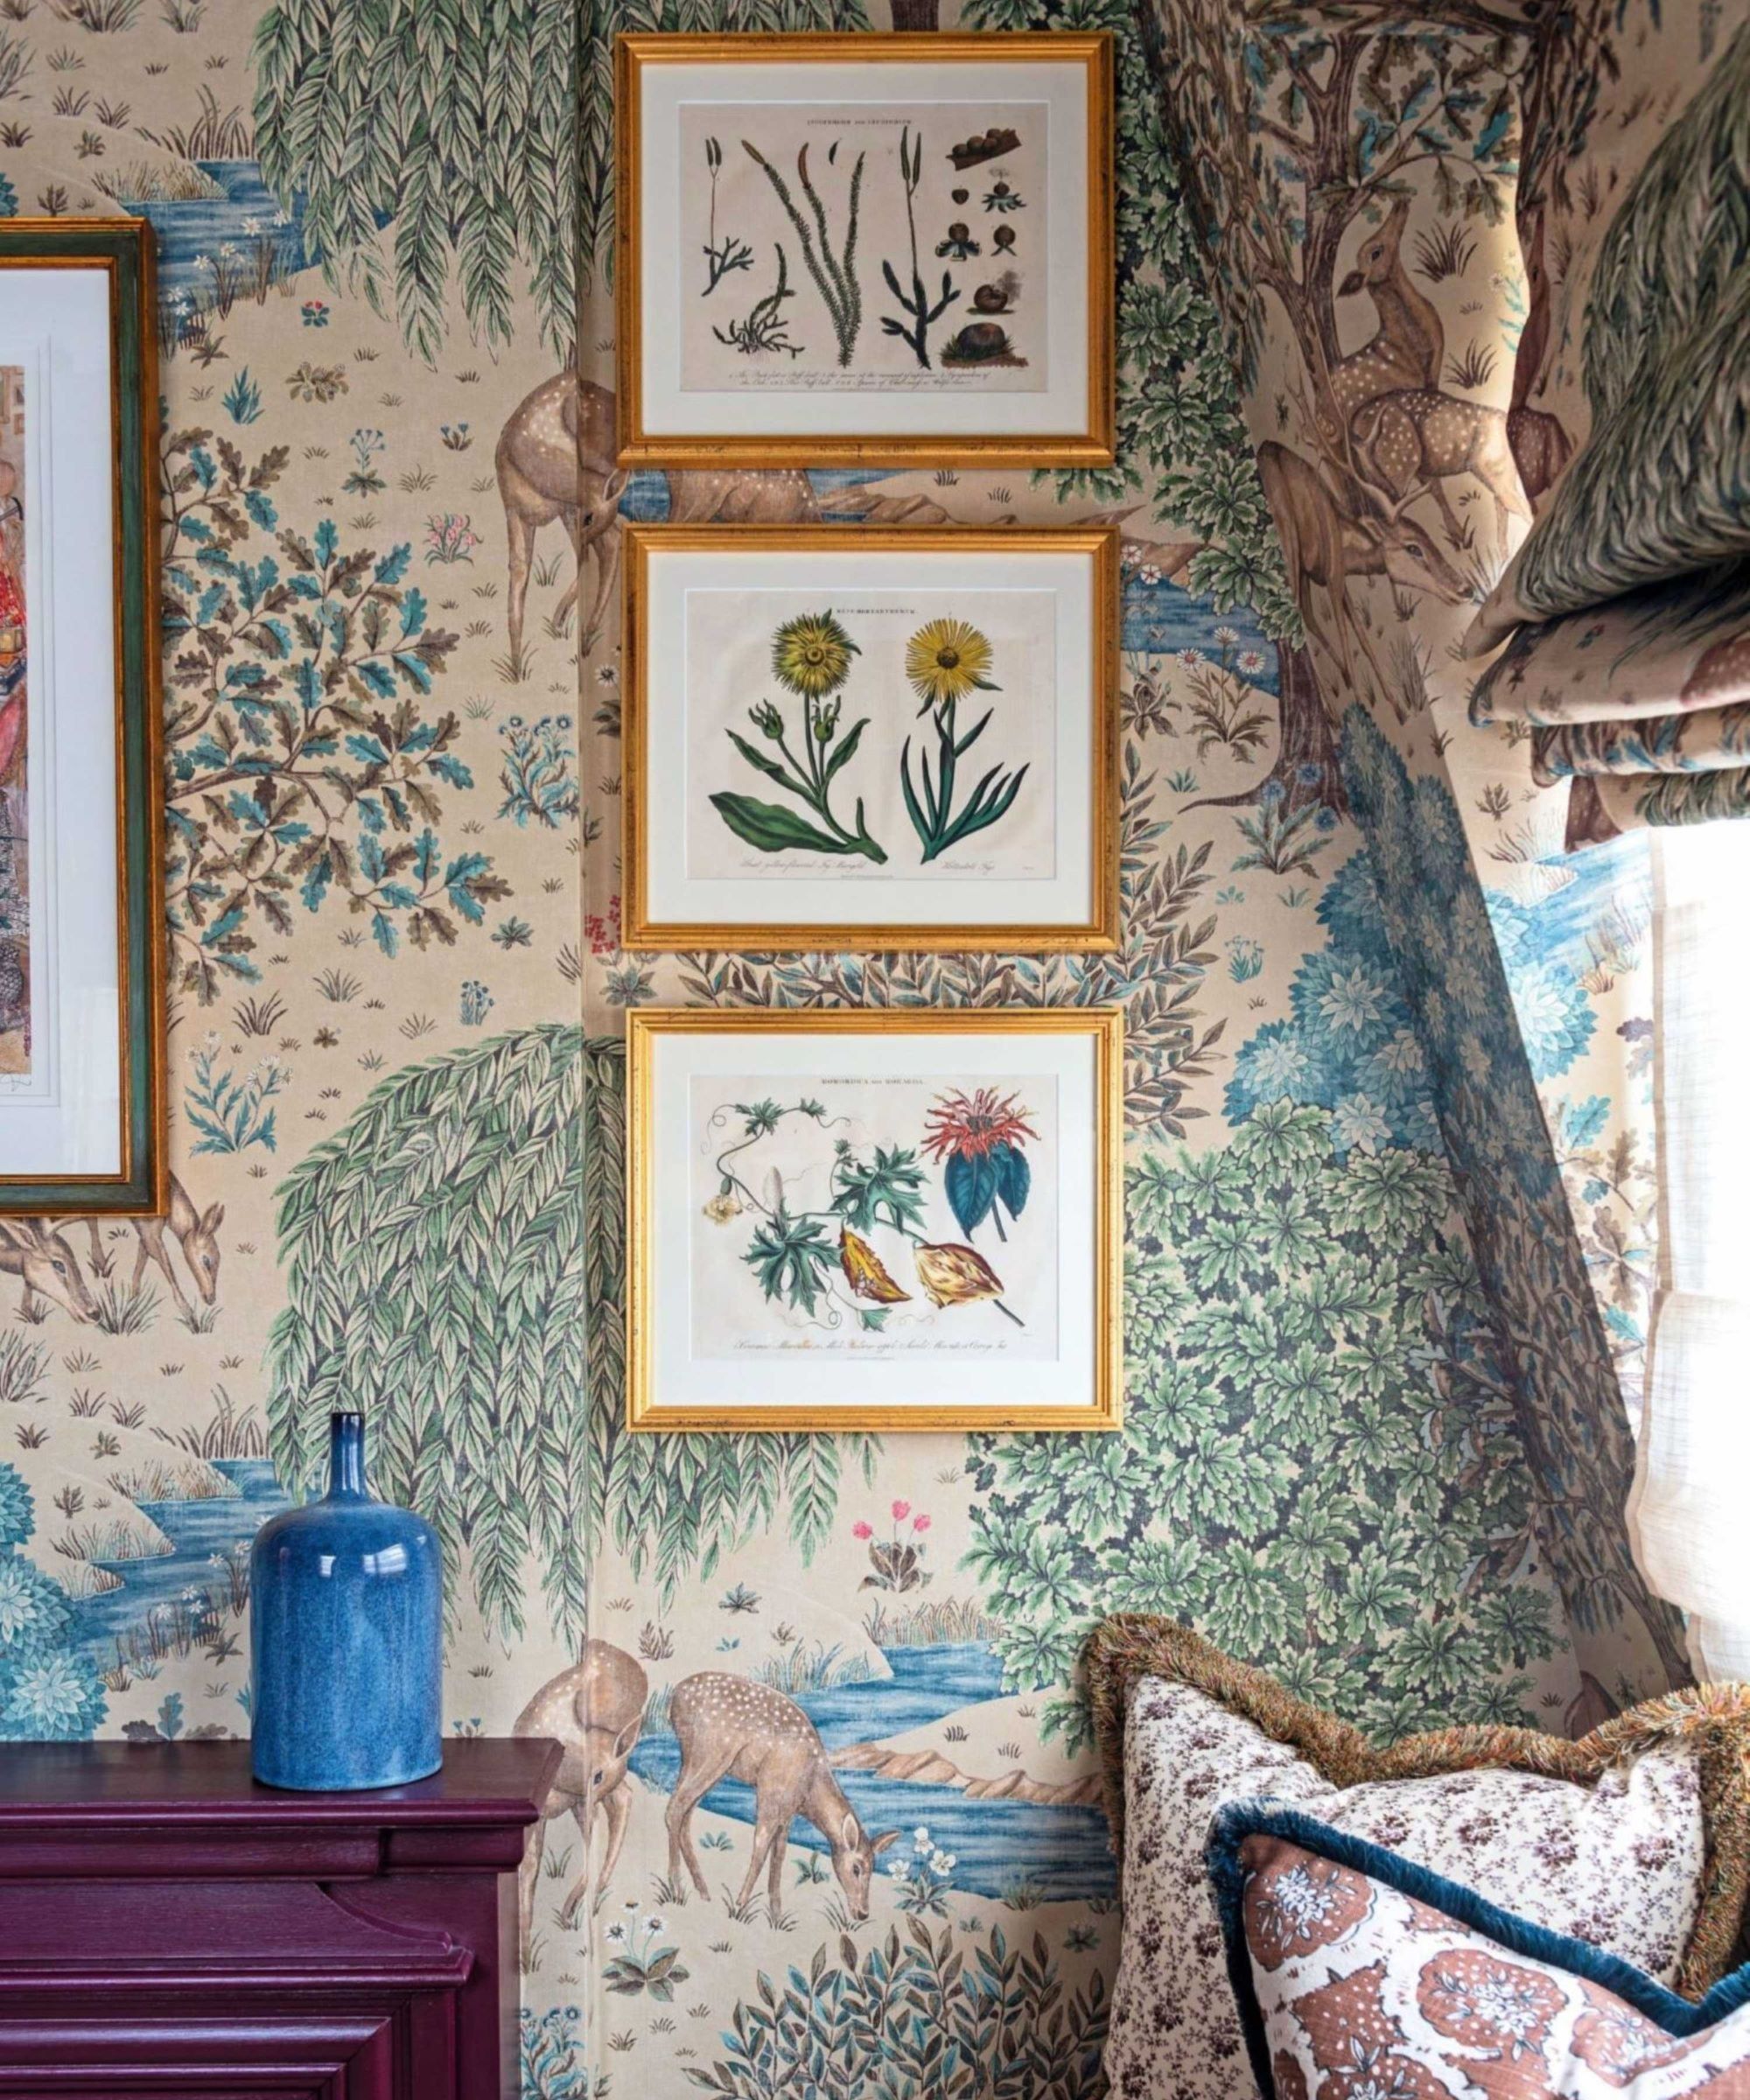
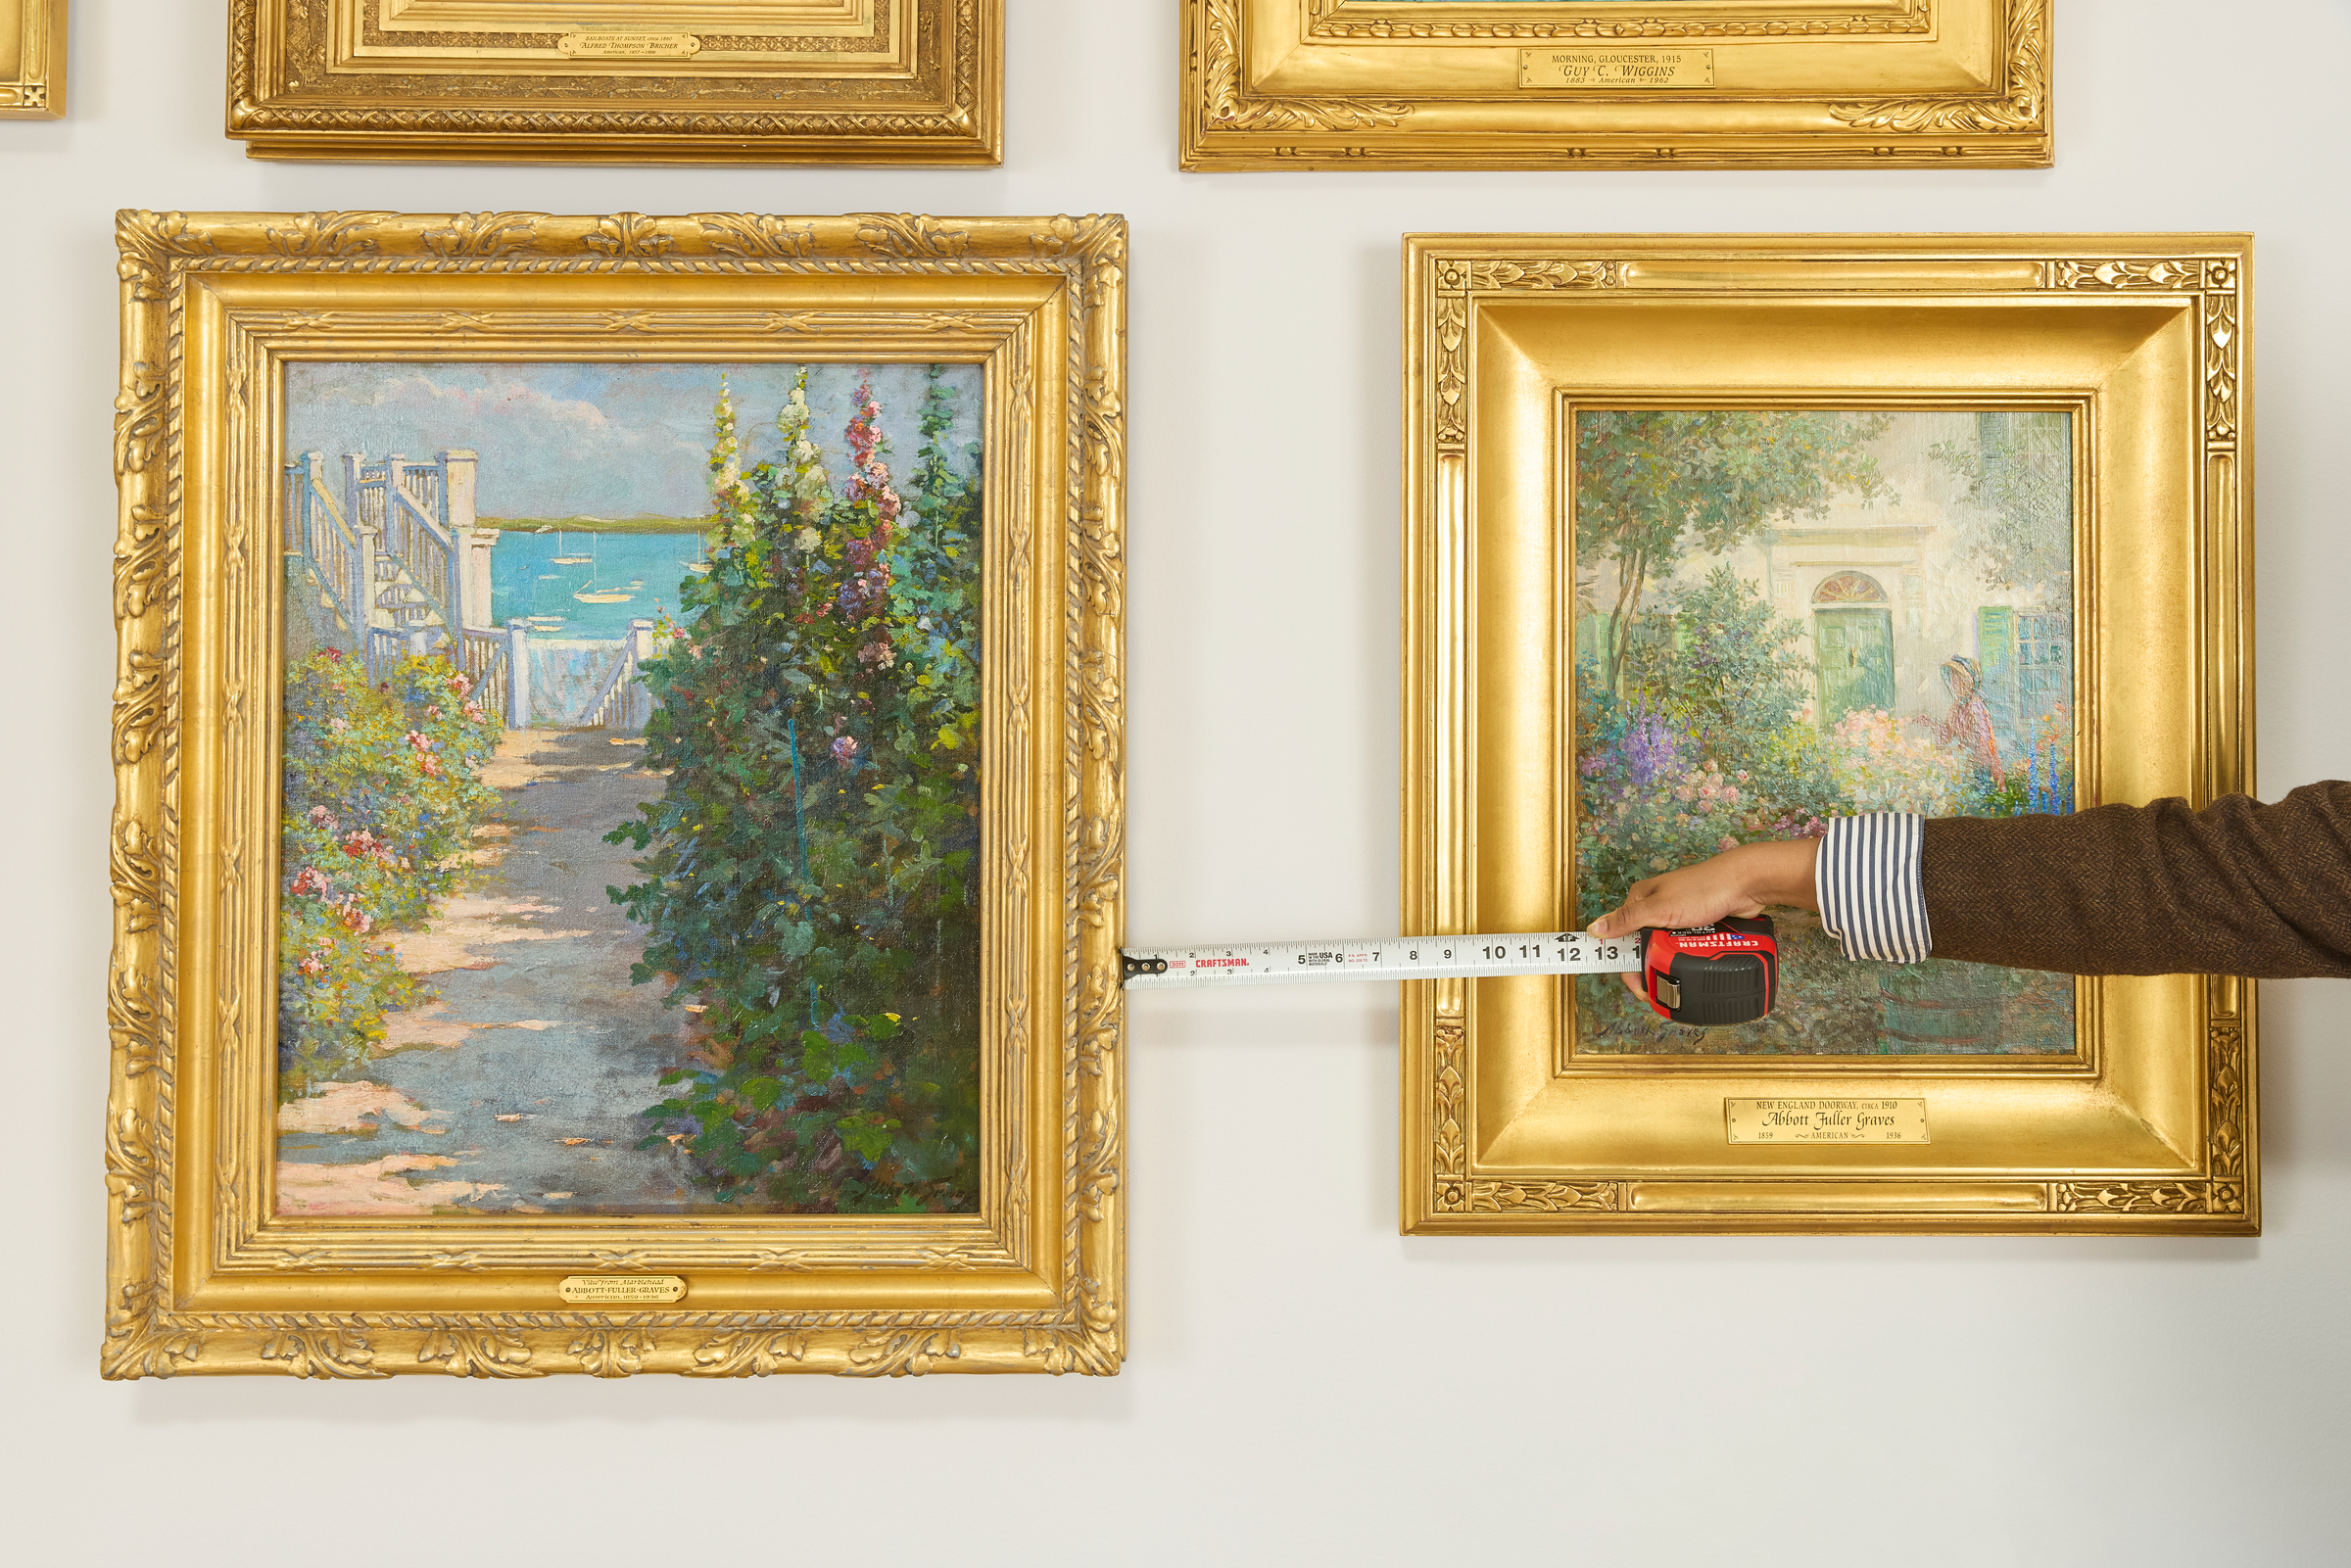
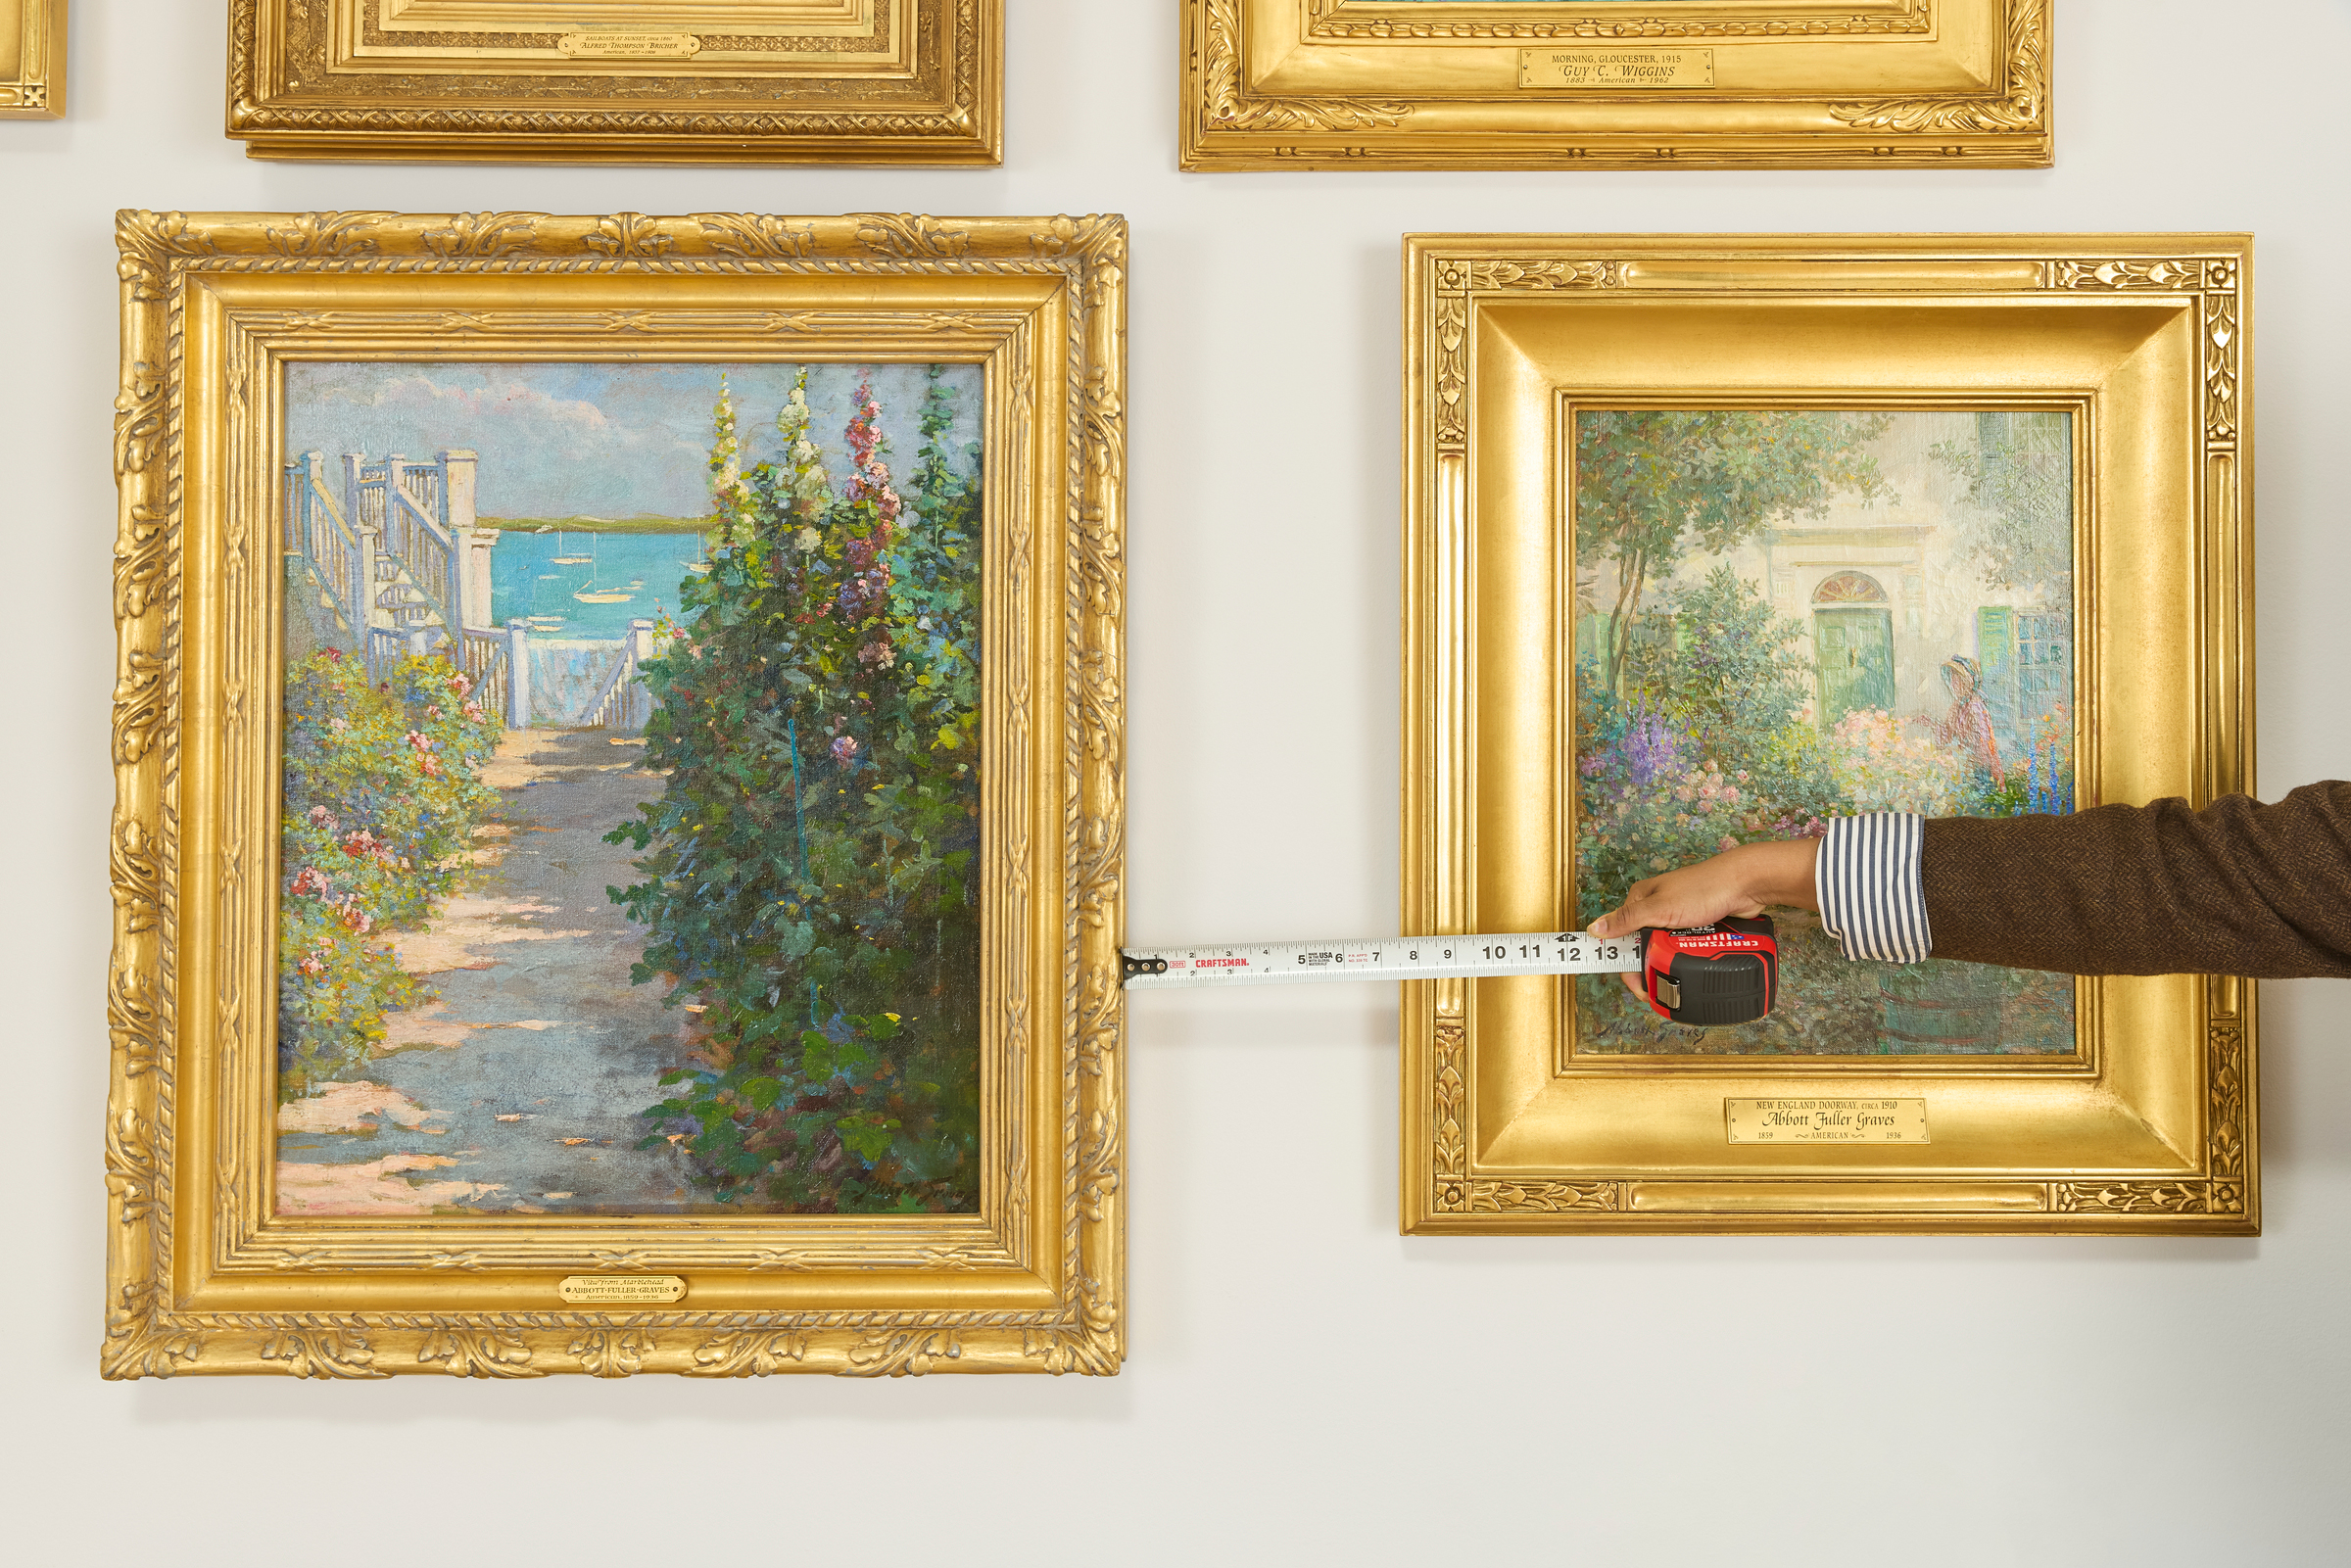
Consistent spacing between frames is vital for a polished appearance. Morford advises aiming for approximately two inches of space between frames, maintaining this consistency across the entire display. While two inches is a good general guideline, the spacing should not exceed six inches.
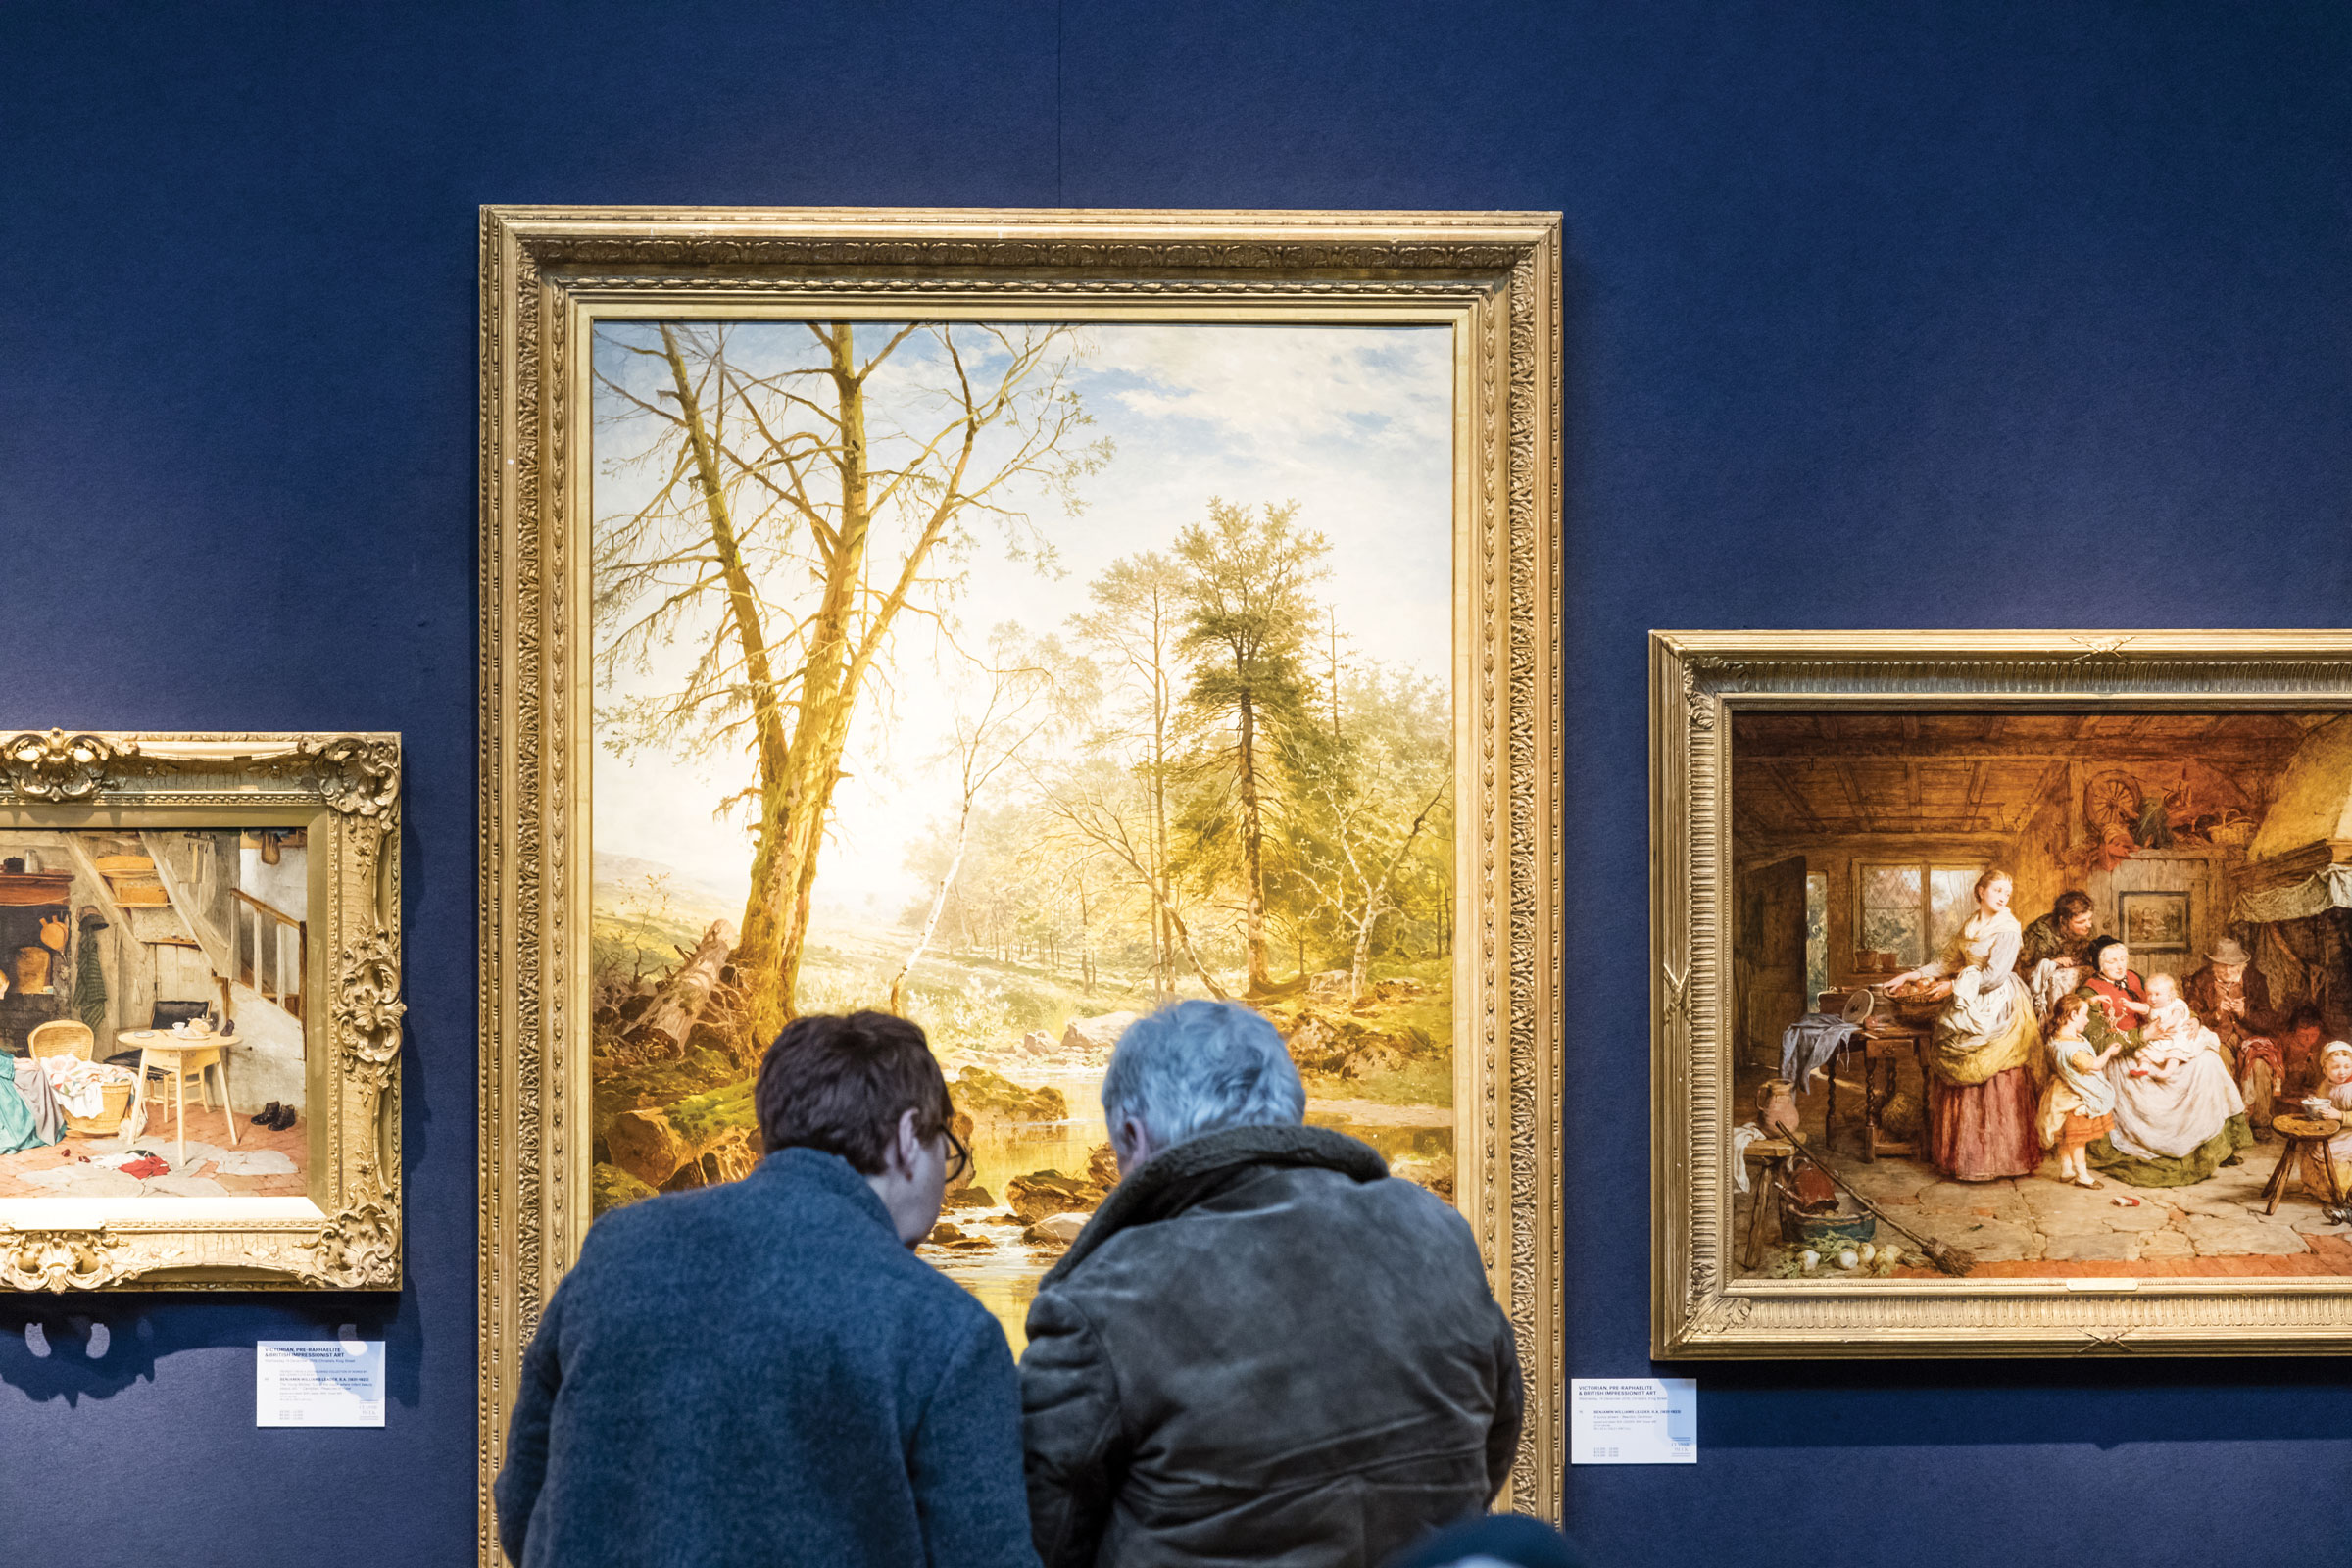
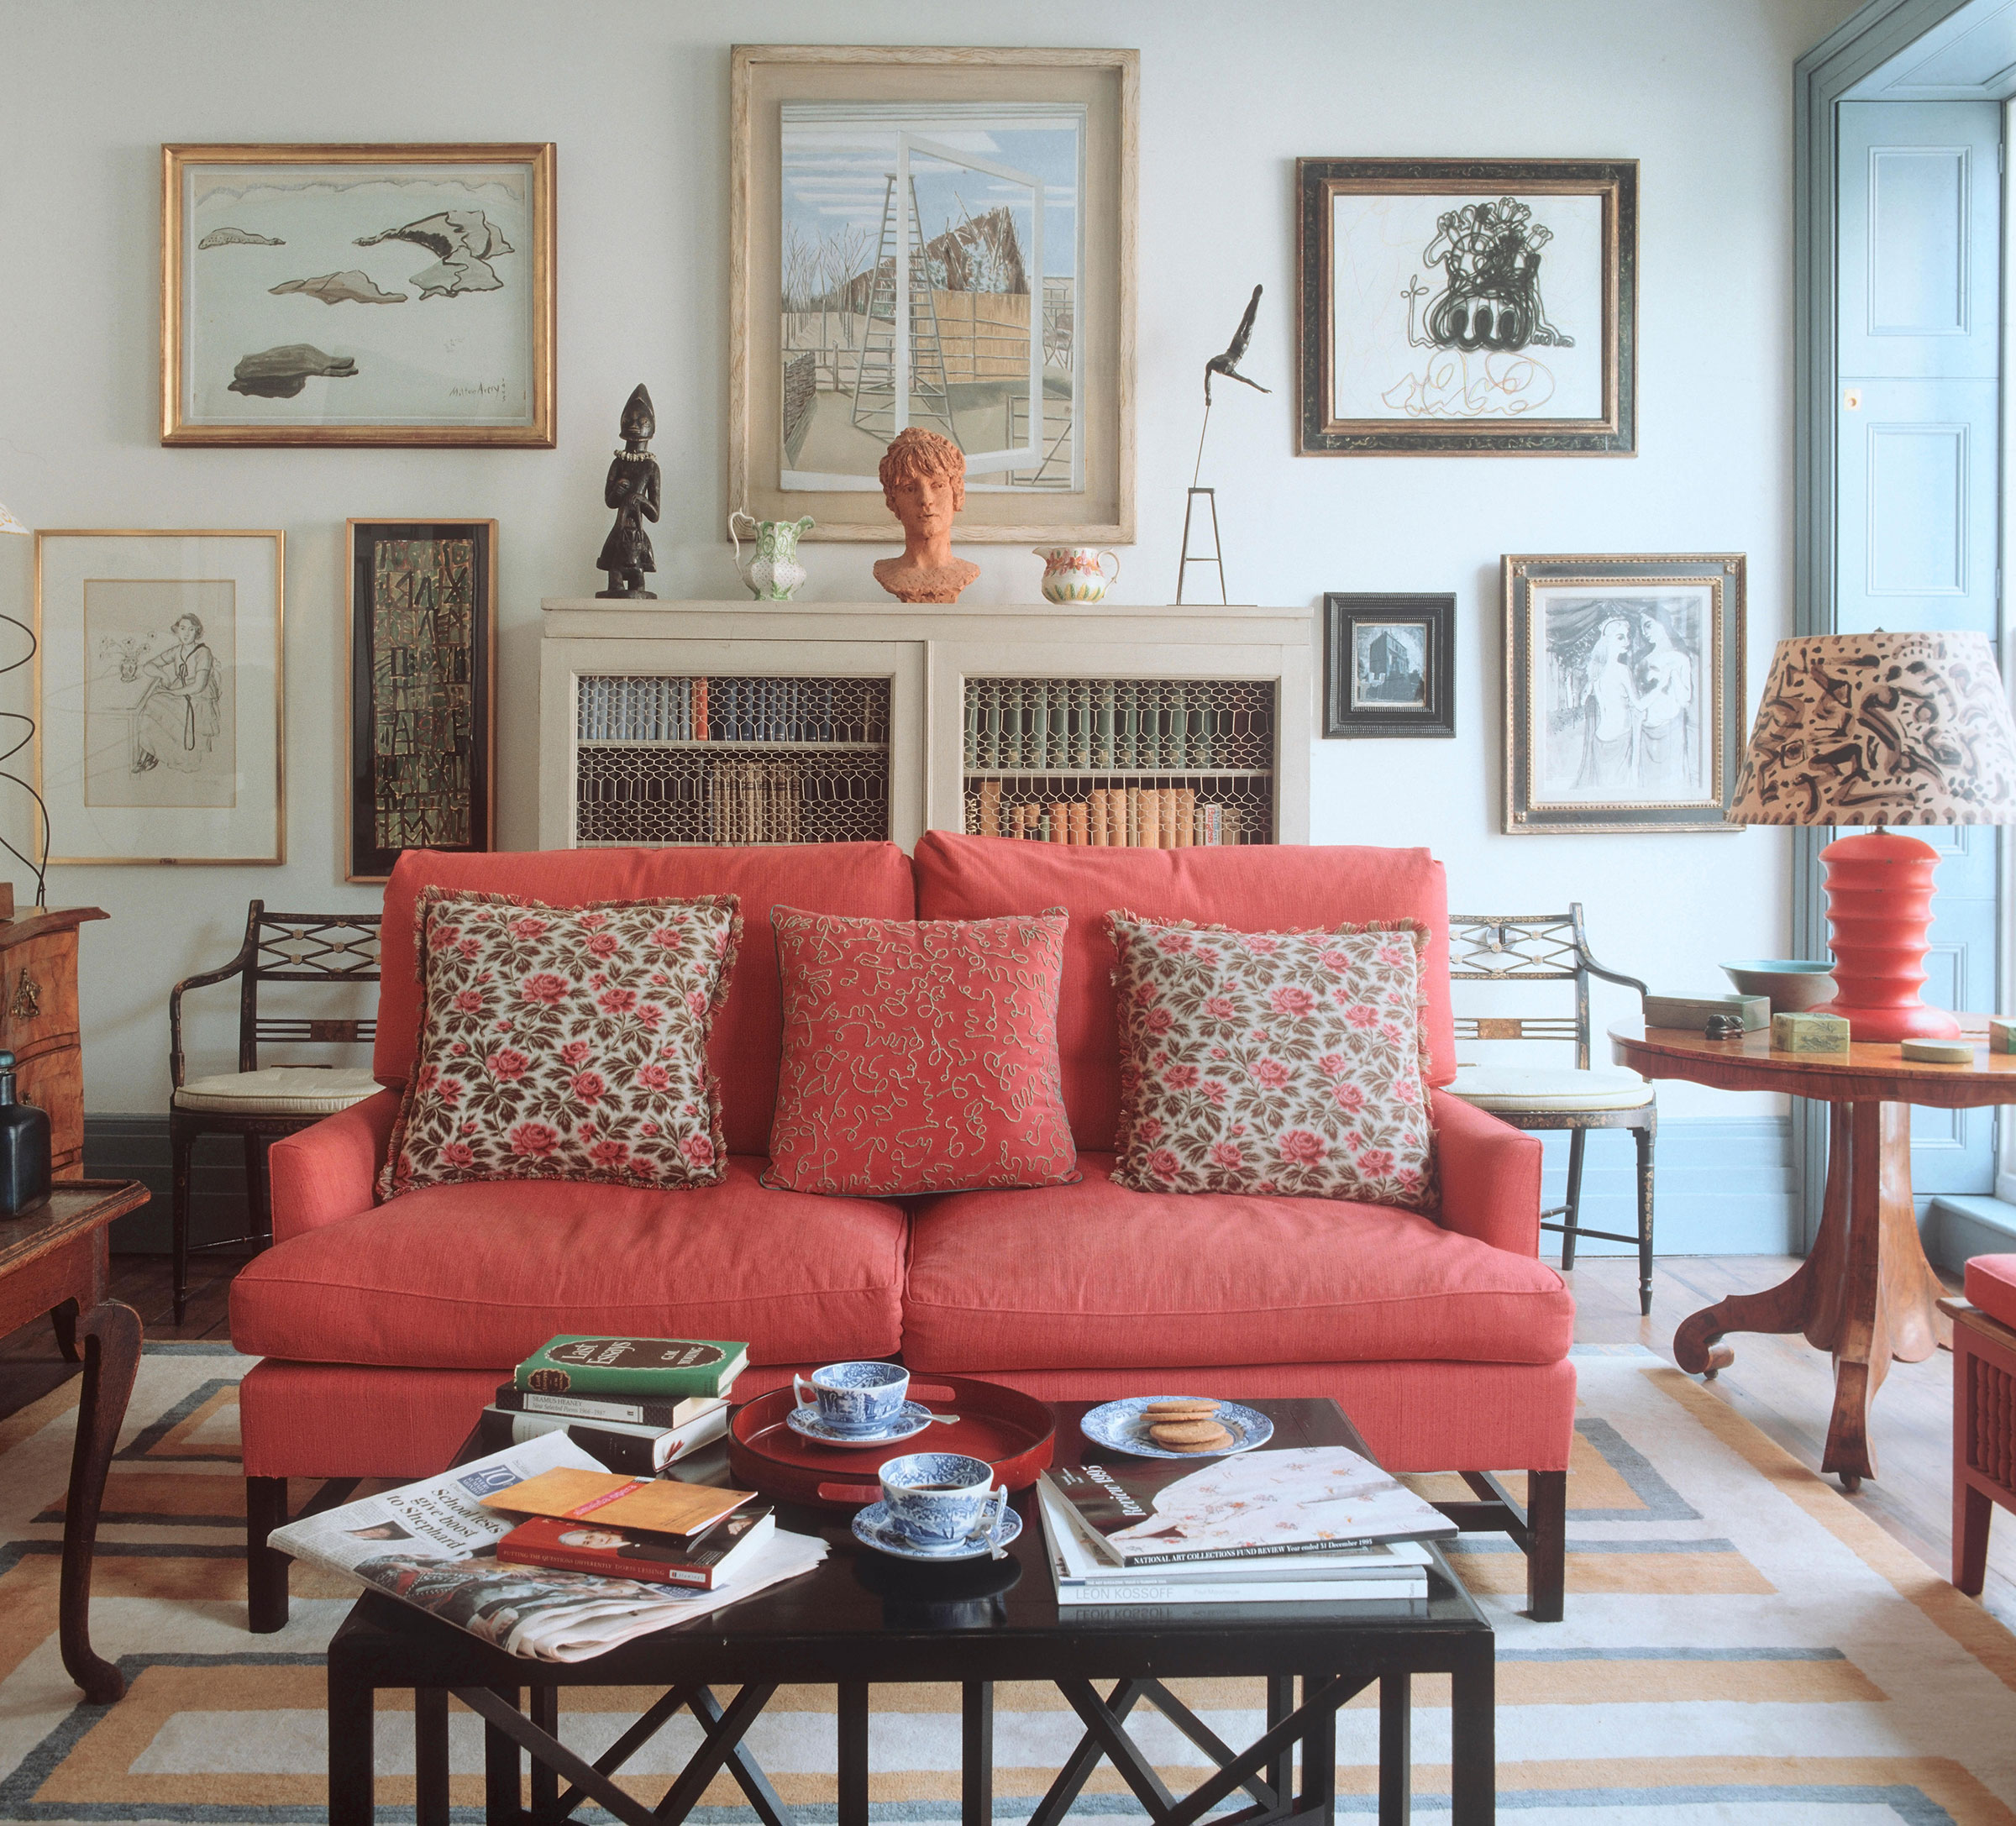
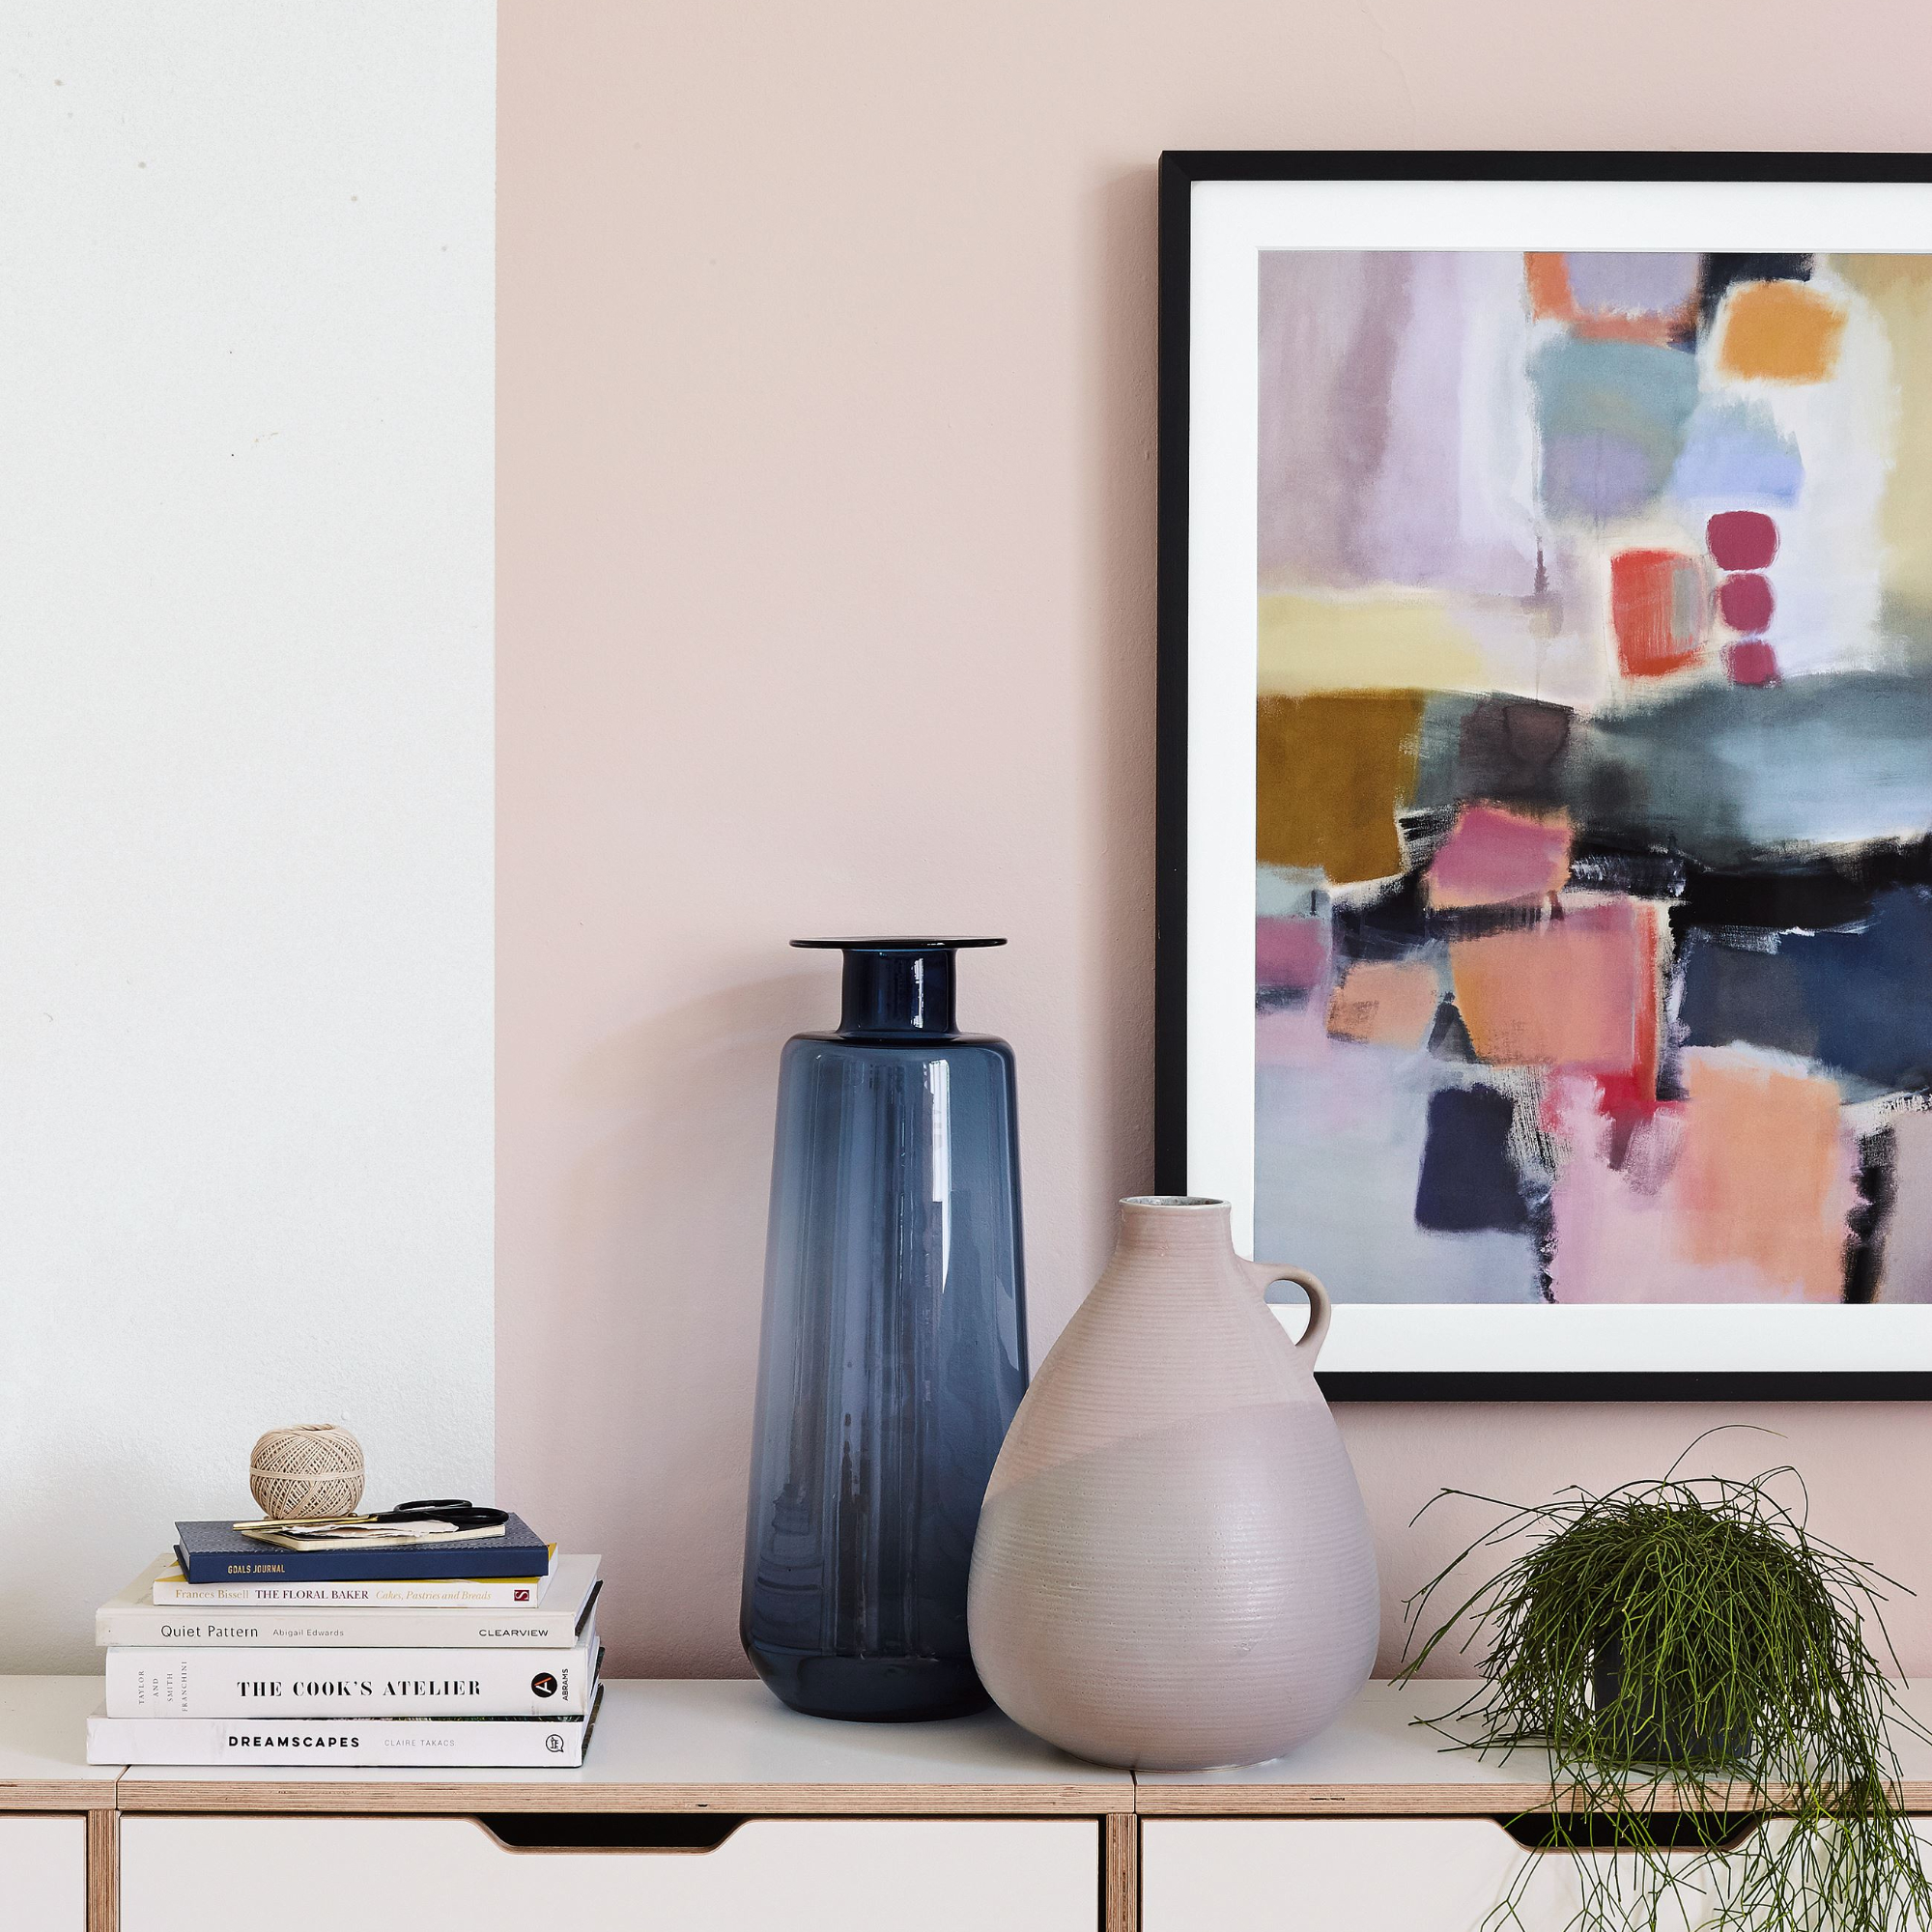
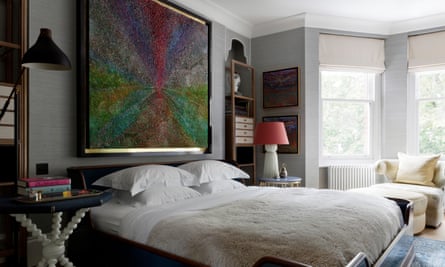
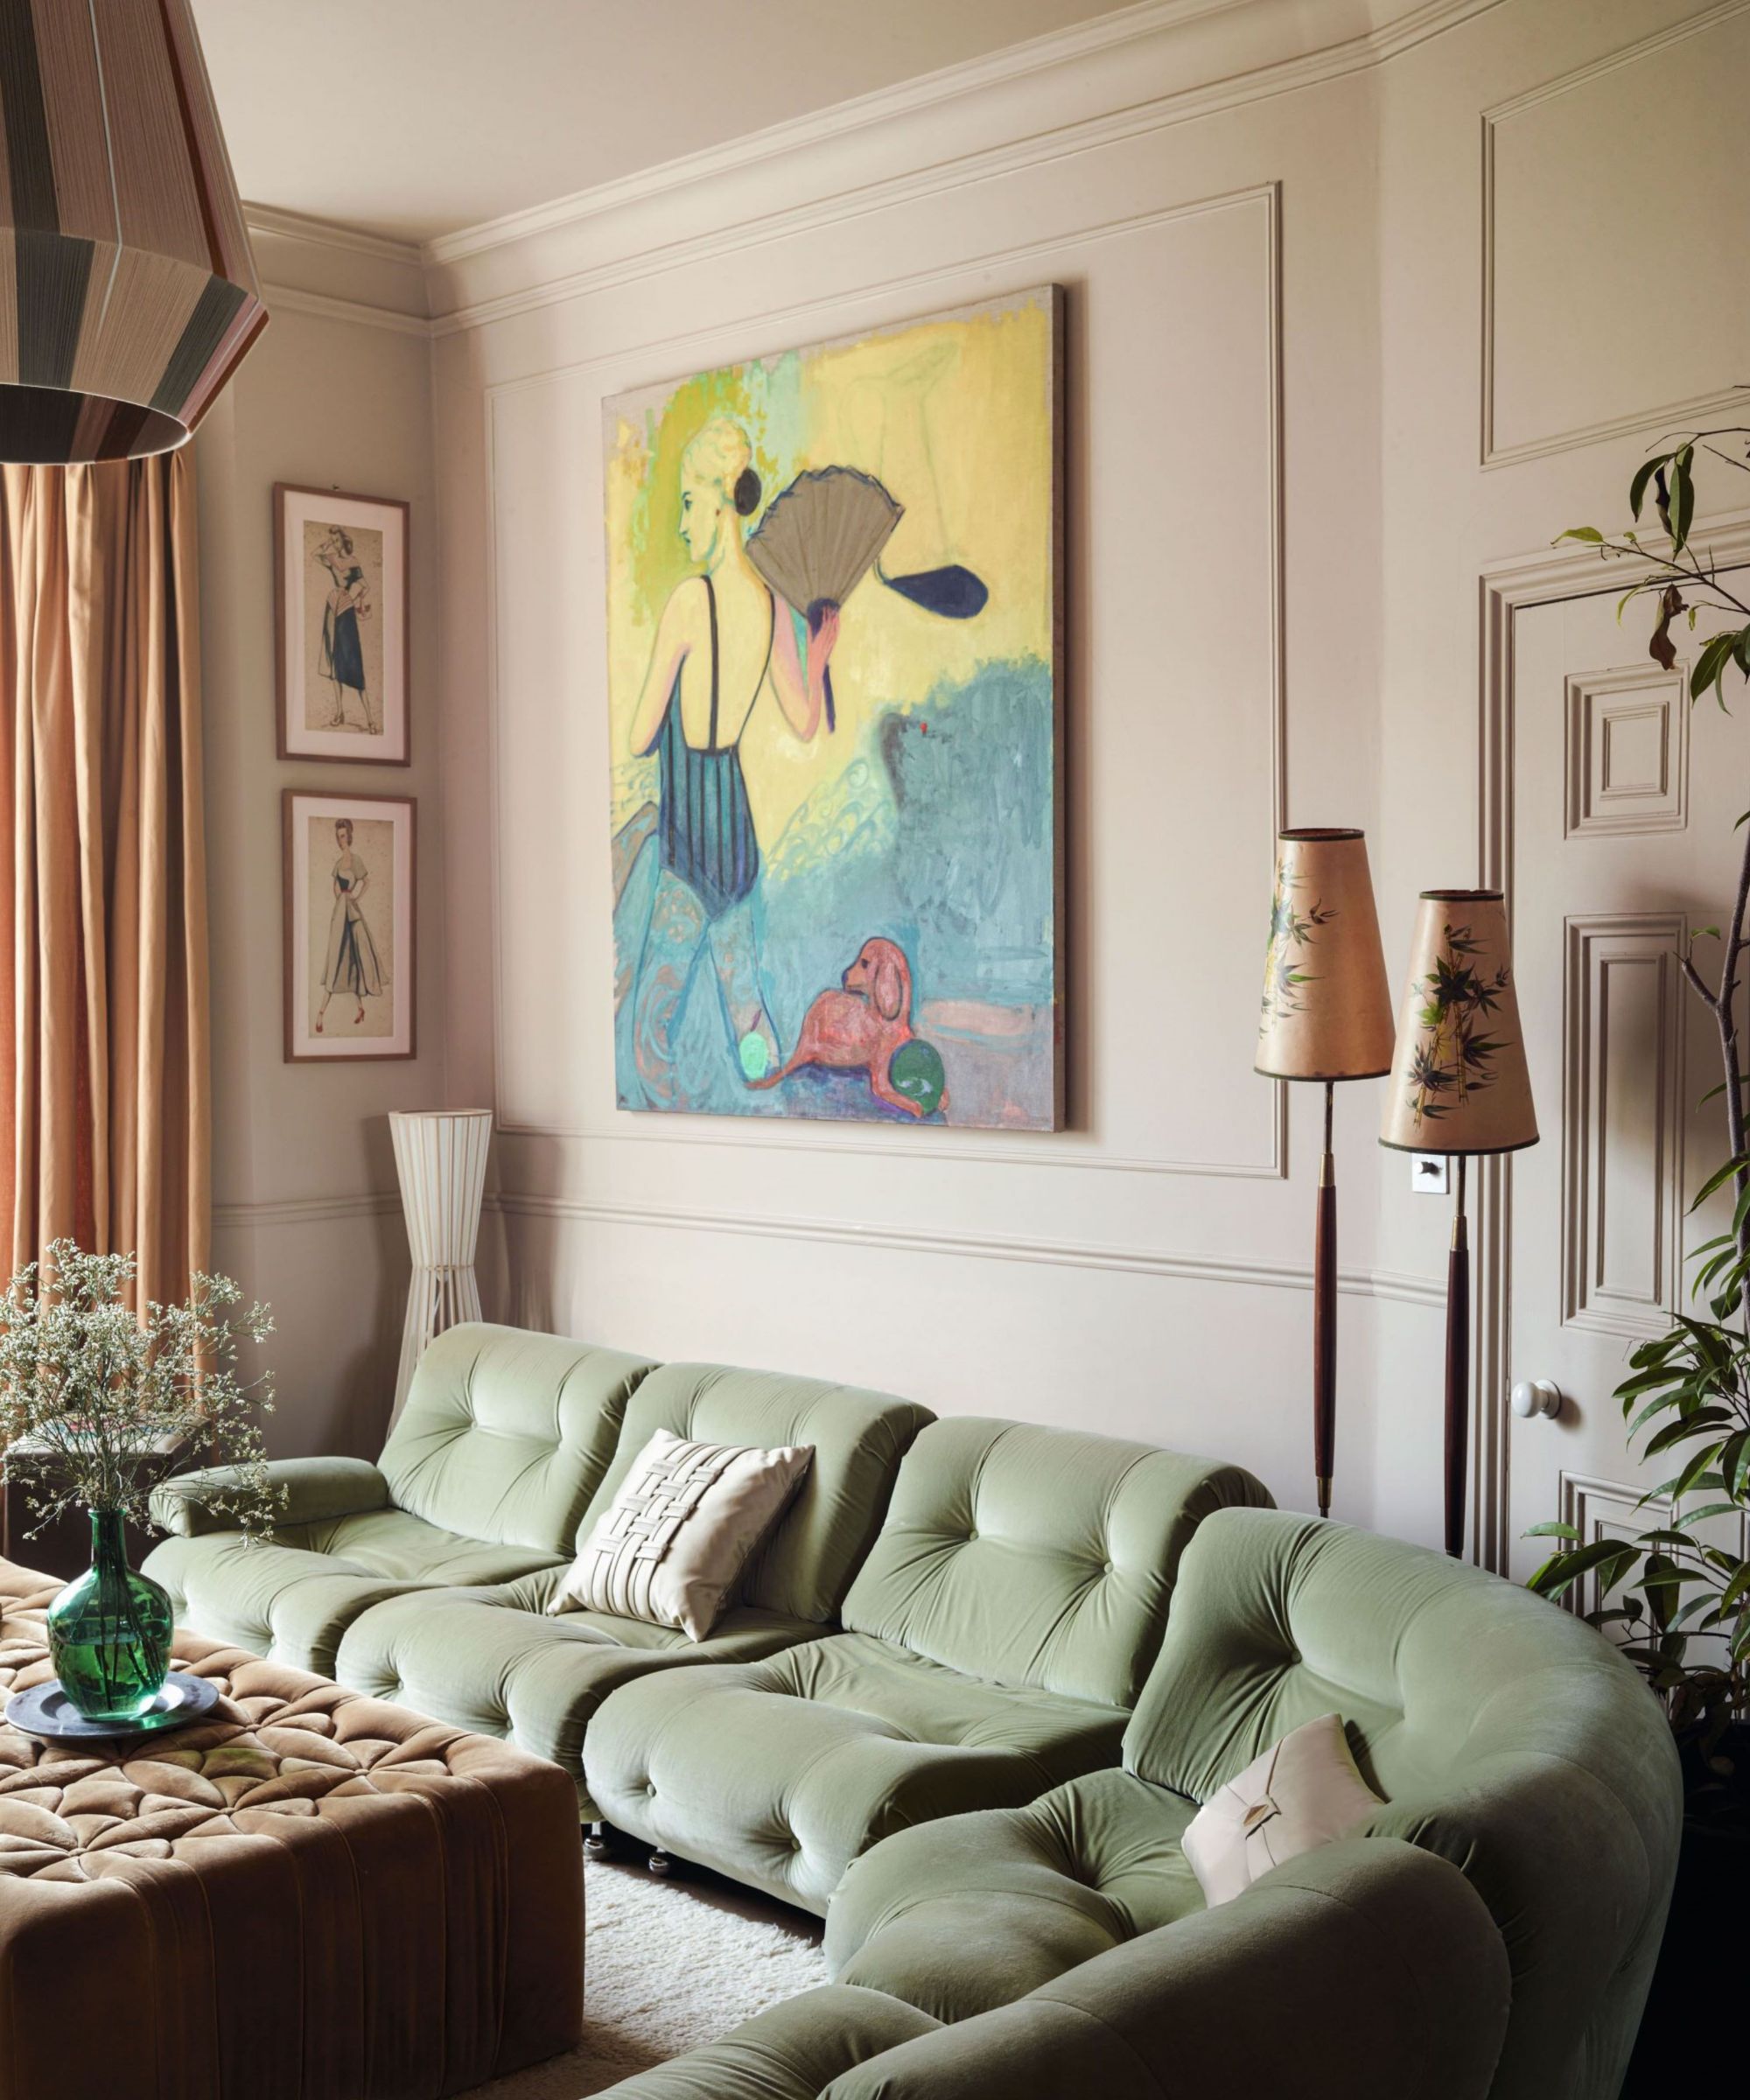
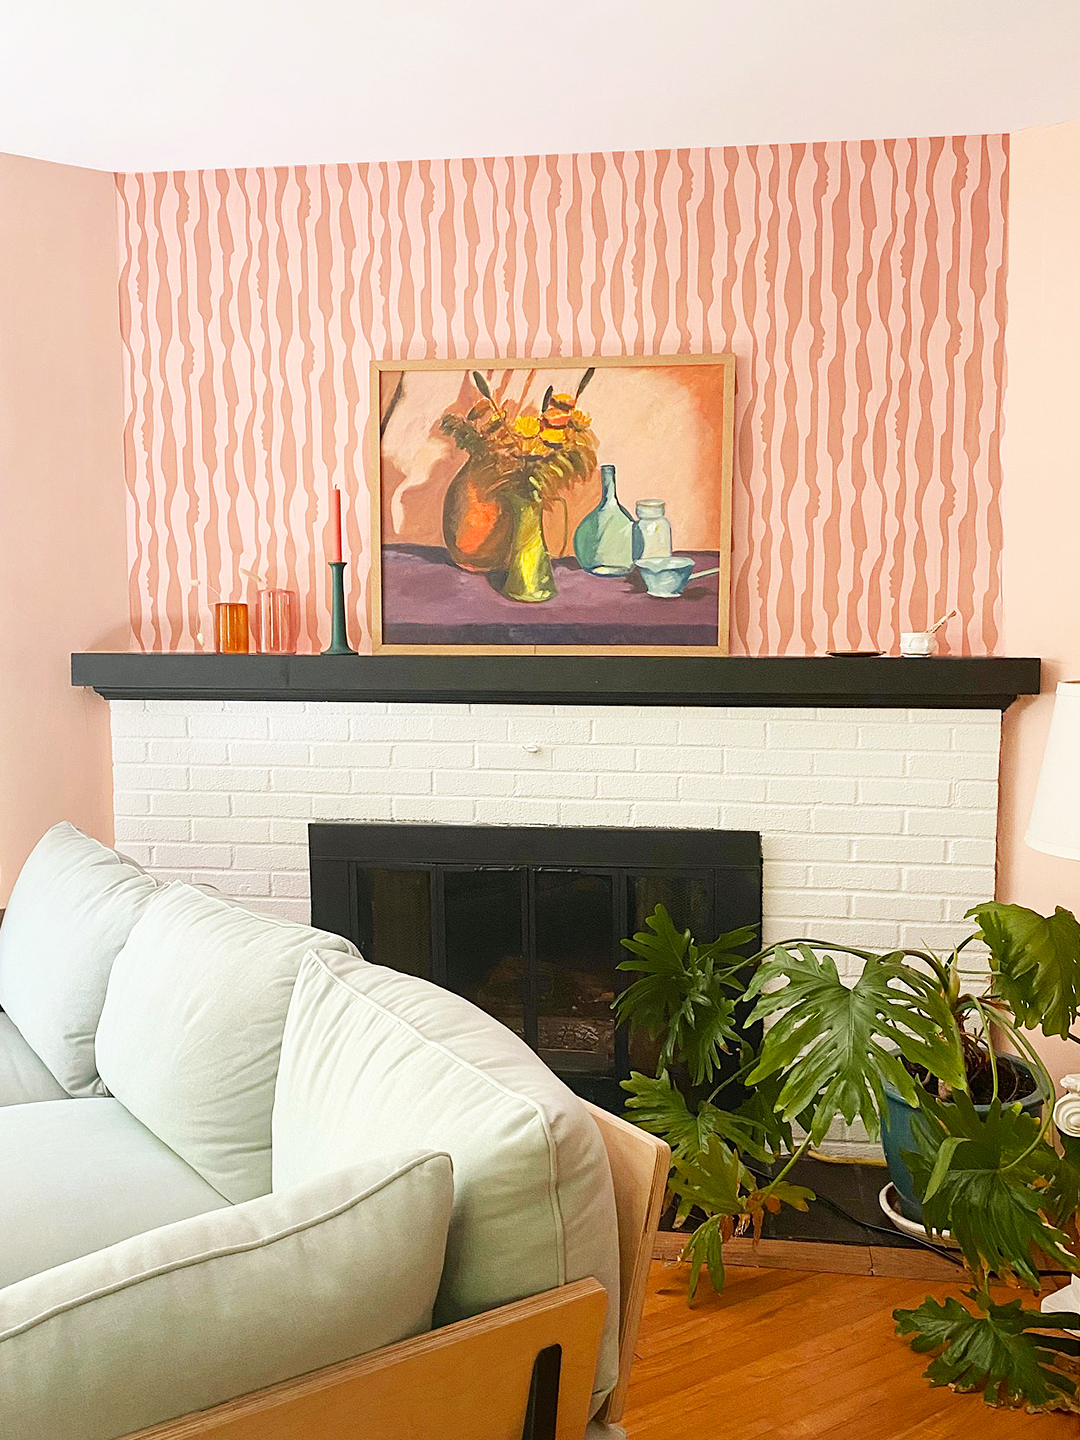
The common advice to hang art at “eye level” can be ambiguous, as eye levels vary among individuals. Julia Lovett, Framebridge’s head of marketing, clarifies this by recommending that the vertical center of the artwork, whether a single piece or part of a multi-frame arrangement, should be about 57 inches above the floor. When hanging frames above furniture such as couches, beds, or desks, the bottom edge of the frame should be positioned seven to ten inches above the furniture’s top edge.
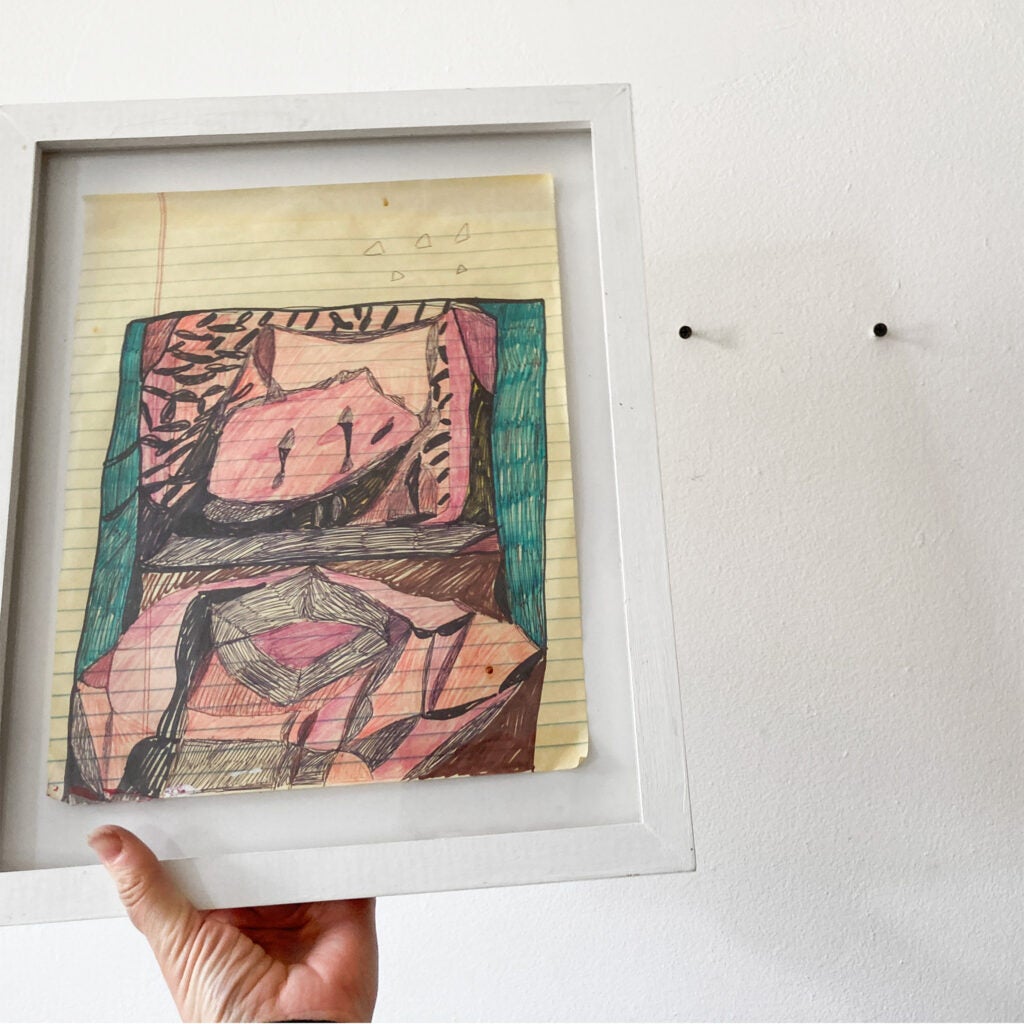
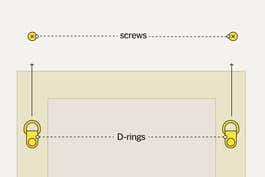
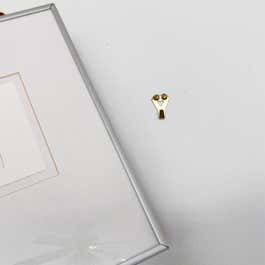
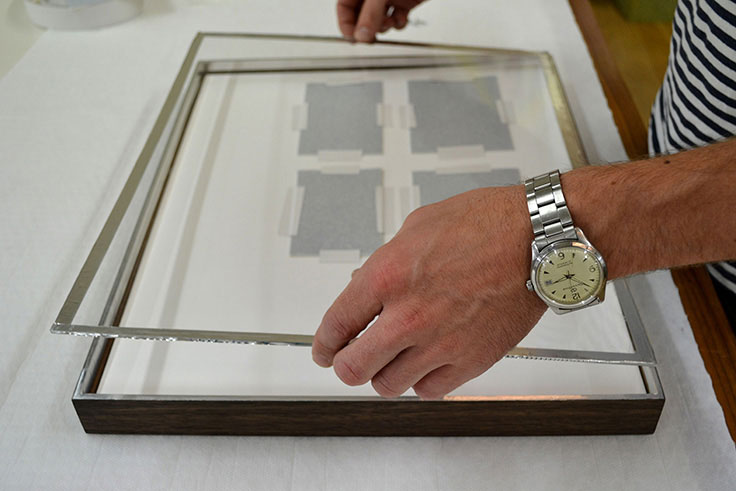
The type of hardware on the back of the frame dictates the hanging method. Frames may feature wire backing, sawtooth brackets, or rings, each requiring a specific approach. Regardless of the frame type, the first step is to mark the desired top center of the artwork on the wall. For wire-backed art, measure the distance from the tightened hanging wire to the top of the piece, then transfer this measurement below the wall mark to determine the nail or hook placement. Sawtooth brackets offer more flexibility, as their design allows for slight adjustments even if the nail isn't perfectly parallel. Frames with rings, however, necessitate the use of two nails for secure hanging.
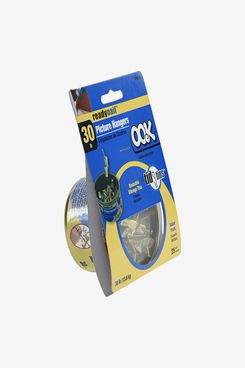
Beyond basic nails and a hammer, selecting the appropriate hardware is critical. A stud-finder is recommended to avoid drilling into metal framing. Wall plug anchors are necessary for heavier pieces to ensure stability. For those wary of making holes, Command Strips are suitable for items weighing less than 20 pounds. For heavier artwork, Morford endorses 3M’s Claw Picture Hangers, noting their effectiveness in securing large or heavy pieces, especially in high-traffic areas, preventing movement even from abrupt impacts like slamming doors. Alternatively, pictures can be casually leaned against walls, chairs, or on shelves for an intentional and stylish look without any wall damage.
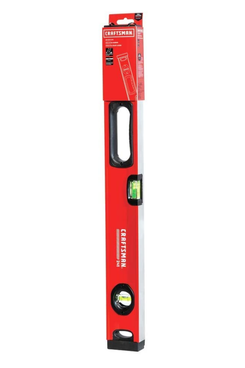
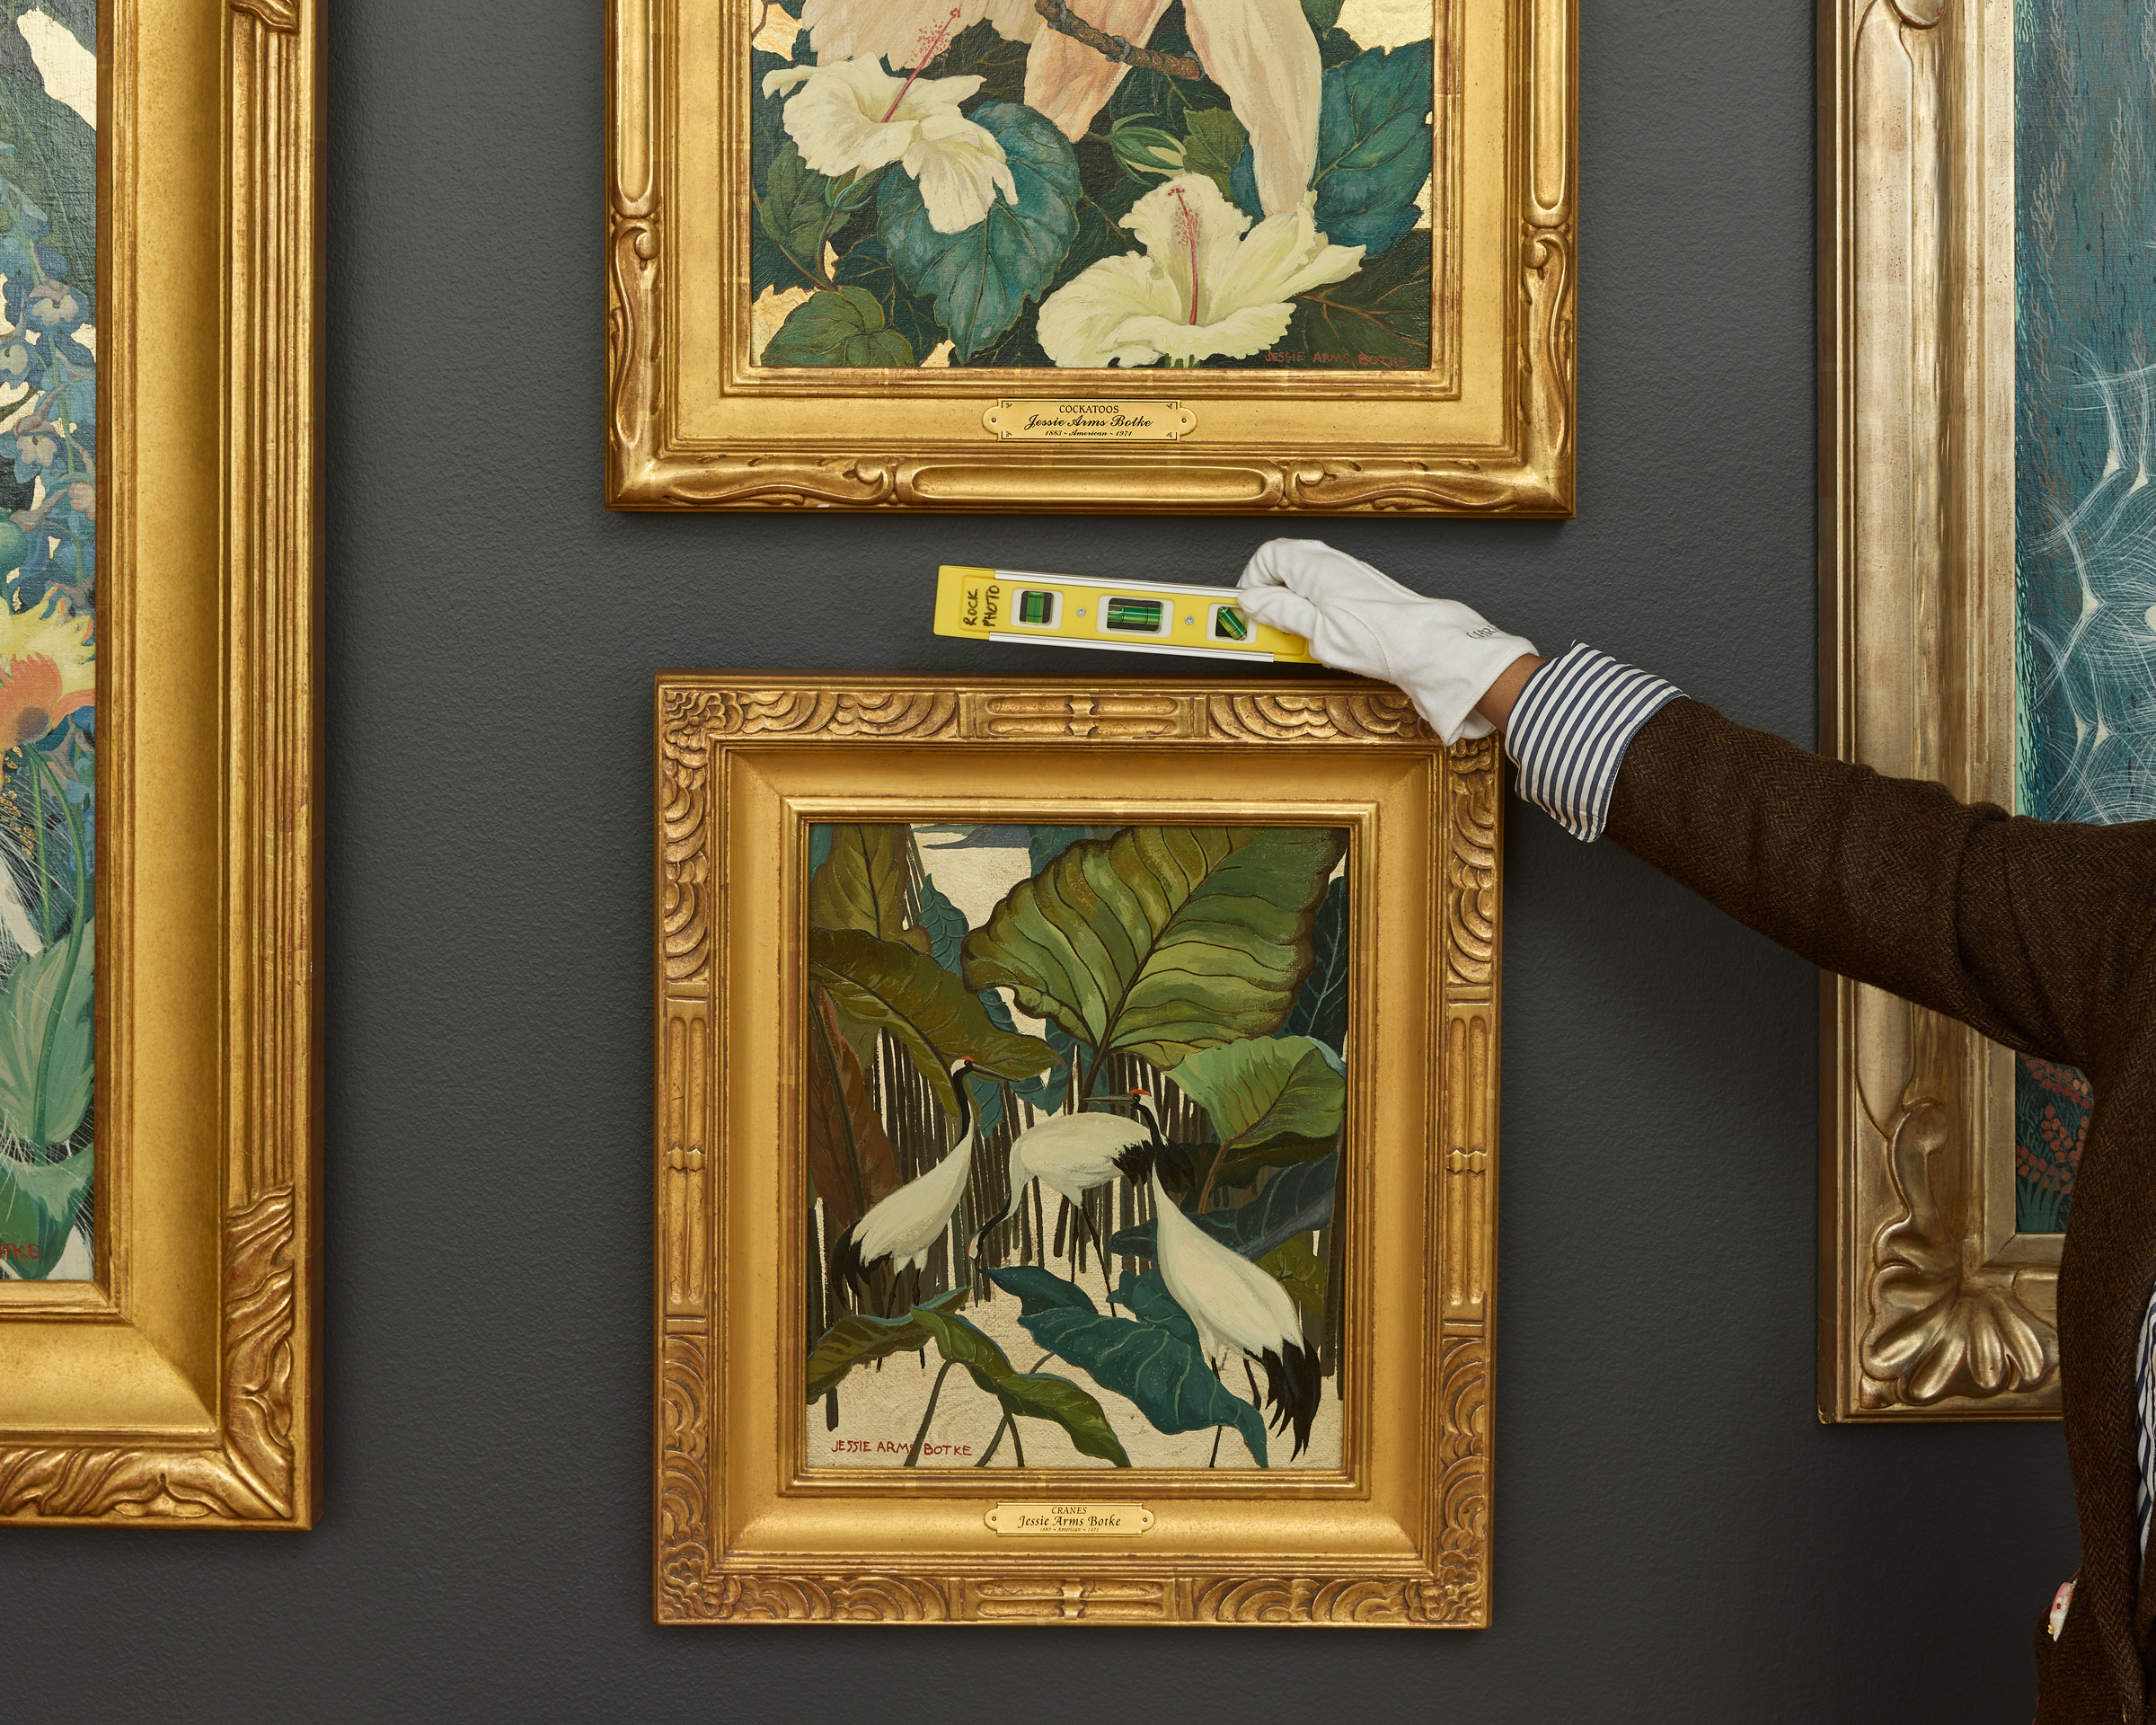
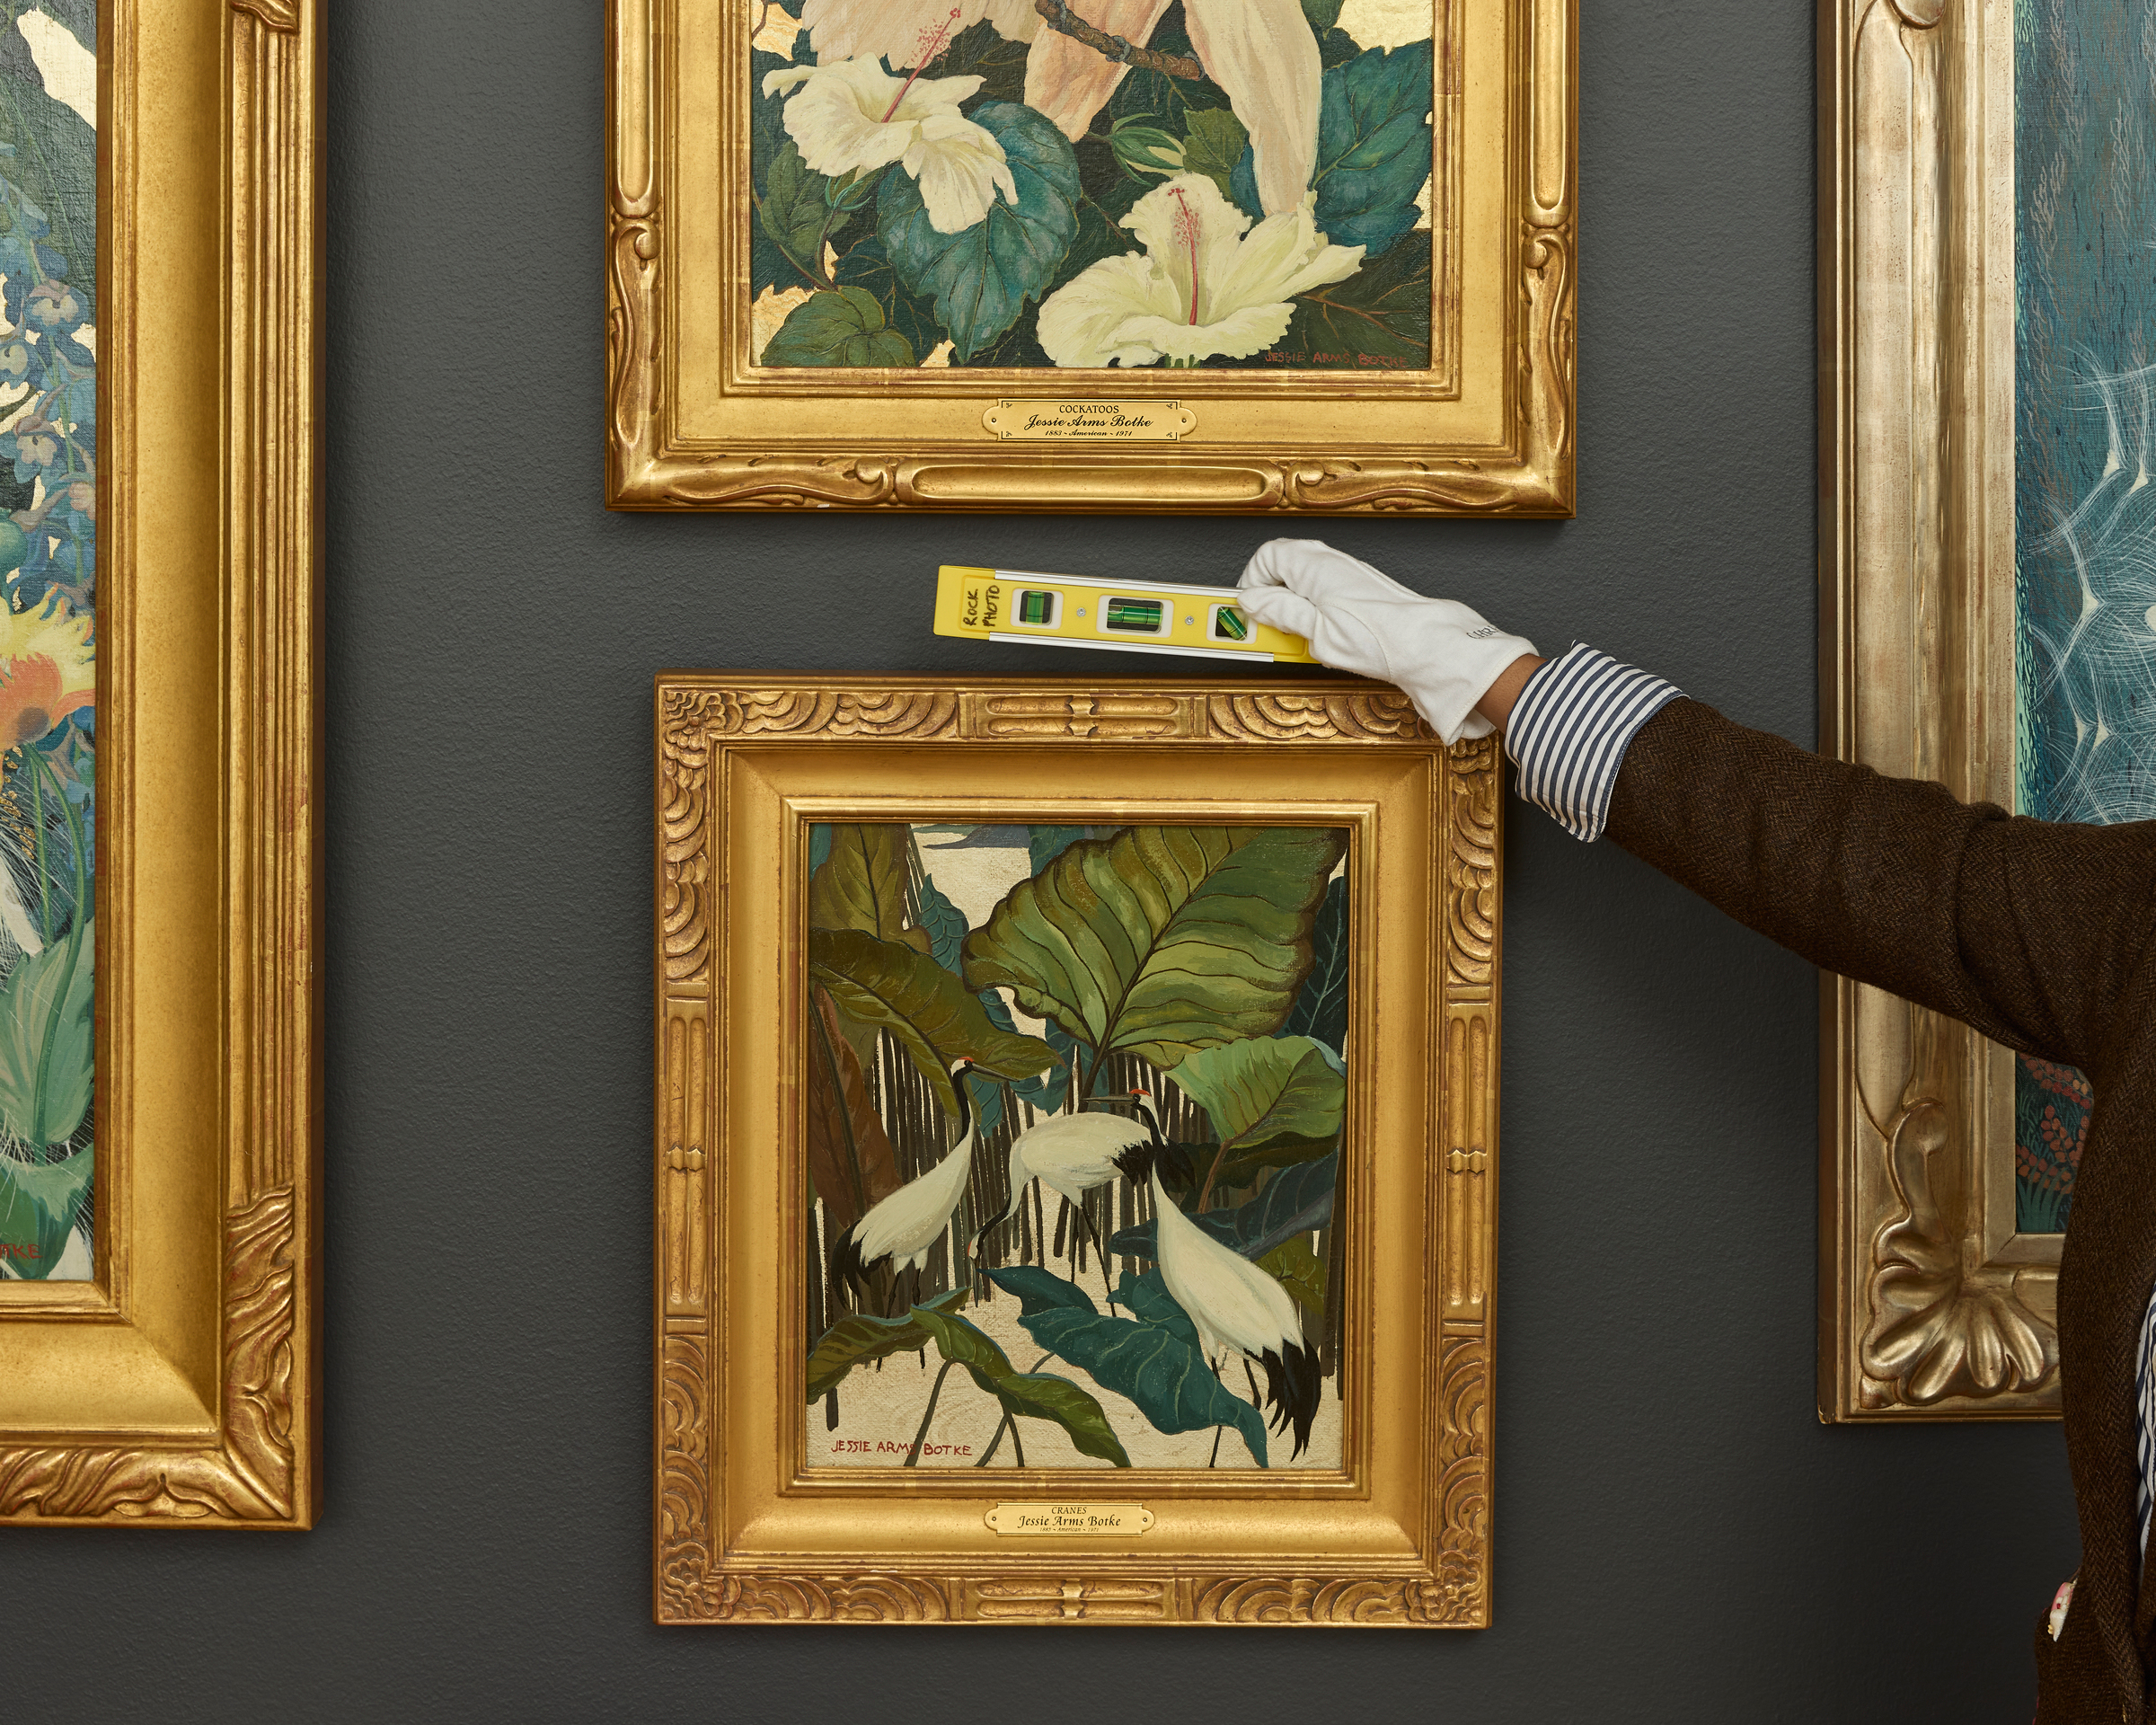
Finally, once artwork is hung, it is essential to use a level to ensure perfect alignment, preventing a skewed or unprofessional appearance. Many smartphones now include a level function in their measure tools, providing a convenient and accurate way to adjust frames until the bubble is centered, achieving a perfectly straight display.
#ArtInstallation #HomeDecor #PictureHanging #InteriorDesignTips #DIYHomeDecor #GalleryWall #WallArt #Framebridge #Minted #ArtInstallation #HomeDecor #PictureHanging #InteriorDesignTips #DIYHomeDecor #GalleryWall #WallArt #Framebridge #Minted
0 comment in total
 No comments yet
You may also like
How to Hang Pictures, Mirrors, and Plates, According to an Expert
7 DIY tips for how to hang a gallery wall from experts

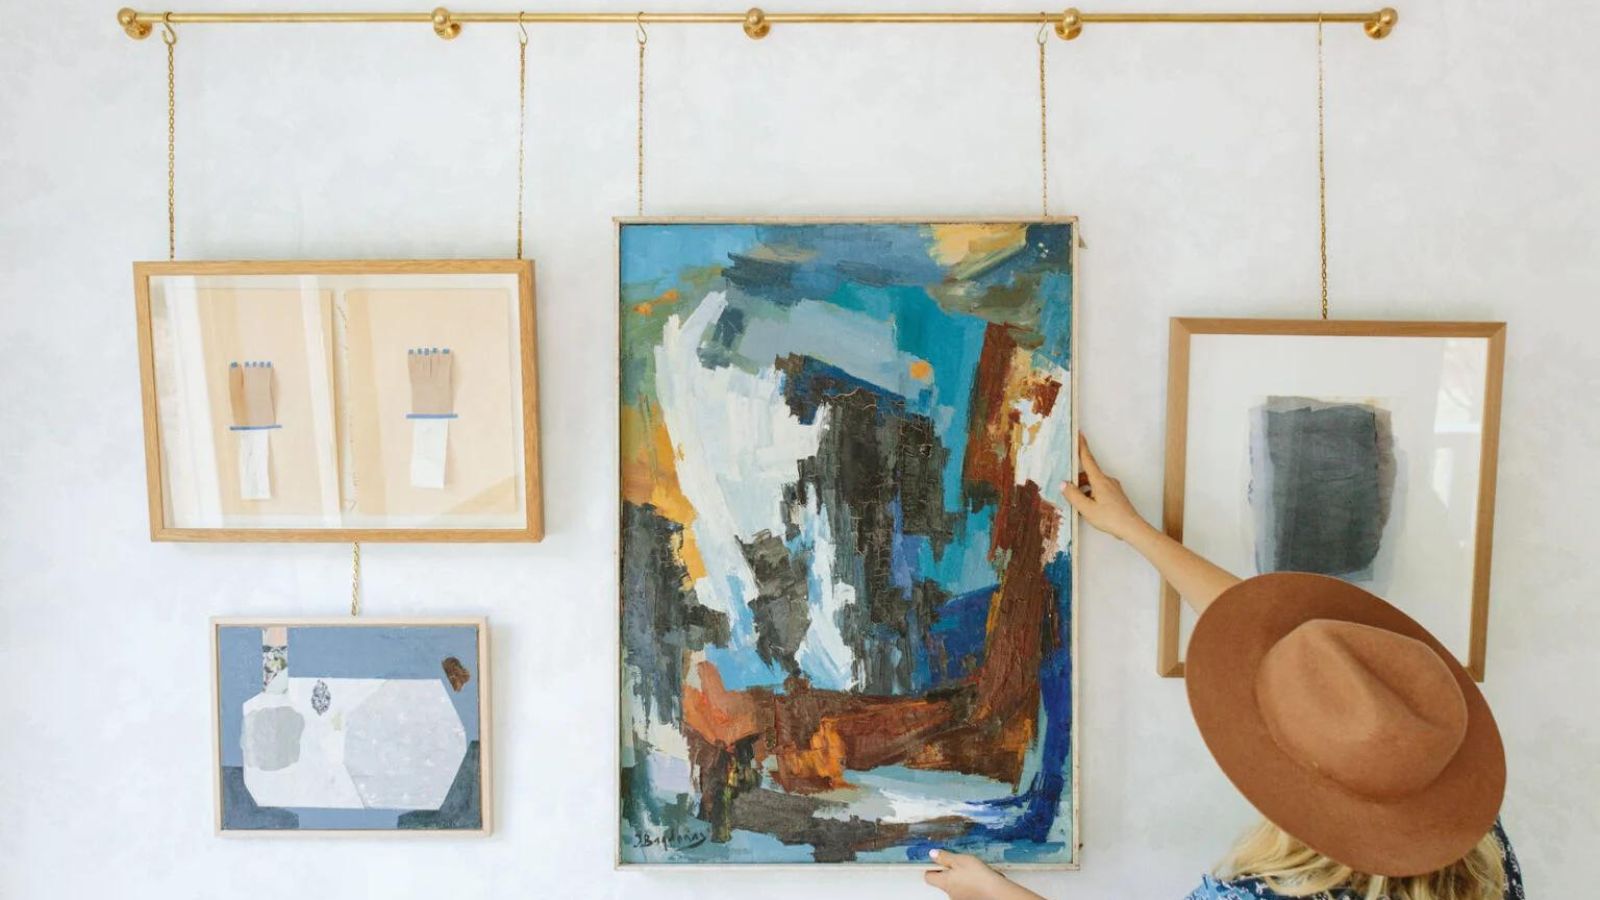
Emily Henderson just shared a simple trick for hanging art – giving your gallery wall a refresh has never been easier

The 8 Picture Hangers We Trust to Hold It All Up

Yes, You Can Hang Art Like a Pro | Reviews by Wirecutter

RS Recommends: The Best Hanging Kits Will Make Your Gallery Wall Dreams Come True


Art Hanging Tips From an Expert
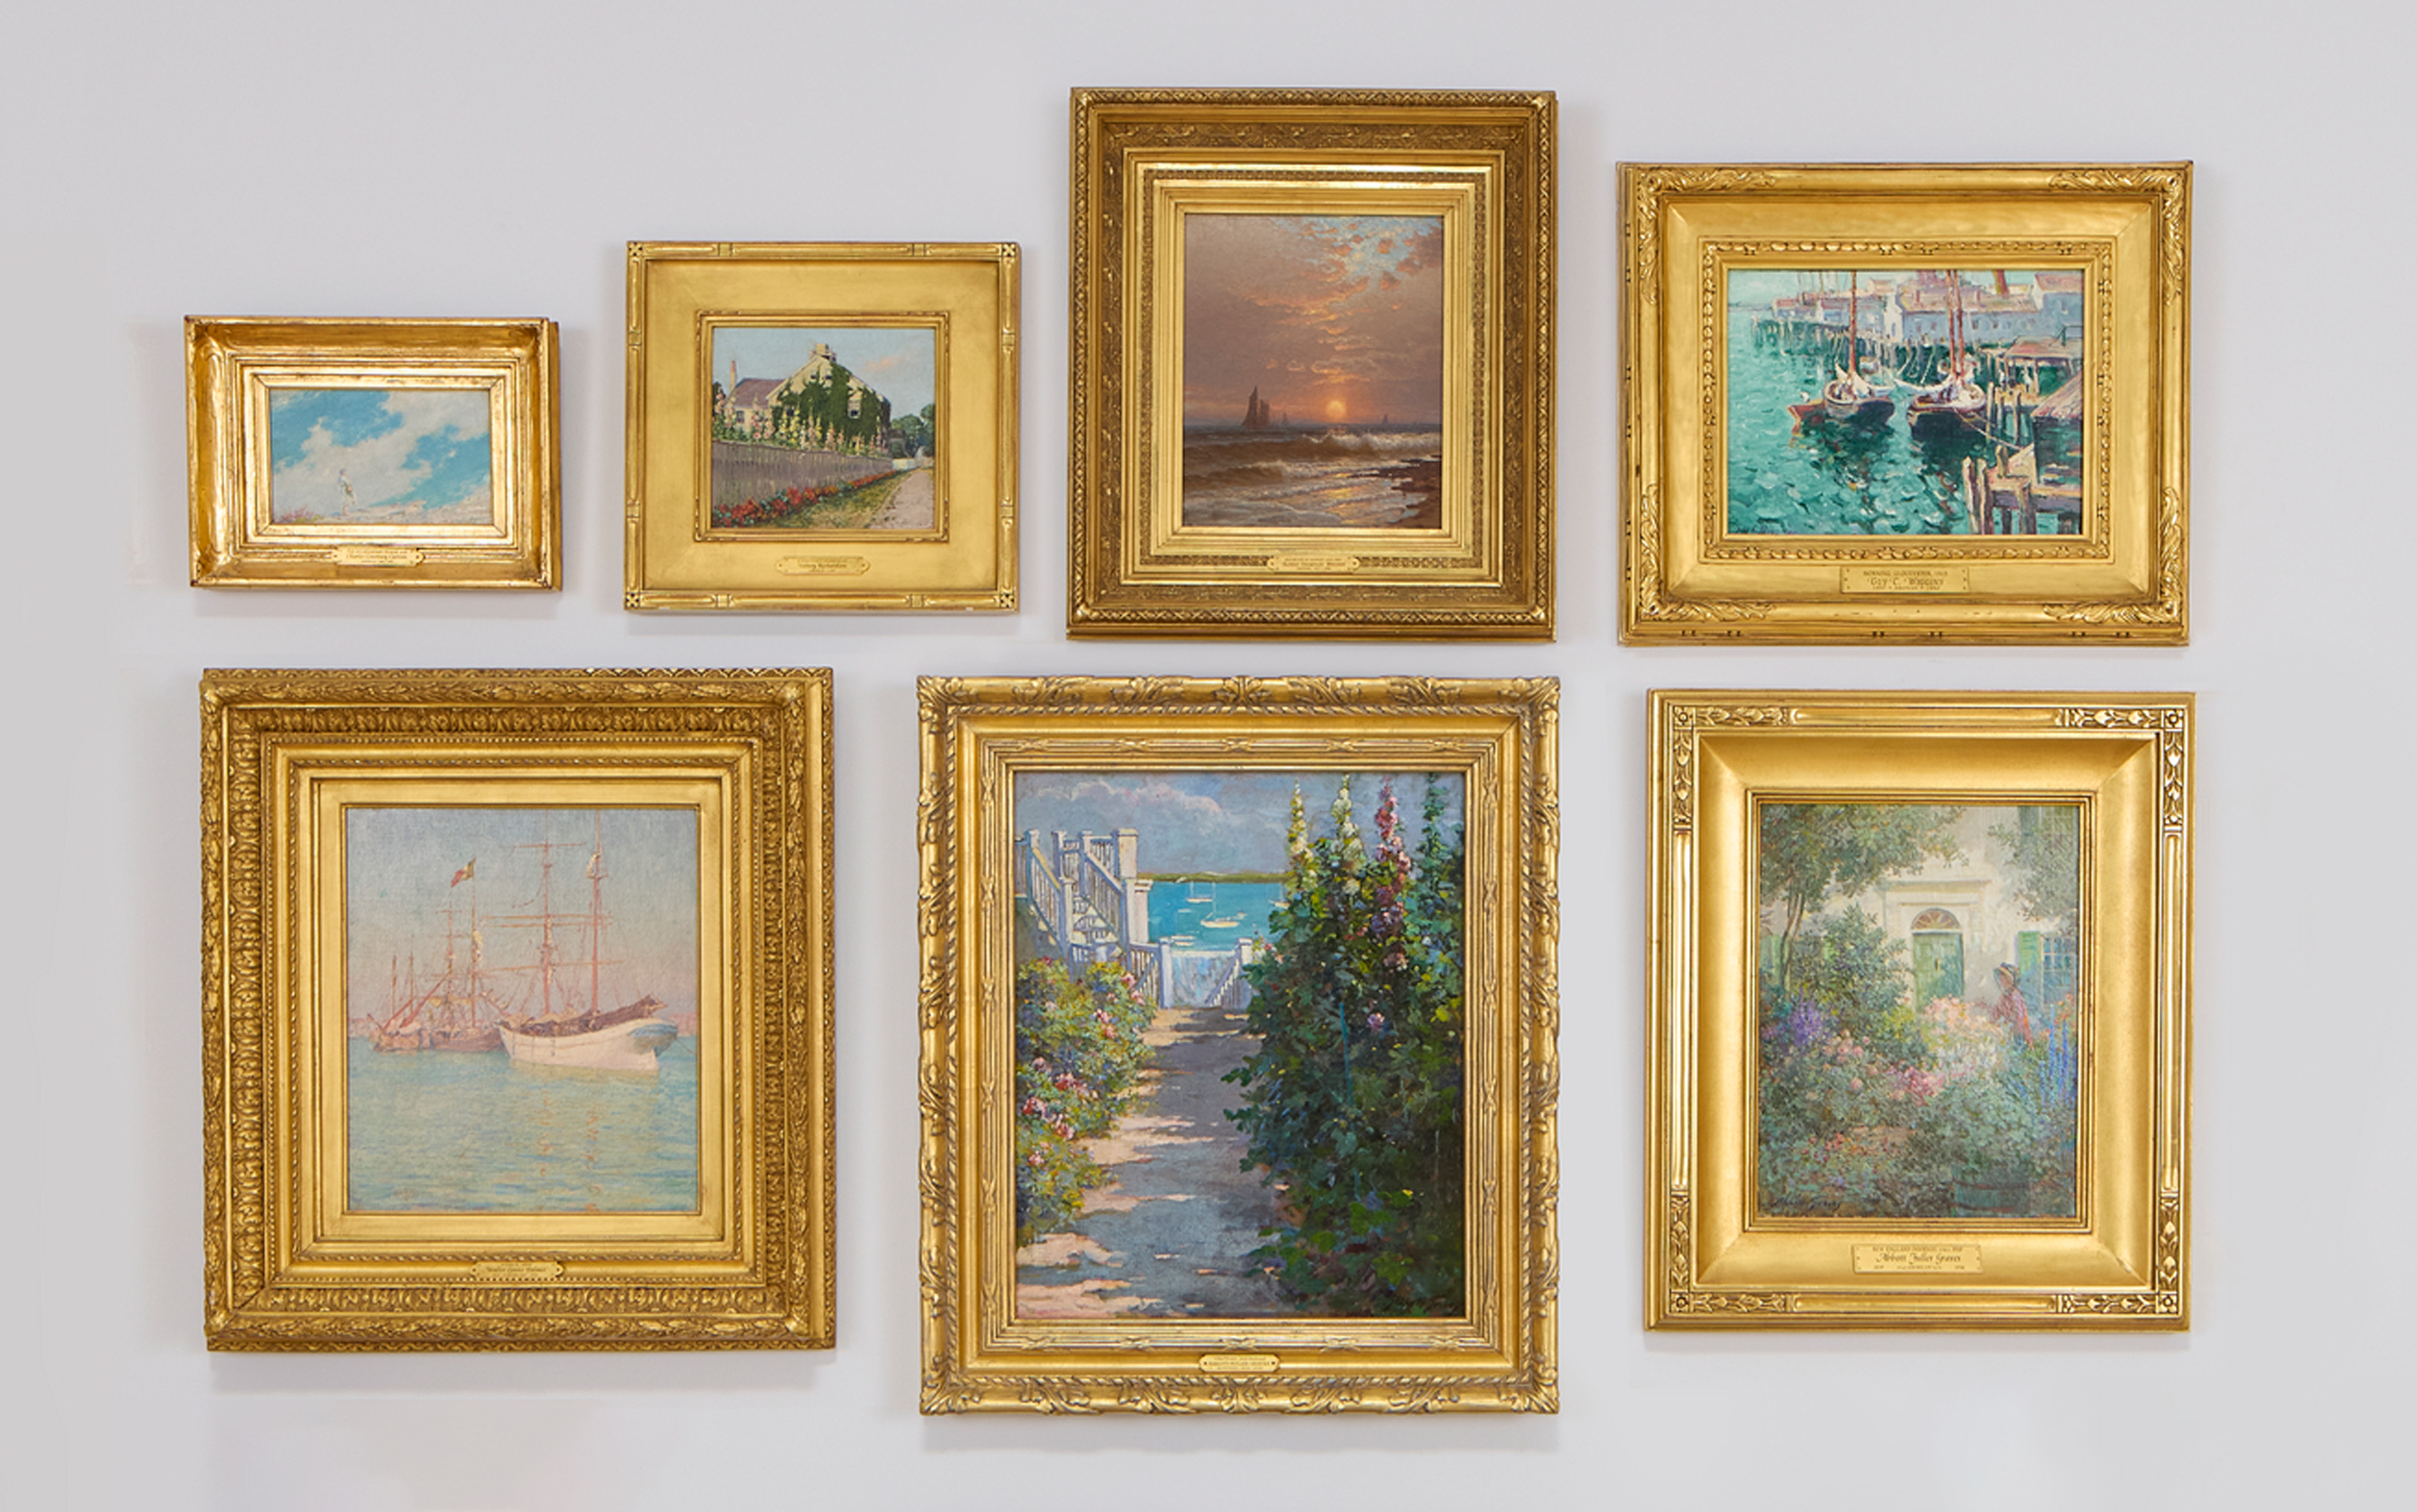
Hanging art salon style: everything you need to know

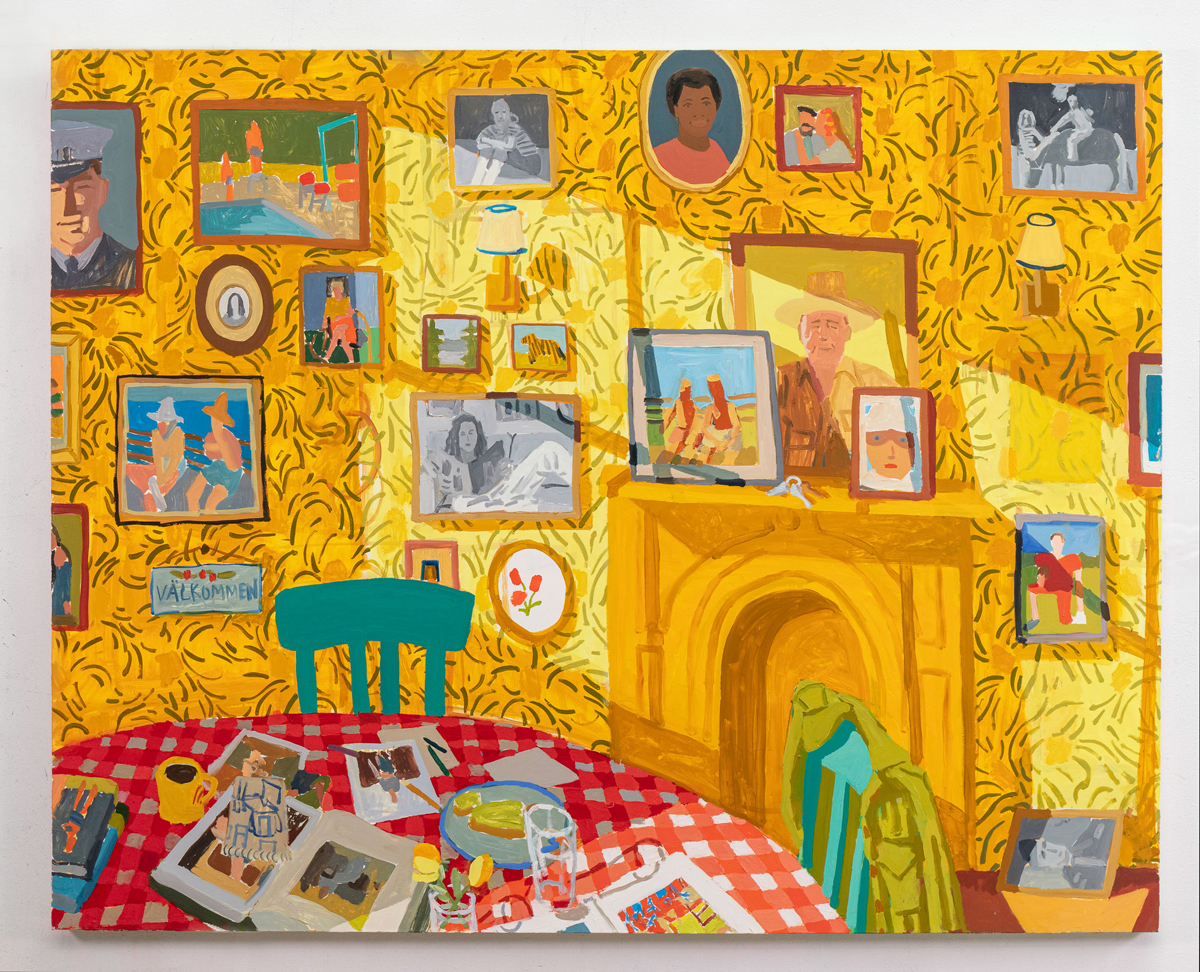
How to Hang an Art Collection Like an Expert
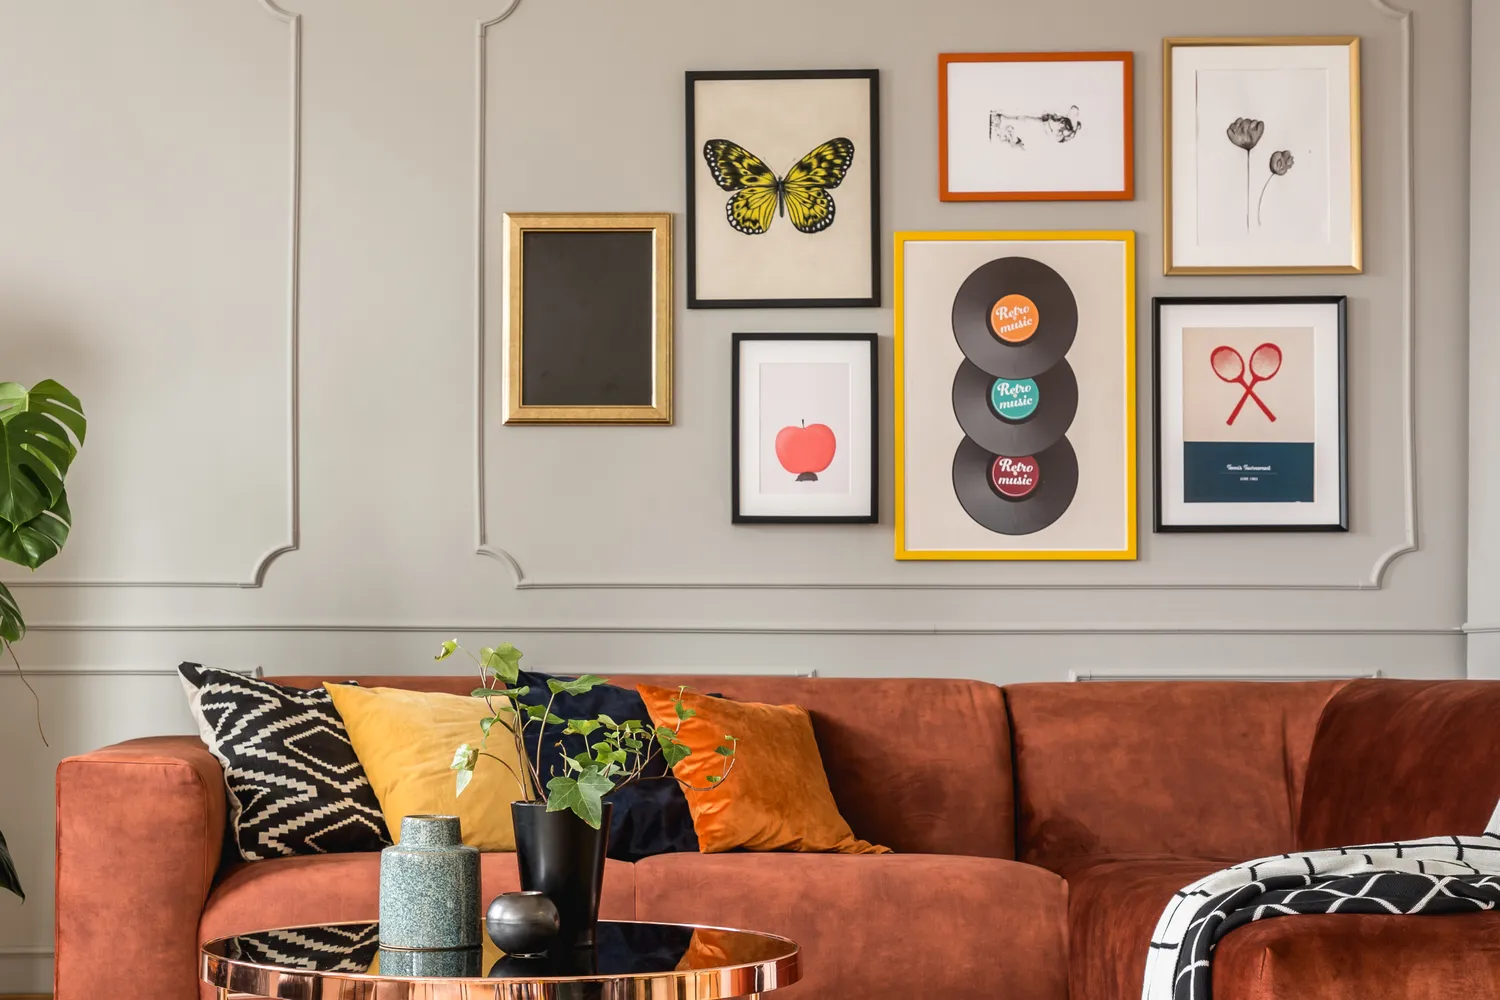
5 Ways to Make Hanging Picture Frames So Much Easier
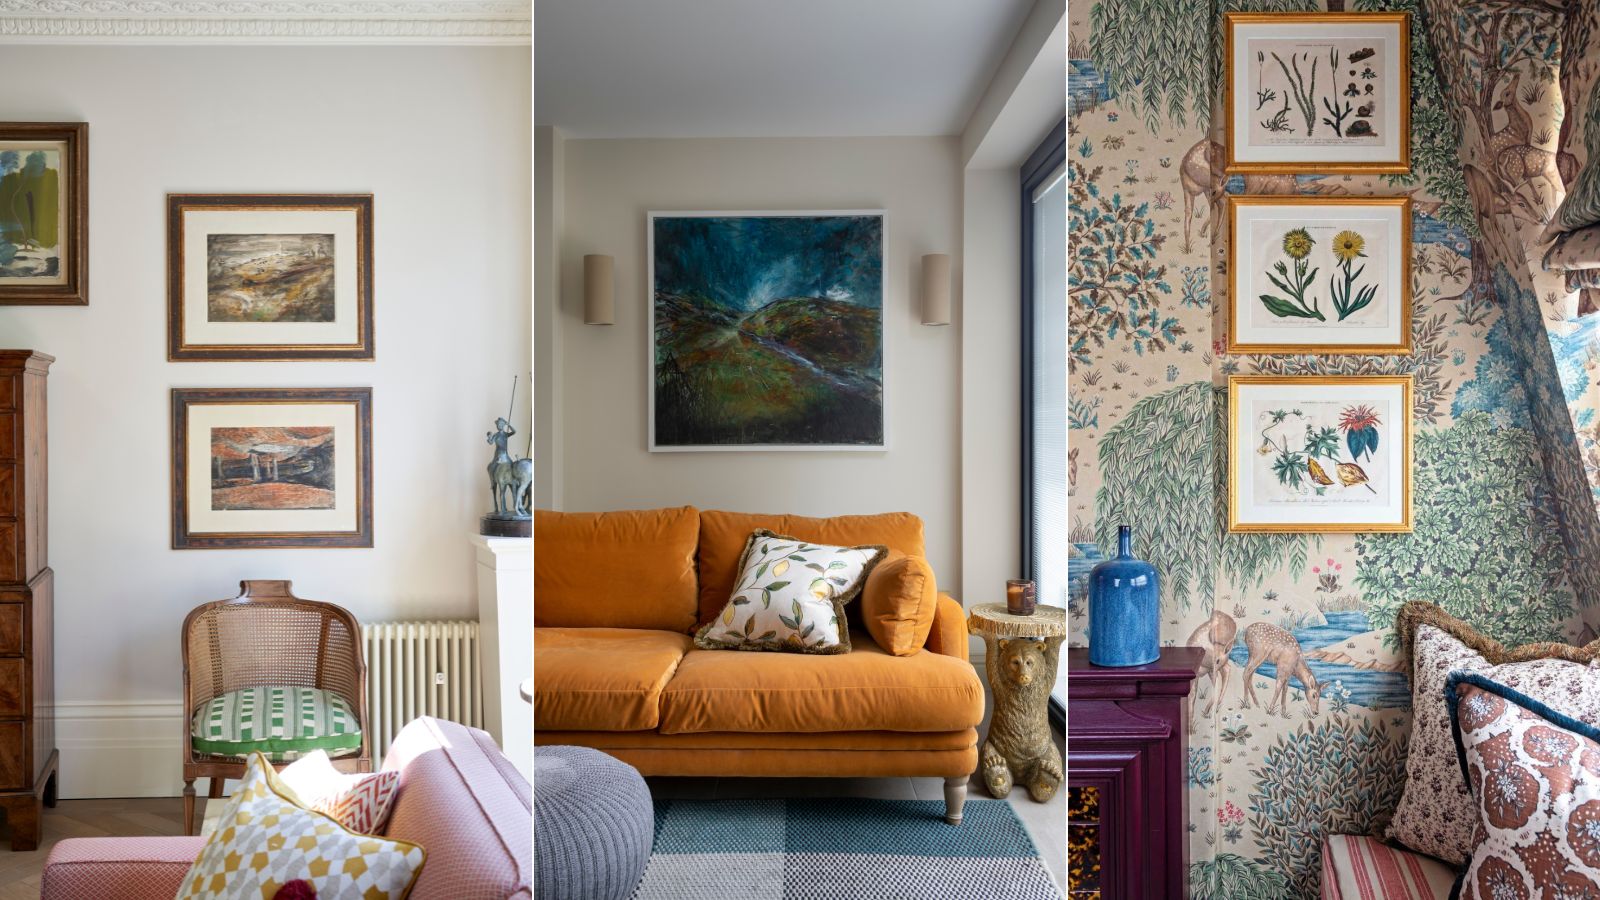
Emily Henderson just shared her tried-and-true tips for hanging art – this is how to get a gallery-like look
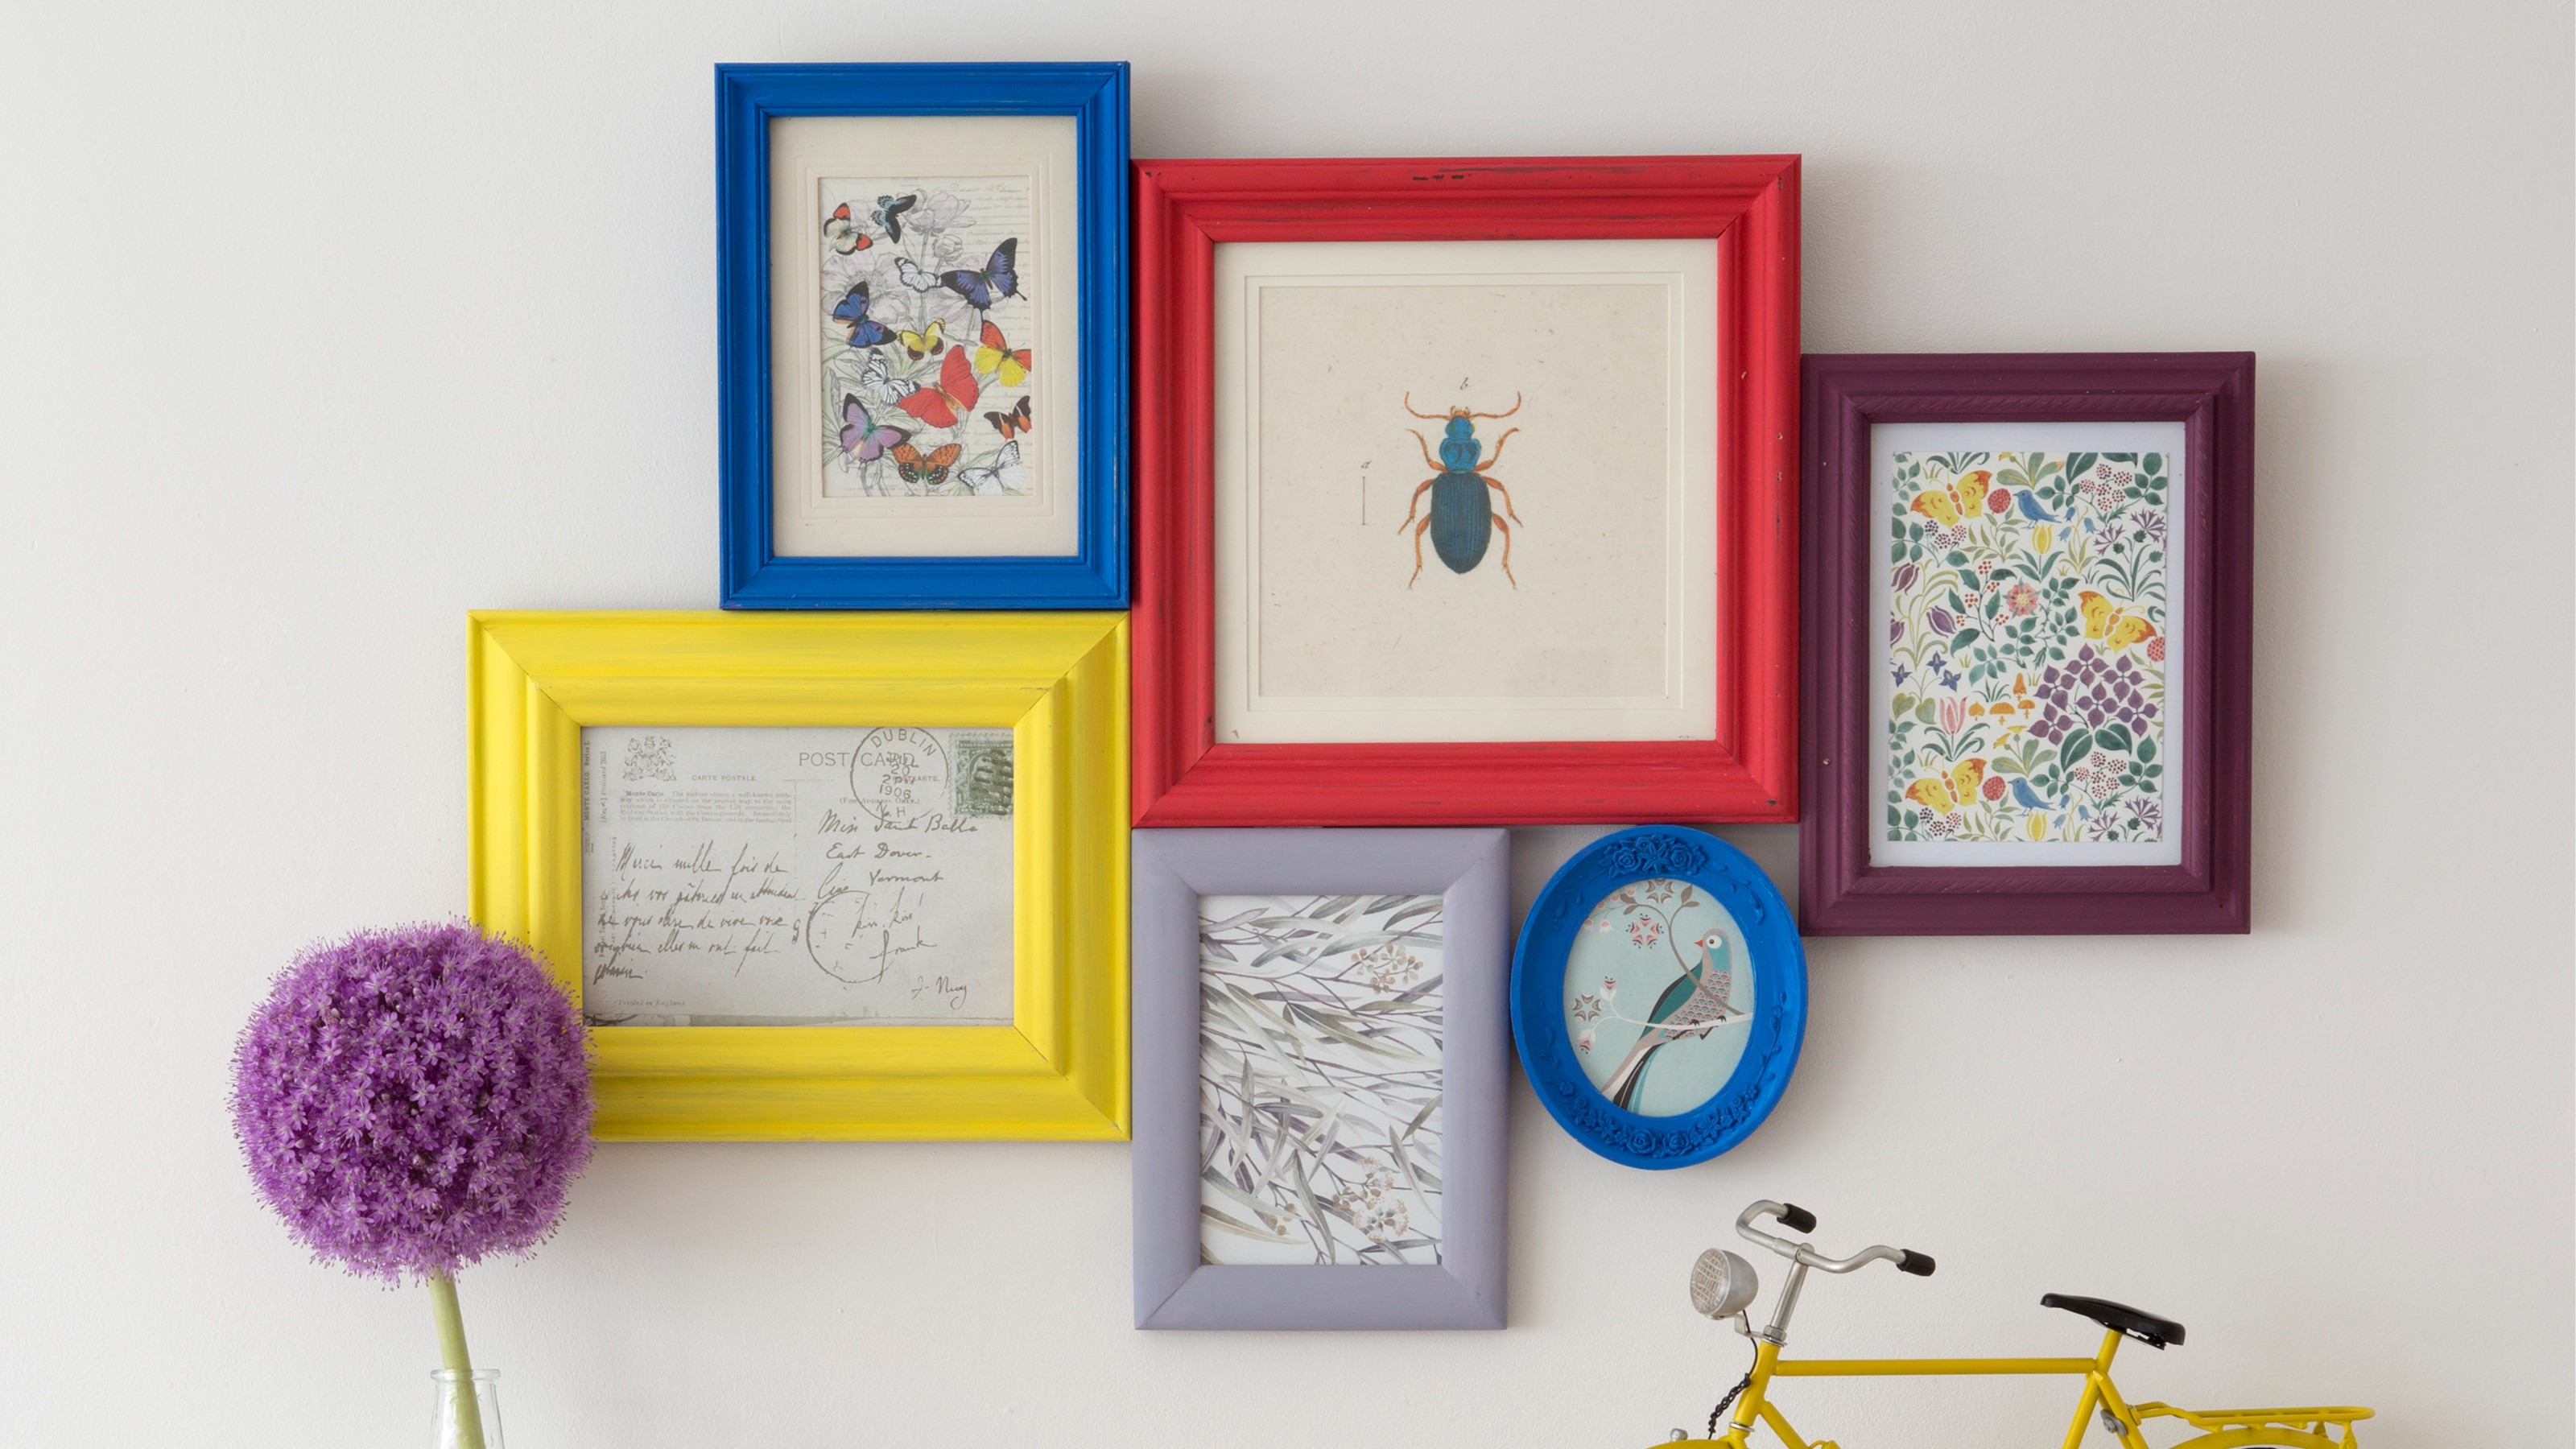
3 ways to update picture frames for elevated displays of art and photos
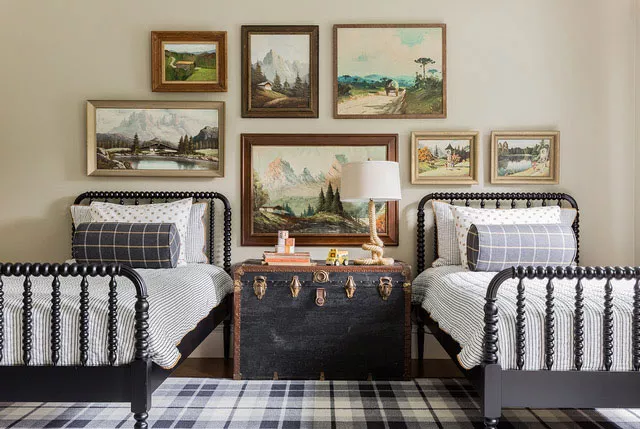
This Is The Best Way To Hang Pictures, According To An Expert
'No forking way!' – this genius hack might have just solved our biggest problem with hanging art on a wall
There's Hanging Art, and Then There's Hanging Art Like an Interior Designer — Here's How to Do the Latter

How to Hang Wallpaper (the Permanent Kind!)

How to hang paintings: Everything you need to know
Talking pictures: an expert’s guide to hanging them in your home

Hanging art salon style: everything you need to know
The Stress-Free Way to Hang Art (Published 2021)