1/9
How to fix ripped carpet – 5 steps to restore the appearance of your flooring
A ripped carpet can be an unsightly and potentially hazardous issue within a home, but a complete replacement is often an expensive and unnecessary solution. This guide provides a straightforward, cost-effective, and simple method for homeowners to repair a carpet tear themselves, extending the lifespan of their flooring. The process begins with an assessment of the damage to determine the most suitable repair approach. For minor tears, simple DIY solutions are adequate, while larger or more complex damage might necessitate professional assistance or replacement of an entire carpet section. This article focuses on manageable rips that can be fixed using common tools and materials.
The essential materials required for carpet repair include a utility or carpet knife, a straight edge or ruler, a measuring tape, carpet adhesive (either tape or glue for smaller rips), carpet seam tape for larger rips, an optional carpet seam roller, and heavy objects such as books or weights to apply pressure. The repair process starts with thorough cleaning of the carpet and precise trimming of any loose fibers or frayed edges around the torn area. Using a ruler or straight edge and a carpet knife, clean and even edges are created along the rip to ensure that any patch or replacement piece blends seamlessly with the existing carpet.
Following the preparation of the ripped area, adhesive is applied. For smaller rips, a thin layer of adhesive can be applied directly along the edges, pressing them firmly together. Alternatively, the adhesive or carpet tape can be applied to the subfloor or backing material beneath the torn section. If using adhesive, it's important to follow the product's instructions, which may involve mixing or heating. Sufficient adhesive should be used to create a secure bond. When using carpet tape, a strip is cut to the appropriate length to secure the ripped parts.
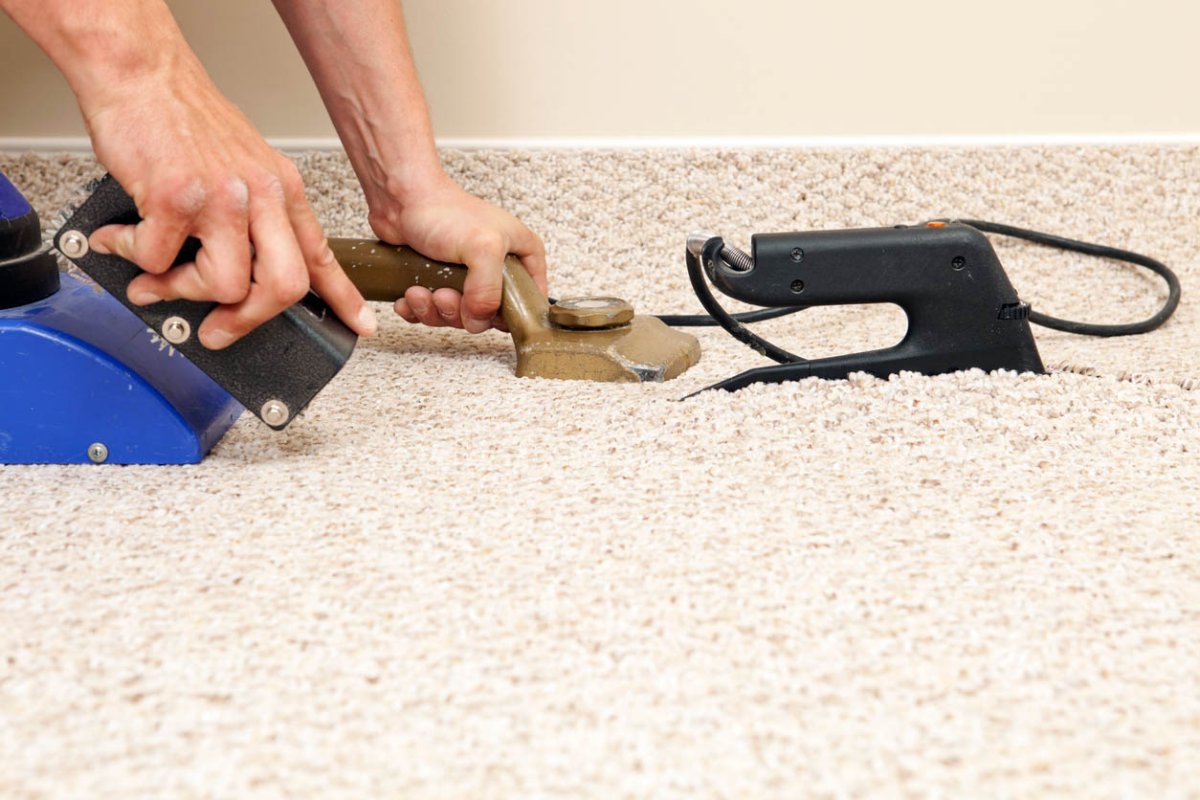
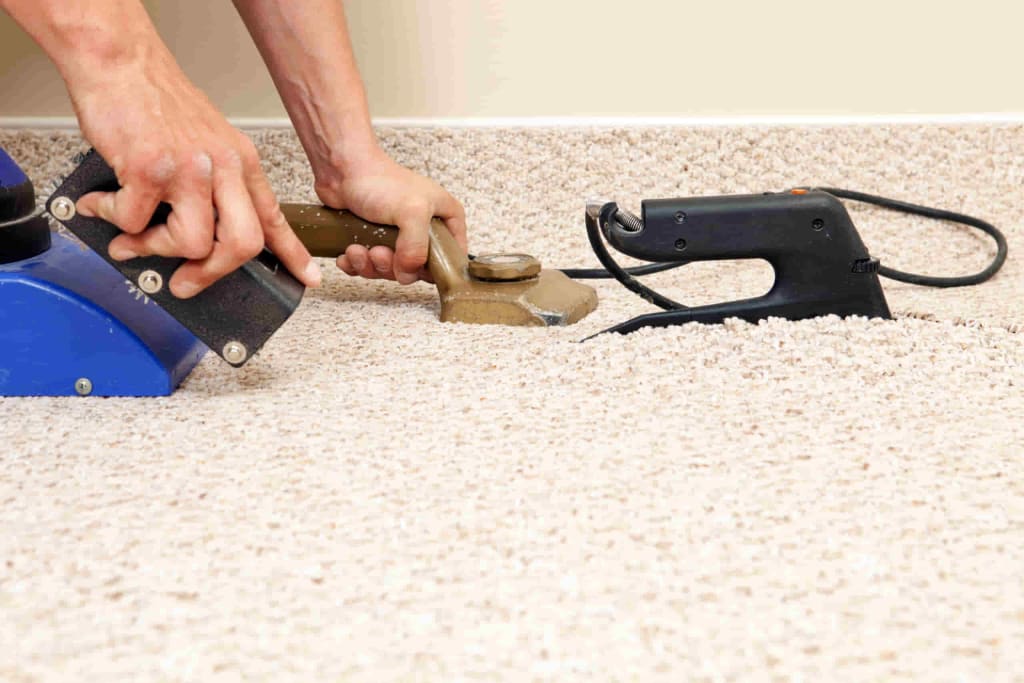
For larger rips, carpet seam tape is utilized. A strip of this tape is placed underneath the ripped edges, which are then pressed down onto the tape to secure them. If heat-activated seam tape is chosen, a seam iron is required to bind the tape to the carpet. The process involves plugging in the seam iron, cutting the heat-activated tape to the length of the rip, carefully aligning the edges, and securing them by placing the tape under the seam. A carpet seam roller is then used to apply pressure along the repaired seam, ensuring a strong bond. The article advises starting the first length of tape at the seam's bottom edge, heating it, and pressing the seam edges down as the iron is moved along.
After applying the adhesive or tape, pressure must be applied to the repaired area to ensure proper bonding. Heavy objects like weights, books, or even a coffee table can be placed on top of the repair to prevent movement or lifting while the adhesive dries. The adhesive is then allowed to dry completely according to the manufacturer's instructions, typically taking 24 to 48 hours. During this drying period, the weights should remain in place to maintain the secure bond. Finally, once the repair is dry, a carpet brush or fingers are used to fluff up and blend the fibers around the repaired area, helping to conceal the mend. Any excess fibers can be trimmed for a seamless finish. The article concludes by noting that while this is a feasible DIY task, extensive damage or uncertainty about the repair process may warrant consulting a professional carpet repair service to prevent further damage.
#CarpetRepair #DIYHomeImprovement #HomeMaintenance #FlooringCare #HouseholdTips #CarpetAdhesive #InteriorDesignSolved #HomeDecor #CarpetRepair #DIYHomeImprovement #HomeMaintenance #FlooringCare #HouseholdTips #CarpetAdhesive #InteriorDesignSolved #HomeDecor
0 comment in total
 No comments yet
You may also like

Carpet mistakes to avoid – 5 expert-approved tips to ensure perfect flooring
How to buy the best carpet UK 2025
How to restore hardwood floors without sanding – a step-by-step guide
Transform your home with Bert Henry Carpet & Tile's diverse flooring selection

3 steps to cover ugly wood floors mid-home reno

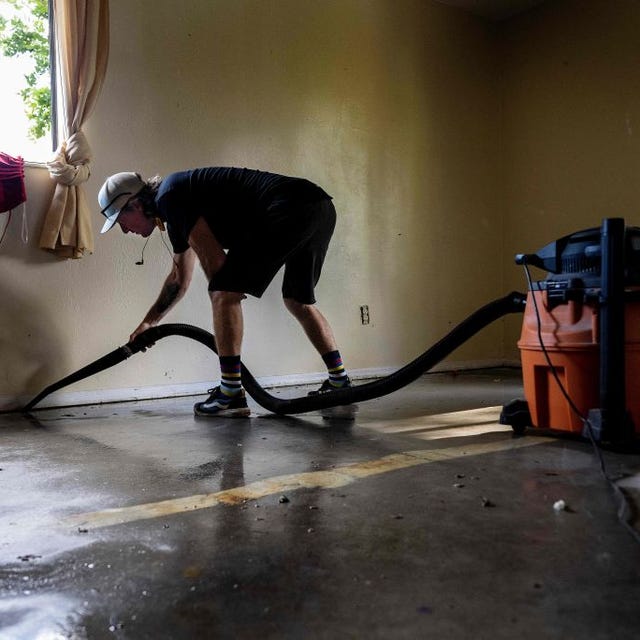
Here’s What to Do With Your Carpets After a Flood
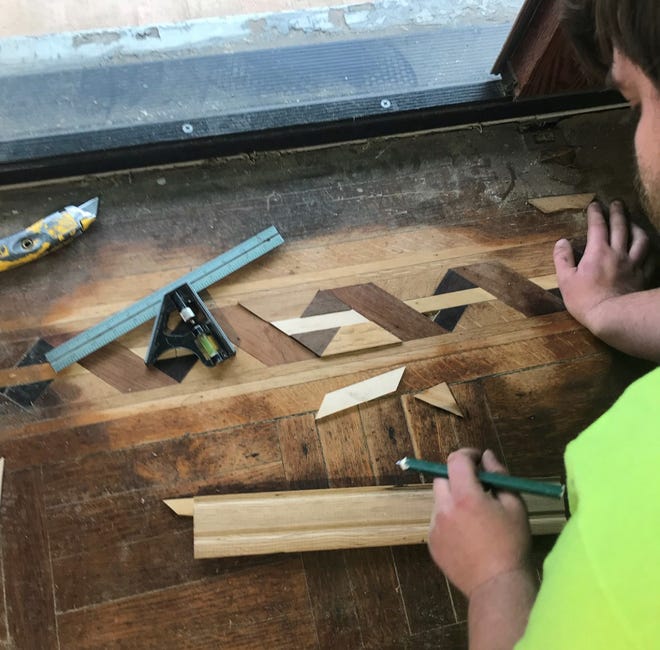
Repairing and restoring vintage hardwood floors
Carpets Central

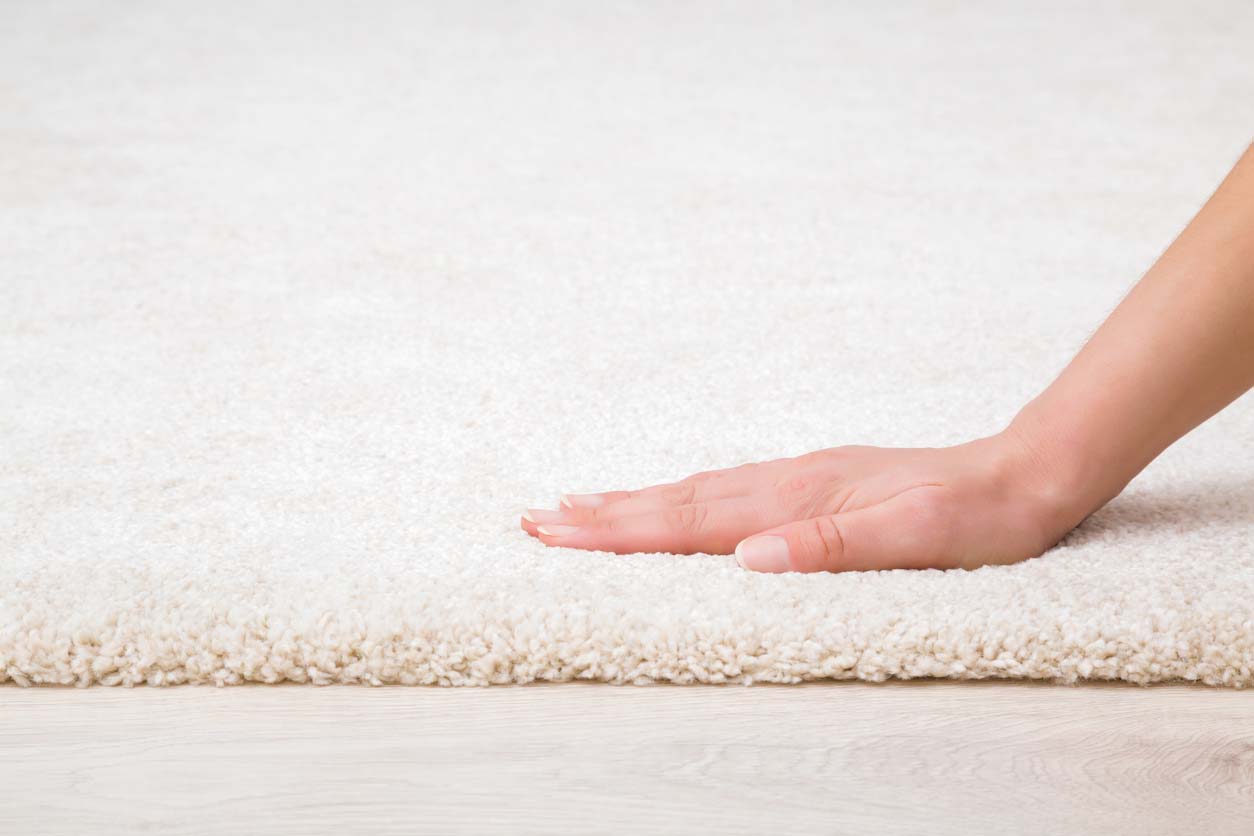
The 8 Best Places to Buy Carpet

How often should carpet be replaced and how to make yours last, according to flooring experts


The comforting comeback of fitted carpets

5 Fail-Proof Ways to Stop Your Rugs From Sliding — And Clever Buys to Keep Them Flat, Too

The Best Carpet Repair Products for Home Use in 2025

Home Flooring Installation and Repair


The 4 Best Carpet Installation Companies

I swear by this incredibly easy 5-step method for cleaning real wood floors
Tired of tiptoeing? These 5 methods for fixing creaking wooden floors are approved by the pros

7 totally genius ways to cover ugly carpet in a rental

The Easy Upgrade That Will Protect Your Carpet From Chair Damage

DIY Ideas: Tips For Refinishing Wood Floors