1/2
Common Upholstery Techniques: What You Need to Know to Reupholster Furniture
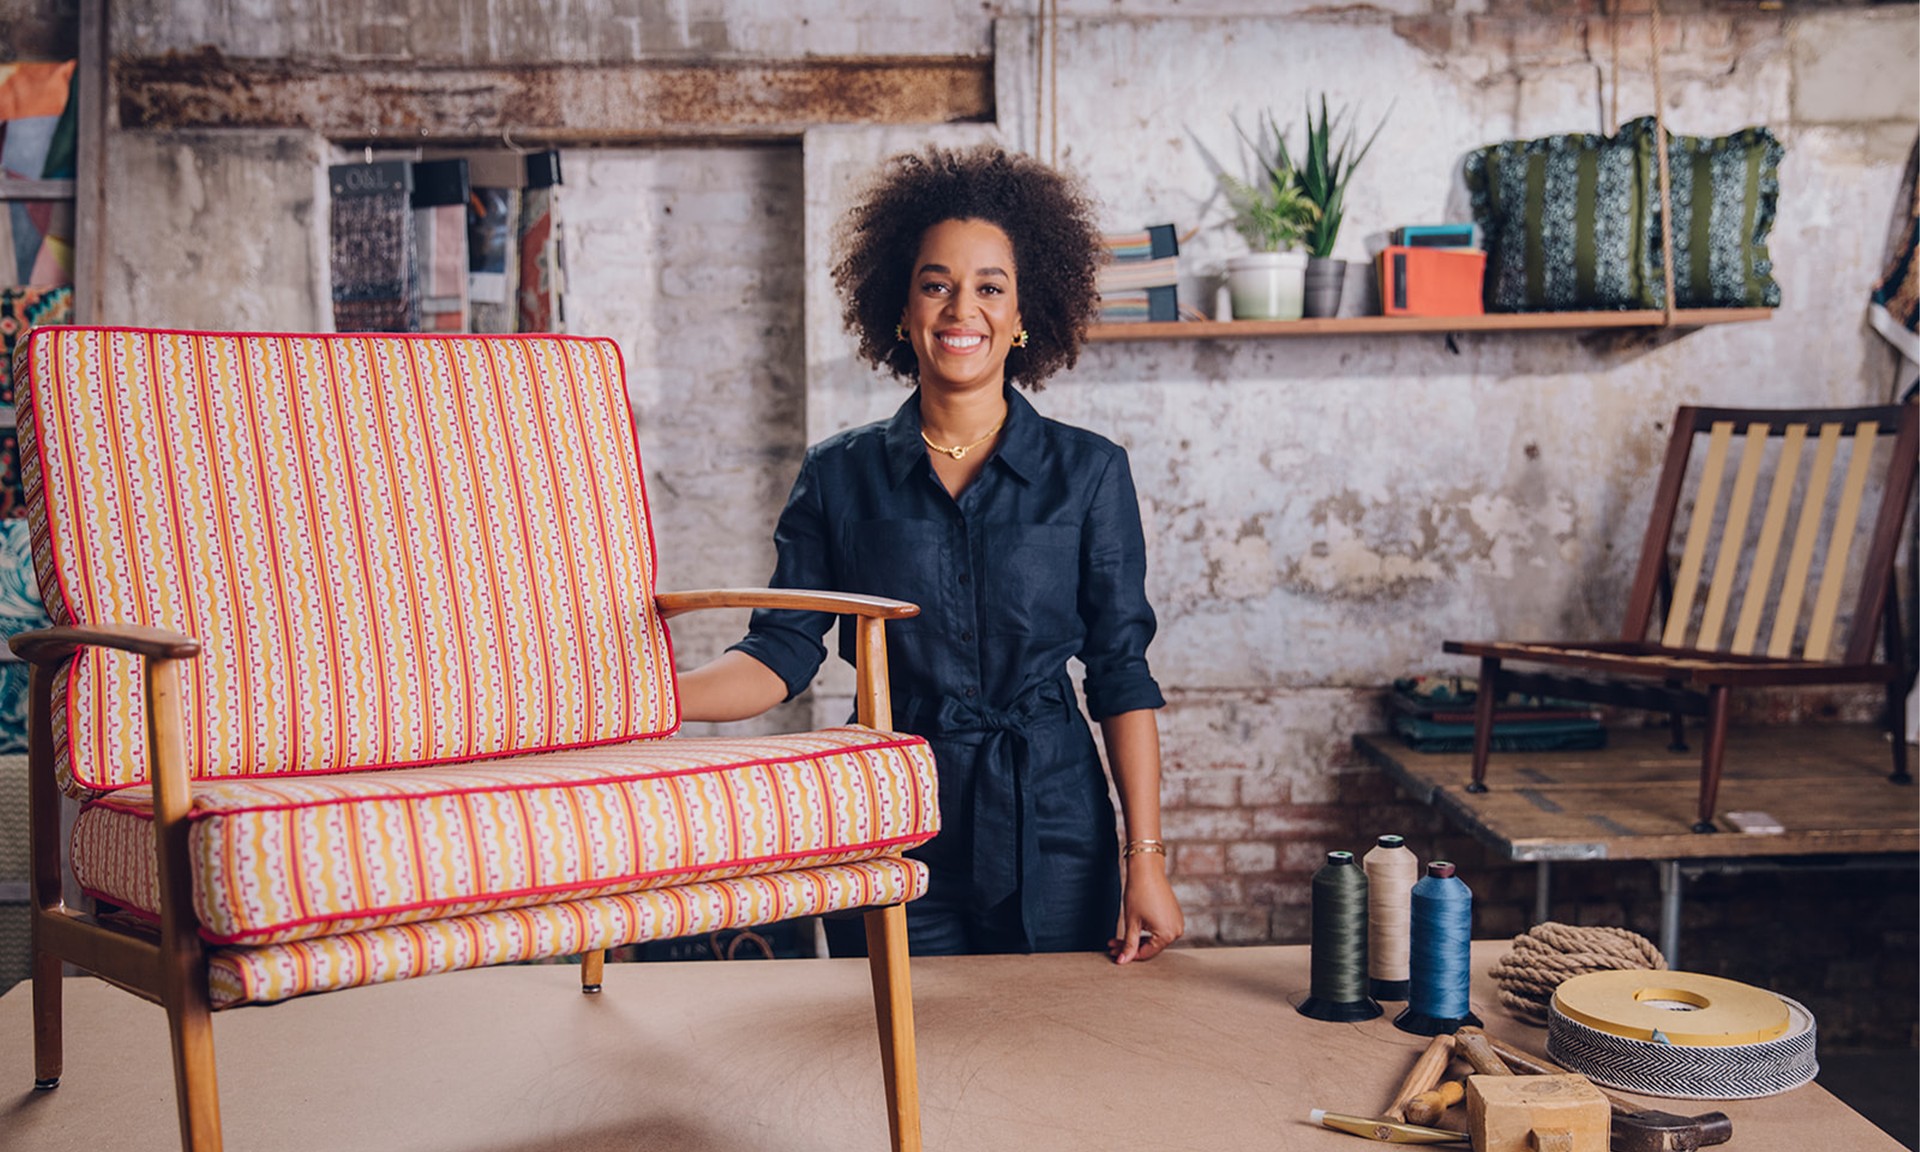
This guide outlines fundamental upholstery techniques, suitable for those with basic sewing skills, to transform furniture and home decor items. It emphasizes that many contemporary upholstery methods and tools are derived from practices developed over 200 years ago, incorporating modern updates for enhanced efficiency. The article provides a step-by-step demonstration using a slipper chair as a primary example, detailing the process from preparation to final assembly.
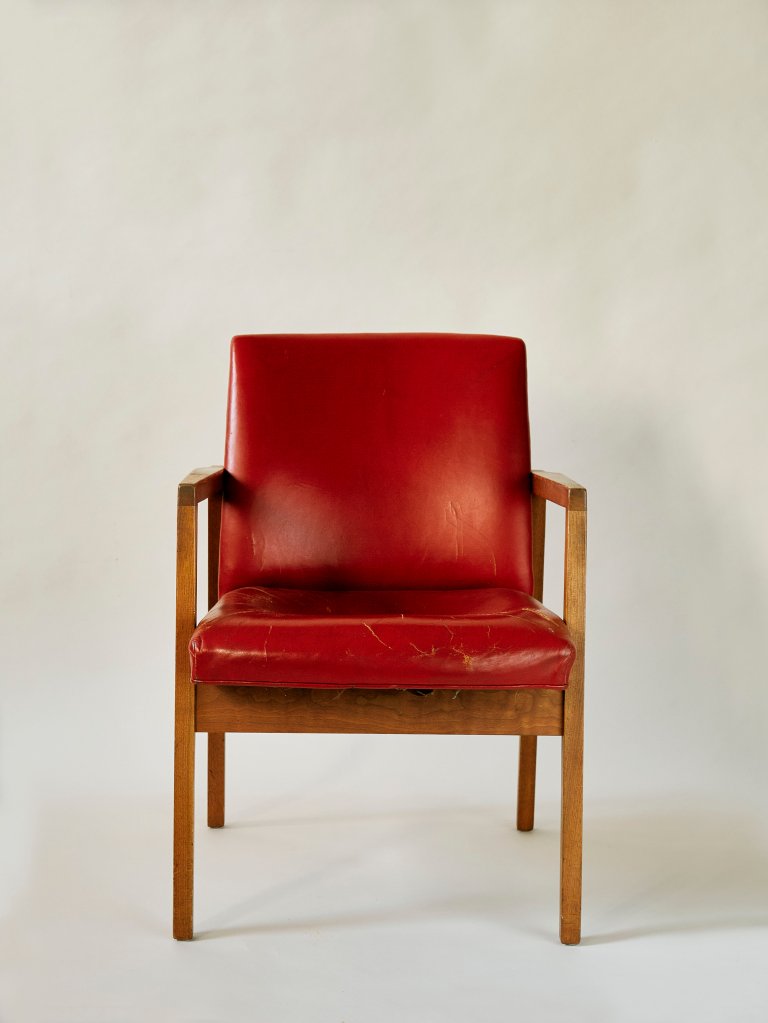
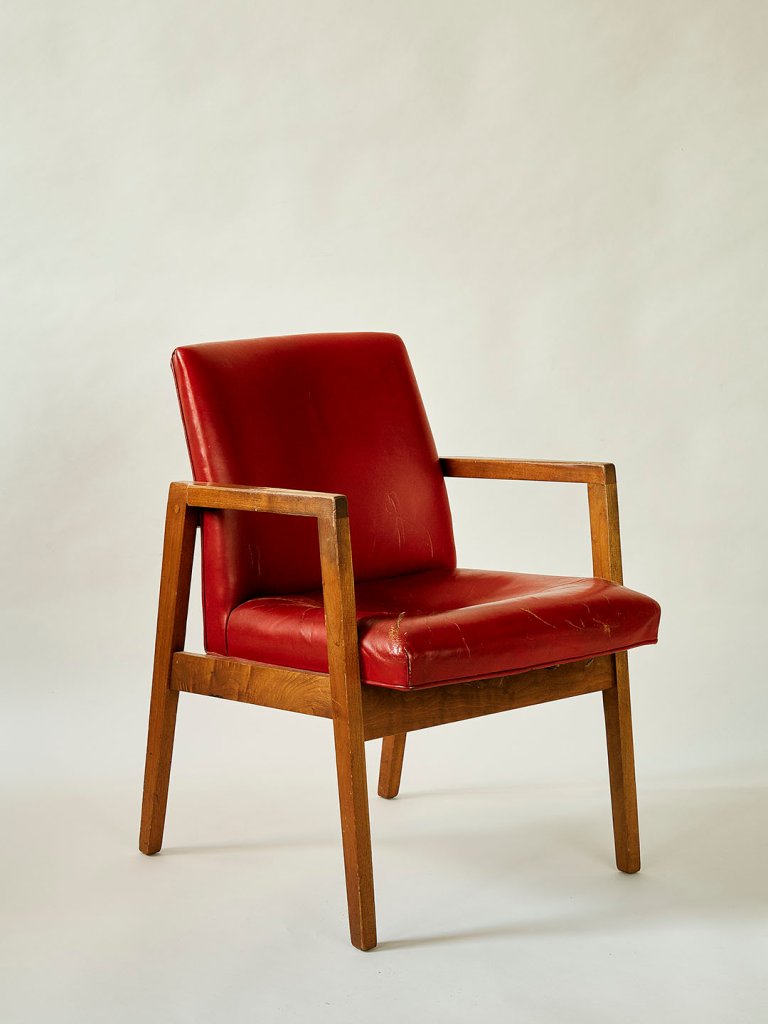
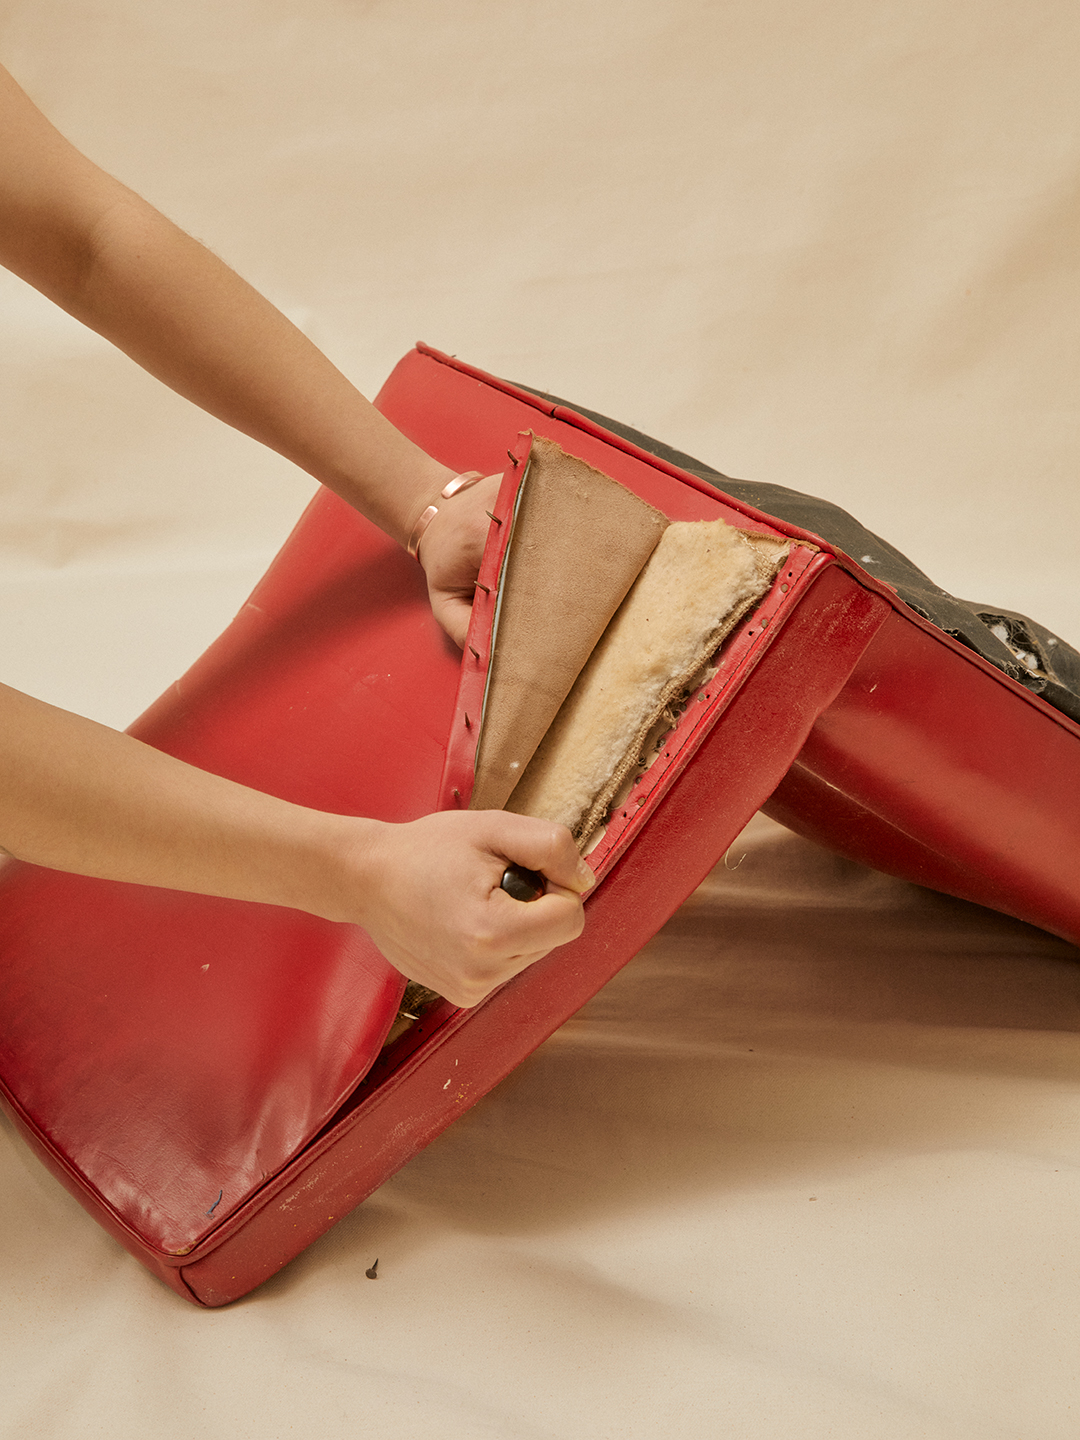
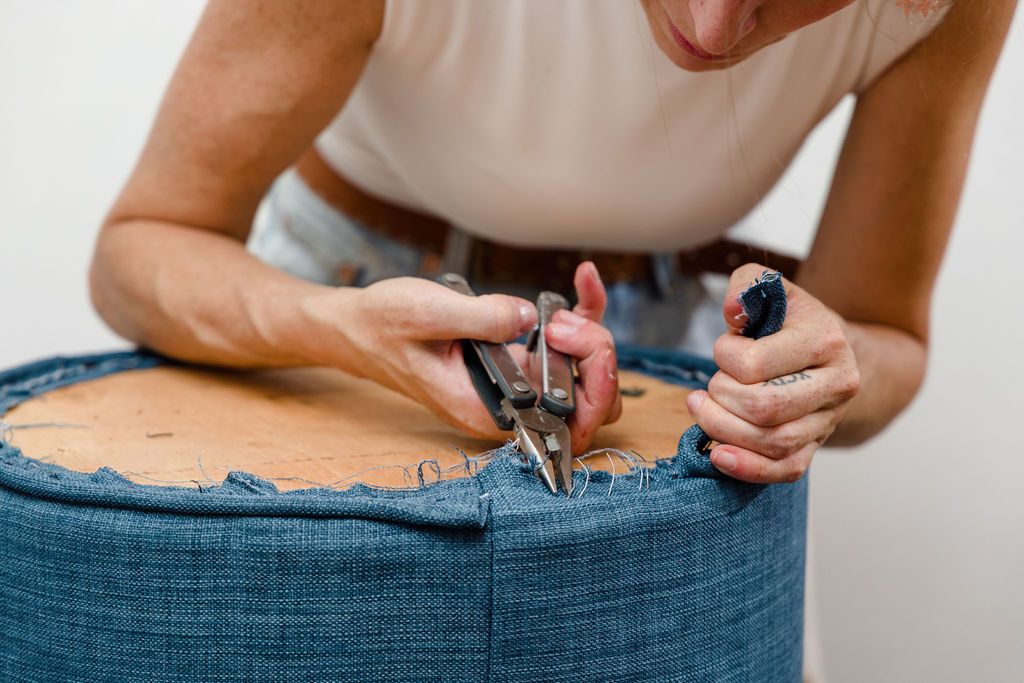
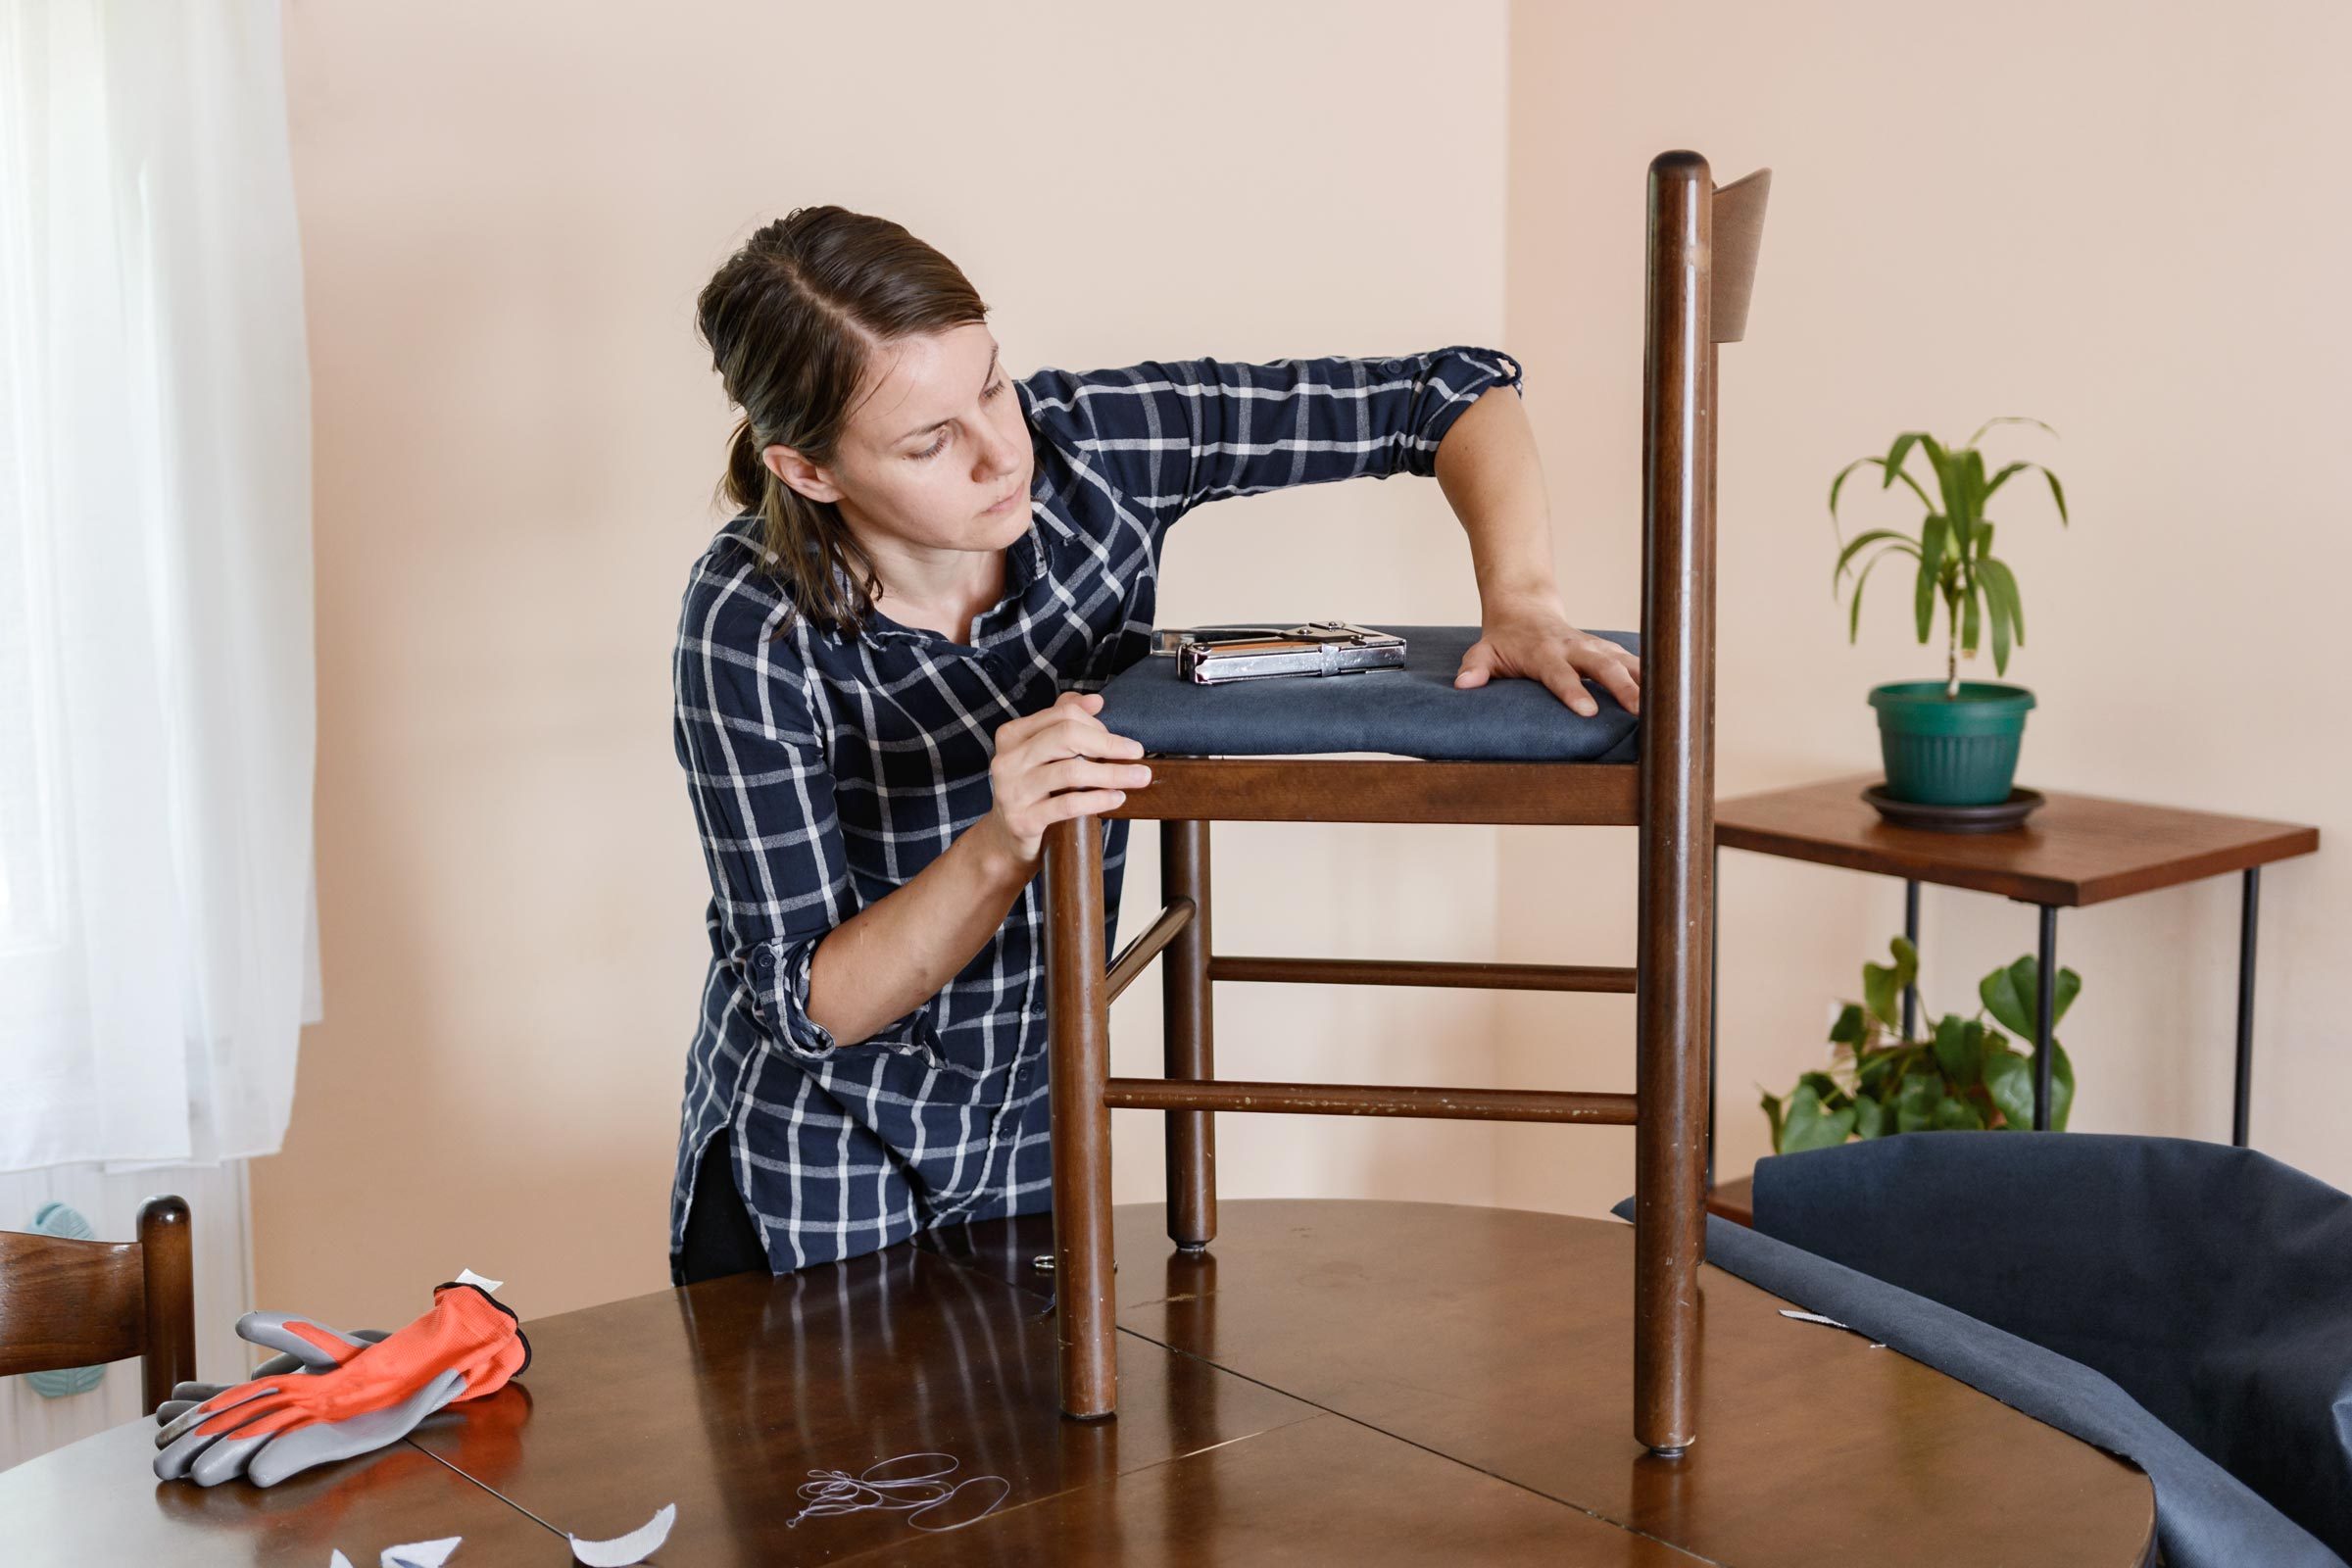
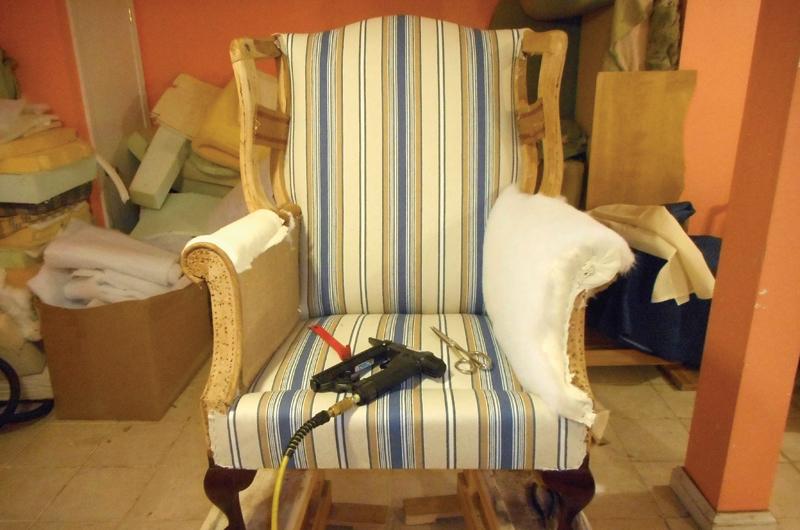
The initial phase of reupholstering a chair involves assessing an outdated piece of furniture that requires a fabric update. The subsequent steps detail the removal of the original upholstery fabric, ensuring all pieces are carefully saved and labeled to serve as patterns for the new material. If necessary, an additional layer of batting is affixed to the chair frame to provide extra padding and structure. The old fabric pieces are then used to meticulously cut the new upholstery fabric, laying them right sides down to ensure precise replication of shapes and sizes.
Once the new fabric pieces are cut, they are provisionally pinned wrong sides out onto the chair. This temporary fitting allows for adjustments before the pieces are sewn together. Welting is incorporated into the seams during the sewing process to reinforce them and provide a clean, professional finish. After sewing, the custom-fitted cover is returned to the chair.
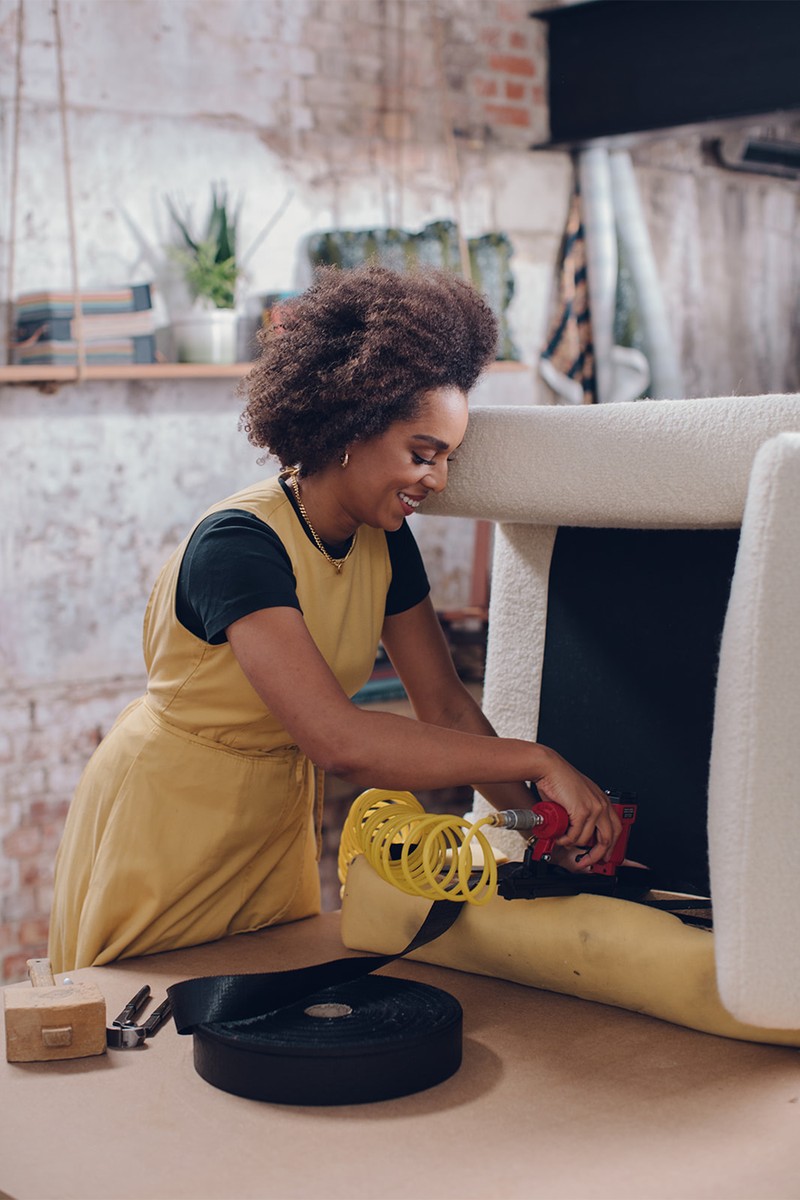
For areas with curves, such as chair arms or backs, pleats are often employed to smoothly ease the fabric around these contours. Staples used to secure these pleats are concealed with a covered button, enhancing the aesthetic appeal of the upholstered piece. The process for attaching a back panel involves using tack strips, which are pushed through the wrong side of the fabric along both long edges, approximately an inch in. These strips are then flipped to pull the fabric taut, creating clean, straight edges, and hammered into the frame using a specialized hammer with a piece of batting to protect the fabric.
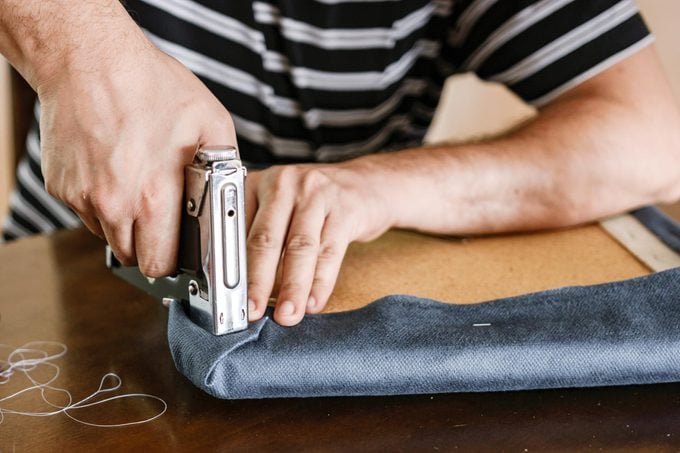
For the chair seat, a fabric sleeve is sewn and pulled into place. The back edge of this cover is threaded through the gap between the seat and backrest and stapled securely to the frame. Similarly, the main seat cover is stretched taut and fastened to the underside of the chair frame at the front and sides. A lined, box-pleated skirt, complete with welting, is then prepared. This skirt is assembled by arranging layers on the chair, pinning them, and sewing them together at the top. Finally, the skirt is stapled to the frame on the fabric's wrong side, just below the seam, completing the chair's transformation.
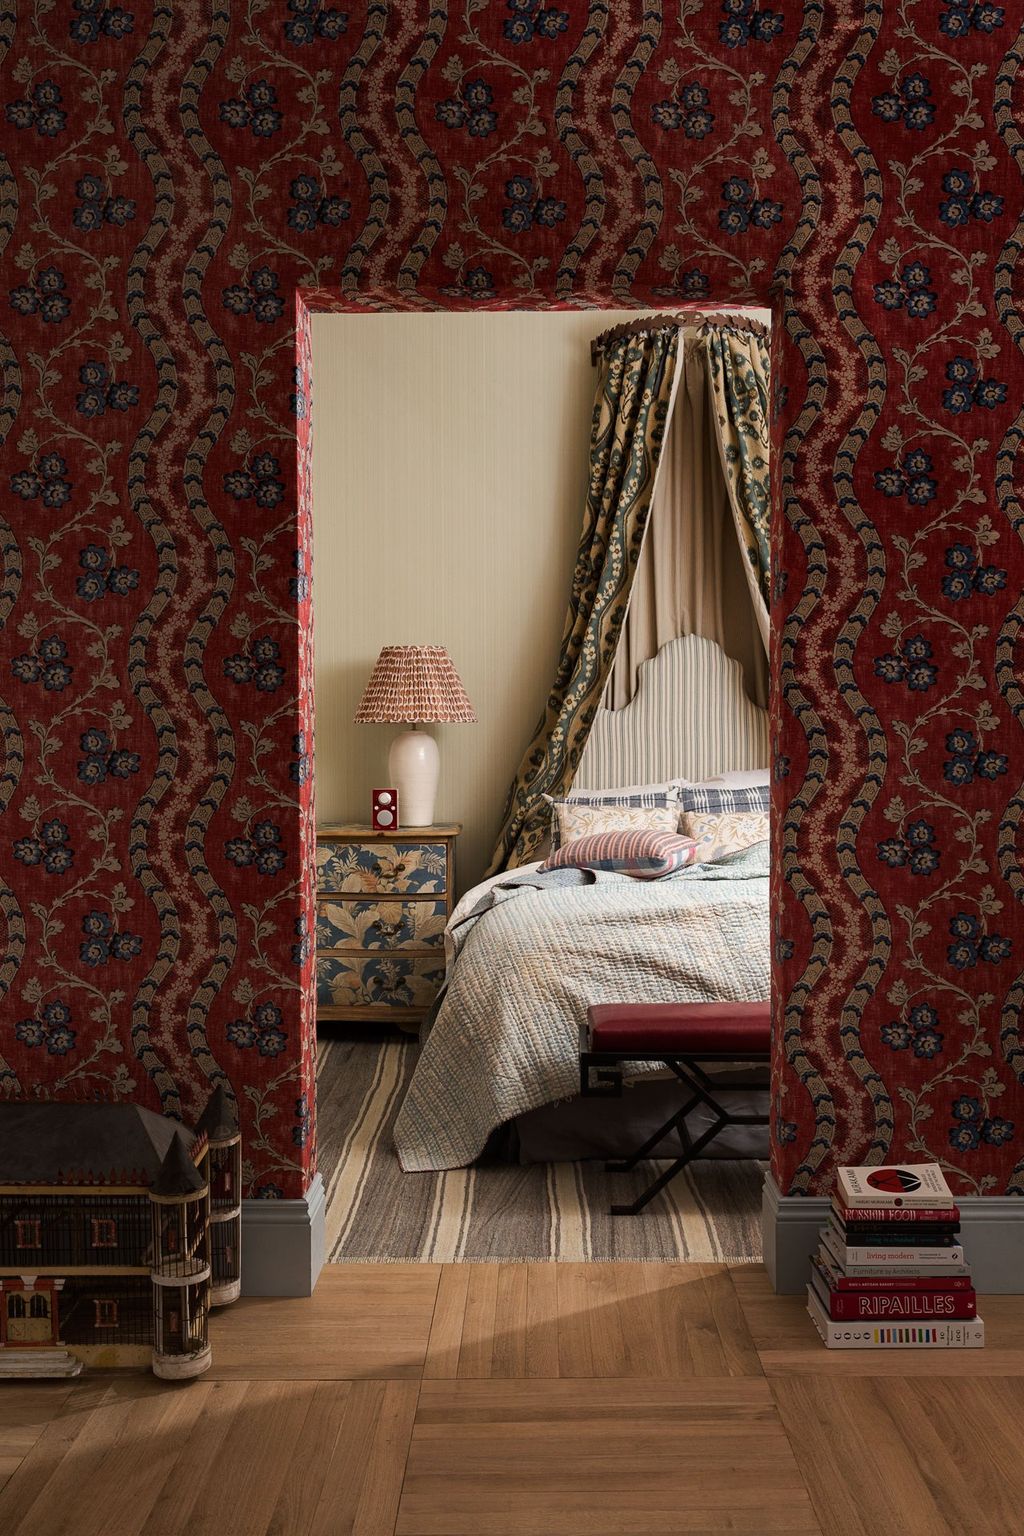
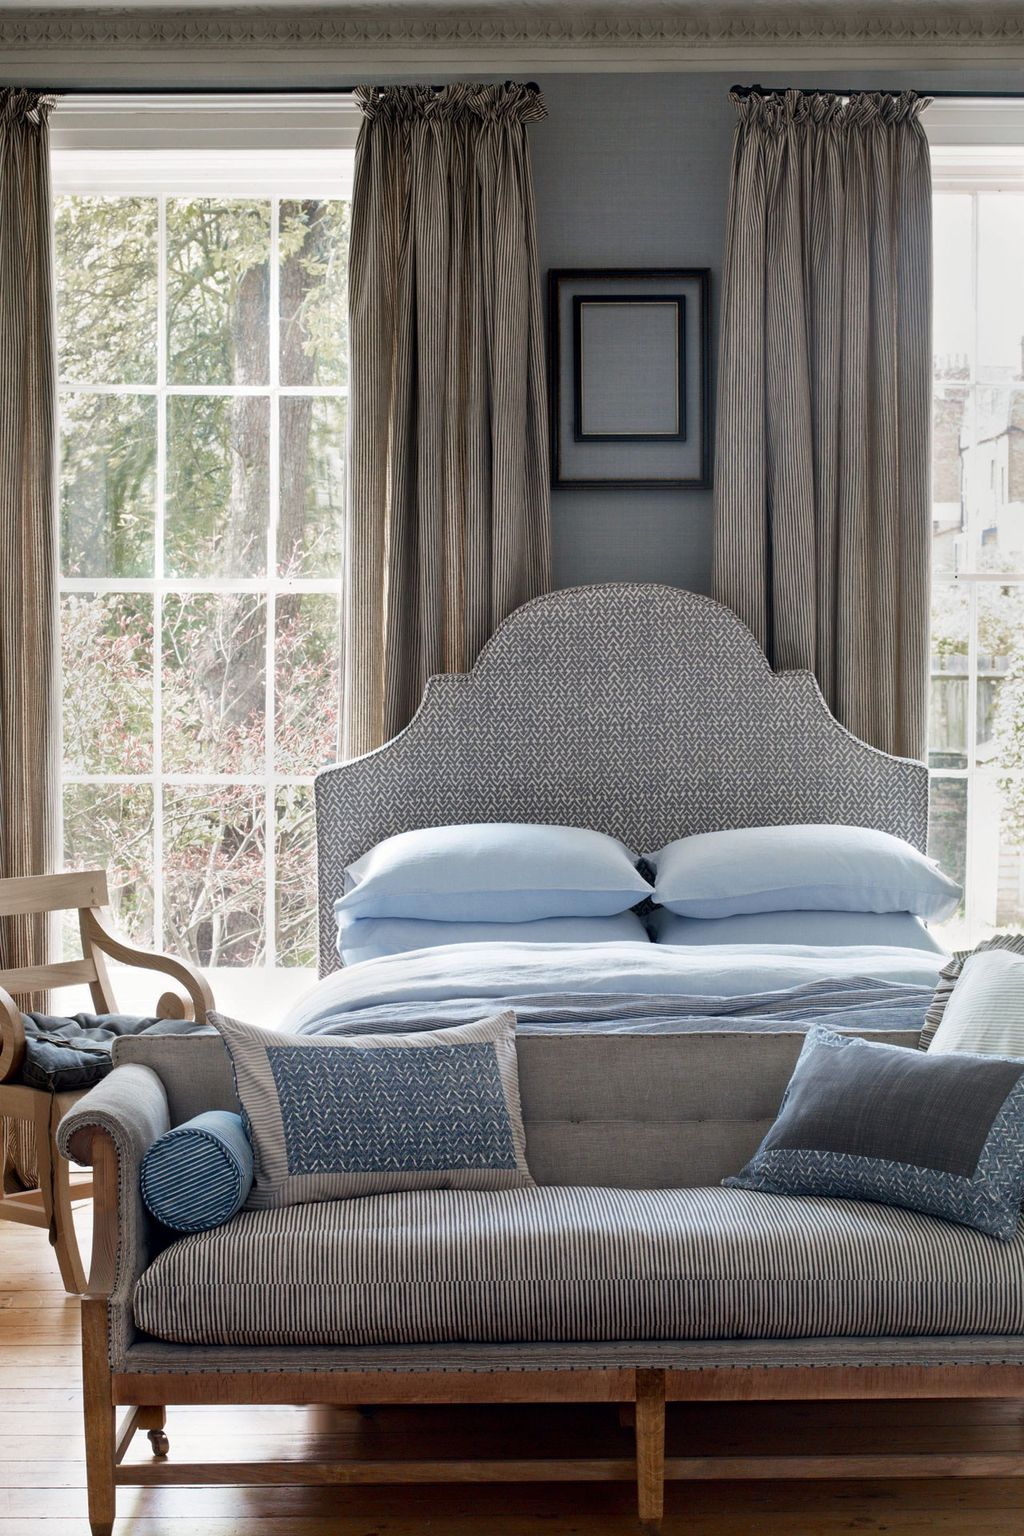
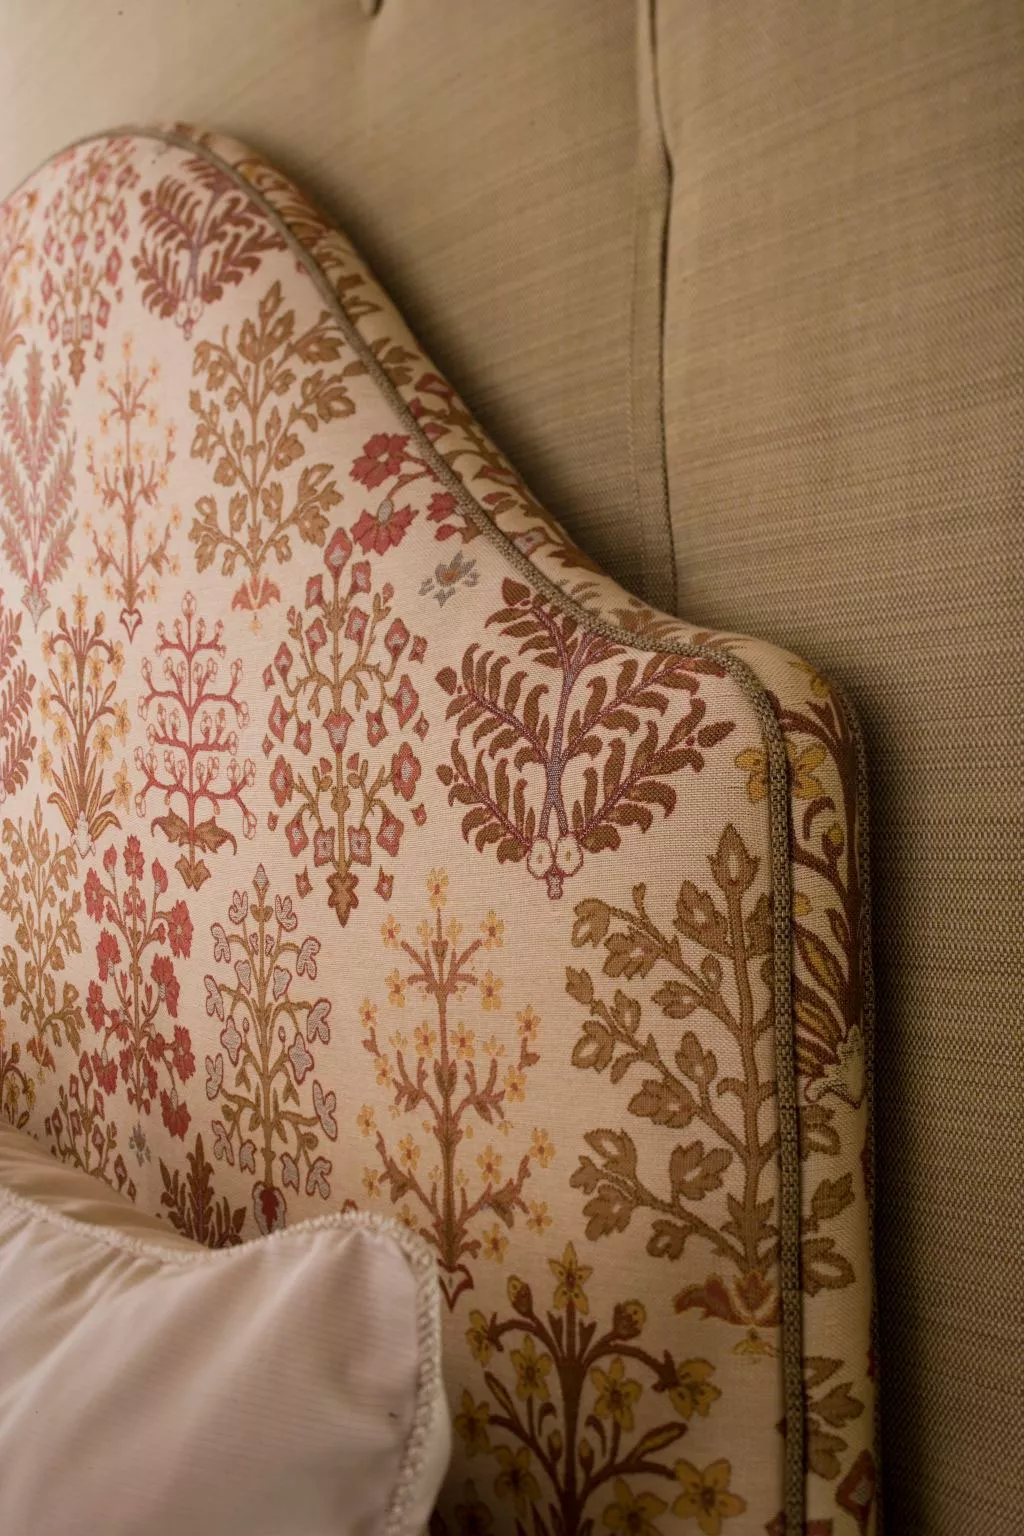
Beyond chairs, the article extends the application of these techniques to other home decor items. It describes the creation of an upholstered headboard, beginning with a plywood base, padded with foam, and then fitted with a tight slipcover. Piping, or welting, is used to highlight the headboard's shape and strengthen its seams. Another innovative application is the tufted wall, designed to add warmth, sound insulation, and a cozy feel to a bedroom. This involves attaching quilt batting to the wall using an electric staple gun, followed by stretching 54-inch-wide fabric panels over the batting and stapling them along their edges. These detailed instructions provide comprehensive guidance for various upholstery projects, enabling enthusiasts to personalize and revitalize their living spaces.
#UpholsteryTechniques #DIYFurniture #HomeDecor #FabricProjects #ChairReupholstery #HeadboardUpholstery #TuftedWall #SewingSkills #UpholsteryTechniques #DIYFurniture #HomeDecor #FabricProjects #ChairReupholstery #HeadboardUpholstery #TuftedWall #SewingSkills
0 comment in total
 No comments yet
You may also like
Beginner’s Guide To Reupholstering Furniture

The Upholstery Course You Need To Know About
Celia Rufey answers your fabric questions
How to Clean Upholstered Furniture the Right Way

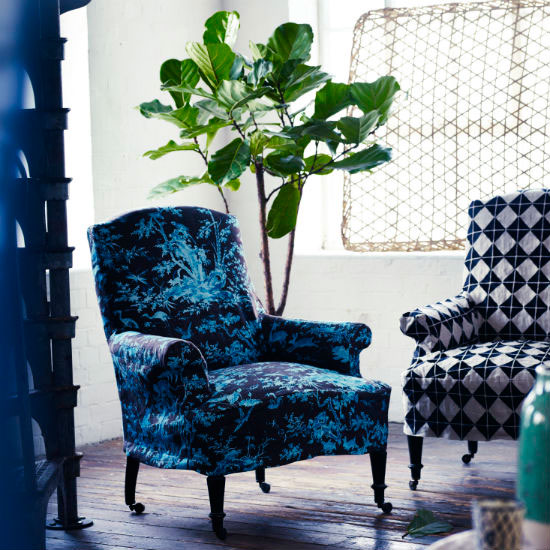
9 things you need to know before upholstering furniture
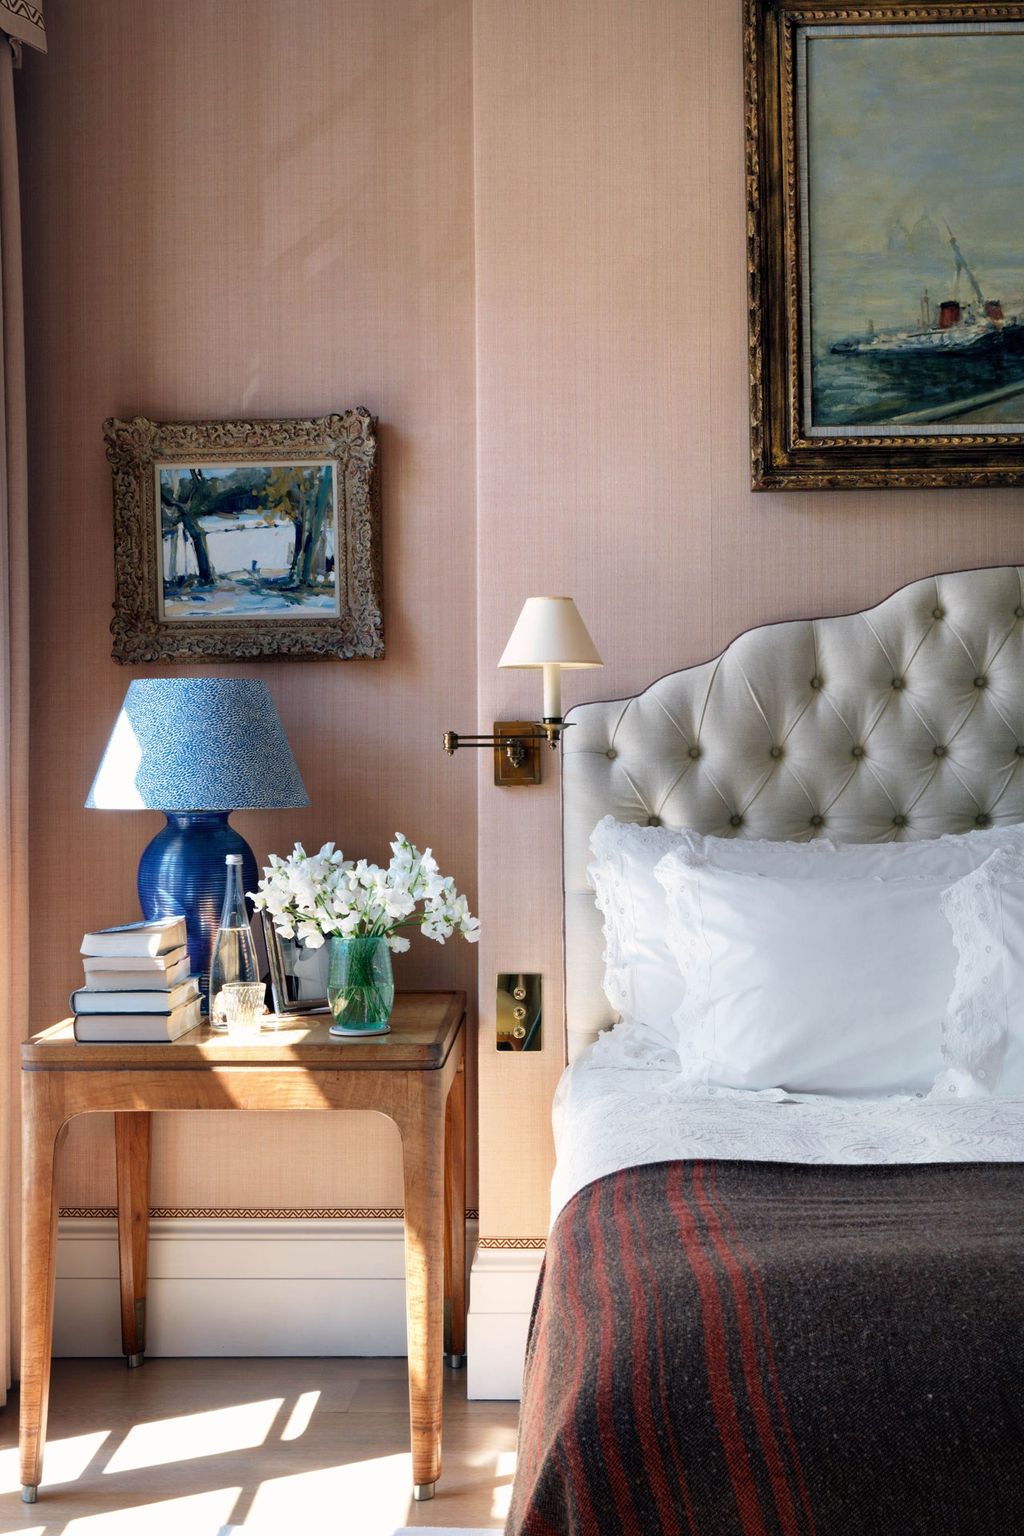
These upholstery ideas are instant room refreshers
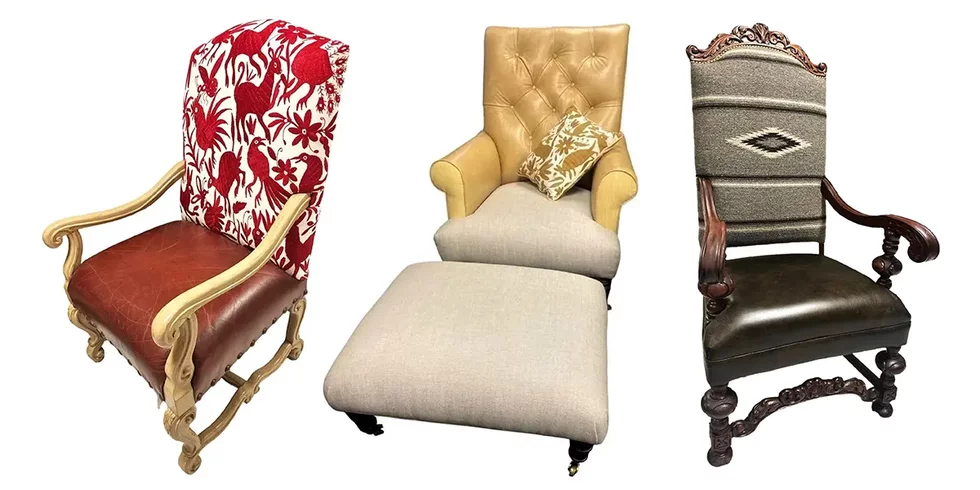
Ask Veronica: How easy is it to recover a leatherbound chair with fabric upholstery?

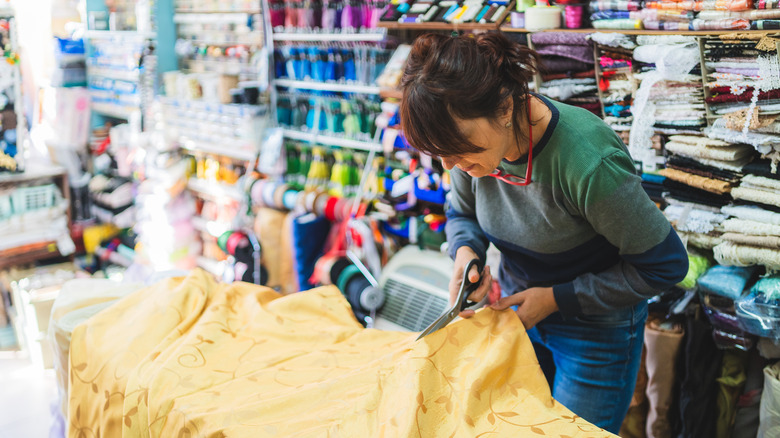
Missing JoAnn Fabrics? The 13 Best Places To Buy Upholstery Fabric Now

How to Reupholster a Chair So You Can Revamp Rather Than Replace

Thinking of Reupholstering Your Sofa? Everything You Should Know Before You Start

Learn How to Reupholster an Ottoman in One Day

10 Best Upholstery Cleaners That Will Make Your Furniture Look Good as New

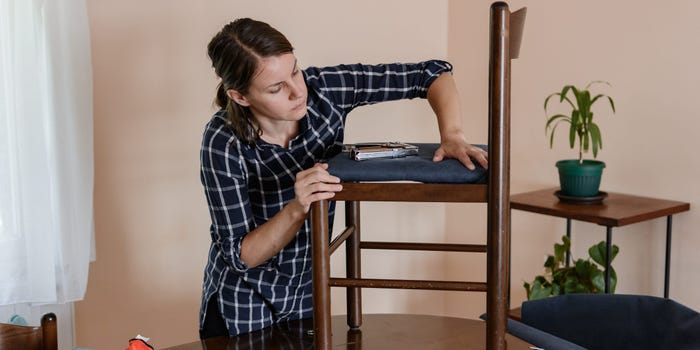
How to reupholster a chair and breathe new life into old furniture
How much does it cost to reupholster a sofa? And why it's worth it


7 Upholstery Details That Make Your House Look More Expensive, According to Experts

How to refinish wood furniture - easy ways to totally overhaul your decor

How to upholster furniture without breaking the bank

Interiors: Second skin... revive your favourite couch

Try Out Upholstery Classes with A Little Furniture Shop

Take This Chair & Stuff It