1/6
Beginner’s Guide To Reupholstering Furniture
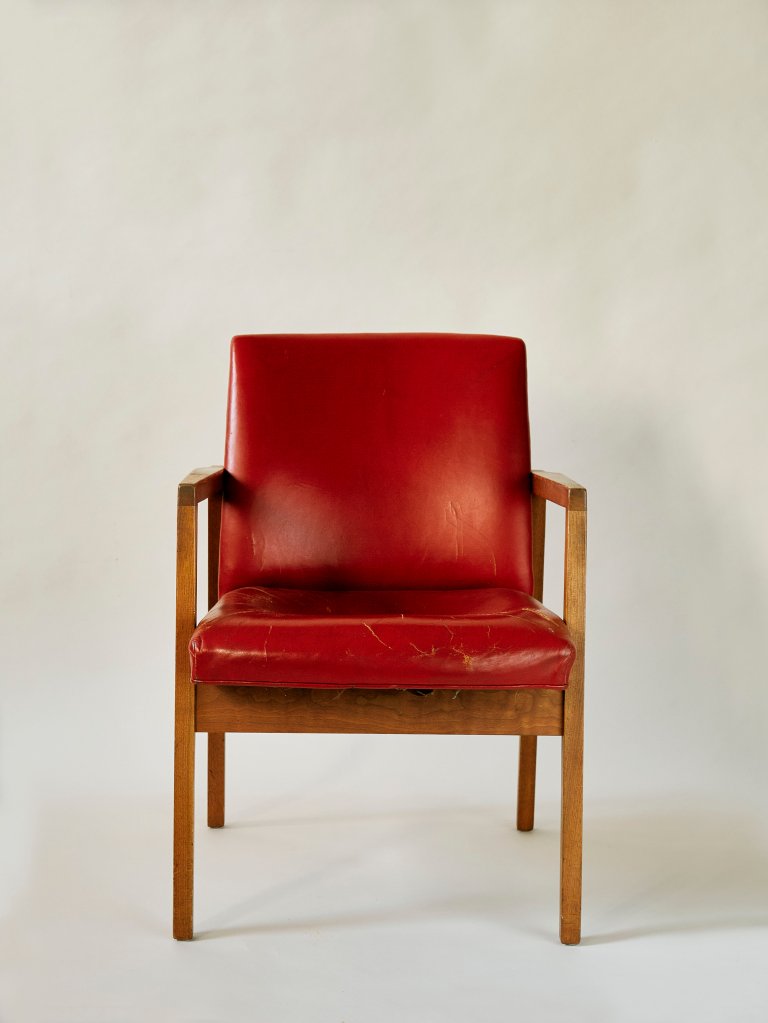
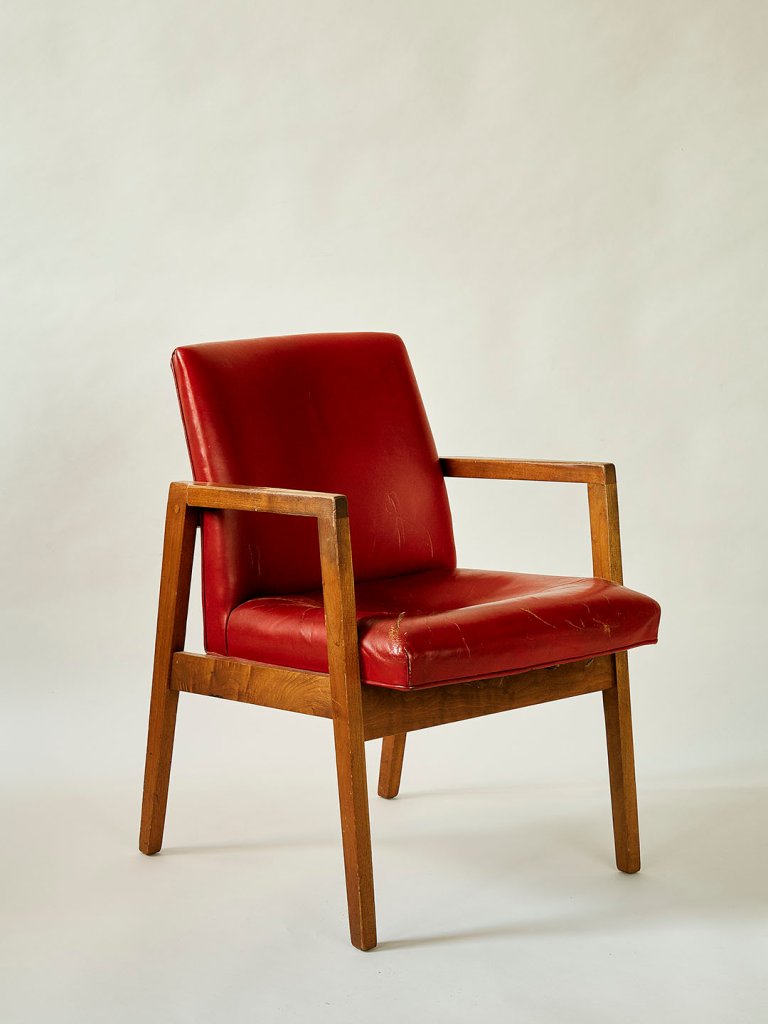
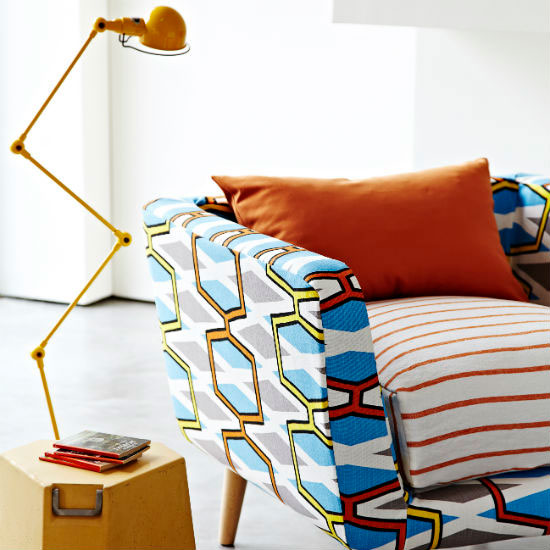
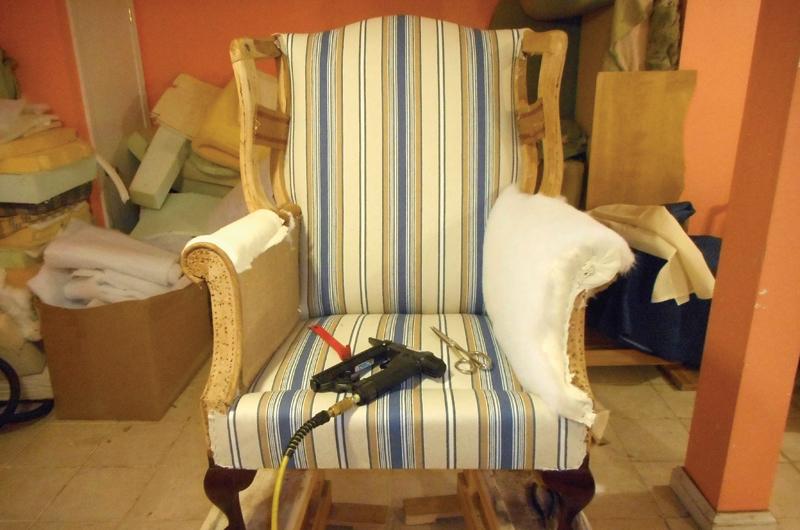
Reupholstering furniture, while seemingly intimidating, is an achievable DIY project with proper planning and the correct tools. This guide, drawing on expert advice from Shawn Zar, a furniture and seating expert at Superior Seating, and Artem Kropovinsky, founder of Arsight interior design, aims to equip beginners with the knowledge and steps needed for successful furniture reupholstering. The process offers multiple benefits, including environmental sustainability by preventing items from ending up in landfills, cost savings compared to purchasing new furniture, and the opportunity for customization to match personal tastes or current design aesthetics. It also allows for the preservation and revitalization of cherished family heirlooms, keeping their sentimental value intact.
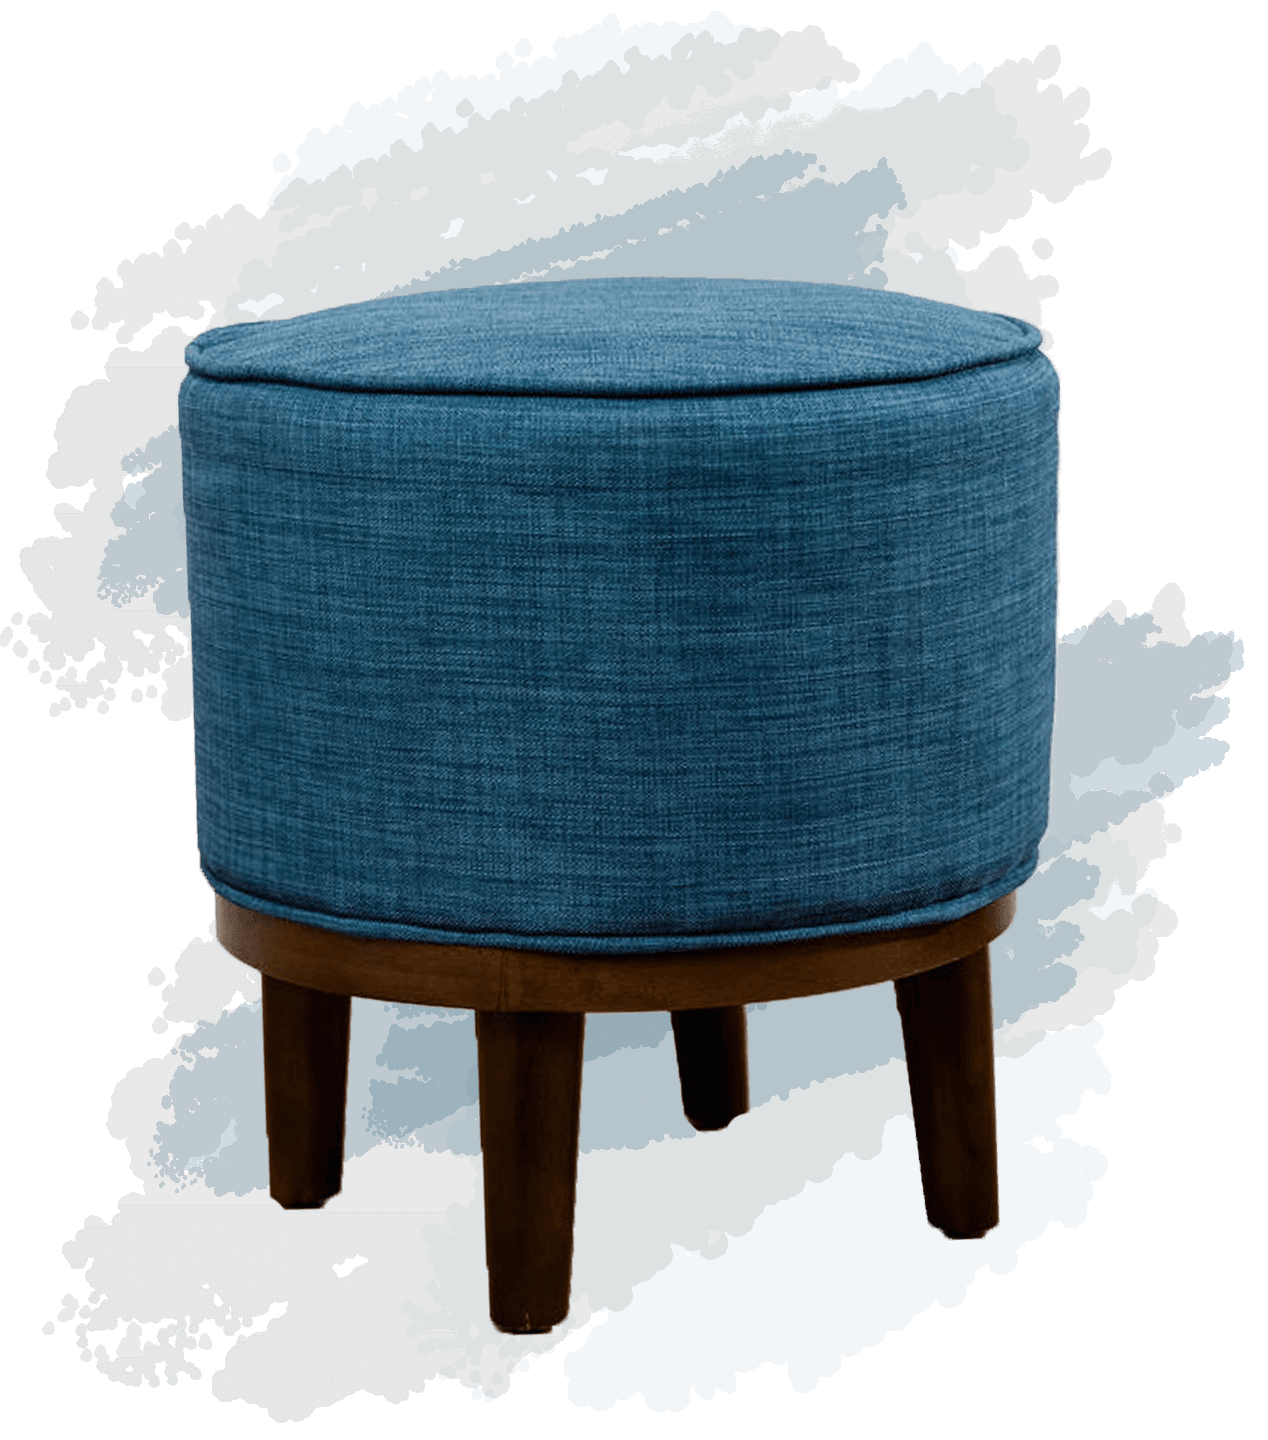
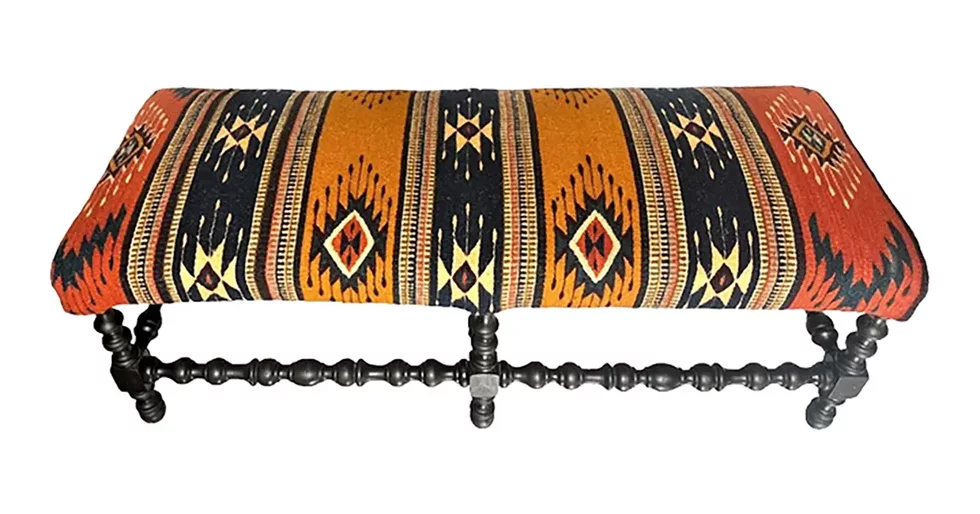
For those new to reupholstering, selecting simple starter projects is crucial for building confidence and skill. Recommended items include barstools, dining room chairs, ottomans, and benches, particularly those with single cushions that do not require complex sewing. These pieces are forgiving for beginners, often having hidden staples and a straightforward fabric application process. It is advised against starting with complex items like Queen Anne-style couches with multiple cushions, piping, and skirts.
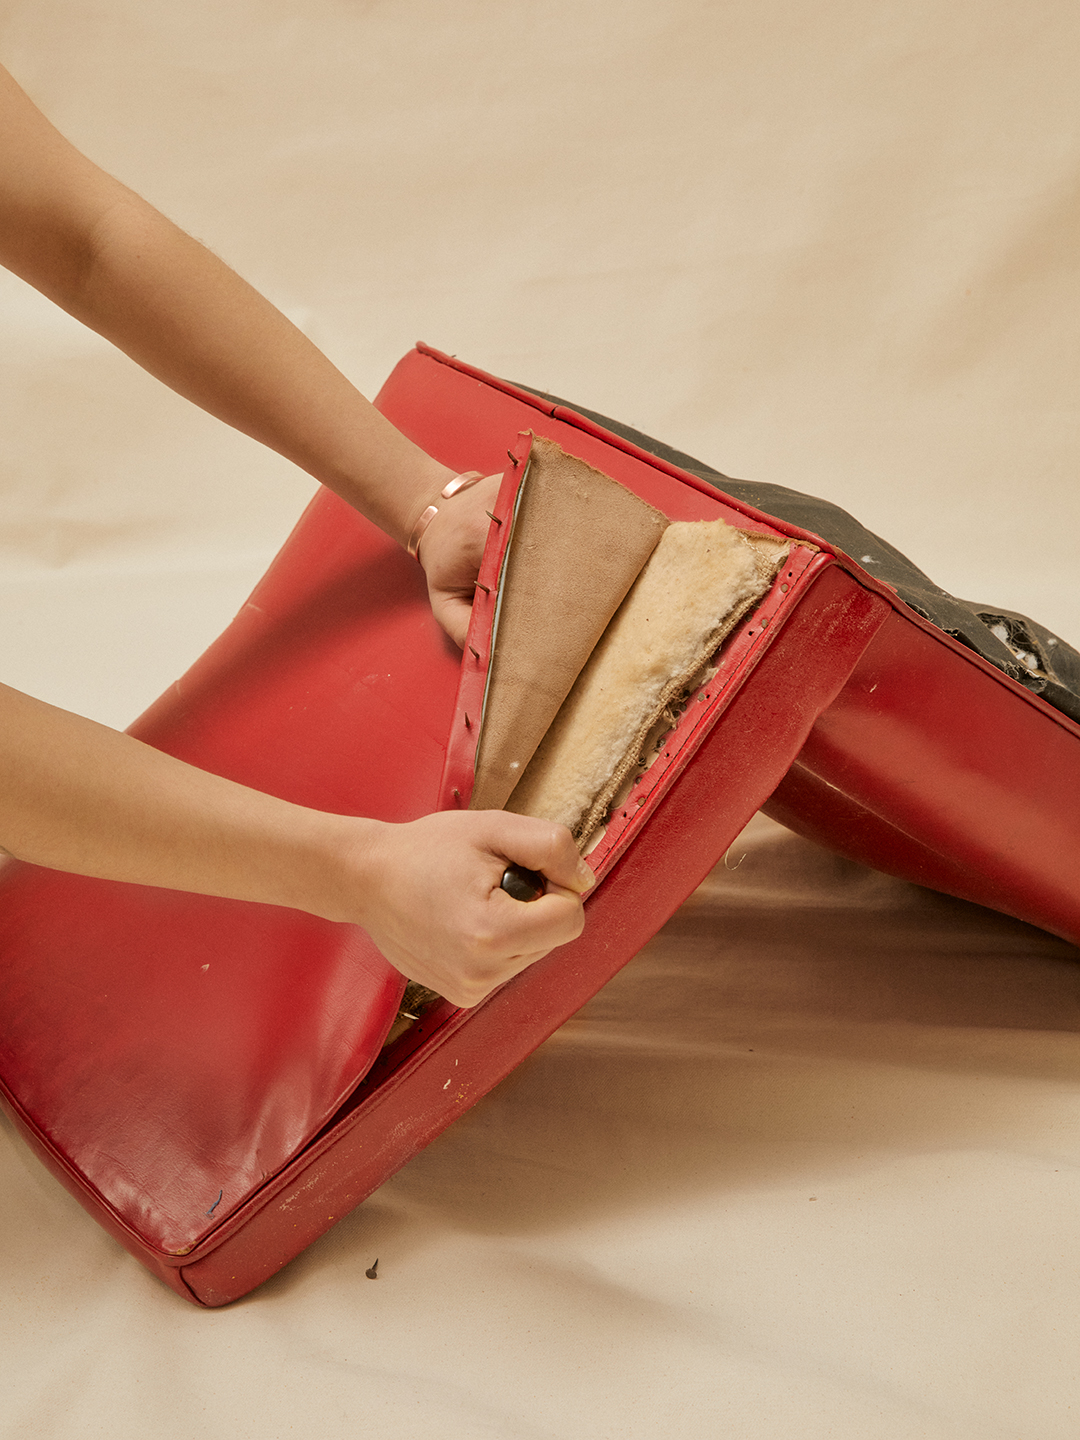
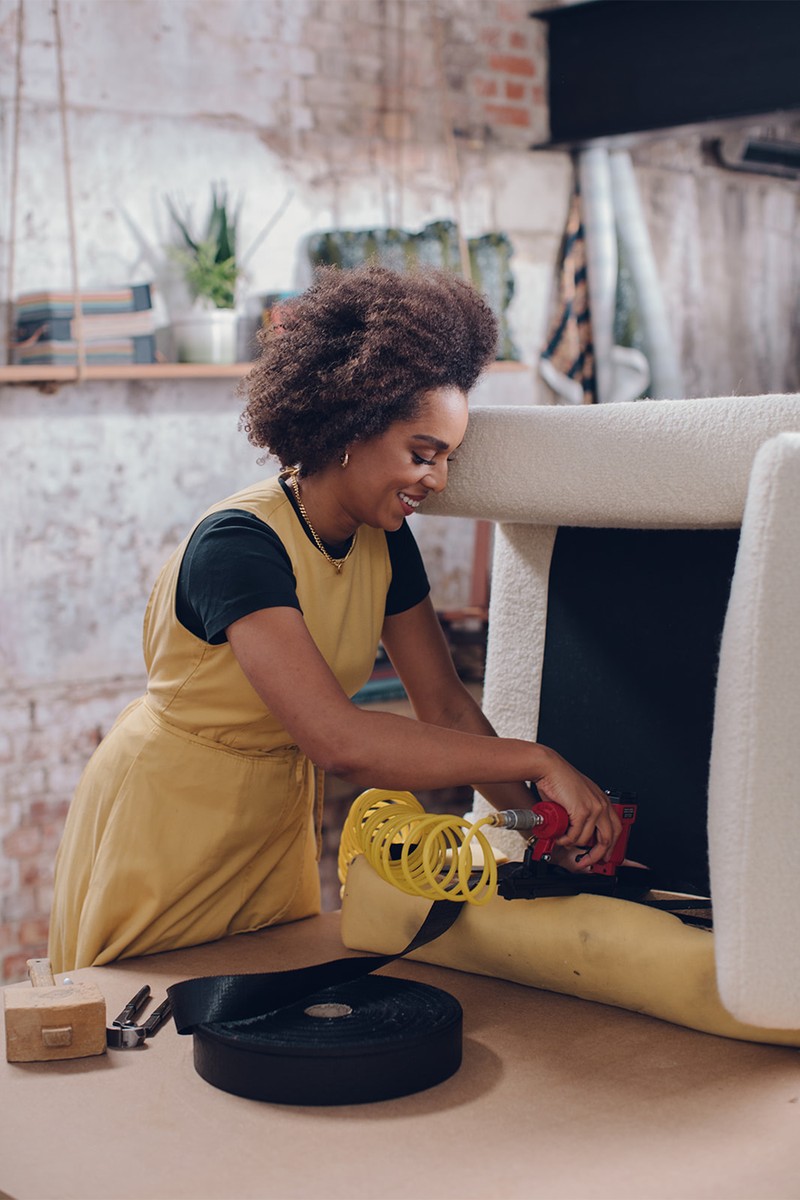
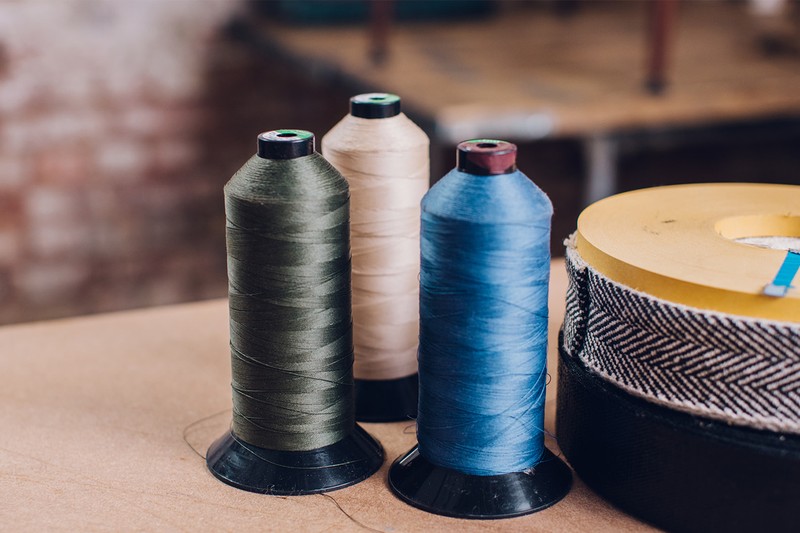
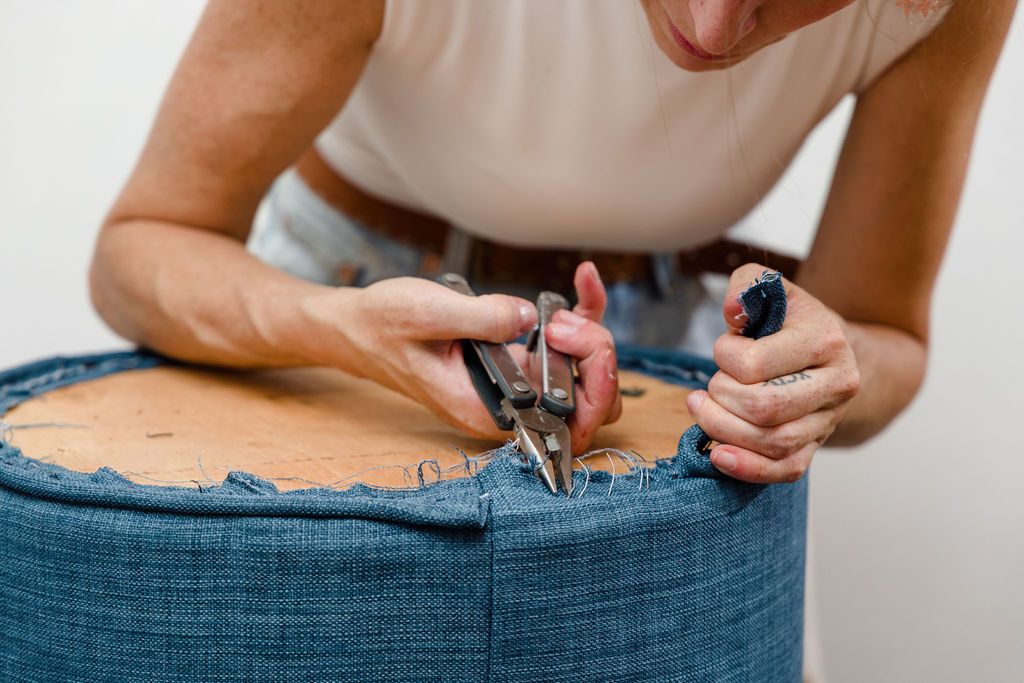
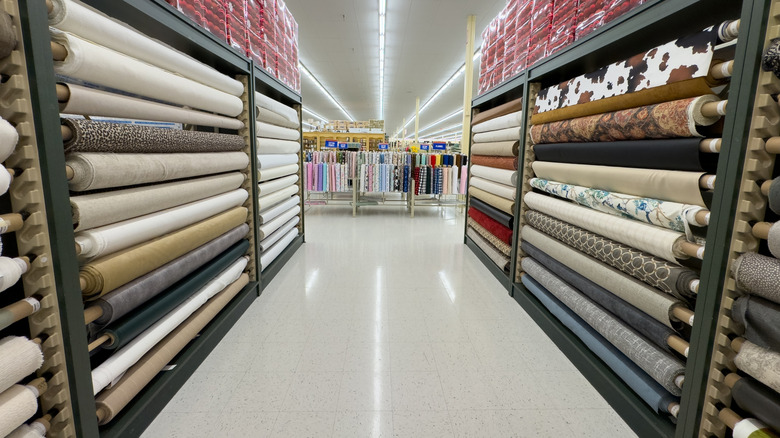
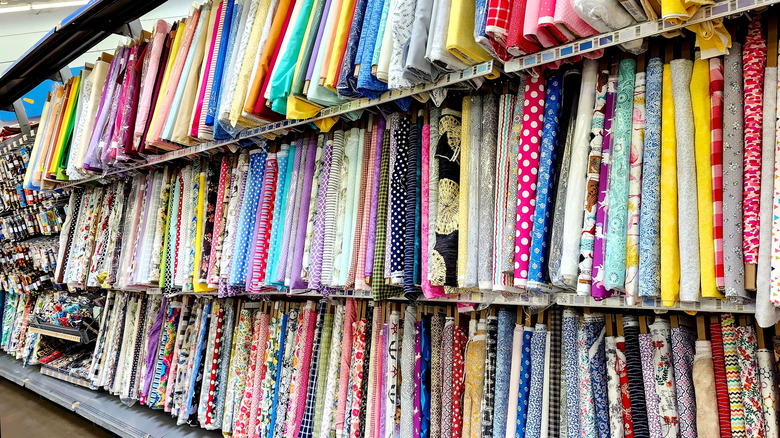
Having the right tools is paramount for success. Essential tools include a sturdy staple puller for removing old fabric staples and high-quality fabric scissors for clean cuts. Additional useful items are a staple gun, foam or padding for replacement, appropriate fabric, optional welt cord for piping, upholstery needles and thread, and basic hand tools like screwdrivers, pliers, and a hammer. A sewing machine is optional but beneficial for more advanced projects.
Before starting any project, it's important to assess the furniture piece. Experts recommend prioritizing structural integrity and sentimental value. If the frame is compromised or repair costs outweigh replacement, it might be better to reconsider the project. Solid, well-built frames, especially antiques, are ideal candidates. Key inspection points include checking the frame's sturdiness, the condition of padding (which may need replacement), and the state of springs and webbing. Excessive mold or pest infestations are clear reasons to avoid a piece. Beginners are encouraged to start with simple shapes and practice patience. Fabric selection is also important; choosing durable materials that can withstand daily wear and tear is advisable.
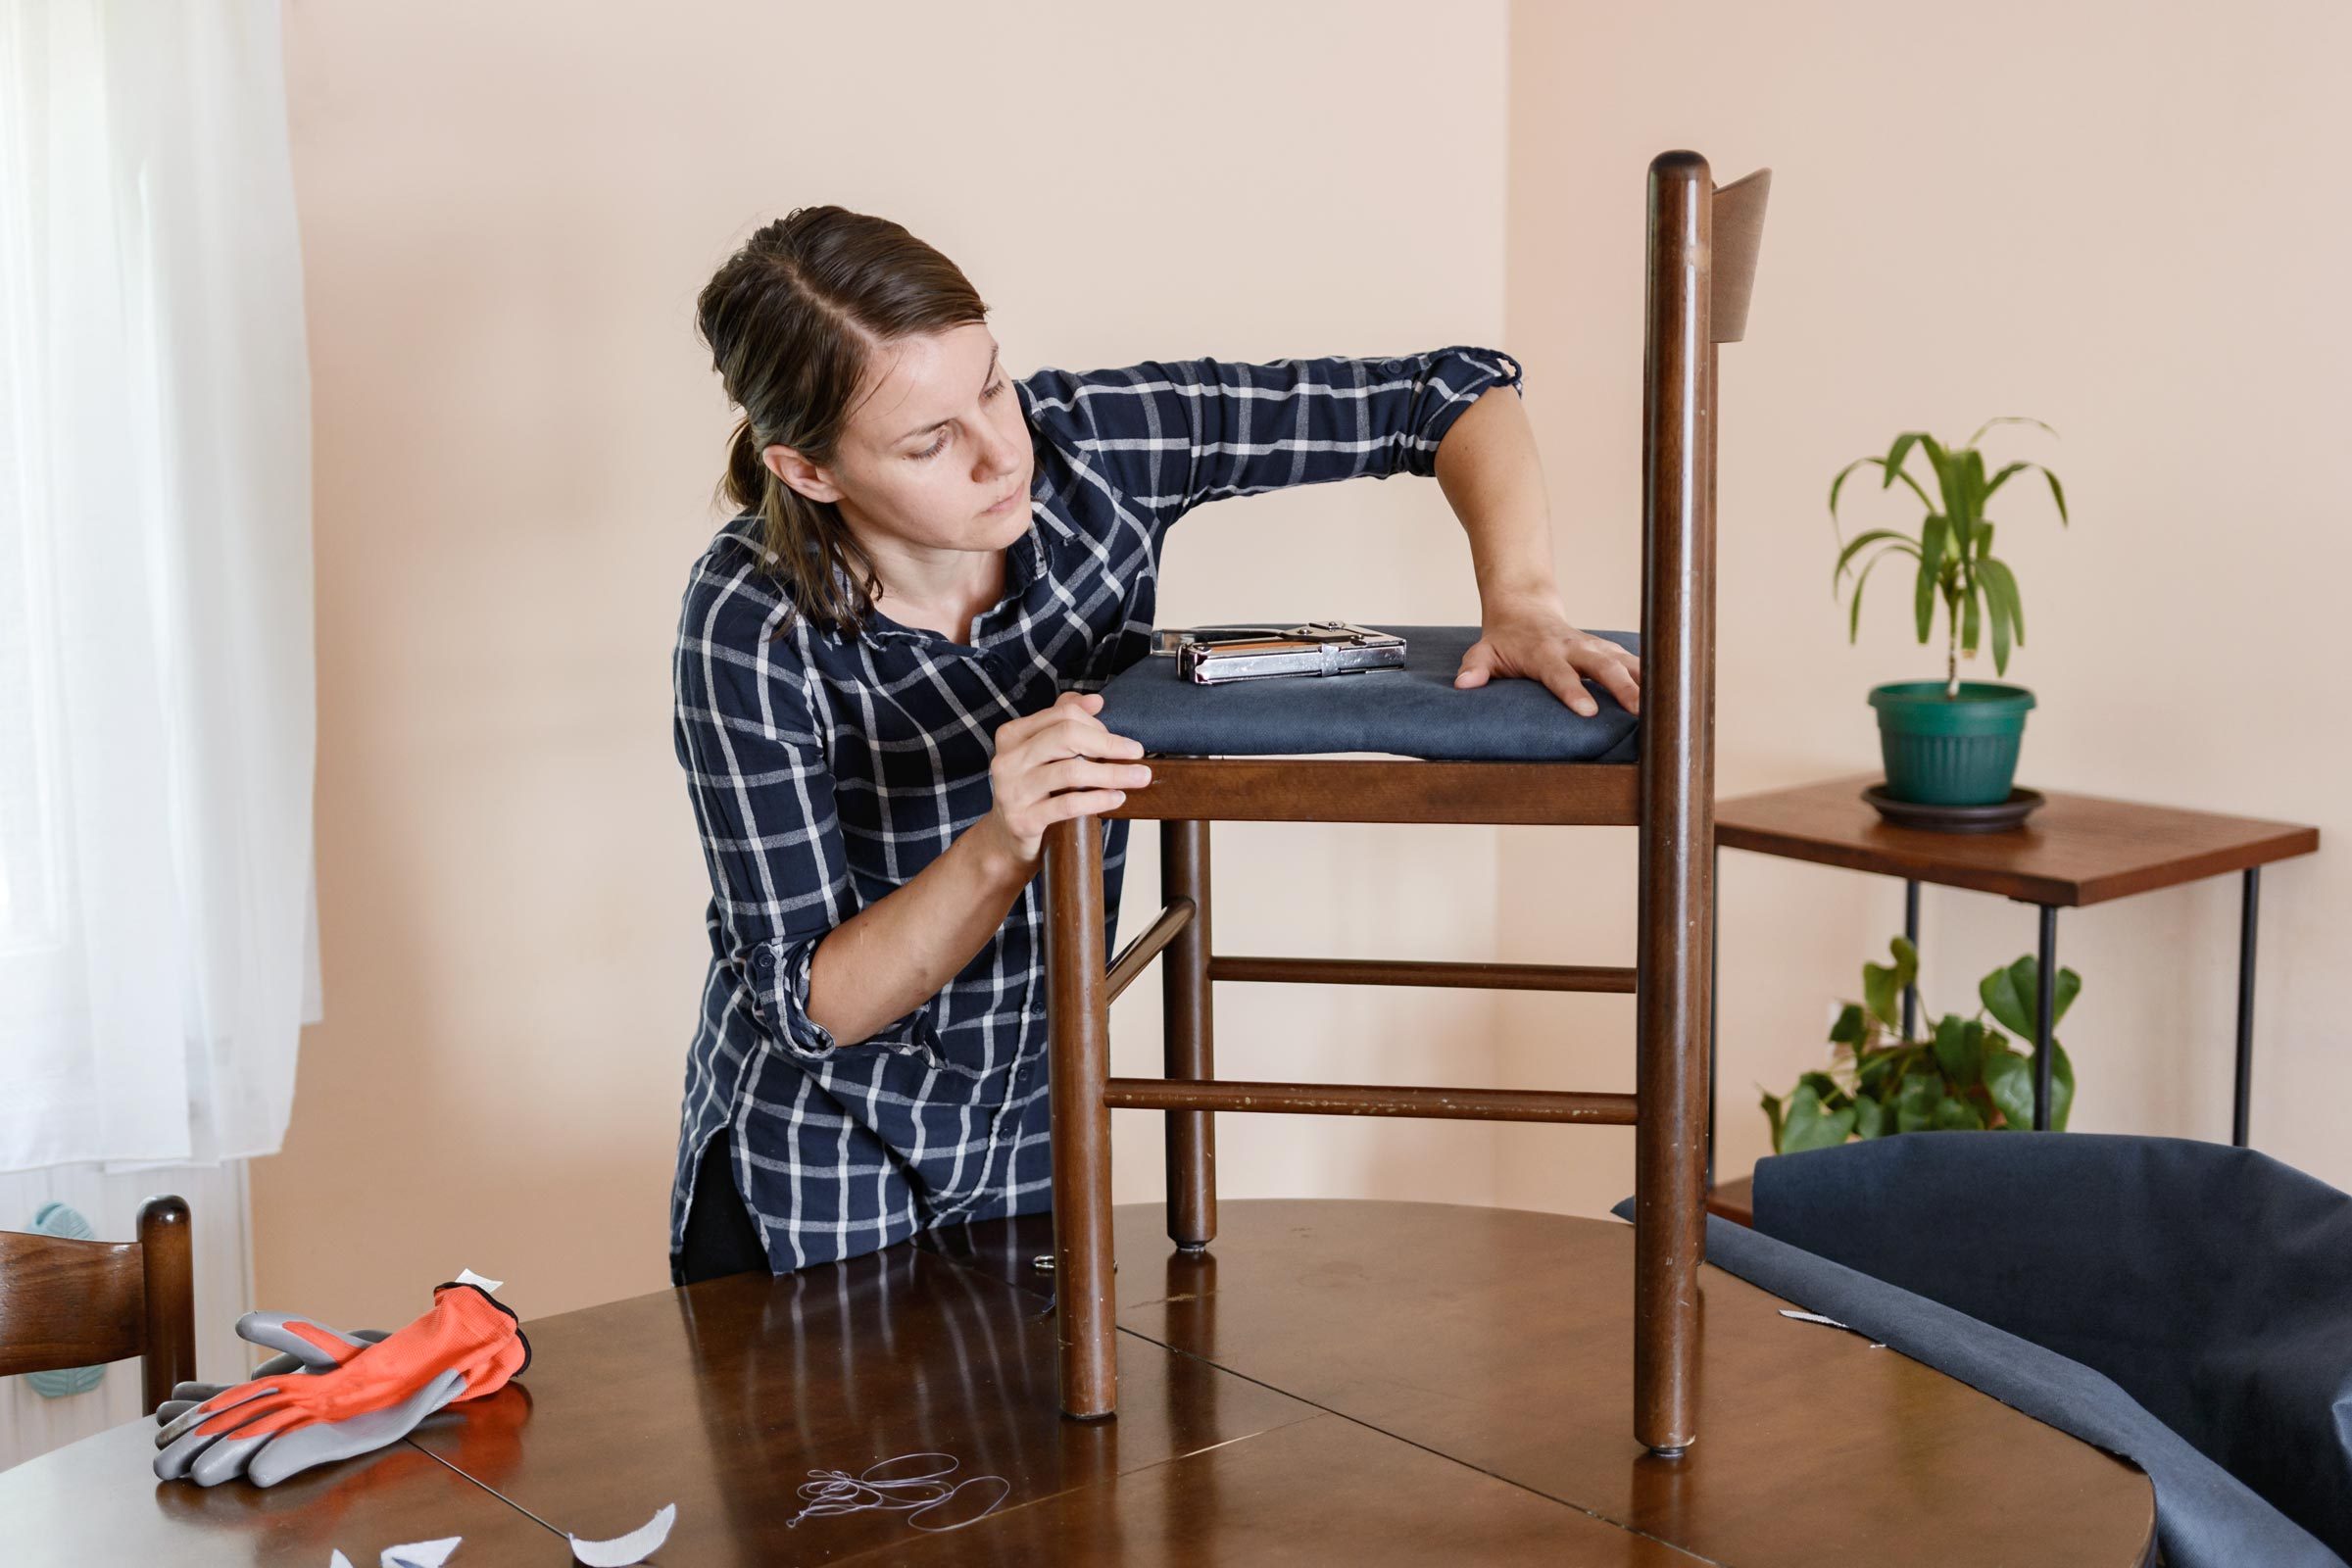
The guide provides a step-by-step walkthrough for reupholstering a padded barstool, a perfect beginner project. This process can be adapted for similar items like dining room chairs and bench seats. The steps involve gathering tools (fabric, staple gun, staple puller/screwdriver, fabric scissors, and potentially new foam padding), carefully dismantling the stool by removing the seat and back from the legs, and then removing the old upholstery by prying off staples or tacks. Next, new padding and fabric are cut to size, allowing for several inches of overlap. Finally, the new pad and fabric are attached to the stool, ensuring patterns are oriented correctly, stapling the fabric neatly to the bottom, especially at corners for a professional finish, trimming excess fabric, and re-attaching the legs. More advanced techniques like using welt cord, decorative buttons, or sewing custom cushions can be explored as skills develop.
#FurnitureReupholstering #DIYProjects #HomeImprovement #WoodworkingSkills #InteriorDesign #SustainableLiving #FurnitureRestoration #CraftingTips #BeginnerFriendly #FurnitureReupholstering #DIYProjects #HomeImprovement #WoodworkingSkills #InteriorDesign #SustainableLiving #FurnitureRestoration #CraftingTips #BeginnerFriendly
0 comment in total
 No comments yet
You may also like
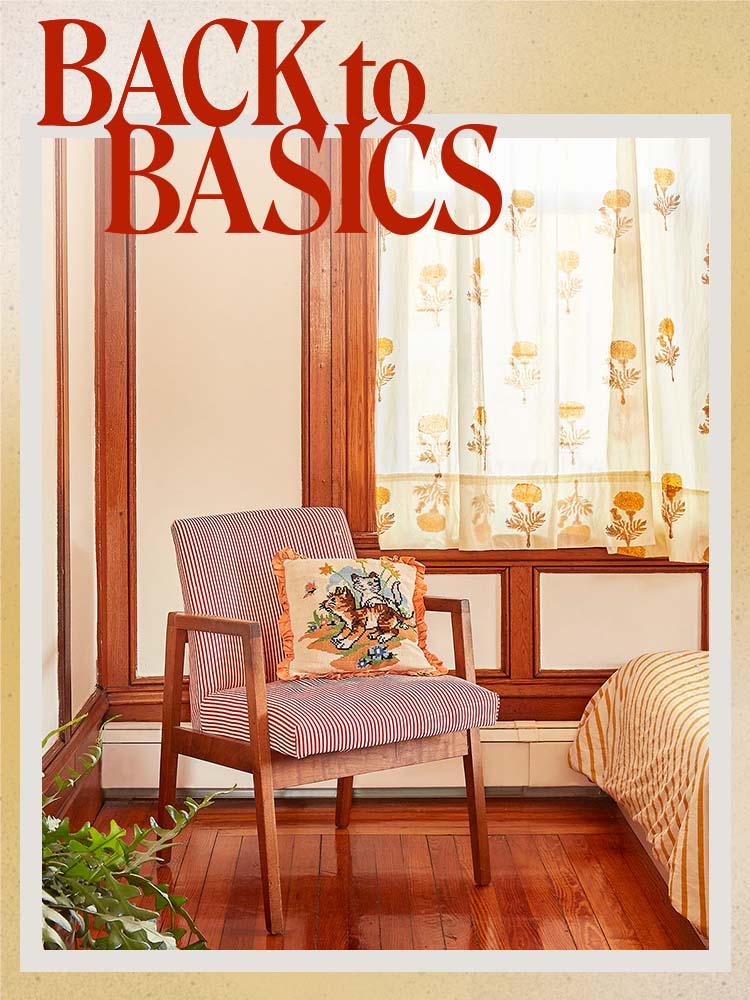
How to Reupholster a Chair So You Can Revamp Rather Than Replace

How to refinish wood furniture - easy ways to totally overhaul your decor


Interiors: Second skin... revive your favourite couch
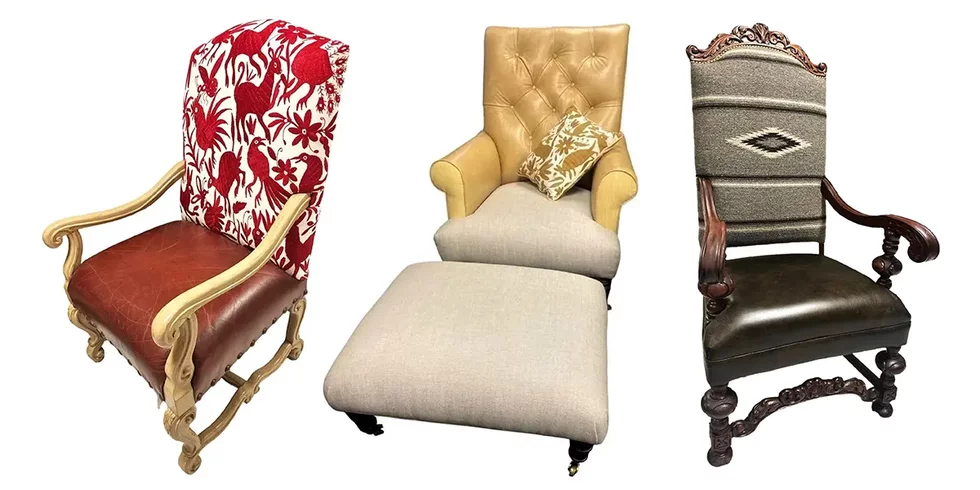
Ask Veronica: How easy is it to recover a leatherbound chair with fabric upholstery?

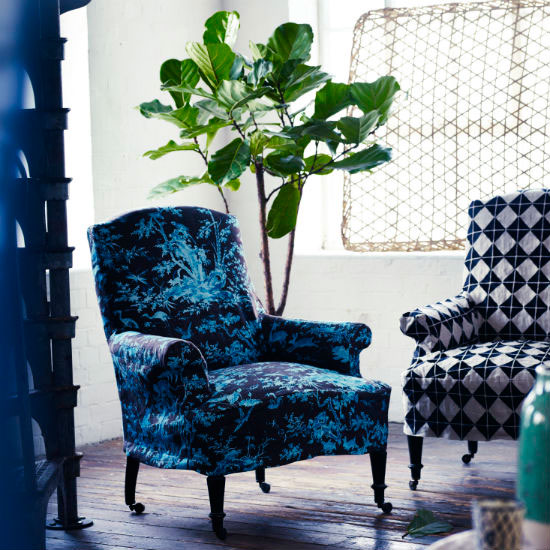
9 things you need to know before upholstering furniture
How much does it cost to reupholster a sofa? And why it's worth it

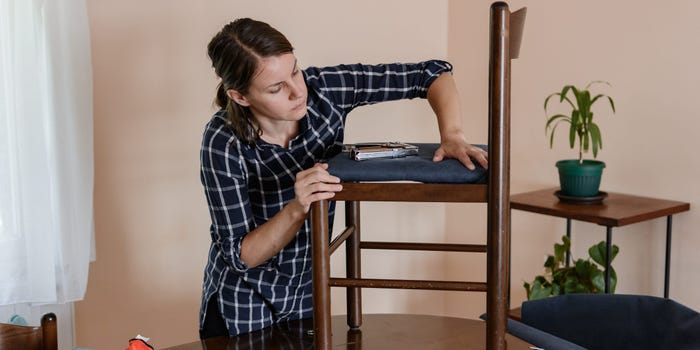
How to reupholster a chair and breathe new life into old furniture
10 Best Upholstery Cleaners That Will Make Your Furniture Look Good as New

How to upholster furniture without breaking the bank

Thinking of Reupholstering Your Sofa? Everything You Should Know Before You Start

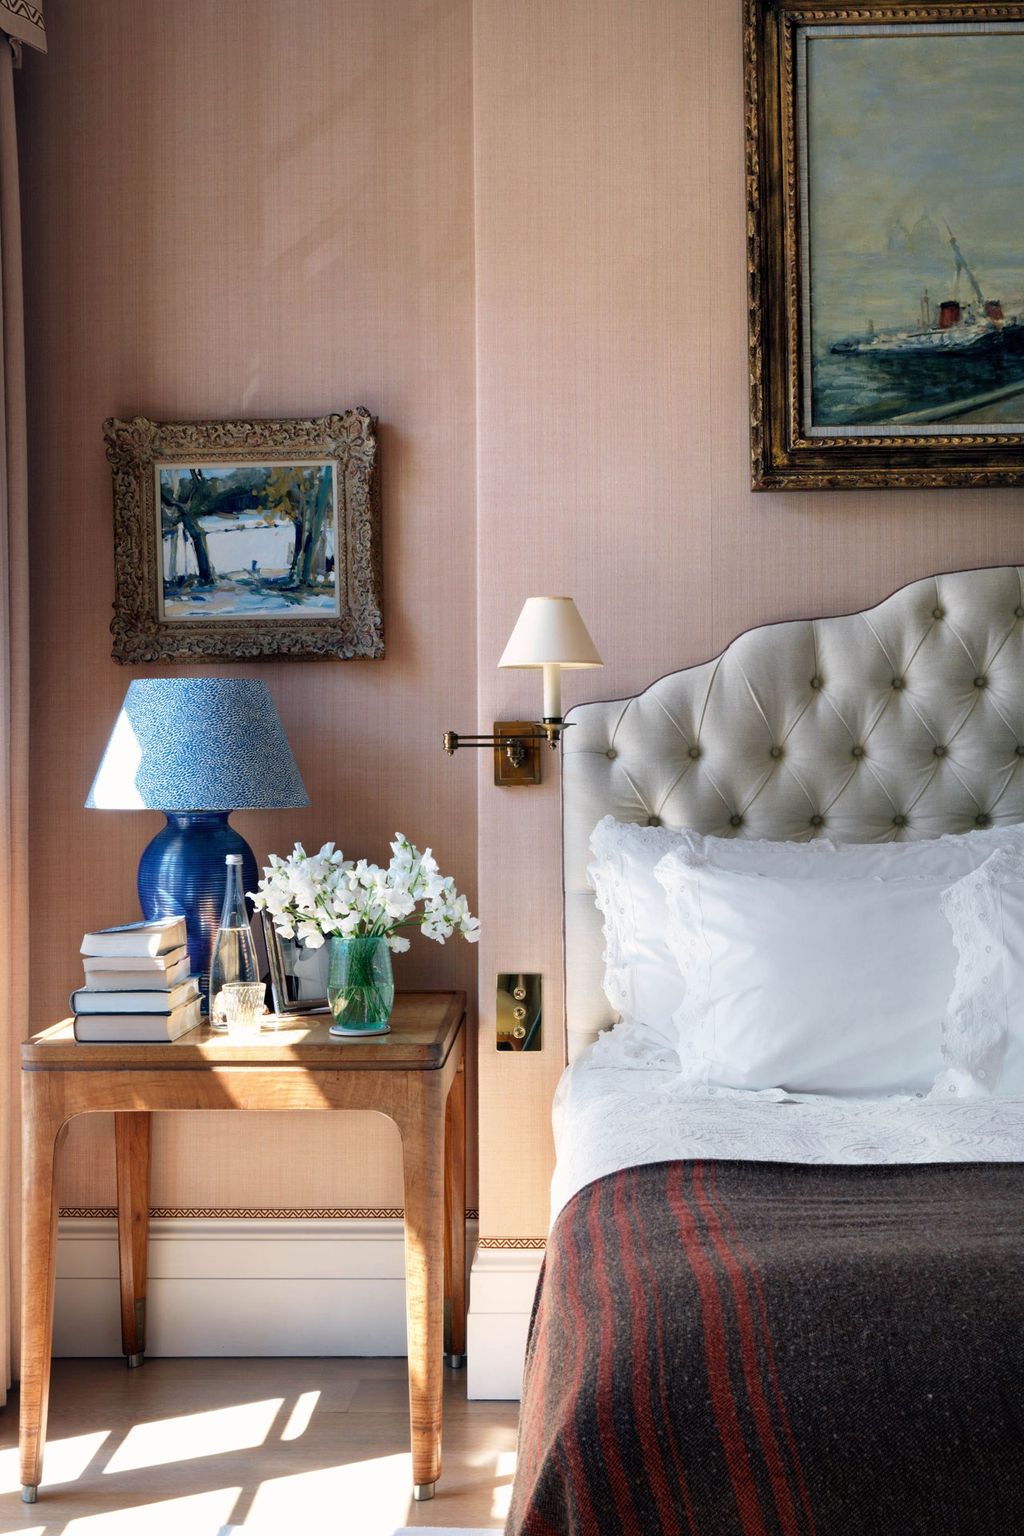
These upholstery ideas are instant room refreshers
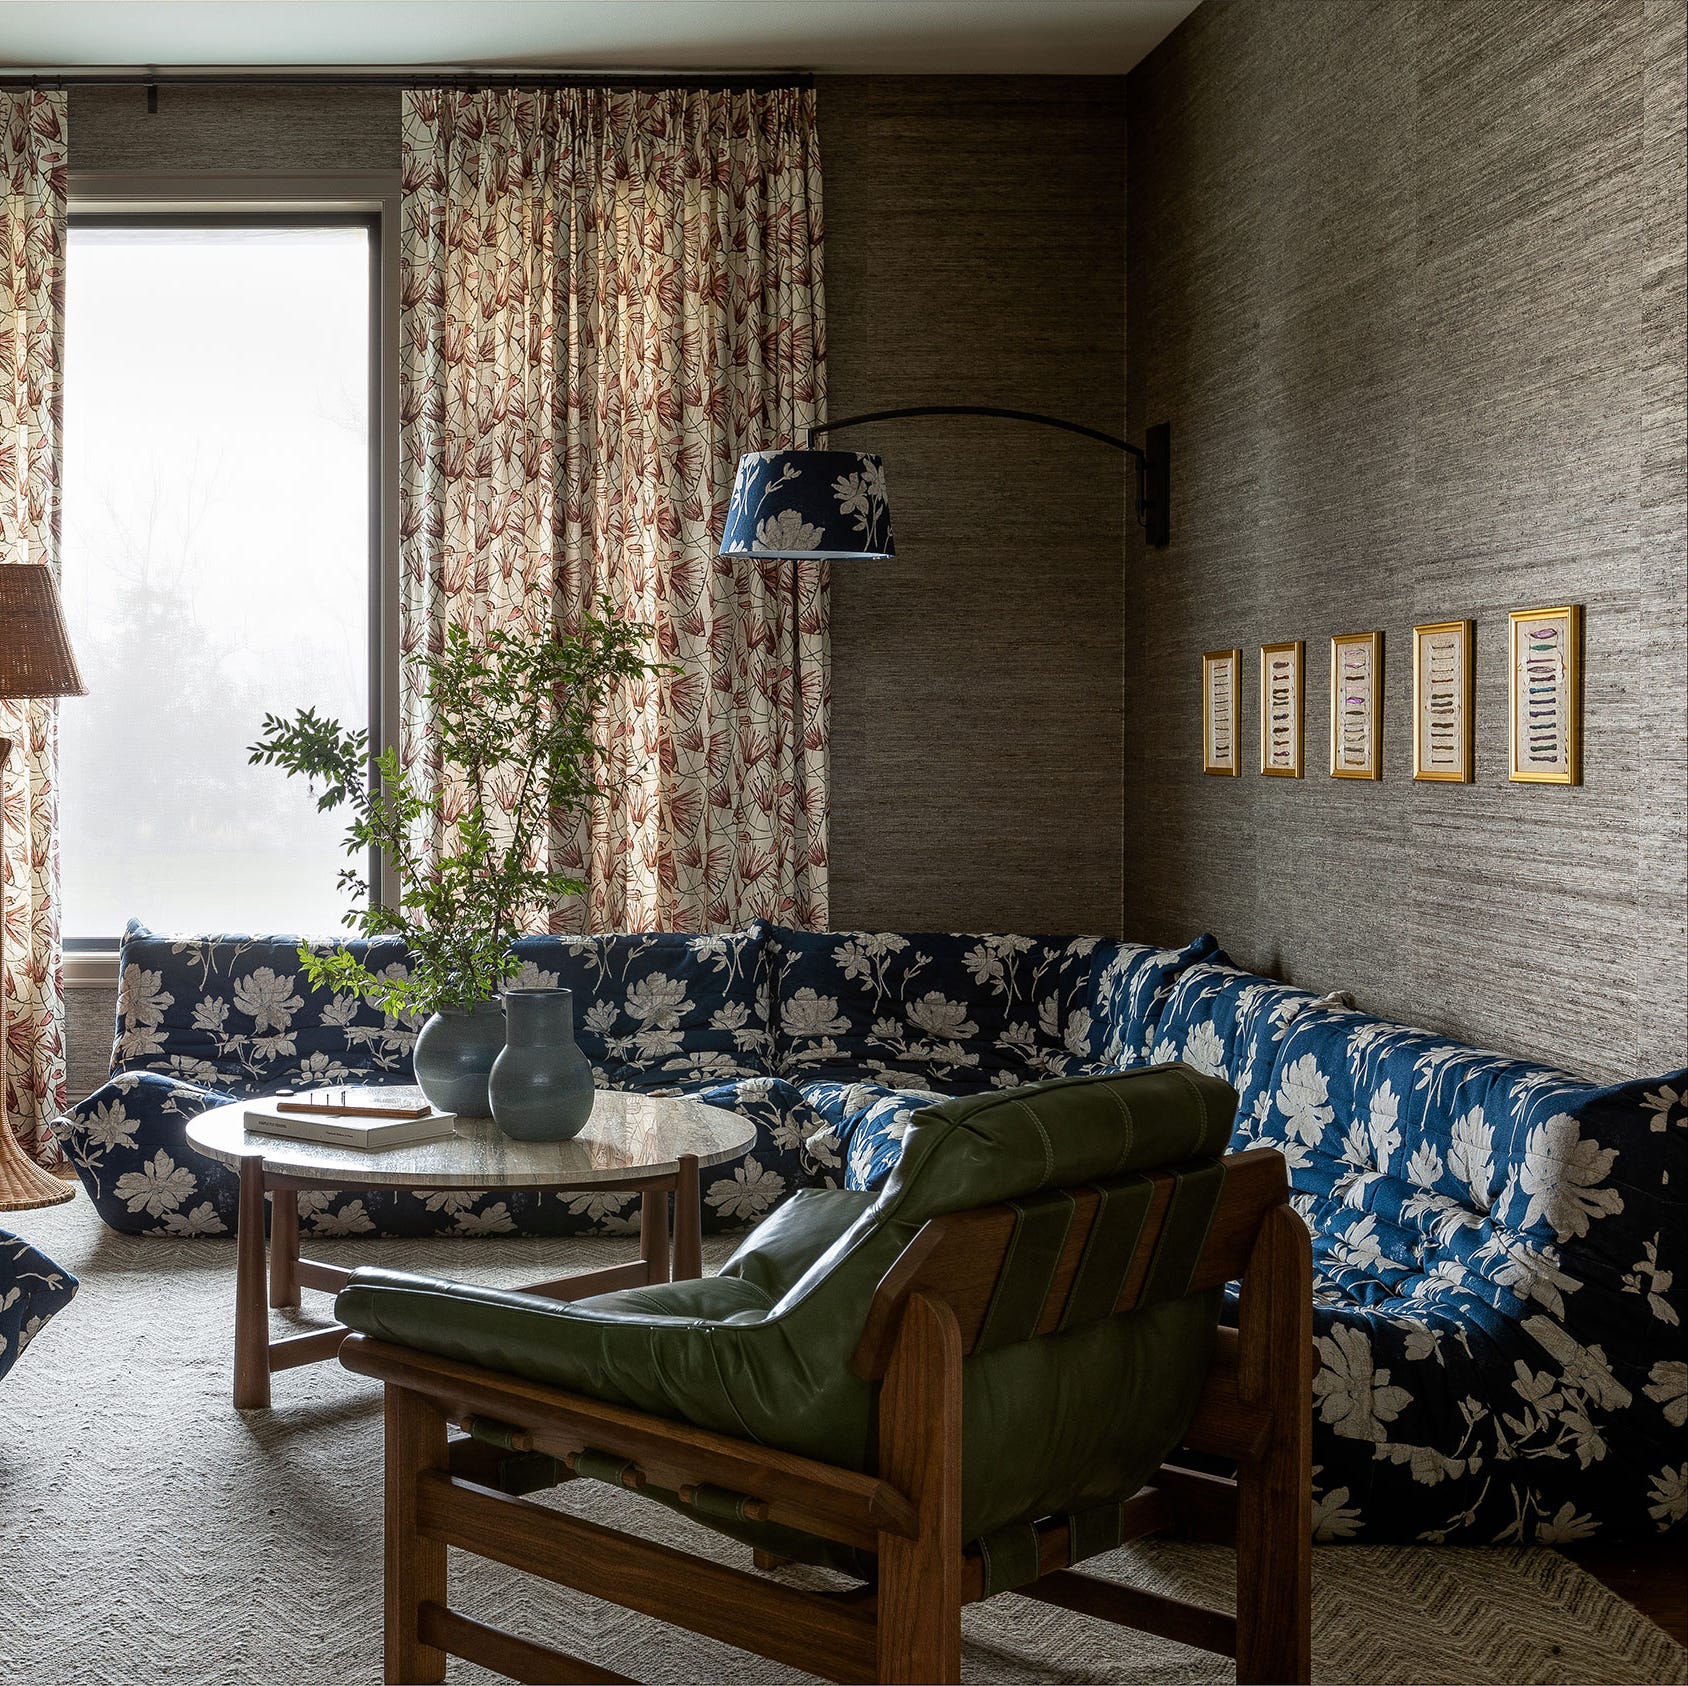
This Home Will Make You Want to Reupholster Everything
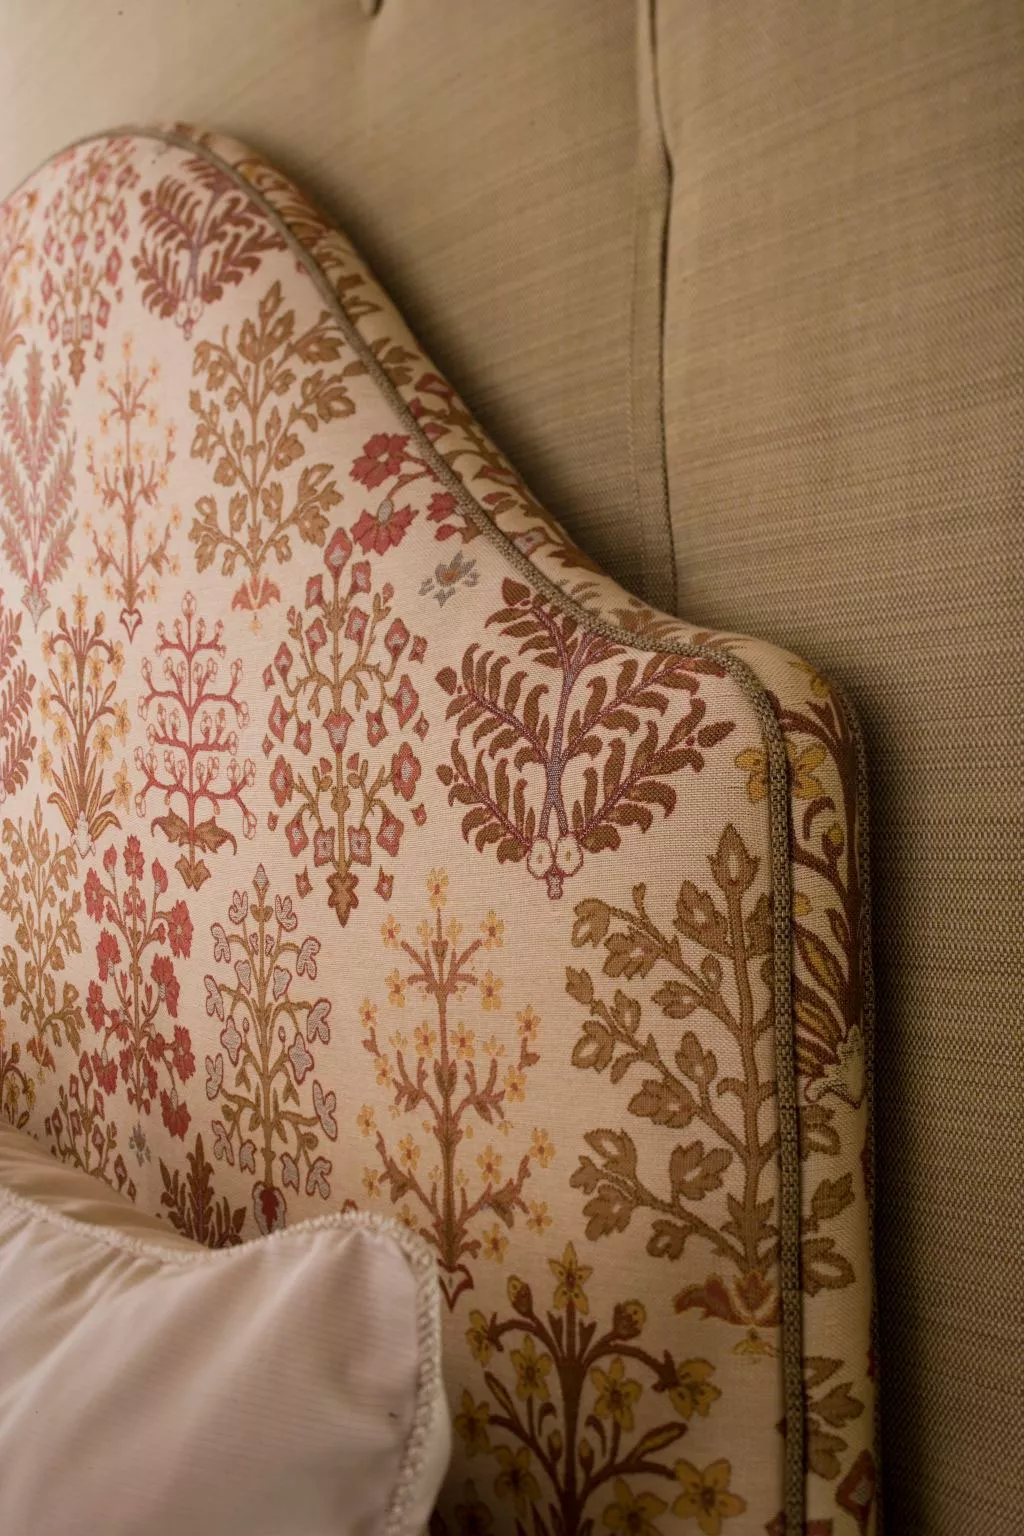
Common Upholstery Techniques: What You Need to Know to Reupholster Furniture

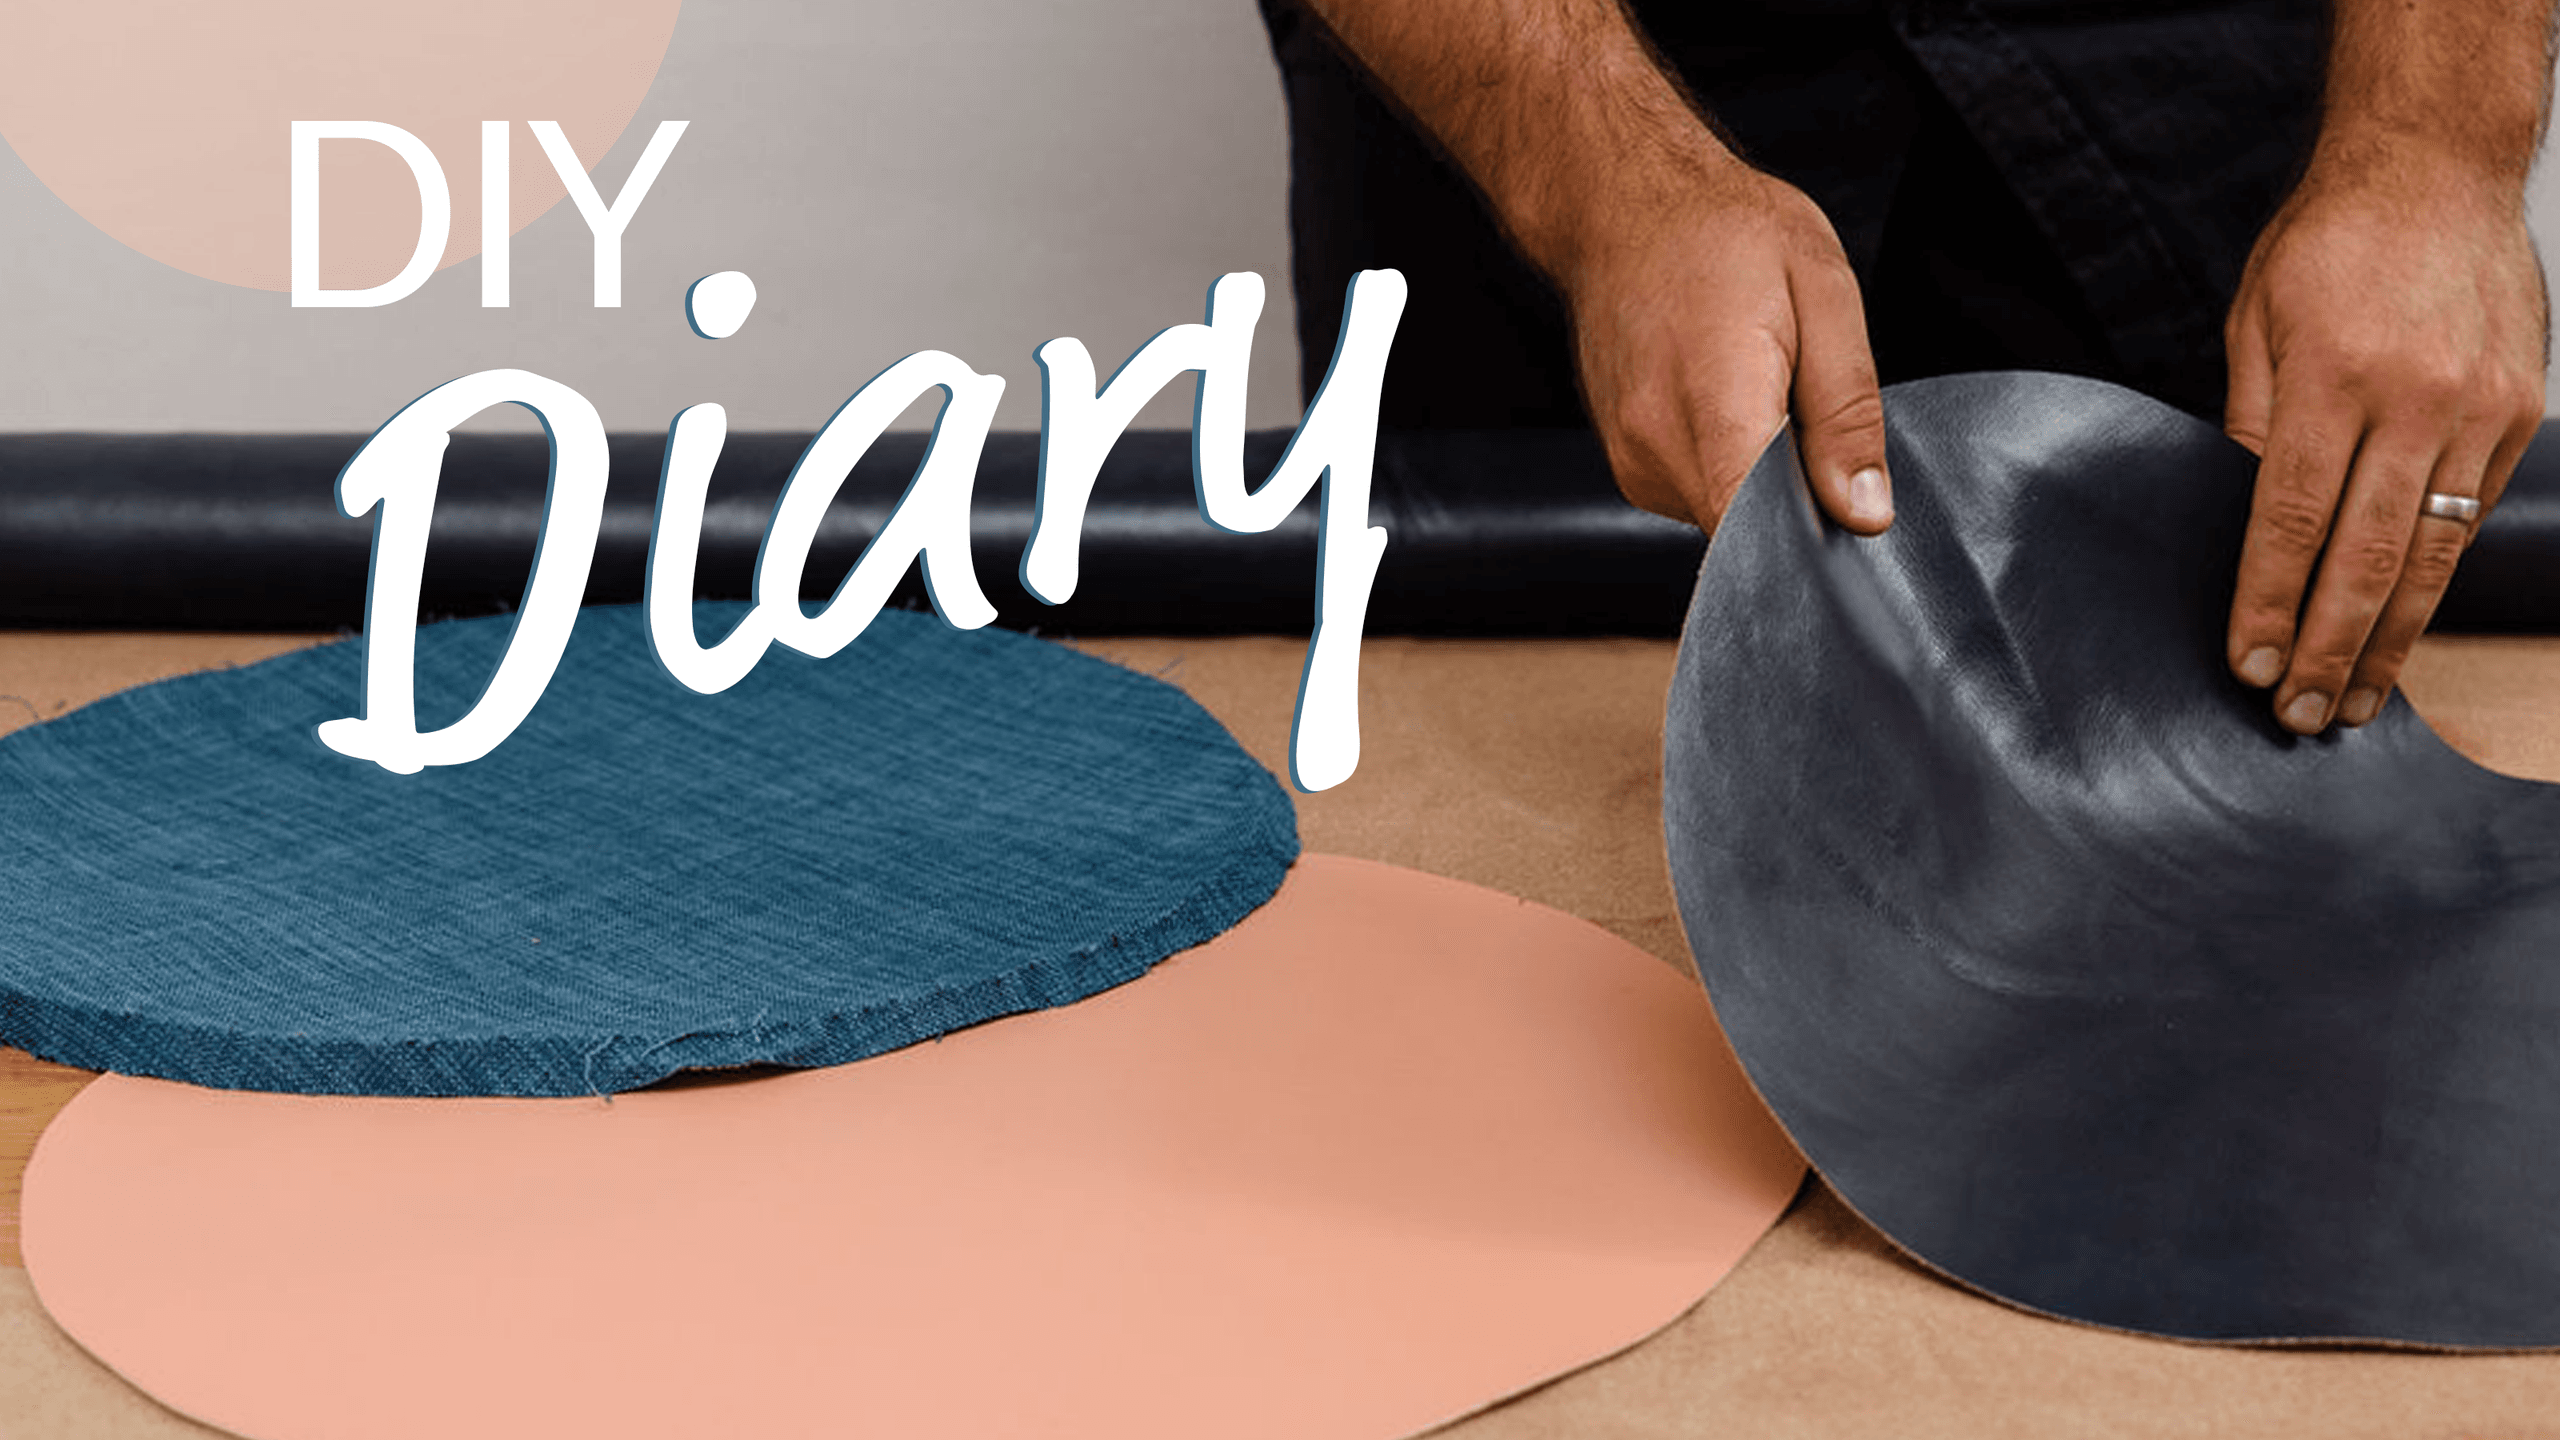
Learn How to Reupholster an Ottoman in One Day

Celia Rufey answers your fabric questions
Missing JoAnn Fabrics? The 13 Best Places To Buy Upholstery Fabric Now

The Upholstery Course You Need To Know About

Try Out Upholstery Classes with A Little Furniture Shop

Meet Das Upholstery’s Das Chunilall As He Brings A Rocking Chair Back To Life

Take This Chair & Stuff It