
1/6
How to install a skylight
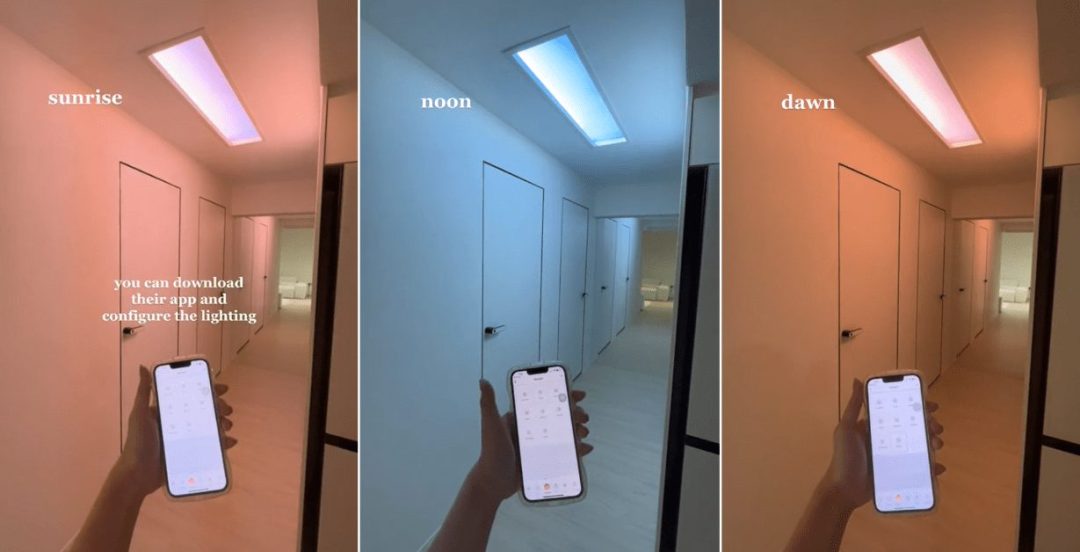
This article outlines a straightforward method for installing a skylight in any room, regardless of direct roof access, using a solar collector system. The primary benefit of this system is its ability to bring natural light into areas of a home that might otherwise be dark and dingy, such as hallways. Unlike traditional skylights that require direct overhead roof access, this innovative system utilizes a solar collector placed on the northern aspect of the roof.
The installation process begins with preparing the roof for the solar collector. Brackets are attached to the solar collector, designed to sit within the valleys of the roof tiles. Before securing the brackets, specific roof tiles must be removed. The brackets are then firmly attached to the roof battens using screws provided with the system. Once the brackets are in place, the cable from the solar collector is connected and fed into the roof cavity. After this step, the removed roof tiles are replaced, ensuring the roof's integrity.
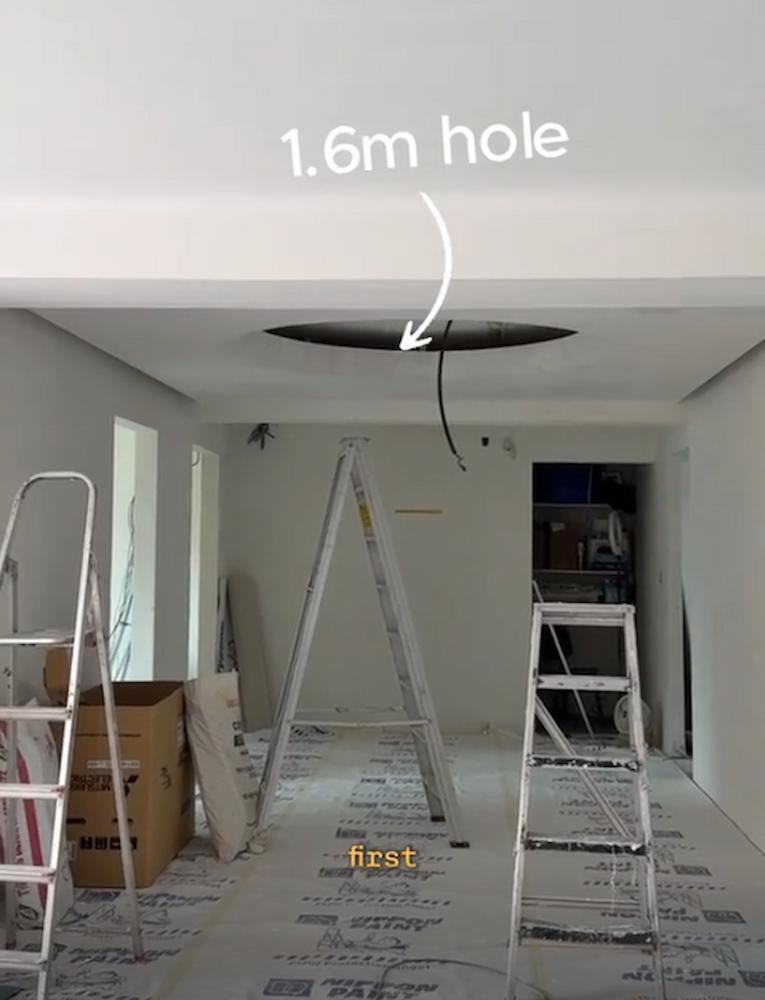
The next phase involves preparing the interior ceiling for the light panel. The desired position for the light panel in the ceiling is determined, and a pilot hole is drilled at its center. Accessing the roof cavity is necessary to locate this hole. If the intended light panel placement coincides with any ceiling joists, its position must be slightly adjusted to ensure it sits in a clear area of the ceiling, avoiding structural obstructions. The cable from the solar collector is then routed to this designated light panel location.
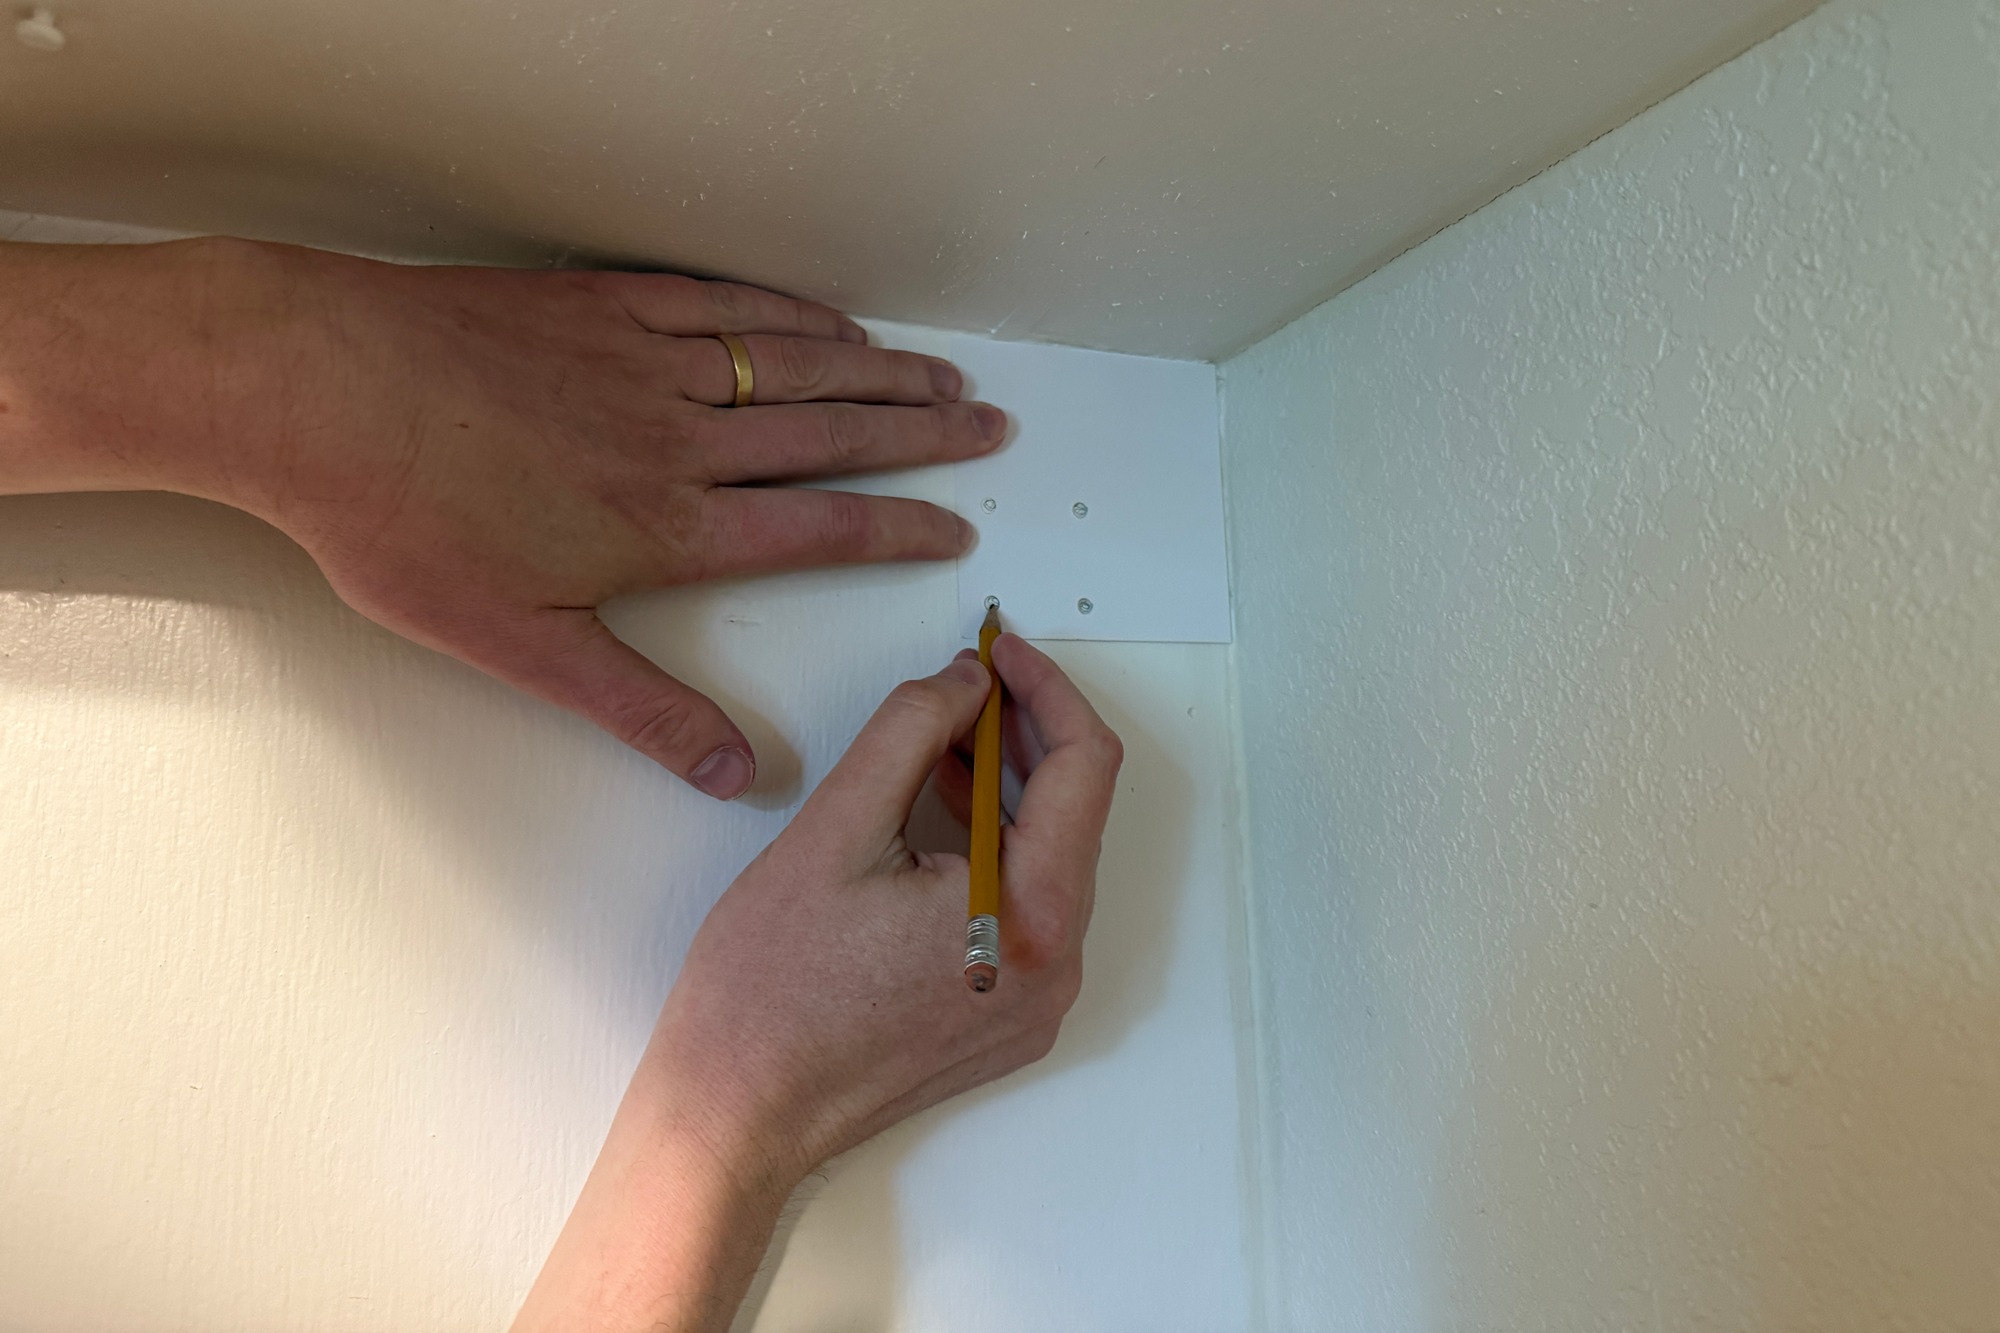
Following the preparation in the roof cavity, the interior ceiling is cut to accommodate the light panel. A provided cut-out template is affixed to the ceiling at the correct location, and its edges are traced with a pencil. A wallboard saw is then used to cut along the marked lines, creating the opening for the light panel. This precise cutting ensures a neat and professional finish.
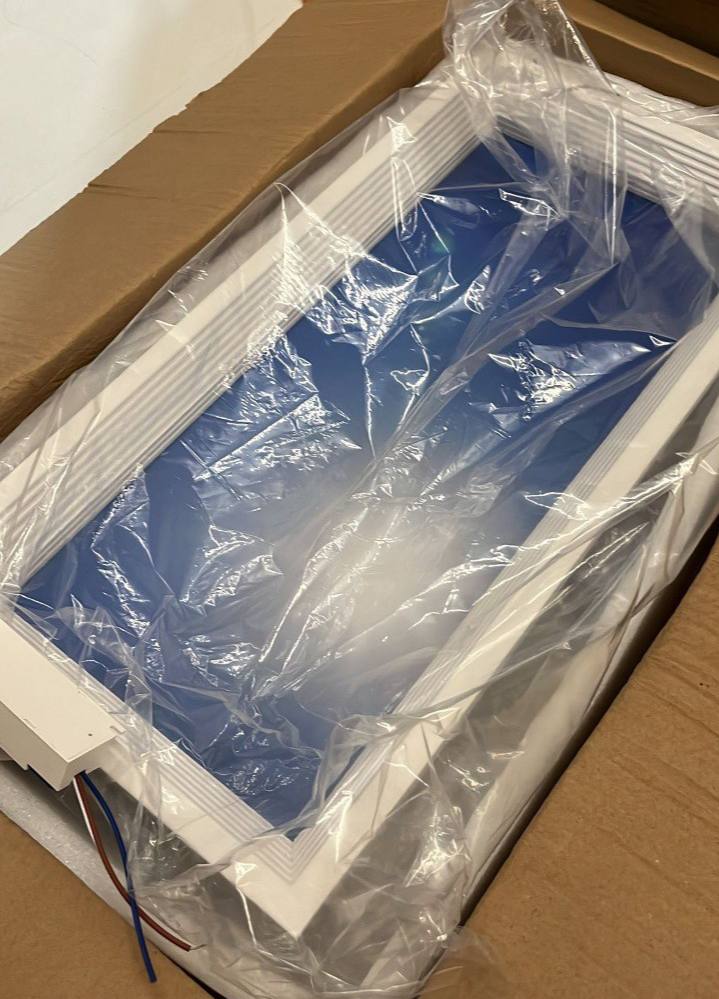
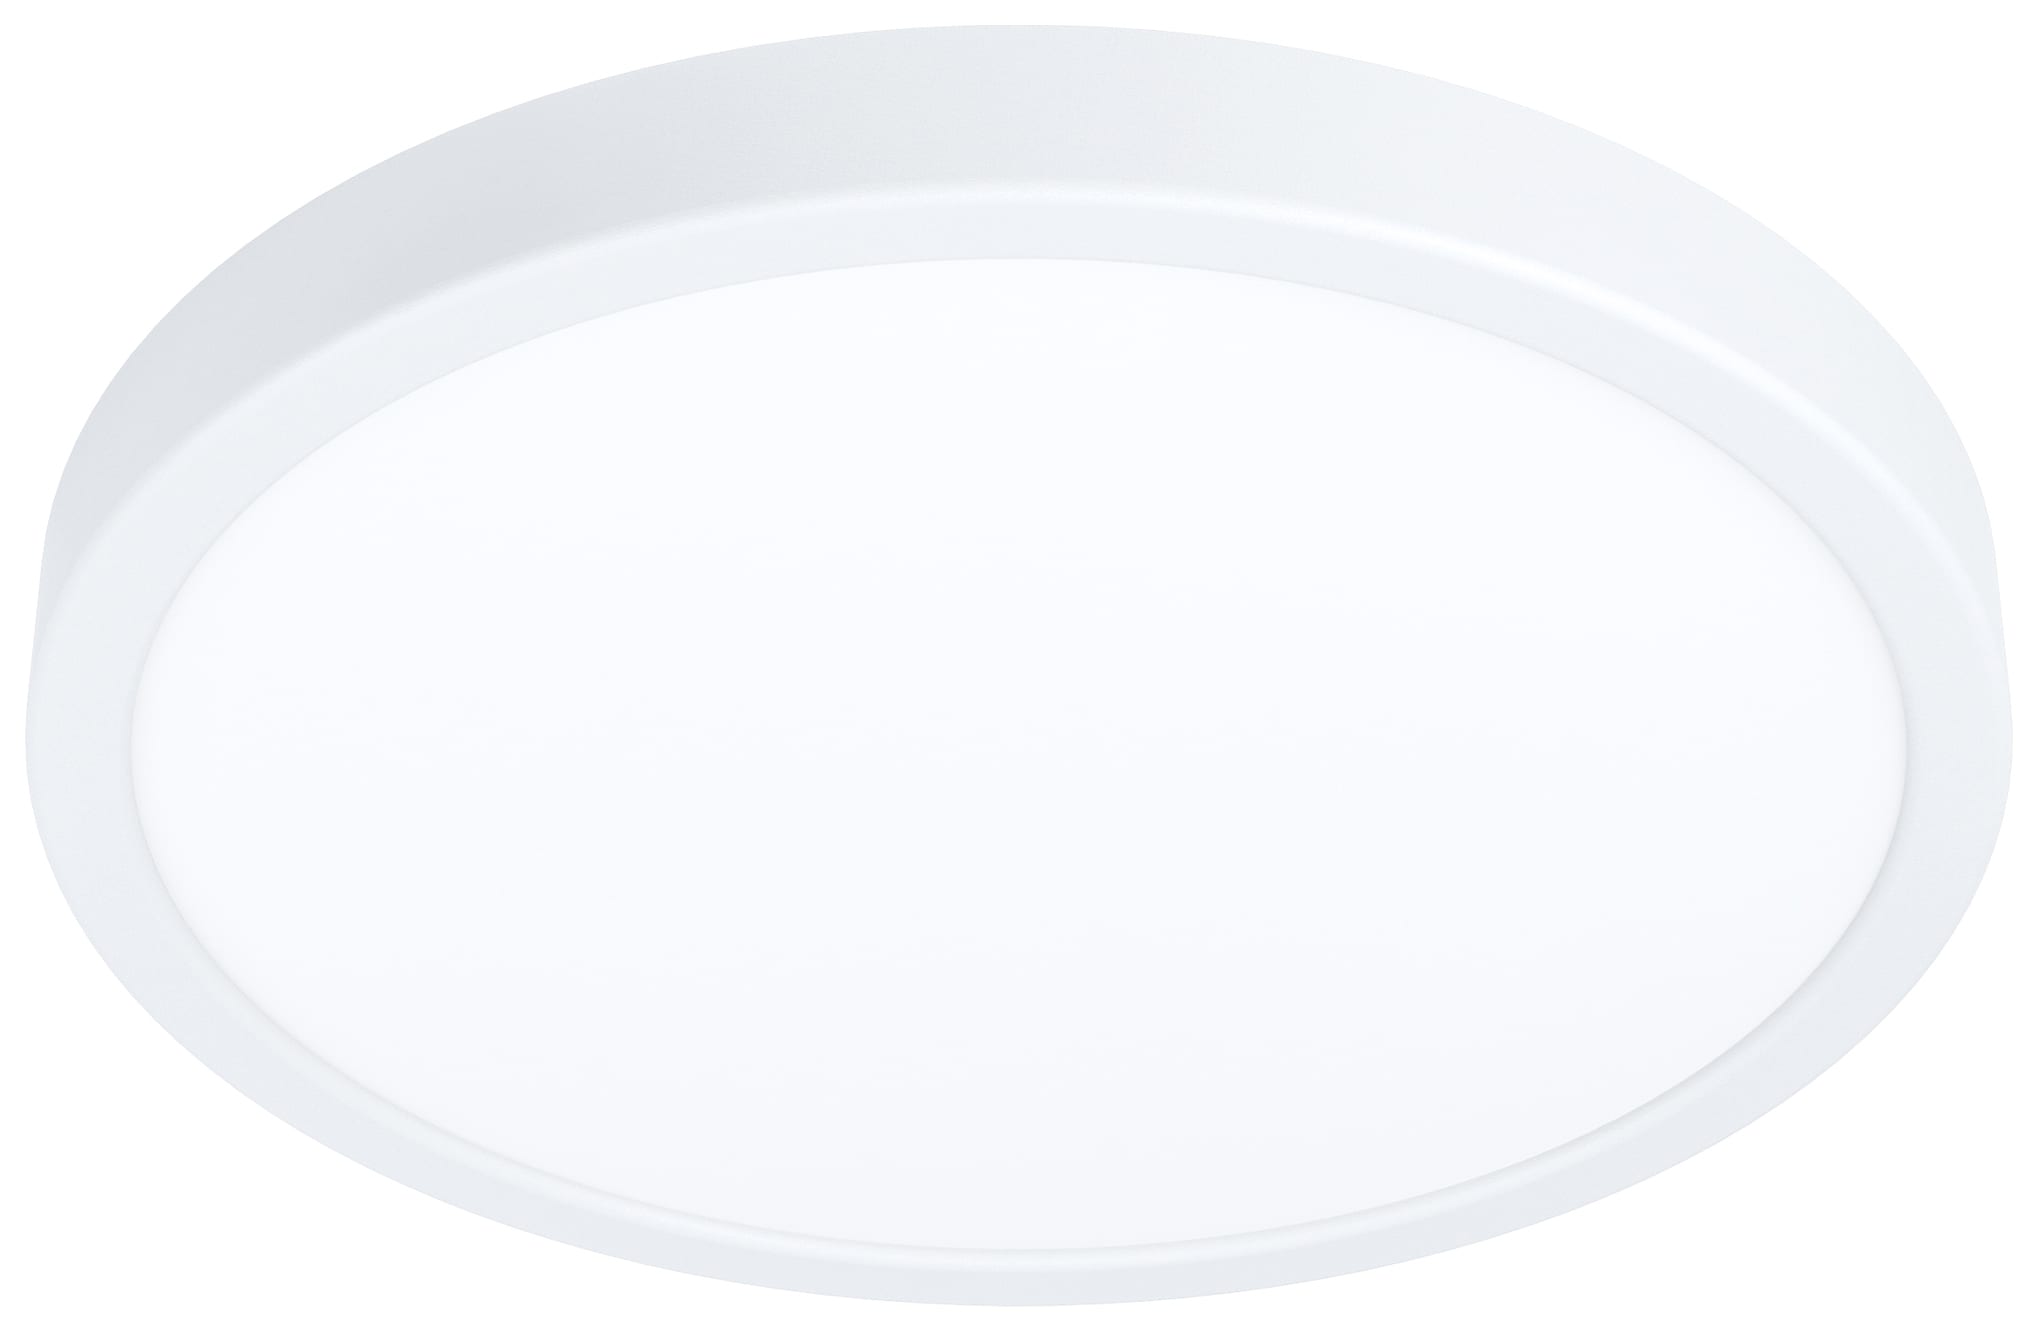
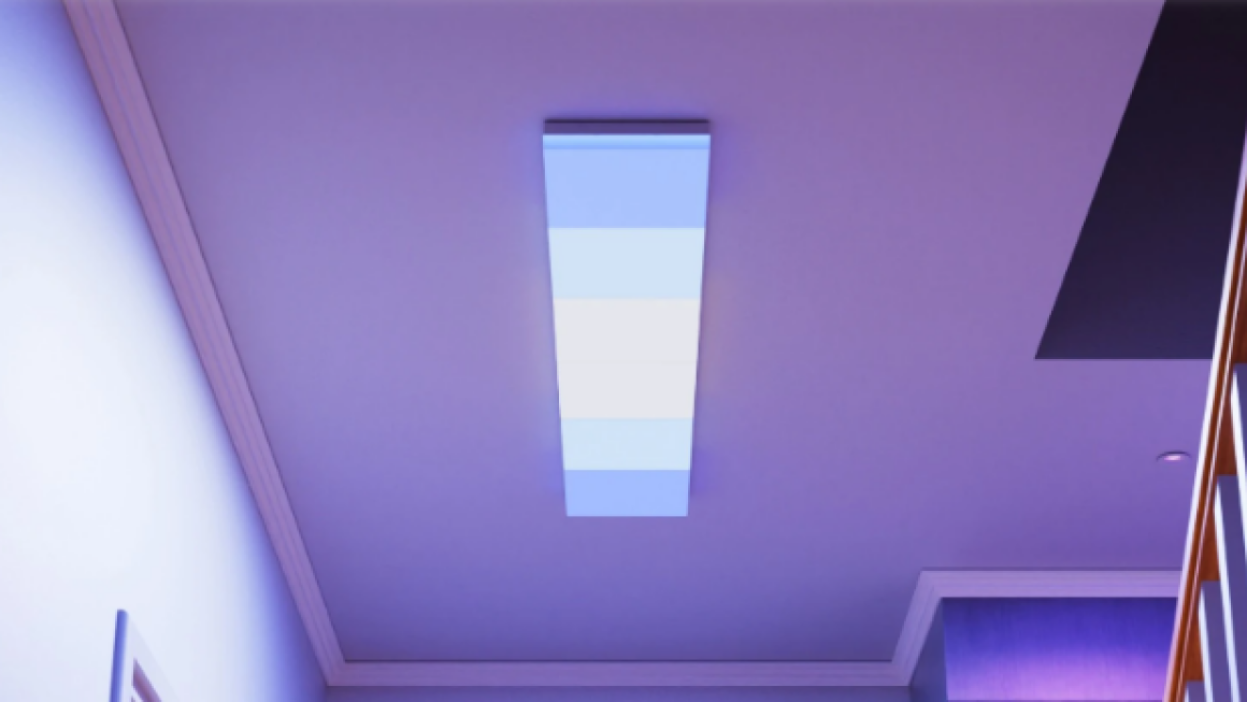
The final steps involve connecting the electrical components and installing the light panel. The cable from the solar collector is connected to the light panel. The light panel is then installed into the cut hole in the ceiling using spring clips located on its sides. These clips secure the panel flush with the ceiling surface, completing the installation. This system offers a practical solution for enhancing natural light in homes, transforming dark spaces into brighter, more inviting environments without the complexities of traditional skylight installations.
#SkylightInstallation #DIYHomeImprovement #NaturalLight #SolarCollector #HomeRenovation #InteriorDesign #RoofAccess #EnergyEfficiency #SkylightInstallation #DIYHomeImprovement #NaturalLight #SolarCollector #HomeRenovation #InteriorDesign #RoofAccess #EnergyEfficiency
0 comment in total
 No comments yet
You may also like
Leak-Free Skylights

Ten residential interiors illuminated by statement skylights

Ceiling Lights

My NYC apartment has a concrete ceiling. How do I install overhead lighting?
How These Homeowners Pulled Off A DIY Cove Skylight In Their Home For Just $1.5K
This Homeowner Created A Faux Skylight In Her HDB BTO & It Looks All Sorts Of Amazing
How to add light in a loft conversion


Suspended Lights - Celeste from Eureka Lighting


12 skylight designs to brighten up any style of home


Raising the roof!

How to make your ceiling light up the room

10 homes that make clever use of lightwells to bring daylight in
Skylights Are Back and More Popular Than Ever—Here’s Why


I dig this floating LED accent lighting, but wow, it's a pain to install


Learn How to Install Rainscreen Siding Like a Pro
I used this smart light to illuminate the most awkward part of my house — and it works for every room


How They Pulled It Off: A Massive Sculptural Skylight


Revamp Your Exterior with Our How-to Guide to Installing Siding Shingles
7 Lighting Tricks That Will Make a Small Entryway Look Much Bigger Than It Actually Is

The Nanoleaf Smart Ceiling Light Mimics a Skylight