1/7
12 top interior painting tips from experts – for a flawless, fabulous finish
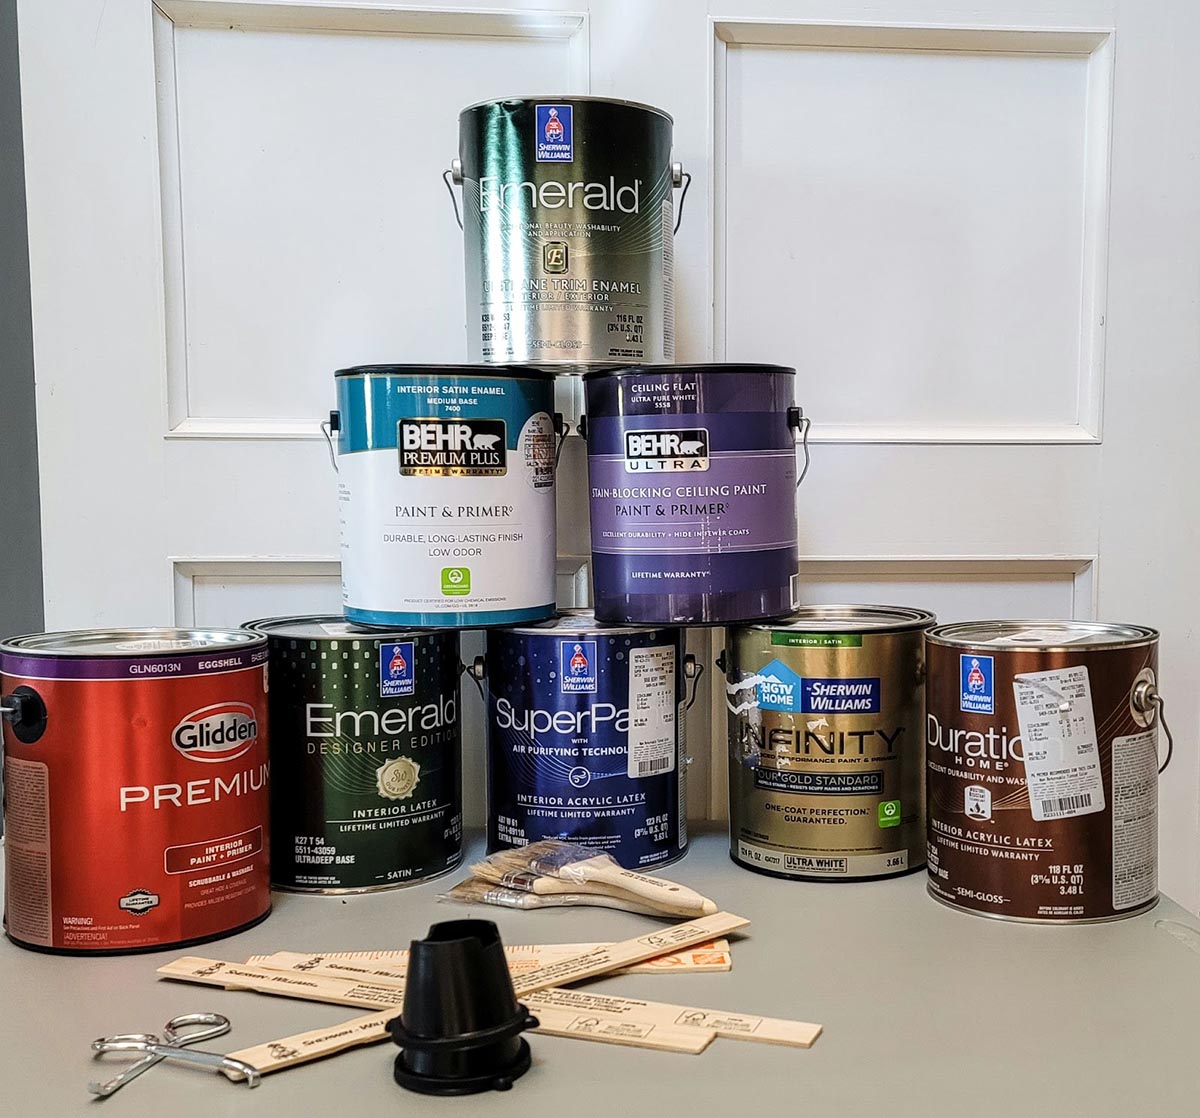
Achieving a professional-looking paint job in your home requires more than just applying paint to a surface; it involves strategic planning and the right techniques. According to experts, investing in high-quality tools and paint is crucial for a superior finish. Using cheaper brushes and rollers can lead to an uneven application and necessitate more touch-ups or repainting. Professional painters recommend using thicker rollers, such as ¾ inch, to hold more paint and reduce lap marks, which occur from pressing down too hard on the roller. Similarly, opting for the best quality paint within your budget is advisable, as it directly impacts the final appearance and durability of the paint job.
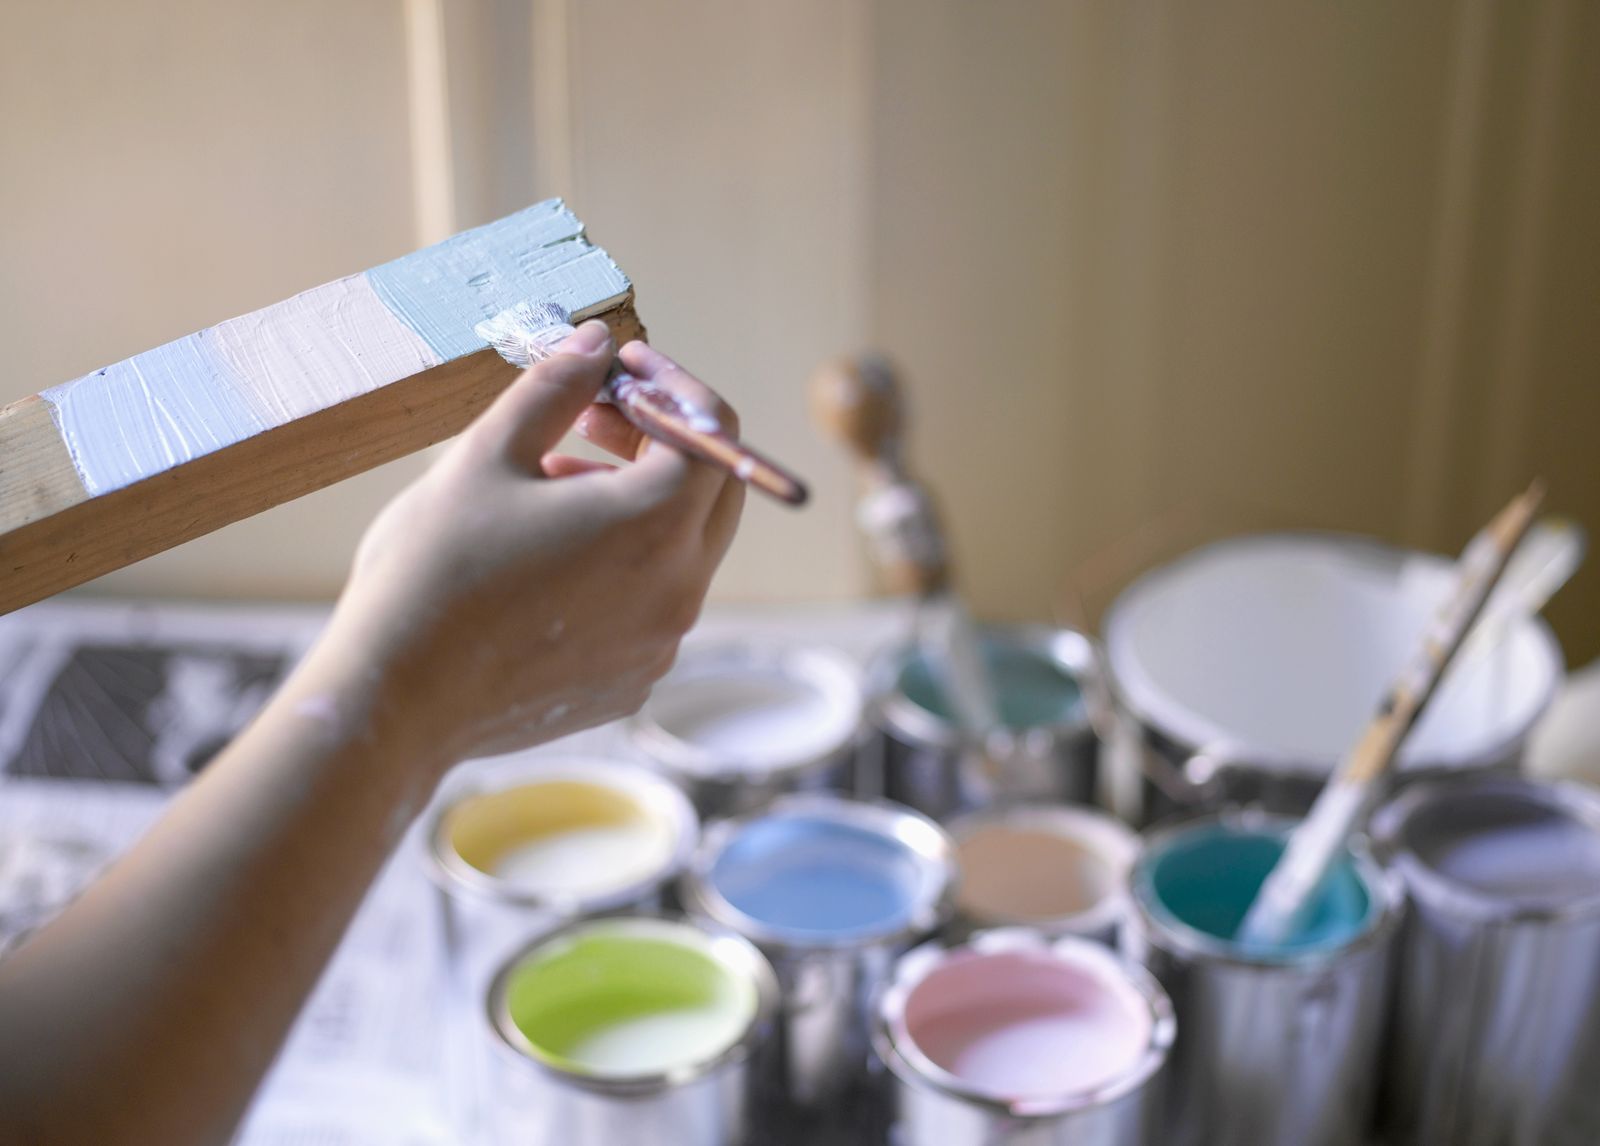
Preparation is a key aspect of successful interior painting. If multiple cans of the same paint color are needed for a room, it is essential to "box" them together by mixing them in a larger container. This practice ensures color consistency, as slight variations can occur between individual cans, becoming noticeable if a new can is opened mid-wall. Repairing any holes or dents in walls and ceilings at least 24 hours before painting allows fillers to dry completely, resulting in a smooth surface. Using a tinted primer that matches the final paint color is also recommended, especially for walls that need an even base or have imperfections, helping to conceal any disparities.
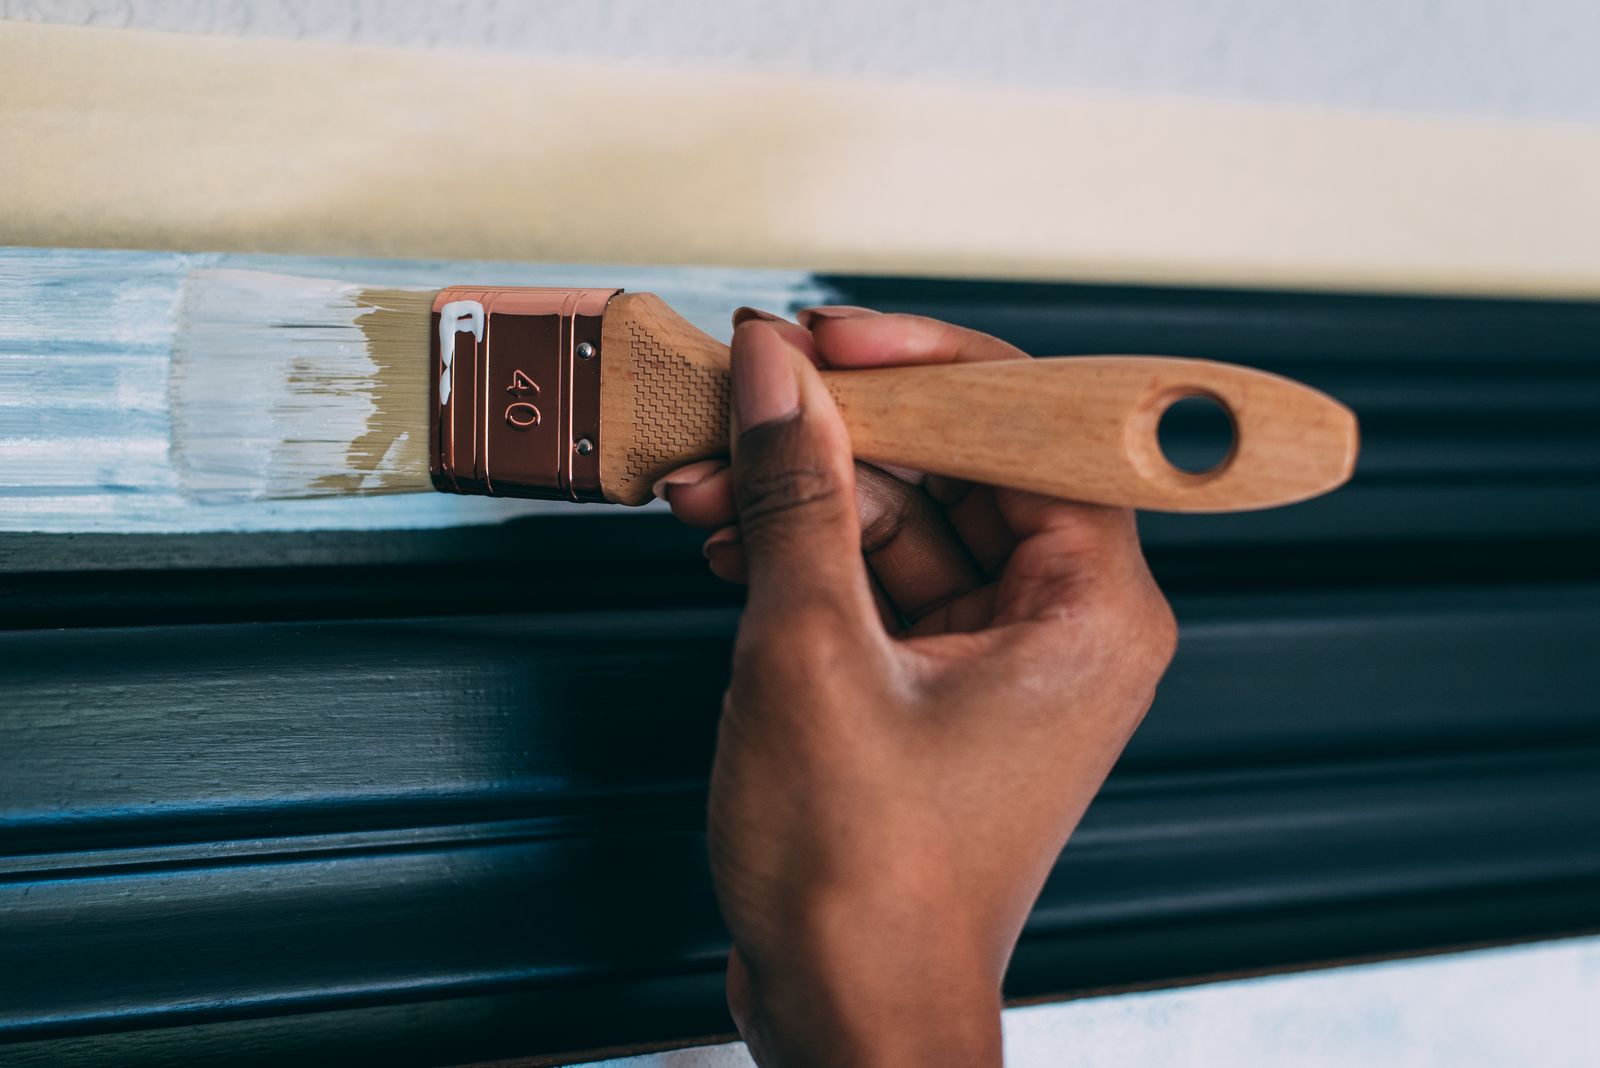
Technique plays a significant role in achieving a flawless finish. Maintaining a "wet edge" during painting prevents the formation of noticeable borders or uneven drying, often referred to as "hatbanding" or "picture framing." This involves working clockwise around the room, completing one wall's cutting-in and rolling before the paint dries, ensuring seamless blending. Using painter's tape is indispensable for protecting trim, window frames, and door frames. The timing of tape removal is critical; some prefer immediate removal before the paint fully dries to prevent peeling, while others wait 24 hours and use a sharp blade to score the edge, pulling the tape at a 45-degree angle. Regardless of the timing, proper application and removal of painter's tape contribute to clean lines.
Applying sufficient paint with each load of the roller is another important tip to avoid patchiness. Inconsistent pressure or inadequate paint can lead to an uneven appearance when dry. Before any painting begins, thorough cleaning of all surfaces is mandatory, even freshly applied backing paper. Walls accumulate dust and grease, which can prevent paint adhesion or result in a textured finish. Products like TSP (trisodium phosphate) are effective degreasers, but they should be handled with caution and appropriate protective gear. To save time and effort between coats, paint brushes and rollers can be wrapped tightly in plastic to keep them moist and prevent drying, eliminating the need for immediate cleaning.
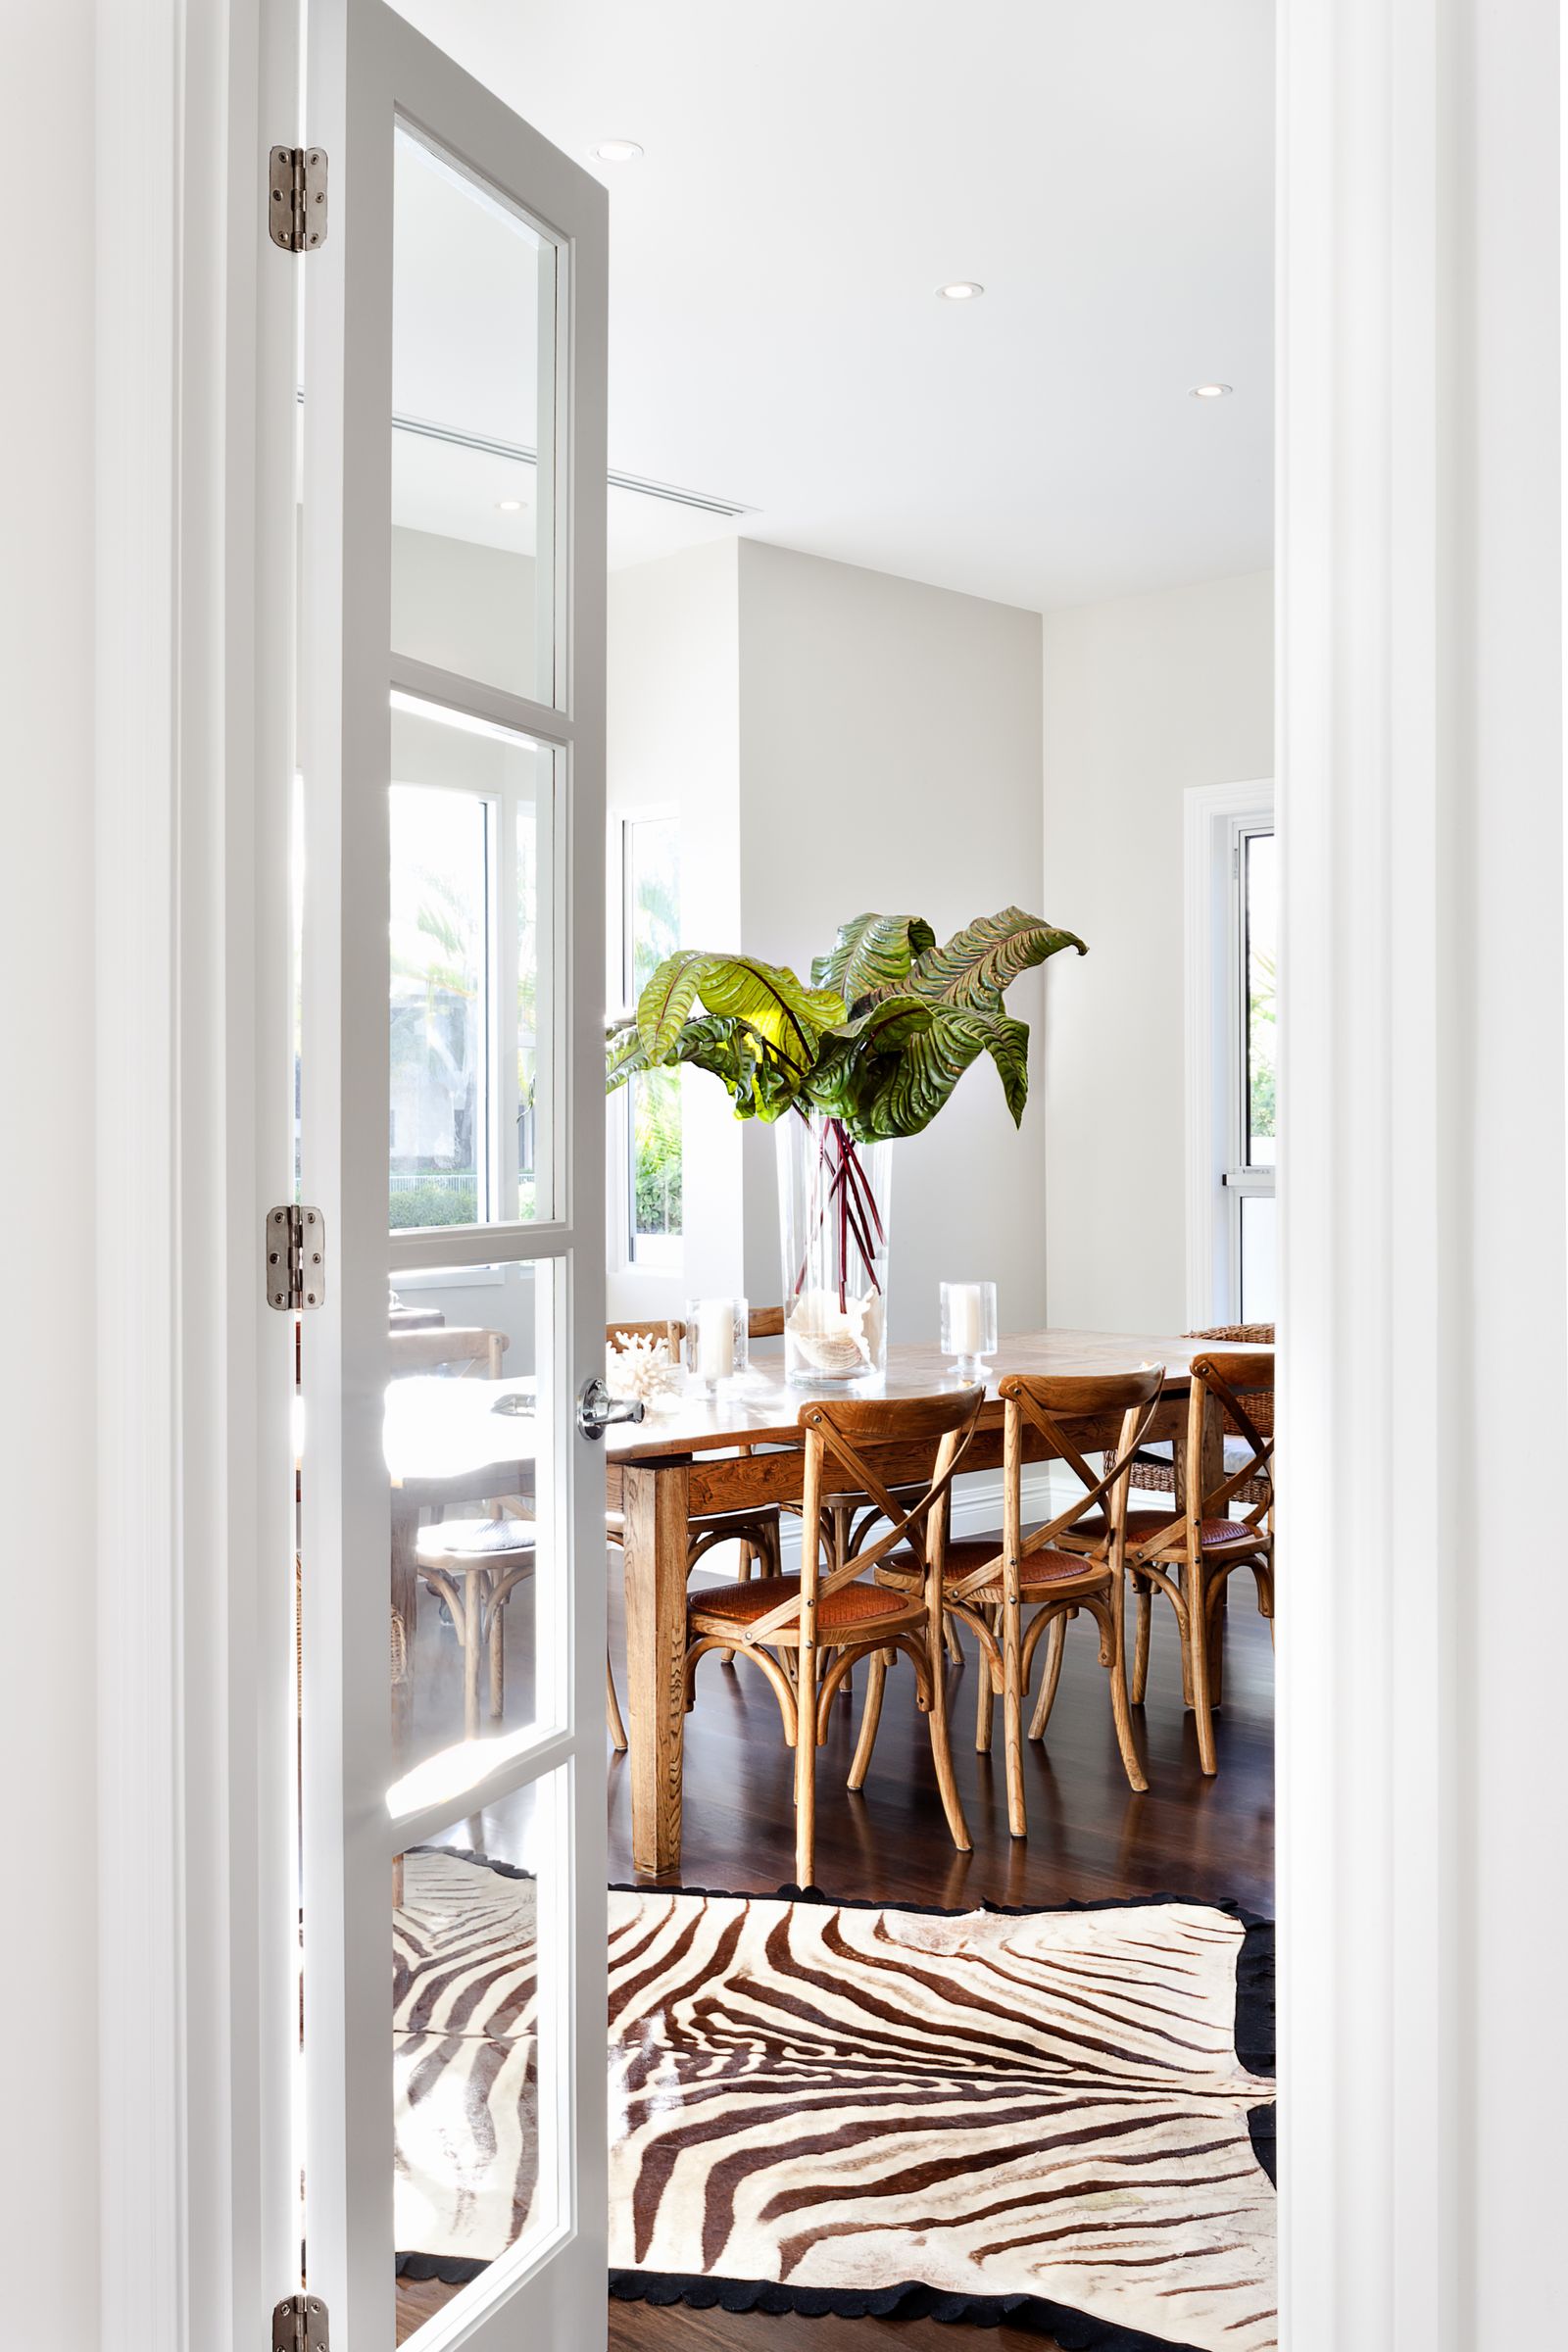
For trim work, sanding lightly between coats with a fine-grit sanding sponge creates an ultra-smooth finish. After sanding, wiping down surfaces with a tack cloth or vacuuming removes dust before applying the next coat. Painting trim before walls is generally advised to simplify the process. Finally, patience is paramount in painting. Rushing can lead to mistakes such as drips, uneven coats, or missed spots, which are time-consuming to correct. Taking the time to apply each coat carefully and allowing adequate drying time between steps ensures a high-quality, professional result, transforming the space effectively.
#InteriorPainting #DIYHomeImprovement #PaintApplication #SurfacePreparation #PaintingTools #FlawlessFinish #HomeRenovation #InteriorPainting #DIYHomeImprovement #PaintApplication #SurfacePreparation #PaintingTools #FlawlessFinish #HomeRenovation
0 comment in total
 No comments yet
You may also like
Paint finishes – a guide for every room
How to achieve beautiful paint finishes according to interior designer, Nicola Harding

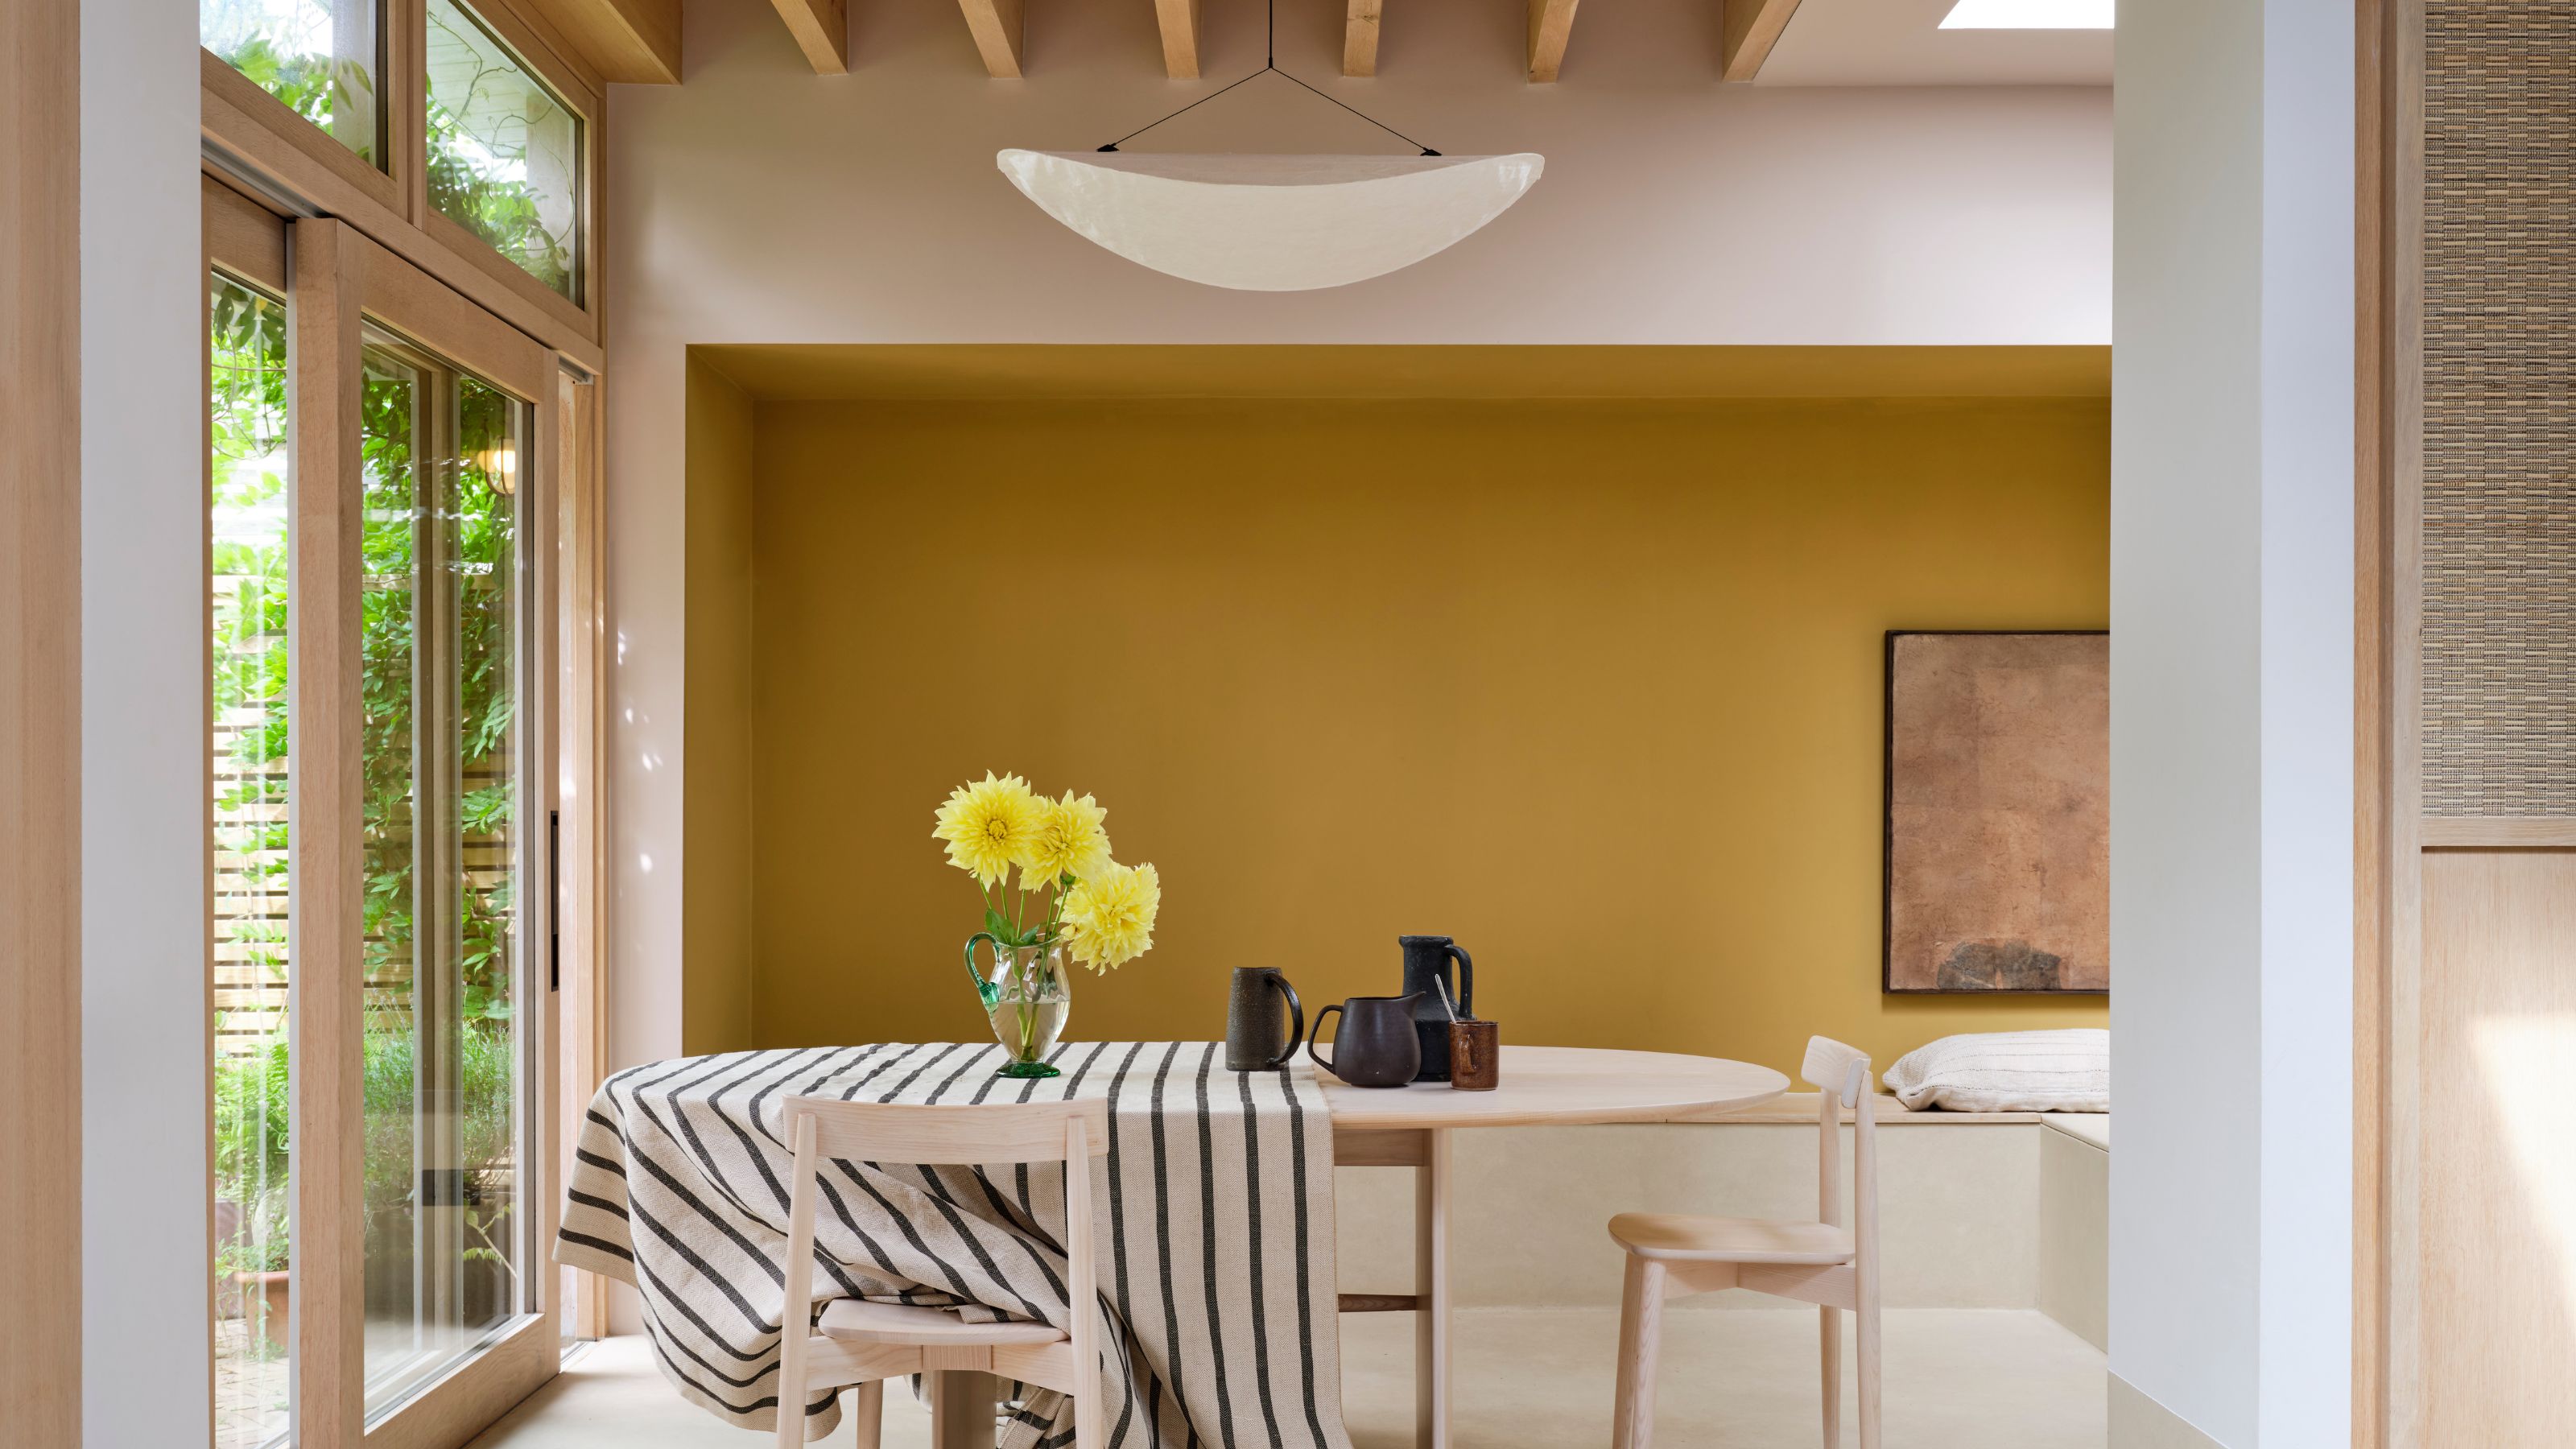
13 of the Best Paint Brands for Luxurious-Looking Interiors, as Rated by Professional Painters and Serial Redecorators
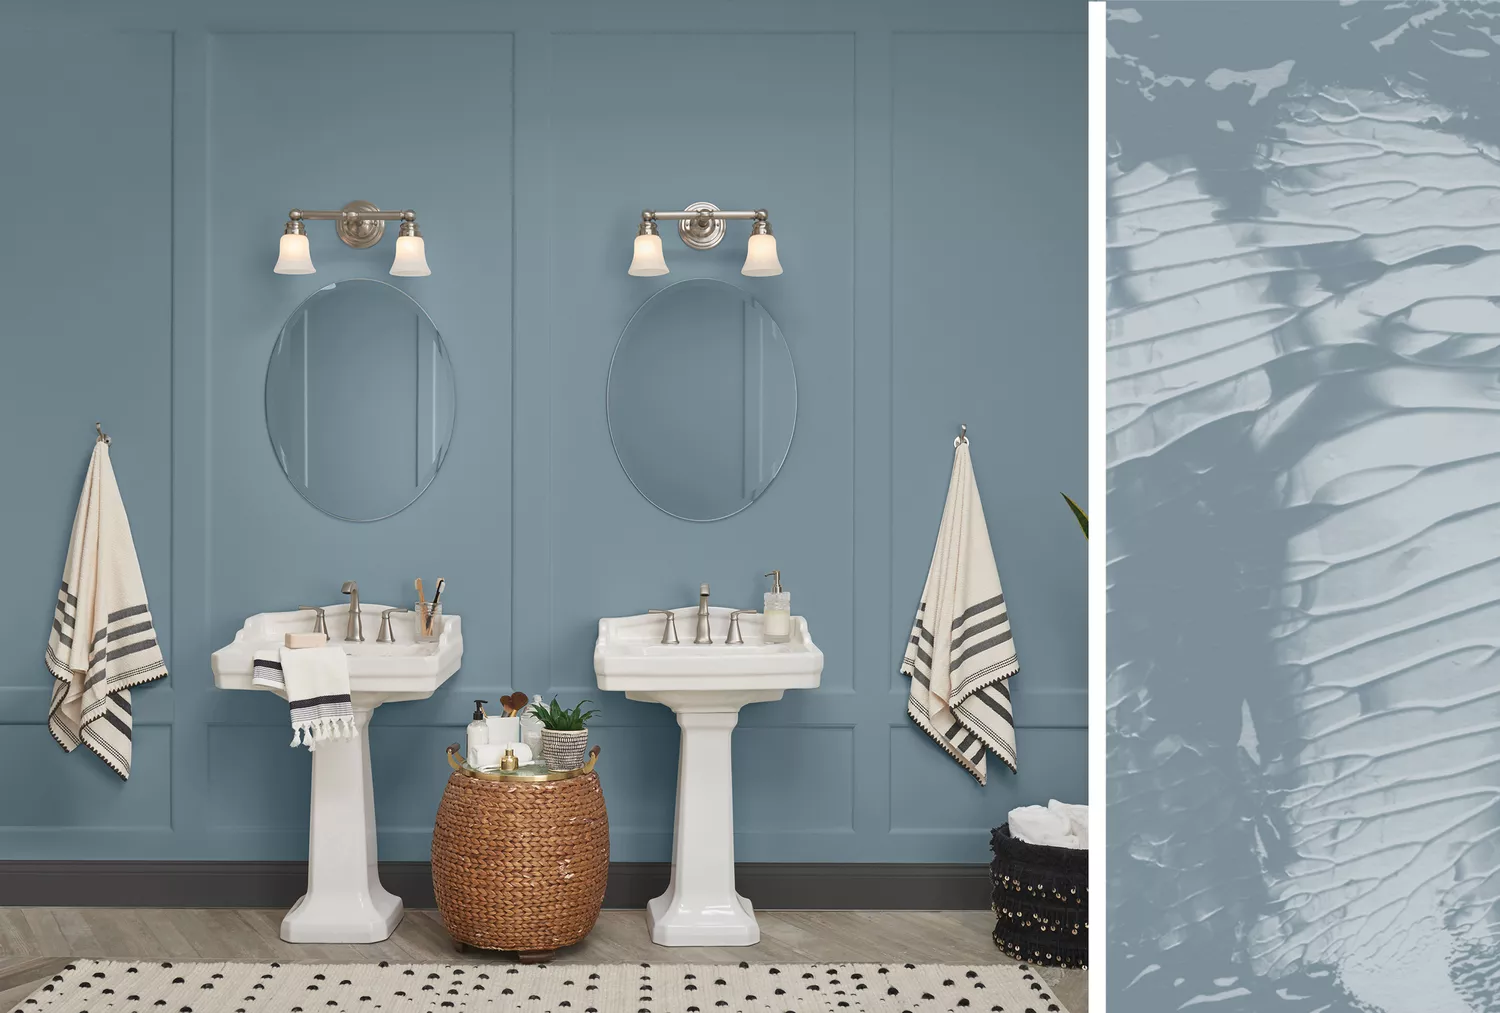
20 Interior Paint Colors Decorating Experts Love

Understanding paint finishes

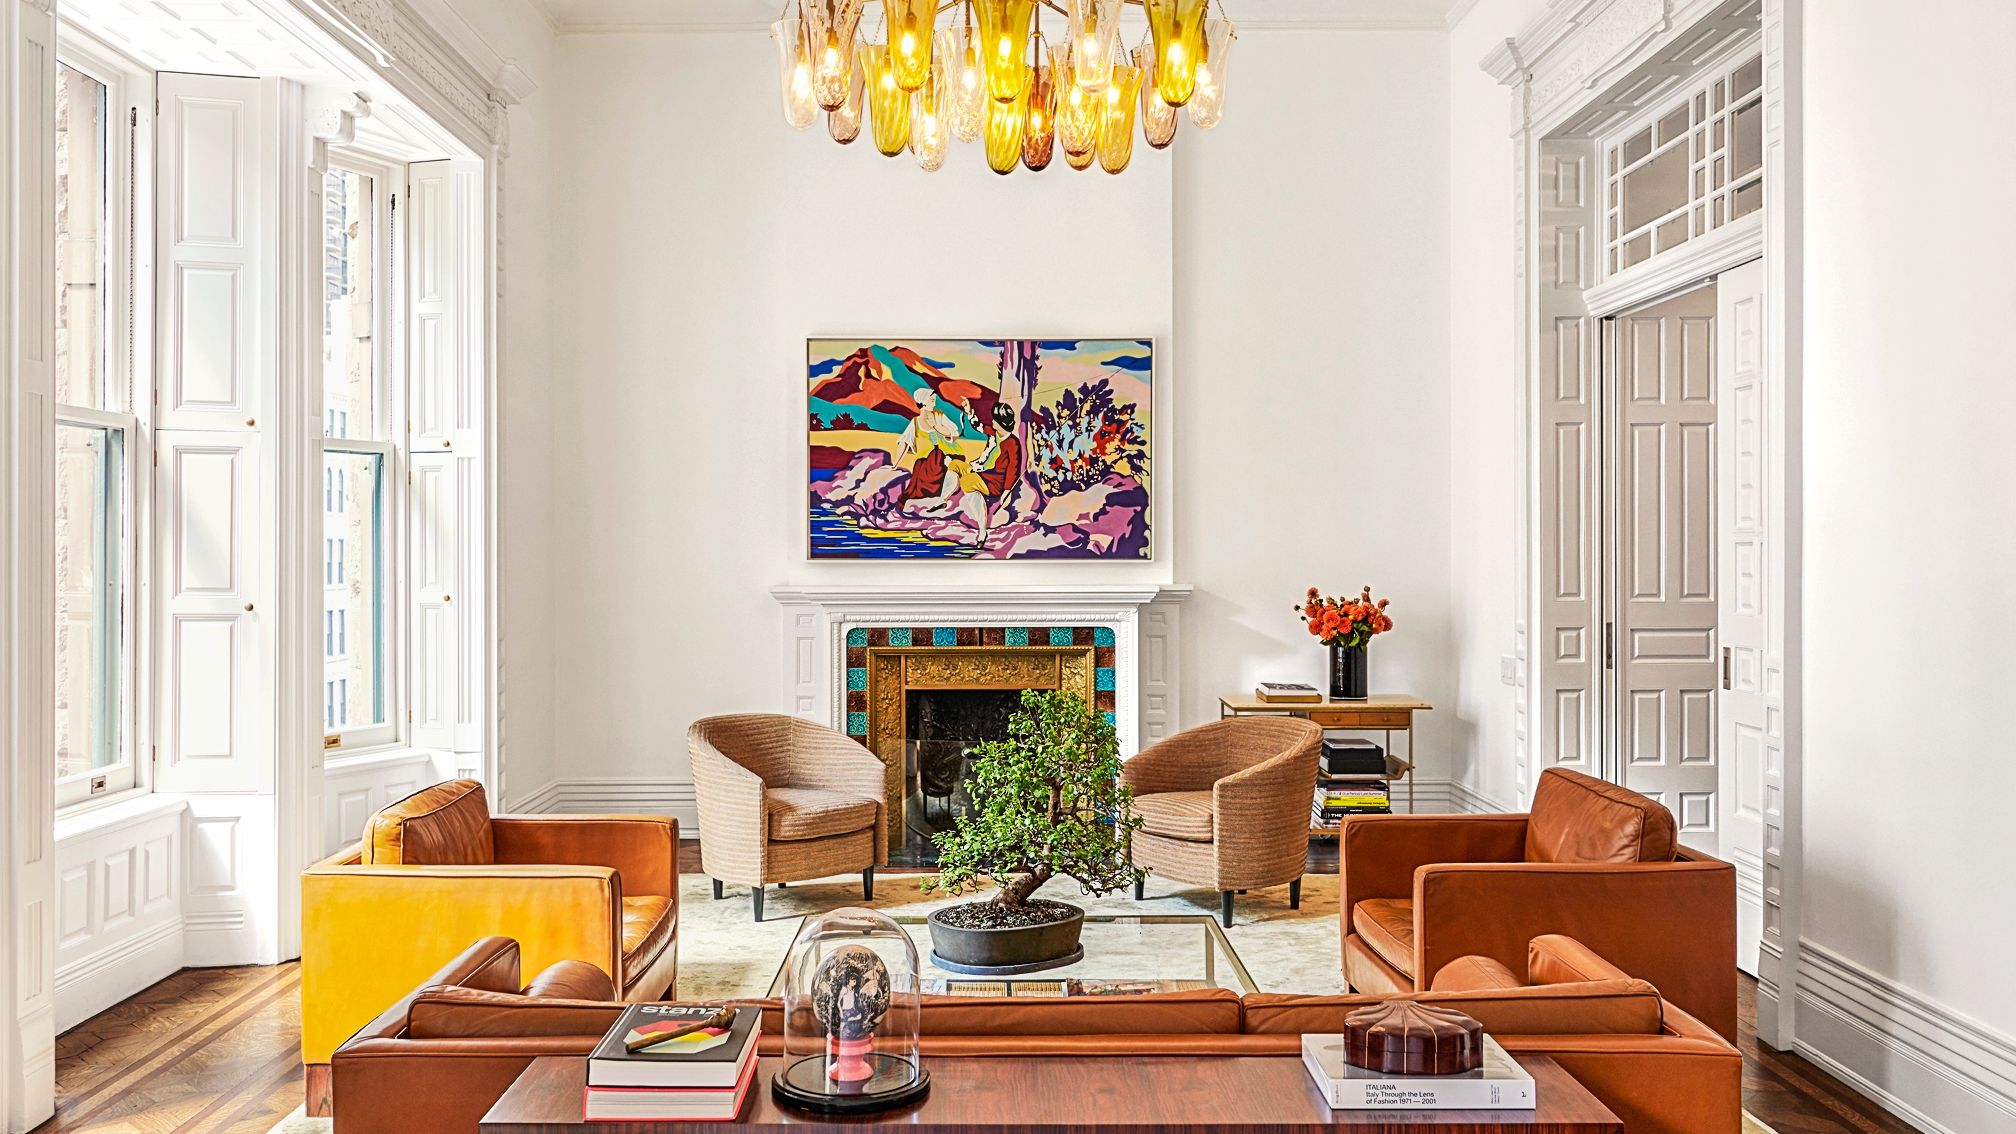
Interior Paint: A Guide to Buying the Best Paints for Your Home


Home Styling Tips: For Gorgeous Interiors

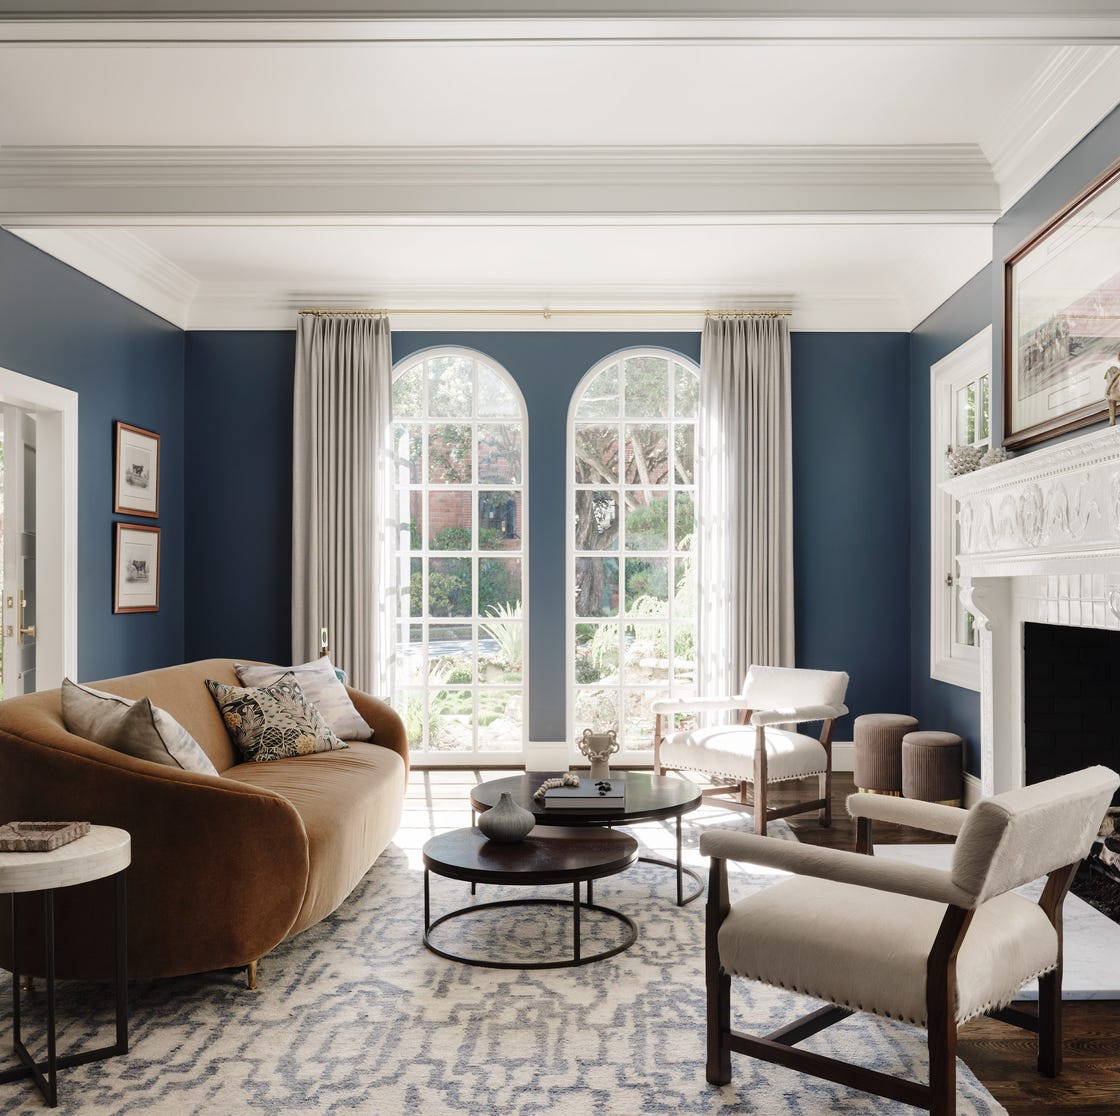
11 Paint Colors That INSTANTLY Make Your Home Look "Expensive," According to Designers

The Best Interior Paint | Reviews by Wirecutter
5 different paint finishes, from flat to high-gloss, and when to use them
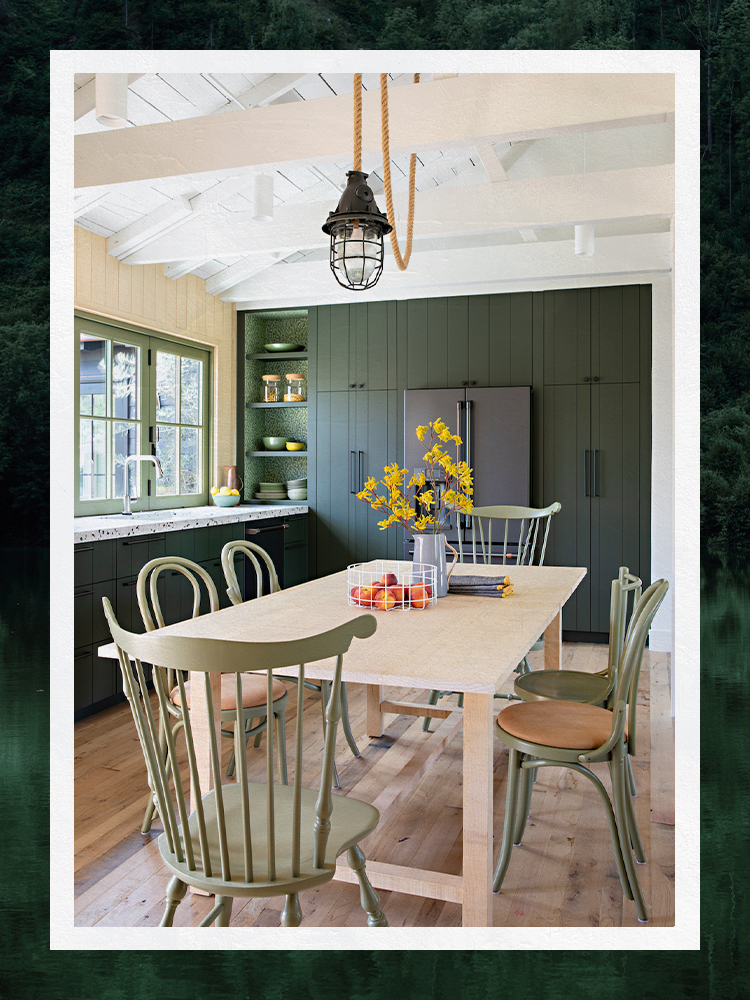
Designers Share Their Tried-and-True Shades From the Best Interior Paint Brands
9 Best Interior Paint Colors

Best paint finishes for living rooms explained – how to get an expert finish
The Best Interior Paints, According to Expert Testing


Interior Paint
Britain's best interior designers on the paint colours you just can't go wrong with
The Best Interior Paints for Every Room of the House, Tested and Approved

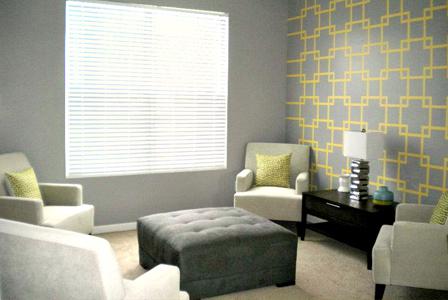
Update your home with these paint tips!

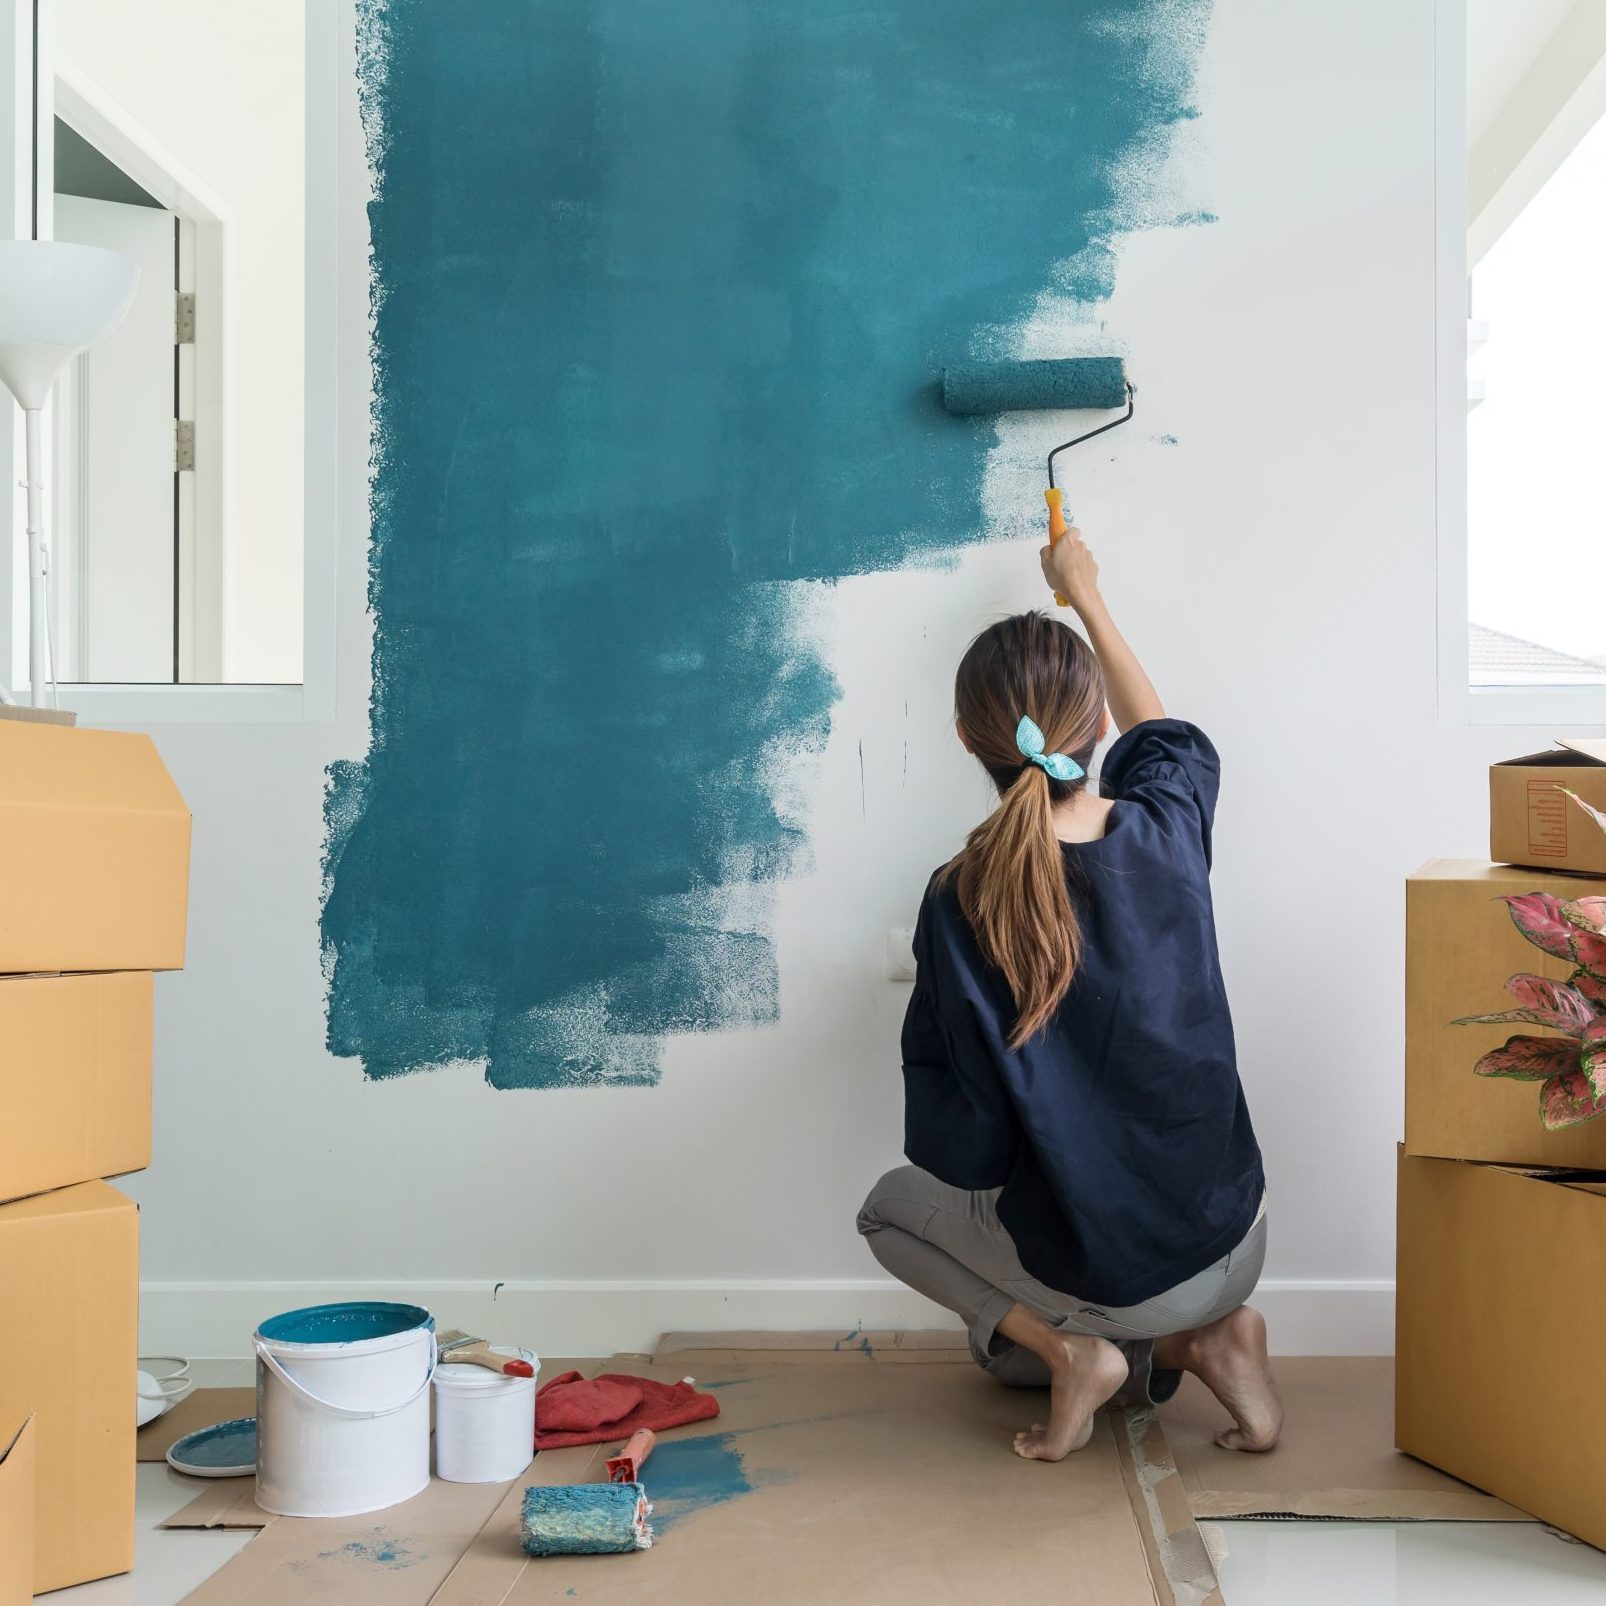
9 Best Paints for Interior Walls
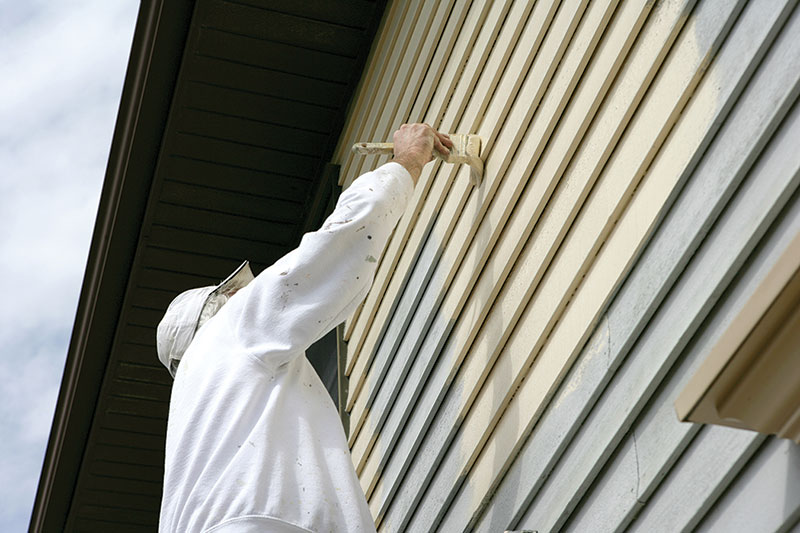
Professional Tips on Exterior Paint for Your Home