1/2
This Old House Salvage-Style Projects: Pier Mirror
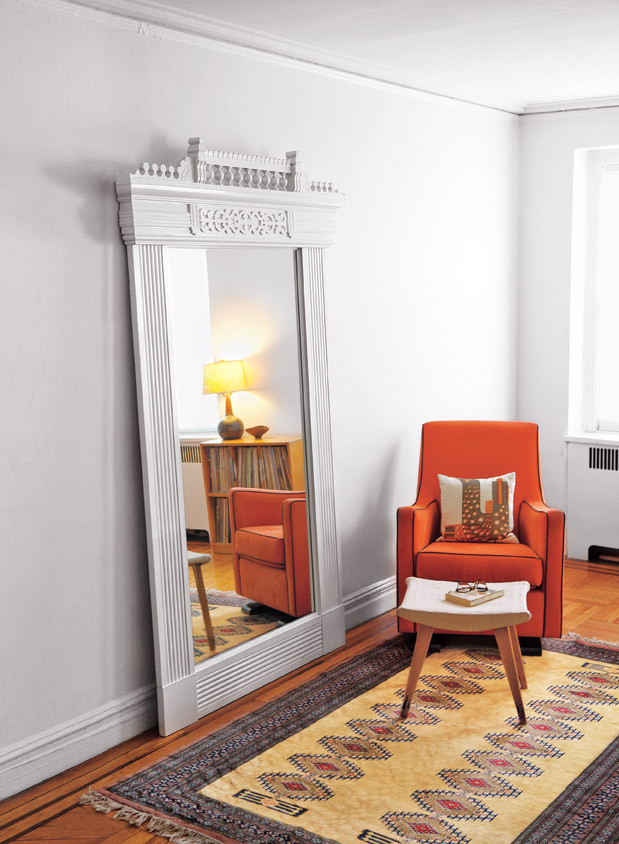
This DIY guide details the creation of a stunning pier mirror, inspired by grand Victorian-era designs, using salvaged or new architectural elements. The project offers a budget-friendly alternative to expensive antique mirrors while still providing a bold statement piece that reflects light and creates an illusion of greater space within a room. The estimated time for completion is six or more hours, with a cost of approximately $510, and it is classified as a difficult skill level project.
The necessary supplies include an entablature top from a door casing, fluted pilasters, plinth blocks, bead molding, mirror glass, 1/2-inch plywood, a 2x board, 2 5/8-inch pocket-hole screws, construction adhesive, 1-inch and 2-inch deck screws, wood glue, oil-based primer, gloss oil-based enamel, sandpaper, and mirror mastic. Essential tools for the project are a drill/driver, pocket-hole jig, caulk gun, clamps, and a paintbrush.
Construction begins with a dry-fit of the parts, arranging the precut pilaster frame around the mirror and positioning a 2x board, slightly thicker than the frame components, across the top to support the entablature. The 2x board is sized to match the width of the entablature's back, particularly if the entablature has mitered corners that originally wrapped the sides of a door casing.
Next, the mirror frame is assembled. This involves joining the pilasters to the plinths using pocket-hole screws, driven diagonally along the backs of the wood with a drill/driver and a pocket-hole jig. Subsequently, the 2x top is joined to the ends of the pilasters. Once the frame structure is partially complete, construction adhesive is applied along the back of the frame using a caulk gun.
The plywood back is then secured to the frame. After applying adhesive, the panel is adhered, and 1-inch deck screws are driven into the four corners and every eight inches along the top, sides, and bottom of the back panel for firm attachment. Following this, the frame is flipped faceup, and construction adhesive is used to affix the decorative entablature to the 2x top, which is then secured with clamps.
To complete the entablature top, the frame is turned facedown again. The adhesive is reinforced by driving 2-inch deck screws through the back of the 2x board. If the entablature has mitered corners, they are secured with wood glue to ensure they wrap the board's ends neatly. The next step involves painting the frame. An oil-based enamel is applied to achieve a lacquer-like finish. It is important to prime the entablature top first if it has been stripped of old paint or stained, sanding between coats for a smooth finish.
The final stages involve adding the mirror glass and bead molding. The mirror glass is adhered using special mirror mastic, a task that may require assistance due to the size and fragility of the glass. Once the mirror is in place, its edges are covered with bead molding, which is affixed to the frame using wood glue. The finished pier mirror is then ready to be positioned to enhance the room's brightness and ambiance, serving as both a functional and decorative element.
#PierMirror #DIYProject #SalvageStyle #HomeDecor #VictorianDesign #MirrorMastic #Woodworking #PierMirror #DIYProject #SalvageStyle #HomeDecor #VictorianDesign #MirrorMastic #Woodworking
Toplam 0 yorum
 Henüz yorum yok
Bu da beğenebilirsiniz
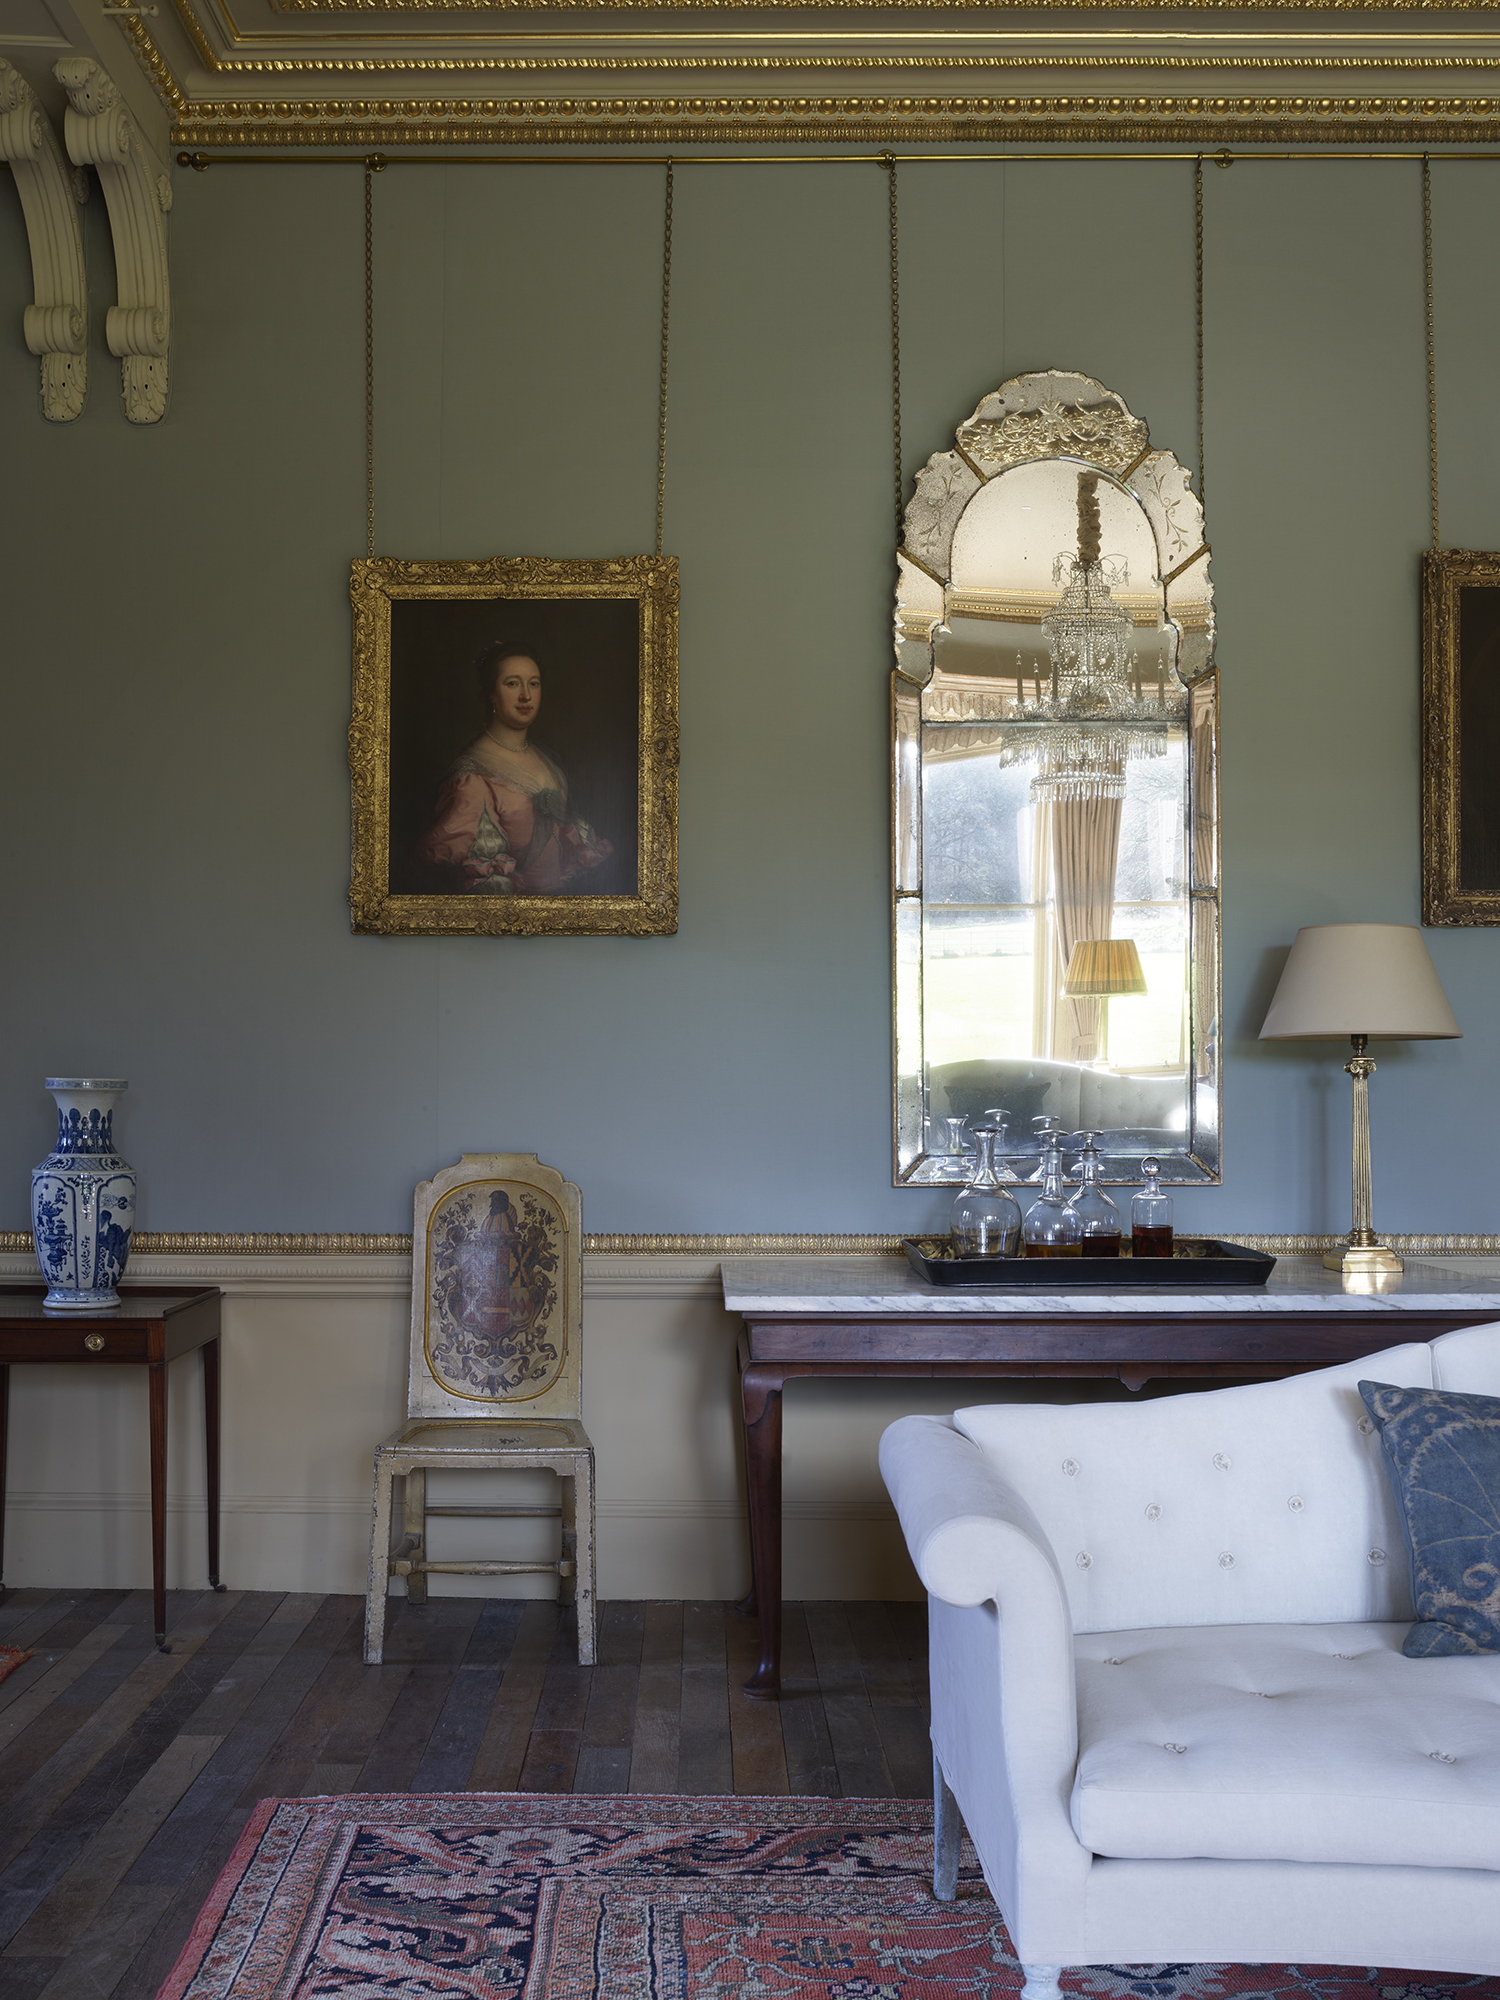
Upon reflection: How to buy an antique mirror
5 Common Mistakes Homeowners Make When Restoring Old Houses
6 Architectural Salvage Stores That Can Fill Your Philly Home With Historic Charm

8 Retro Home Decor Items You'll Find Hiding In The Thrift Store
Vintage Mirror Shopping Guide: What to Know and Where to Buy


When restoring historic homes, what’s old is new again

8 Anthropologie mirror alternatives that look as beautiful as the real thing but cost way less

Guide to Buying Older Homes by Decade

This Former 1930s Hunting Lodge Was Updated for Family Living
Refurbish an antique mirror with Ginger Coffer Designs

Before and After: A Quaint Cape Cod Cottage Is Rescued from Disrepair
10 things I wish I'd known about doing up old houses before I started, by Country Life's interiors guru Giles Kime
How to mimic that antique-mirror look

4 Things We Learned From Restoring Our Historic ’70s Home on Fire Island

7 Things You Should Always Preserve or Try to Save in an Old Home, According to Designers

25 Latest Mirror Designs For Home With Pictures In 2023

Jeremiah Brent’s Latest DIY Involves an Old Mirror and This Amazon Buy
Best places to buy mirrors in 2025, according to an Style Editor

Top tips for renovating old homes: Whether restoring or modernising, clever design is key
Old House Handyman: Restoring front door with new glass three decades in the making