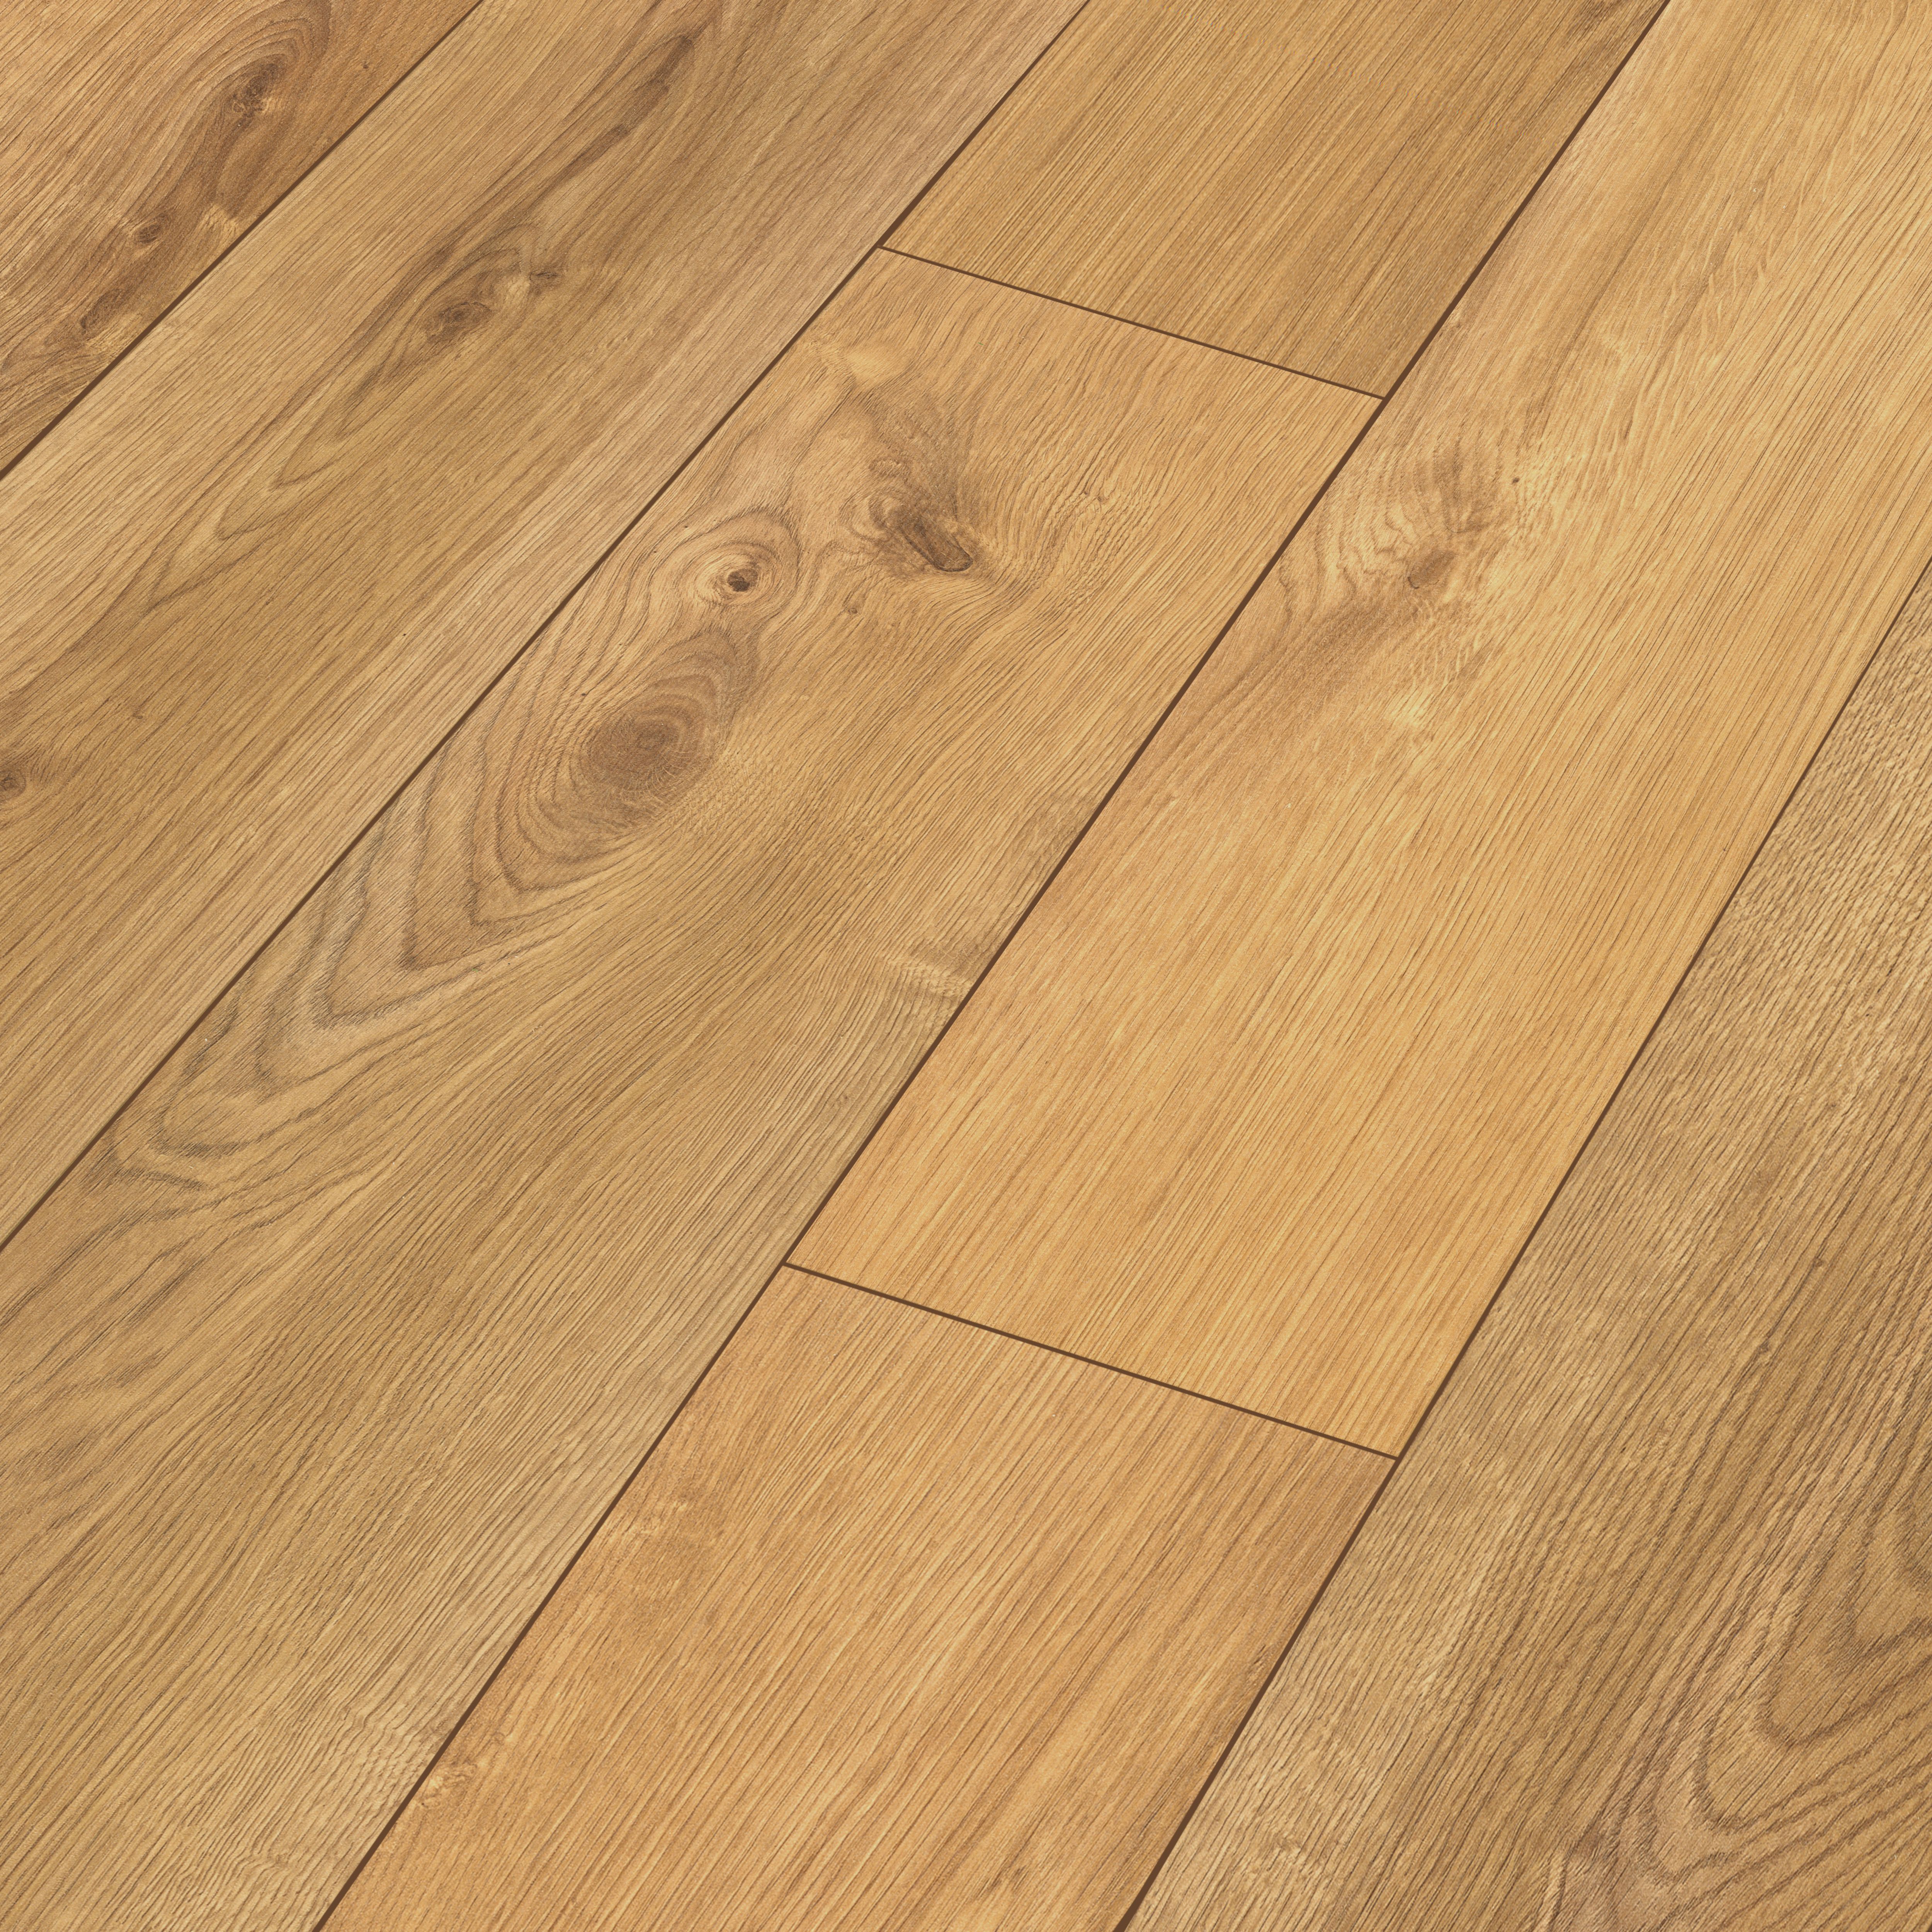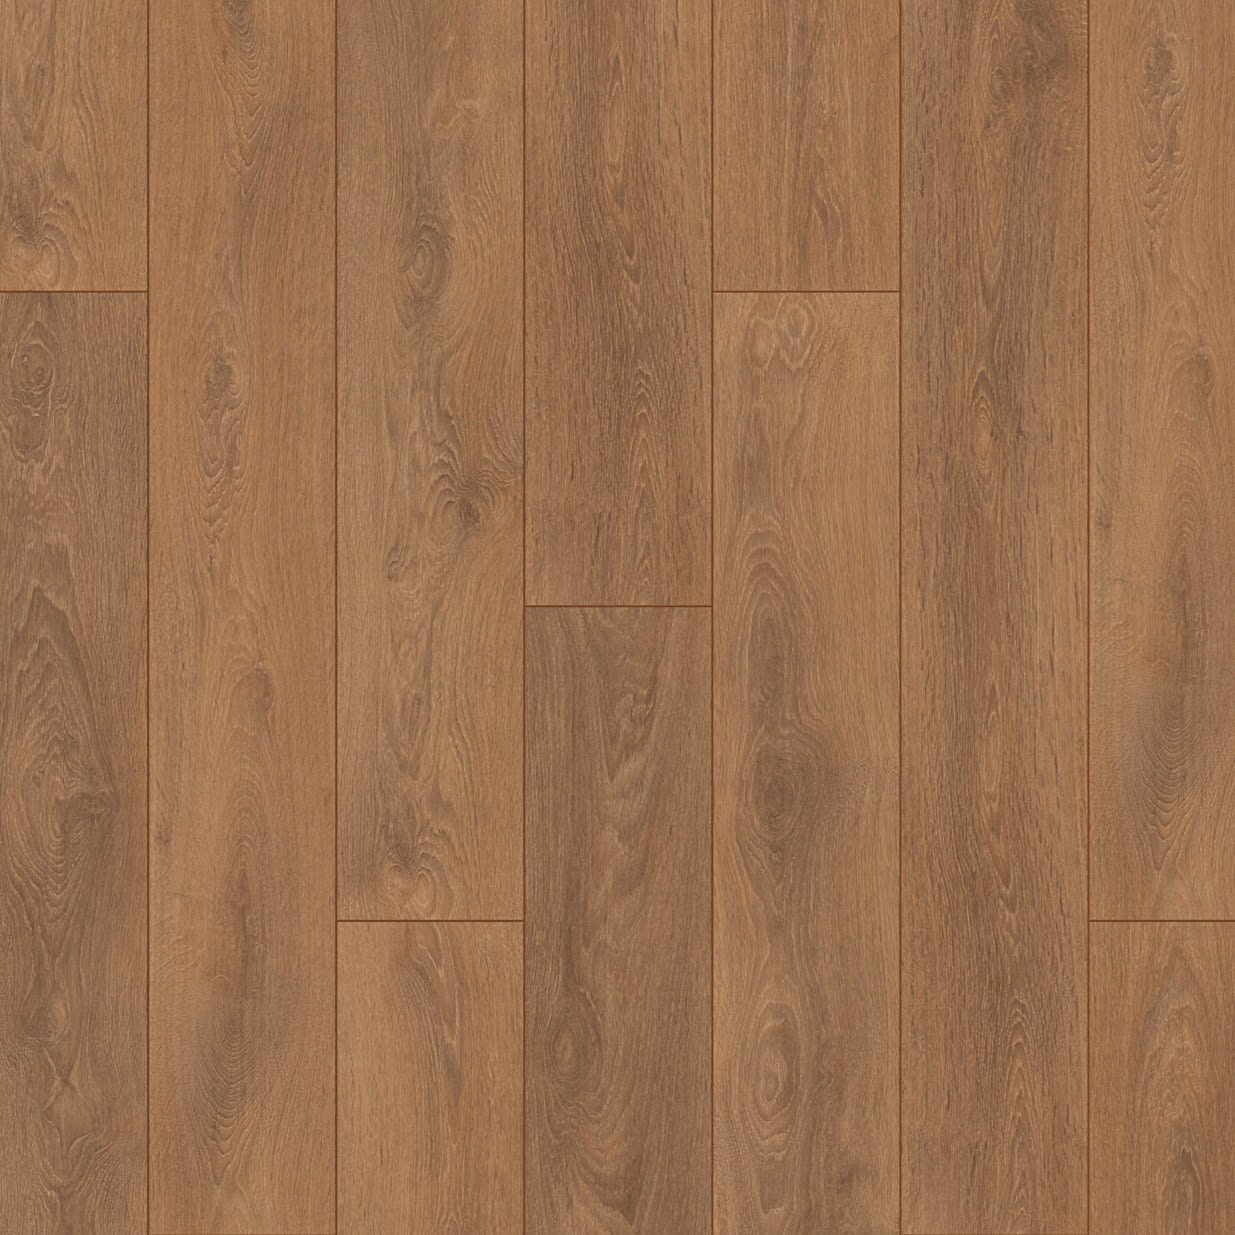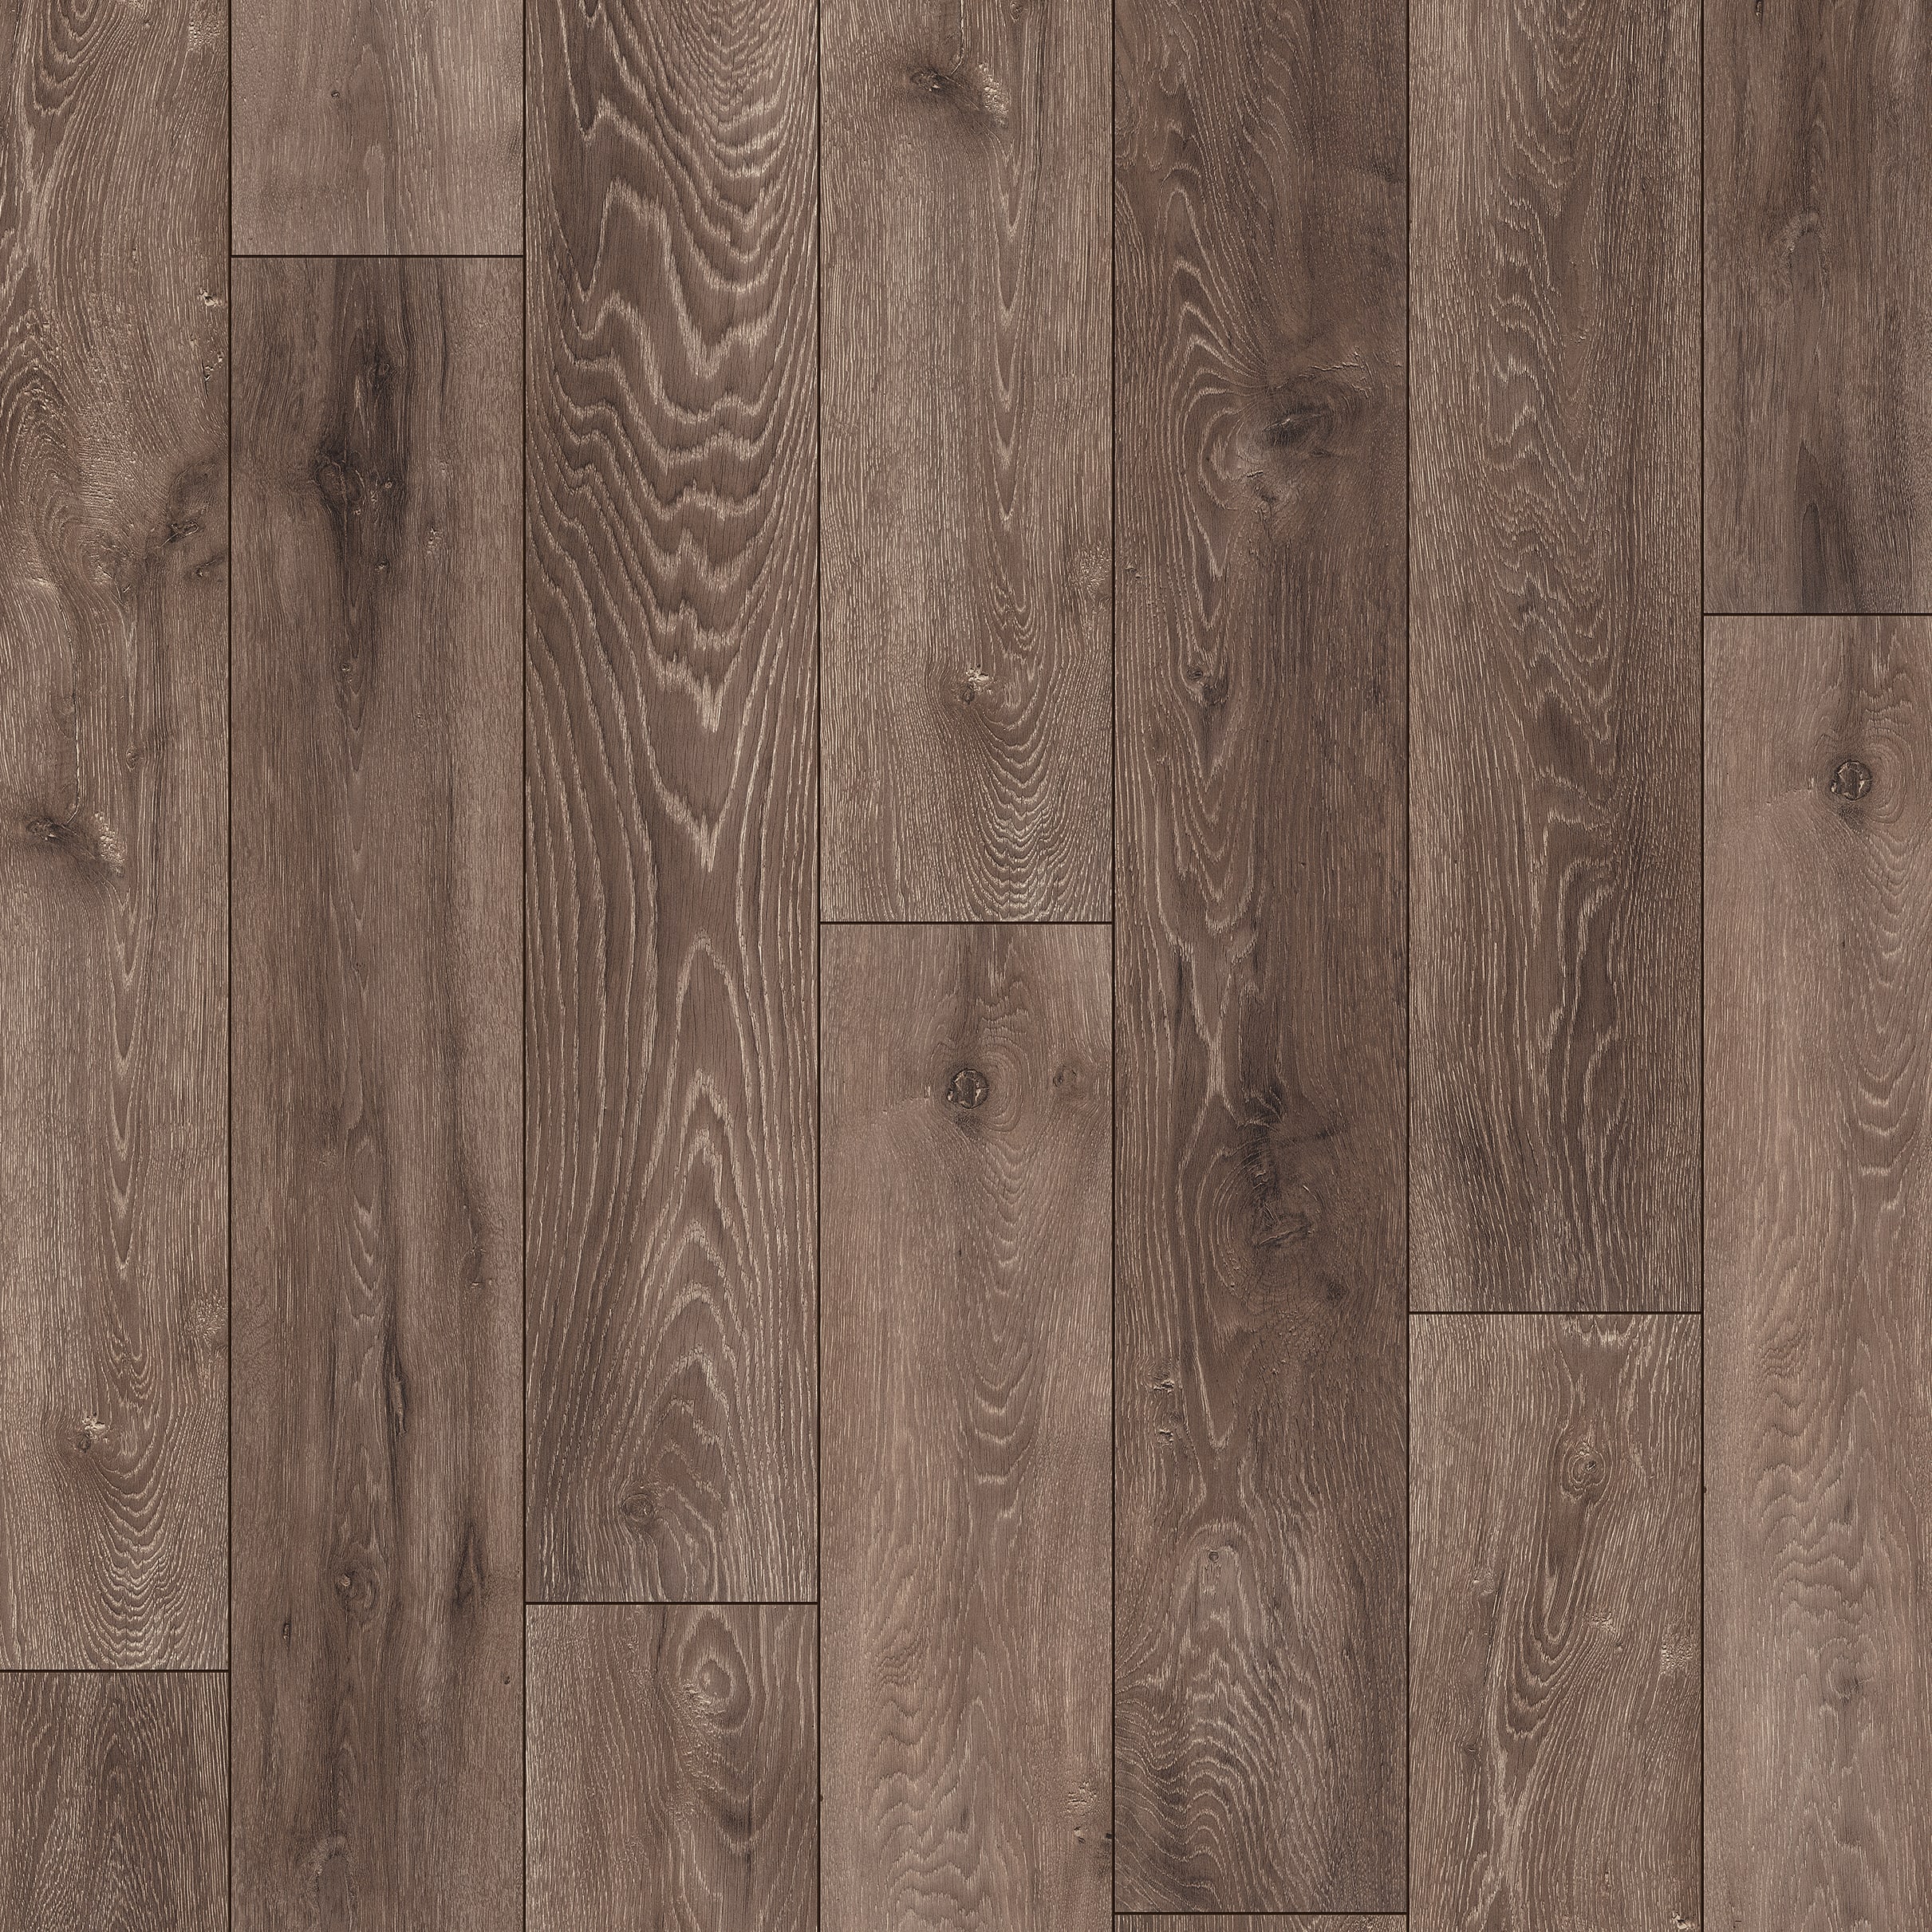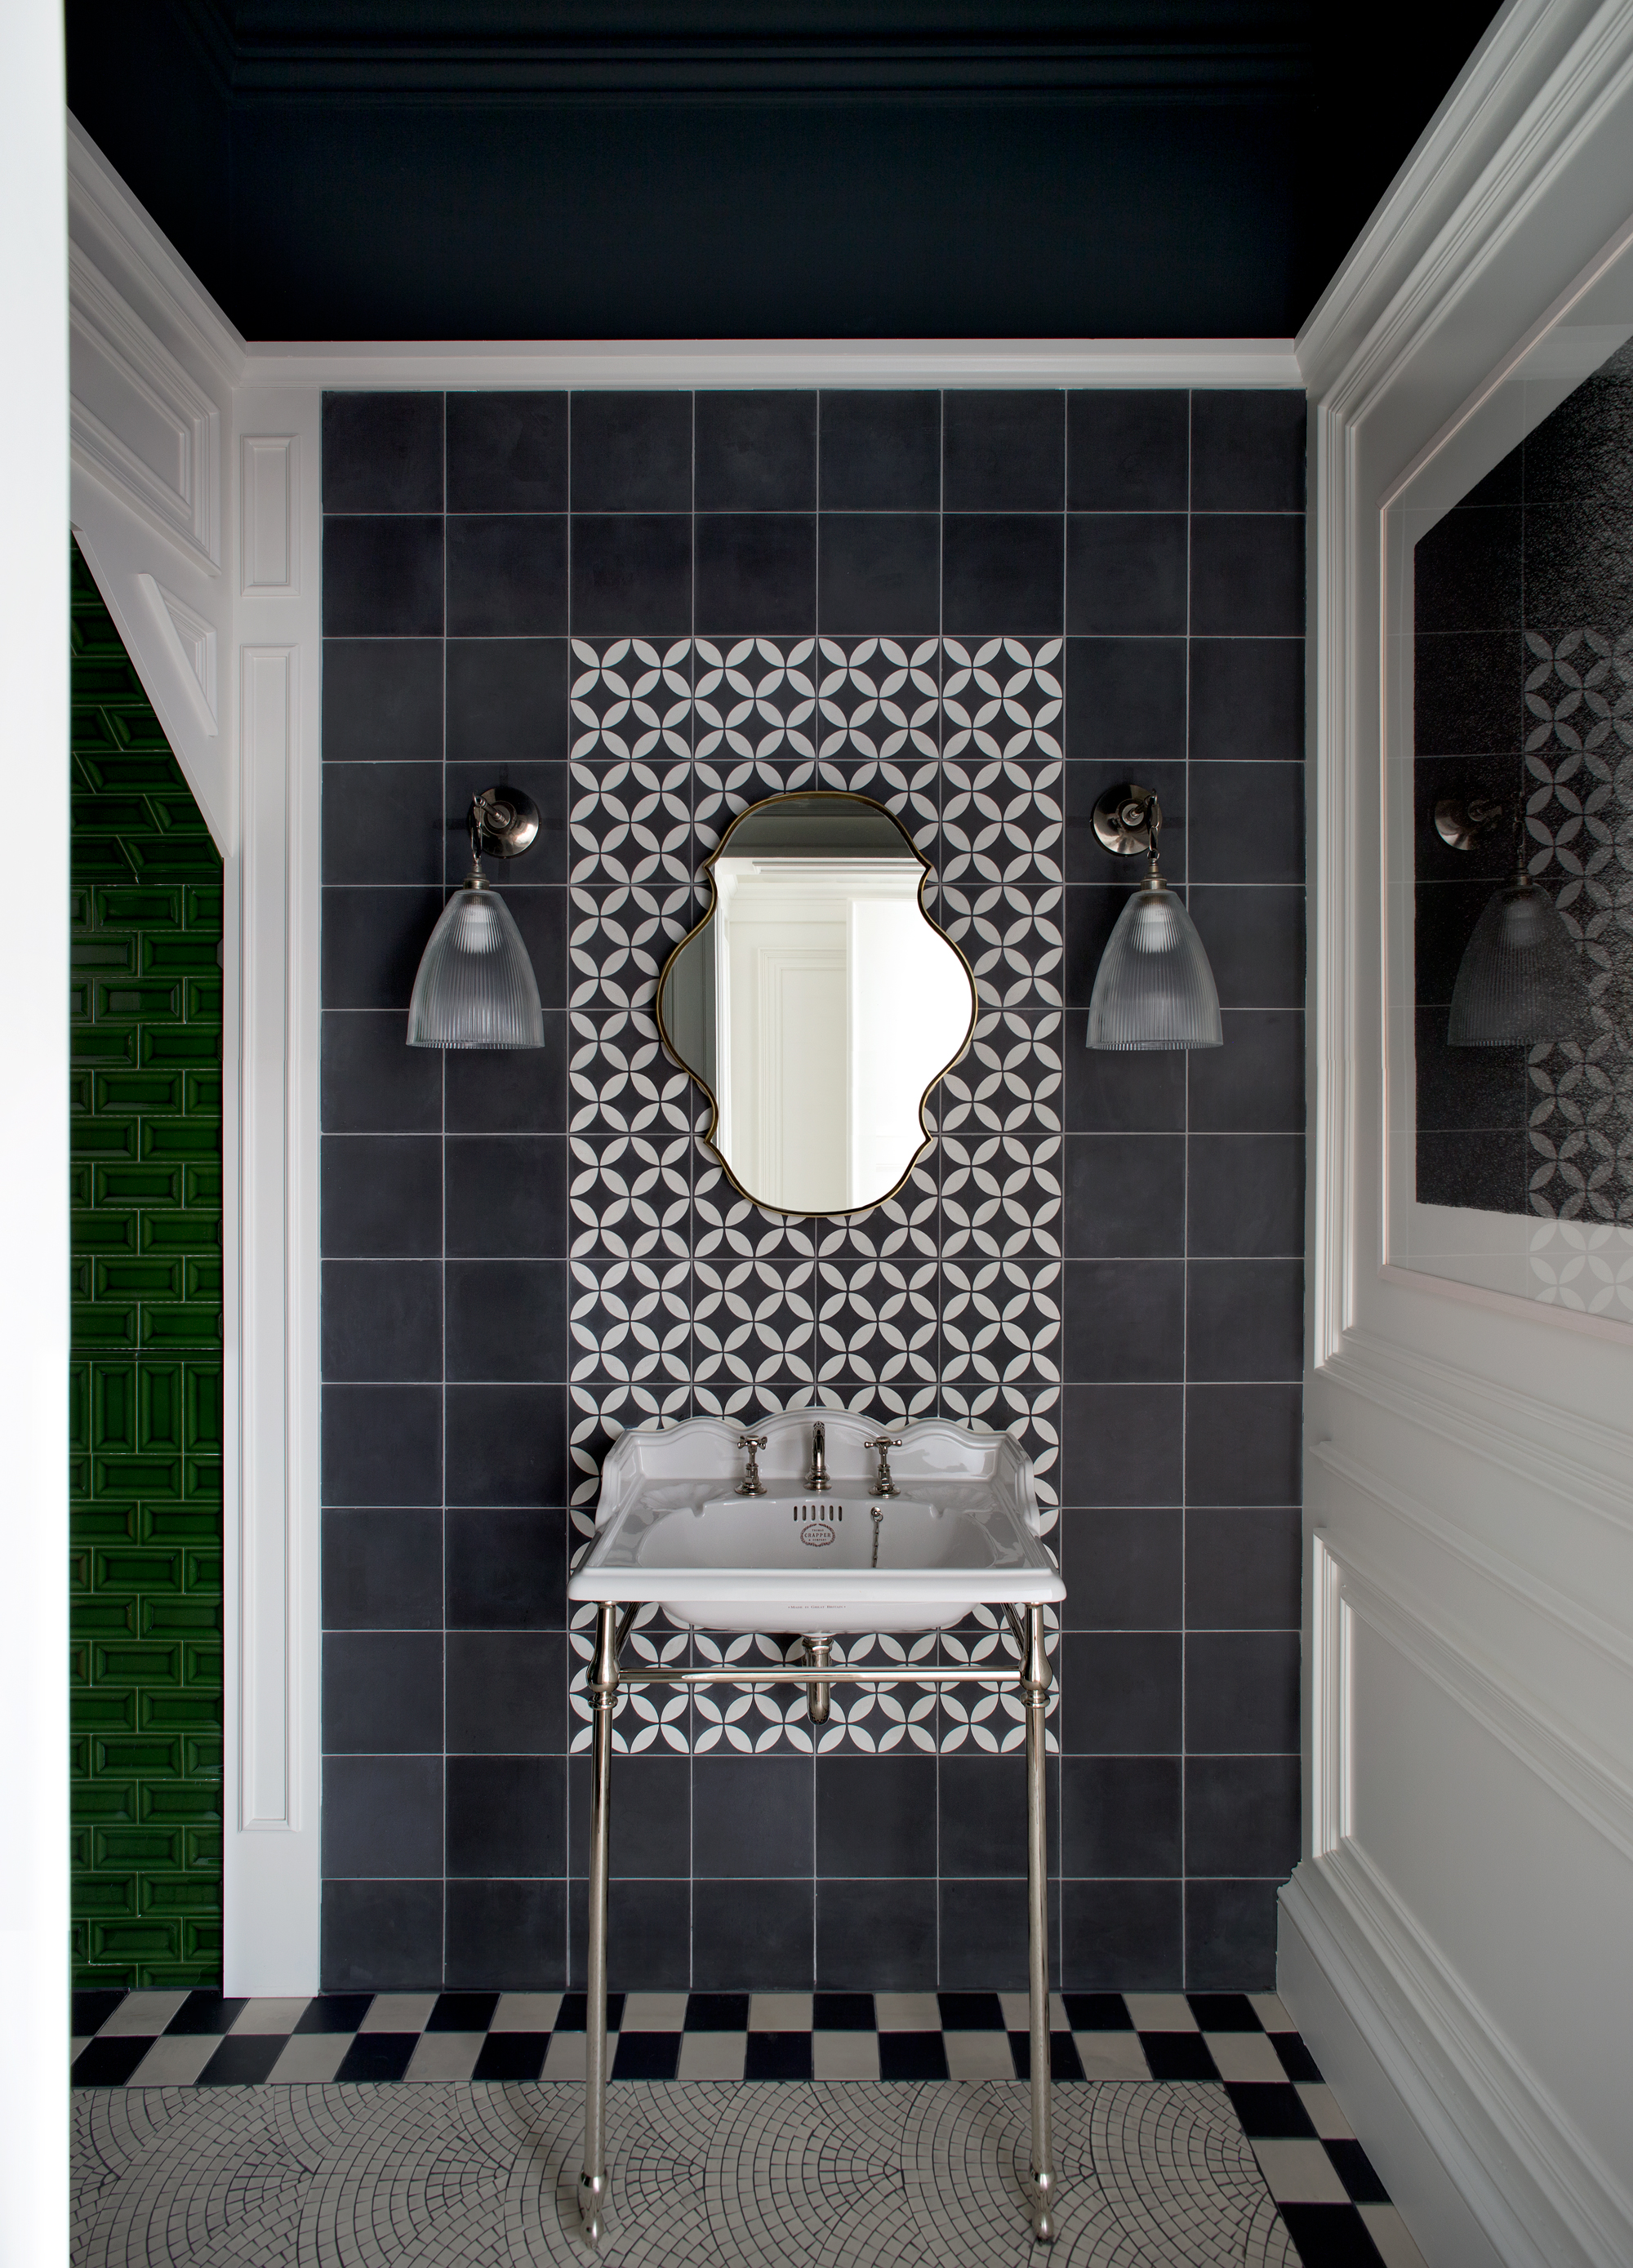
From preparation to cutting, here's how to lay floor tiles
This guide details the process of laying floor tiles, moving beyond basic DIY tasks to a more involved home improvement project. It begins by emphasizing the critical importance of thorough preparation, advising homeowners to consult tiling contractors, local tile shops, or the National Tiling Association of Ireland for comprehensive information. A key preparatory step involves ensuring the floor is perfectly level, clean, and dry, with advice on removing dirt, applying levelling compound for uneven surfaces, and preparing different subfloors like concrete, wood, or existing tiles. For plywood bases, it's crucial to ensure they are securely screwed down and primed for sealing. Removing skirting and other obstructions is also recommended.
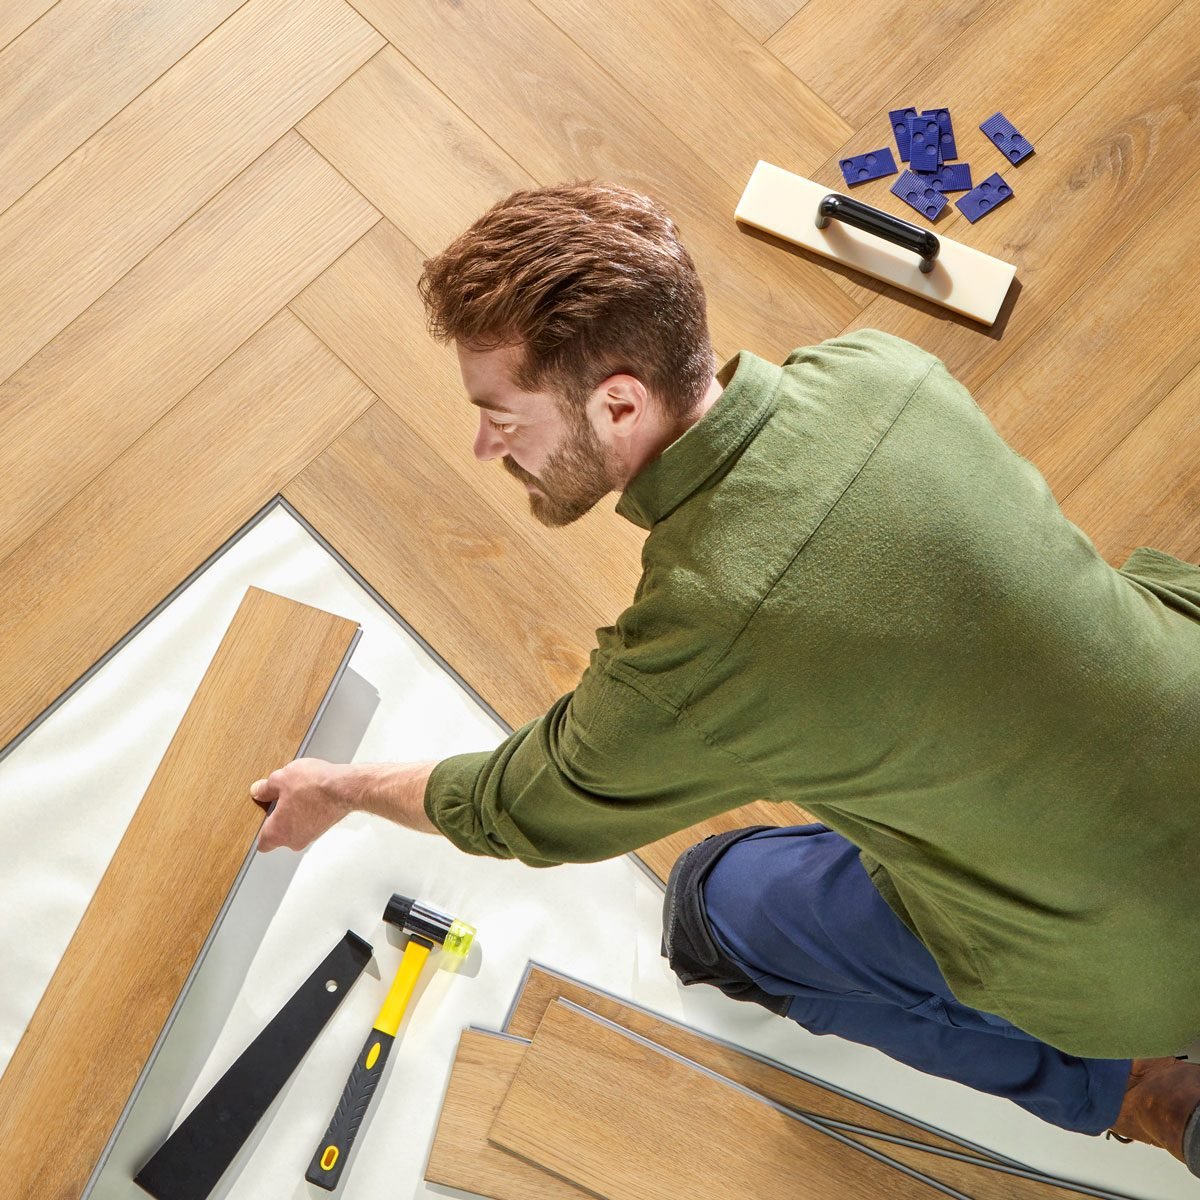
The article then outlines the essential tools required for tiling, which can be sourced from a well-stocked shed or specialized tool hire shops. The recommended toolkit includes a tiling trowel with large teeth, measuring tape, a drill with a mixing attachment, a bucket, sponge, gloves, a chalk line, a 1.5-meter straight edge tool, tile spacers, a tile cutter, a spirit level, and a grouting trowel.
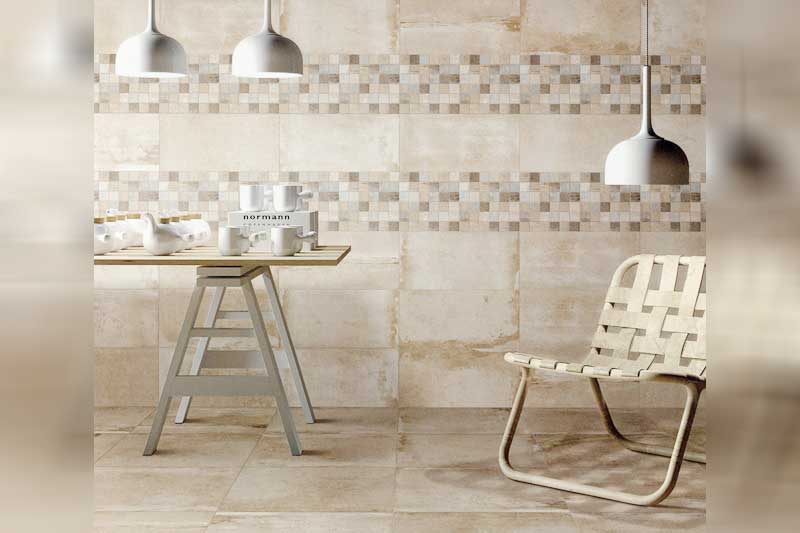
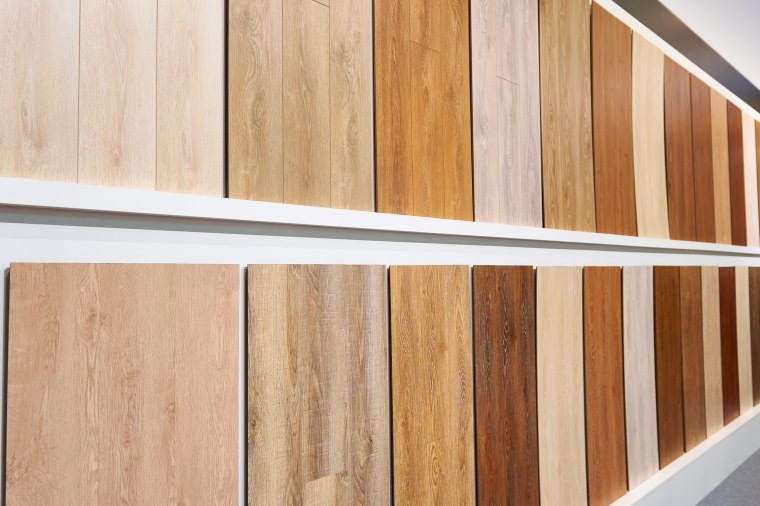
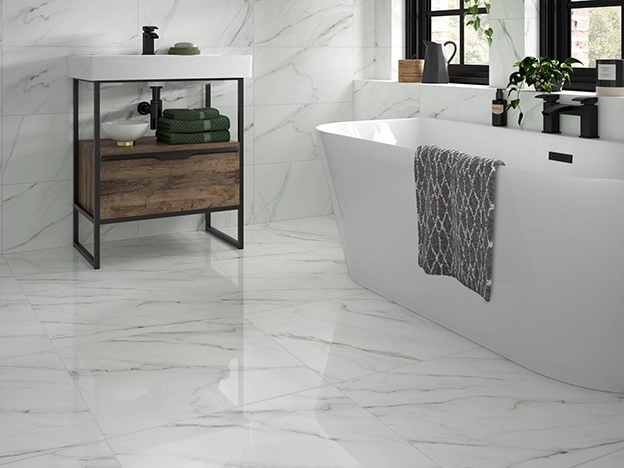
Choosing the right tiles is another significant aspect, with considerations such as material (porcelain or ceramic), finish (matte, glossy, textured), durability, ease of cleaning, hygiene, and slip resistance. The size and shape of the room, along with foot traffic, should also influence the tile selection. Homeowners are advised to purchase approximately 10% more tiles than estimated to account for cuts and potential breakages. Pattern selection is also discussed, from simple straight lays to more complex options like chevron, with a suggestion for a one-third to two-third staggered pattern for those less confident, as it can be more forgiving of minor discrepancies.
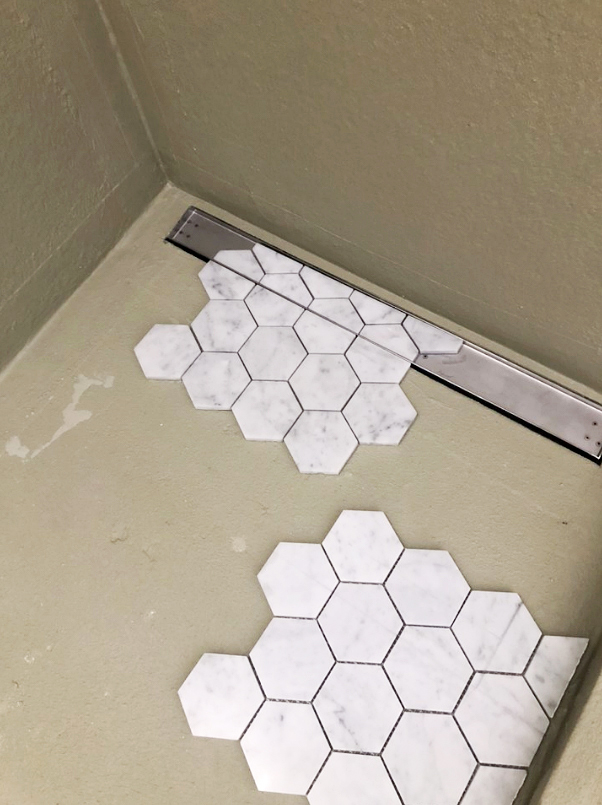
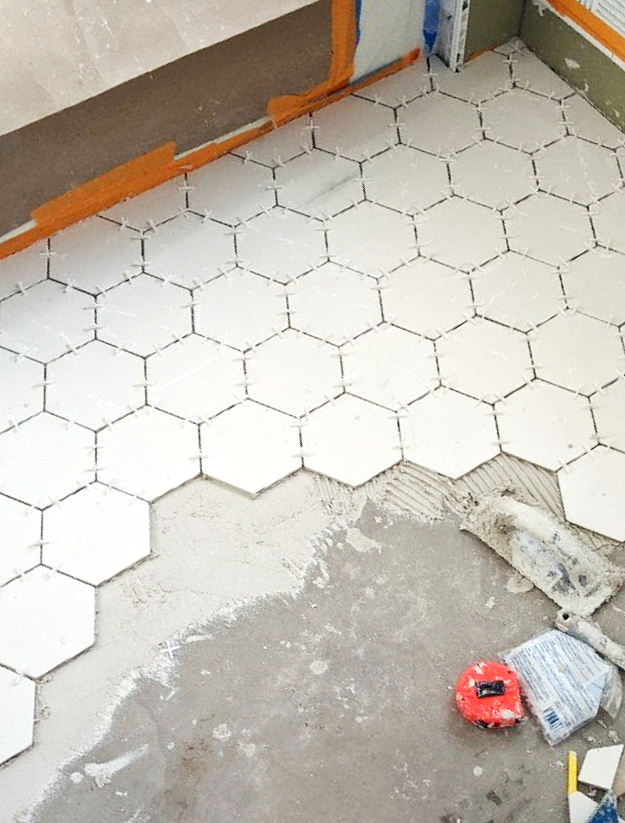
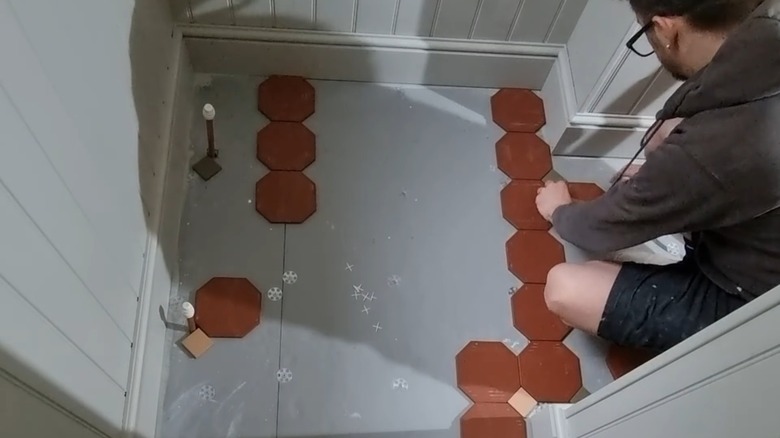
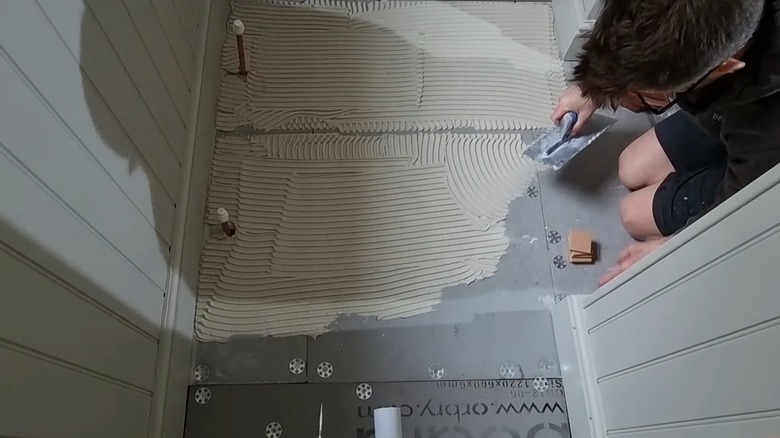
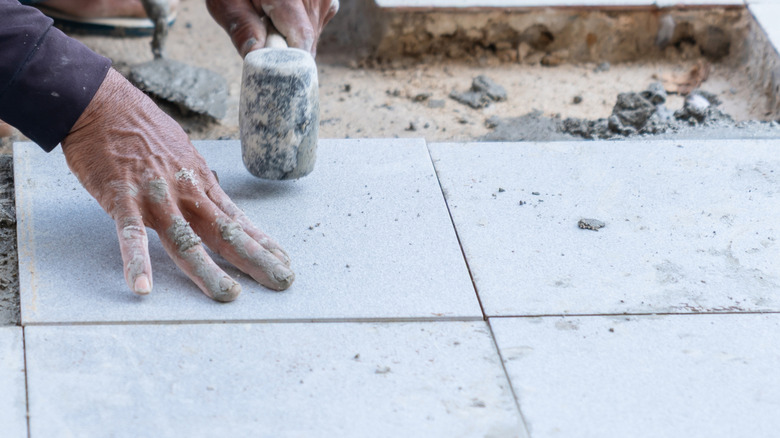
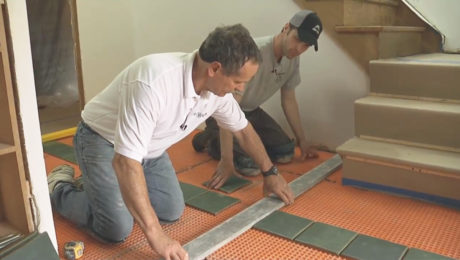
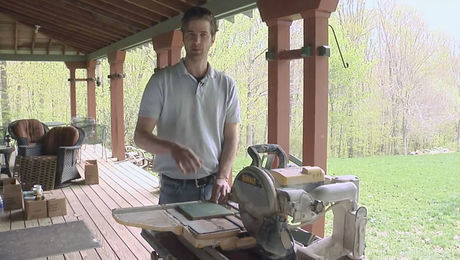
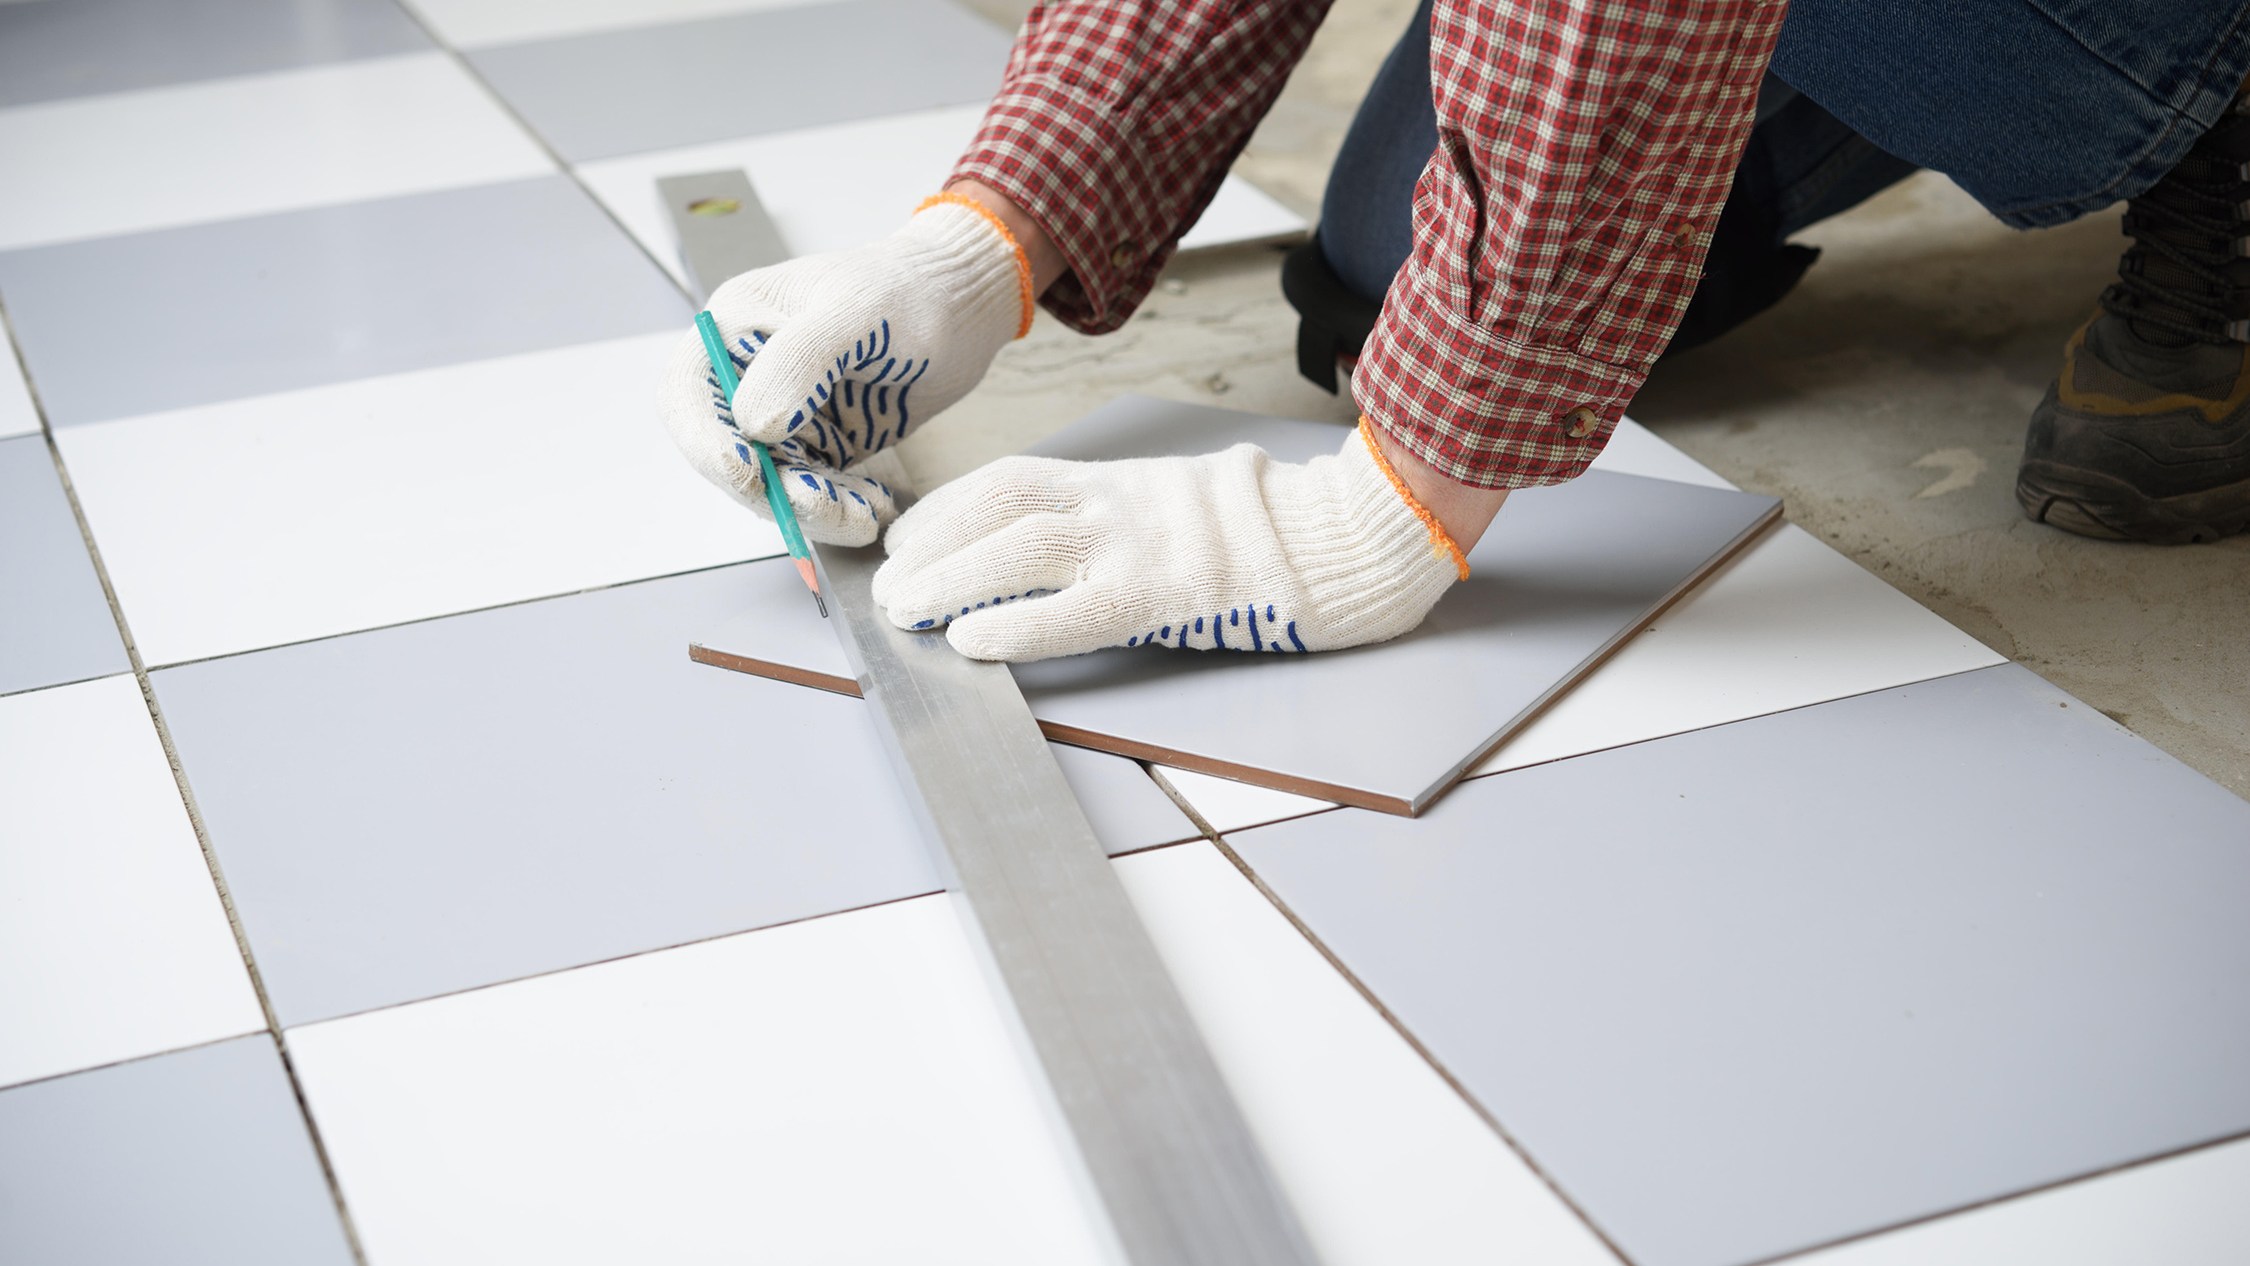
The installation process begins with a dry run, using a chalk line to square the room and laying loose tiles to plan cuts. Tiling should commence at the point furthest from the door, working towards the exit. When applying adhesive, wearing gloves is essential due to potential allergic reactions. The guide stresses not to mix too much adhesive at once, as it dries quickly, suggesting amounts sufficient for two square meters at a time. Flexible adhesive is recommended for wood subfloors. The application involves spreading adhesive evenly on a pre-marked area, dabbing adhesive on each tile corner, and pressing the tile gently into place. Spacers are used to maintain uniform gaps, and a straight edge tool helps ensure all tiles are level. Cutting tiles is presented as a separate task, ideally done the day after laying the full tiles, with practice cuts encouraged before cutting for the actual job.
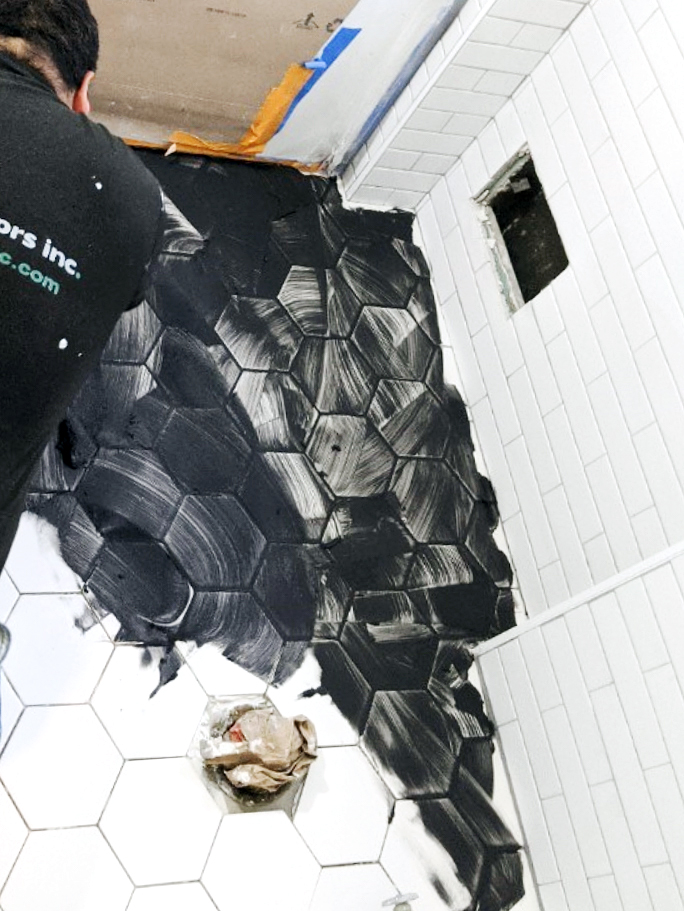
Finally, the article covers grouting, which should be done after 24 hours. This involves removing spacers, cleaning the floor, and filling grooves with a thick grout paste using a grouting trowel. Excess grout is then lightly sponged off with clean water once it is dry to the touch. The guide concludes by advising when to seek professional help, particularly for large or complex tile installations, or for natural stone tiles, emphasizing that the preparation stage can be professionally managed even if the homeowner intends to do the tiling themselves. It warns that incorrect installation can be costly to rectify, advocating for an understanding of one's limits to avoid a sub-standard finish.
#FloorTiling #DIYHomeImprovement #TileInstallation #HomeRenovation #TilingTools #TileSelection #Grouting #HomeDesign #FloorTiling #DIYHomeImprovement #TileInstallation #HomeRenovation #TilingTools #TileSelection #Grouting #HomeDesign
0 opmerkingen in totaal
 Nog geen opmerkingen
Dit vindt u mogelijk ook leuk
How to Tile a Bathroom Floor Yourself
Learn How to Install Laminate Flooring Yourself

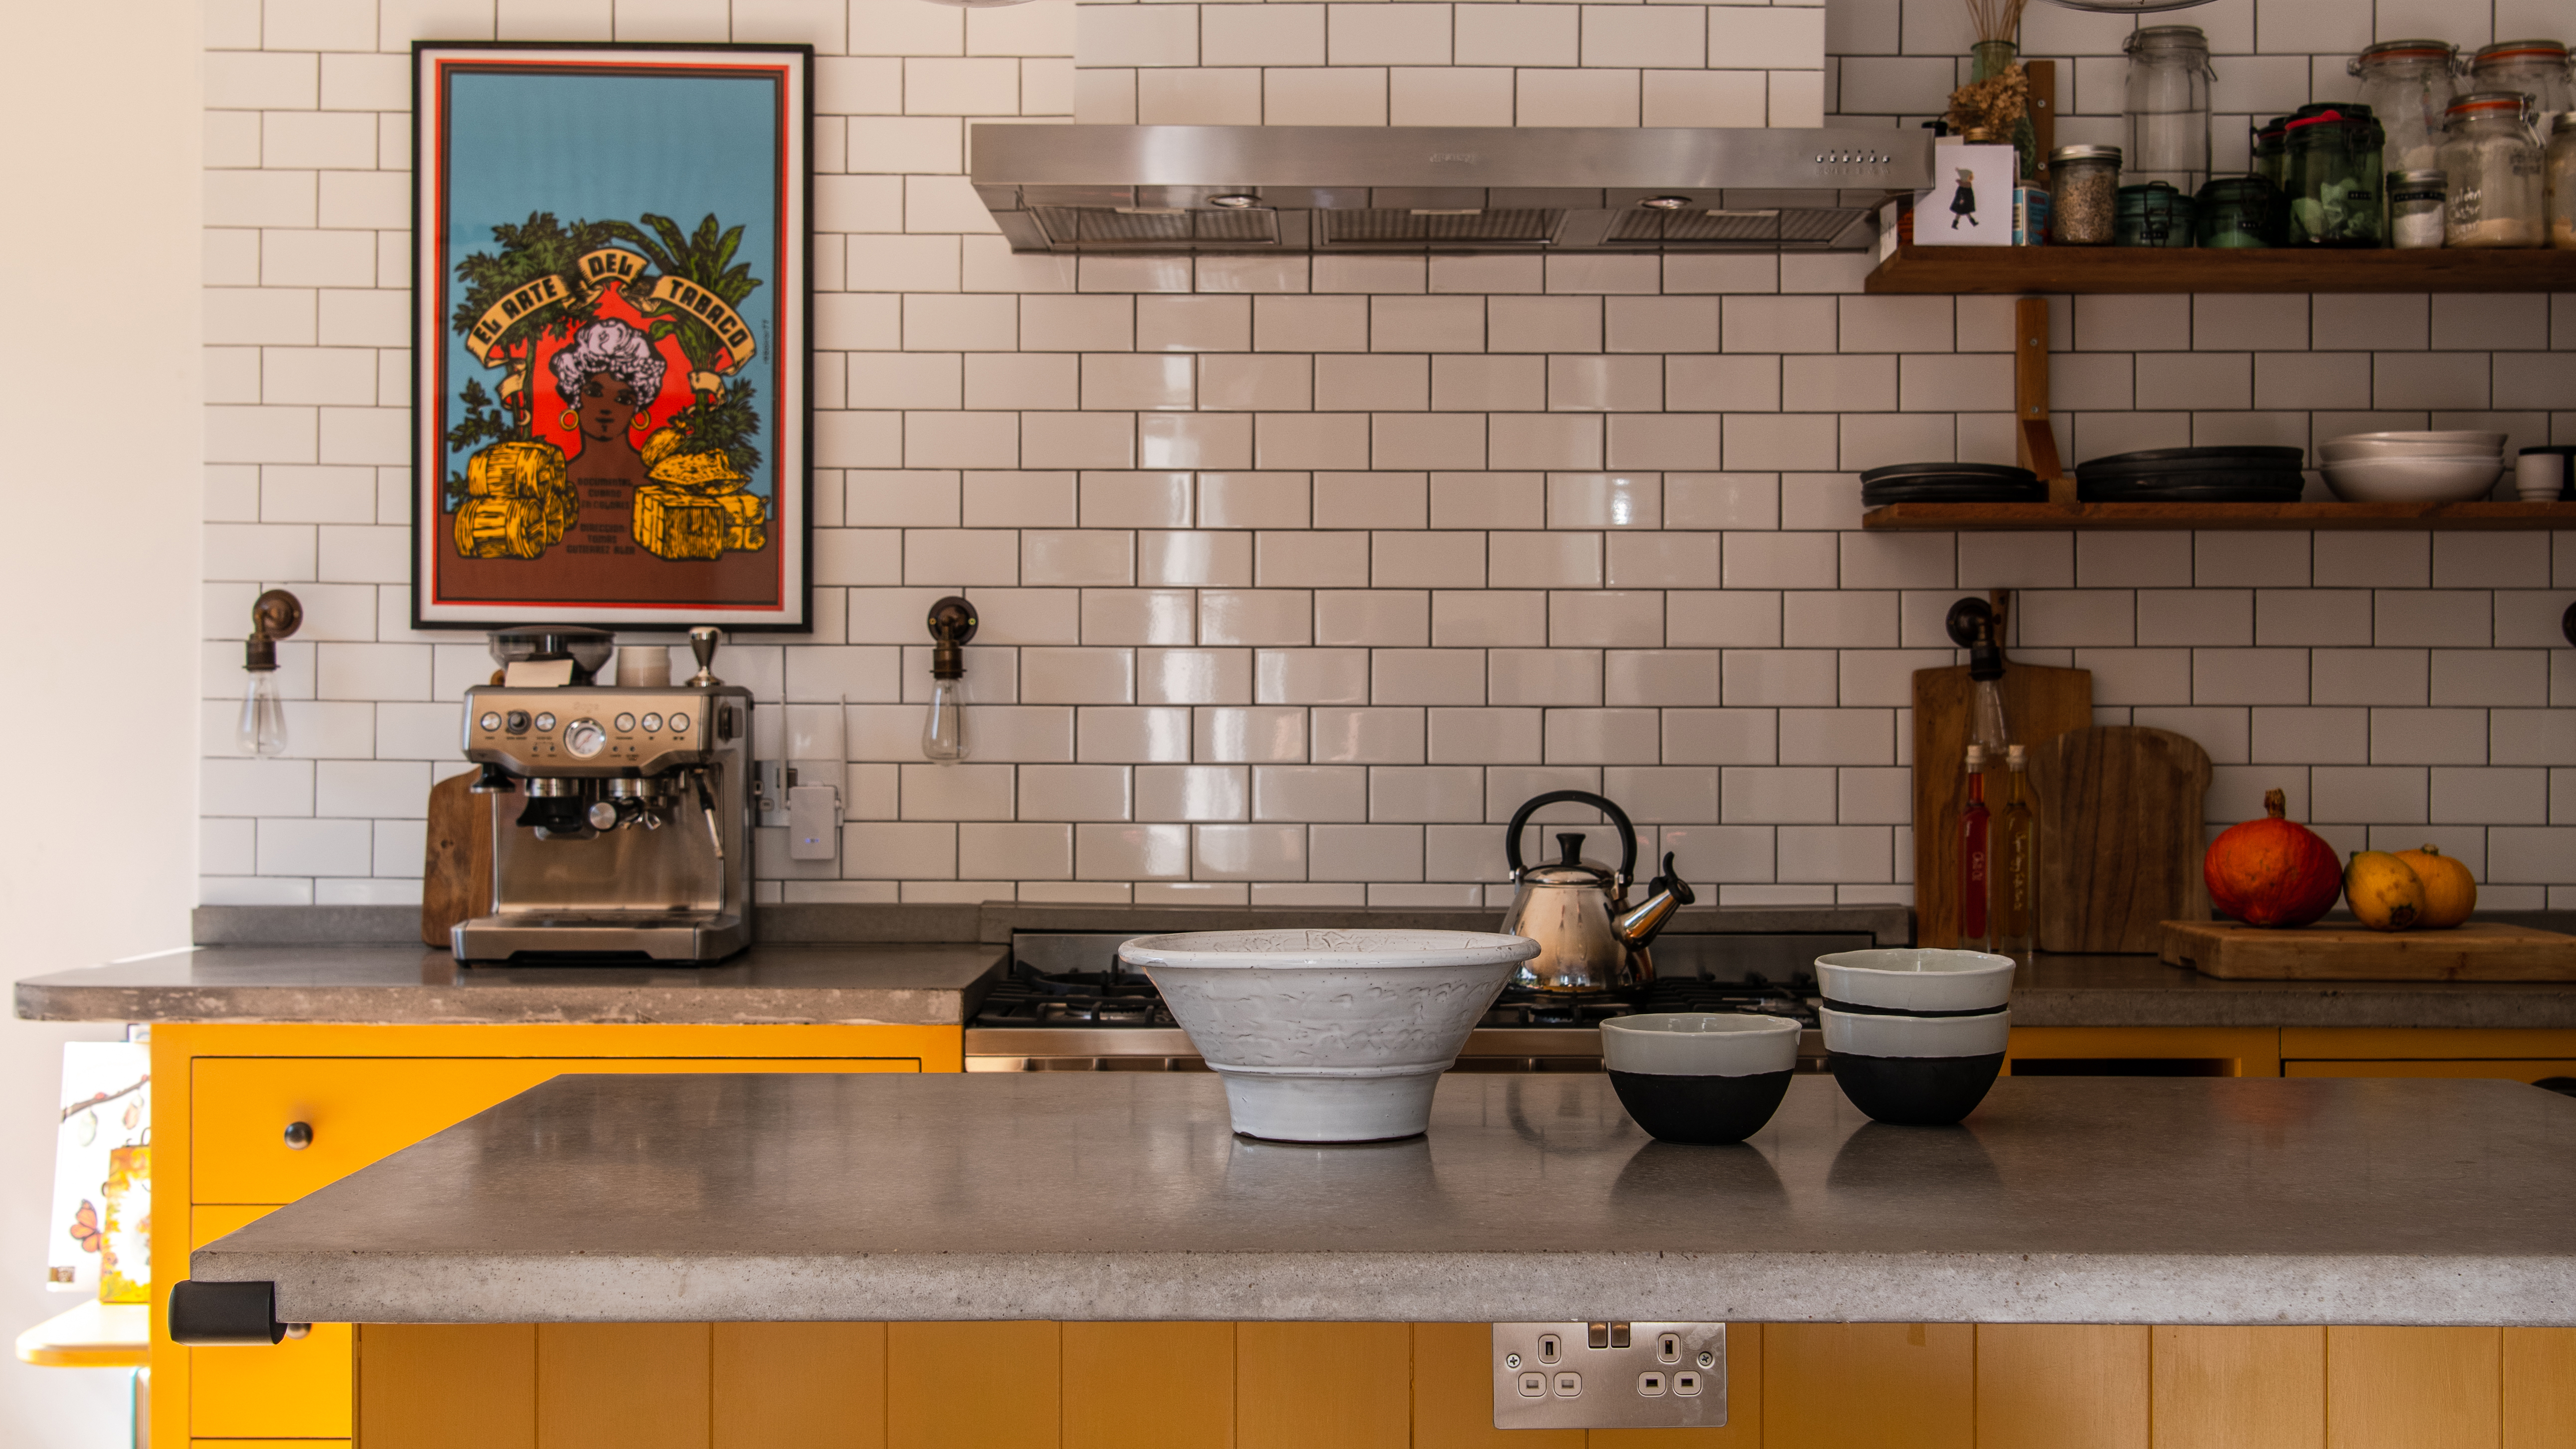
How to tile a backsplash – everything you need to know in 7 simple steps

Thinking About Painting Tile Floors? Here's Why Experts Warn Against It

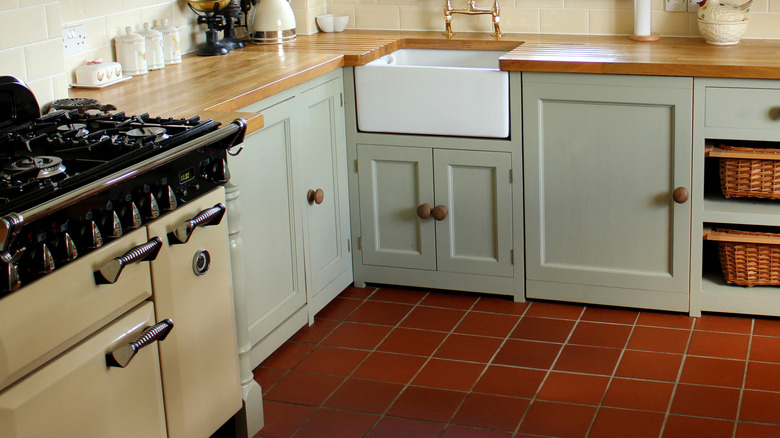
Expert Tips For Perfecting Quarry Tile Floor Installation At Home
Flooring

Tiling 102: The Bathroom Floor (Published 2013)
Tips for DIY flooring projects: Everything you need to know


Fit to be tiled

Install Tile Backerboard


Tiles & Flooring Offers

A Guide to Gorgeous Floors


25 Popular Floor Tile Designs for 2025 with Images


Bathroom Tiles

We've spoken to the experts – this is everything you need to know before trying peel and stick tiles

Video Series: Foyer Tile Installation
Best way to cut laminate flooring – 3 easy steps to install a perfect new floor
Can I use mosaic tiles on the floor? Expert advice you need to know before making your decision

Your Guide to Wood Flooring