1/6
Expert Tips For Perfecting Quarry Tile Floor Installation At Home
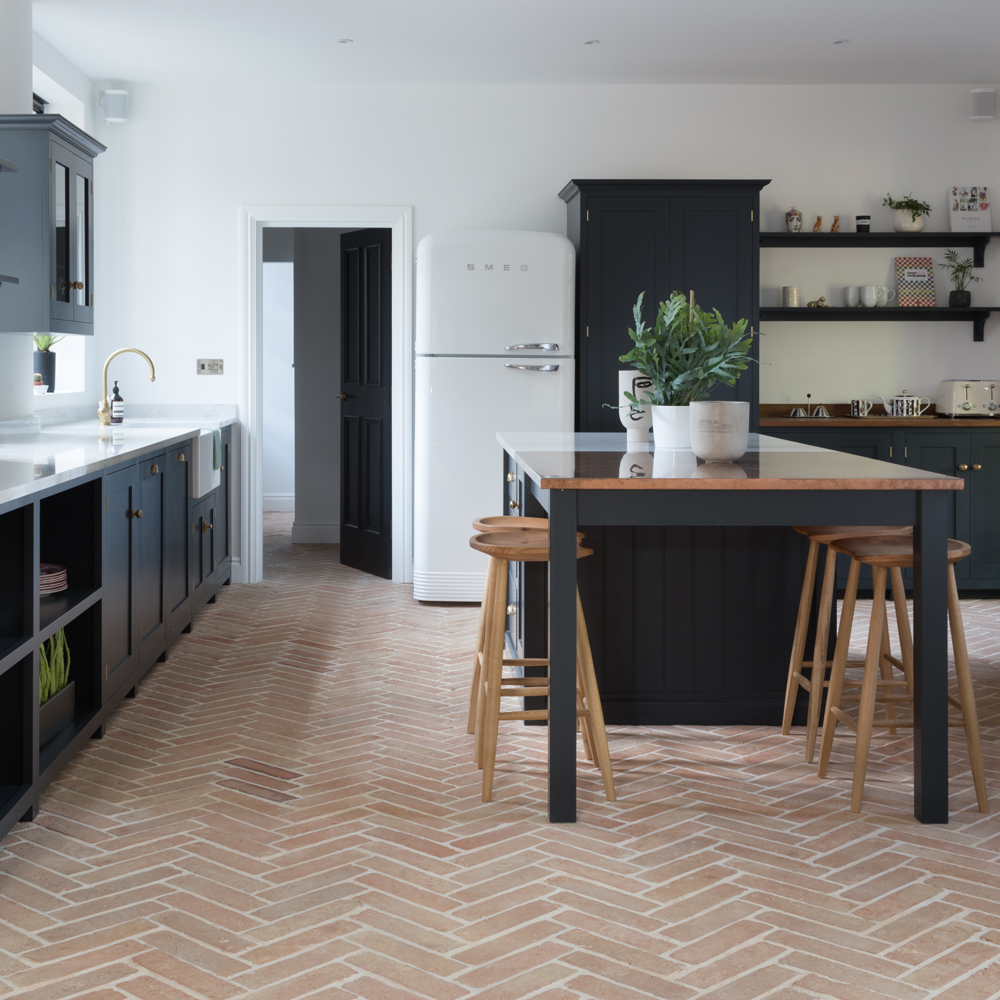
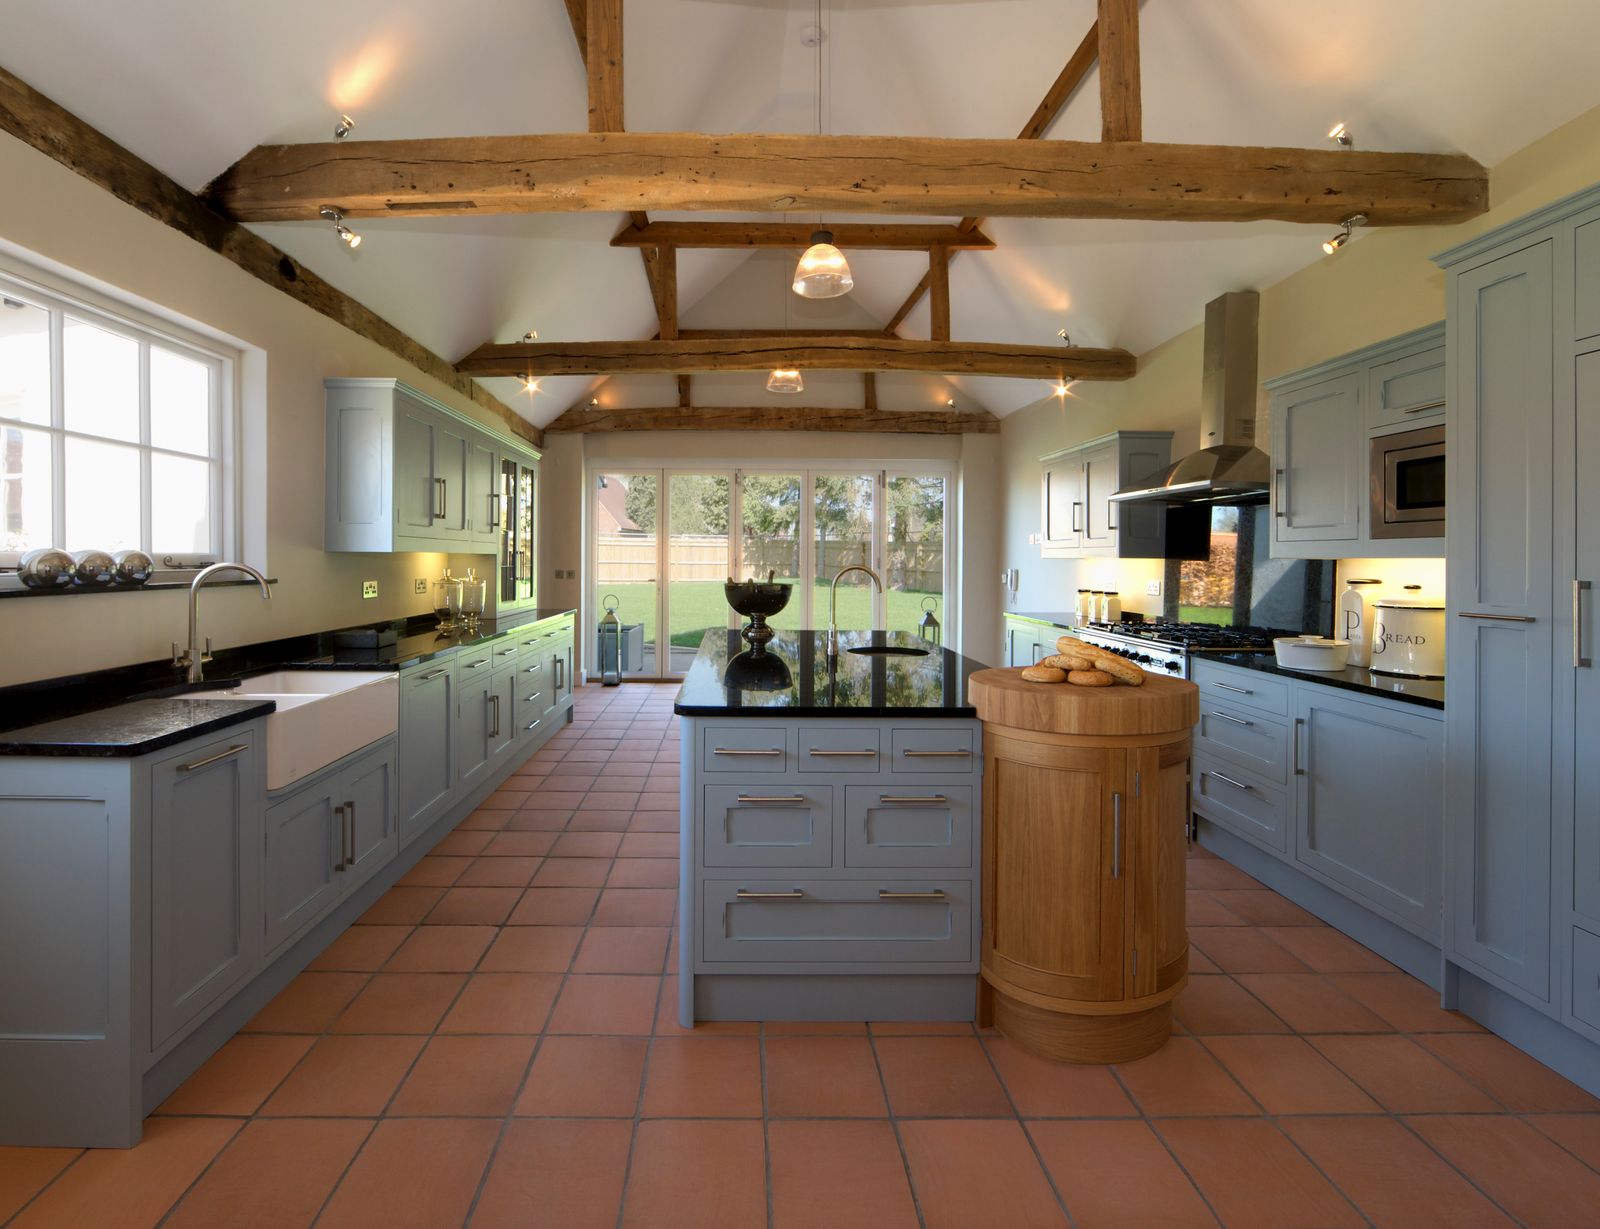
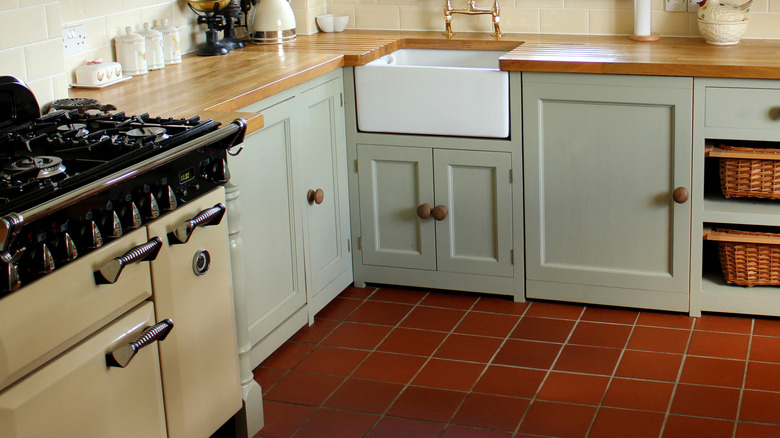
Installing quarry tiles is a home improvement project that can significantly upgrade the interior aesthetic, offering a durable and unique flooring solution. While professional installation can be costly, opting for a DIY approach is feasible with proper guidance. Carmine Argano, owner of Creative Design Ceramic Tile & Bath, highlights that quarry tiles are dense, unglazed, and highly durable, yet less forgiving than ceramic or porcelain. Successful installation hinges on meticulous preparation and the use of appropriate materials. The process involves several critical steps, starting with the subfloor preparation and meticulous layout planning, followed by mortar application, tile setting, and grouting.
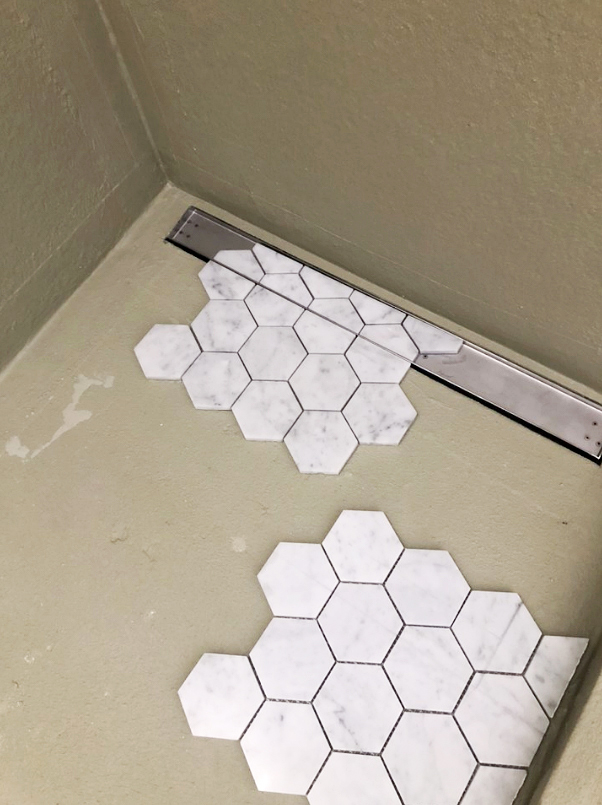
Preparing the subfloor is the foundational step for any tile installation. The subfloor must be entirely clean, dry, and level to ensure the tiles adhere properly and remain stable over time. Dust, grease, or debris can compromise adhesion, necessitating thorough sweeping and vacuuming. If damp mopping is required, allowing the subfloor to dry completely is crucial to prevent moisture damage. For concrete subfloors, checking for and repairing cracks or unevenness with a floor patch compound like DAP's Ready-to-Use Floor Patch & Leveler is essential. For wooden subfloors, Argano recommends installing a cement backer board, properly taping it with mesh, and securing it with thin-set mortar. Following subfloor preparation, precise layout planning is vital. This begins with calculating the floor's surface area to determine the number of tiles needed, plus an additional 10-15% for blending and future repairs due to subtle color variations within quarry tile lots. Dry-laying the tiles helps visualize the pattern, identify necessary cuts, and avoid awkward thin slivers along walls. Using chalk lines to create a grid ensures straight and symmetrical rows, and taking a picture of the finalized design can serve as a helpful reference during installation.
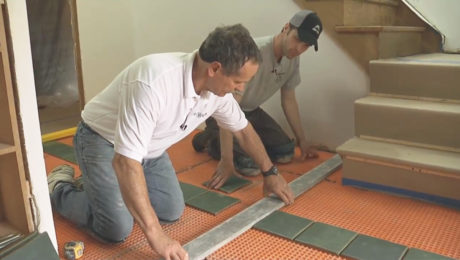
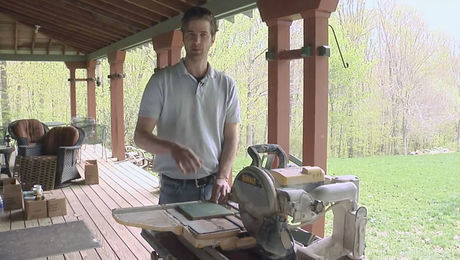
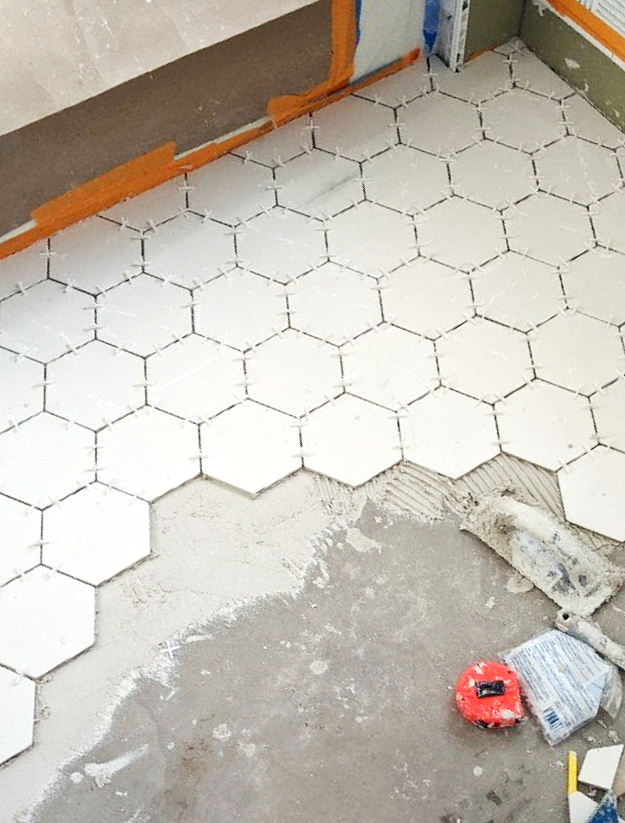
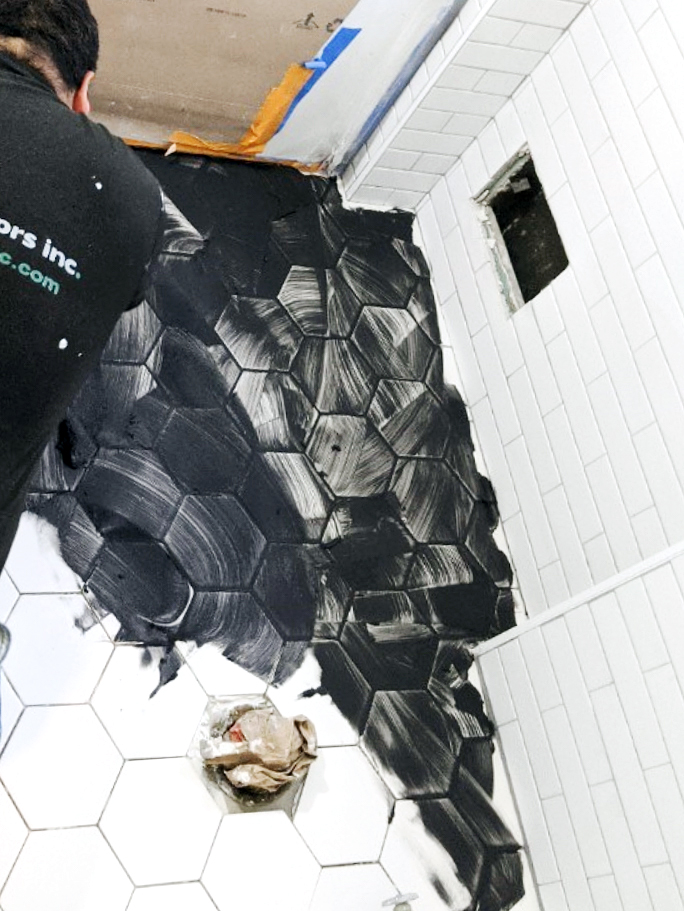
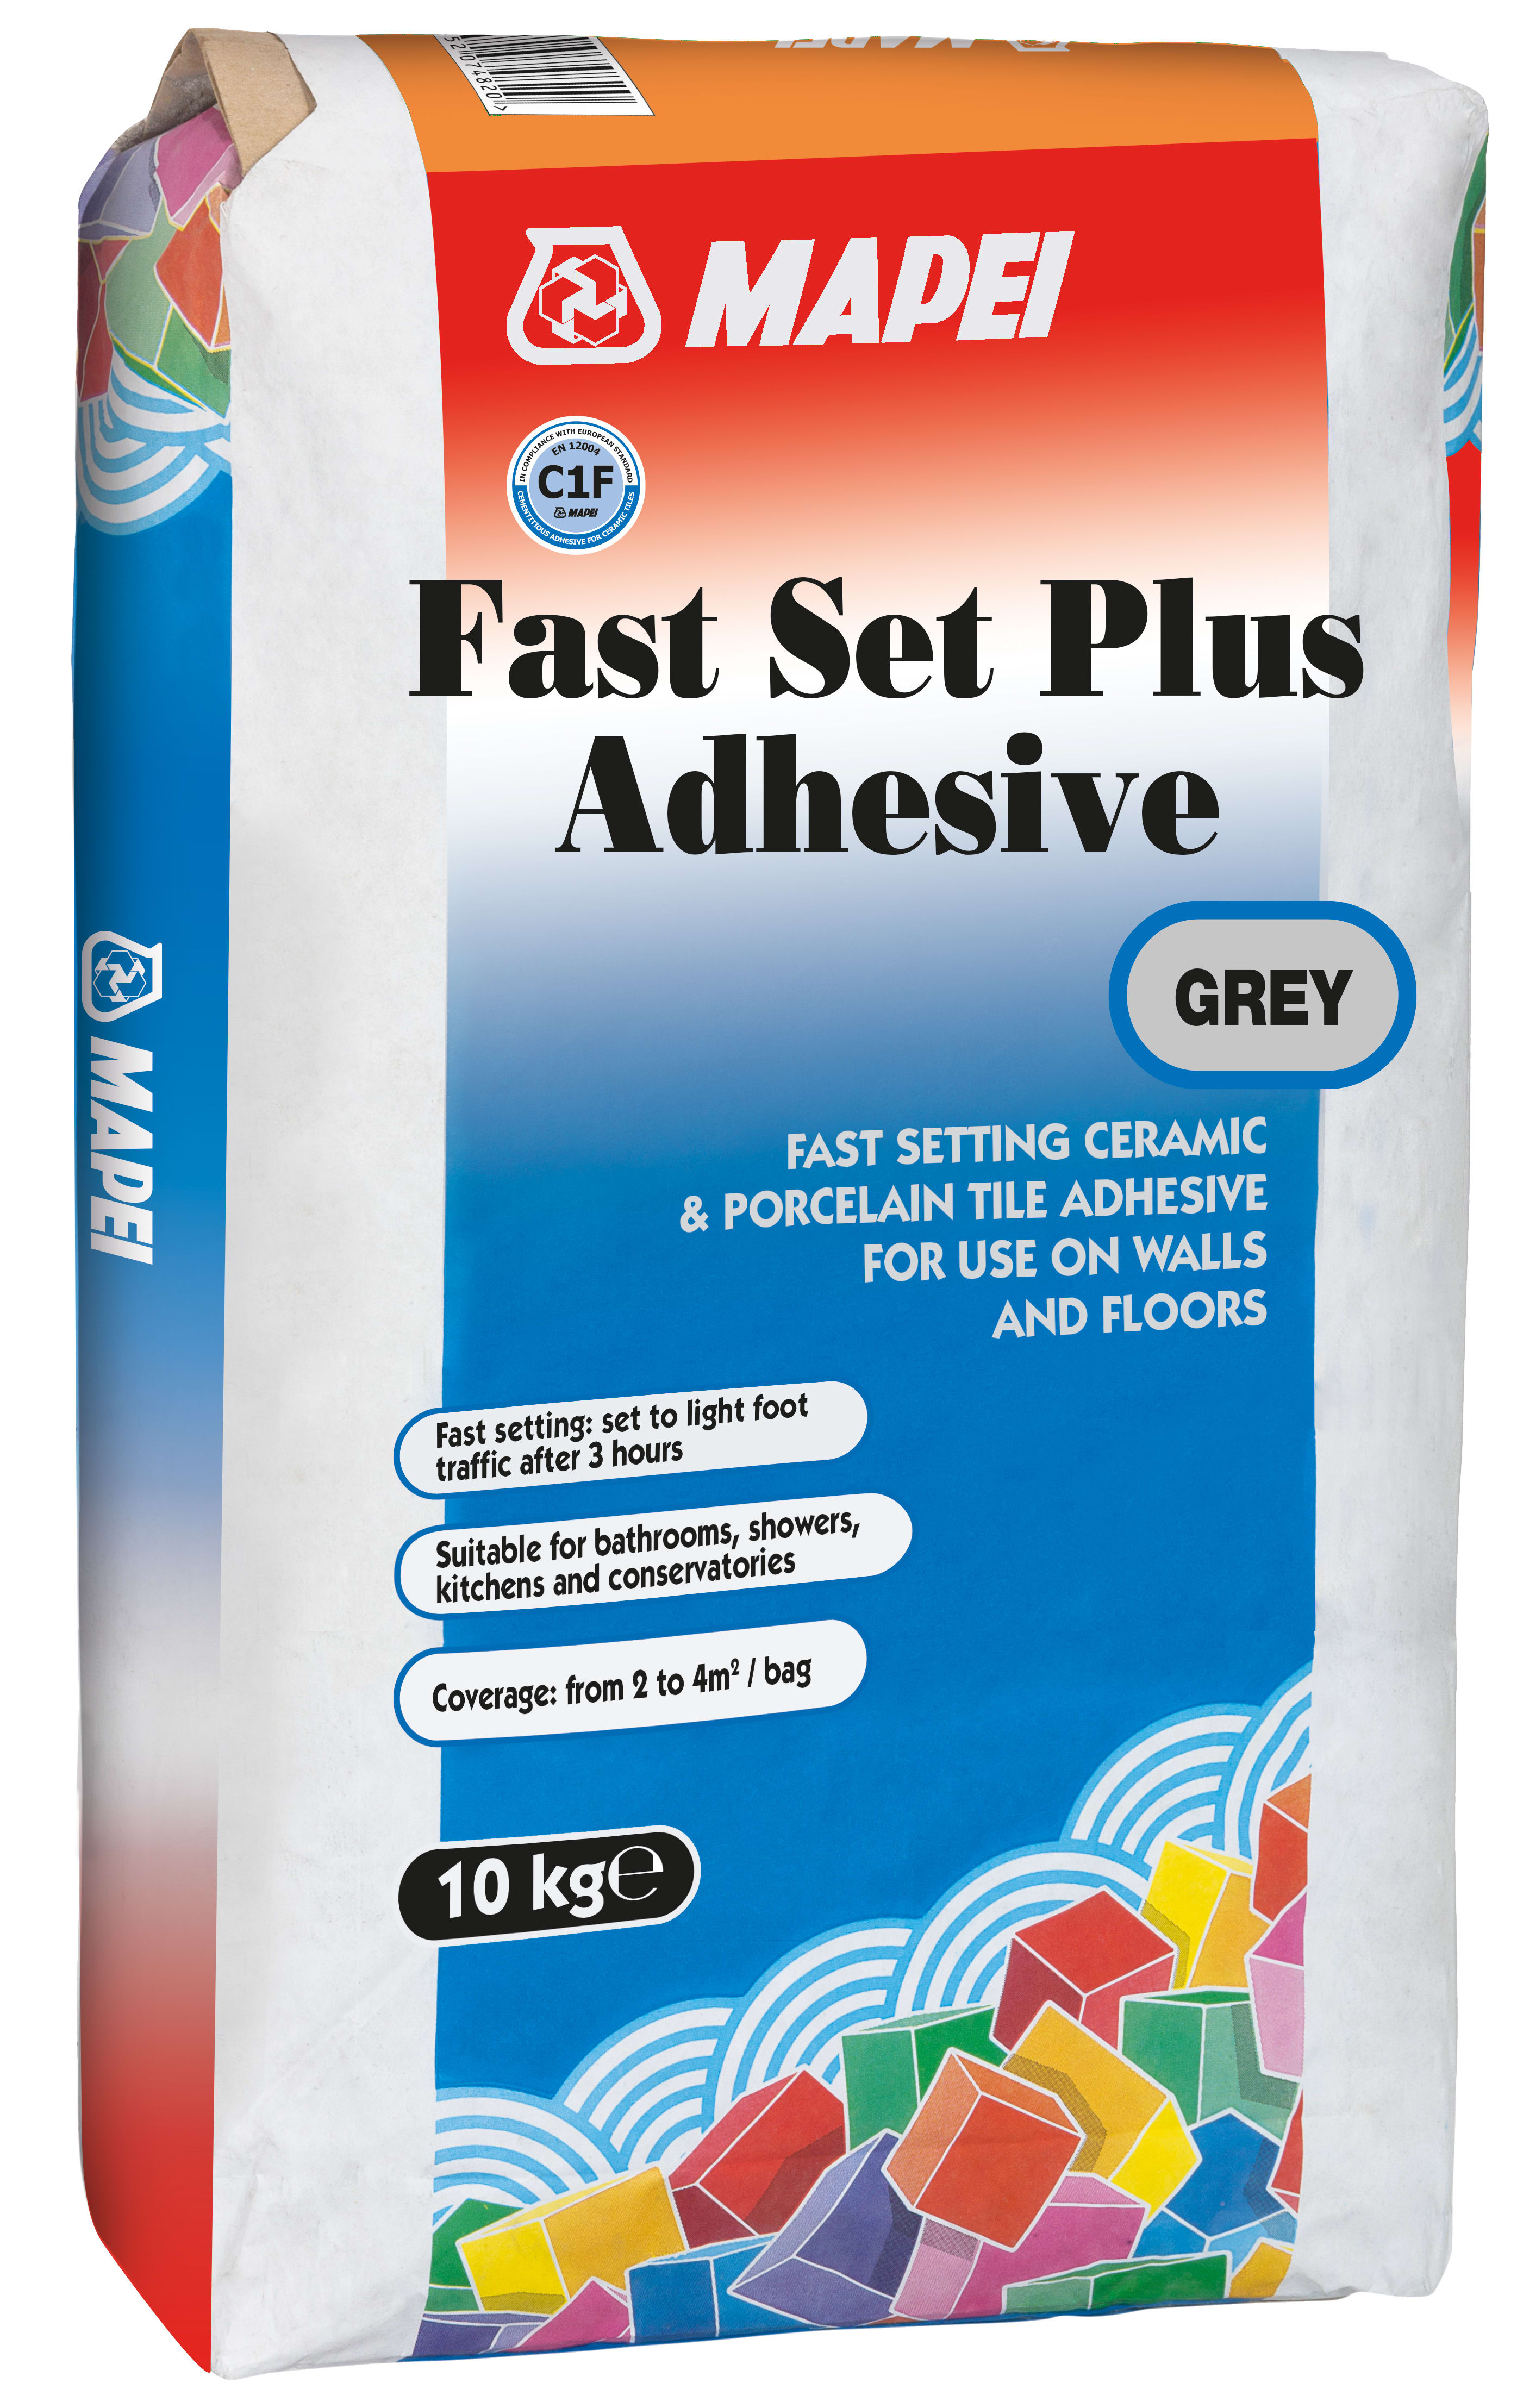
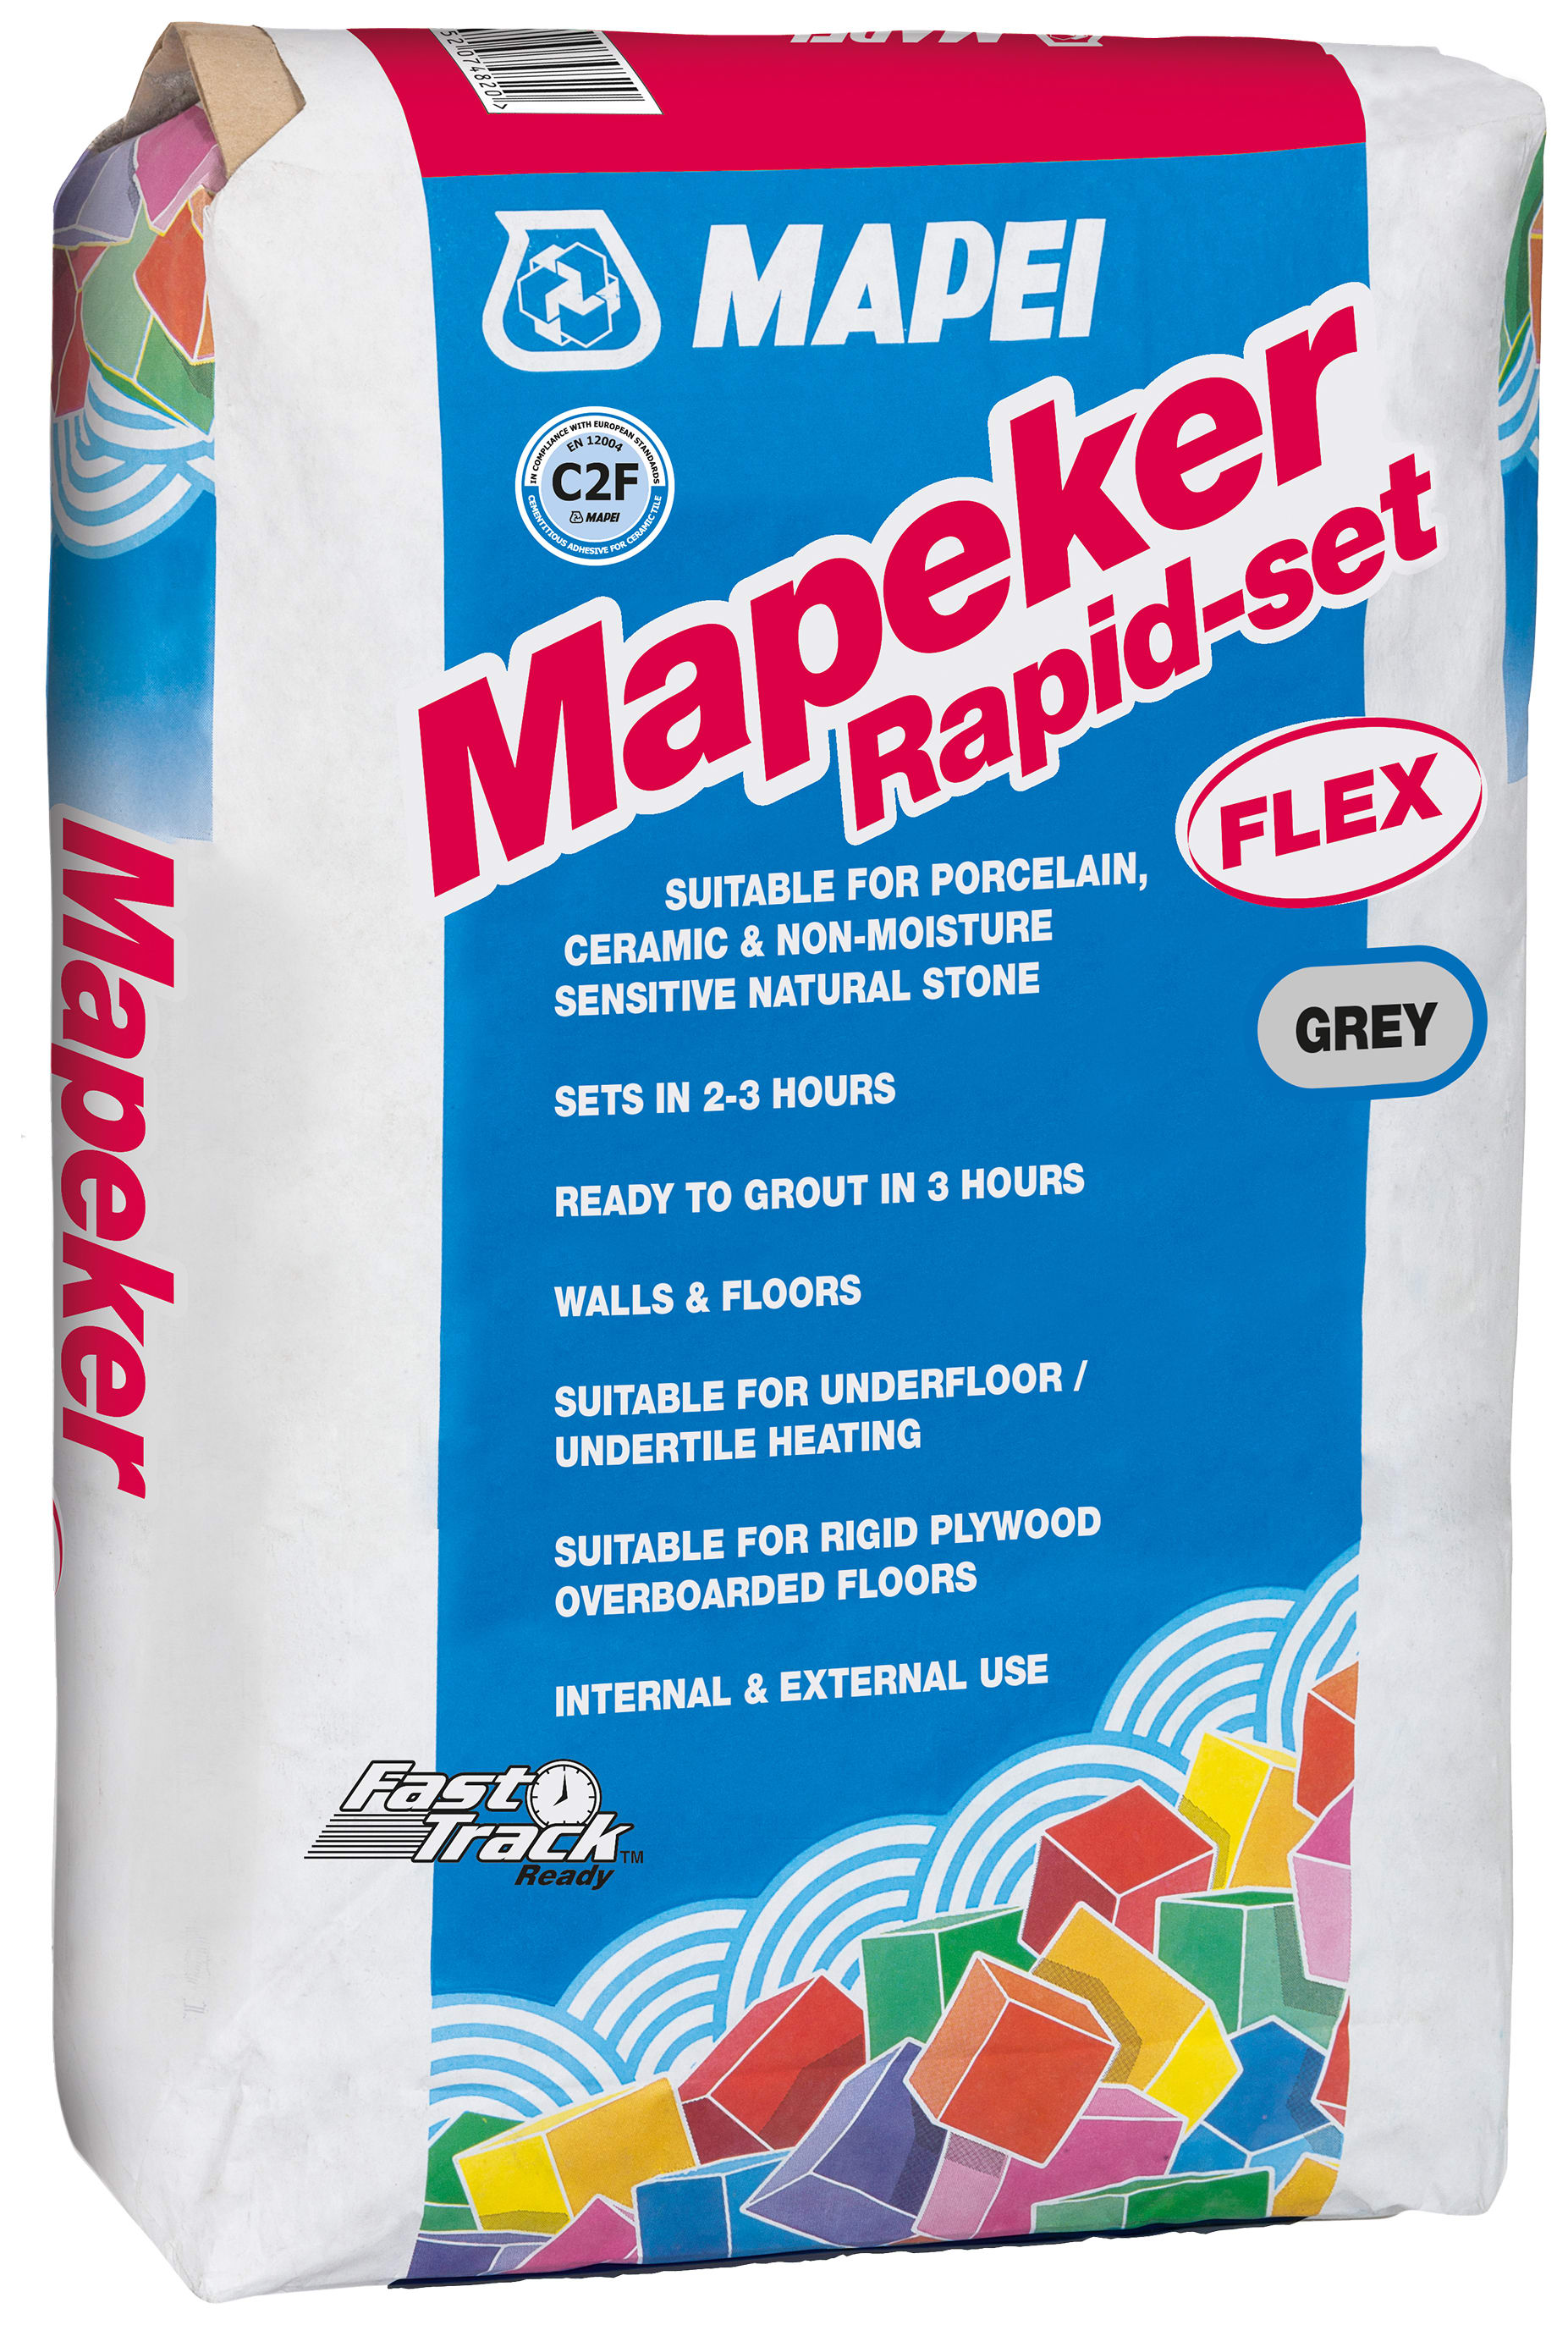
The next phase involves the application of mortar and setting the tiles. A high-quality modified thin-set mortar designed for dense tiles is recommended. This mortar should be mixed according to instructions and applied with a ½-inch notch trowel in small sections to prevent premature hardening. "Back-buttering" the tiles by applying a small amount of mortar to their backs is advised, especially since quarry tiles can be slightly uneven, ensuring better adhesion. Each tile should be firmly set into the mortar, maintaining at least ¼-inch grout joints. Using tile spacers and periodically checking with a level ensures an even surface. A rubber mallet can be used for gentle adjustments. For tight corners, precise measurements and a wet saw are necessary, as snap cutters are unsuitable for dense quarry tiles. After setting, the tiles must cure for at least 24 to 48 hours before grouting. A sanded grout is used for the wider joints typical of quarry tiles, usually ¼-inch to ⅜-inch. Finally, applying a penetrating tile and grout sealer is critical for unglazed quarry tiles to reduce staining and water absorption.
There are several distinct differences between installing quarry tiles and other types of floor tiles. Quarry tiles are thicker and denser, requiring stronger mortar and specialized cutting tools like high-torque wet saws with diamond blades. Their unglazed, textured surface provides excellent traction but is more prone to staining, necessitating pre-sealing before grouting to prevent haze stains and simplify cleanup. The wider grout joints, unlike the tighter joints used for ceramic or porcelain, accommodate the natural variations in quarry tiles. The installation process itself is slower due to the weight, thickness, and need for precise layout. Common mistakes to avoid include using inadequate mortar, skipping the layout grid, inconsistent troweling leading to hollow spots, and neglecting to seal the porous tiles. Proper tools, materials, and adherence to these expert tips are crucial for a successful and lasting quarry tile floor installation.
#QuarryTileInstallation #FloorRenovation #DIYHomeImprovement #TileExpertTips #SubfloorPreparation #MortarApplication #TileGrouting #HomeFlooring #CeramicTile #QuarryTileInstallation #FloorRenovation #DIYHomeImprovement #TileExpertTips #SubfloorPreparation #MortarApplication #TileGrouting #HomeFlooring #CeramicTile
0 comment in total
 No comments yet
You may also like
Sanded vs. unsanded grout – the differences, pros, cons, and how to choose the best fit for your DIY project

How to regrout between tiles to keep them from looking tired in 6 simple steps
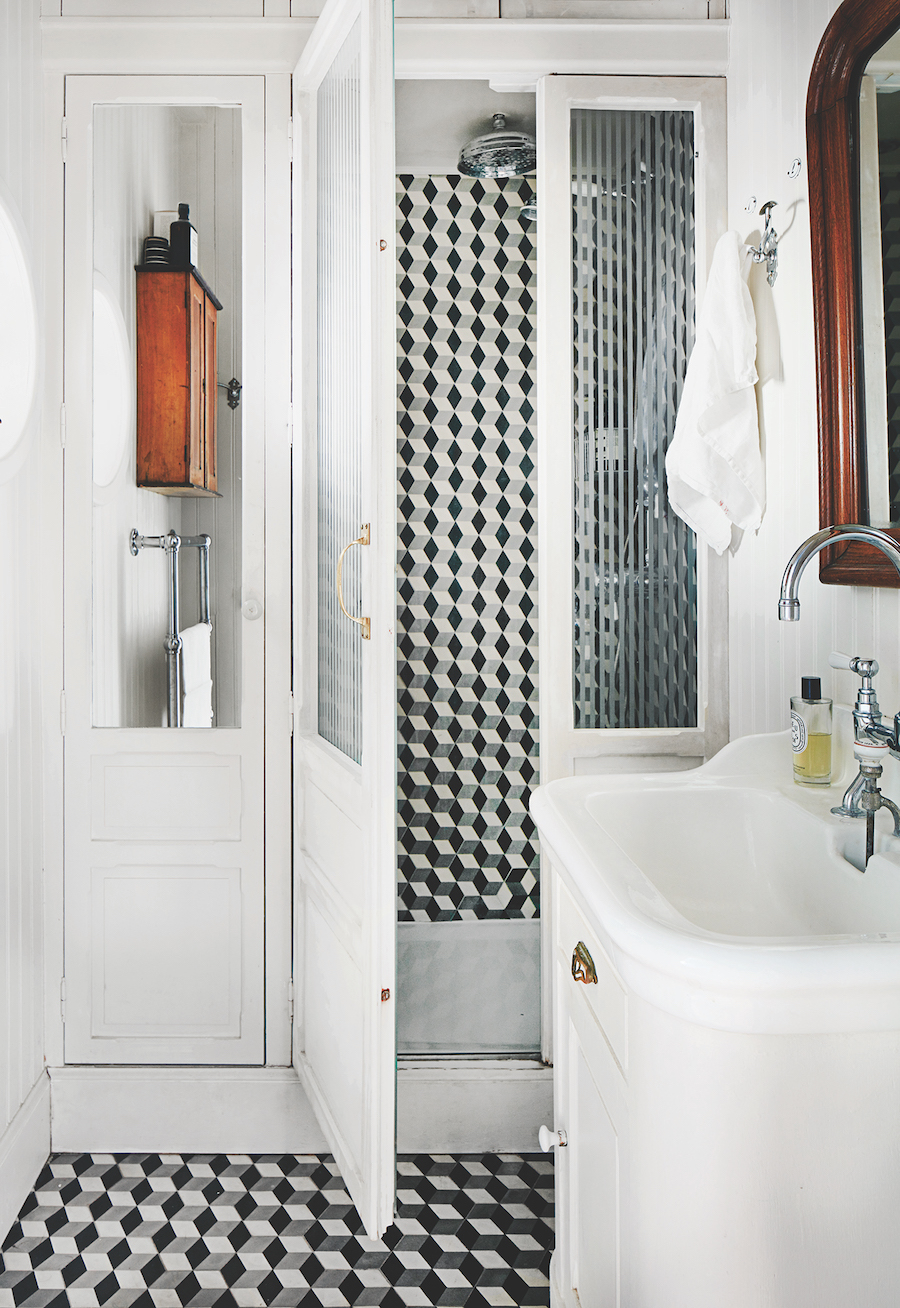
How to Tile a Bathroom Floor Yourself

Tiling 102: The Bathroom Floor (Published 2013)

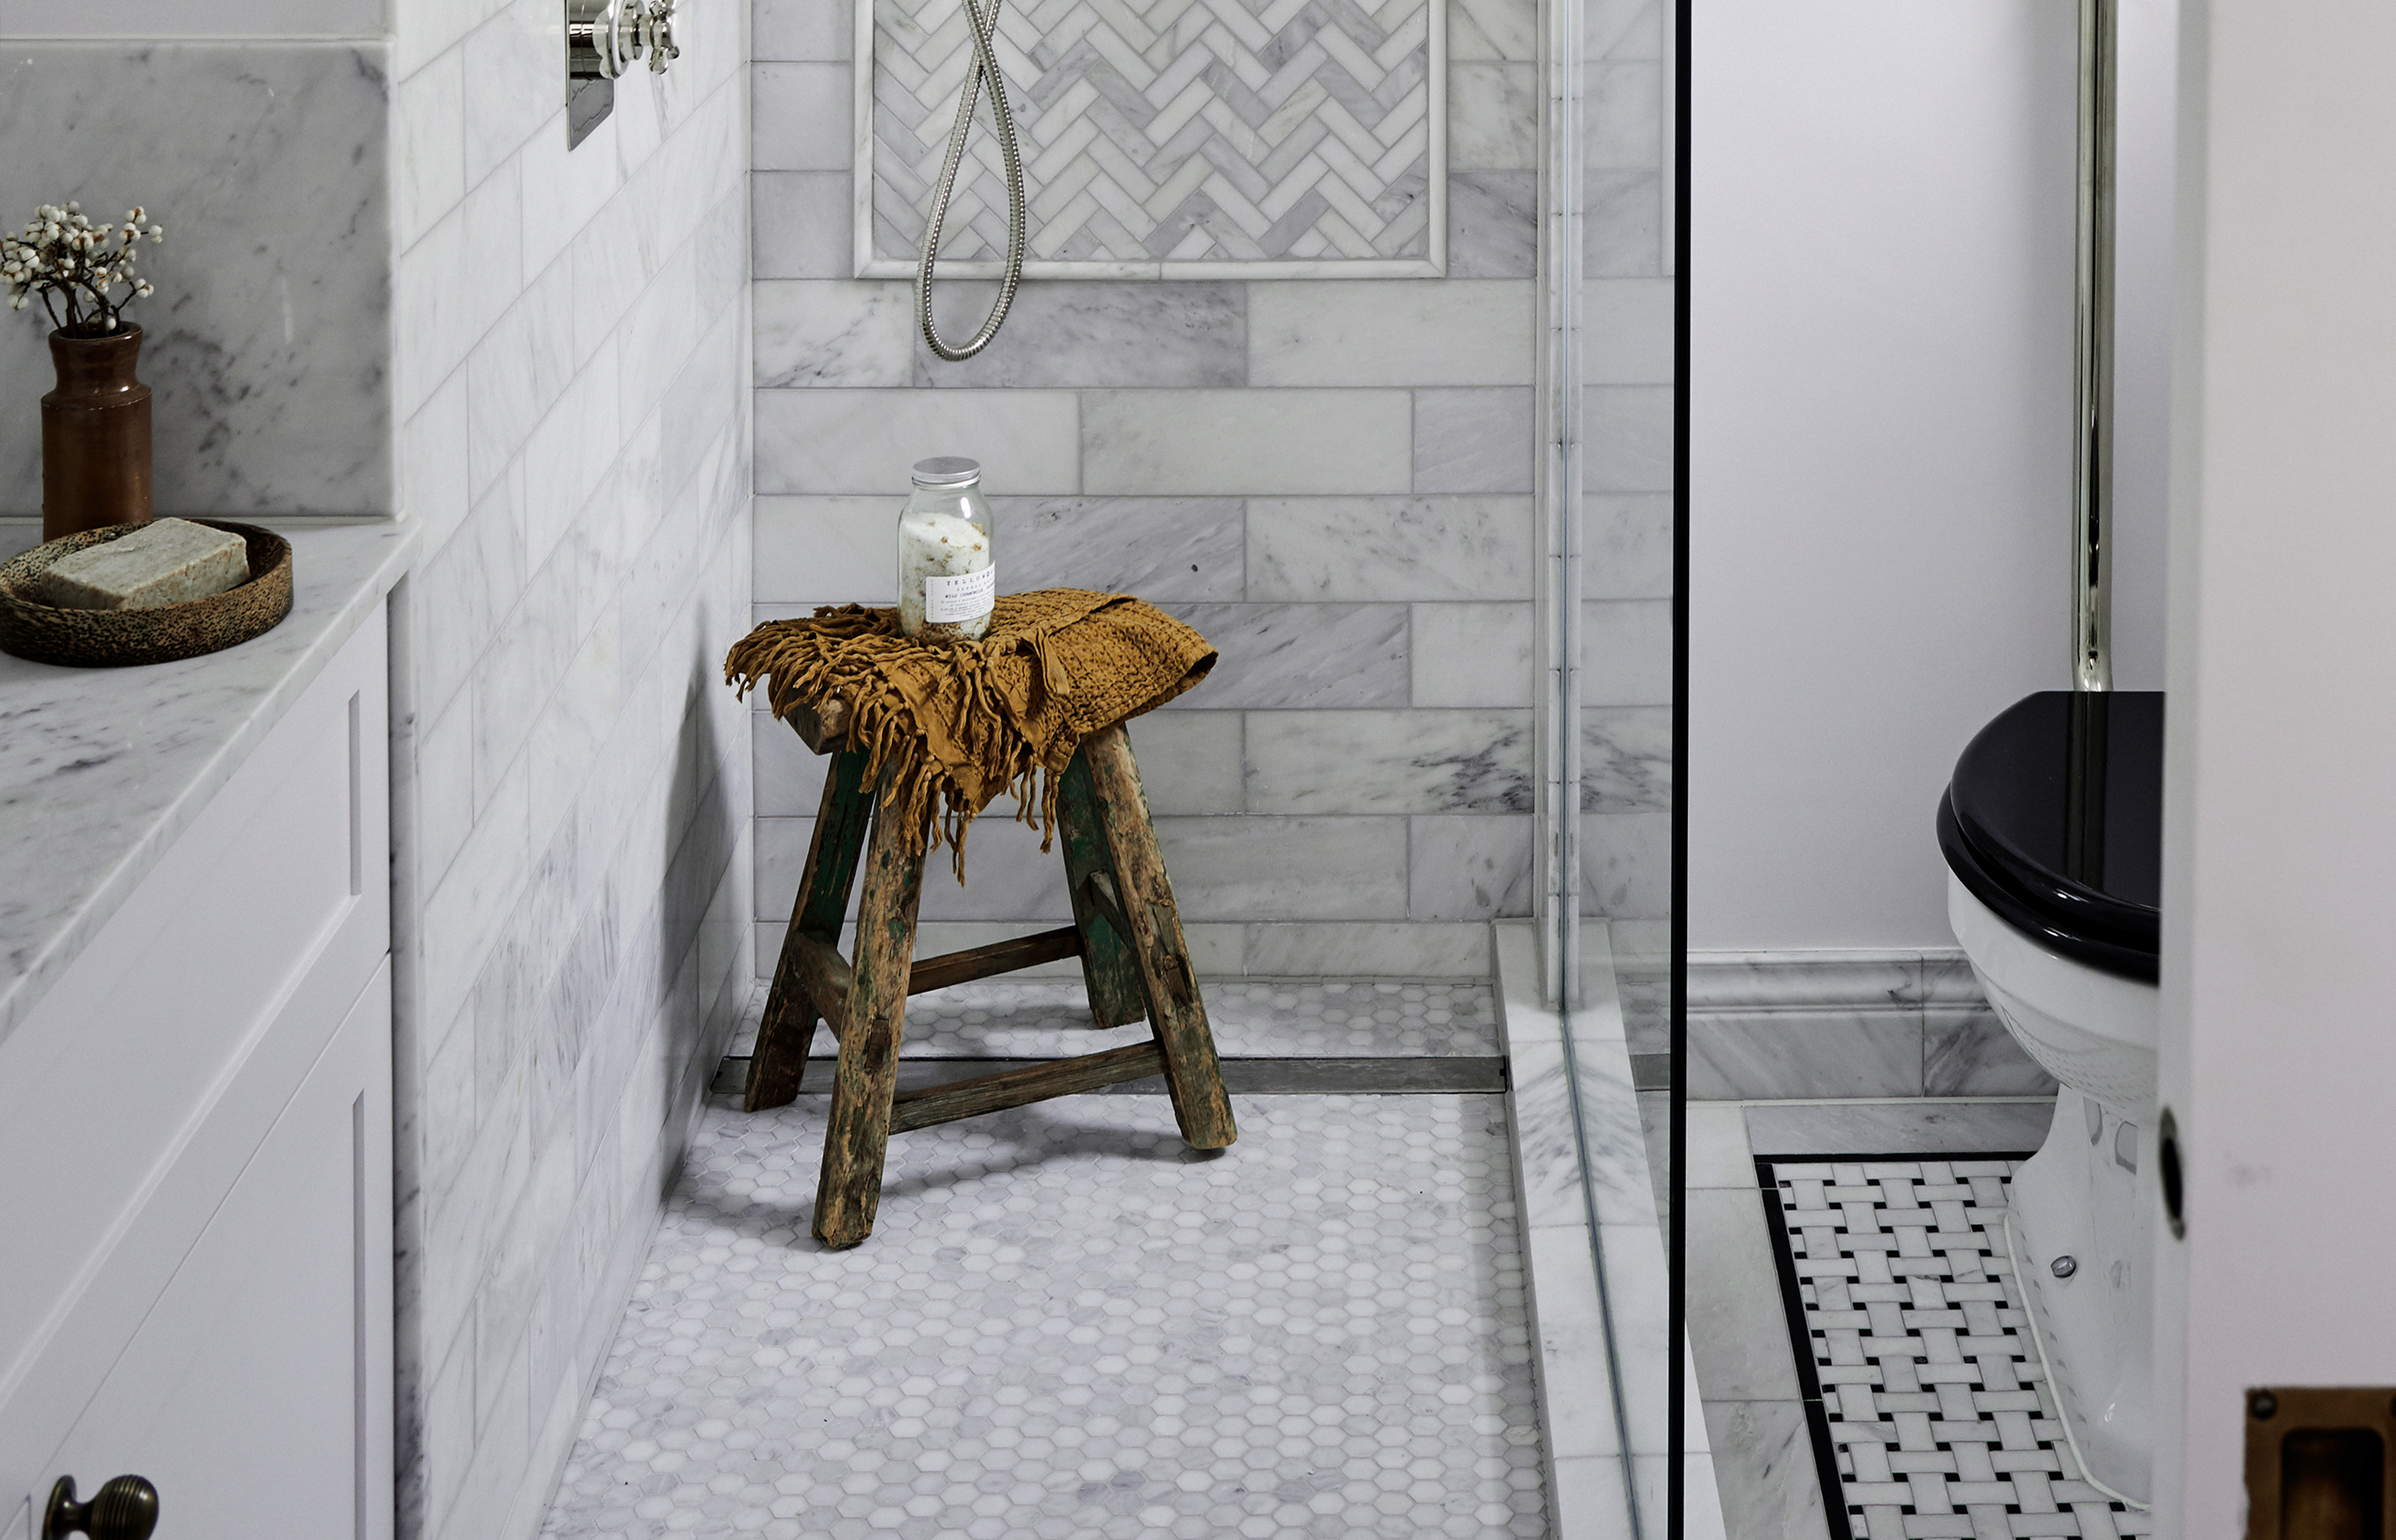
Can I use mosaic tiles on the floor? Expert advice you need to know before making your decision

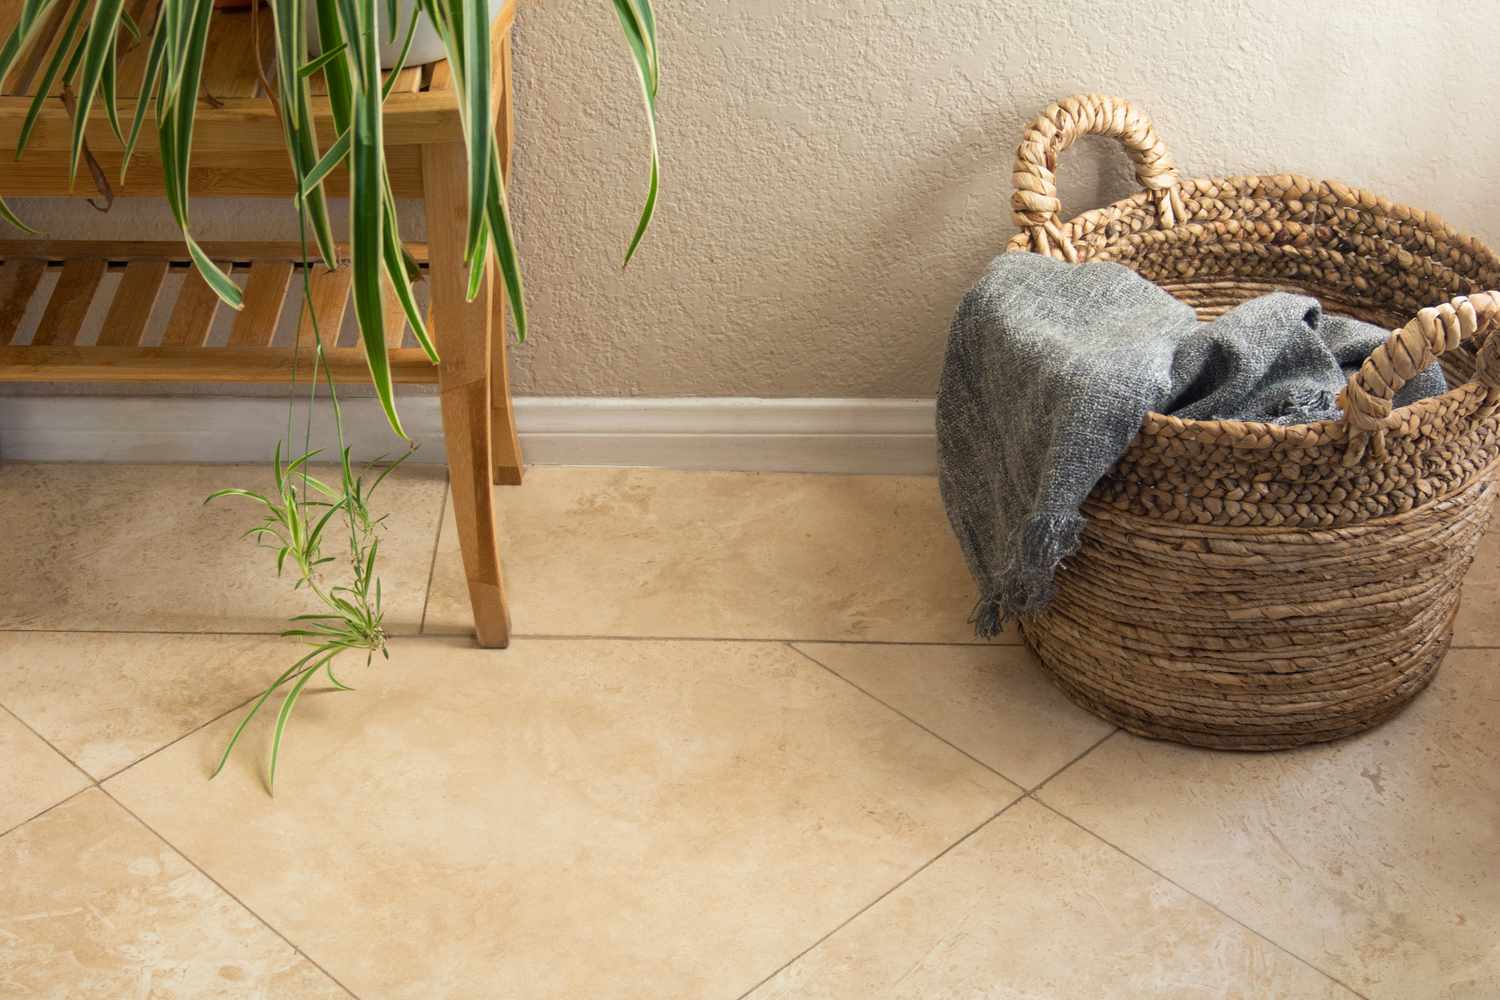
Learn the Pros and Cons of Beautiful Travertine Flooring


5 Costly Mistakes People Always Make When Buying Tiles — And How to Avoid Them
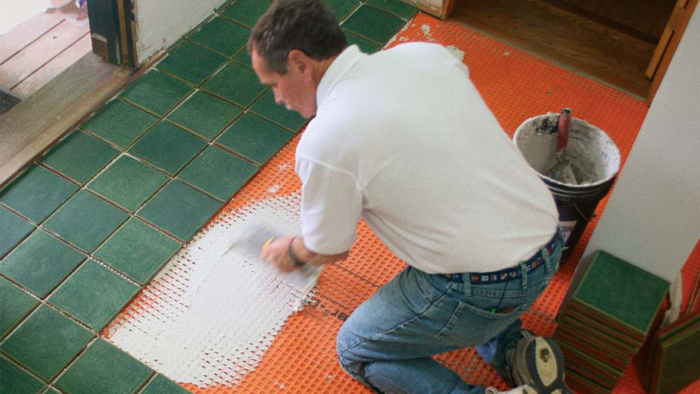
Video Series: Foyer Tile Installation

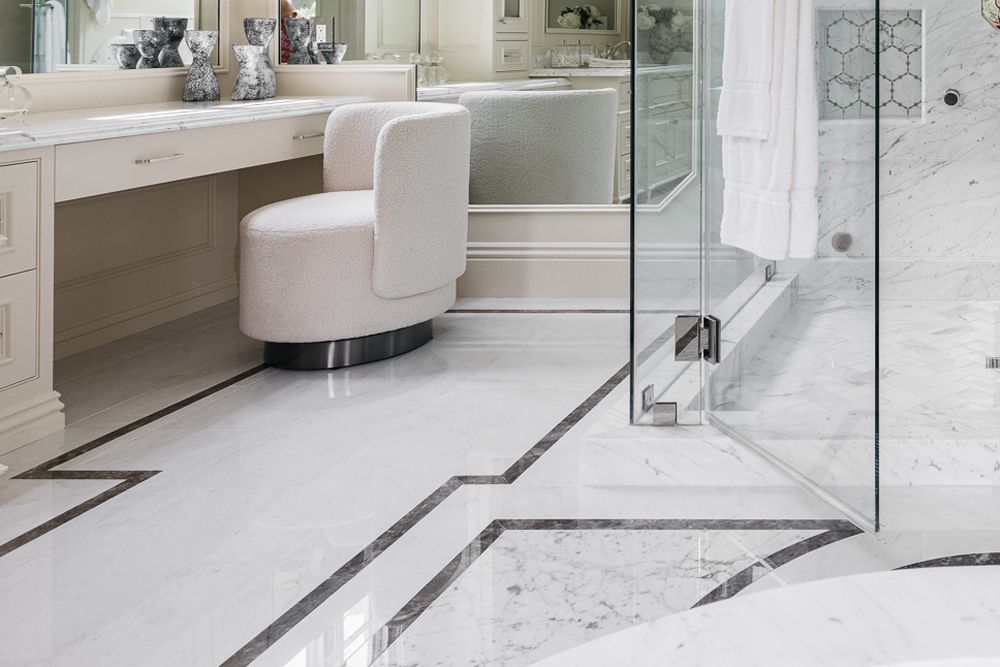
Marble Floors: Elegant, but Challenging to Install and Maintain

6 expert tips for buying tiles online - designers on how to avoid expensive mistakes

Homestyle: Terrific tiles
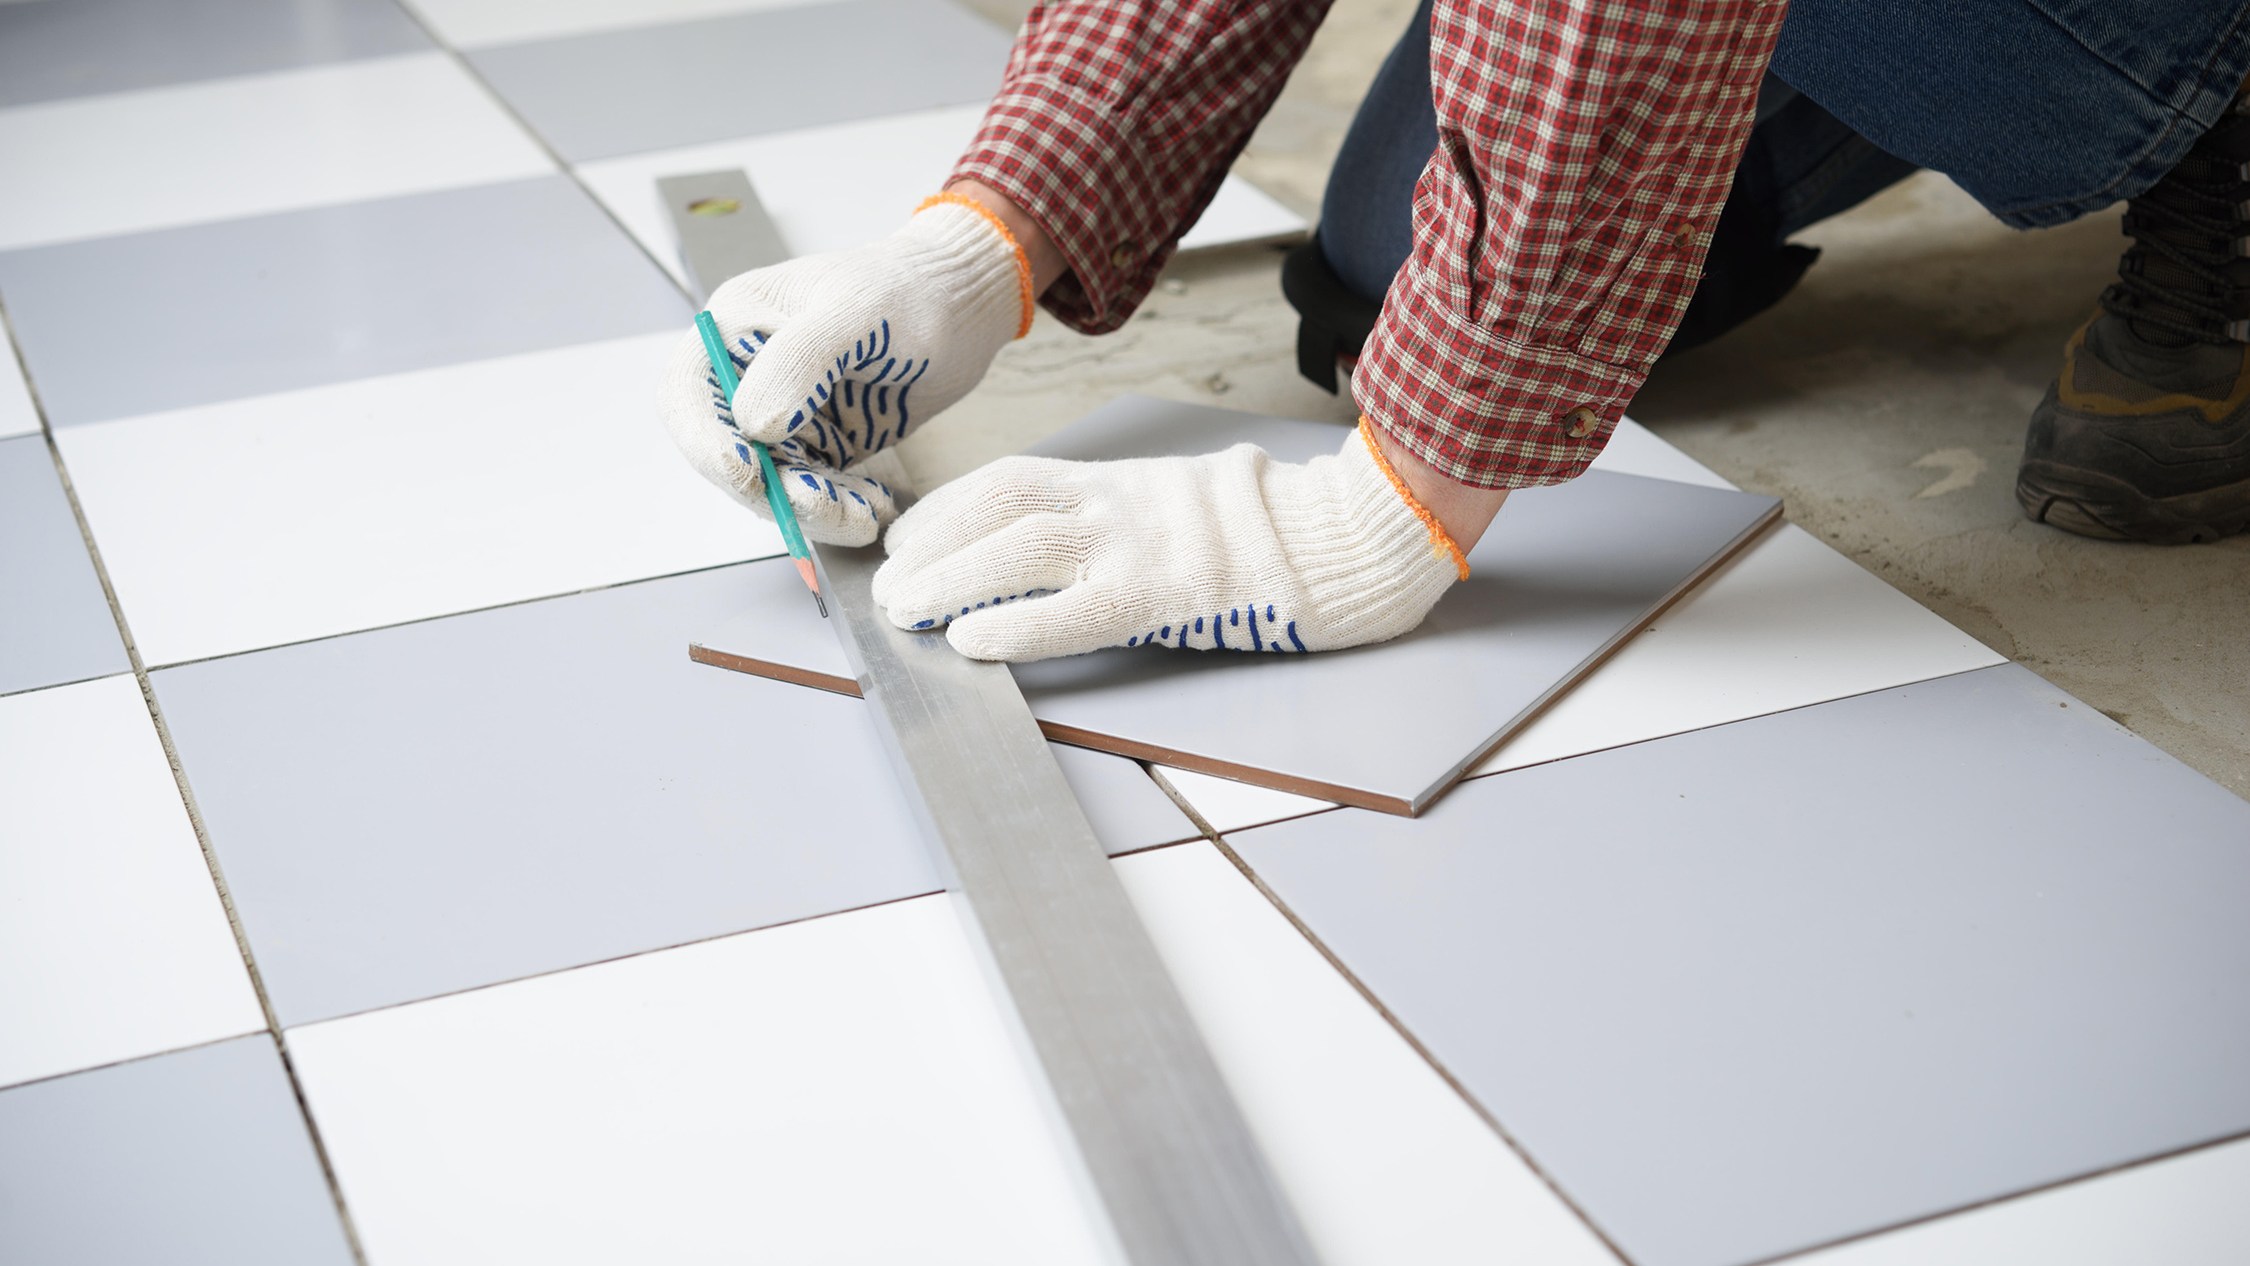
From preparation to cutting, here's how to lay floor tiles

Bathroom Tiles


Getting the Grout Right
How to Clean Tile Floors—From Ceramic to Cement Surfaces

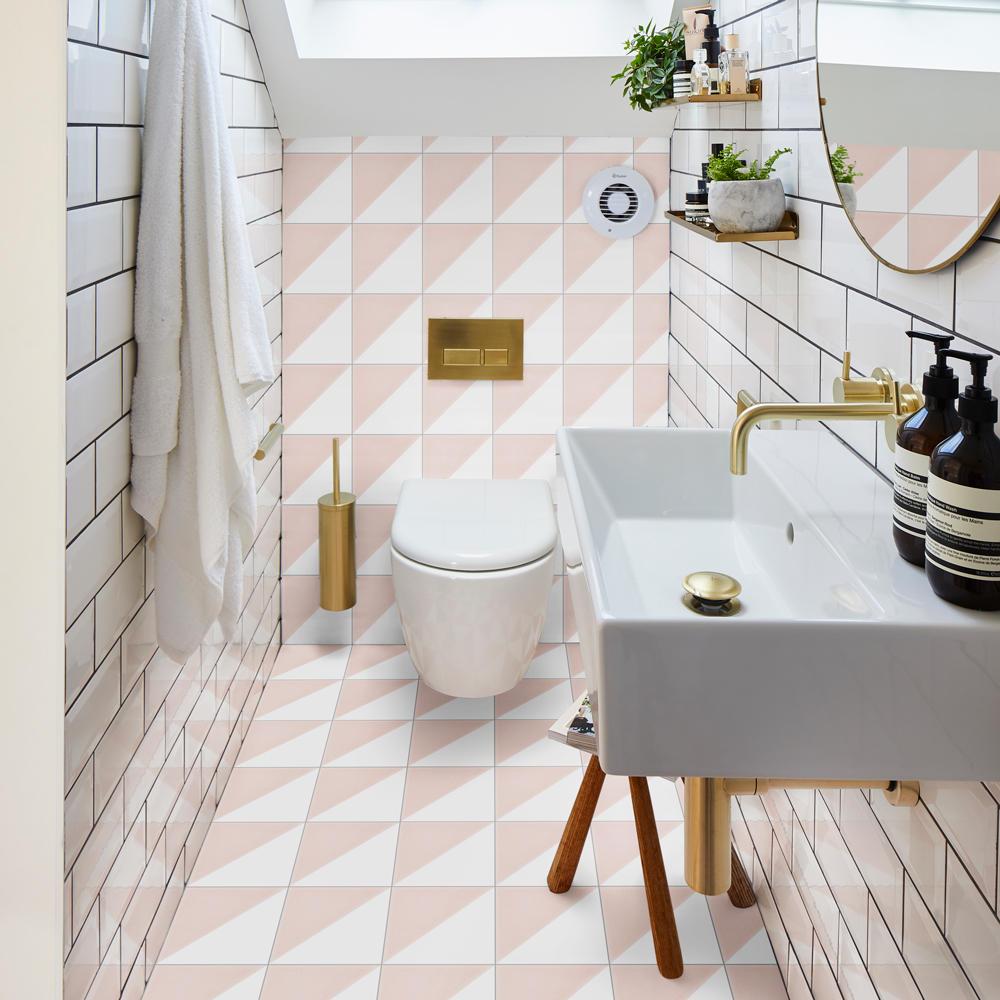
10 common tiling mistakes that can be costly – and how to avoid them

Vogue's flooring guide will ensure you never look up

Tile Grout

Captivated by bold tile? Here’s what to consider before using it.