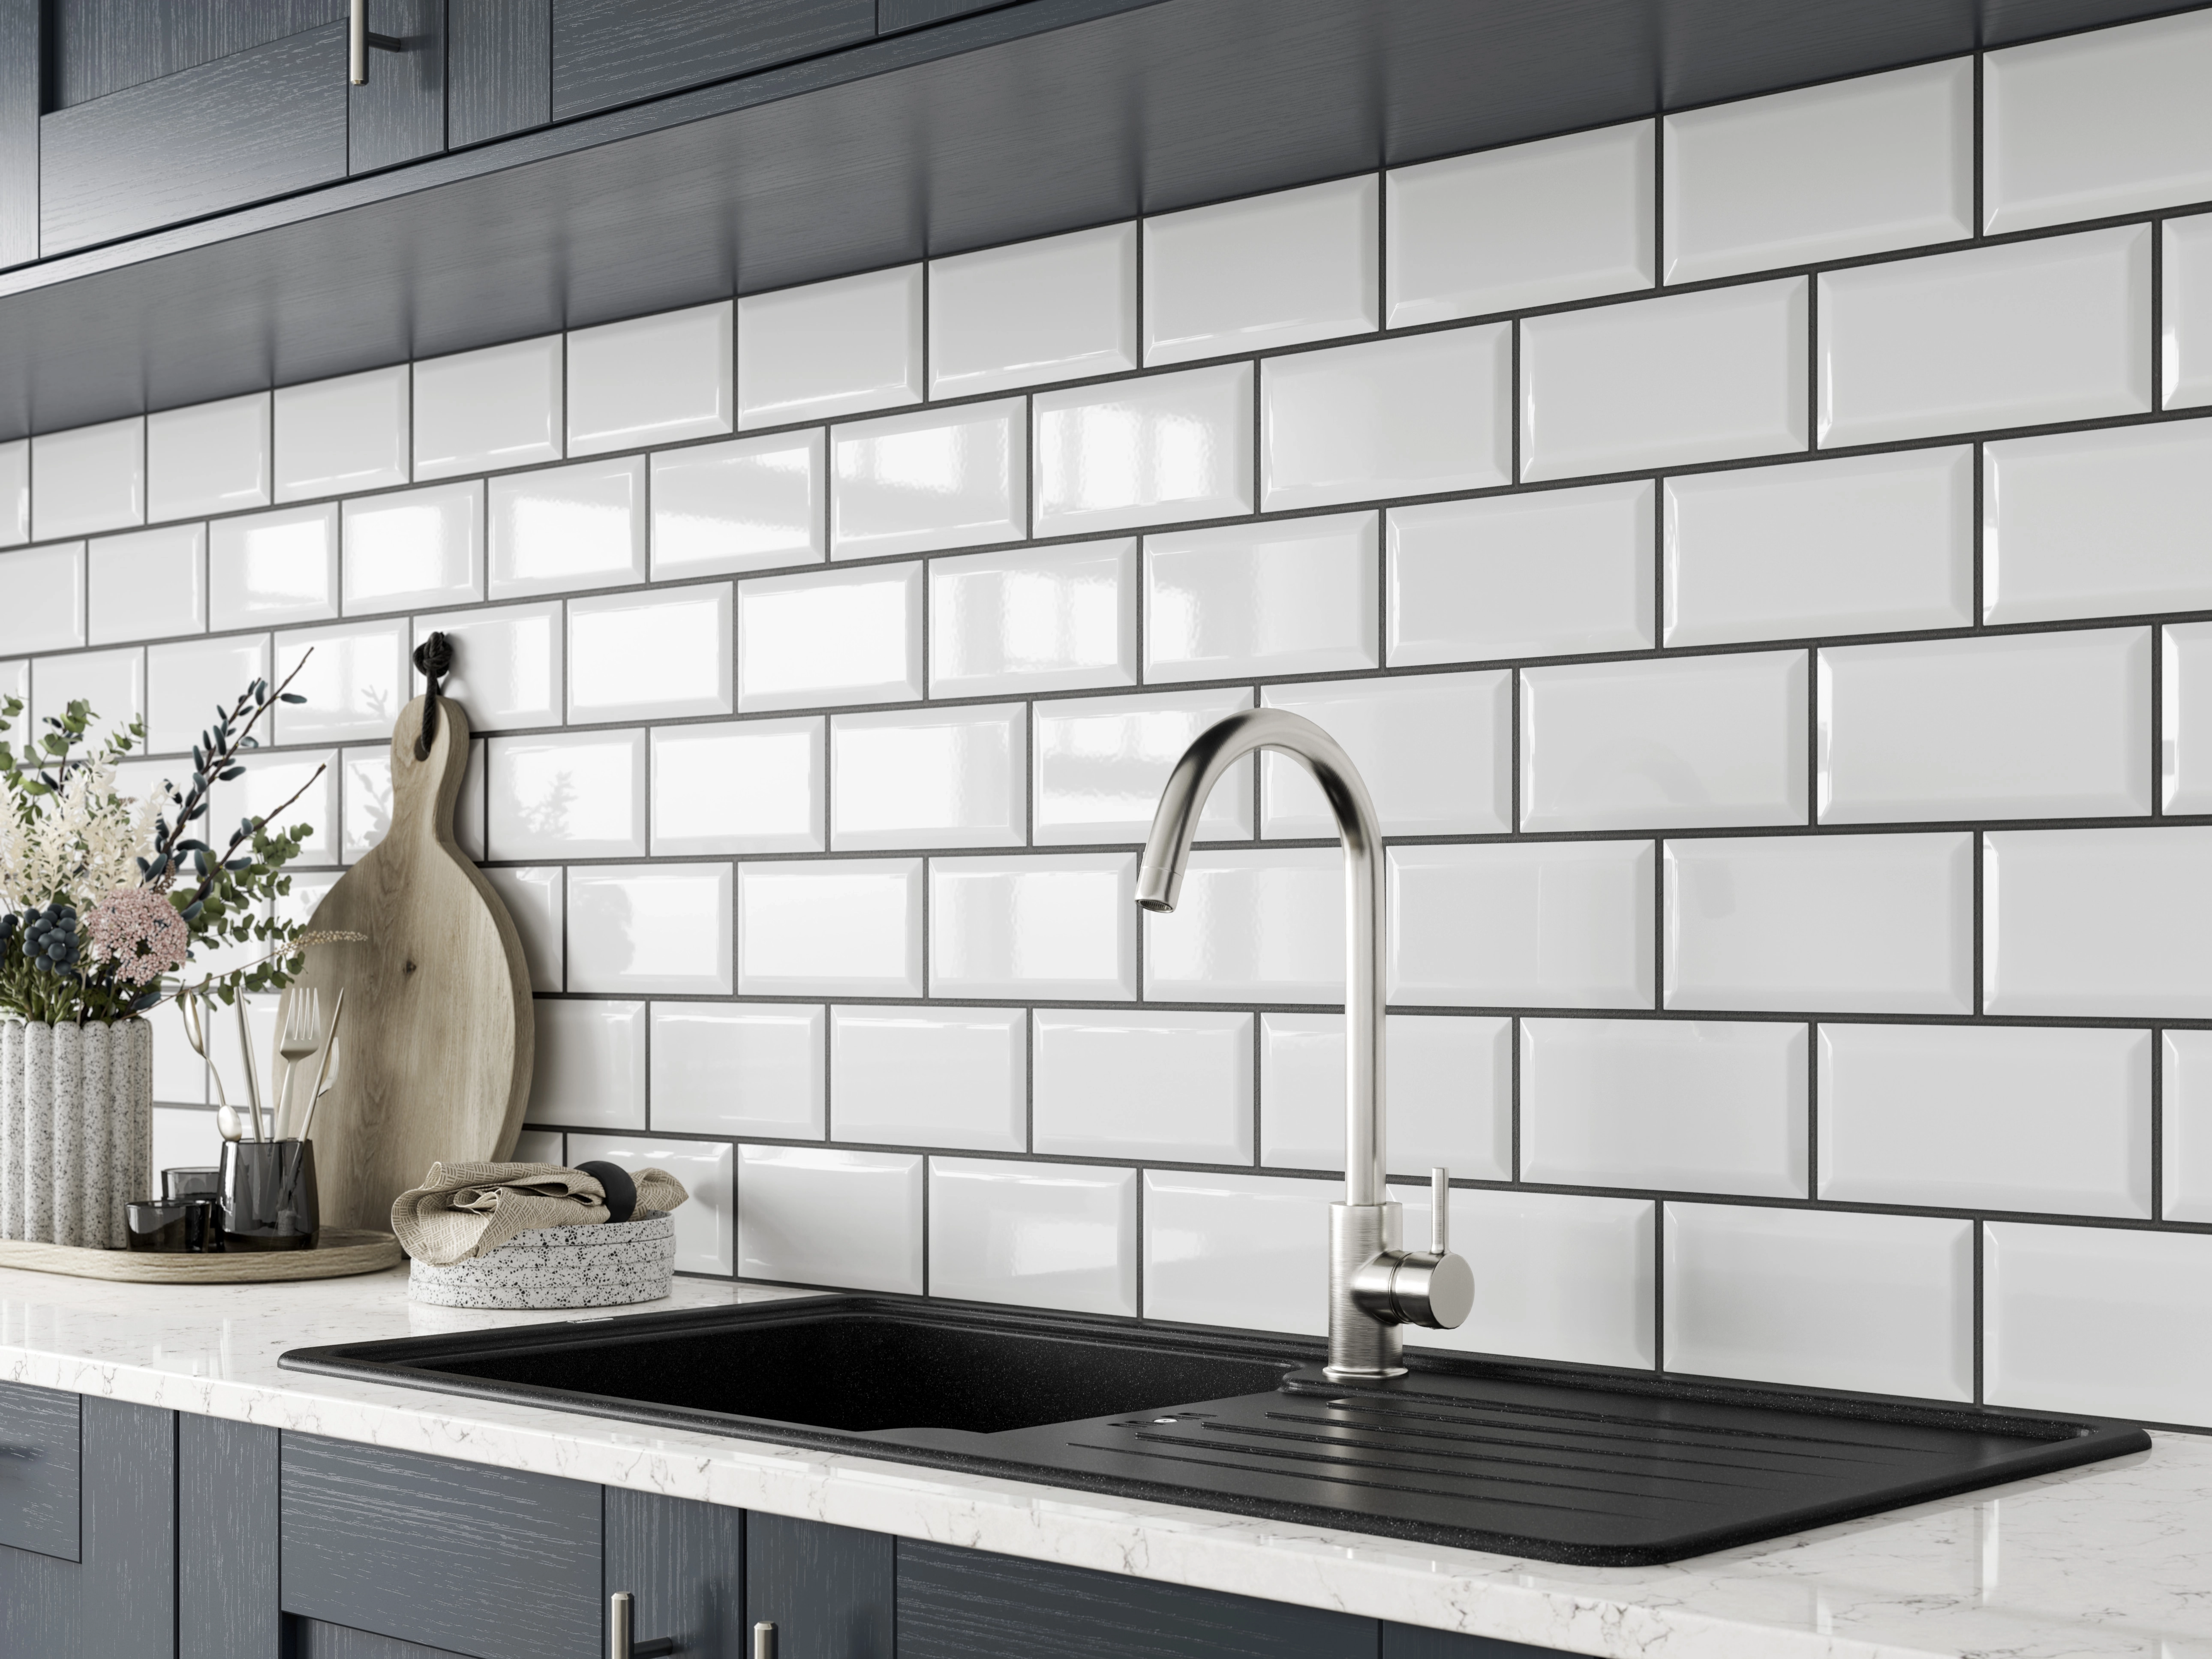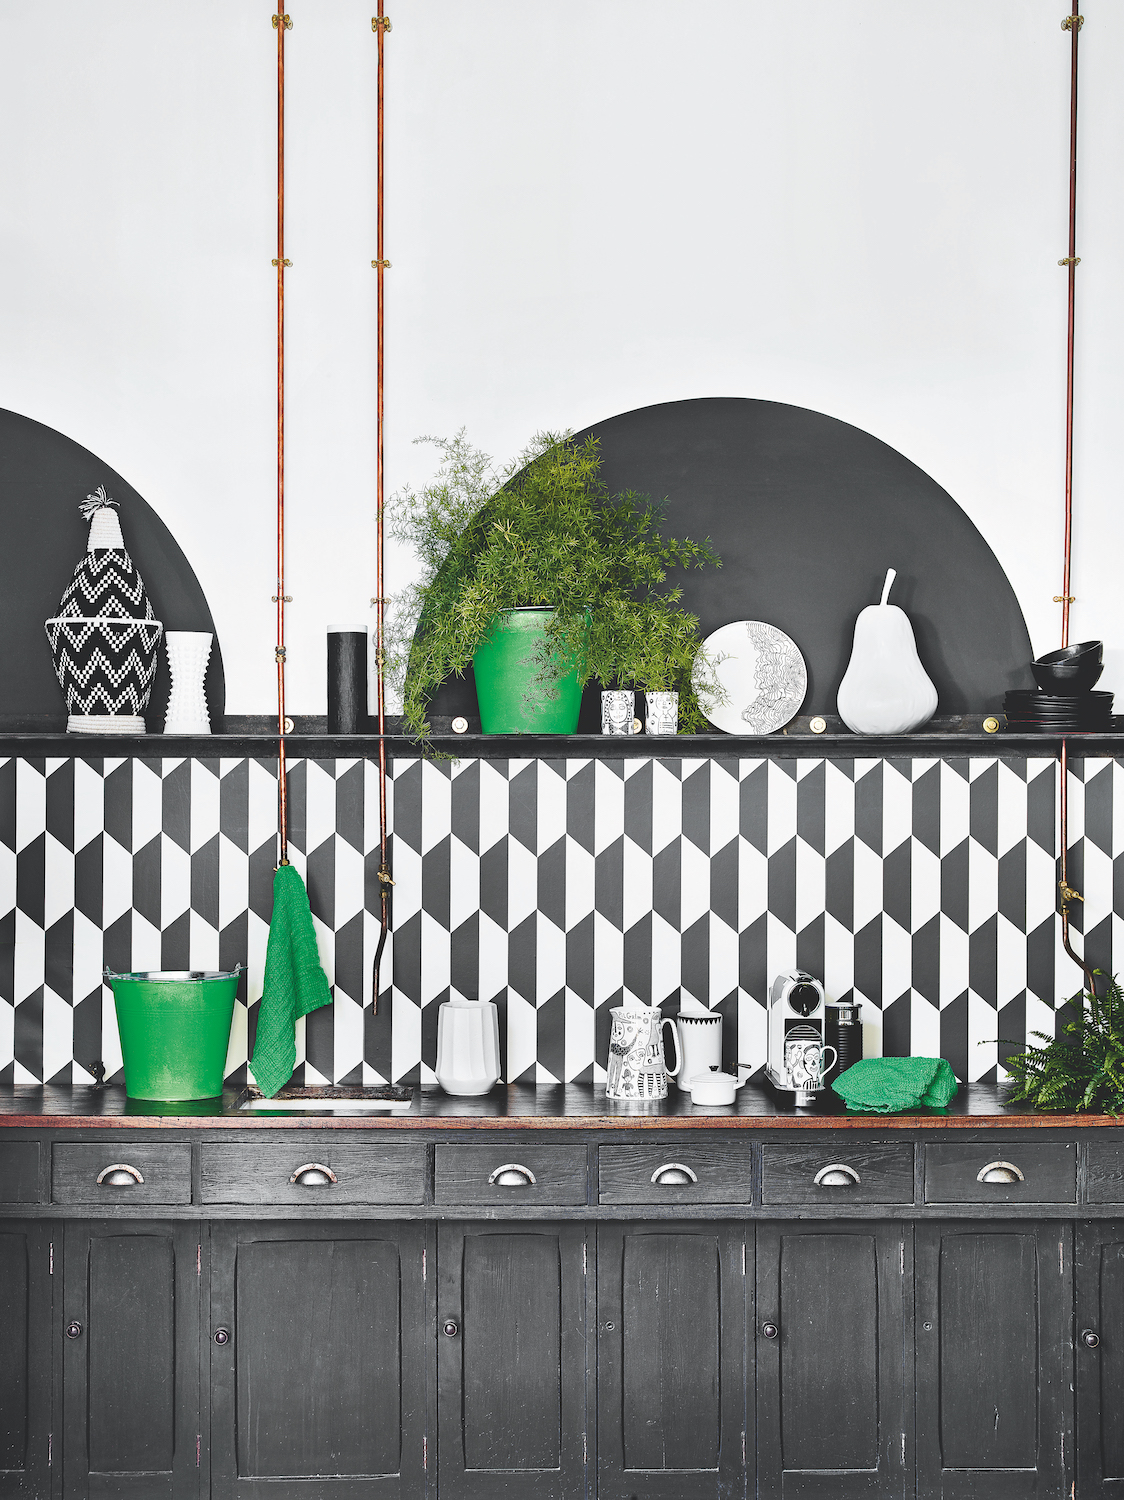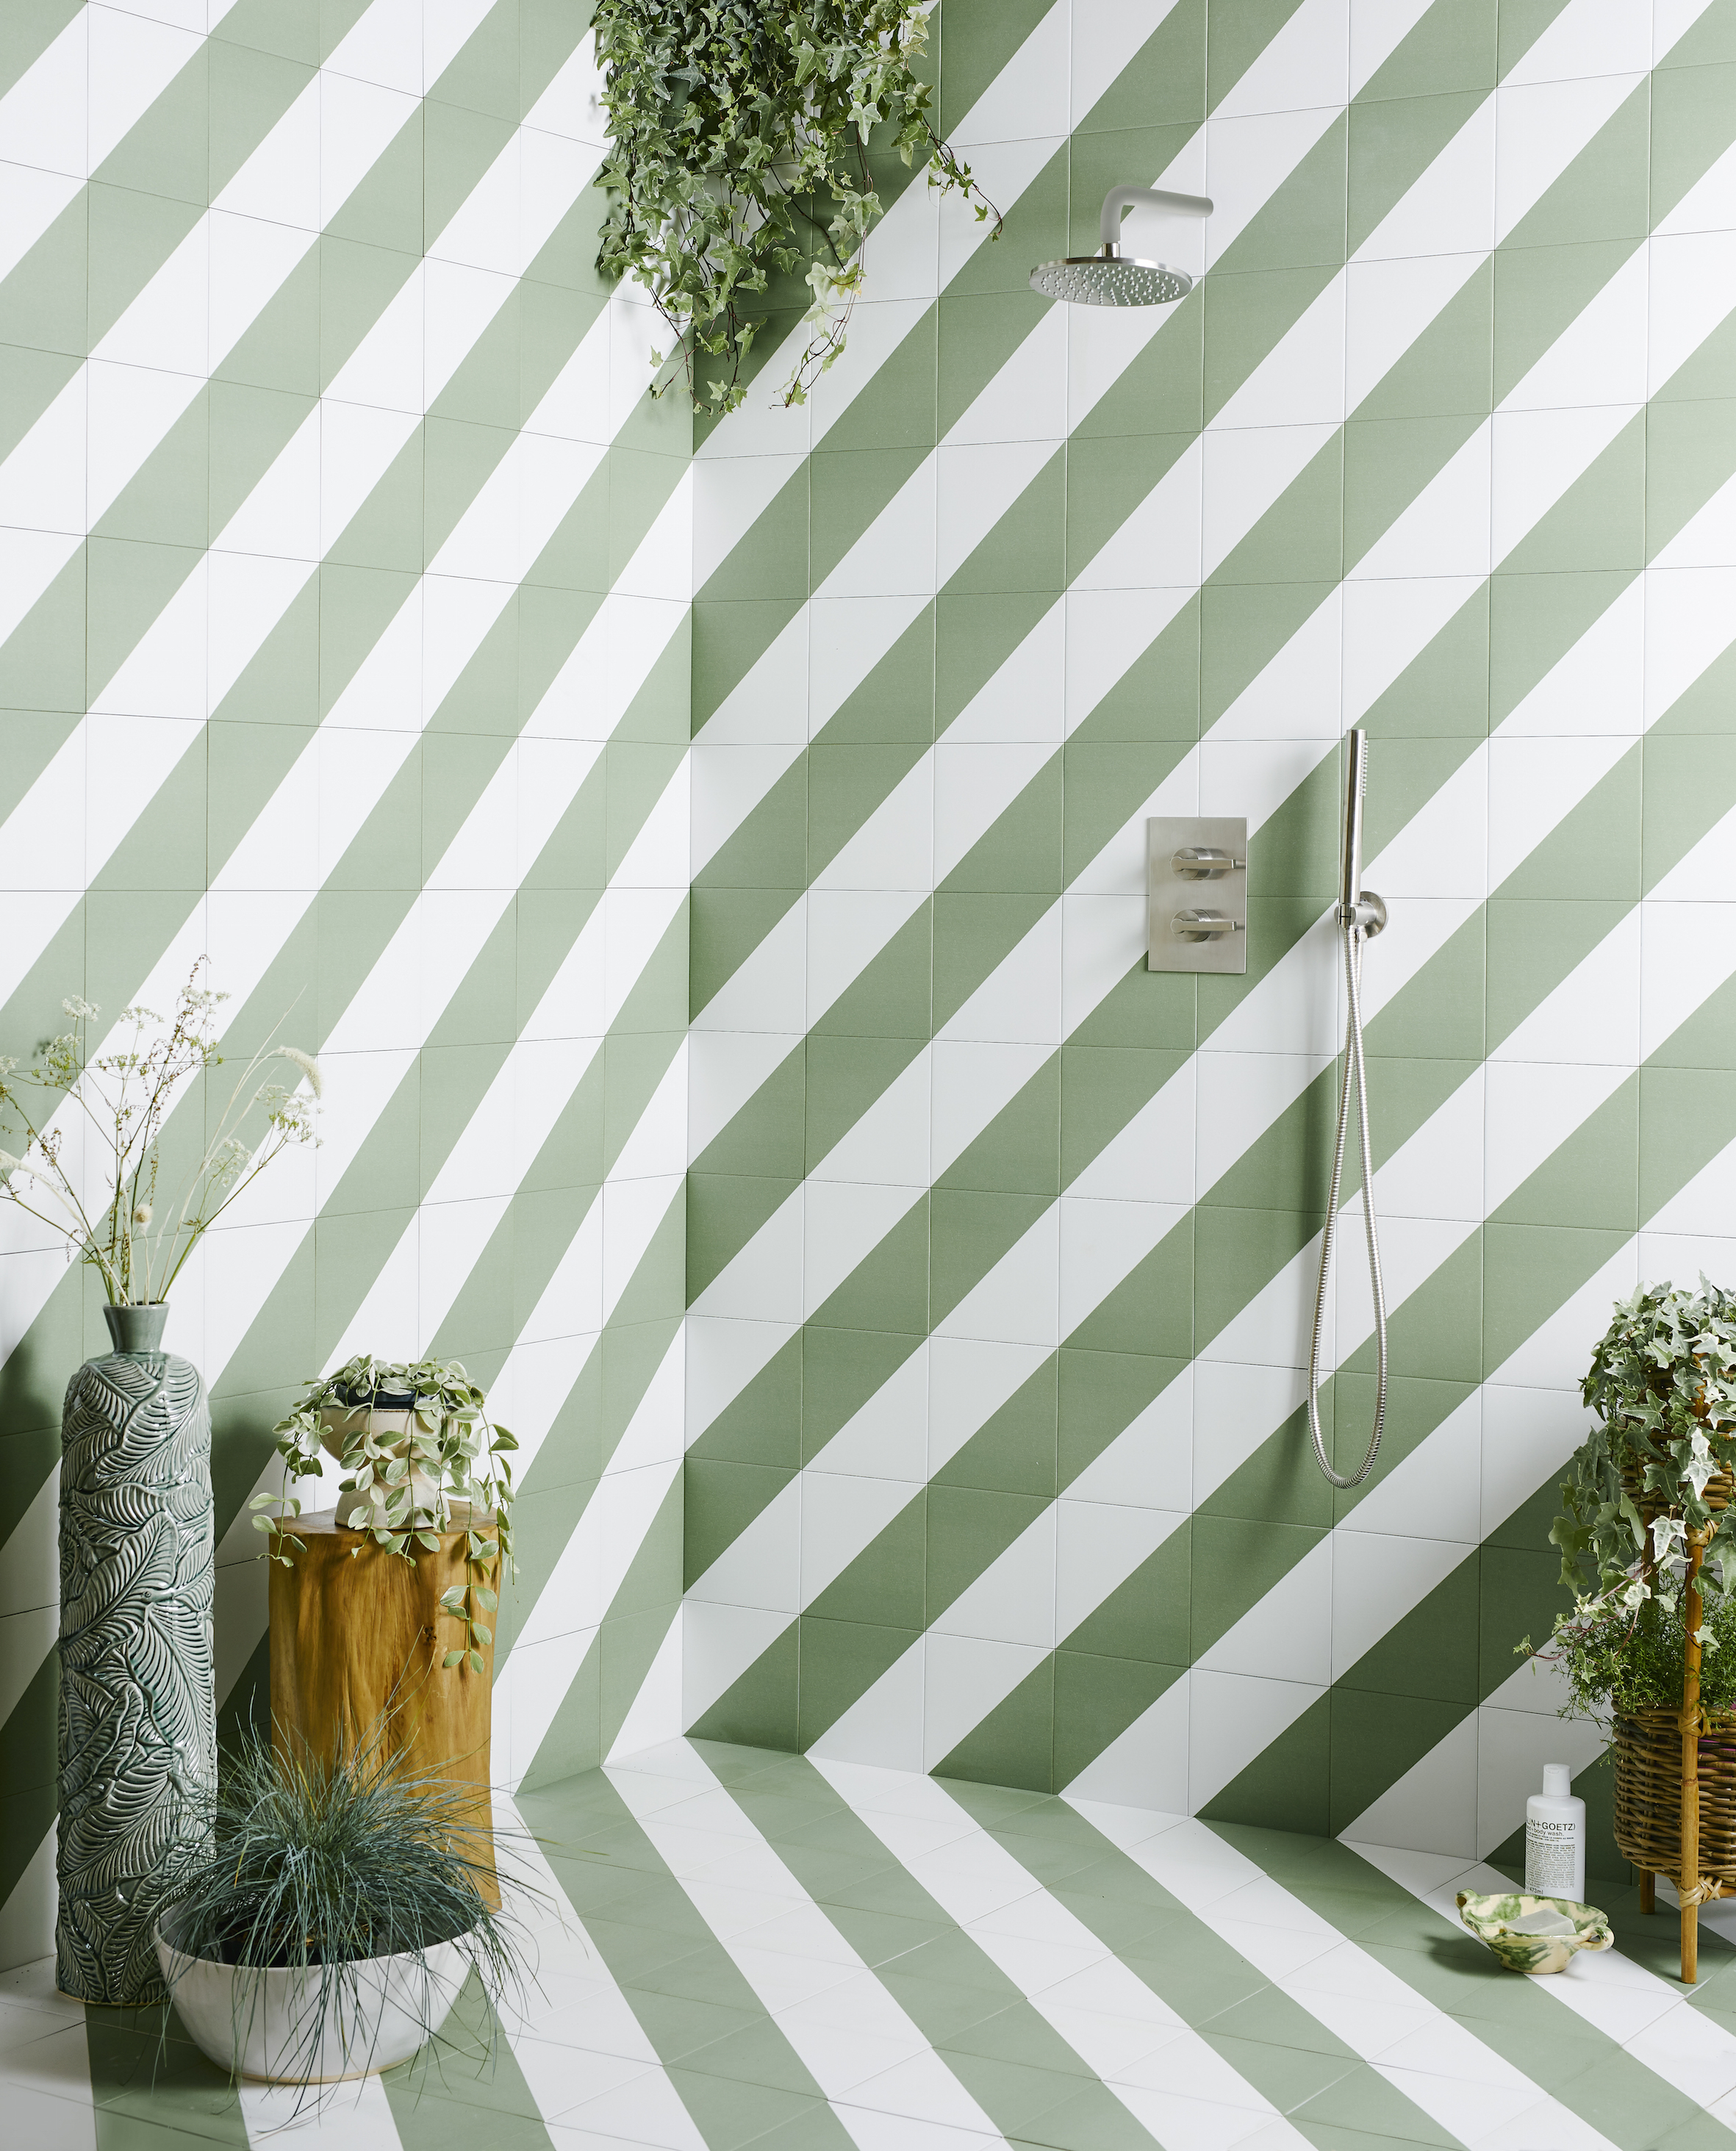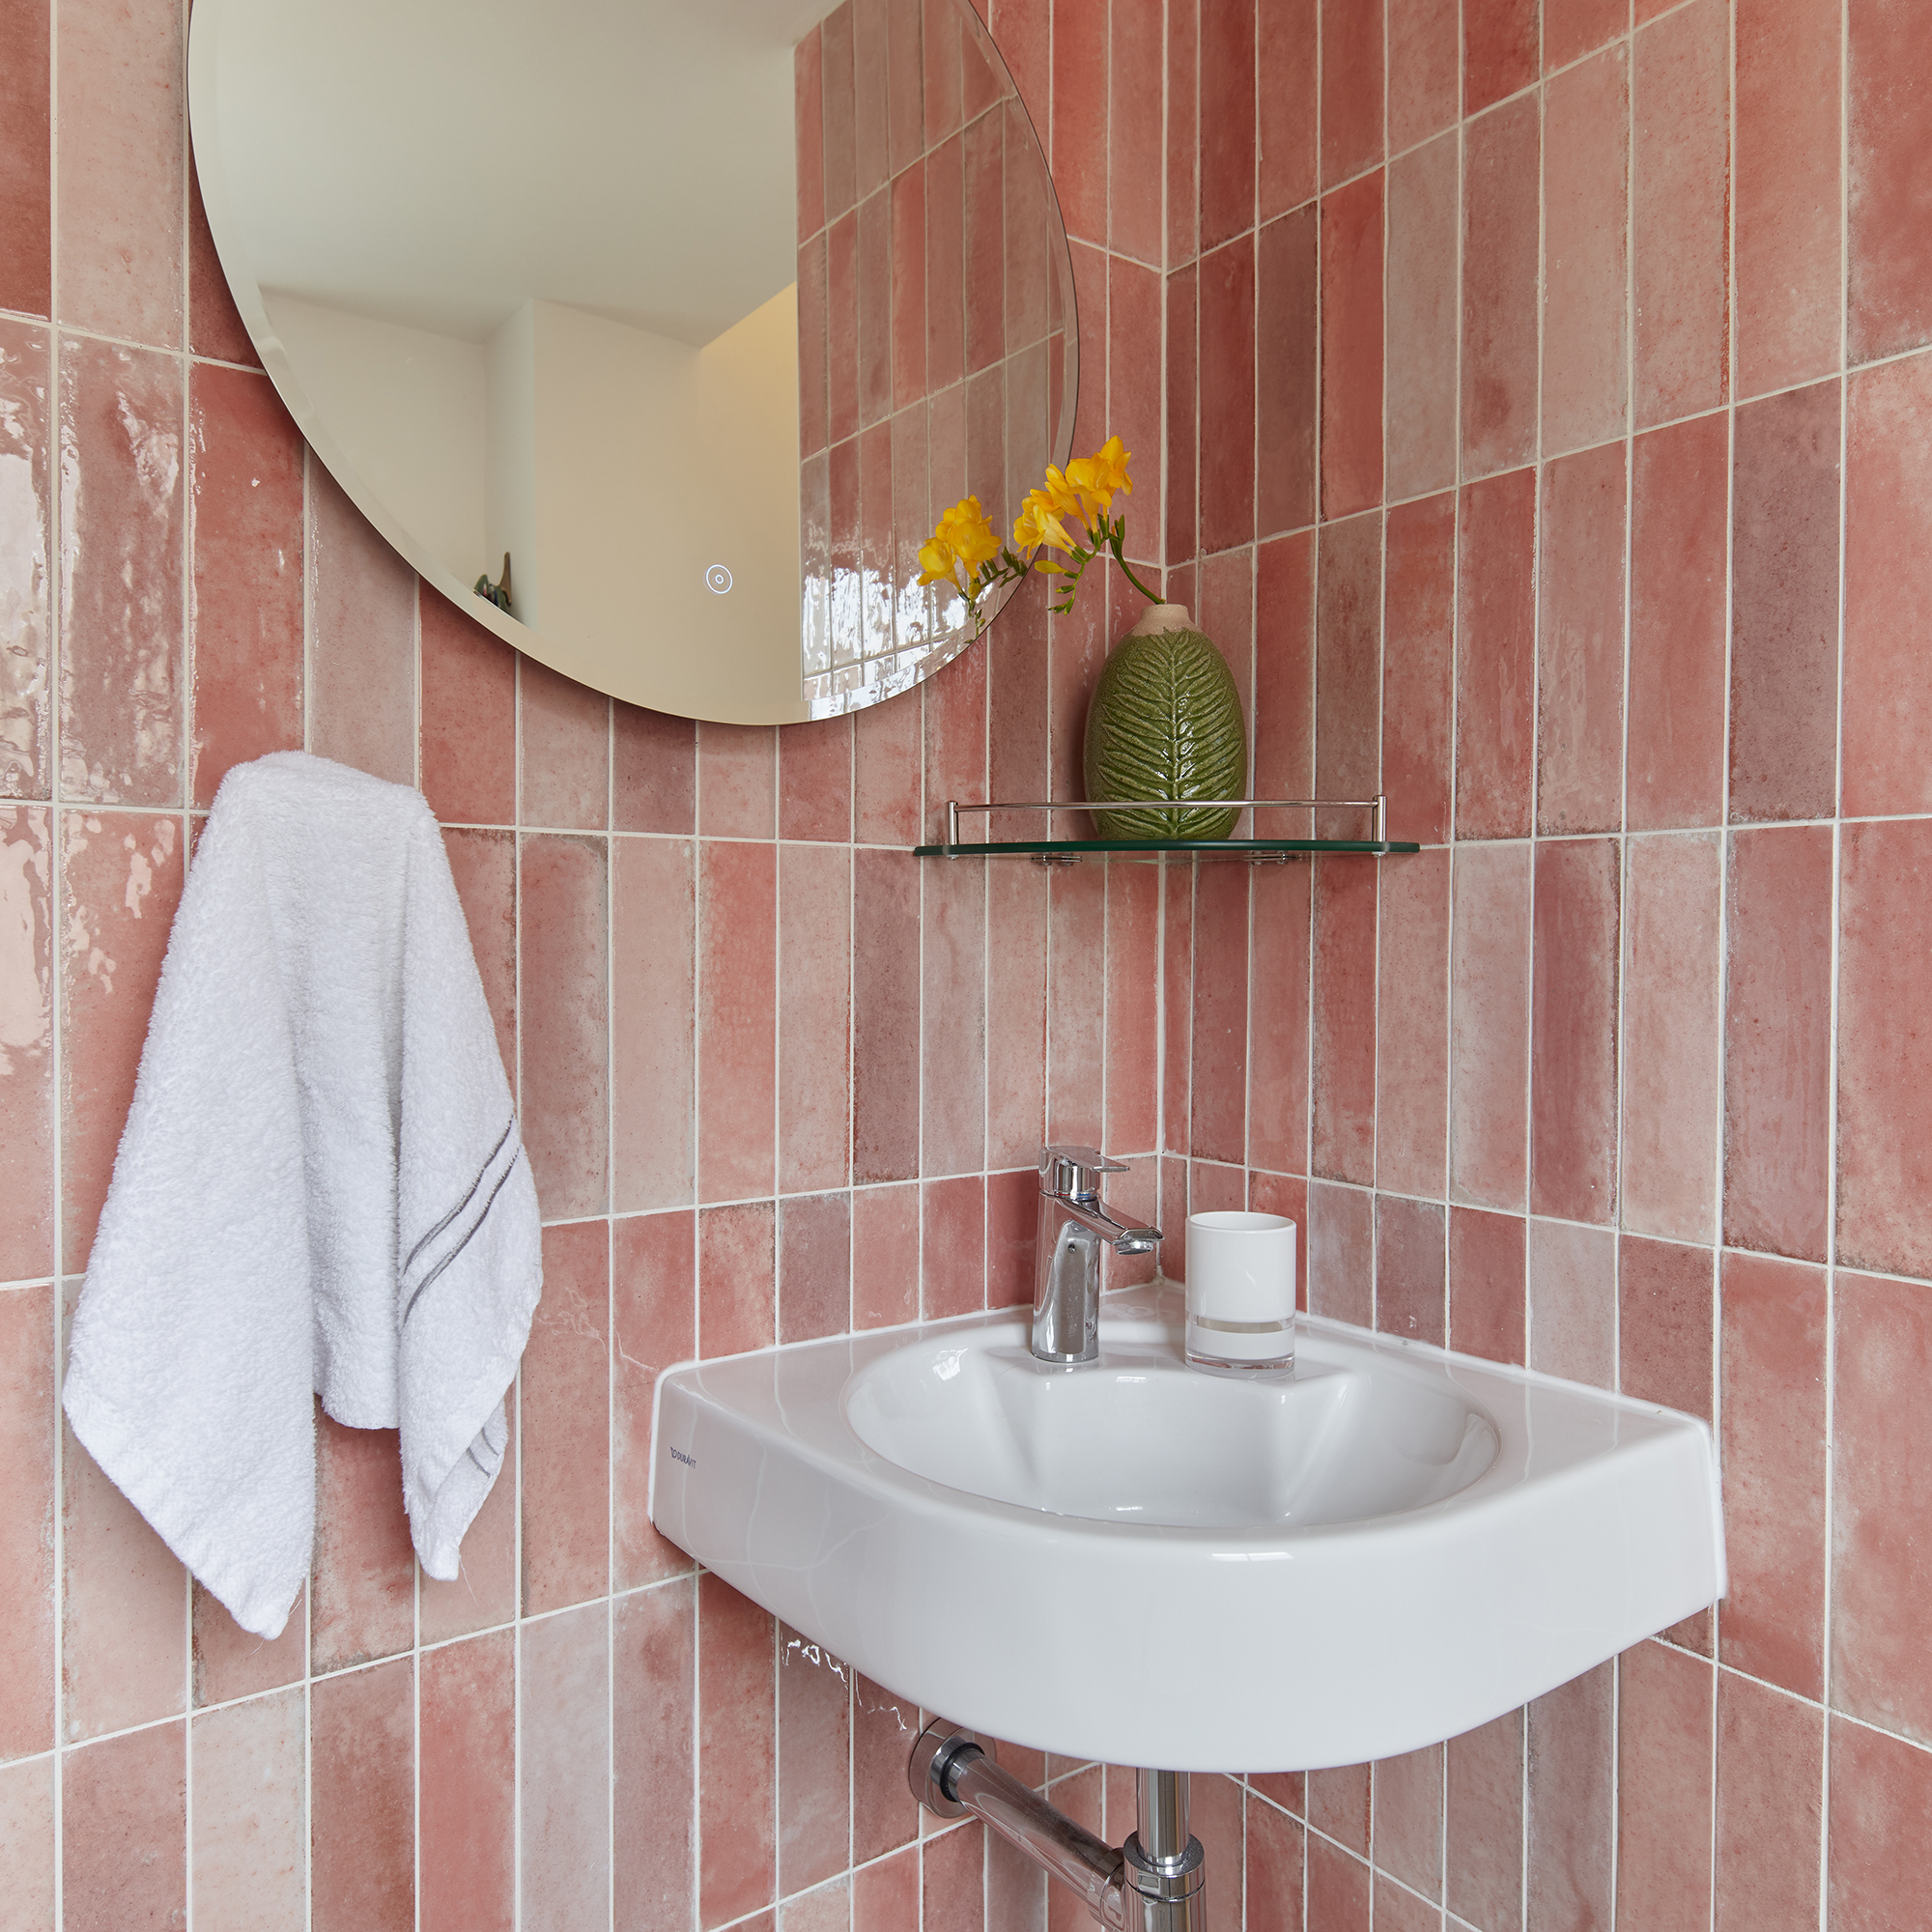
1/10
How to regrout between tiles to keep them from looking tired in 6 simple steps
Over time, grout lines between tiles can become discolored, cracked, or damaged, making tiled areas appear old and worn. Regrouting offers an easy and cost-effective solution to refresh the appearance of tiles and prolong their lifespan. This DIY project can typically be completed over a weekend with a few essential tools.
The process begins with thorough preparation of the area. All obstructions should be cleared, and surrounding surfaces covered with plastic sheeting to protect them from dust and debris. The tiled surface itself needs to be meticulously cleaned with a mild detergent and water, ensuring it is free from dirt or oils to allow proper adhesion of the new grout. Before proceeding, it is crucial that all surfaces are completely dry.
The next step involves carefully removing the old, damaged grout. A grout removal tool or rotary tool is used to scrape out the existing grout, working slowly to prevent damage to the tiles. It is recommended to remove at least 1/8 inch of old grout to ensure proper bonding for the new material. After removal, any debris should be vacuumed, and the surface wiped clean.
Once the old grout is removed, the new grout must be prepared. The choice of grout depends on the width of the tile joints: sanded grout is suitable for joints wider than 1/8 inch, while unsanded grout is preferred for narrower joints. The grout should be mixed according to the manufacturer's instructions to achieve a smooth, peanut butter-like consistency. After mixing, it should be allowed to rest for about 10 minutes before being stirred again and applied.
Applying the new grout requires precision. Using a grout float, the grout is spread diagonally across the joints, pressed firmly to ensure complete filling of all gaps. It is advisable to work in small sections to prevent the grout from drying prematurely, which could make cleaning excess grout more difficult.
After application, excess grout needs to be removed from the tile surfaces. This is done gently with a damp sponge, being careful not to pull grout out of the joints. The sponge should be rinsed frequently, and the wiping continued until the tiles are clean. The grout is then left to set as per the manufacturer's directions.
The final step involves curing and sealing the new grout. The grout should be allowed to cure for 24 to 48 hours. Once fully dry, a grout sealer is applied to protect it from moisture, stains, and dirt, a crucial step, particularly in high-moisture areas like bathrooms and kitchens, to maintain the grout's integrity and appearance for years to come.
#TileRegrouting #DIYHomeImprovement #BathroomRenovation #KitchenMaintenance #HomeMaintenanceTips #GroutRepair #TileCare #TileRegrouting #DIYHomeImprovement #BathroomRenovation #KitchenMaintenance #HomeMaintenanceTips #GroutRepair #TileCare
0 comment in total
 No comments yet
You may also like
6 Elegant Tile Trends to Inspire a Home Refresh

7 timeless tile designs to try in any room


All the Ways You Can Riff on Basic Square and Rectangular Tile


Cure Your White Subway Tile Fatigue With These Artful Rectangles

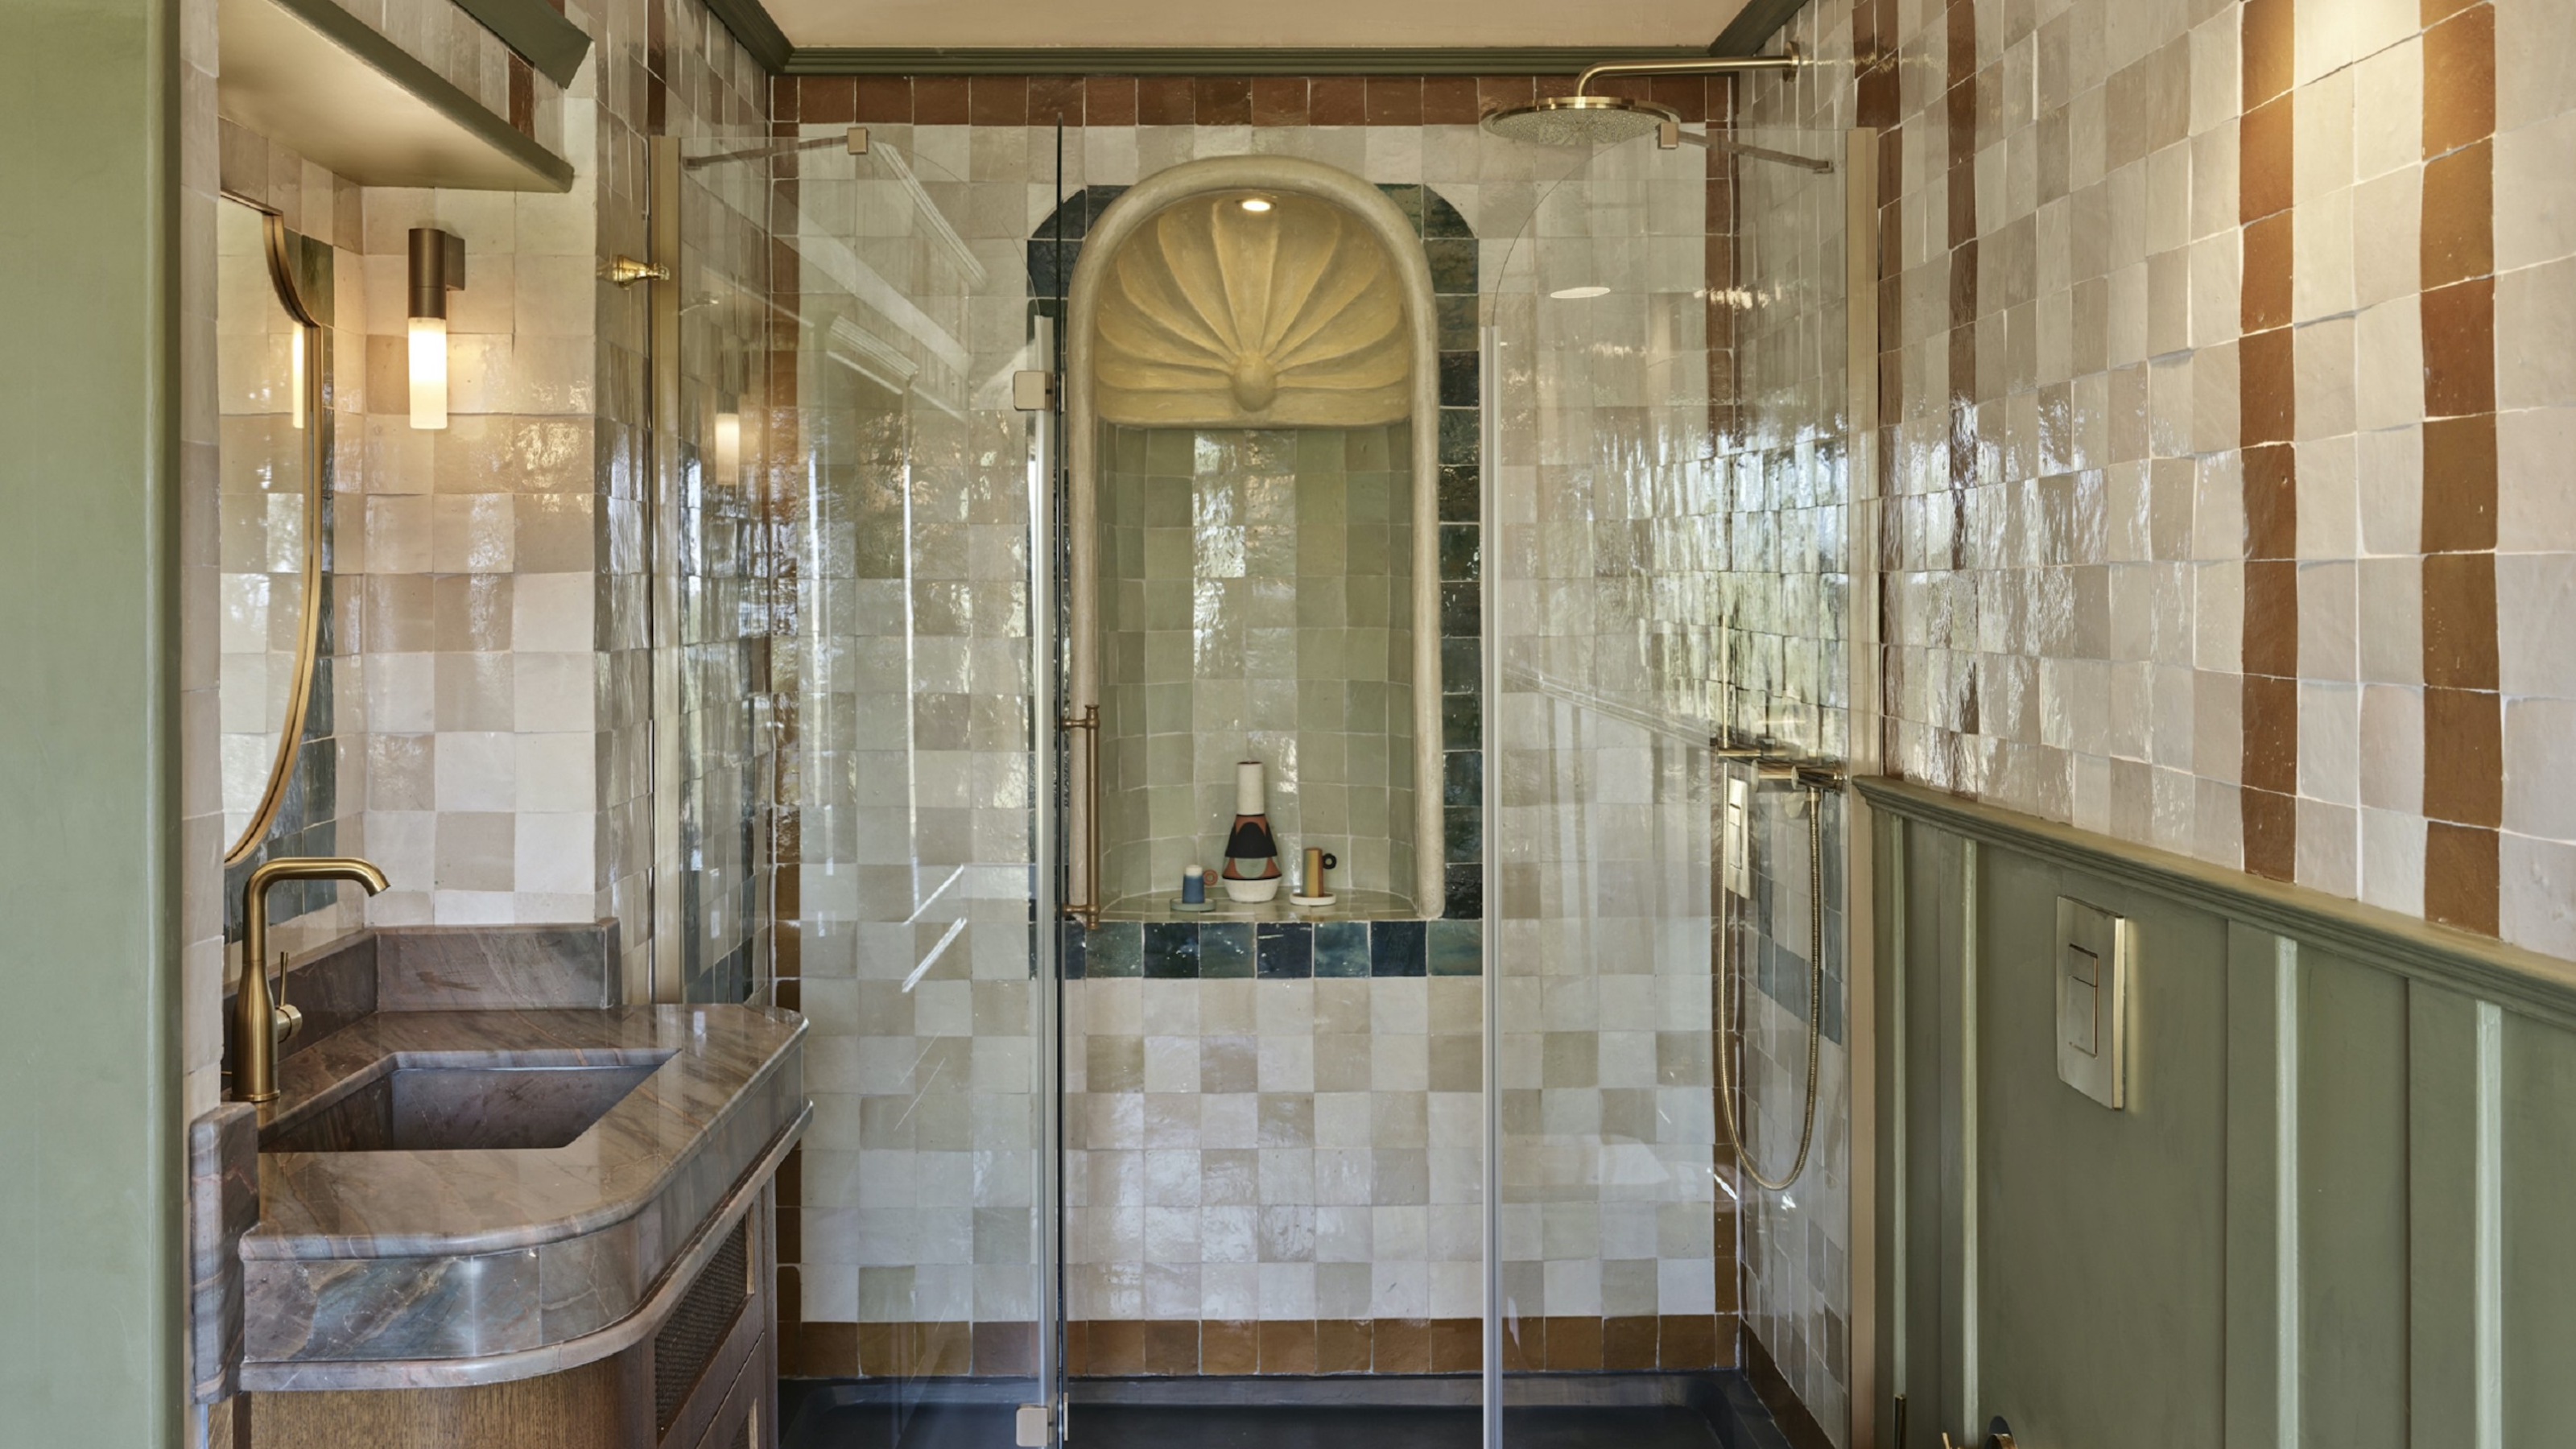
"Your Eye Doesn't Know Where to Land" — Yes, You Can Have Too Much Tile in Your Bathroom, Here's the Rule to Get the Balance Right


The Stylish Tile Hack That Adds A Pop Of Gingham To Any Room
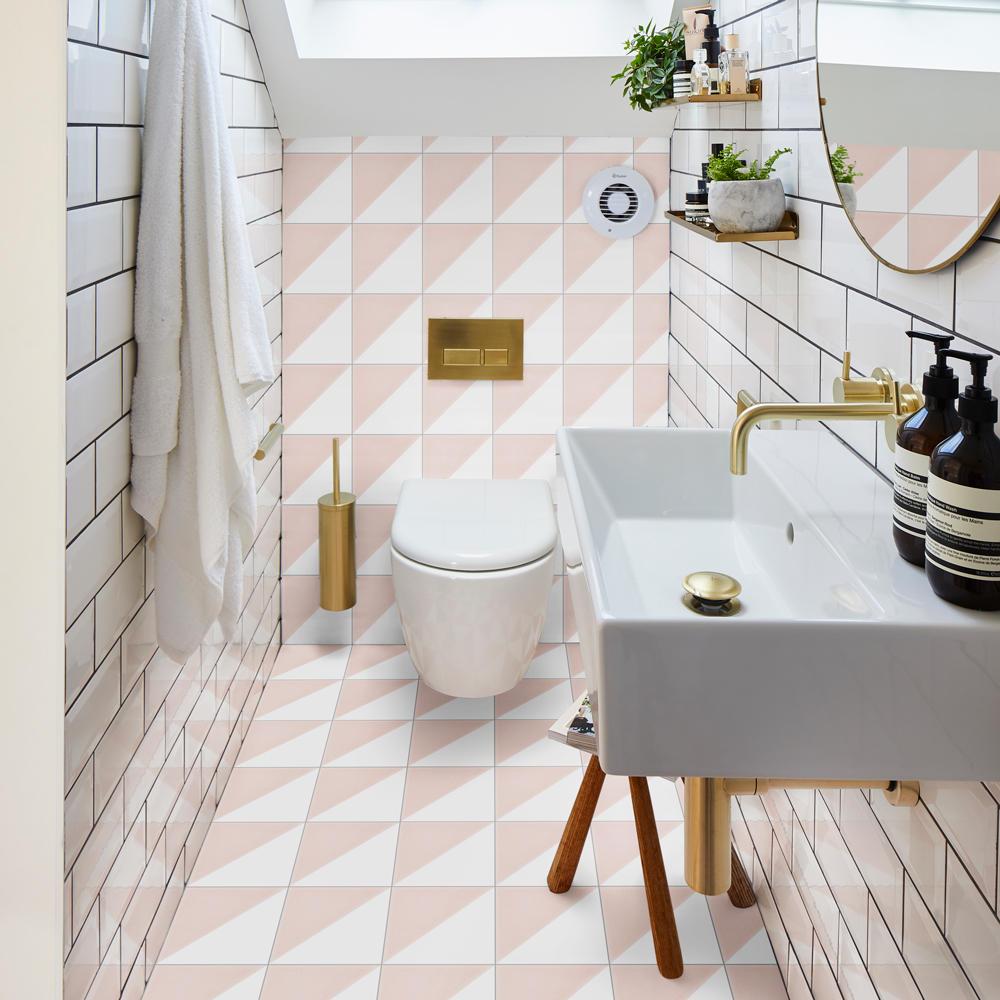
10 common tiling mistakes that can be costly – and how to avoid them

6 expert tips for buying tiles online - designers on how to avoid expensive mistakes

7 Easy Ways to Update Old Tile Floors Without Breaking Your Budget

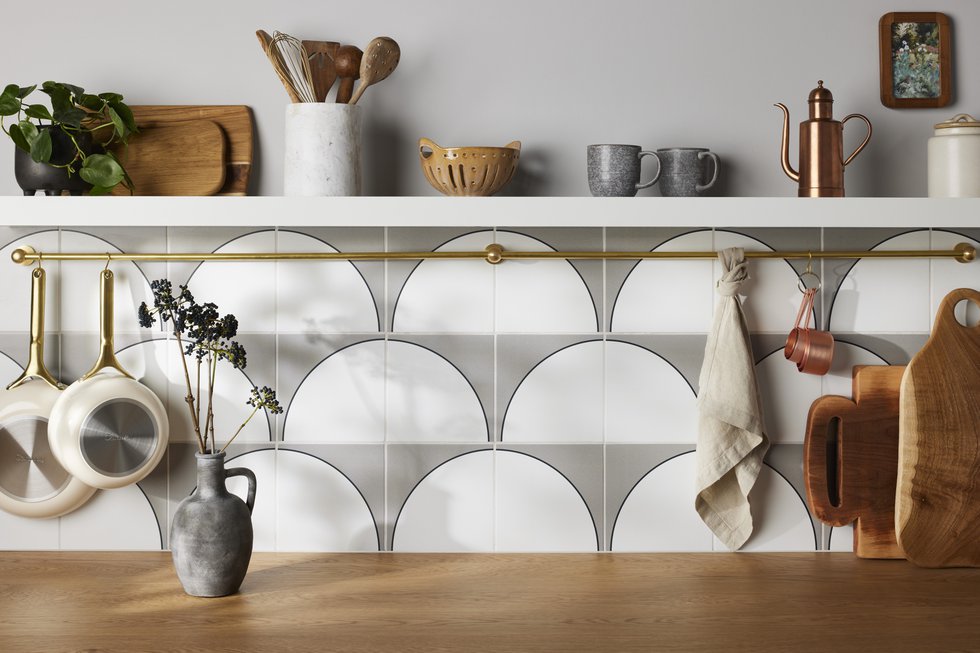
Tile Style: Four Ways to Dress Up Your Home

Tiles Gone Wild: Fresh Looks for an Ancient Material

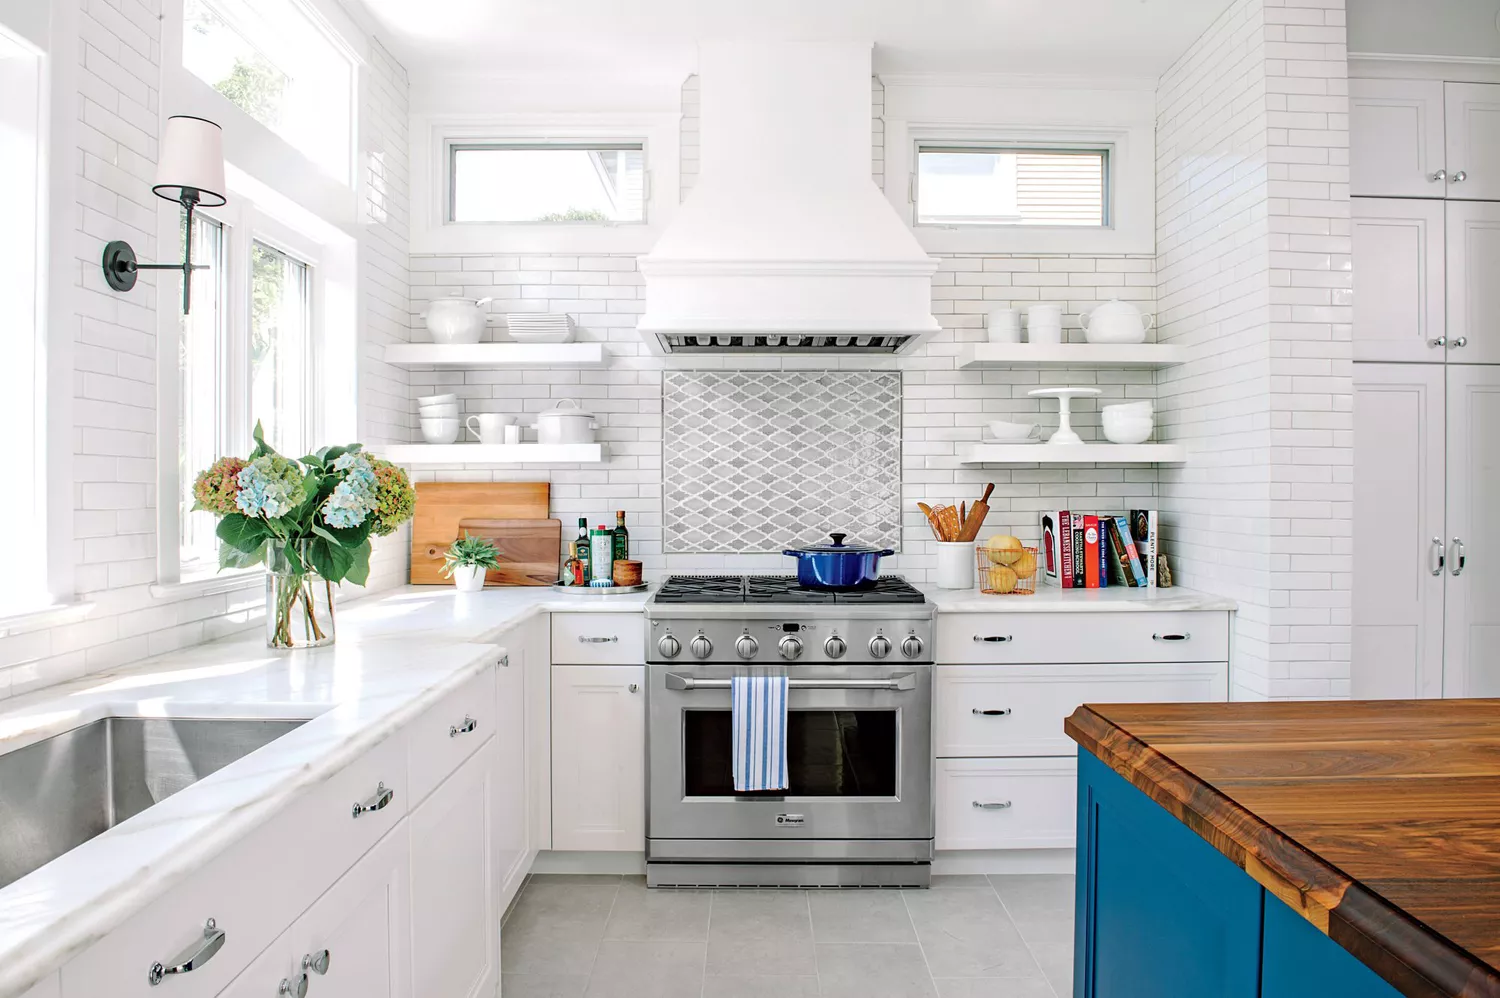
14 Timeless Tile Layout Patterns To Consider For Your Next Renovation

The Melange Tile Collection Showcases Artistic Ombré Effects

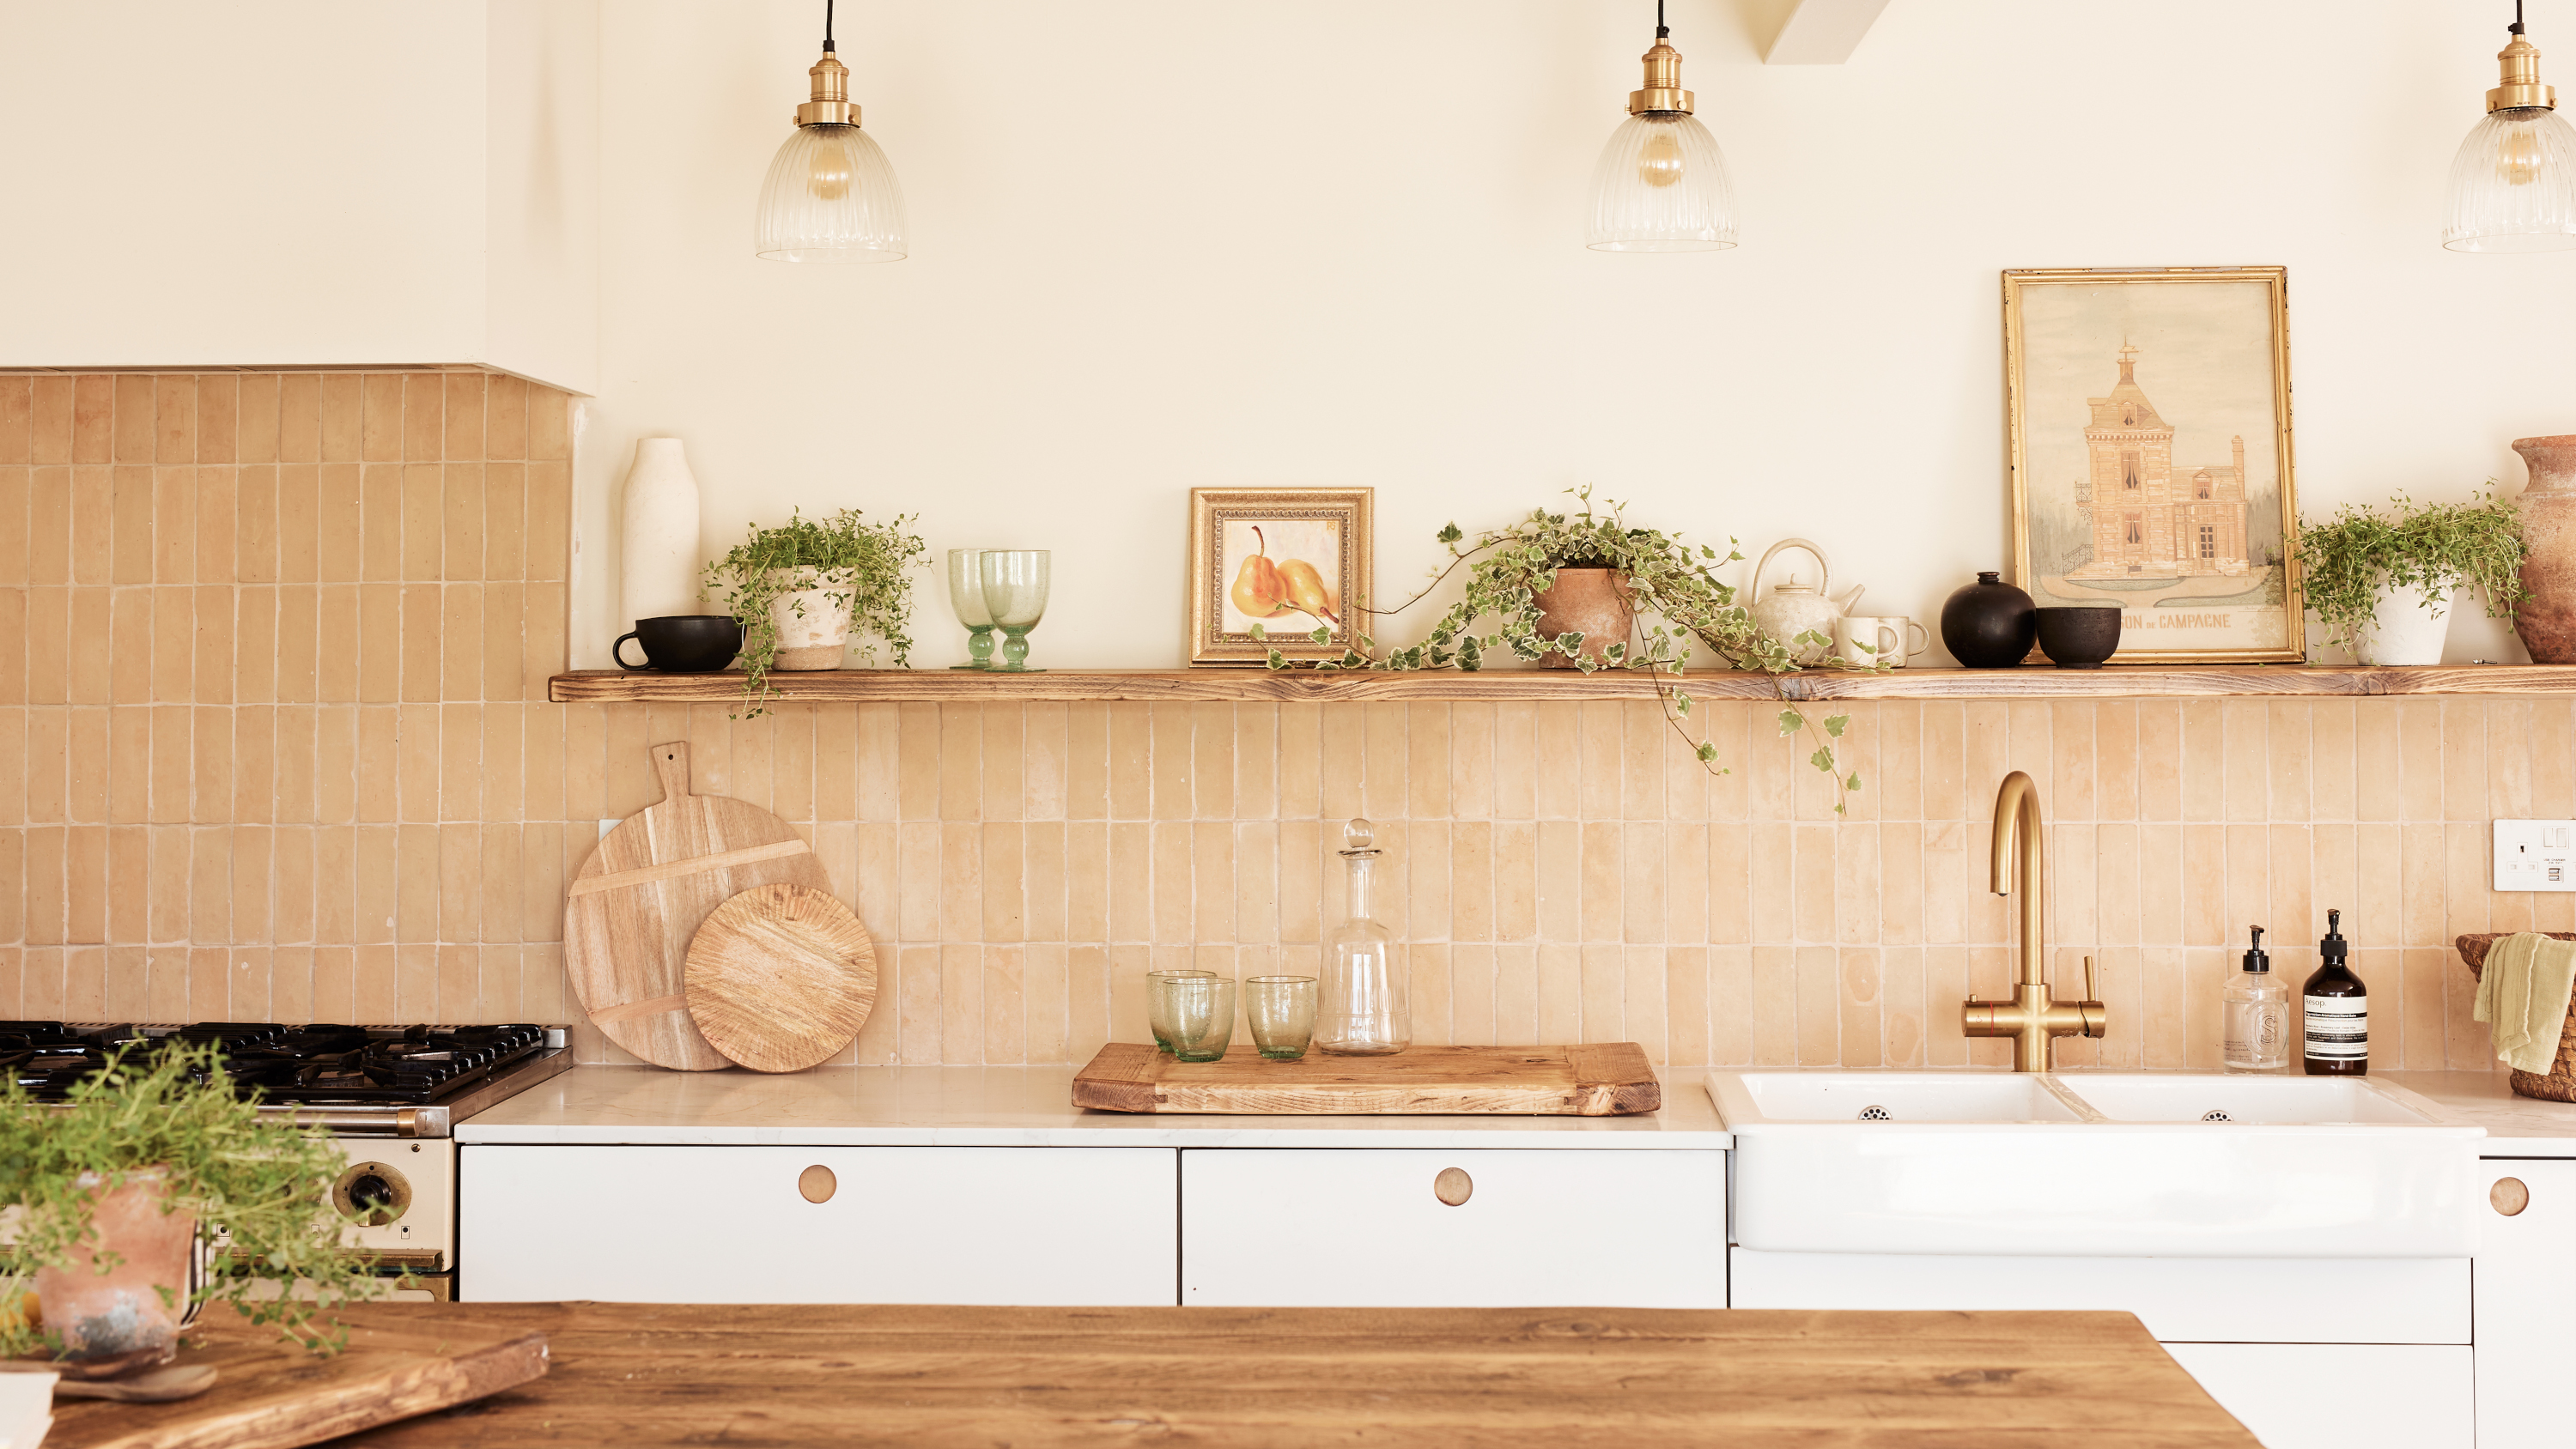
6 Outdated Tile Choices That Interior Designers Aren't Using Anymore — And What They Say to Try Instead
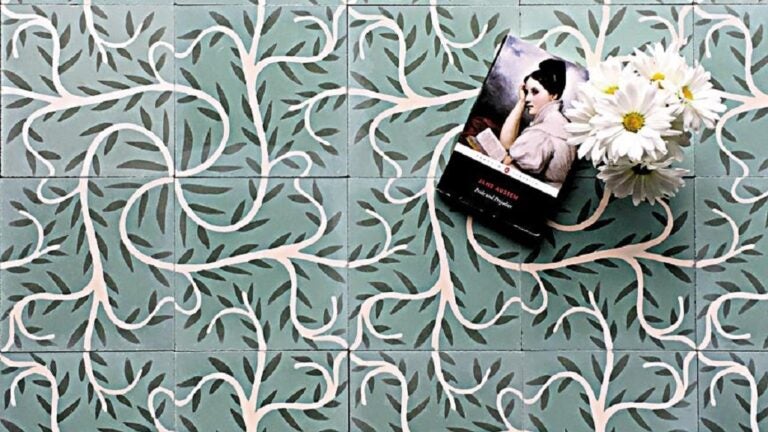
Designers flip over tile, go for the bold

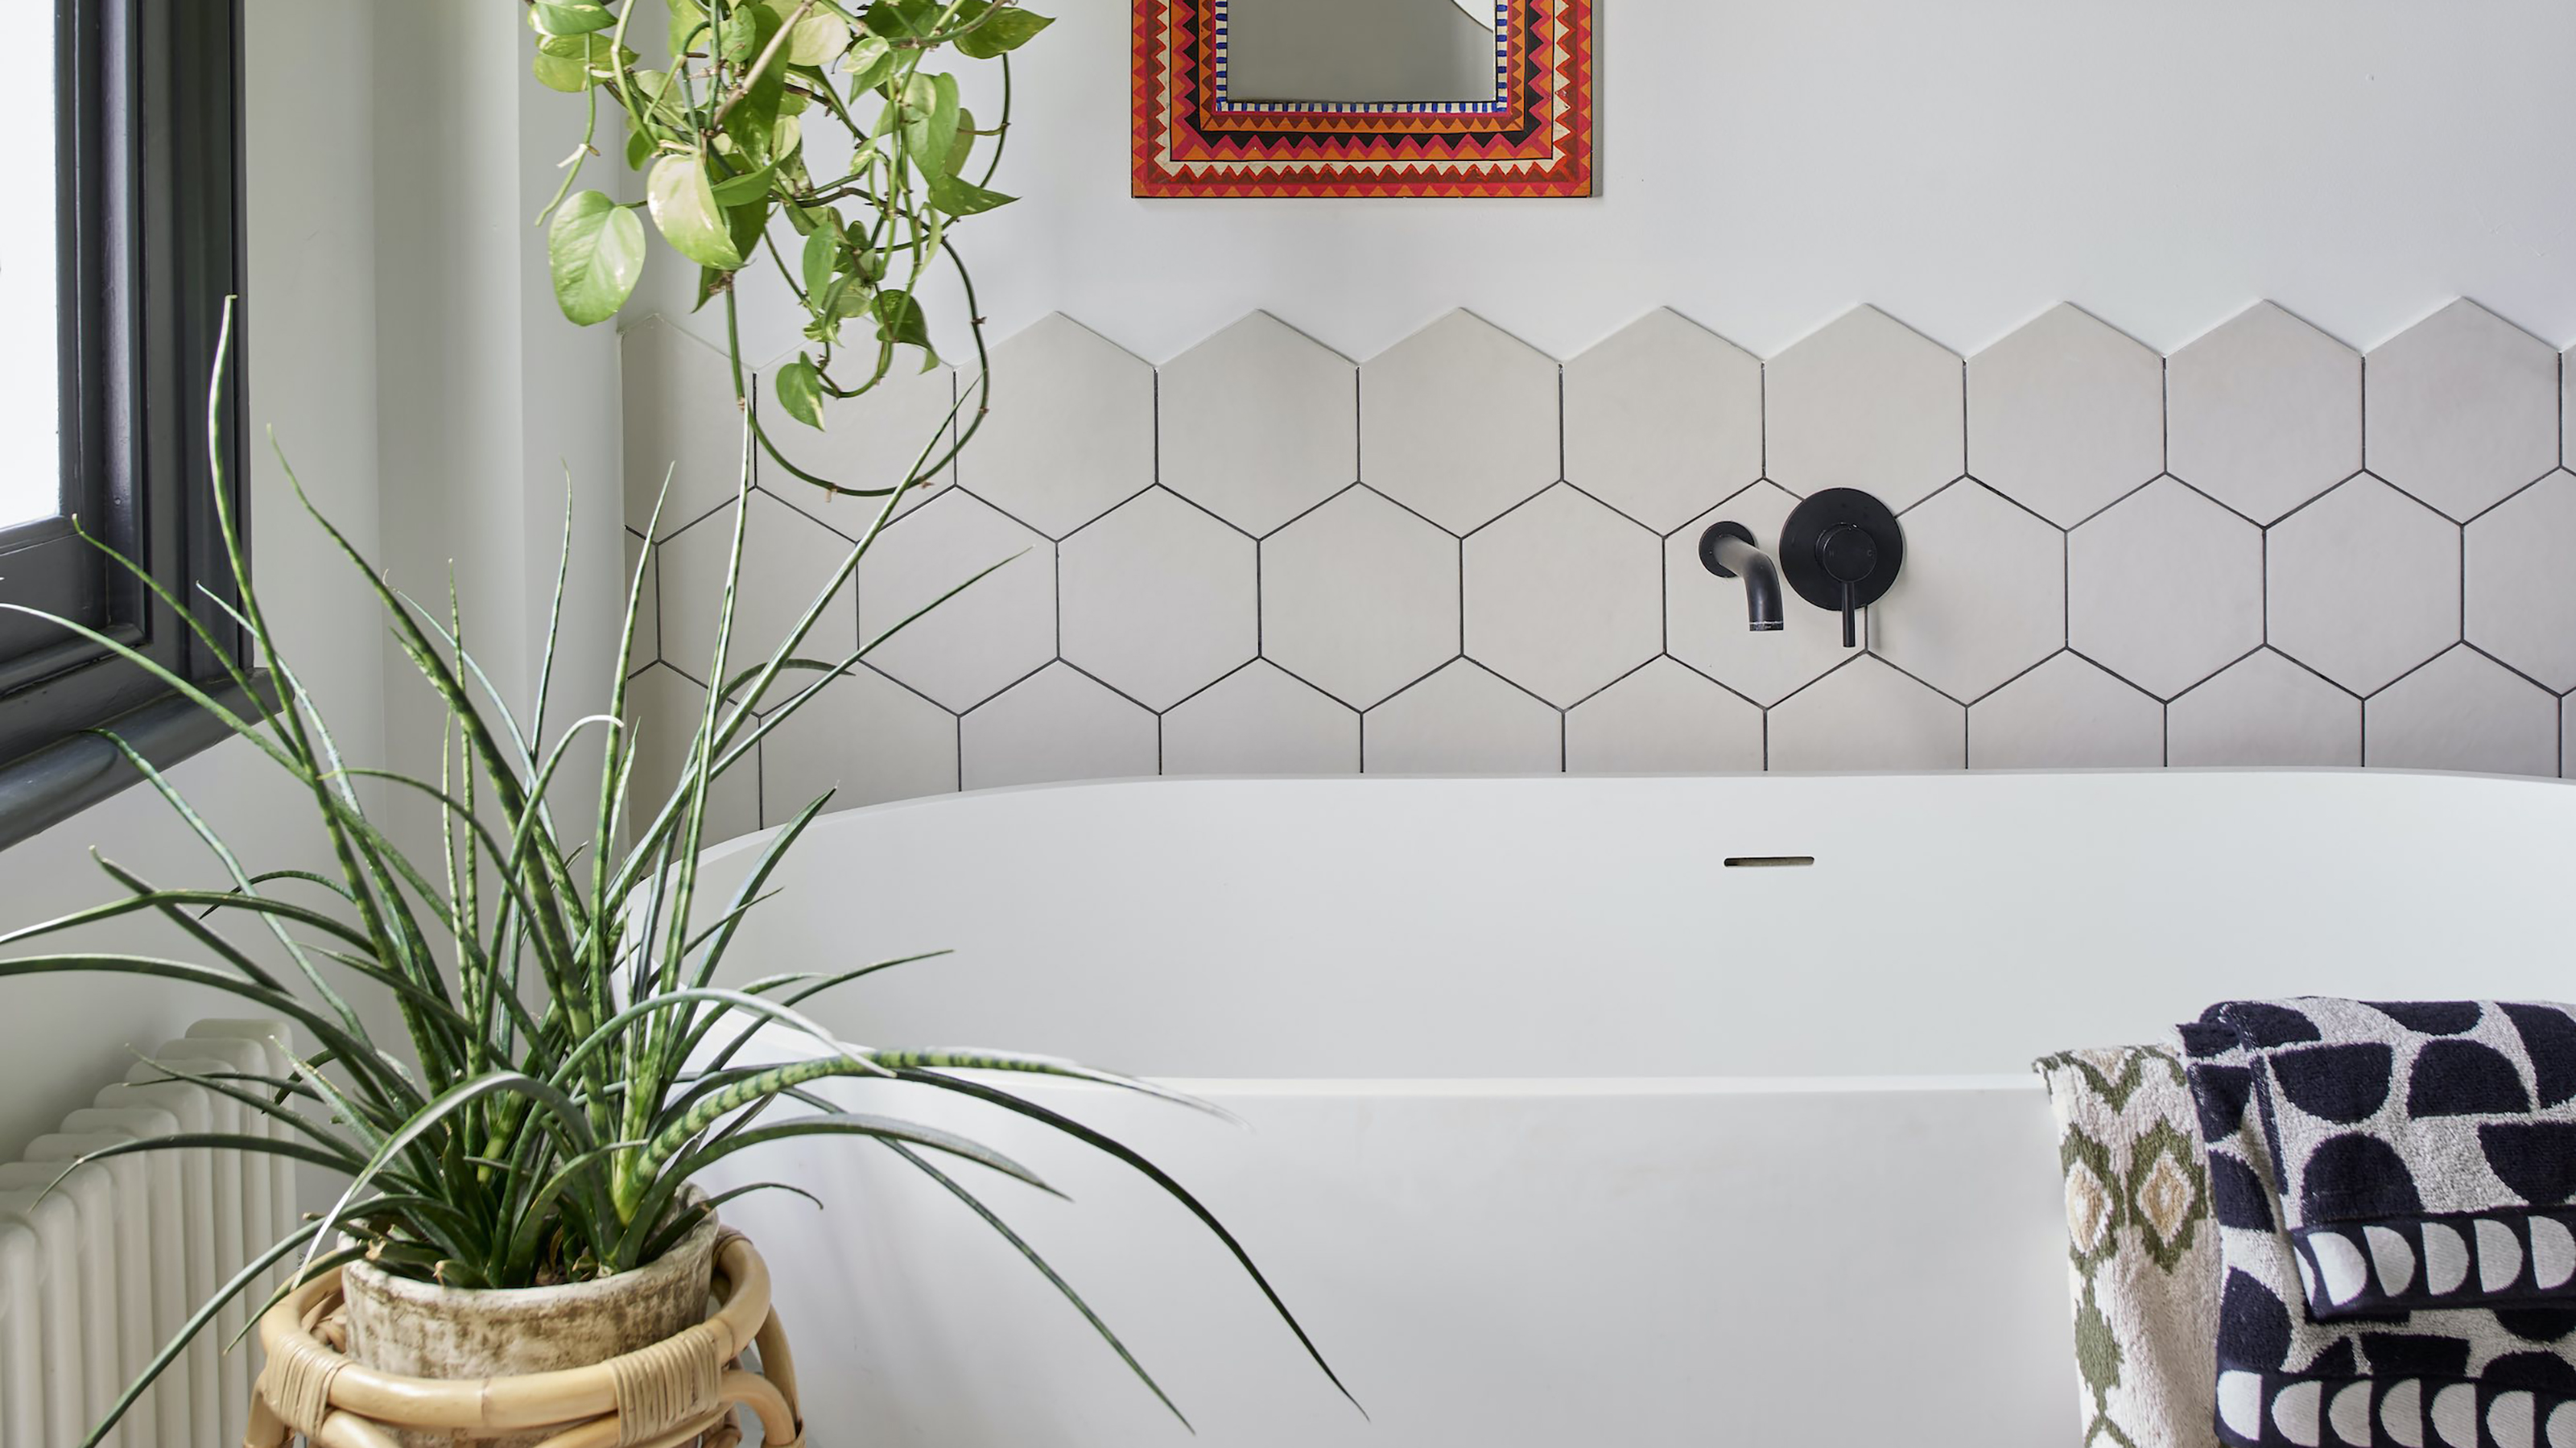
6 ways to update bathroom tile ideas on a budget - trend-led ways to revamp a look for less

Homestyle: Terrific tiles

Moooi Carpets Tiles Bring Fresh Versatility To Flooring

Before You Splurge on Backsplash Tile, Consider This Clever Hack