1/4
The Backsplash DIY That’s the Answer to Our Rental-Kitchen Prayers
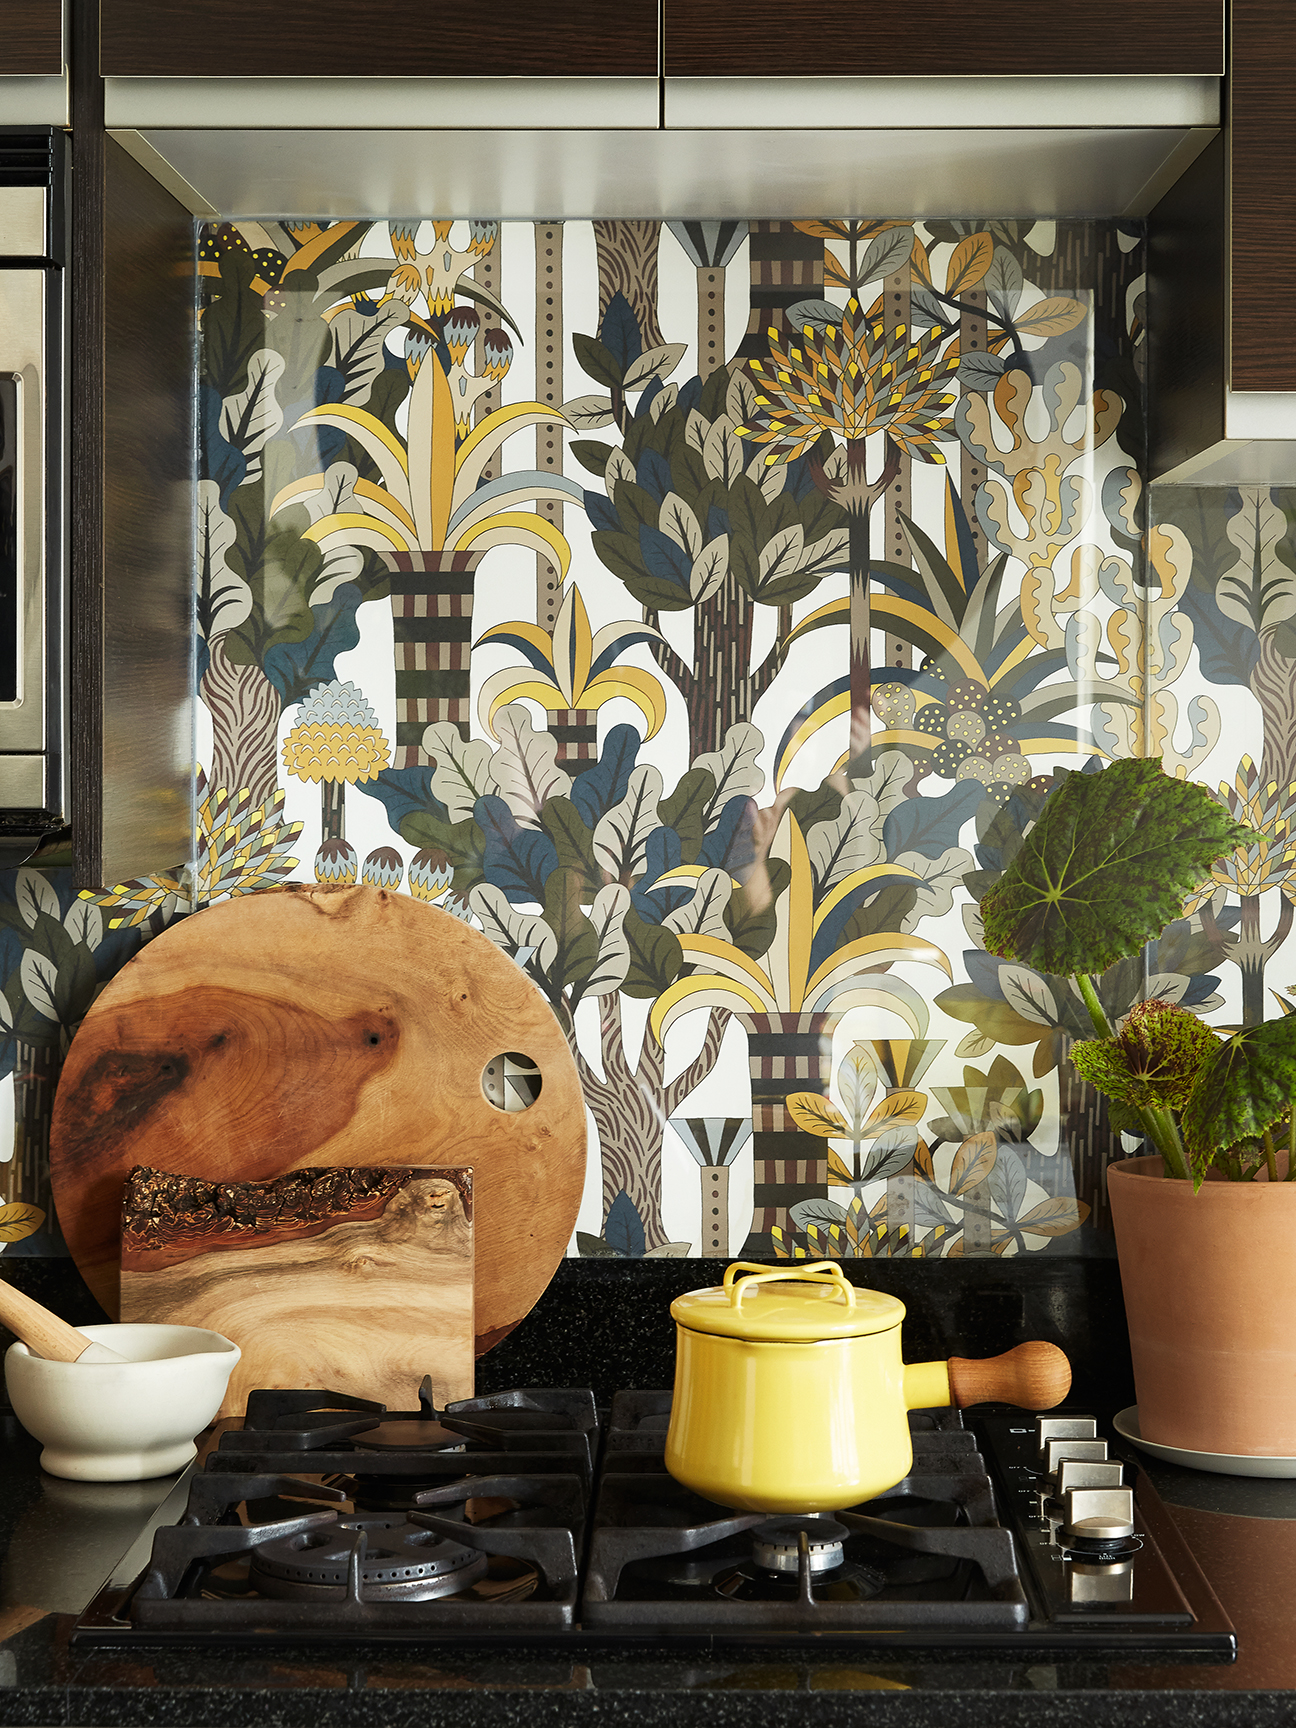
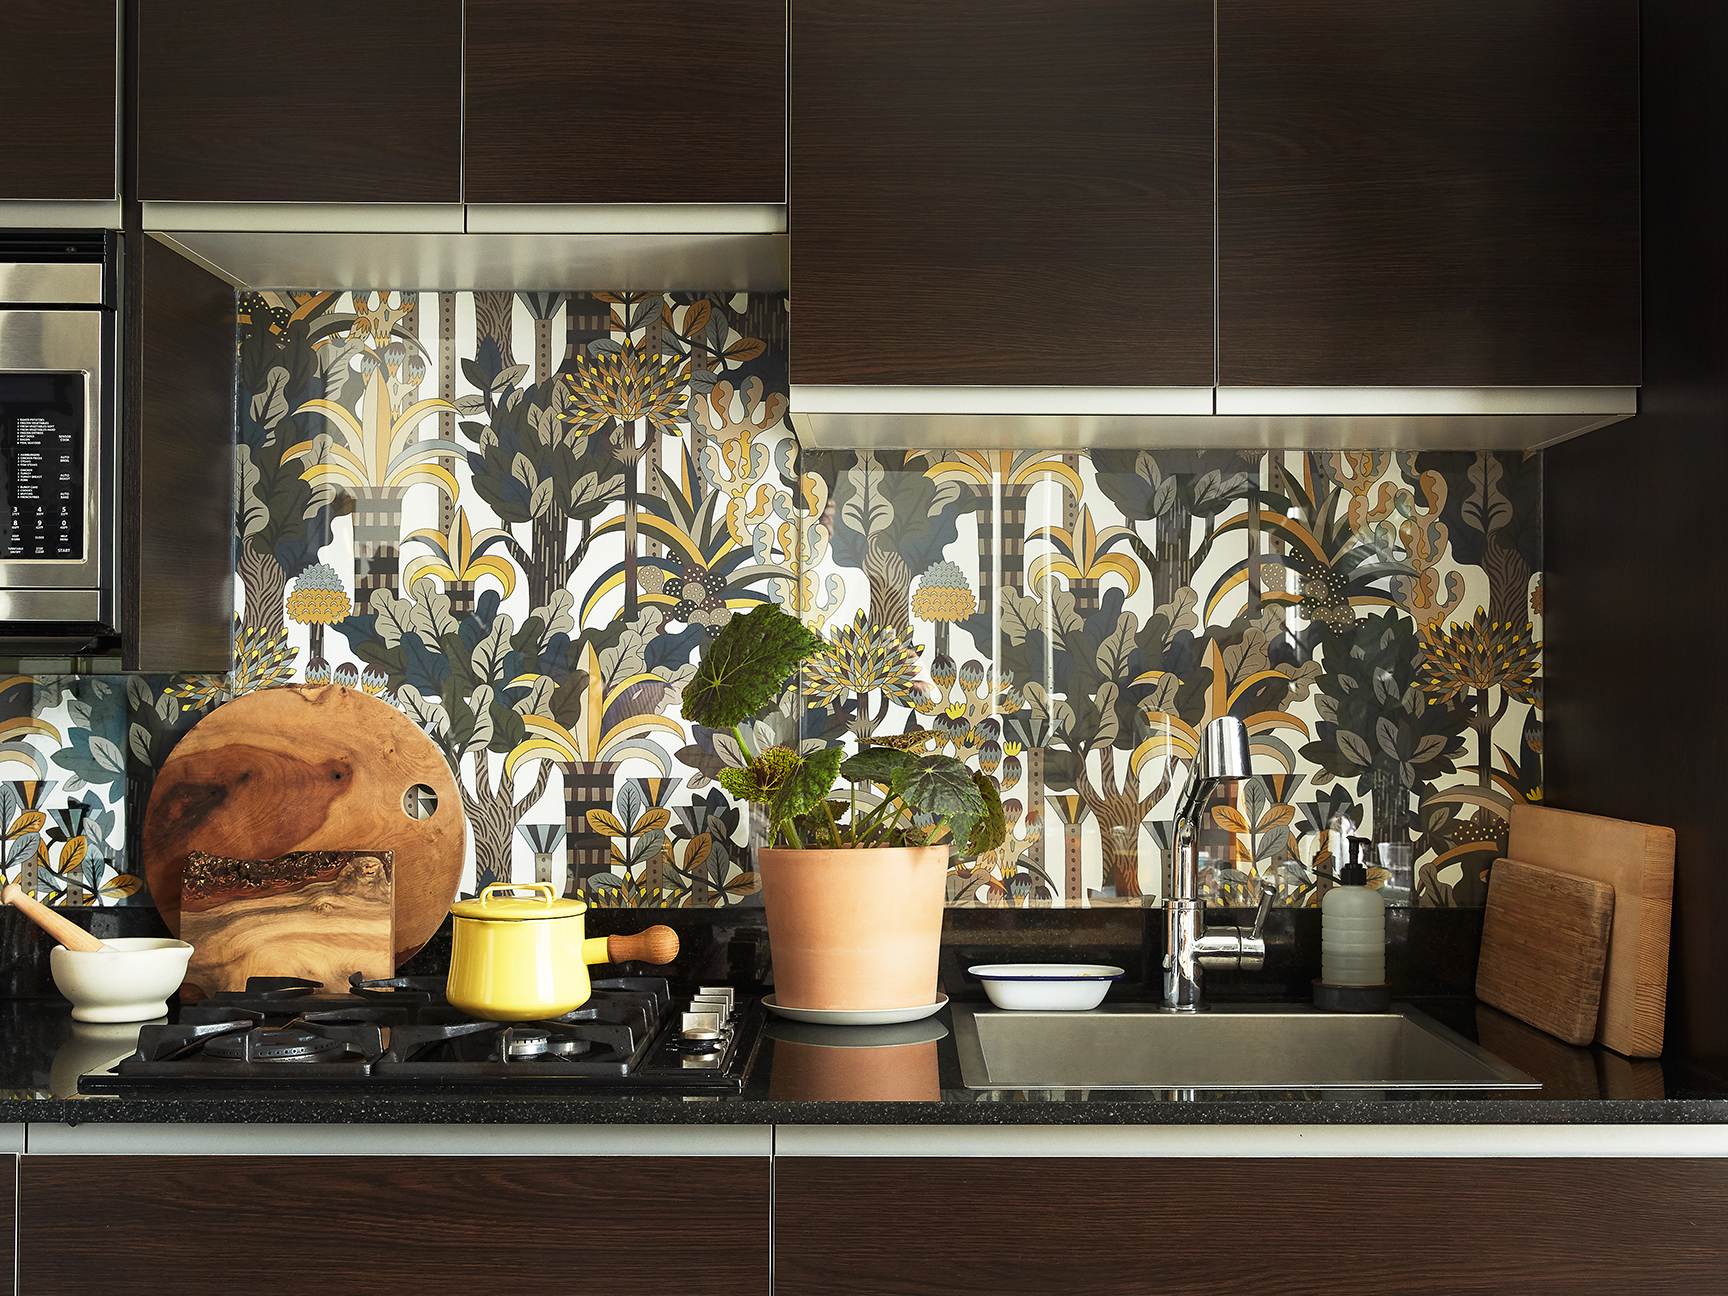
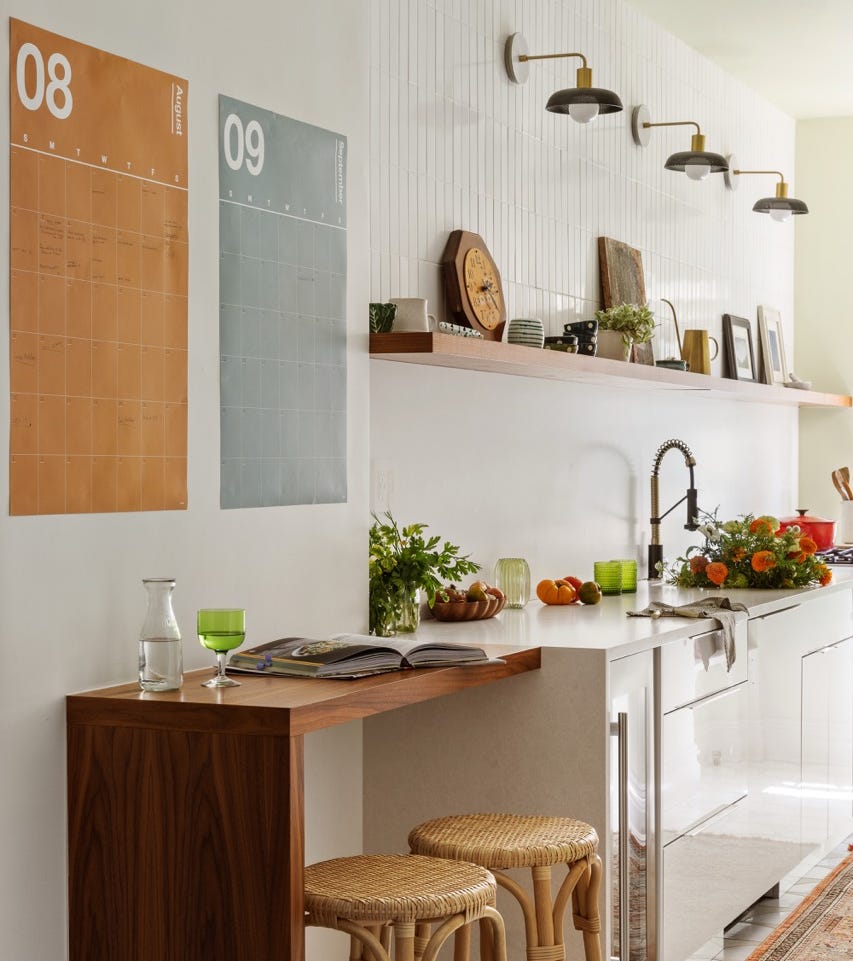
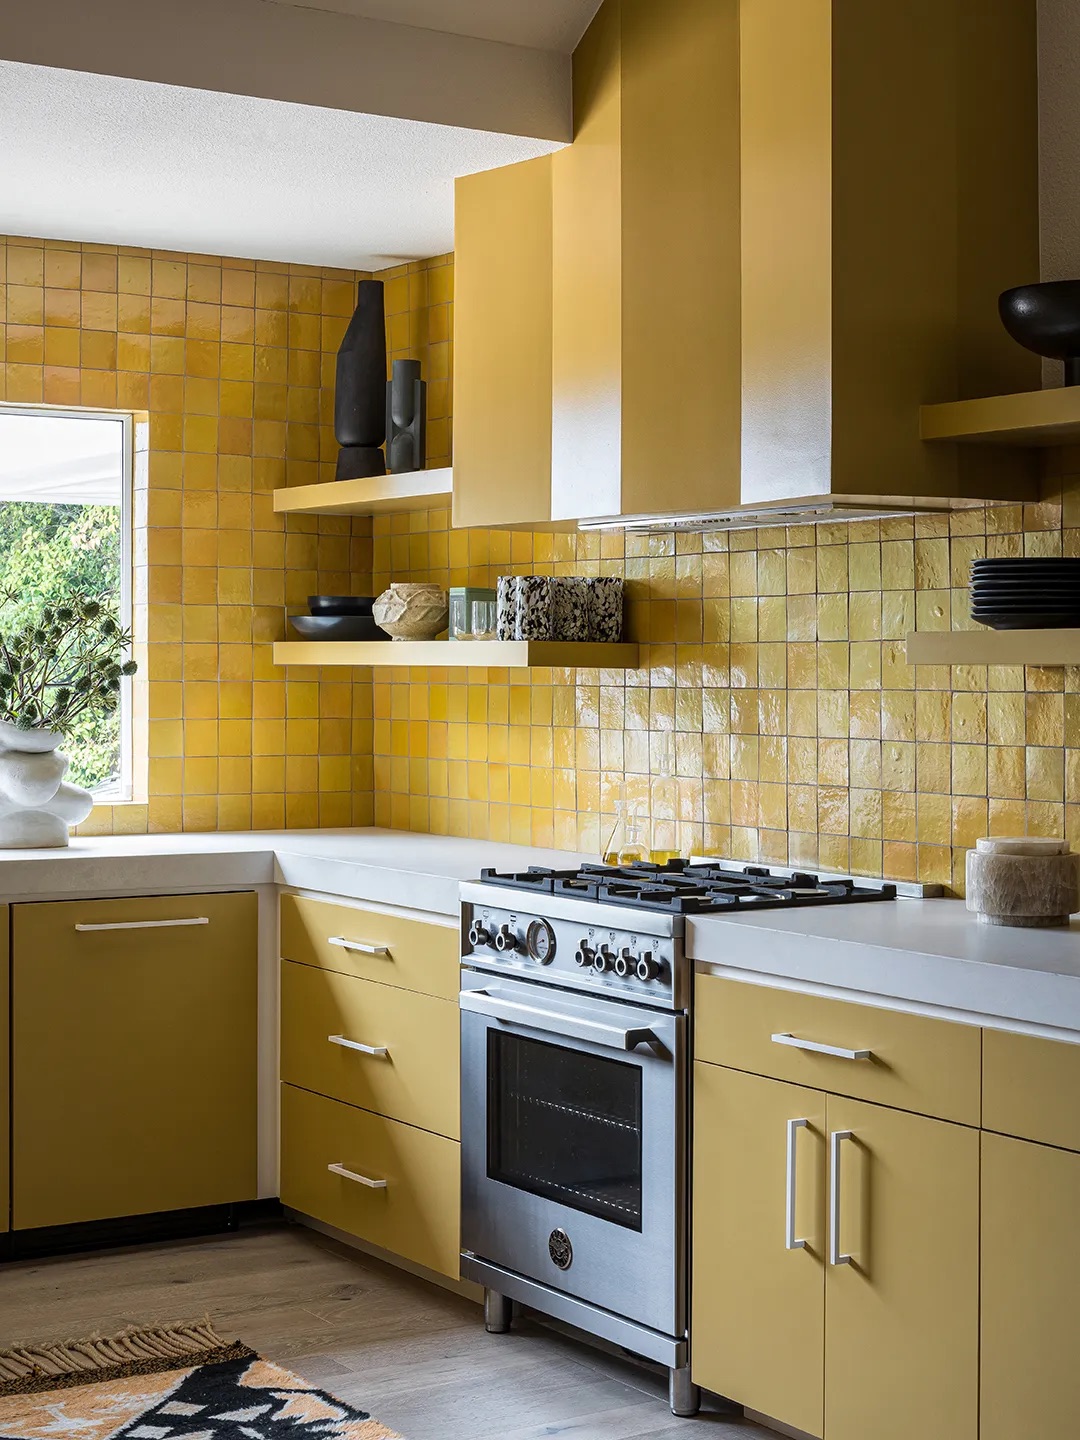
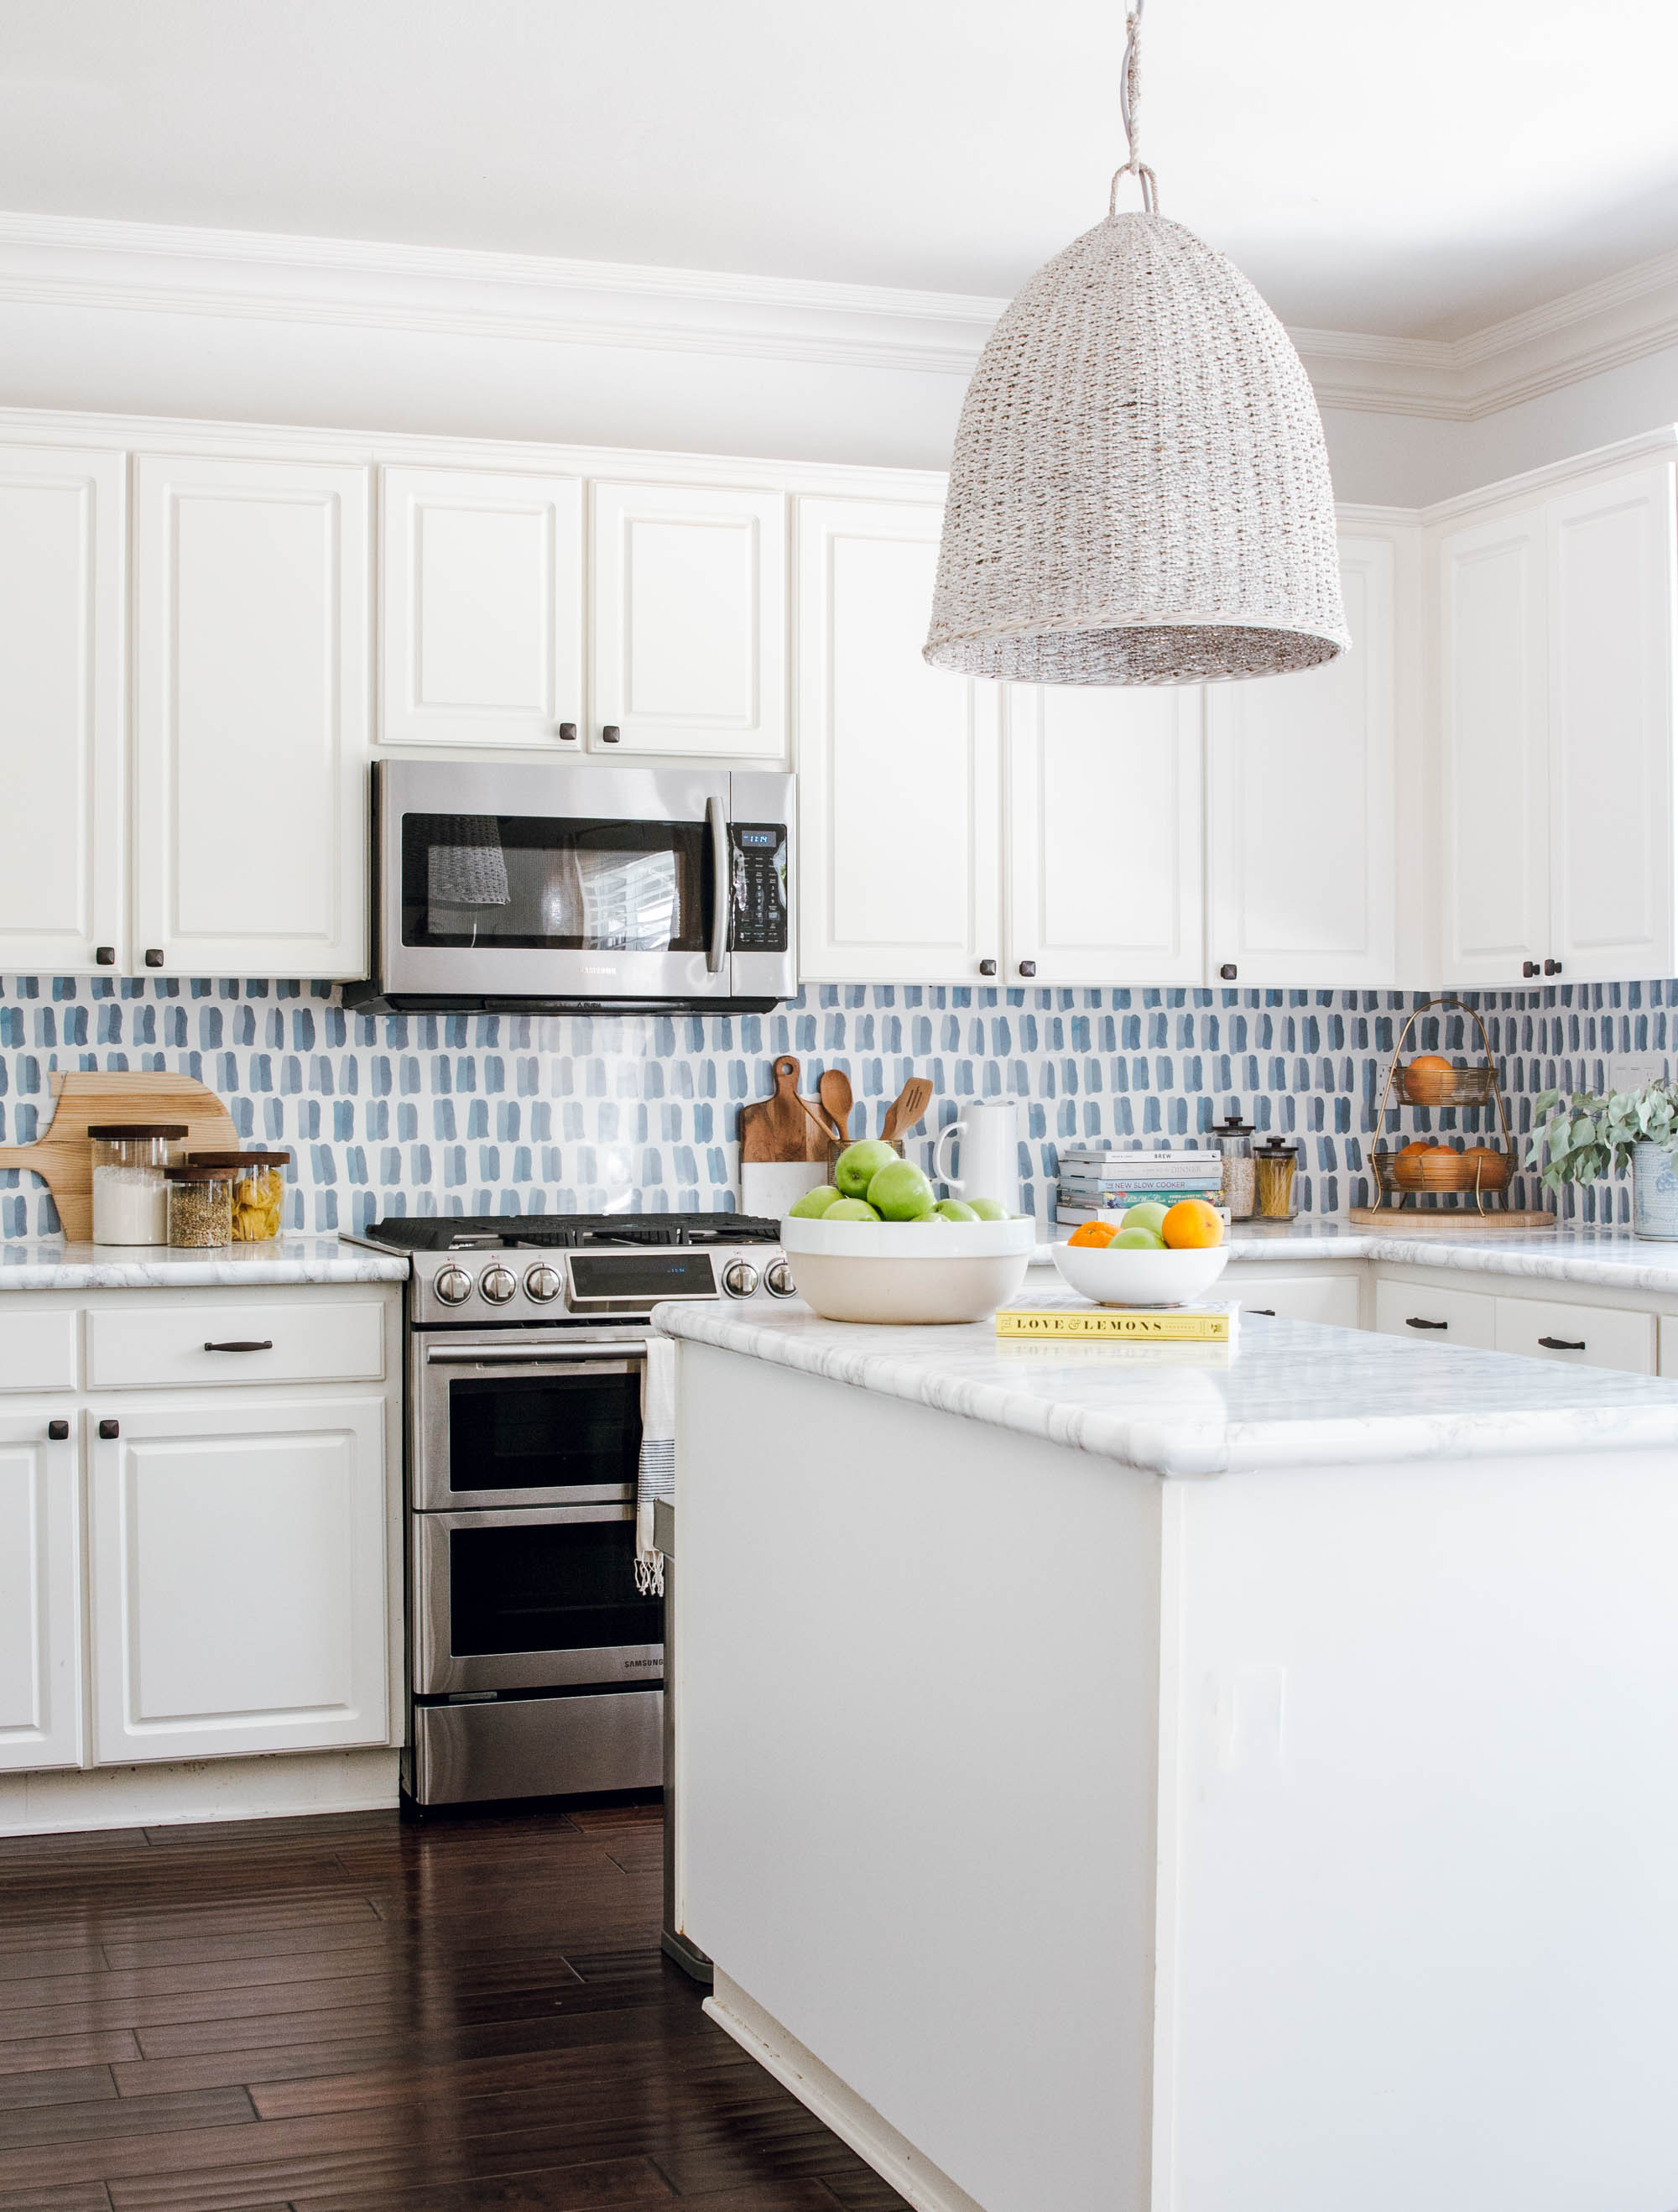
This blog post introduces an innovative DIY solution for rental kitchen backsplashes, moving beyond the typical peel-and-stick options. Interior designer and blogger Anita Yokota developed a method that utilizes wallpaper, protected by plexiglass, to create a stylish and stain-resistant backsplash suitable for temporary living situations. Yokota's motivation stemmed from a desire to transform her stark white rental kitchen walls and avoid repetitive use of peel-and-stick tiles, seeking a pattern that mimicked abstract tiling rather than florals.
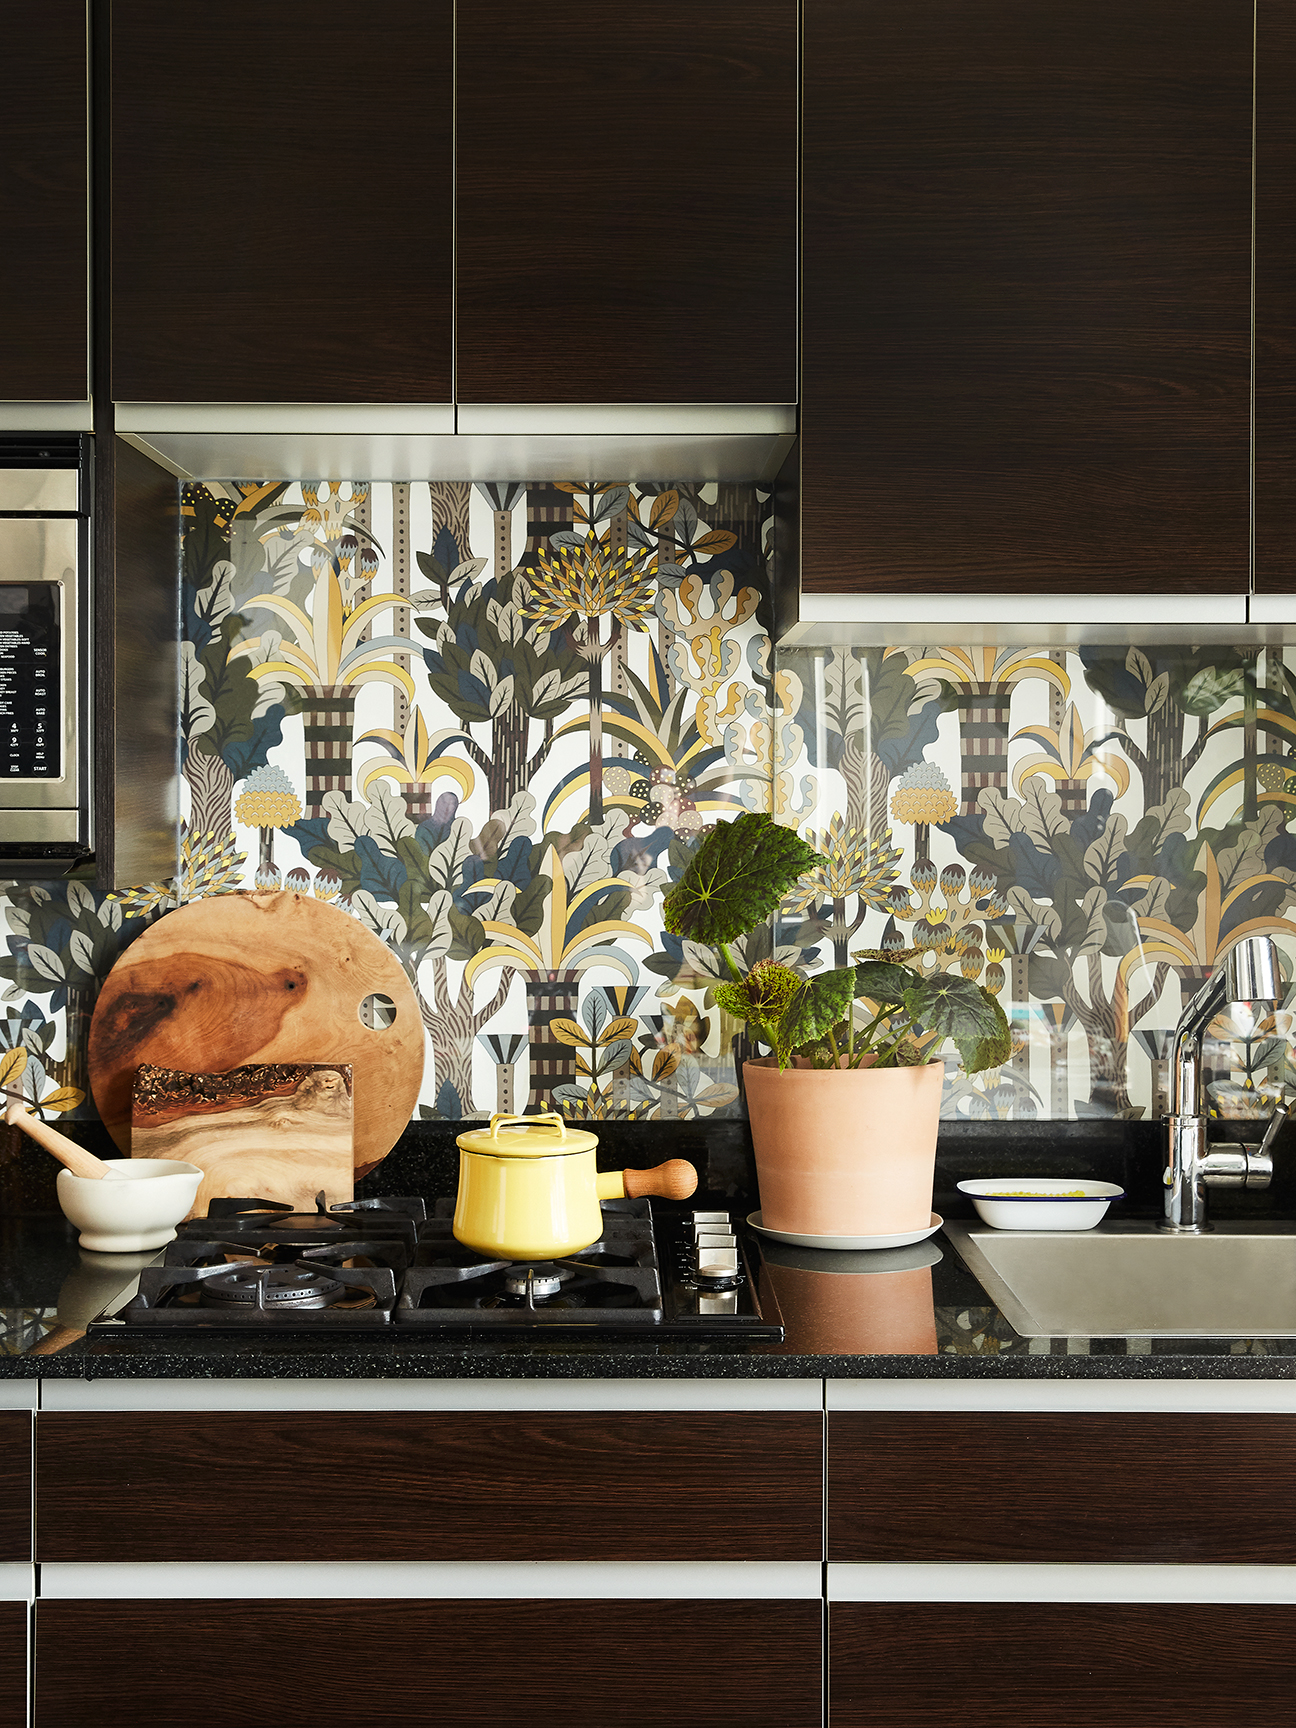
The chosen wallpaper features a watercolor-effect Rebecca Atwood print with vertical lines, creating a tile-like appearance from a distance while revealing painterly brushstrokes and an ombre two-tone up close. Recognizing that wallpaper alone would not be practical for a high-traffic kitchen area prone to spills, Yokota integrated an easy-to-install plexiglass cover. This protective layer ensures the wallpaper's longevity and makes the backsplash durable against kitchen messes, elevating it beyond standard temporary tiling solutions. While Yokota used regular wallpaper, the article suggests that renters might opt for removable wallpaper from brands like Chasing Paper or Wallshoppe to ensure their security deposit remains safe.
The installation process, while straightforward for the most part, requires patience during the wallpaper application. Yokota notes that proper alignment from the start is crucial to prevent the pattern from slanting, and this step can take a couple of hours. The good news is that the subsequent steps, including applying the plexiglass, are relatively simple and quick. The necessary materials include the chosen wallpaper (with paste if not temporary), a box cutter or blade, a large yardstick, a wallpaper smoother, adhesive glue dots, and plexiglass.
The instructions begin with preparing the wall by cleaning it, followed by measuring and precisely cutting the wallpaper to fit the backsplash area, ensuring patterns align. For temporary wallpaper, it's a matter of sticking it in place, while traditional wallpaper requires preparing the paste and 'booking' the paper. The wallpaper is then installed starting from the left corner, with slight overlaps at the top and between strips, and any overhang trimmed. A wallpaper smoother is used to eliminate bubbles. Finally, the plexiglass, cut to fit, is secured over the dried wallpaper using glue dots at the corners.
The article concludes by offering several wallpaper recommendations to inspire readers, catering to various aesthetic preferences. These include a painterly blue pattern for understated elegance, a bold graphic coral for maximalists, a sunny yellow print for small kitchens, a playful hand-illustrated pattern for those who enjoy whimsical decor, a classic blue-and-white print reminiscent of Moroccan tiles for traditionalists, a blush pink tile-inspired design for trend-followers, and a richly colored, 3D-effect wallpaper for a moody, saturated look. This DIY method provides a customizable and practical way for renters to personalize their kitchen without permanent modifications.
#DIYBacksplash #RentalKitchen #WallpaperProject #HomeRenovation #InteriorDesign #KitchenDecor #TemporaryDecor #PlexiglassCover #AnitaYokota #DIYBacksplash #RentalKitchen #WallpaperProject #HomeRenovation #InteriorDesign #KitchenDecor #TemporaryDecor #PlexiglassCover #AnitaYokota
0 comment in total
 No comments yet
You may also like
Your Backsplash Is Cheapening Your Kitchen—Here's How to Fix It, According to Designers

Why Half Backsplashes Are Taking Over Kitchen Design, According to Experts
Kitchens Without Backsplashes — 15 Attractive Alternatives That Throw Out the Rule Book

Backsplash gives your kitchen a smooth finish
Transform the look of your kitchen with a new backsplash | Produced by Seattle Times Marketing

67% of Renovators Are Abandoning Standard Backsplashes for This Maximalist Look

This “Controversial” Renter-Friendly Kitchen Hack Has the Internet Completely Split

8 Backsplashes to Avoid, According to Interior Designers

Domino Executive Creative Director Kate Berry’s DIY Backsplash Is Totally Rental-Friendly
Backsplash tips for Arizona homeowners going into 2025
How This Tile Company Founder Landed on the Perfect Backsplash for His Own Kitchen
This DIY Upgrade Transformed My Kitchen

Your Backsplash Is Cheapening Your Kitchen—Here's How to Fix It, According to Designers
The 'wallpaper' of the kitchen – why choosing the right kitchen backsplash can make or break a space

This Striking Geometric Backsplash Is Just the Thing to Upgrade Your Kitchen

This Kitchen Reno Trick Is Basically Money Back in Your Pocket
This DIY Backsplash Is Even More Renter-Friendly Than Peel-and-Stick
20 Amazing Kitchen Backsplash Ideas

Quirky Kitchen Backsplash Designs Are Making A Comeback. Here Are Our 12 Favorite Options
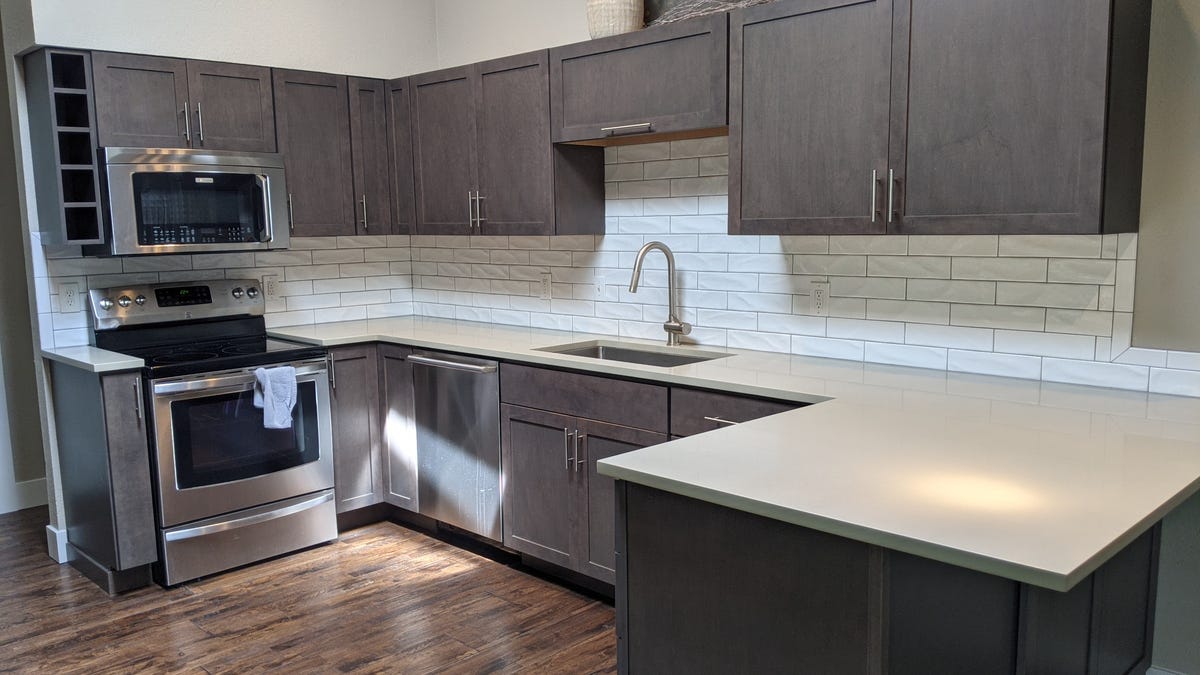
DIY backsplash makes a big impact on a tight budget