How To Clean Grout For A Fresh And Sparkling Bathroom
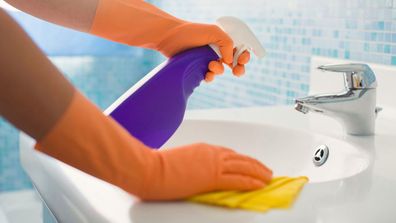
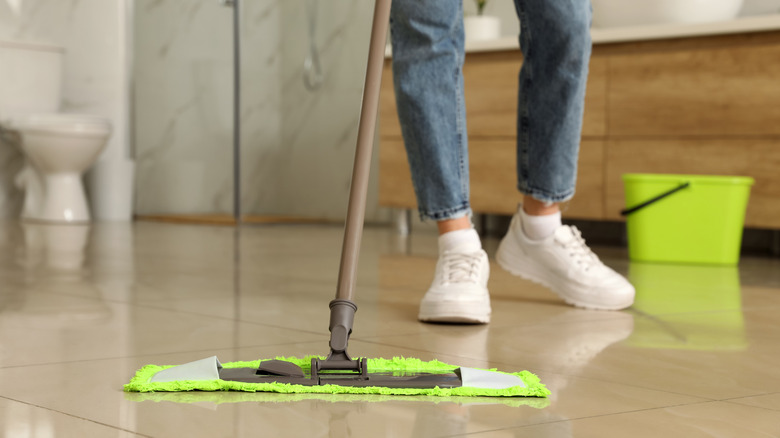
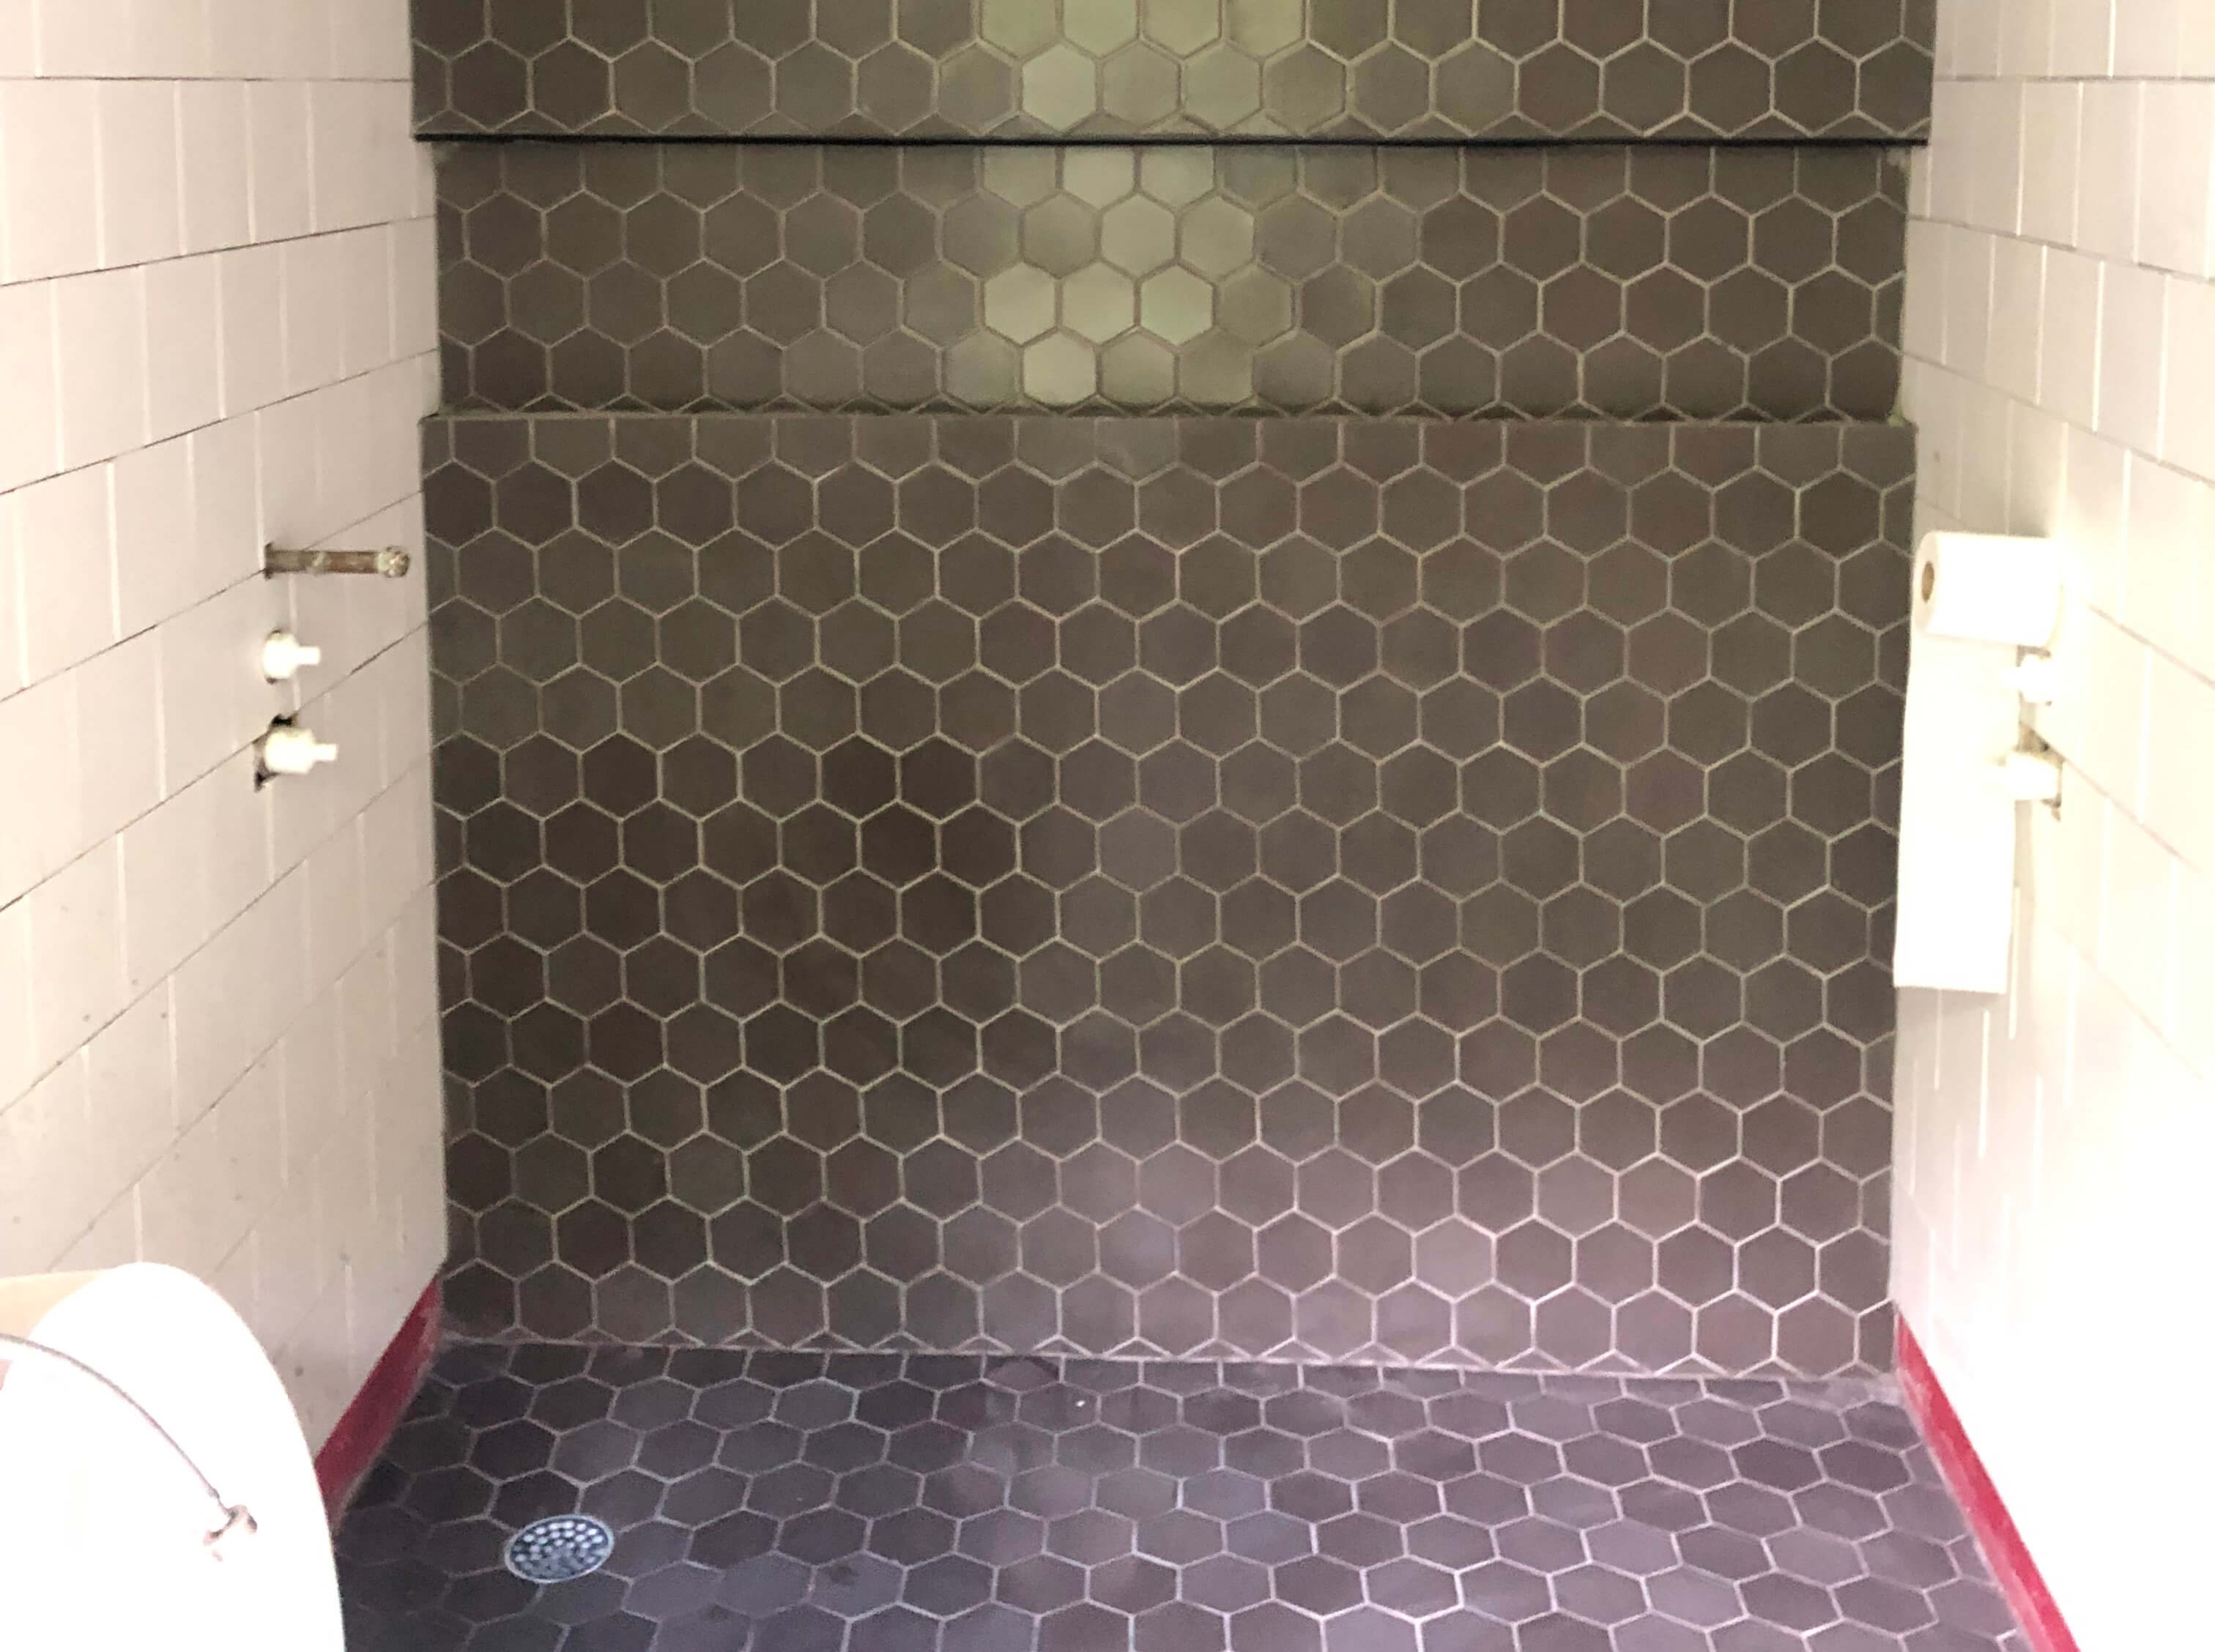
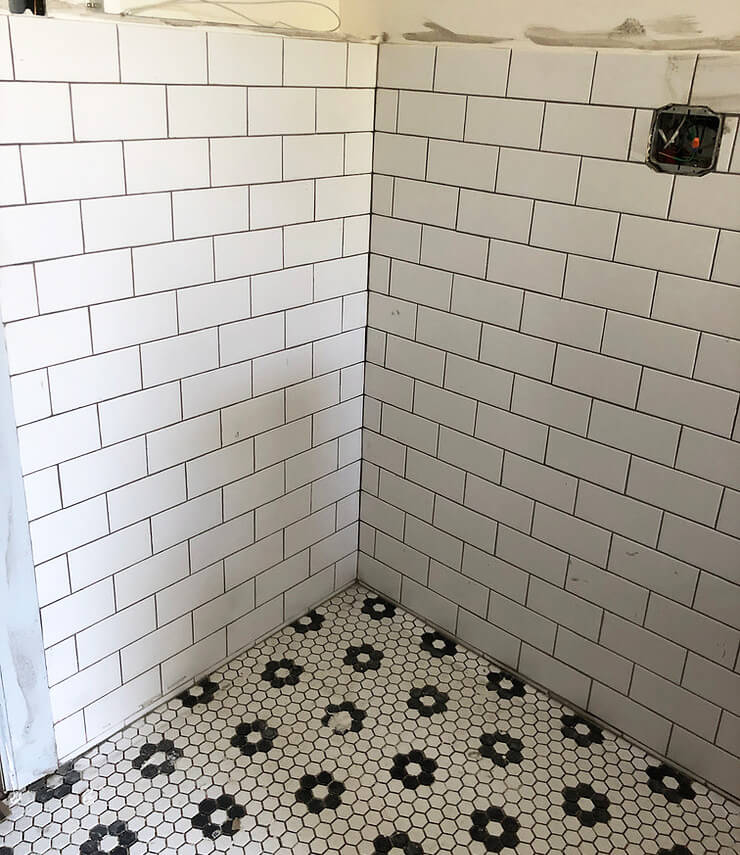
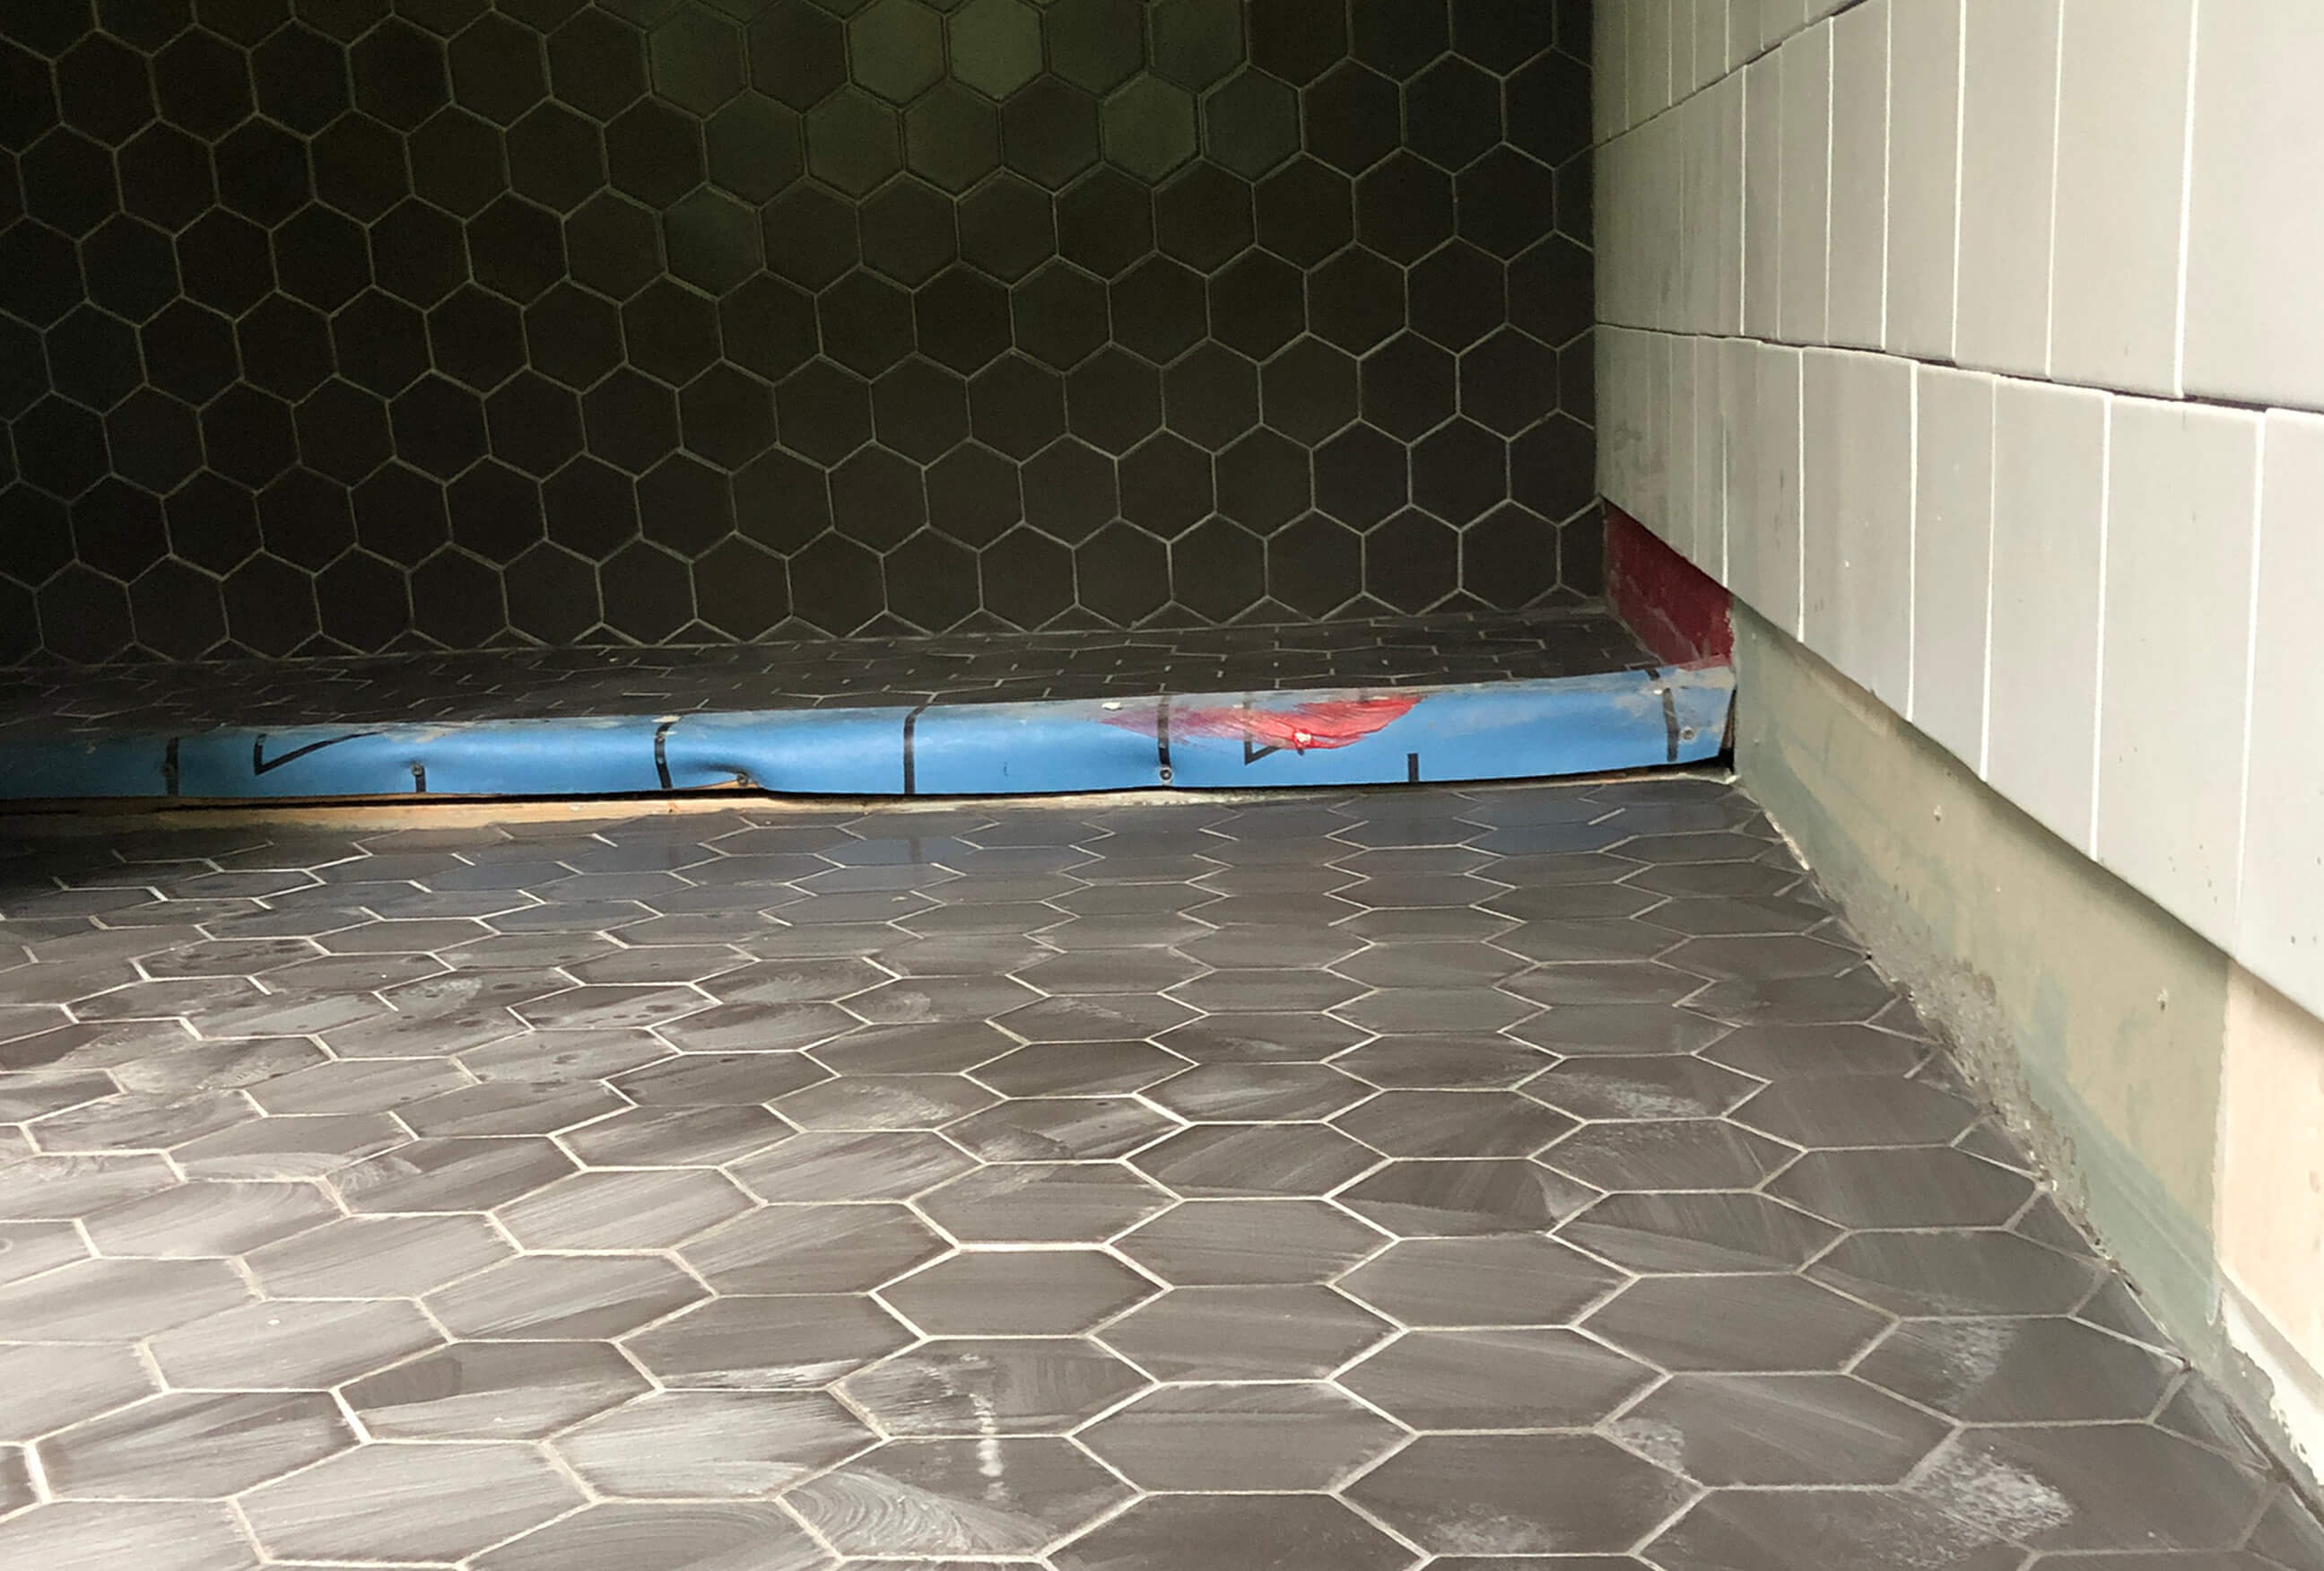
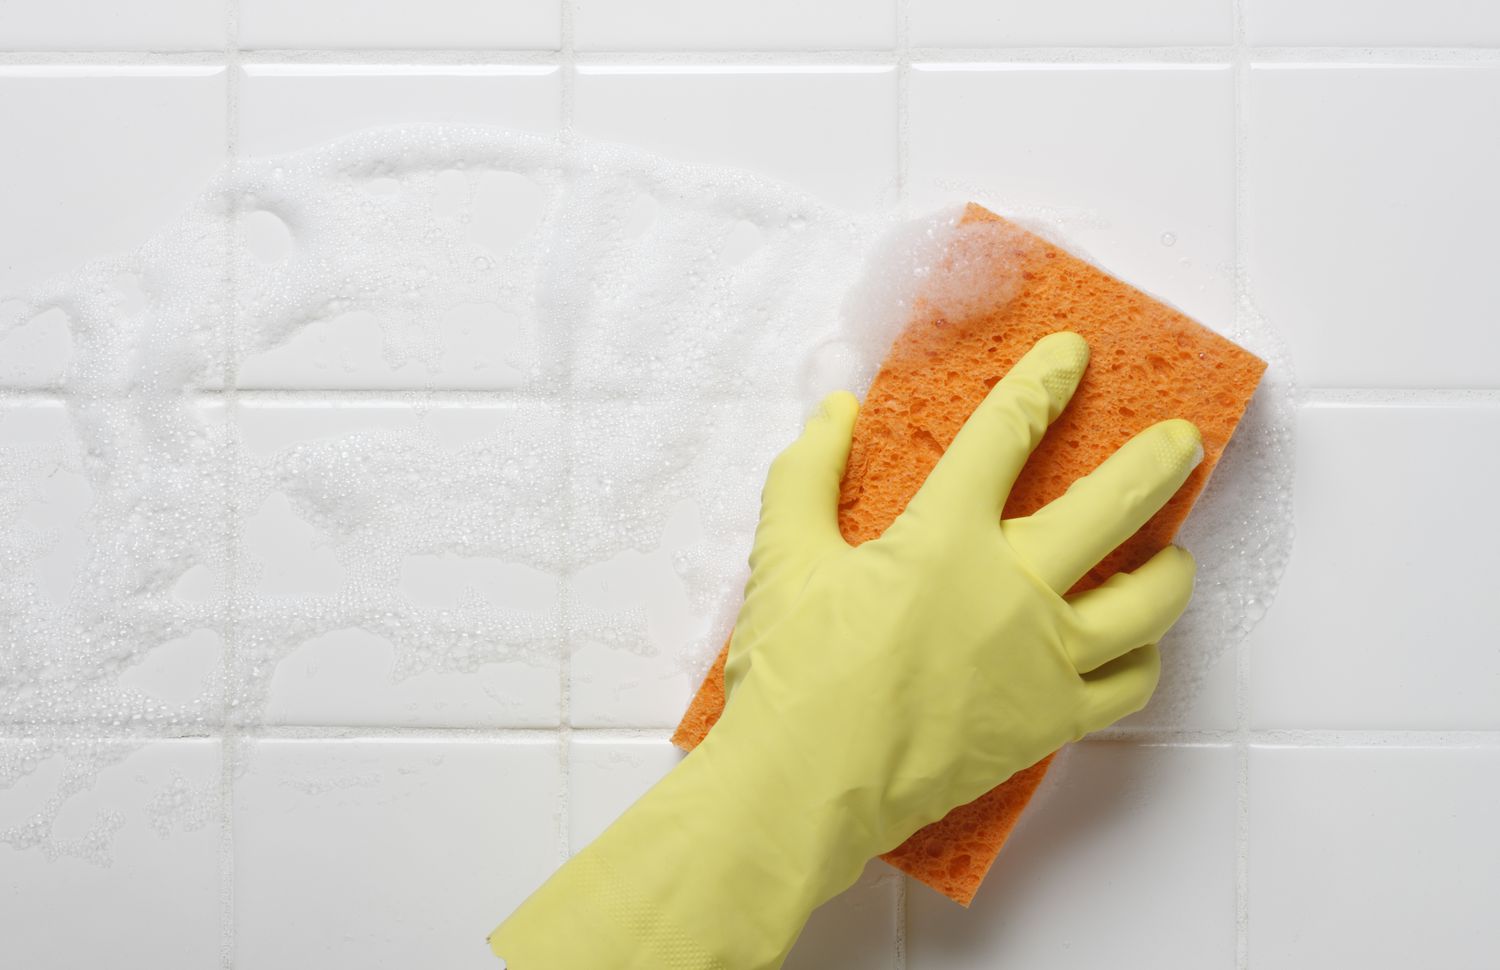
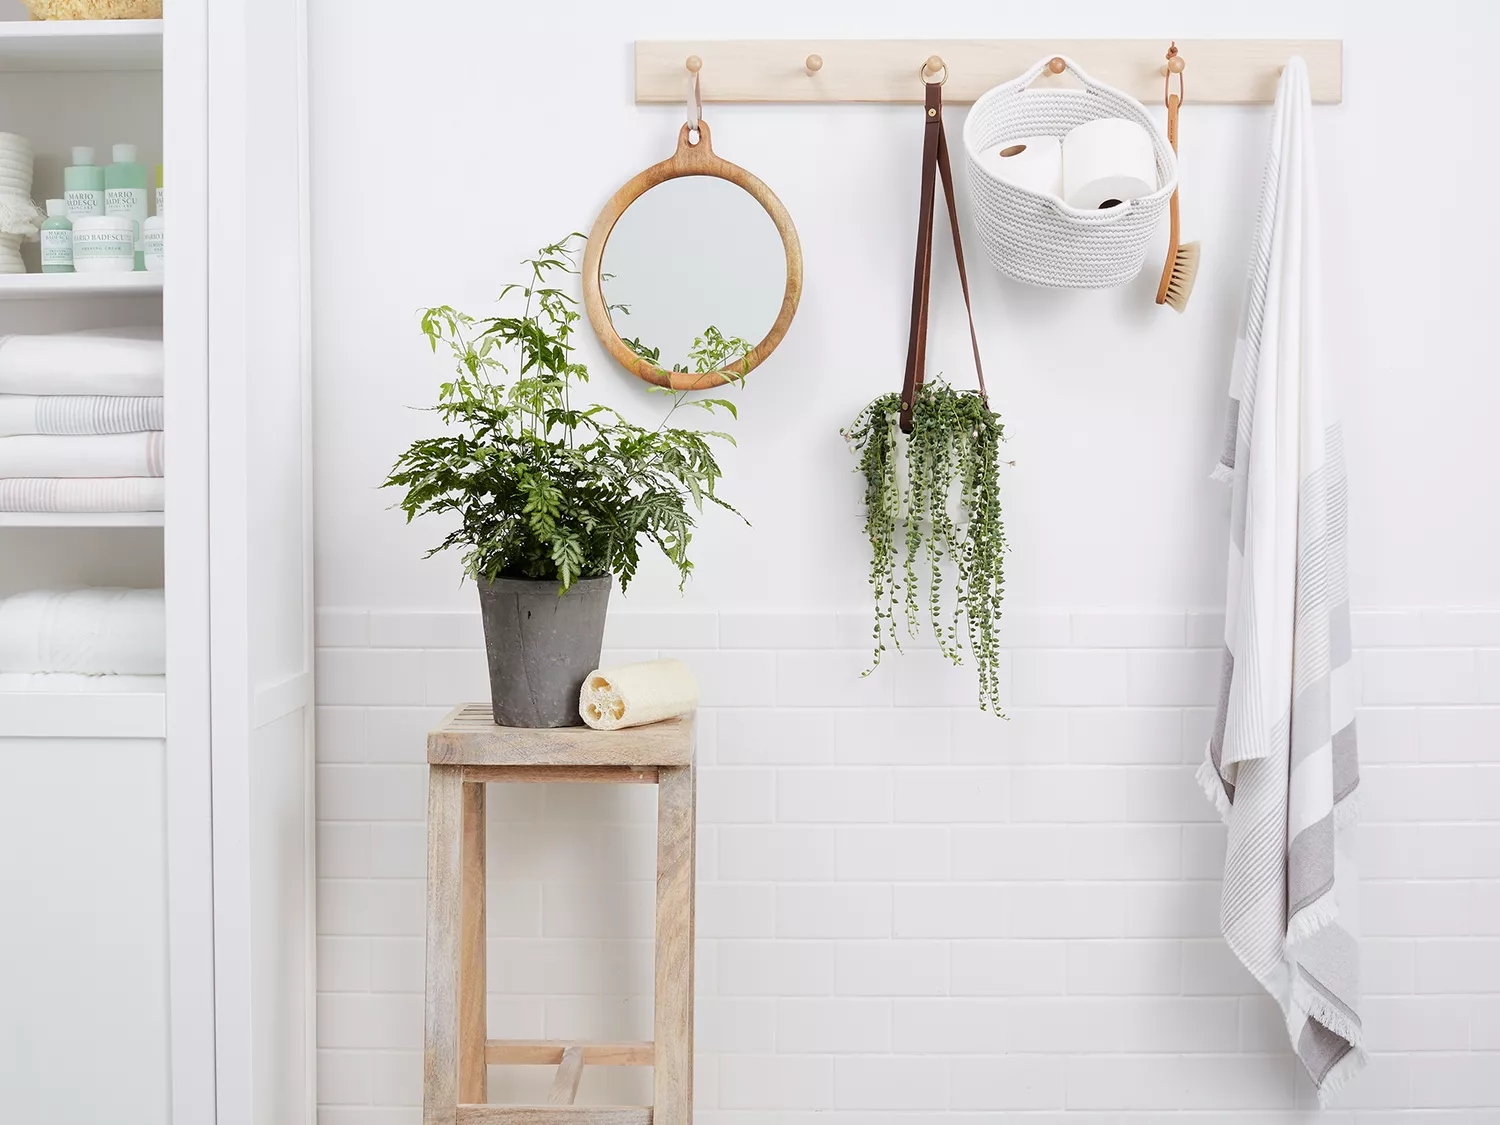
Grout, the material used to fill spaces between tiles in bathrooms, kitchens, and other areas of the house, often becomes dirty quickly. This article explains the composition and function of grout, highlighting its primary roles in preventing water seepage, dirt accumulation, and tile edge chipping. Grout is typically a mixture of cement, sand, and other ingredients, and while it serves aesthetic purposes, its main function is structural and protective. Despite preventing water seepage, grout is not entirely waterproof and requires proper sealing. Over time, these sealants can wear off, making the grout susceptible to mold, mildew, and discoloration. Regular cleaning is crucial to prevent the buildup of soap scum, mold, and mildew.
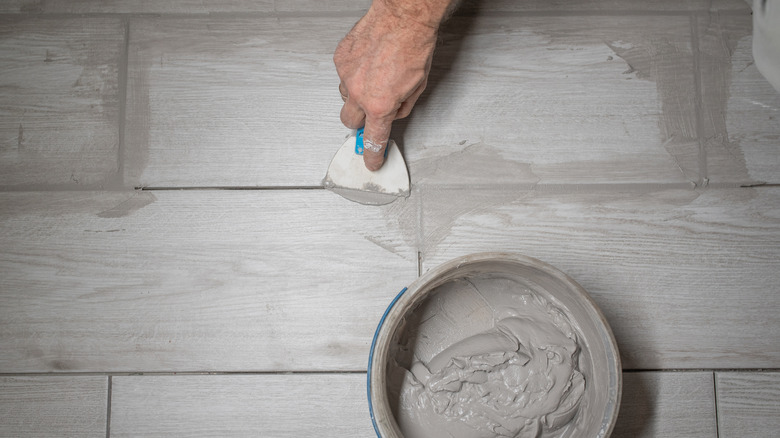
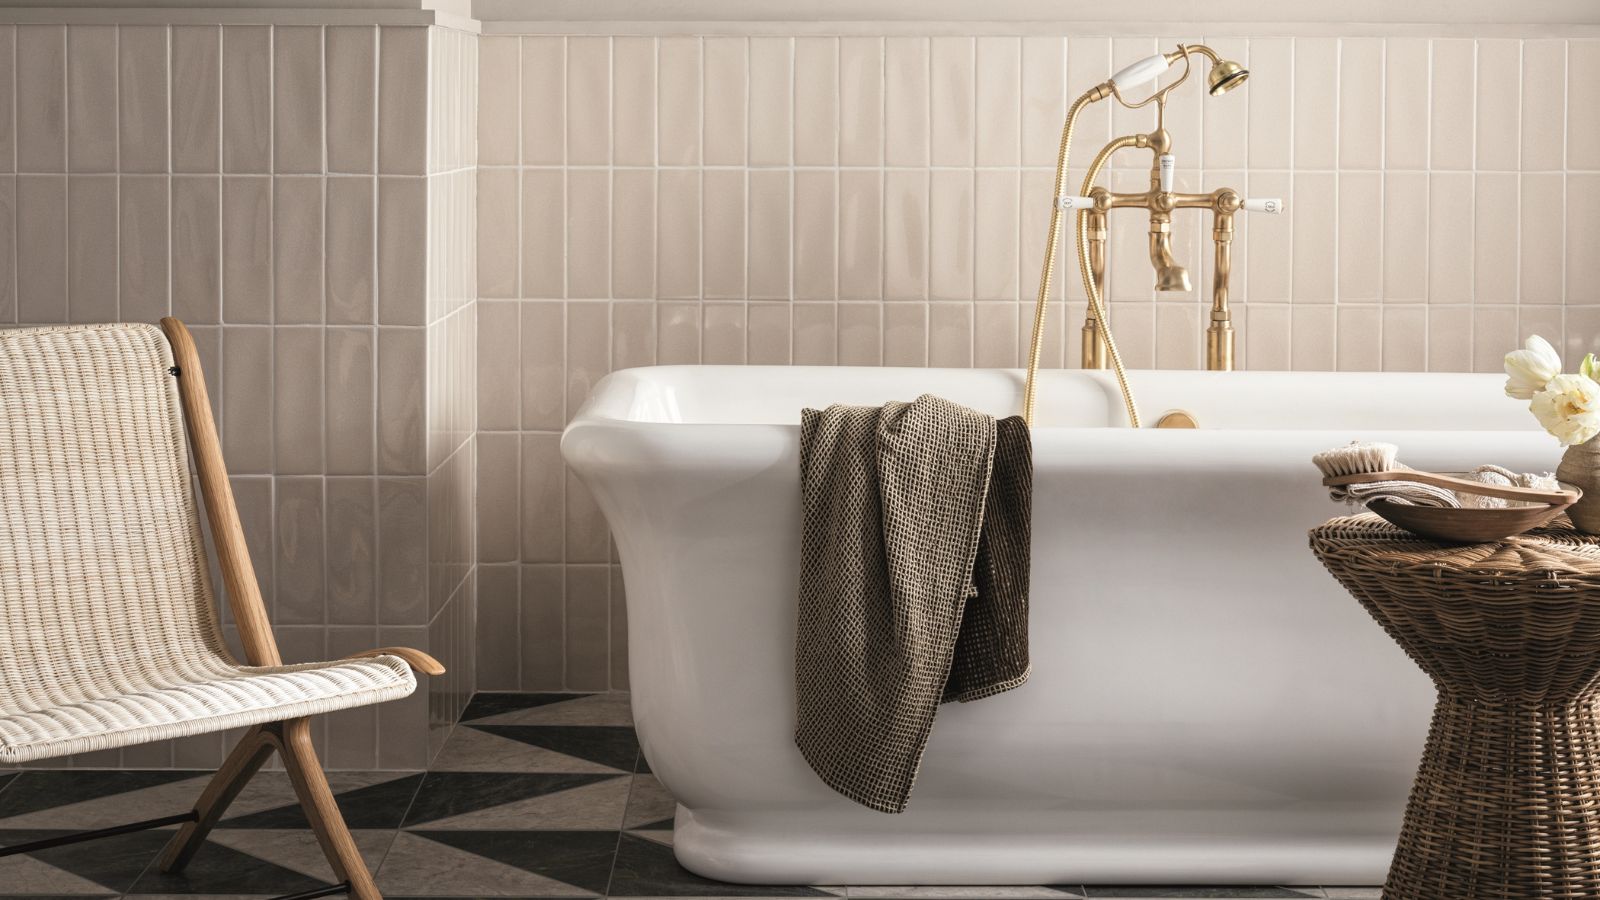
Before initiating the cleaning process, several considerations are important. Natural cleaners like baking soda and hydrogen peroxide are recommended for their effectiveness and safety. Baking soda acts as a scrubbing agent due to its rough texture, while hydrogen peroxide offers bleaching effects. The choice of grout color, while primarily stylistic, does not impact maintenance and cleaning effectiveness, though darker grouts may mask discoloration and mold more easily and might not tolerate harsher cleaning products as well. It is essential to test any cleaning solution on a small, inconspicuous area of the tile and grout first to check for potential bleaching or damage, especially with colored grout. Old grout can be delicate and may break apart during cleaning, indicating a need for regrouting.
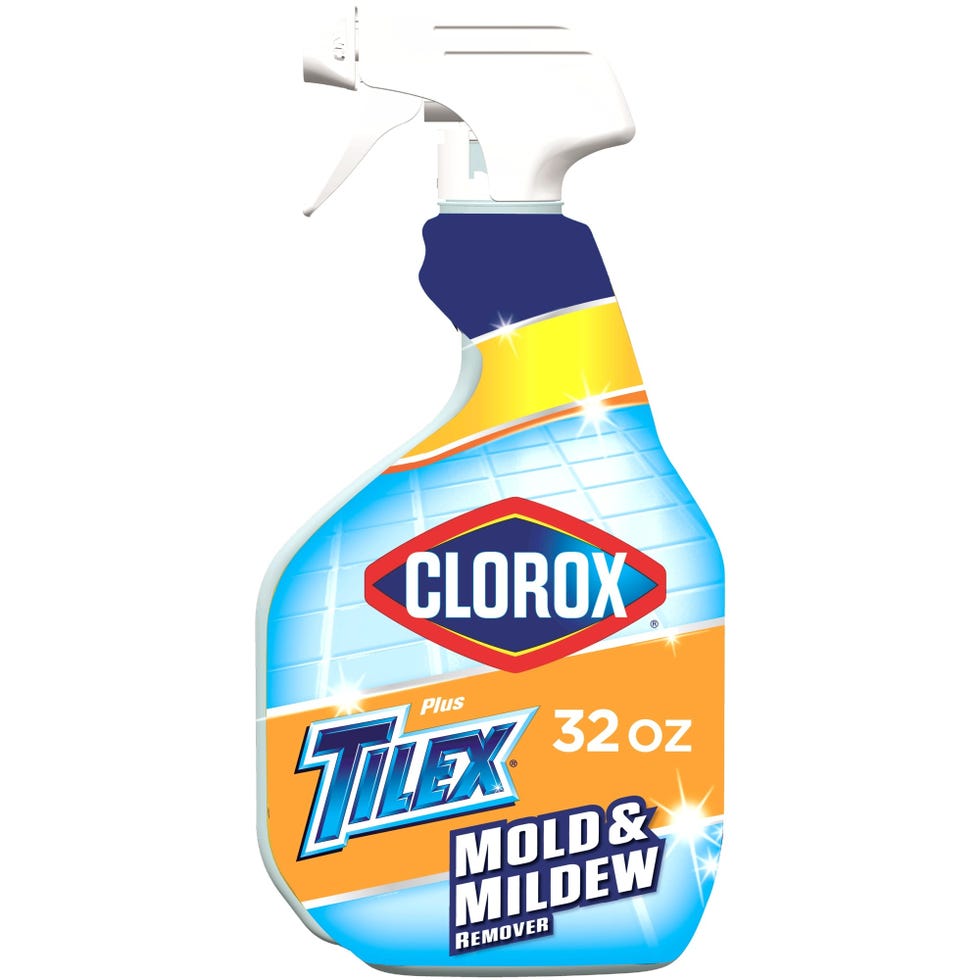
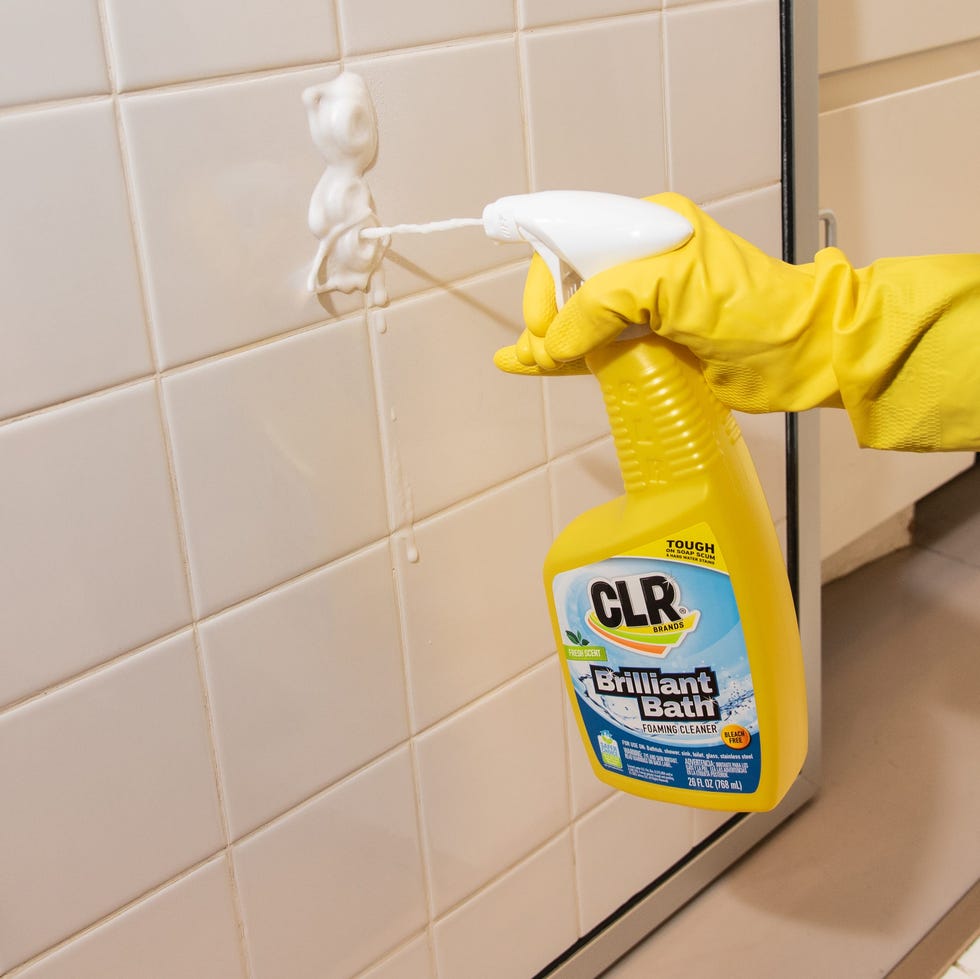
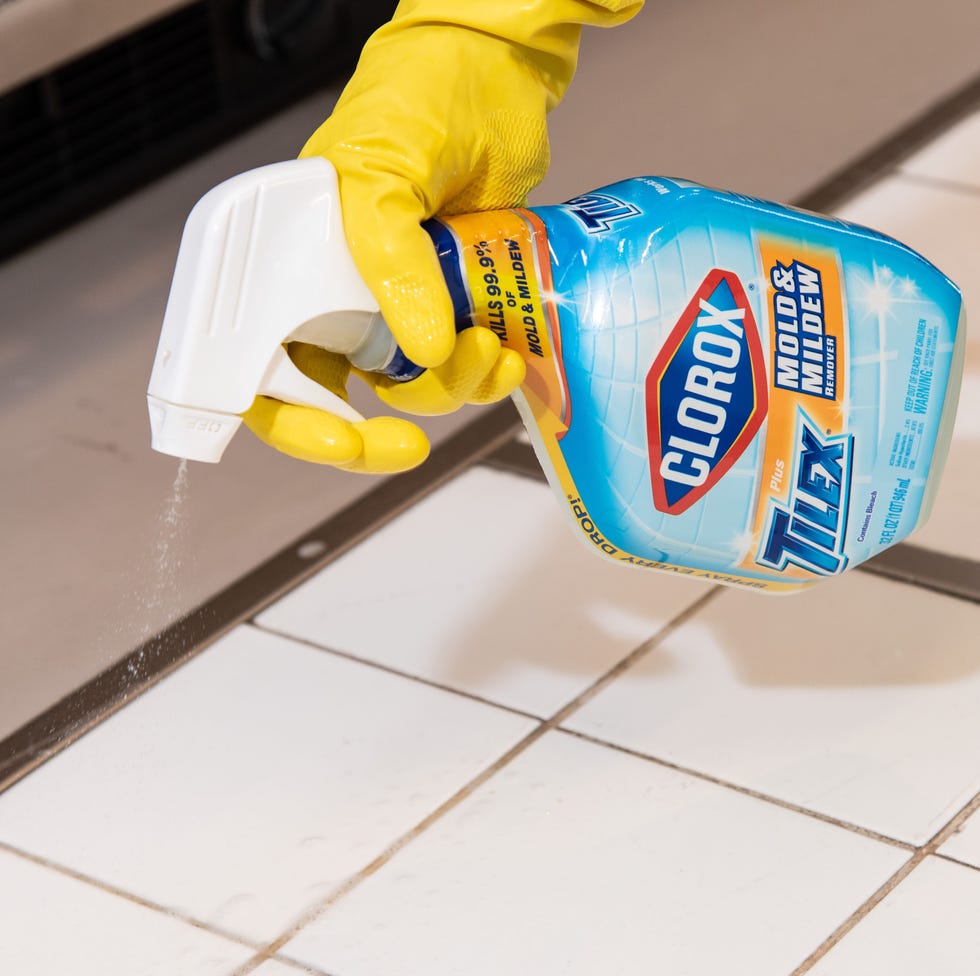
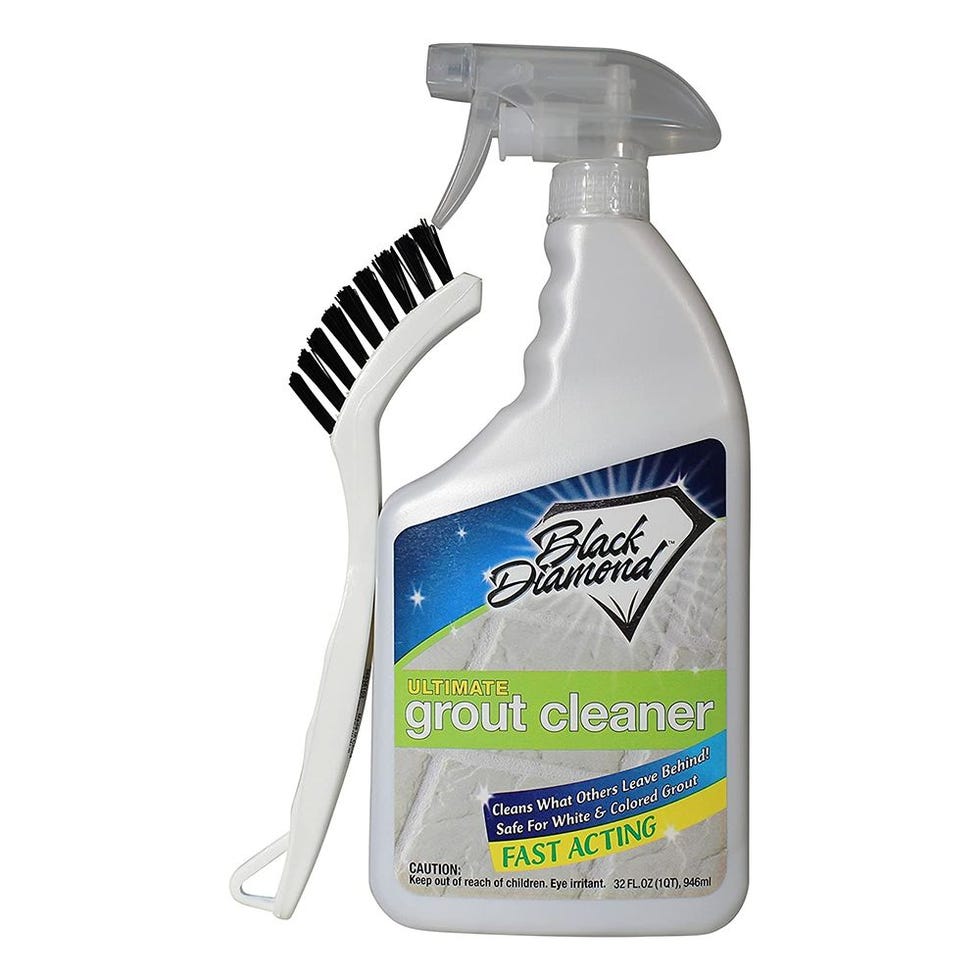
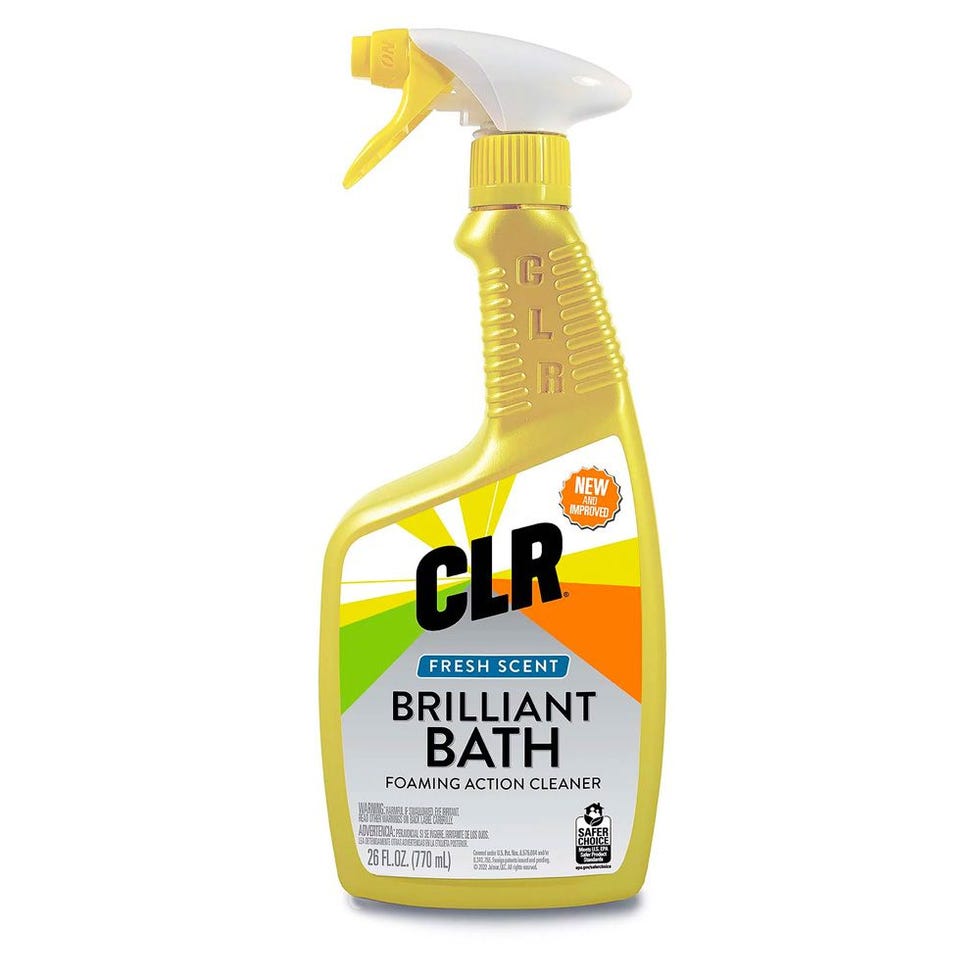
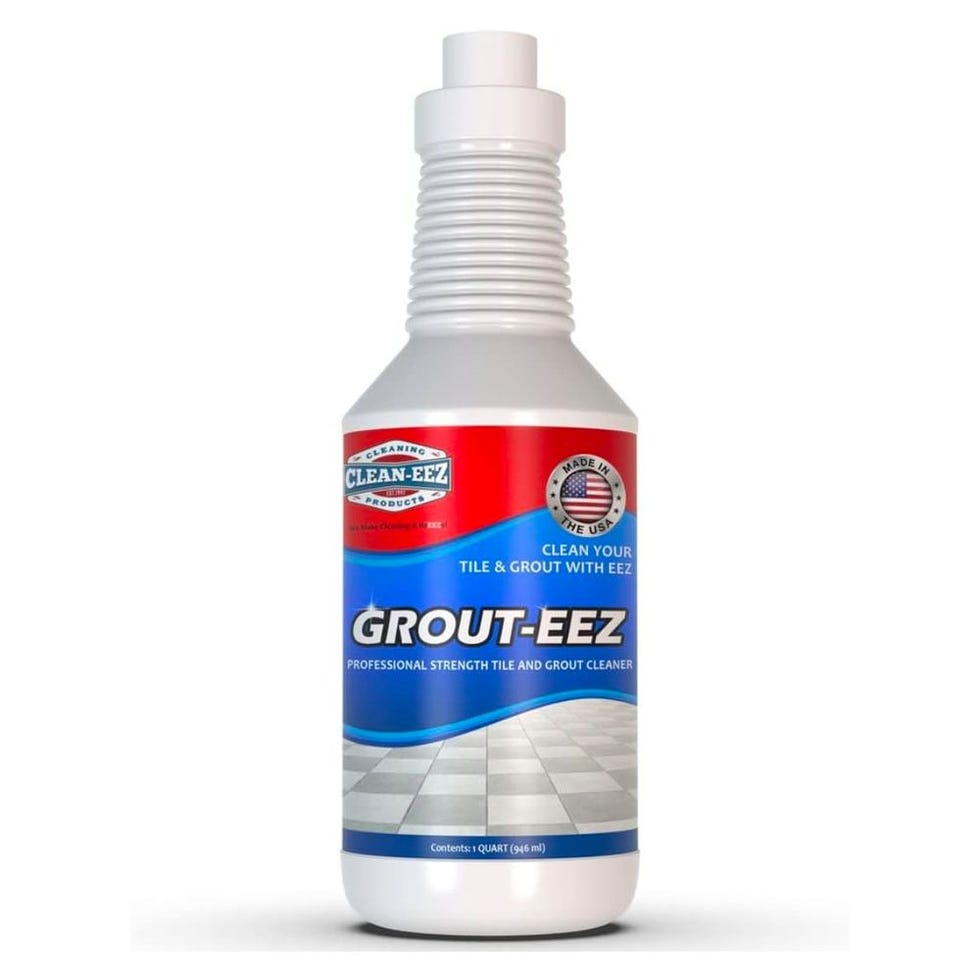
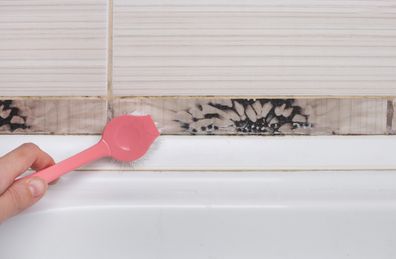
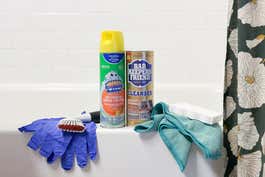
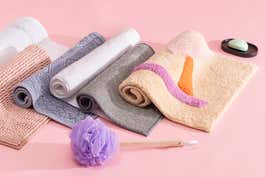
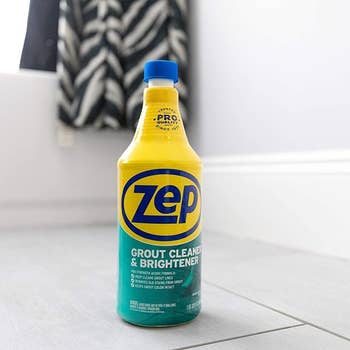
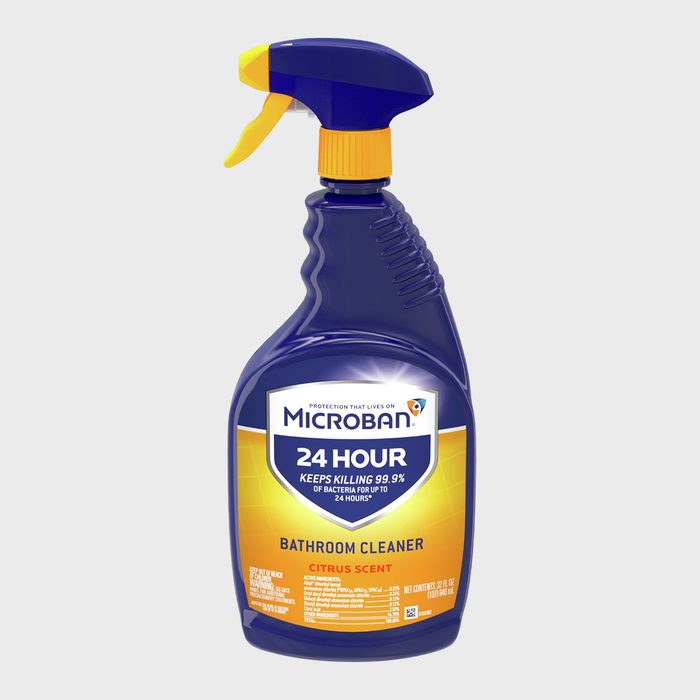
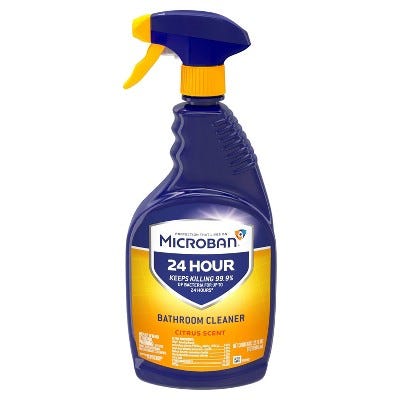
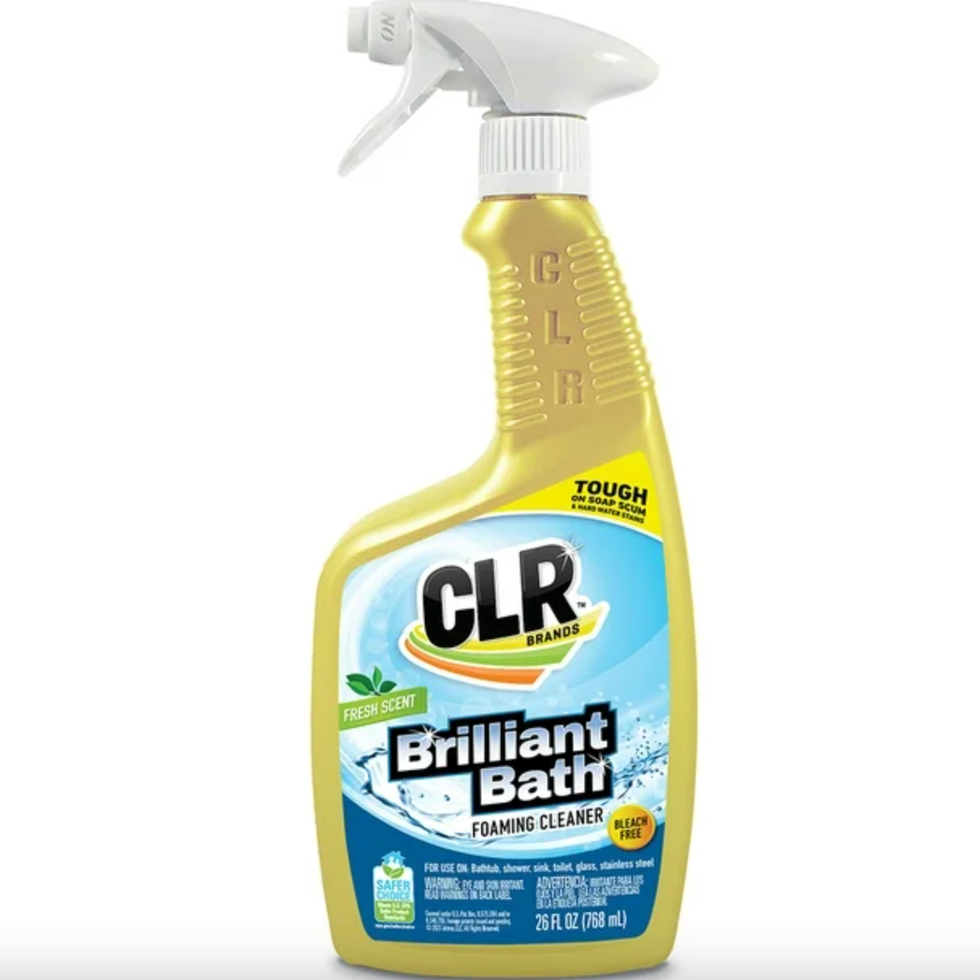
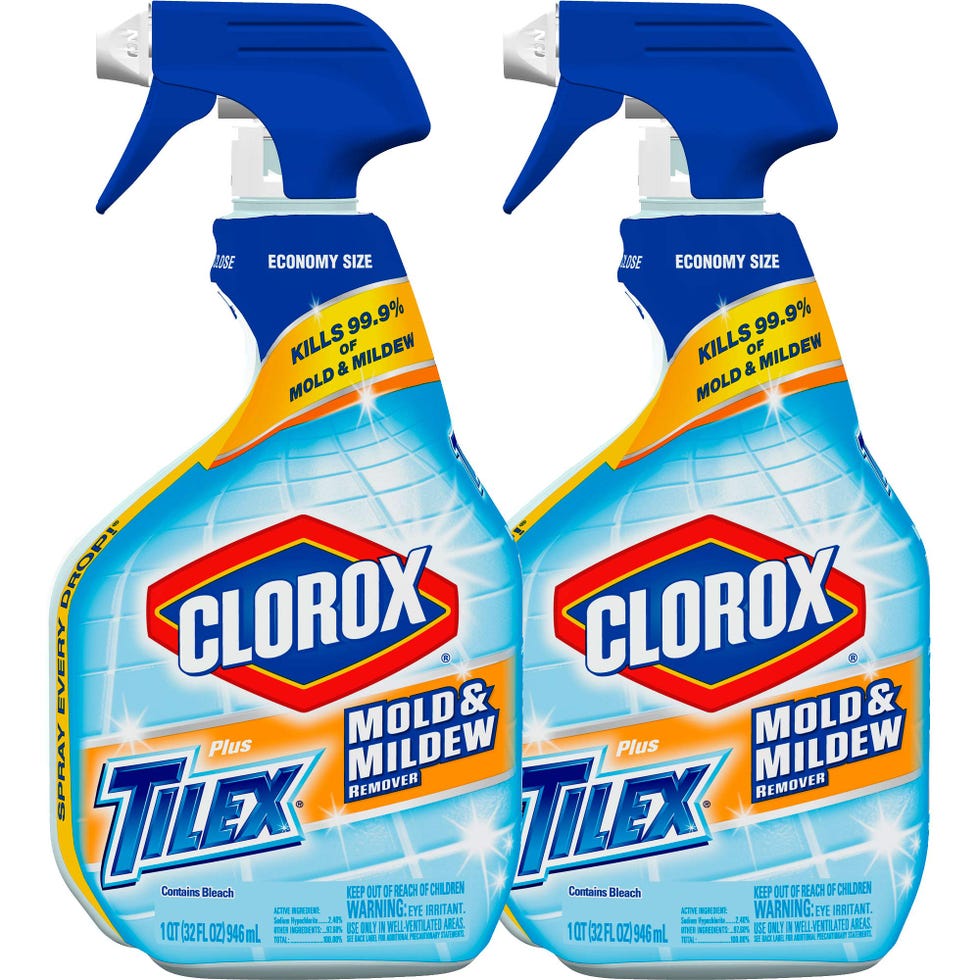
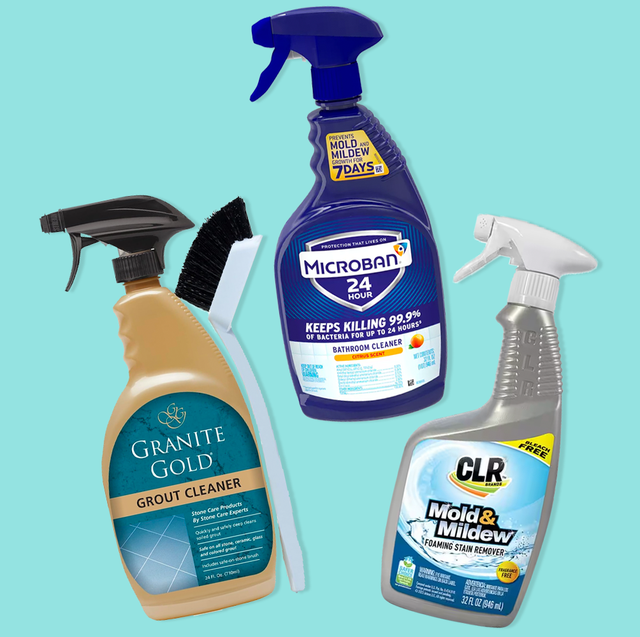
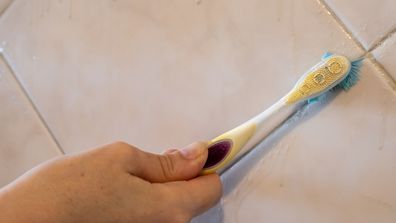
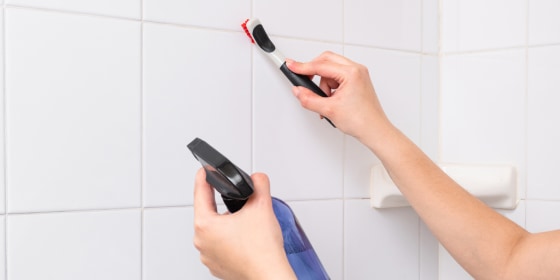
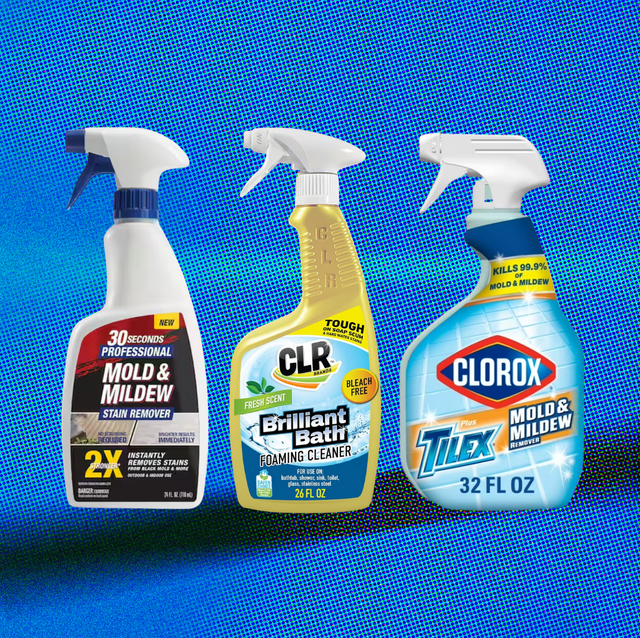
To clean grout, a firm-bristled toothbrush or a specialized grout brush is necessary, along with baking soda, hydrogen peroxide, a damp cloth, oxygenated bleach cleaner, and a spray bottle. The cleaning process begins with gently scrubbing the grout using a firm brush. If stains persist, a paste made from baking soda can be applied and scrubbed. For larger areas of discoloration, hydrogen peroxide can be sprayed directly onto the grout, allowed to sit, and then rinsed or wiped away. A word of caution is given regarding hydrogen peroxide's bleaching properties, reiterating the importance of a preliminary test. For particularly stubborn stains, a more potent paste can be created using a 2:1 ratio of baking soda to hydrogen peroxide, with an added drop of dish soap. This paste should be left to sit for five minutes before being brushed clean. If these methods prove insufficient, a specialized grout cleaner containing a single drop of bleach can be used, but this option is strictly for neutral-colored grout.
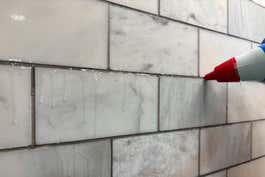
An expert tip emphasizes the importance of resealing grout after cleaning, recommending that grout sealers be applied every six months. Many people overlook this crucial step, which contributes significantly to mold and discoloration issues. Consistent maintenance and timely resealing are key to preserving the cleanliness and integrity of grout in bathrooms and other tiled areas.
#GroutCleaning #BathroomMaintenance #HomeCleaningTips #DIYCleaning #MoldPrevention #HydrogenPeroxide #BakingSoda #GroutSealing #GroutCleaning #BathroomMaintenance #HomeCleaningTips #DIYCleaning #MoldPrevention #HydrogenPeroxide #BakingSoda #GroutSealing
0 comment in total
You may also like

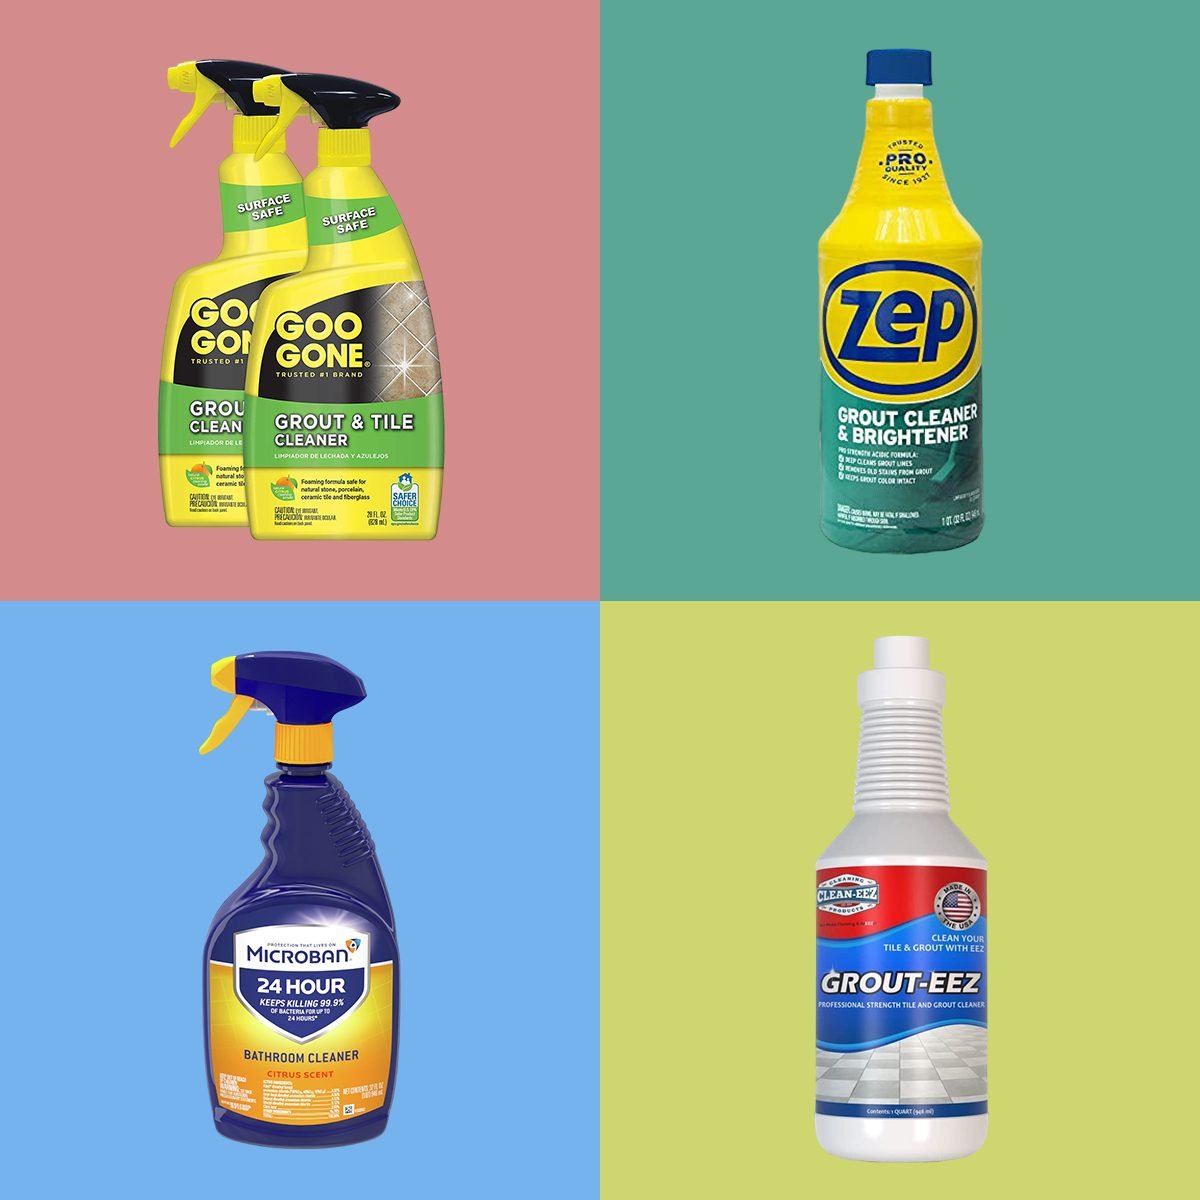
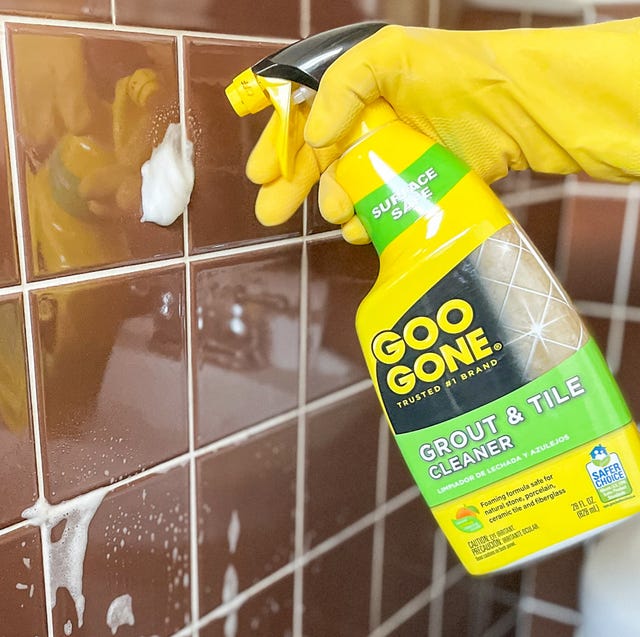
6 Best Grout Cleaners for a Brilliant Bathroom

What’s making your bathroom tiles look cheap? 7 things to look out for, according to experts

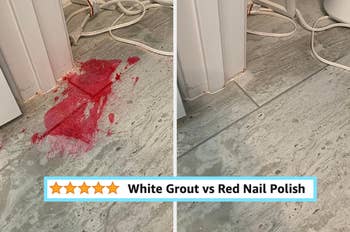
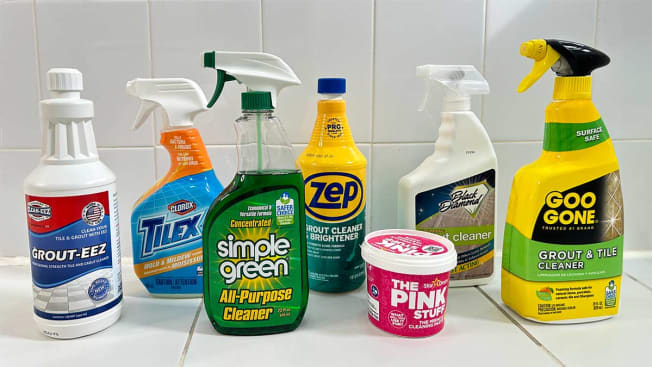
We Tested 14 of 2025’s Best Grout Cleaners—See Which 7 We Recommend

How To Clean Bathroom Tile, According To Professional Cleaners
7 Best Grout Cleaners for a Brilliant Bathroom

Five cheap and easy ways to clean grout using things you already own
How to clean grout on tile, according to experts - TODAY


An Expert Tells Us How To Keep Your Tile Grout Stain-Free
6 Best Grout Cleaners of 2026, Tested and Approved by Cleaning Experts

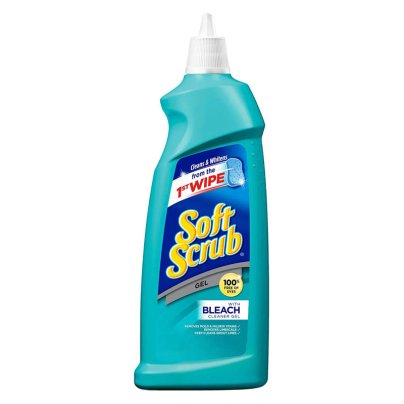
This Gel You Likely Already Own Works Surprisingly Well at Cleaning Dirty Grout | Reviews by Wirecutter

We Tested 14 of the Best Grout Cleaners—See Which 7 We Recommend
13 Best Shower Cleaners for Clear Glass, Shiny Tile and More
The Right Way to Clean Tile and Grout for Sparkling Results


Squeegee Every Time You Shower — and More Bathroom Cleaning Hacks | Reviews by Wirecutter
The 7 Best Grout Cleaners of 2025


Getting the Grout Right
The Best Grout Cleaners for Pristine Tiles in Every Room
If Your Grout Has Seen Better Days, You Need One Of These Best-Of-The-Best Grout Cleaners


How to change grout color - the easiest little touch to make your home feel fresh again

Best Grout Cleaners