1/2
How to Trim an Exterior Window
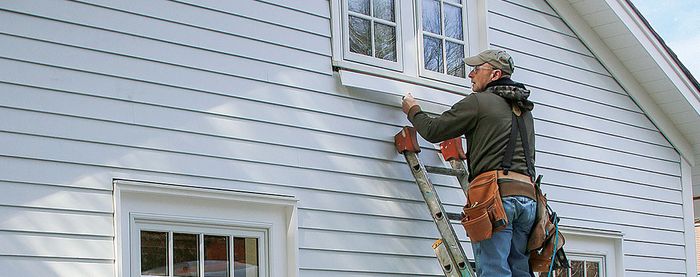
This article outlines a straightforward and efficient method for trimming exterior windows, emphasizing pre-assembly of casing pieces to expedite installation. The core technique involves constructing the window trim as a complete frame before attaching it to the window opening.
The process begins with preparing the sill from 6/4 stock, which is then pitched to facilitate water runoff. The legs and head pieces of the trim are prepared by rabbeting their backs, a crucial step that allows them to fit snugly around the window's flanges. This precise fit ensures a clean and secure installation, minimizing gaps that could lead to water intrusion.
Once the individual trim components—the pitched sill, rabbeted legs, and head—are ready, they are joined together to form a cohesive frame. This assembly is achieved using a combination of pocket screws and self-drilling screws. Pocket screws are particularly effective for creating strong, concealed joints, contributing to the frame's structural integrity and aesthetic appeal. Self-drilling screws provide additional reinforcement, ensuring that the assembled frame is robust and durable.
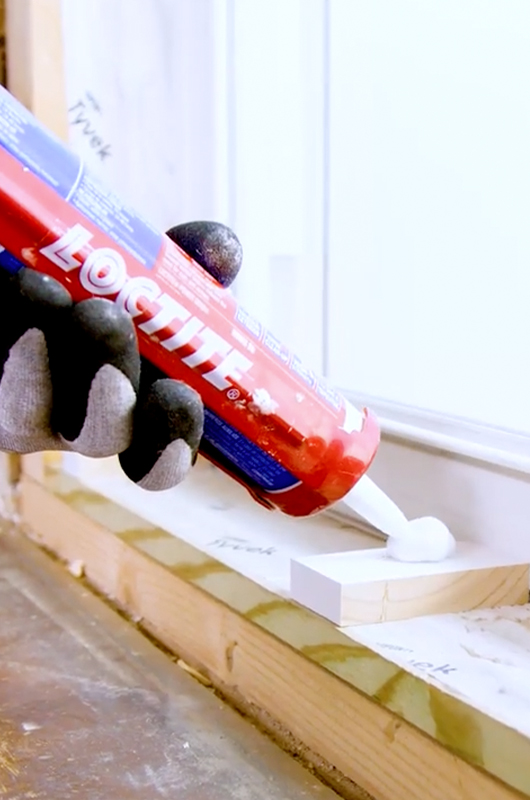
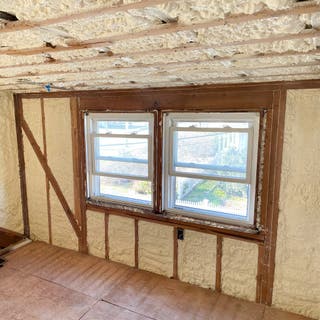
After the trim frame is fully assembled, it is then installed around the exterior of the window. Trim screws are used for this final attachment, securing the entire unit firmly in place. A critical step post-installation is the application of caulk. An 1/8-inch gap between the window and the newly installed trim frame is intentionally left to accommodate the caulk, which provides a watertight seal. This caulking prevents moisture from penetrating behind the trim and into the wall structure, protecting against water damage and extending the lifespan of the window and surrounding components.
The article highlights the advantages of this pre-assembly approach, primarily focusing on its speed and ease of installation compared to traditional, piece-by-piece trimming methods. By preparing the entire frame beforehand, on-site work is significantly reduced, leading to a more efficient and potentially less error-prone process. The emphasis on precise cuts, proper rabbeting, and secure fastening techniques ensures that the finished window trim is both aesthetically pleasing and highly functional, offering protection and enhancing the home's exterior.
Supporting resources provide further insights into related topics, such as the use of specific low-maintenance siding materials like Boral, techniques for enhancing the appearance of stock windows with decorative trim, and detailed instructions for using pocket screws with materials like Boral TruExterior trim. Additionally, information on protecting exterior trim from water damage through methods involving foam backer rod, caulk, and nylon-filament erosion mat underscores the importance of long-term durability and maintenance considerations in exterior finishing projects.
#ExteriorWindowTrim #WindowCasing #HomeImprovement #SidingAndExteriorTrim #DIYHomeRenovation #ConstructionTechniques #Waterproofing #BuildingMaterials #ExteriorWindowTrim #WindowCasing #HomeImprovement #SidingAndExteriorTrim #DIYHomeRenovation #ConstructionTechniques #Waterproofing #BuildingMaterials
0 comment in total
 No comments yet
You may also like

Home Window Installation, Parts and Repair


Window Pros Break Down Six Styles


How to Seal Your Drafty Windows for Less Than $50
Window treatment tips to liven up your living quarters


8 budget fixes for drafty windows — including a $2.99 beauty product I use every single day


Once-Popular Window Treatments That Are Now Dating Your Home

Window Trim Doesn't Have to Be Boring—These 20 Ideas Will Help Your Home Stand Out

Sash windows – what to do when choosing, restoring or replacing your frames and glass


How to hang a curtain pole

How to Choose Interior Window Trim

How to dress a window - three design experts explain how to plan the perfect window dressing


Why You Should Never Skip Curtains, According to Top Designers

How to Achieve a Professional Finish on Trim and Built-Ins


An expert guide to paint uPVC windows in a weekend
How to choose the best exterior paint for doors and windows


An Interior Design Expert Explains How To Style Your Windows To Make Them Look Bigger


Curtain call: How to choose window treatments

Compare the 5 Best Window Replacement Companies of 2026


D-FW designers reveal the do’s and don’ts of window treatments

Install a Full-Frame Replacement Window: Removing Old Trim and Measuring for a New Window in a Brick Wall