1/13
An expert guide to paint uPVC windows in a weekend
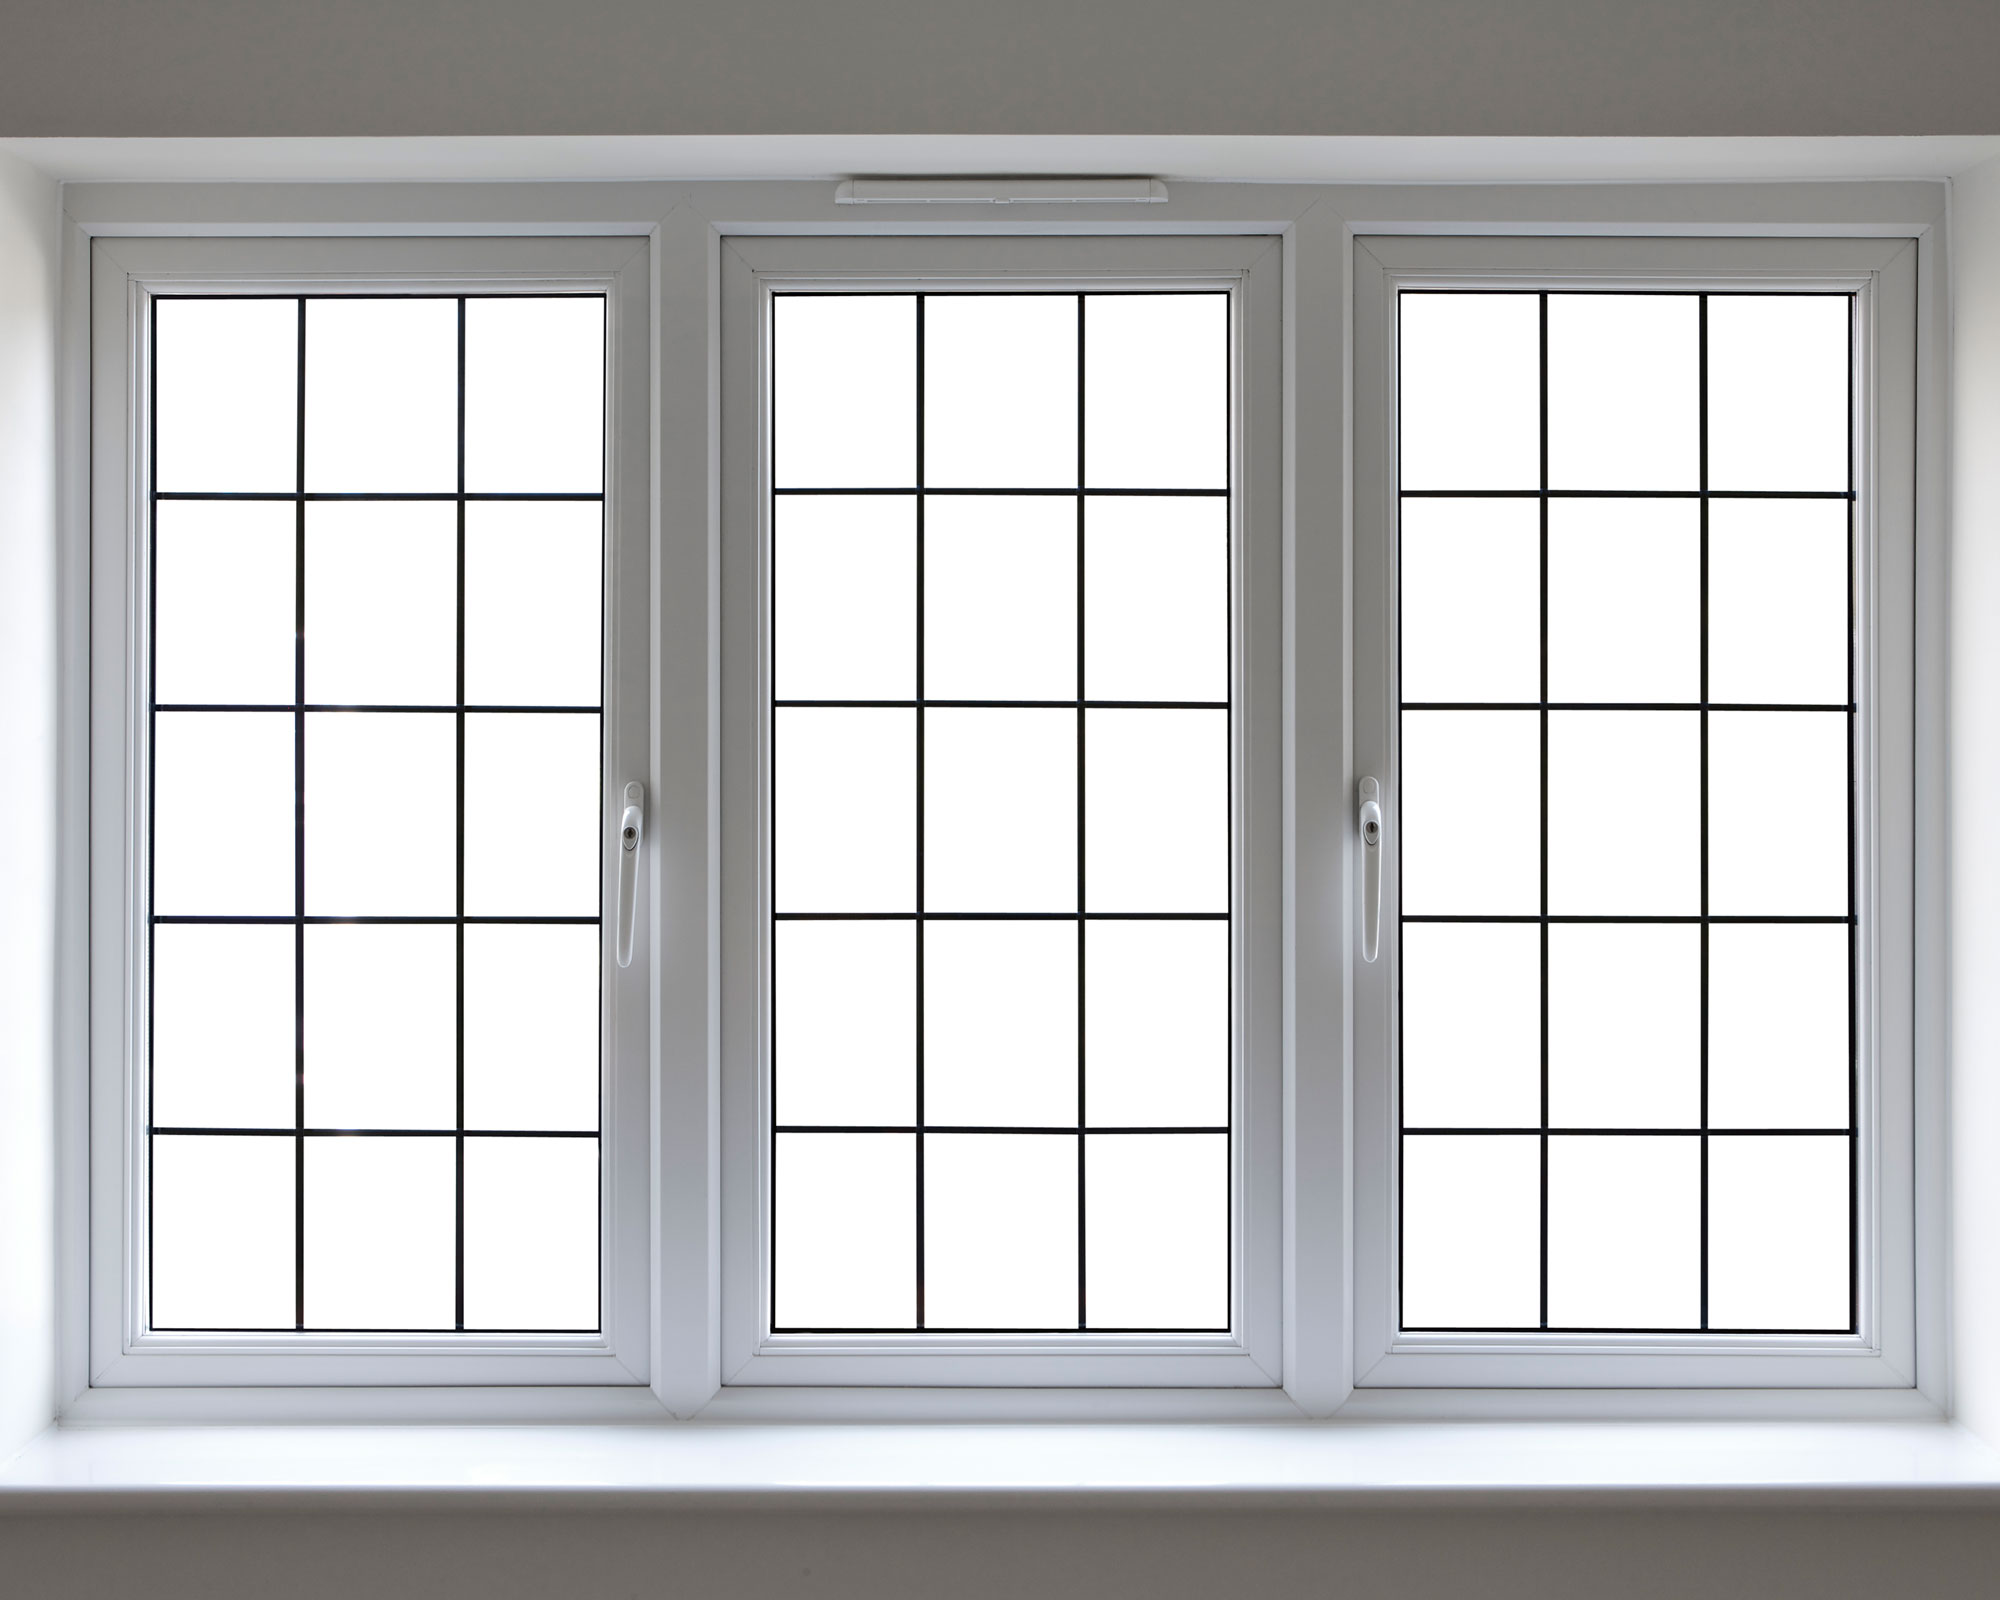
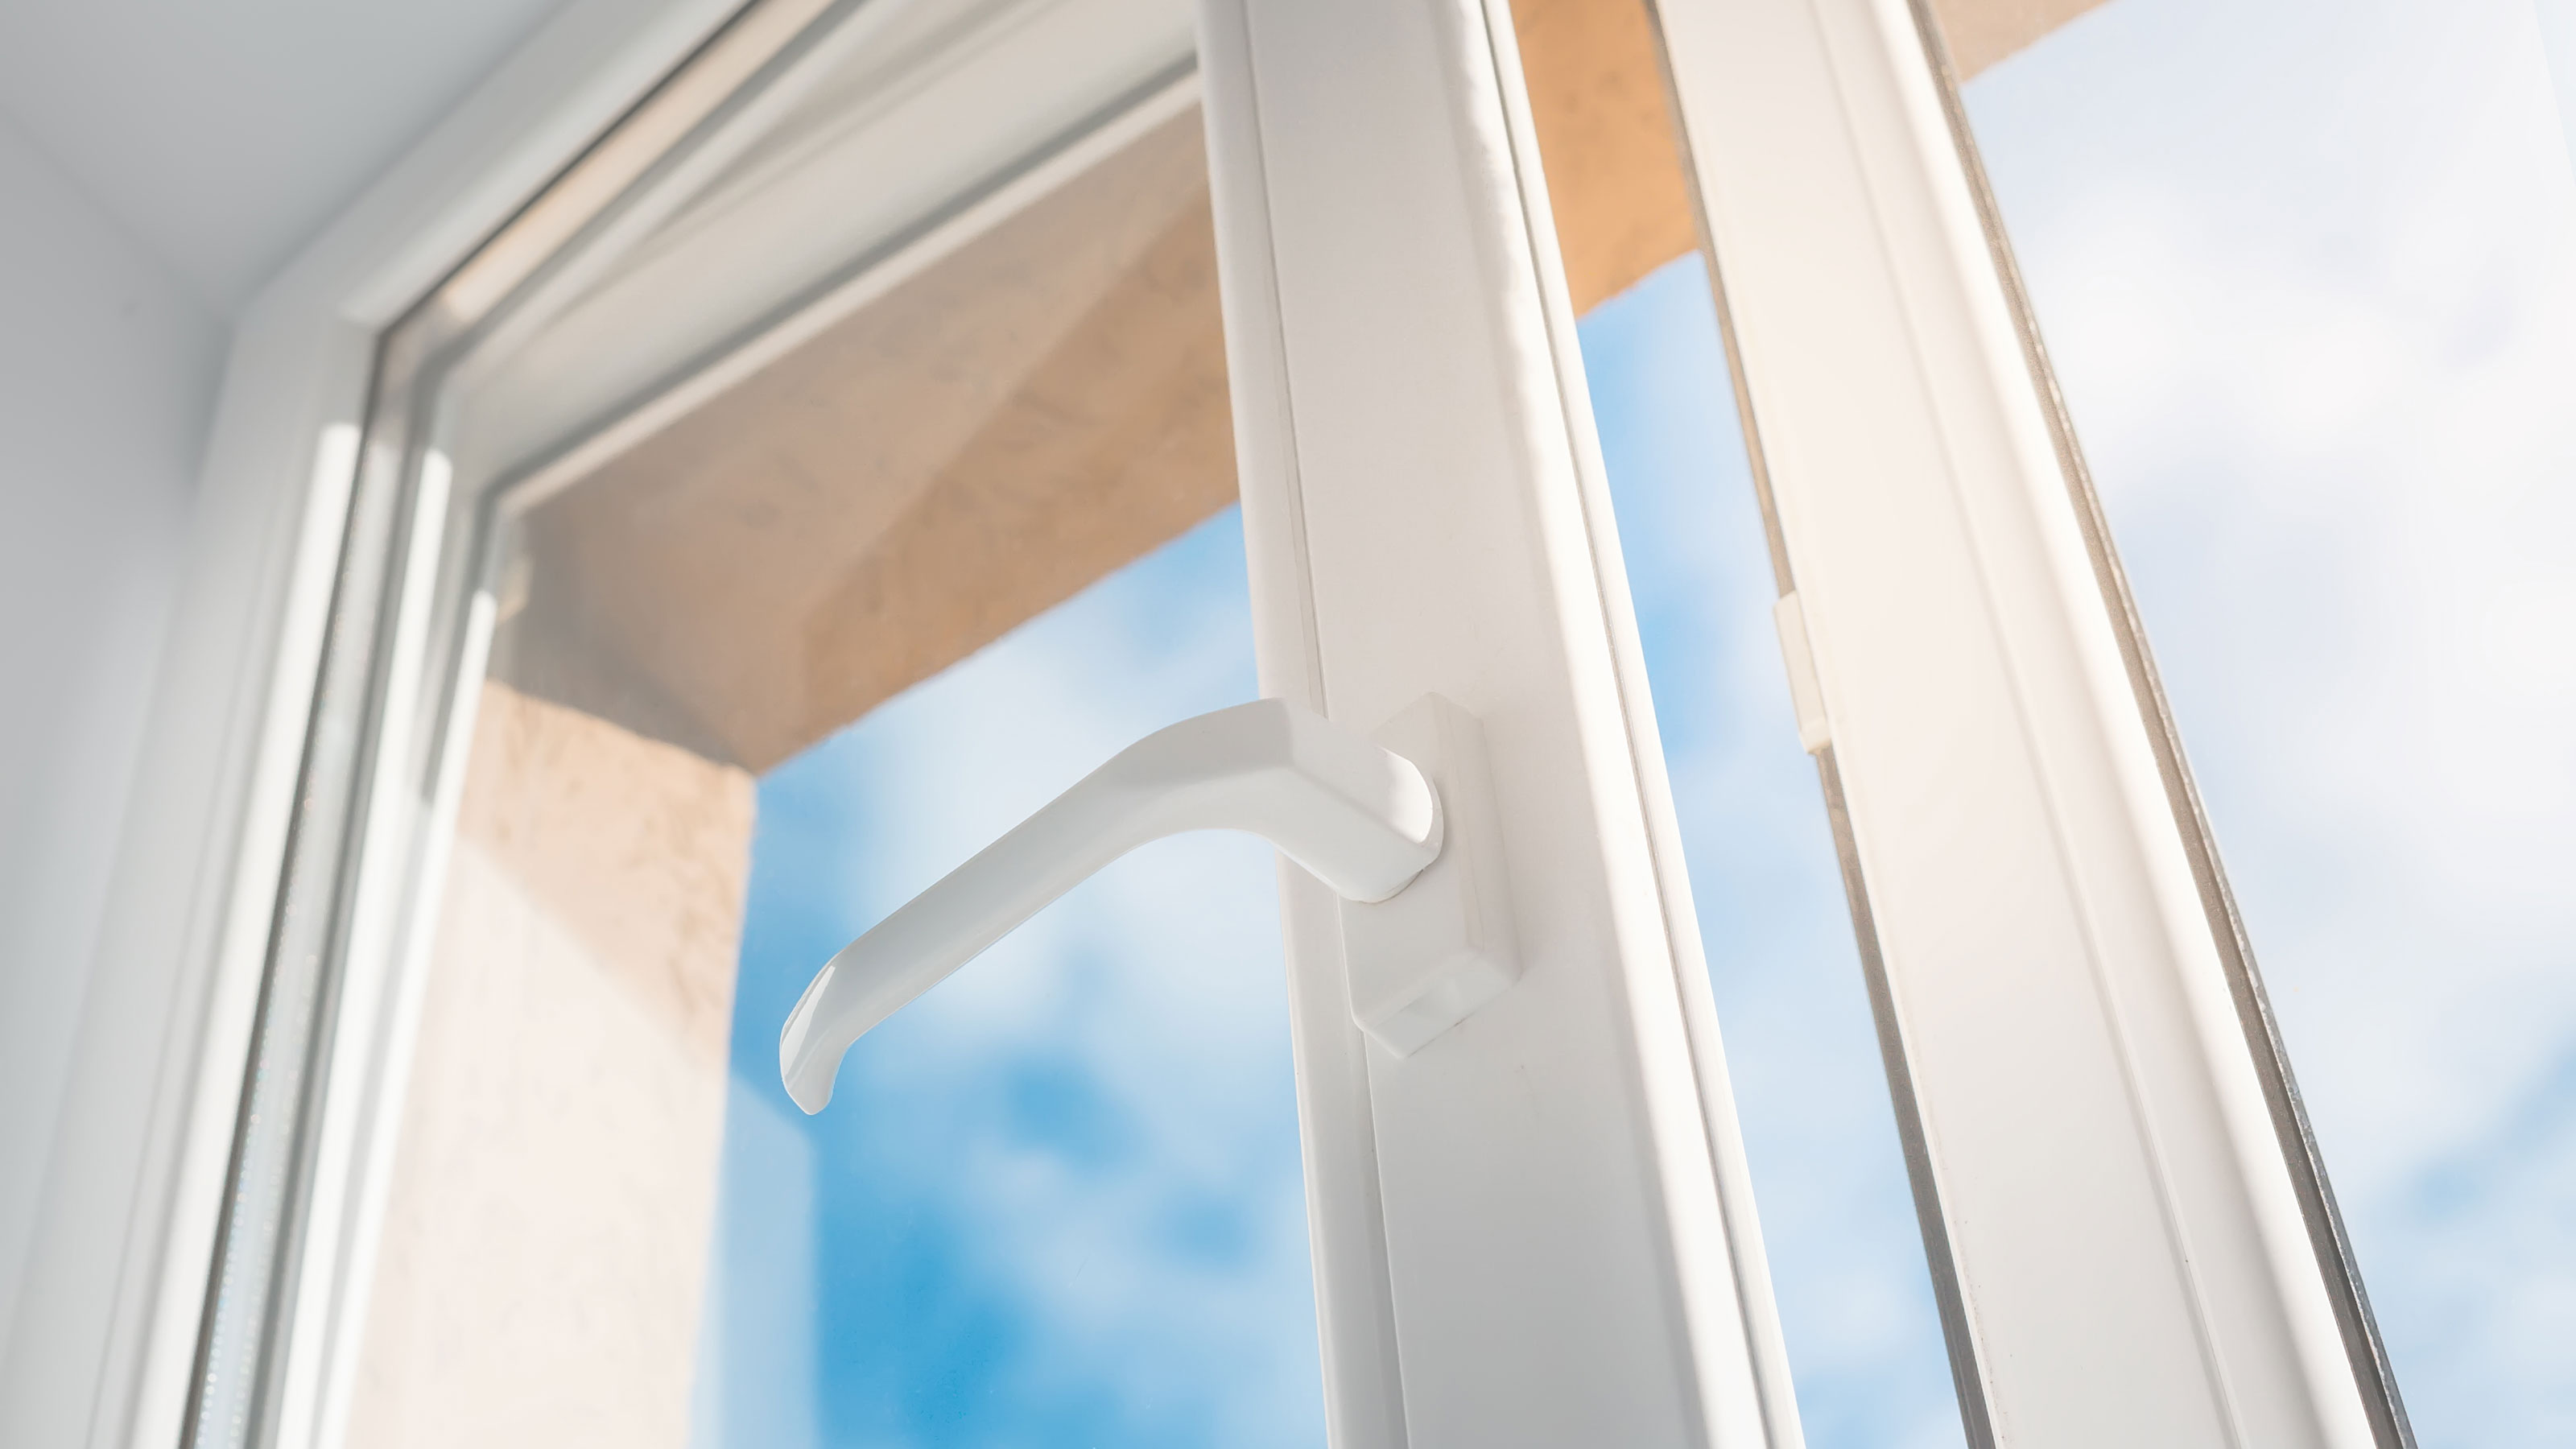
Painting uPVC (unplasticized polyvinyl chloride) or vinyl windows can transform a home's aesthetic, offering a low-cost makeover option that can be completed over a weekend. While many homeowners are hesitant about painting uPVC due to concerns about peeling or patchy finishes, experts confirm that with the right tools and techniques, a smooth and long-lasting result is achievable. The process involves several crucial steps, beginning with thorough cleaning. Windows and their frames must be completely free of dirt, grease, and grime. Experts recommend using warm soapy water or a degreaser, followed by an isopropyl alcohol wipe-down to eliminate any remaining oils, as paint will not adhere well to dirty surfaces. It is also important to check the weather forecast before starting, ensuring temperatures are above 41°F and avoiding direct sunlight or damp conditions, which can negatively impact paint adherence and drying.
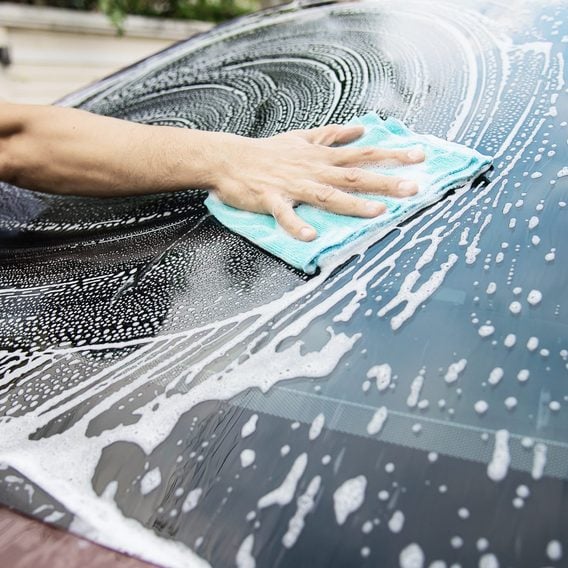
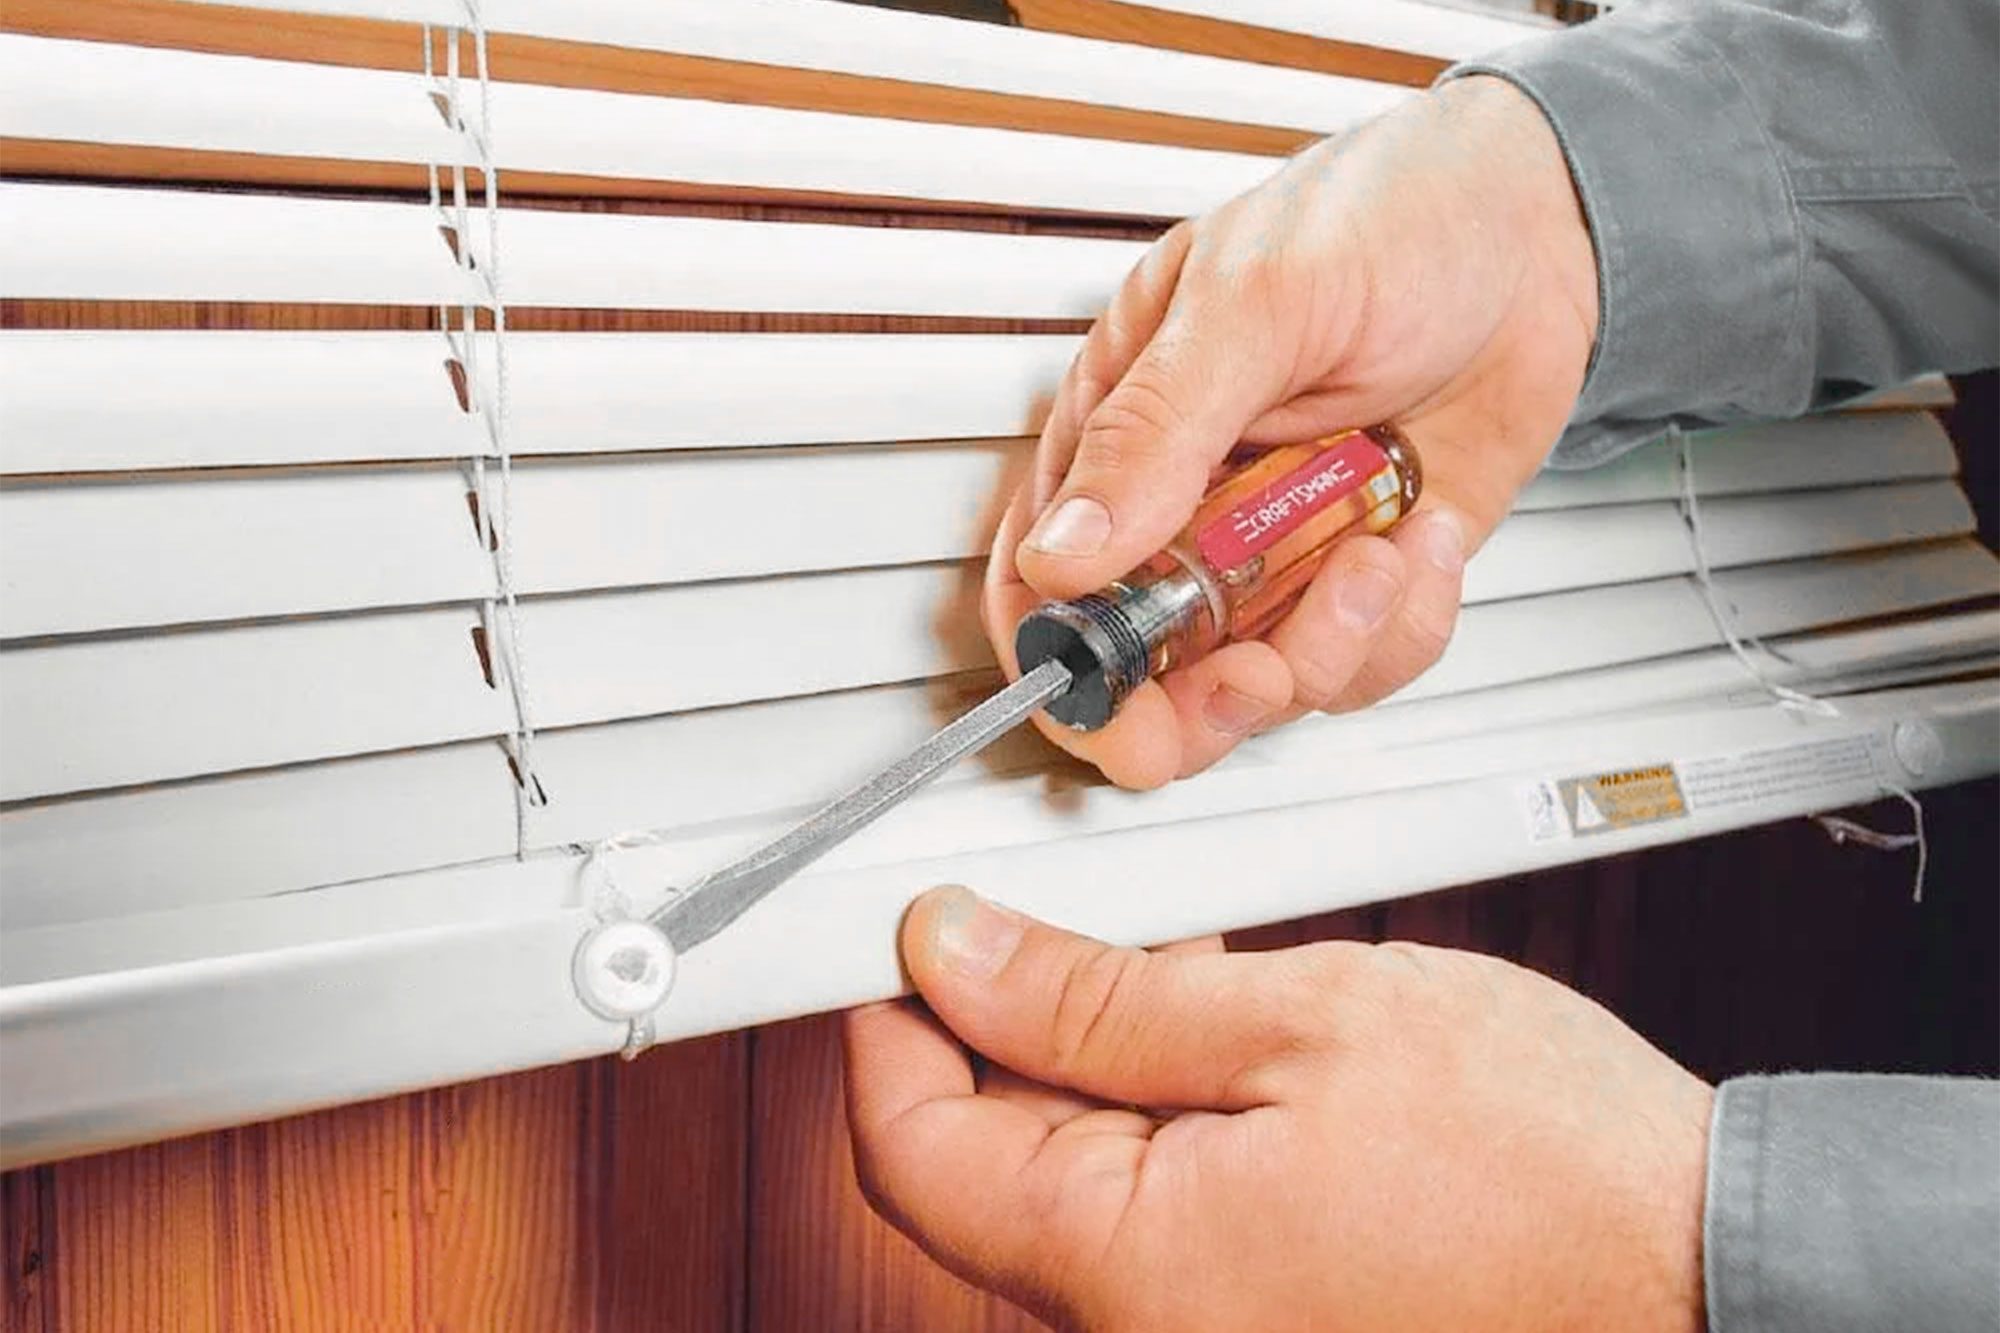
The next step involves lightly sanding the window frames with fine-grit sandpaper (around 220 grit) to create a surface that allows the paint to adhere properly. After sanding, all dust must be removed with a clean, dry cloth, such as a microfiber cleaning cloth. Before painting, hardware such as handles and removable trim should be detached to prevent accidental paint splashes. Masking tape should be used to protect areas not meant to be painted, such as glass panes and adjacent walls, with specialized tapes like Frog Tape recommended for clean lines.
Applying a primer is a critical, non-negotiable step for ensuring the longevity of the painted finish. A plastic-specific primer, such as Zinsser Bullseye 1-2-3, should be applied evenly and allowed to dry completely. For darker uPVC or darker paint colors, a gray primer can improve coverage. While some uPVC paints claim to be self-priming, experts suggest that a dedicated primer enhances durability and adhesion.
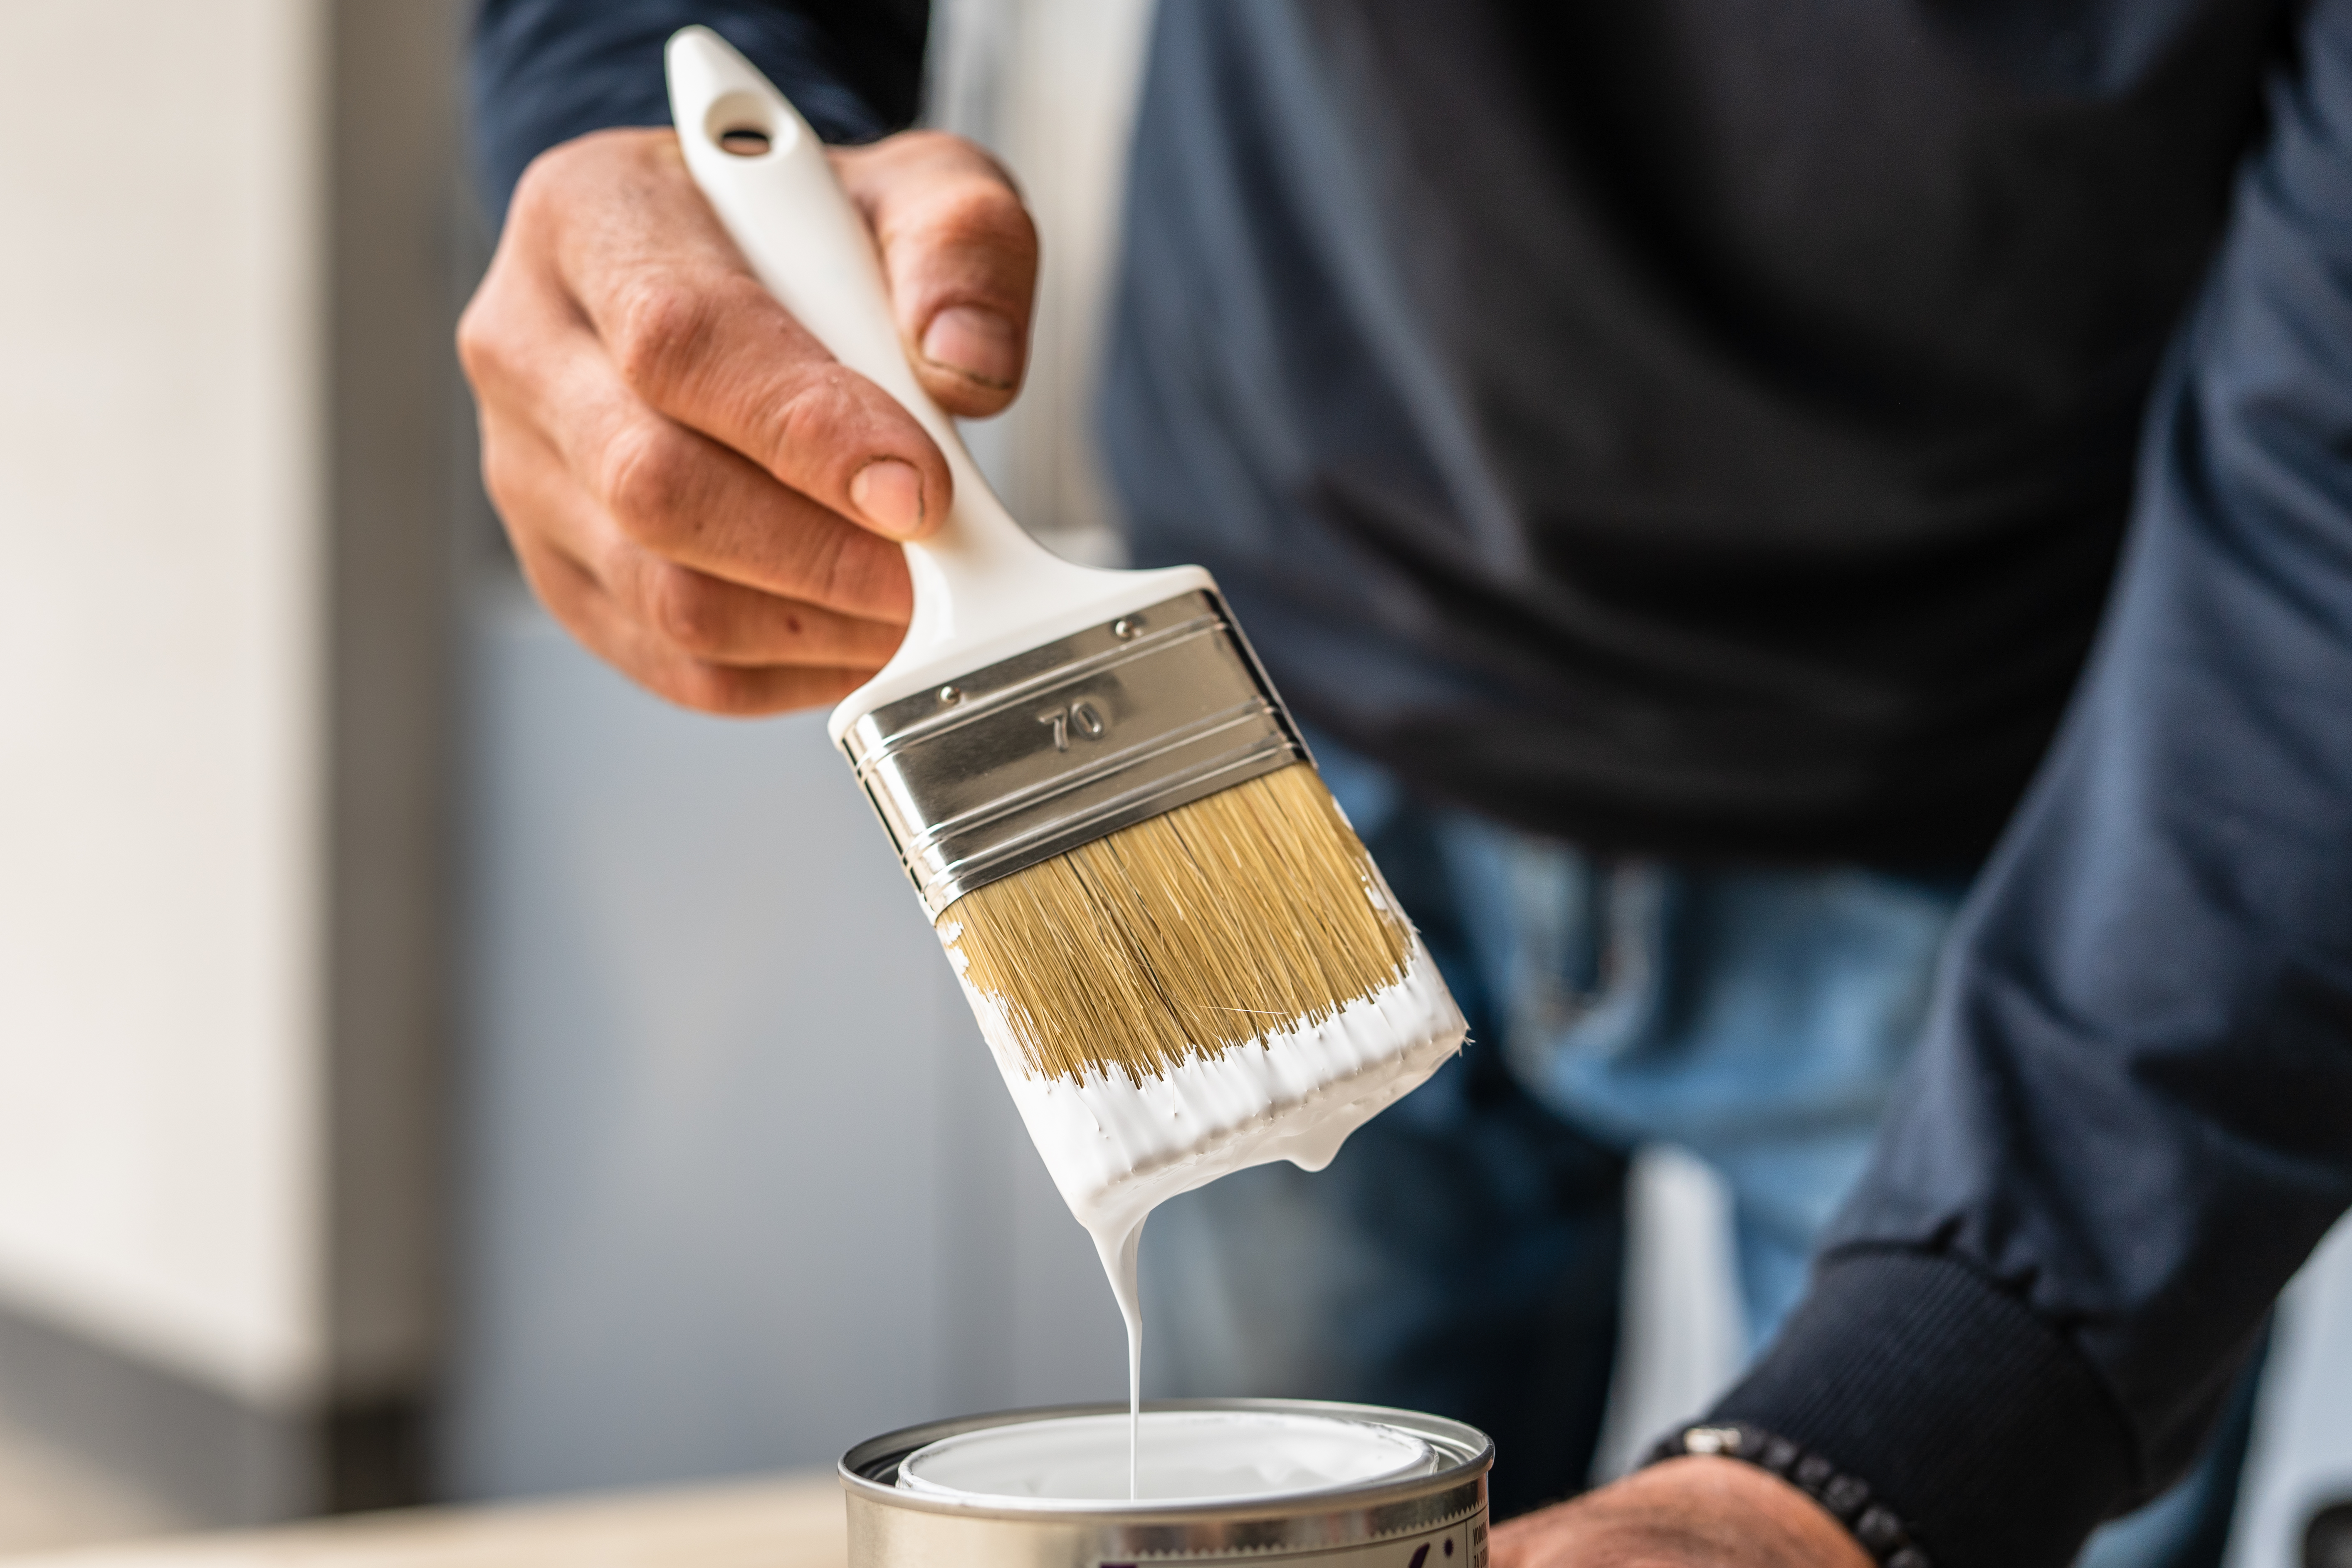
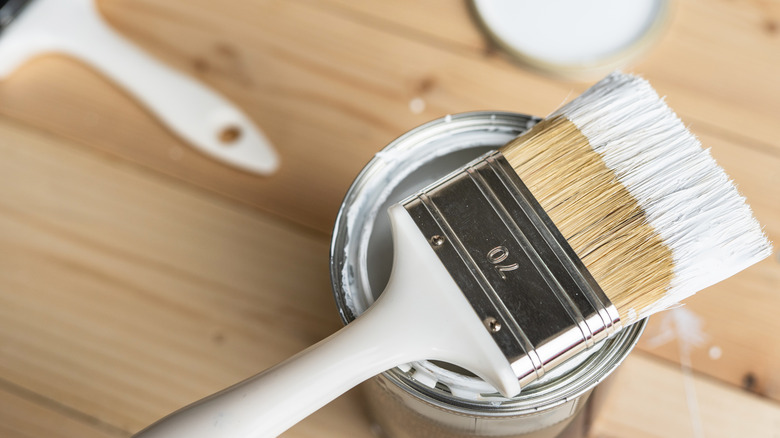
For the actual painting, homeowners can choose between spray paint designed for plastics or a brush and roller. Spray painting is ideal for larger windows or intricate details, offering an even, professional finish without brush marks. Multiple light coats are recommended over one thick coat to prevent drips, uneven coverage, and peeling. Each coat must dry before the next is applied. For those who prefer a brush and roller, a bonding primer for plastics should be applied first with a synthetic brush for corners and a foam roller for smooth sections. This should be followed by two to three thin coats of a high-quality uPVC paint designed to flex with the material, which helps prevent cracking and peeling over time.
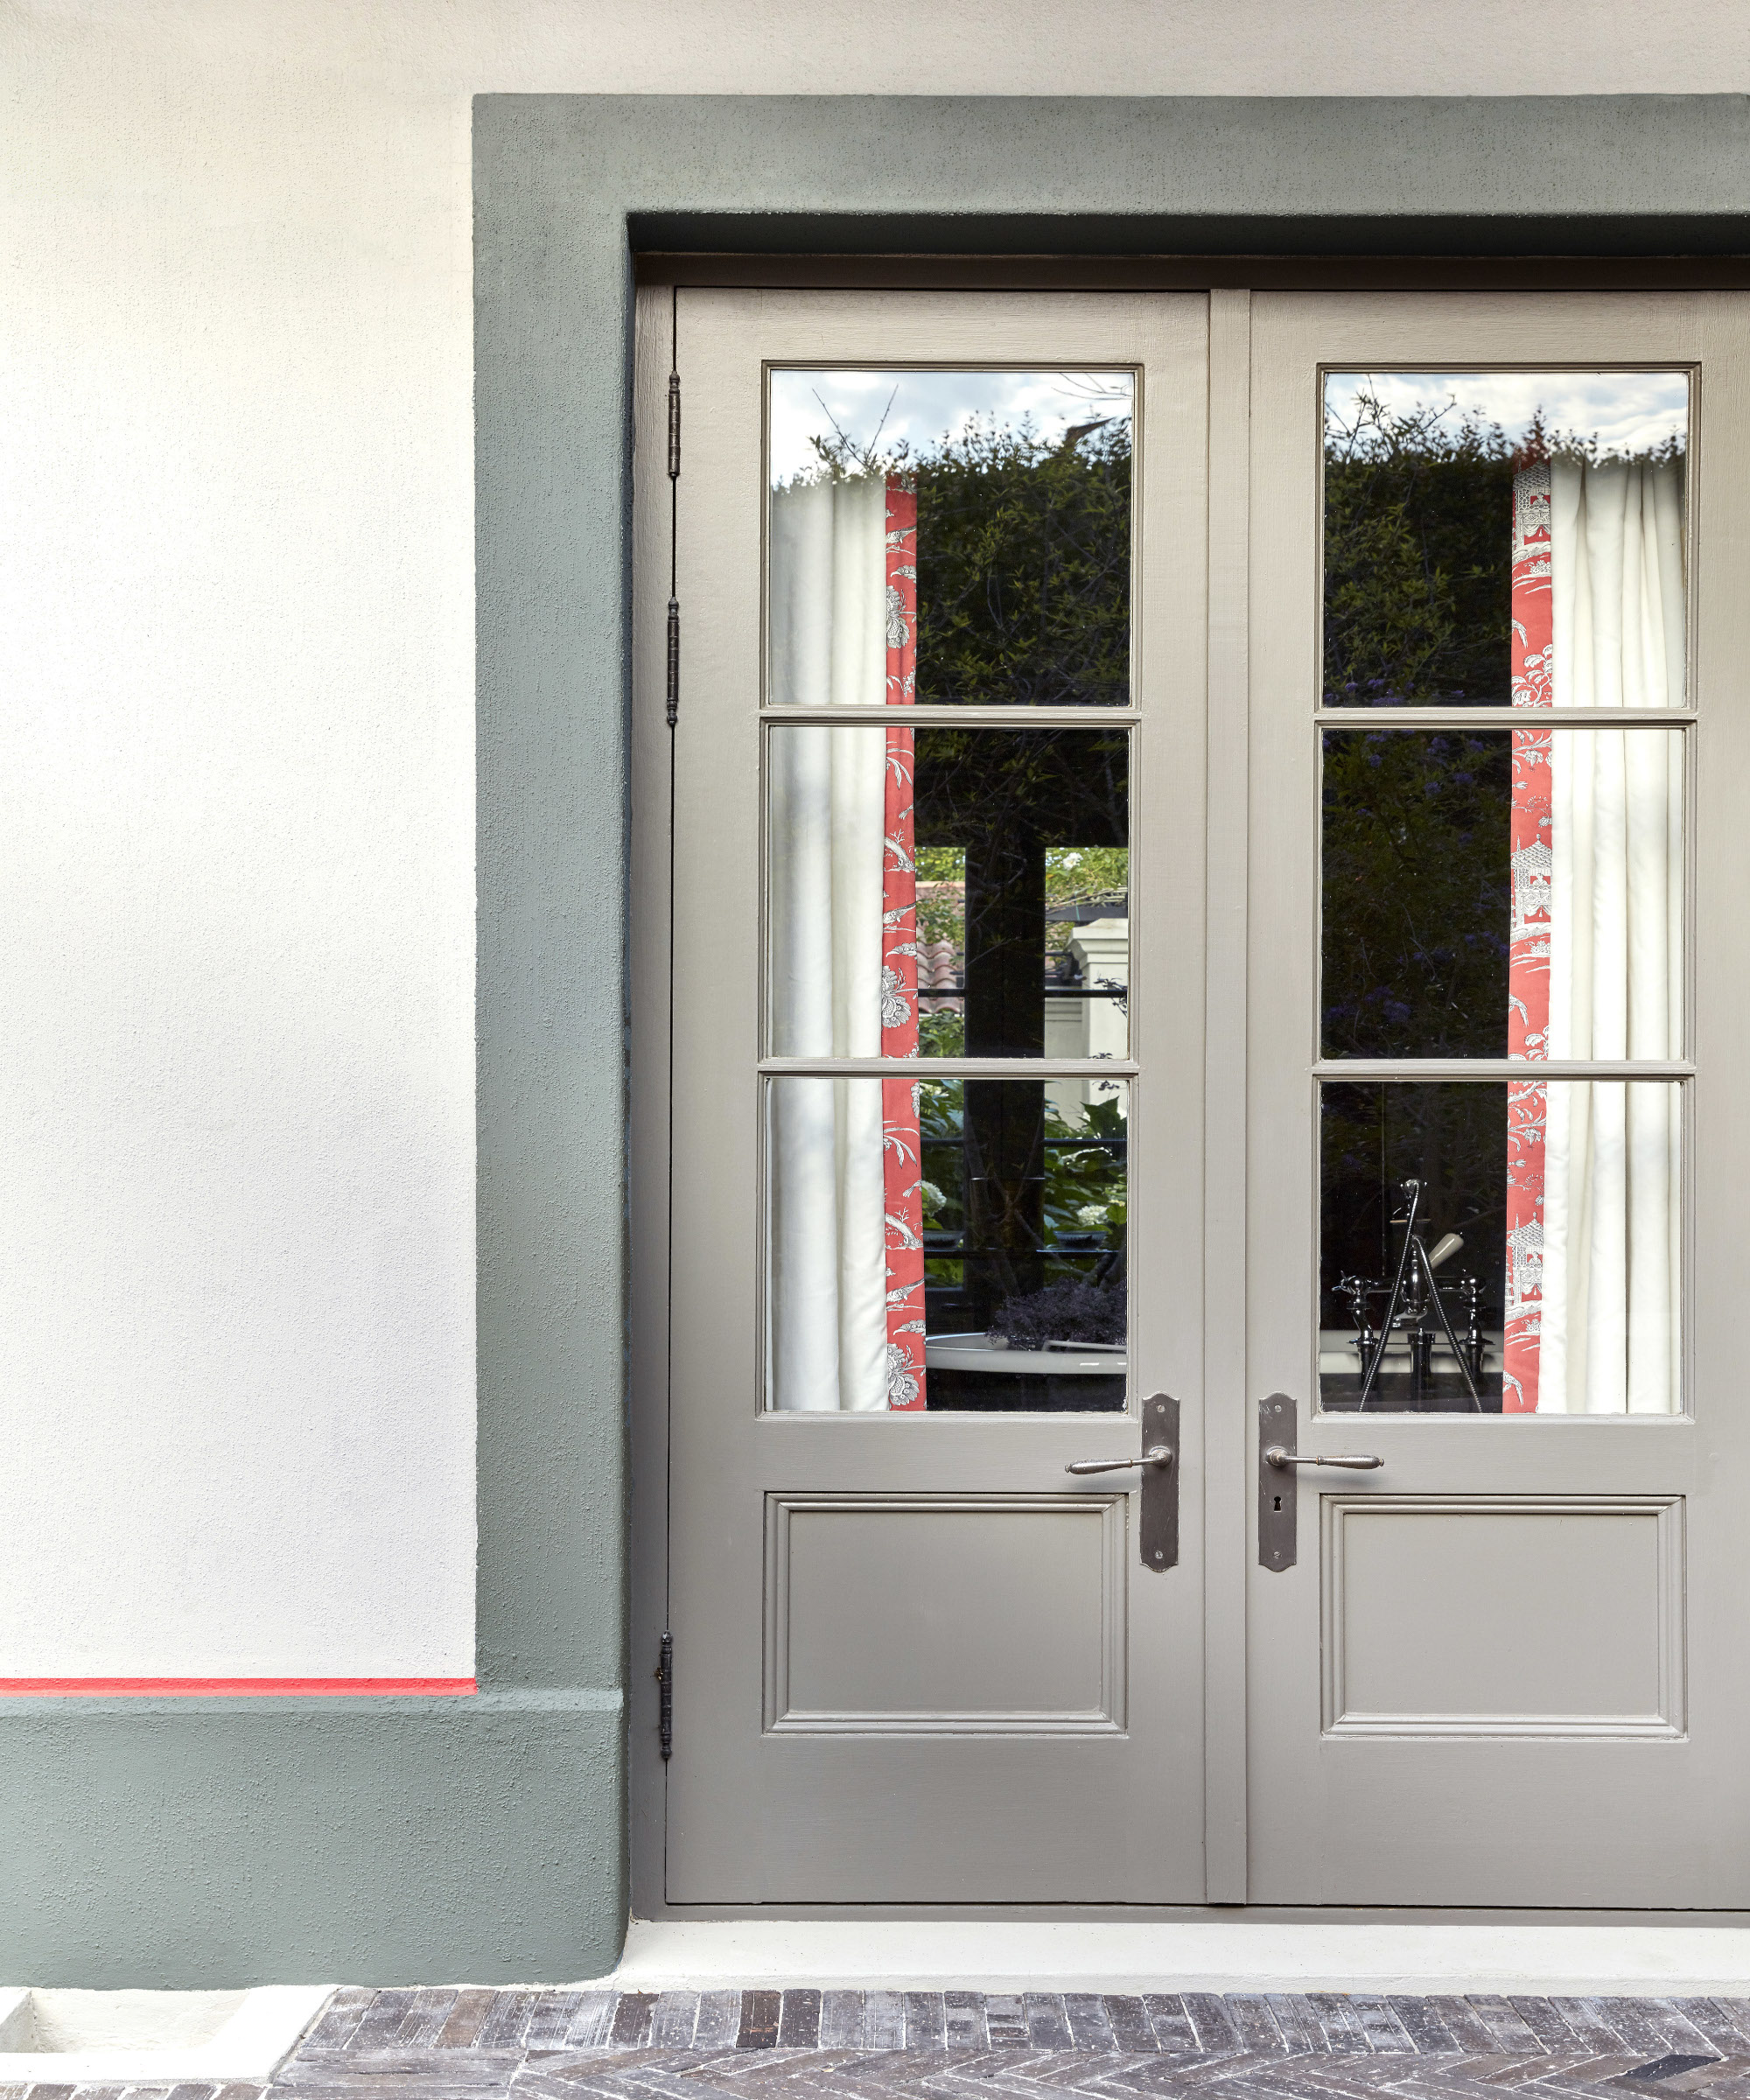
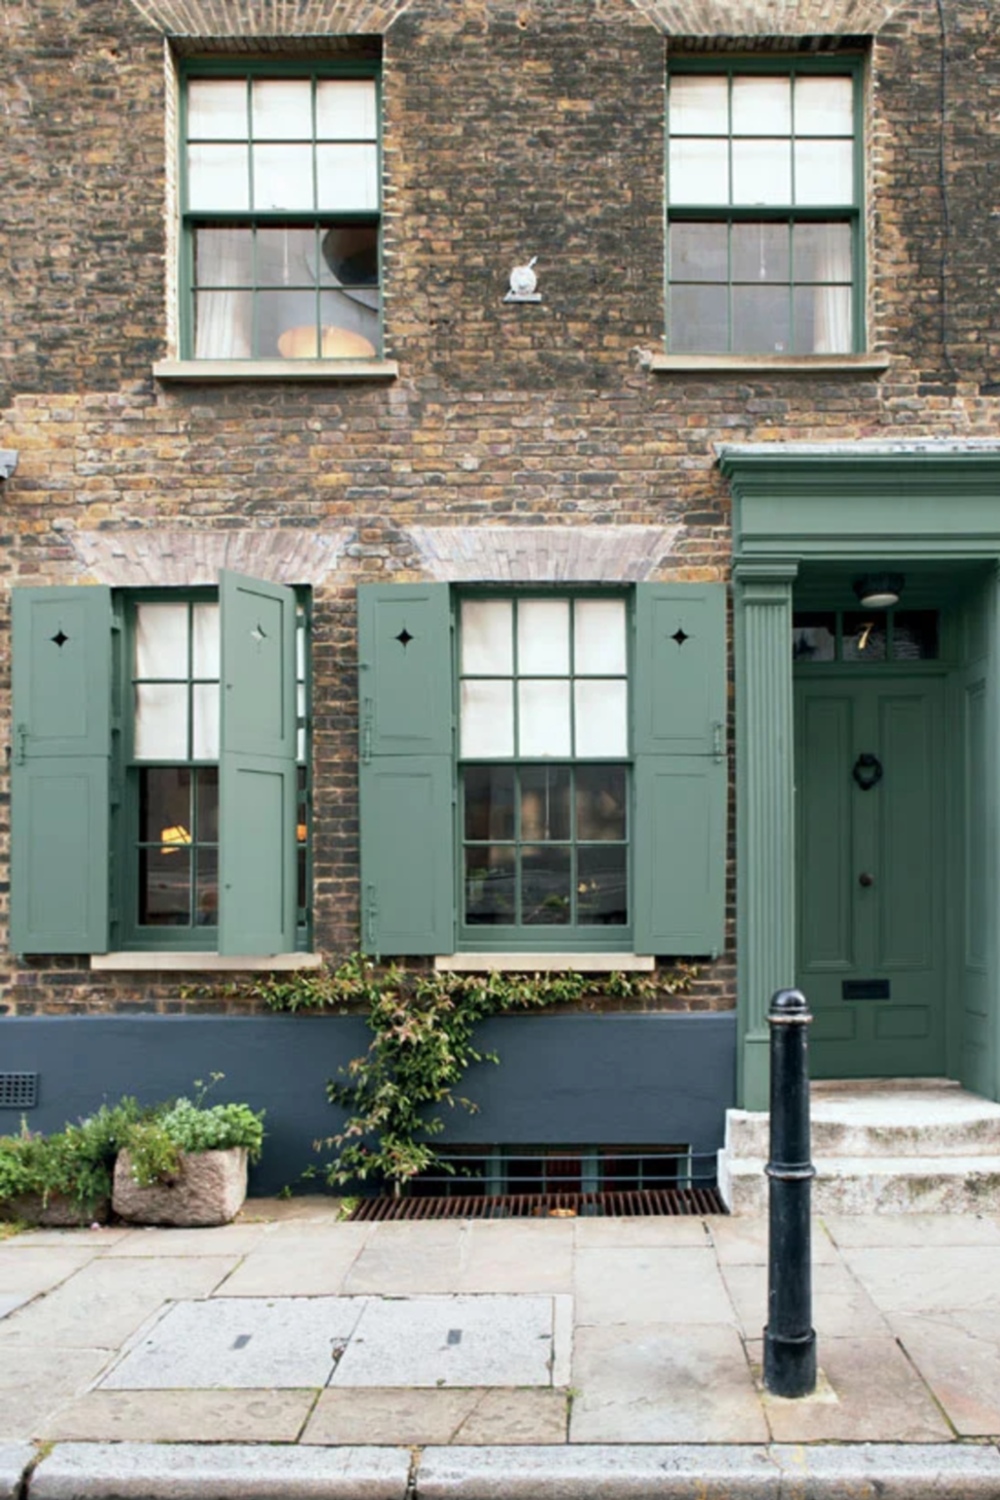
Once the paint is completely dry, masking tape should be carefully removed, and hardware reattached. The article emphasizes the importance of avoiding adverse weather conditions; rain, drizzle, fog, or high humidity can lead to uneven, streaky finishes, mildew, condensation, or a tacky texture. Similarly, painting in hot, direct sunlight can cause the paint to dry too quickly, leading to adhesion problems. The ideal air temperature for uPVC painting is between 50°F and 77°F. Windy conditions should also be avoided, as airborne debris can stick to fresh paint. Choosing a fast-drying uPVC paint can mitigate this risk. Finally, considering alternative exterior paint colors beyond white can significantly enhance a home's curb appeal.
#uPVCWindows #WindowPainting #DIYHomeImprovement #HomeMaintenance #ExteriorPainting #PaintApplication #WindowFrames #uPVCWindows #WindowPainting #DIYHomeImprovement #HomeMaintenance #ExteriorPainting #PaintApplication #WindowFrames
0 comment in total
 No comments yet
You may also like
I’m a paint expert - the £1.25 buy pros swear by for a flawless finish on walls

The Best Way To Paint Wood Paneling, According To An Expert
Home Window Installation, Parts and Repair

Can You Paint Vinyl Siding? Yes, Here's What You Need to Know

How to choose the best exterior paint for doors and windows


6 window treatment trends that interior designers swear by for a quick and easy update
Professional Tips on Exterior Paint for Your Home

Trend Alert: Here’s How To Perfect The Painted Ceiling Look

How to paint a ceiling - the expert guide to giving the fifth wall a fresh look
Window treatment tips to liven up your living quarters


Curtain call: How to choose window treatments
A Beginner’s Guide to High-Performance Windows

Paint tips from a pro!

How to dress a window - three design experts explain how to plan the perfect window dressing

This expert’s ‘BRB’ technique is something I'll forever use when painting wall paneling to avoid drips and paint build-up
Can you paint vinyl windows? Expert painters urge caution and vital steps to avoid damage
This New DIY Will Make Your Windows and Wall Treatments Look Way More Luxe and Fun
How to panel a wall – DIY this trending look in your home this weekend
The best paints for streak-free coverage, from Dulux to Farrow & Ball

How to apply polyurethane – with painting pointers from professionals