1/7
How to refresh wood floors using gel stain for a simple and budget-friendly DIY
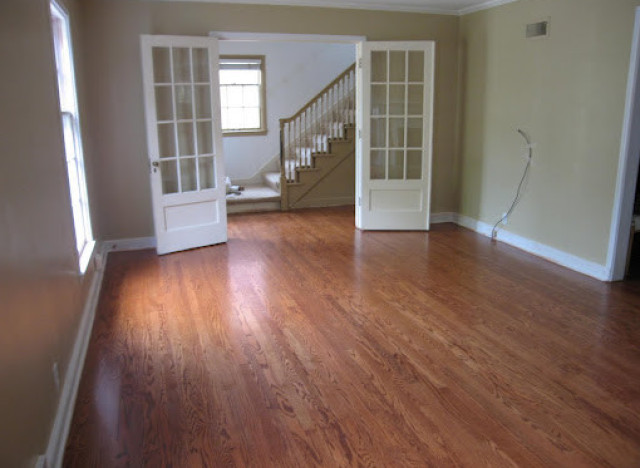
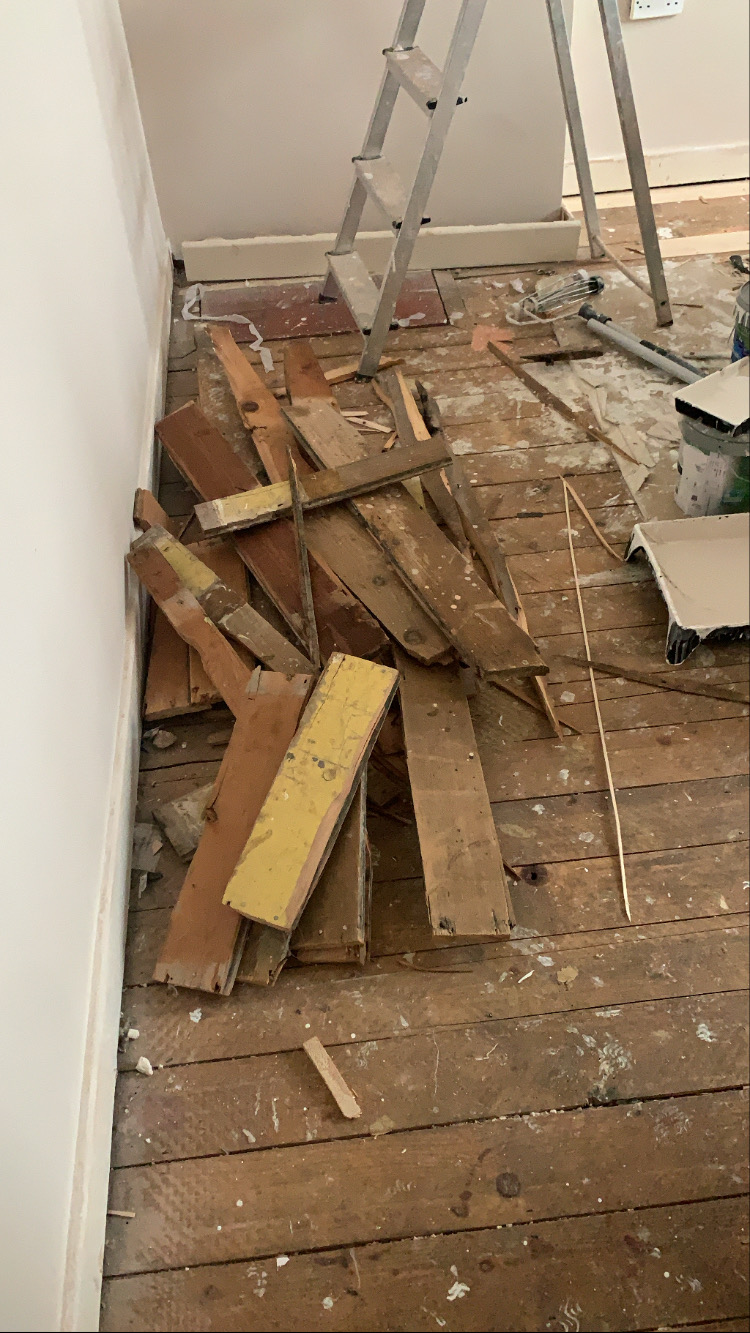
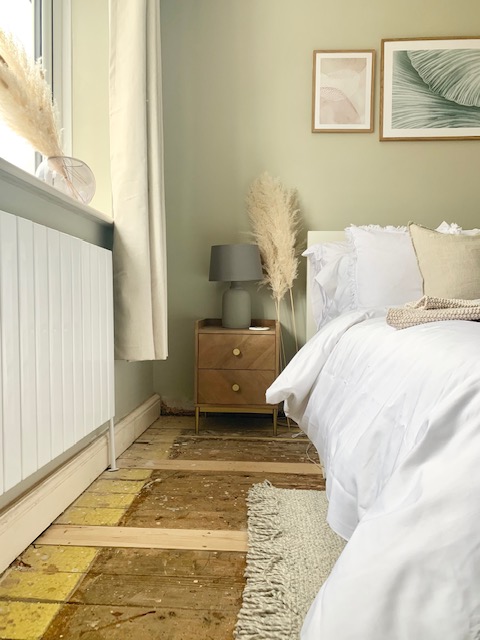
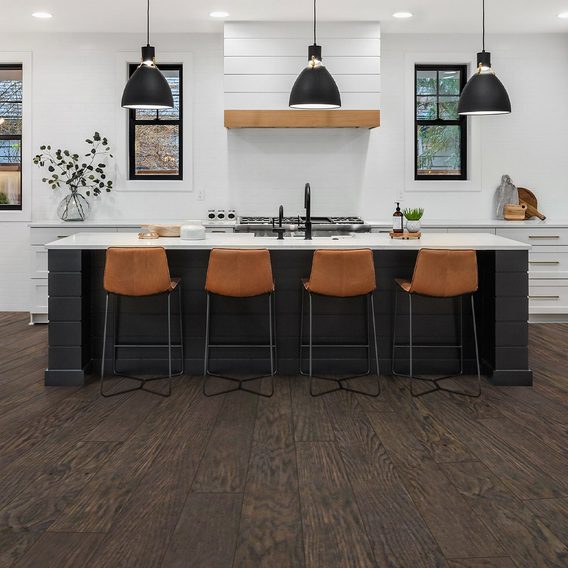
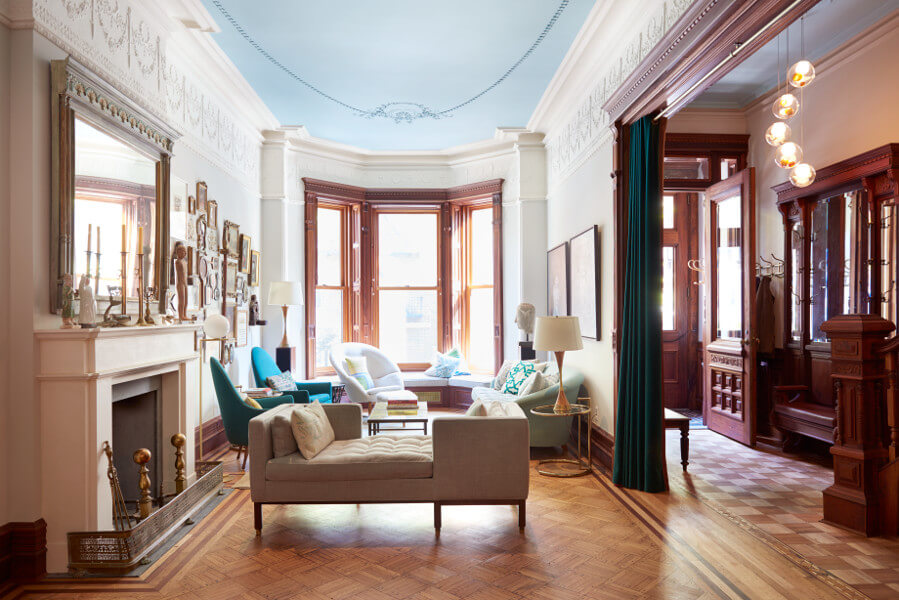
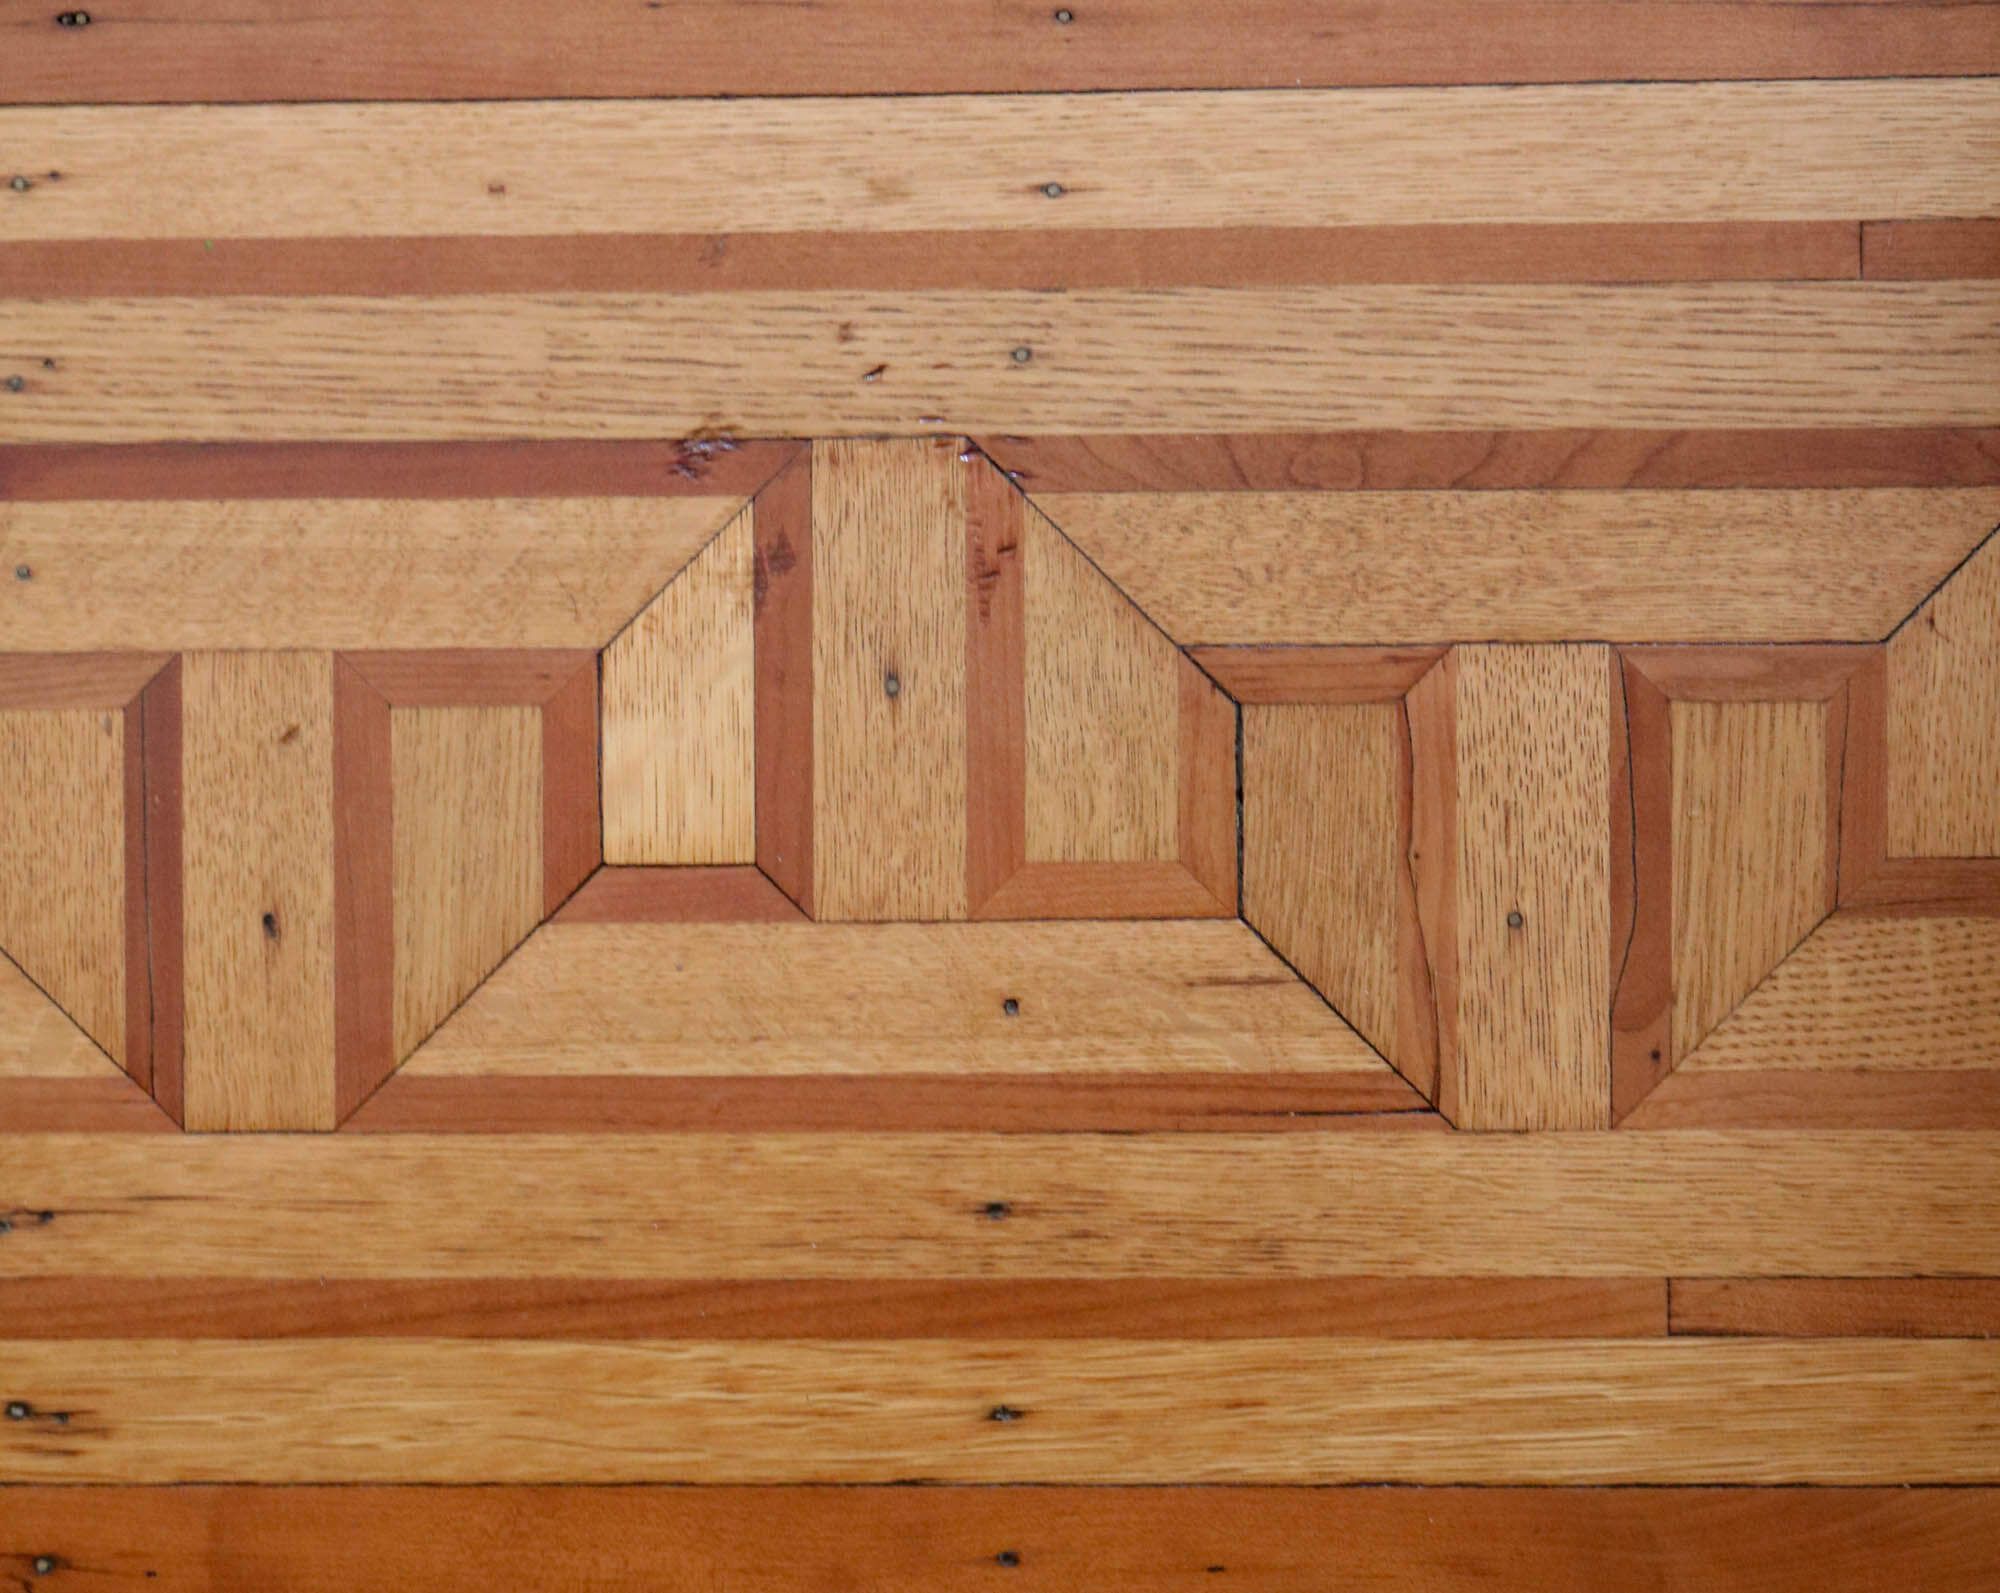
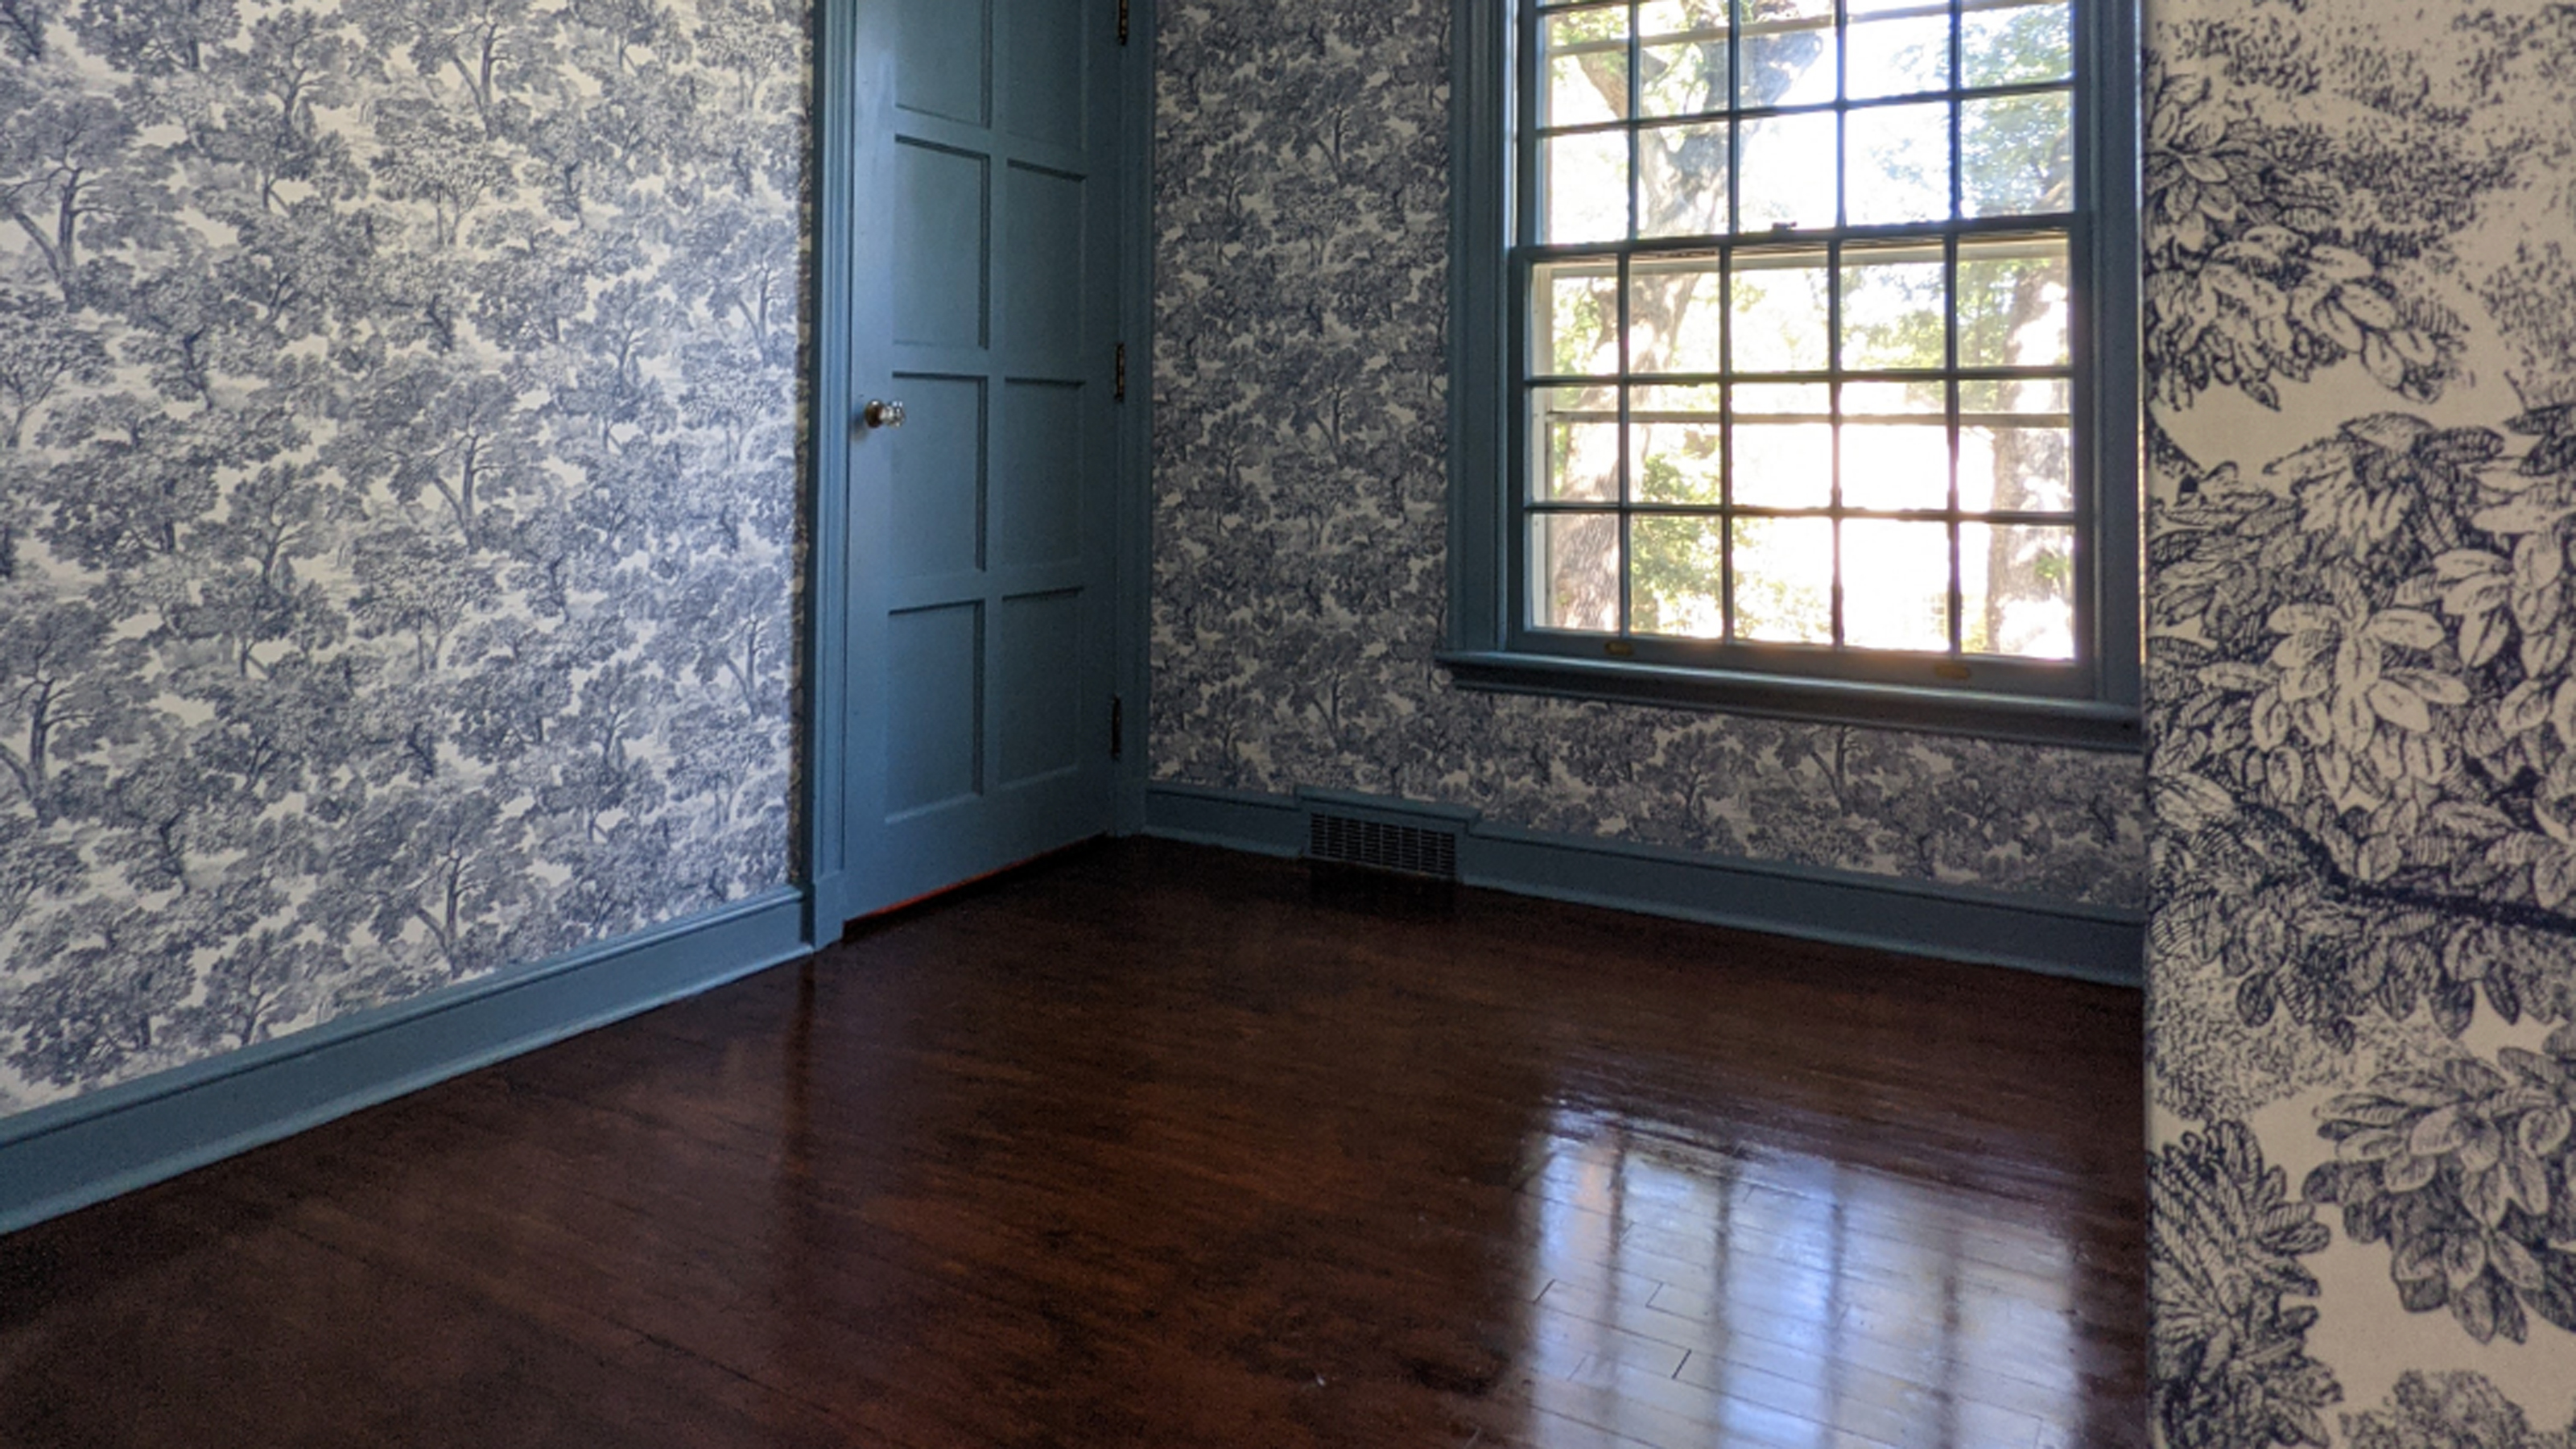
This article outlines a DIY method for refreshing worn wood floors using gel stain, offering a budget-friendly alternative to full refinishing. The author shares a personal experience of dealing with discolored, poorly refinished floors in their 85-year-old house, contrasting them with the original, well-preserved sections. The goal was to achieve a cohesive look without the extensive work and cost of traditional floor refinishing, particularly while children are still young.
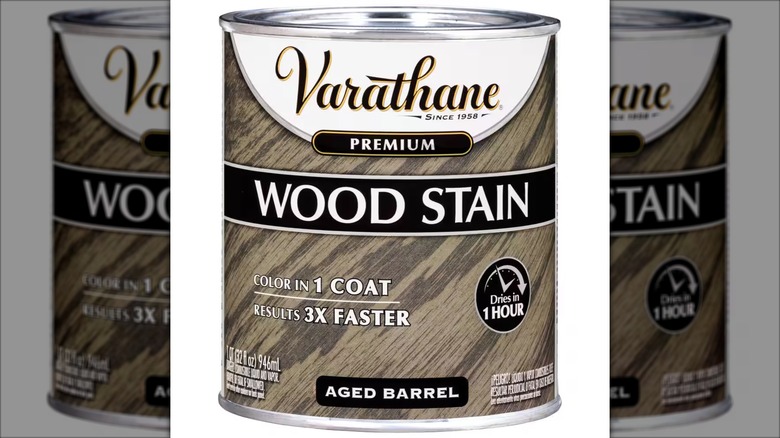
The article emphasizes the advantages of gel stain for this purpose. Unlike traditional stains that penetrate the wood, gel stain sits on the surface, making it a good option if full refinishing is planned in the future. It also requires less preparation, does not drip, and provides a more opaque finish. The author highlights their extensive positive experience with gel stain for various projects, including painting checkerboard floors, staining paneled walls, aging a fireplace mantel, and refreshing furniture.
The four-step process begins with thorough floor preparation. This involves cleaning the floors with a steam cleaner and a mixture of water and vinegar, ensuring they are completely dry. For floors that are particularly glossy or worn, applying a deglosser is recommended. The deglosser, wiped on with a textured cloth or abrasive pad, breaks down the existing finish, allowing the new stain to adhere better. A no-sand approach was initially attempted, but deglossing proved beneficial for the author's floors.
The second step involves applying the gel stain. The author initially used foam brushes but found that a two-inch bristle brush provided more even results. The key technique here is to maintain a "wet edge" to avoid visible start and stop lines. A wallpaper smoother is suggested as a guard to prevent staining quarter rounds without the need for taping. The author used "Coffee" colored gel stain for the first coat.
Following the application, excess stain must be wiped off. The author experimented with different techniques and found that a small foam roller yielded the most even results. Rollers should be replaced once they stop absorbing excess stain. After wiping, the first coat is allowed to dry for 24 hours.
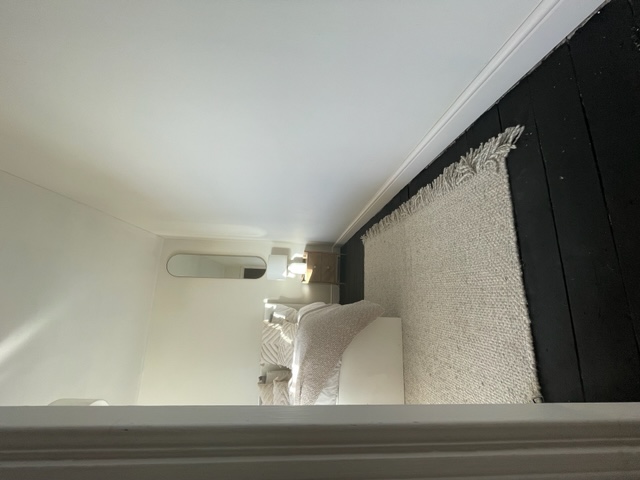
The fourth step involves applying a second coat. To achieve a color and variation that blended with the original floors and avoid making them too dark, the author opted for "Antique Maple" gel stain for the second application, repeating the same process as the first coat. Finally, a topcoat is applied after the gel stain has cured for a week. The author tested both a matte poly coat and floor wax, preferring the wax for its aesthetic and easier application and faster drying time. The wax is wiped on with a lint-free cloth, allowed to dry, and then buffed with another lint-free cloth. The finished floors are described as blending seamlessly with the original ones, creating a more cohesive and intentional feel in the upper level of the house.
#WoodFloorRefresh #GelStainDIY #HomeImprovement #BudgetFriendlyRenovation #FloorStaining #DIYHomeDecor #InteriorDesign #WoodCare #WoodFloorRefresh #GelStainDIY #HomeImprovement #BudgetFriendlyRenovation #FloorStaining #DIYHomeDecor #InteriorDesign #WoodCare
0 comment in total
 No comments yet
You may also like
Can a DIY wood floor cleaner leave your floors gleaming? Experts share their favored techniques

Tired of tiptoeing? These 5 methods for fixing creaking wooden floors are approved by the pros
Home Flooring Installation and Repair

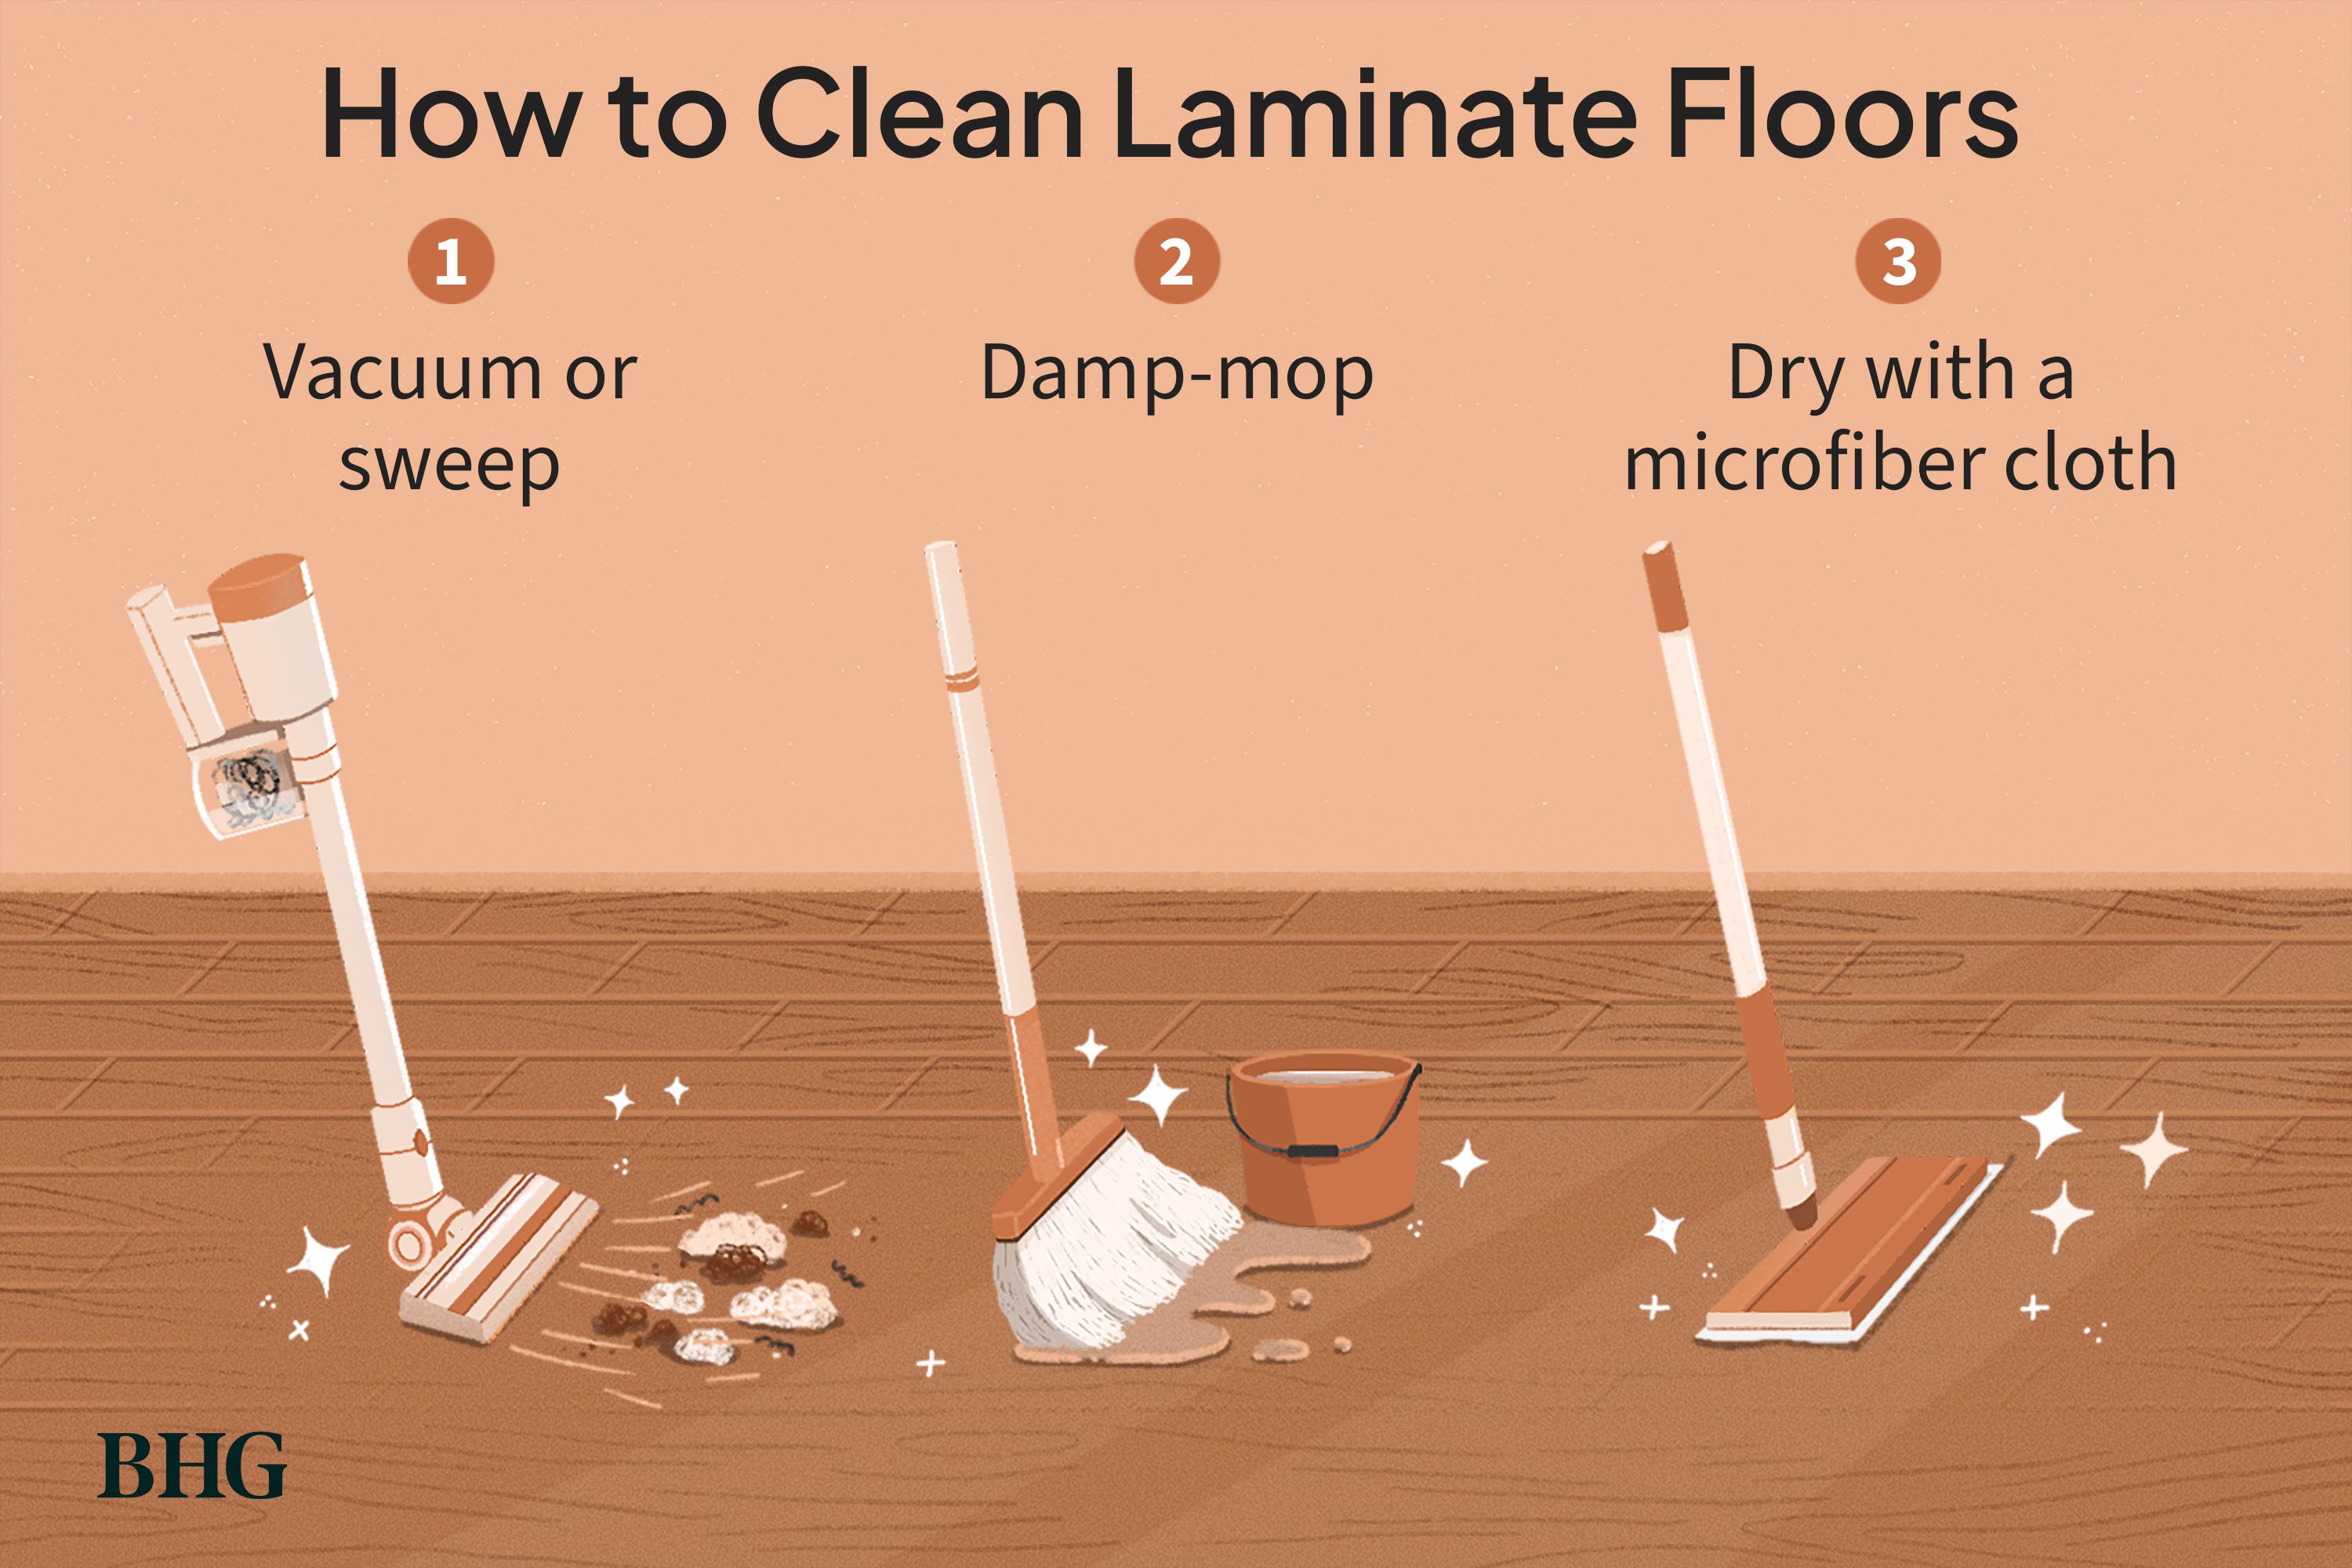
How to Clean Laminate Floors to Protect Their Shiny Finish

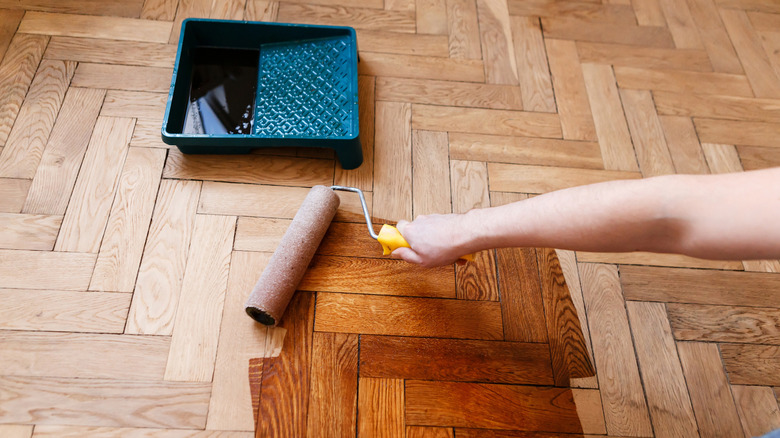
Here Are 2025's 8 Best Floor Stain Colors To Choose From
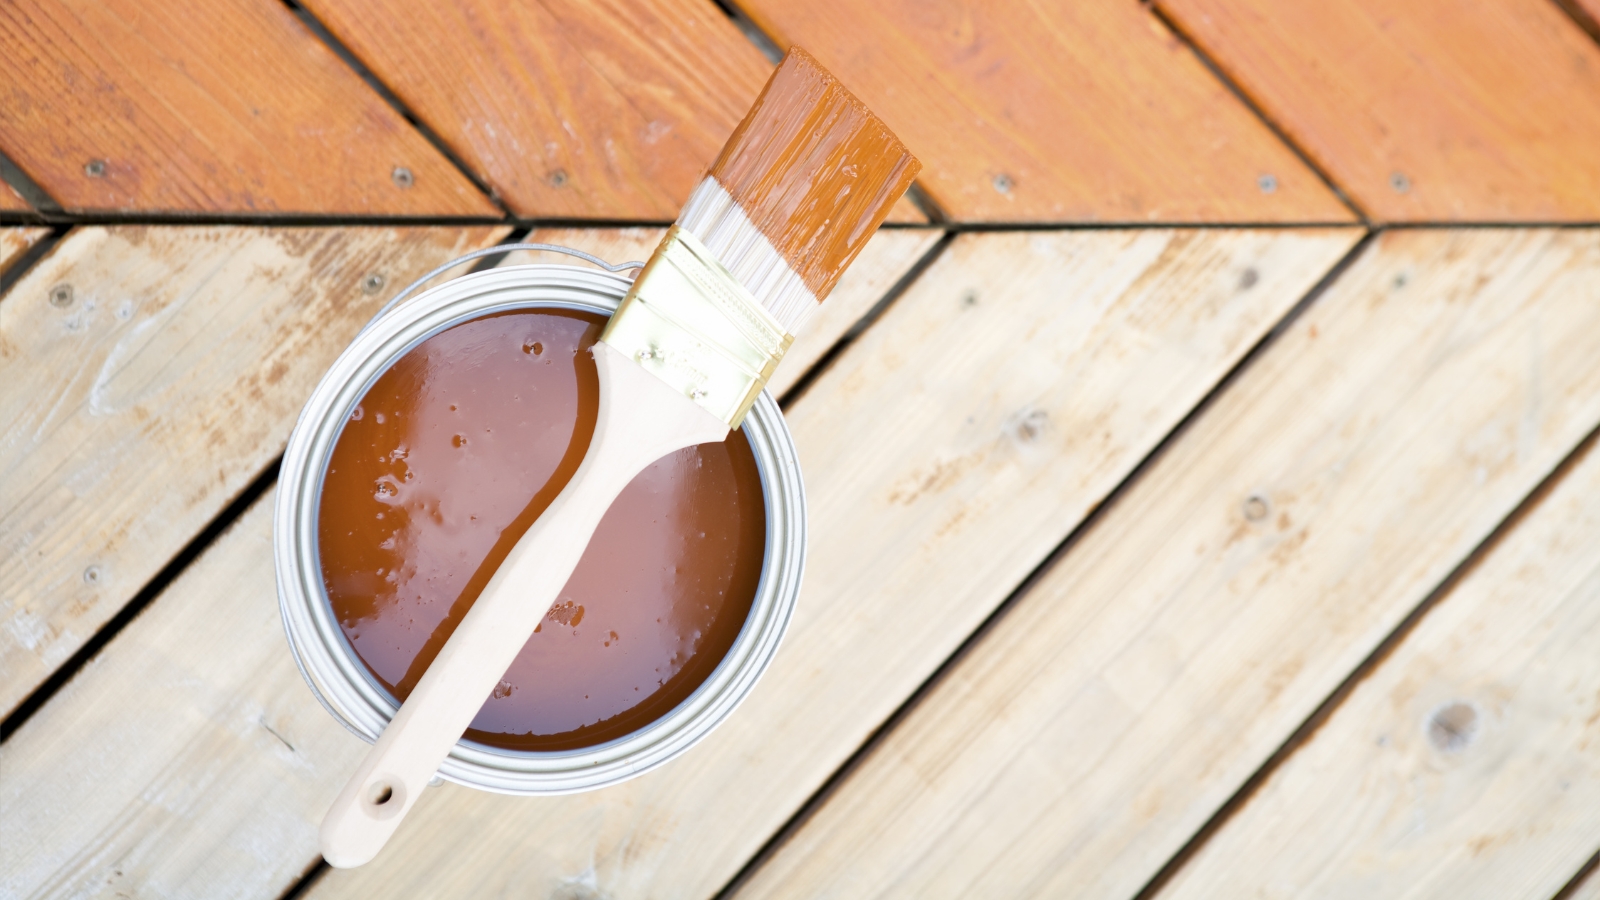
How to paint wood floors – get a lasting shine in 5 easy steps

A former hoarding technician shares the best tips for cleaning wood floors and carpets

Can You Guess the Color Palette of My Living Room Makeover? Step Inside!

How to restore hardwood floors without sanding – a step-by-step guide
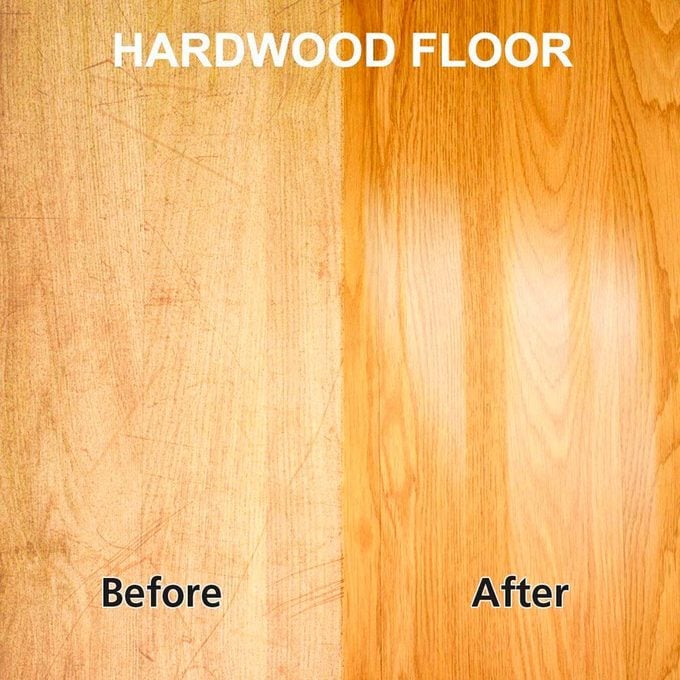
Want Shiny Hardwood Floors? Here’s How to Rejuvenate Them

How to Know When an Old Wood Floor Is Worth Restoring or Should Be Replaced
10 Top Hardwood Floor Cleaners To Keep Them Looking Like New

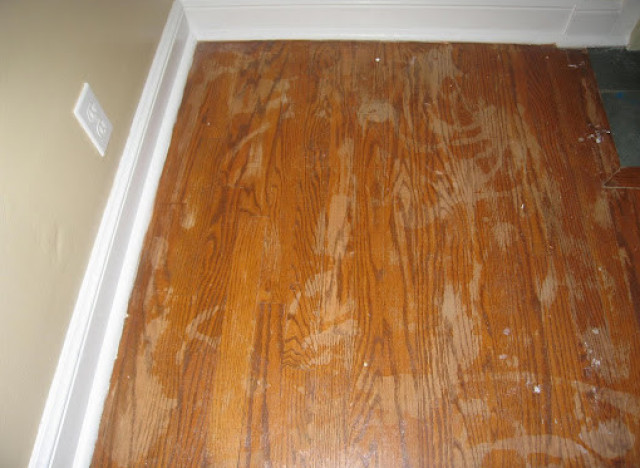
DIY Ideas: Tips For Refinishing Wood Floors
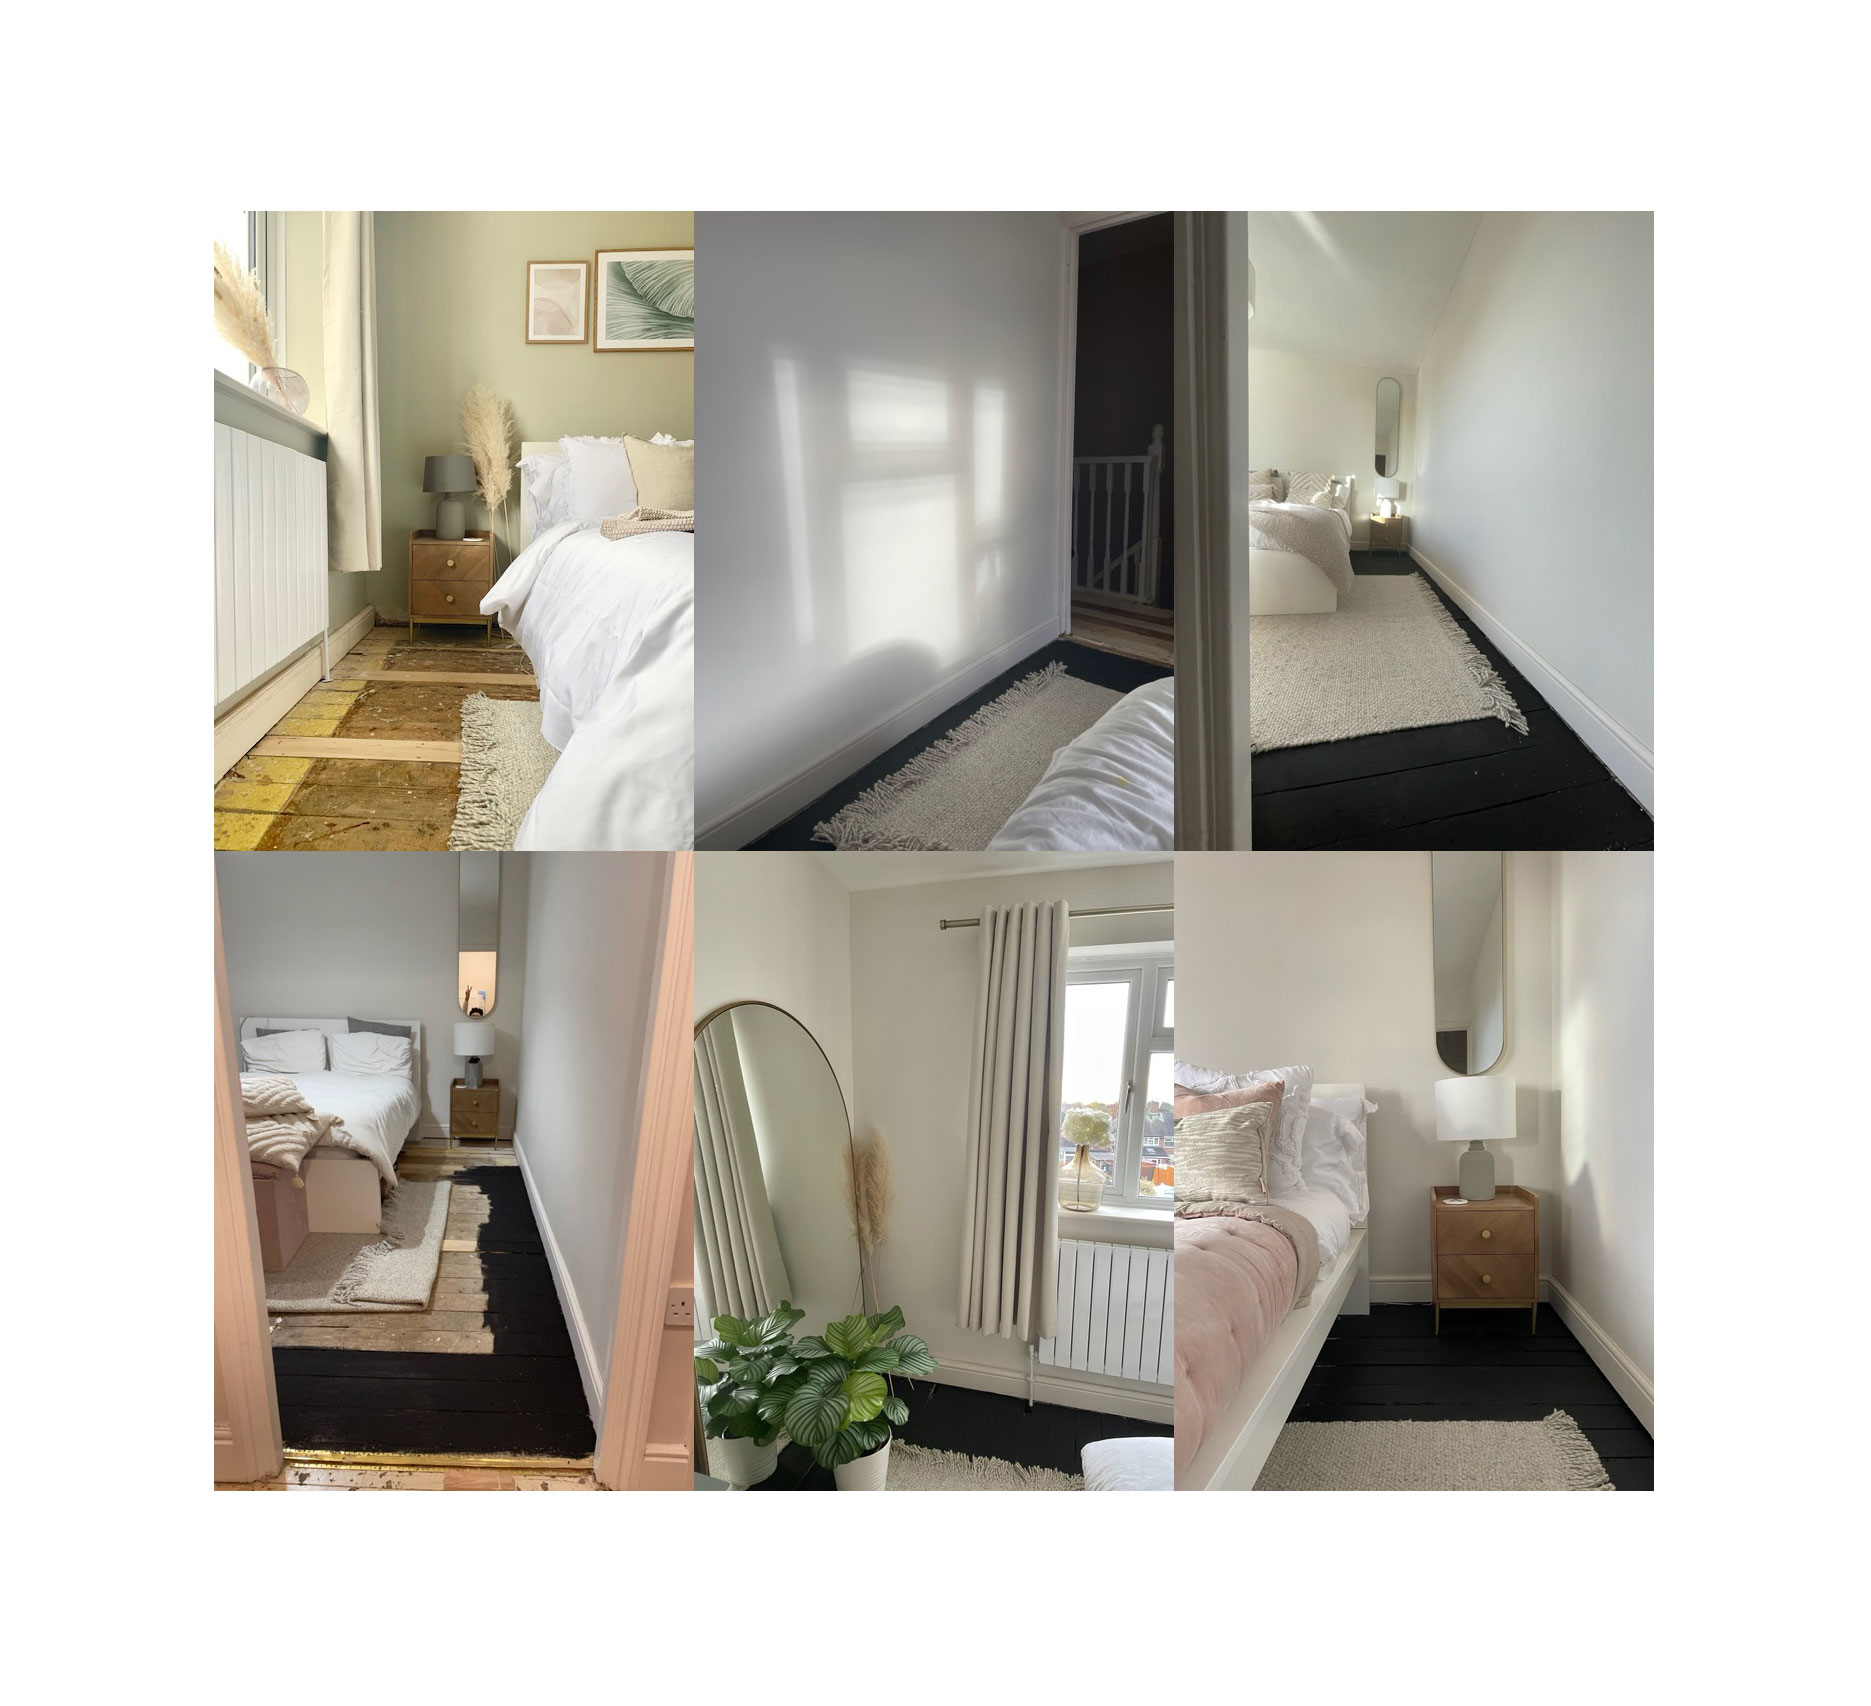
3 steps to cover ugly wood floors mid-home reno

Refresh Your Living Room the Easy Way

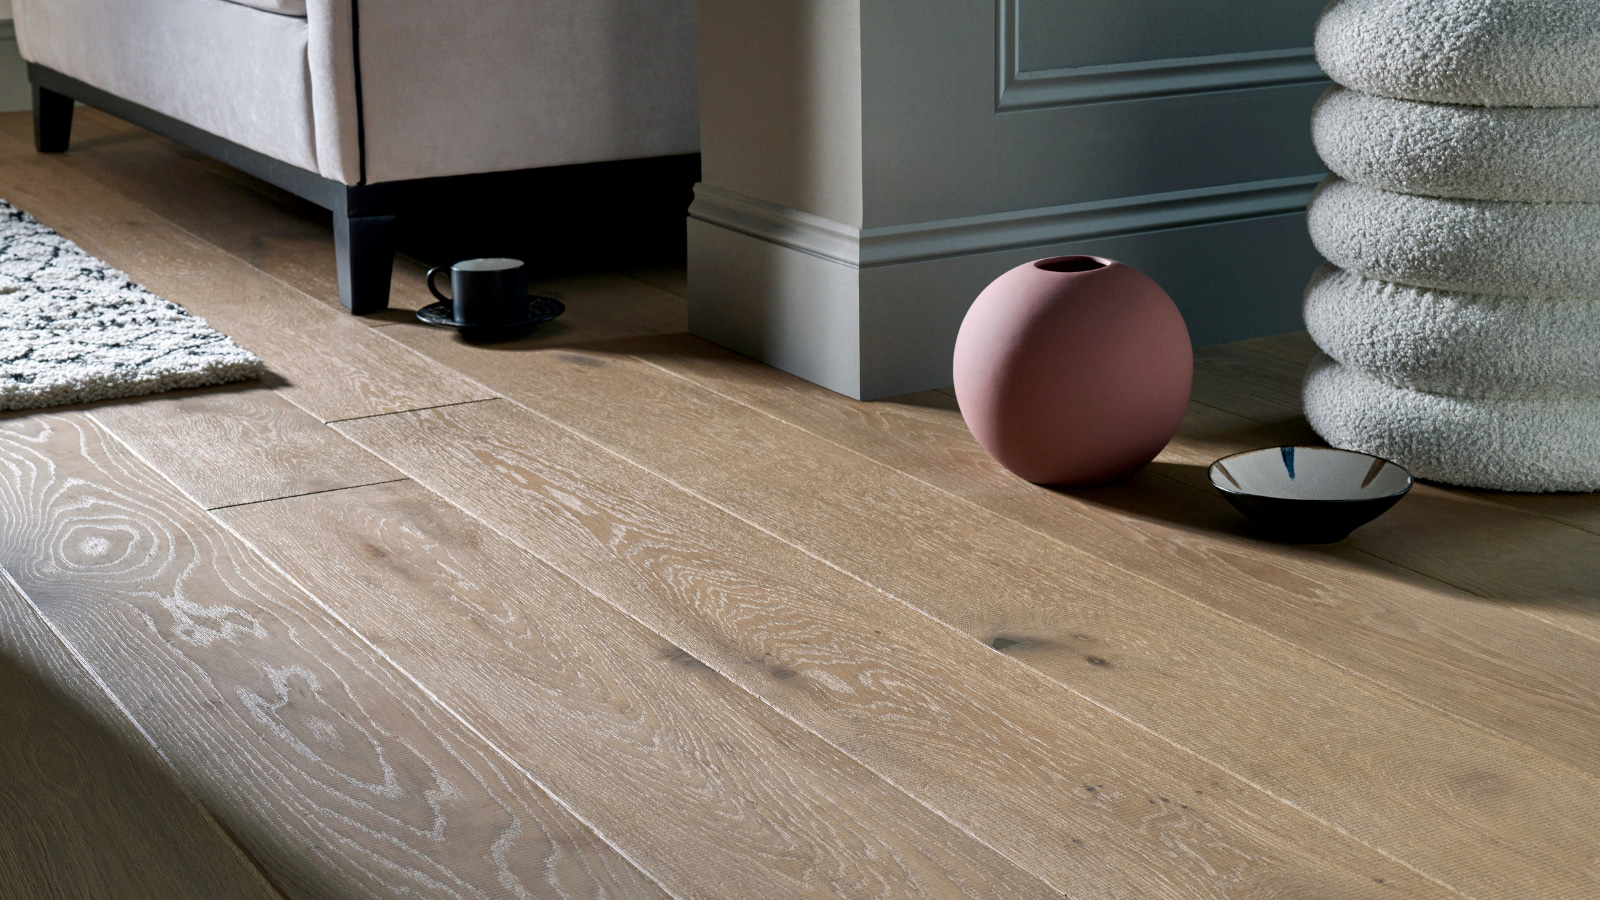
How to clean laminate floors for extra shine – and what to avoid to protect the floor's surface for years
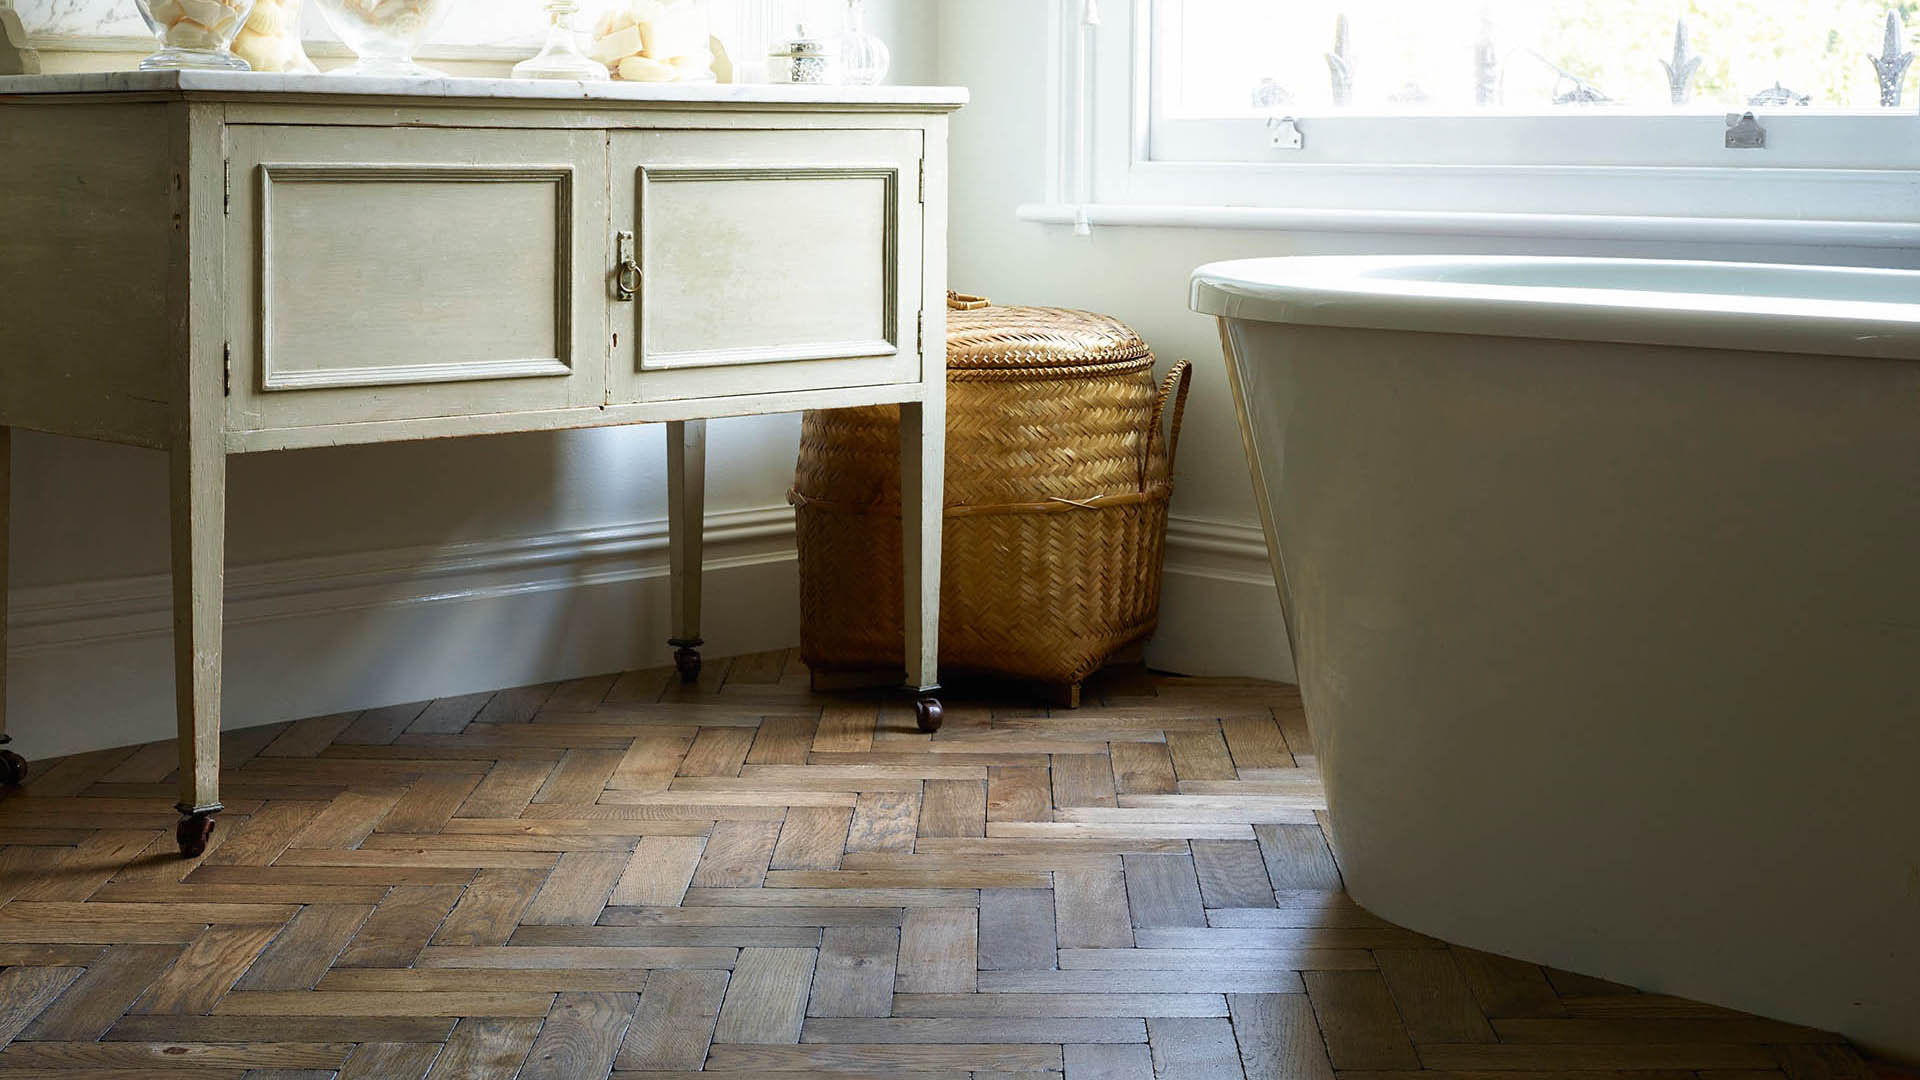
How to clean hardwood floors – experts reveal the best techniques
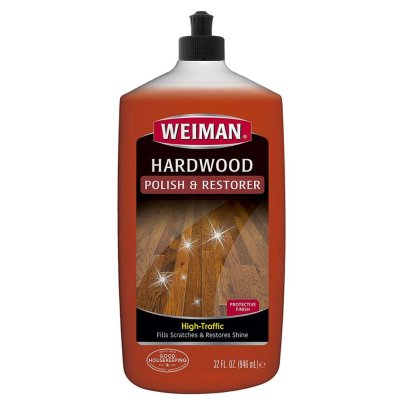
This $20 Product Revived Worn Hardwood Floors in 30 Minutes

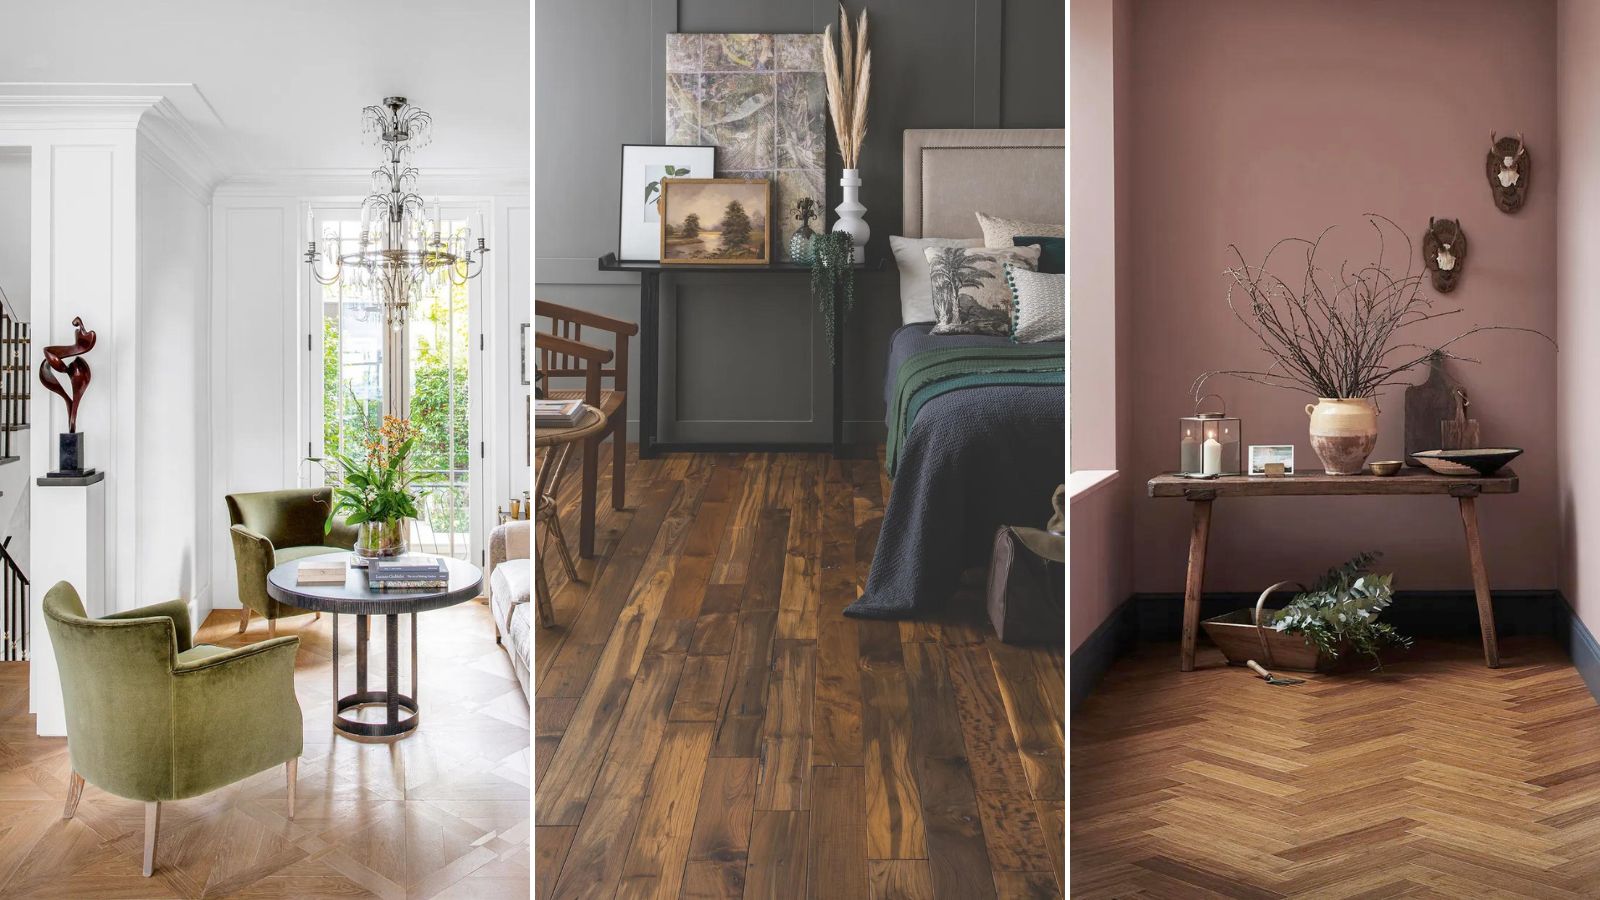
I swear by this incredibly easy 5-step method for cleaning real wood floors
6 Ways to Make Your Outdated Flooring Look Stylish Without Doing a Full Scale Reno