1/5
Here's How to Fix a Running Toilet Without Calling a Plumber
A running toilet is more than just an annoyance; it can lead to significant water wastage and increased utility bills. Modern toilets typically use about 1.2 gallons per flush, and a constantly running toilet can waste between 30 to 50 gallons of water daily. There are two primary reasons for a toilet to run continuously: a faulty fill valve or a leaky flapper. Both issues are common and can be addressed without professional help, saving homeowners considerable costs compared to hiring a plumber, who might charge $150 or more per hour. This article provides a step-by-step guide to diagnose and fix these problems, with necessary parts costing less than $50.
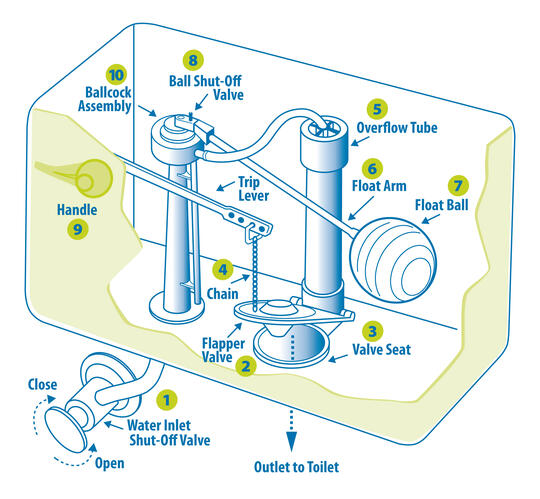
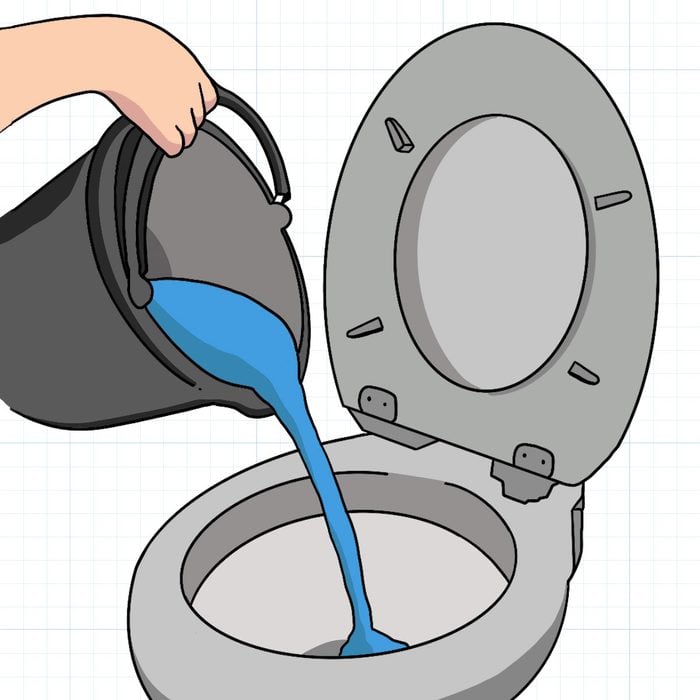
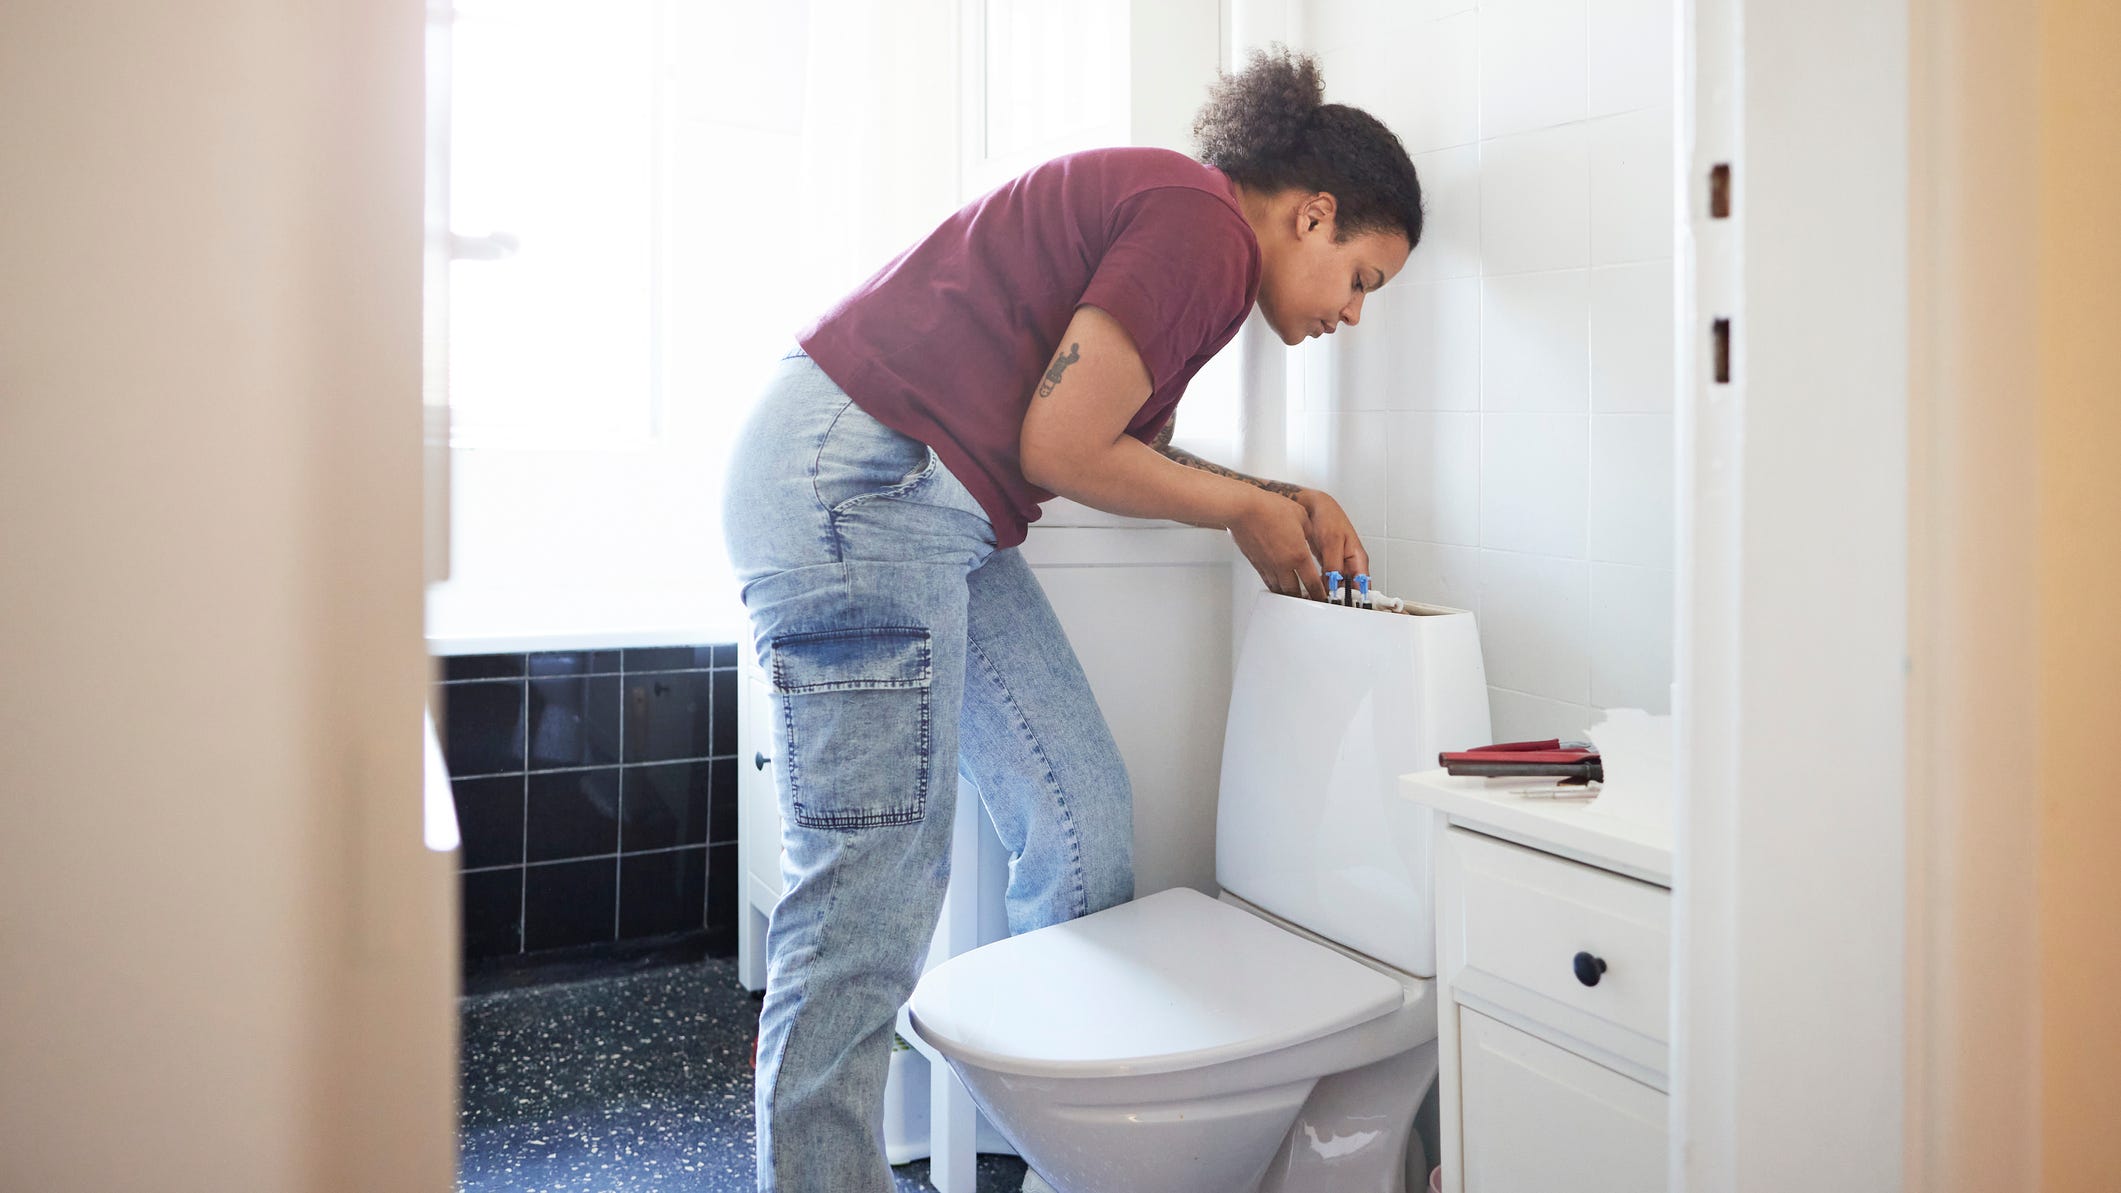
The first common problem is a faulty flapper. The flapper is a rubber gasket at the bottom of the toilet tank that controls the release of water into the bowl. Over time, it can degrade, allowing water to trickle out and causing the tank to refill intermittently, often referred to as “ghost flushing.” Mineral buildup from hard water or natural aging can make the rubber less pliable and misshapen. To diagnose this, one can remove the tank lid and press down on the flapper; if the running stops, replacing the flapper is the solution. Before starting, it is crucial to gather a bucket, old towels, and take photos of the existing setup, including the flapper chain's length. The water supply to the toilet should be shut off, and the tank drained by flushing. After soaking up any remaining water, the old flapper can be removed, and a new one installed according to its instructions. Proper seating of the flapper and correct chain length are essential for its functionality. Finally, the water supply is restored, and the toilet is flushed to test the repair.
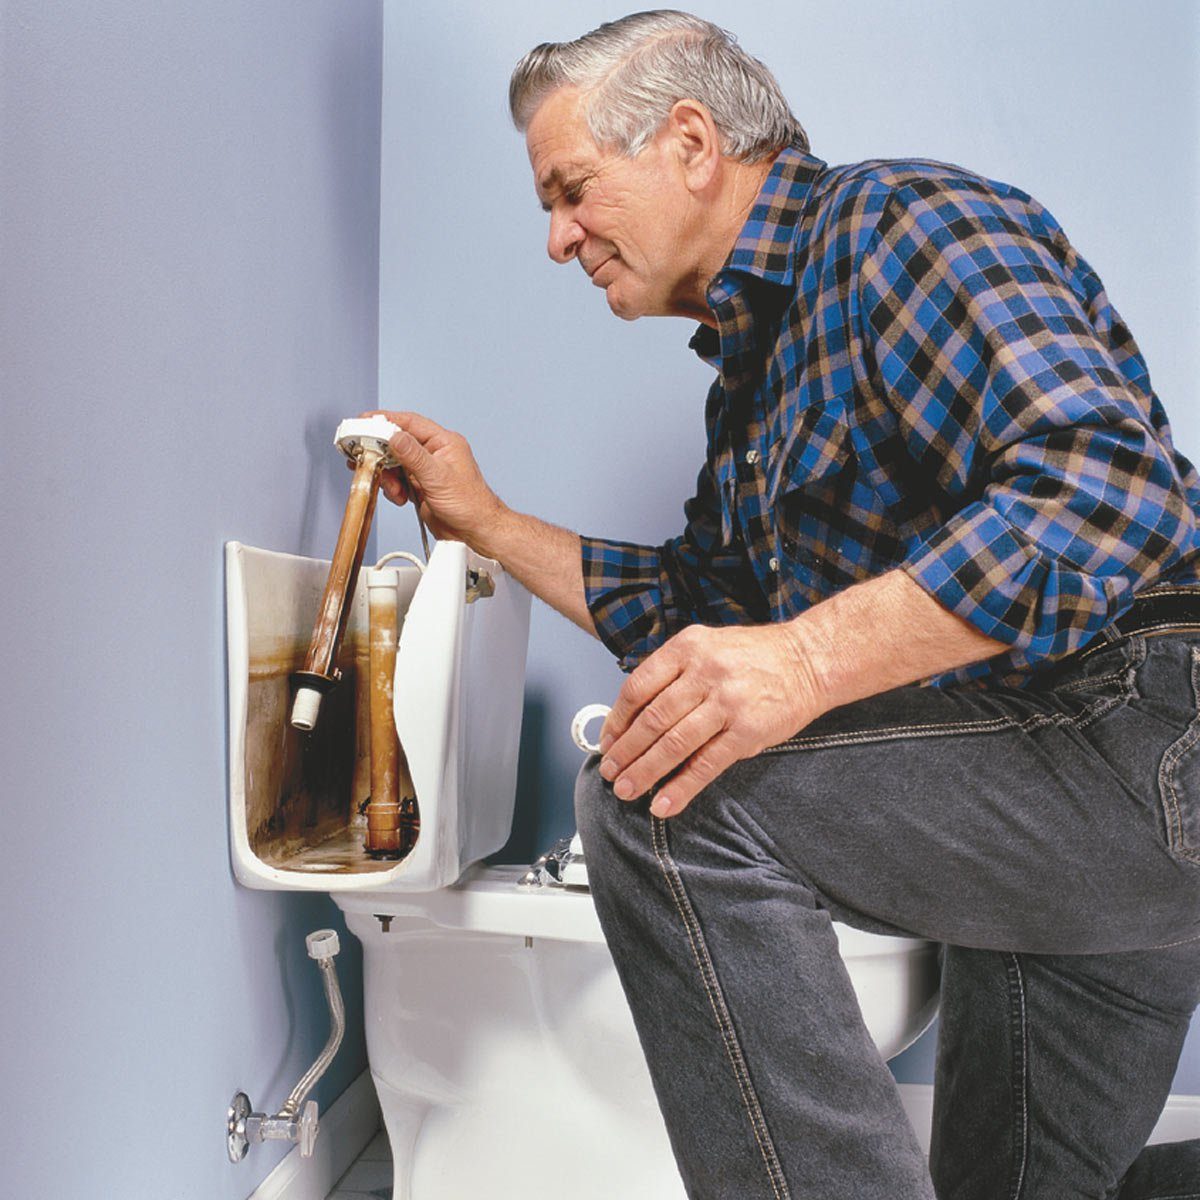
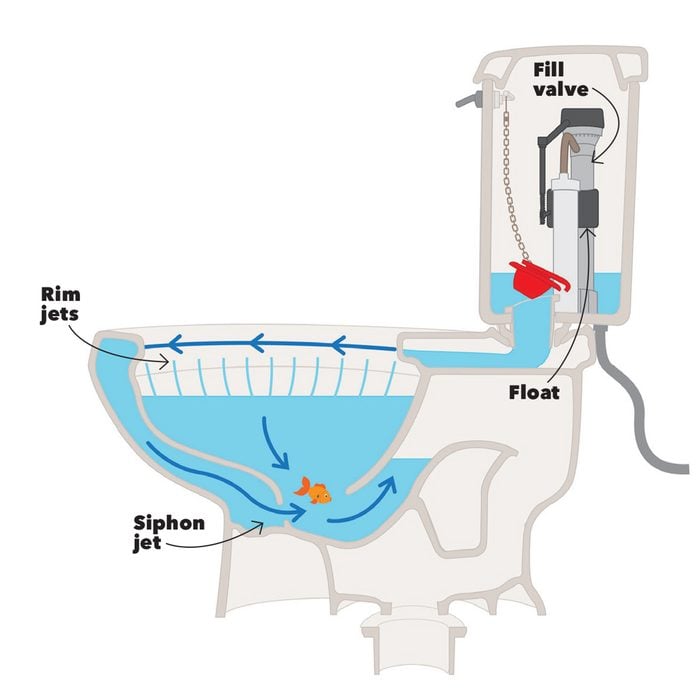
The second common issue is a bad fill valve, which causes the toilet to run continuously as the tank constantly attempts to fill. The fill valve is the tall component with a float inside the tank. Similar to replacing the flapper, taking photos of the setup and purchasing the correct replacement kit are important. After shutting off the water supply and draining the tank, the fill valve is removed by unscrewing the water supply line and the locknut at the bottom of the tank. A bucket and towels should be in place to catch any spills. The new fill valve is then inserted and secured, ensuring it is not overtightened to avoid damage. The height of the new valve should be adjusted to match the original setting, especially for taller tanks. A refill tube connects the fill valve to the overflow pipe and may need trimming to the correct length. Once installed, the water is turned back on to check for leaks as the tank partially fills, and a final flush tests the complete repair.
Repairing a running toilet is generally straightforward, requiring attention to detail and the correct replacement parts. Homeowners are encouraged not to be intimidated by the task, to allow ample time, take reference photos, and always ensure the water supply is turned off before beginning any work. Essential tools for this repair include channel lock pliers, and replacement flappers and fill valves are readily available. Successfully performing these repairs can significantly reduce water waste and save money on plumbing services.
#HomeMaintenance #PlumbingRepair #DIYHomeRepair #RunningToilet #WaterConservation #FlapperReplacement #FillValveReplacement #BathroomMaintenance #HomeMaintenance #PlumbingRepair #DIYHomeRepair #RunningToilet #WaterConservation #FlapperReplacement #FillValveReplacement #BathroomMaintenance
0 comment in total
 No comments yet
You may also like
14 Toilet Problems You Should Never Ignore

When Your Sink Won’t Drain, Try This Easy Fix Before Calling a Plumber

What is a rimless toilet? Bathroom experts explain the advantages rimless toilets have to offer
How to stop a gurgling toilet

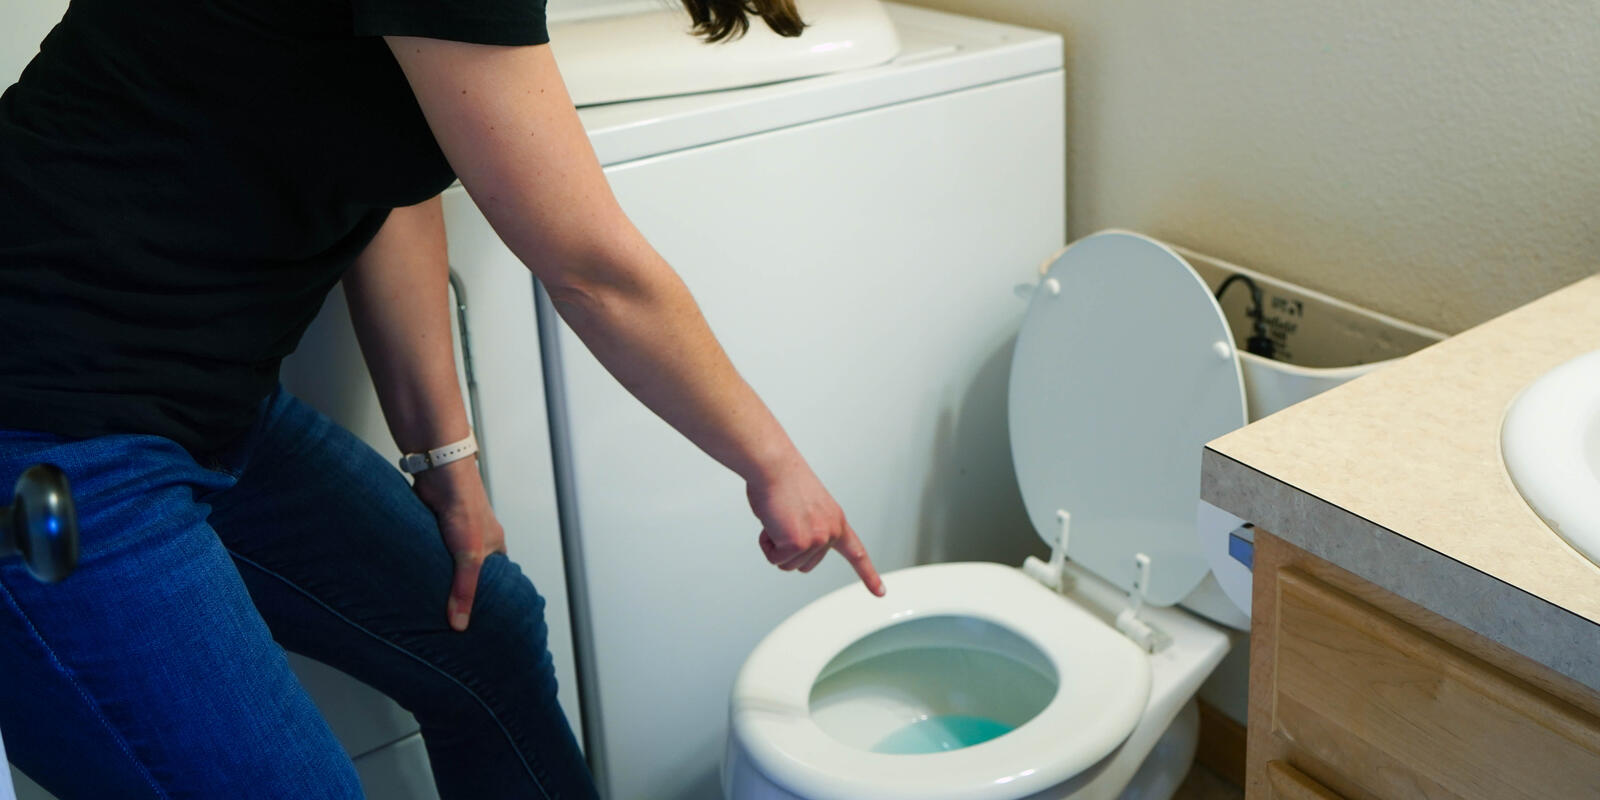
How to catch a running toilet
How to Clear a Clogged Sink Drain—Without Needing to Call a Plumber

How to stop a gurgling toilet
The Best Toilets for Today’s Home, Vetted

How To Unclog a Toilet With or Without a Plunger
How to stop a gurgling toilet

I Cleared My Blocked Bathroom Drain in Minutes With This 'Spot On' Fix

How to Tile a Bathroom Floor Yourself

How to Unclog Your Toilet
Bathroom Ideas, Cleaning and Repair

8 Things You Should Never Wash Down The Sink

How to ditch the bathroom clutter and restore its zen-like serenity
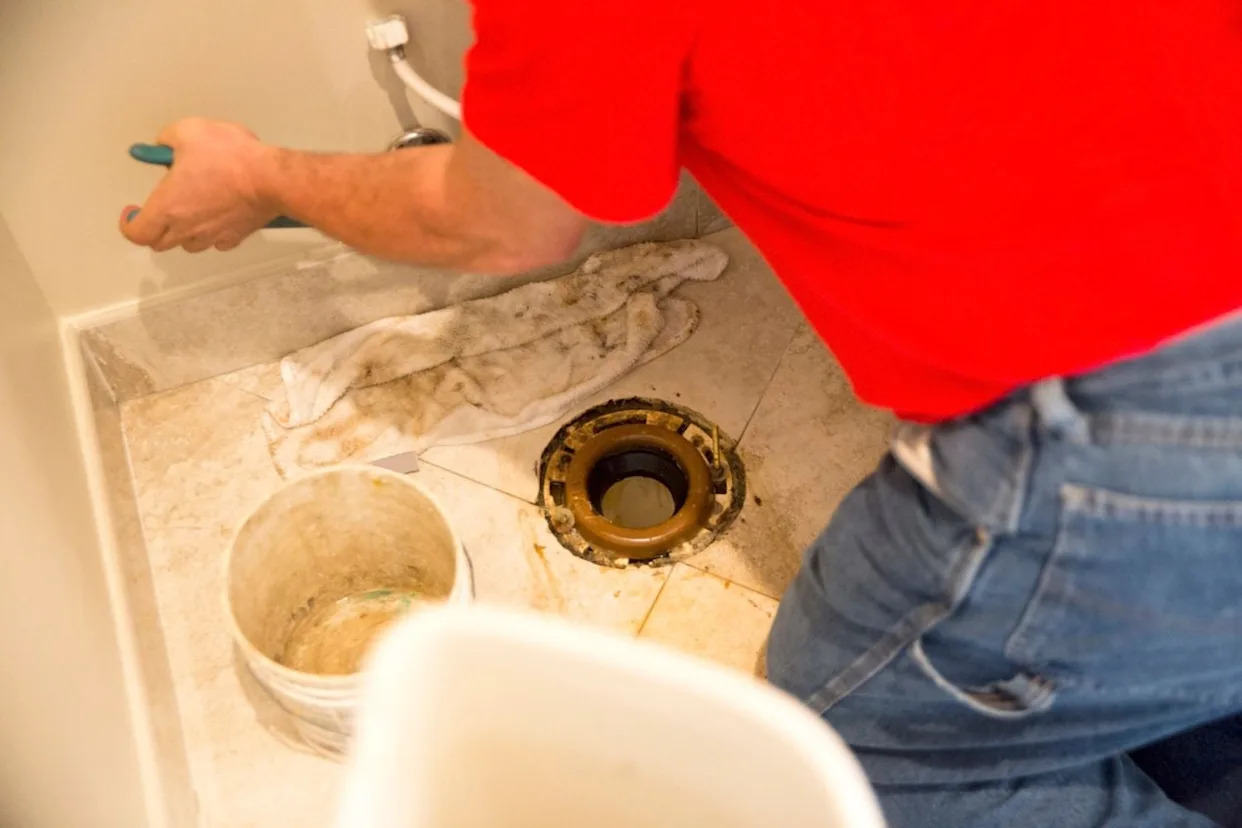
Everything That Goes Into the Cost to Replace a Toilet Flange
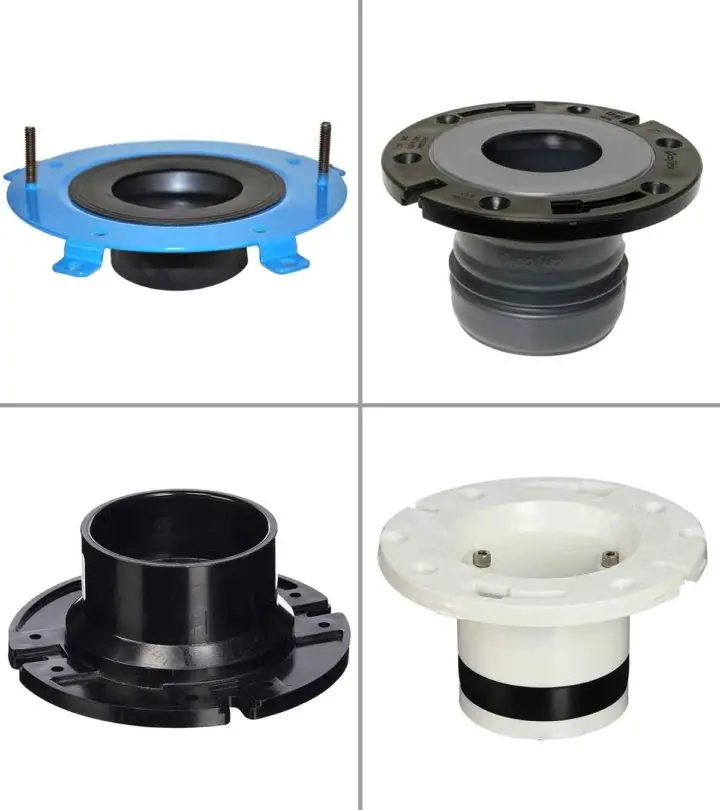
Best Toilet Flange: 7 Top Picks For Leakproof, Durable Fit

The Best Toilet Plunger for 2026 | Reviews by Wirecutter

How to stop a gurgling toilet