How to Stain Wood Like a Pro—and Get It Right the First Time
Staining wood can revive vintage furniture or brighten up a pre-owned piece, but achieving professional results requires careful consideration and proper techniques. Key factors such as the wood's condition, its type, the stain variety, and environmental conditions all play a significant role in the outcome. Understanding these elements before starting a project can prevent common staining disasters and ensure an even, long-lasting finish.
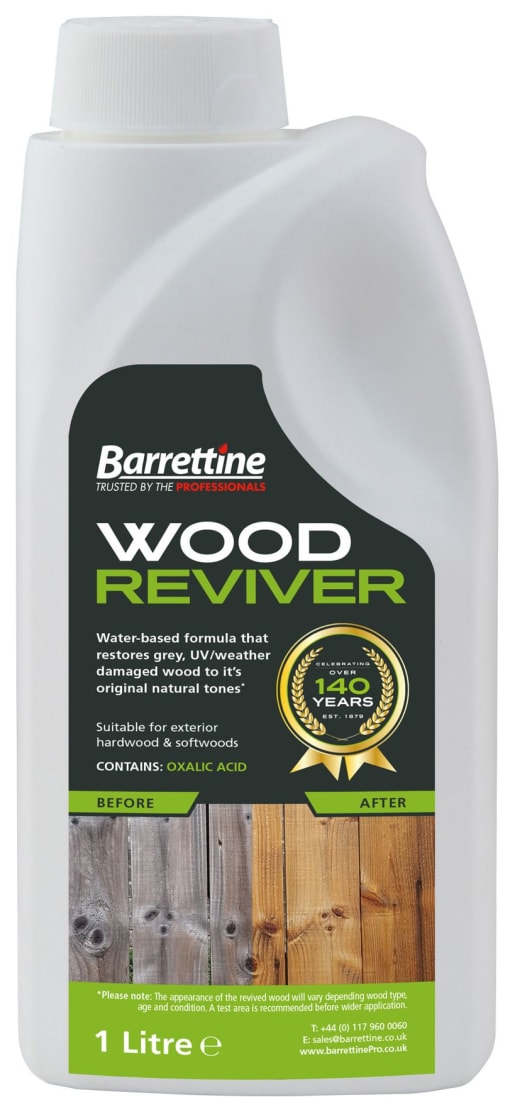
The initial step involves assessing the condition of the wood. If staining wood floors, for example, it's crucial to distinguish between surface-level damage, which can be refinished, and deeper issues like water damage or mold, which may necessitate replacing the wood planks entirely. Warping, buckling, or softness when stepped on are indicators of severe water damage, while cracks or a dull appearance are typically surface-level imperfections that can be addressed through refinishing.
The type of wood is another critical consideration, as its natural color, porosity, and grain structure dictate how it absorbs stain. Tighter-grained woods absorb less stain than those with looser grains. For softwoods, a pre-stain wood conditioner is often recommended to promote even application and prevent blotching. Identifying the wood type beforehand allows for appropriate preparation and selection of suitable products.
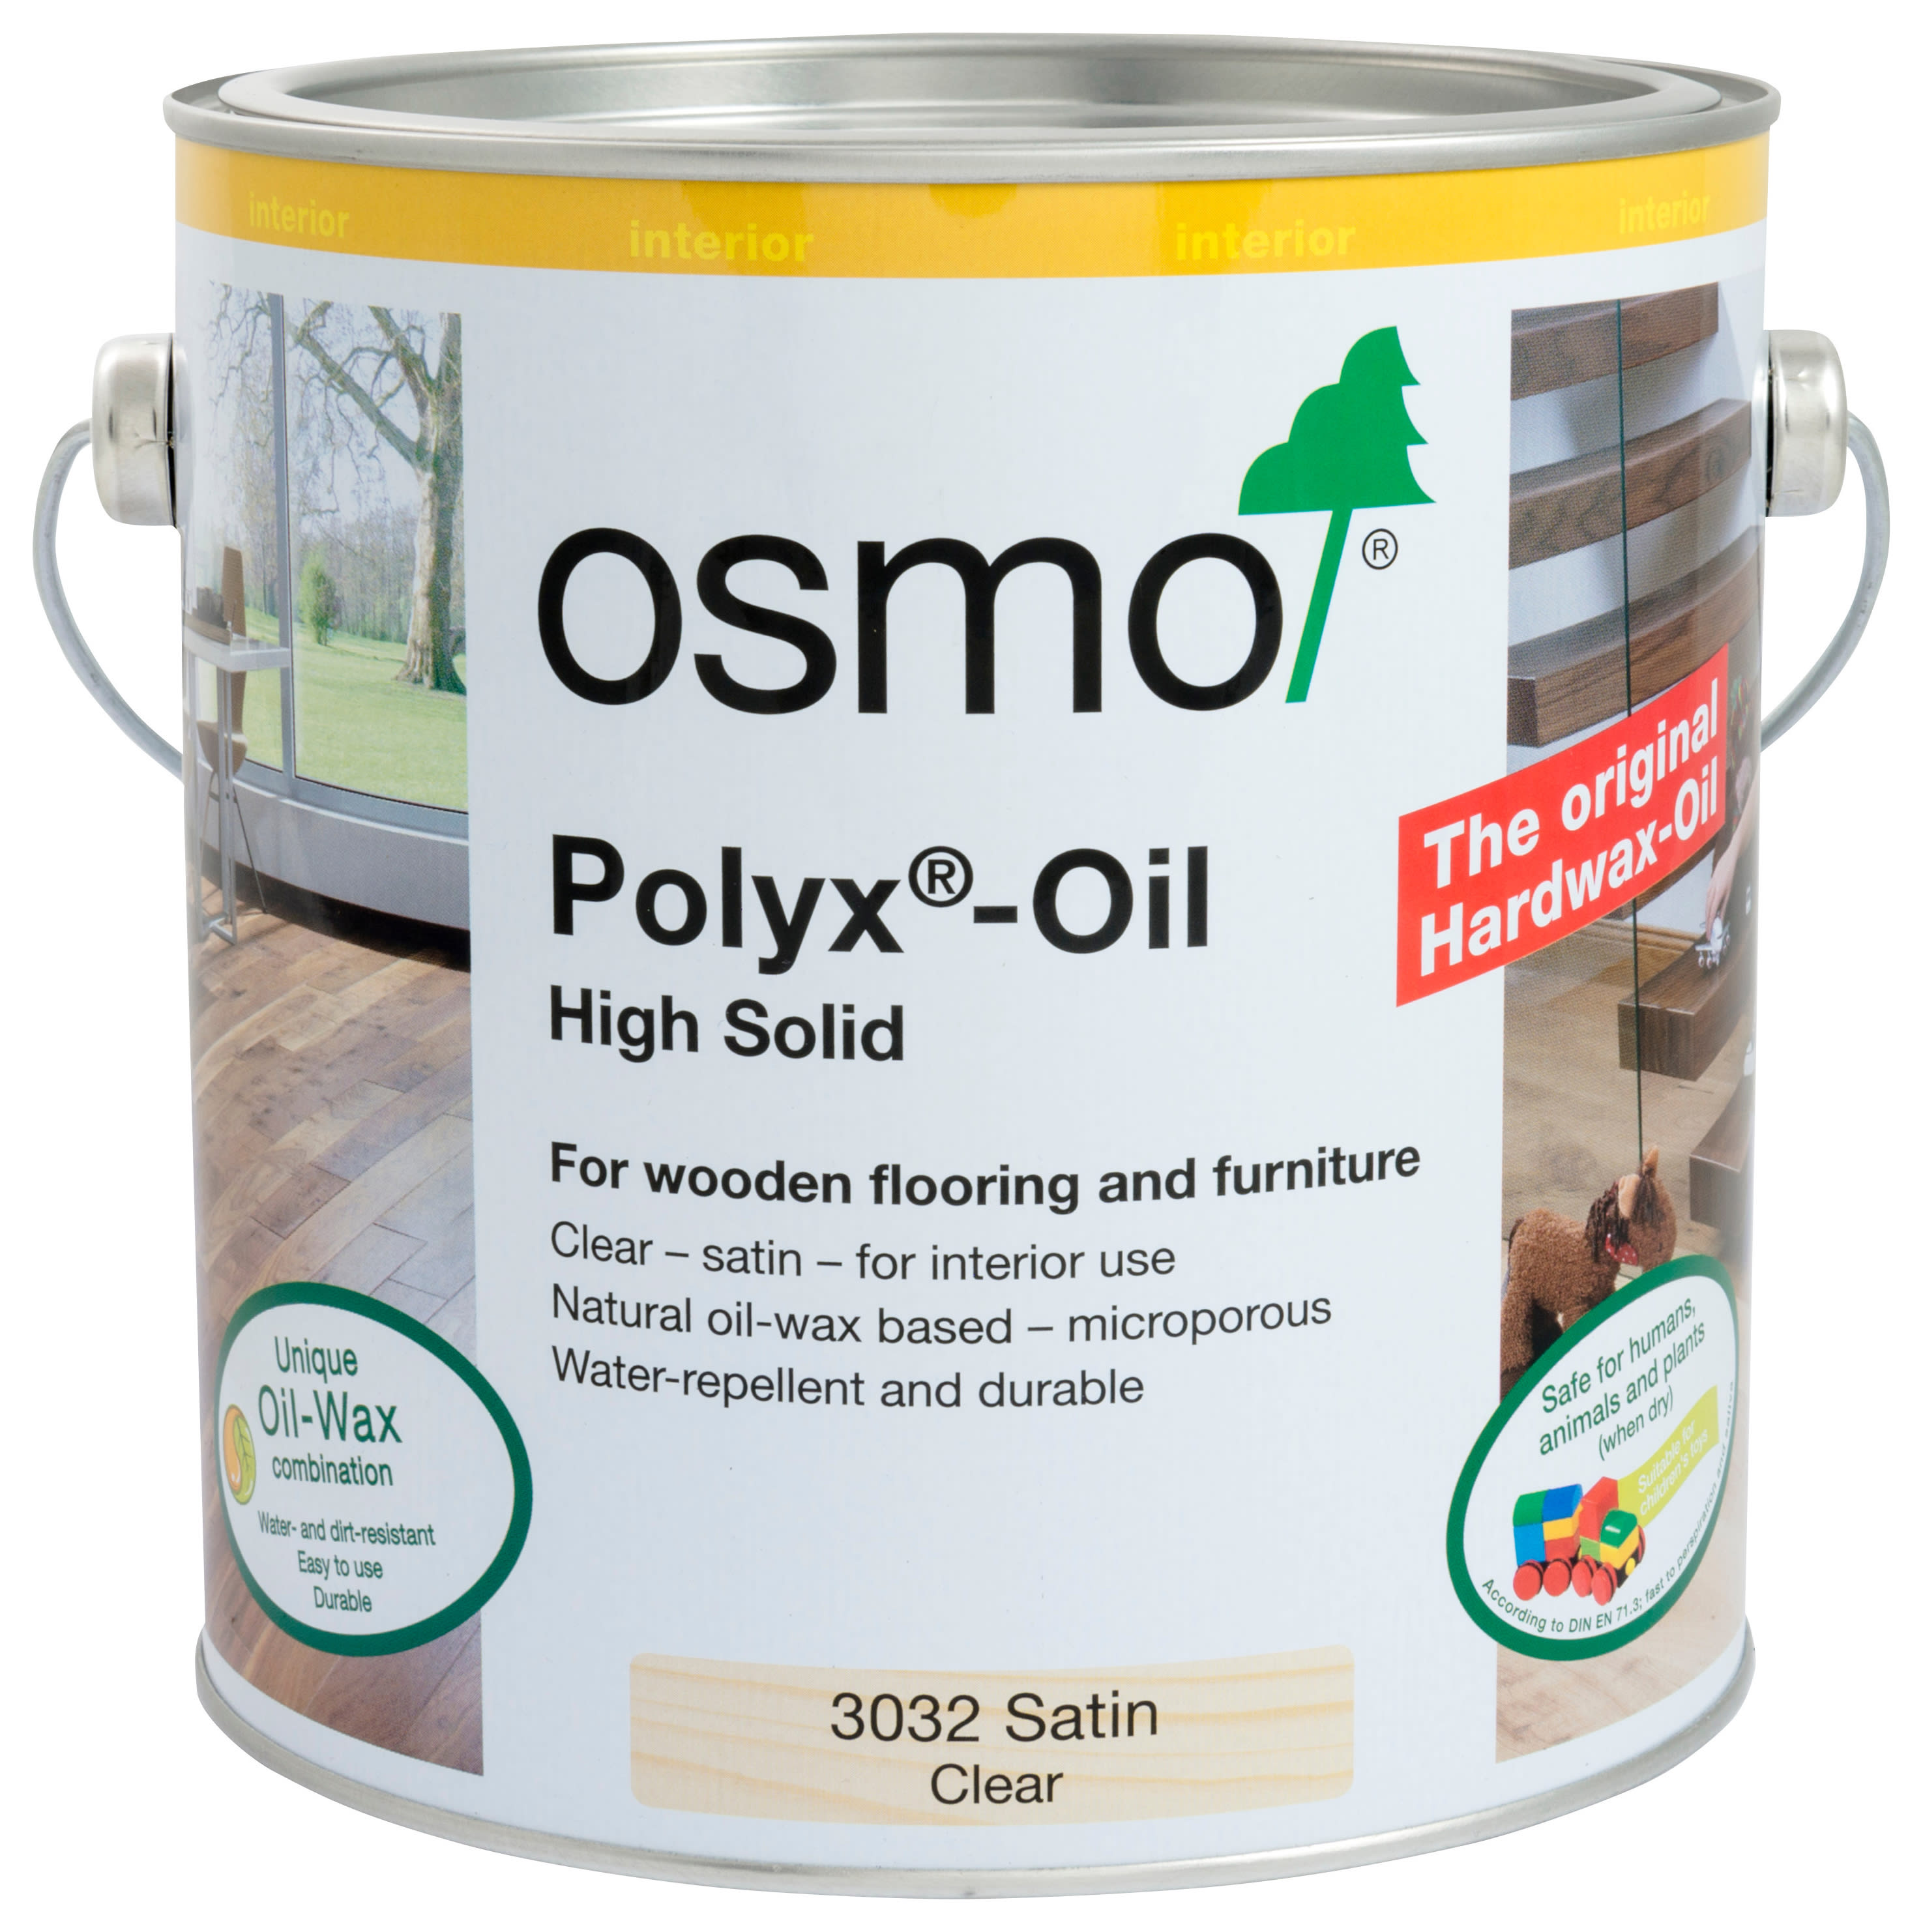
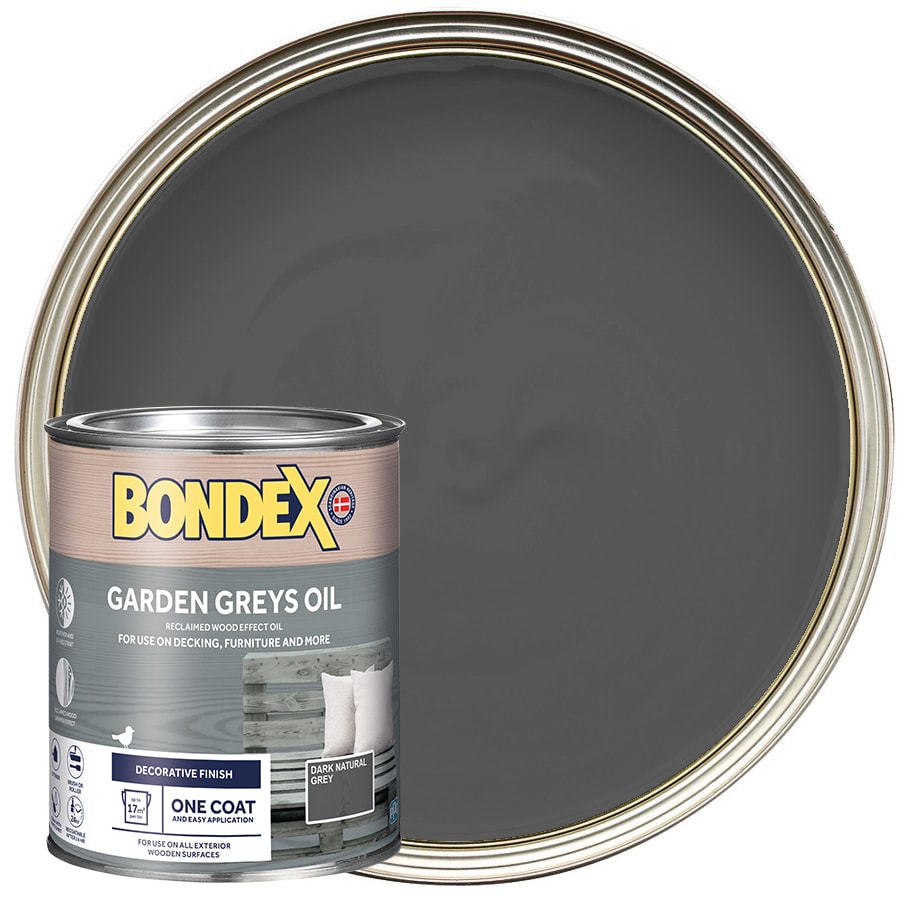
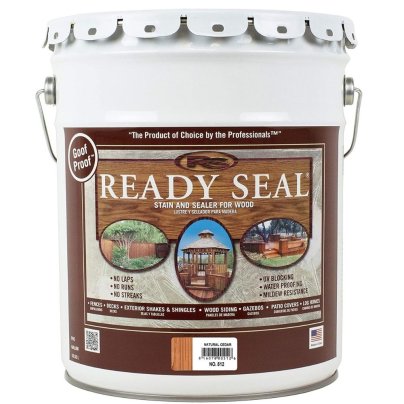
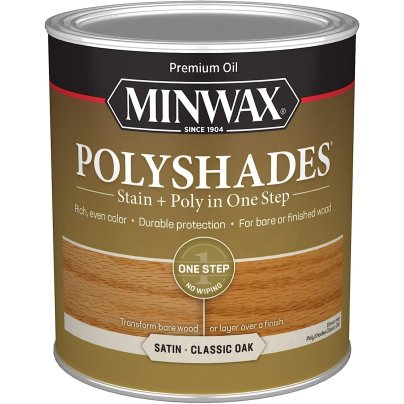
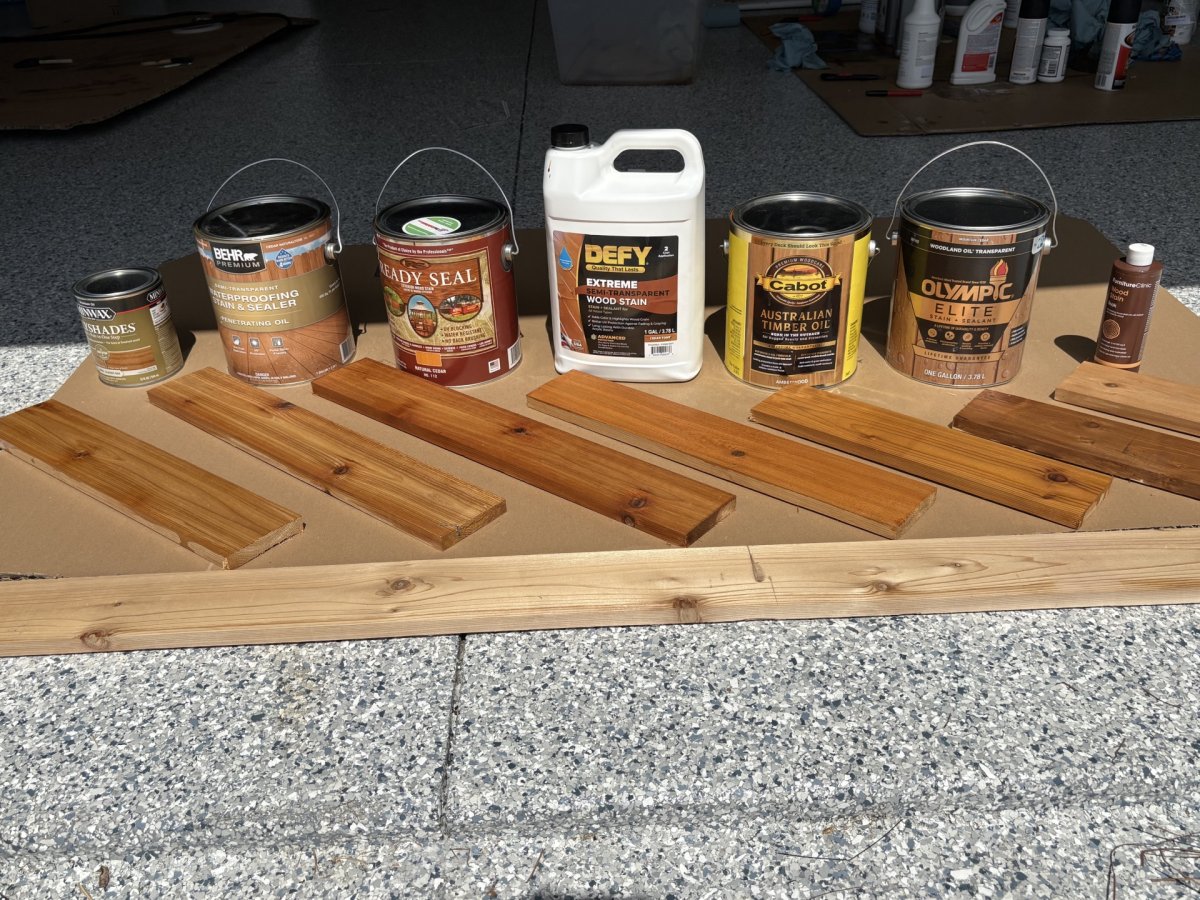
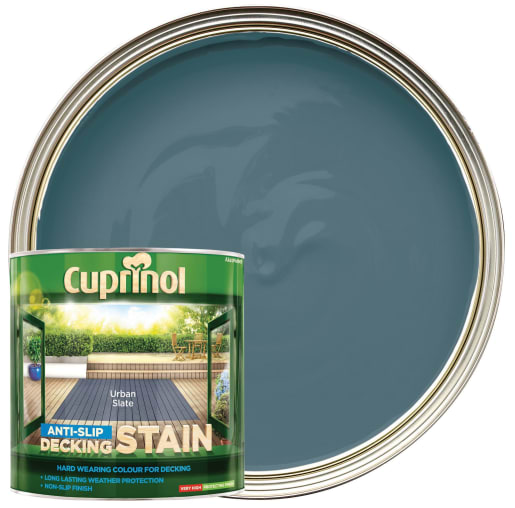
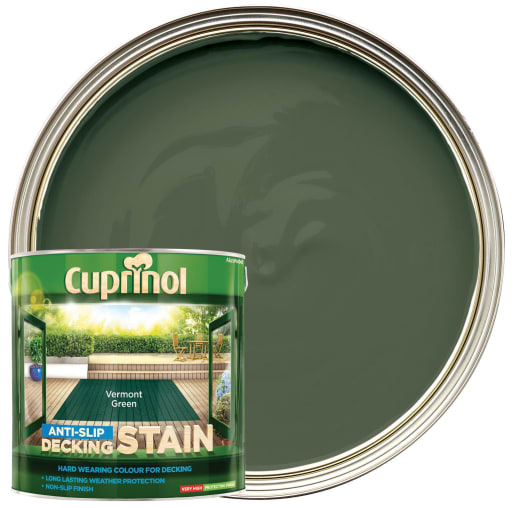
There are three primary types of wood stains: gel-based, oil-based, and water-based. Gel-based stains provide consistent color and remain on the wood's surface, offering a paint-like appearance and resistance to damage. Oil-based stains are thinner and penetrate deeply into the wood, making them ideal for flooring and detailed furniture. They typically require longer drying times, sometimes up to 24 hours per coat. Water-based stains offer faster drying times, lower volatile organic compounds (VOCs), easier cleanup with soap and water, and are generally less flammable and more environmentally friendly.
Environmental conditions, particularly humidity, also influence the staining process. High humidity can prolong drying times and increase the tackiness of the stain, regardless of its type. Adjusting for these conditions is essential for optimal results. Before beginning, gather necessary equipment, including protective gear, sandpaper of various grits, wood filler, brushes, rollers, rags, a putty knife, and drop cloths, along with the chosen wood stain and a sealer.
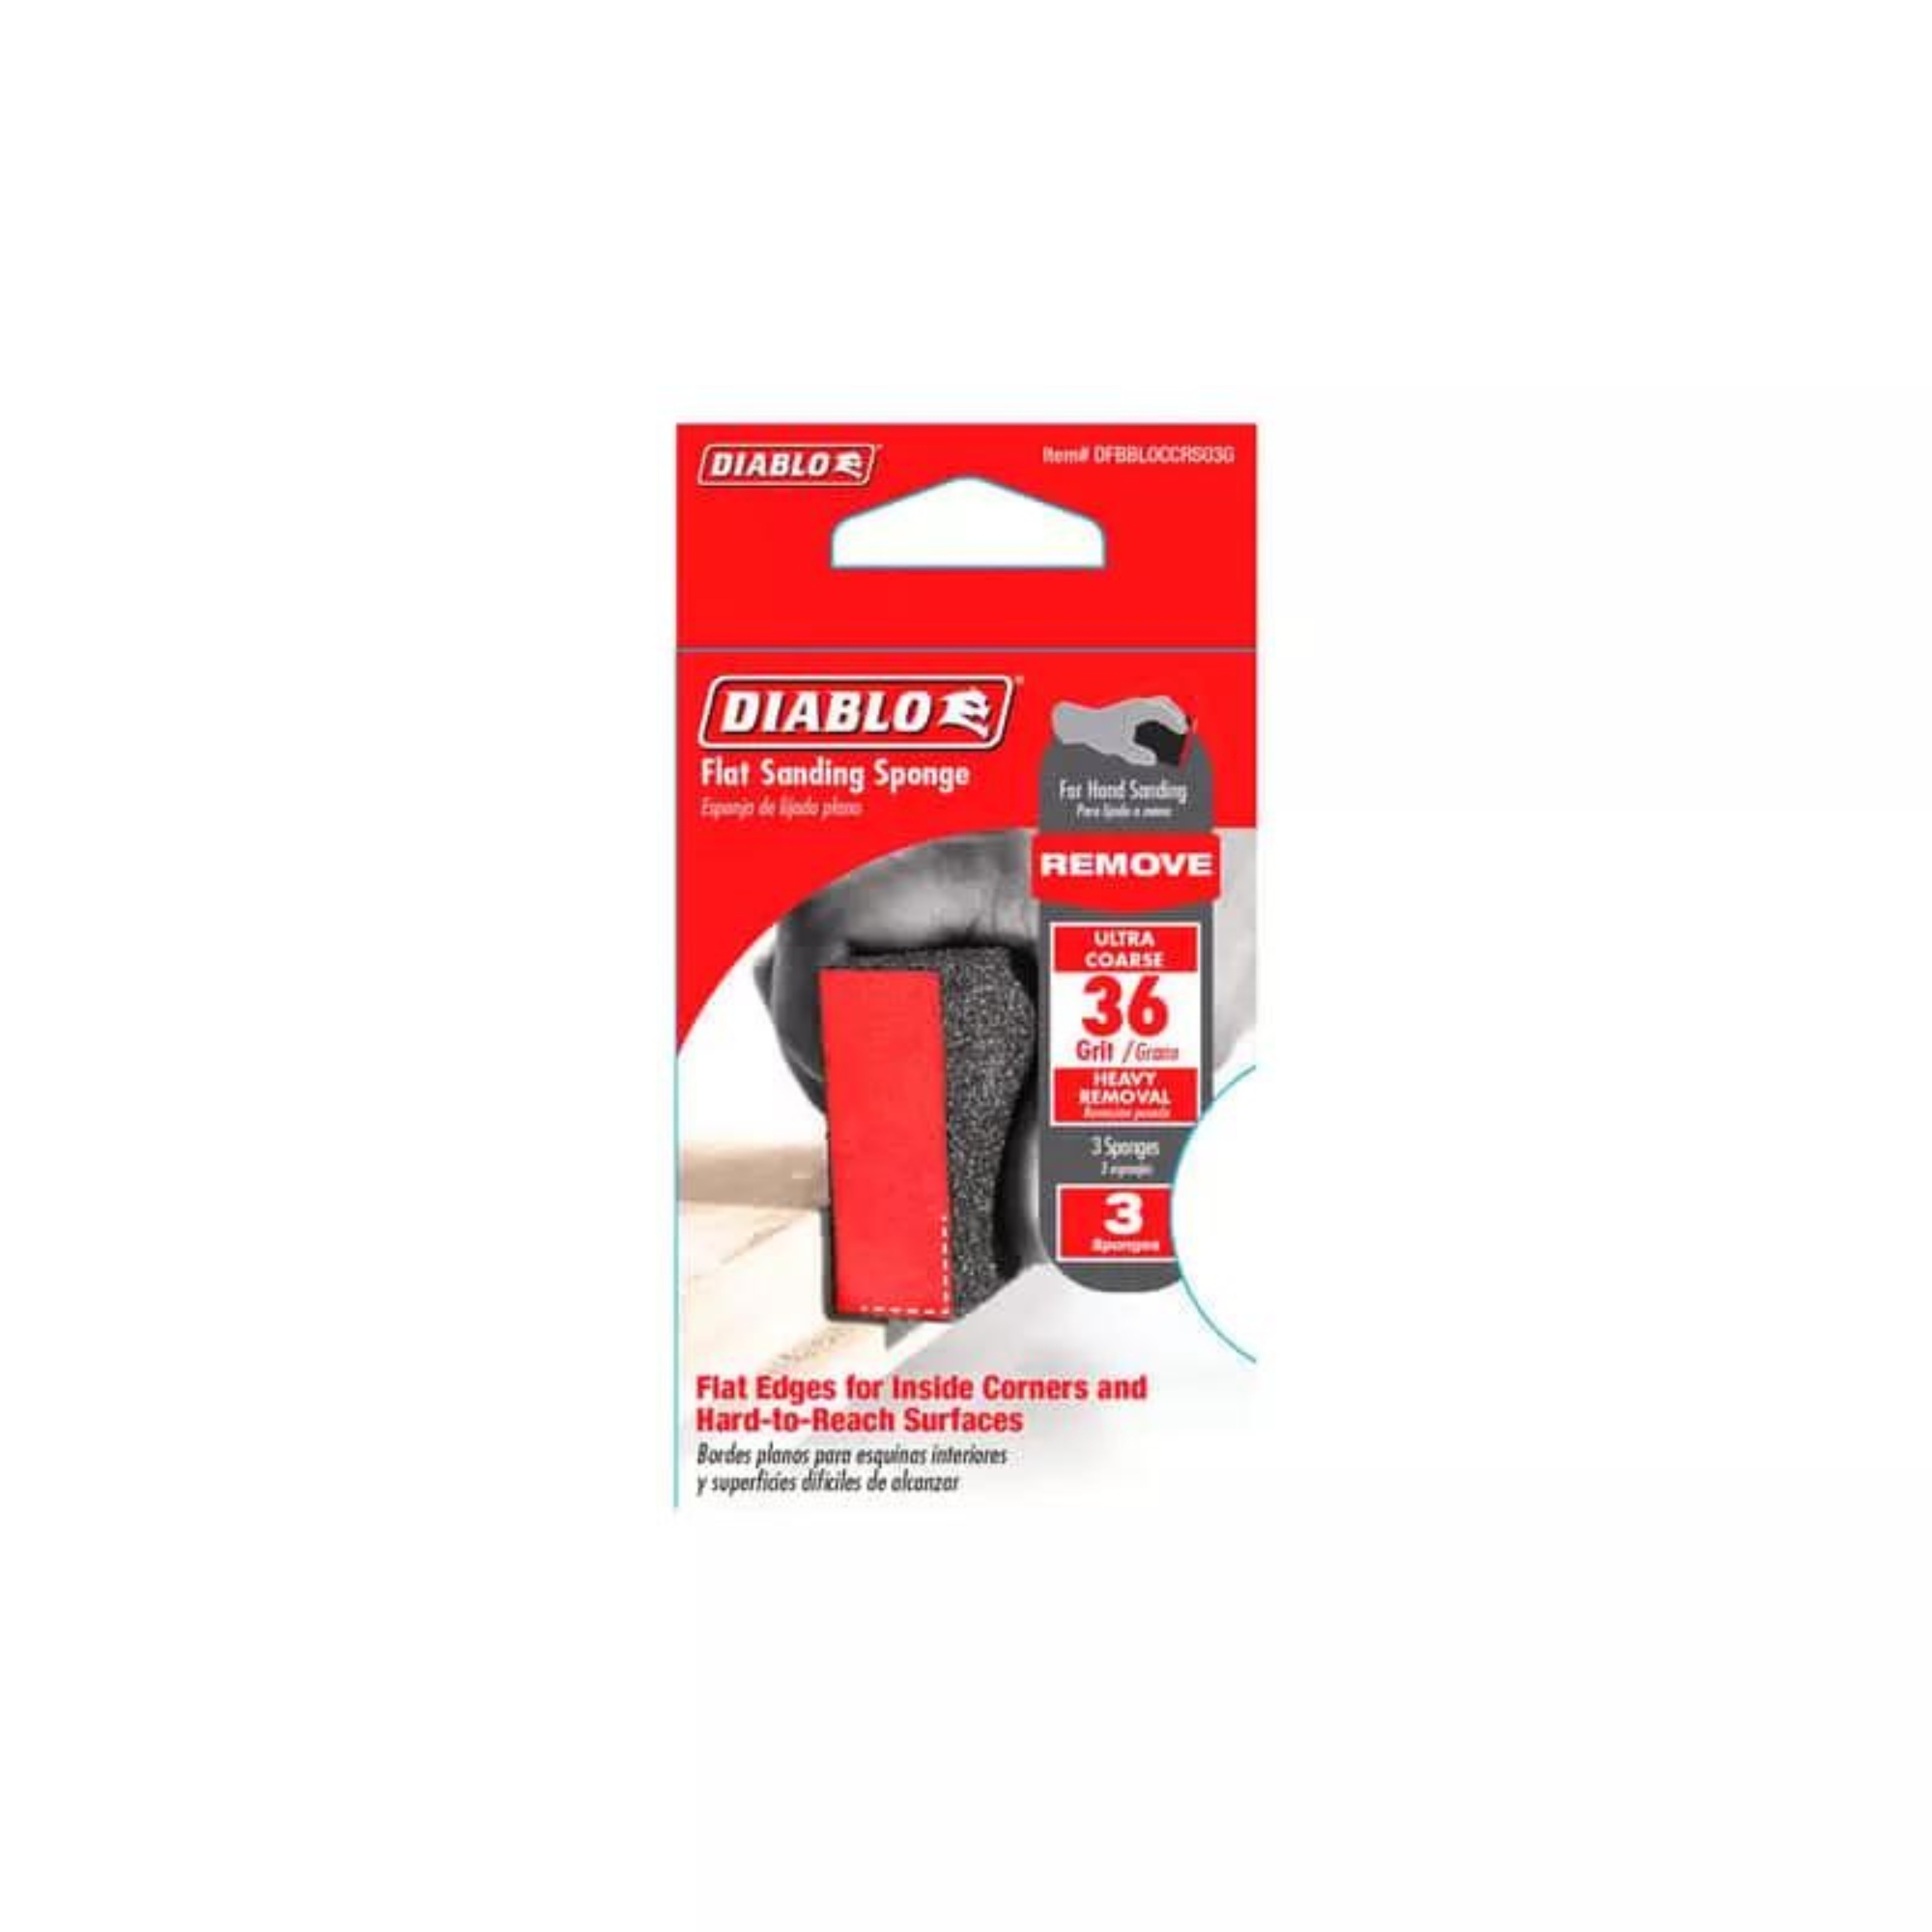
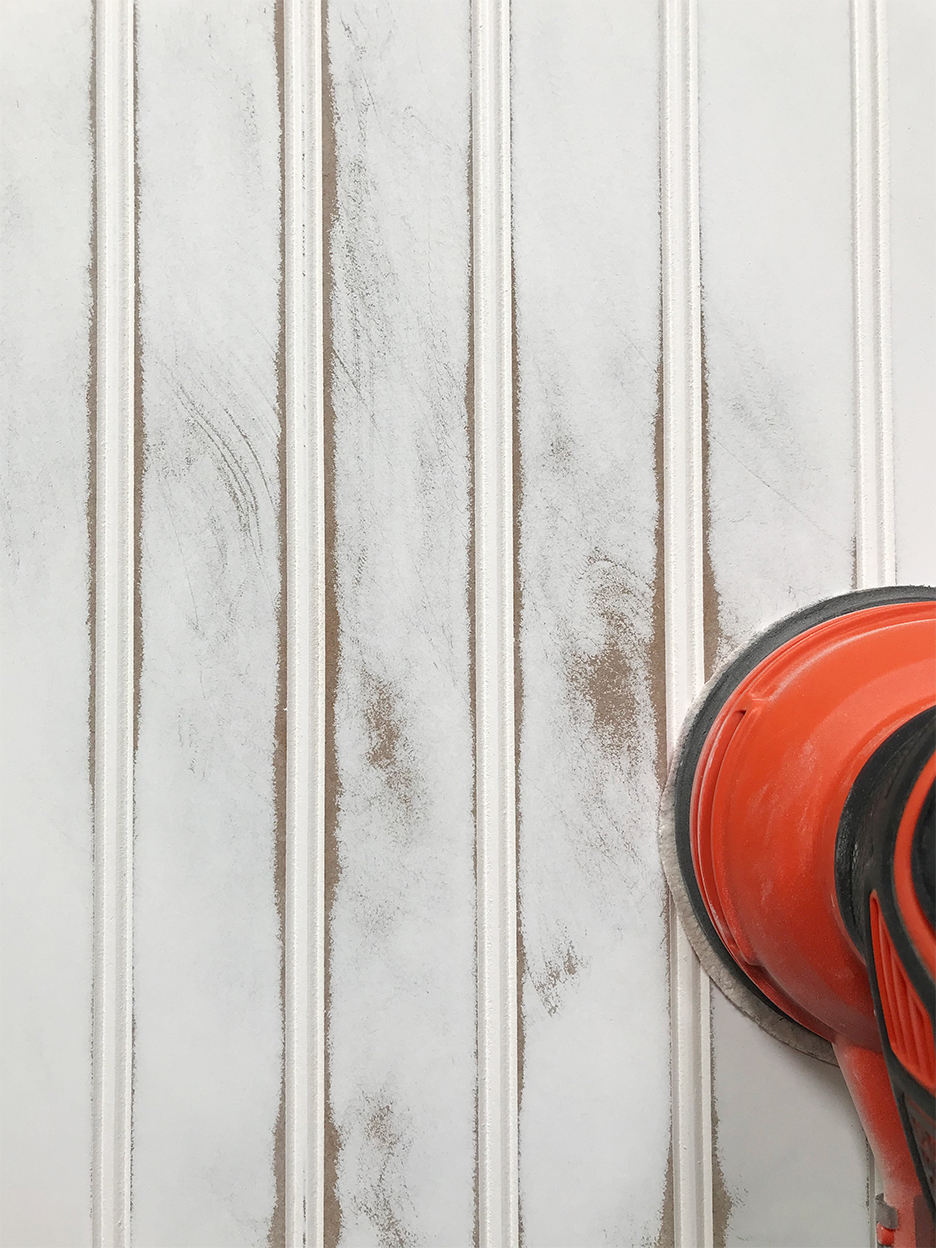
The staining process begins with thorough cleaning and preparation, including laying down drop cloths and ensuring the surface is free of dust. Any cracks or gaps should be filled with wood filler, smoothed with a putty knife, and allowed to dry according to manufacturer instructions. For floors, loose planks must be tightened. Next, the wood surface needs to be sanded in the direction of the grain, starting with a coarser grit (e.g., 120-grit) and finishing with a finer one (e.g., 220-grit) to achieve a smooth surface. After sanding, wipe the surface clean with a tack cloth.
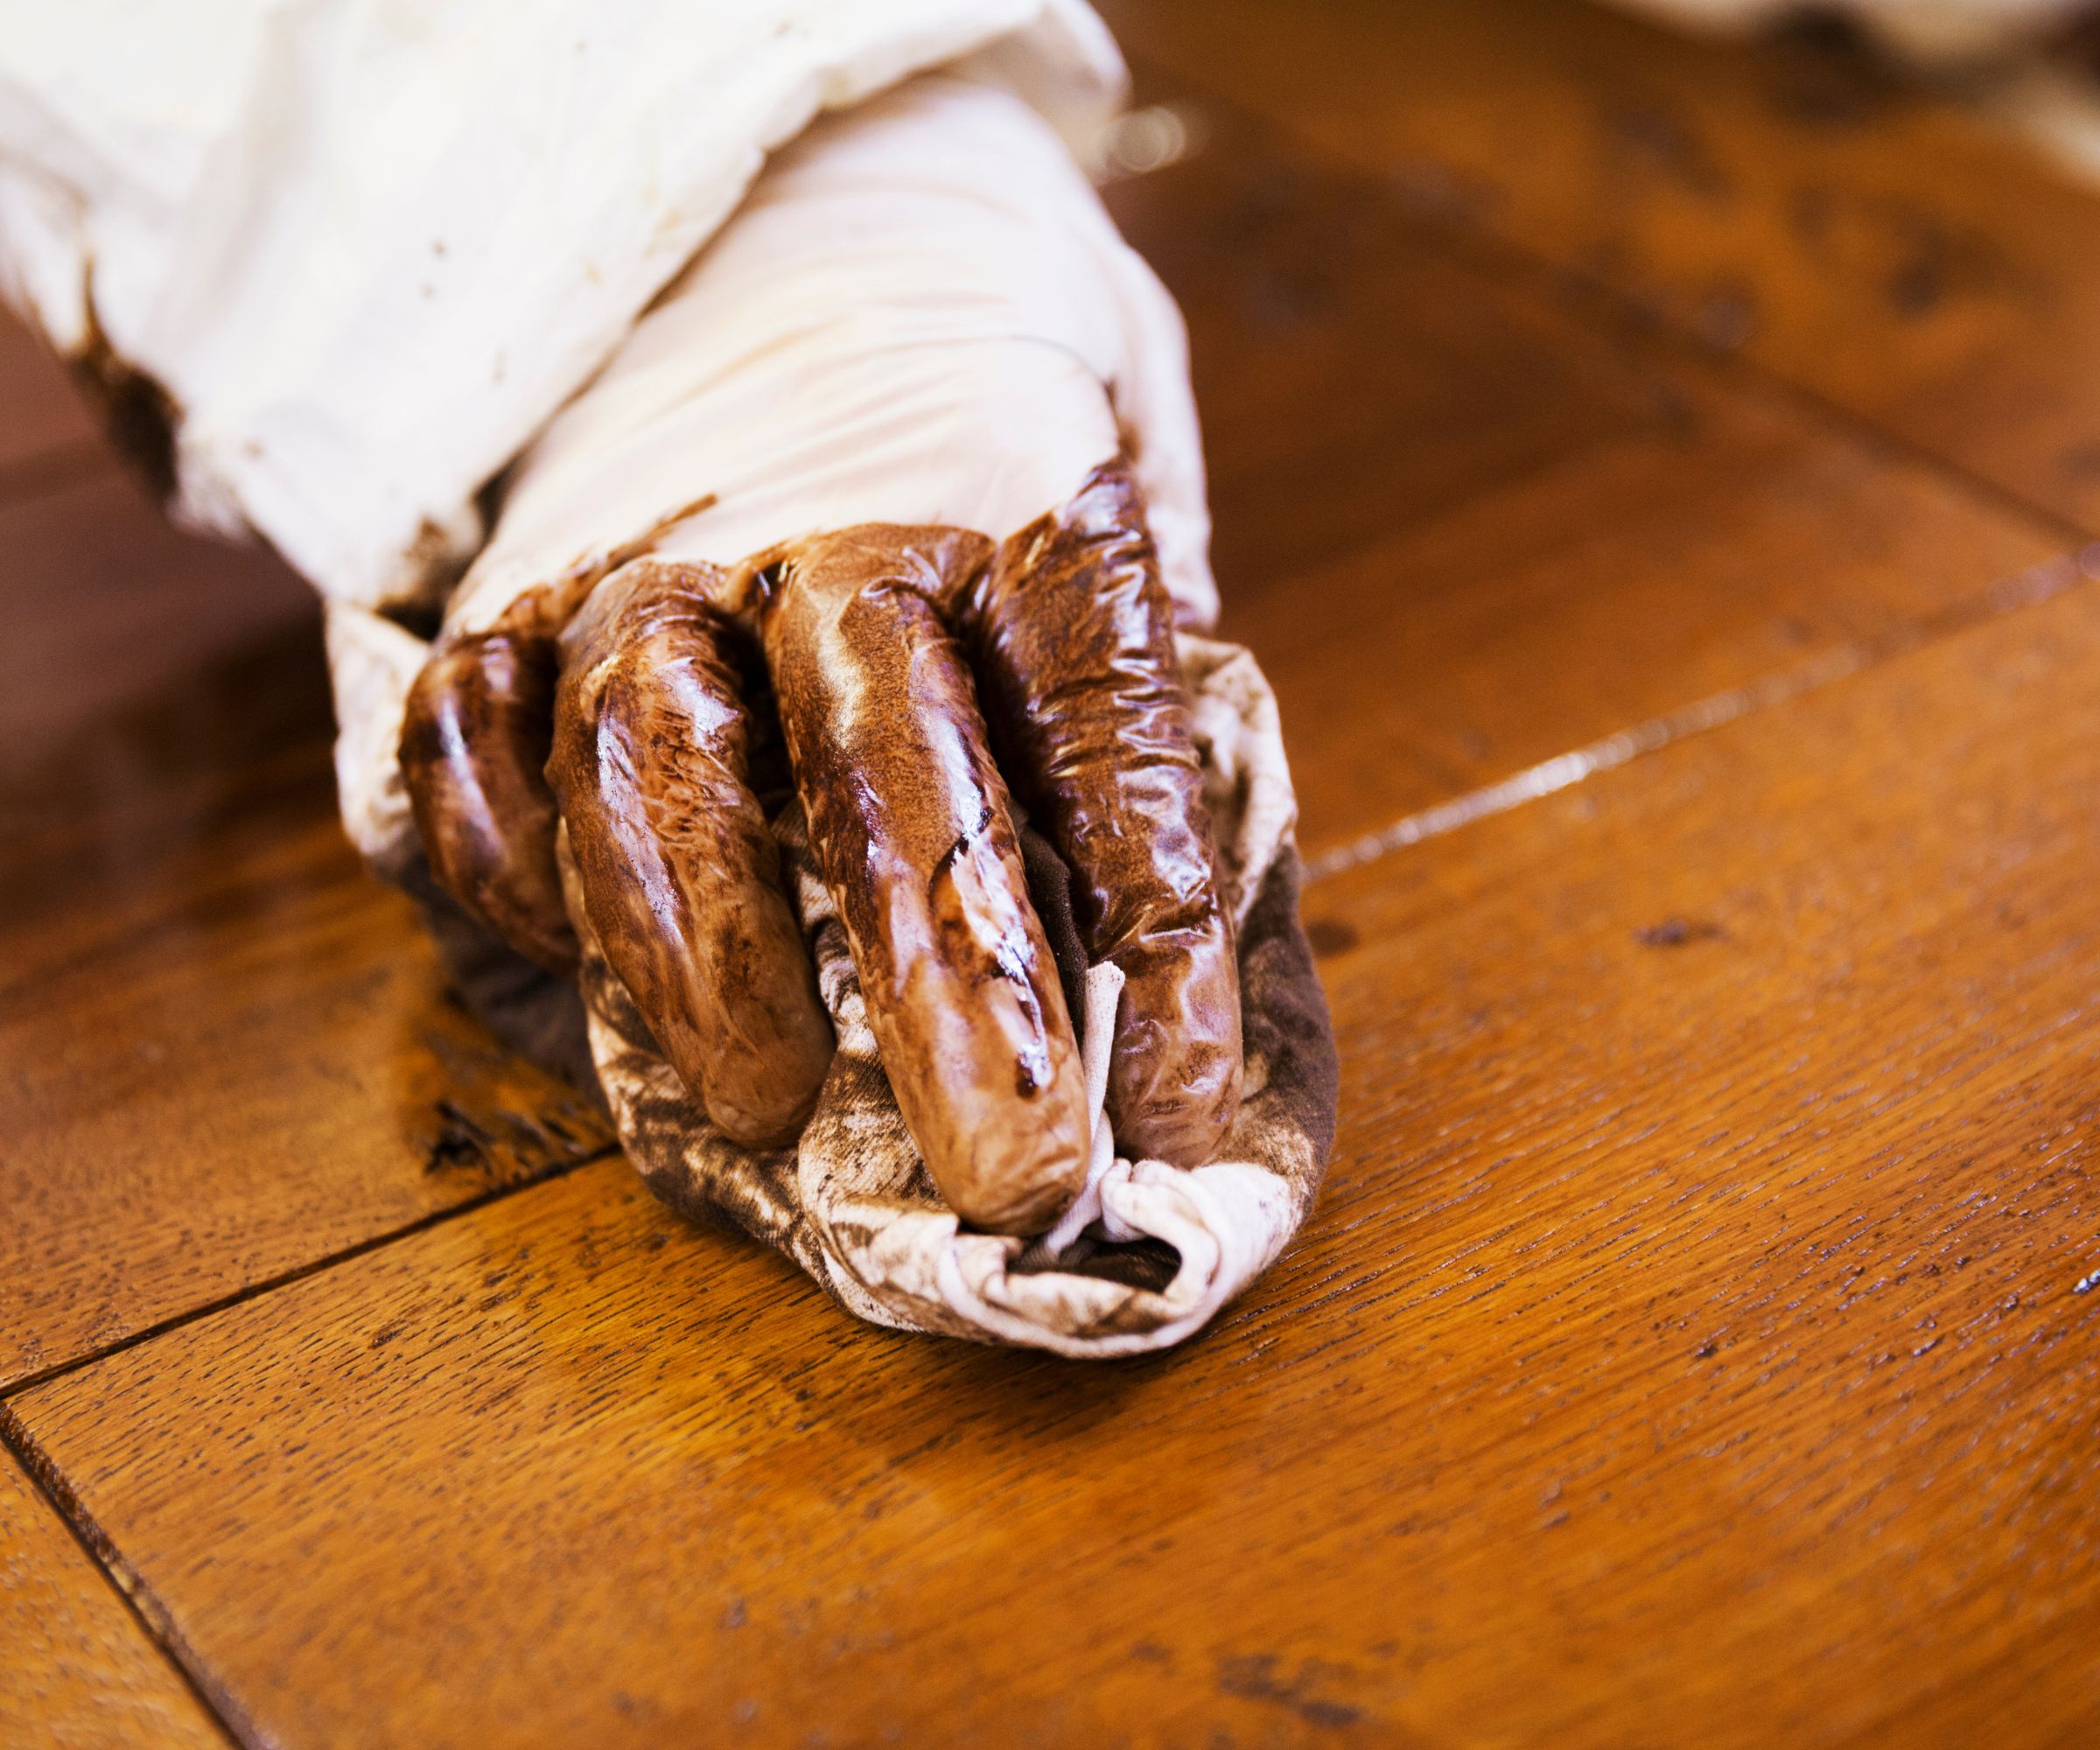
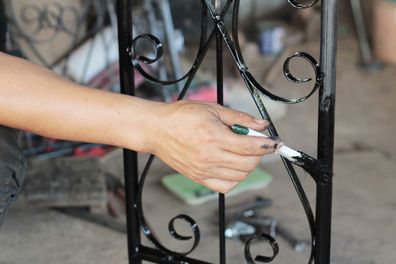
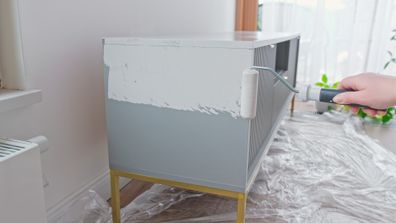
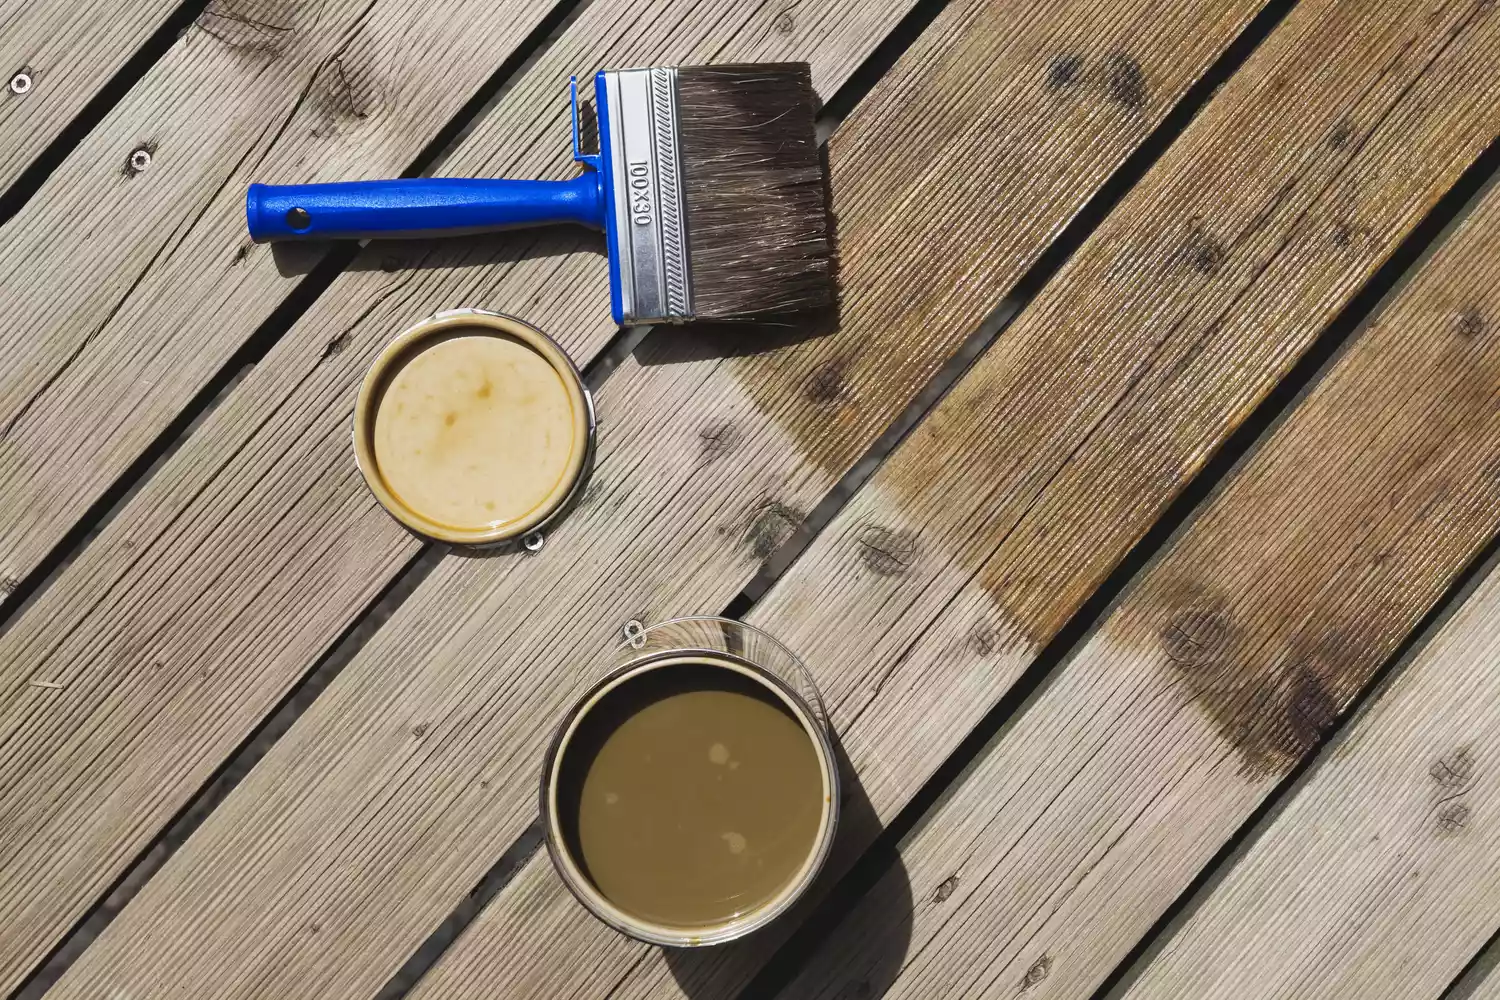
Before applying the stain to the entire project, it's advisable to perform a test spot in an inconspicuous area to observe how the wood absorbs the stain and ensure the desired color is achieved. When applying the stain, use a rag or brush and wipe off any excess with a clean rag, always moving in the direction of the wood grain. Avoid leaving puddles of stain, as this can lead to blotching and uneven drying. Multiple coats may be necessary depending on the desired color intensity. Finally, once the stain has dried for the recommended period (typically 12 to 24 hours), apply a sealer or topcoat. Some stains are self-sealing, so checking manufacturer directions is important. For floors, polyurethane is often recommended over oil for its superior protection, especially in high-traffic areas, despite oil providing a more natural look.
#WoodStaining #DIYHomeImprovement #FurnitureRestoration #WoodFinishing #HomeDecor #WoodCare #StainTypes #InteriorDesign #WoodStaining #DIYHomeImprovement #FurnitureRestoration #WoodFinishing #HomeDecor #WoodCare #StainTypes #InteriorDesign
0 comment in total
 No comments yet
You may also like
Best Wood Stain Colors For Interior And Exterior Surfaces

How to paint interior woodwork

How to Paint Wood-Paneling

How to stain kitchen cabinets – an expert guide


Wood Stain | Exterior Wood Stain & Paints
Make Cedar Shine: Our Favorite Wood Stains

How to Paint Wood Furniture Like a Pro


The Ultimate Stain-Removal Guide
How to Prepare Interior Woodwork For Painting
How to Stain a Wood Deck: Instructions and Materials List
How to paint wood floors – get a lasting shine in 5 easy steps
How to paint furniture: The one detail you need to get right for best results
The best way to stain wood – 4 time-saving tips from the experts

Garden Furniture Paint & Stain


Wood Dyes & Waxes | Wax for Unfinished Wood
How to refinish wood furniture - easy ways to totally overhaul your decor

The Best Way To Paint Wood Paneling, According To An Expert
How to paint laminate furniture - the pro tips experts swear by for a perfect finish
How to Paint Wood Paneling and Its Best Friend, the Trim

How to stain a deck – 3 easy steps to a fresh new look