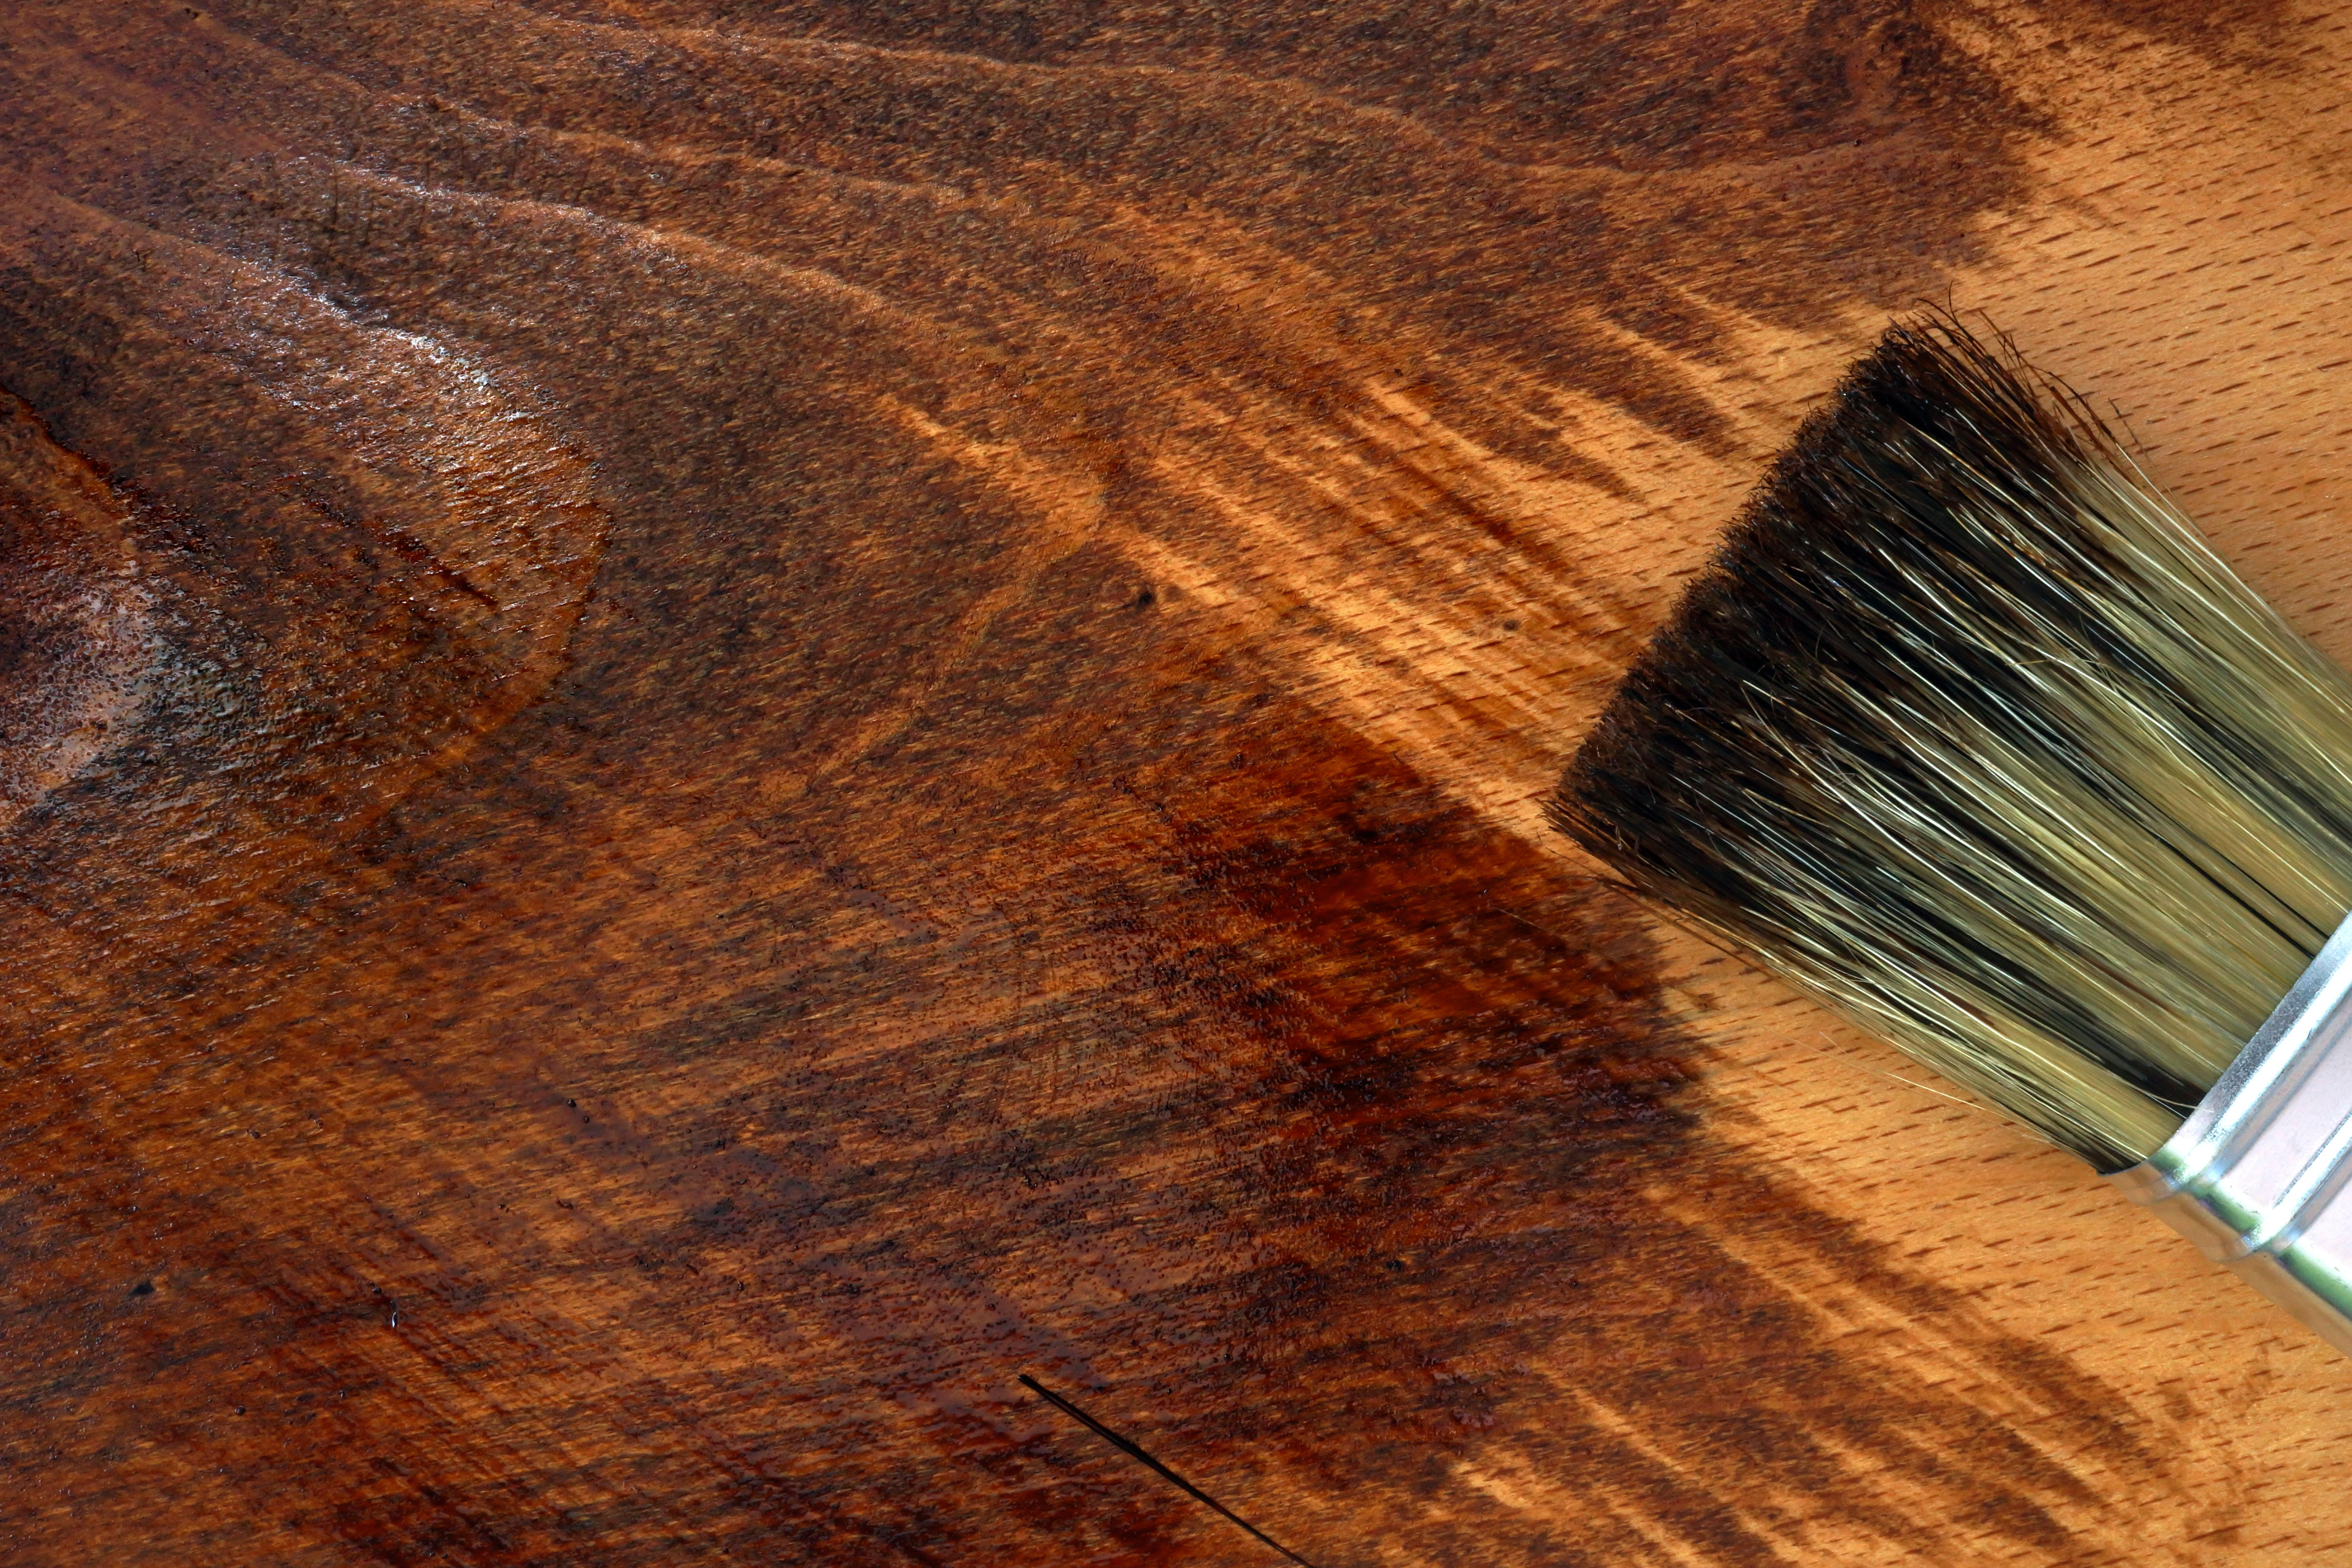
How to stain kitchen cabinets – an expert guide
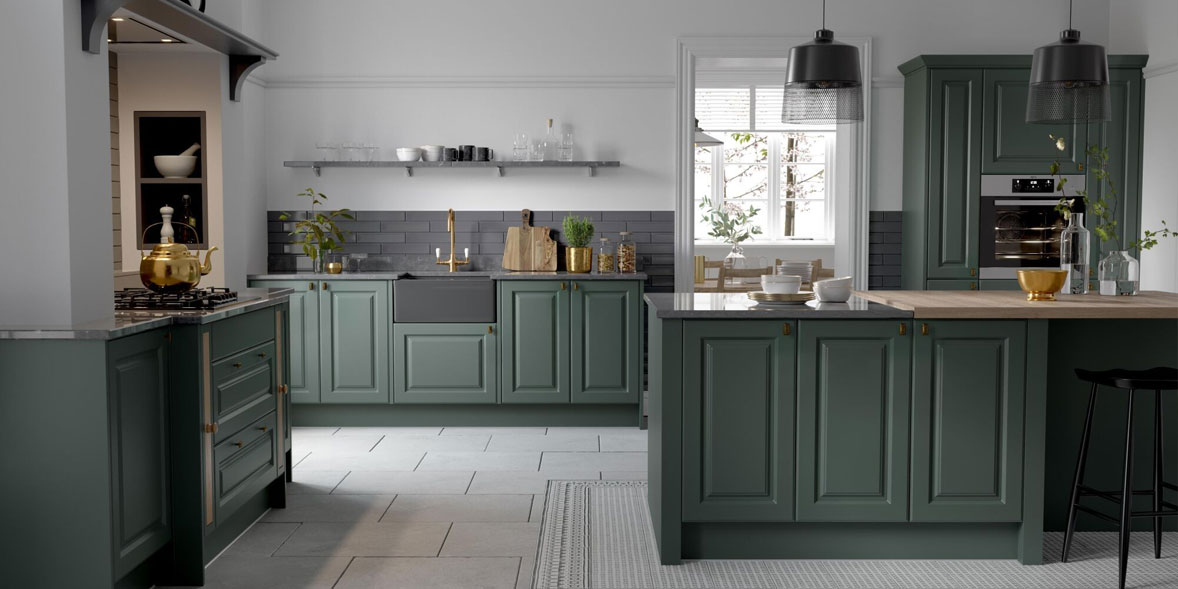
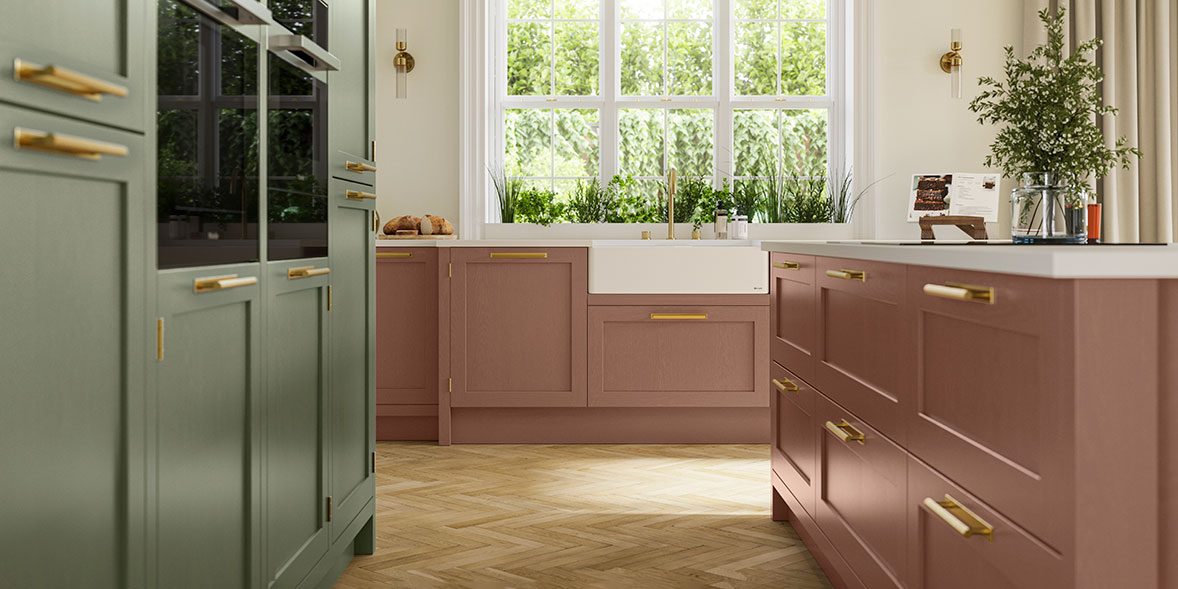
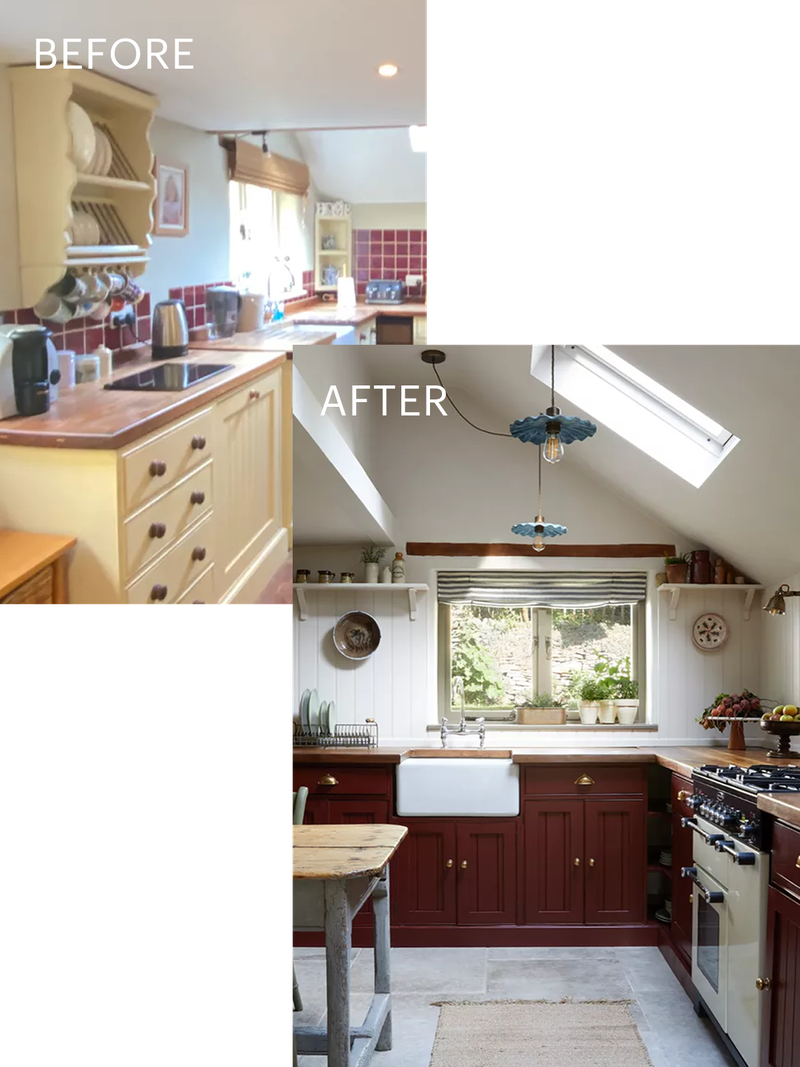
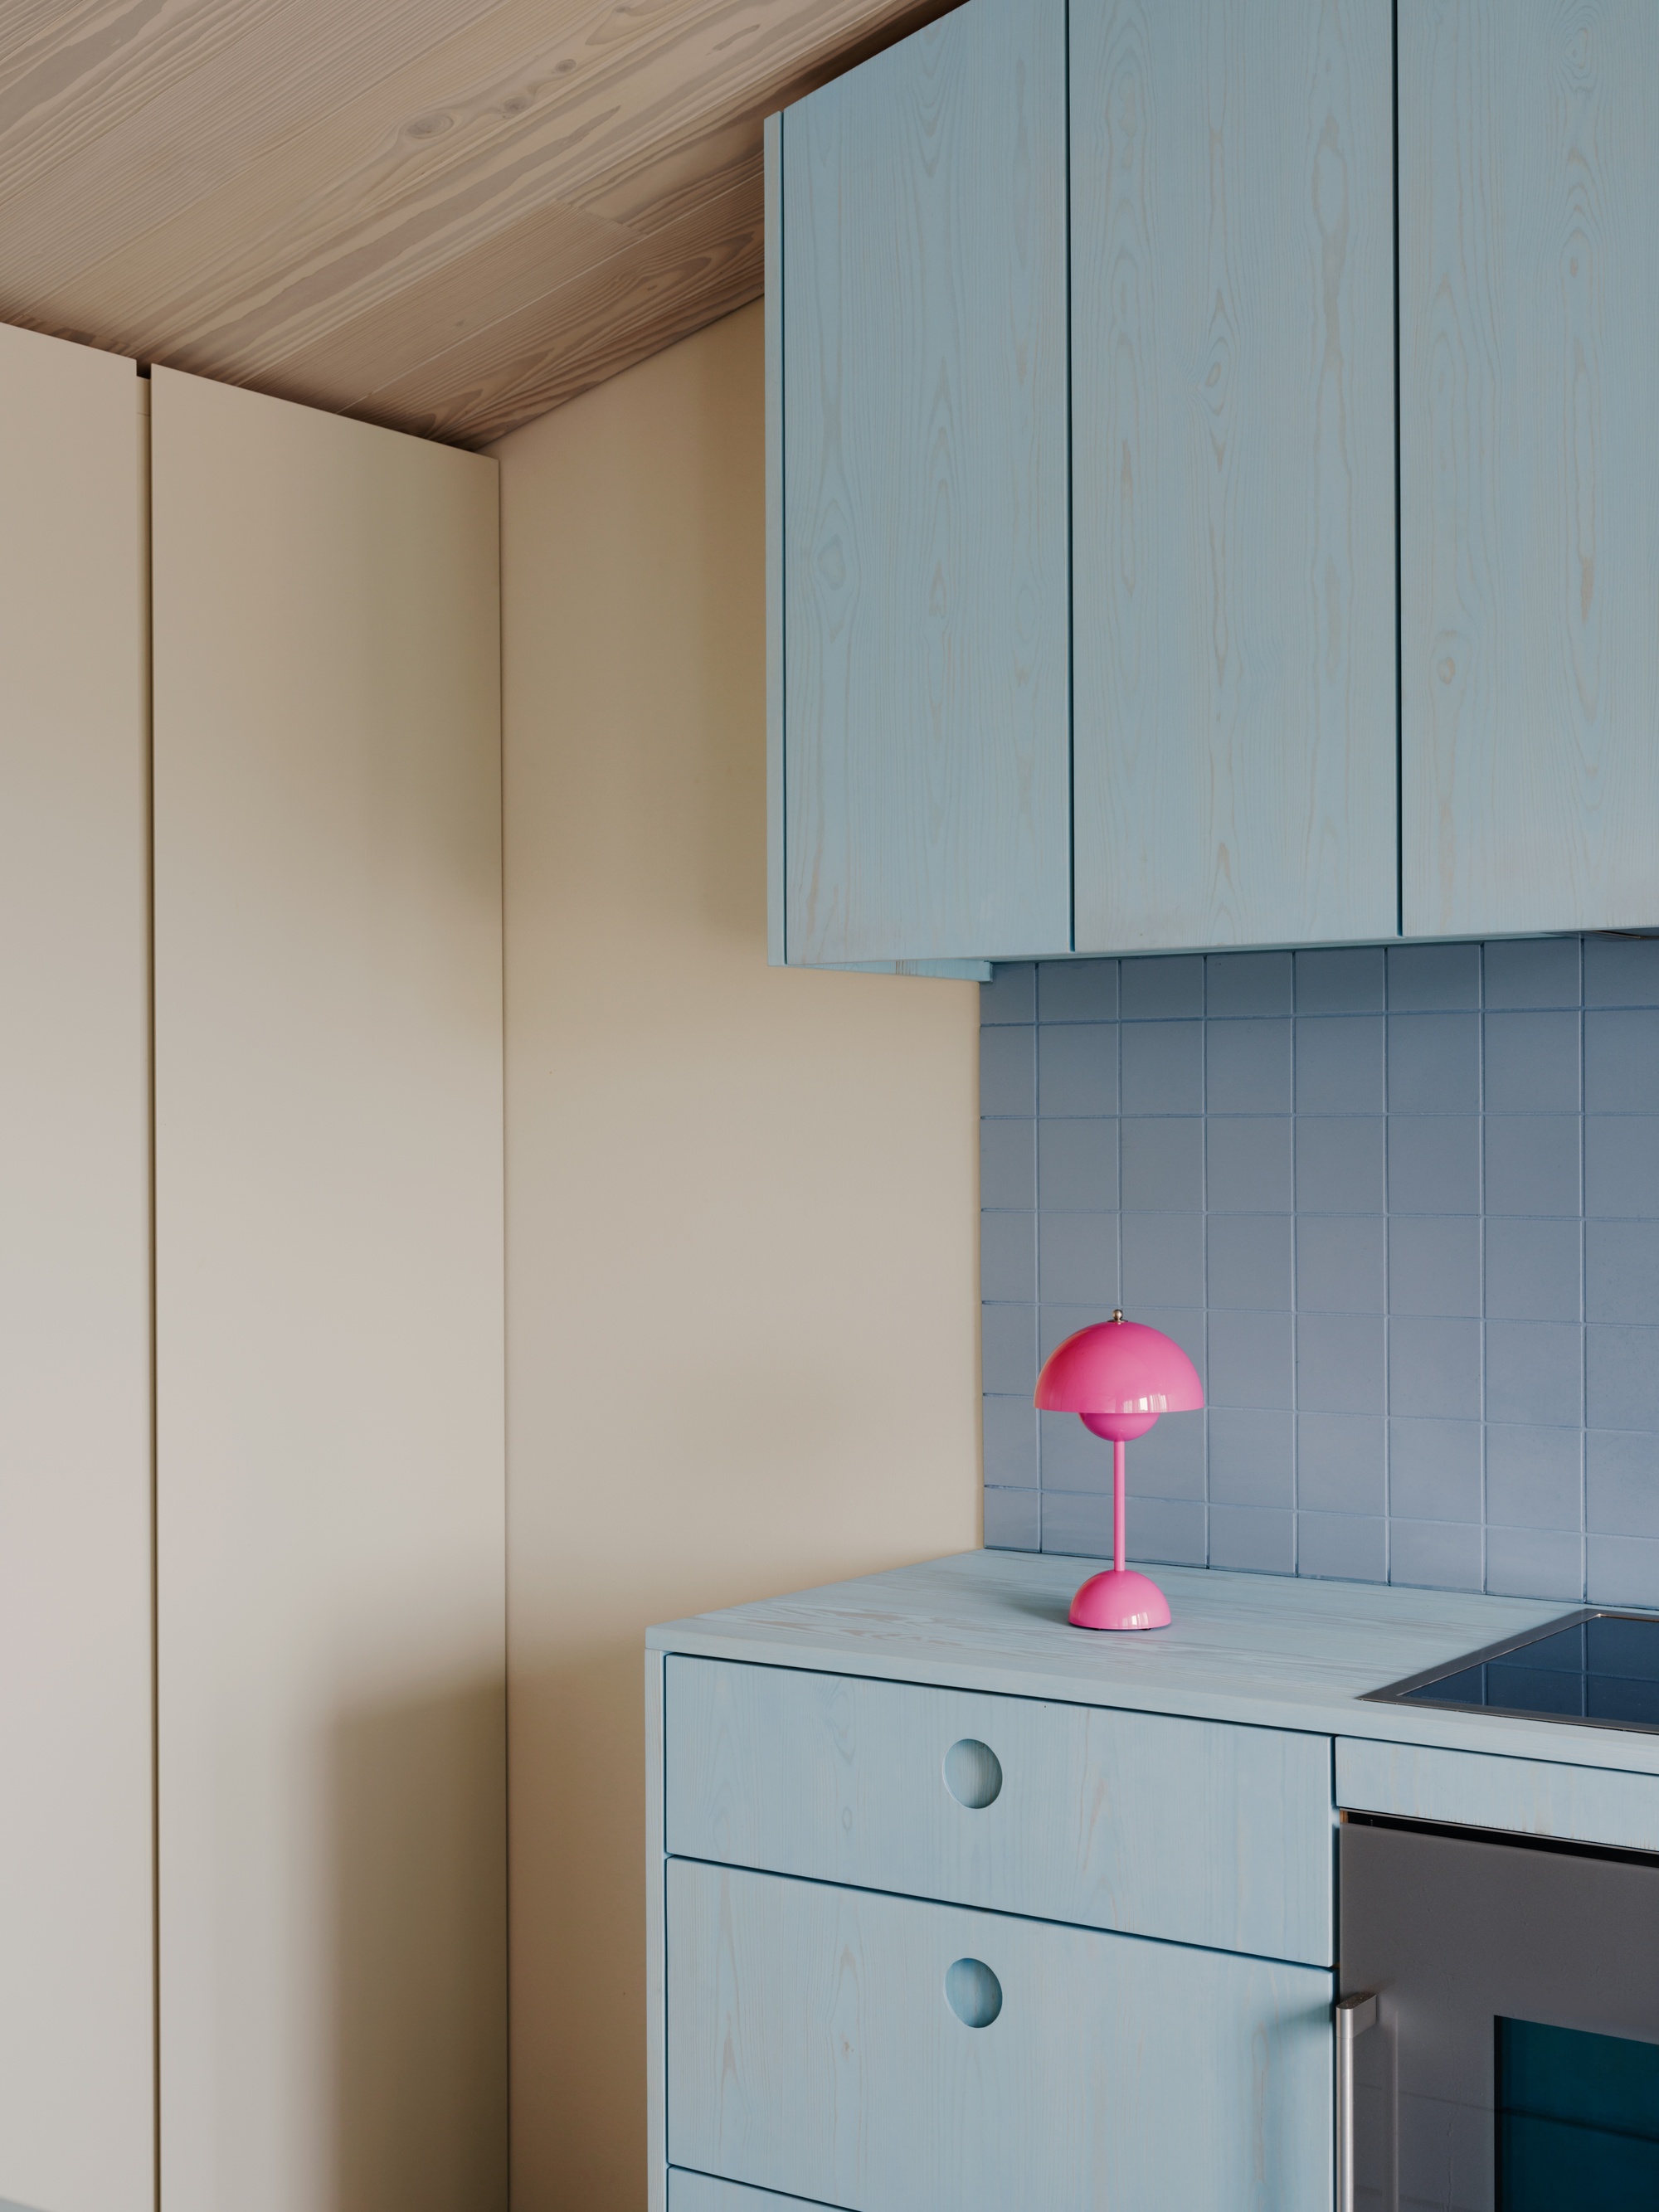
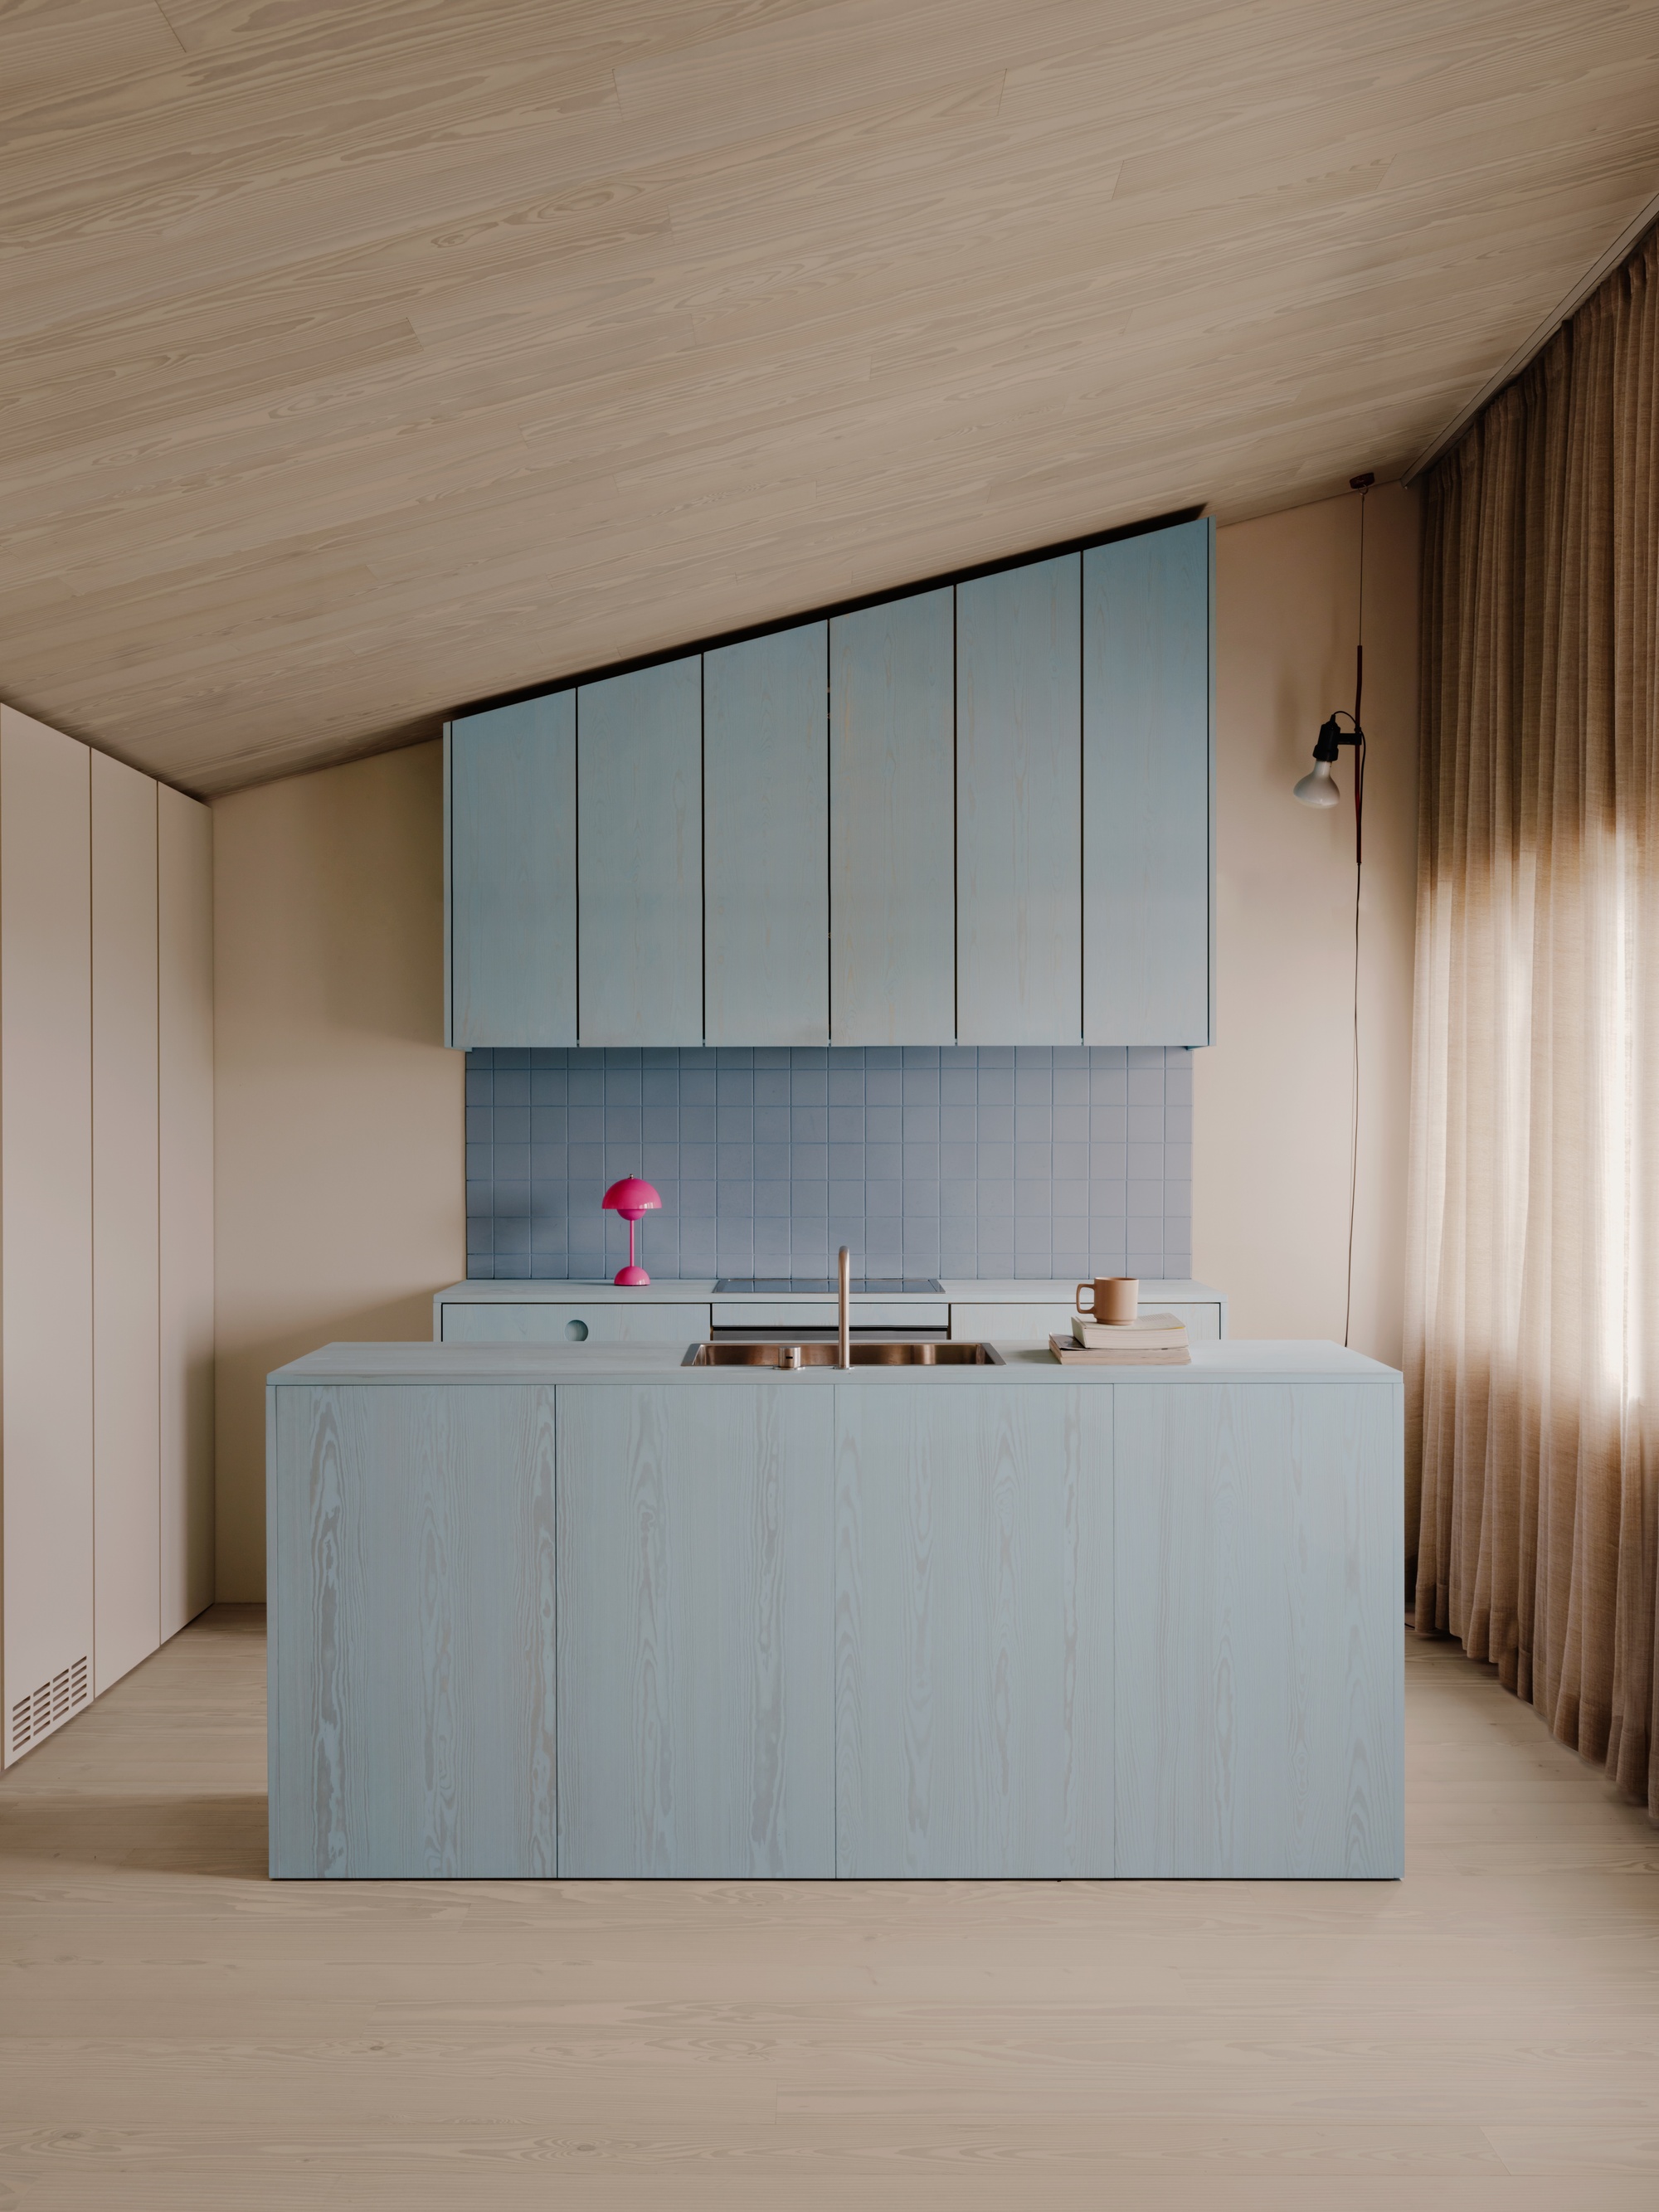
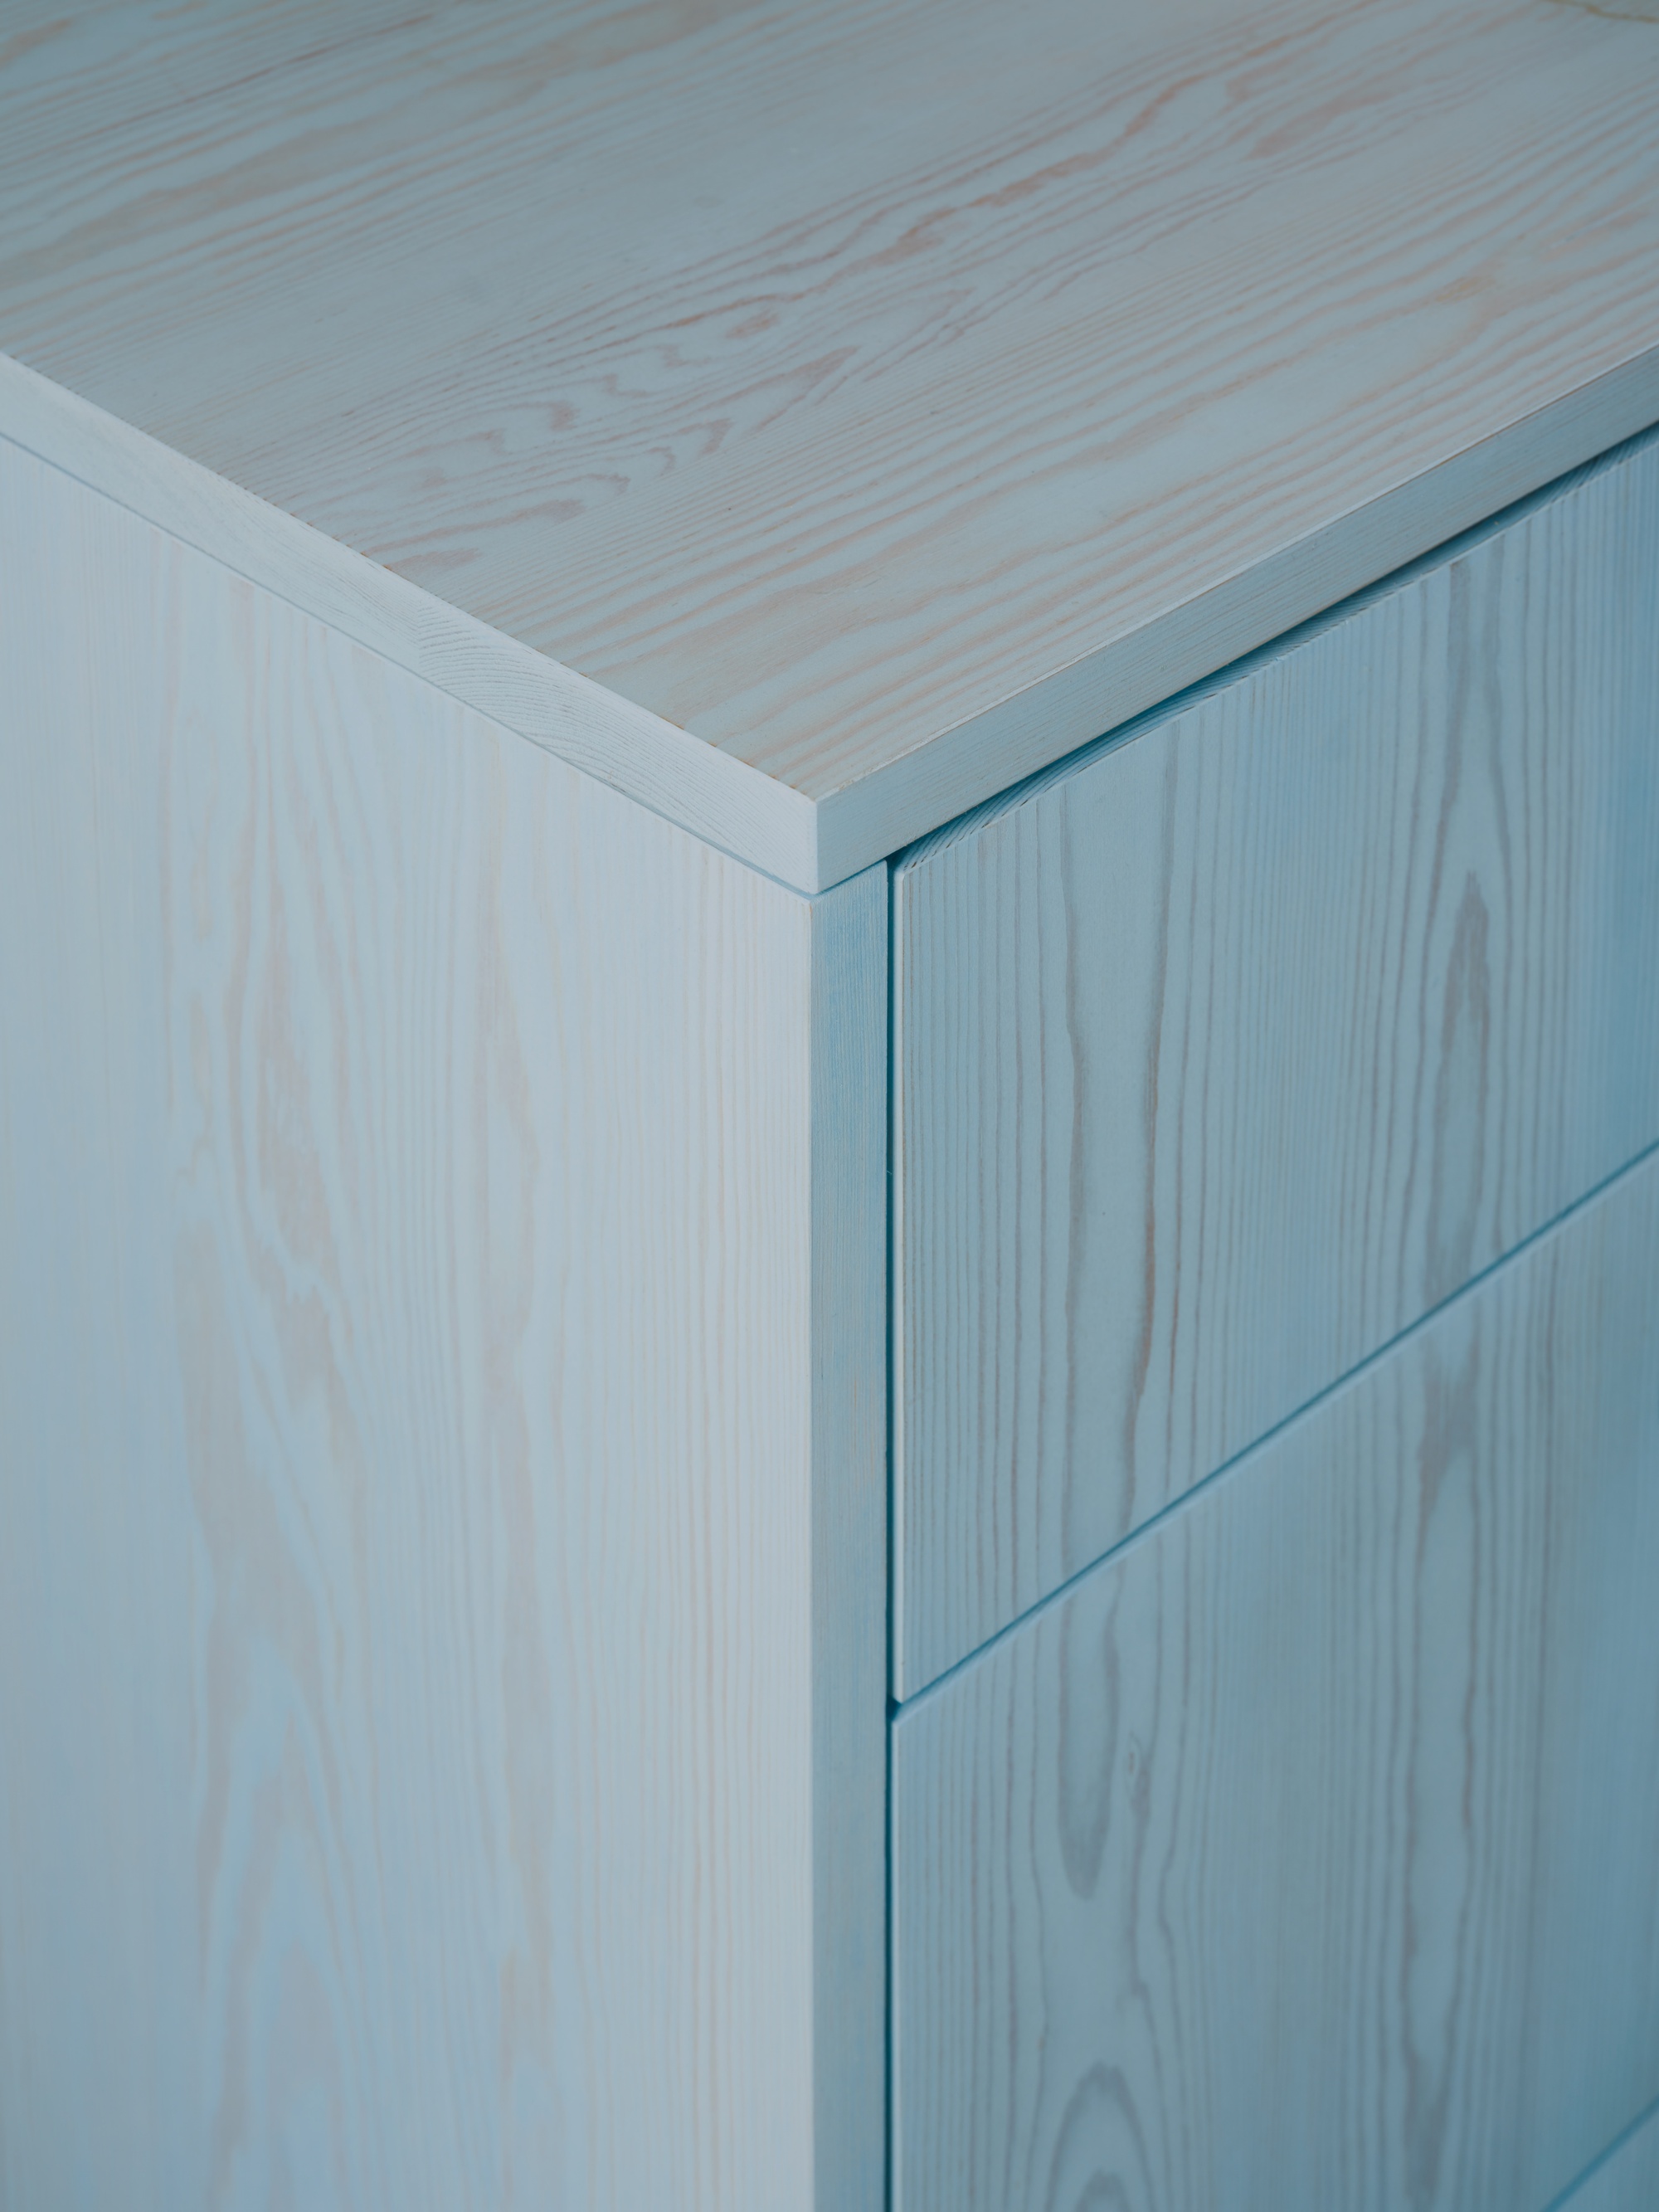
Staining kitchen cabinets offers a practical and cost-effective method to revitalize existing wooden cabinetry, transforming them from worn to new. This technique is particularly well-suited for traditional designs, as it allows for the creation of various color tones while preserving the natural beauty of the wood's knots and grains. The process enhances both the color and texture of the cabinets, adding warmth and character to the kitchen. Furthermore, staining facilitates easier touch-ups for any future marks or blemishes.
The staining process, similar to painting kitchen cabinets, heavily relies on thorough preparation. Key steps include using wood repair filler to address cracks or nicks and furniture touch-up pens for worn-away areas of existing stain. For interior applications, it is crucial to select wood stain specifically designed for indoor use to avoid harsh chemicals. A protective wax finish is recommended to enhance the longevity of the cabinets.
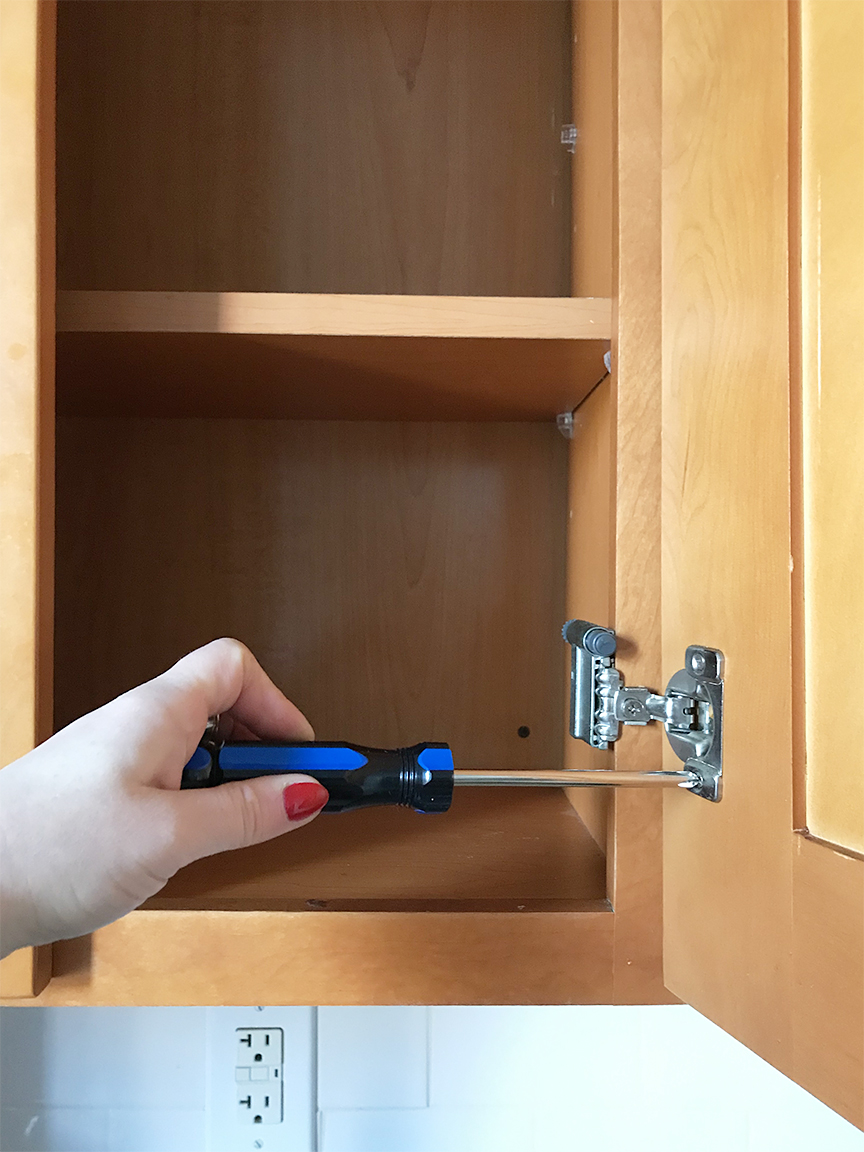
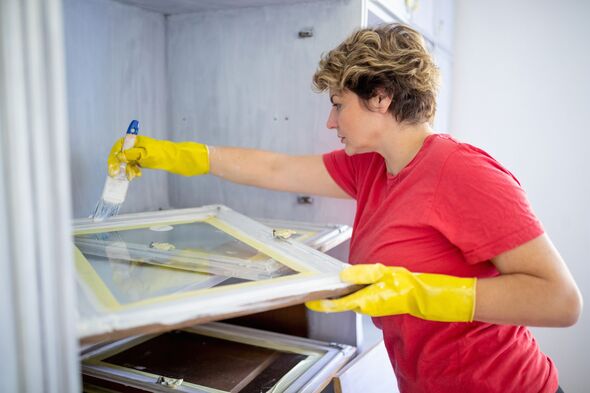
The step-by-step guide begins with cleaning and protecting the workspace. This involves removing all cabinet hardware, such as handles and knobs, and setting them aside. Given the potential for grease accumulation in kitchens, a strong cleaning agent like Trisodium Phosphate (TSP) is recommended. Proper protection, including gloves and goggles, should be worn when using TSP. After cleaning, any white residue from the TSP must be wiped away with a damp cloth, followed by thorough drying.
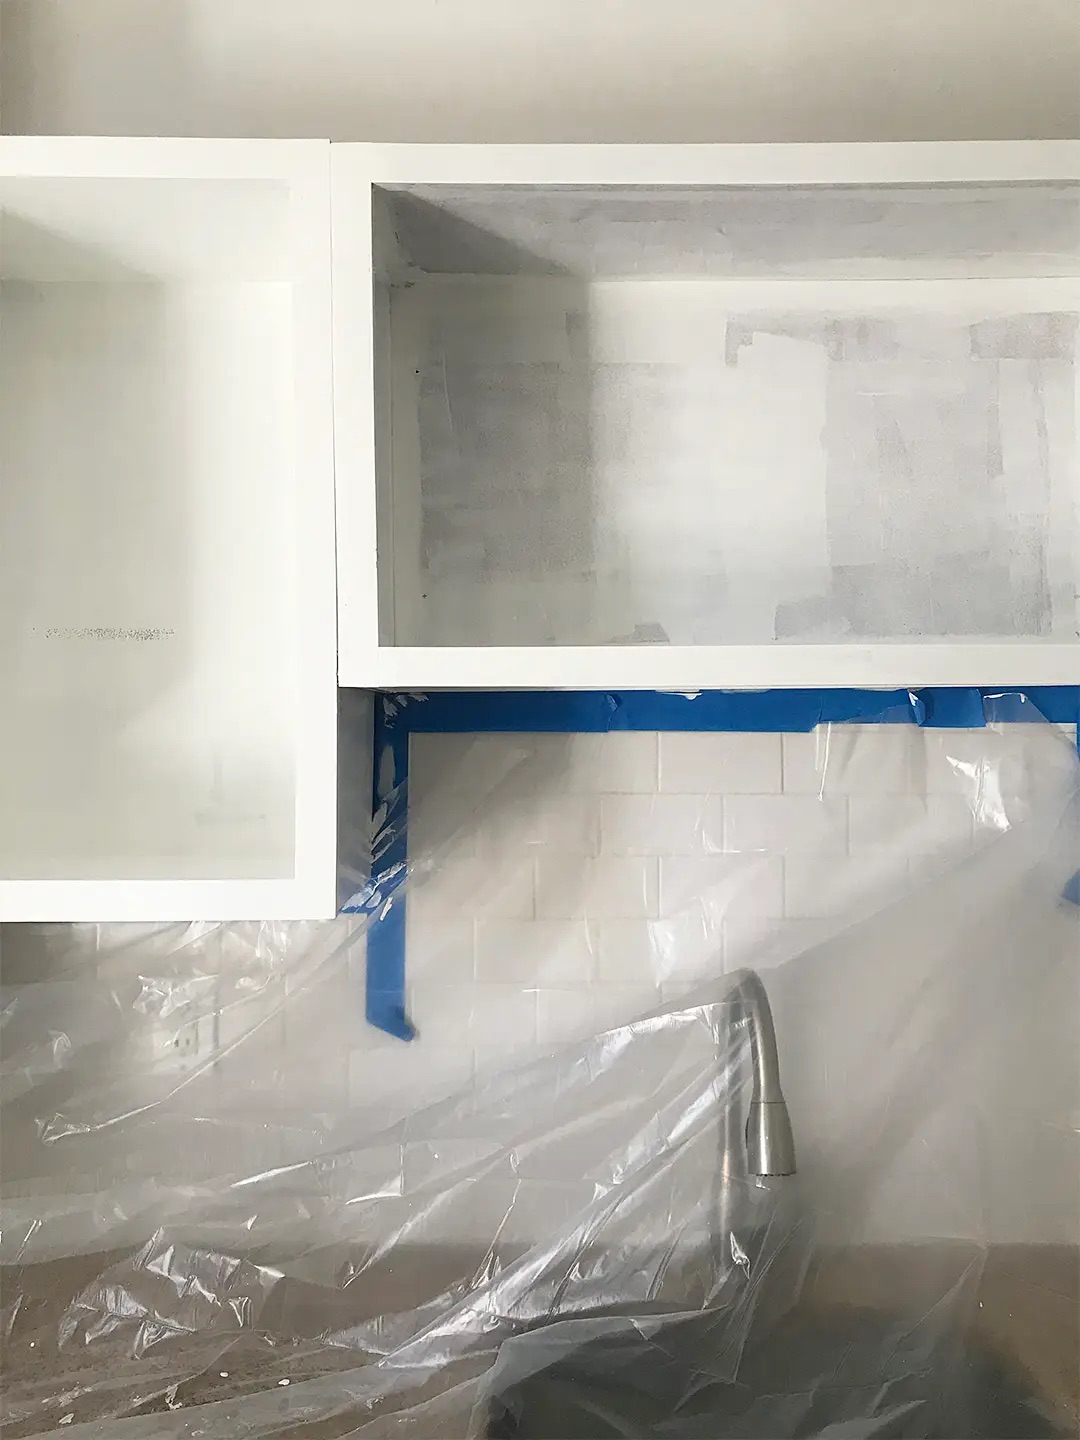
Crucially, any existing finish, whether paint or stain, must be completely stripped from the cabinets before applying new stain. This can be achieved using a chemical paint stripper. The surrounding area should also be protected by removing appliances, laying down dust sheets, and using painter's tape to shield adjacent surfaces.
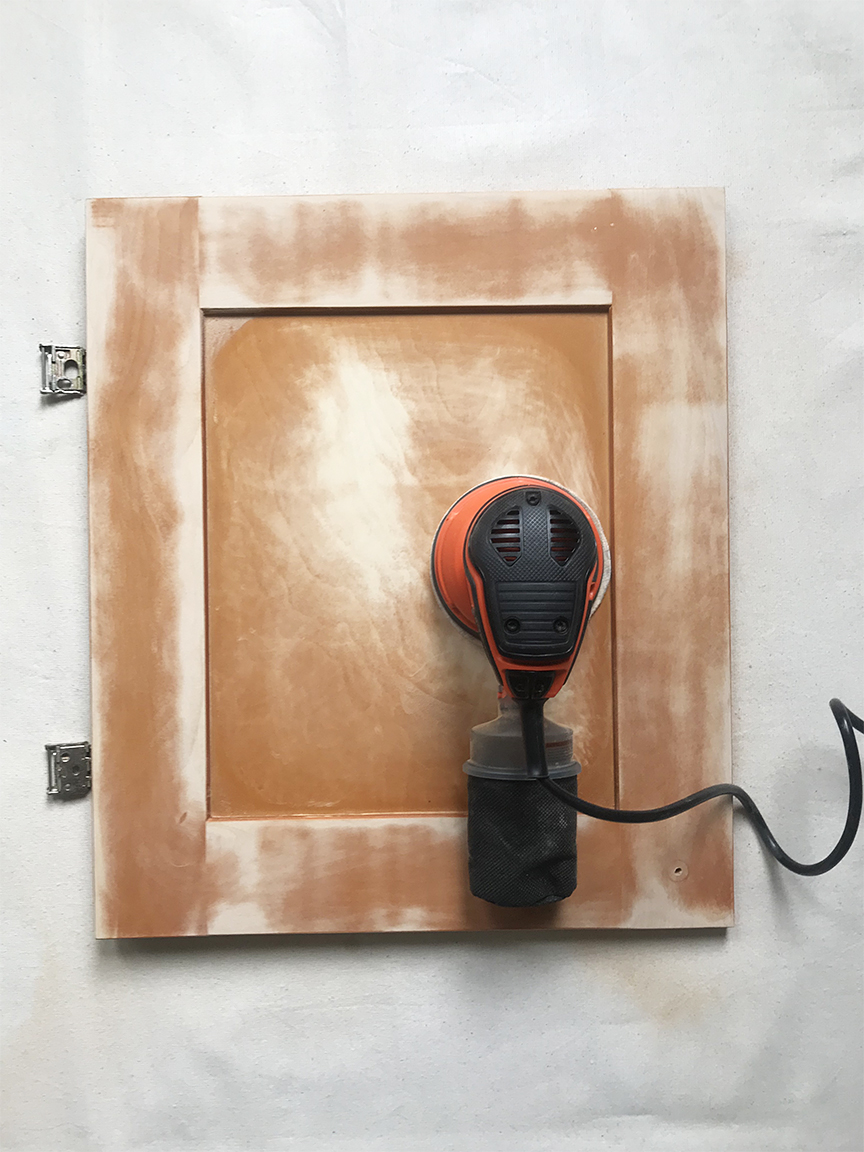
The next phase involves preparing and sanding the cabinets. Initial sanding should be done with 80 to 120-grit sandpaper, moving in the direction of the wood grain until surfaces are smooth. A palm sander can expedite this step. Deep scratches or dents should be filled with wood filler and then sanded smooth once dry. A second sanding pass with finer 150 to 220-grit sandpaper is then required, followed by vacuuming and wiping away all sanding dust.
Treating the wood is the subsequent step. Given the kitchen's high traffic and exposure to moisture and grease, applying a wood treatment prior to staining is essential for longevity. The treatment can be applied with a brush or cloth, following manufacturer guidelines for coats and drying times.
Finally, the wood is stained. The stain should be applied in a full, flowing coat using a high-quality, long-haired, soft bristle brush, working with the wood grain to ensure even coverage. Over-brushing should be avoided to prevent brush marks. Any areas that appear too dark can be lightened by rubbing off excess stain with a fresh rag. After the first coat dries (typically 2-4 hours), lightly scuff the surfaces with steel wool before applying a second coat. Many stains include a built-in sealer, but it is important to verify this to determine if an additional topcoat is necessary.
Staining over existing kitchen cabinets is possible, but complete removal of the old finish is paramount for optimal results. The process is generally manageable for DIY enthusiasts, with success hinging on meticulous preparation, appropriate stain and brush selection, and, if needed, a top coat. Staining offers a durable finish and allows for easy touch-ups. Water-based stains are often recommended, and it is vital to match the wood stain with the specific wood finish for the best outcome.
#KitchenCabinetStaining #WoodRefinishing #DIYHomeImprovement #KitchenRenovation #InteriorDesignTips #CabinetCare #WoodStainApplication #HomeMaintenance #KitchenDecor #KitchenCabinetStaining #WoodRefinishing #DIYHomeImprovement #KitchenRenovation #InteriorDesignTips #CabinetCare #WoodStainApplication #HomeMaintenance #KitchenDecor
0 comment in total
 No comments yet
You may also like

How to paint kitchen cabinets: an expert, step-by-step guide
Best Paints for Kitchen Cabinets and Types to Revamp Your Space

Best paint for kitchen cabinets: 8 paints for cupboard doors


Update Your Home with These 12 Paints for Cabinets

An Interior Designer’s Tips For Painting Kitchen Cabinets
‘Best method’ to paint your kitchen cabinets in ‘3 easy steps’ for an ‘unbeatable finish’
The 8 Best Cabinet Paints That Ensure a Beautiful, Long-Lasting Finish
8 colors you should never paint kitchen cabinets according to the experts
How to Paint Kitchen Cabinets, From Unfinished Wood to Tricky IKEA Laminate


5 Trending Wood Stains for Kitchen Cabinets, According to Designers

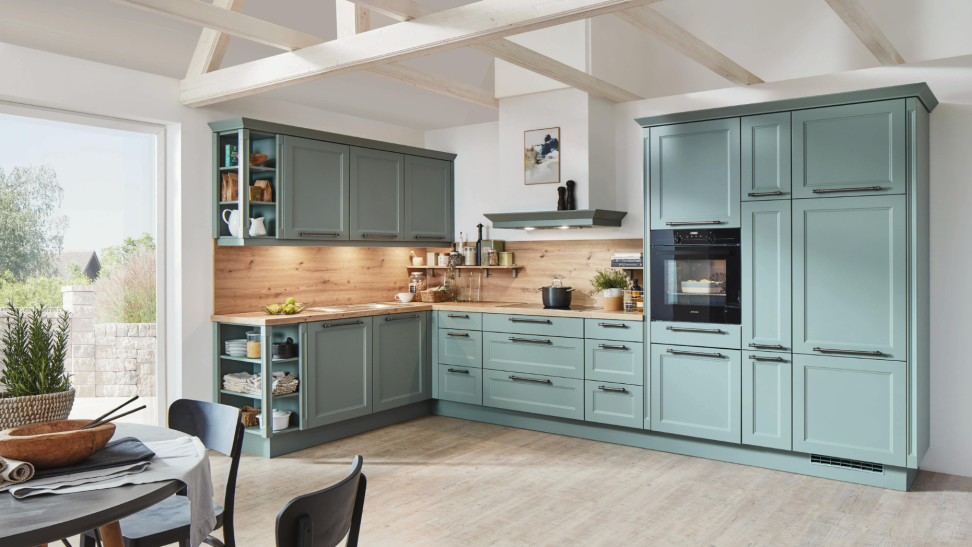
The Best Cabinet Paint of 2026


5 Gorgeous Paint Colors To Elevate Your Kitchen Cabinets In 2025

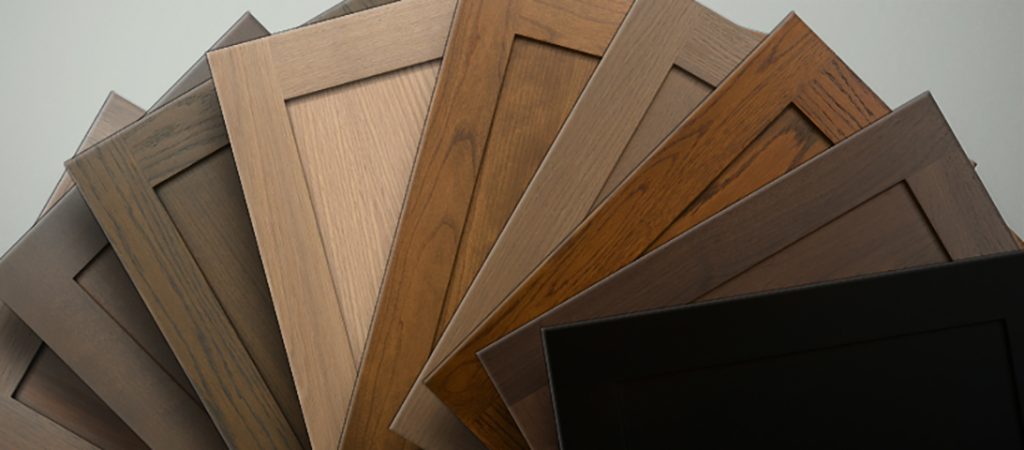
Cabinet Stain Selection

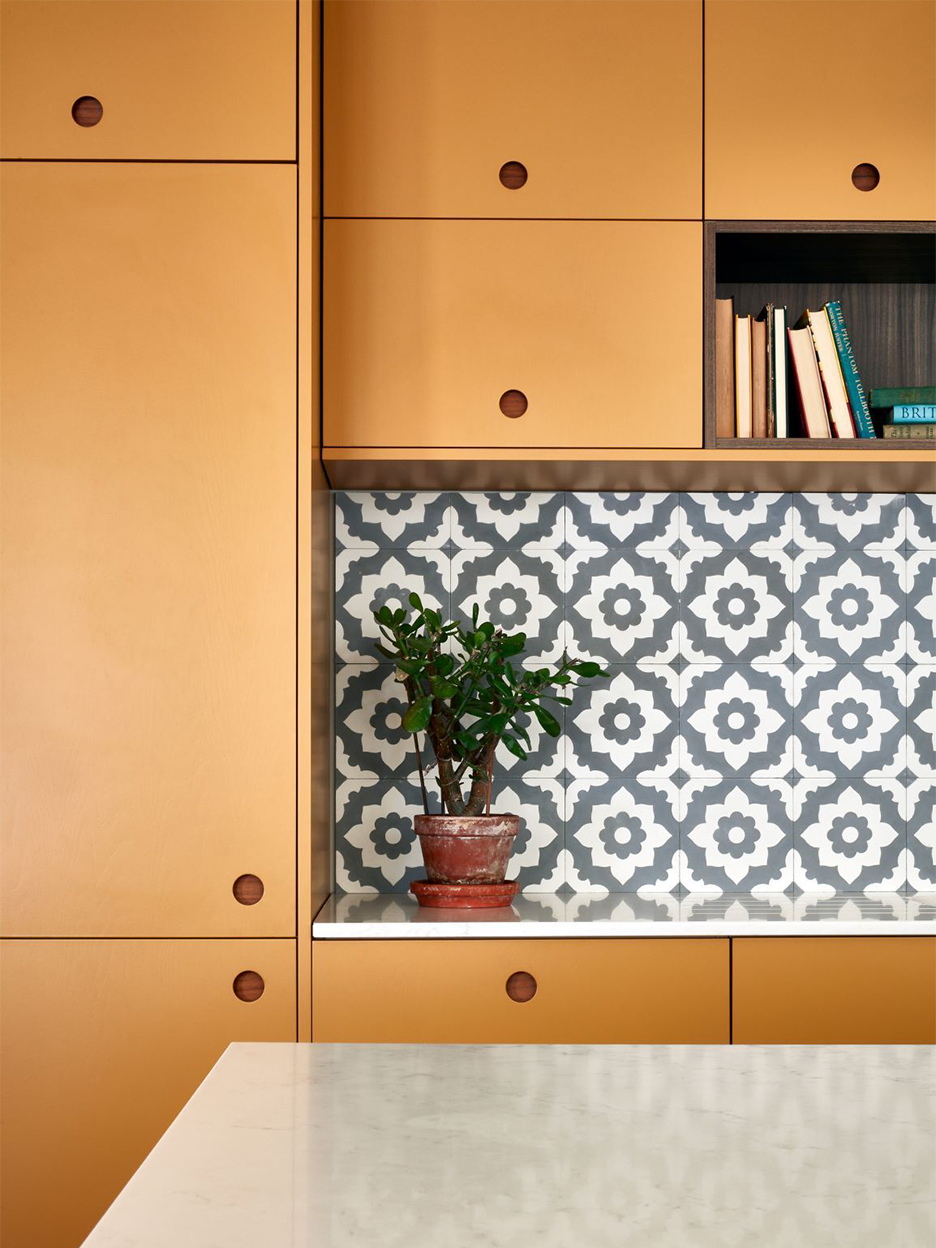
5 Designers Weigh In on the Best Brands of Paint for Kitchen Cabinets

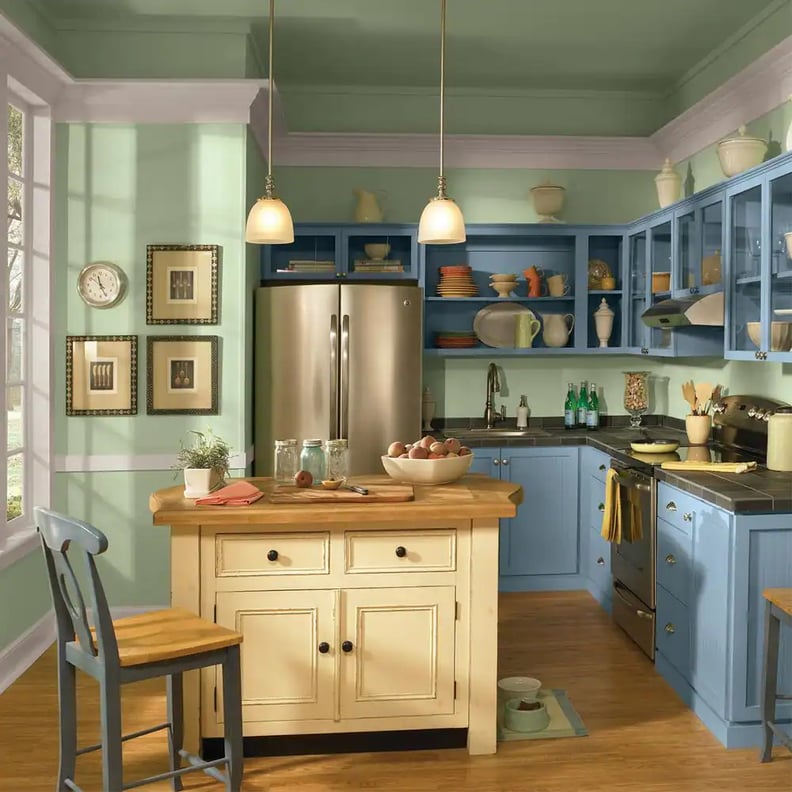
Transform Your Kitchen With These 7 High-Quality Cabinet Paints
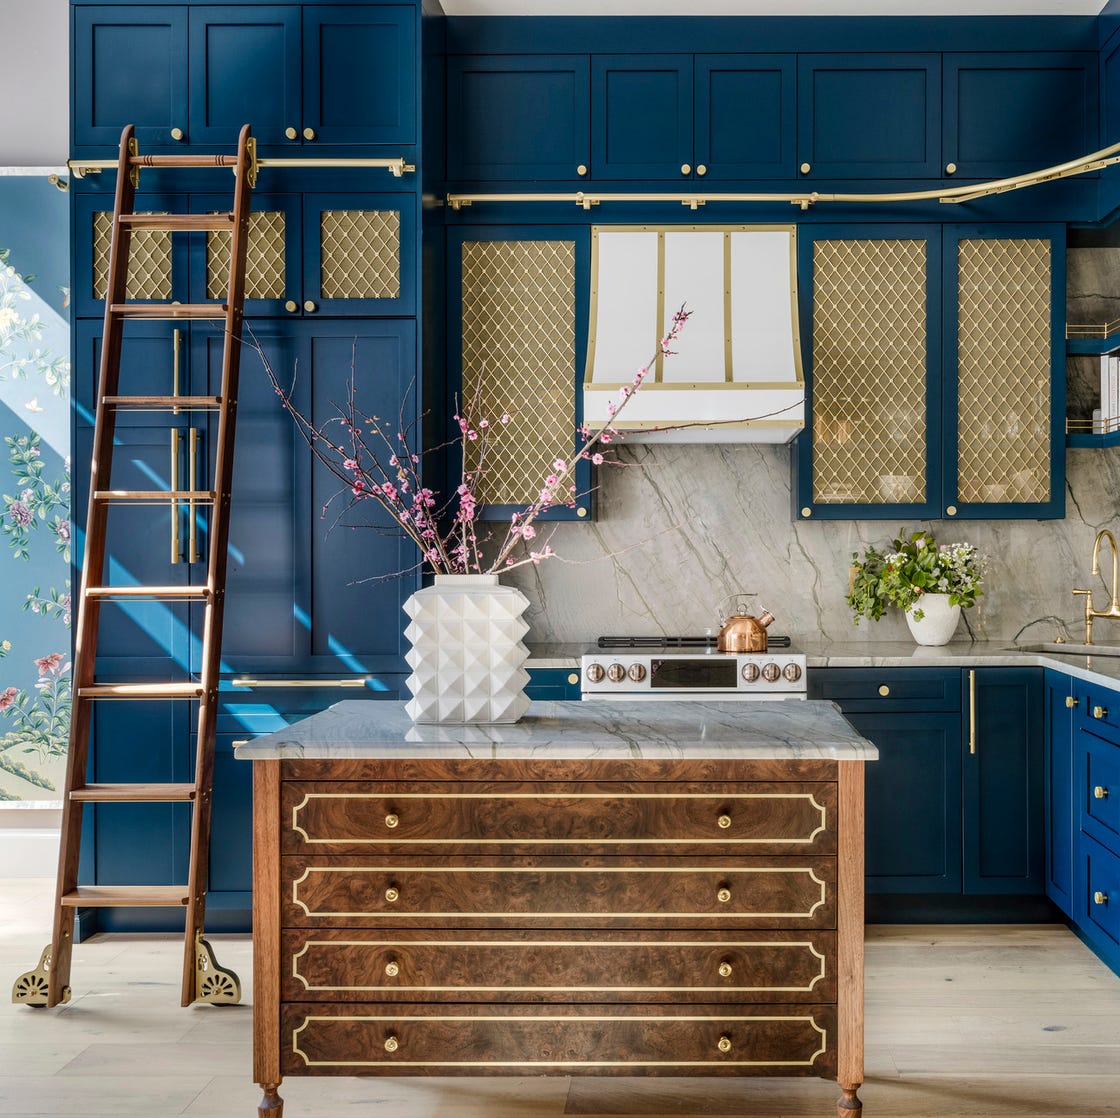
15 Cabinet Paint Colors That Look STUNNING in Any Kitchen

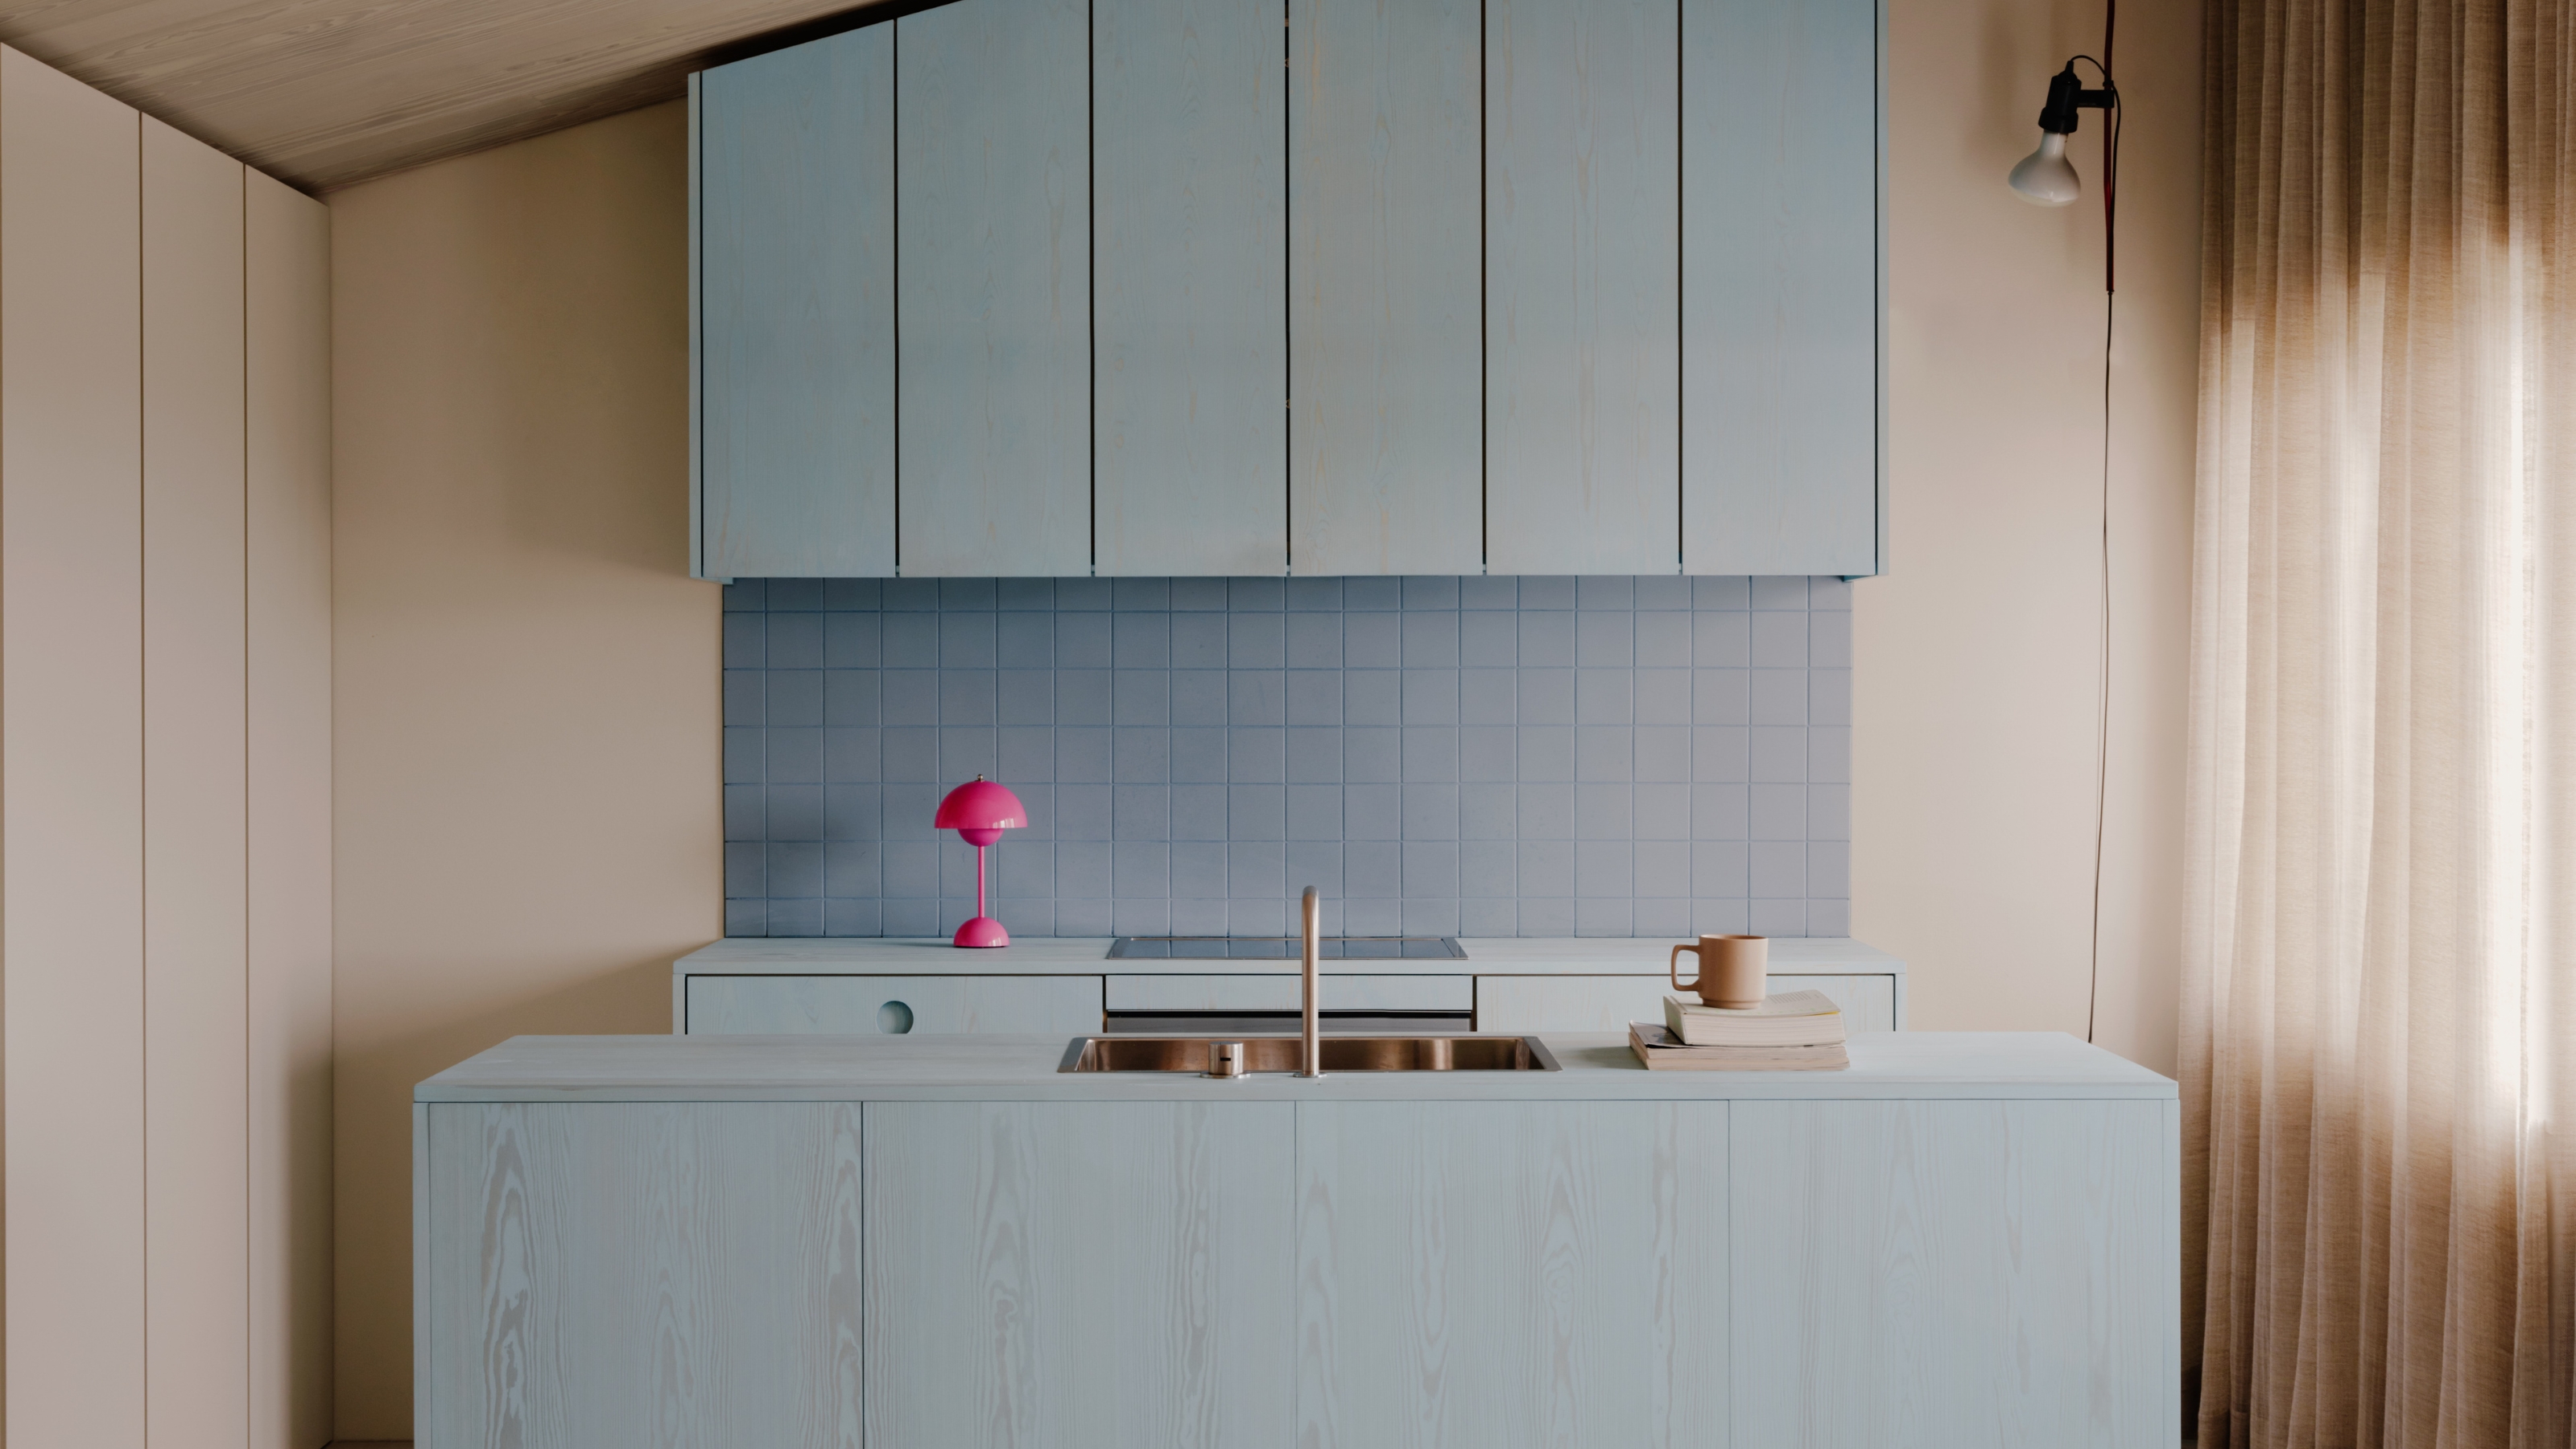
Colorful Wood Stains Are the New Way Cool People Are Doing Color in Their Kitchen

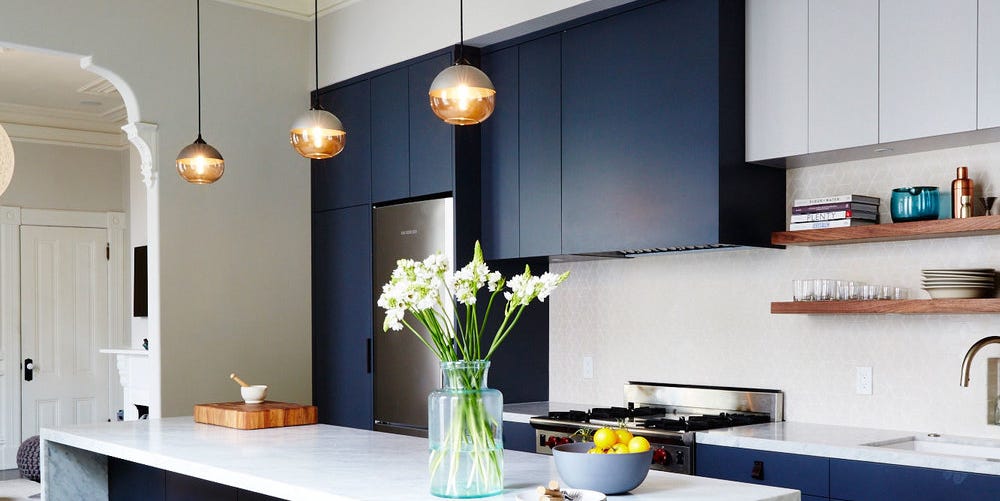
14 Kitchen Cabinet Colors You Can Easily Mix and Match
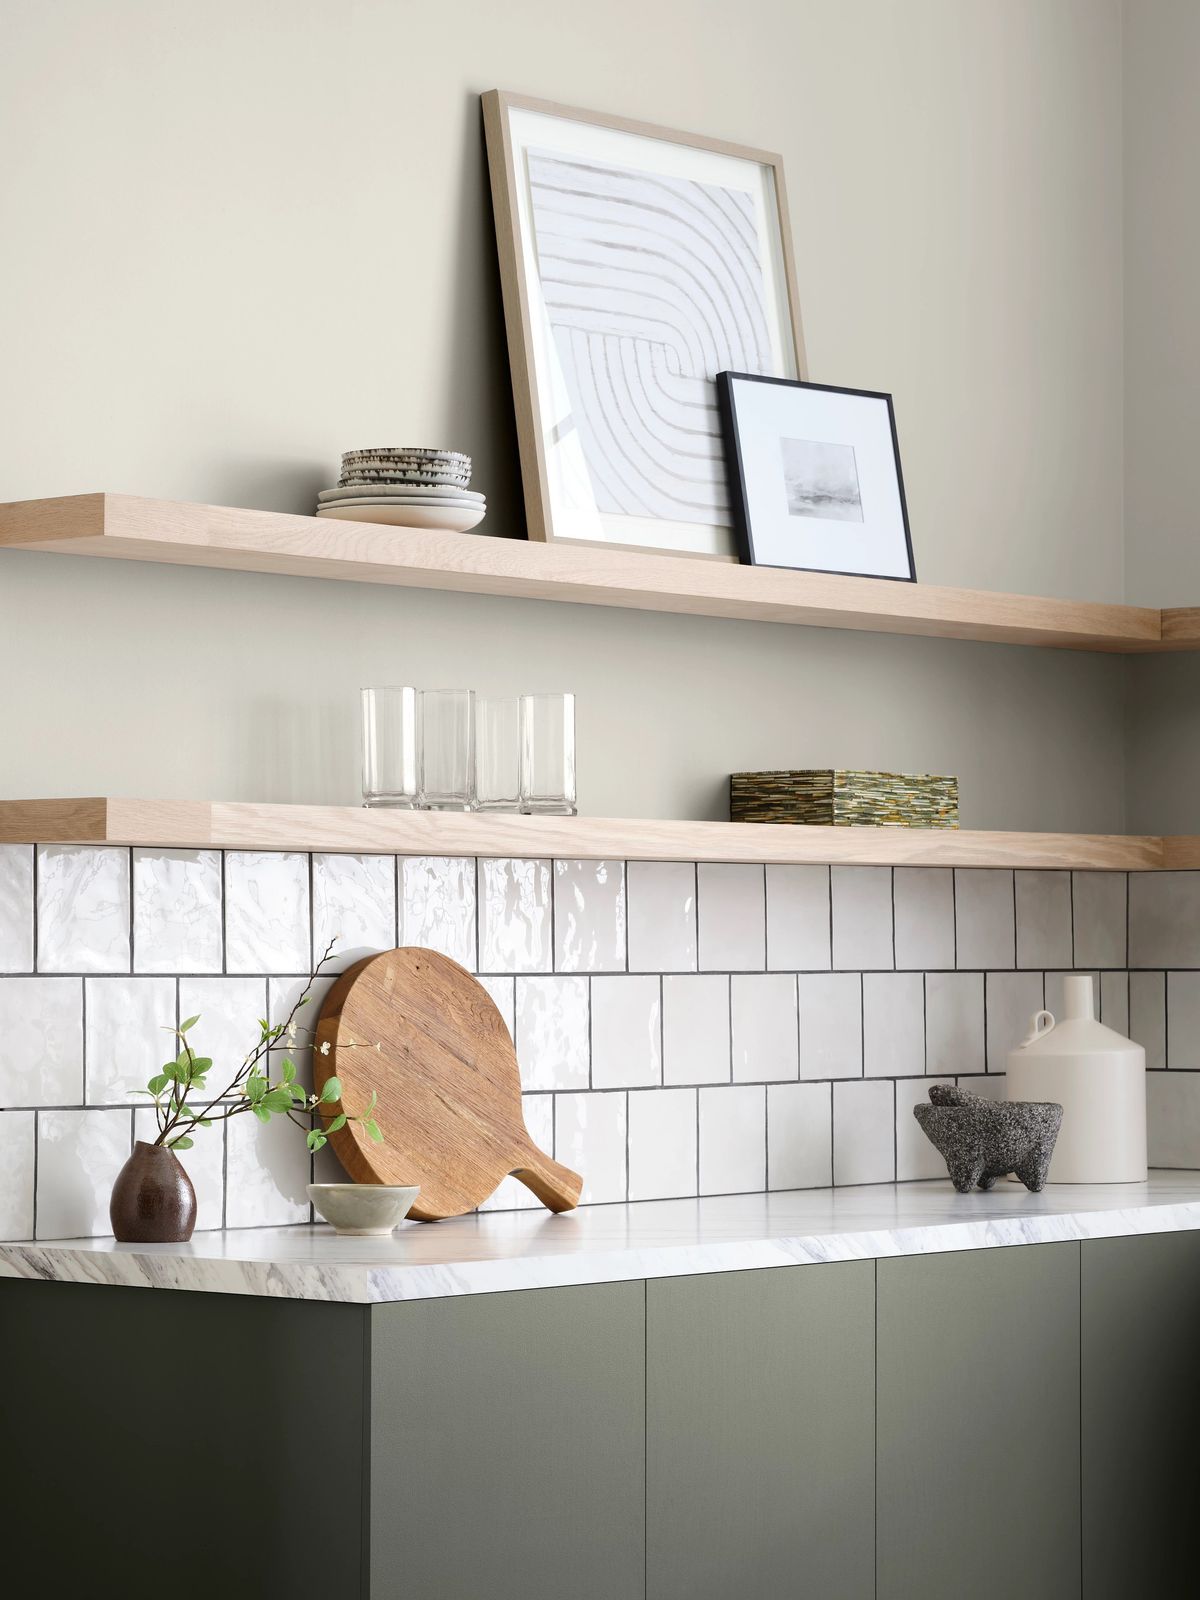
18 Gorgeous Kitchen Cabinet Paint Colors, According To Kitchen Designers

7 Outdated Cabinet Colors Designers Are Leaving Behind In 2026