1/5
How to Paint Kitchen Cabinets, From Unfinished Wood to Tricky IKEA Laminate
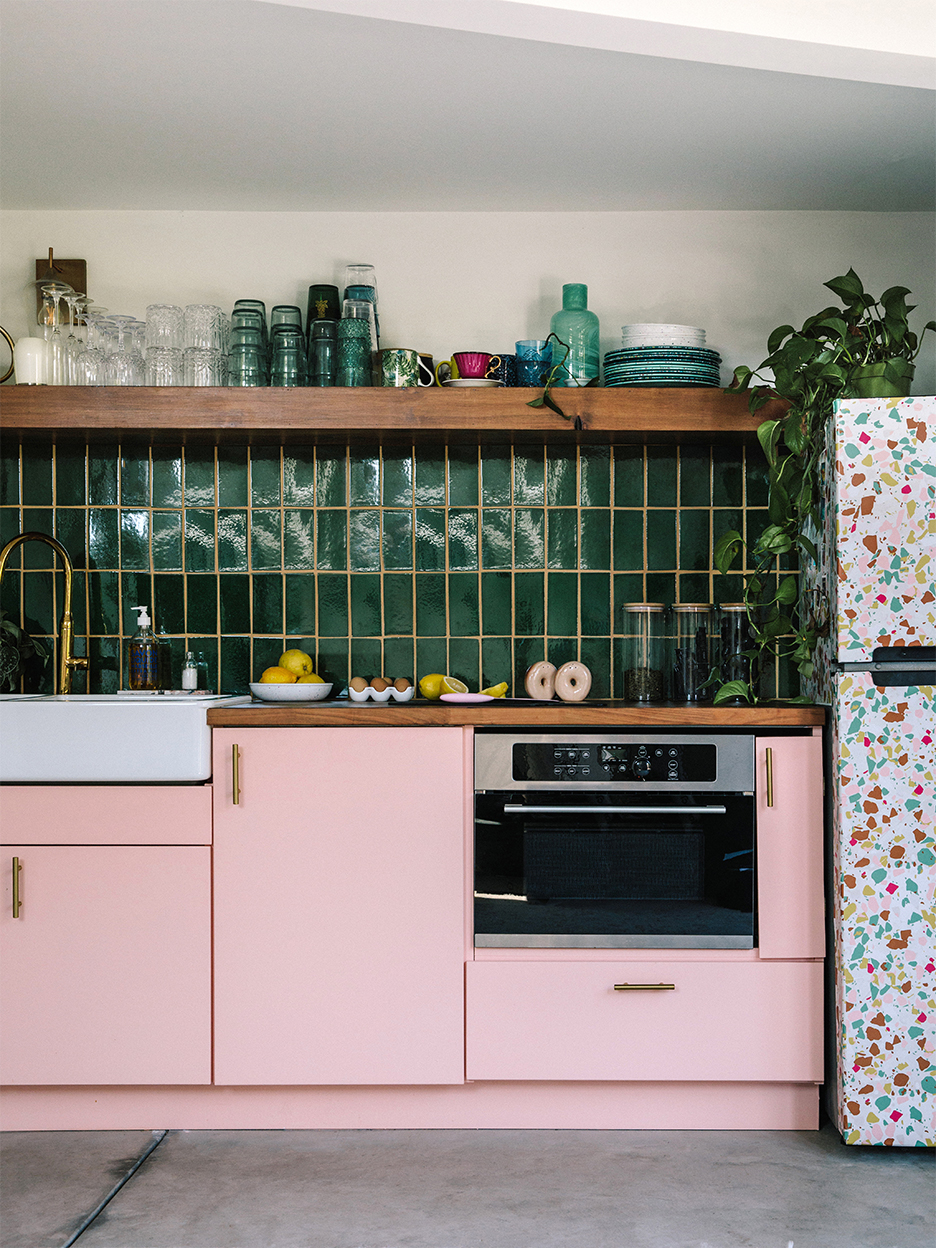
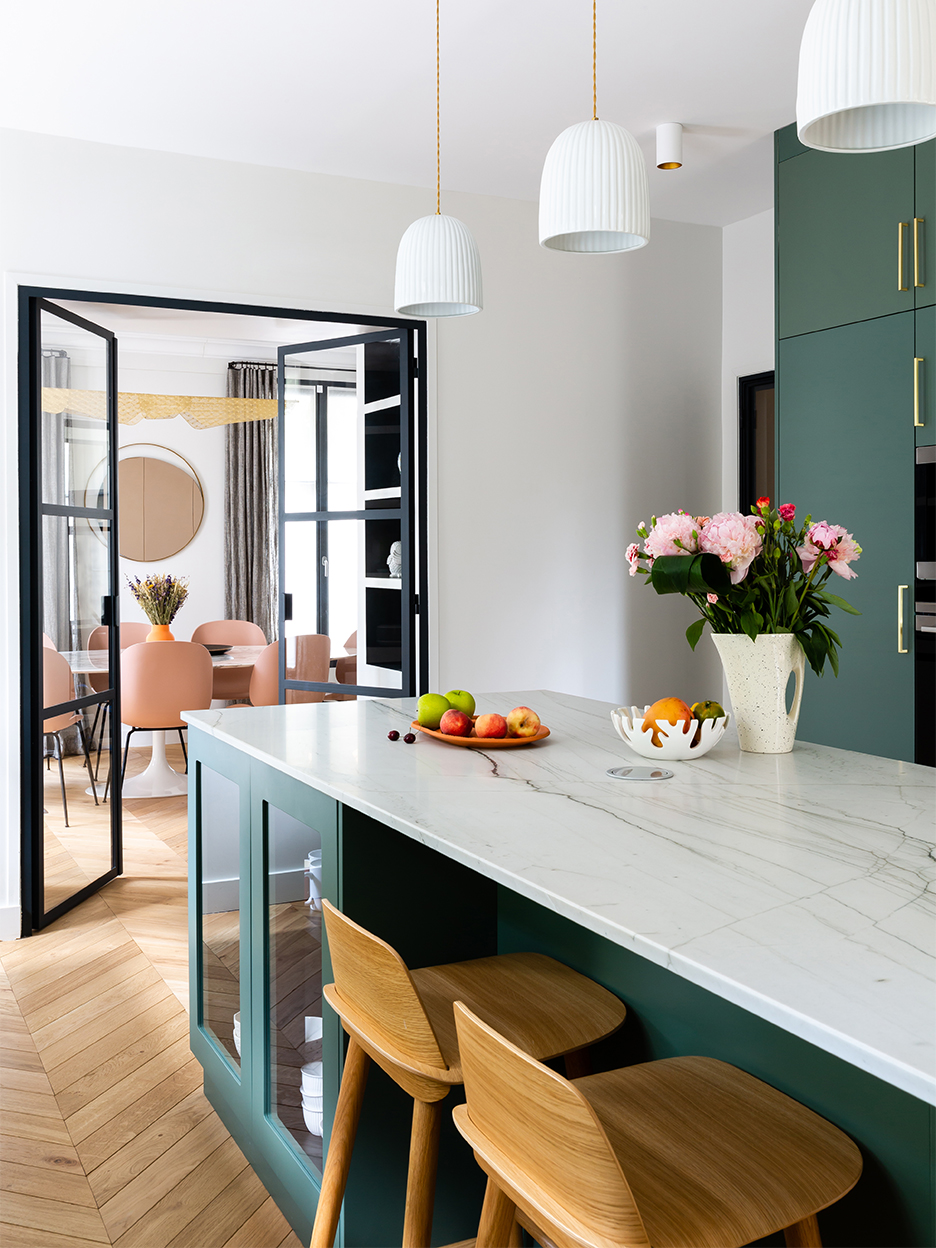
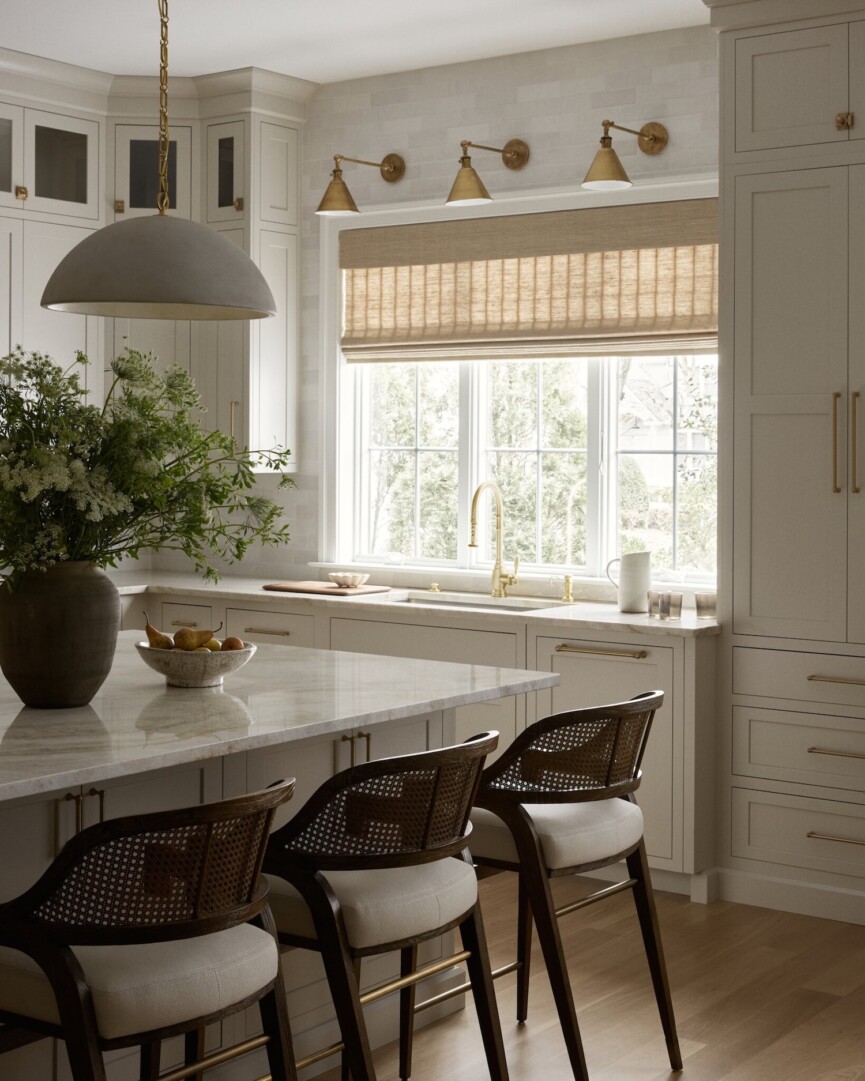
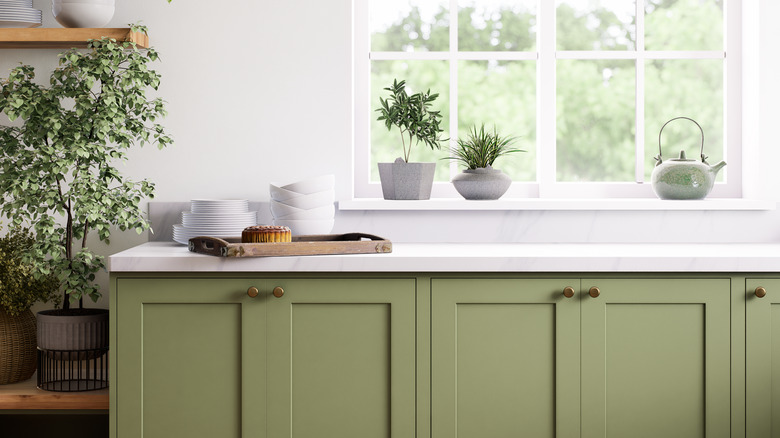
This article offers a comprehensive guide on how to paint kitchen cabinets, providing expert advice from Paul Baik, a senior product manager for Behr Ultra, and other designers. It emphasizes that while painting cabinets is a cost-effective alternative to replacement, doing it yourself can save significant labor costs, which average between $20 and $50 per hour according to HomeAdvisor's 2021 data. The total average cost for professional painting is around $700.
The guide highlights the critical role of priming in achieving a smooth, uniform surface for the top coat. For wood cabinets, an acrylic-based, mildew-resistant, stain-blocking primer is recommended. For challenging laminate surfaces, a strong bonding primer such as Behr’s Bonding Primer or Sherwin-Williams’s Extreme Bond Primer is suggested. It also advises using an undercoat in the same tone as the final paint color to ensure a saturated result, particularly when transitioning from light to dark shades.
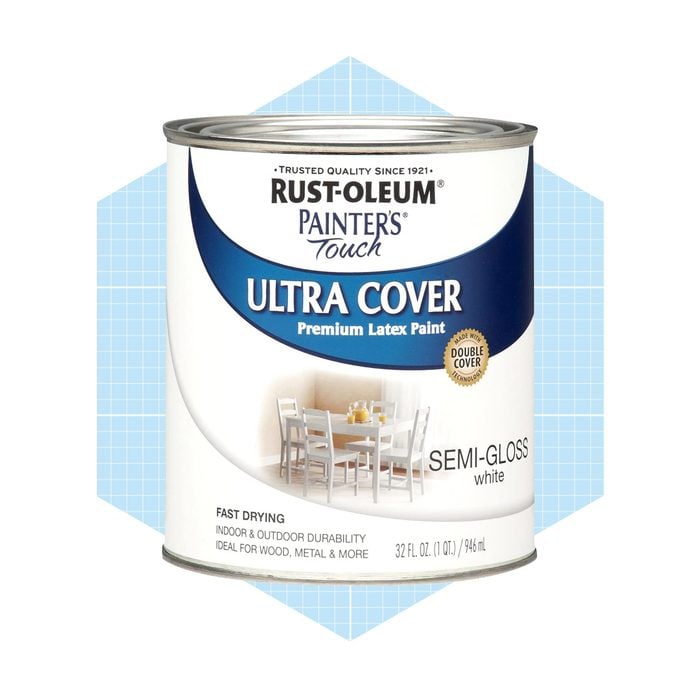
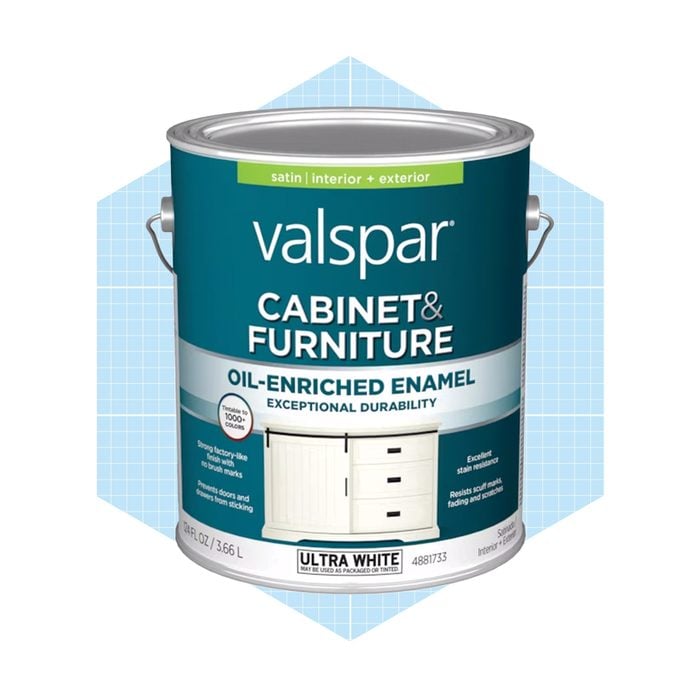
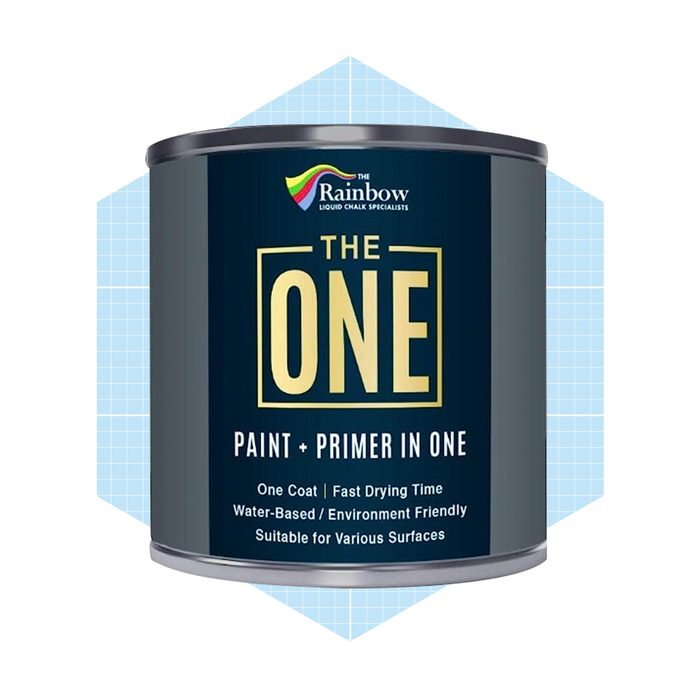
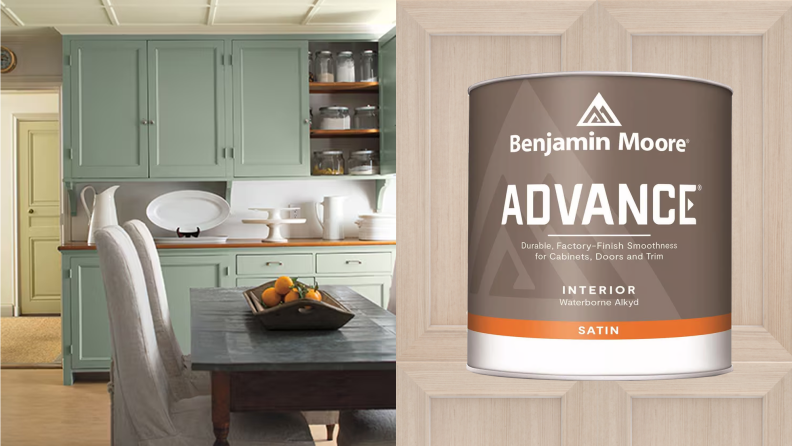
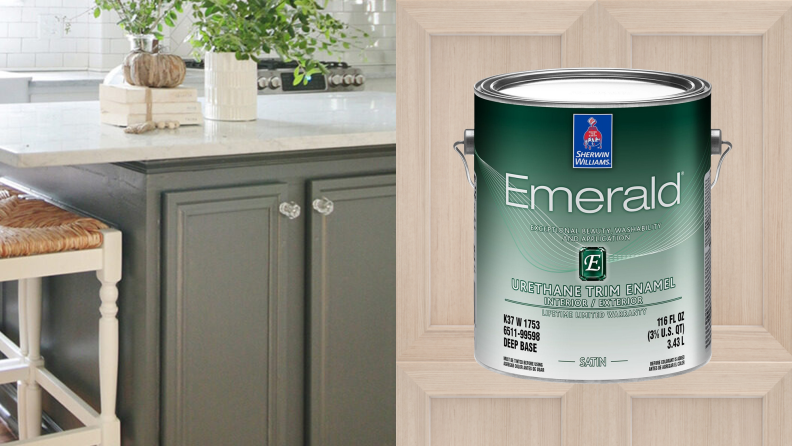
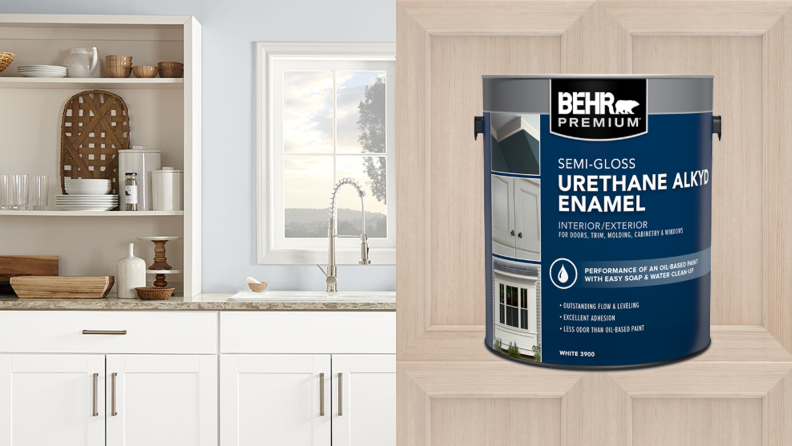
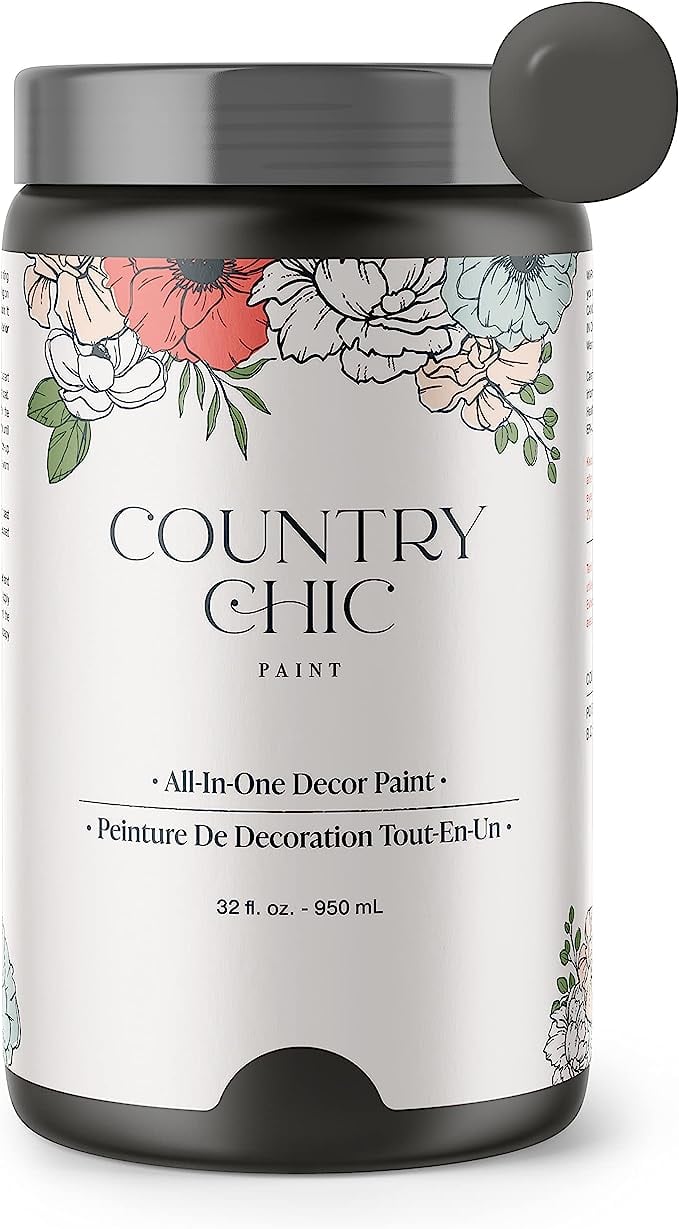
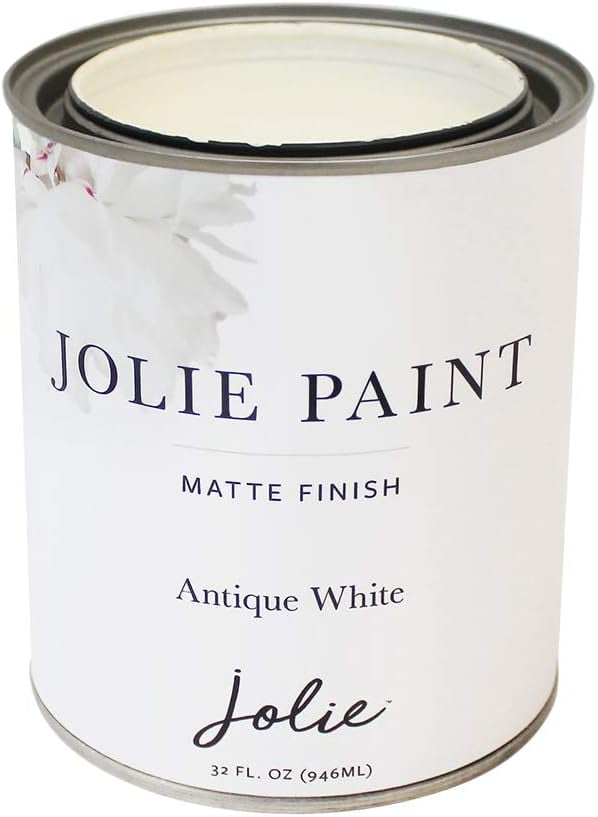
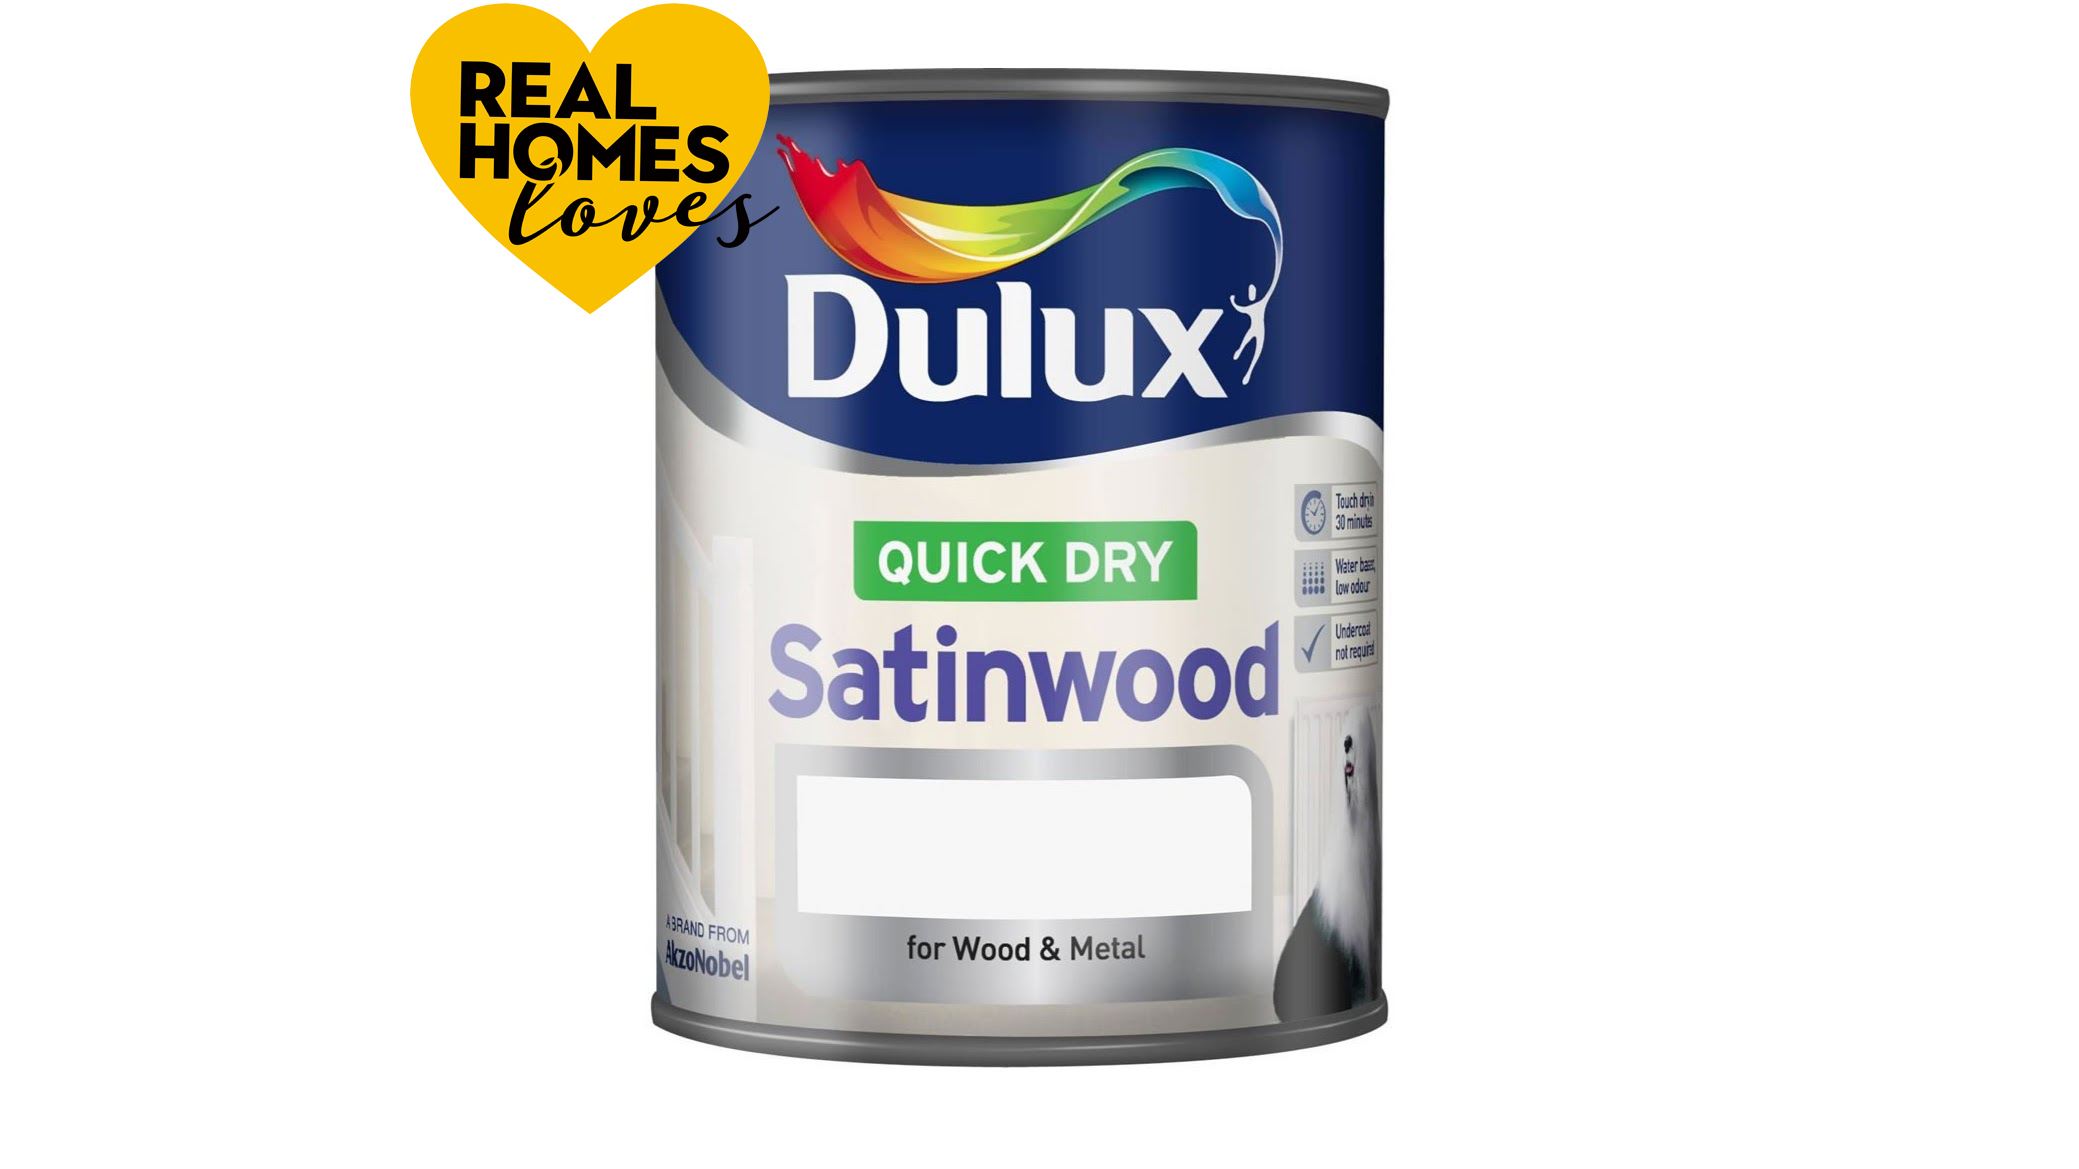
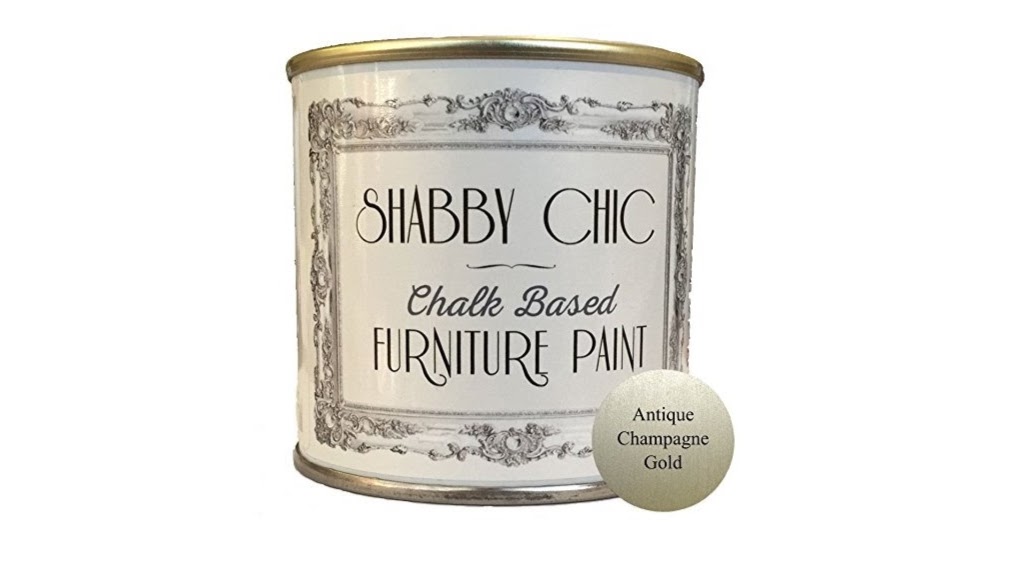
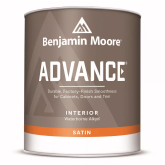
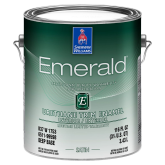
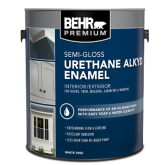
Regarding the choice of paint, the article recommends oil-based enamel or hybrid alkyd enamel paint with a semigloss or satin finish. These types of paints level nicely, preventing brush streaks, and offer durability. Two coats are generally sufficient, depending on the chosen color. Specific brands praised by designers include Farrow & Ball’s Modern Eggshell and Estate Eggshell, known for their durability and ease of cleaning. Other recommended brands include Benjamin Moore Advance, Behr Premium, Sherwin-Williams ProClassic, Sherwin-Williams Emerald Urethane, and Valspar Oil-Enriched Enamel. For laminate and IKEA cabinets, a matte Chalk Paint product is an option after sanding and cleaning, and full gloss should be avoided to prevent highlighting imperfections.
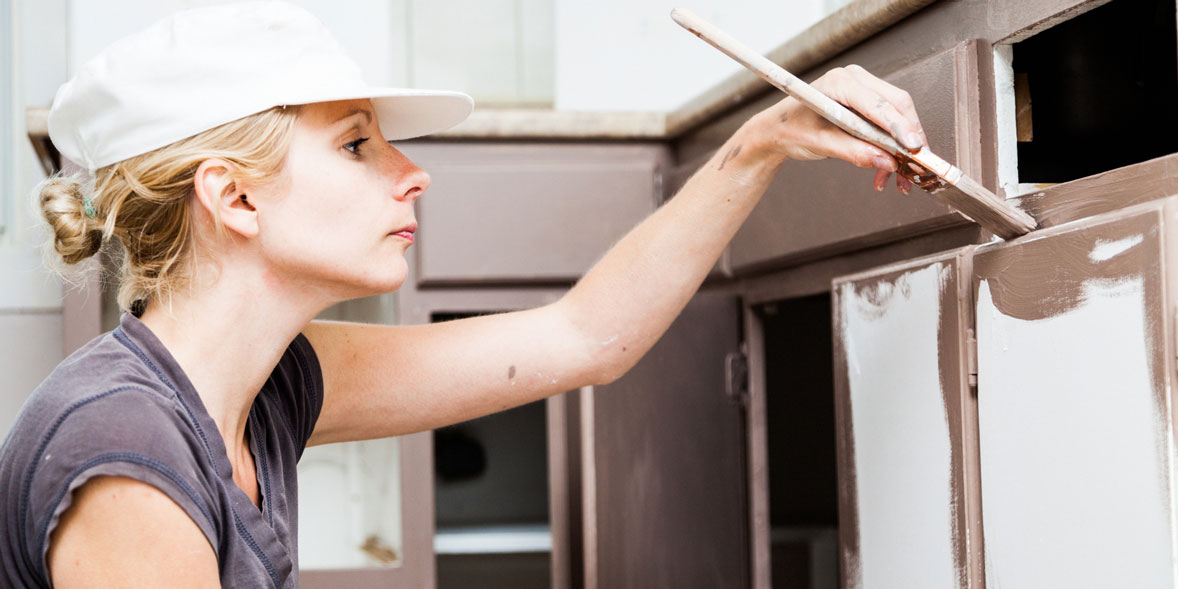
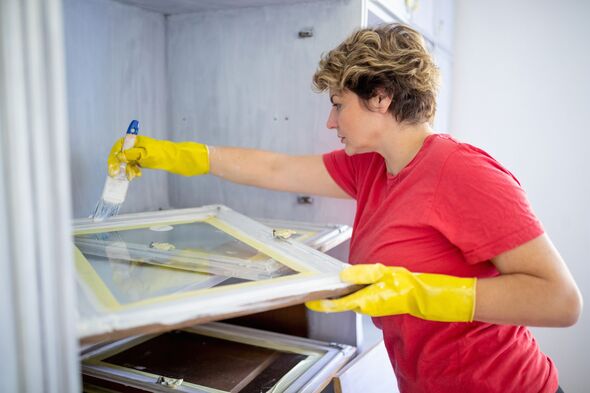
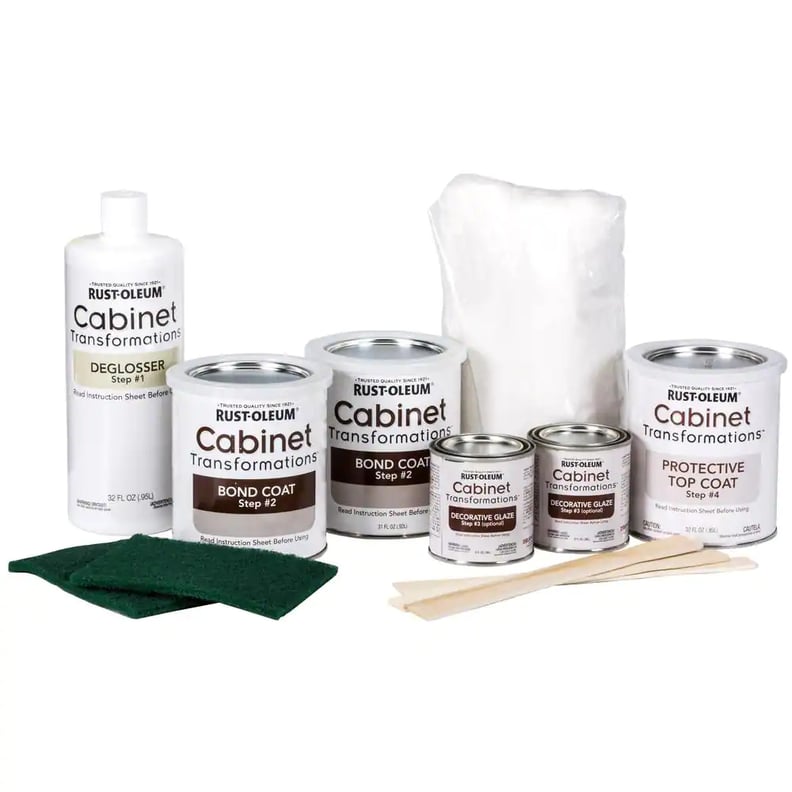
The painting process is broken down into three main steps. The first step involves removing all contents from the cabinets and detaching the doors. While some DIYers might skip door removal, professionals advise it for easier roller or spray gun application on a flat surface. It's crucial to label doors for easy reinstallation and to protect surrounding areas with rosin paper or plastic tarp. The second step focuses on surface preparation, which includes cleaning cabinets with a de-glosser solution and sanding them with 100- to 150-grit sandpaper to create an even consistency. A random orbital sander is preferred to minimize swirl marks. After sanding, dust must be wiped away before applying a fast-drying primer.
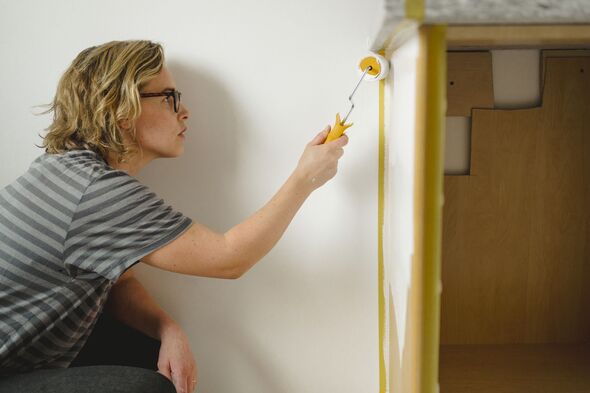
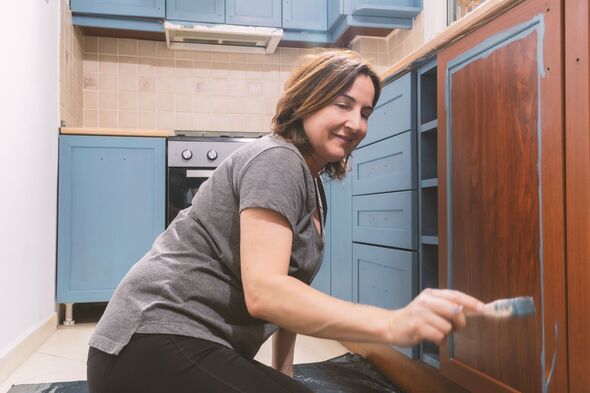
The final step is the actual painting, which should be done in a dry, well-ventilated environment to prevent moisture issues. Essential tools include a fine-bristle brush (100% high-quality nylon), a mini ¼-inch roller, and potentially an airless sprayer. Optional 400- to 600-grit sandpaper can be used between coats for smoother adhesion. The brush is for details and corners, while the roller is for main panel faces, with a brush follow-up to eliminate roller marks. Each coat needs about 24 hours to dry thoroughly before light sanding and applying the next coat. Once completely dry, the doors and drawer fronts can be reattached, completing the renovation.
#KitchenRenovation #CabinetPainting #DIYHomeImprovement #PaintSelection #PrimerApplication #SurfacePreparation #HomeDecor #InteriorDesign #BehrPaint #KitchenRenovation #CabinetPainting #DIYHomeImprovement #PaintSelection #PrimerApplication #SurfacePreparation #HomeDecor #InteriorDesign #BehrPaint
0 comment in total
 No comments yet
You may also like

How to paint kitchen cabinets: an expert, step-by-step guide
‘Best method’ to paint your kitchen cabinets in ‘3 easy steps’ for an ‘unbeatable finish’
Best paint for kitchen cabinets: 8 paints for cupboard doors

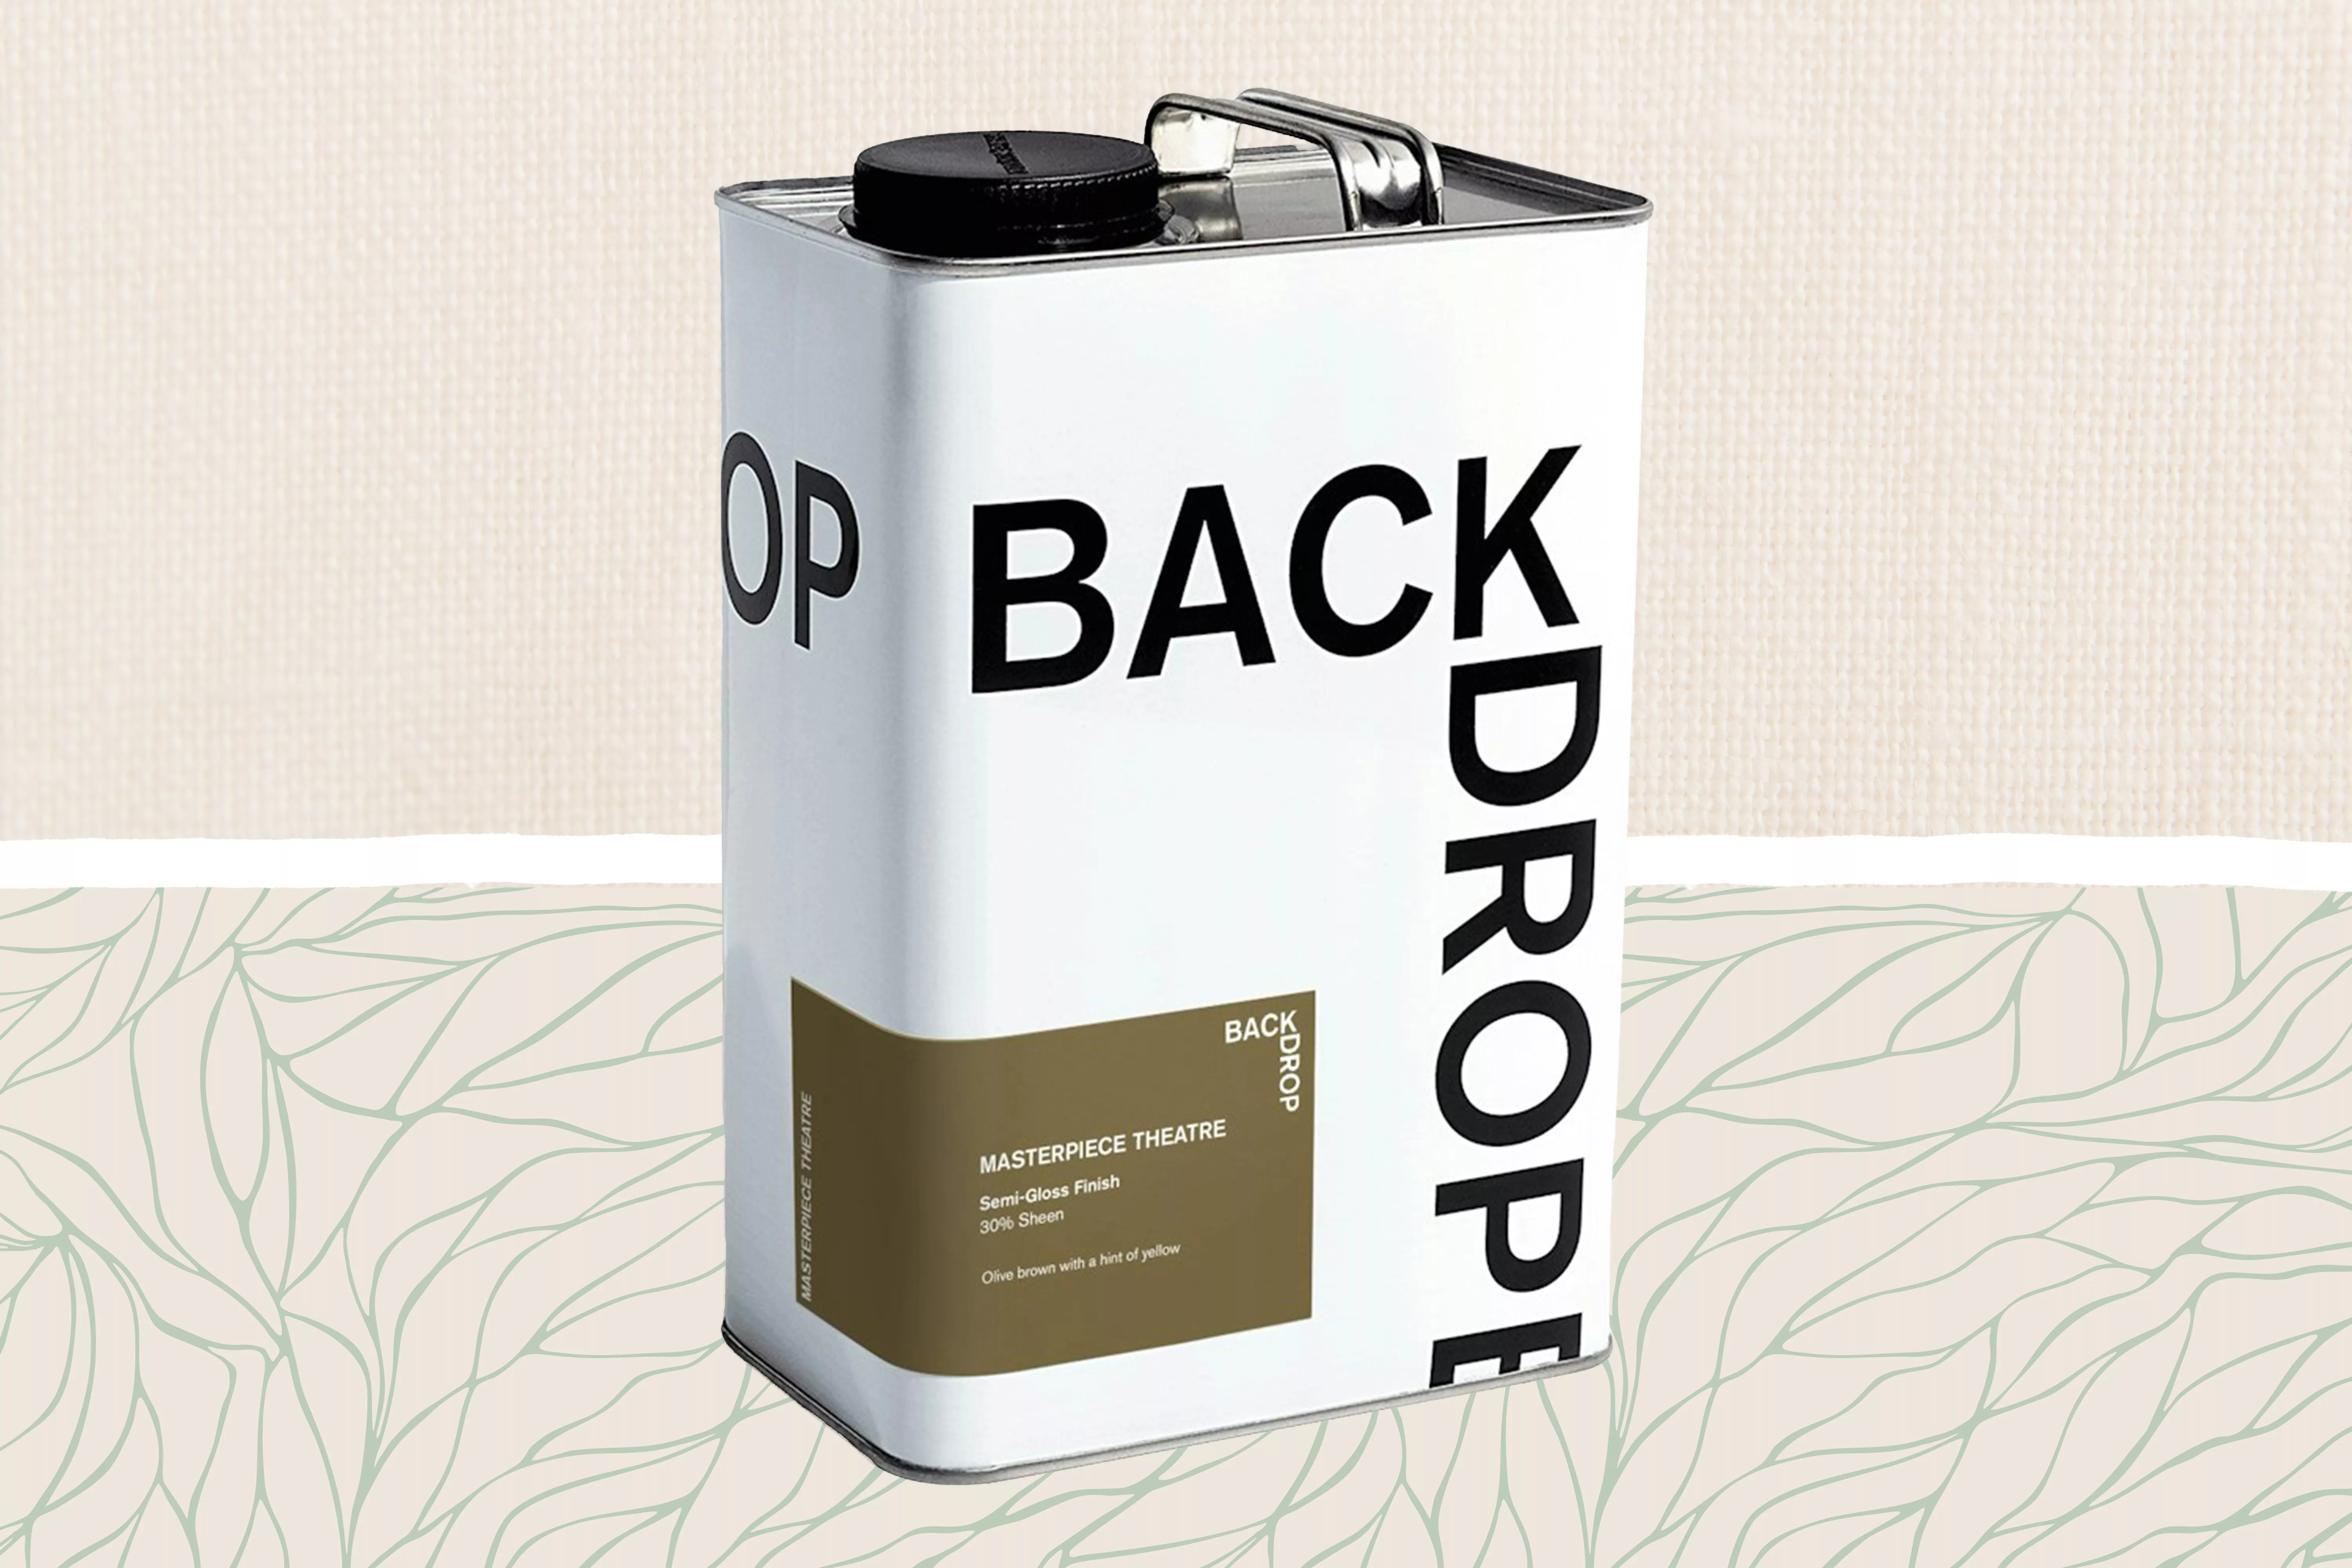
Update Your Home with These 12 Paints for Cabinets

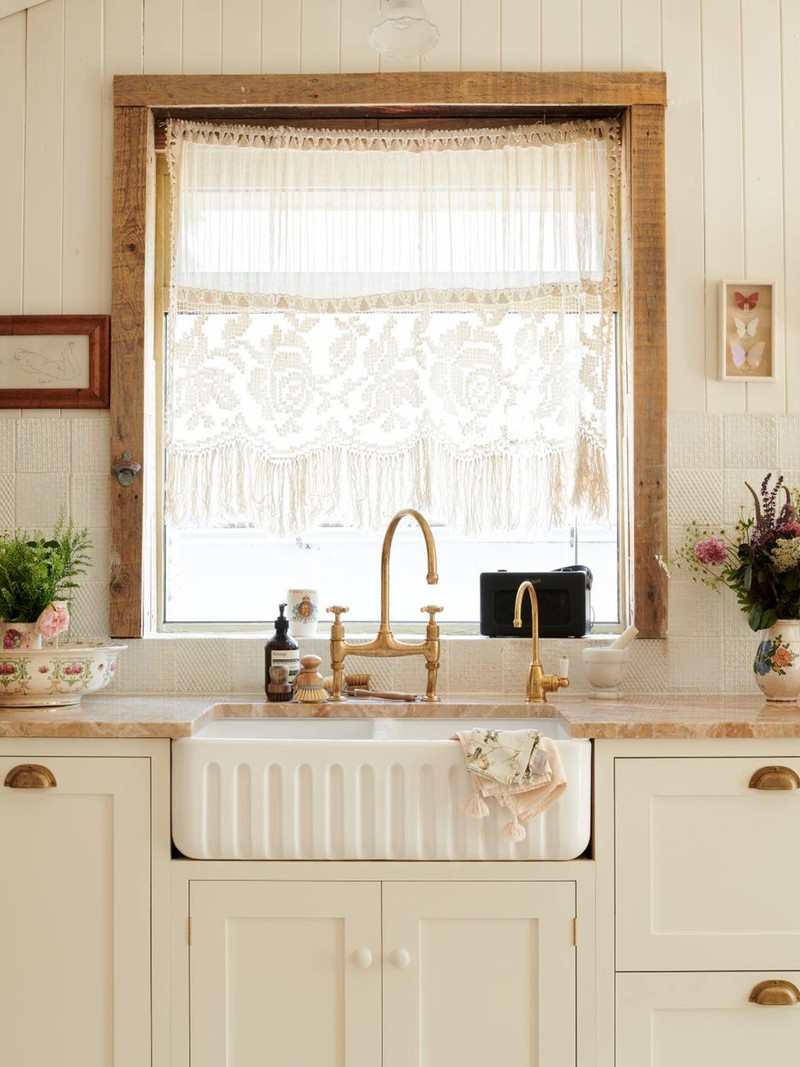
An Interior Designer’s Tips For Painting Kitchen Cabinets
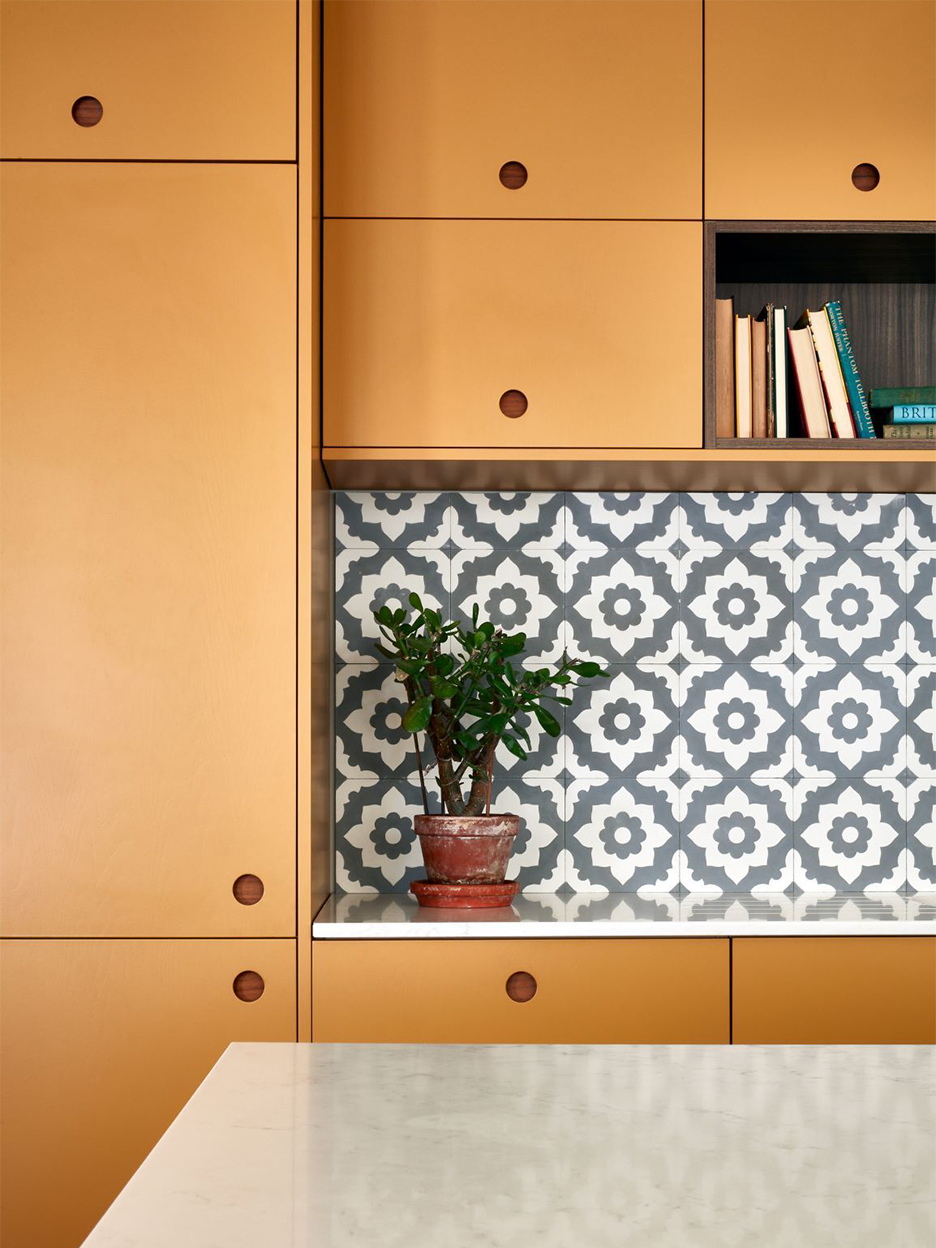
5 Designers Weigh In on the Best Brands of Paint for Kitchen Cabinets

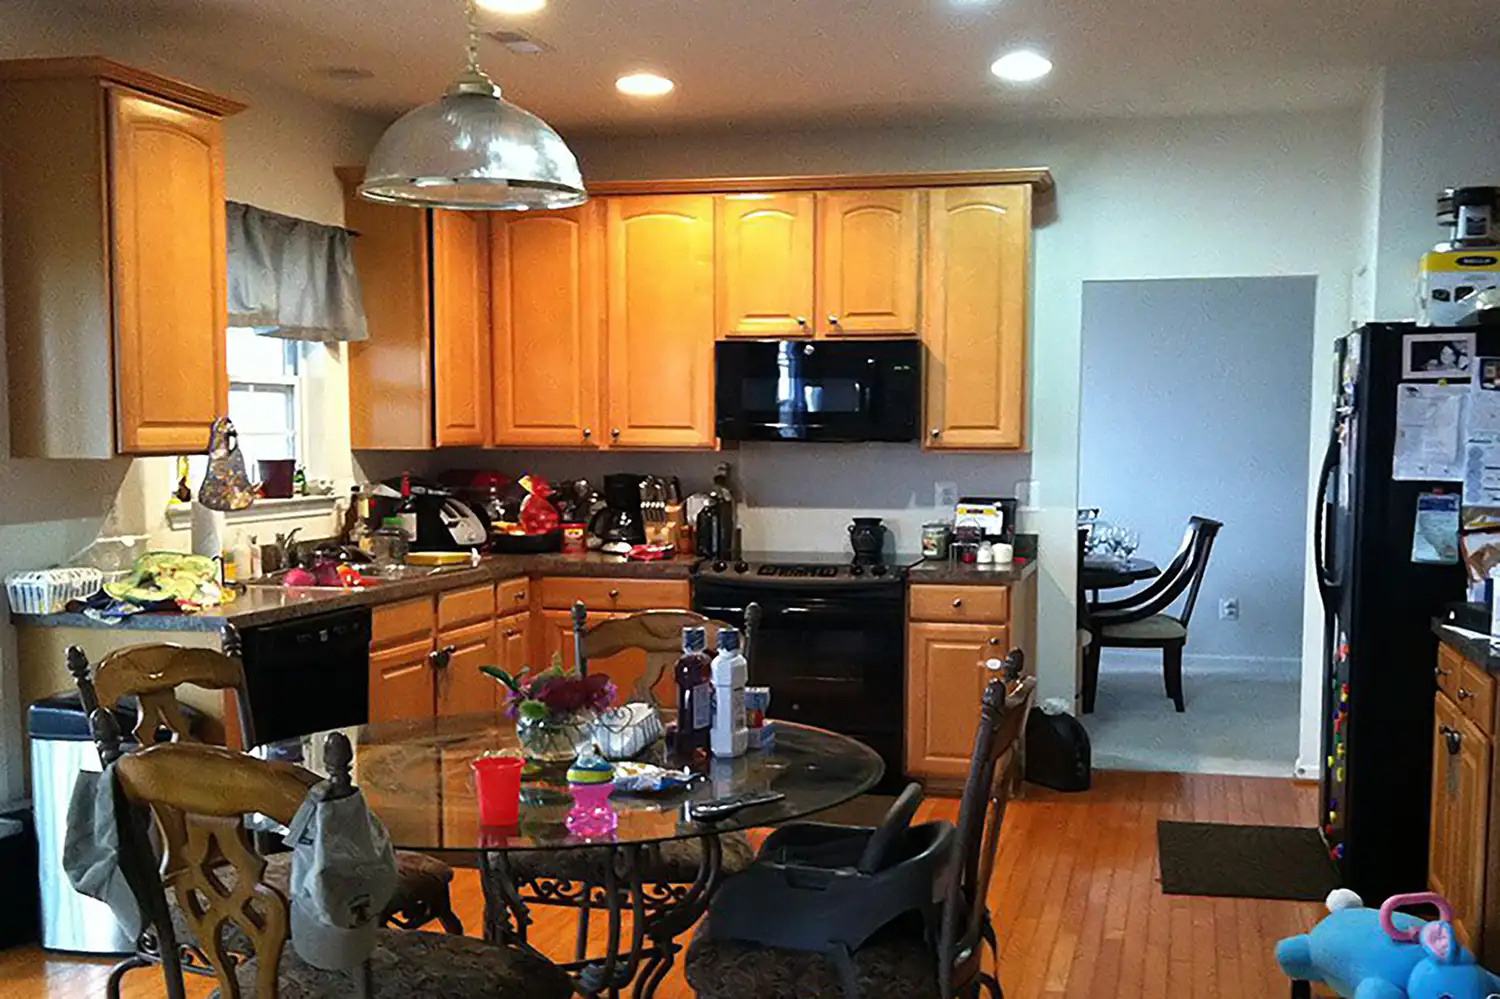
How to Upgrade Your Kitchen Cabinets With Just a Can of Paint: 19 Before-and-After Kitchens That Stun

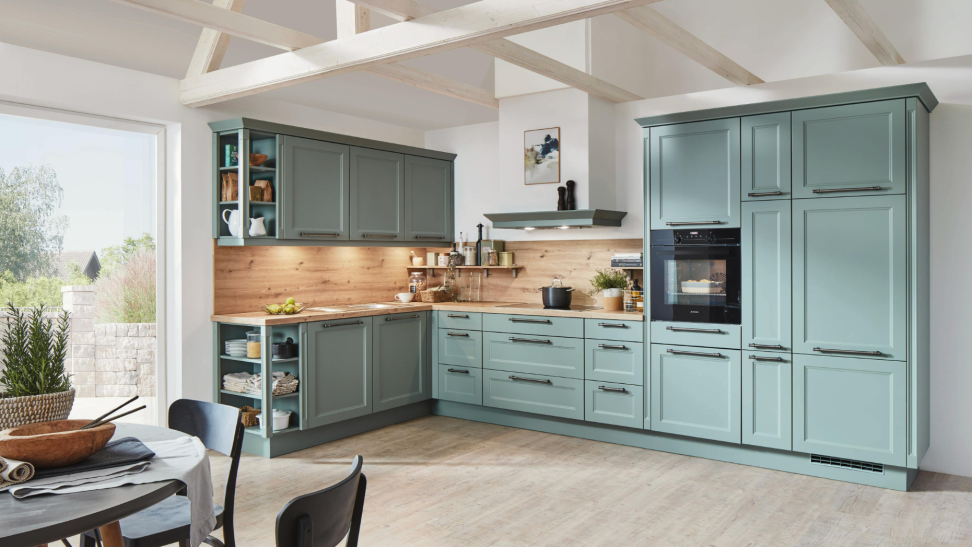
The Best Cabinet Paint of 2025

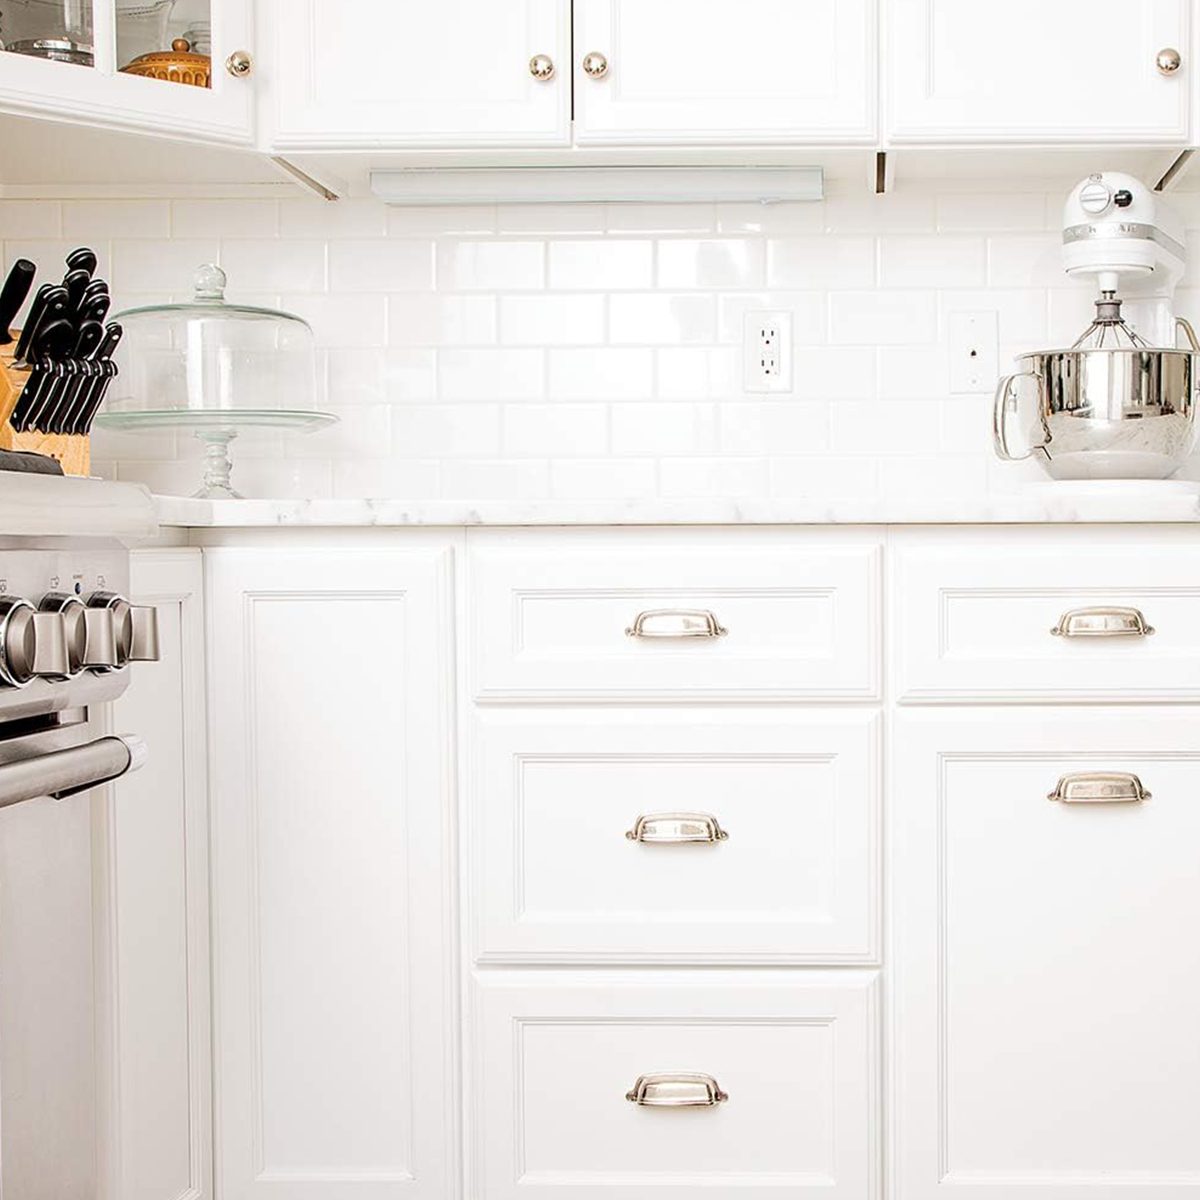
Best Paints for Kitchen Cabinets and Types to Revamp Your Space

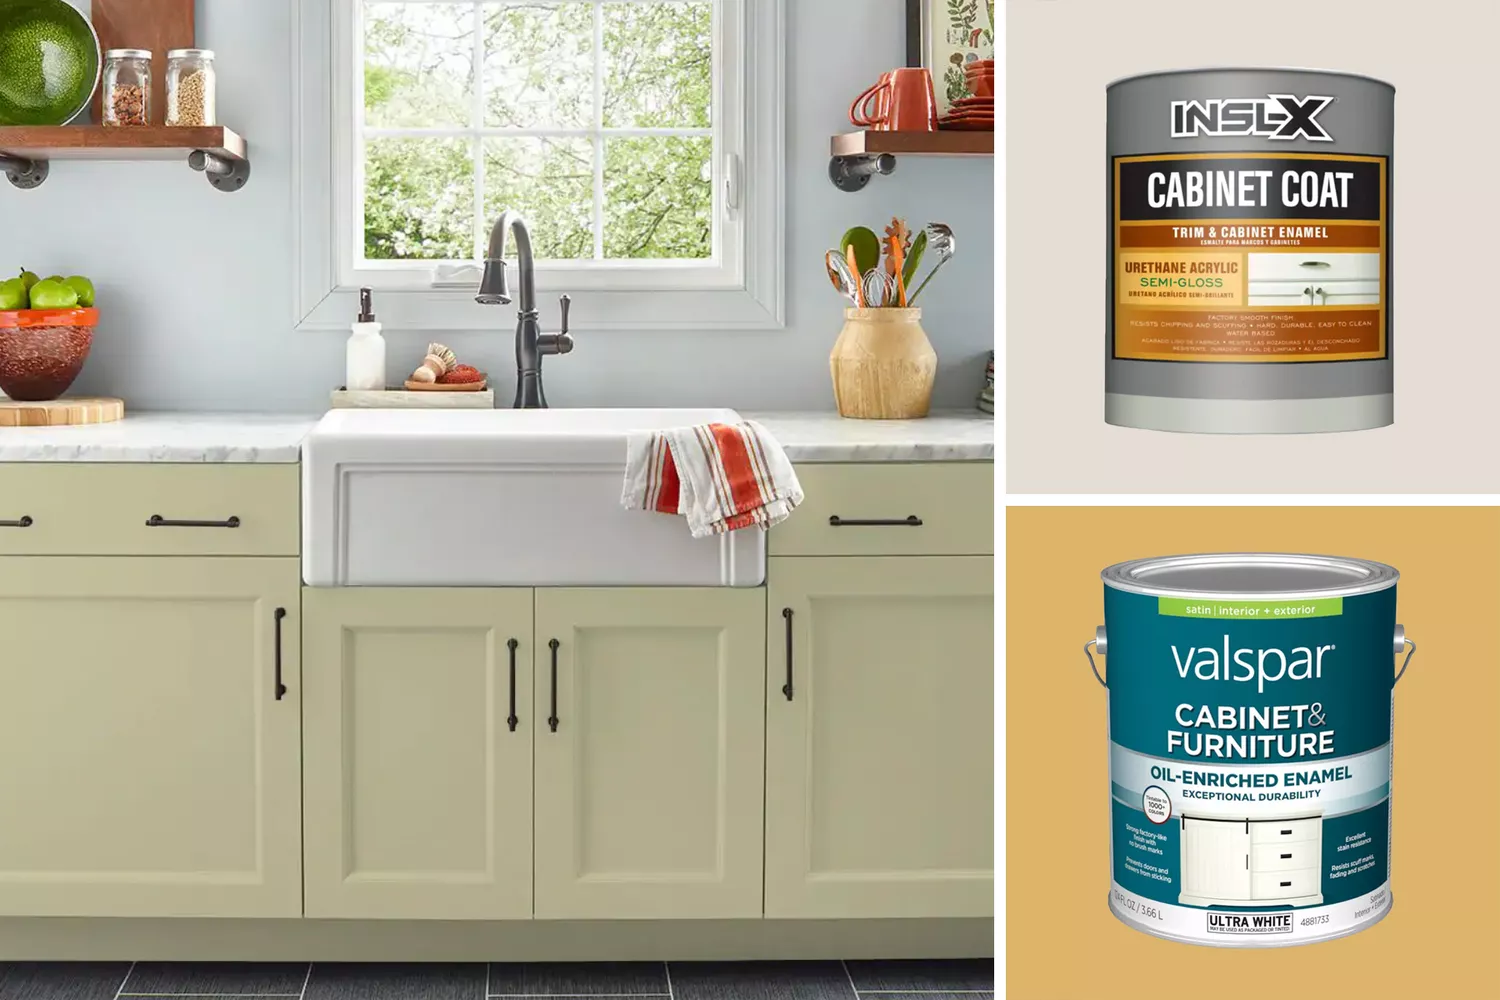
The 8 Best Cabinet Paints That Ensure a Beautiful, Long-Lasting Finish
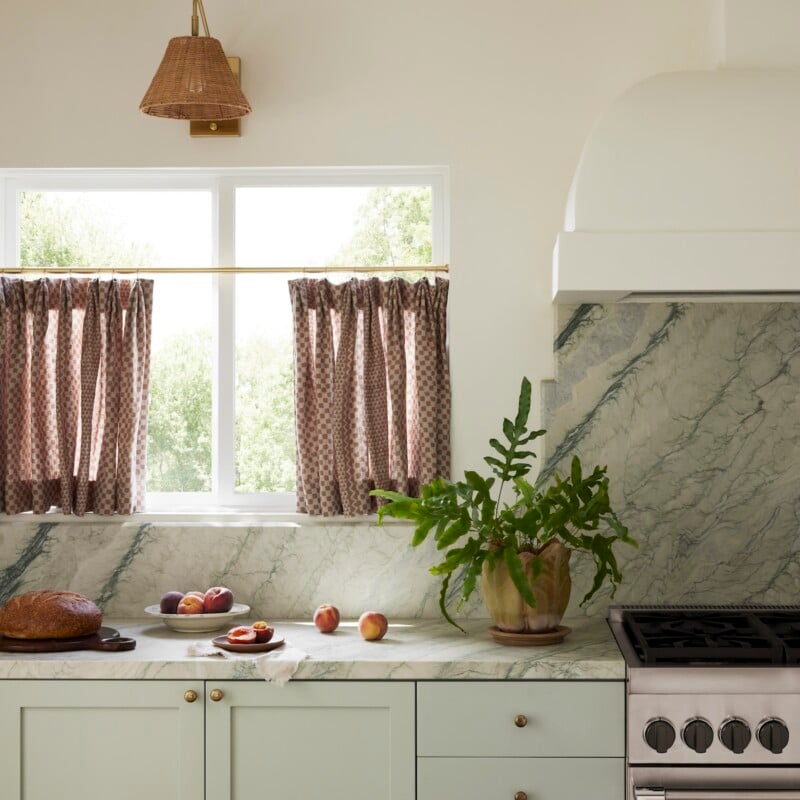
Designers Predict the Next “It” Kitchen Cabinet Color

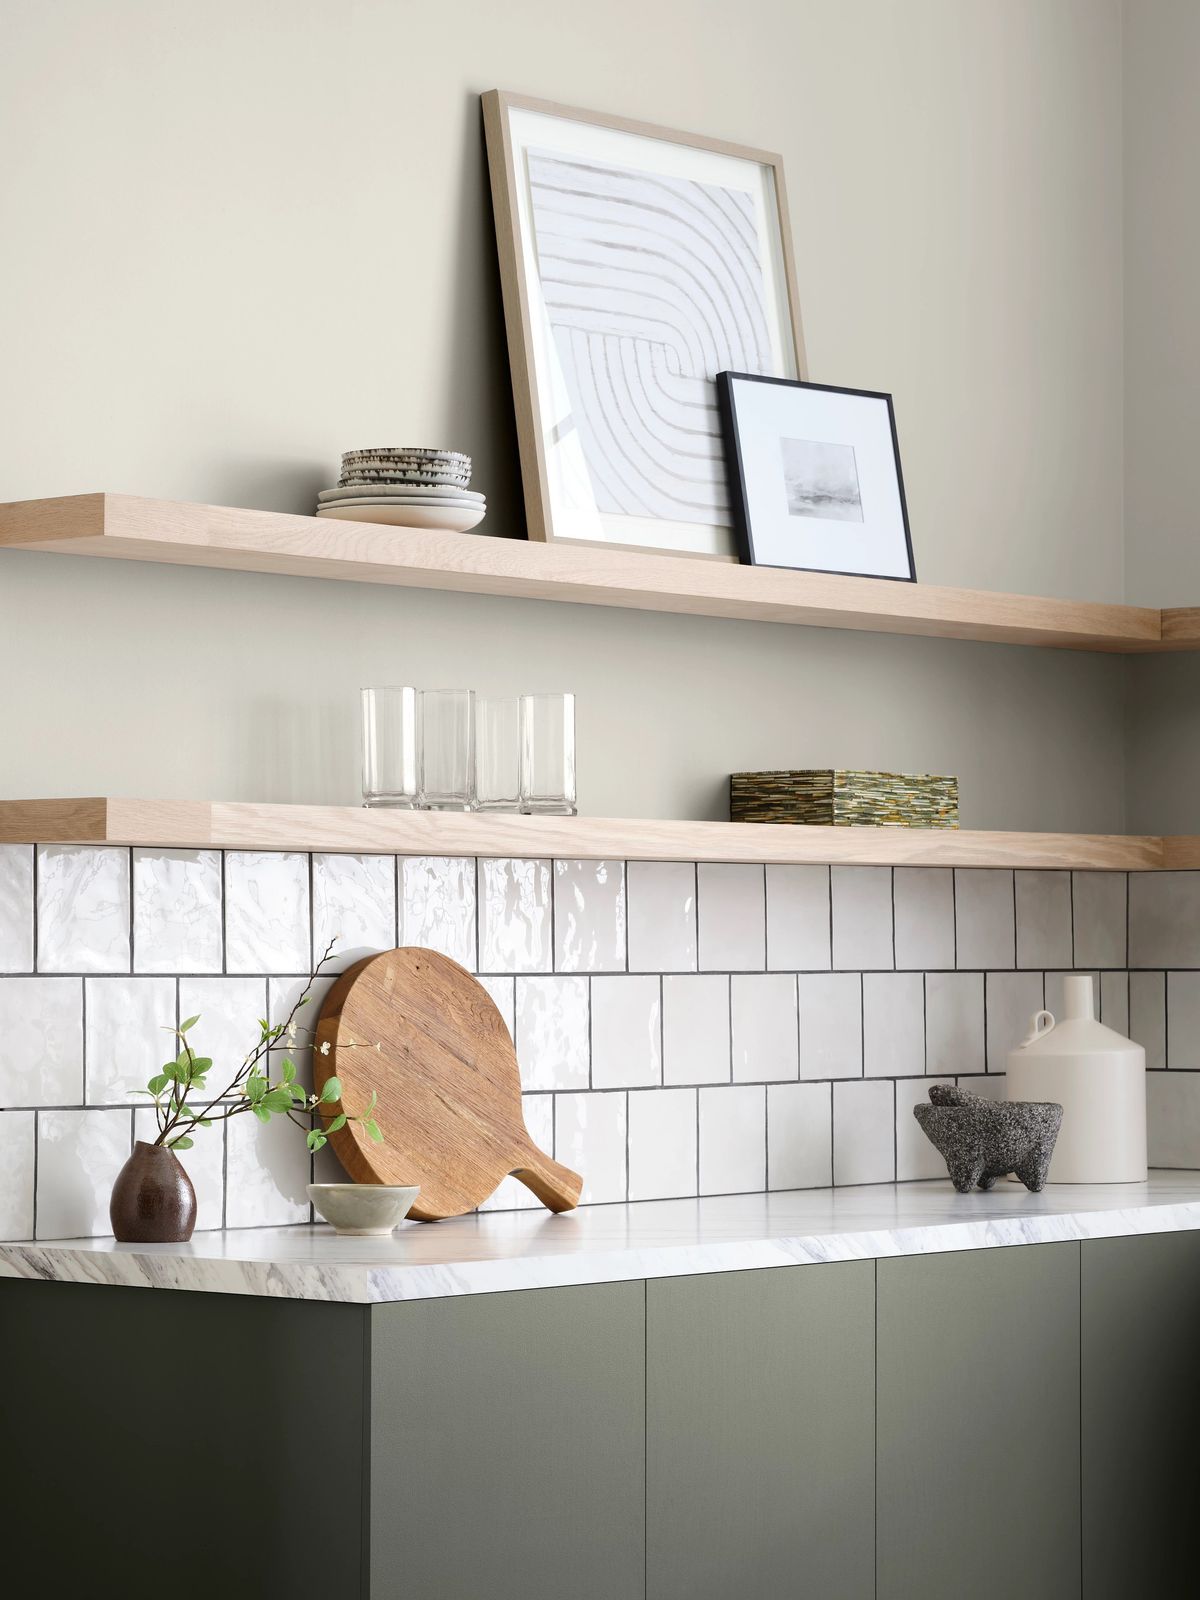
18 Gorgeous Kitchen Cabinet Paint Colors, According To Kitchen Designers

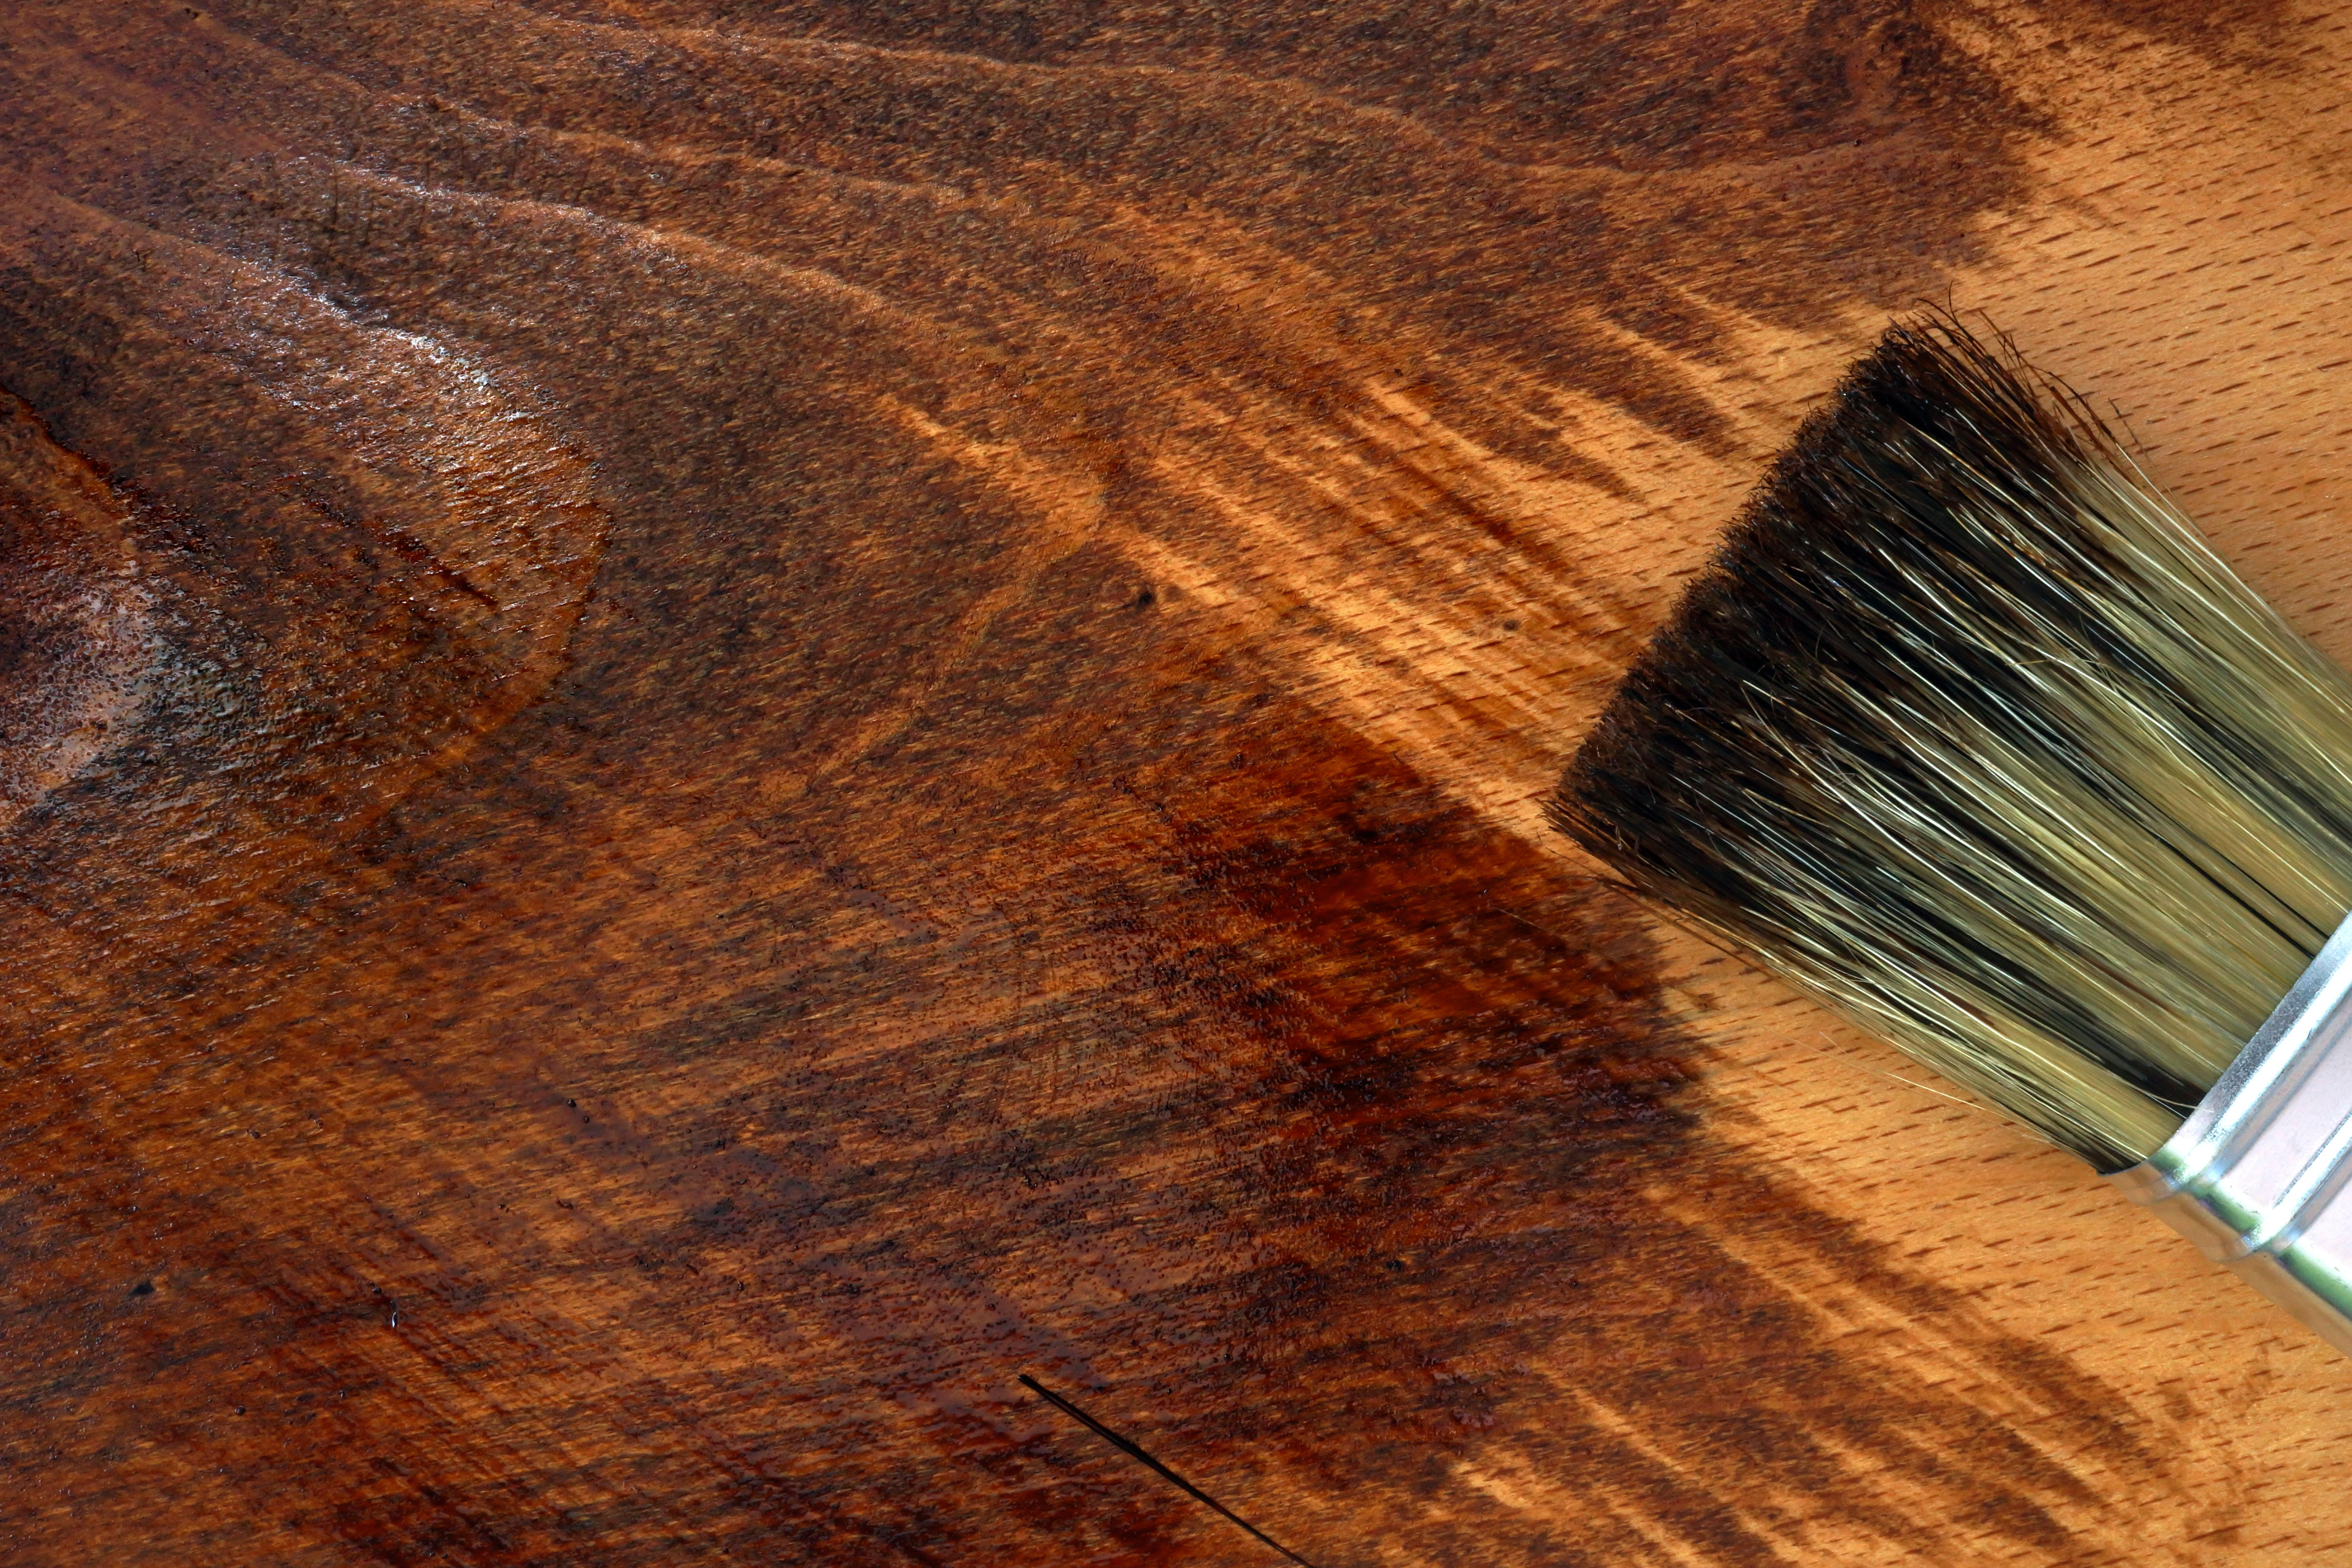
How to stain kitchen cabinets – an expert guide

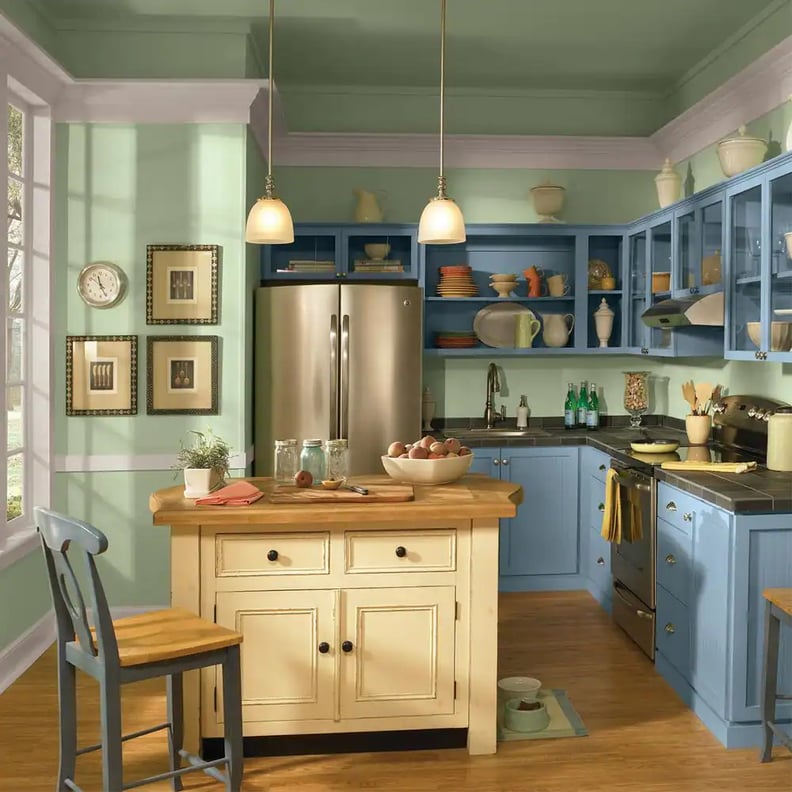
Transform Your Kitchen With These 7 High-Quality Cabinet Paints
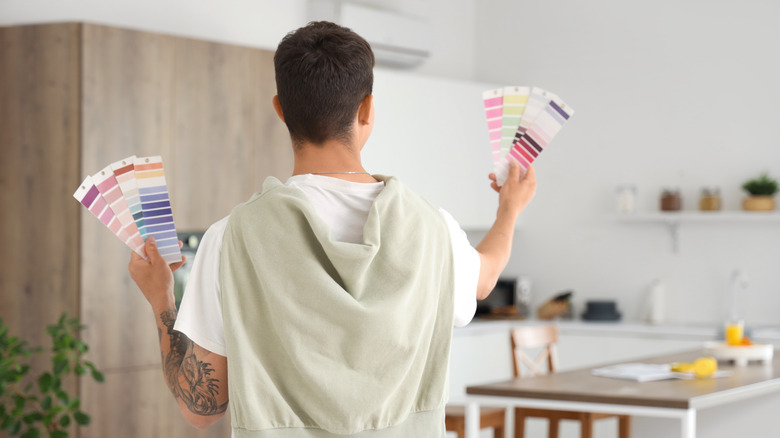
5 Gorgeous Paint Colors To Elevate Your Kitchen Cabinets In 2025

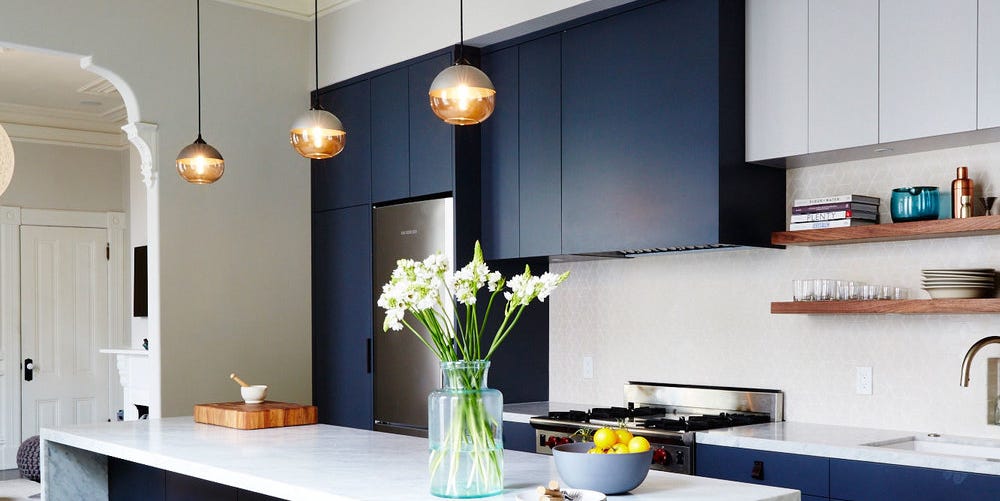
14 Kitchen Cabinet Colors You Can Easily Mix and Match

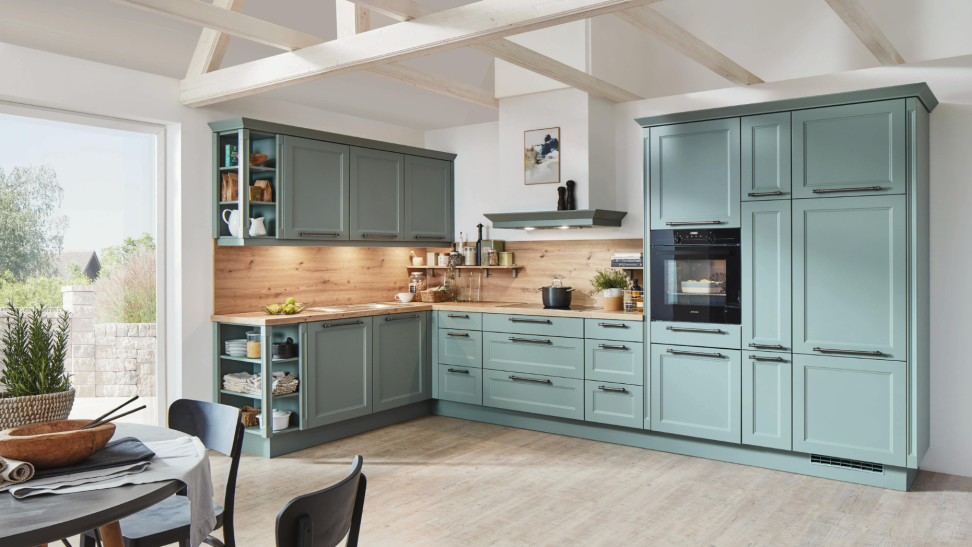
The Best Cabinet Paint of 2026
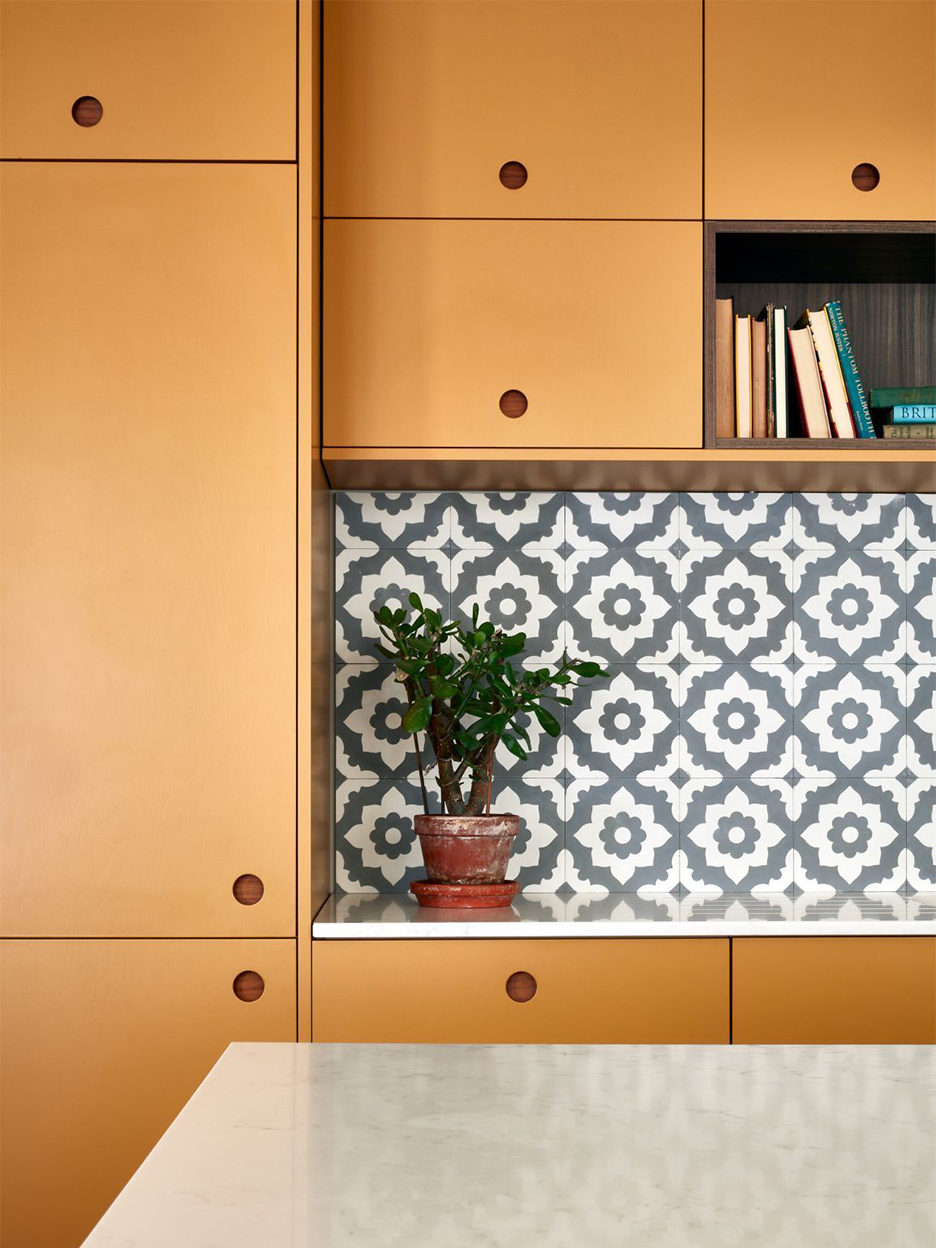
5 Designers Weigh In on the Best Brands of Paint for Kitchen Cabinets
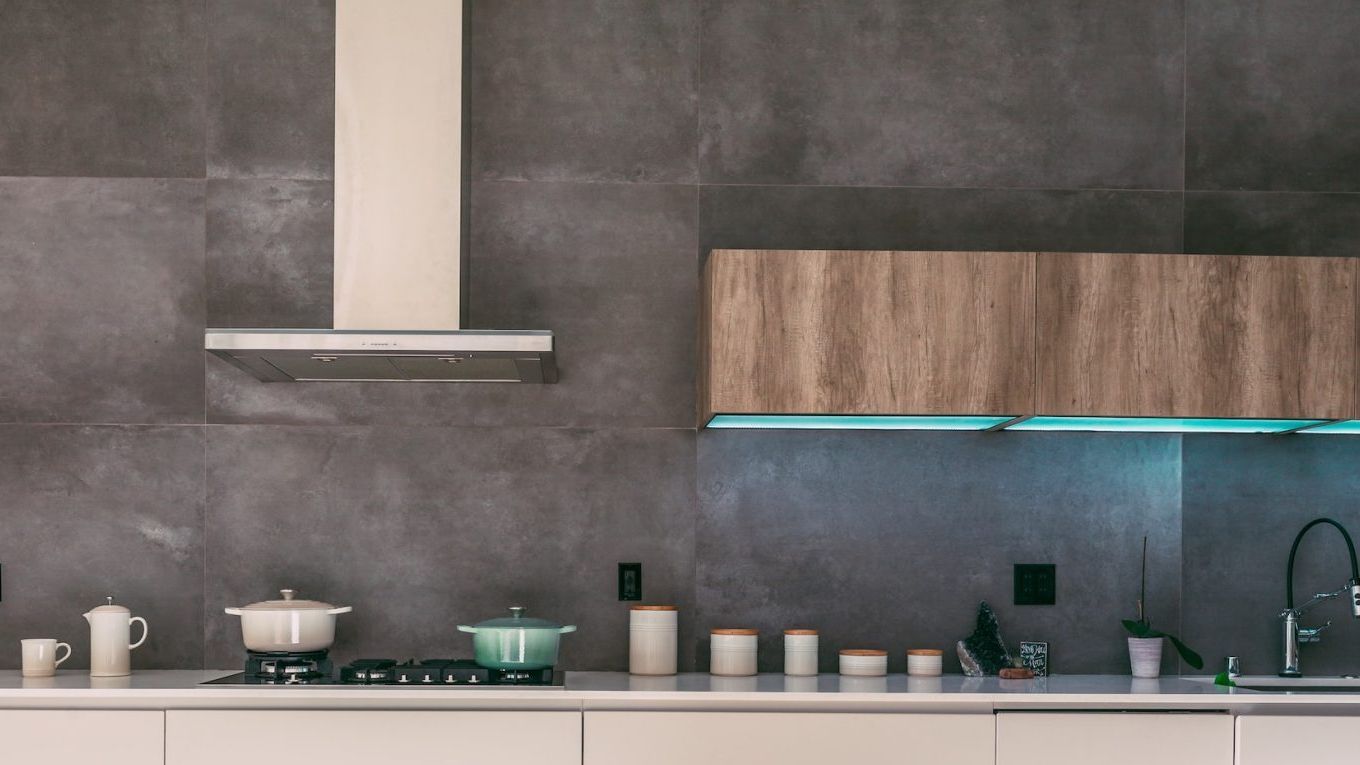
Kitchen Guidebook: 7 best kitchen laminates for the cabinets

How to refinish kitchen cabinets – for a fresh new look