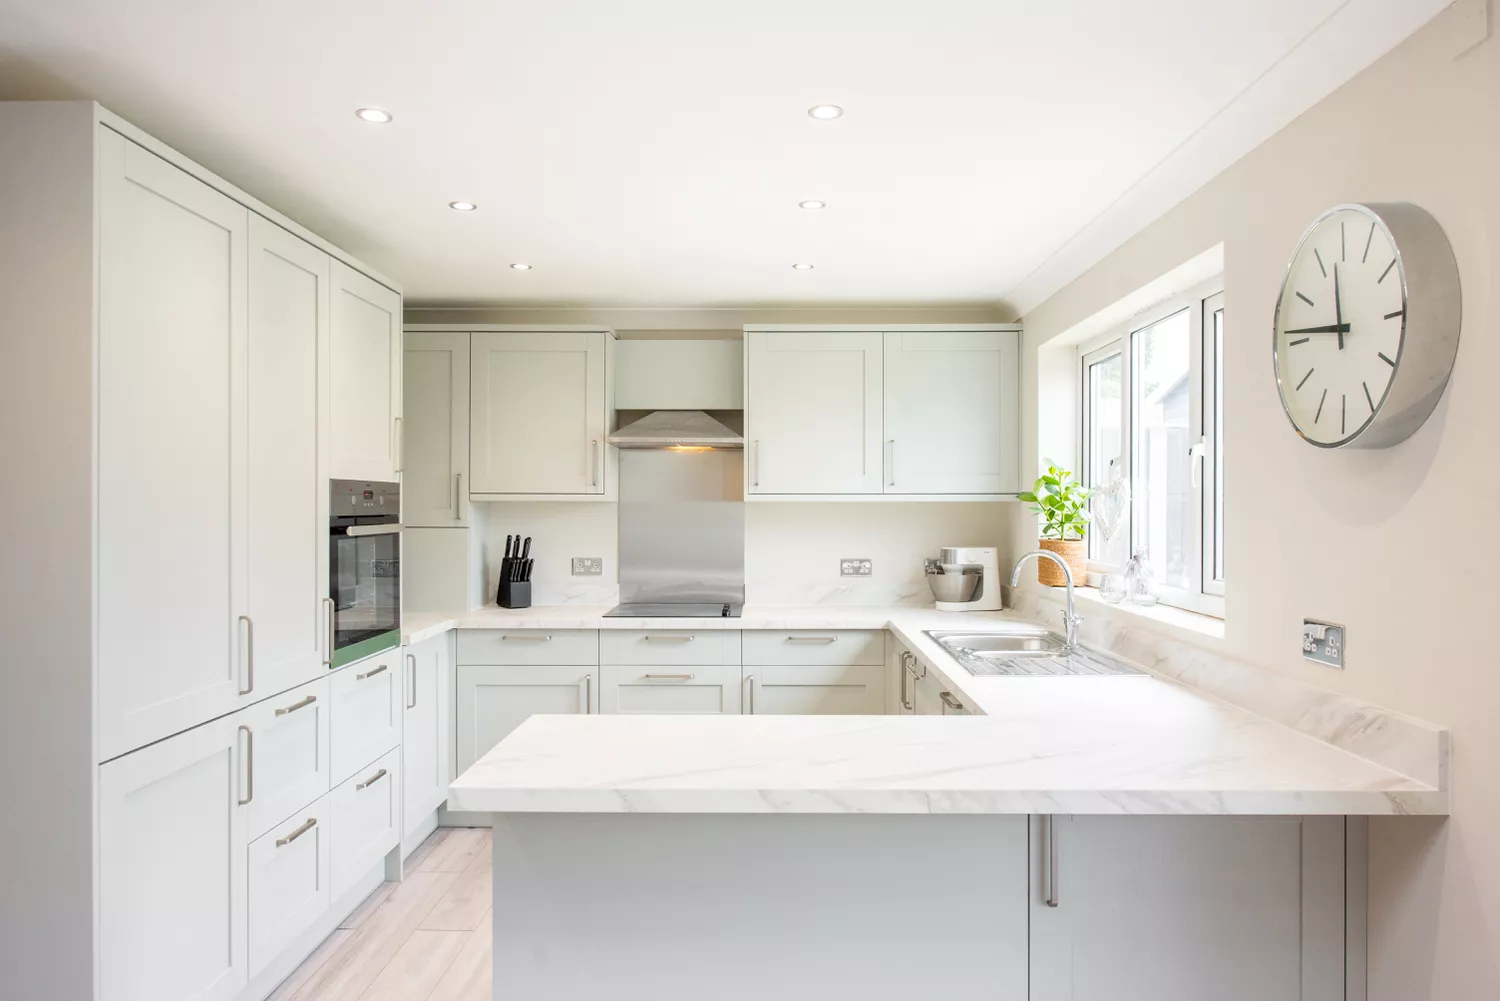
Don't Replace Your Laminate Countertops Yet—How to Repair Them to Extend Their Life
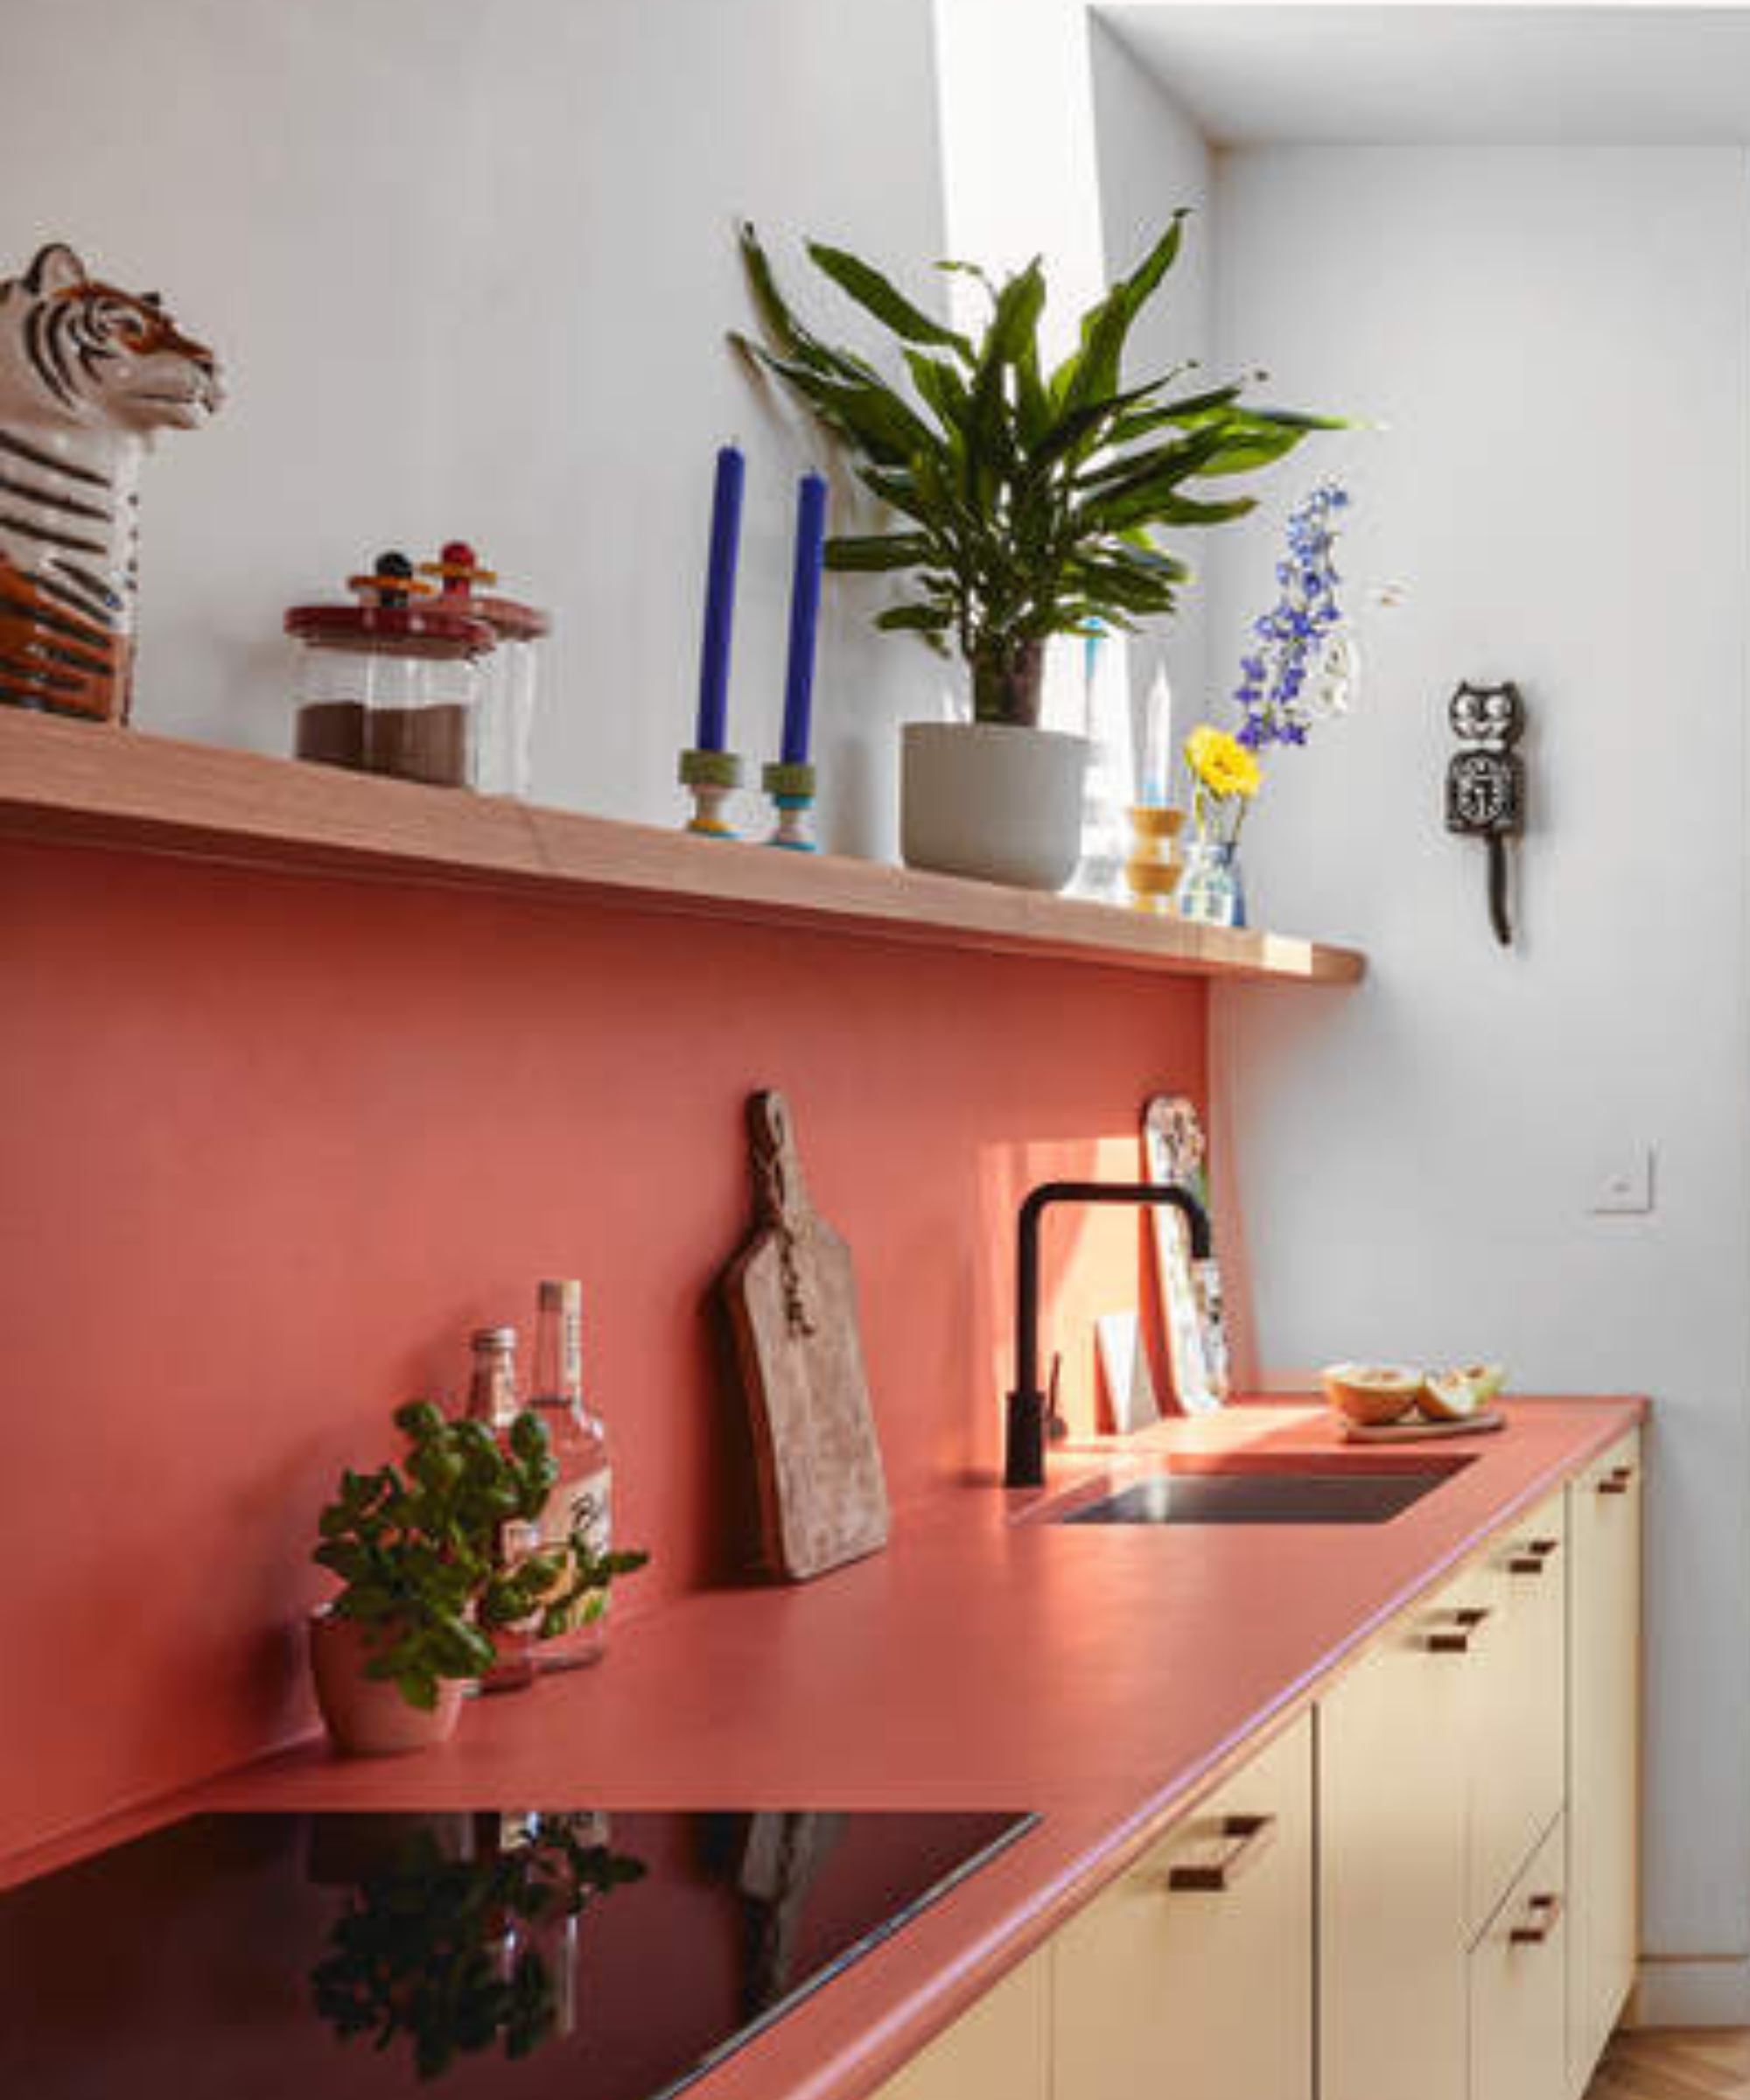
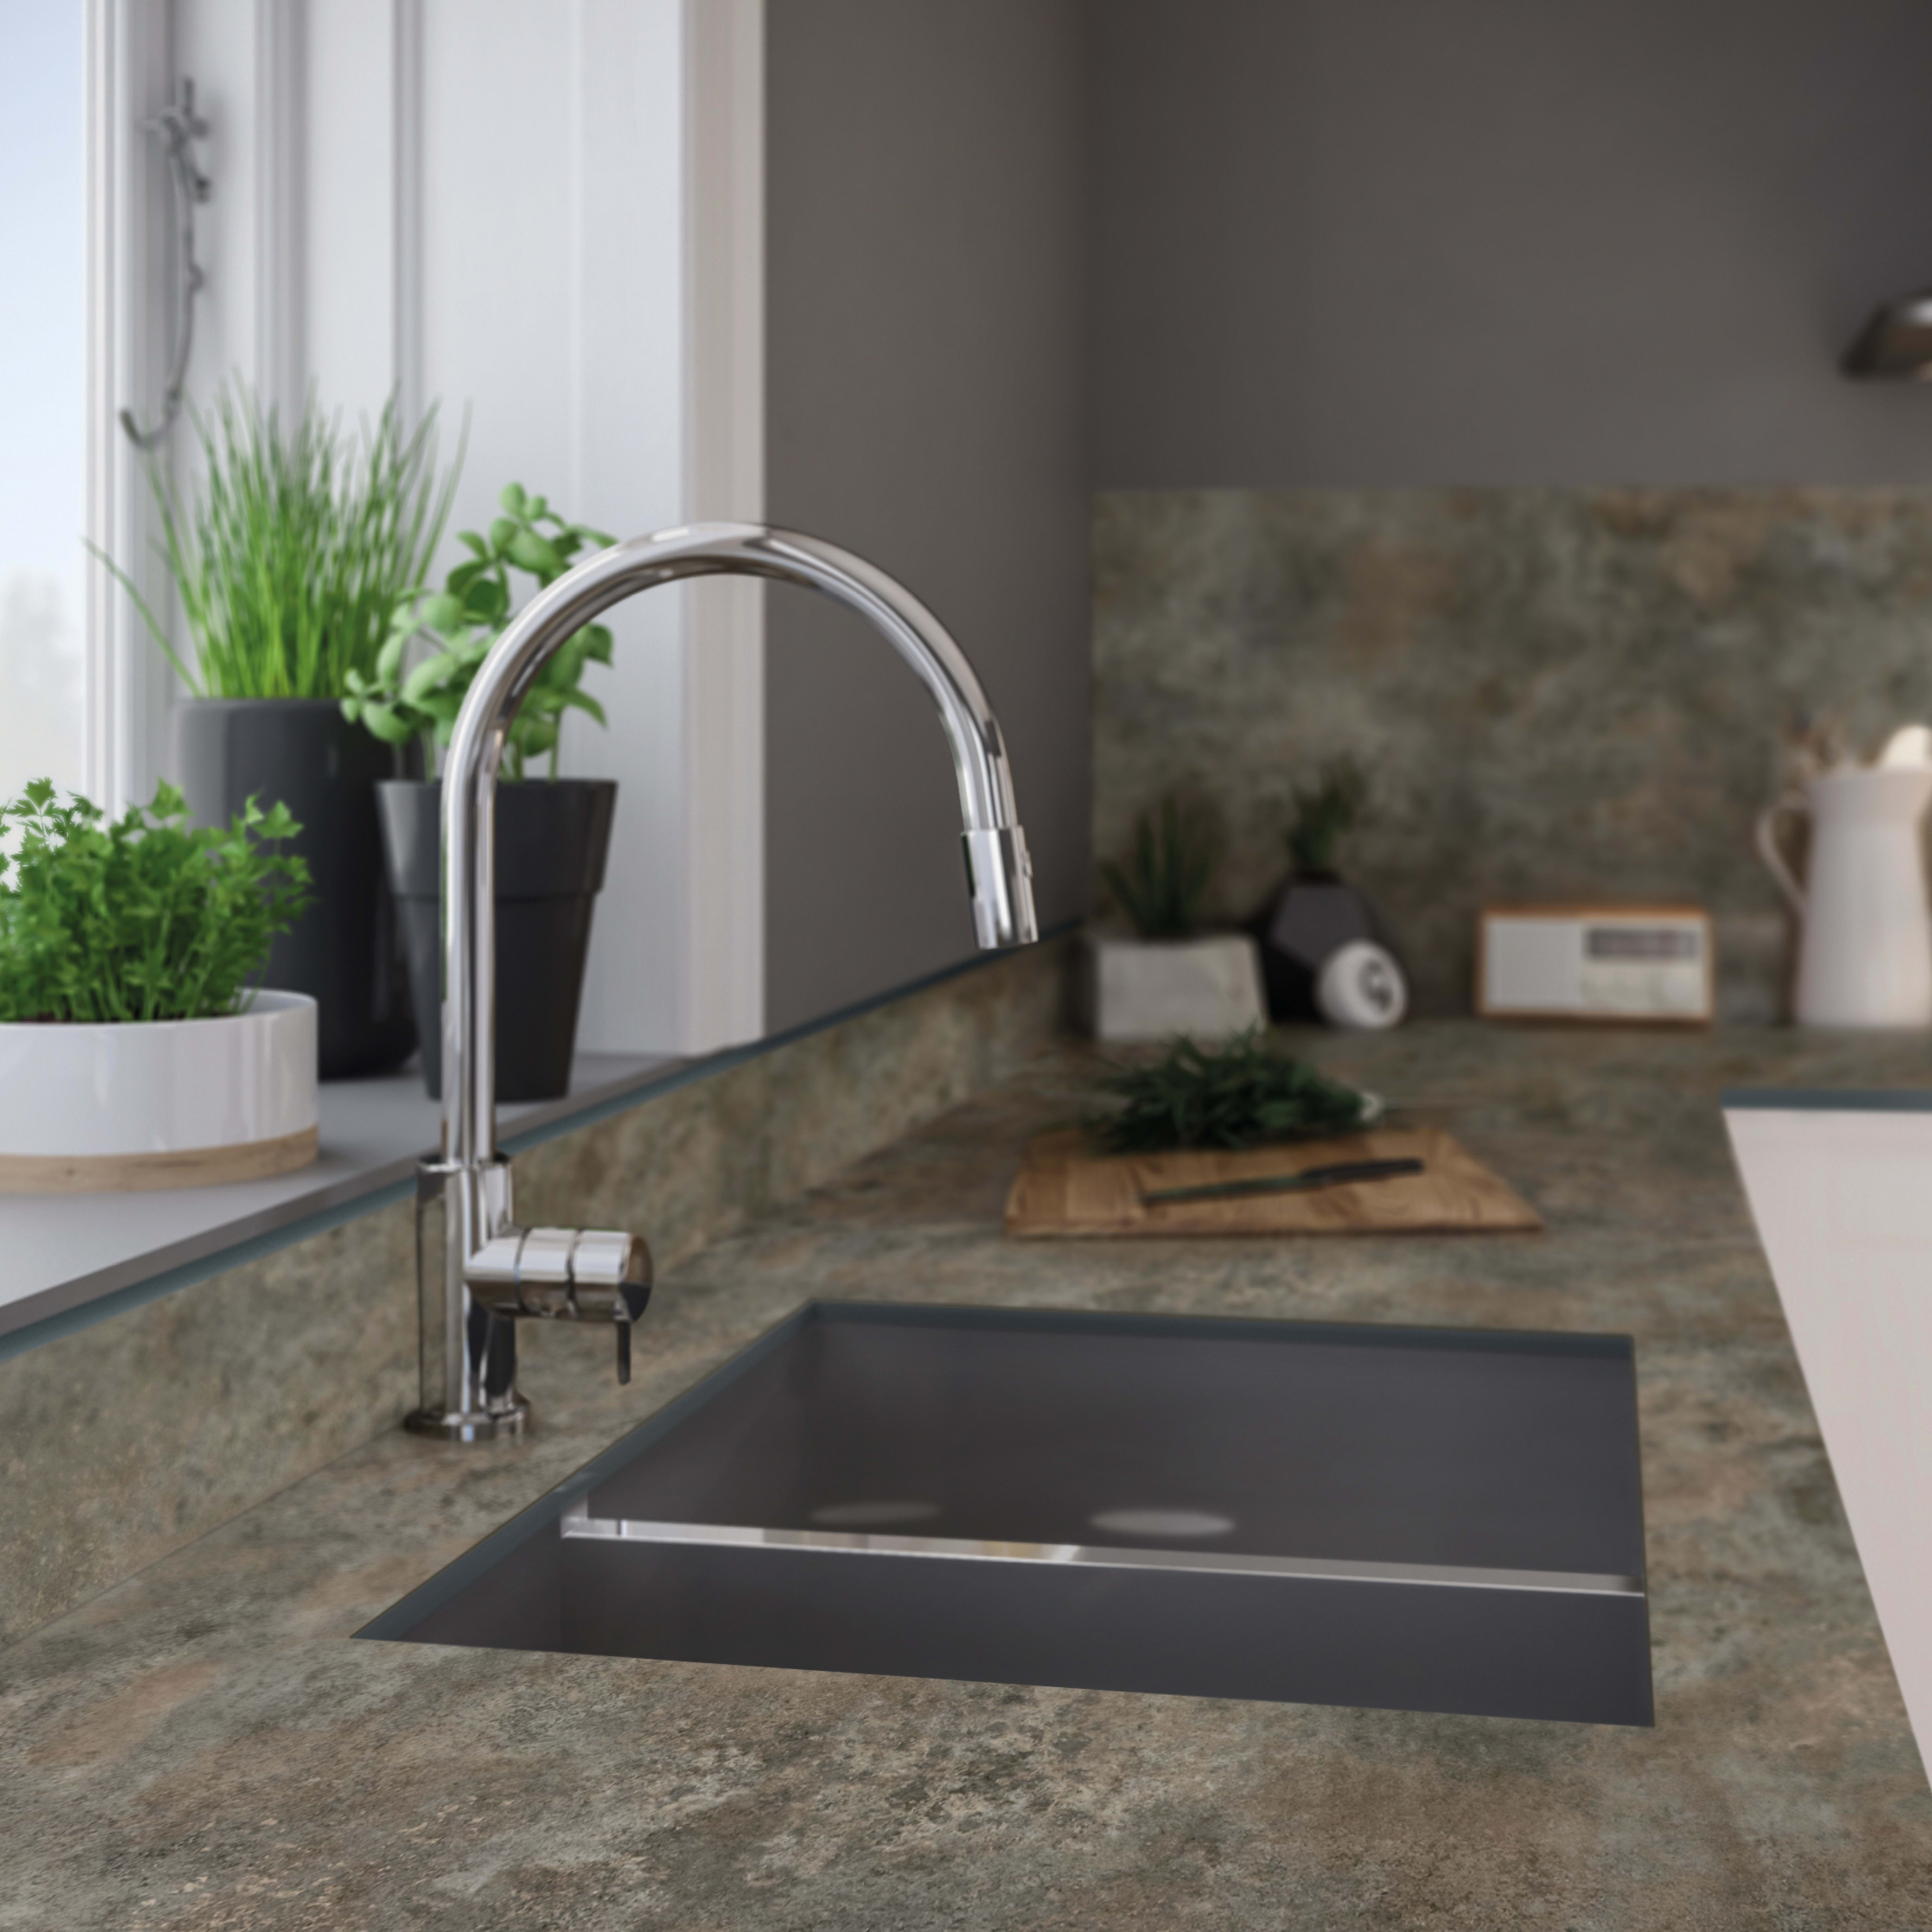
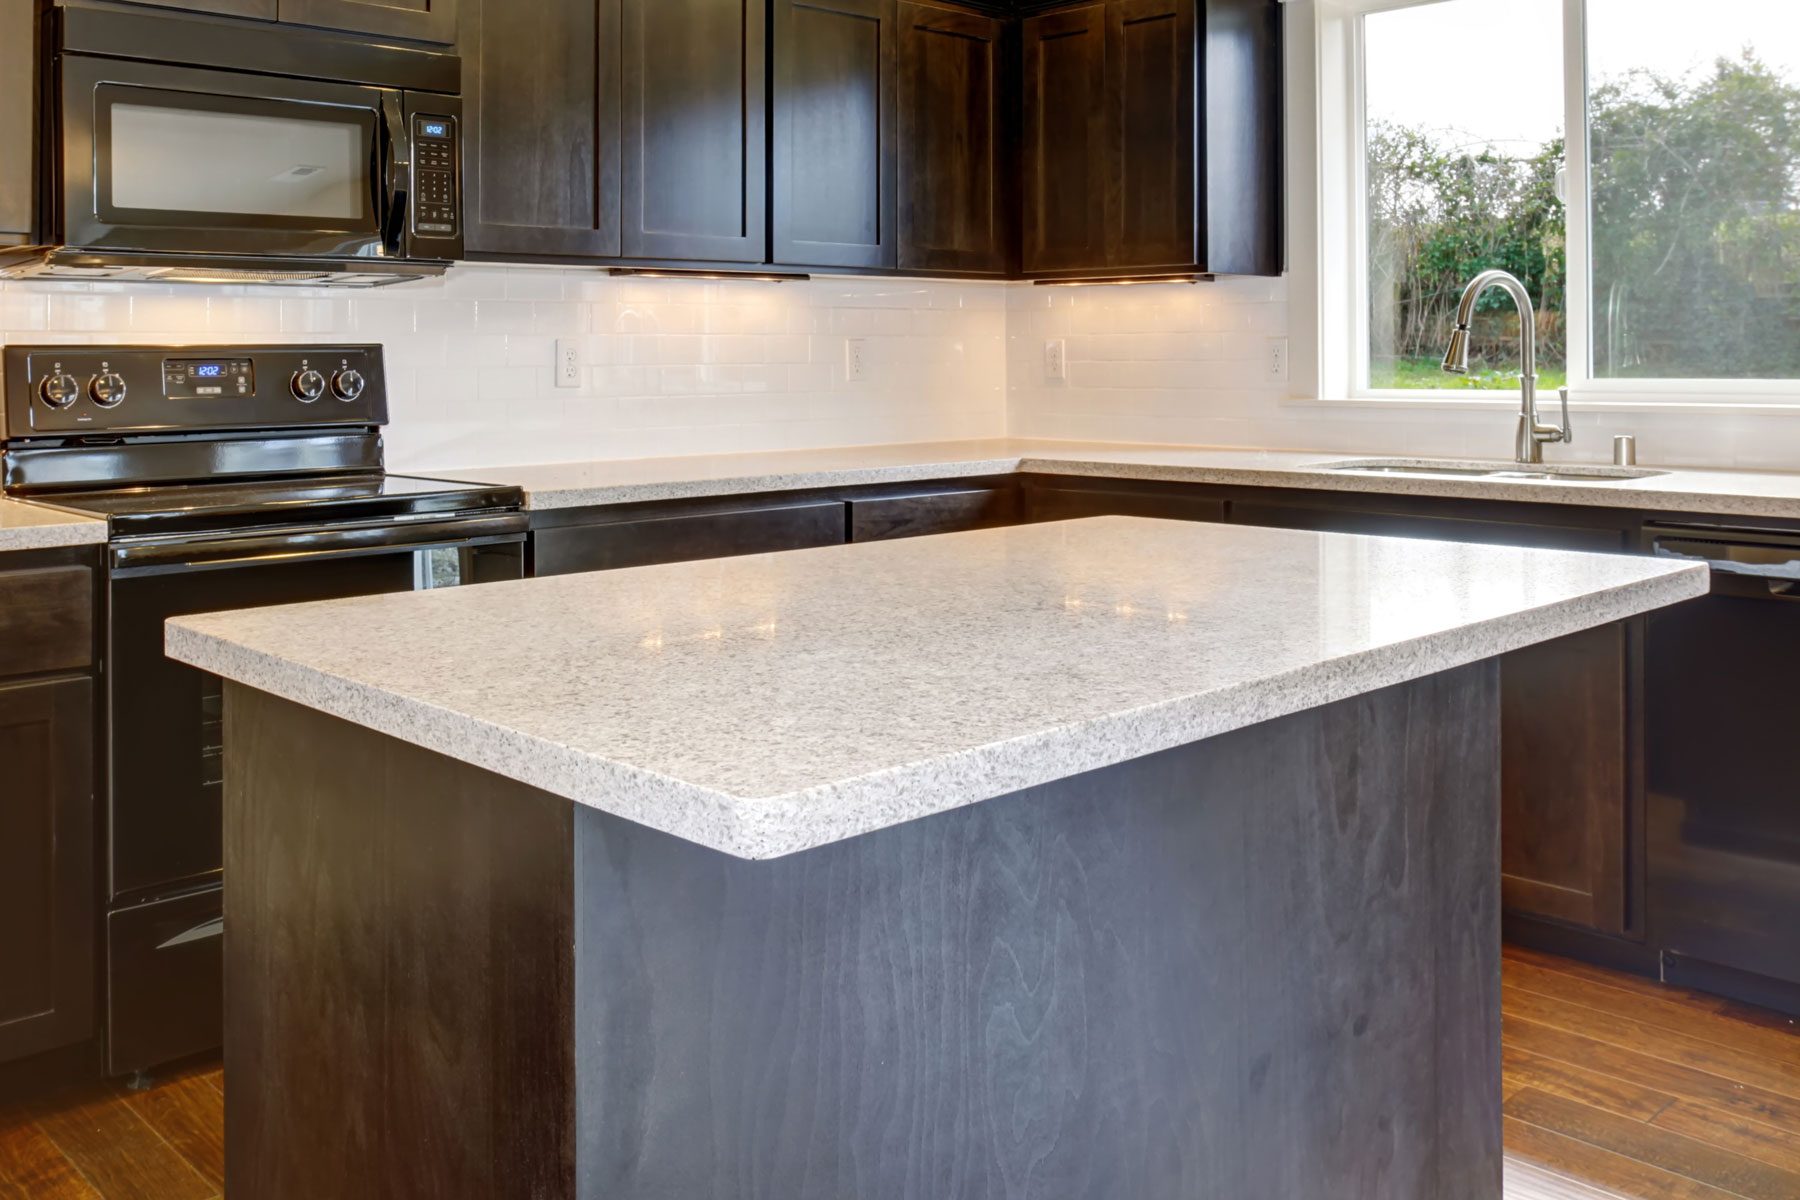
Laminate countertops offer an economical and easy-to-install solution for kitchens and bathrooms, yet they are susceptible to various forms of damage, including stains, peeling, broken edges, missing sections, scratches, cracks, and gouges. Fortunately, many of these issues can be addressed with straightforward repair techniques, extending the lifespan of the countertops without requiring a full replacement.
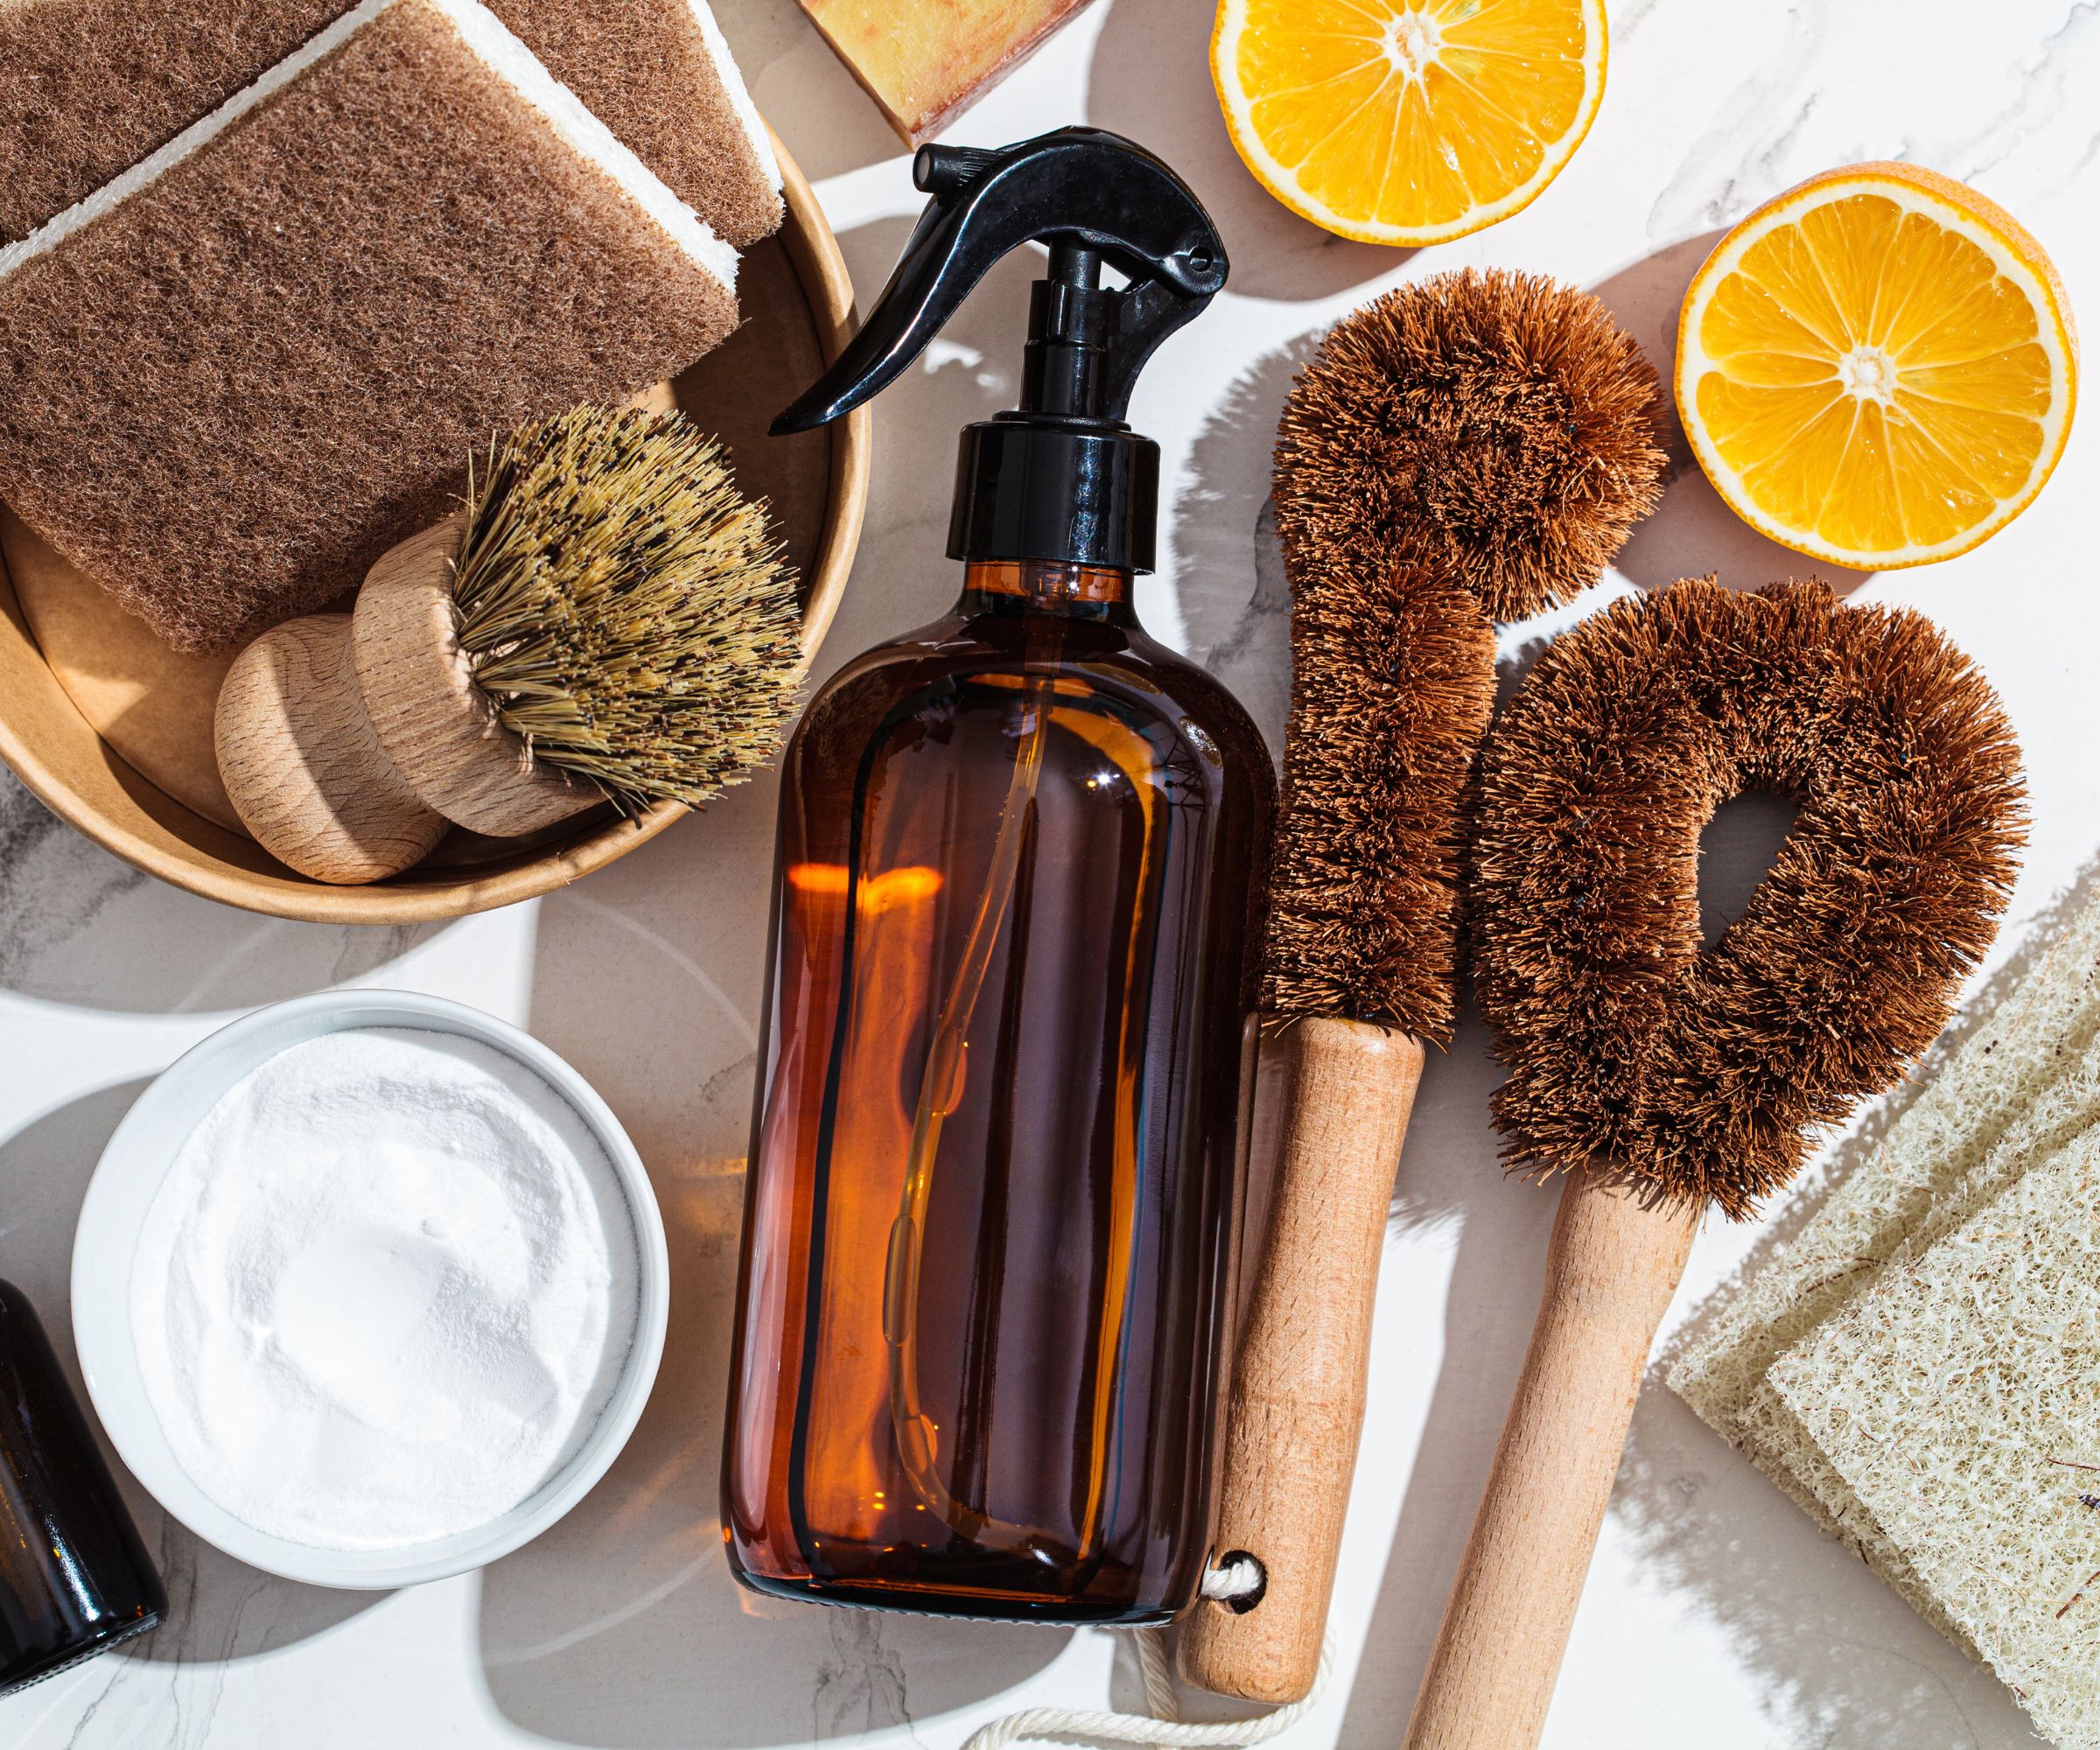
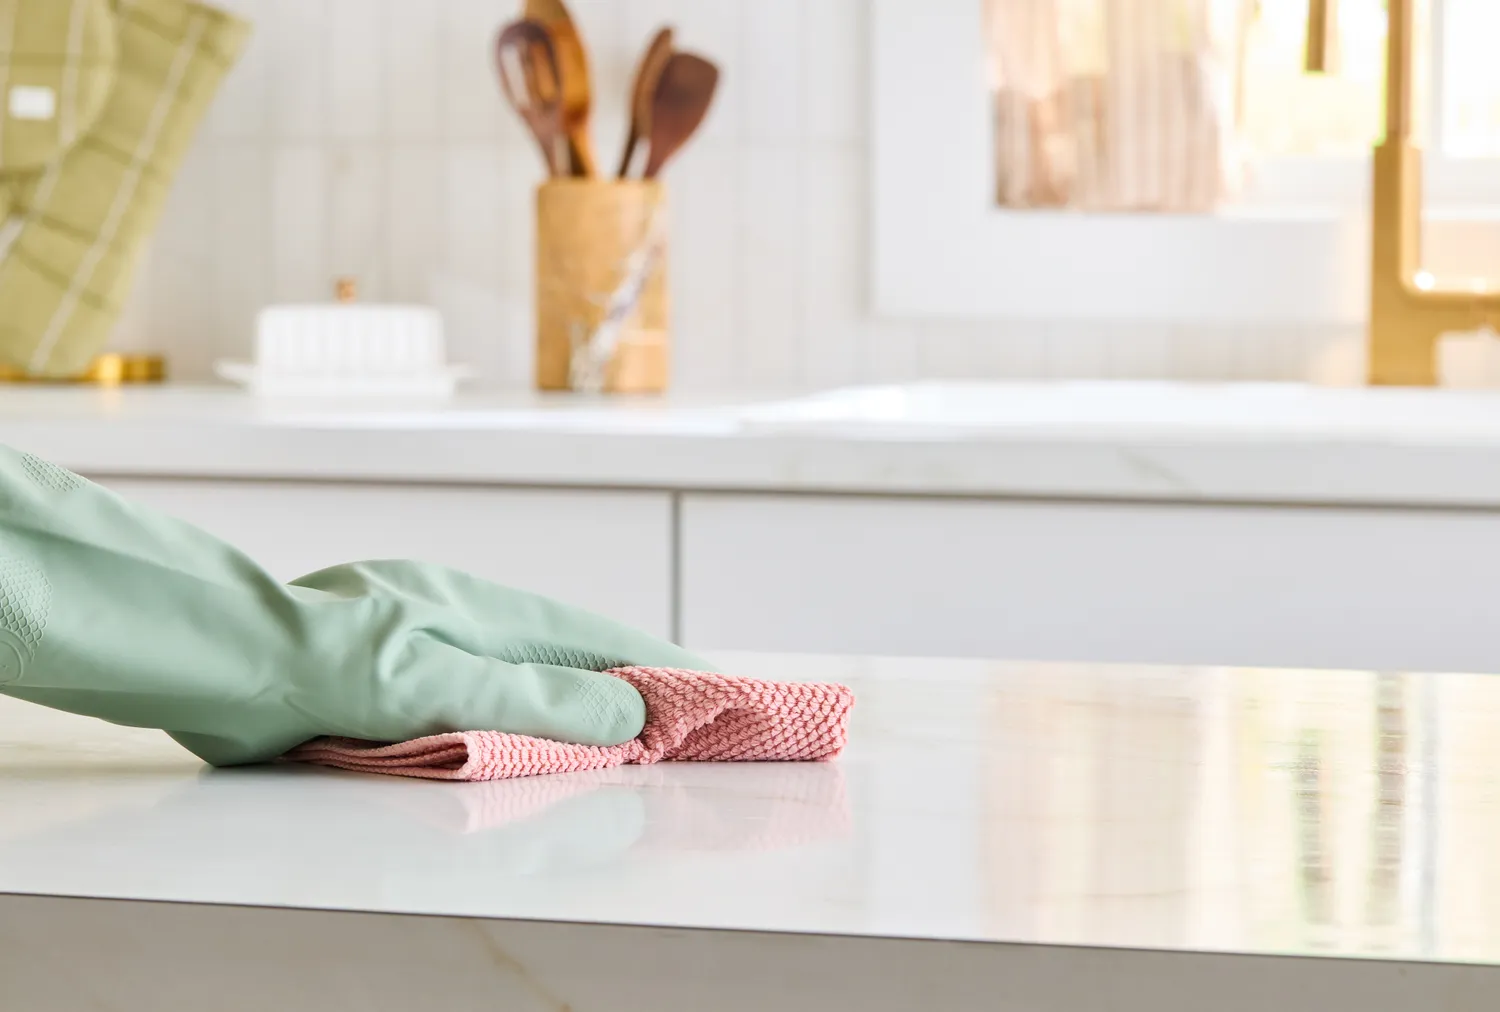
Stains on laminate surfaces can often be removed using mild household cleaners like Fantastik All Purpose Cleaner, Formula 409, or Pine-Sol. The cleaning product should be applied to the stain and allowed to sit for 10 to 15 minutes before blotting with a clean, damp, non-abrasive cotton cloth. Rinsing with clean water and repeating the process several times is recommended. For persistent stains, denatured alcohol can be used, but it's crucial to first check the manufacturer's instructions and avoid using it on painted countertops. Abrasive cleaners should not be used as they can damage the laminate.
Peeling or delamination of large sections, often due to water damage or aging glue, can be repaired if the MDF (Medium-Density Fiberboard) base is in good condition. This involves re-adhering the laminate with contact cement. The process includes assessing the MDF base for swelling, elevating the peeled laminate, scraping off old brittle cement, applying a thin layer of new contact cement to both the laminate underside and the MDF base, waiting 15 minutes for tackiness, and then carefully pressing the laminate back into place. Applying heavy pressure for about 30 minutes after reattachment helps secure the bond.
Broken or peeling laminate edges, which are thin and exposed to impact, can often be fixed by reactivating the existing glue with heat. If glue is still present, a clothes iron (set to high, dry heat) or a heat gun can be used. The broken piece is positioned back in place, temporarily held with painter's tape, and then heated through a thick fabric like a hand towel for about 20 seconds. After cooling for a few minutes, the tape is removed, and the bond is checked.
For missing edge sections where the original laminate is lost, new material can be sourced from hidden parts of the existing countertop, such as sides concealed by appliances. Donor sections are measured, scored with a utility knife, and then heated with an iron through a hand towel to soften the adhesive, allowing them to be peeled off. This donor laminate is then placed over the missing area, heated again, and left to cool to ensure a firm attachment.
Light scratches on laminate countertops cannot be sanded smooth like other materials. Instead, they can be disguised using paste wax-based furniture polish. After cleaning the countertop with warm water and mild soap, the polish is applied to the entire surface and vigorously rubbed with a microfiber cloth. Repeating this process two or three times can effectively mask most light scratches, though reapplication may be needed every week or two for continued effectiveness.
Cracks and deep scratches require a different approach, using hard wax putty sticks. These crayon-like sticks are available in various colors to match solid-color or variegated laminate patterns. The end of the wax stick is gently heated with a heat gun or hair dryer to soften it, then spread into the crack or scratch, creating a slight bulge. A putty knife is used to smooth the wax flush with the countertop surface. If needed, a few more seconds of heat can assist with smoothing.
Gouges, dents, and deep scratches can be repaired by filling the void with a synthetic color-matched filler specifically designed for laminate, or alternatively, with wood putty. If wood putty is used, a hard wax putty stick will be necessary afterward to match the color of the countertop. Before filling, any ragged edges of the gouge are sanded with 220-grit sandpaper, and the area is cleaned with a laminate countertop solvent. The filler is then pressed deeply into the gouge with a putty knife and smoothed flush with the surrounding laminate surface.
#LaminateCountertops #CountertopRepair #HomeImprovement #DIYHomeRepair #KitchenMaintenance #SurfaceRestoration #StainRemoval #ScratchRepair #GougeRepair #LaminateCountertops #CountertopRepair #HomeImprovement #DIYHomeRepair #KitchenMaintenance #SurfaceRestoration #StainRemoval #ScratchRepair #GougeRepair
0 comment in total
 No comments yet
You may also like
How to clean laminate floors for extra shine – and what to avoid to protect the floor's surface for years


Laminate Worktops


How to prolong the life of your paint job, according to painters and decorators
Laminate Countertops Aren’t All Bad—Here’s What To Know About the Surface

I found five ways to cover kitchen countertops because let's face it — rental worktops are gross

Designers reveal the outdated countertop materials we should all be avoiding in 2024

How to Remove Stains From Plastic Laminate Countertops

4 Countertop Materials to Avoid in a Bathroom and What to Use Instead in Your Next Renovation

Why a 111-Year-Old Kitchen Countertop Material Is Suddenly Popular with Gen Z
How to Clean Laminate Floors to Protect Their Shiny Finish

5 aging-in-place remodeling ideas for the kitchen

The Easiest Way To Install Laminate Flooring, According To An Expert
5 Clever Ways to Update Old Laminate Countertops (Without Spending a Ton)


6 outdated kitchen countertop trends to leave behind in 2025
How to choose the best kitchen worktops and cabinets
The One Way You Should NEVER Clean Laminate Floors

9 Durable Kitchen Flooring Finishes That Interior Designers Swear Will Look Good for Longer

6 Outdated Kitchen Flooring Ideas in 2025 That Threaten to Turn Back the Clock — Plus What to Choose Instead
6 ways to have a low-maintenance kitchen that looks good for years to come
We Asked 3 Cleaning Pros to Share Their Easiest Tricks to Keep Countertops Cleaner for Way Longer