1/26
How to install wooden panelling
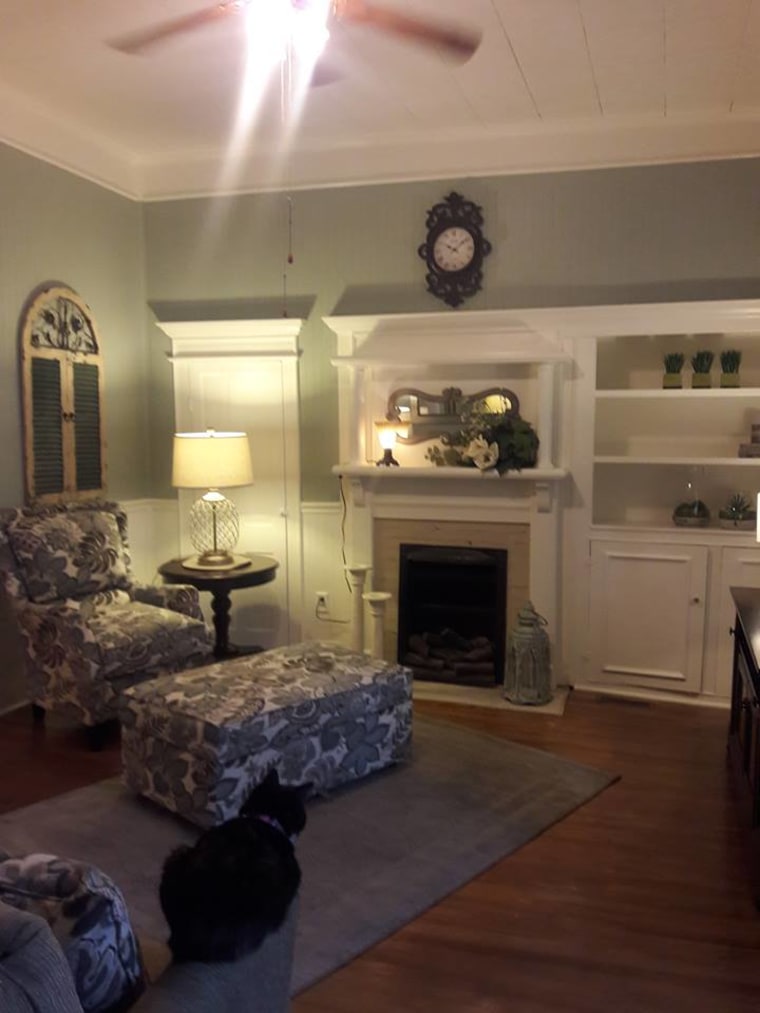
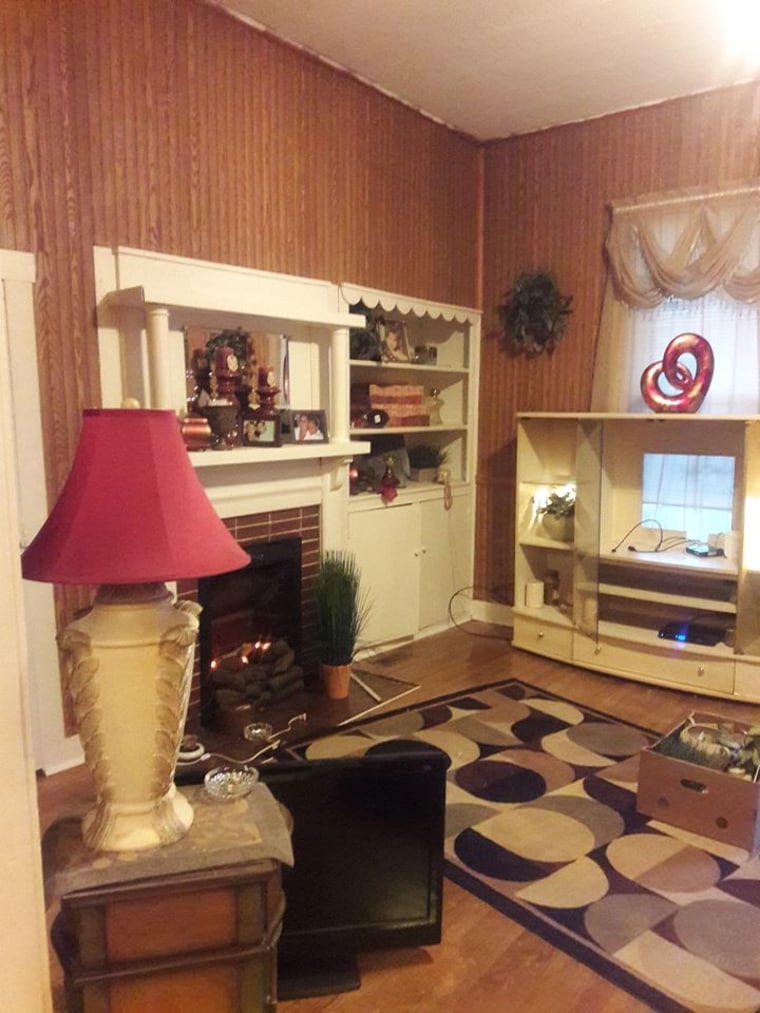
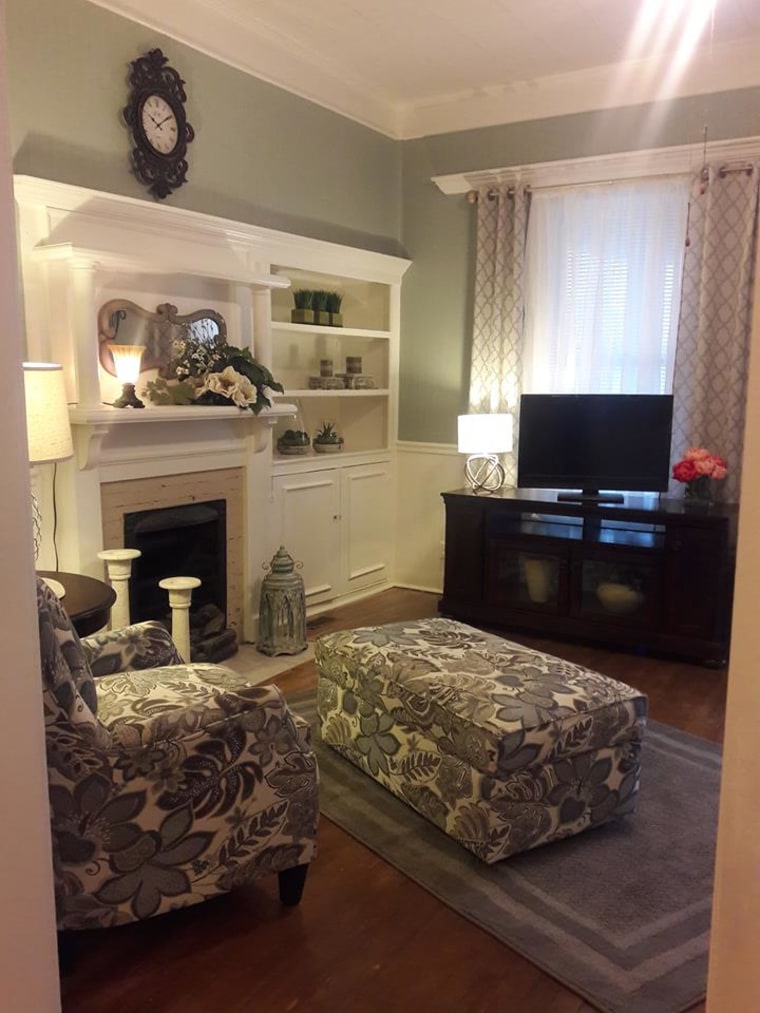
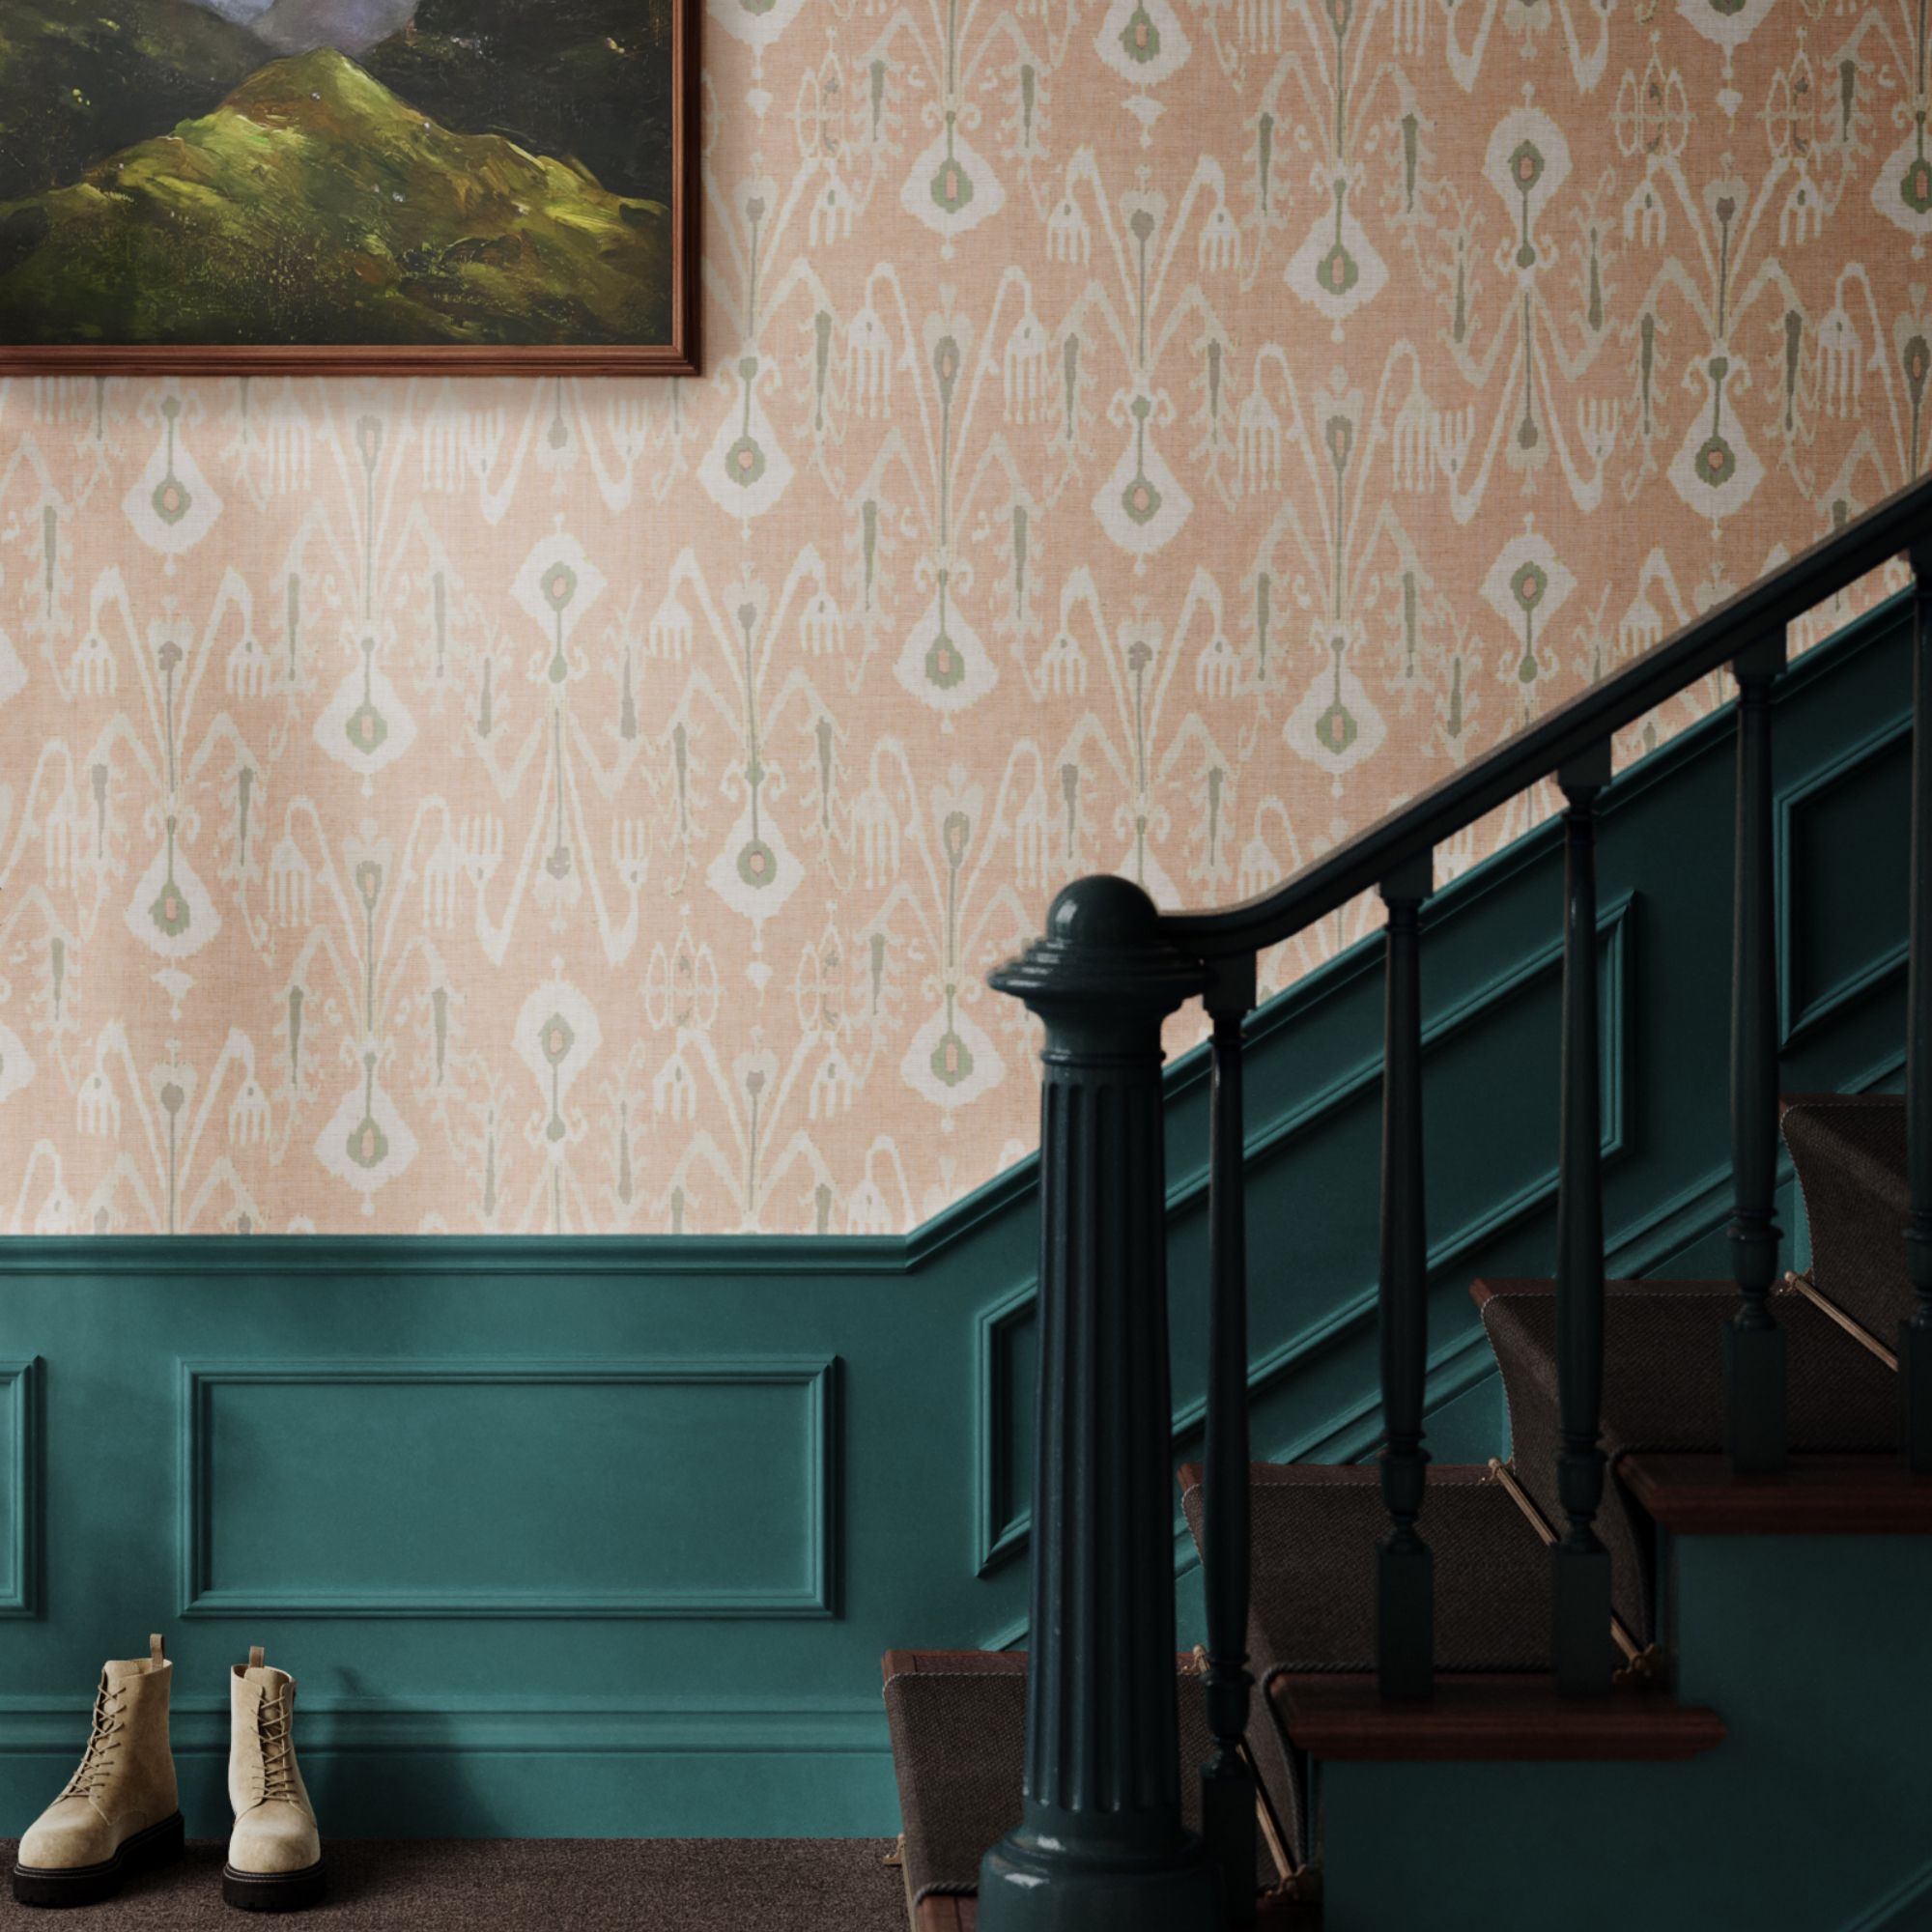
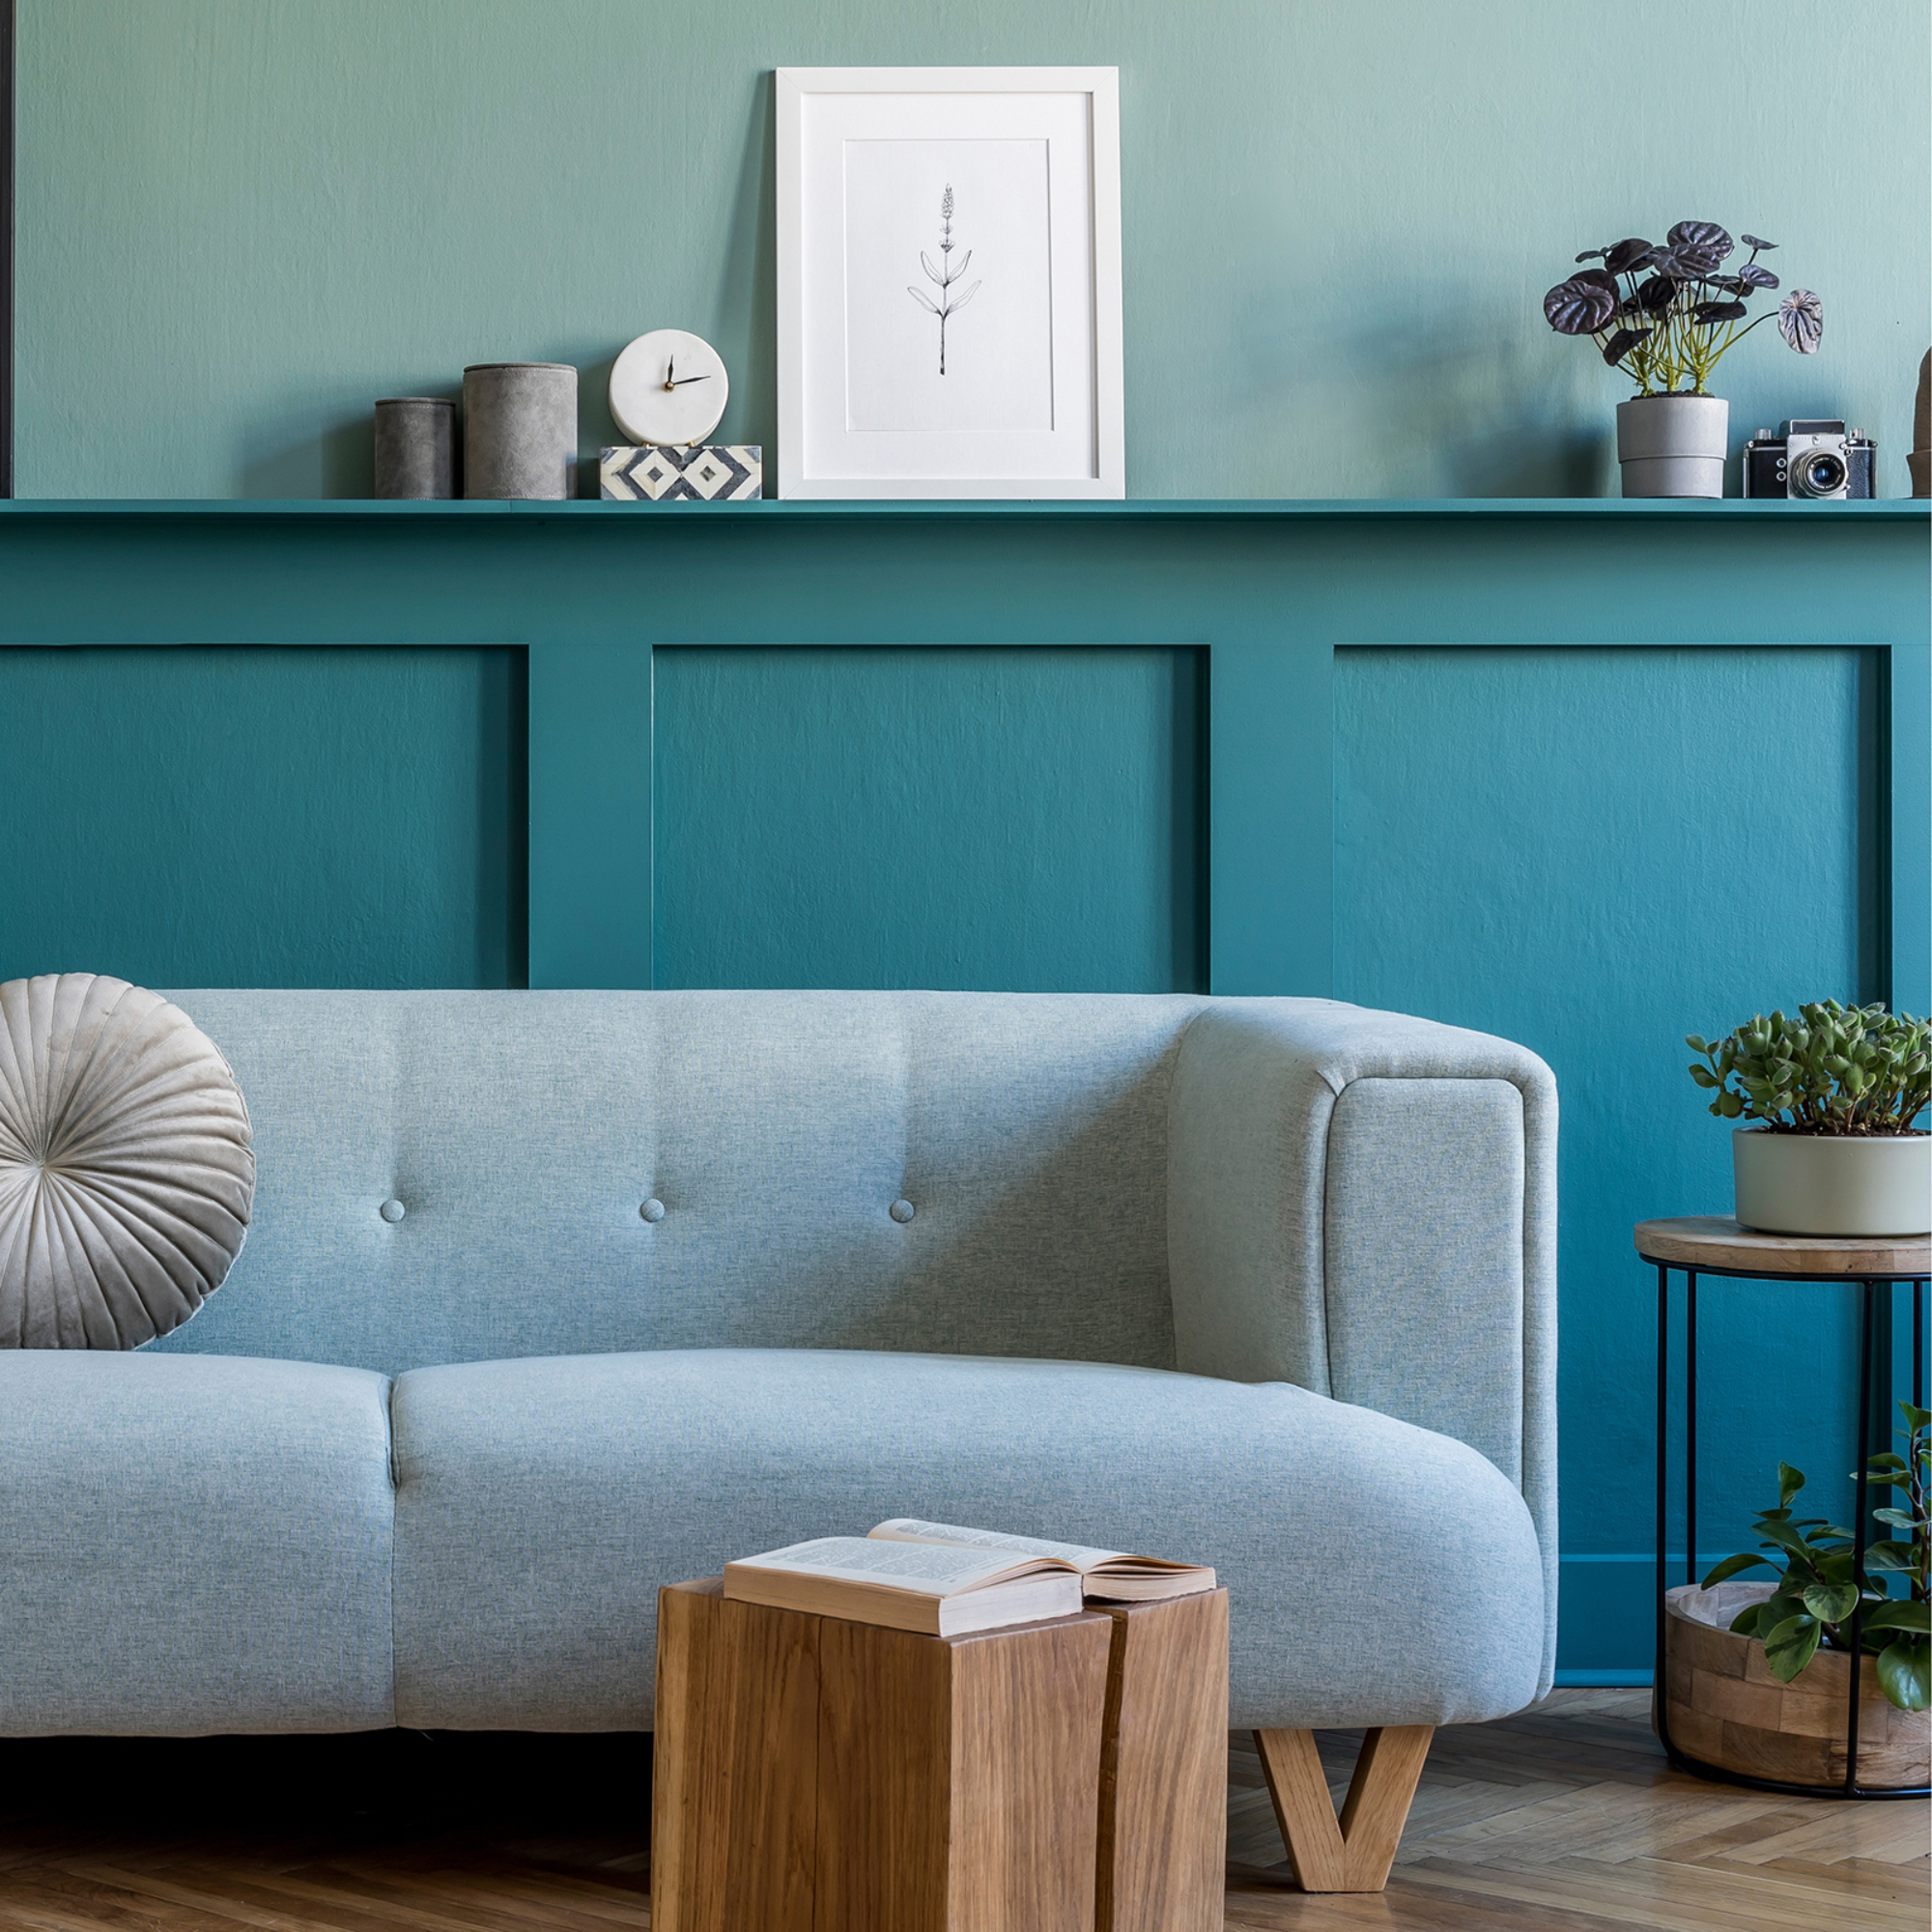
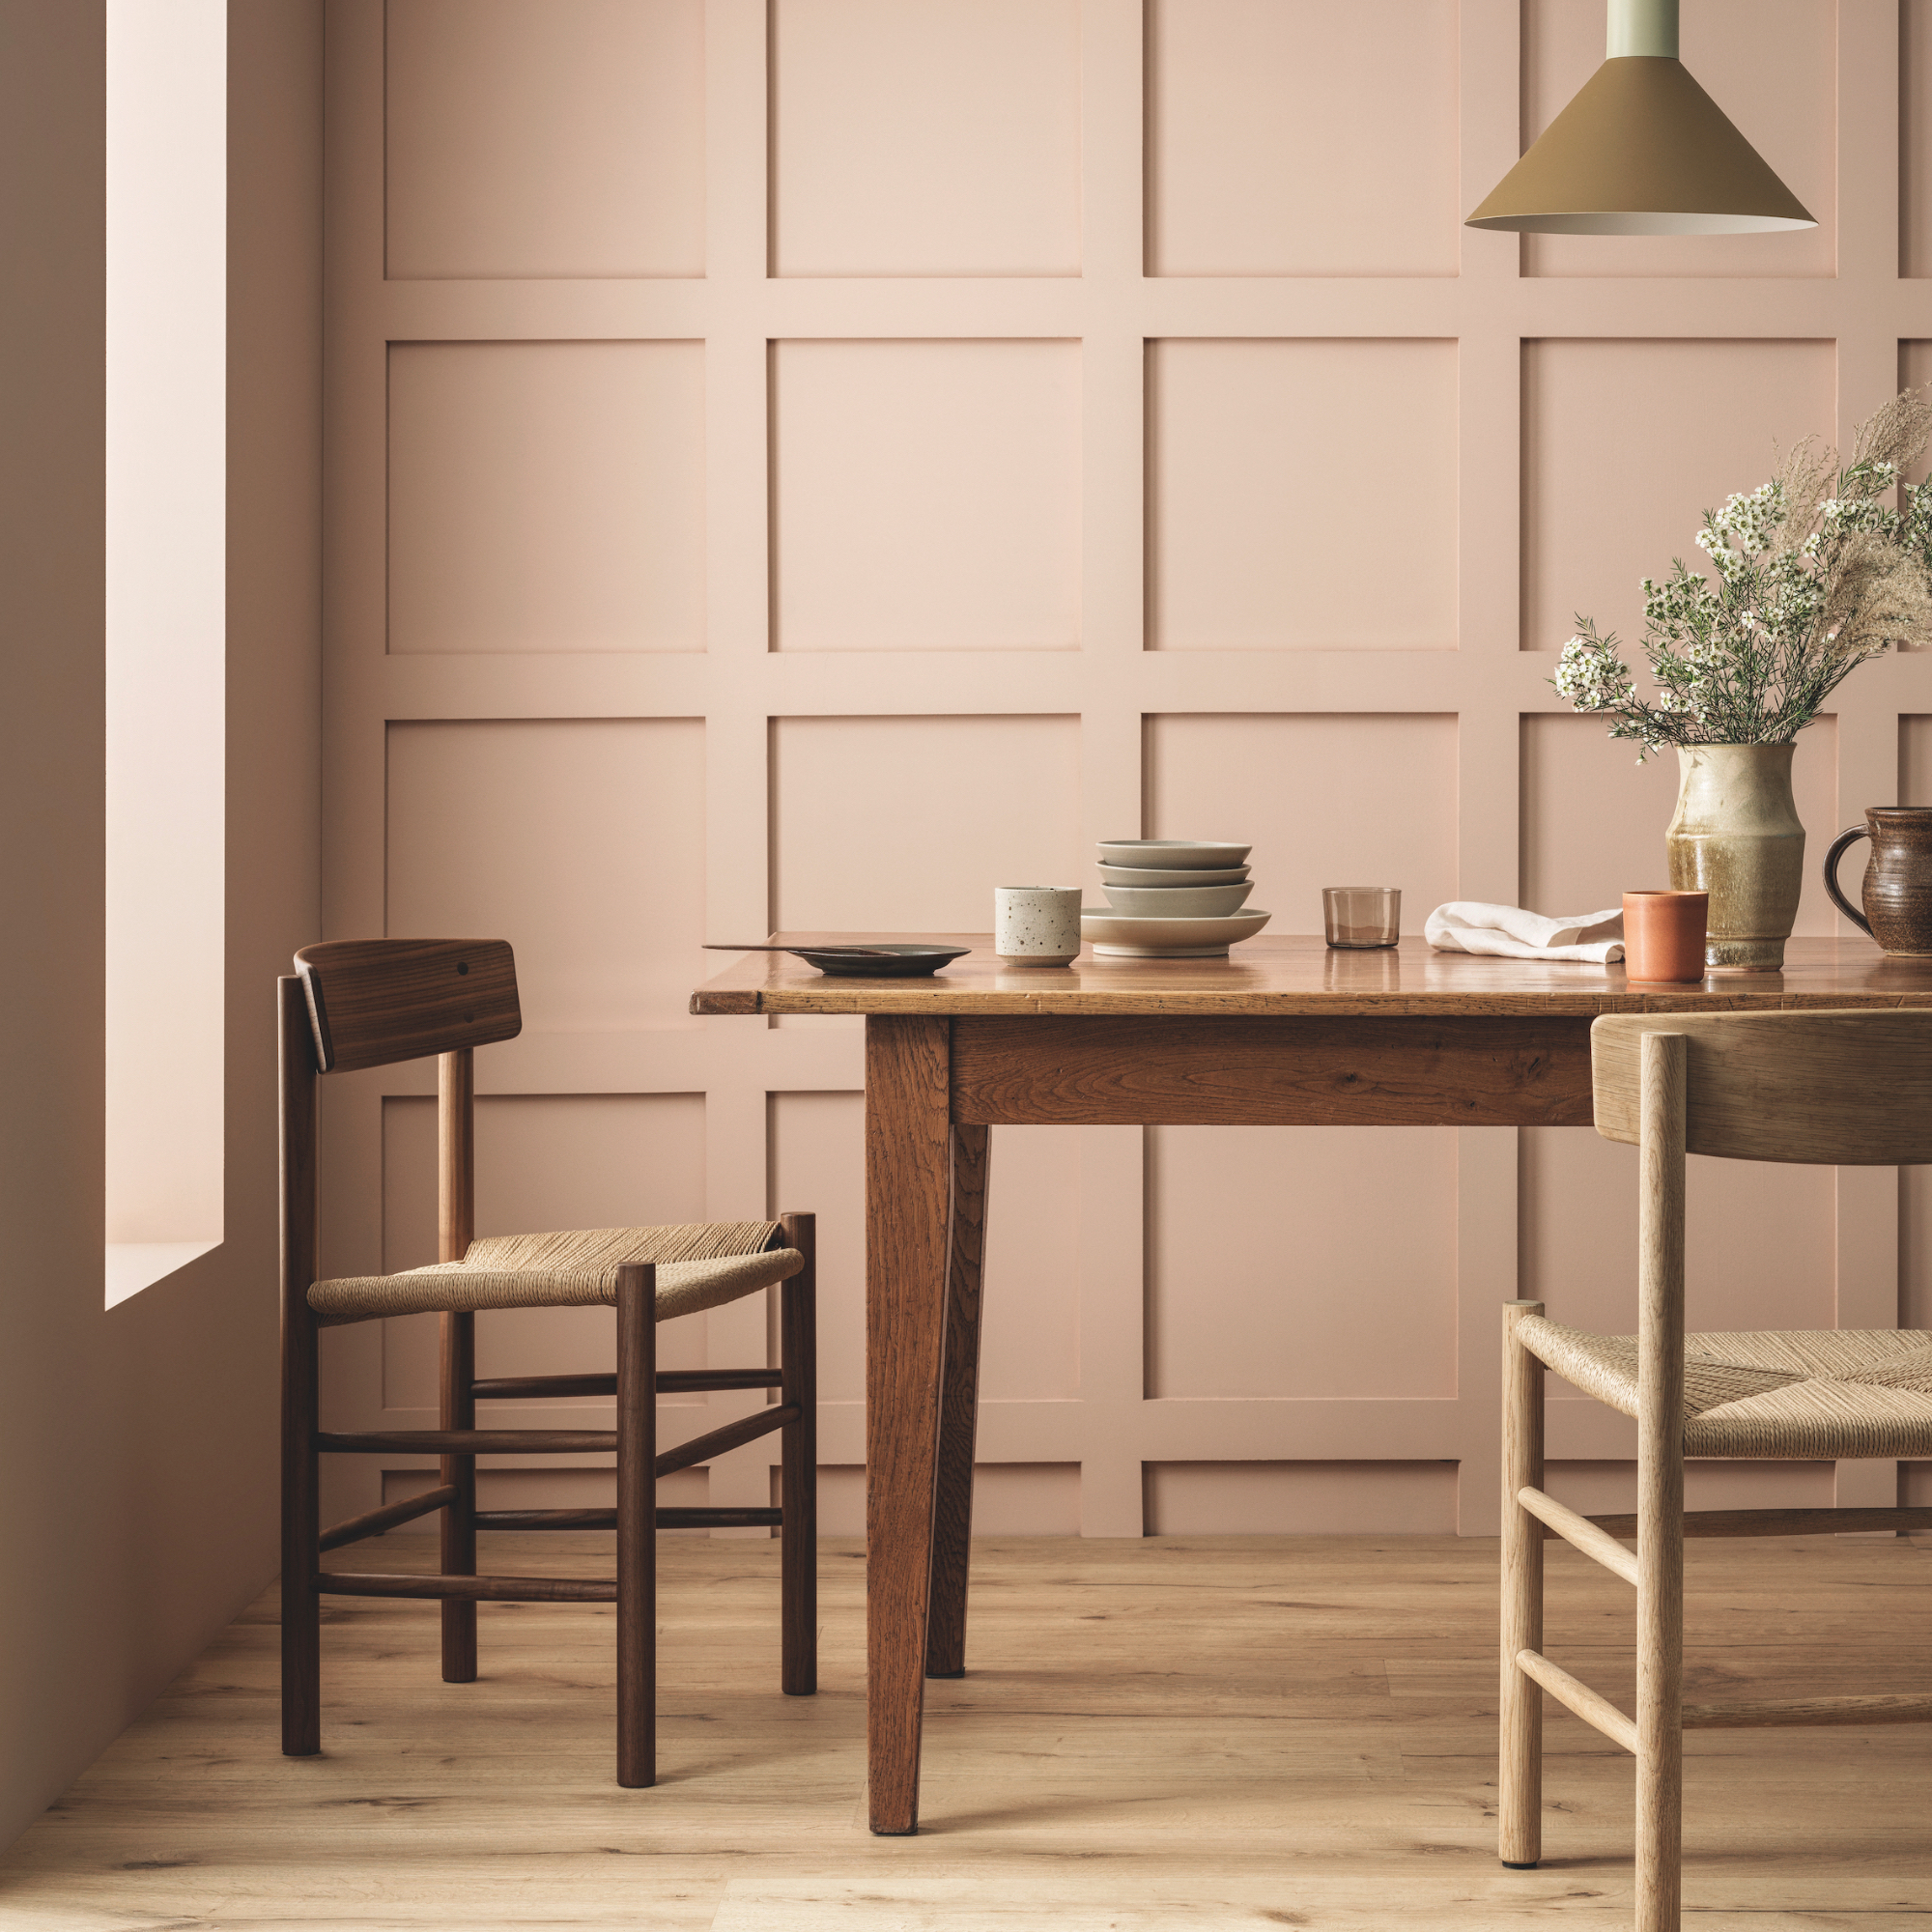
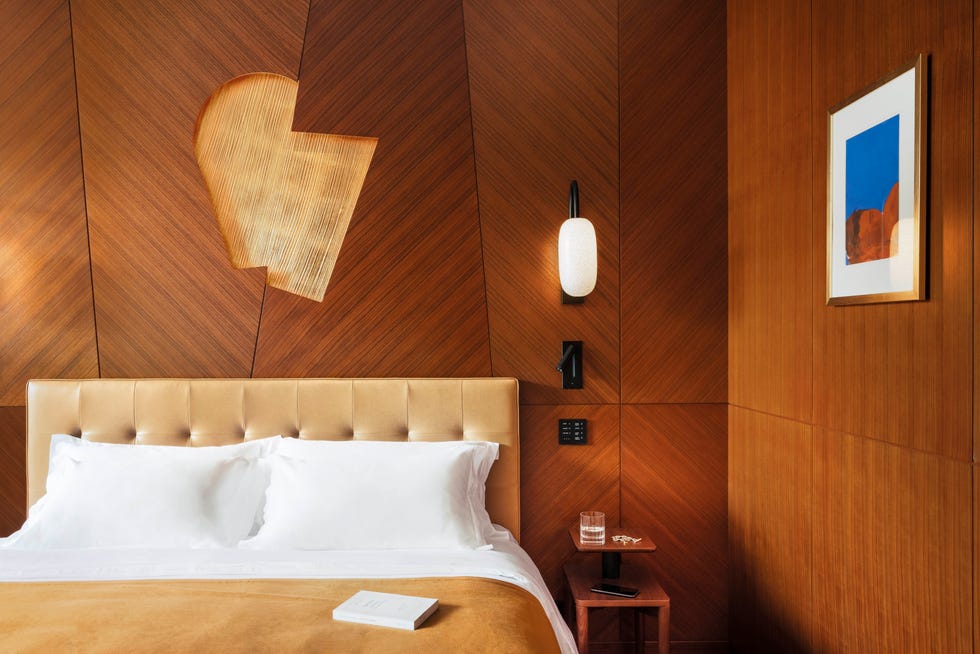
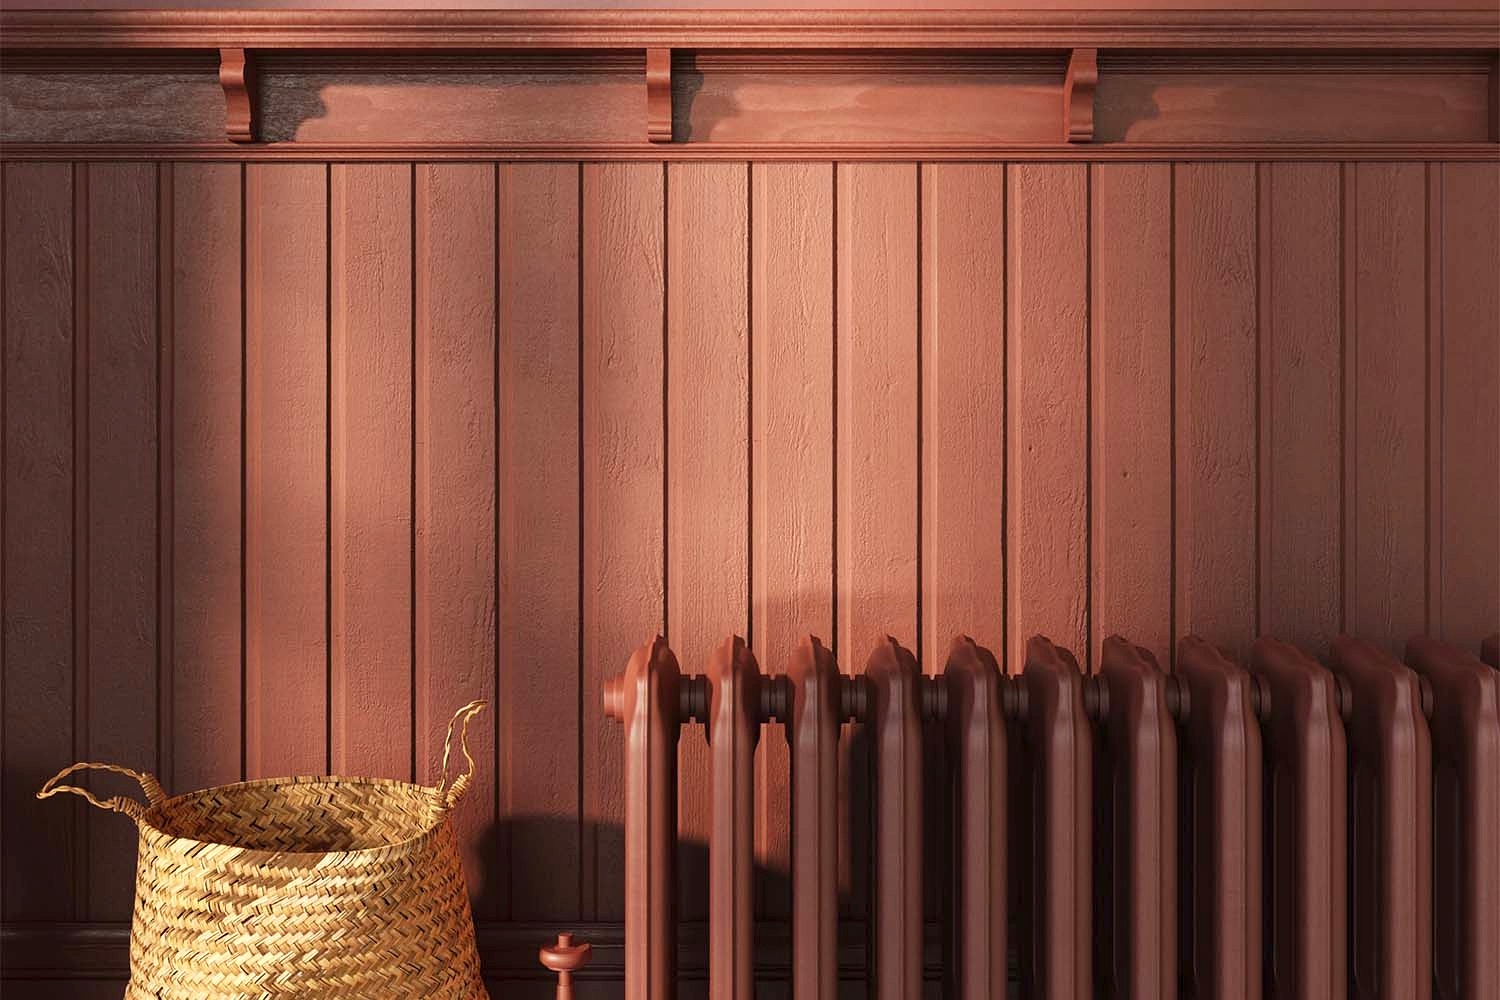
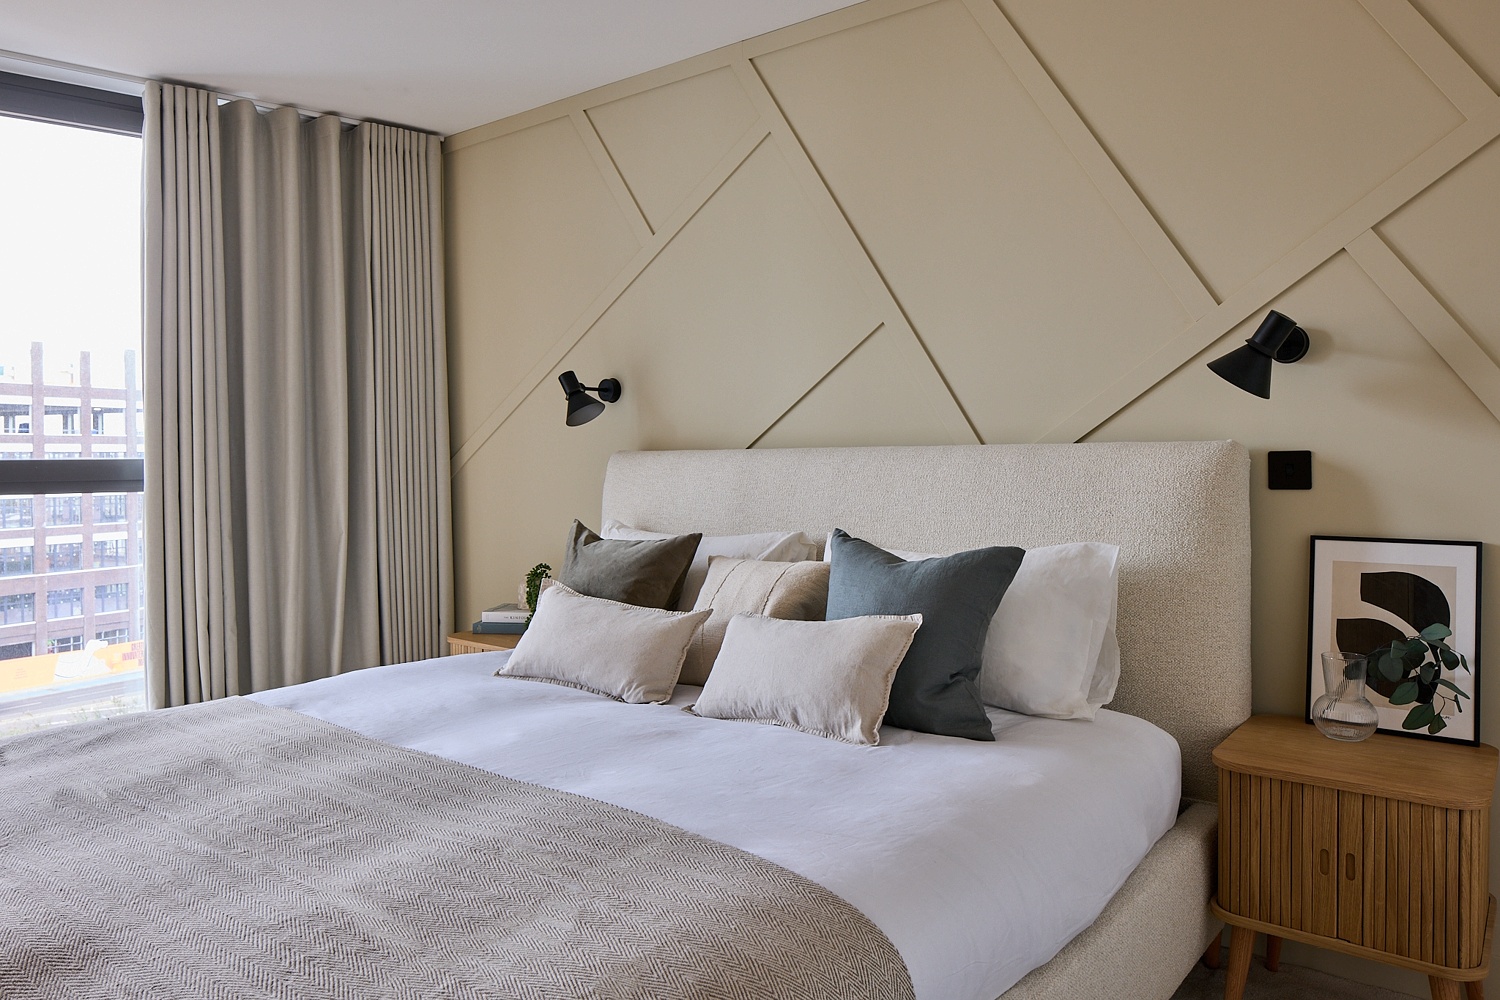
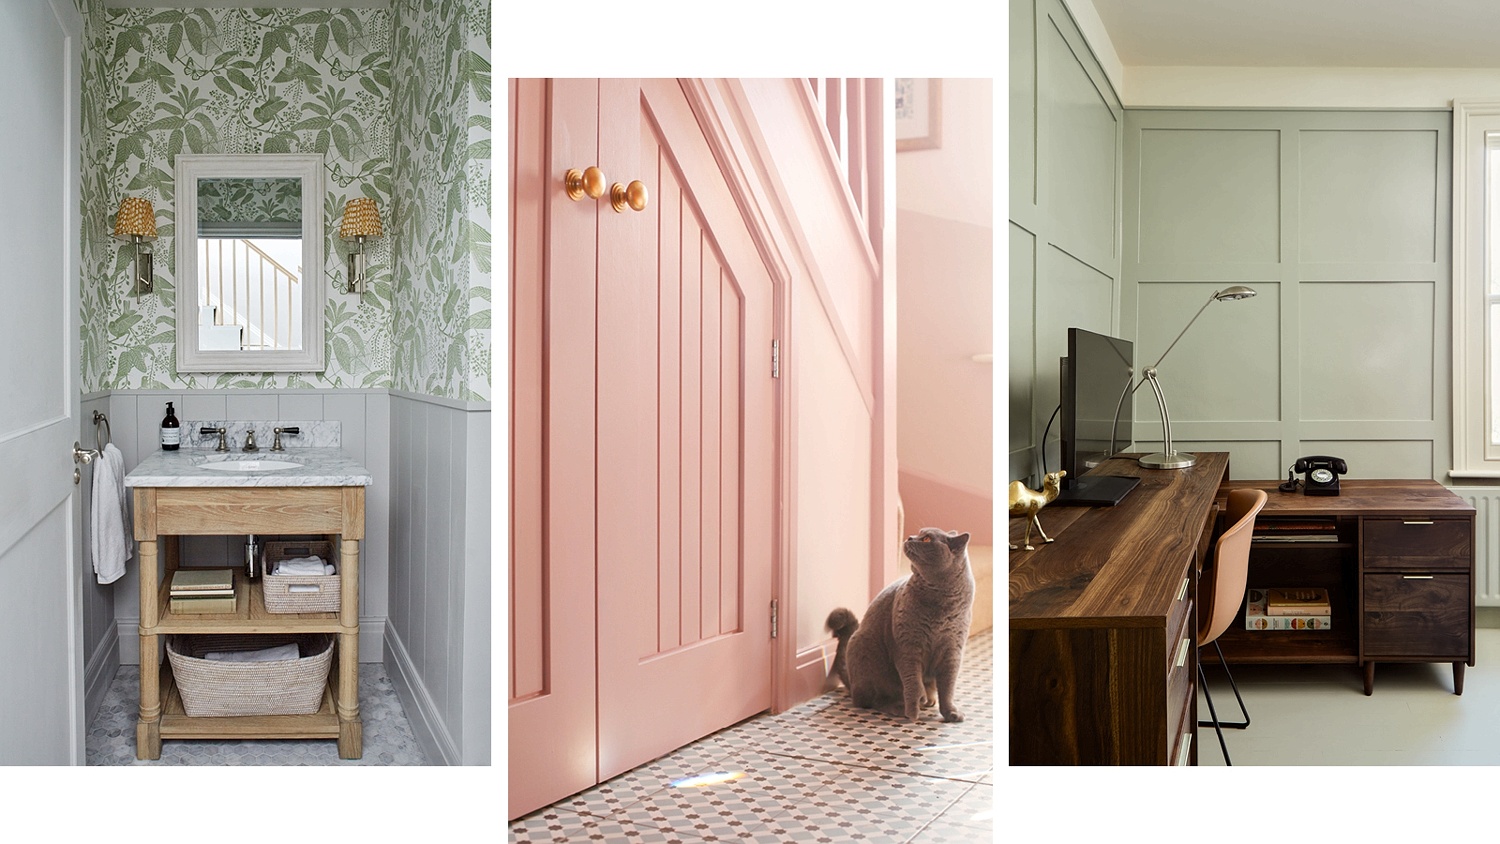
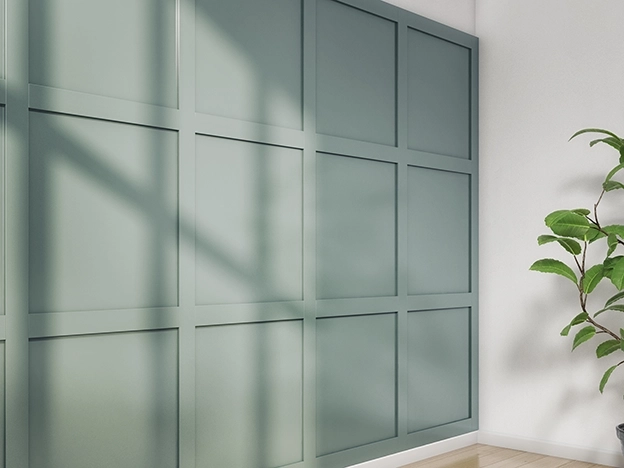
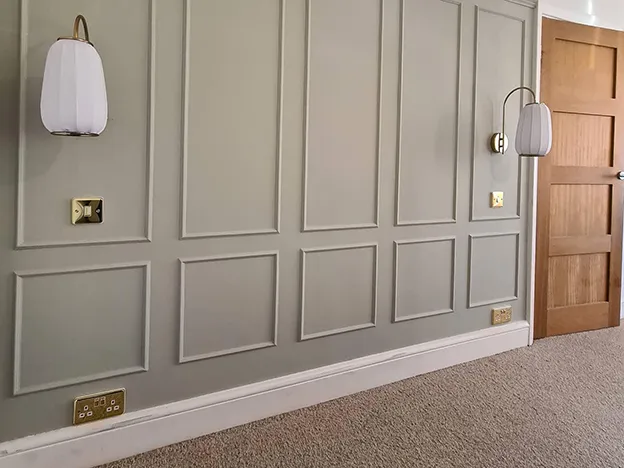
This comprehensive guide provides step-by-step instructions for installing wooden wall panelling, a decorative DIY project designed to transform any room. It emphasizes that this project is achievable for DIYers with moderate experience and offers an affordable way to add visual appeal to interior spaces. The article begins by outlining the necessary tools and materials, categorizing them for clarity into 'TOOLS', 'MATERIALS', and 'SAFETY'. Essential tools include a pencil, measuring tape, sandpaper, mitre box, brush, spirit level, and caulk gun. Materials range from decorative mouldings and architraves to filler, undercoat, construction adhesive, caulk, and wood paint. Safety equipment such as a dust mask, gloves, and safety goggles are highlighted as crucial for personal protection during the process.
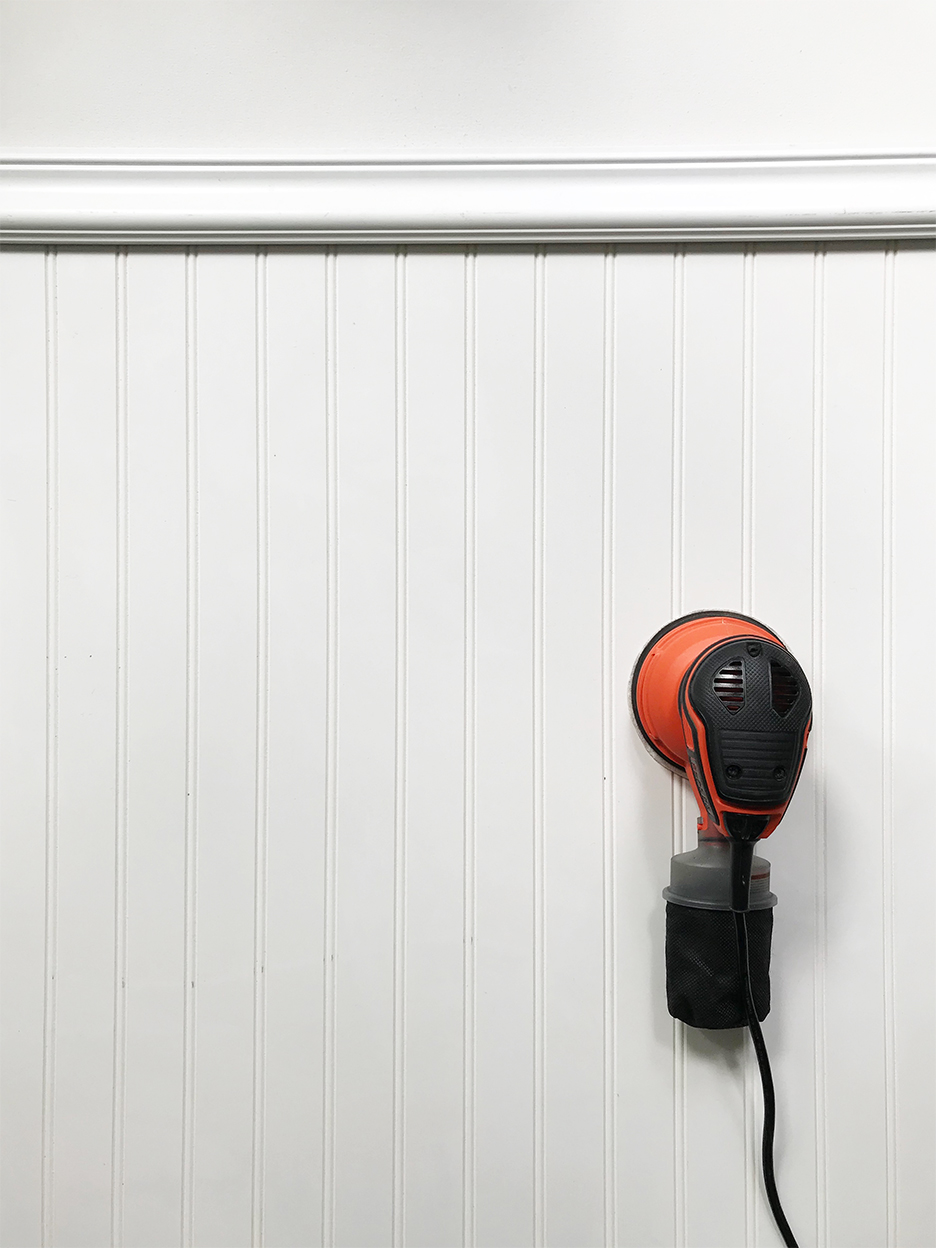
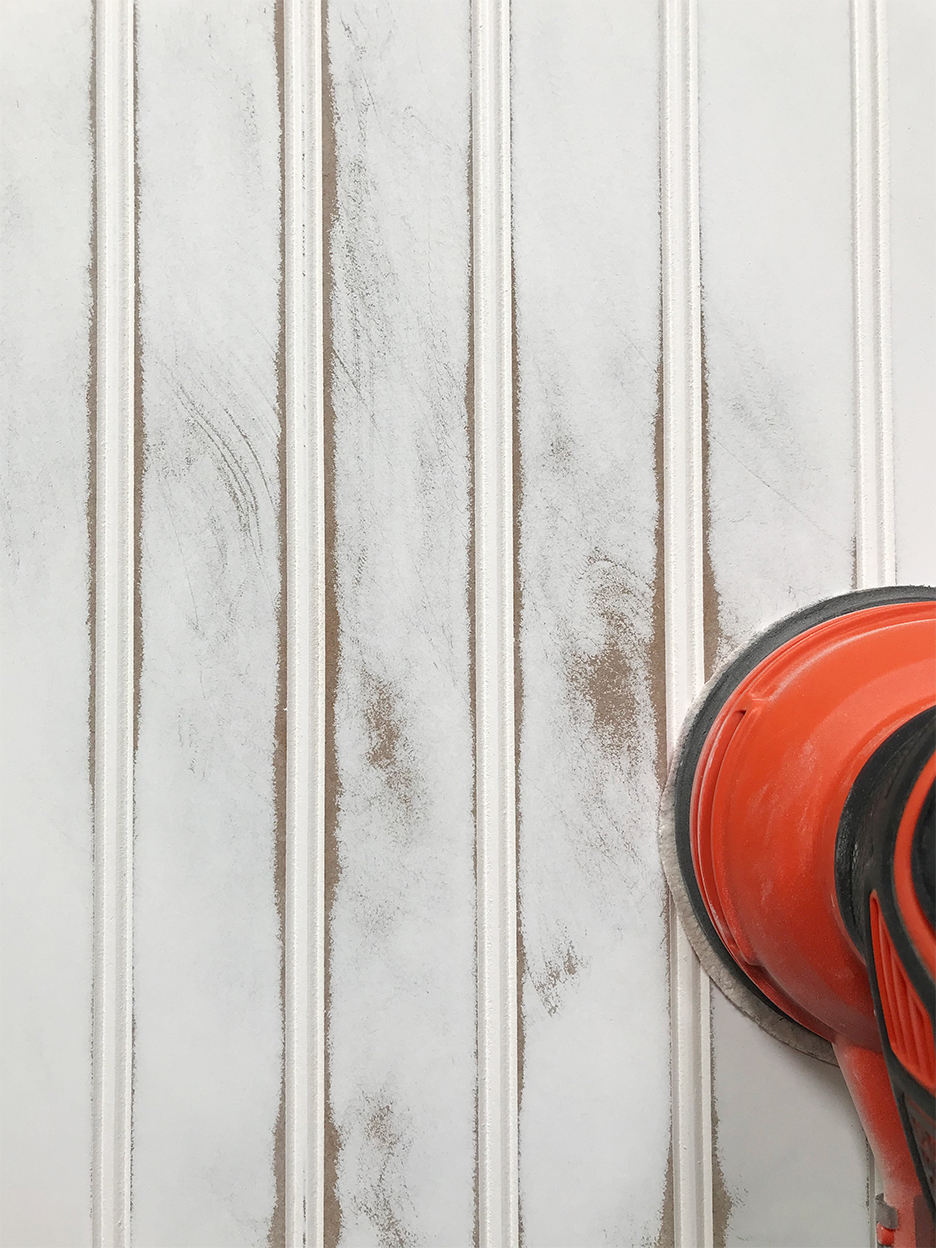
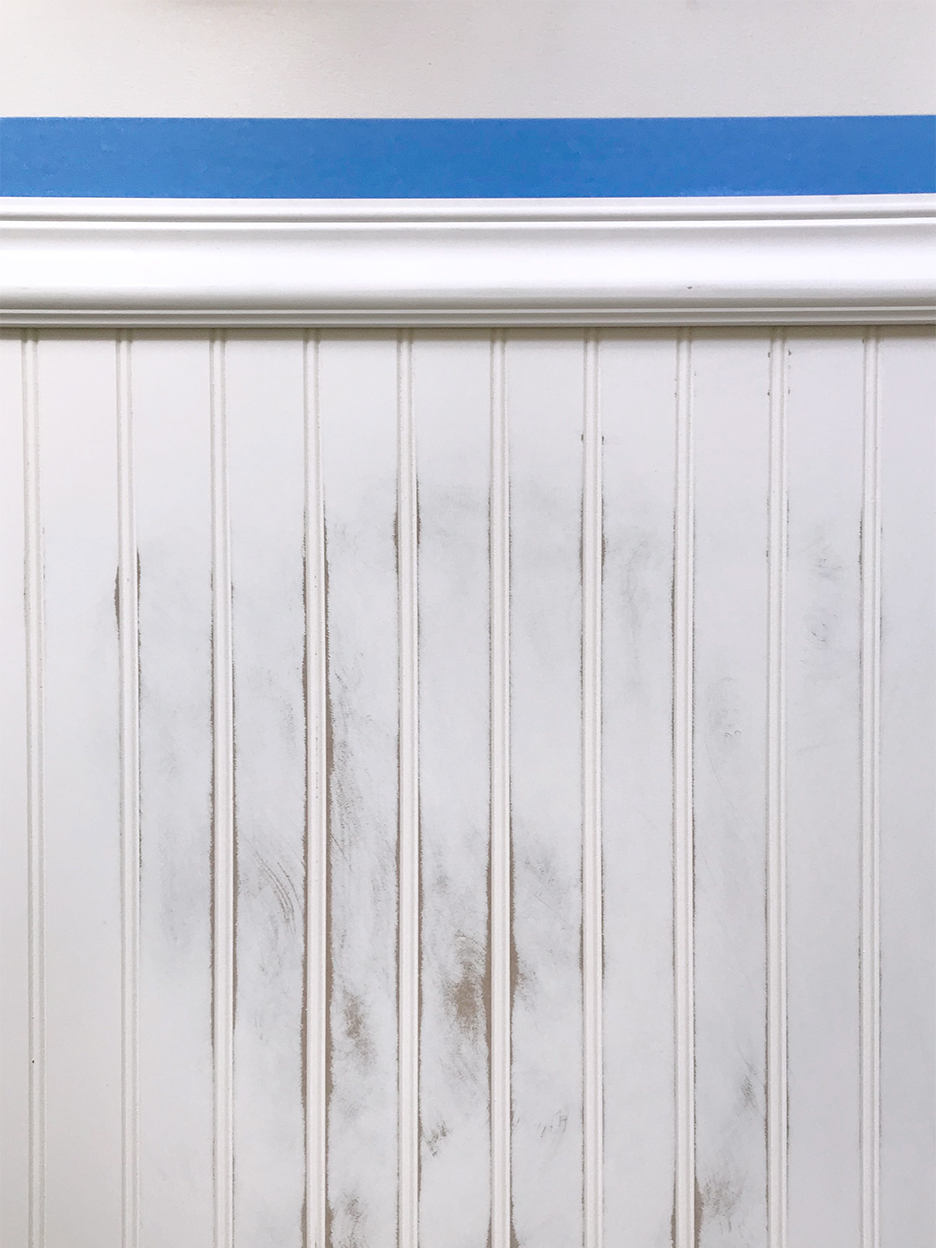
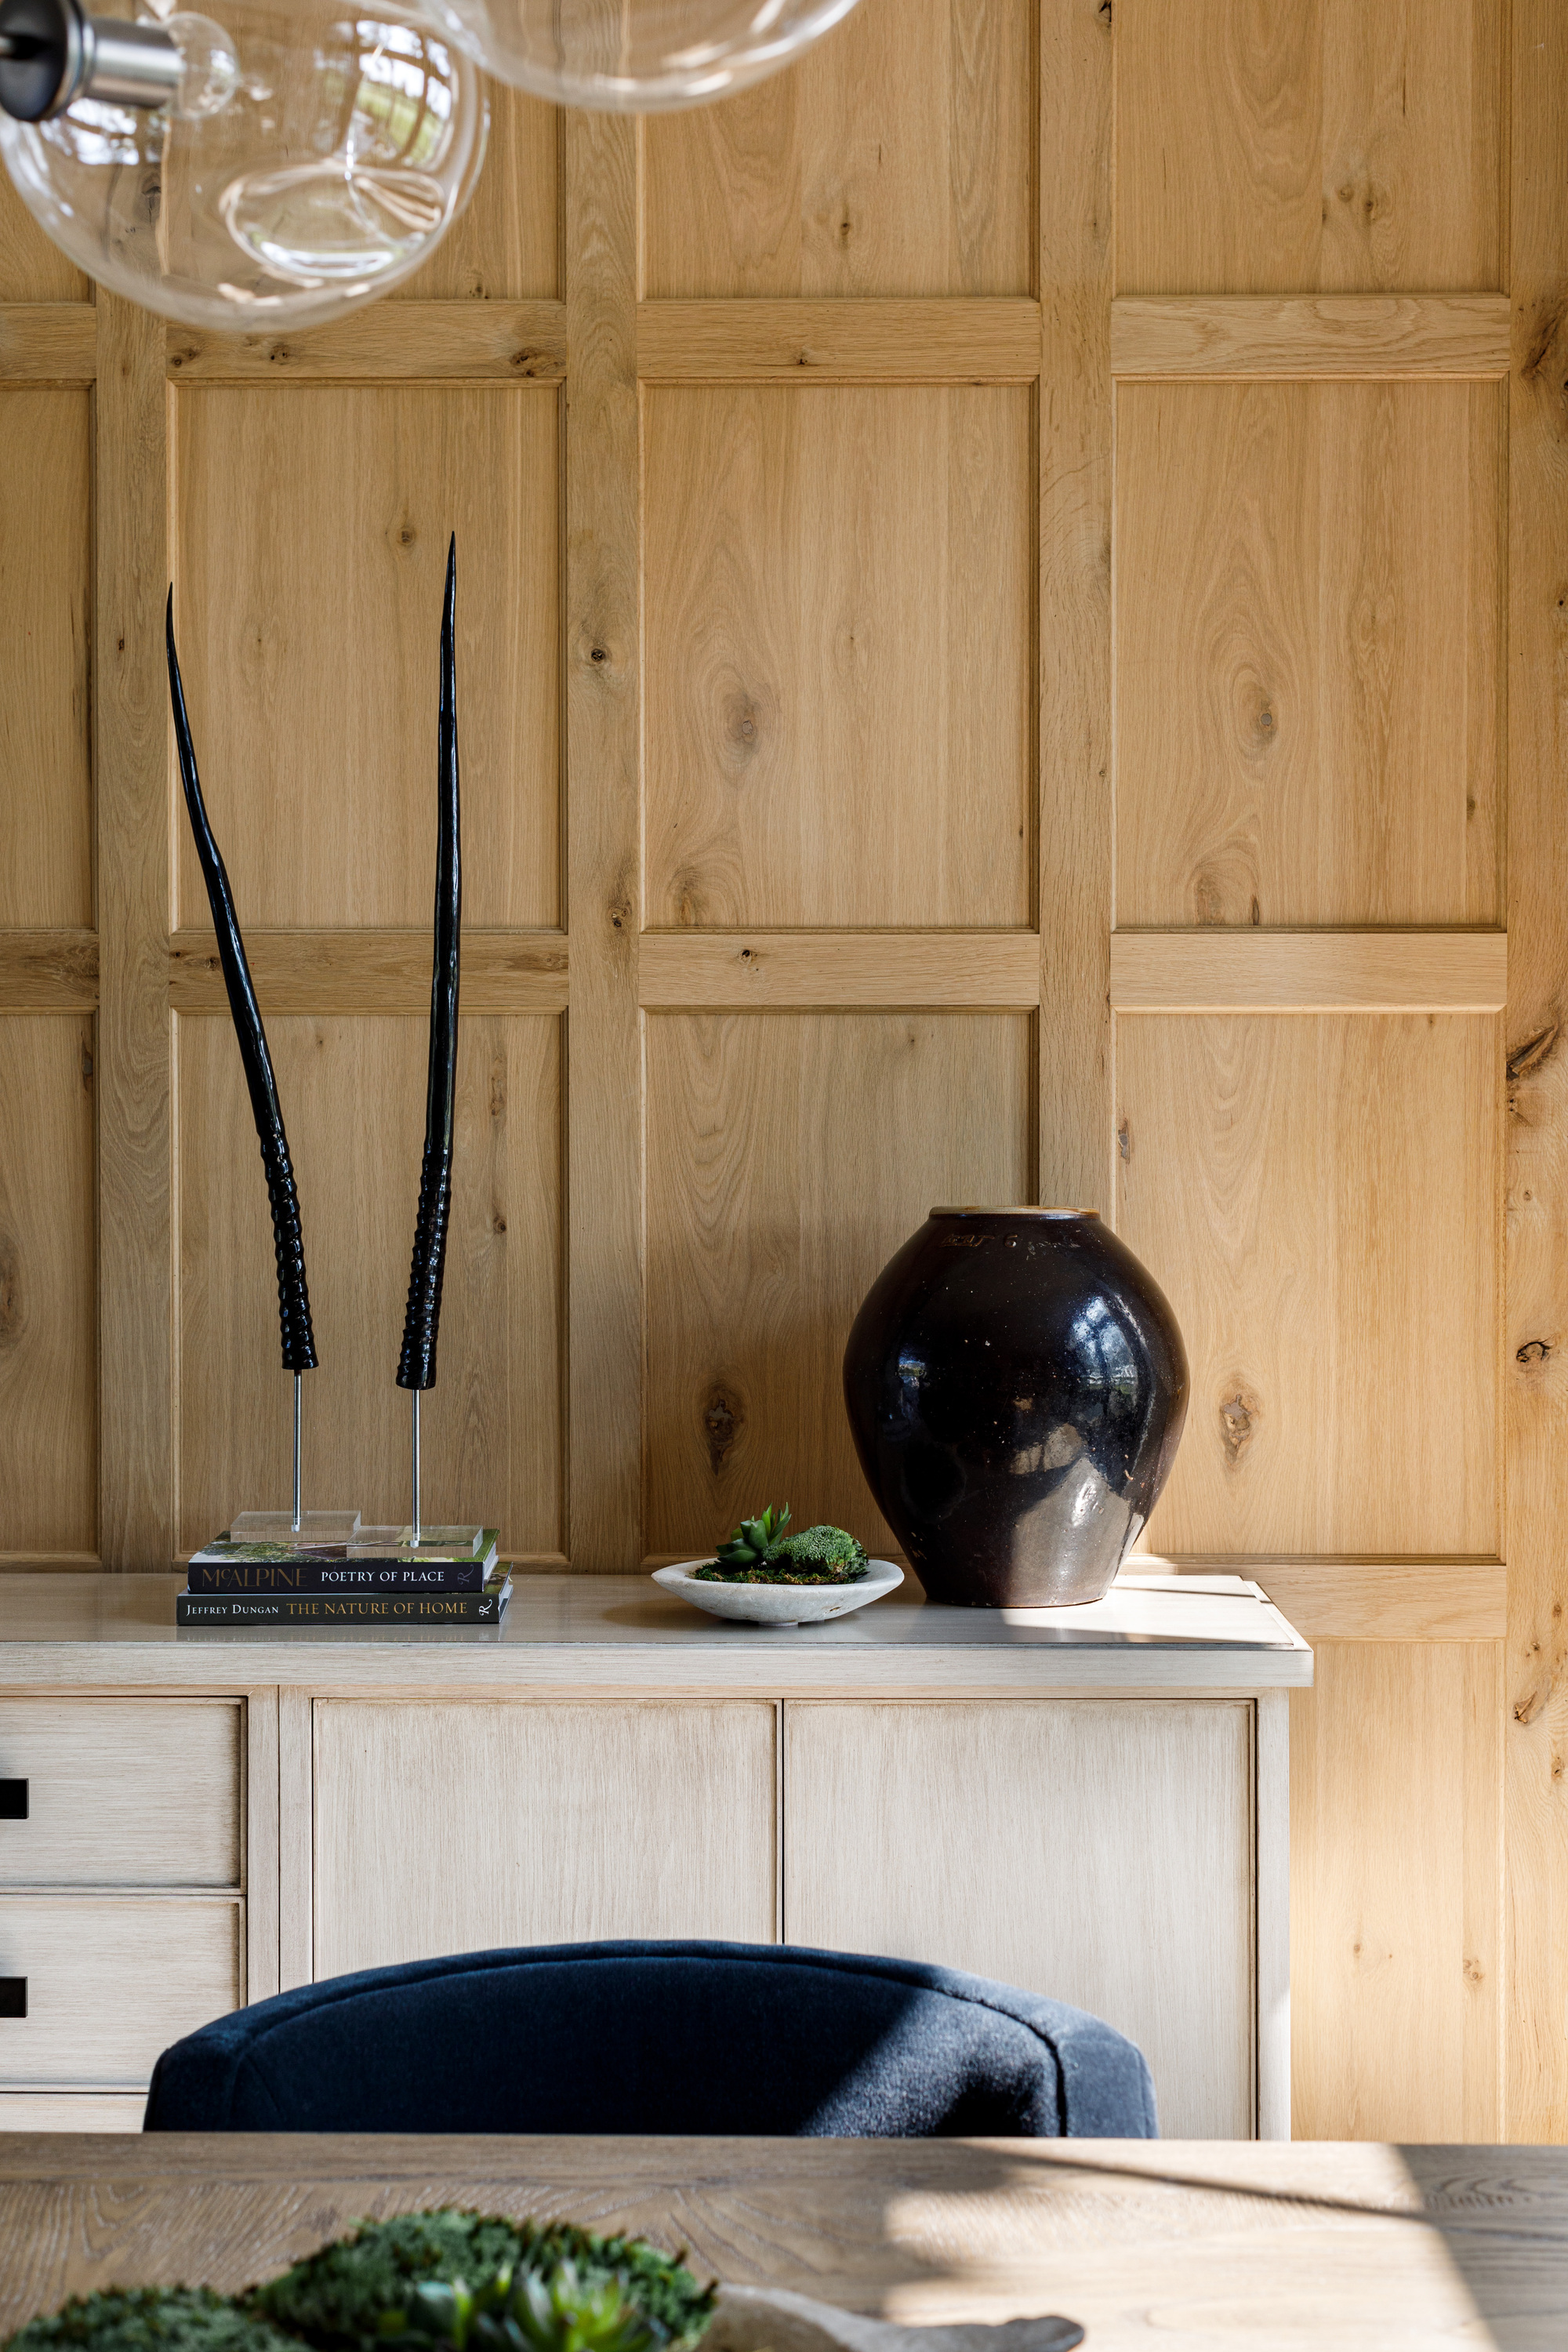
The installation process is broken down into four main phases: planning and preparation, cutting the wood, undercoating the timber, and fixing and painting the panelling. The planning stage involves choosing the right material, such as timber for a natural grain effect or MDF for a cleaner finish, and deciding on a design. The article recommends sketching out the design to visualize the outcome and accurately measuring the wall and panel materials. It also suggests using pre-cut panelling kits from Wickes to save time. Preparation of the wall is critical and includes clearing the area, filling holes, and sanding the surface smooth. A key piece of advice for panels less than ¼ inch thick is the potential need for backing like plasterboard.
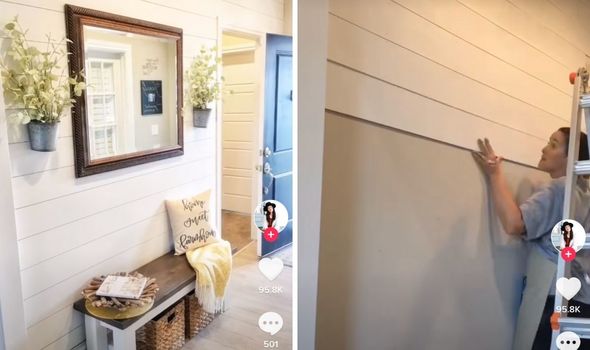
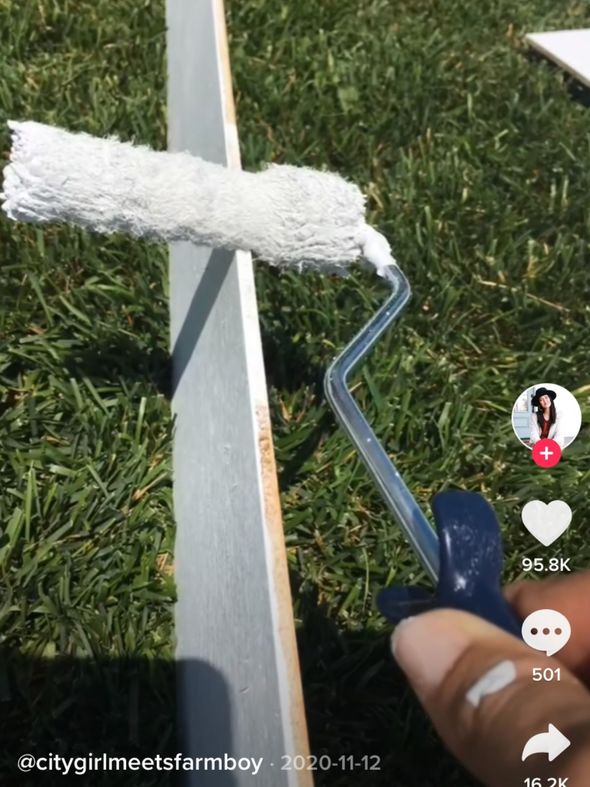
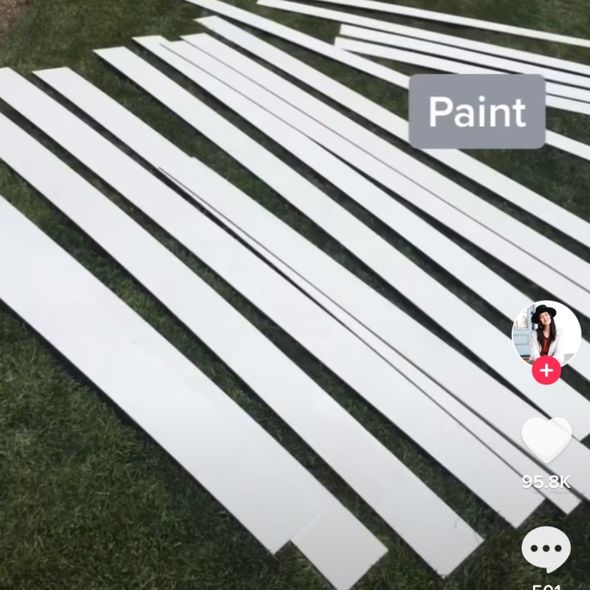
Next, the guide details the wood-cutting process, advising the use of a mitre box securely screwed to a workbench to ensure precise angle cuts. After cutting, all frayed edges must be sanded smooth. The undercoating phase involves applying a thin undercoat to the timber to prevent paint pooling, covering half of one side along with the top and sides, allowing it to dry, and then repeating for the other half while leaving the underside unpainted. The fixing phase begins with applying grab adhesive to the back of the vertical lengths of timber in a 'W' or wave-like pattern and firmly pressing them onto the wall, using a spirit level for straightness. Pins may be used for additional security. Horizontal lengths are then butted against the vertical pieces, forming right angles, and spacers are used to maintain consistent height and parallelism between vertical lengths. This process is repeated until all panels are fitted, after which a final sanding is recommended.
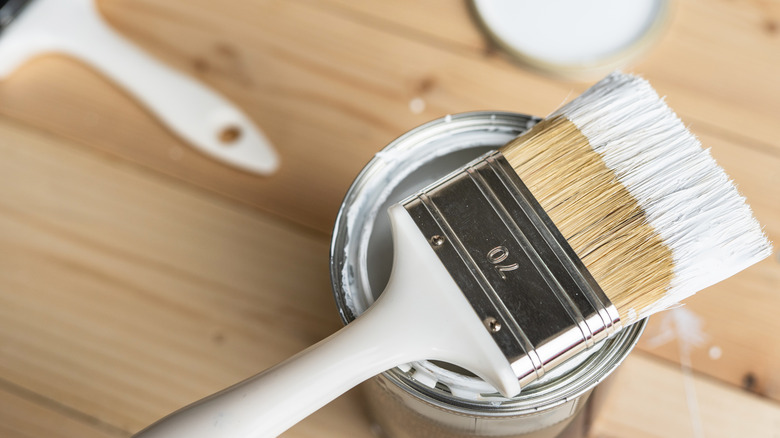
Finally, the painting phase describes preparing the area by laying dust sheets and taping off unprotected areas. The edges of each panel are painted first with a brush, followed by the rest of the squares using a roller. Multiple coats may be necessary to achieve a uniform finish. The article also addresses frequently asked questions, clarifying that shower wall panels can be installed similarly, wall panels can be made by sawing wood to size, and measuring involves tape and pencil marks to guide placement. It concludes by noting that wall panelling can also be applied to ceilings, offering a versatile decorative solution.
#DIYHomeImprovement #WallPanelling #HomeDecoration #Woodwork #InteriorDesign #Mouldings #HomeRenovation #PaintingTips #DIYHomeImprovement #WallPanelling #HomeDecoration #Woodwork #InteriorDesign #Mouldings #HomeRenovation #PaintingTips
0 comment in total
 No comments yet
You may also like
How to Paint Wood-Paneling

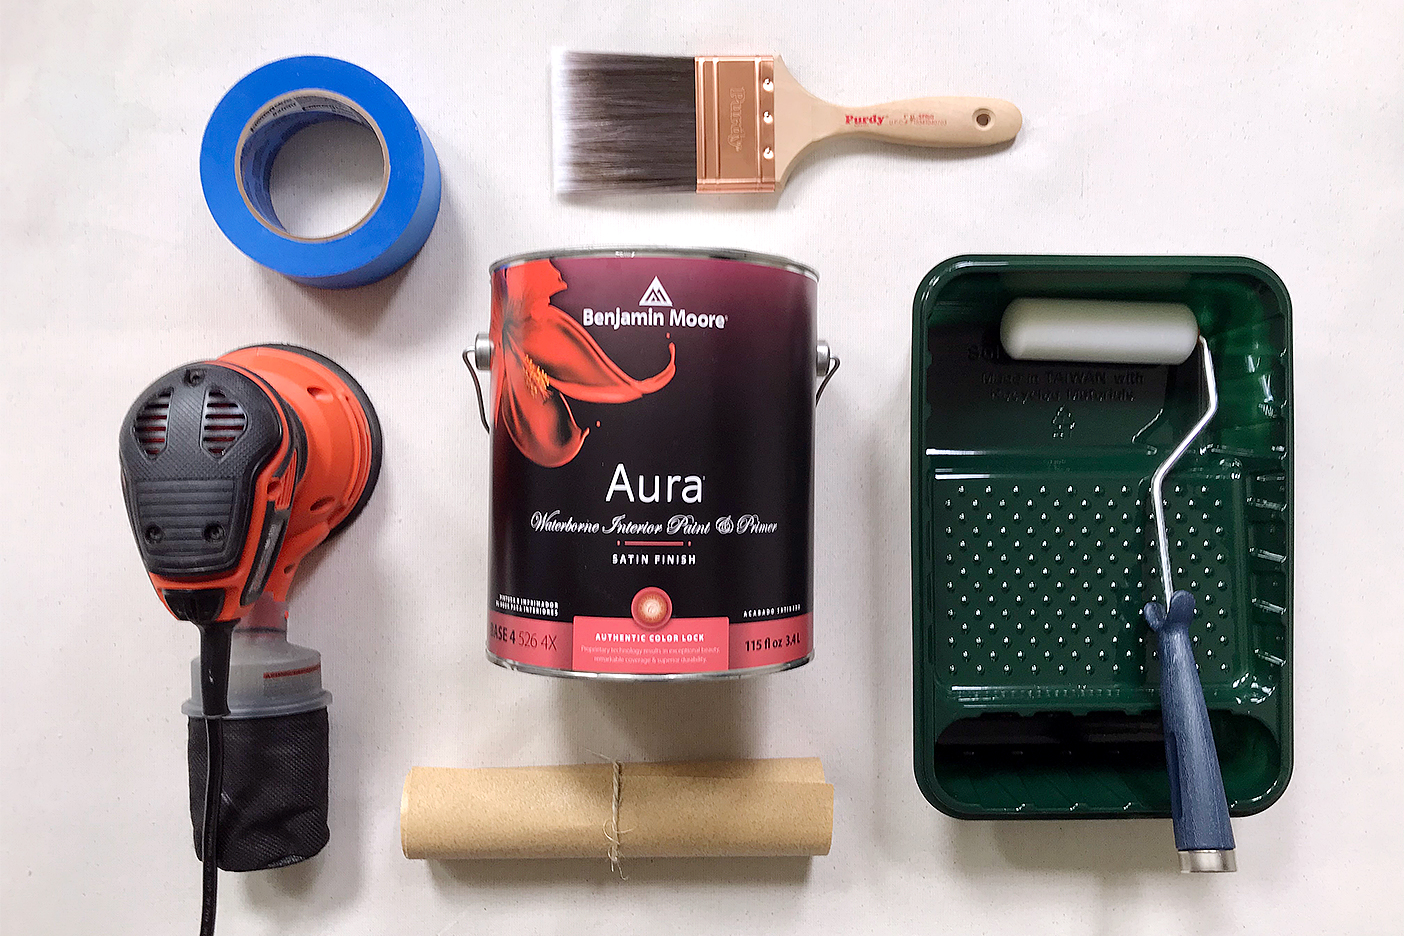
How to Paint Wood Paneling and Its Best Friend, the Trim

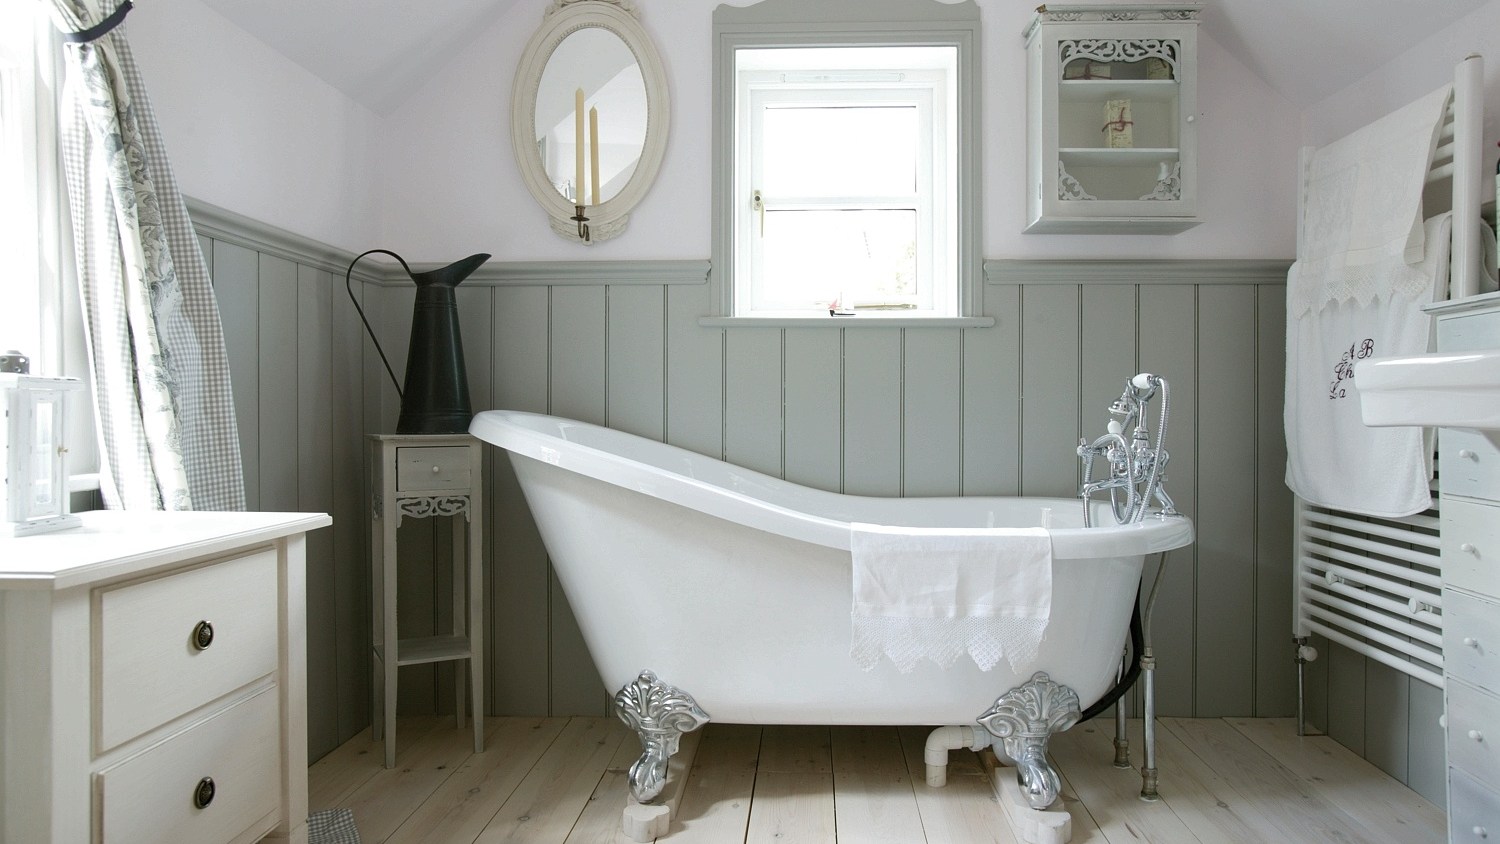
Practical ways to make panelling look good
Glue-Laminated Timbers

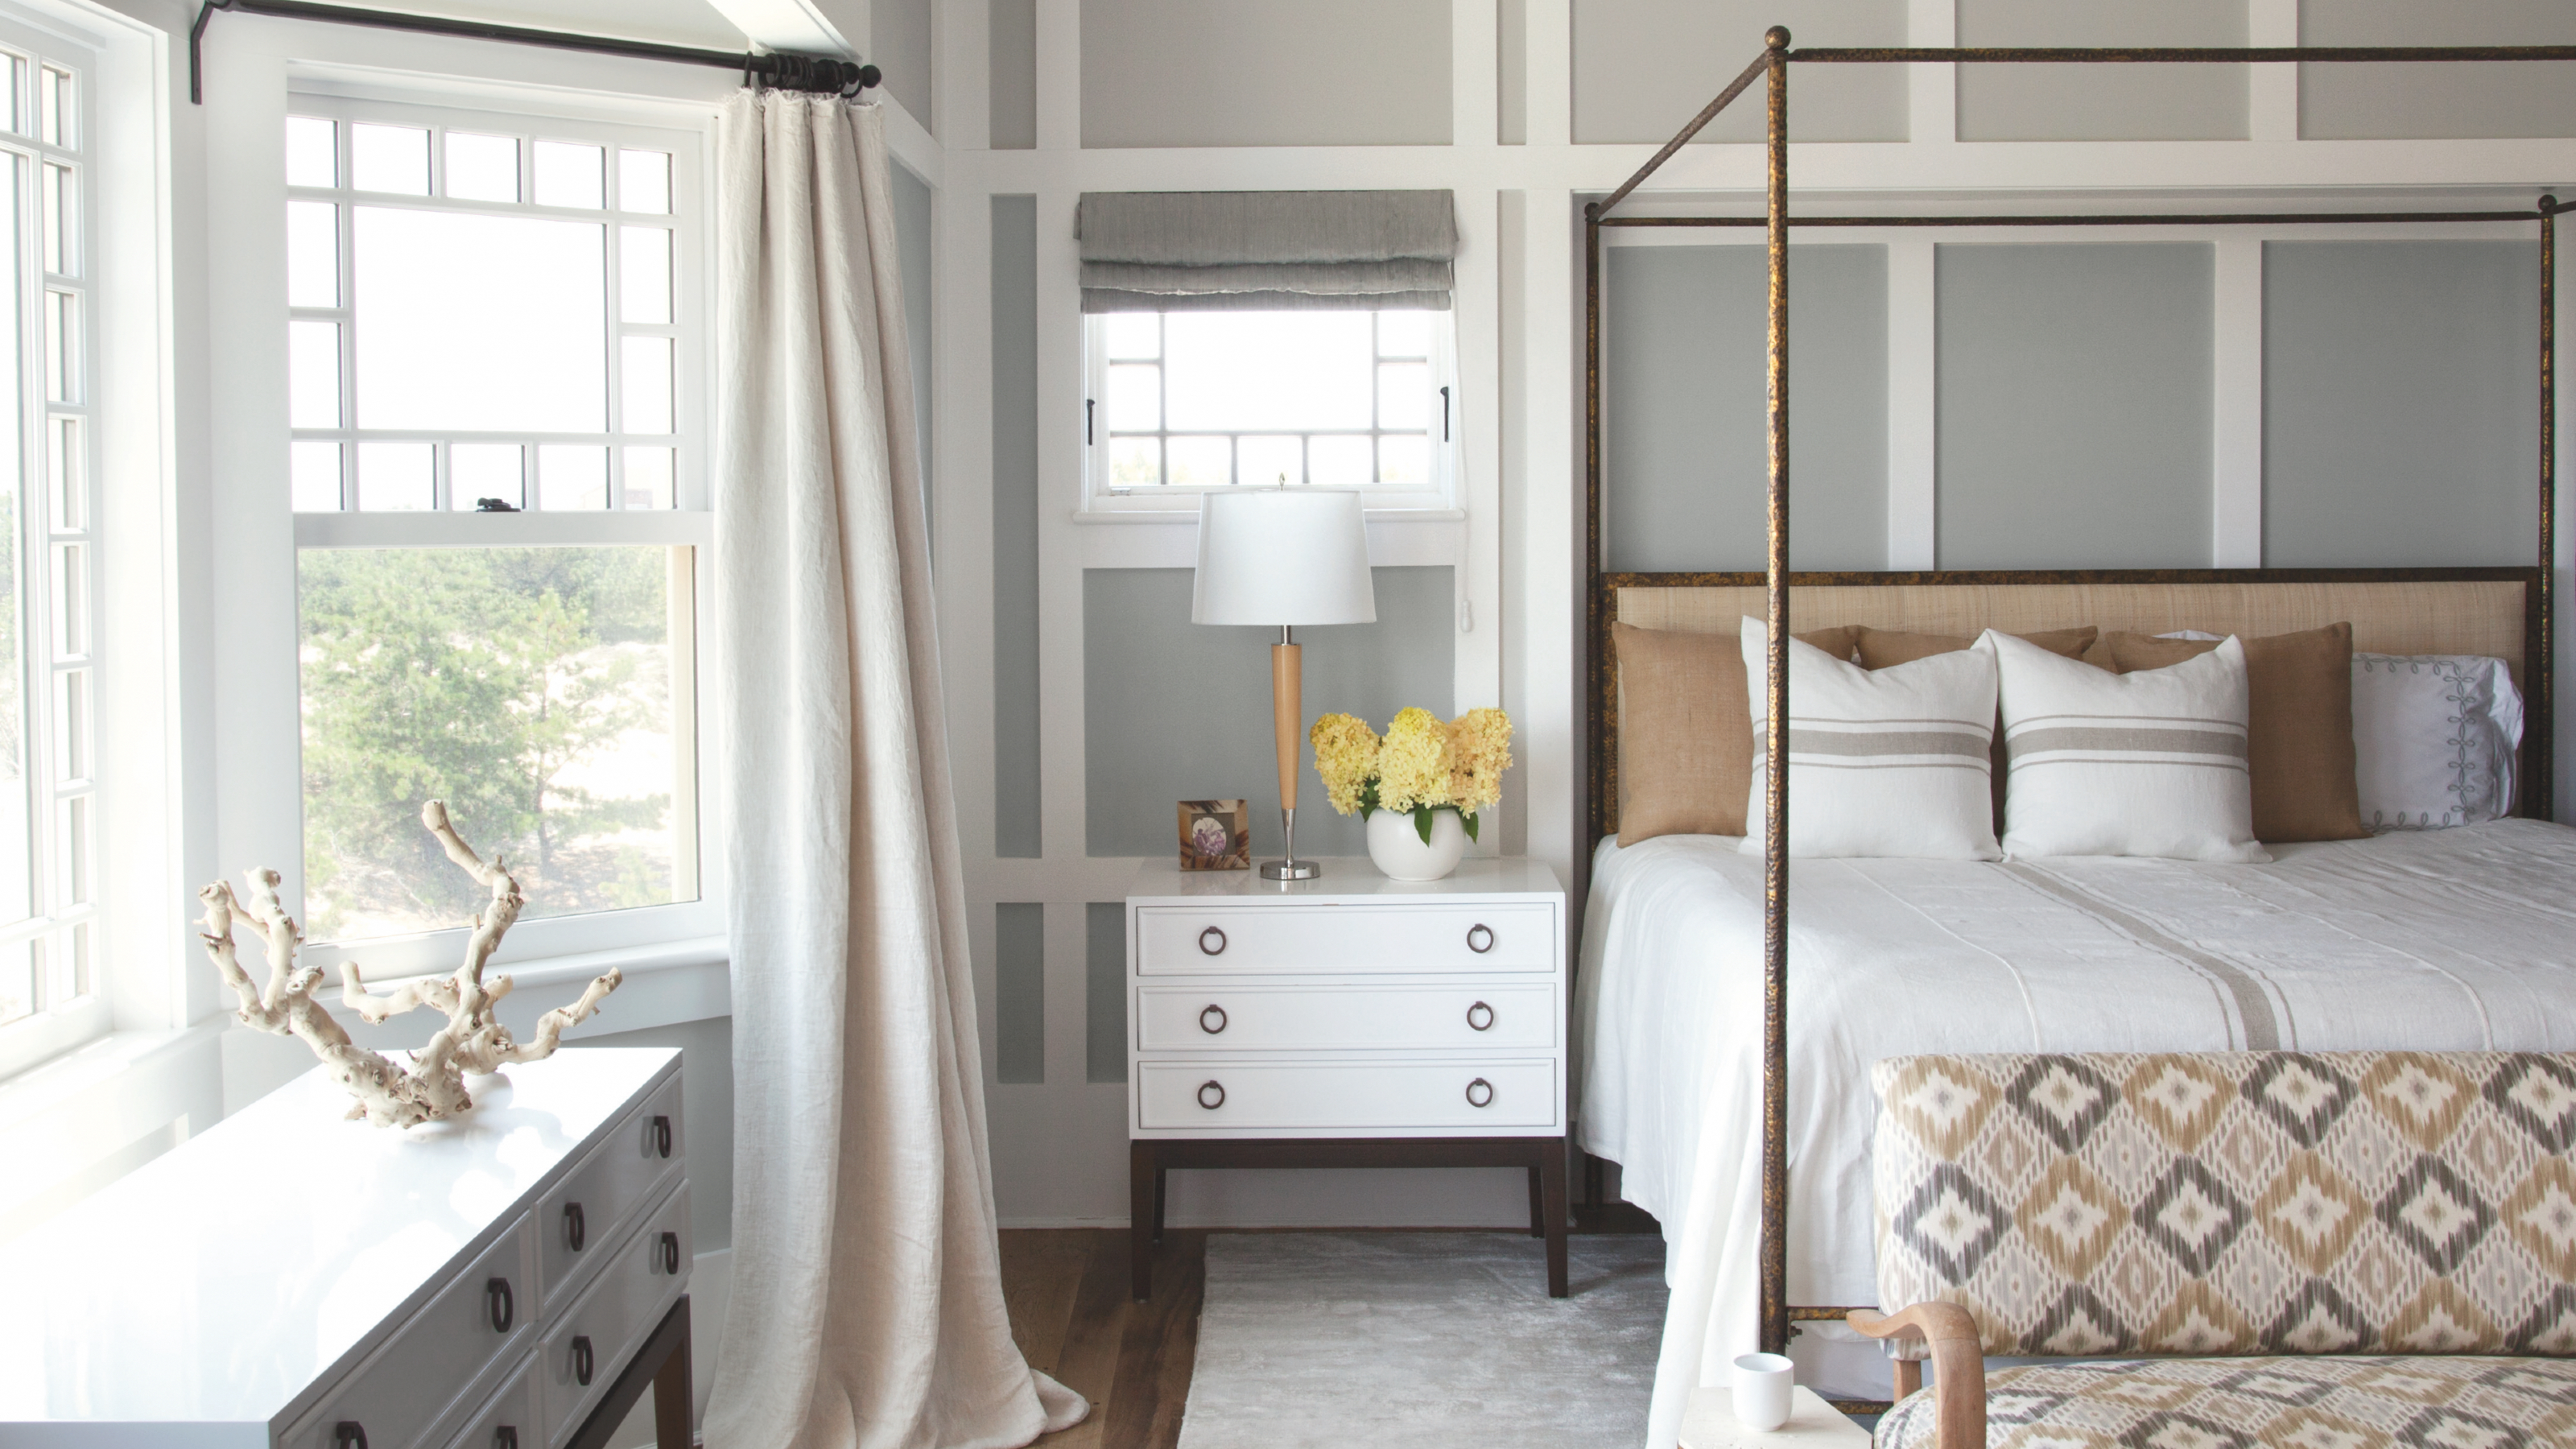
How to panel a wall – DIY this trending look in your home this weekend
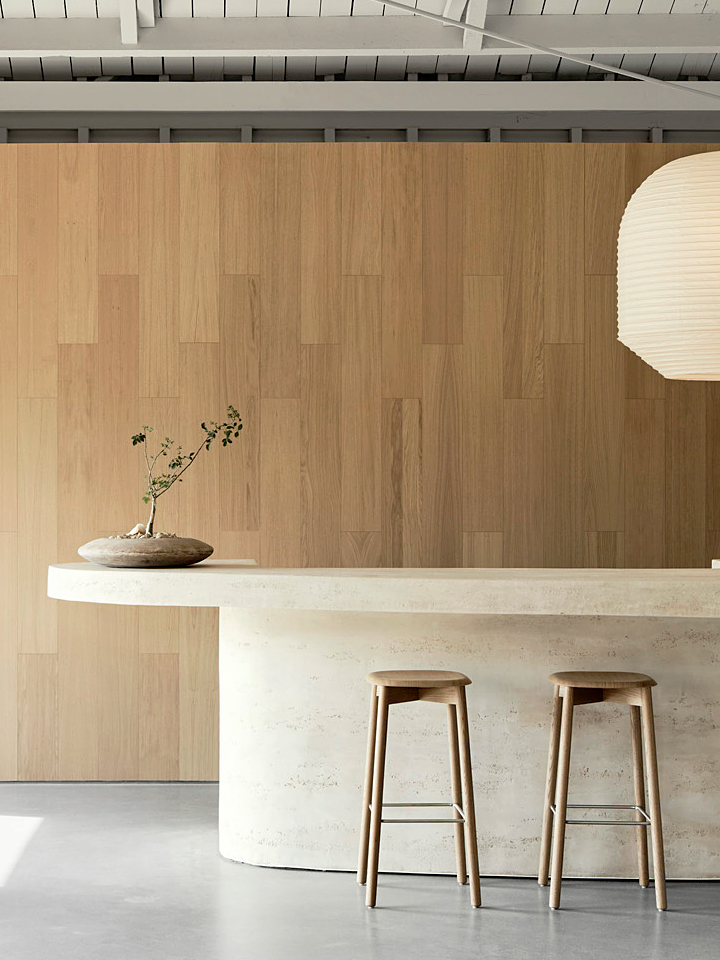
The Wood Paneling Trick That Makes Any Space Feel Instantly Homey

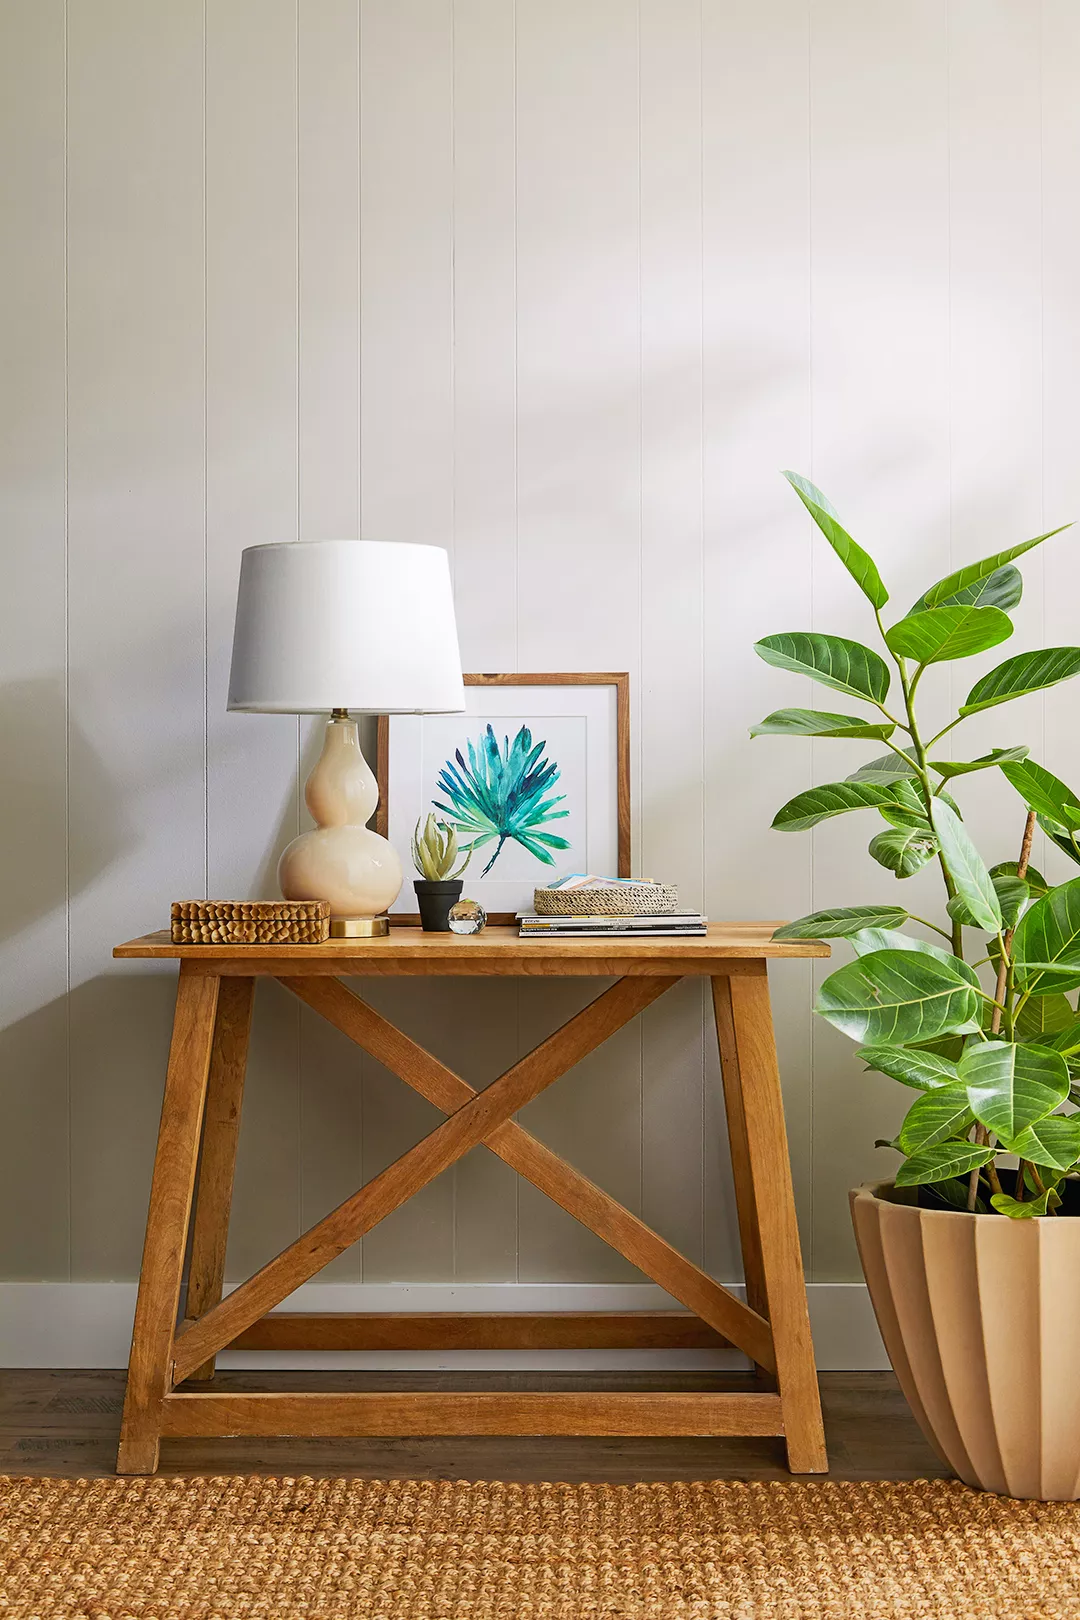
How to Paint Wood Paneling Like a Pro

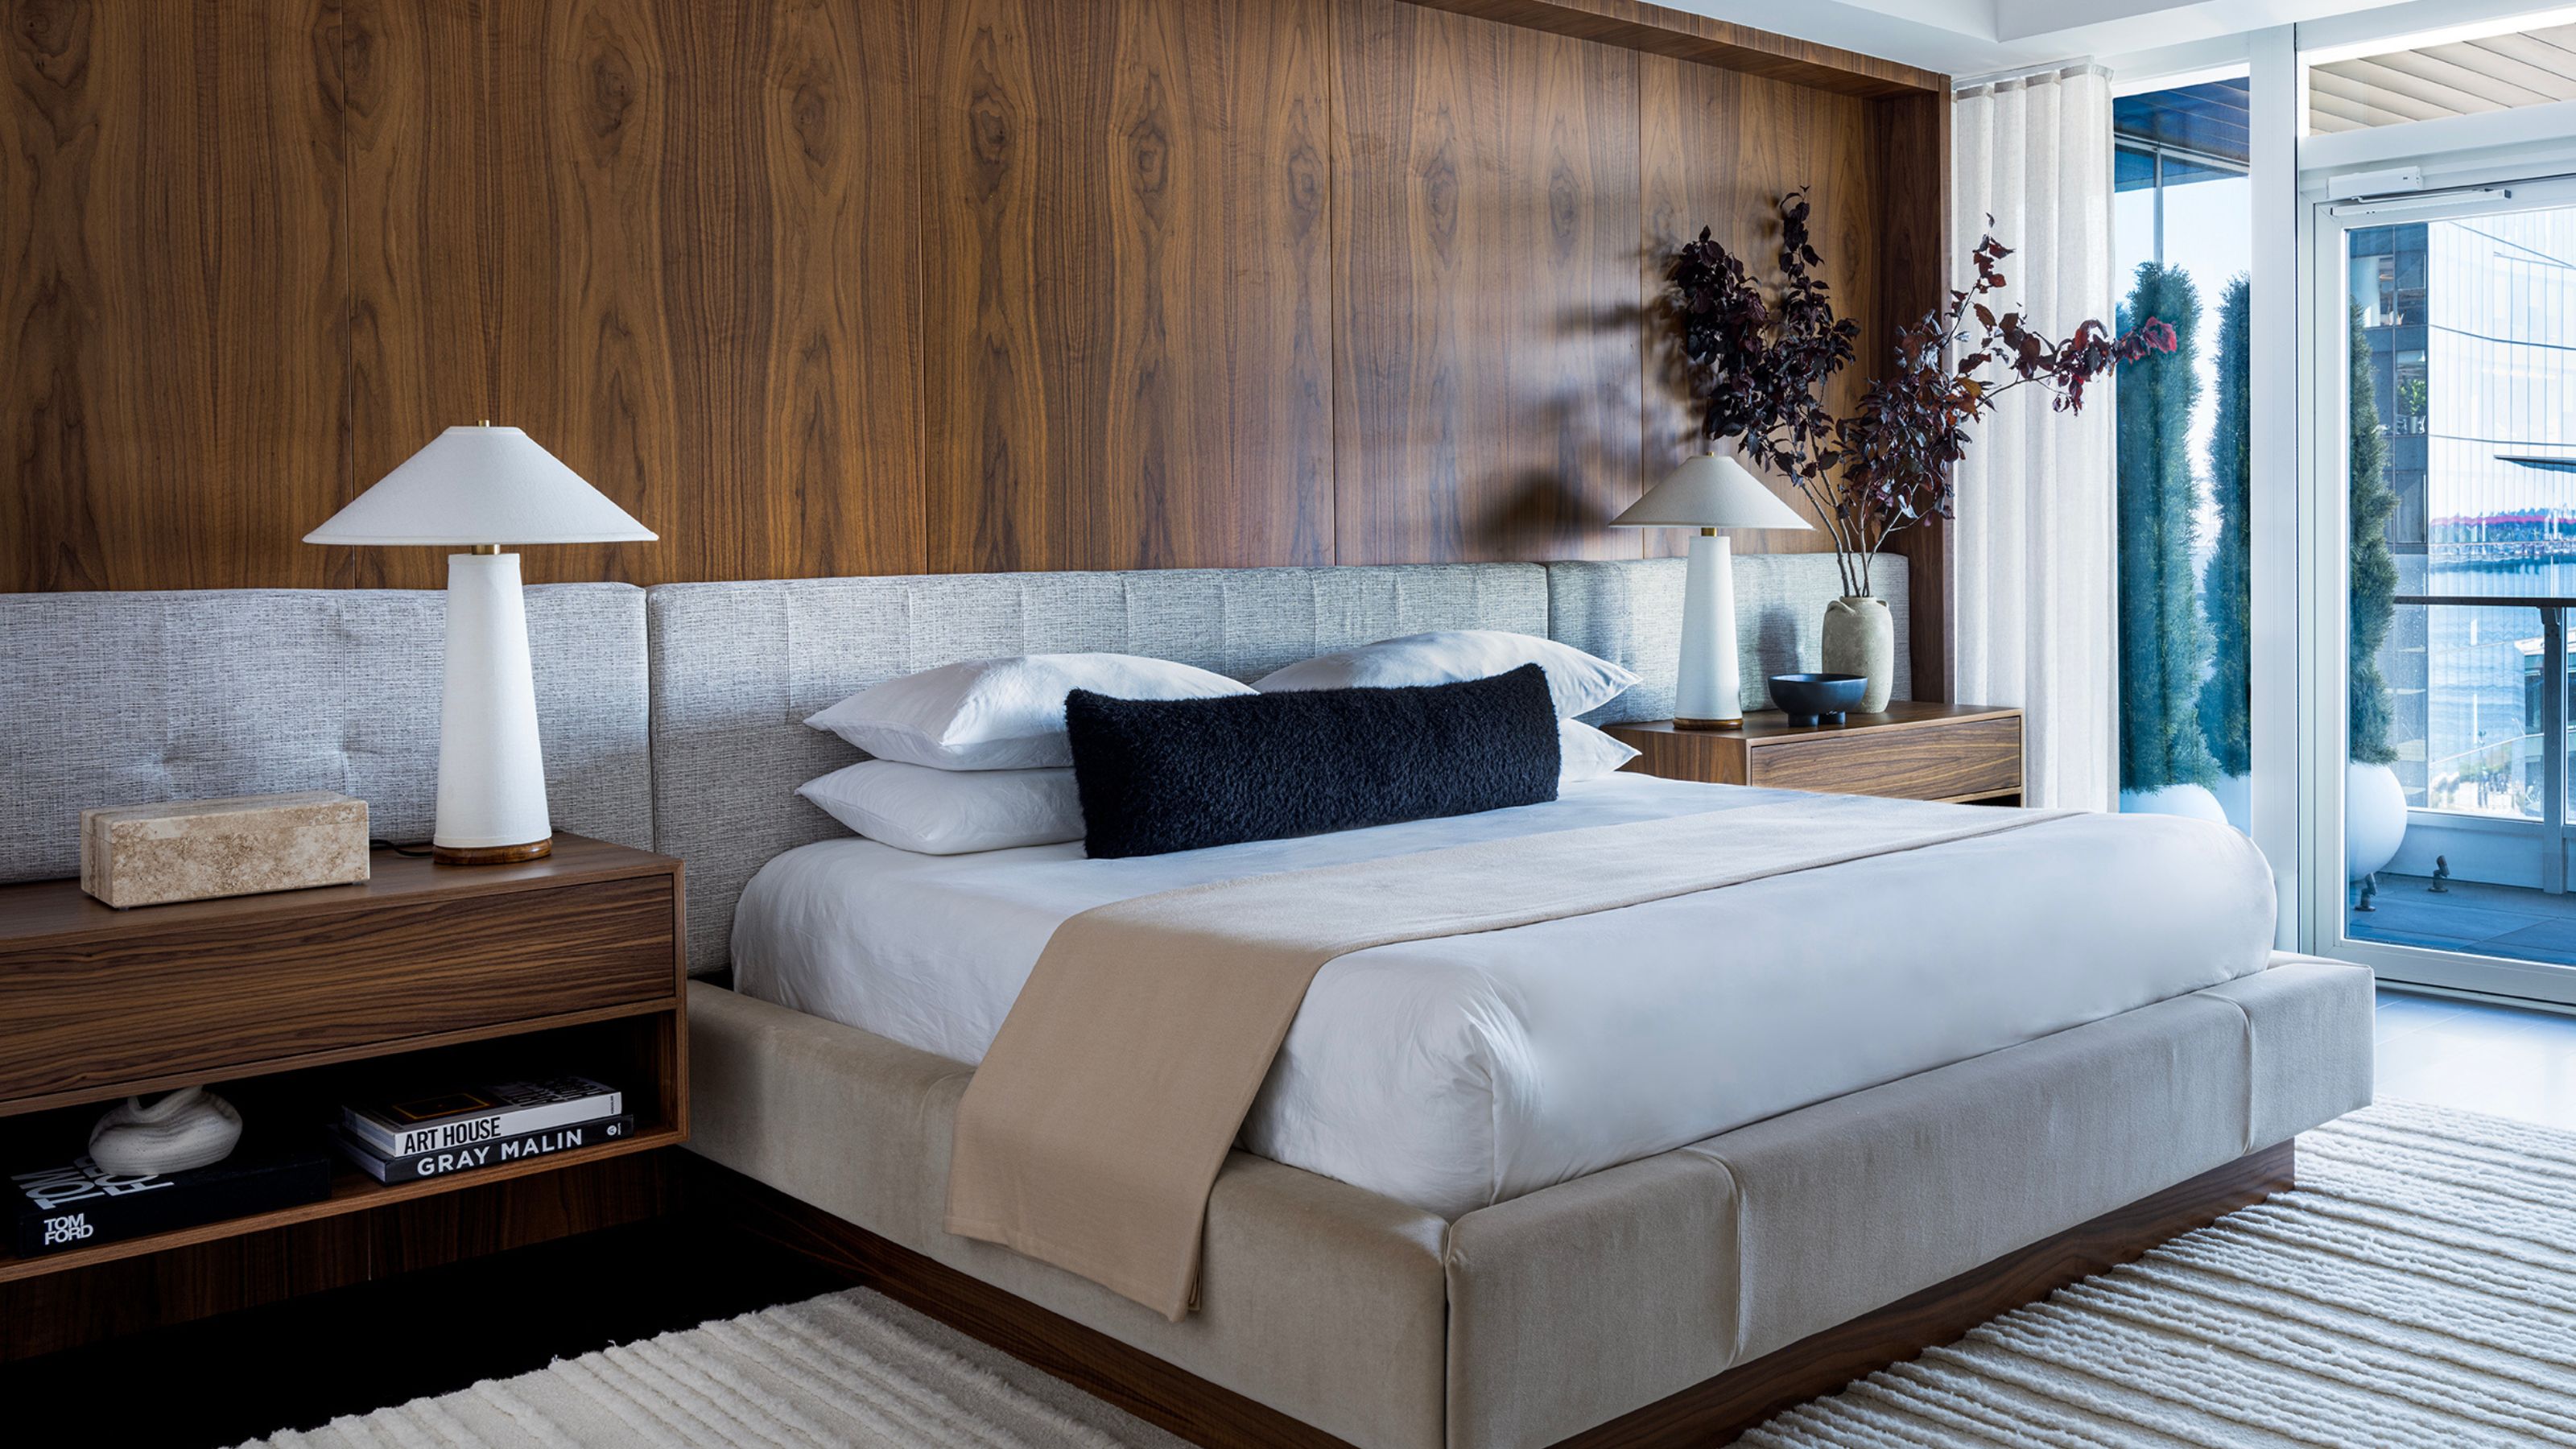
The 13 Types of Wall Paneling That Interior Designers Are Using in Their Projects Right Now, Ranked in Order of Style

Choosing the right wood panelling design
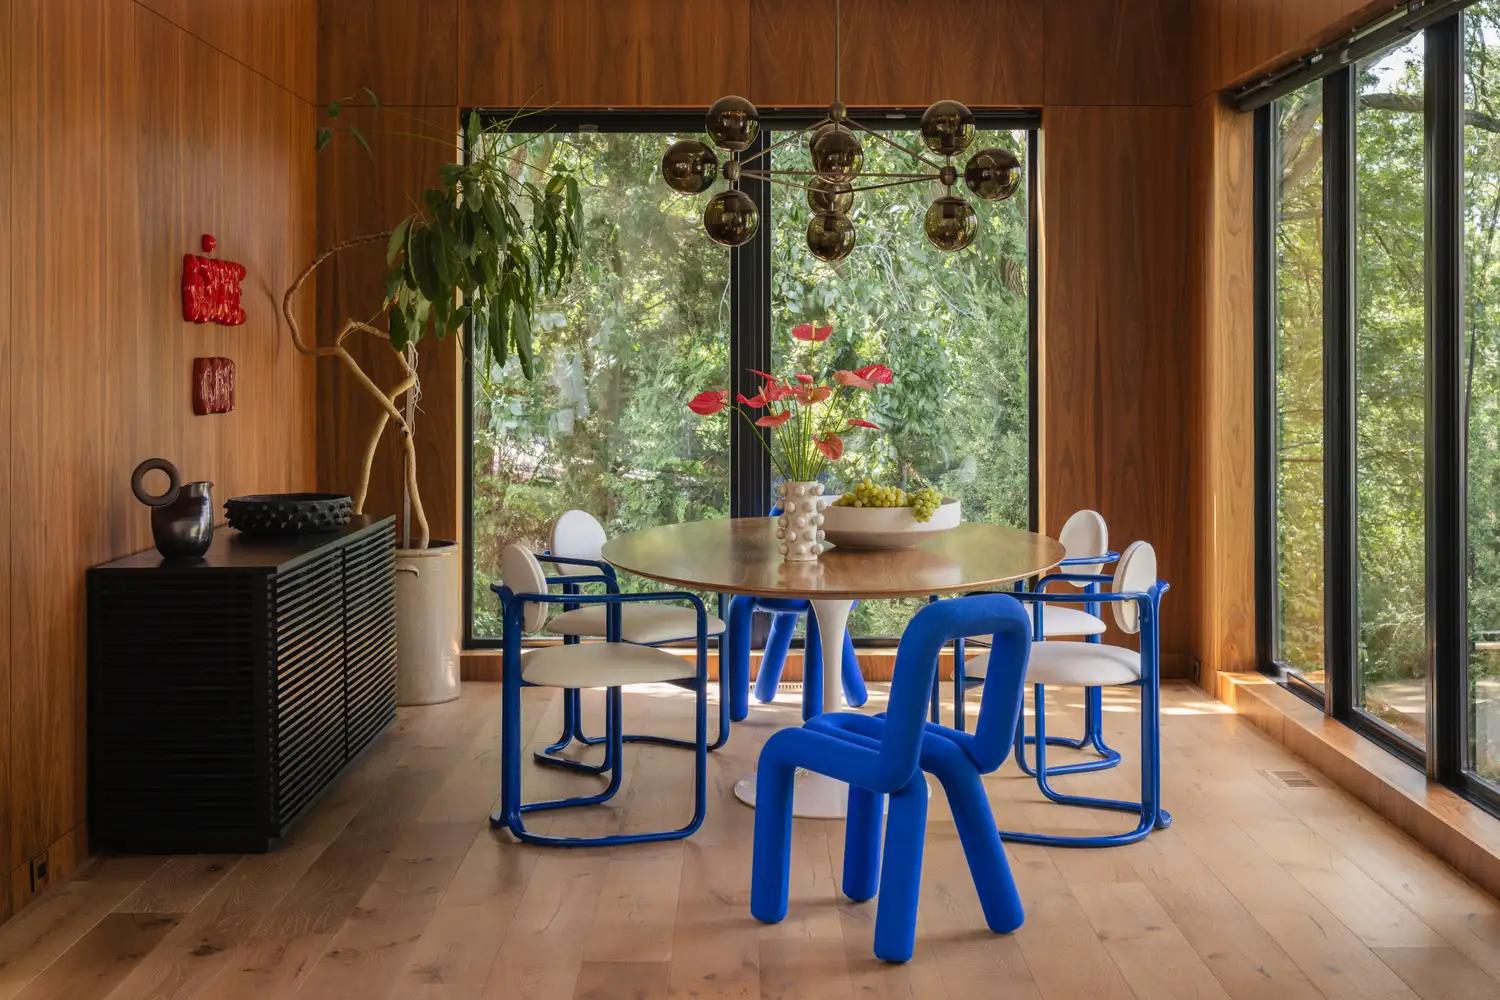
Wood Paneling Is Officially Cool Again—Here's How Designers Are Using It Now

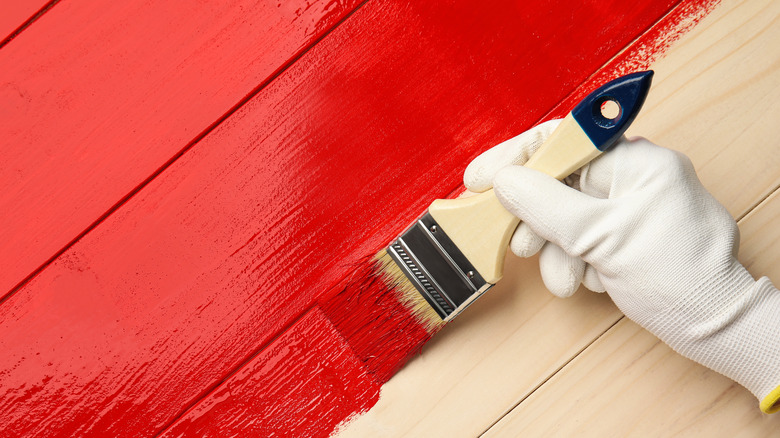
The Best Way To Paint Wood Paneling, According To An Expert

Mouldings | Decorative Moulding
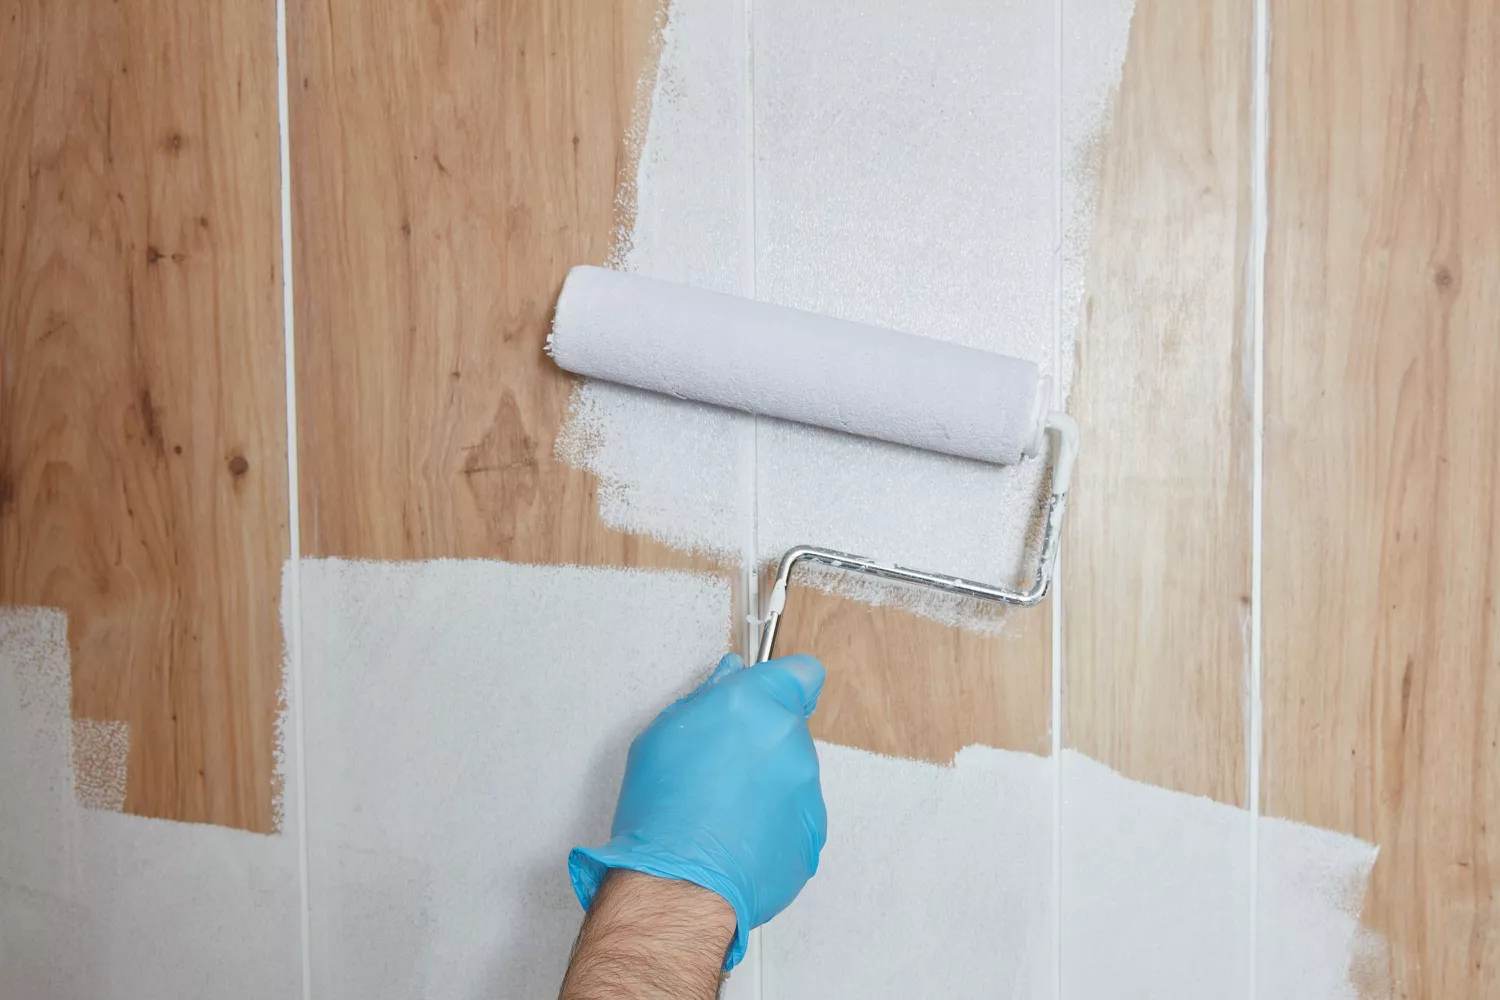
How to Paint Wood Paneling the Right Way

Wood Treatments
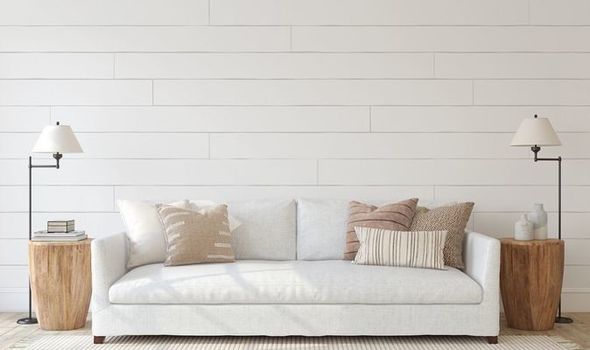
DIY shiplap walls: How to install shiplap on wall
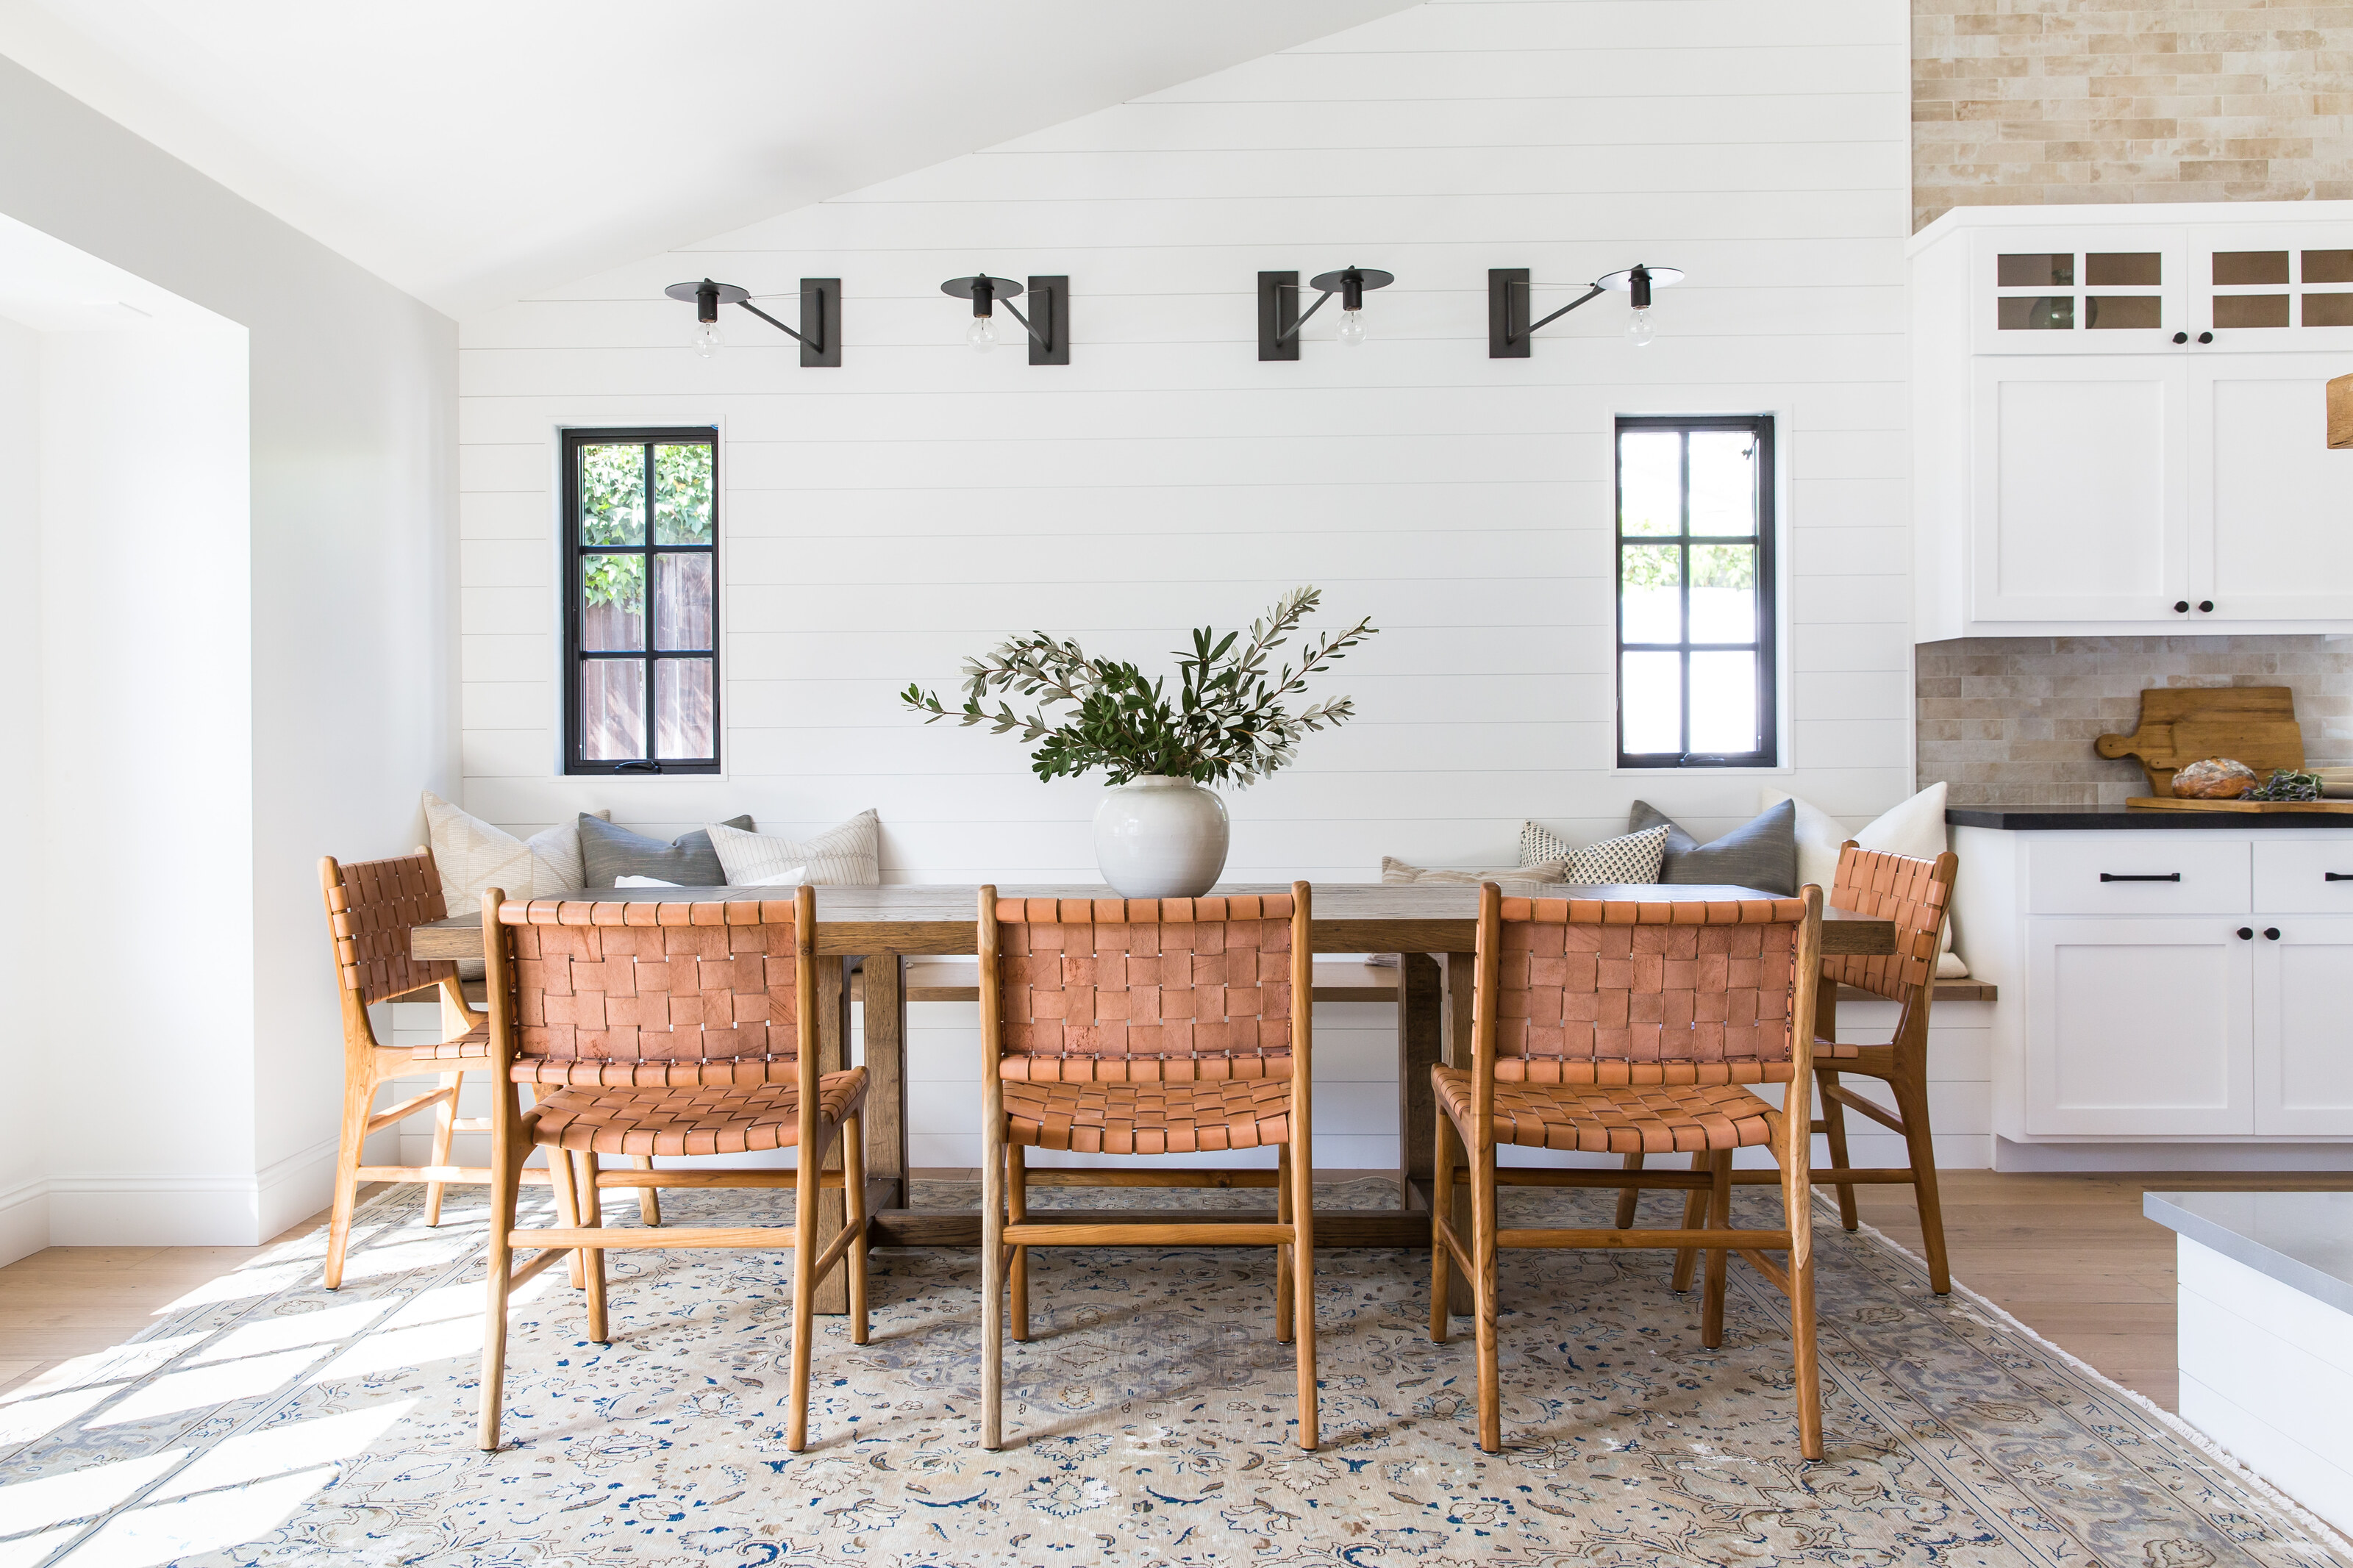
Wall paneling ideas – experts offer 9 simple tricks to wake up your walls

Wood Paneling Is Back—and Better Than Ever

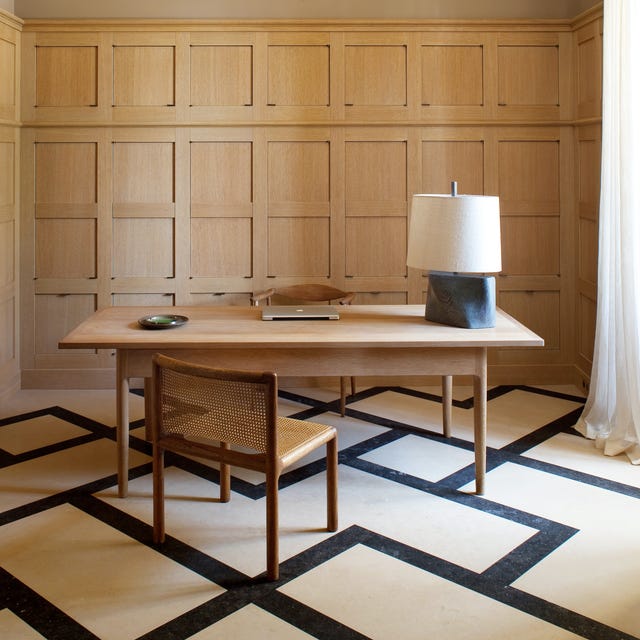
Wood panelling: an essential guide to the big decorating trend

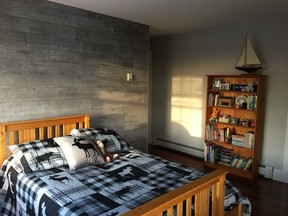
Remember the wood-panelled walls from the 1970s? They're back, with a modern twist
Installing Deck Joists