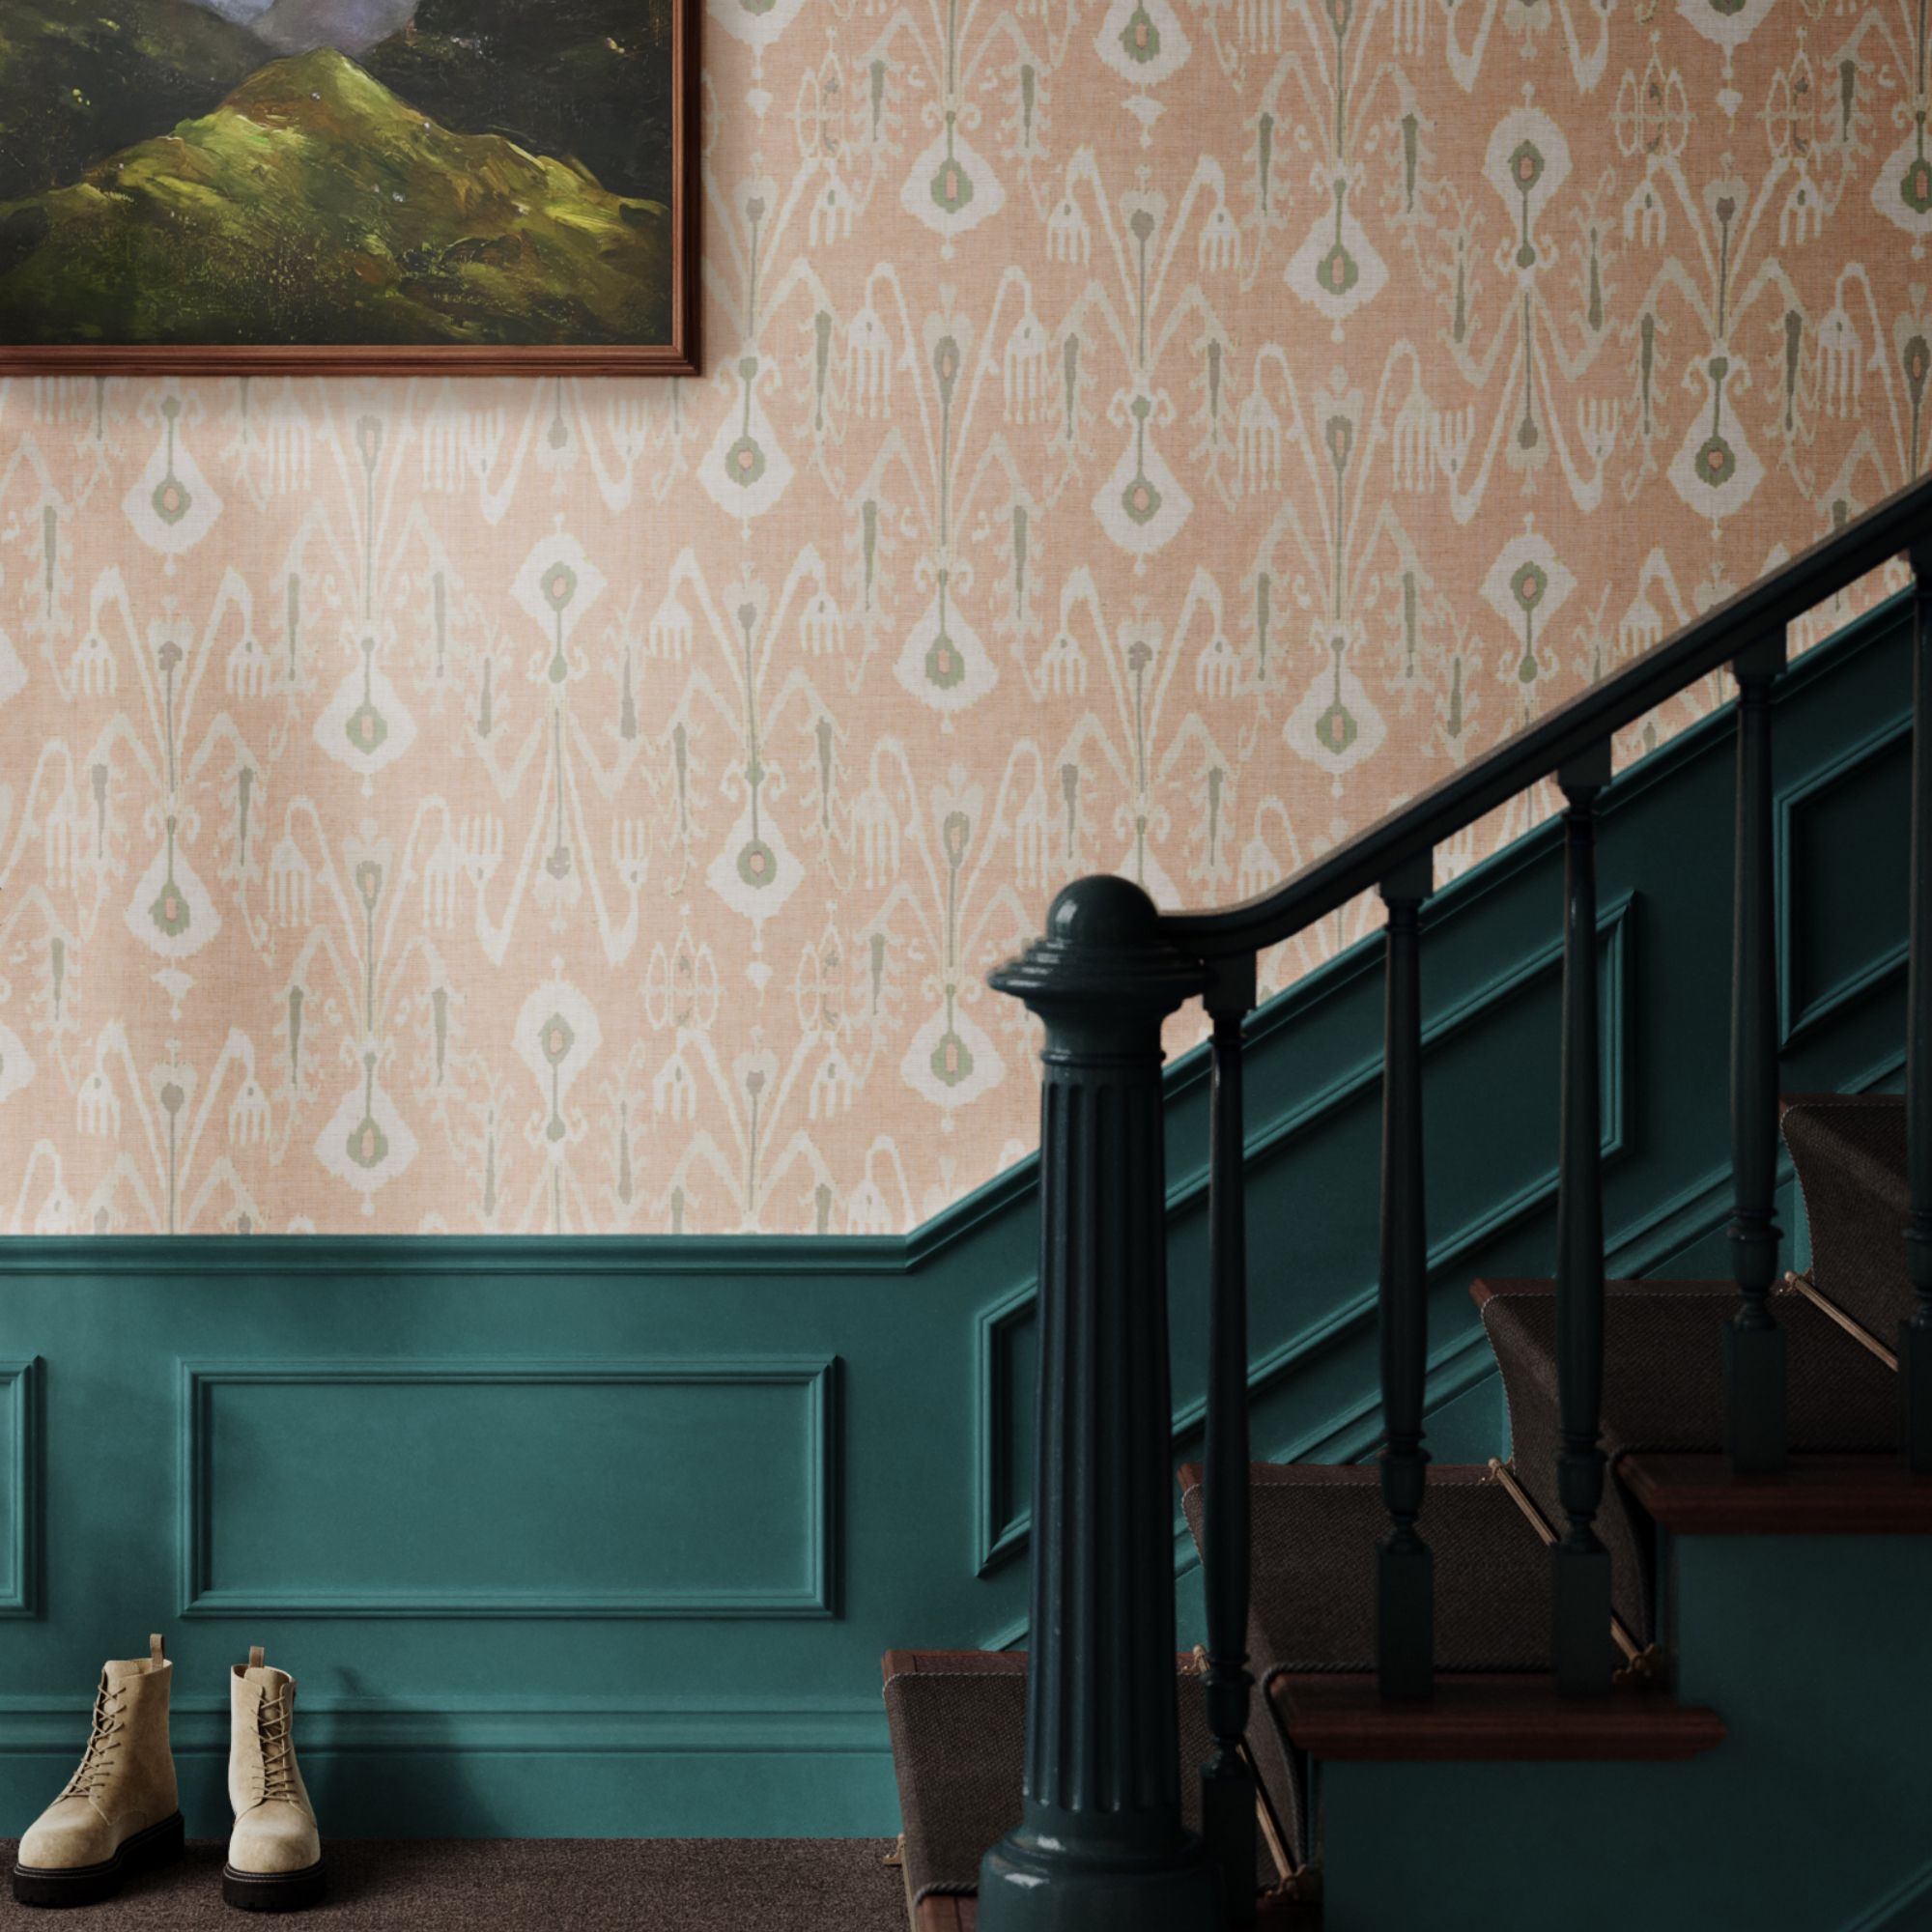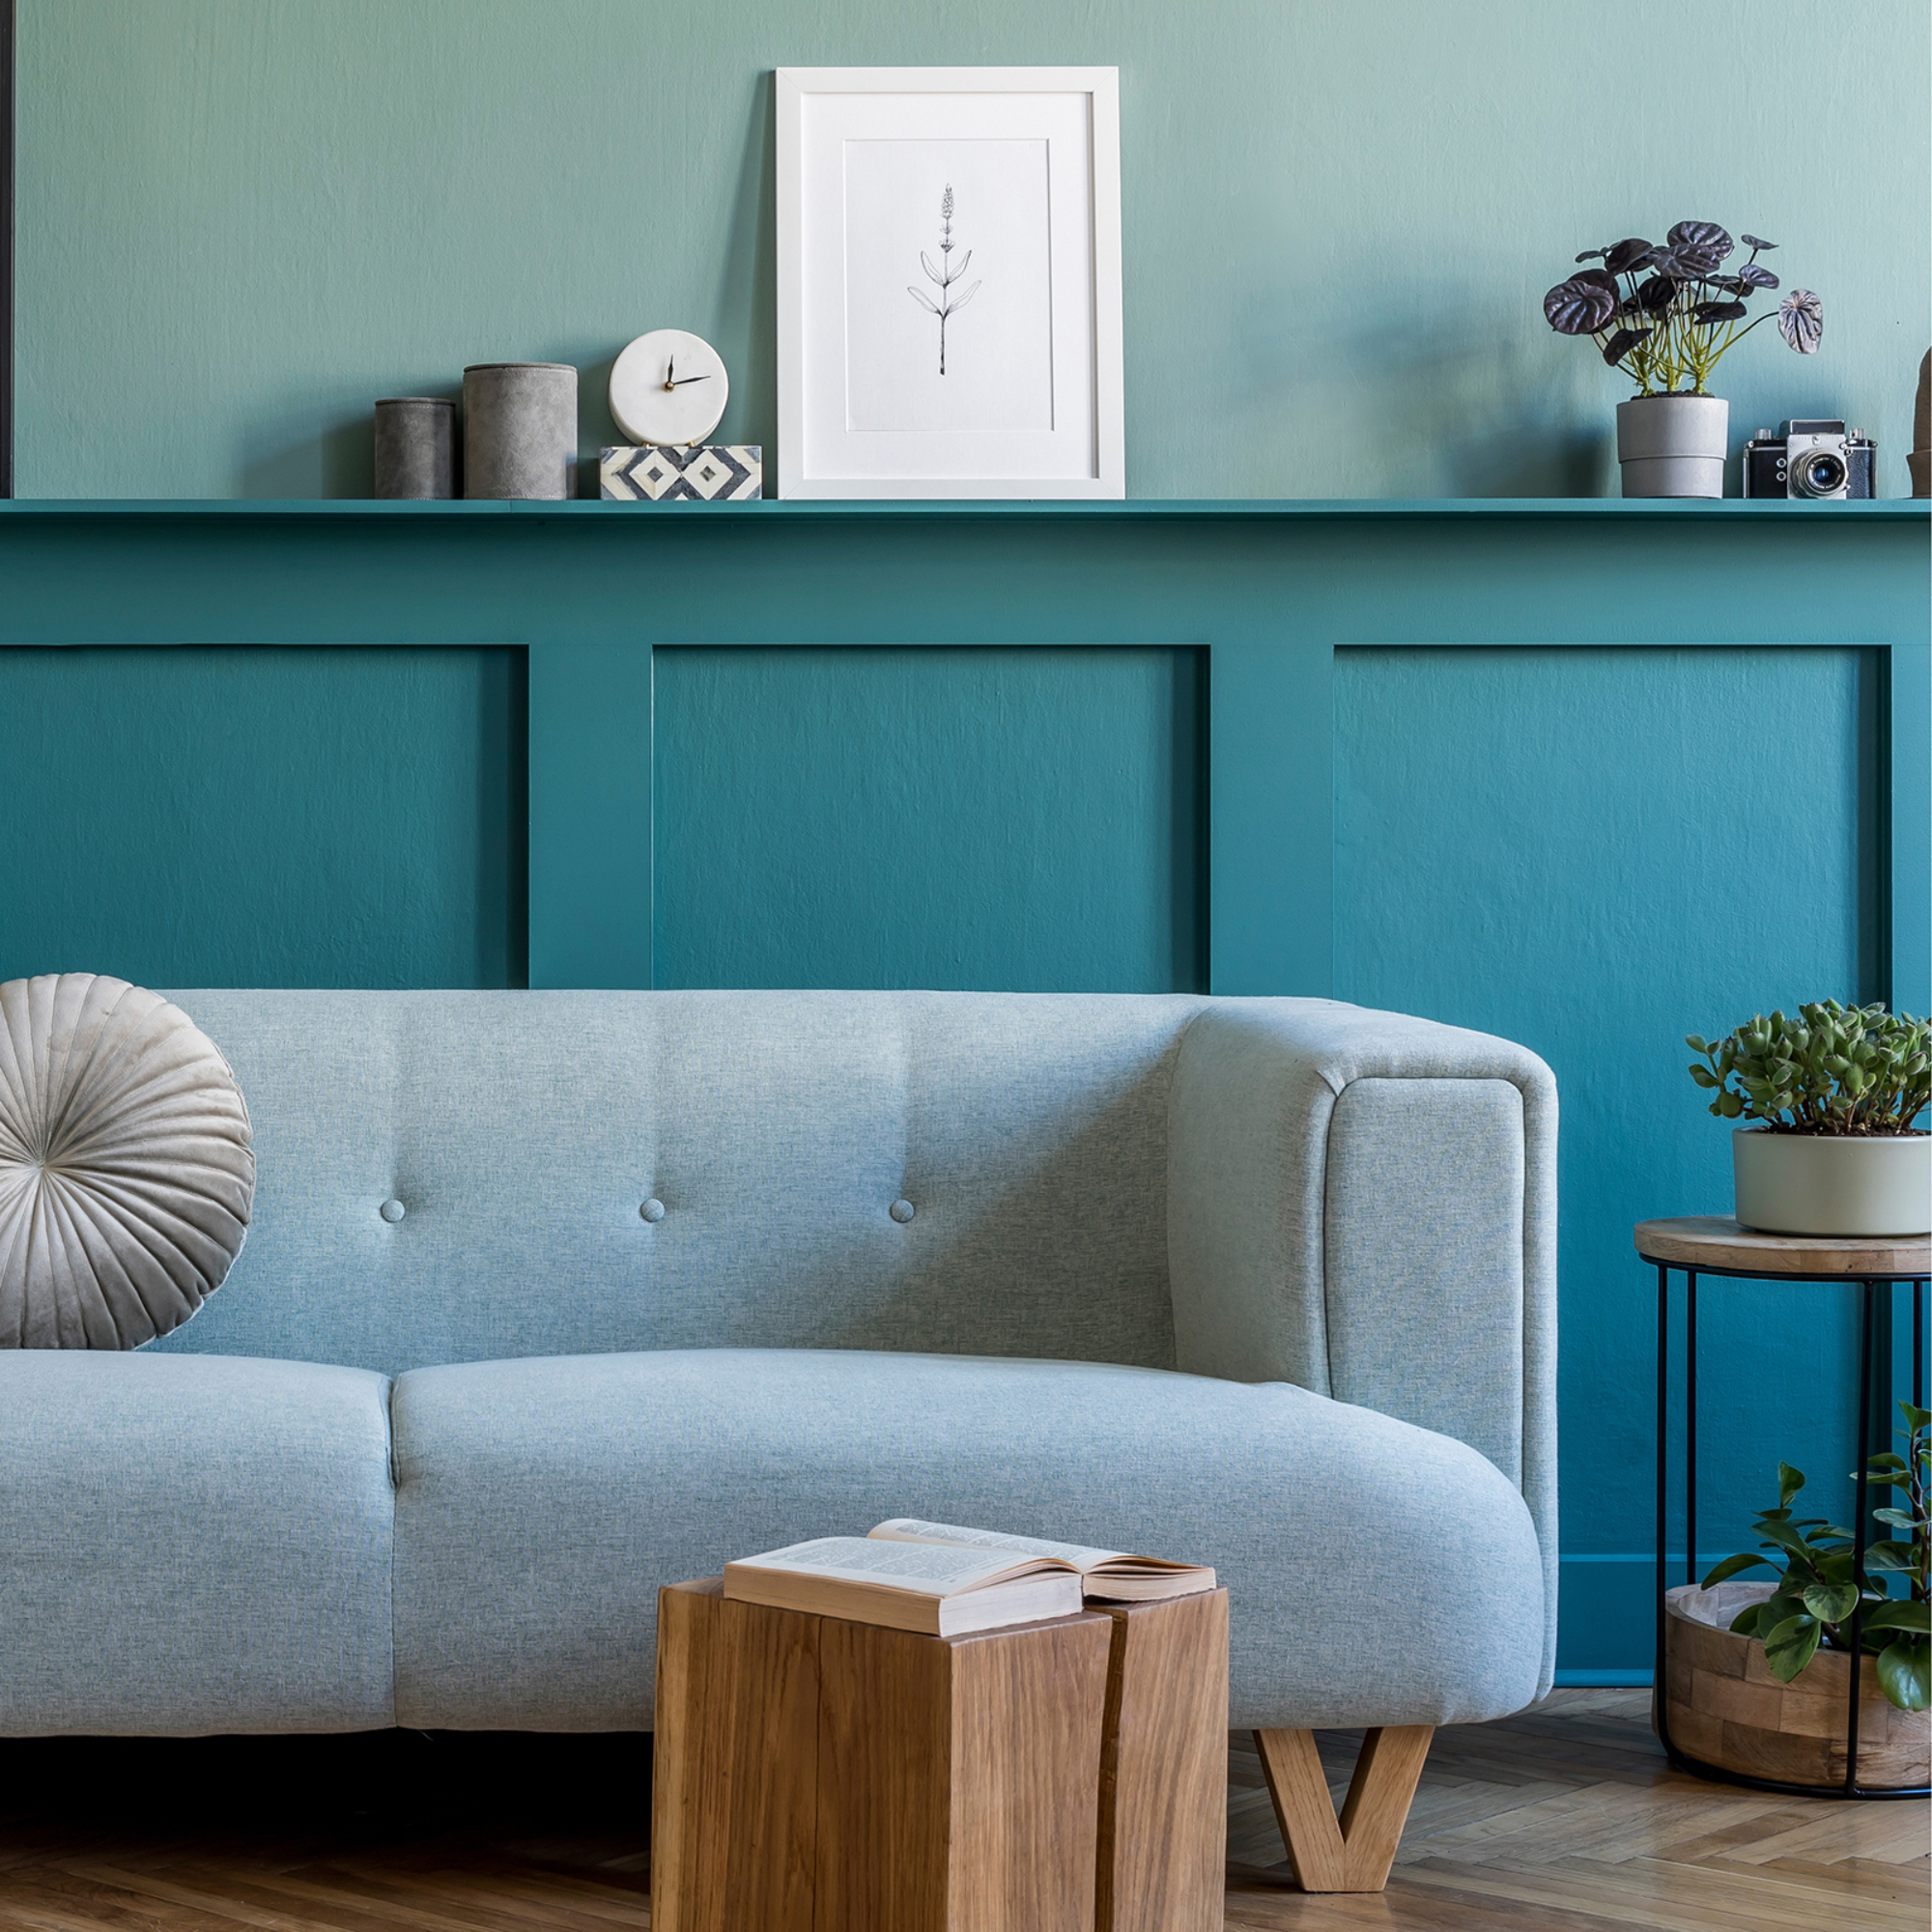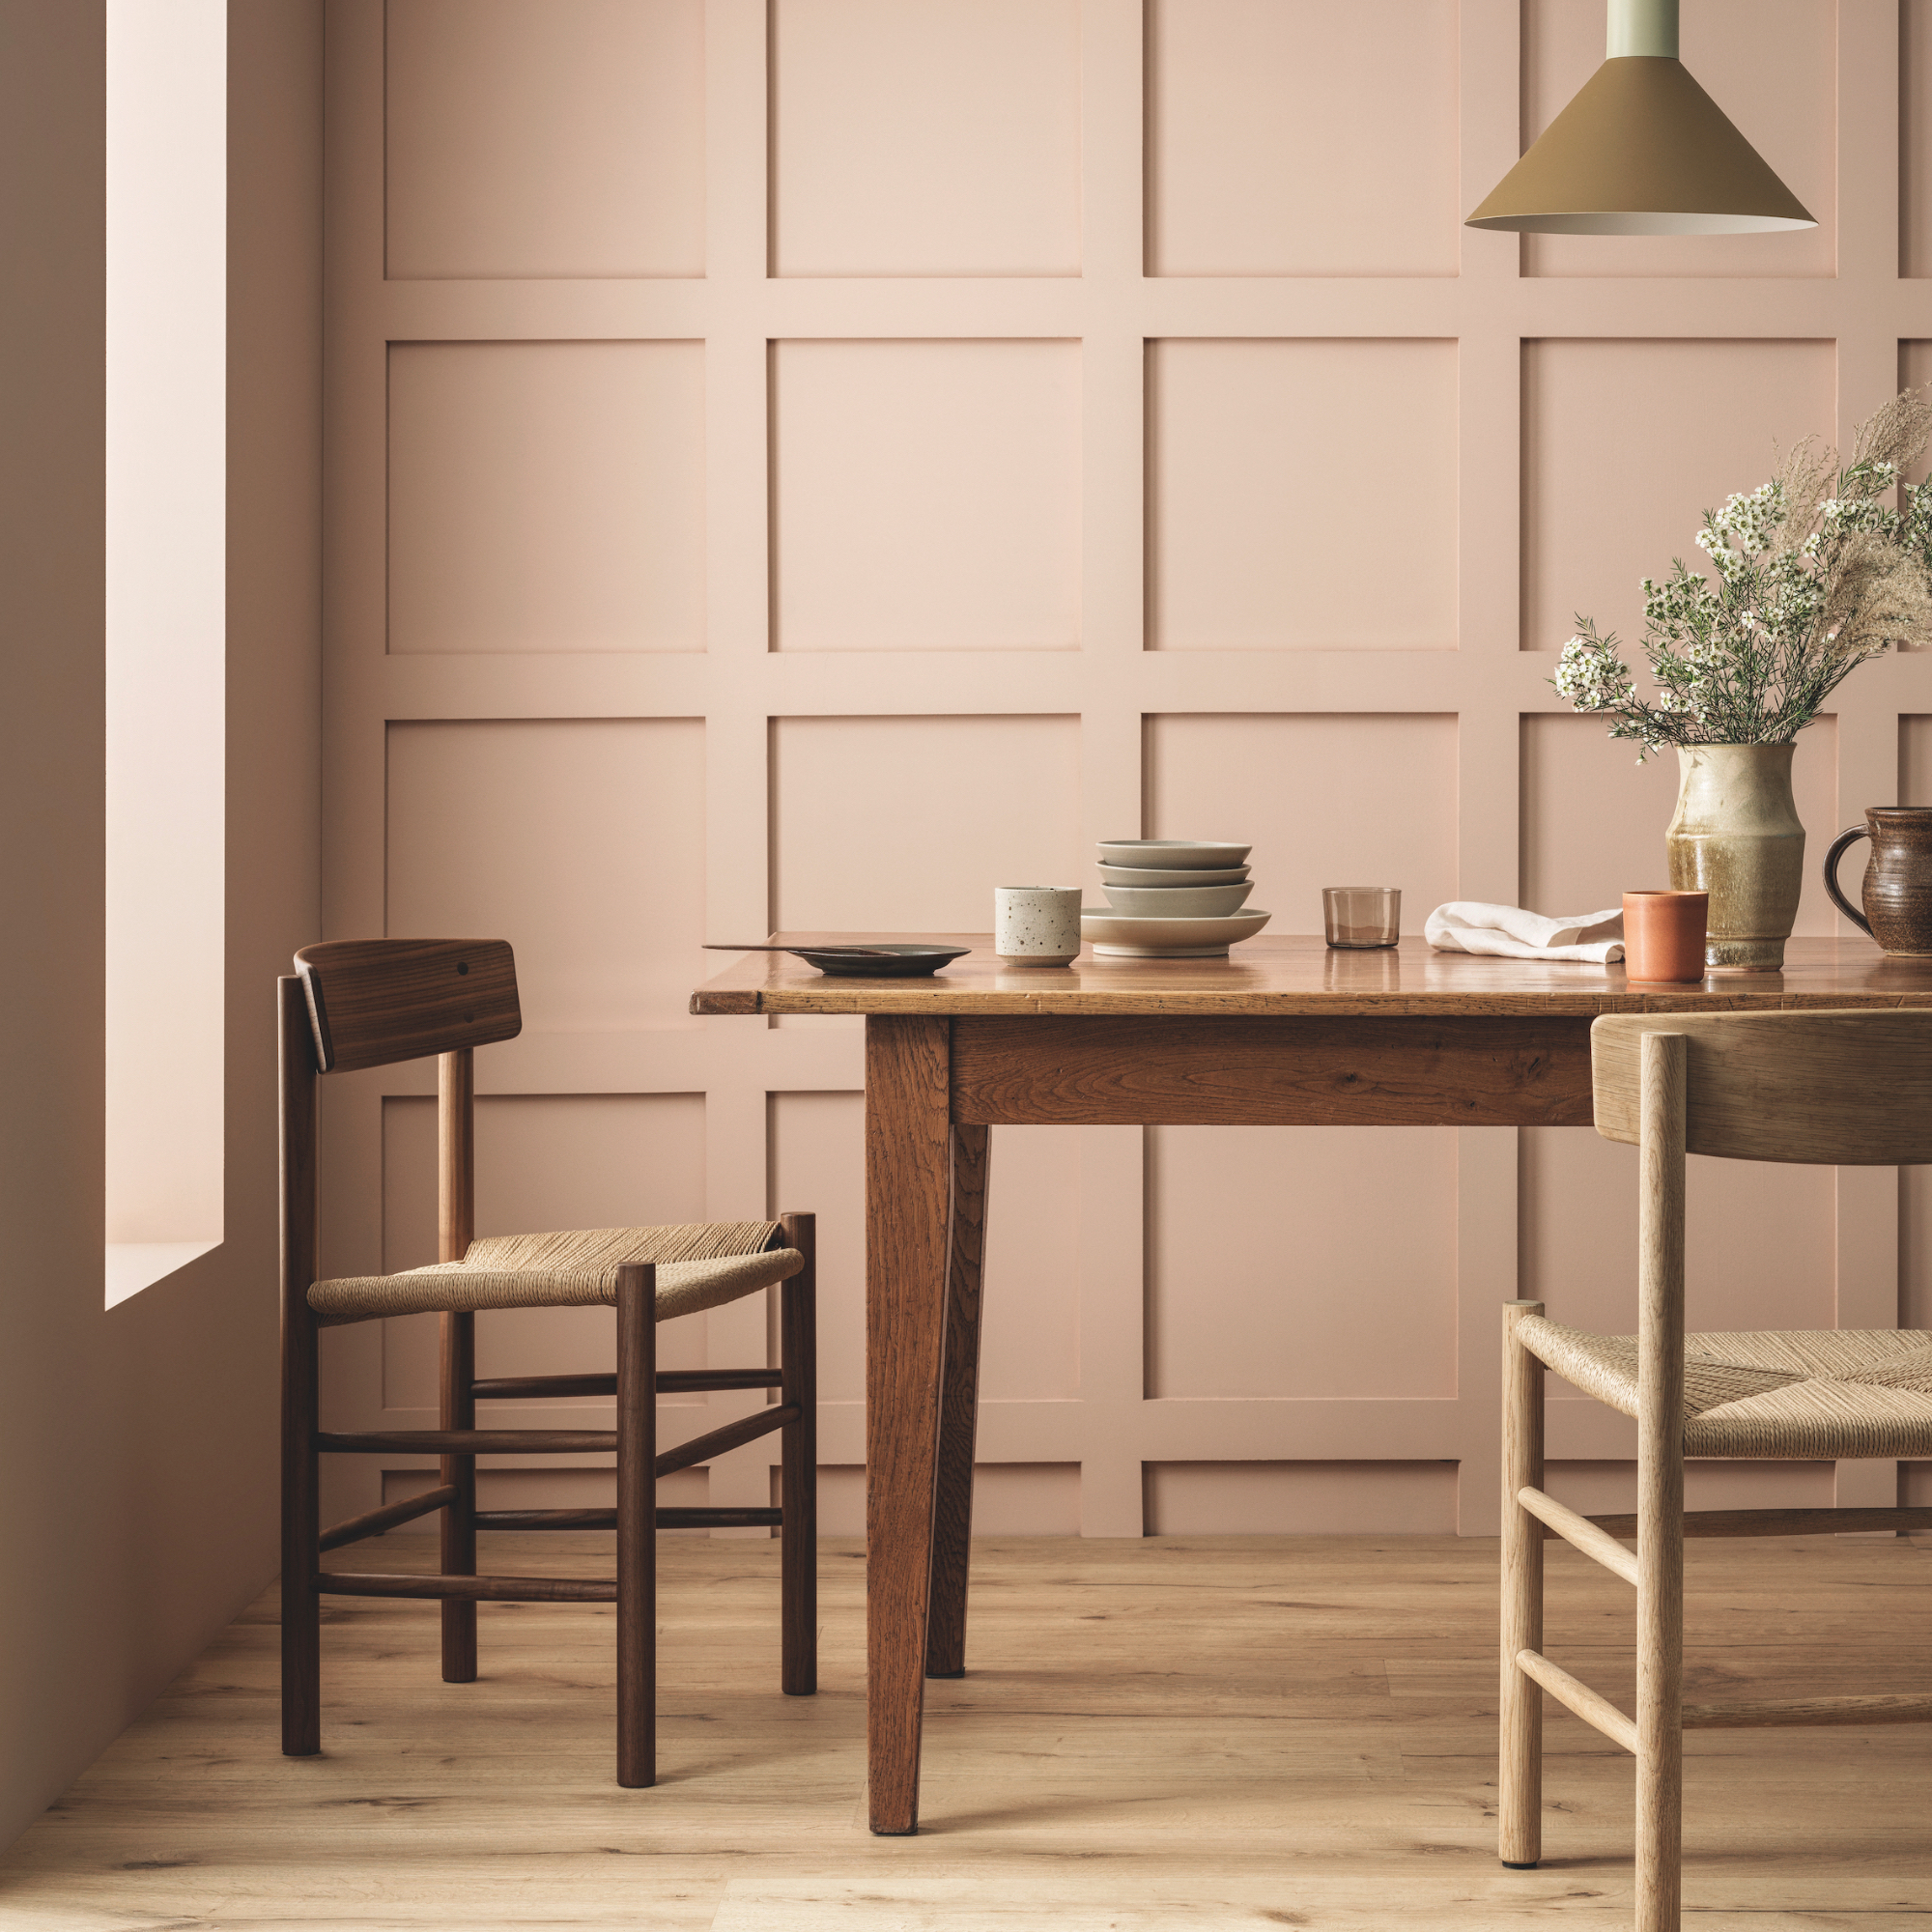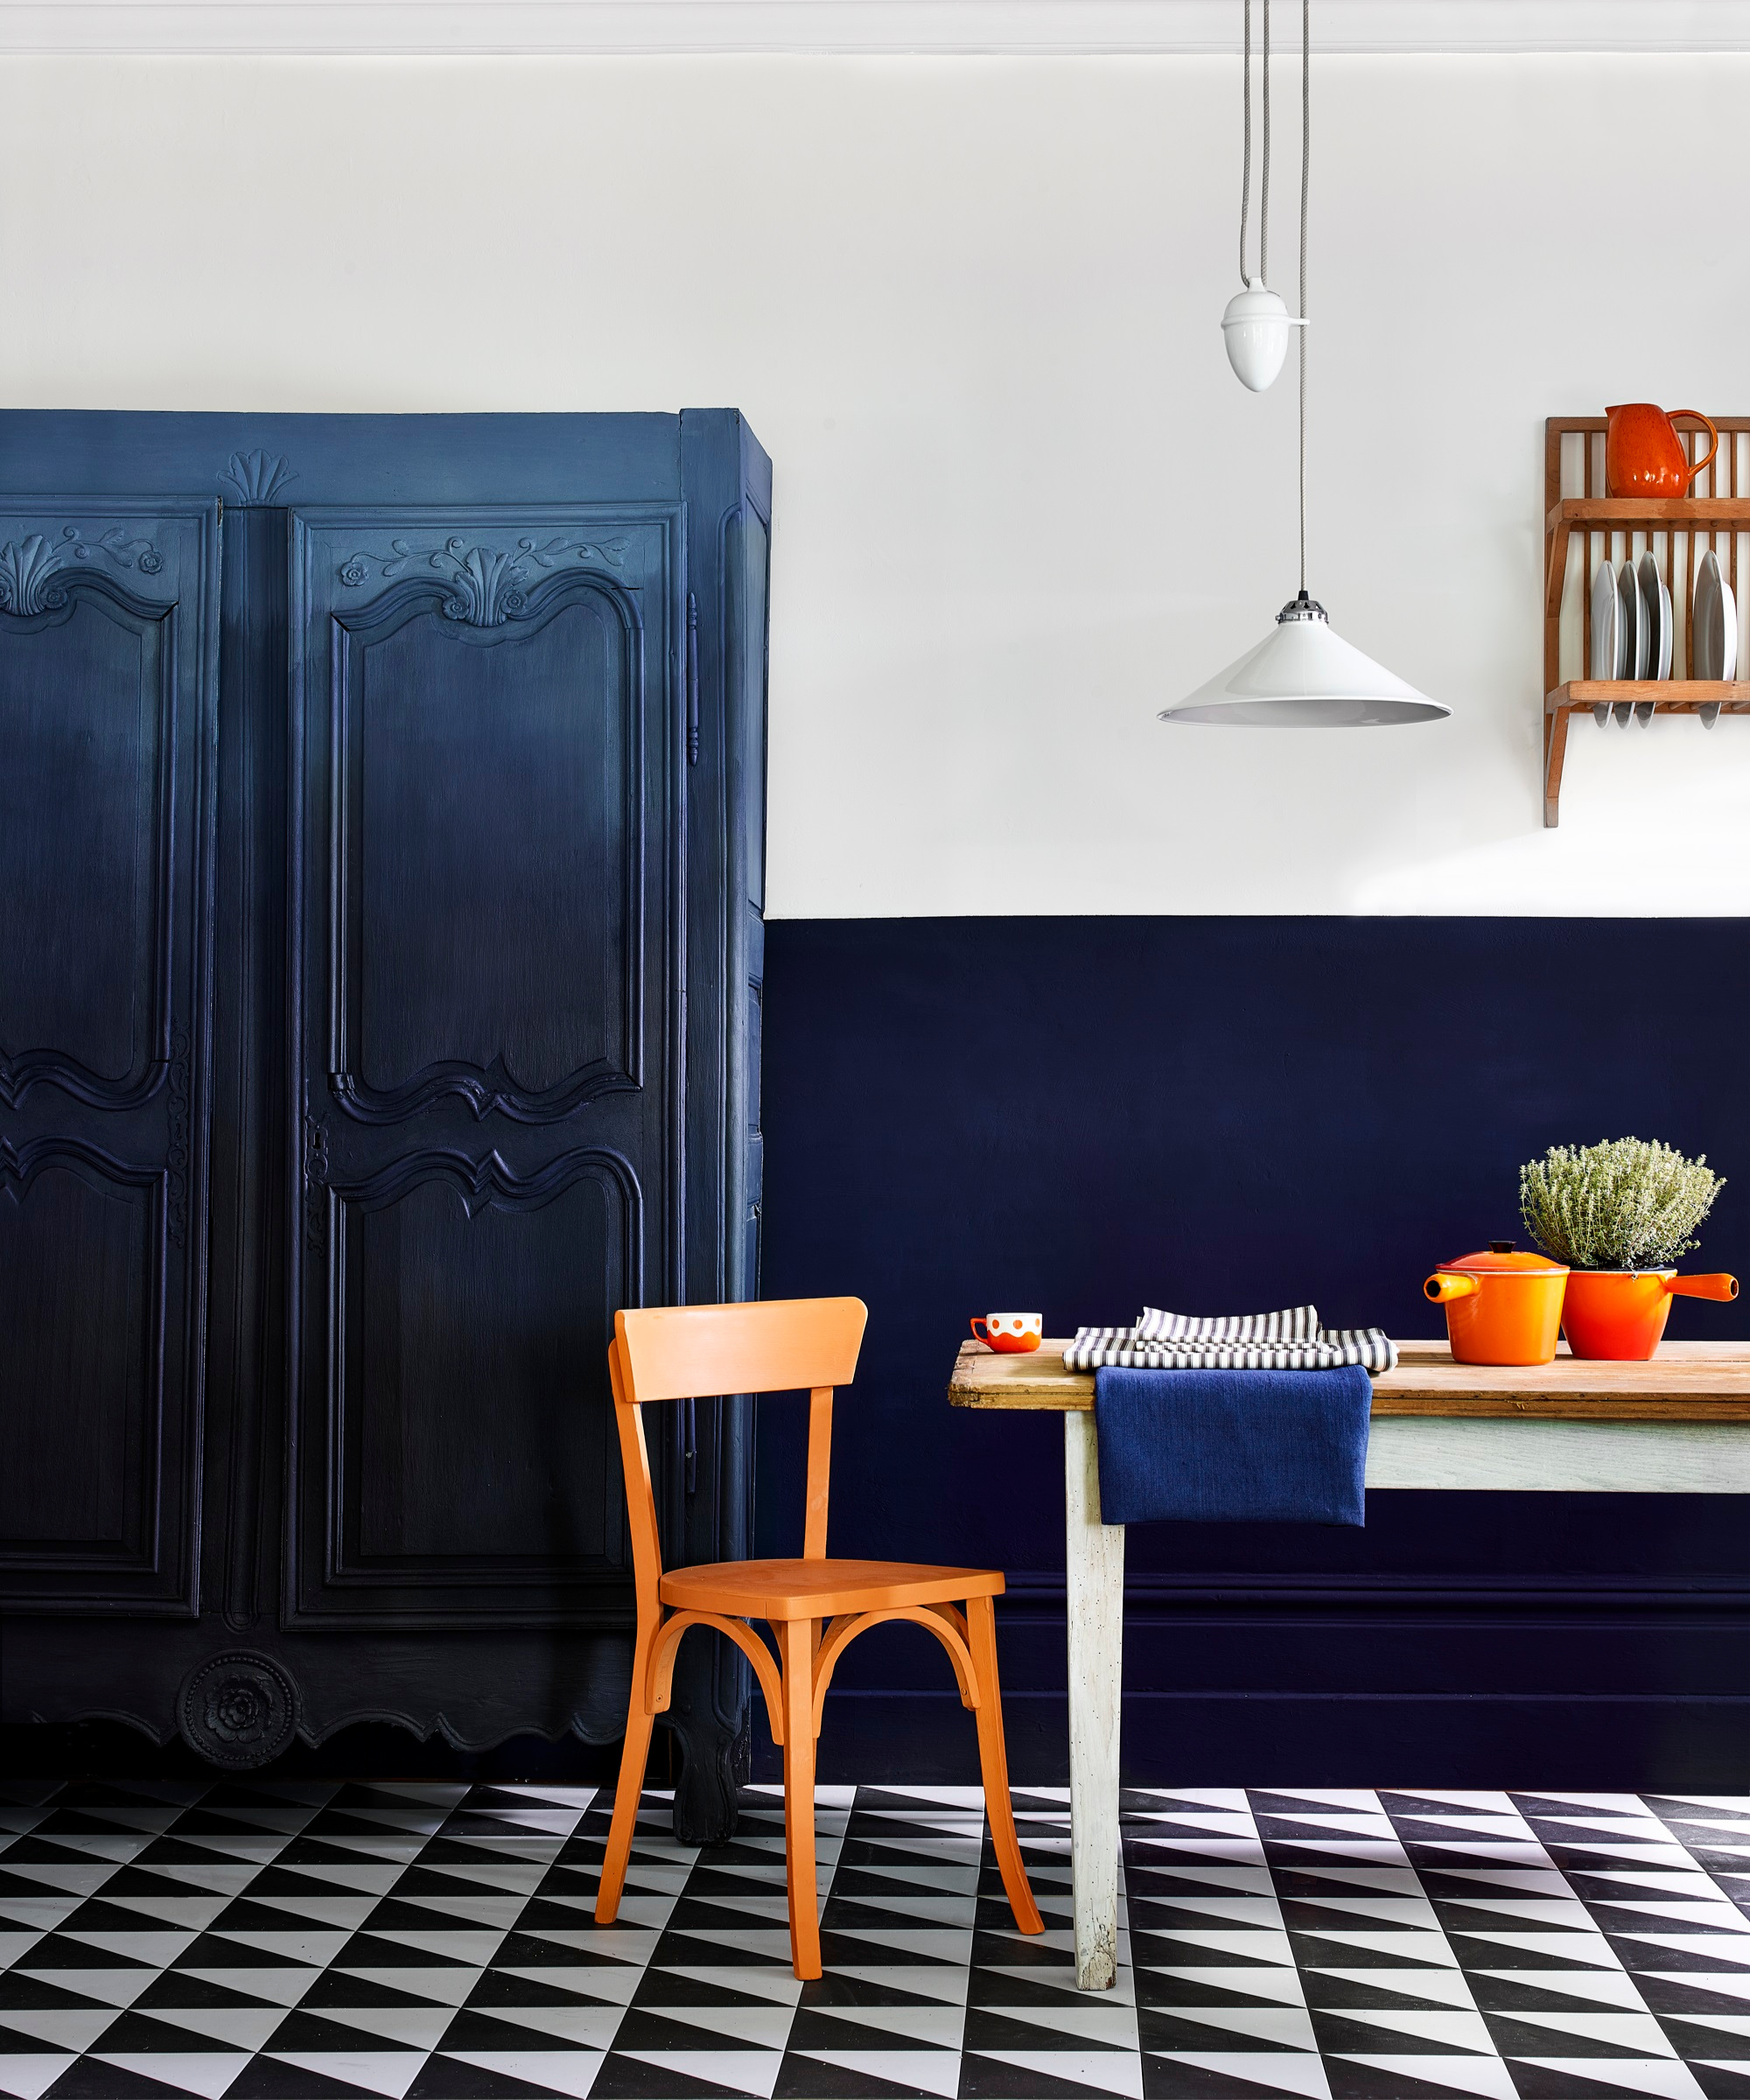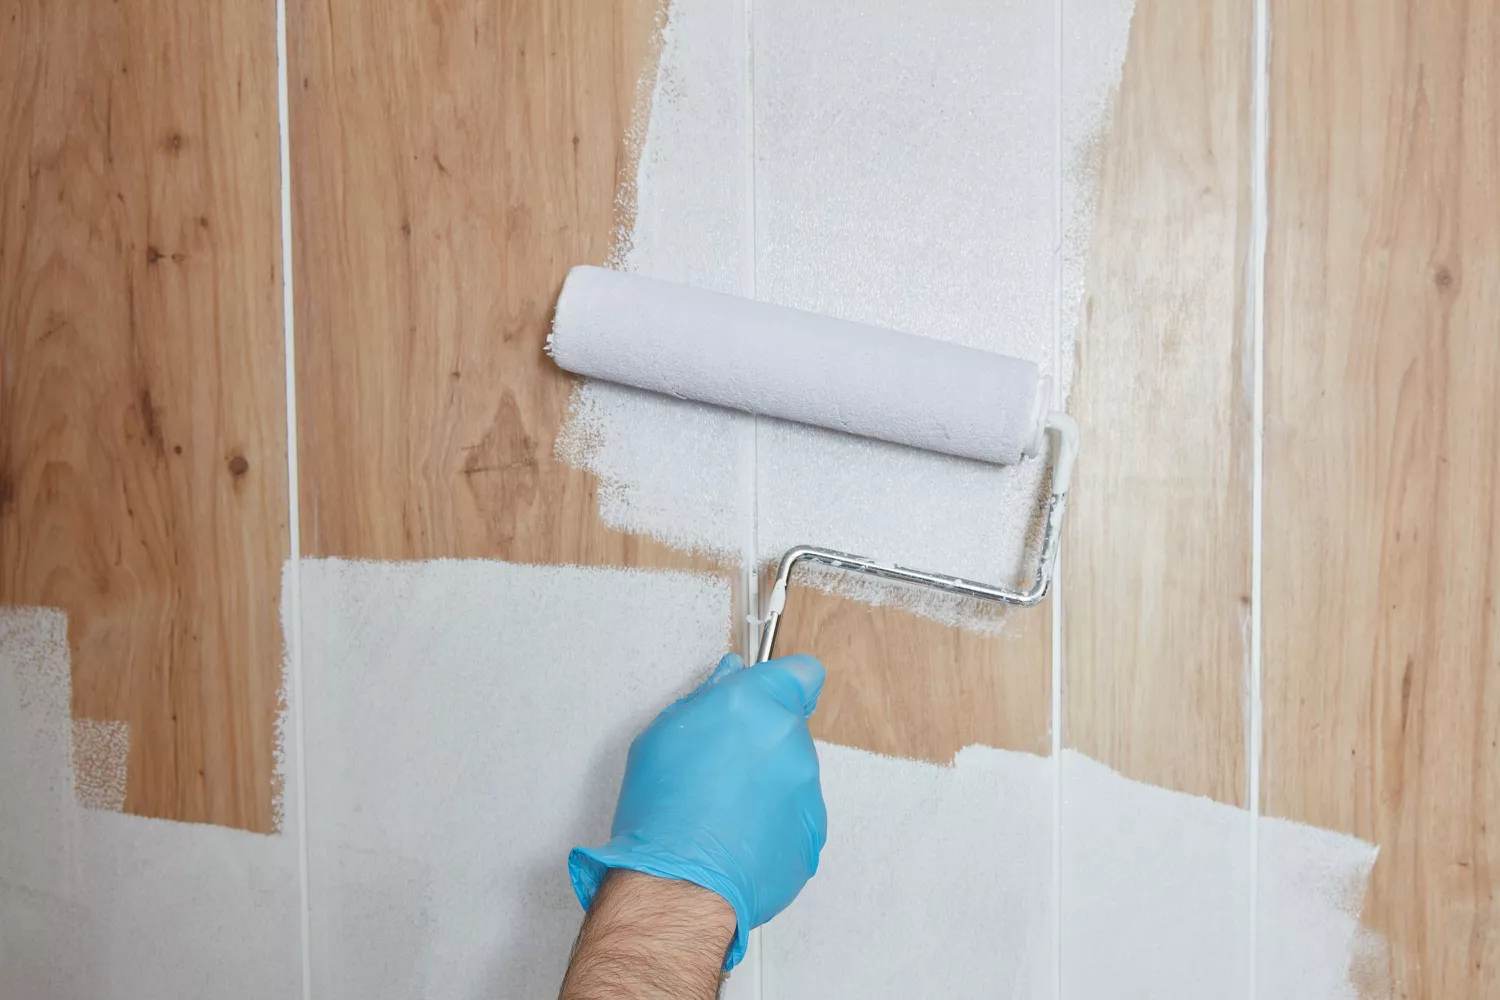
How to Paint Wood Paneling the Right Way
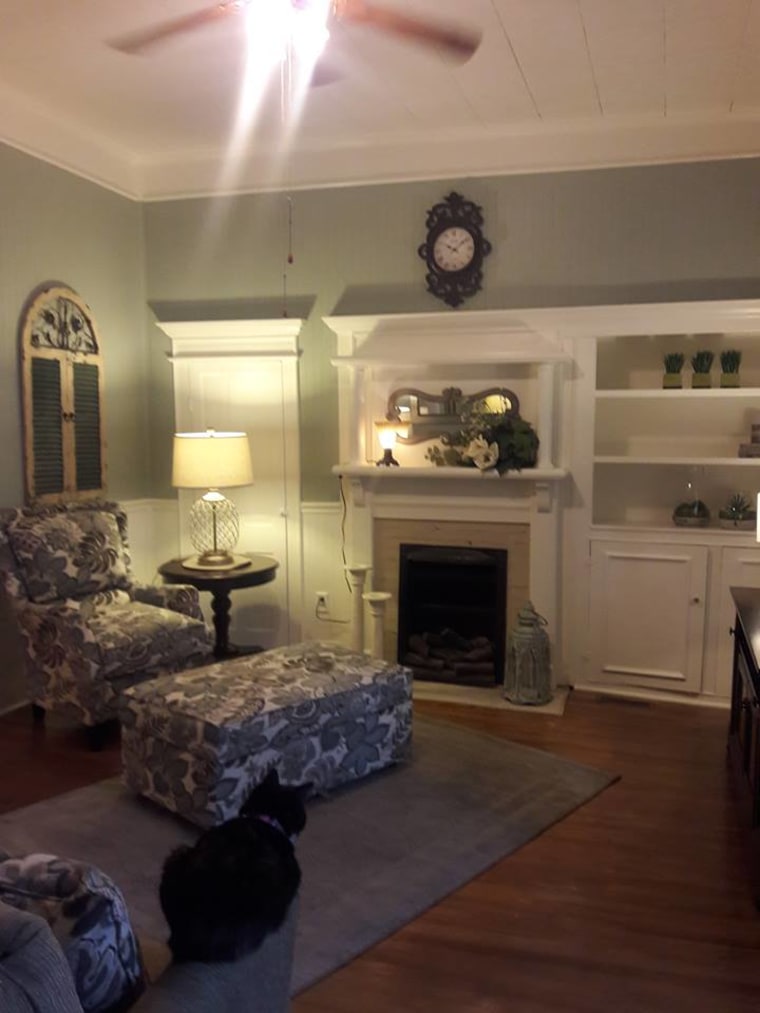
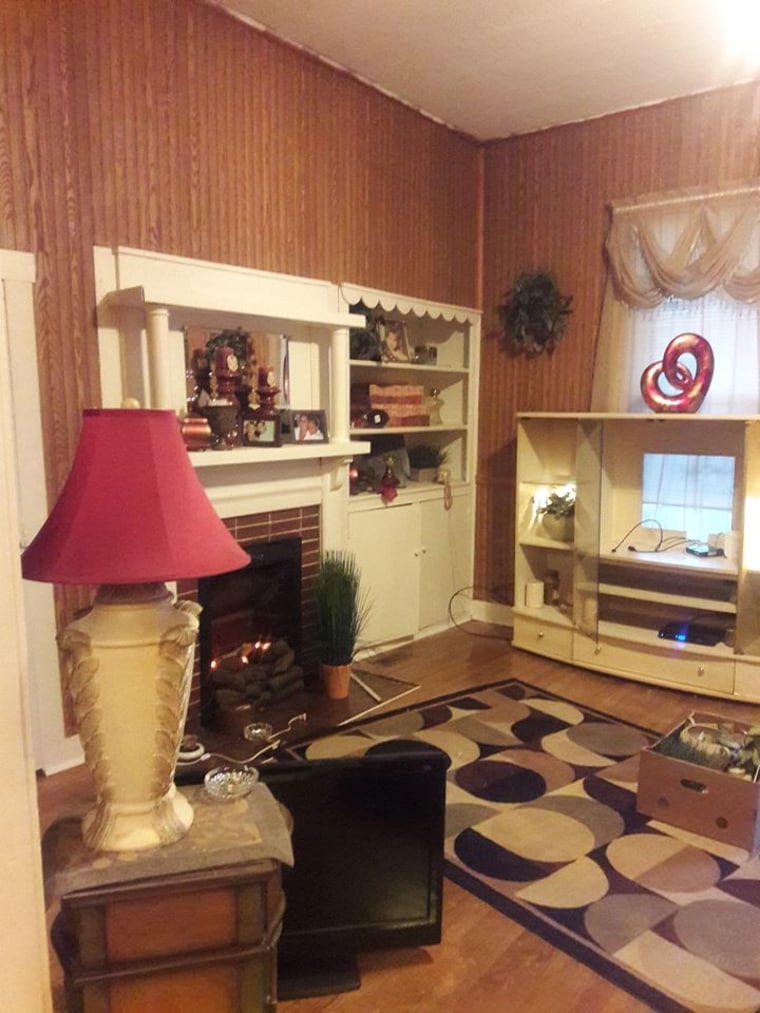
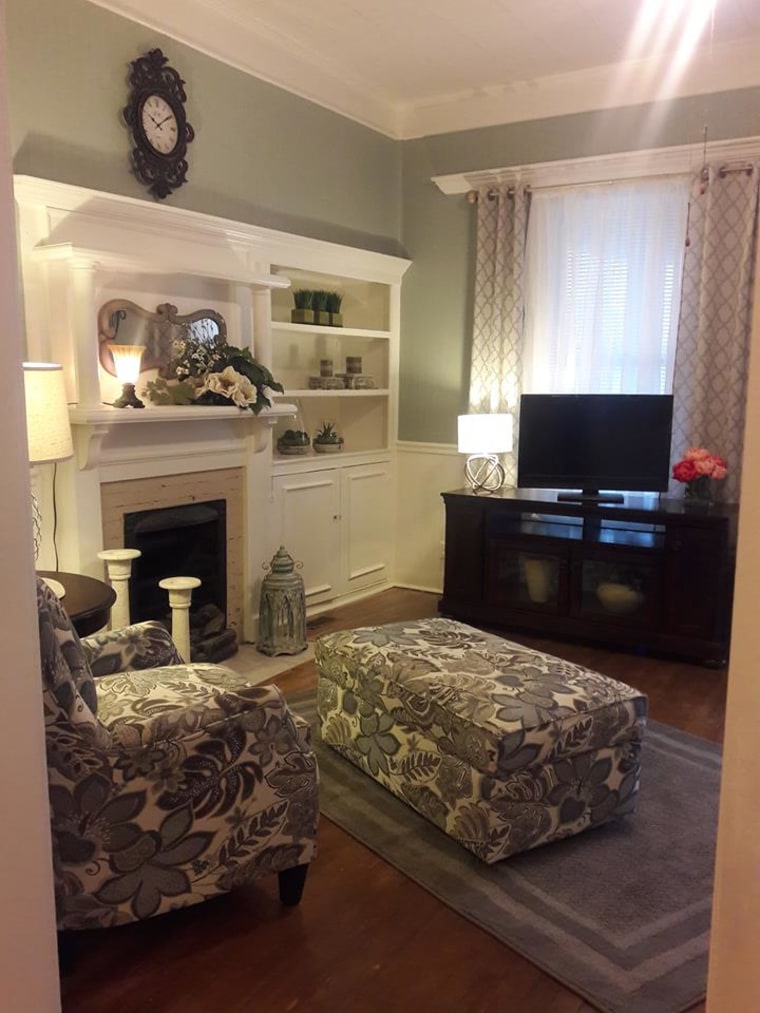
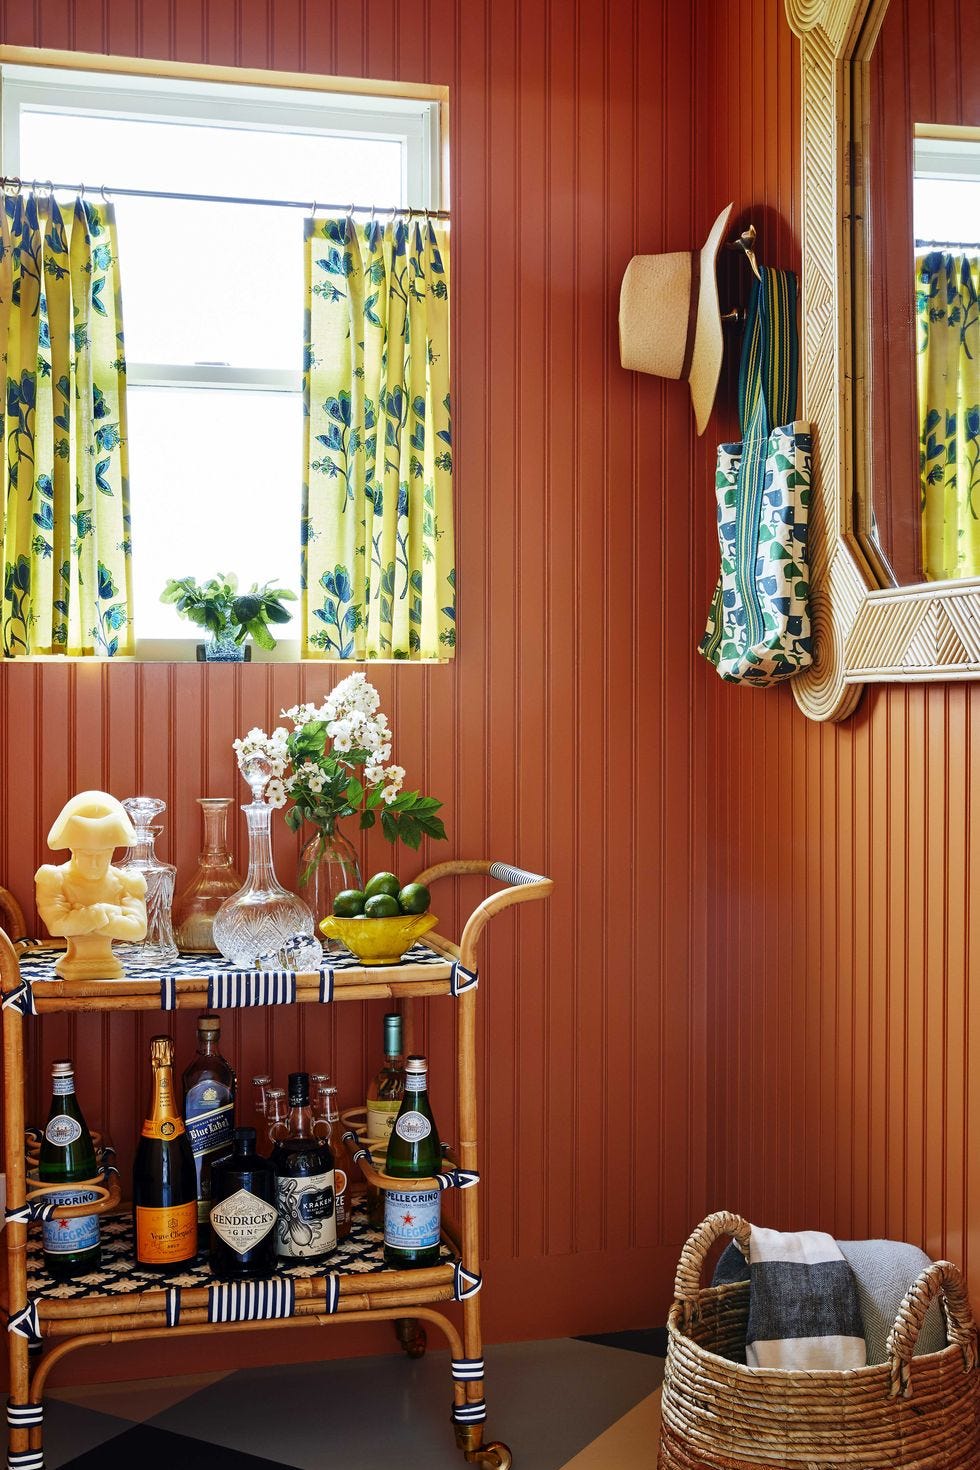
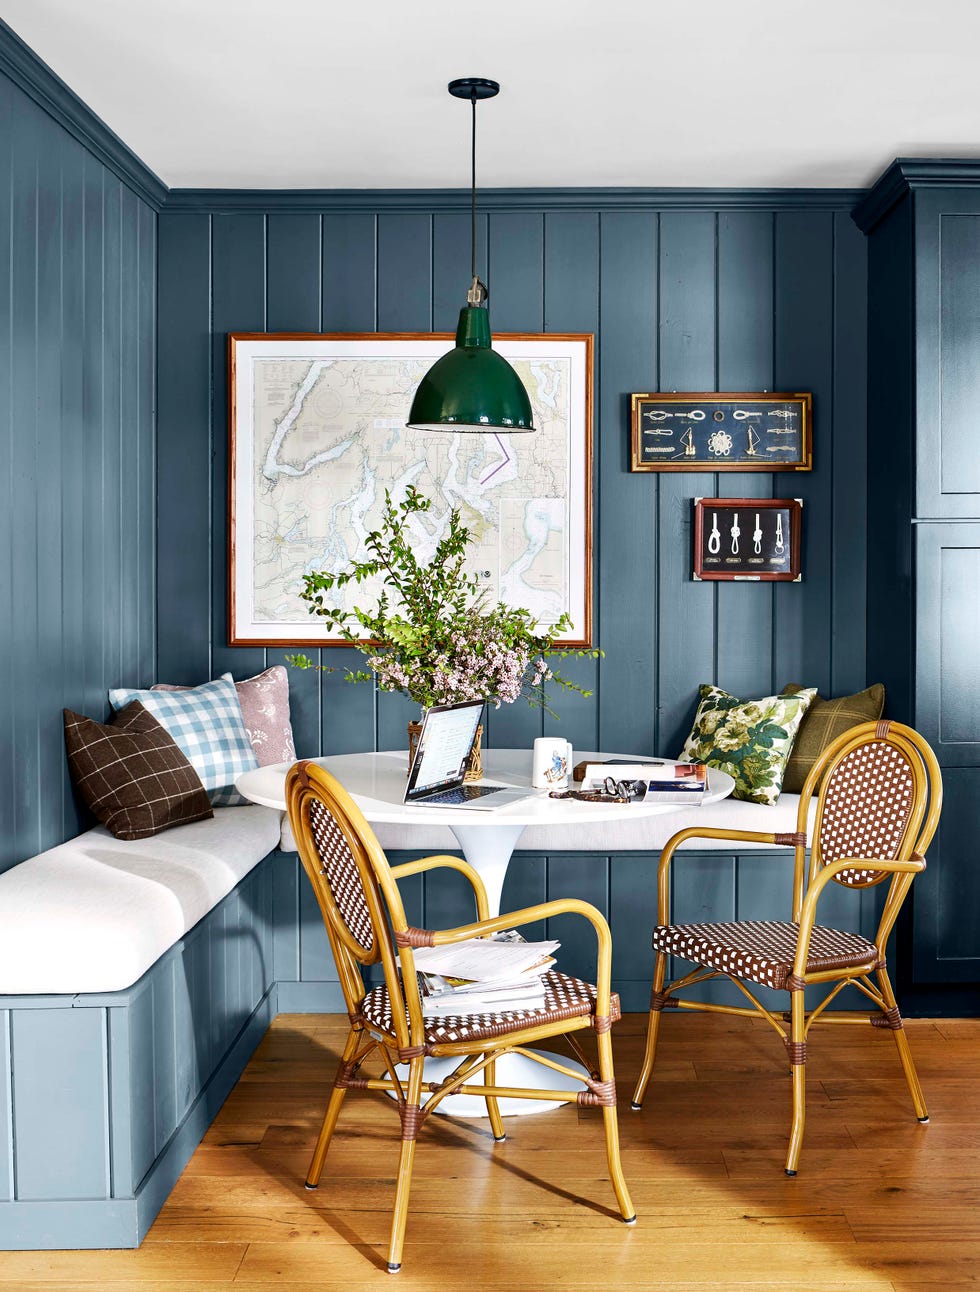
Dated, damaged, or inferior wood paneling can be revitalized with a coat of paint, offering a cost-effective alternative to removal. While the decision to paint is straightforward for cheap veneer paneling prevalent in the 1970s, it becomes more complex for higher-quality solid wood. Painting solid wood is a permanent alteration, and the natural contraction of wood planks during low humidity can lead to hairline cracks in the numerous joints, potentially affecting the paint finish. It is crucial to test old paint for lead if the paneling was painted before 1980; if lead is present, sanding should be avoided, and a good primer should be applied directly.
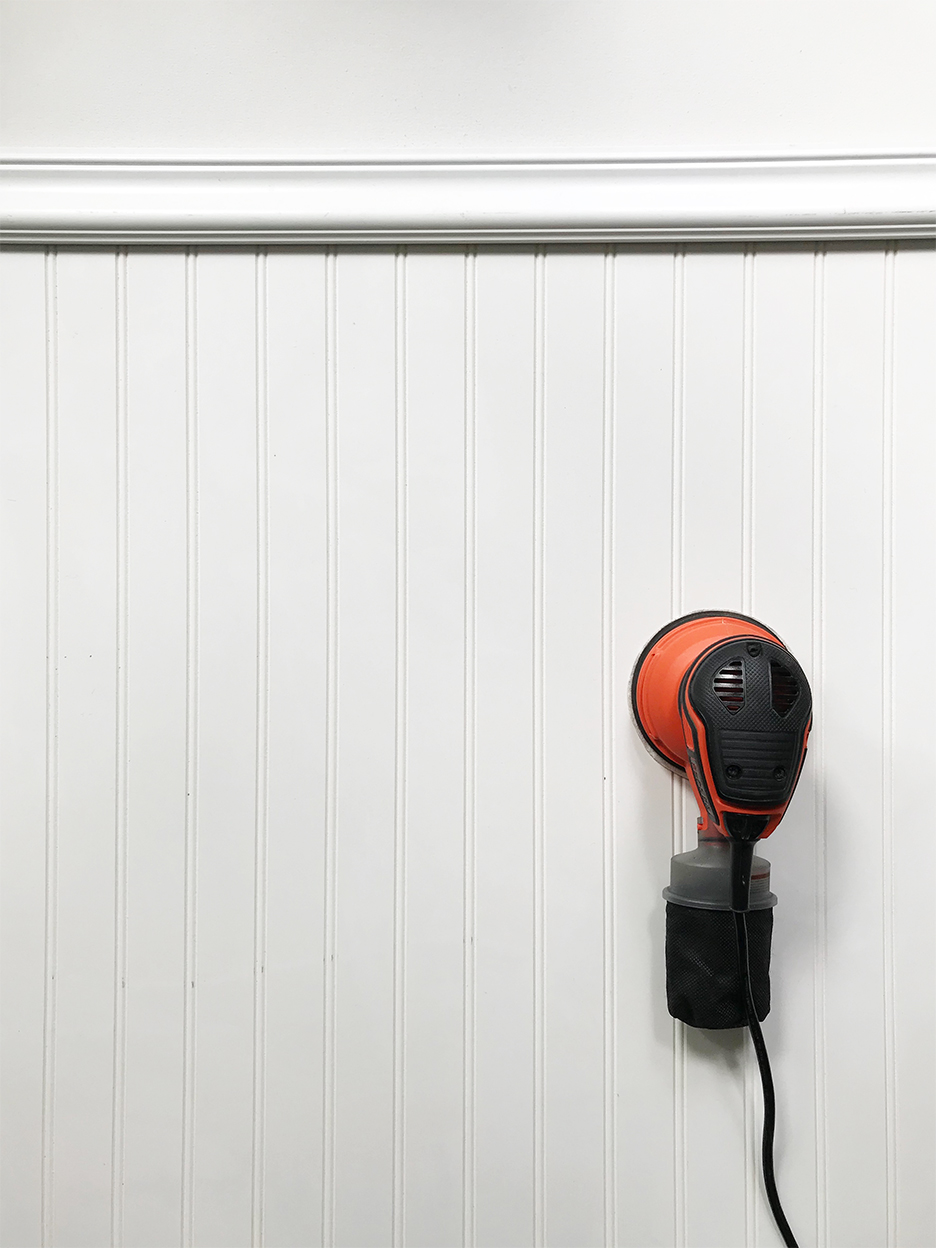
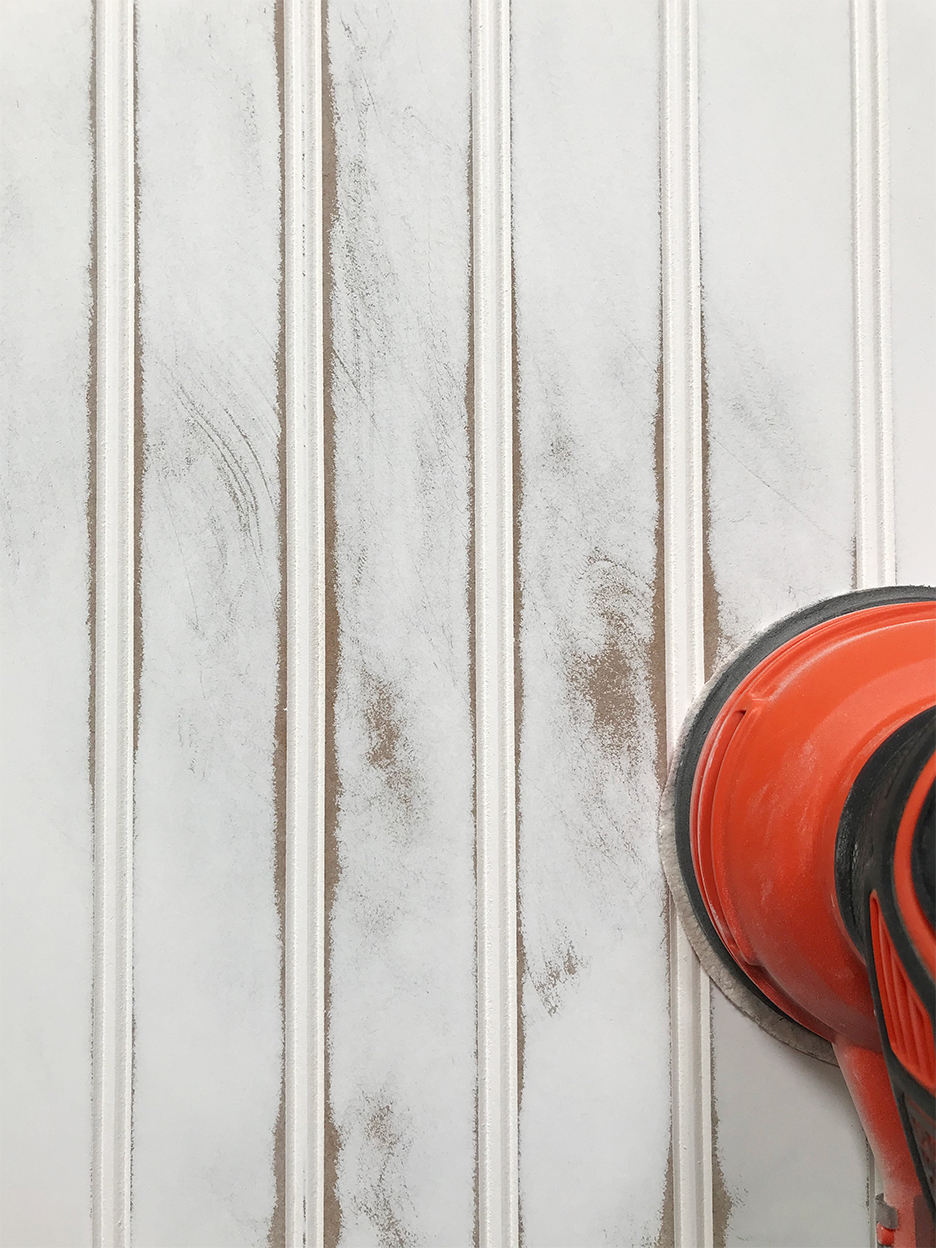
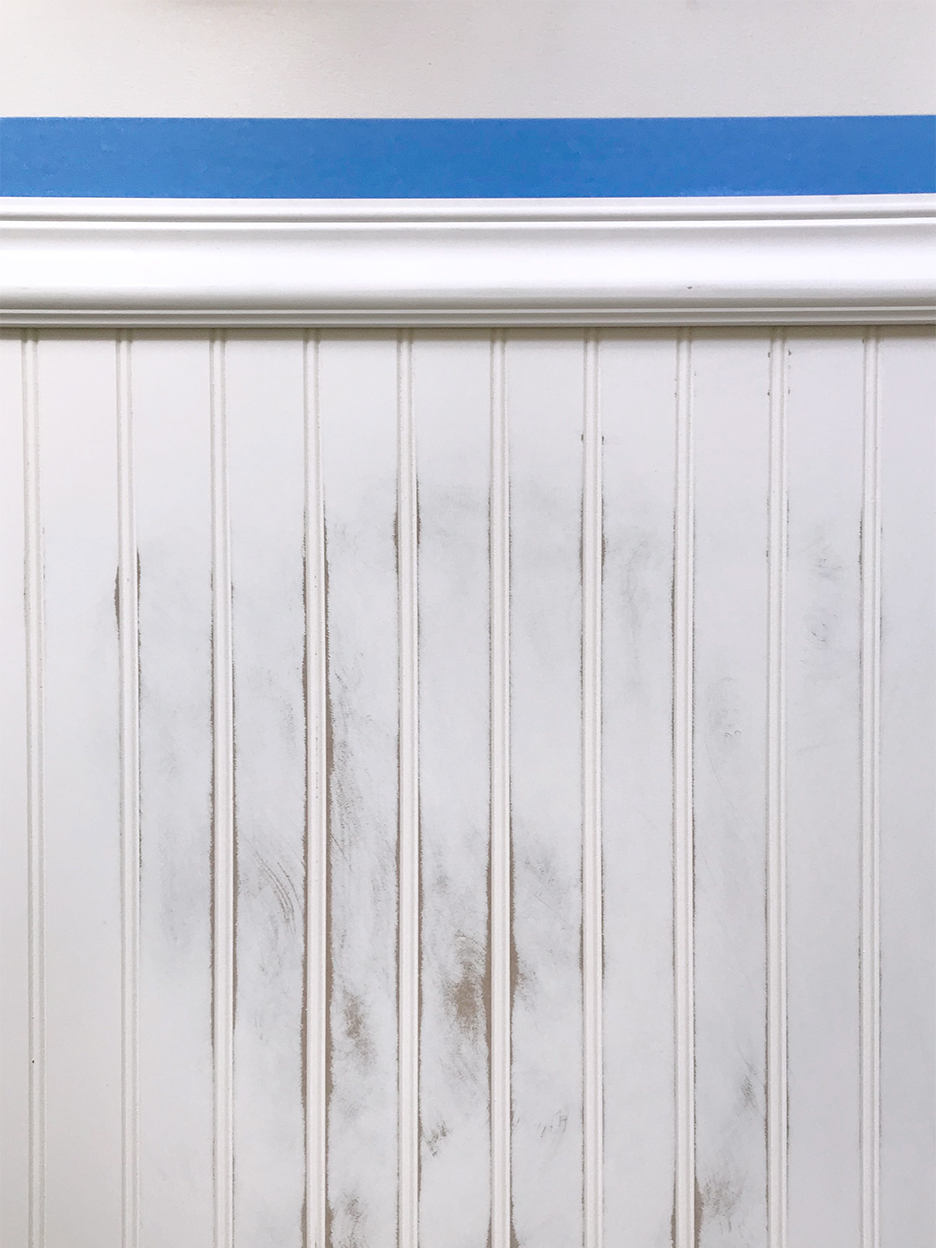
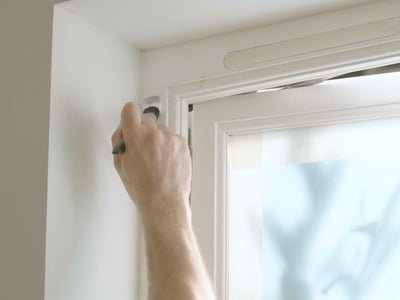
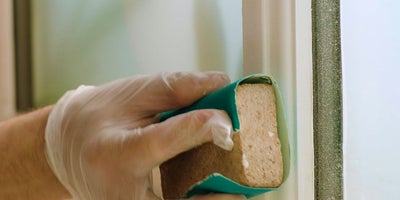
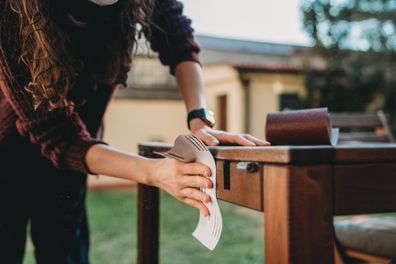
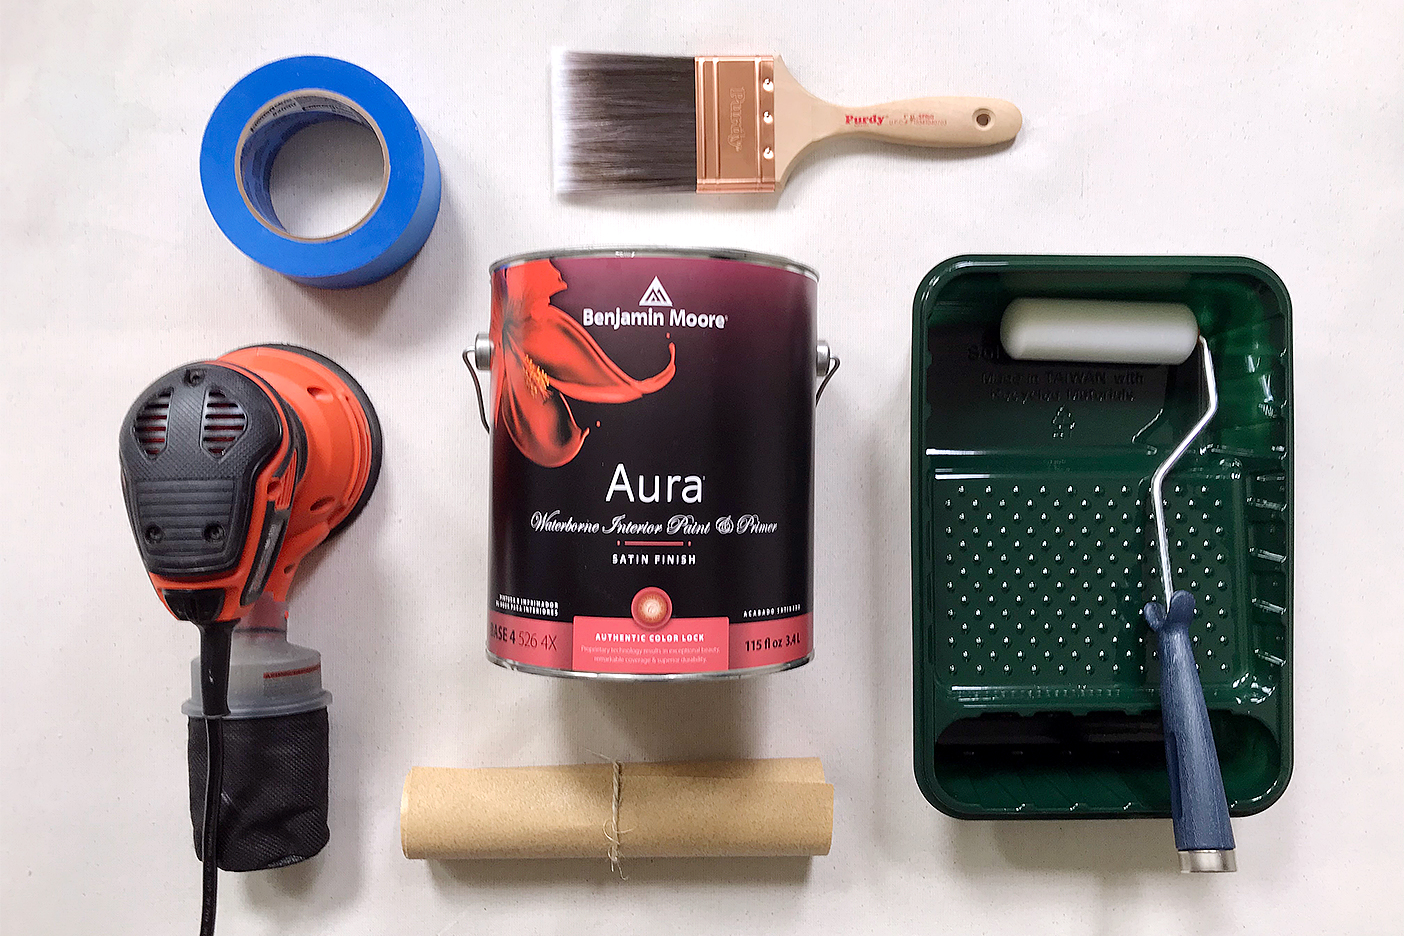
Proper preparation is essential for a successful paint job on wood paneling. This involves covering baseboards, removing outlet covers, and laying down a drop cloth. The paneling and trim must be thoroughly cleaned to remove dust, dirt, and grime. For stubborn dirt, a solution of TSP (trisodium phosphate) or a less toxic substitute is recommended, as painting over a dirty surface will prevent proper adhesion and result in an uneven finish. After cleaning, any holes or cracks in the wood should be filled with wood putty and allowed to dry. Lightly sanding the paneling, trim, and moldings with 150-grit sandpaper is often beneficial to dull the sheen and create a surface that paint can adhere to. While sanding can be optional if a quality primer is used, it generally improves adhesion, especially for melamine finishes, which require specific primers.
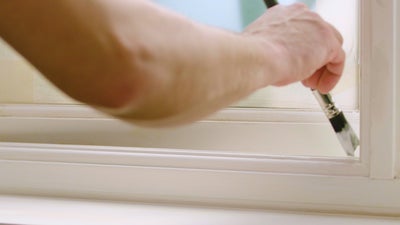
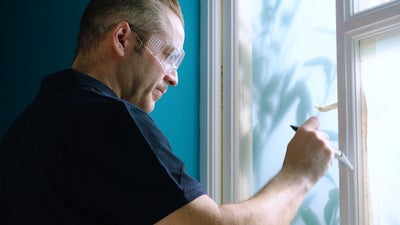
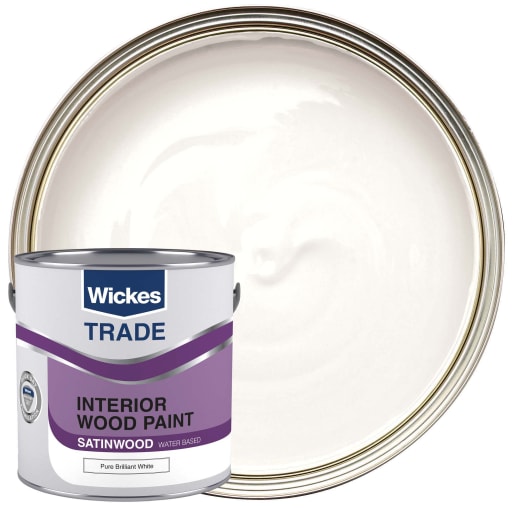
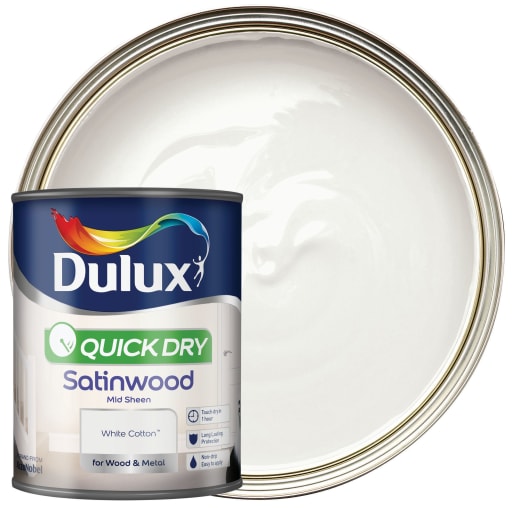
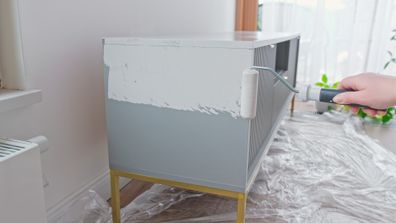
Next, caulk any gaps between paneling planks, trim, windows, and doors using paintable caulk, allowing it to dry completely. A critical step is priming the wood. An oil-based primer or a water-based stain-blocking primer should be applied thinly and evenly using a foam sponge roller and brush. The primer prevents grease and wood stains, such as those from knotty pine, from bleeding through the final paint coats. Once the primer is dry, the first thin coat of paint can be applied. Interior latex paint with a satin finish is generally recommended for its ease of application and coverage. Starting from the top and working downwards, care should be taken to cover all gaps and immediately address any drips. After the first coat dries, a second coat is necessary to ensure optimal coverage and durability. Finally, the trim can be painted a desired color, often with a glossier finish to create contrast and a more easily cleaned surface, though this is subject to personal preference.
Even without sanding, proper preparation, cleaning, and the use of a high-quality primer are vital for painting wood paneling. A liquid deglosser can also assist paint adhesion on shiny surfaces. For fake wood paneling, an oil-based primer is crucial for the paint to grip effectively. Grooves in wood paneling can be filled for a smooth, non-paneled look, or left as is, depending on the desired aesthetic.
#WoodPaneling #HomeImprovement #InteriorPainting #DIYHomeDecor #PaintTips #SurfacePreparation #Priming #HomeRenovation #WoodPaneling #HomeImprovement #InteriorPainting #DIYHomeDecor #PaintTips #SurfacePreparation #Priming #HomeRenovation
0 comment in total
 No comments yet
You may also like
How to Paint Wood-Paneling

How to paint interior woodwork

How to Prepare Interior Woodwork For Painting
Buying the Best Paint for Wood Means Nothing Without This Important First Step

The Best Way To Paint Wood Paneling, According To An Expert
Choosing the right wood panelling design
How to Paint Wood Furniture Like a Pro

Wood Paneling Is Back—and Better Than Ever

How to Paint Wood Paneling and Its Best Friend, the Trim

How to Paint Wood Furniture—From Sanding to Sealing

Interior Wood Paint
How to paint furniture: The one detail you need to get right for best results
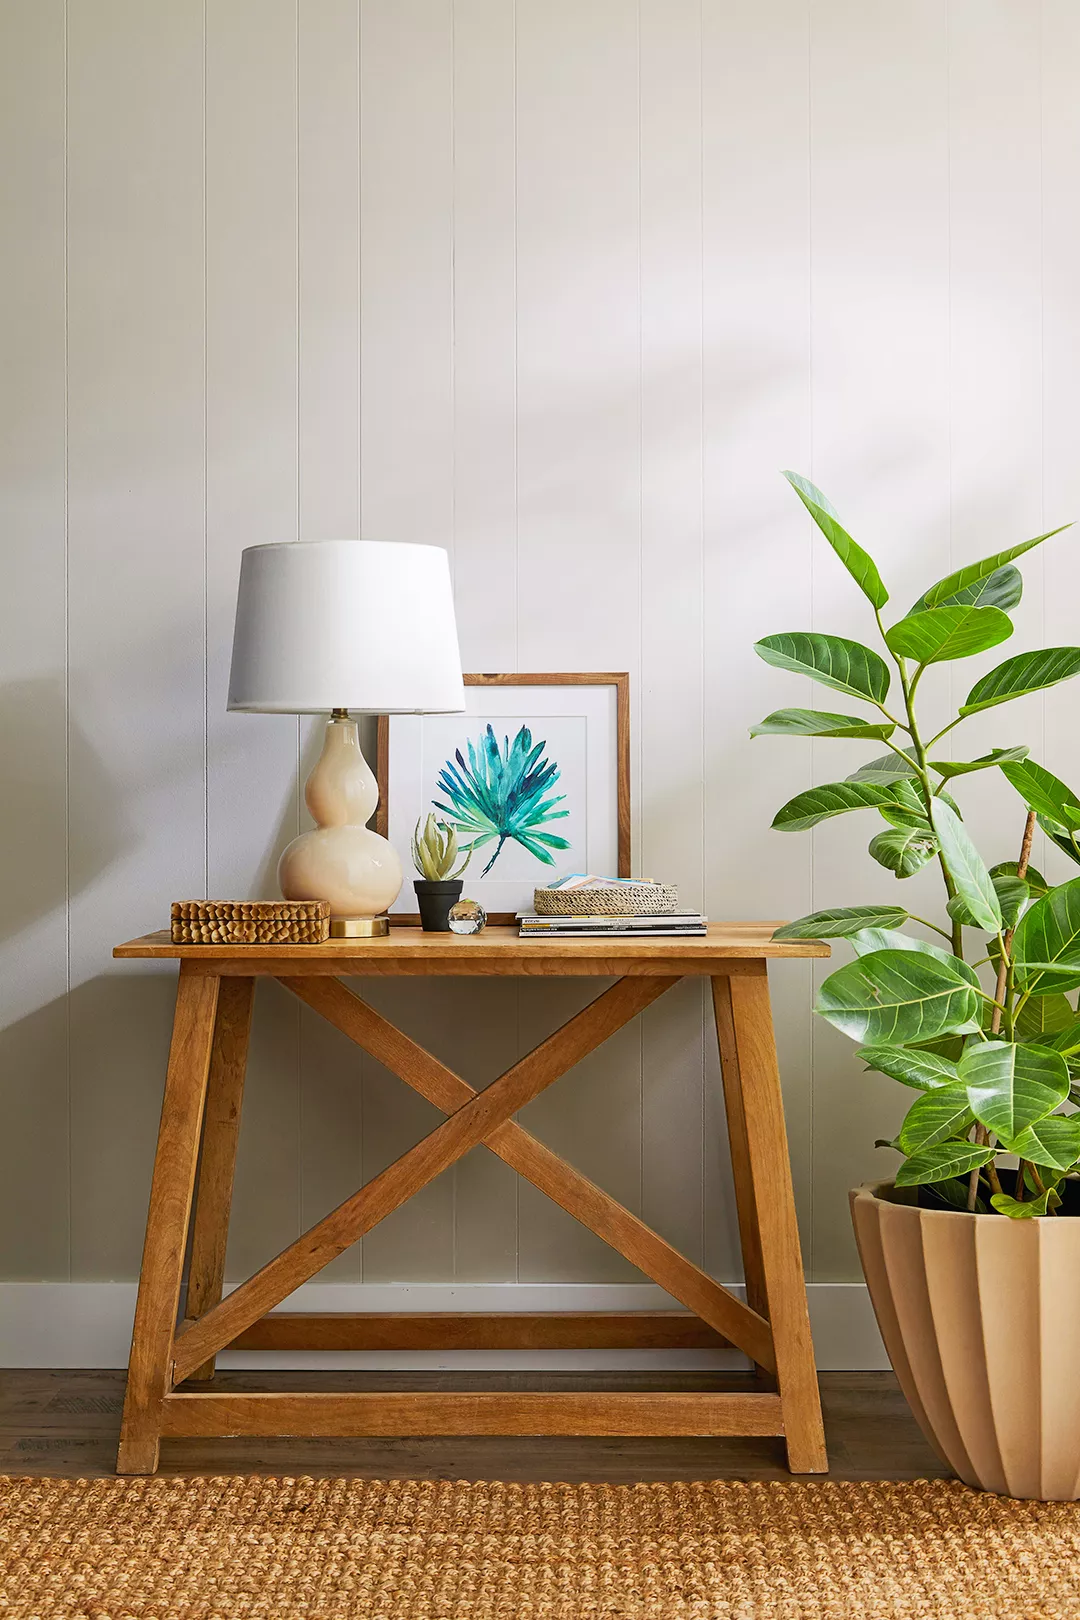
How to Paint Wood Paneling Like a Pro

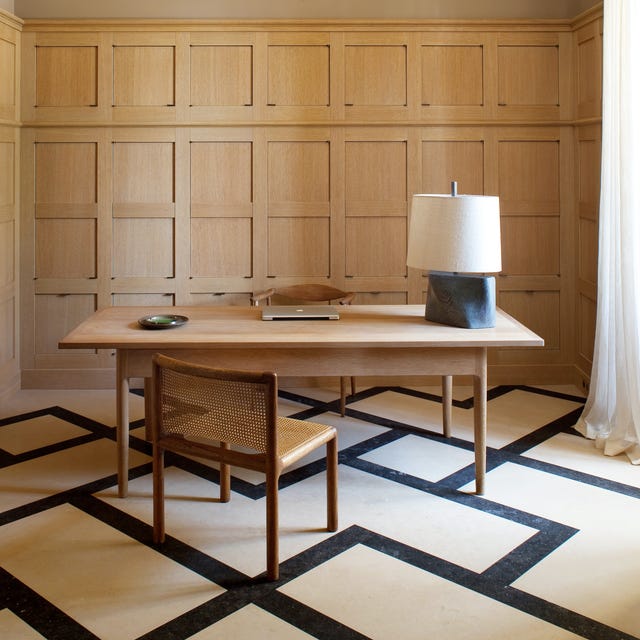
Wood panelling: an essential guide to the big decorating trend

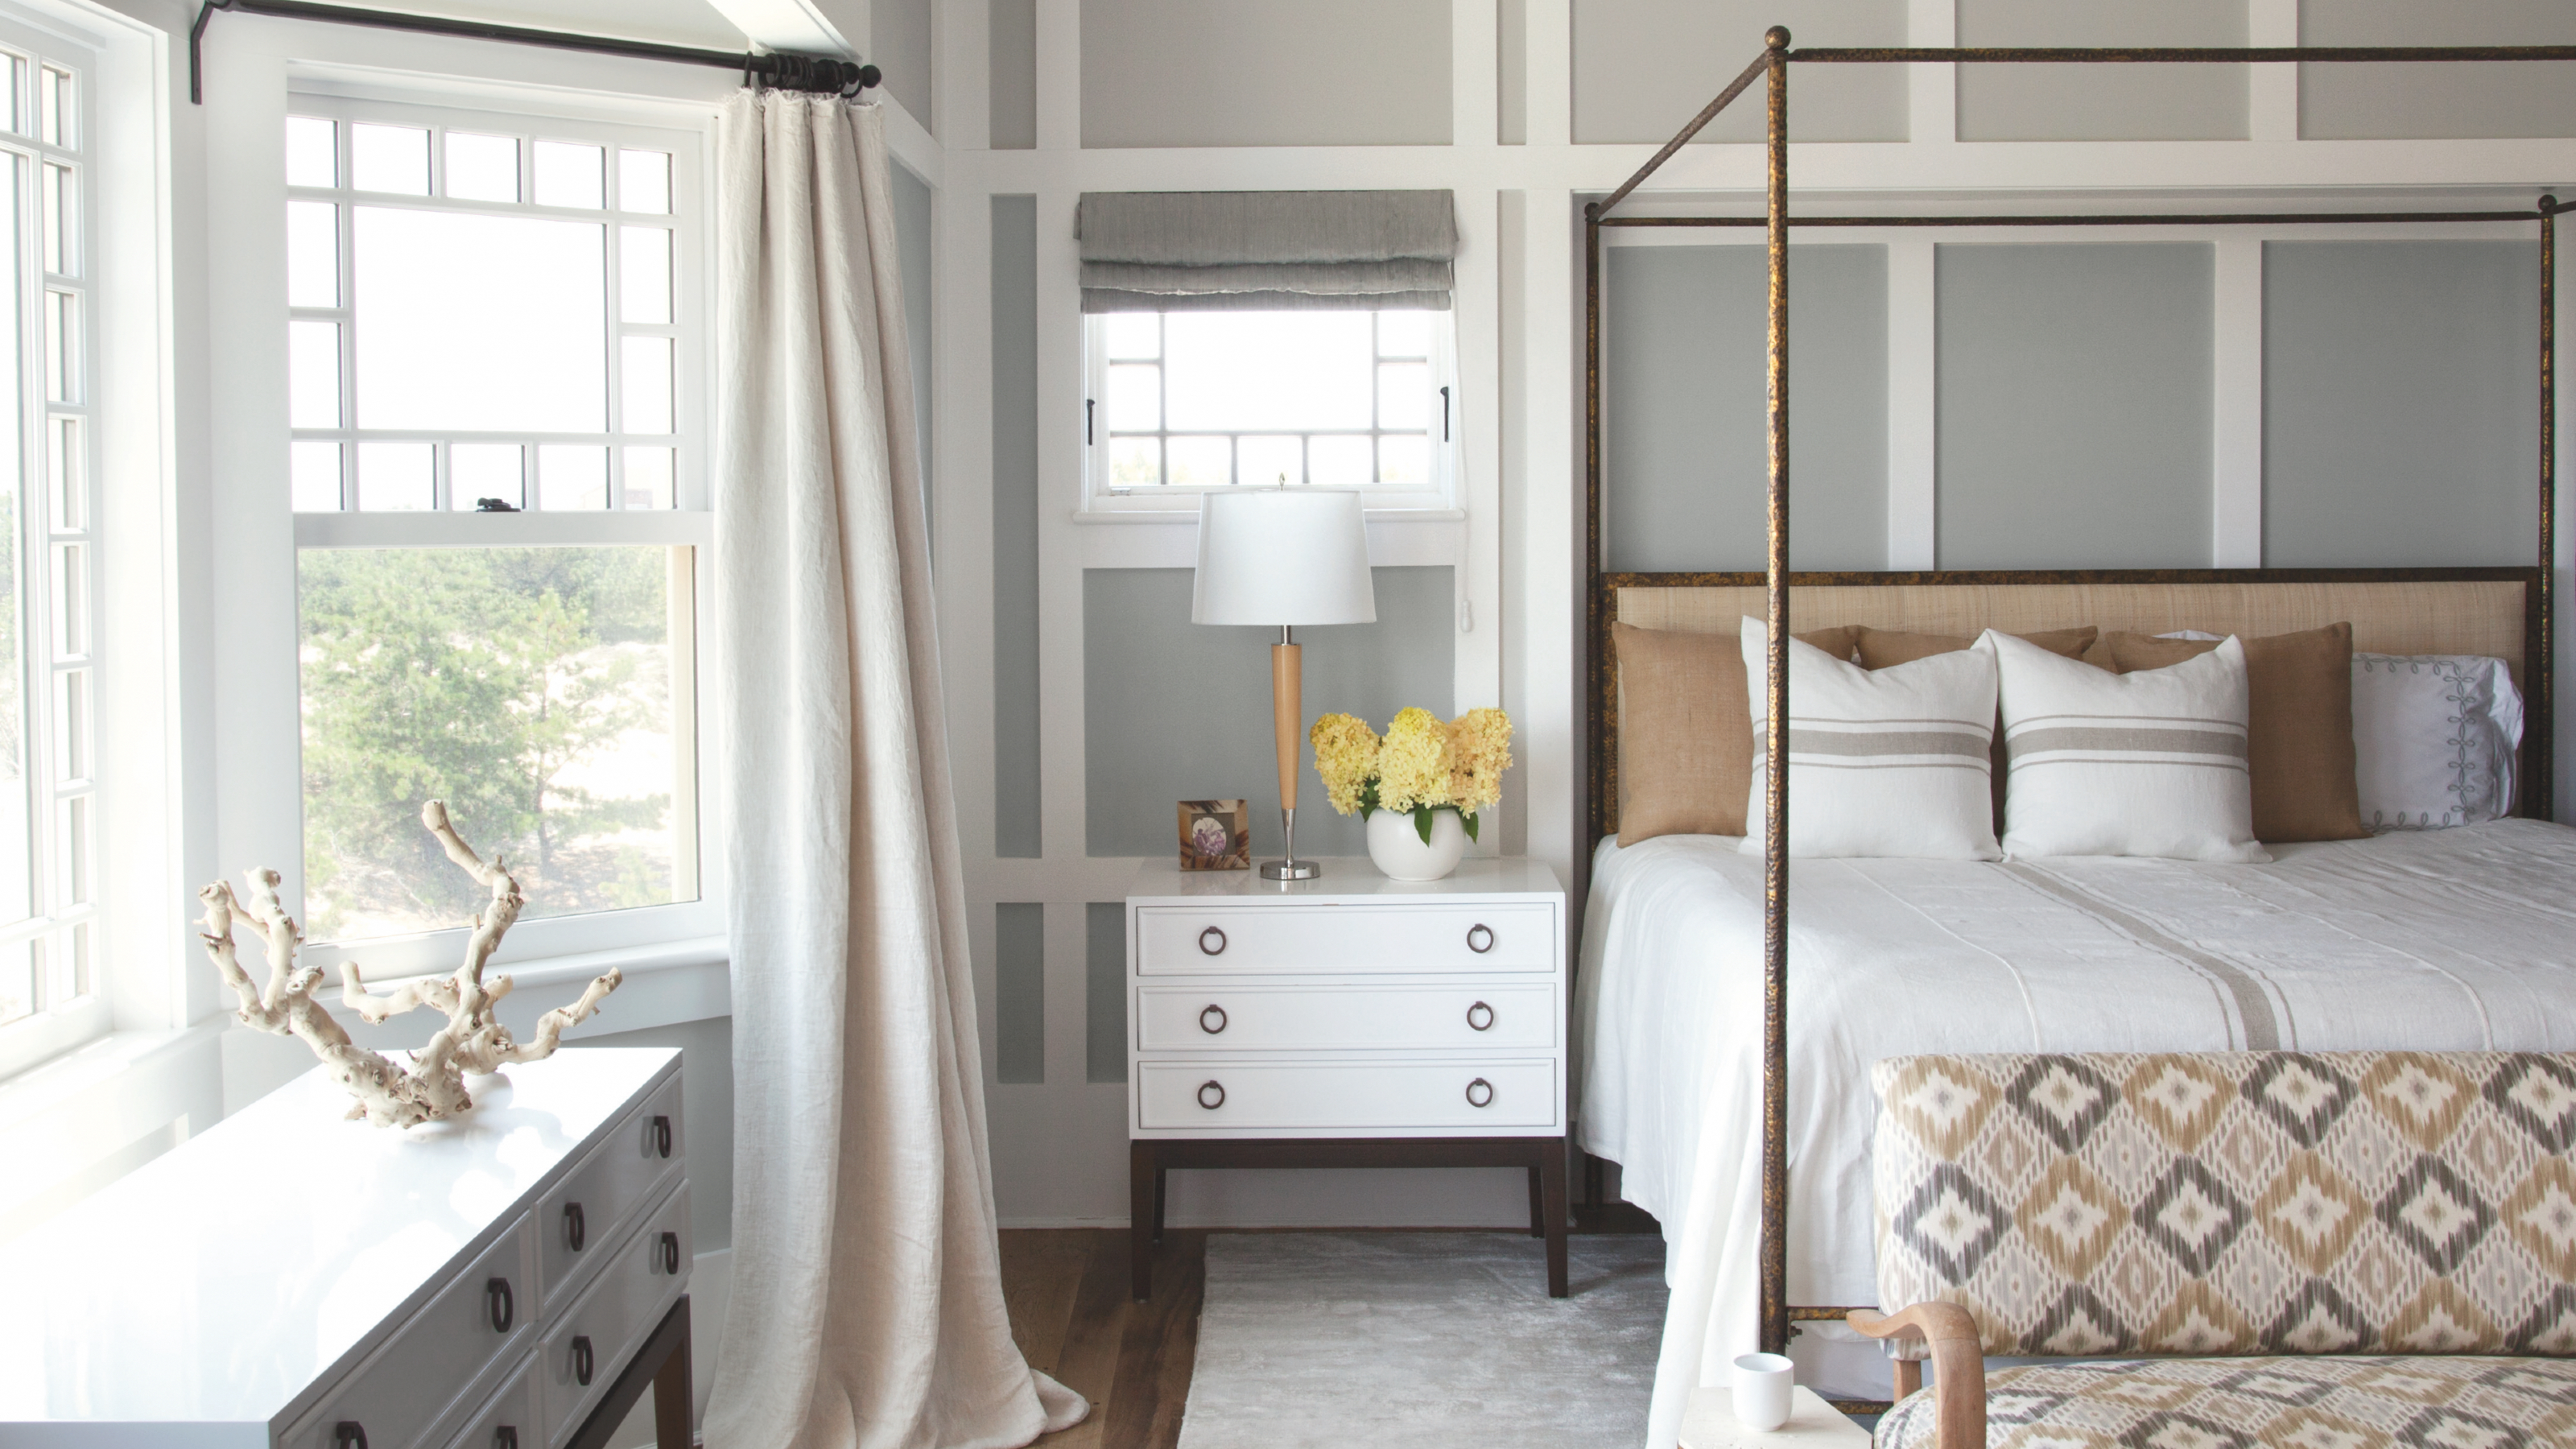
How to panel a wall – DIY this trending look in your home this weekend
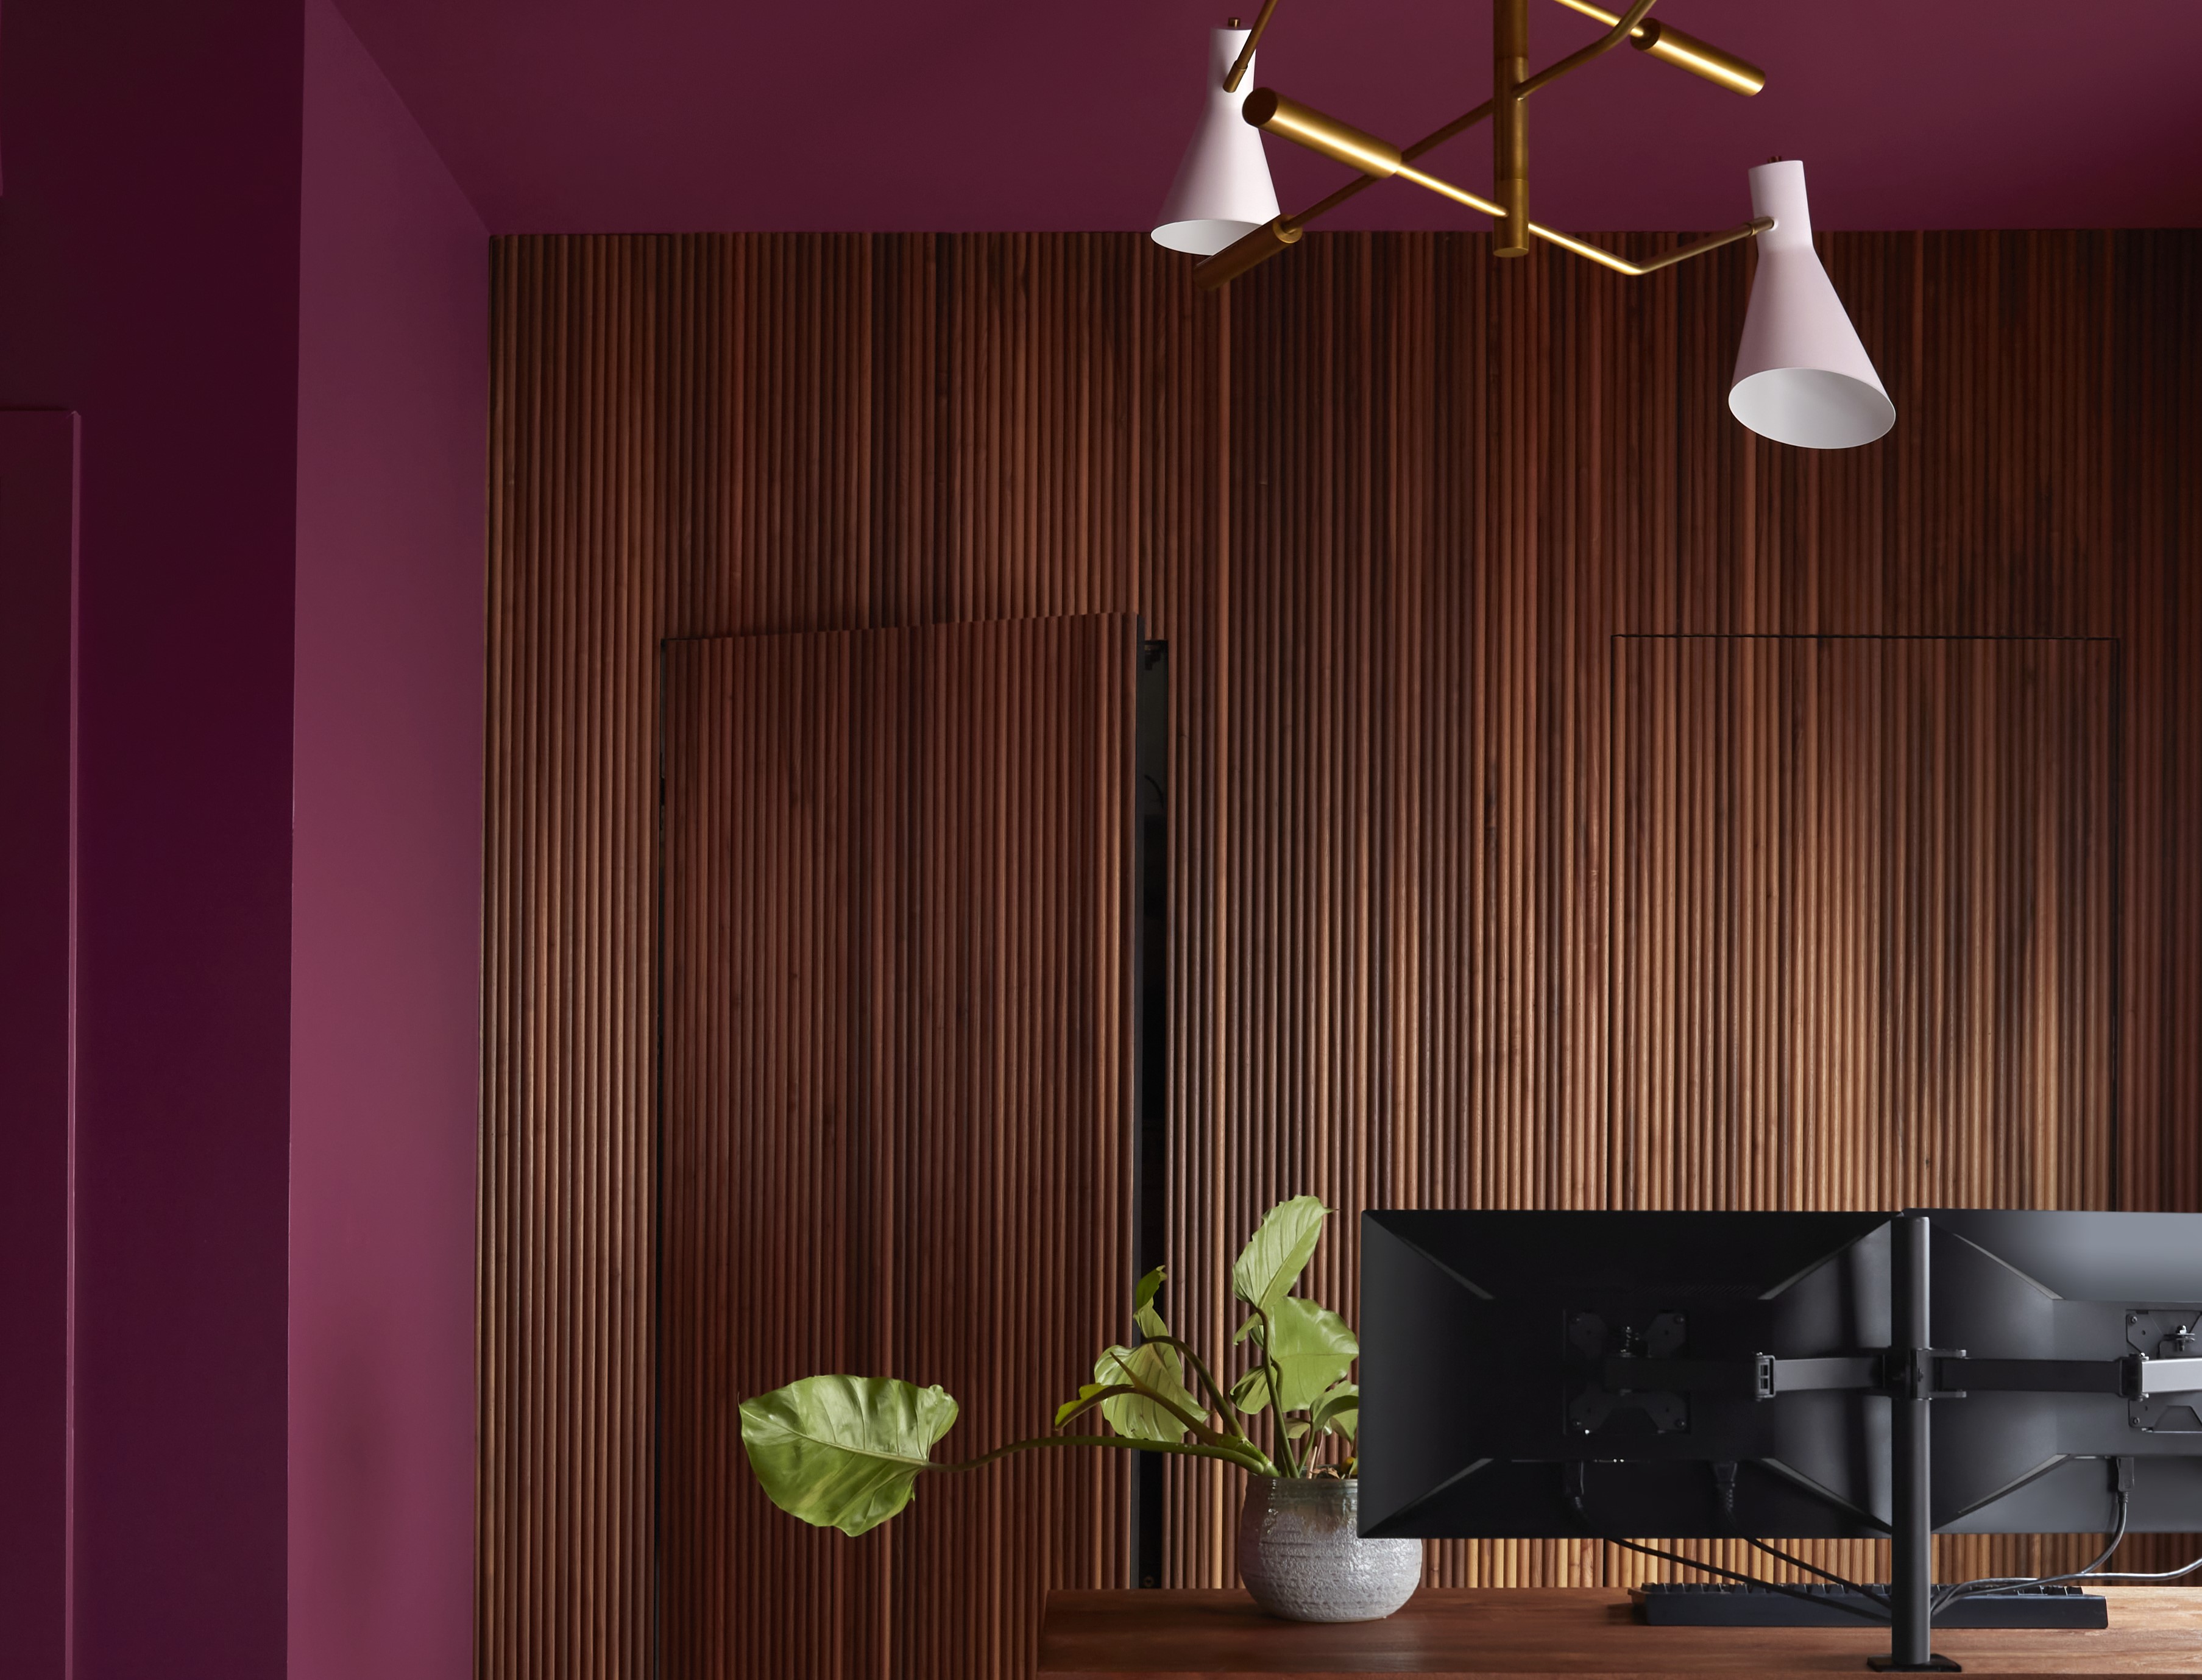
Paint Colors That Go With Natural Wood — 10 Picks That Bring Out the Beauty of This Organic Material


How to install wooden panelling
This expert’s ‘BRB’ technique is something I'll forever use when painting wall paneling to avoid drips and paint build-up
10 mistakes to avoid when painting wooden furniture, according to experts

Changing Rooms inspiration: how to paint panelling