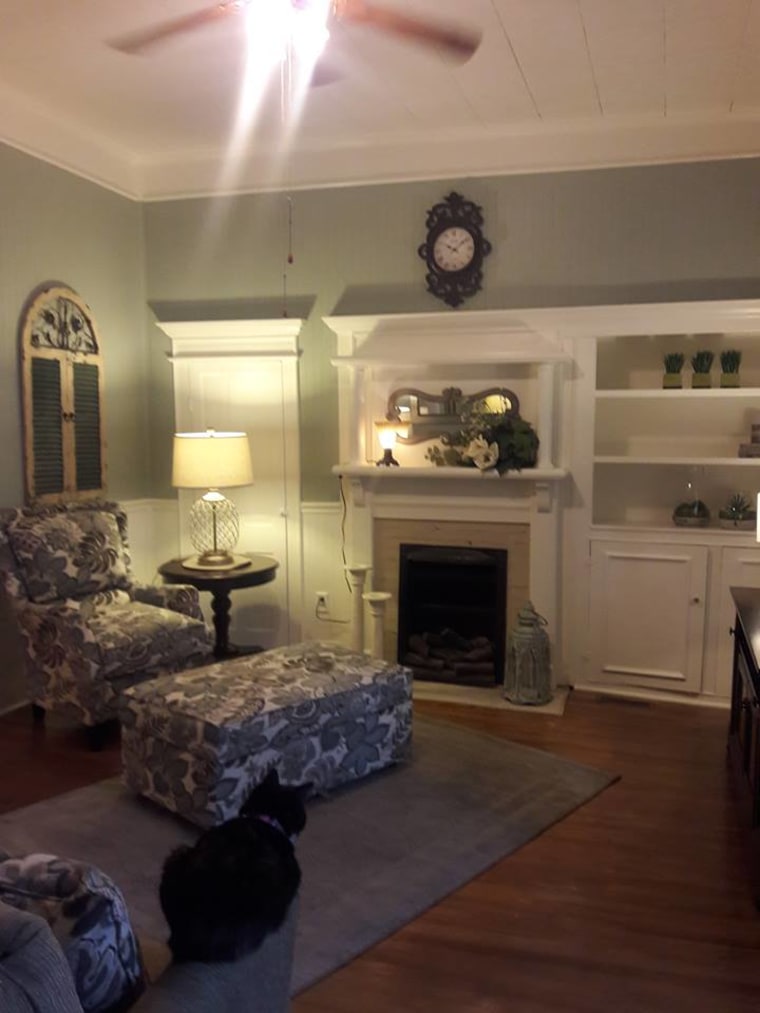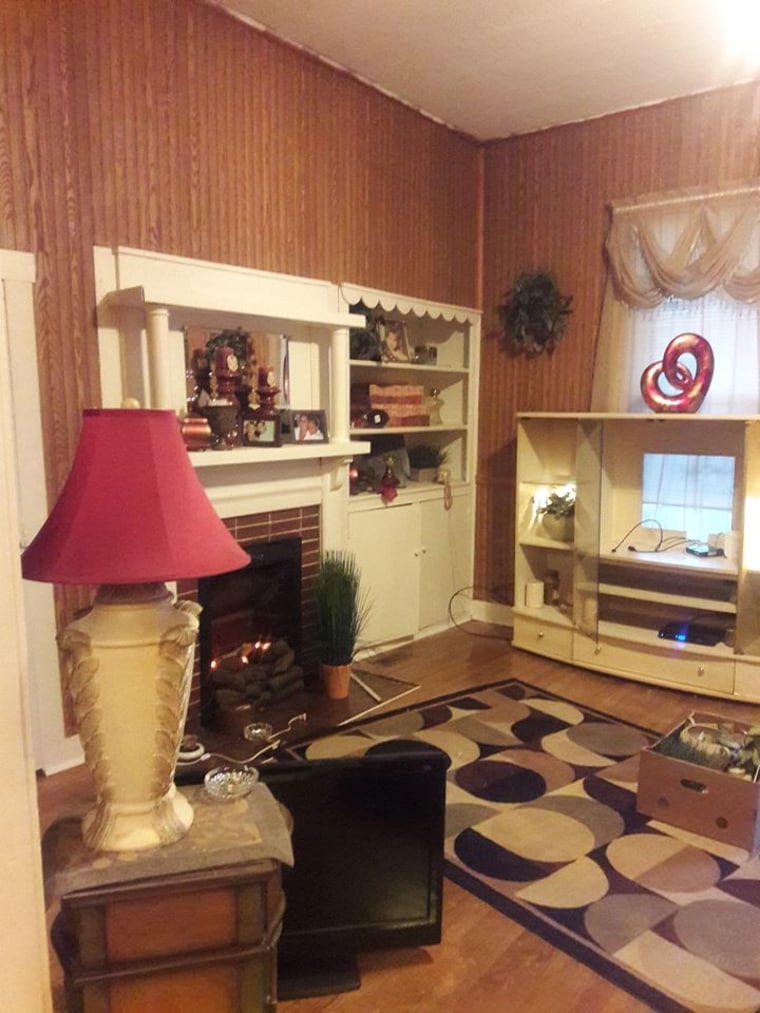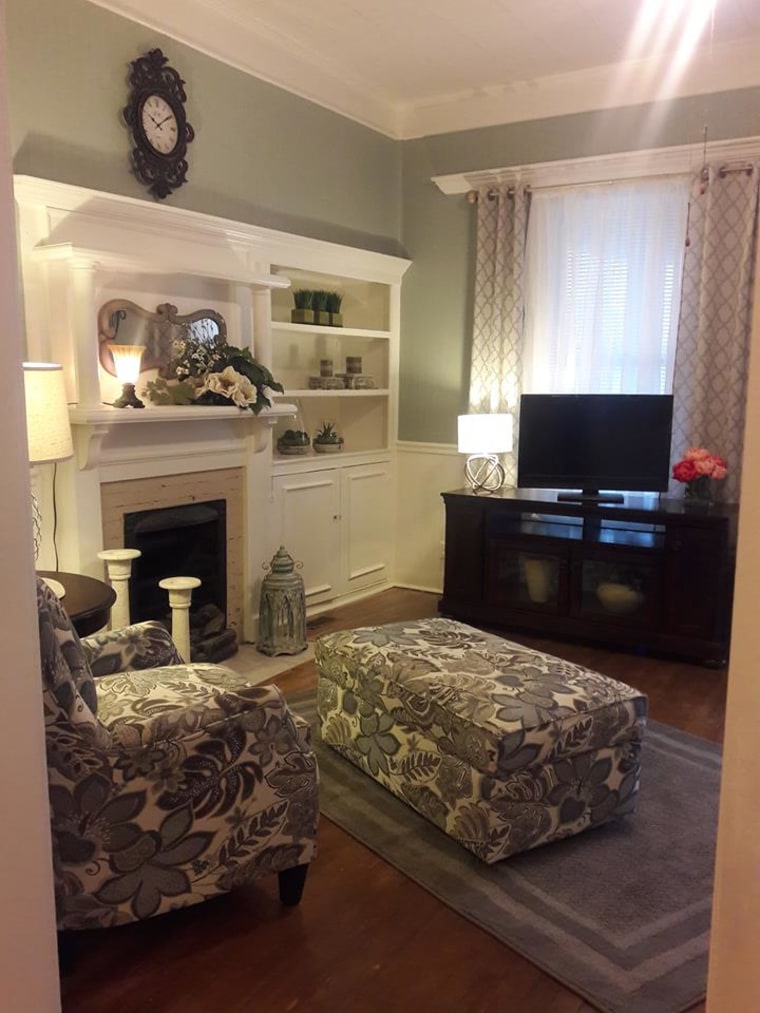
How to Paint Wood Paneling Like a Pro
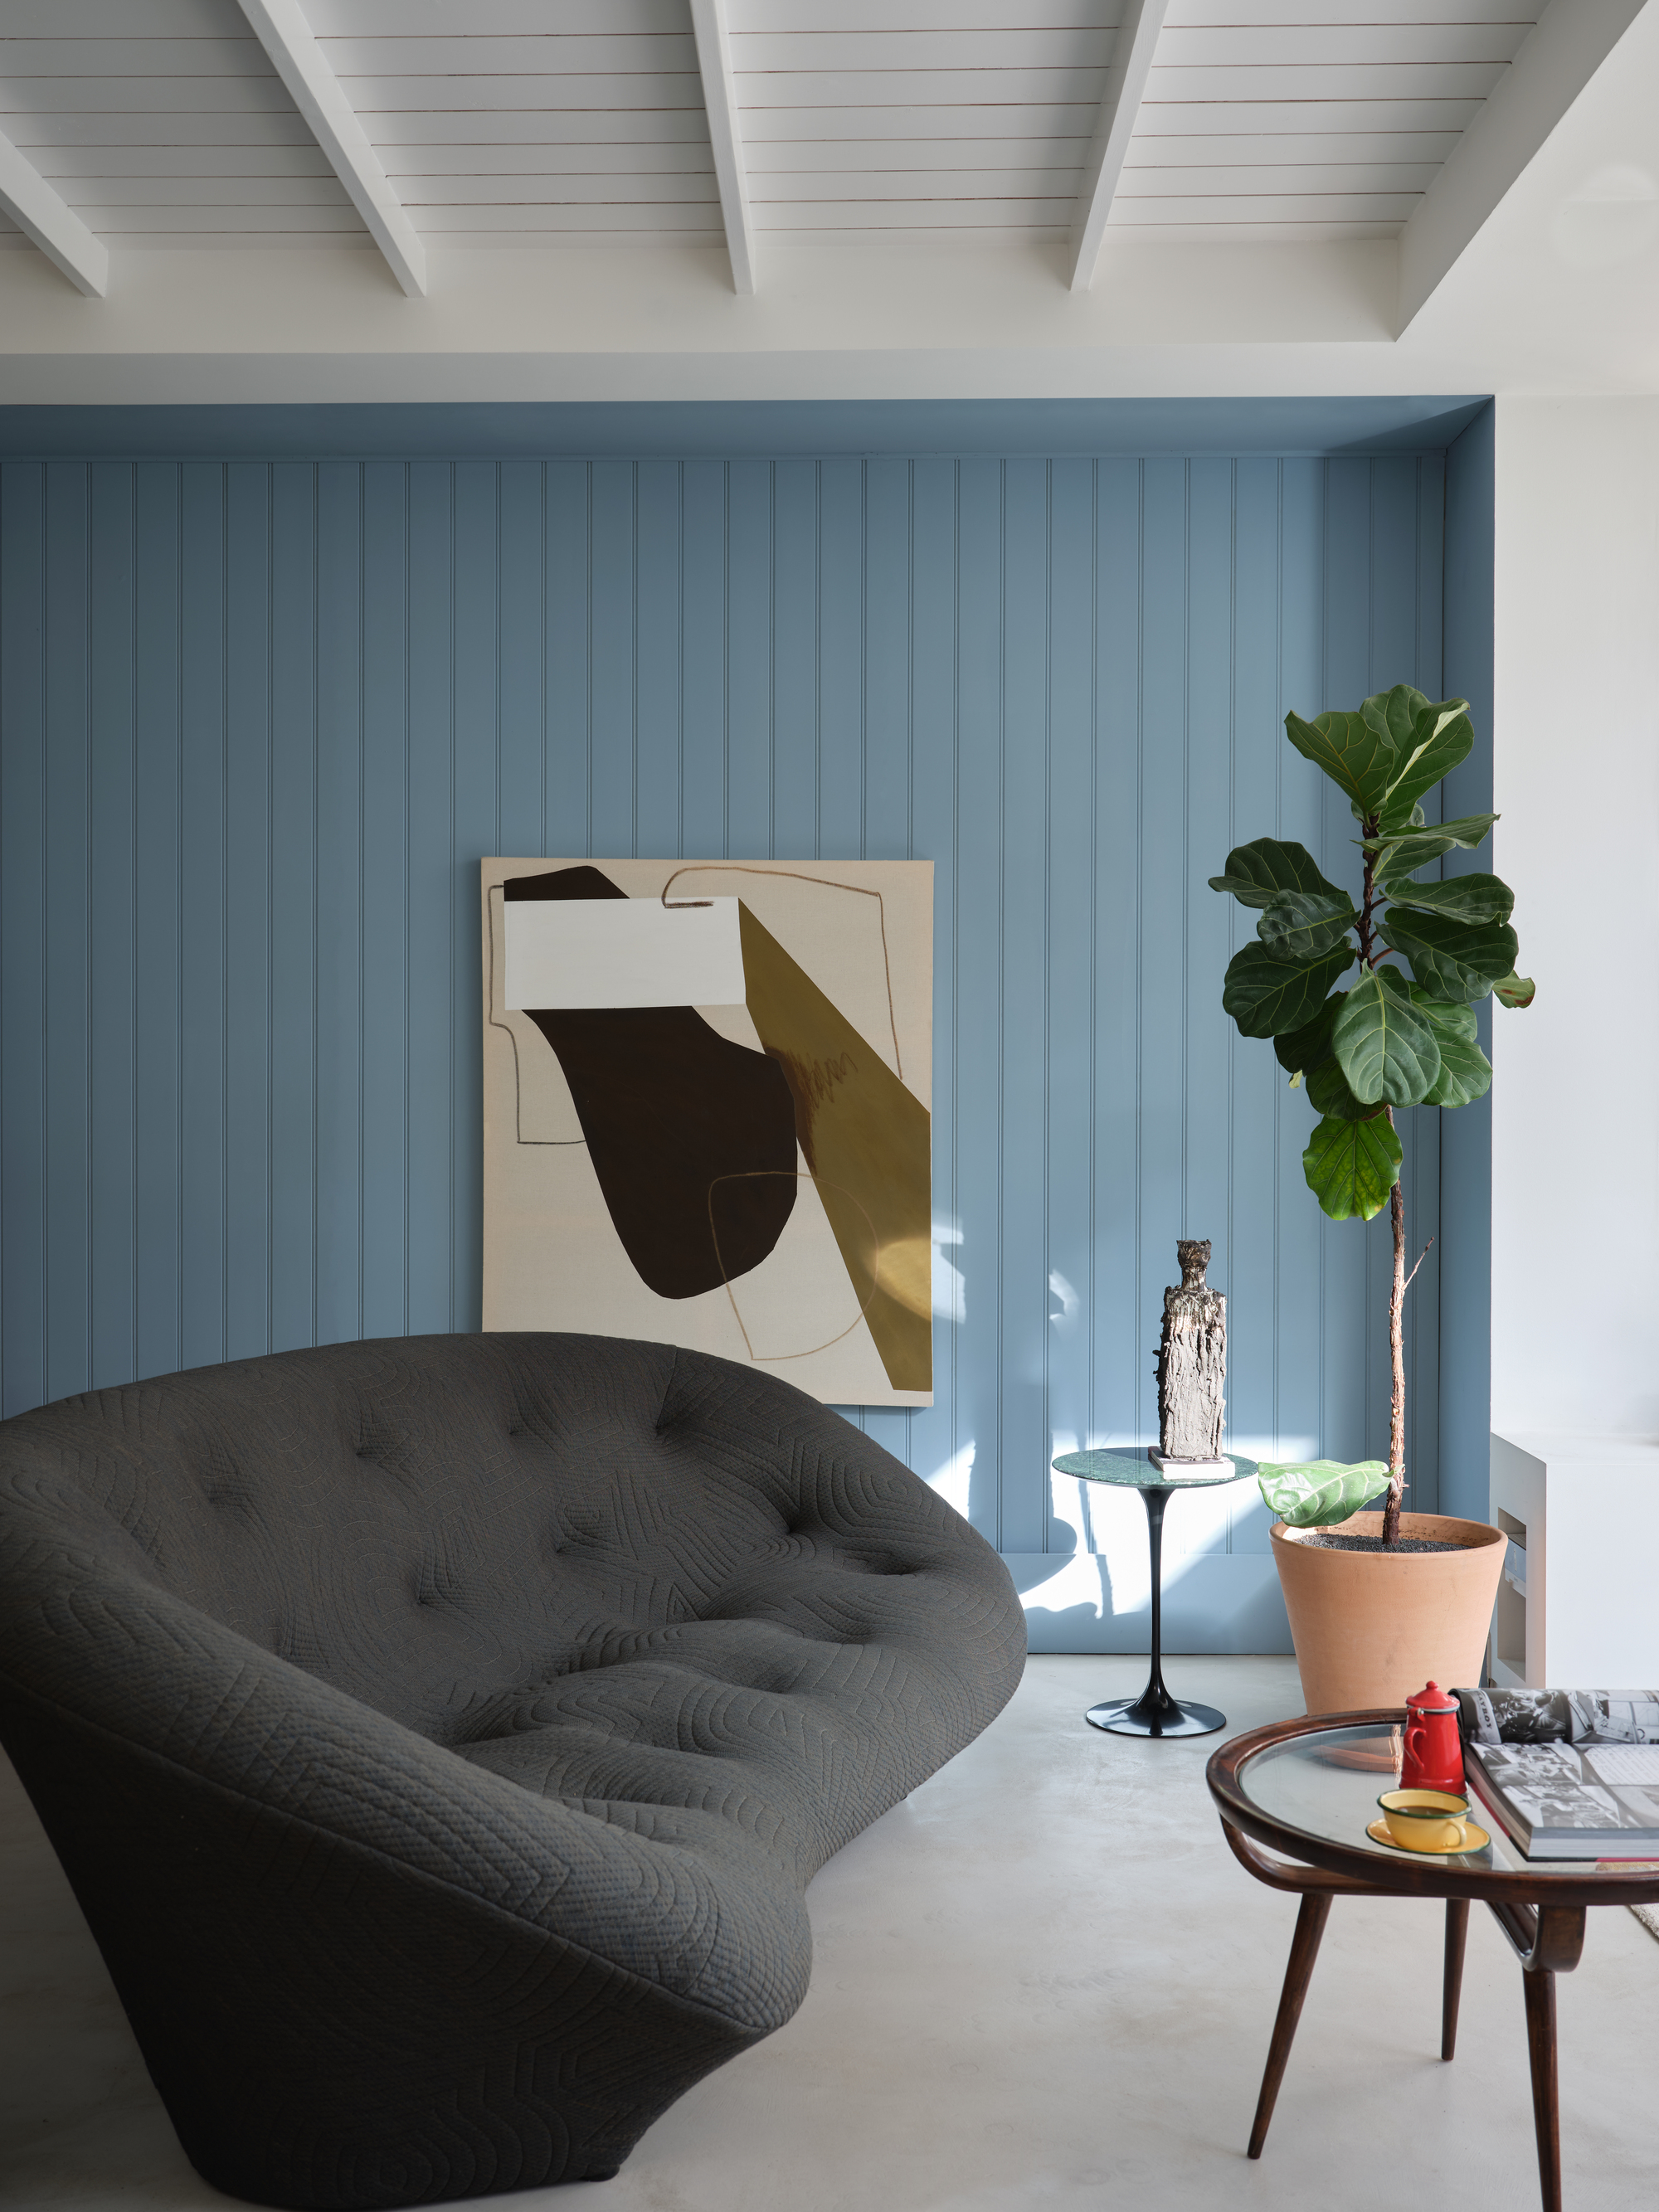
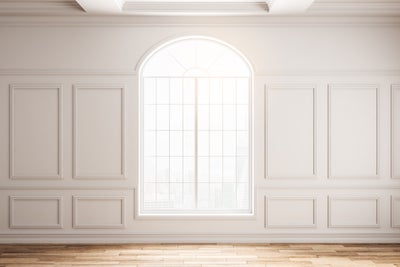
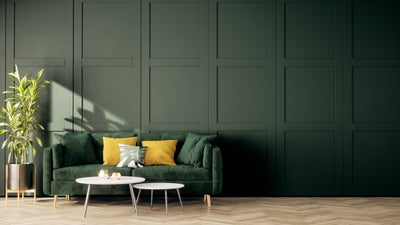
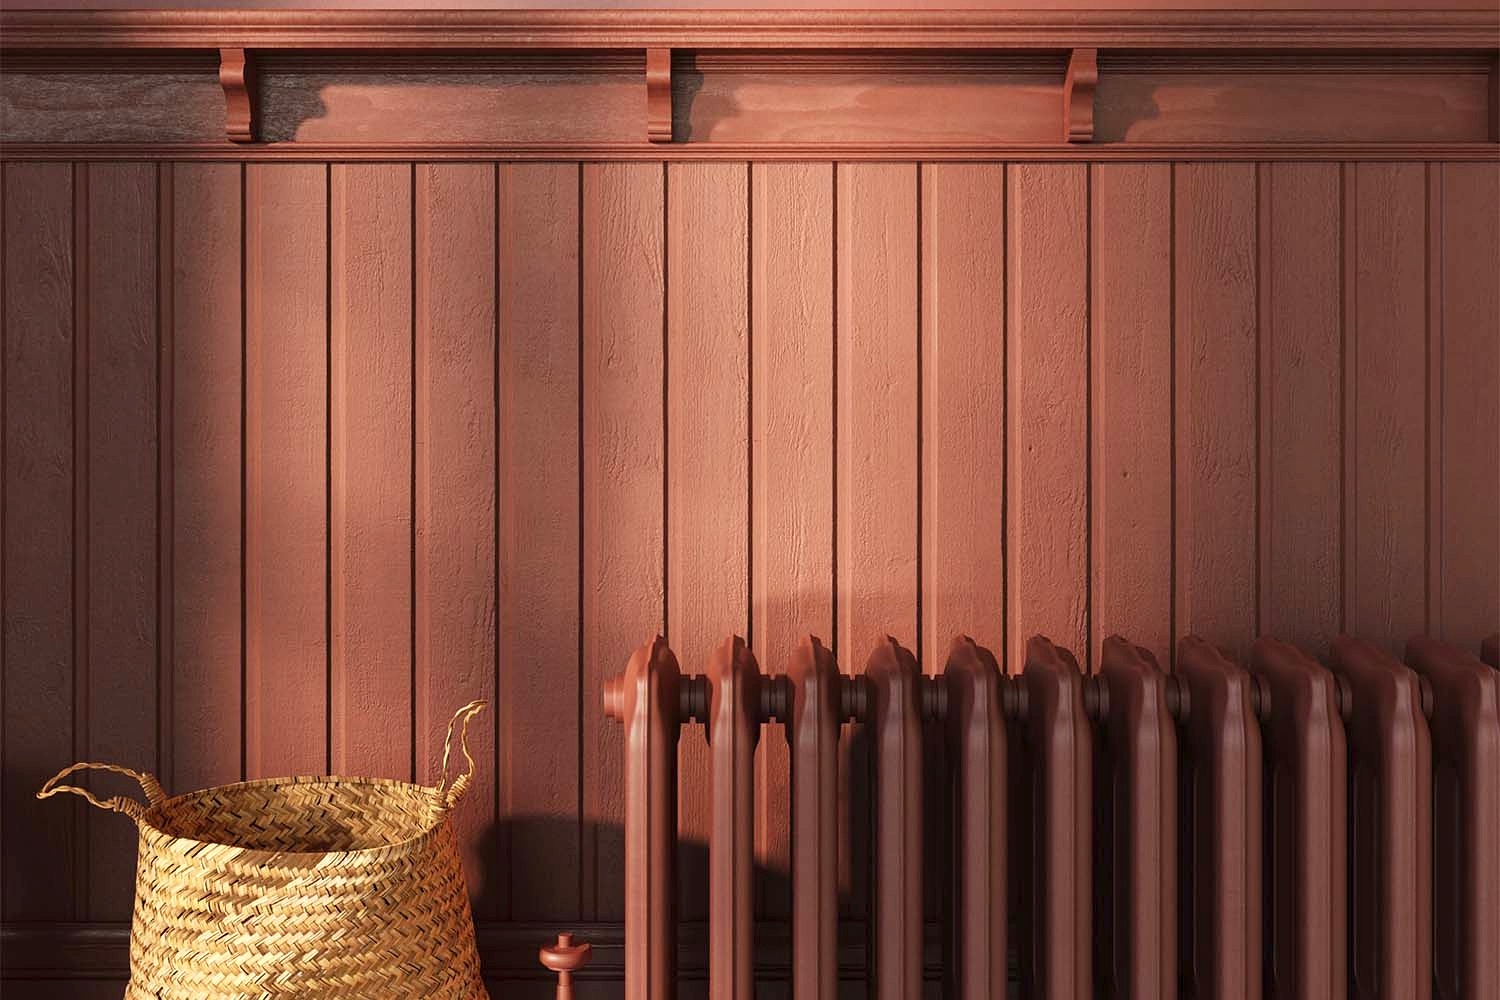
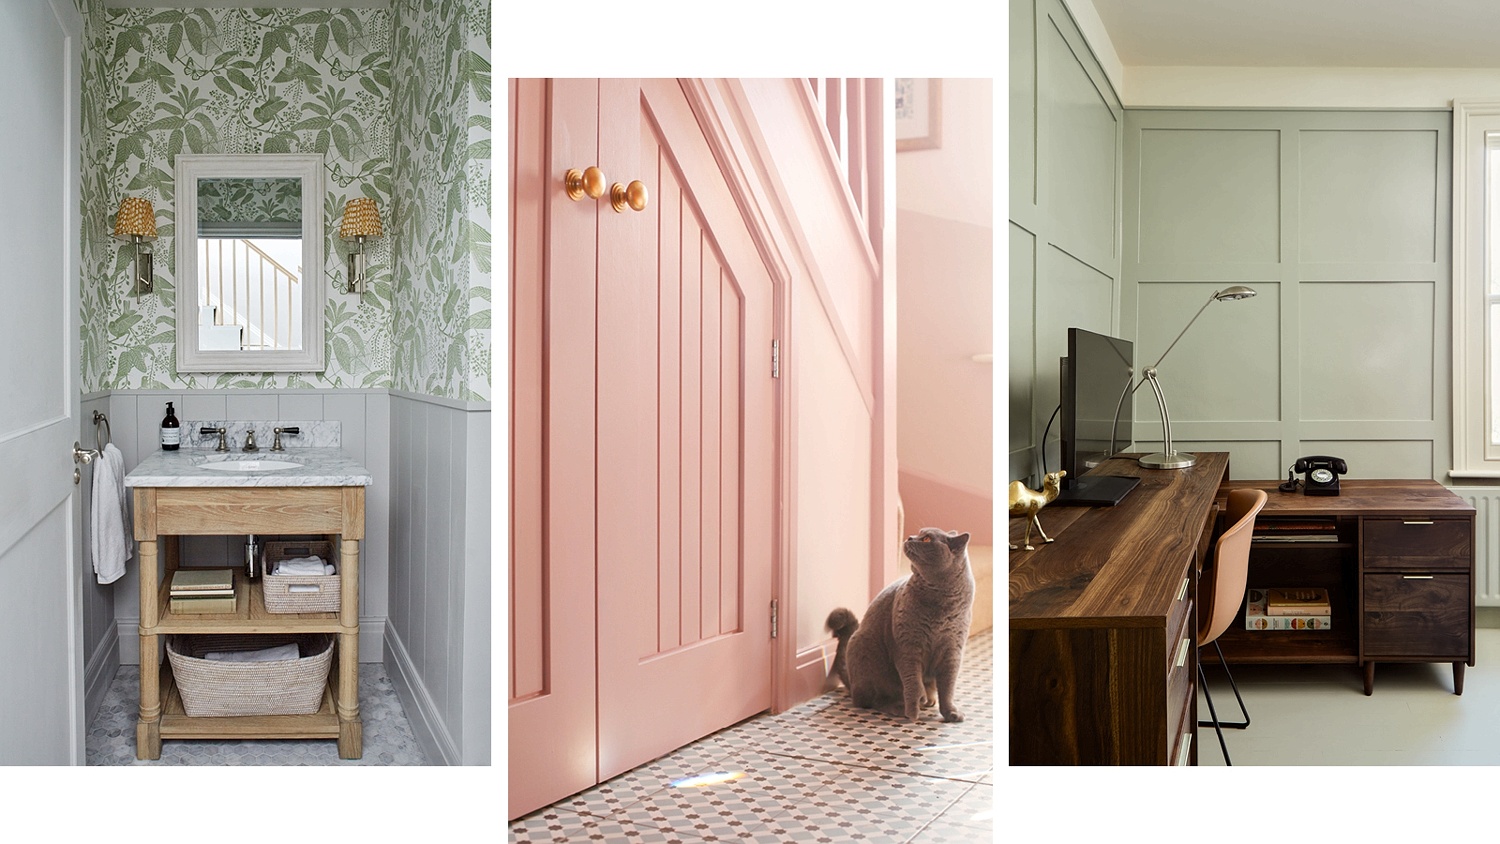
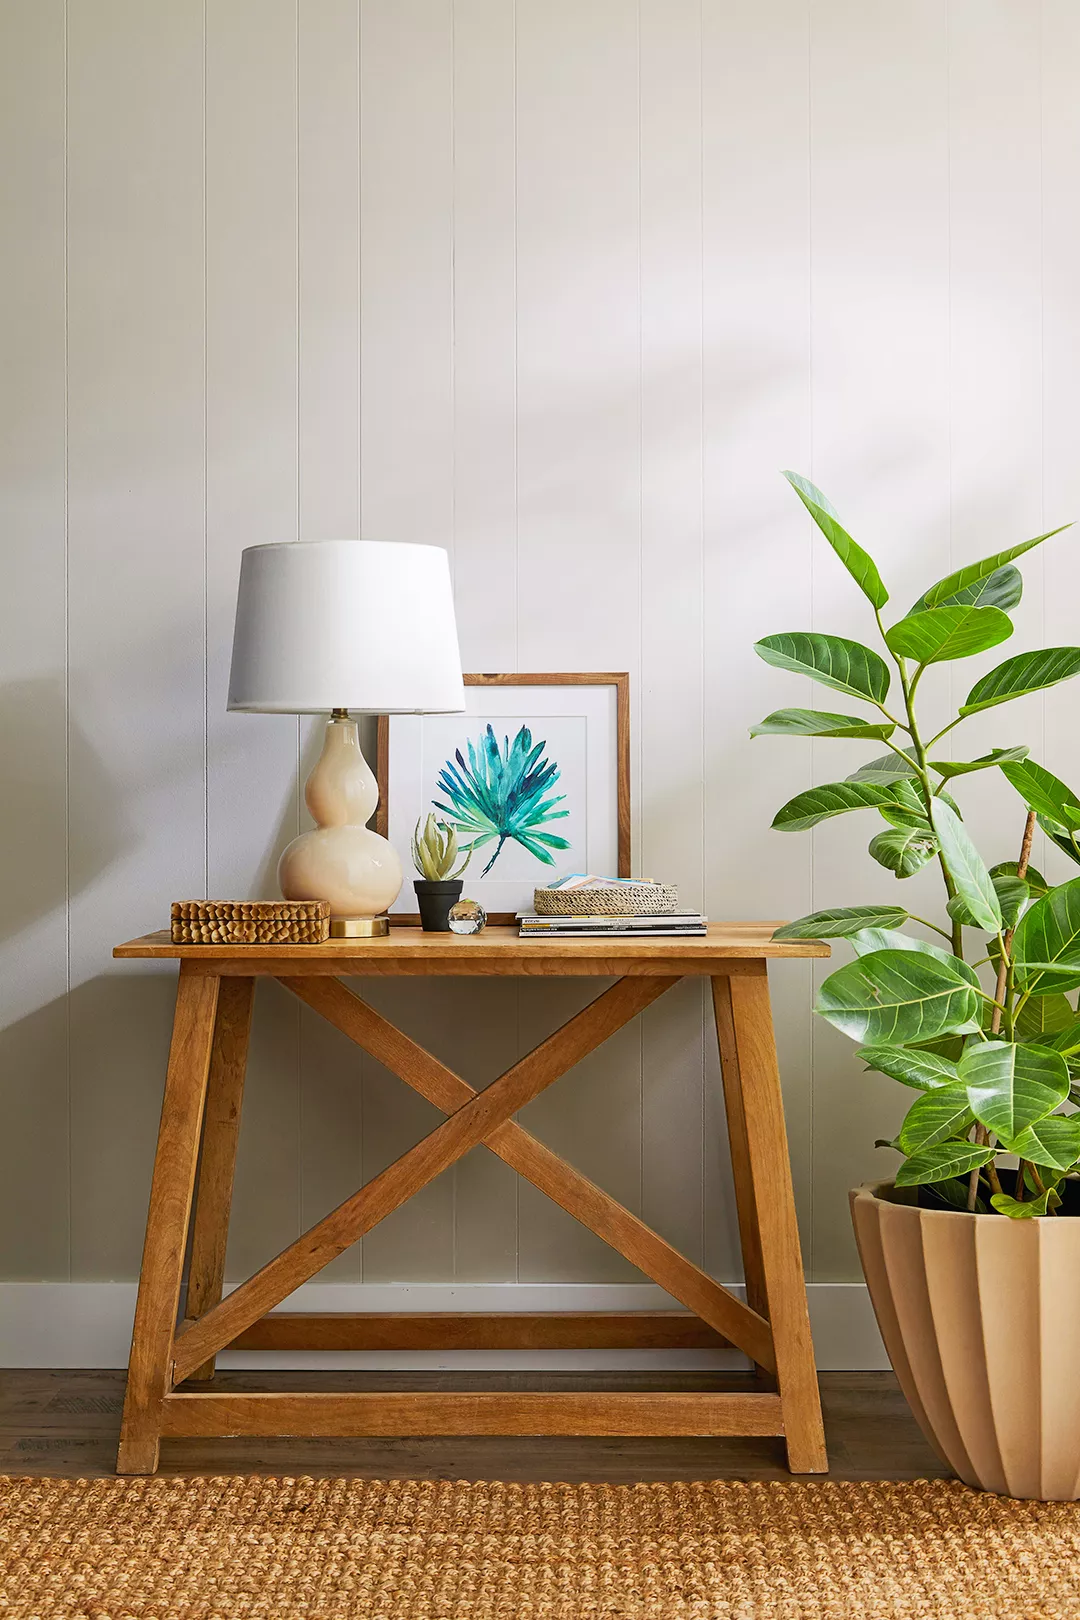
Wood paneling can provide warmth and texture to a room, but it may also appear dated depending on the design style. Painting wood paneling is a cost-effective DIY project that can modernize a home. This guide outlines a seven-step process for painting wood paneling, ensuring a clean and professional finish, even for beginners.
The initial step involves thoroughly cleaning the paneling. Dust and dirt should be removed with a damp rag, and any tough stains or grease spots require a mild cleaning solution or mineral spirits. Proper ventilation and protective gear are crucial when using mineral spirits, which are flammable and require careful disposal. After cleaning, the paneling must be allowed to dry completely.
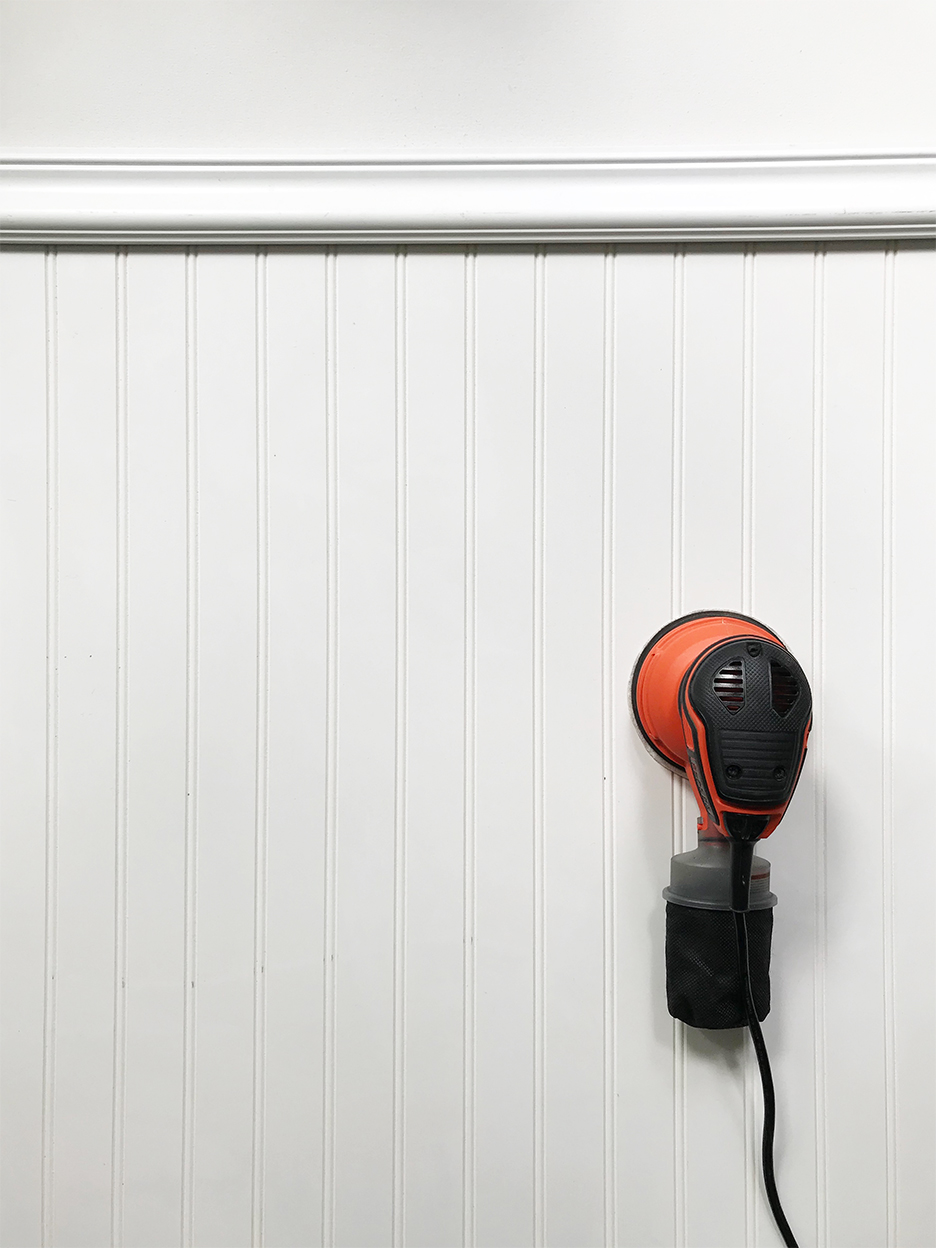
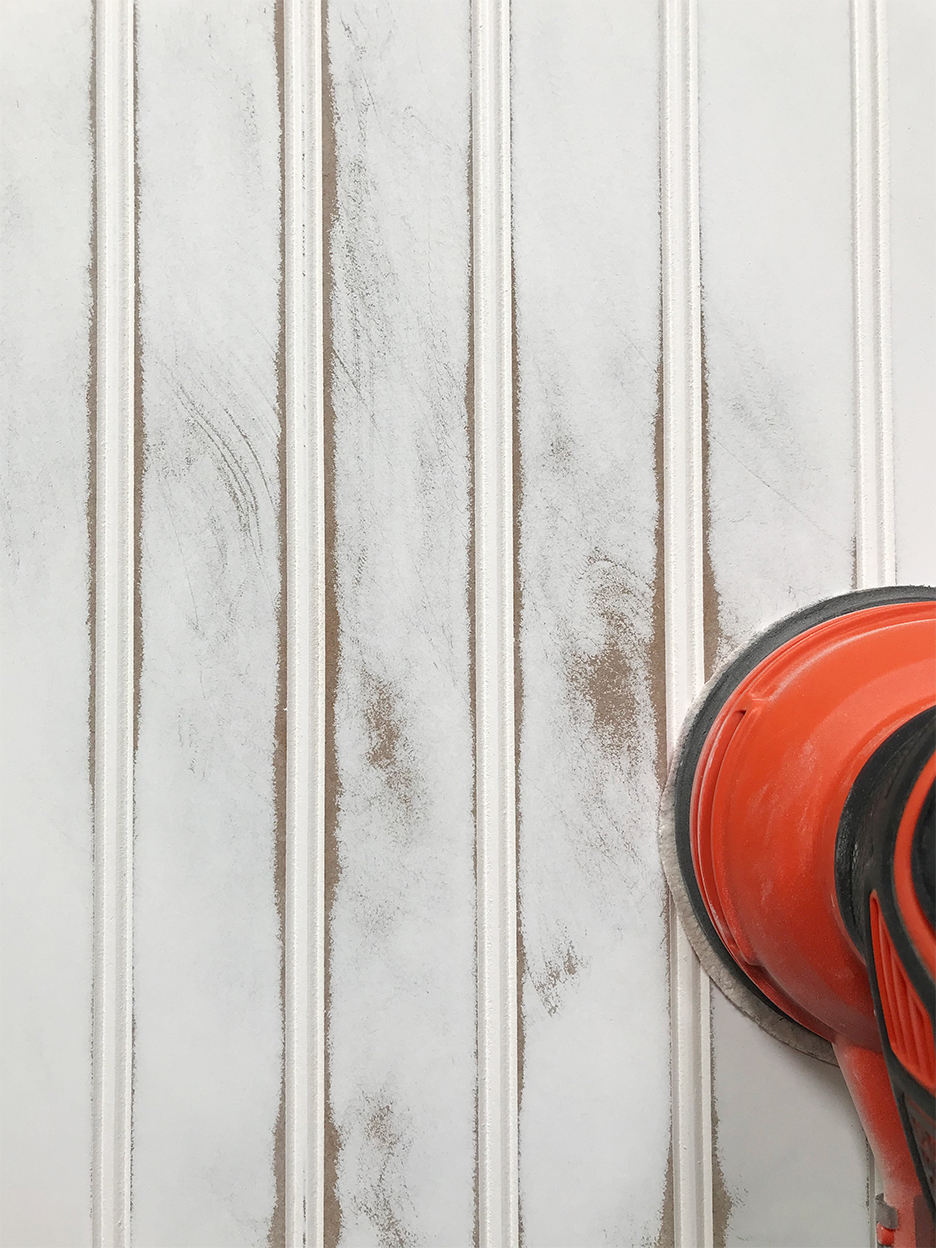
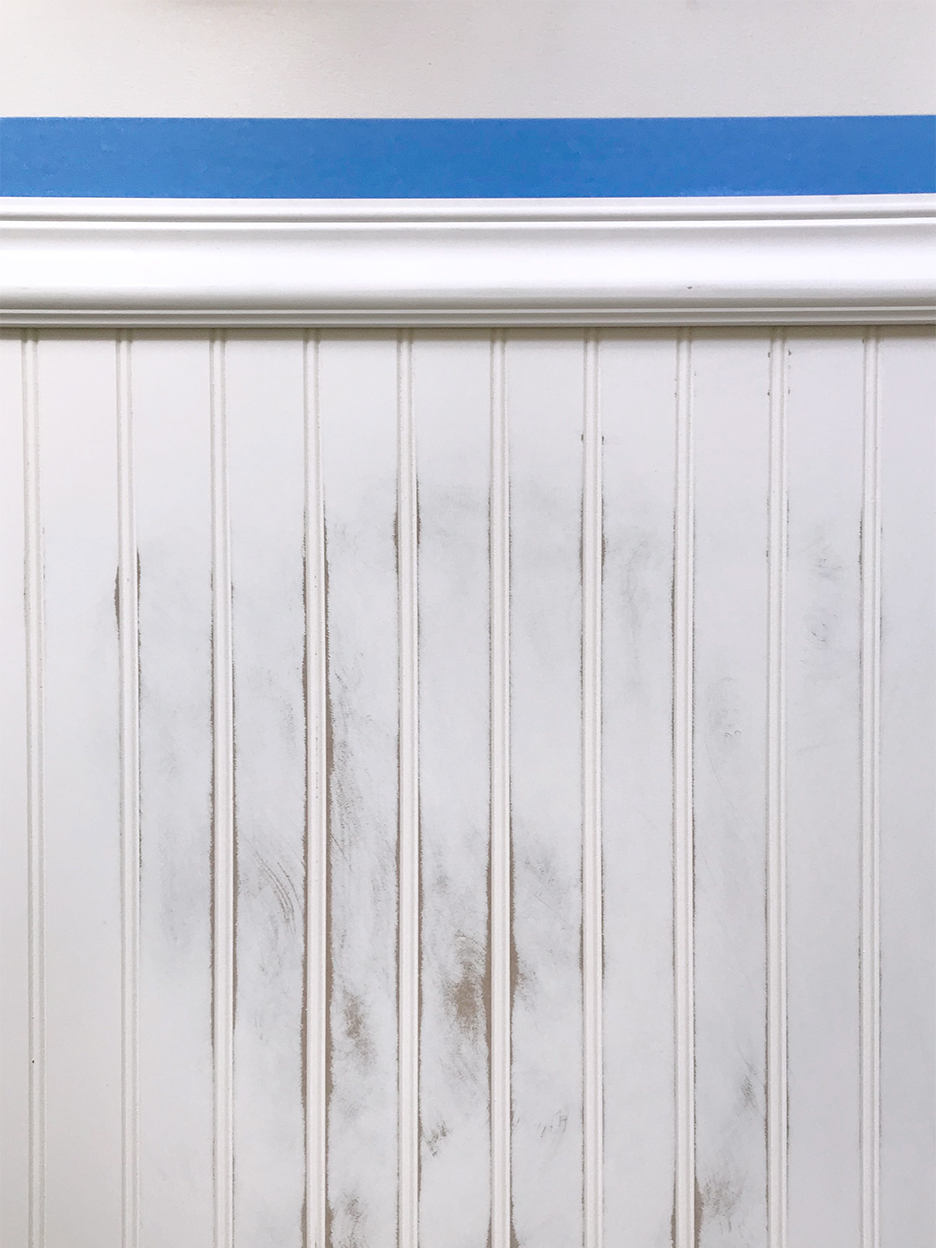
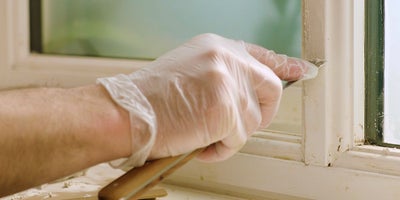
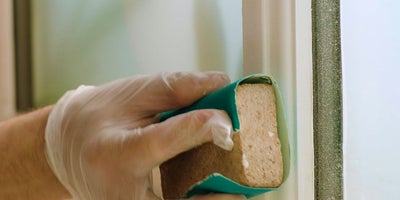
Next, any nail holes or imperfections in the paneling should be filled with a spackling compound applied with a putty knife. Once dry, the spackling should be sanded flush with the surface, and any dust removed with a tack cloth. Following this, the entire paneling surface needs to be sanded with 100-grit sandpaper to remove its sheen, which enhances paint adhesion. The goal is to rough up the existing finish, not to sand down to the bare wood.
Trim removal is the fourth step. If the trim will be a different color or remain unpainted, it should be carefully removed using a pry bar. If the trim will be painted the same color as the paneling, it should be lightly sanded. After sanding, all surfaces should be wiped clean with a damp cloth to remove dust.
Step five involves caulking any cracks or gaps where the paneling meets other surfaces, such as baseboards, ceilings, doors, or windows. This creates a polished look. The caulk must dry completely according to the manufacturer's instructions before proceeding. The sixth step focuses on protecting surrounding areas. Drop cloths should cover the floor to prevent paint drips, and painter's tape should be used to mask off areas like ceilings, vents, doorways, and windows to ensure clean, sharp edges.
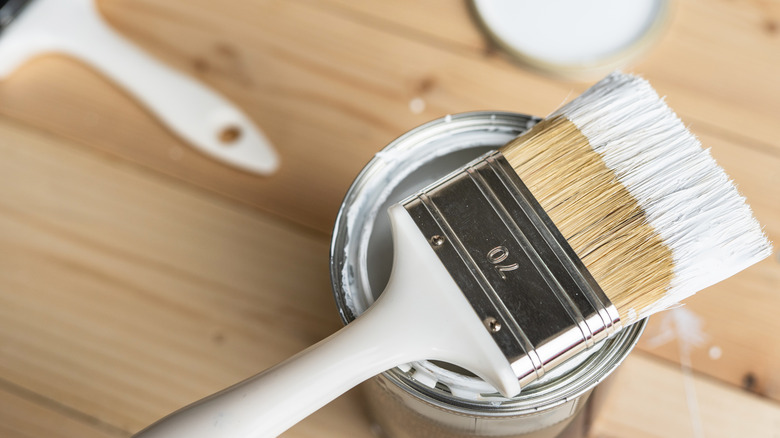
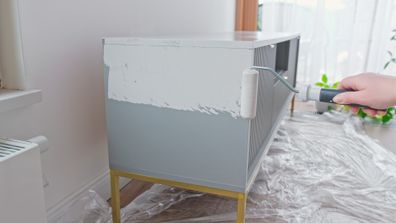
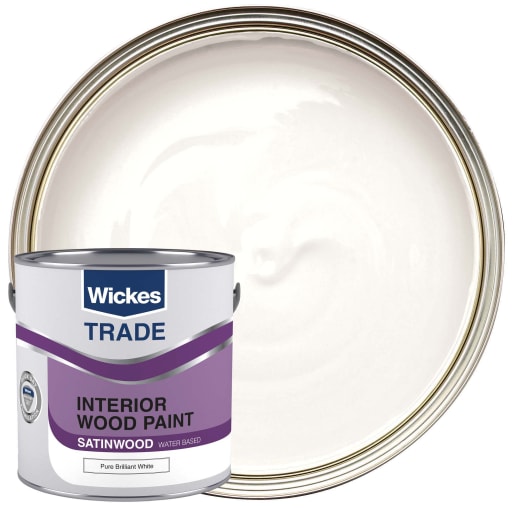
The final step is priming and painting the paneling. A latex-based, stain-blocking primer, ideally tinted to a similar color as the final paint, should be applied. A roller with a medium nap is recommended to ensure even coverage and to fill the vertical grooves of the paneling while maintaining a smooth finish. A roller with a large or adjustable handle can facilitate reaching all areas of the wall. After the primer has dried, two coats of latex wall paint should be applied to complete the transformation.
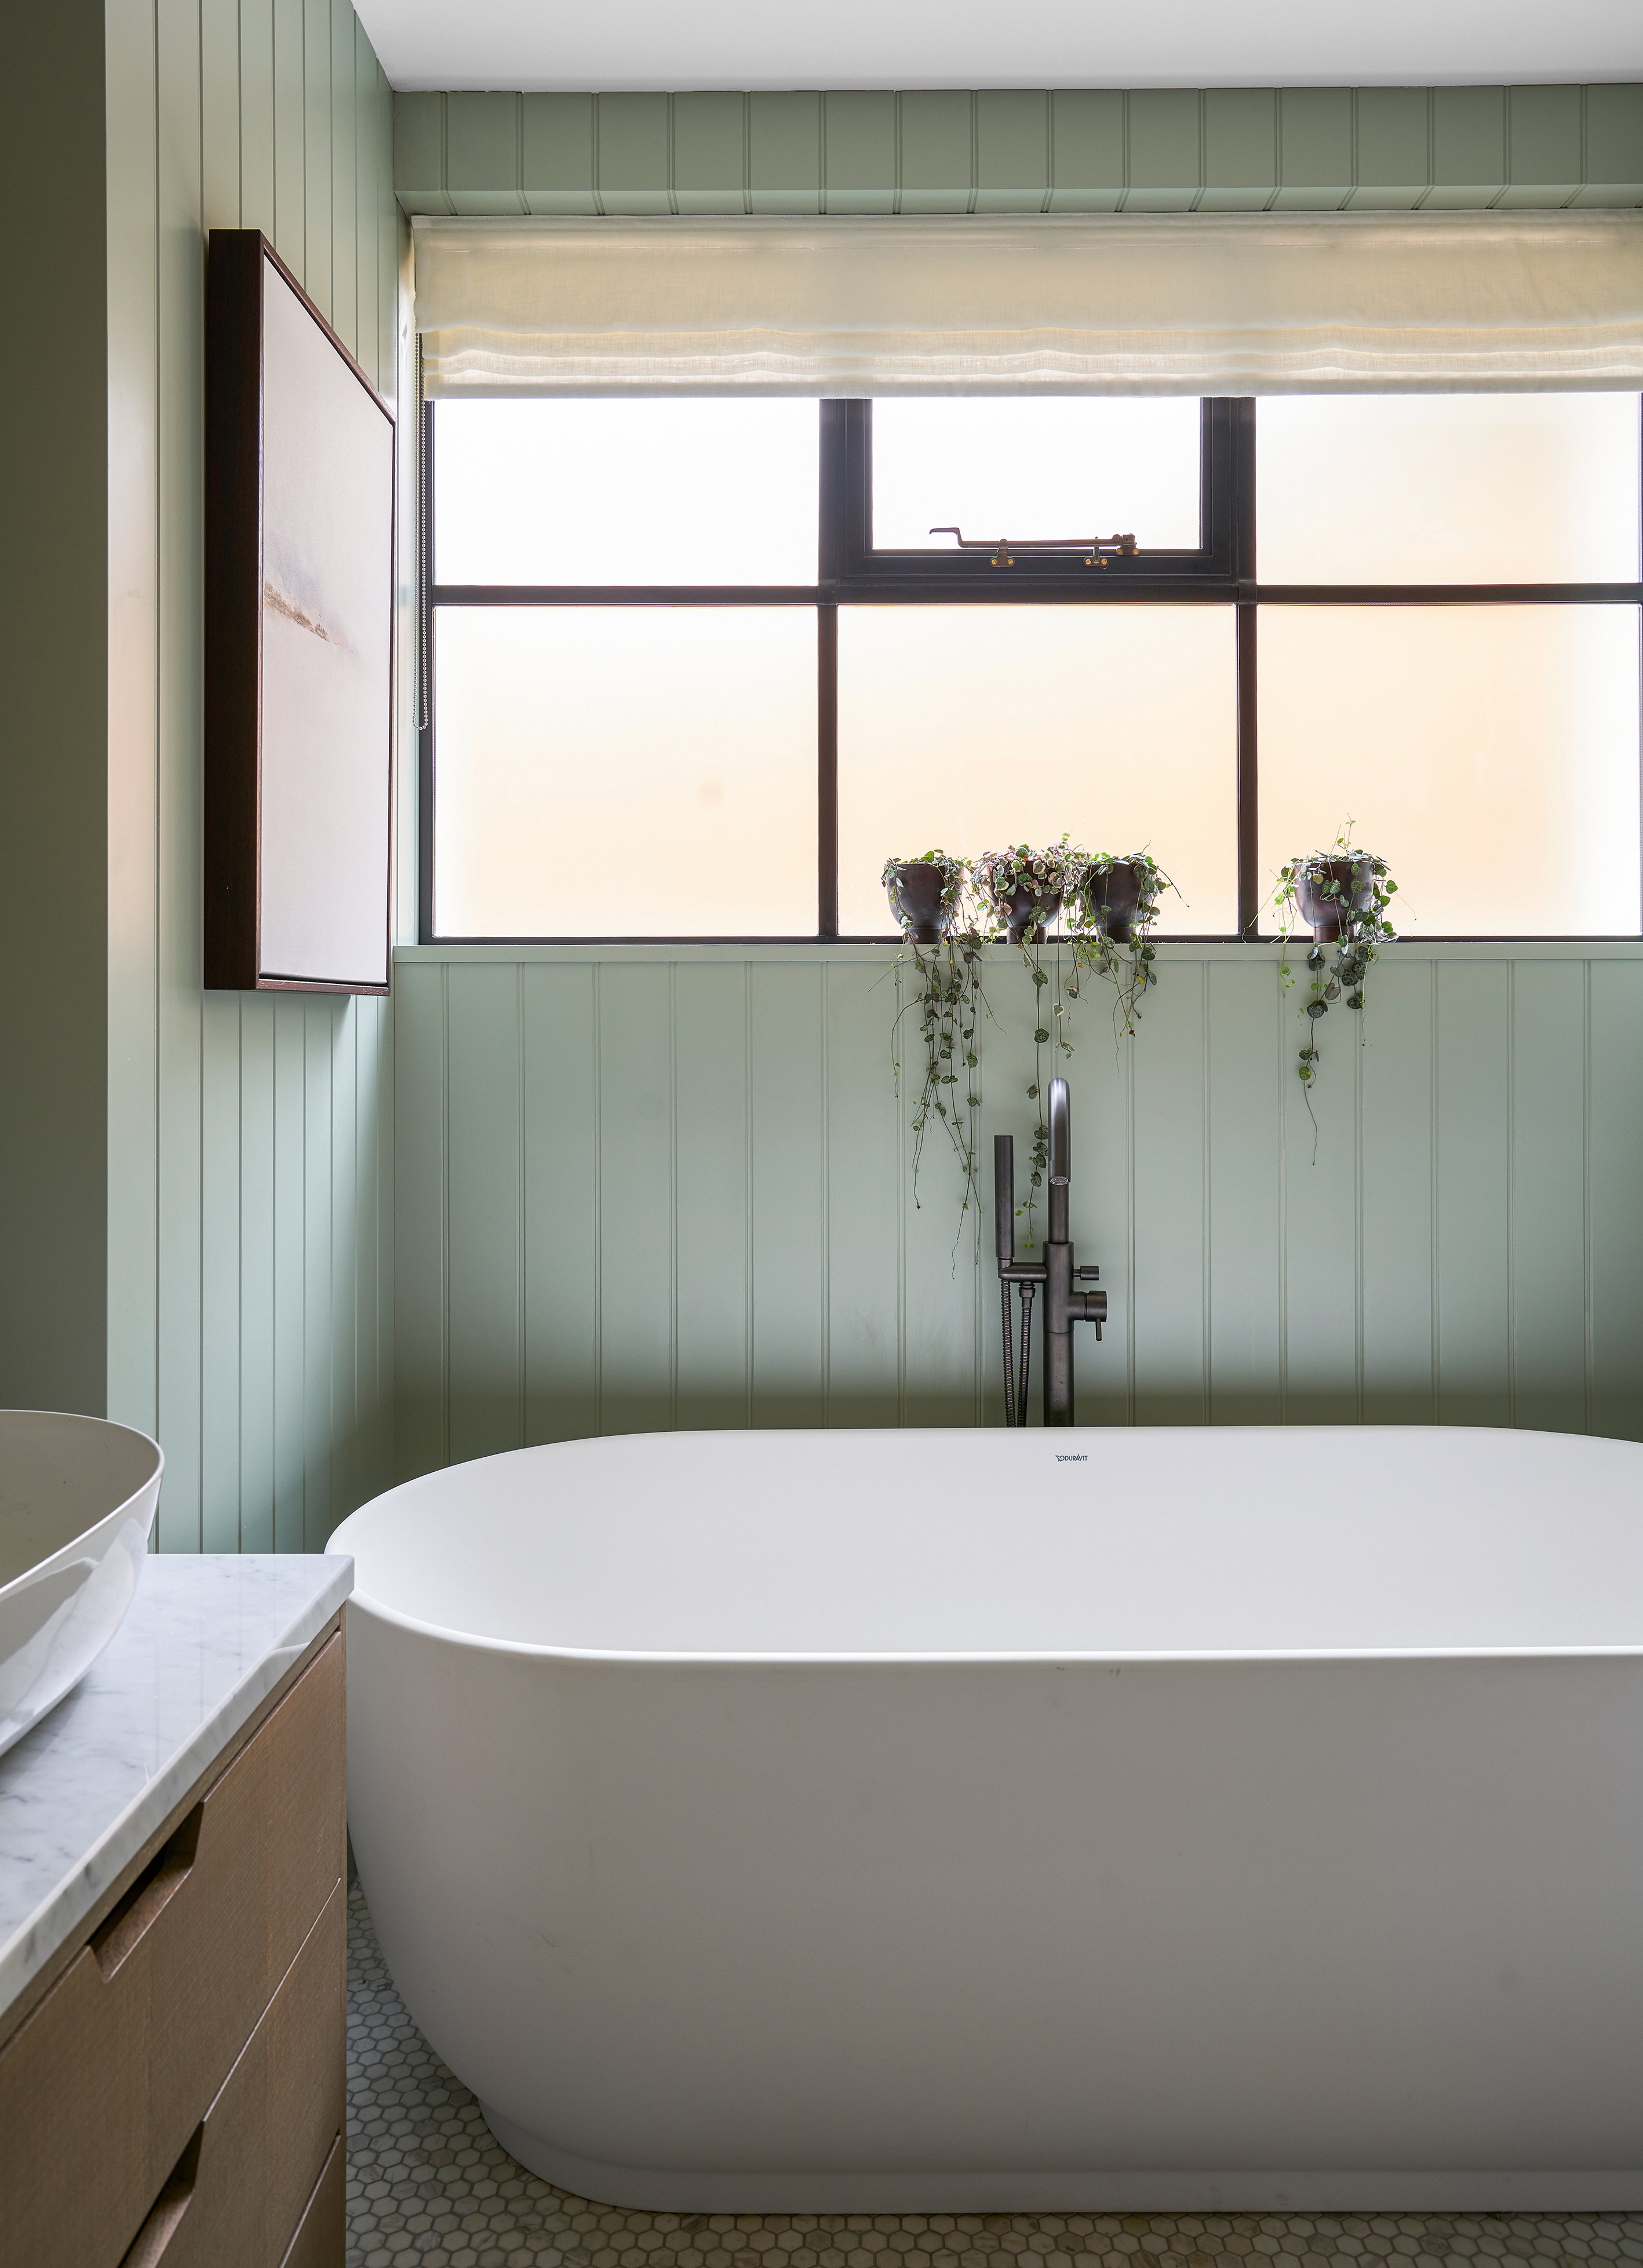
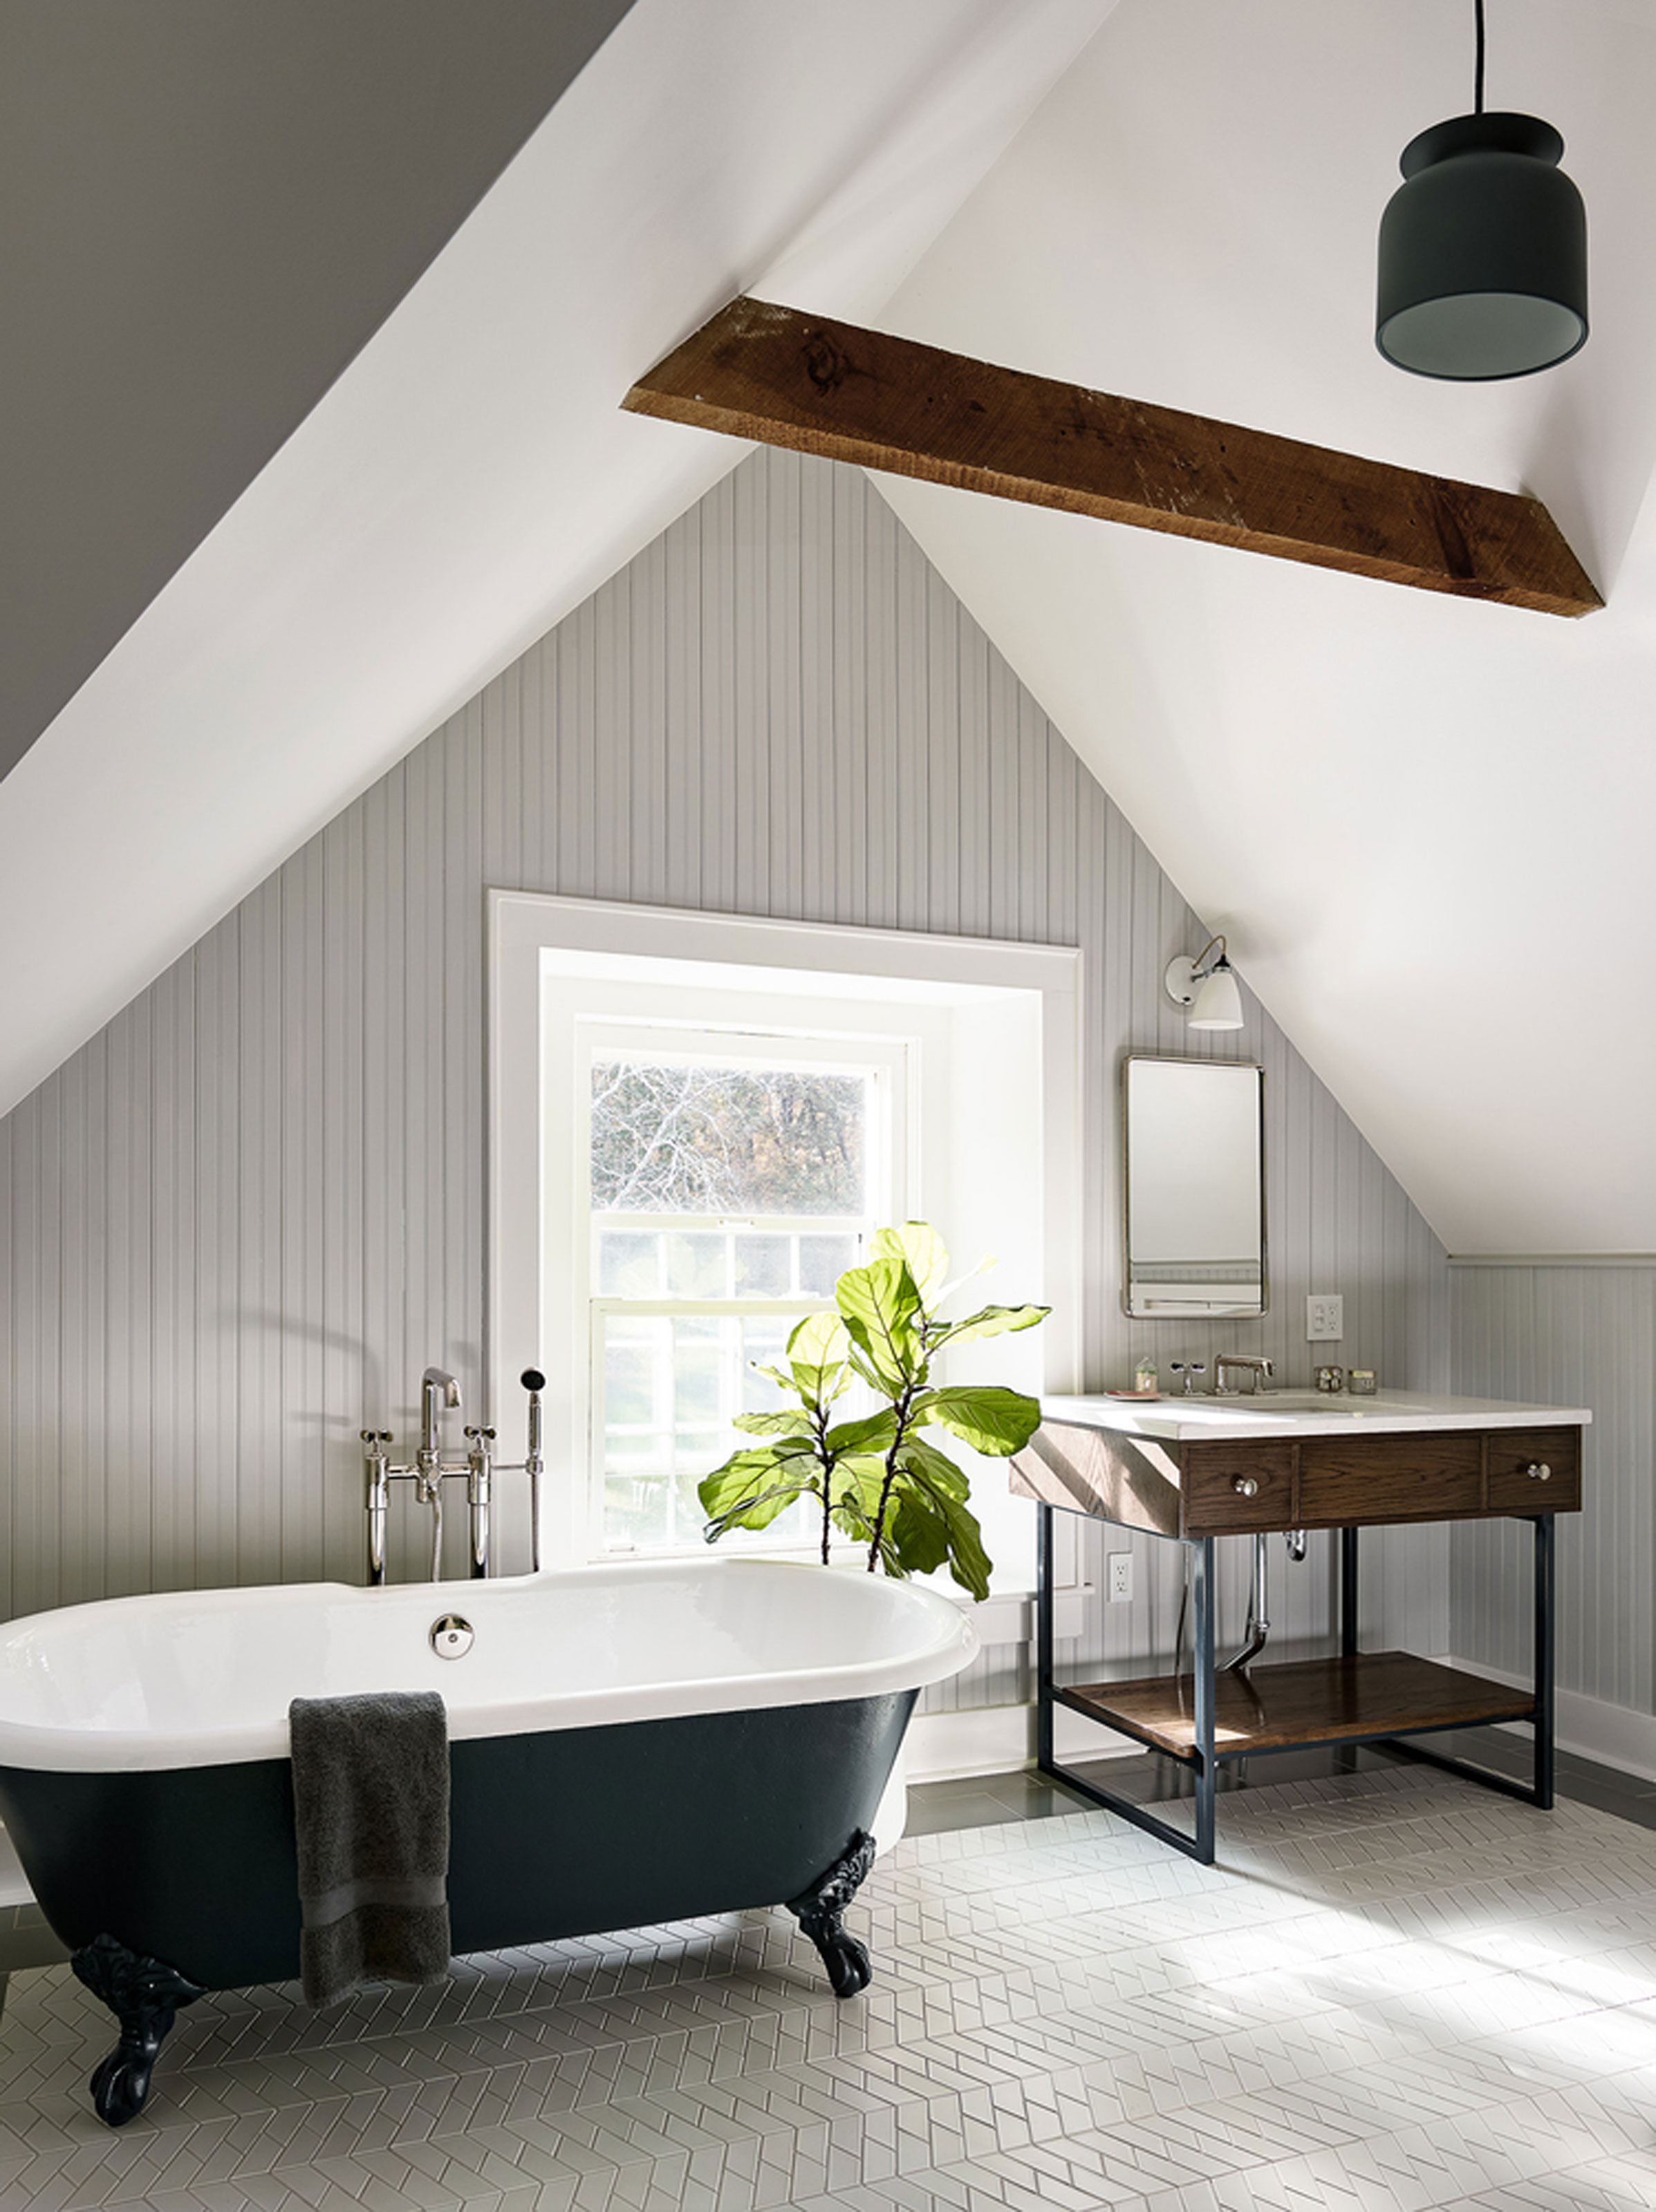
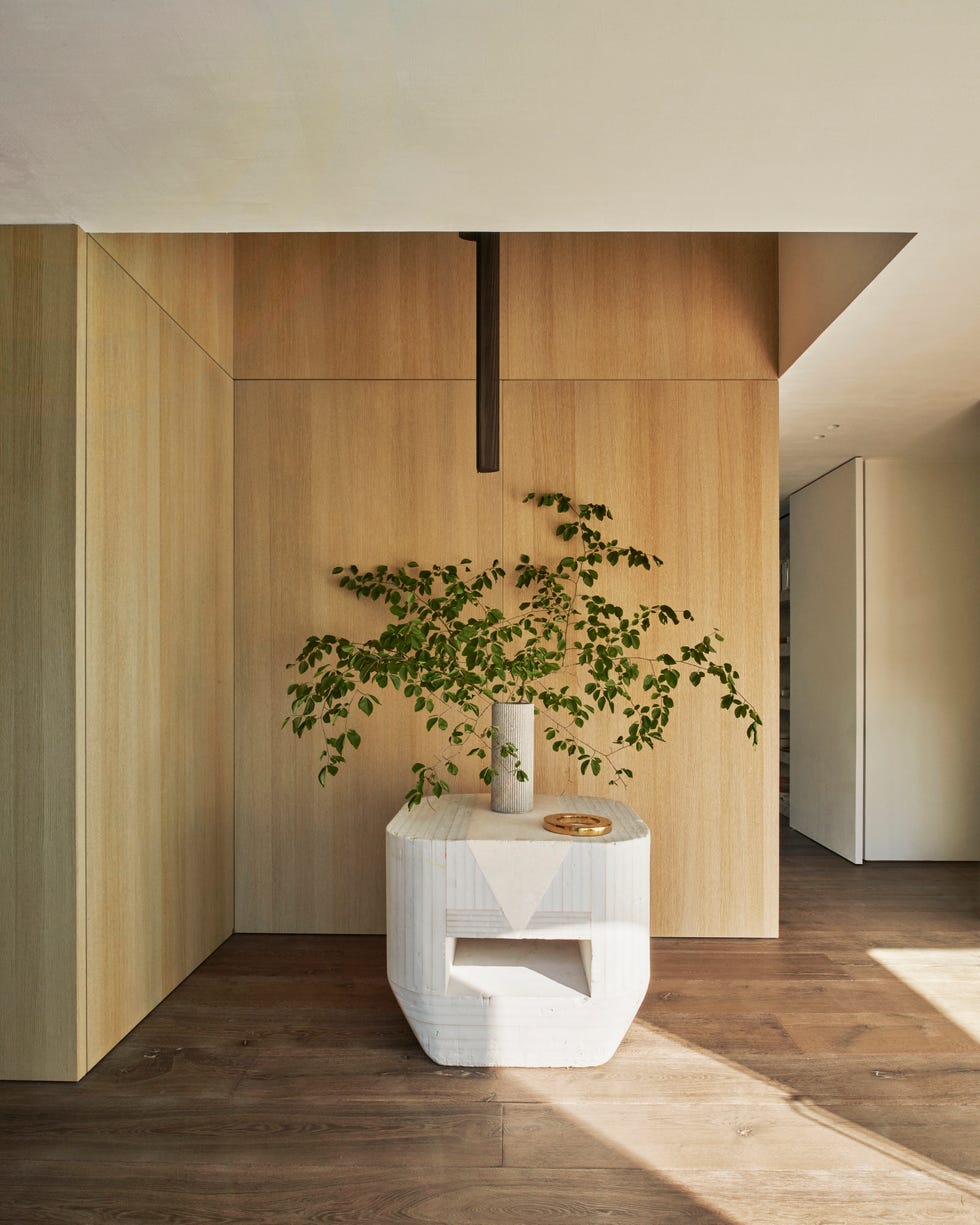
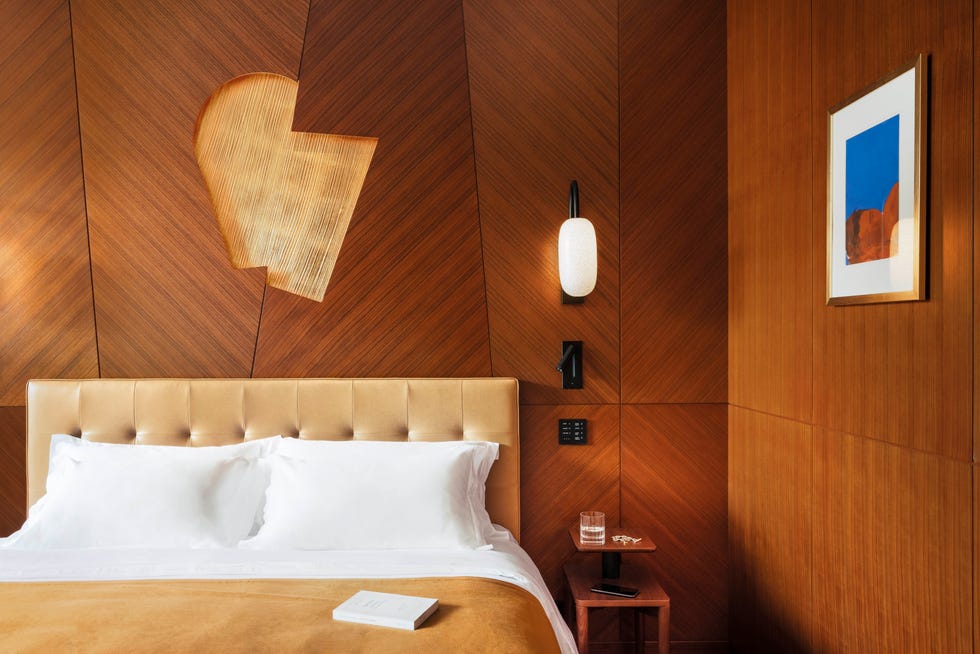
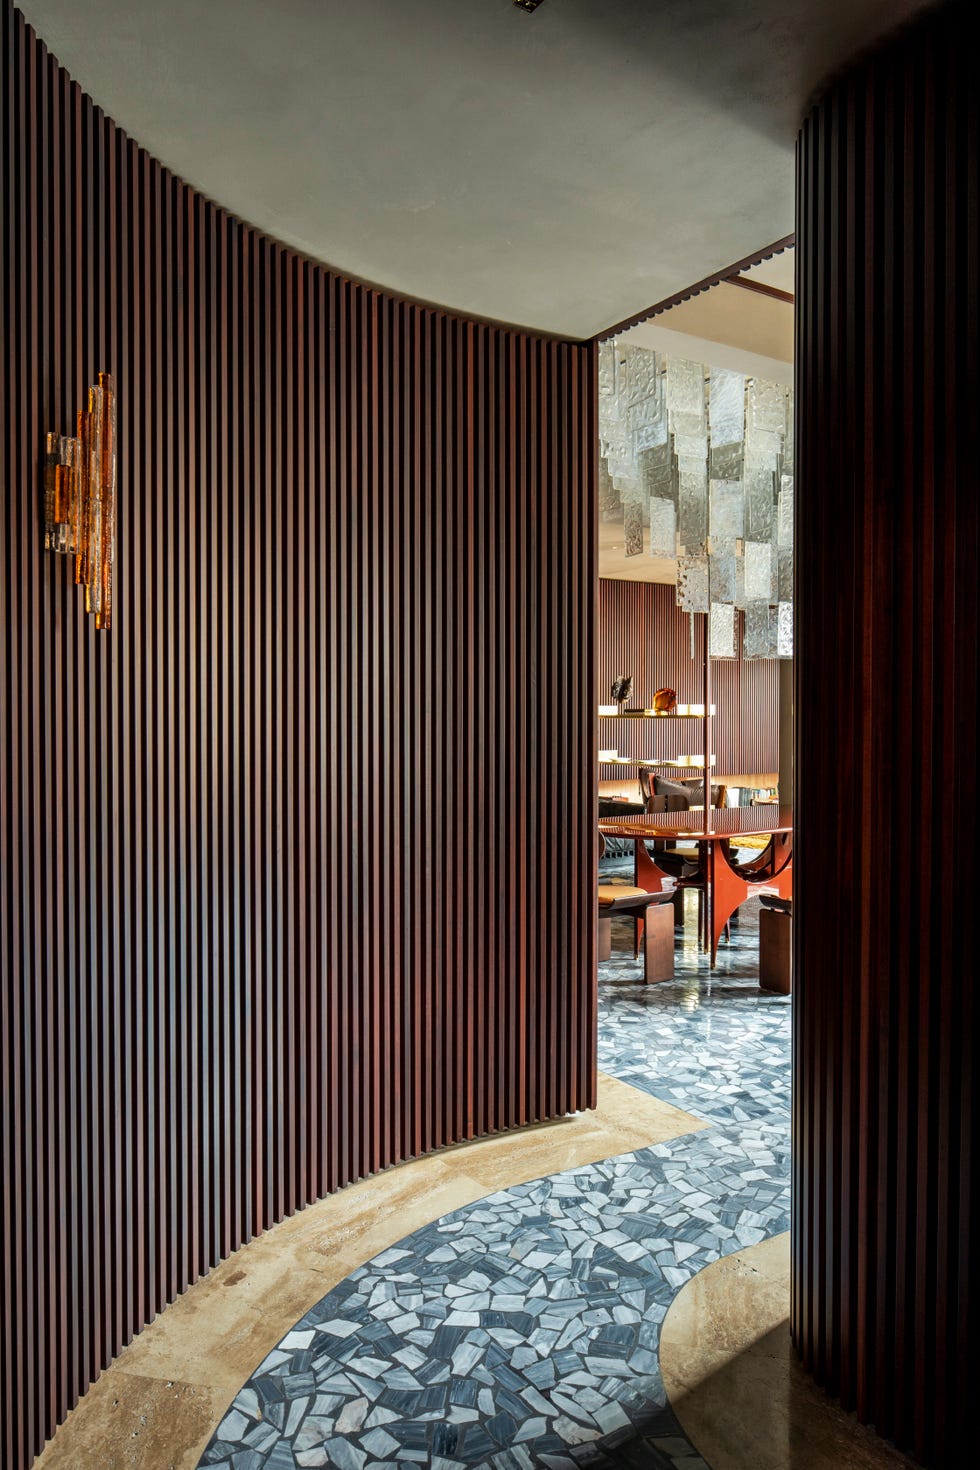
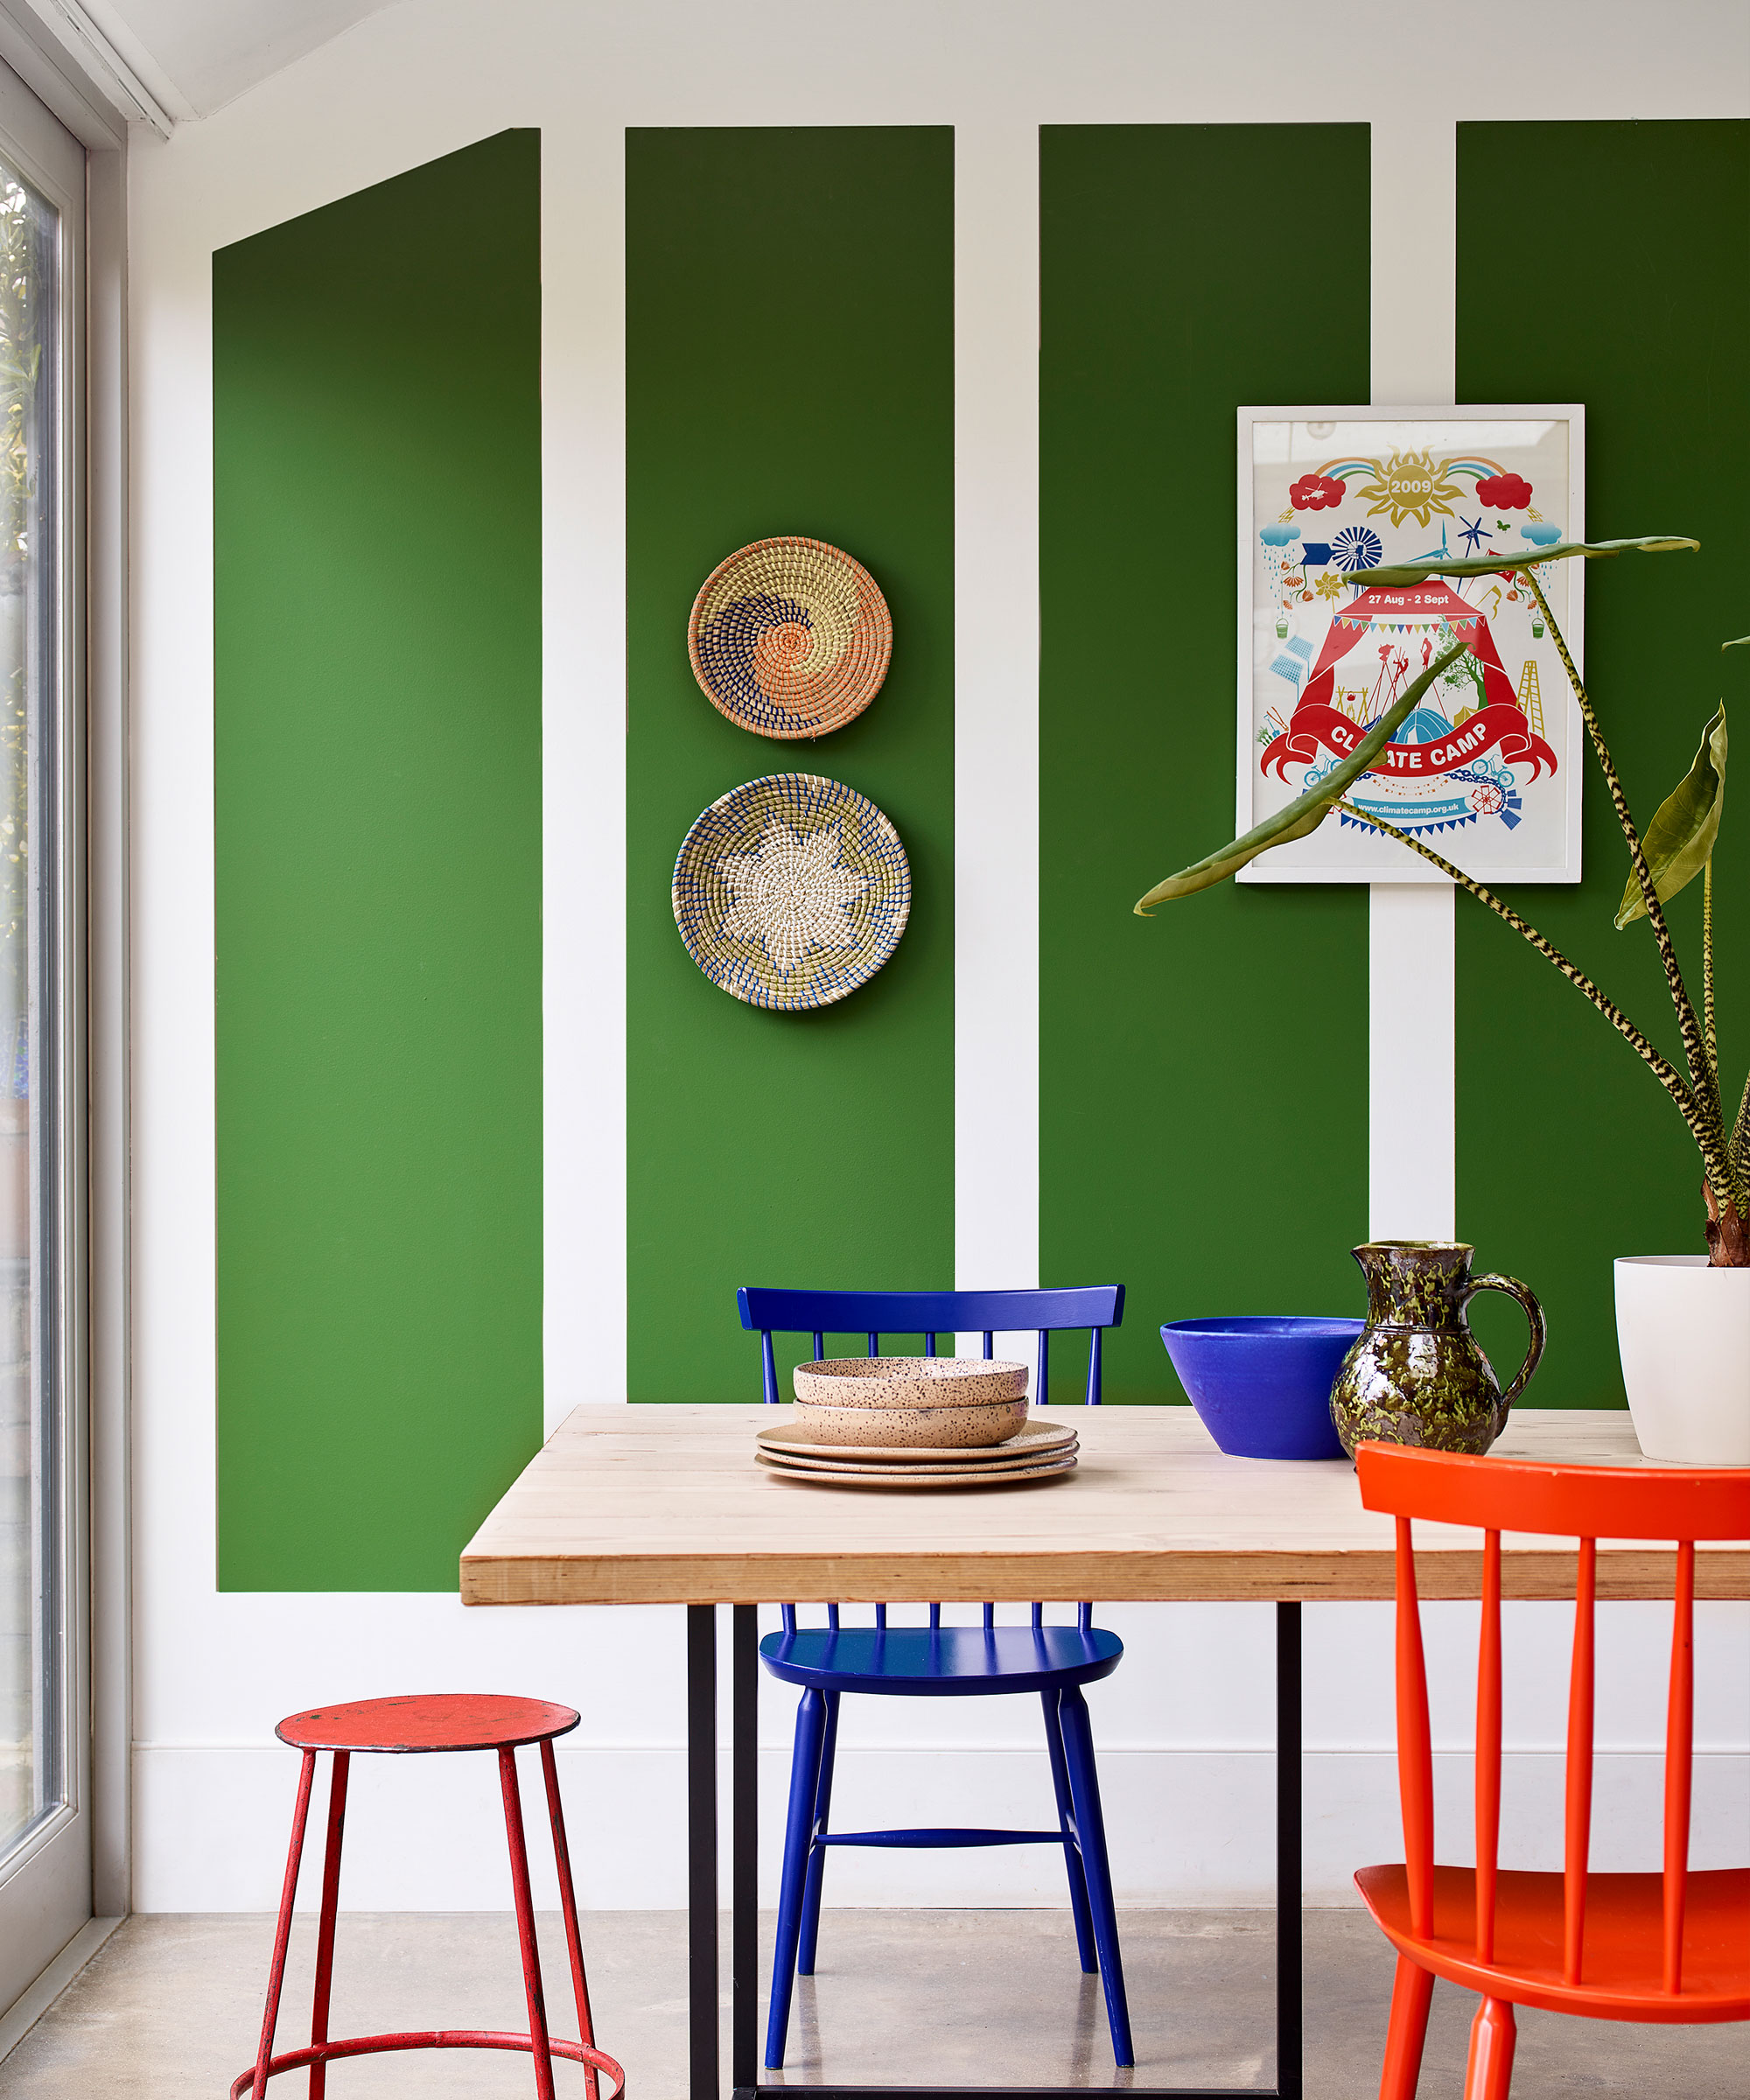
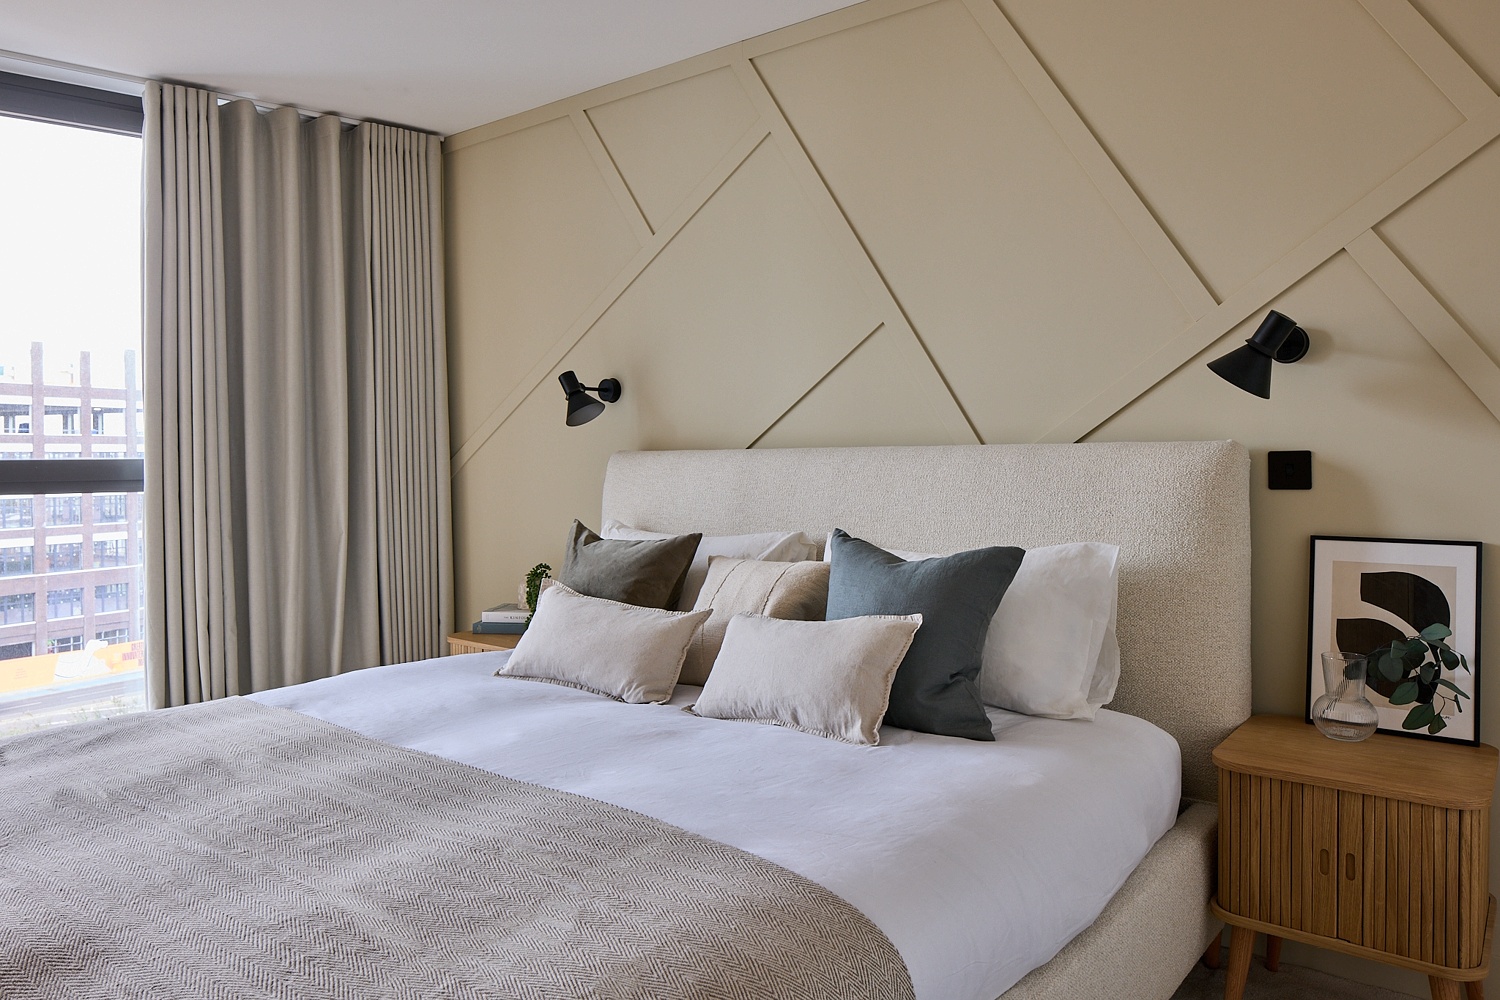
Beyond painting, other methods to update wood-paneled spaces include whitewashing for a distressed look, painting panels and grooves different colors for a dynamic effect, using stencils for unique textures, attaching smaller wooden slats for a modern feature wall (pre-painting slats if painting the paneling), or creating a living wall with real or faux greenery in a removable frame.
The article also addresses common questions, confirming that while sanding improves adherence, it's not always strictly necessary, especially if the existing paint is in good condition. If existing paint is sound, stripping is not required before repainting; cleaning, sanding, and priming suffice. However, stripping may be needed for thick, heavily layered, or significantly damaged paint. Removing paint from wood paneling is possible using sanders, heat guns, or chemical strippers, but care is advised, especially with lead-laden paint, which may require professional removal.
#WoodPaneling #DIYHomeImprovement #InteriorPainting #HomeDecor #RenovationTips #WallTreatment #HomeStyling #PaintingGuide #InteriorDesign #WoodPaneling #DIYHomeImprovement #InteriorPainting #HomeDecor #RenovationTips #WallTreatment #HomeStyling #PaintingGuide #InteriorDesign
0 comment in total
 No comments yet
You may also like
How to Paint Wood-Paneling

How to paint interior woodwork

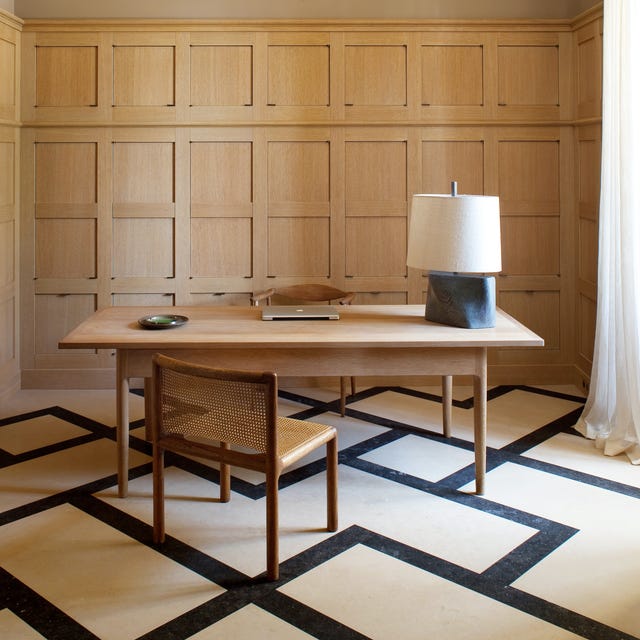
Wood panelling: an essential guide to the big decorating trend

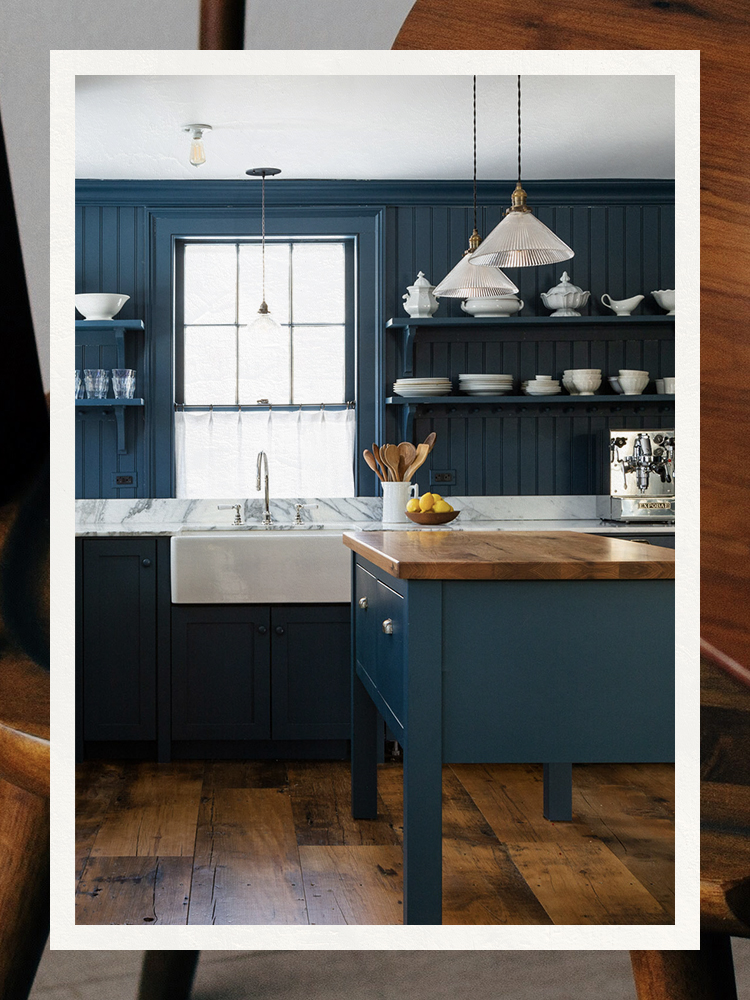
Buying the Best Paint for Wood Means Nothing Without This Important First Step

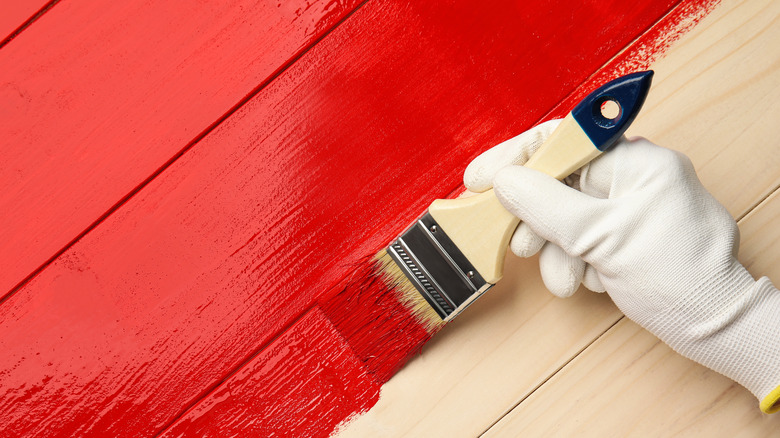
The Best Way To Paint Wood Paneling, According To An Expert
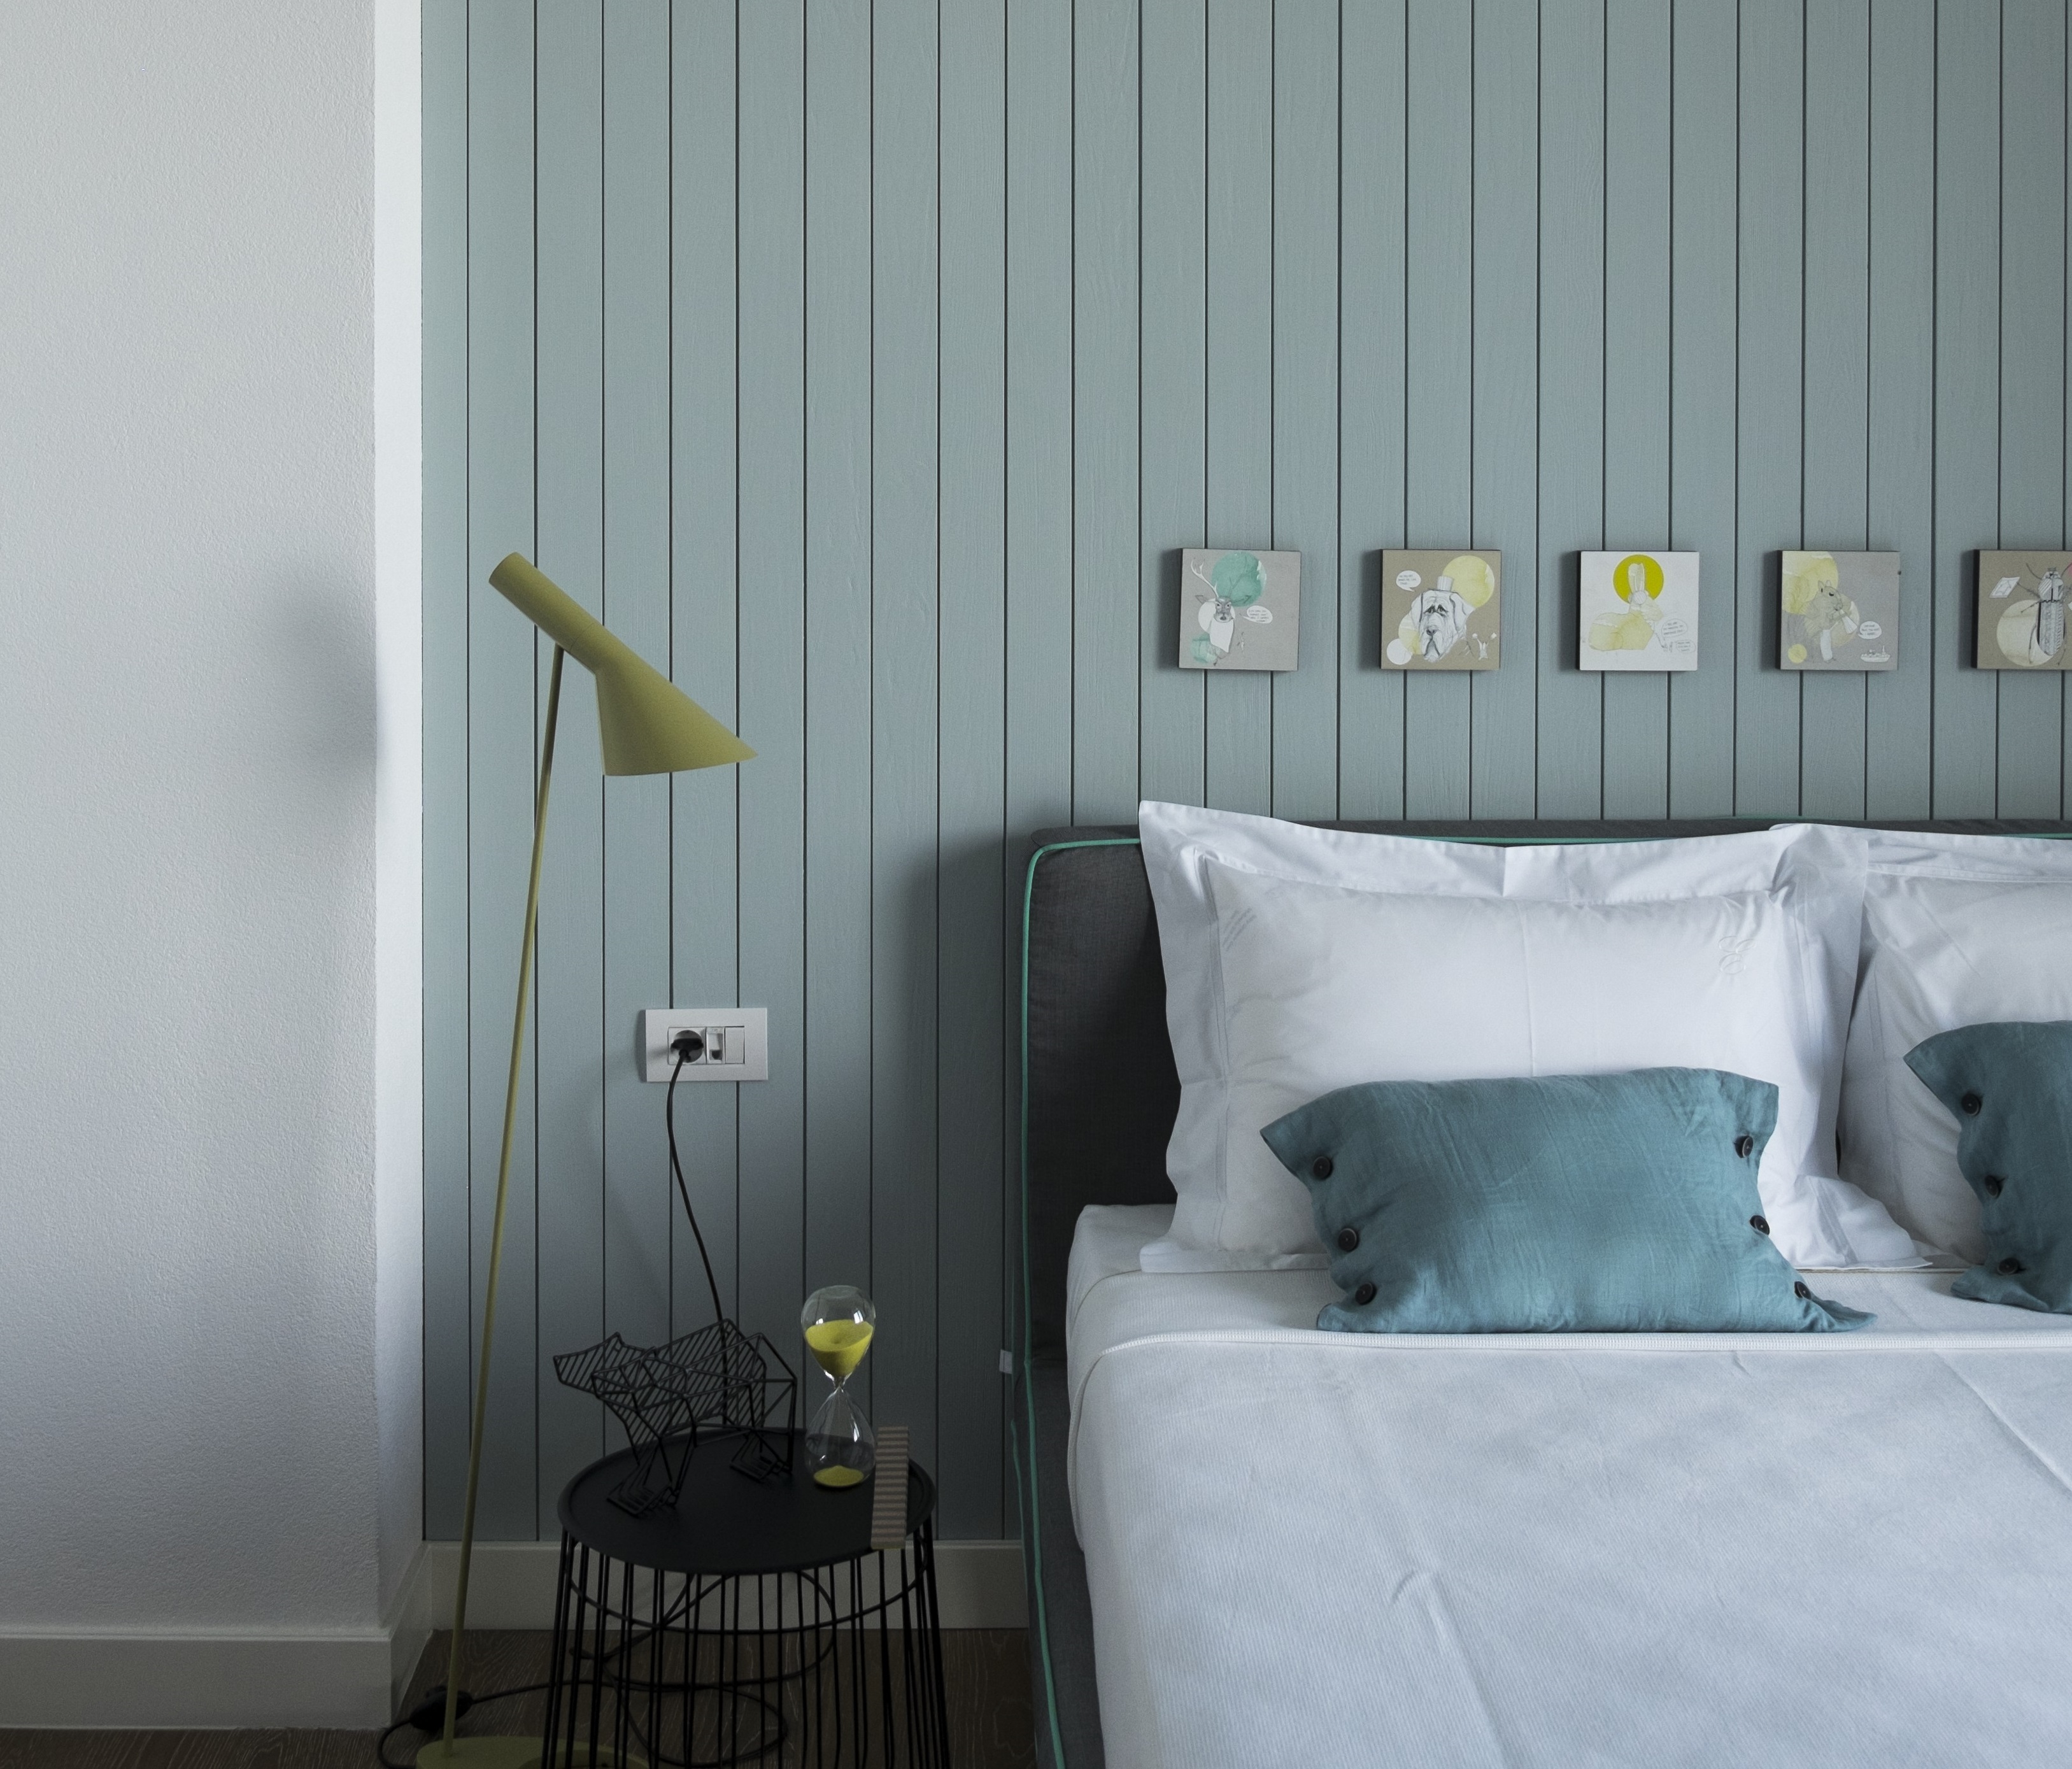
This expert’s ‘BRB’ technique is something I'll forever use when painting wall paneling to avoid drips and paint build-up


How to Paint Wood Furniture—From Sanding to Sealing

How to paint furniture: The one detail you need to get right for best results
How to Paint Wood Paneling and Its Best Friend, the Trim
How to Paint Wood Furniture Like a Pro

10 mistakes to avoid when painting wooden furniture, according to experts

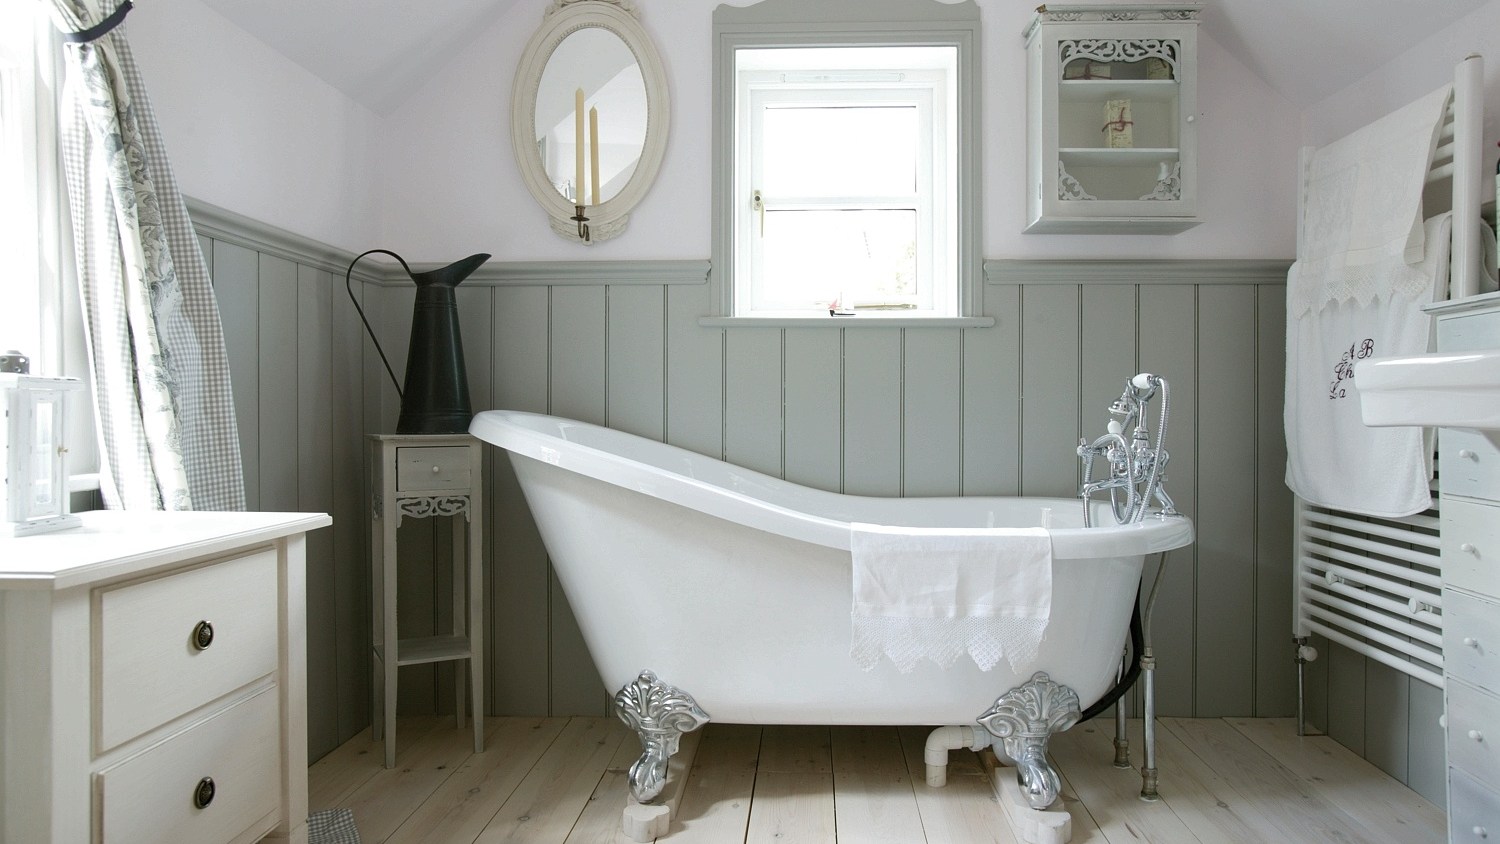
Practical ways to make panelling look good
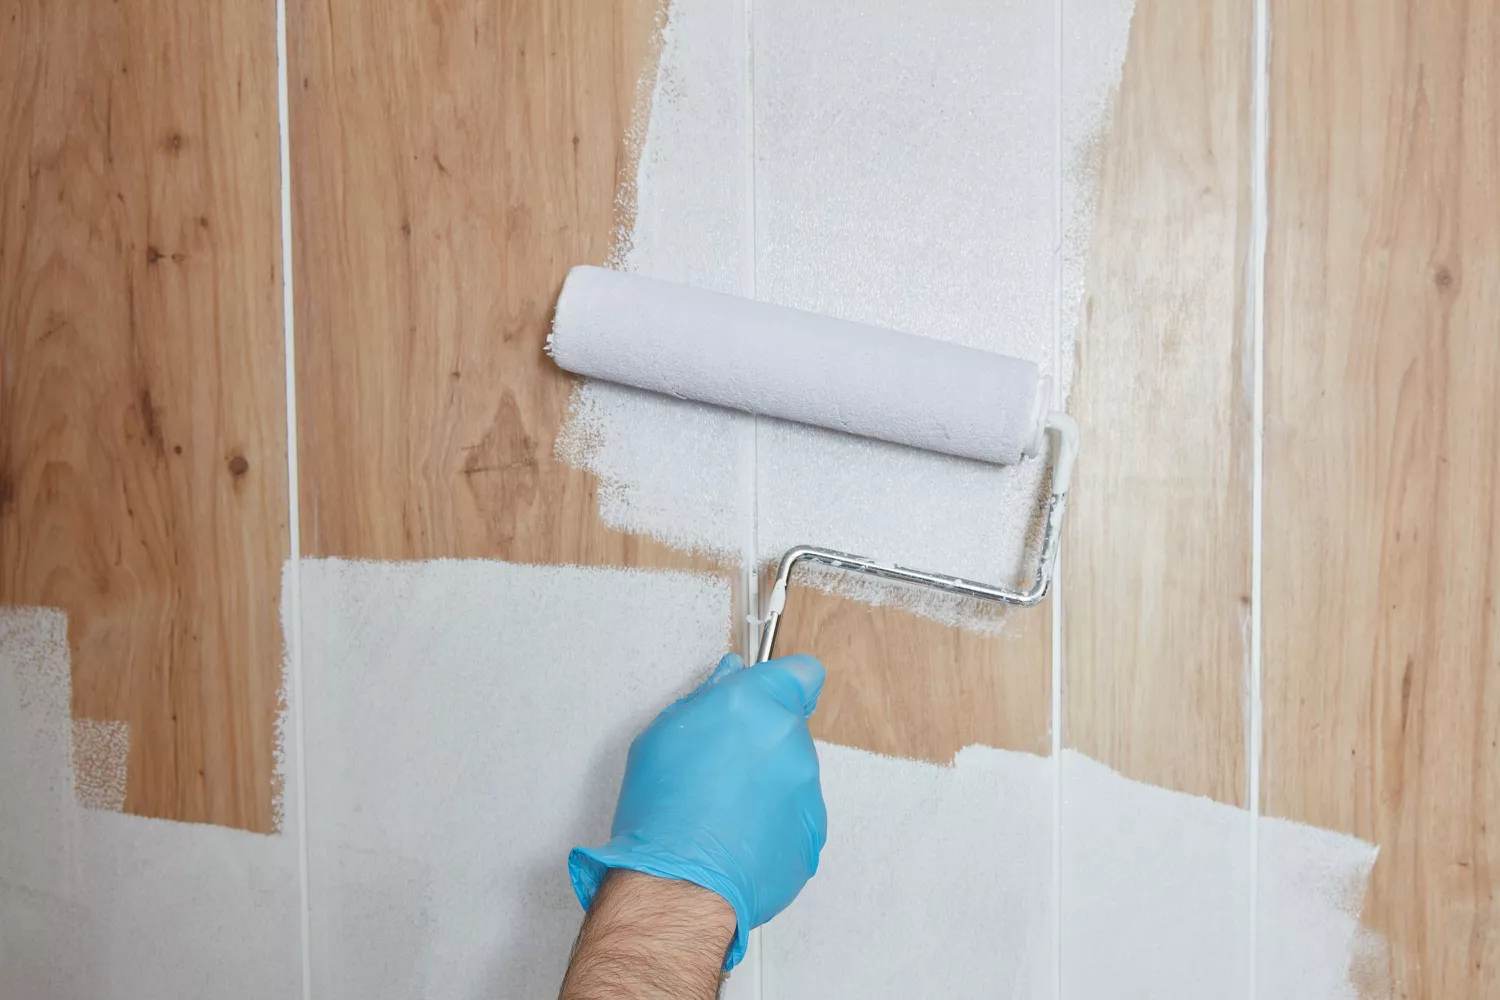
How to Paint Wood Paneling the Right Way

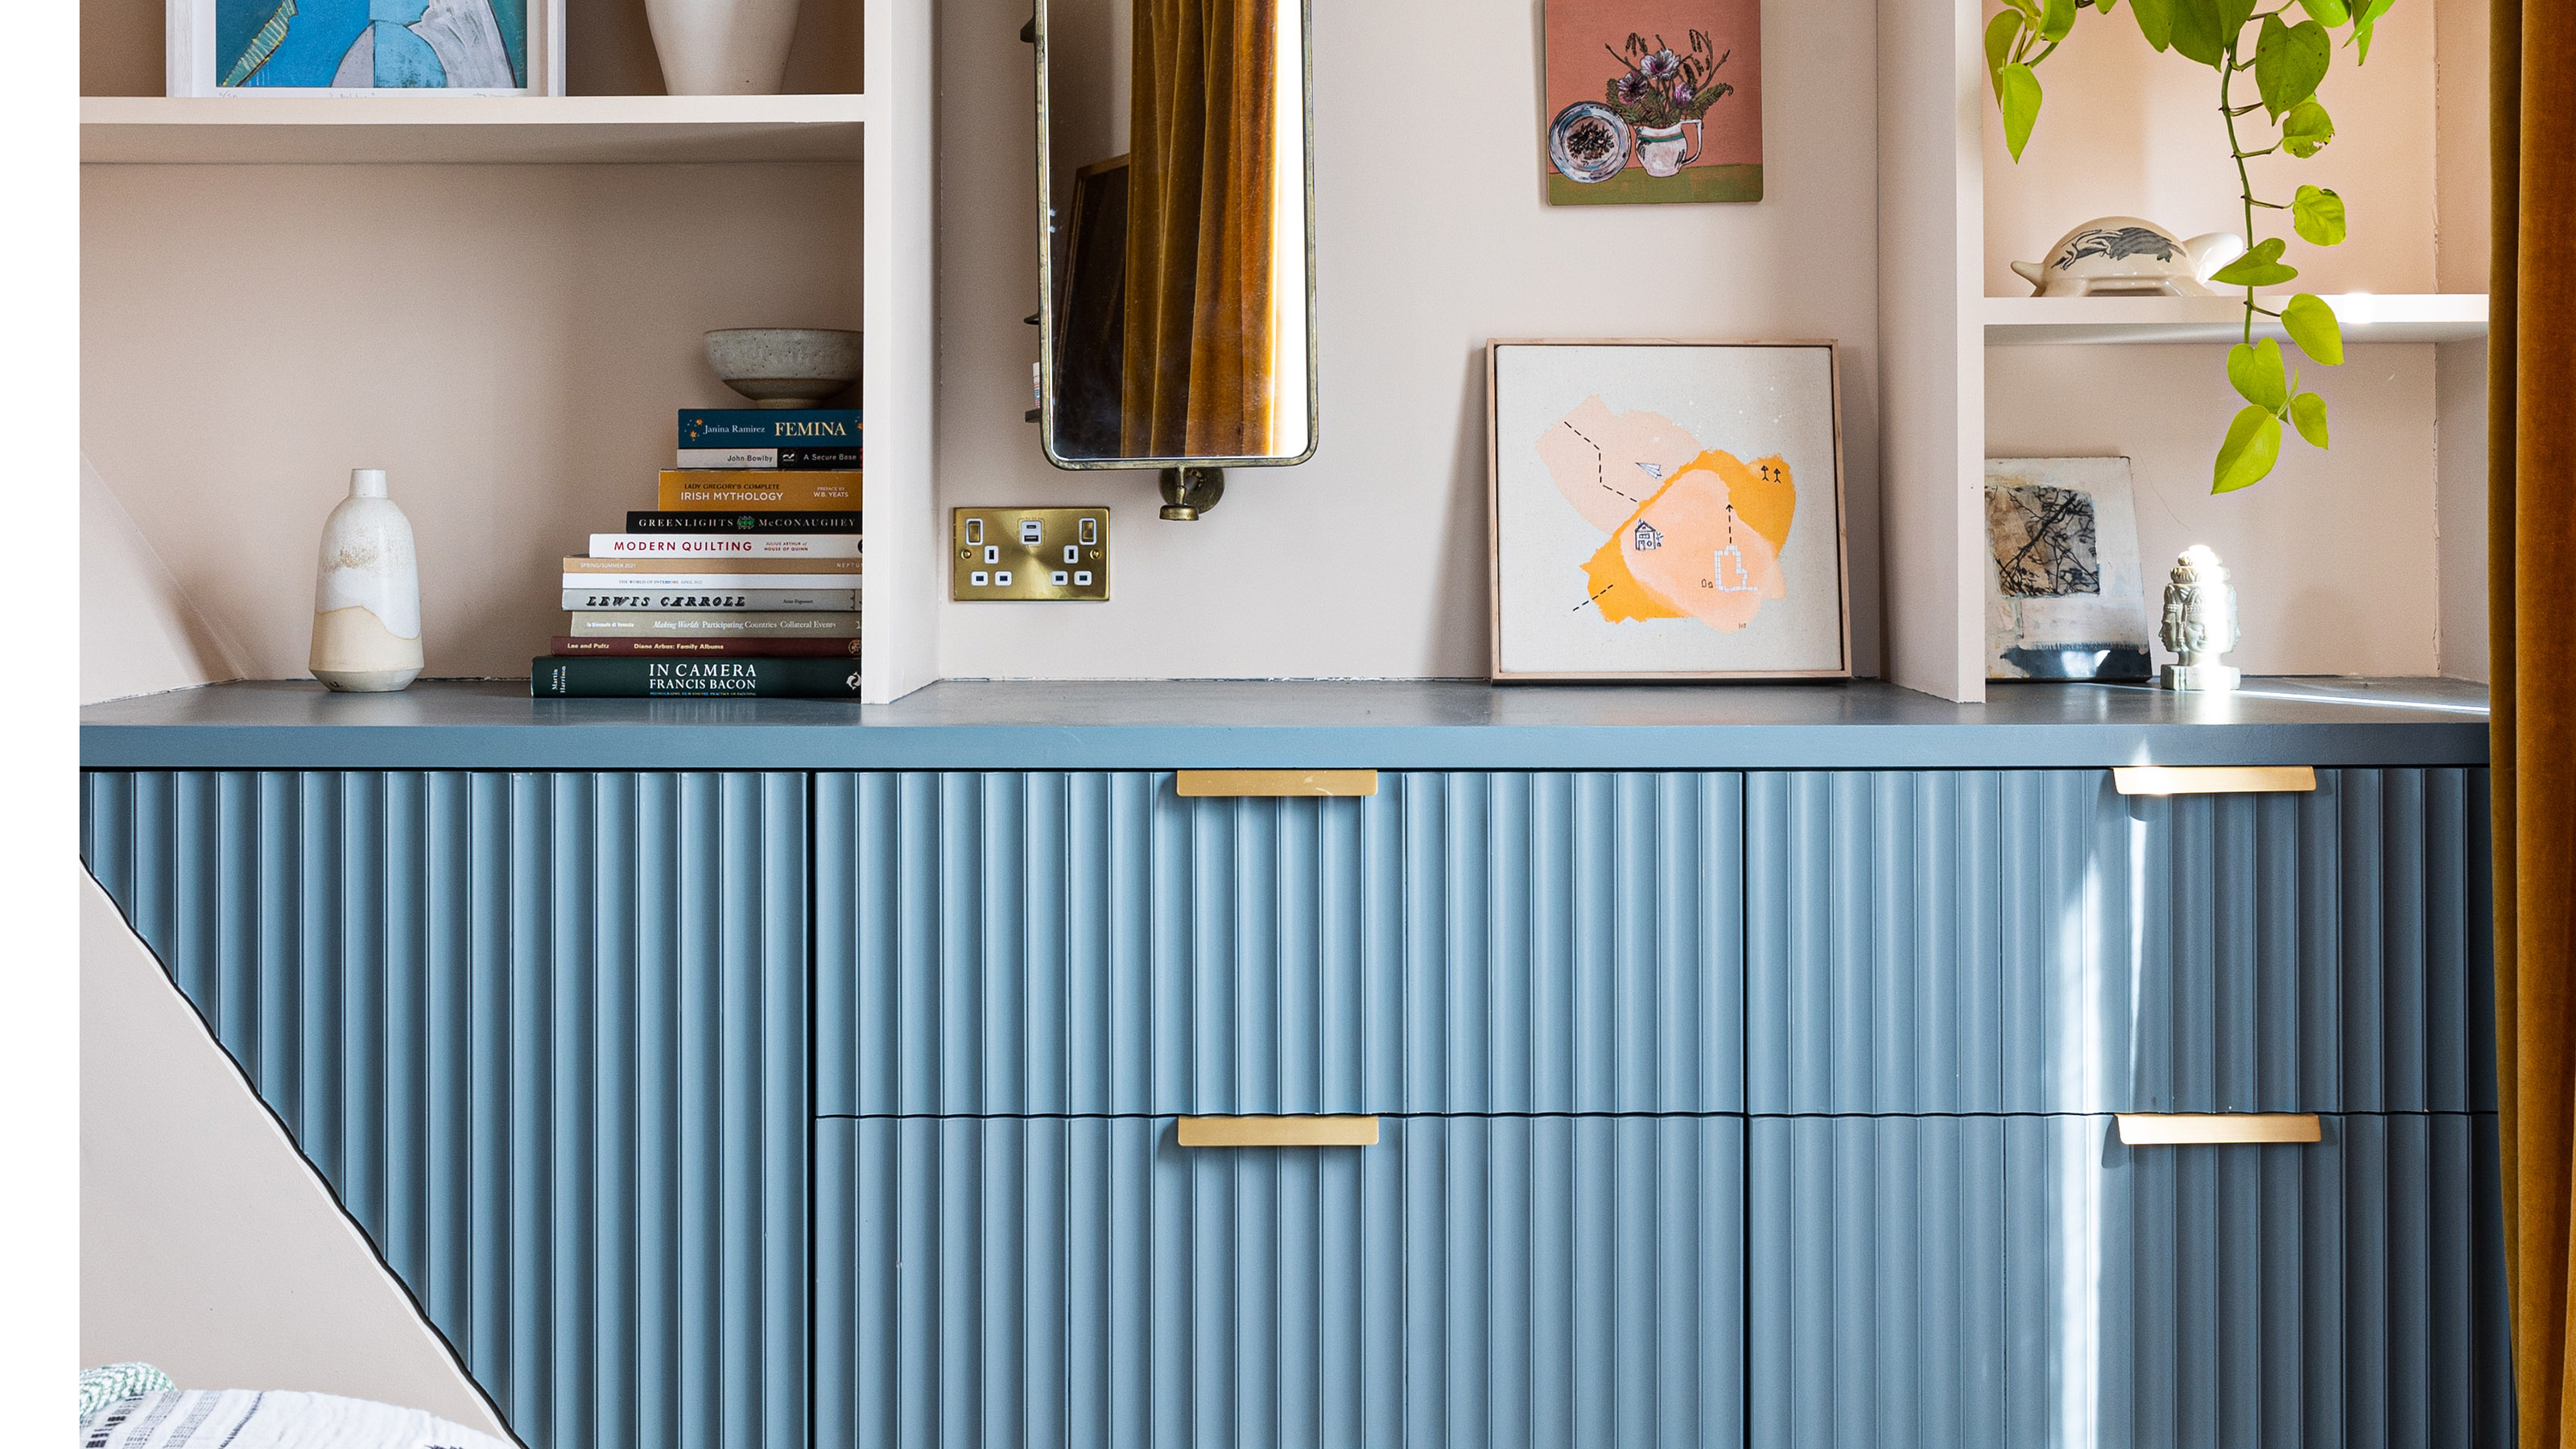
How to paint laminate furniture - the pro tips experts swear by for a perfect finish
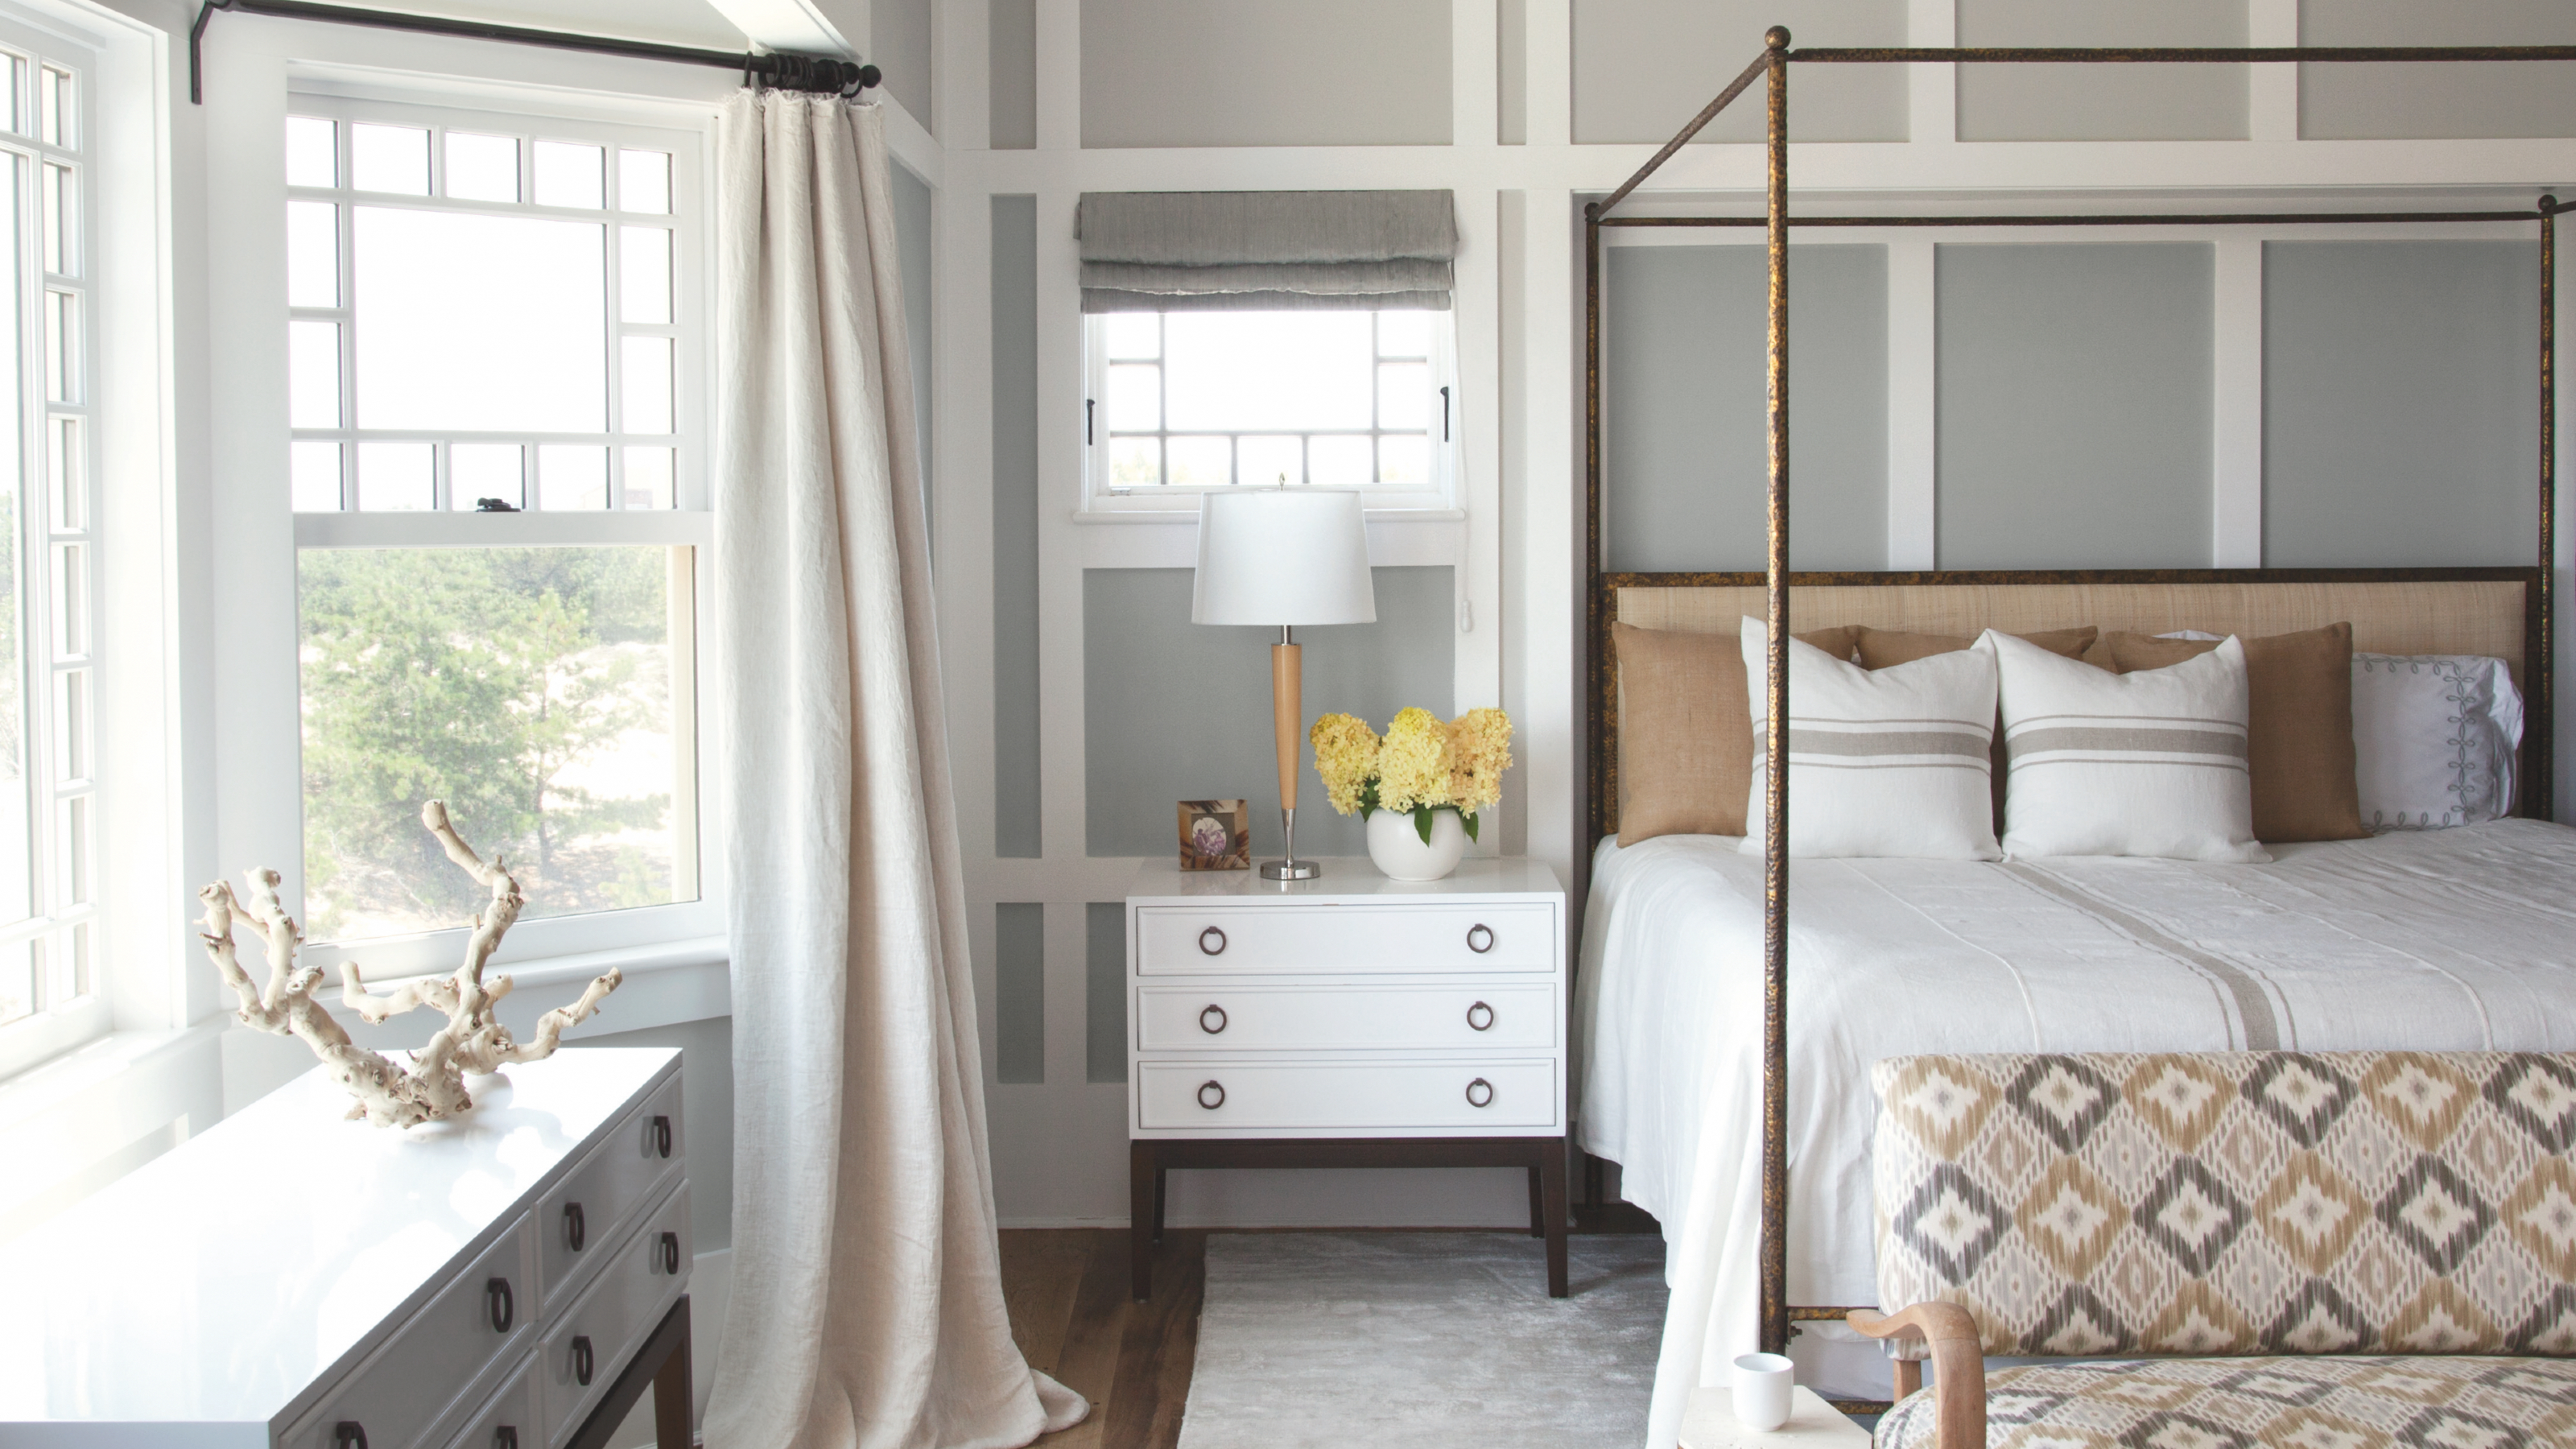
How to panel a wall – DIY this trending look in your home this weekend
Interior Wood Paint

How to install wooden panelling
How to Prepare Interior Woodwork For Painting

Choosing the right wood panelling design
How to Stain Wood Like a Pro—and Get It Right the First Time