1/19
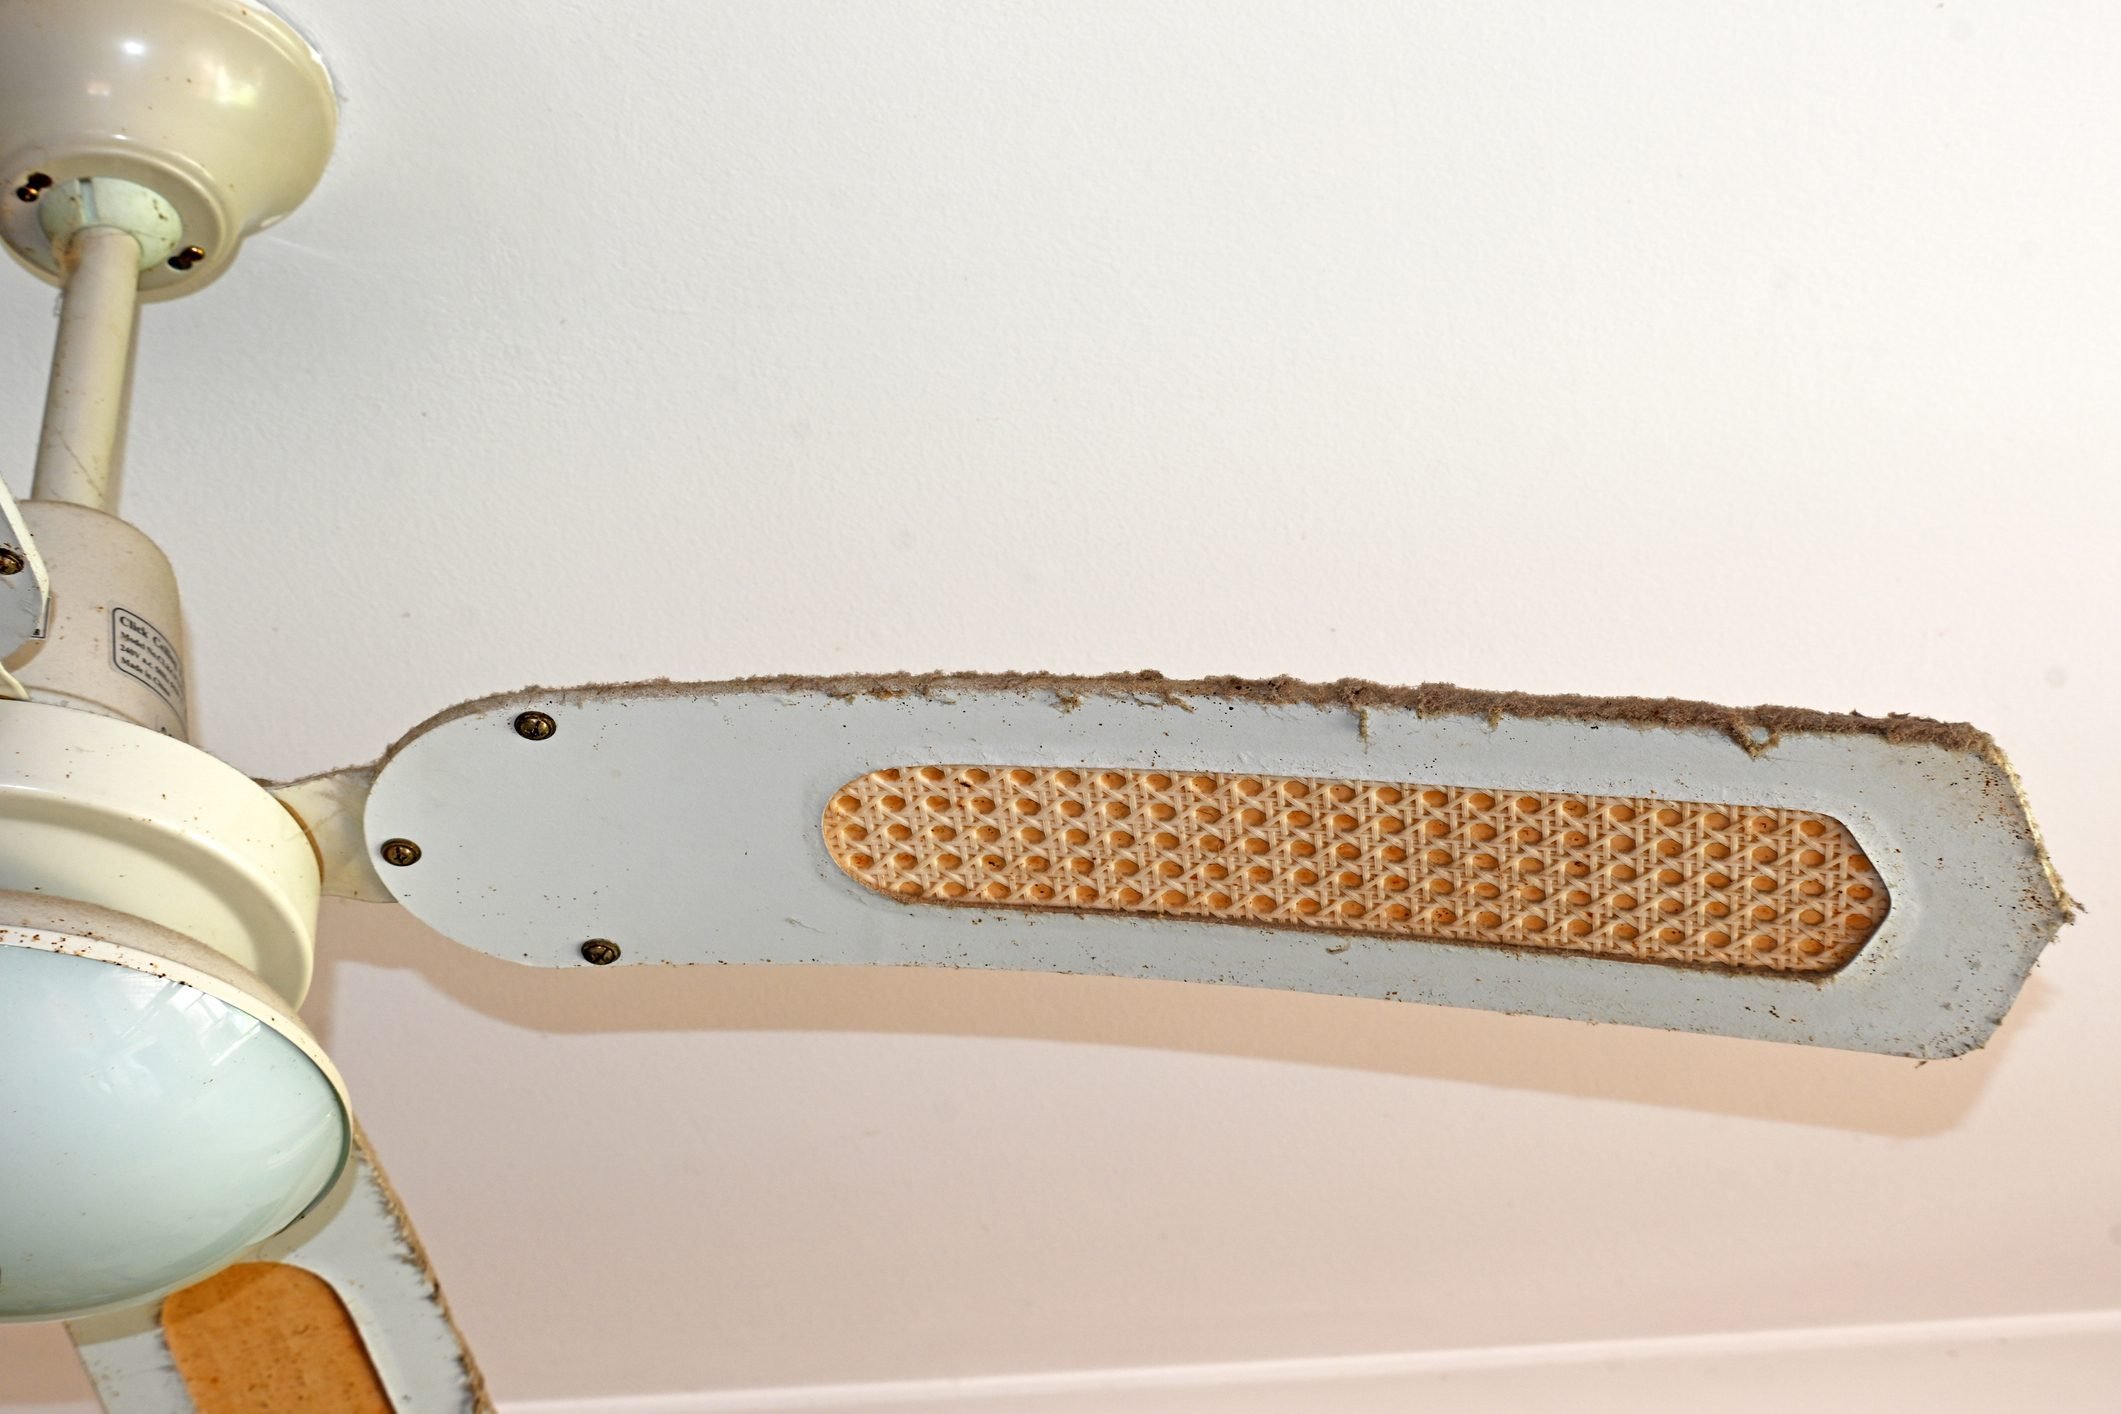
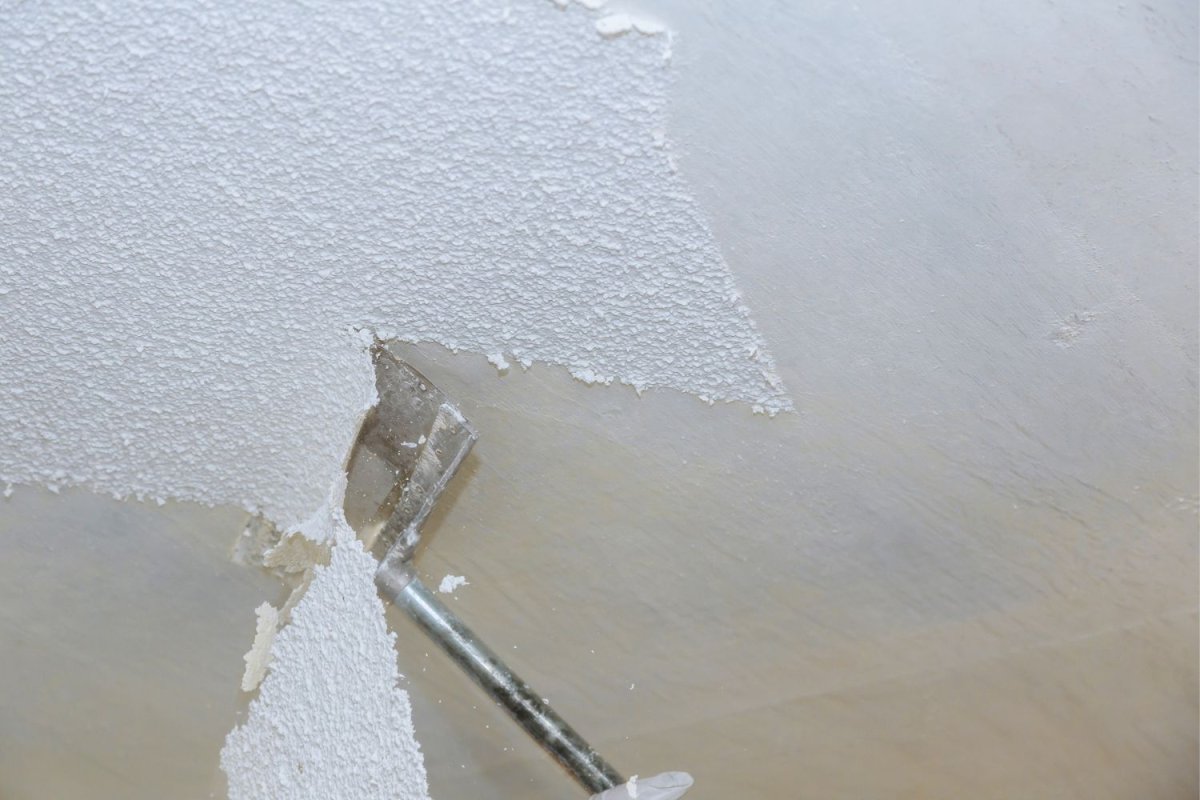
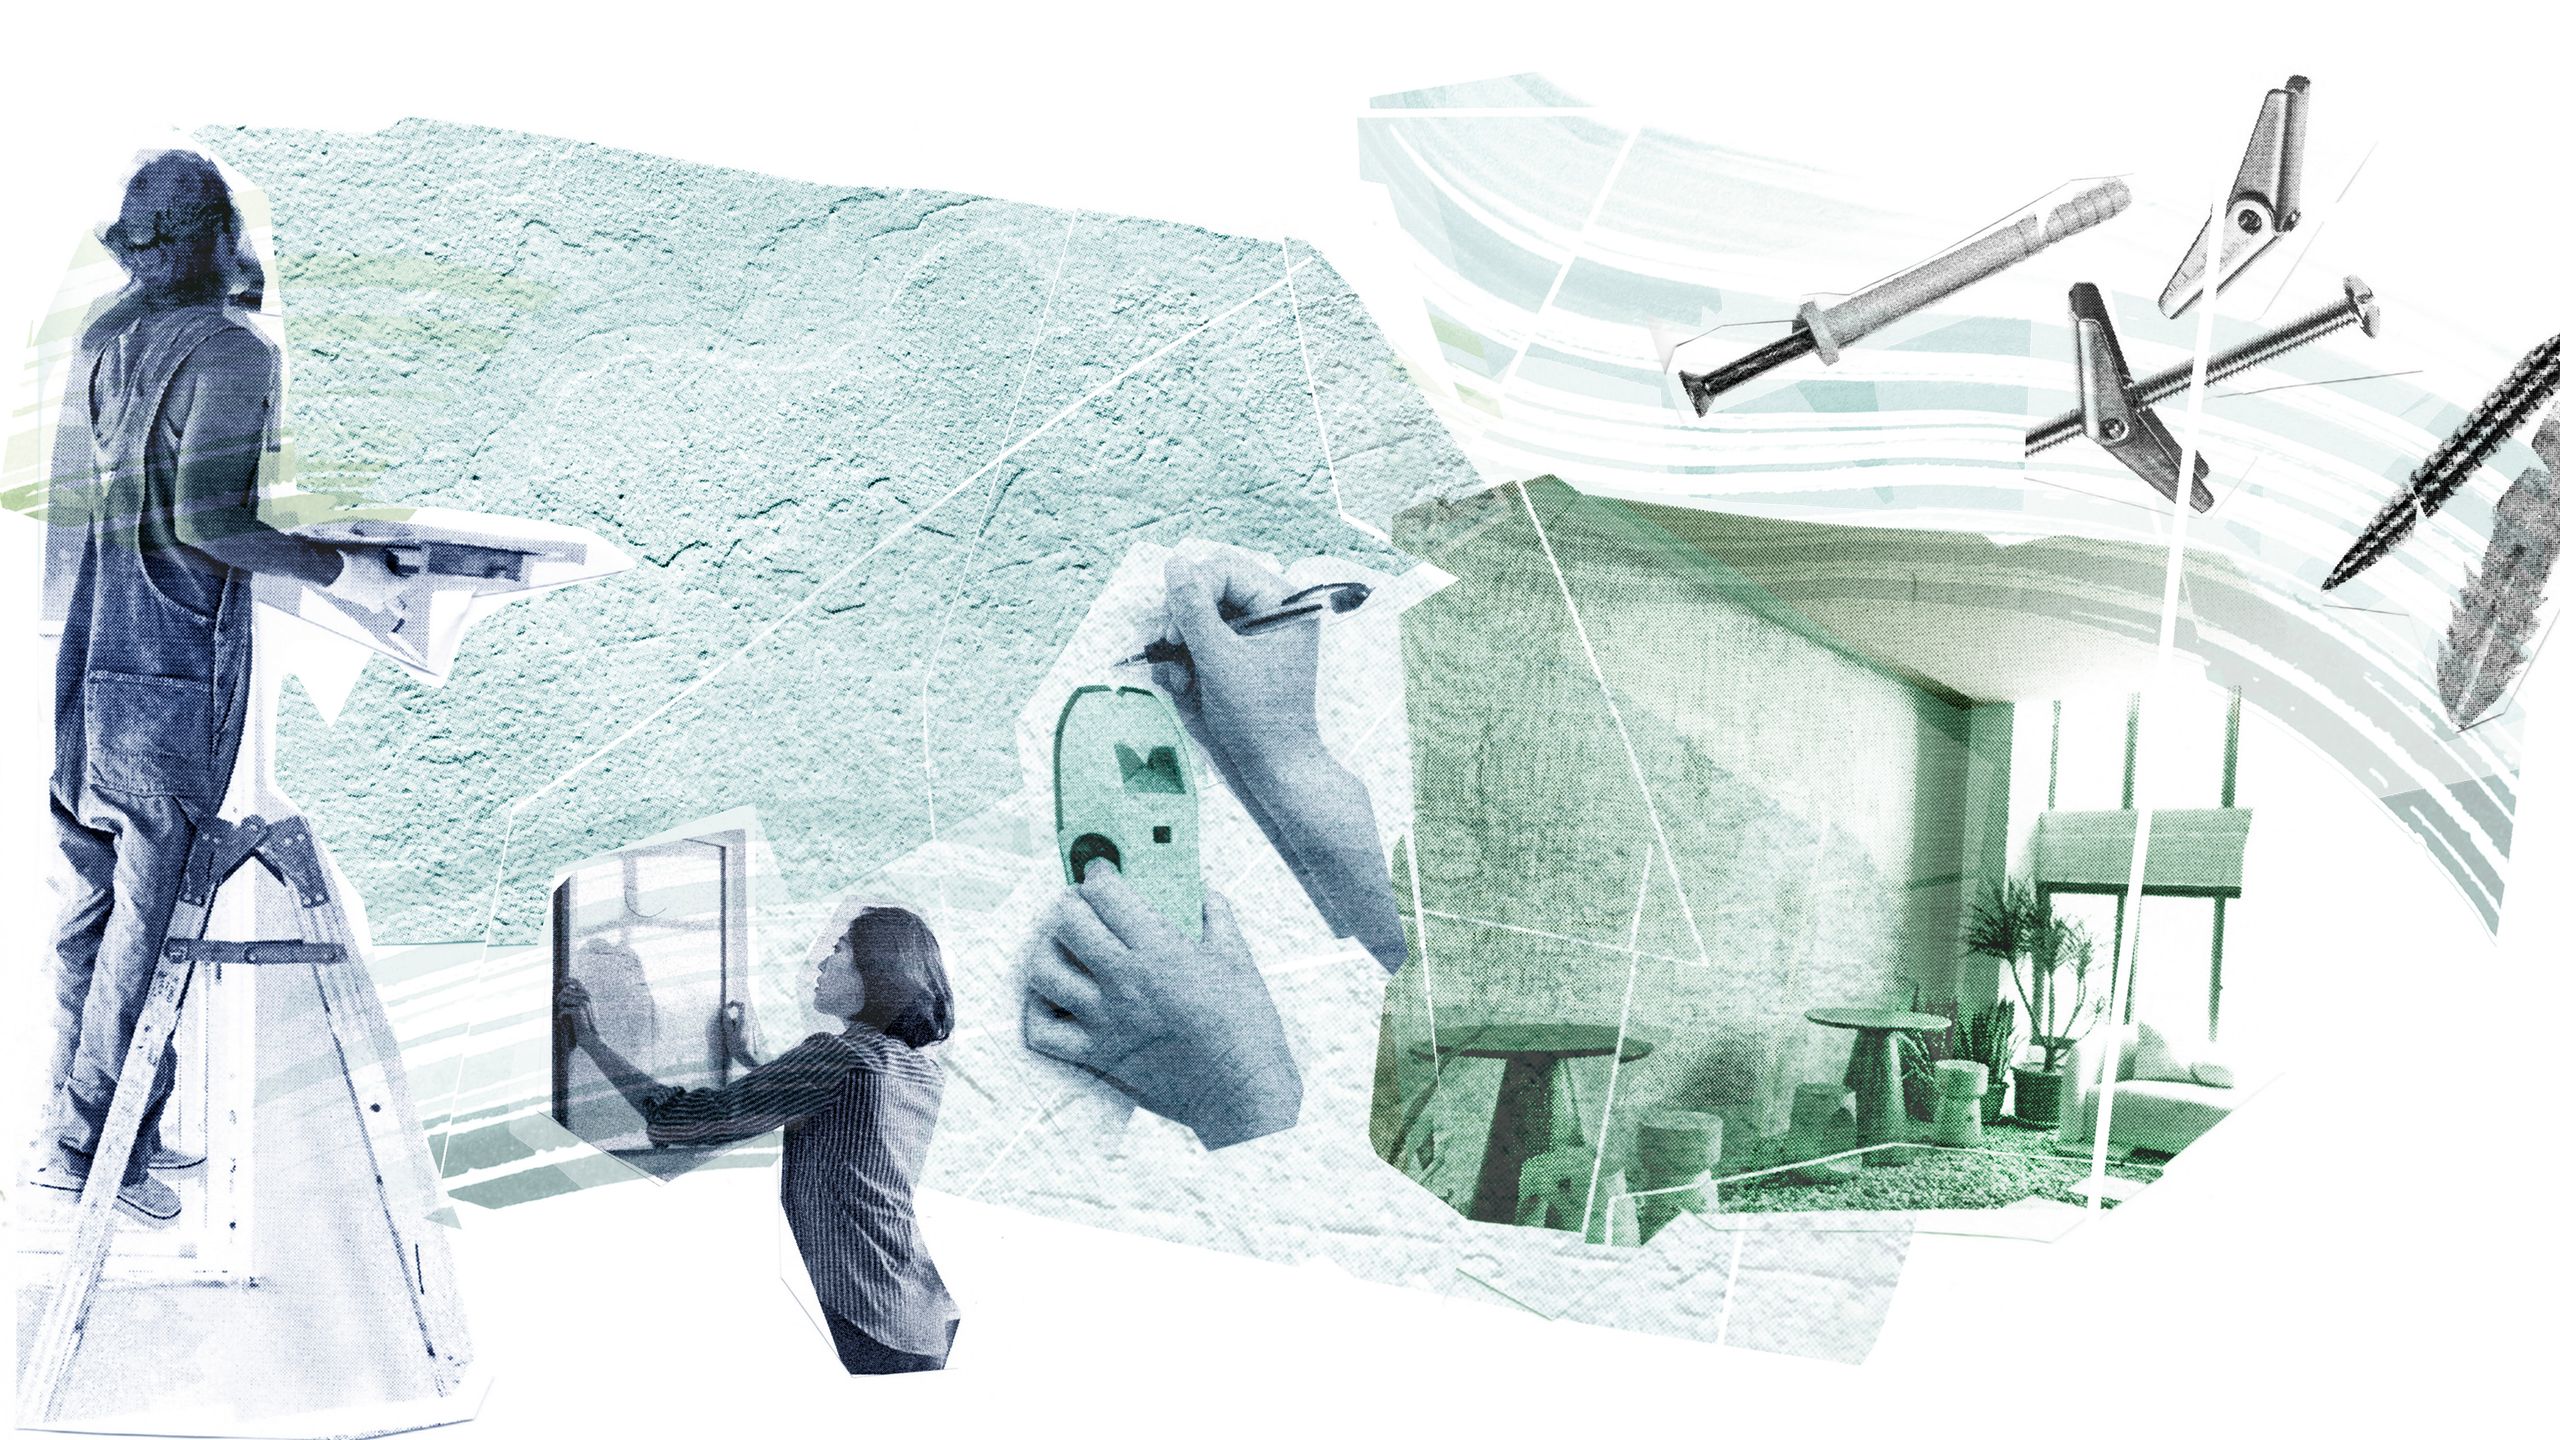
How to repair a wall or ceiling
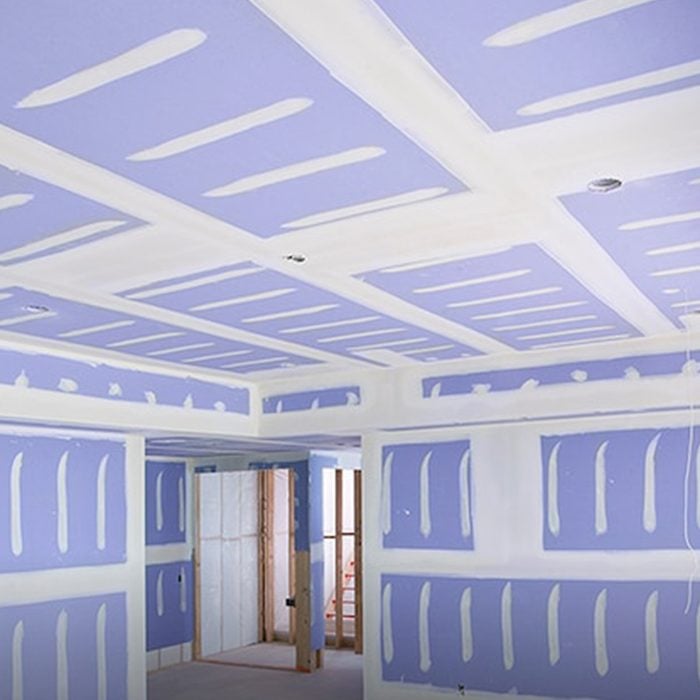
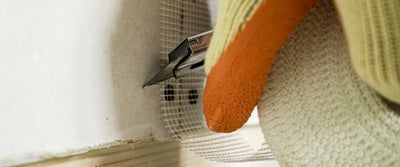
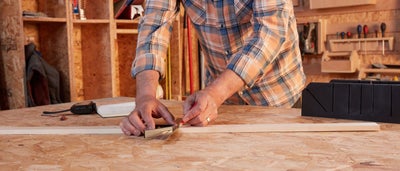
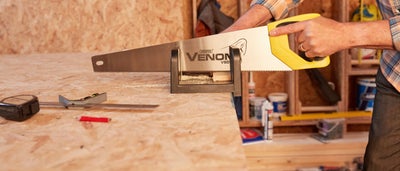
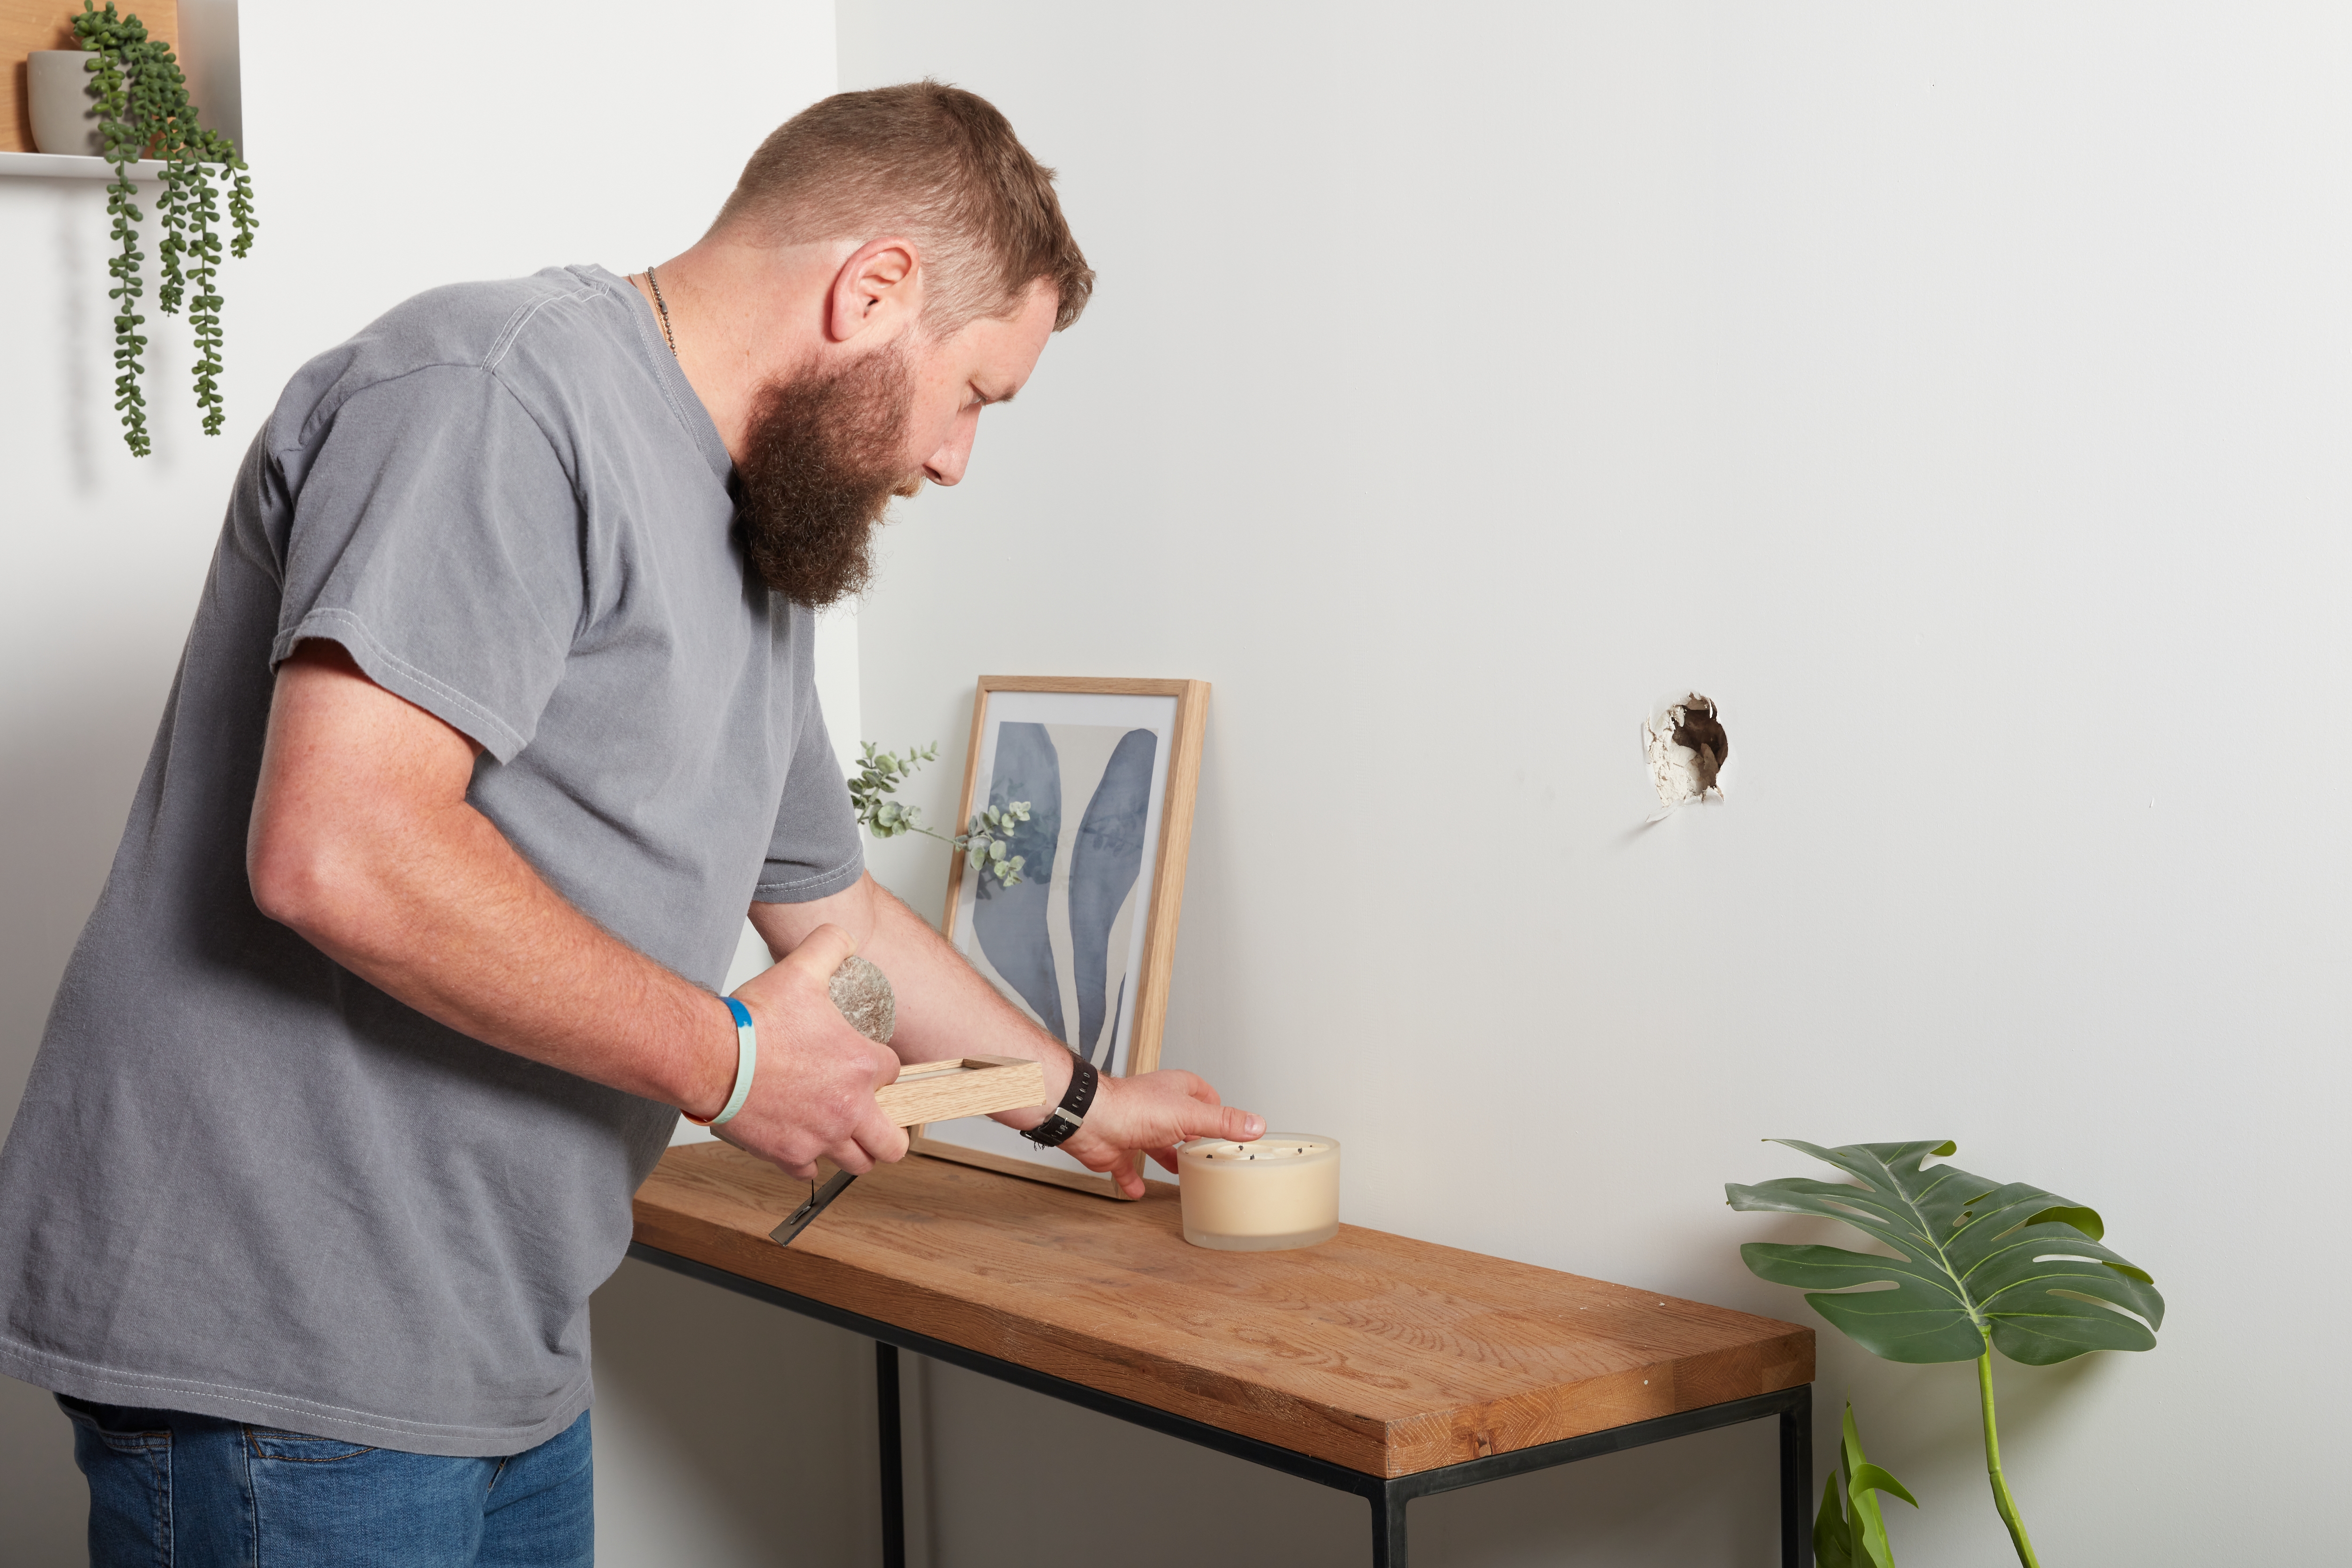
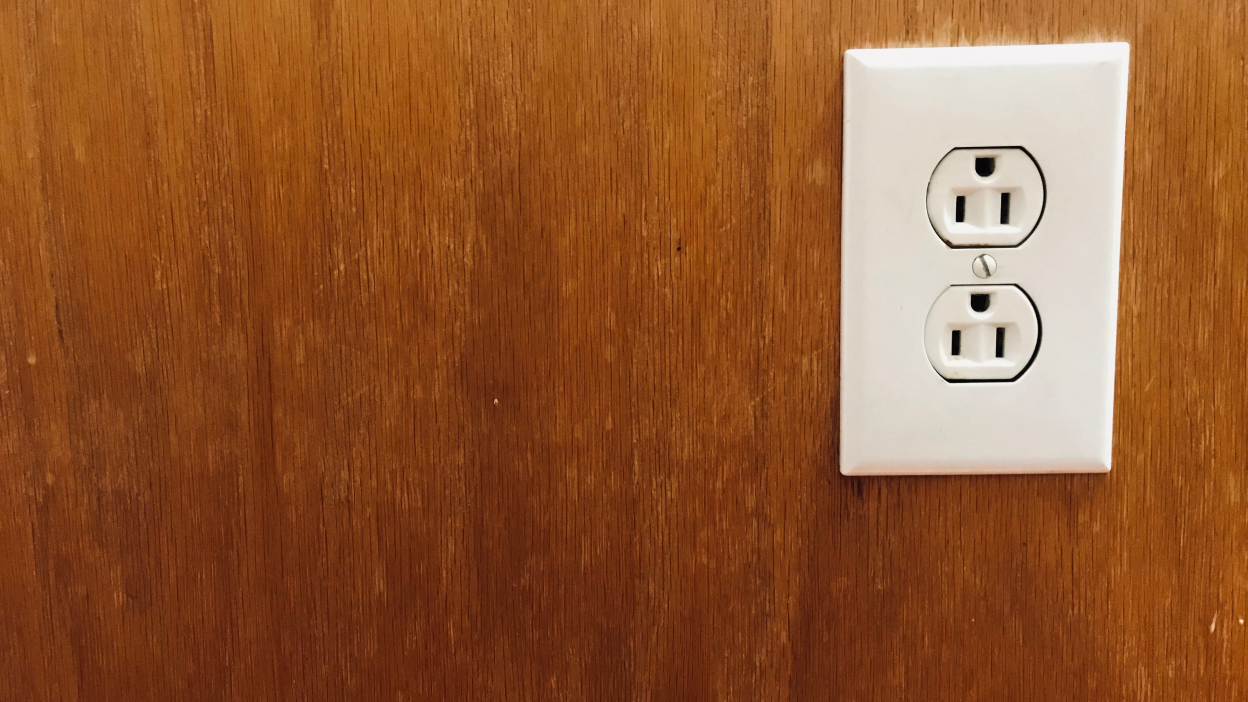
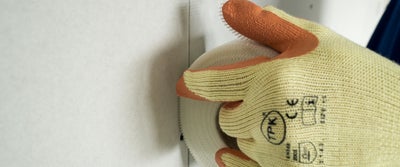
This article provides a comprehensive, step-by-step guide on repairing holes, cracks, or dents in walls and ceilings, a common issue in any home. The process begins by prioritizing safety: individuals should establish a secure work area and use a wire detector to confirm the absence of pipes or electrical wires within or around the damaged section. Once the area is deemed safe, a utility knife is used to remove any loose plasterboard fragments, effectively clearing the hole. The next step involves precise measurement of the cleared opening, adding a 2-5 cm allowance to determine the size for the replacement plasterboard piece. This measurement is then transferred onto a new sheet of plasterboard, scored with a utility knife, and snapped cleanly, or cut with a hand saw, to create the patch.
After preparing the new plasterboard piece, any rough edges are smoothed with a utility knife. The cut plasterboard is then held against the hole to outline its exact dimensions on the wall. A utility knife is subsequently used to score from each of the four corners of the outline to its center, followed by saw cuts along these lines. The central pieces of plasterboard in the damaged area are then removed. If they remain stubborn, a hand saw can be employed to free them, ensuring adequate space for the patch. The outline is then tidied with a utility knife, and the replacement plasterboard is test-fitted, with minor adjustments made as needed to achieve a perfect fit.
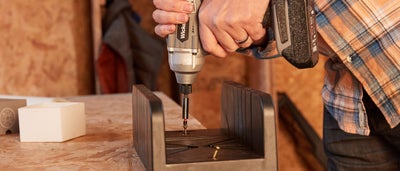
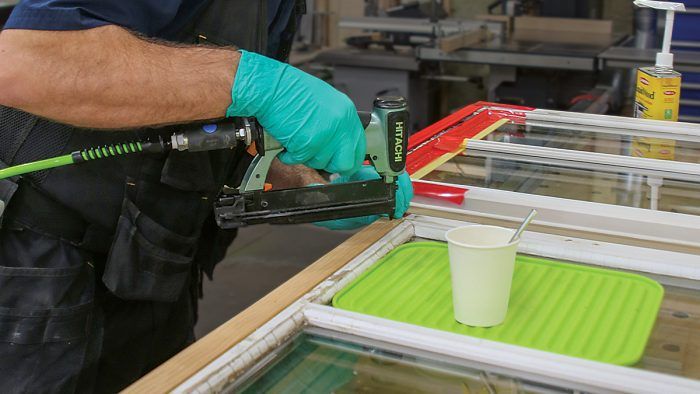
To secure the patch, a timber baton, slightly wider than the hole, is cut and inserted into the cavity. A screw is drilled into the center of the baton beforehand to facilitate handling during installation. The baton is then secured to the existing wall structure using a drill and screws. Once the support baton is firmly in place, the pre-cut plasterboard patch is inserted and secured to the baton with two to three screws, or more for larger repairs. If the repair spans a wall stud, an additional screw into the stud provides enhanced stability.
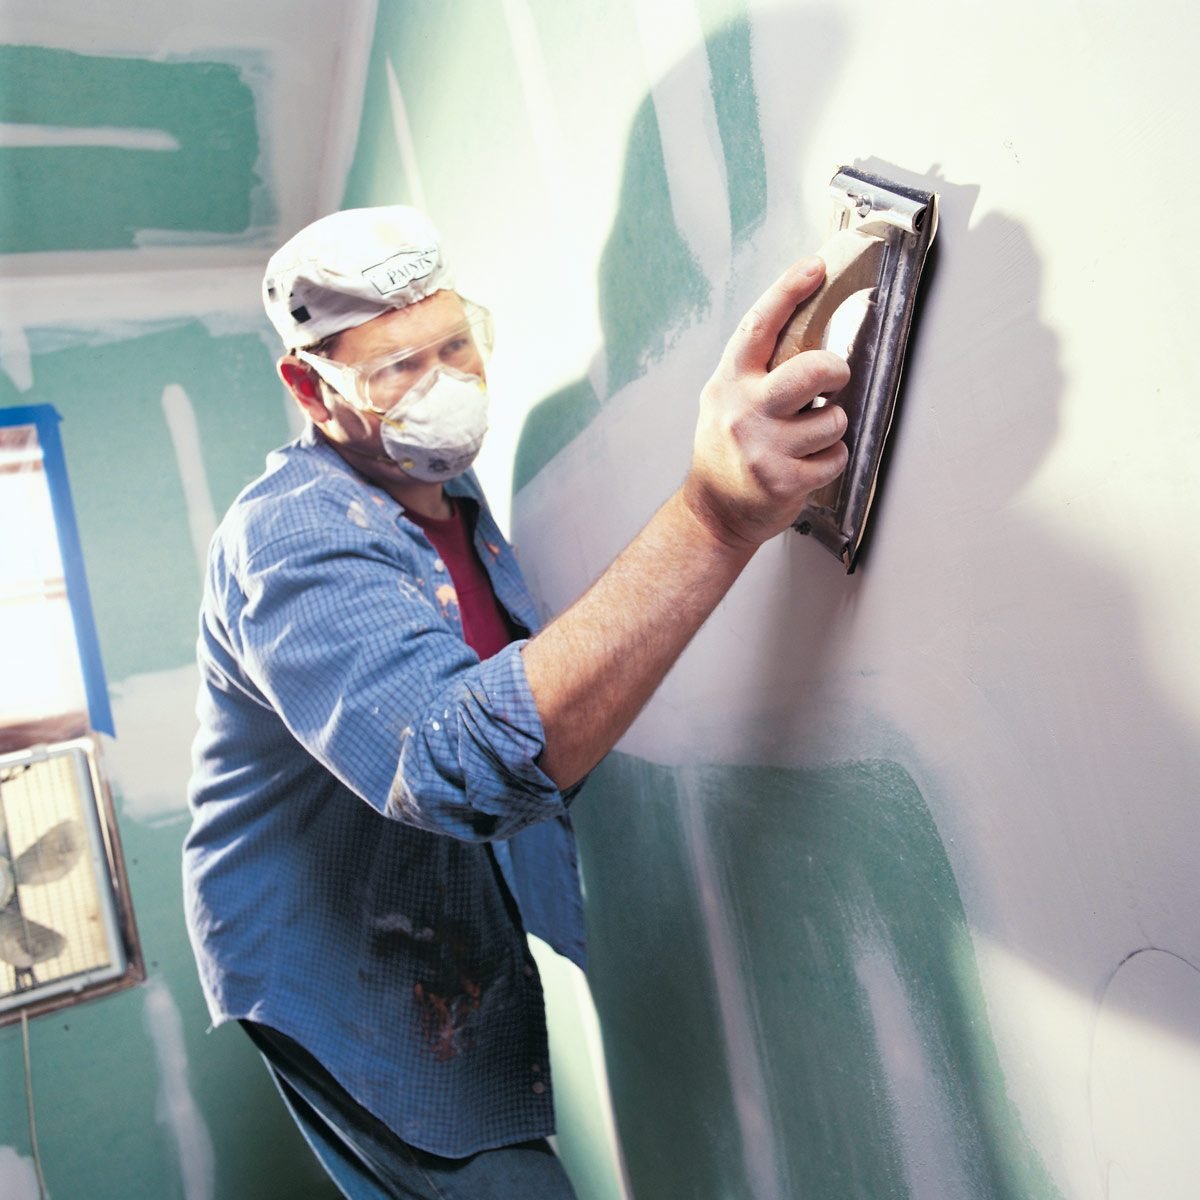
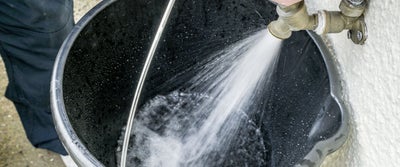
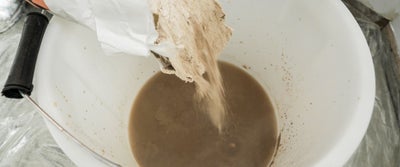
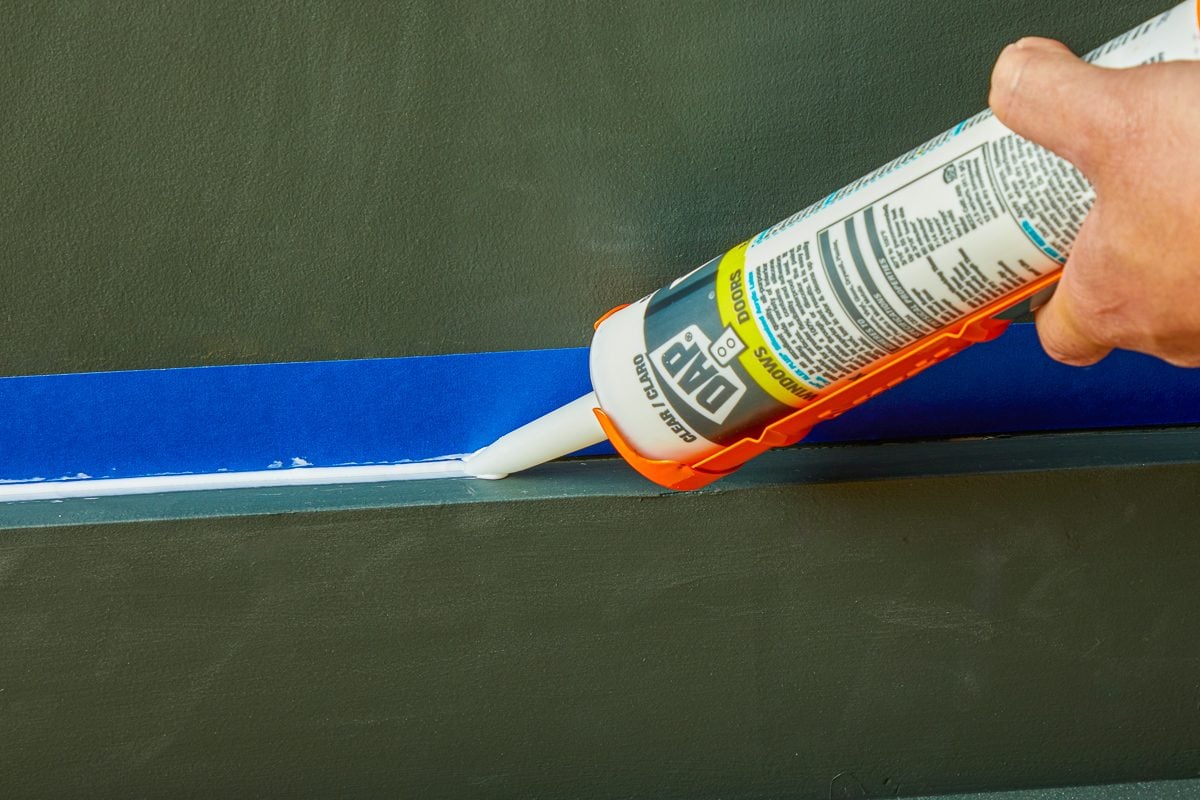
Following the structural repair, plaster guard repair tape is applied along all four sides of the patched area. The next phase involves preparing an interior filler by mixing powder solution with water in a bucket, using a drill mixing bit, until a smooth consistency is achieved. This filler is then applied over the taped repair area with a plastering trowel, smoothed, and feathered at the edges, then allowed to dry for the time specified by the manufacturer, typically two to three hours. Upon drying, a sanding block is used to smooth the surface and eliminate any raised areas, with a vacuum hose positioned below to capture dust. The final step involves painting over the repaired area to seamlessly blend it with the surrounding wall, restoring its original appearance.
#WallRepair #CeilingRepair #DIYHomeImprovement #PlasterboardFix #HomeMaintenance #DecoratingTips #ToolsAndMaterials #SafetyFirst #WallRepair #CeilingRepair #DIYHomeImprovement #PlasterboardFix #HomeMaintenance #DecoratingTips #ToolsAndMaterials #SafetyFirst
0 comment in total
You may also like
10 Ways to Cover a Hideous Ceiling That Anyone Can Do

Parts of the House

How to paint a ceiling - the expert guide to giving the fifth wall a fresh look

The Internet Is Fighting Over "Wall Chapstick"

How to remove wallpaper - expert-approved steps to prevent damage and ensure a smooth finish
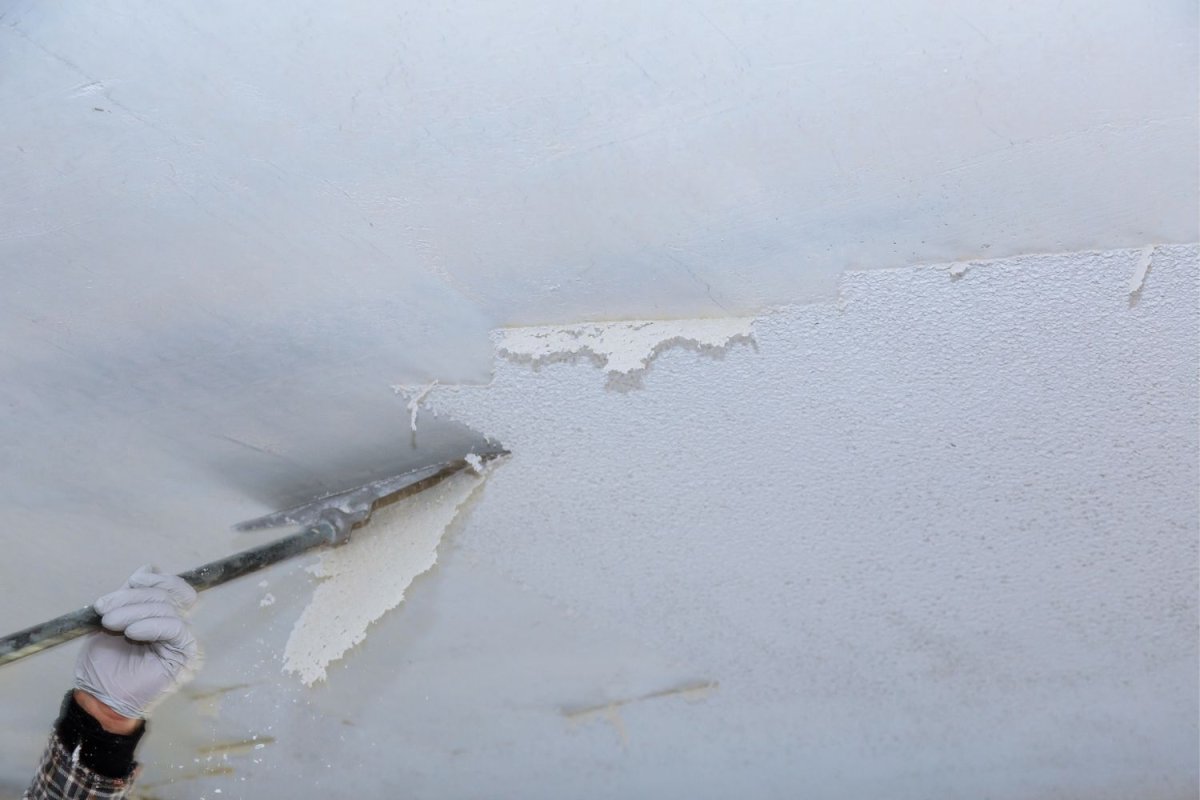
This genius TikTok hack removed a popcorn ceiling using only water - here's how to do it
Put this ceiling to work: Special treatments are the finishing touches that supercharge a room's ambiance

When designing a room, don’t overlook your ceiling

This Couple Struck Gold When They Decided to Restore Their Plaster Walls

How to Figure Out What Kind of Walls You Have Behind Your Wall Paneling

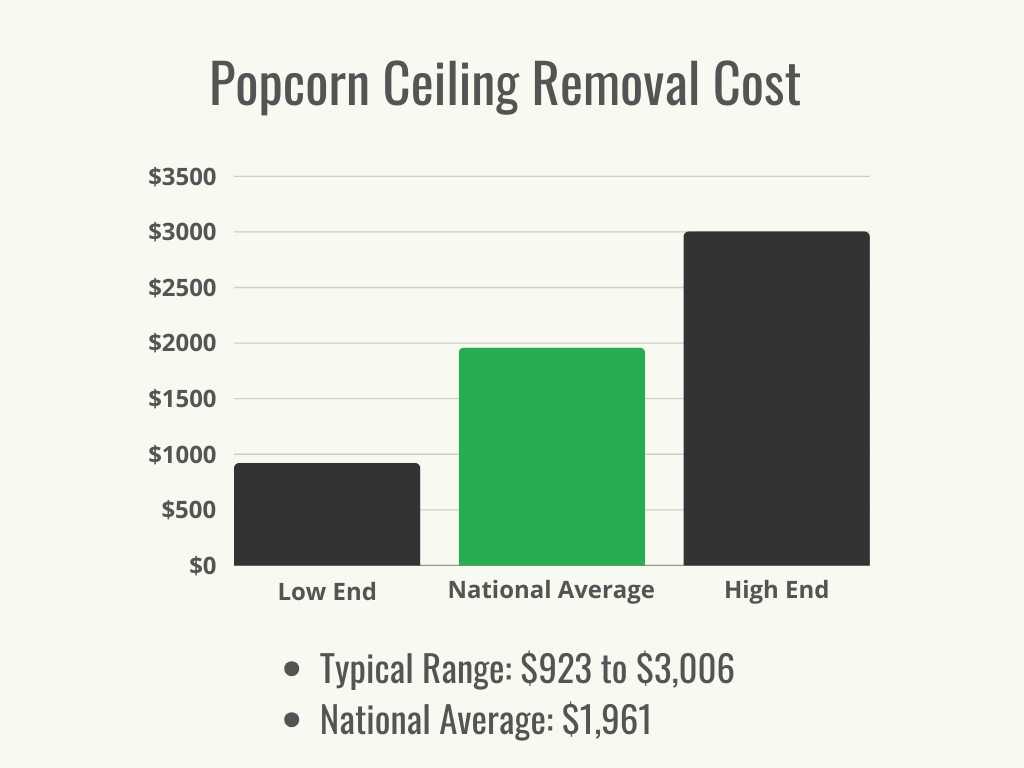
How Much Does Popcorn Ceiling Removal Cost?

How to Repair a Modern Window Sash with Shop-Made Parts

Minimize Plaster Repair With These 5 Tips for Perfect Plaster Walls

How to plaster a wall

How to Paint a Ceiling, From Picking a Color to Actually Getting It Up There
Finishing Touches

7 Glamorous Hacks to Transform a Boring White Ceiling

How to install wooden panelling
5 Custom Wall Treatments You Can Do Yourself


The Best Tools for Popcorn Ceiling Removal