1/2
The Best Tools for Popcorn Ceiling Removal
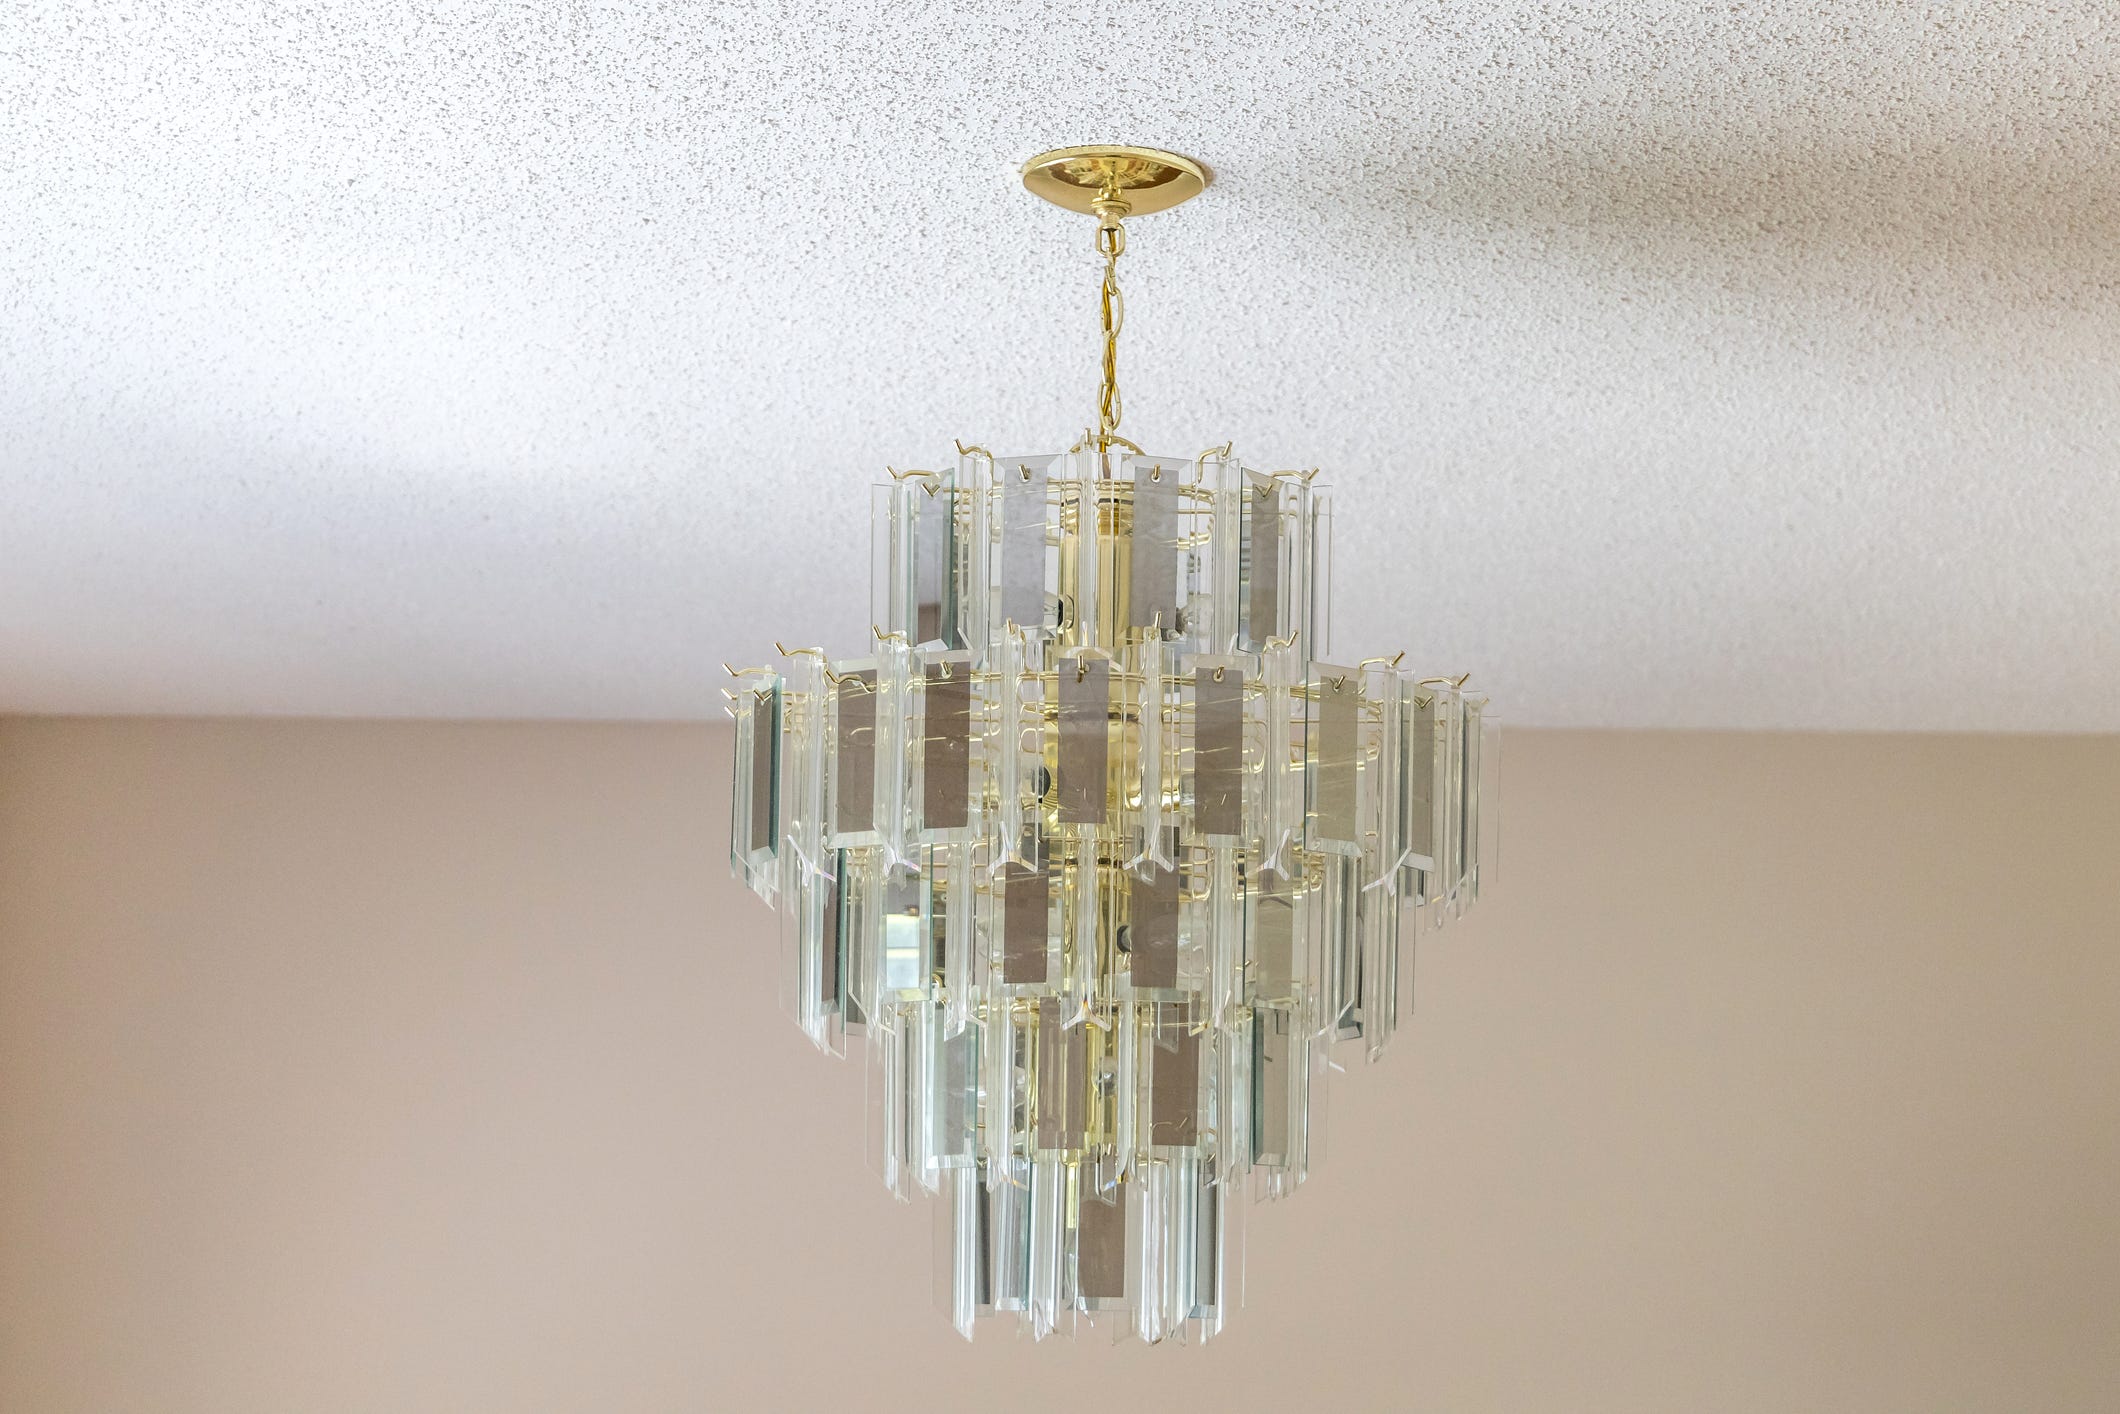
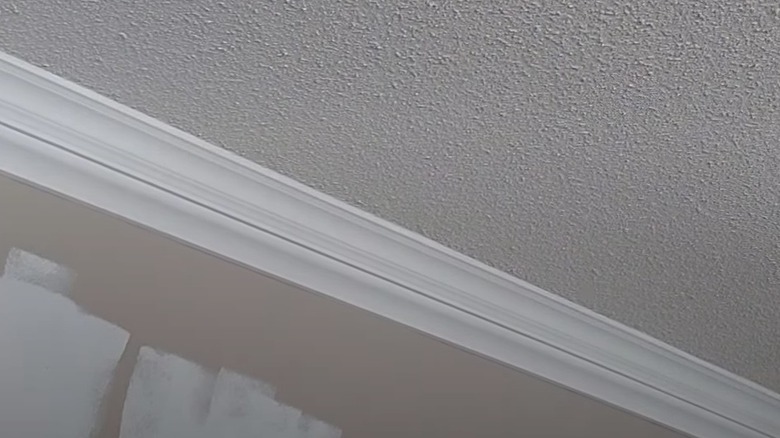
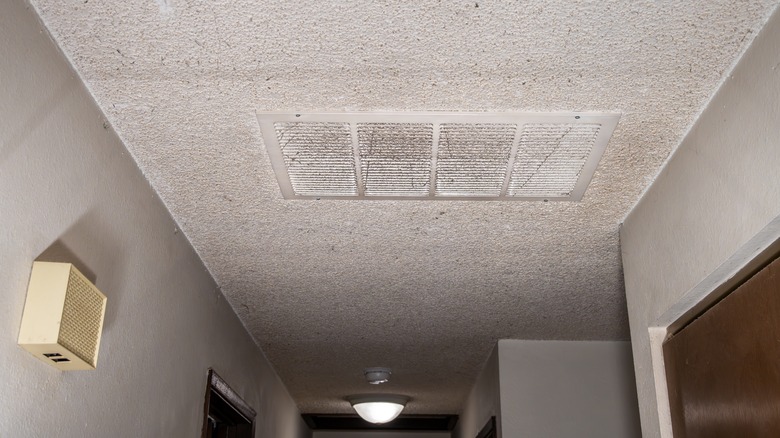
Popcorn ceilings, while once popular, are now largely considered outdated in home design. Many older homes still feature these textured ceilings, prompting homeowners to consider their removal. This process, while seemingly straightforward, requires specific tools and careful preparation due to its inherent messiness and potential for complications.
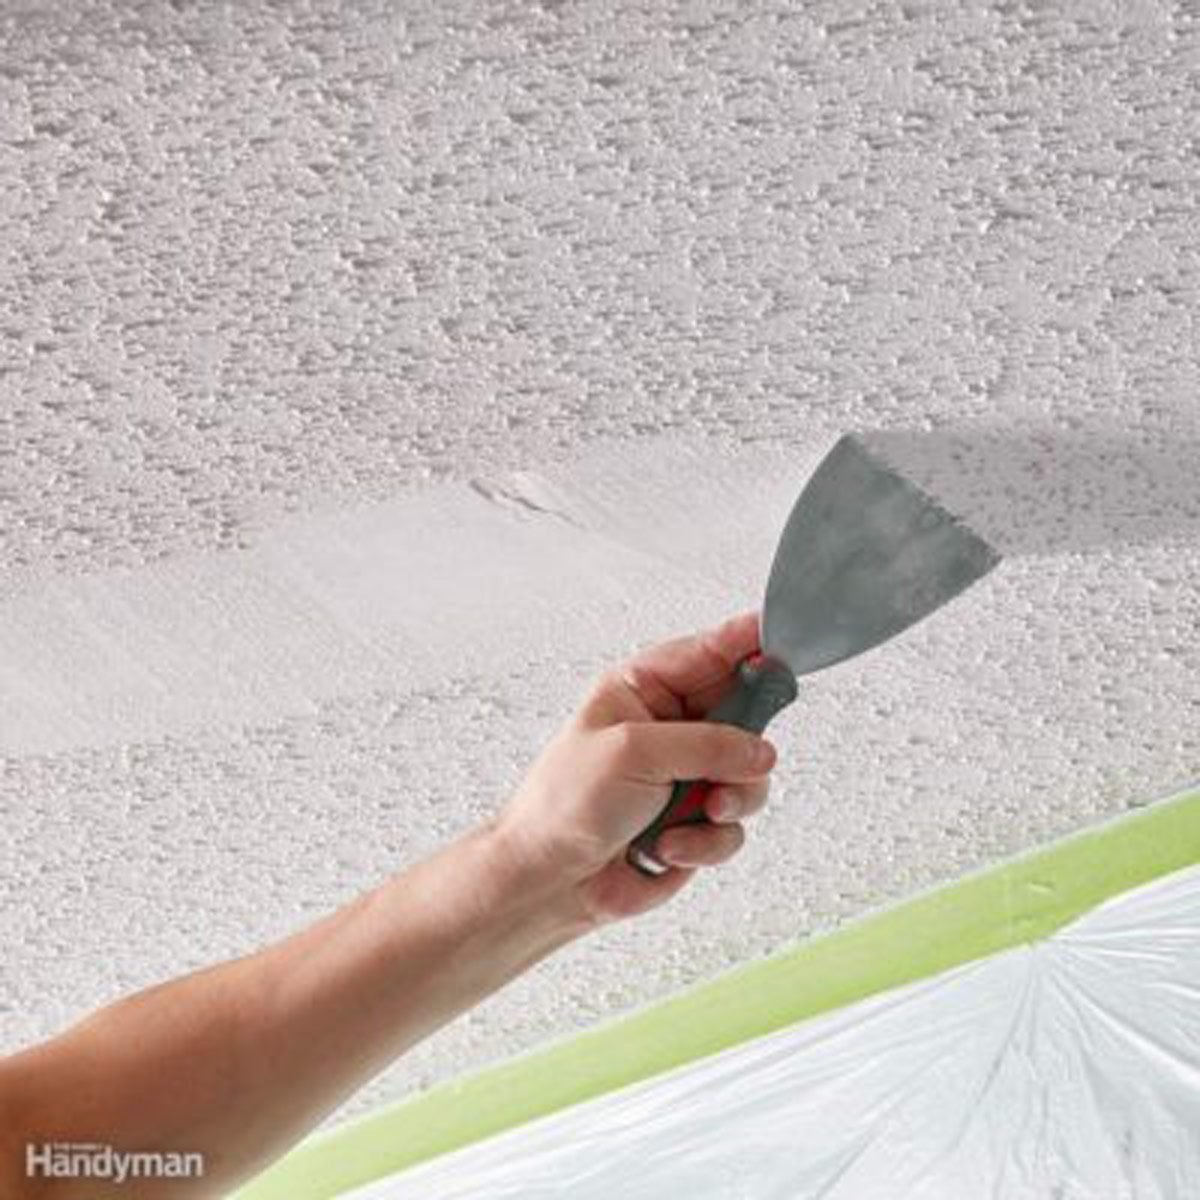
Before embarking on popcorn ceiling removal, it is crucial to assess the ceiling's condition and the type of finish applied. If the texture has been painted over, especially multiple times, or if paint was mixed with the texture during application, removal can become significantly more challenging or even impossible. In such scenarios, alternative solutions like covering the existing texture with a new layer of drywall or simply repainting the textured surface might be more practical and less labor-intensive. A 'scrape test' is recommended in an inconspicuous area, such as a closet. This involves misting a small section with water, allowing it to soak for about 15 minutes, and then attempting to scrape it away with a putty knife. This test quickly indicates whether the water can penetrate and loosen the texture, or if paint is preventing absorption.
A critical safety consideration for homes built before 1979 is the potential presence of asbestos in the popcorn texture. Asbestos is a hazardous material that can cause severe lung damage if inhaled. Therefore, before any removal work begins, the ceiling texture must be tested for asbestos by a certified lab. If asbestos is confirmed, homeowners can still proceed with removal themselves, provided they meticulously adhere to stringent safety protocols. However, due to the health risks, mess, and time commitment, covering the ceiling with new drywall is often a safer and more efficient alternative to direct removal.
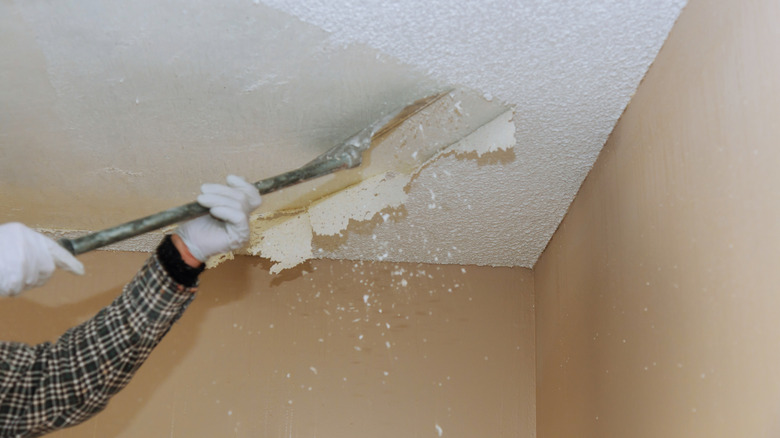
Once the decision to remove is made and safety checks are complete, preparation for the substantial mess is paramount. Floors and walls must be thoroughly covered with plastic drop cloths, rather than canvas, to prevent water from soaking through. Products like C&S; Pretaped Drop Cloths can simplify this step, offering a pre-taped edge for easy application along walls, allowing the plastic to drape over furniture and floors. Personal protective equipment, including a dust mask or respirator and safety glasses, is essential to protect against airborne particles and debris. A garden pump sprayer is ideal for evenly misting the ceiling with water, which significantly aids in softening the texture for easier scraping and reduces dust generation. After misting, allow the water to soak in for about 15 minutes.
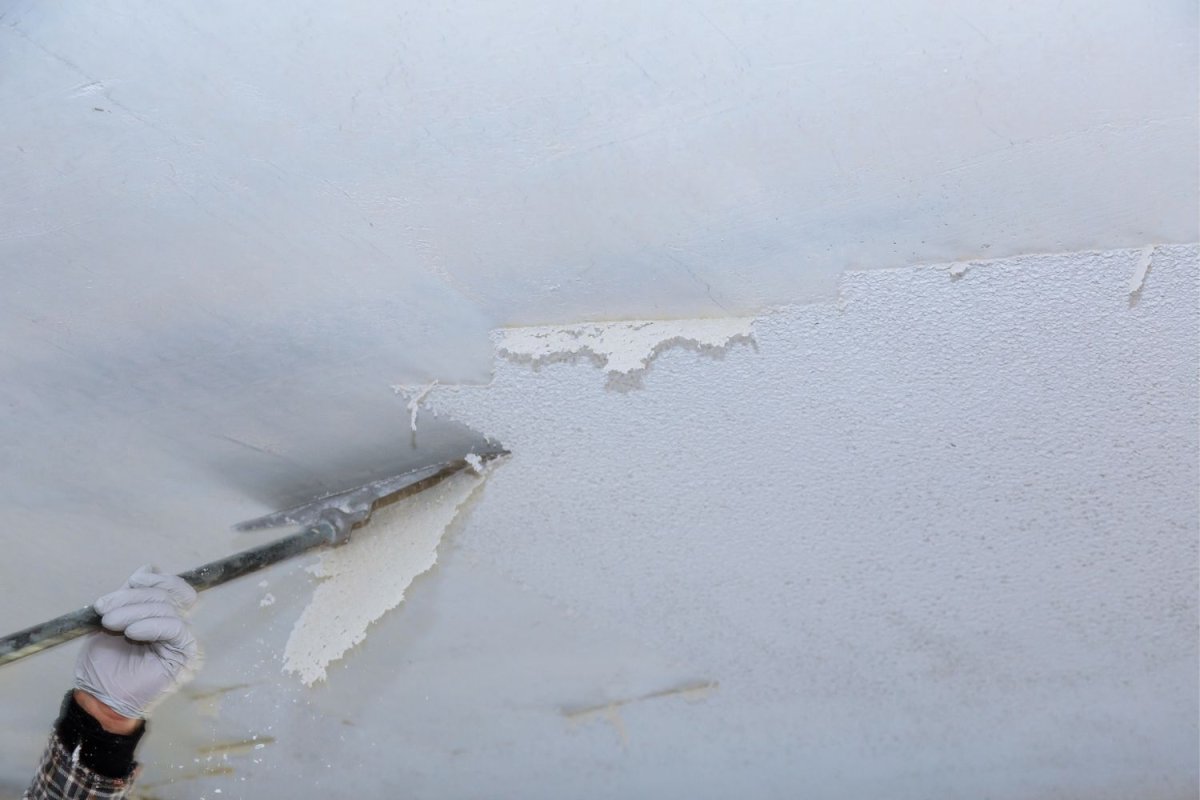
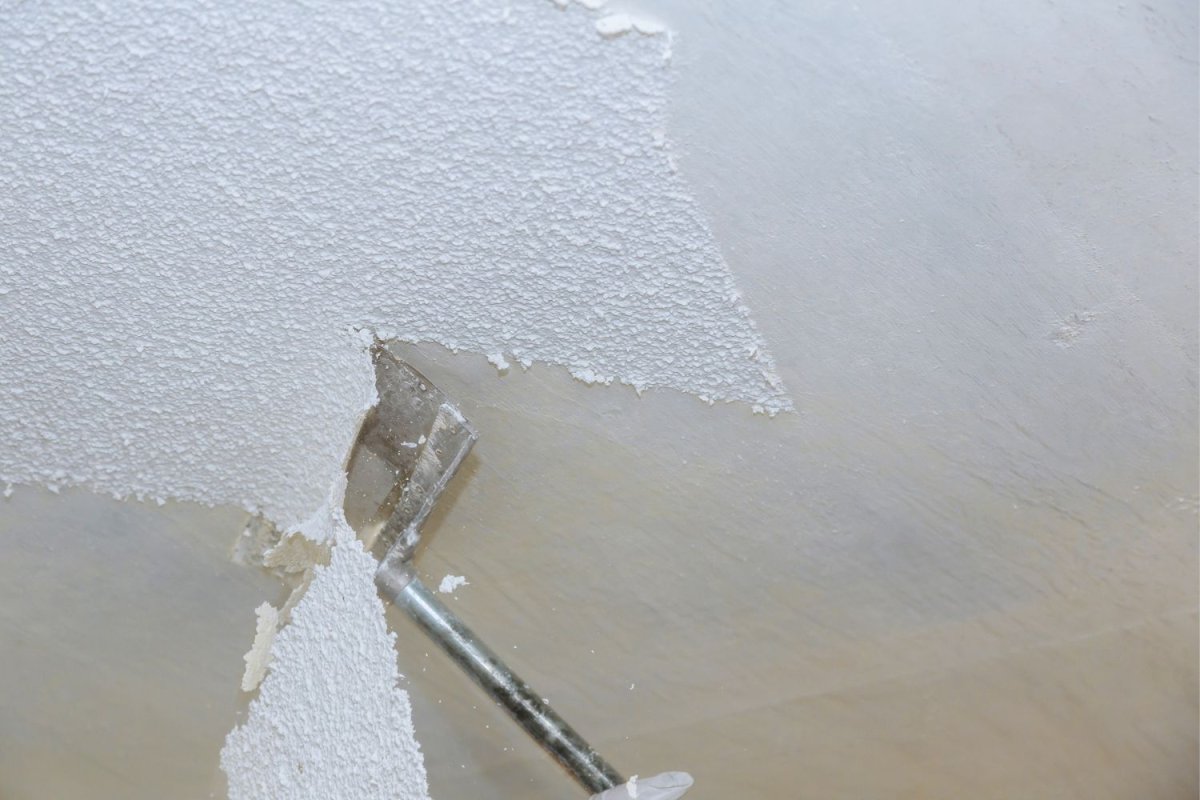
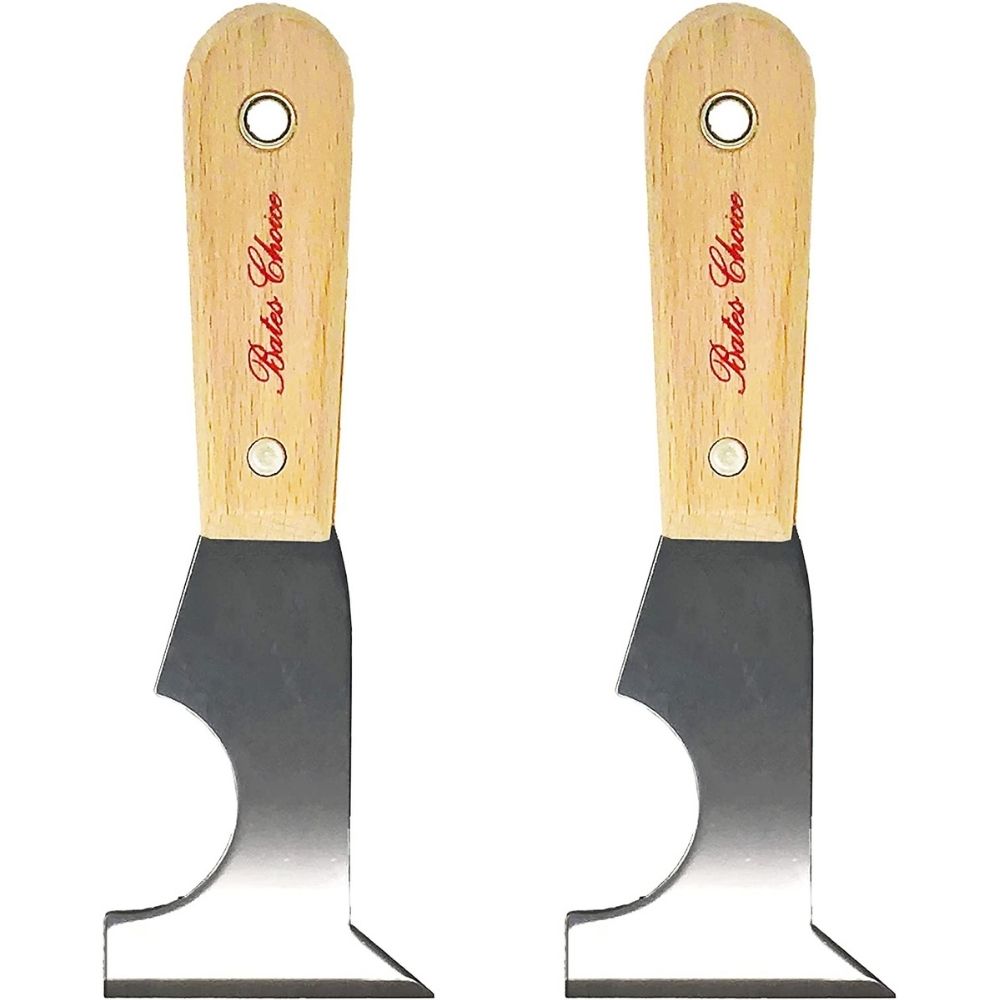
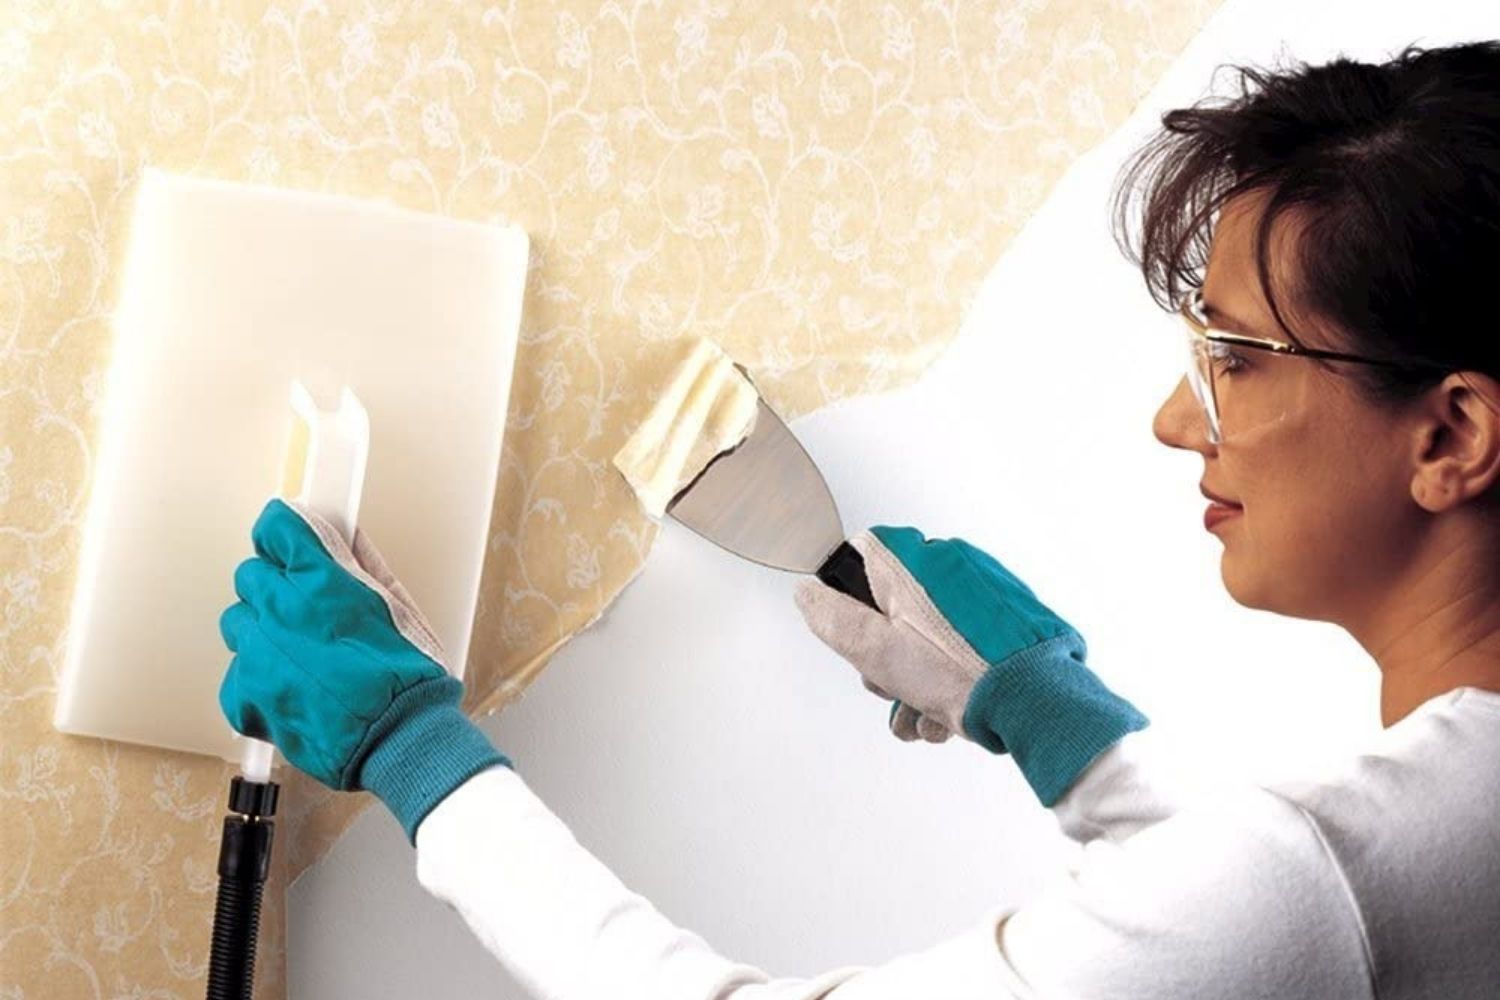
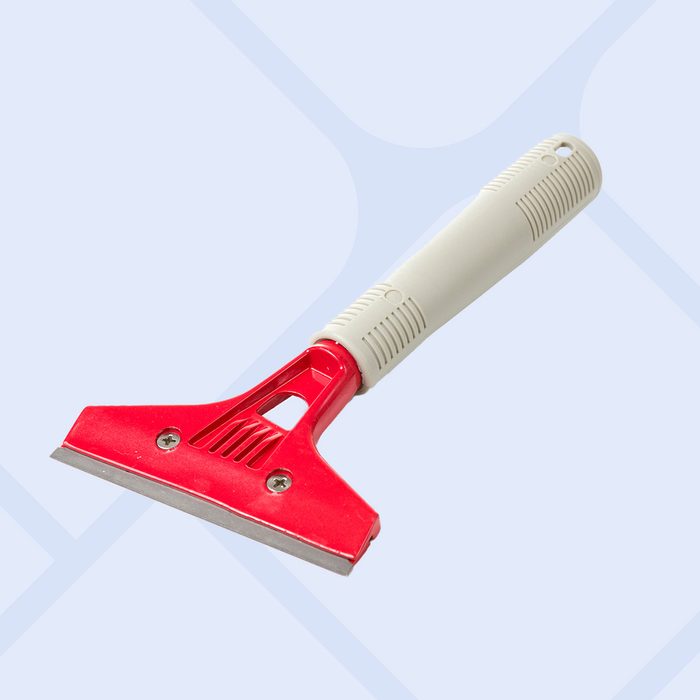
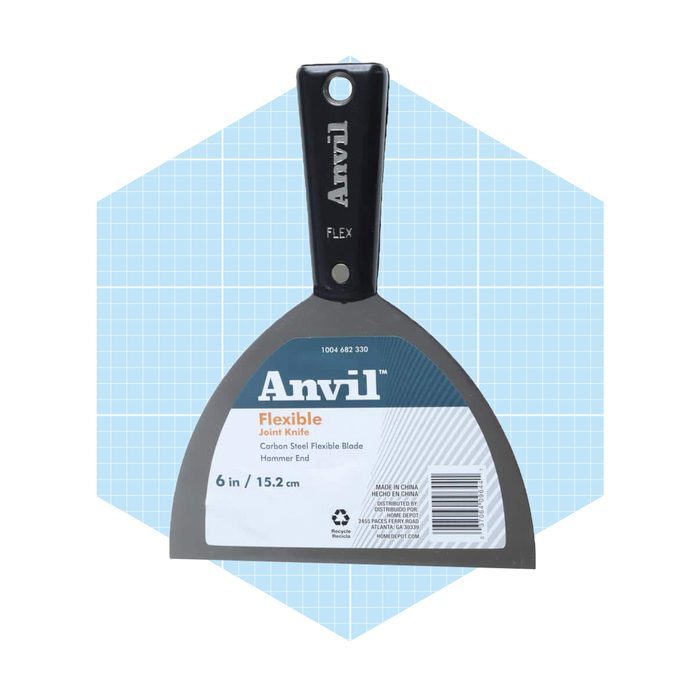
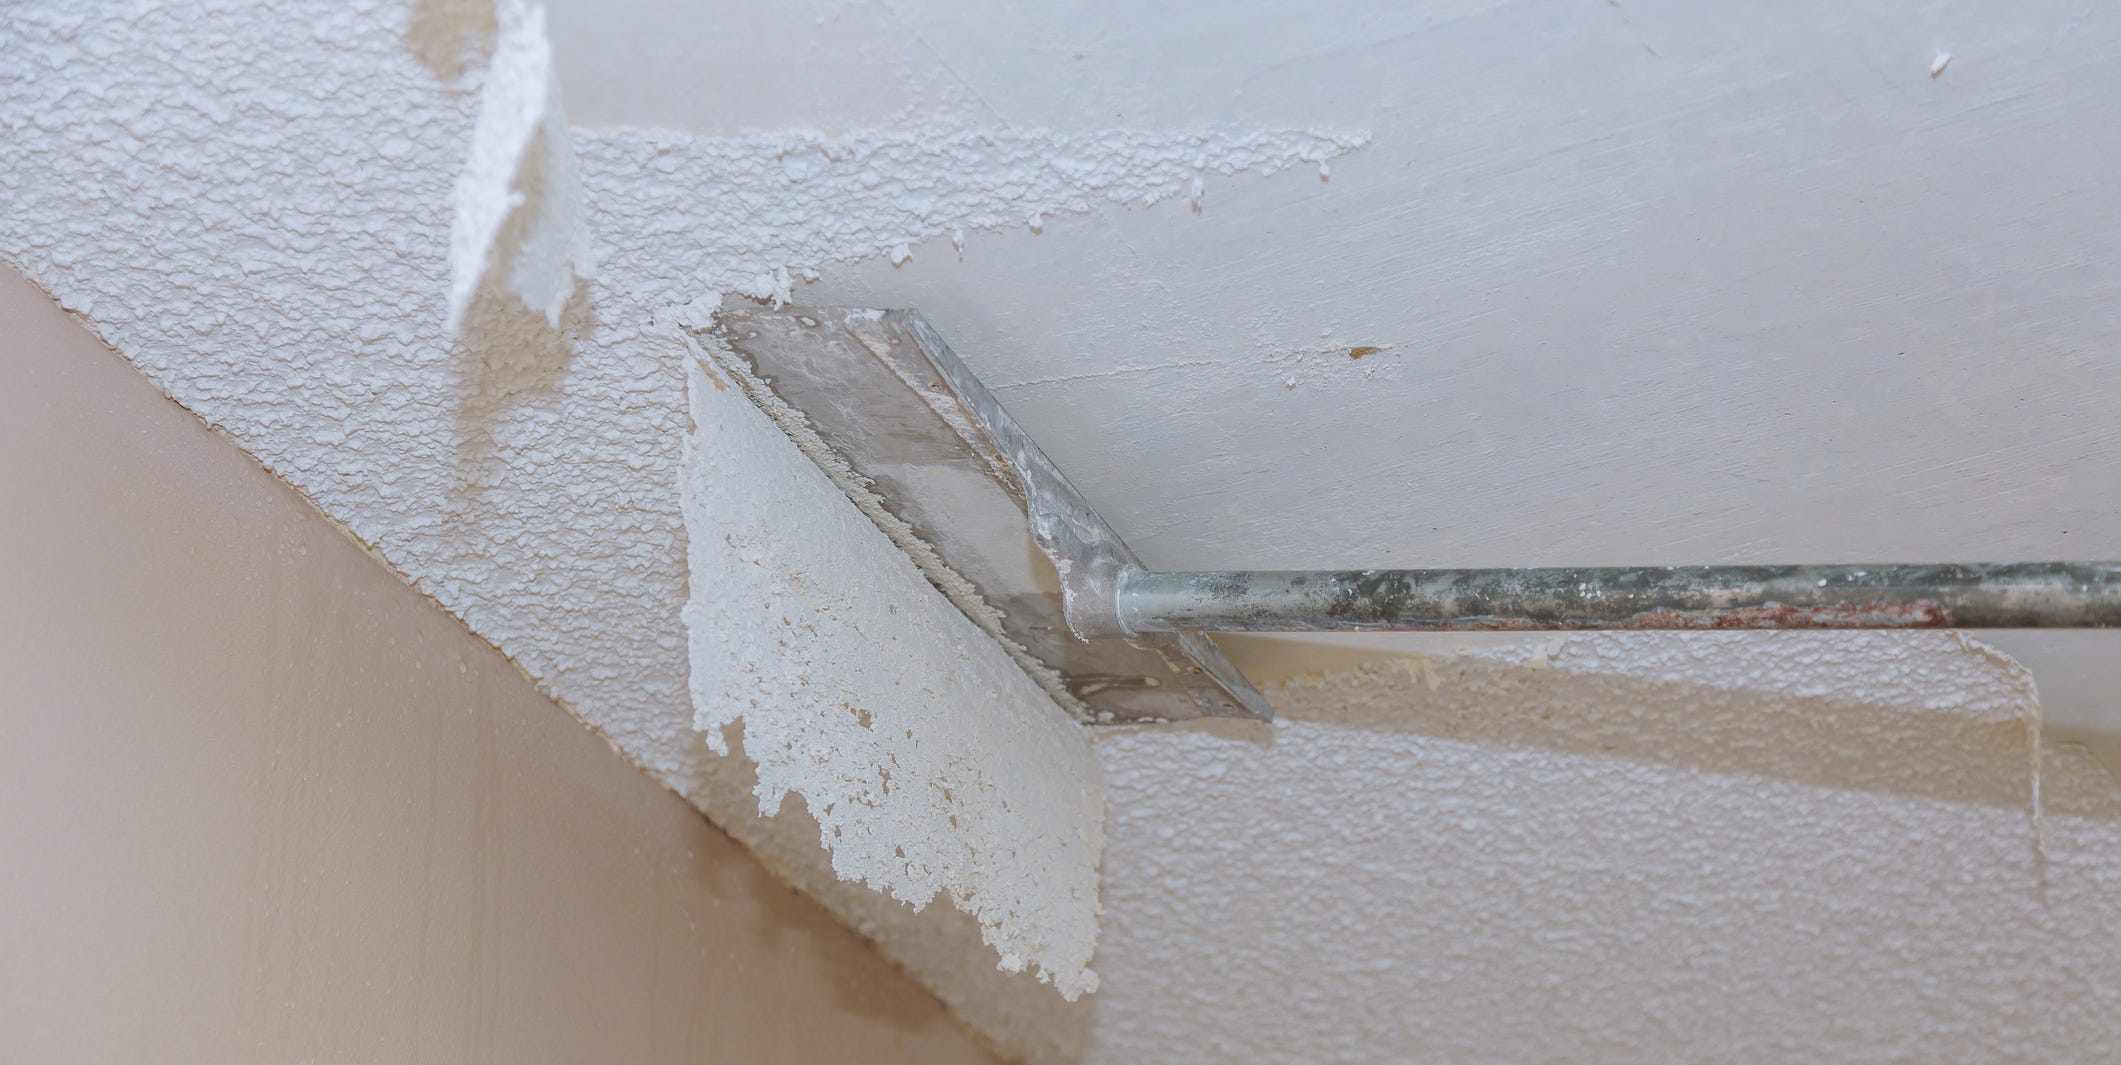
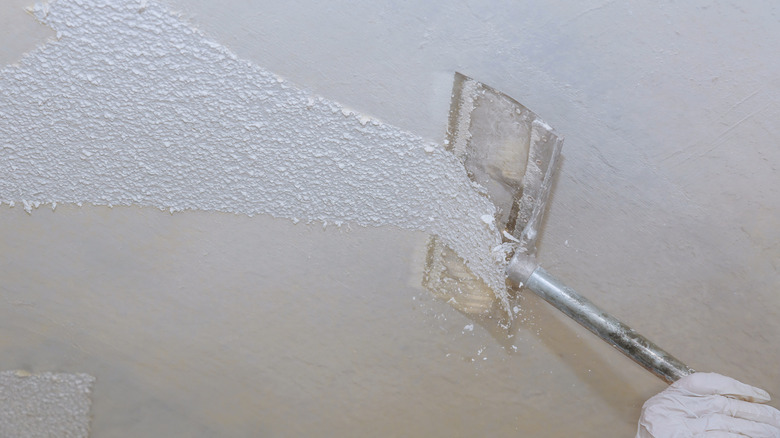
The actual removal process involves using a floor scraper to gently remove the softened popcorn texture, working in small sections to avoid damaging the underlying drywall. For corners and residual texture, a flexible putty knife is more effective. A mud pan can be used to catch the wet, scraped material, preventing it from falling onto the plastic-covered floor and creating a slippery hazard. Post-scraping, it's common to find dings and gouges in the drywall, which will require patching and sanding with a sander to achieve a smooth, paint-ready surface. Leaving the plastic drop cloths in place until all repairs and sanding are complete helps contain any further debris.
#PopcornCeiling #CeilingRemoval #DIYHomeImprovement #HomeRenovation #AsbestosSafety #DrywallRepair #HomeMaintenance #ScrapingTools #SurfacePreparation #PopcornCeiling #CeilingRemoval #DIYHomeImprovement #HomeRenovation #AsbestosSafety #DrywallRepair #HomeMaintenance #ScrapingTools #SurfacePreparation
0 comment in total
 No comments yet
You may also like

This genius TikTok hack removed a popcorn ceiling using only water - here's how to do it
The Best Wallpaper Removers of 2025 for Updating Your Home’s Interior

How to repair a wall or ceiling

We Get Salty About Popcorn Ceilings: The Faux Finish for the Unfinished Ceiling
How Much Does Popcorn Ceiling Removal Cost?

Methods to Remove Staples from Subfloor

Why You Should Consider a Popcorn Ceiling, According to Pros


The Long-Term Effects Of Popcorn Ceilings On Home Resale Value

Shingle Tear-Off Tools: Bogus or Backsavers?

5 Things to Keep in Mind When Remodeling Popcorn Ceilings
How to remove popcorn ceilings

Do Popcorn Ceilings Actually Dampen Sounds? Here's What The Expert Says
How to remove popcorn ceiling quickly to refresh your home in an instant

9 Best Wallpaper Removers
The '80s Called—They Want Their Popcorn Ceilings Back

Our Expert's Preferred Method To Install Ceiling Cornices By Yourself

11 Efficient Tile Removal Tools for Floor and Wall Projects
We Tested The Best Caulk Removal Tools: These Are The Must-Haves For Your Tool Kit
Do Popcorn Ceilings And Crown Molding Go Together? Here's What Our Expert Says
Remove Wall Plugs Fast With A Custom Tool