How to remove popcorn ceiling quickly to refresh your home in an instant
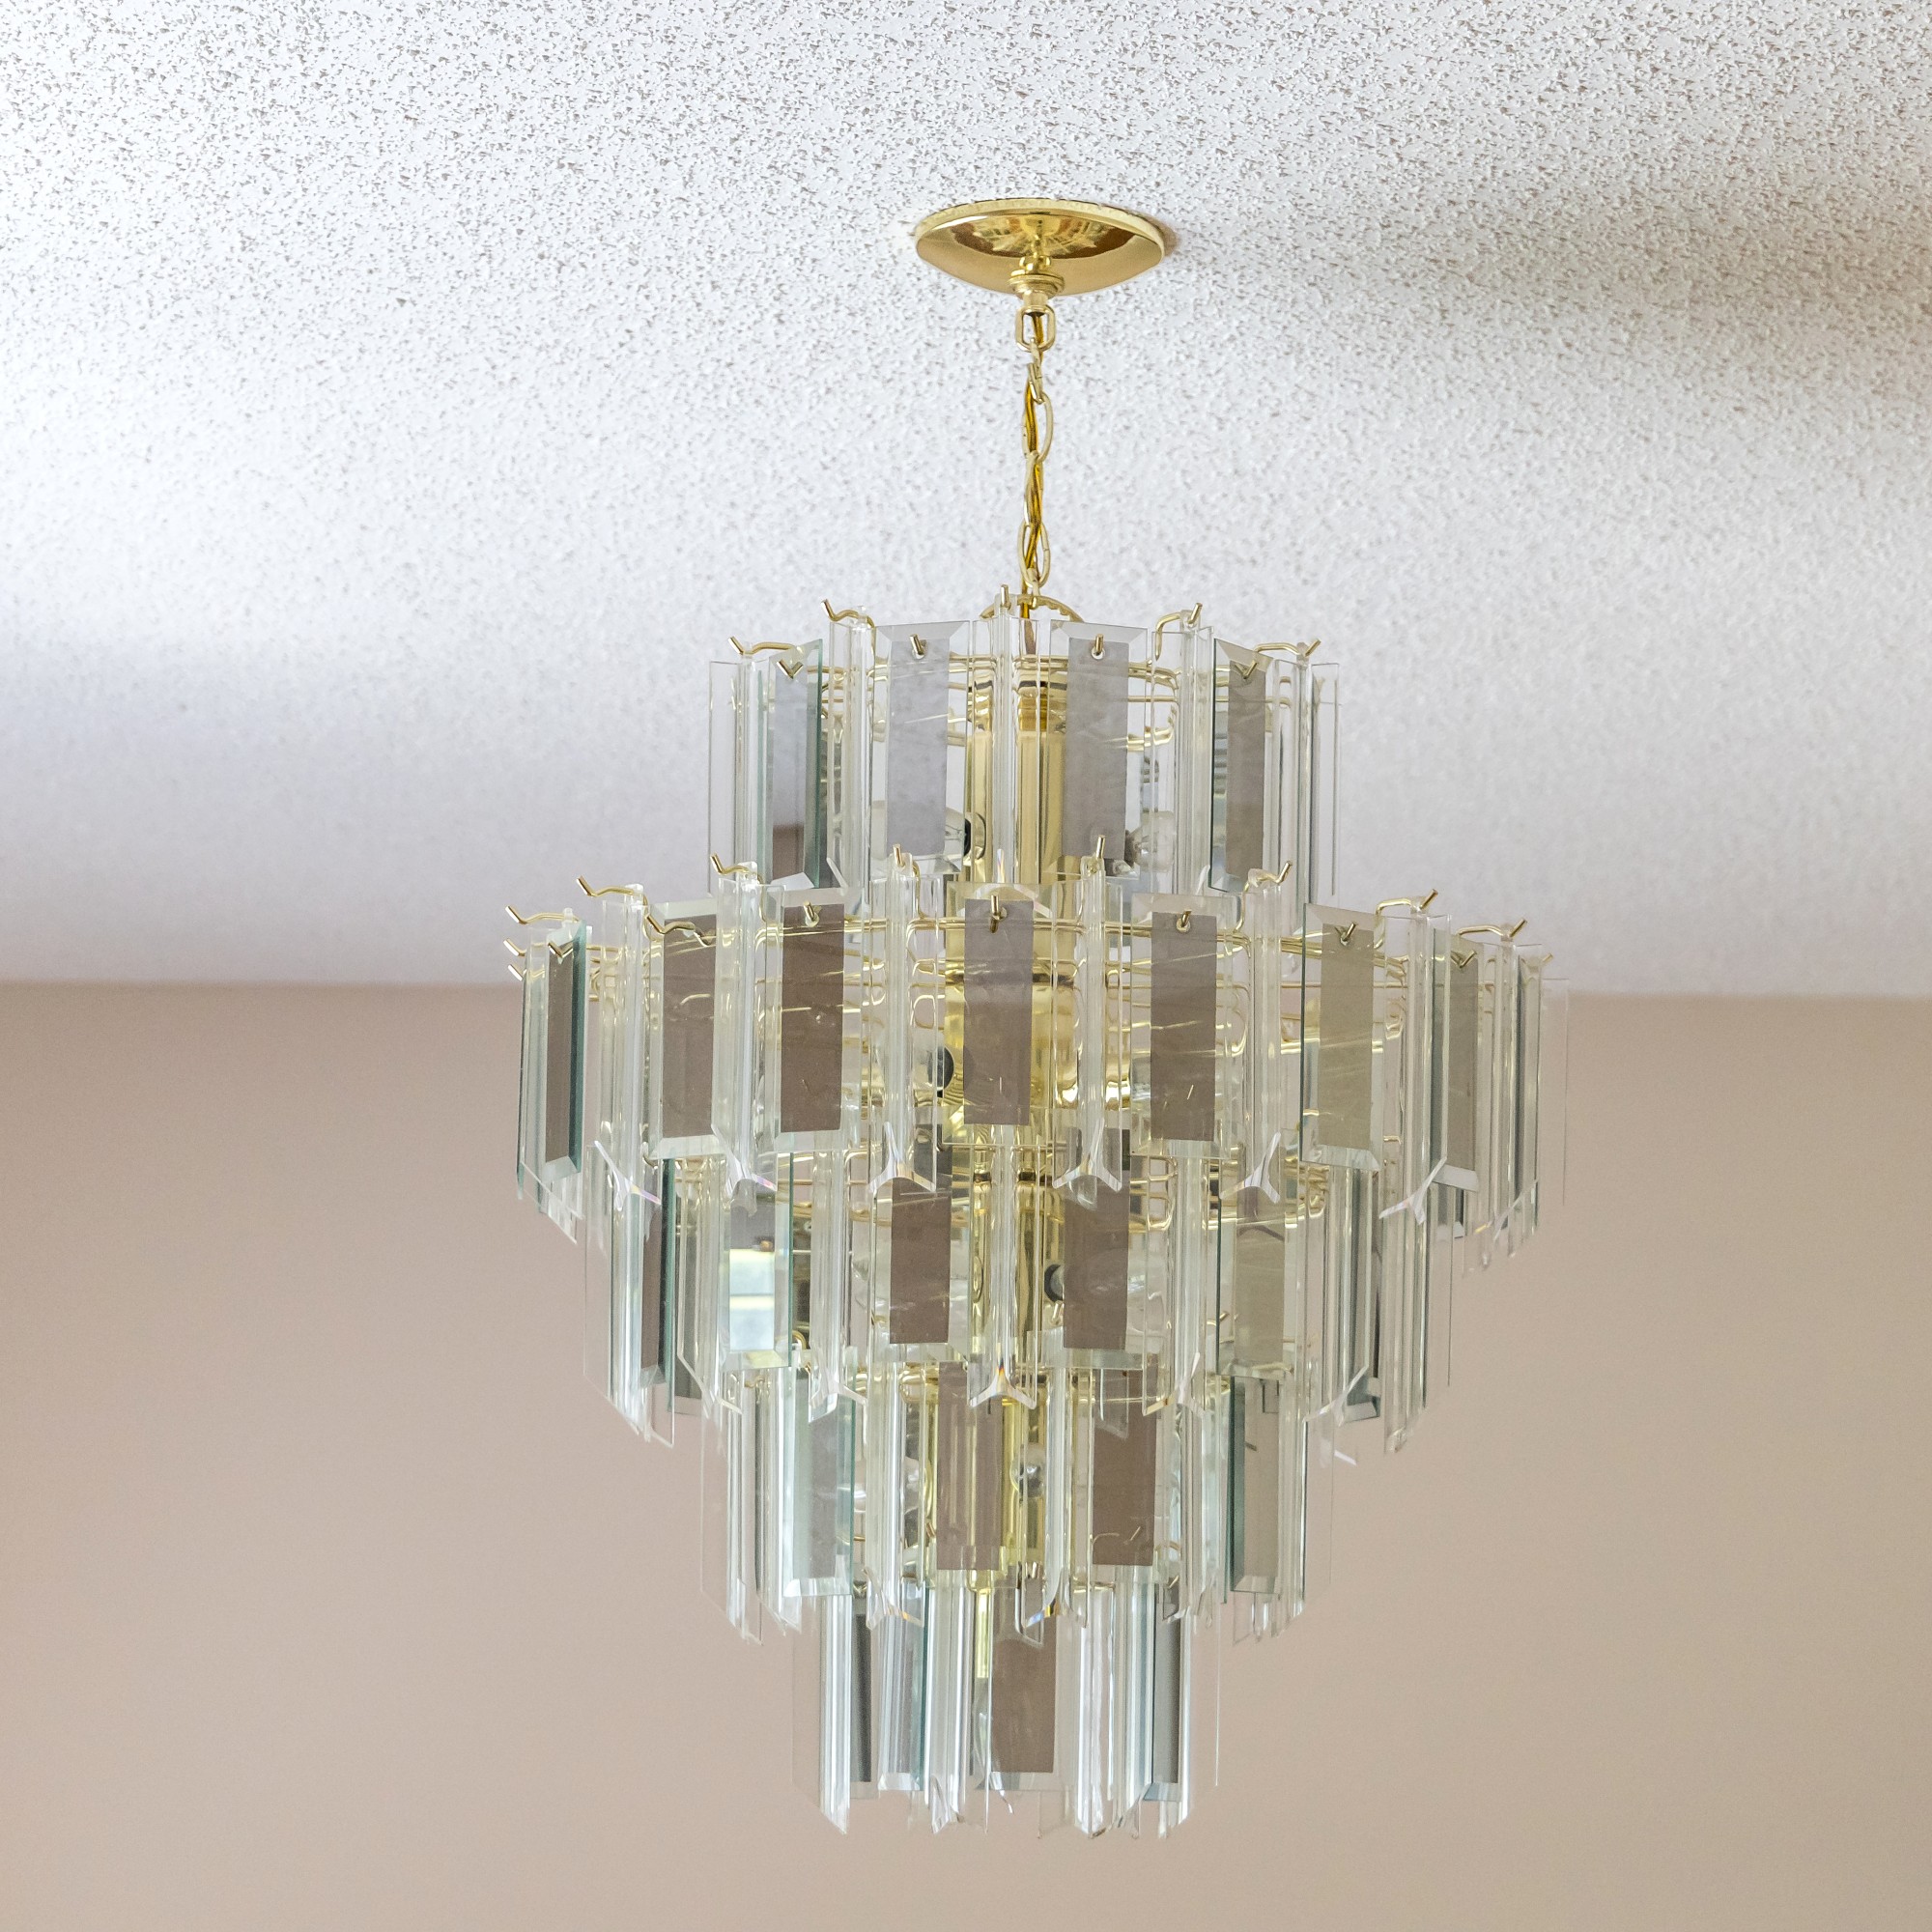
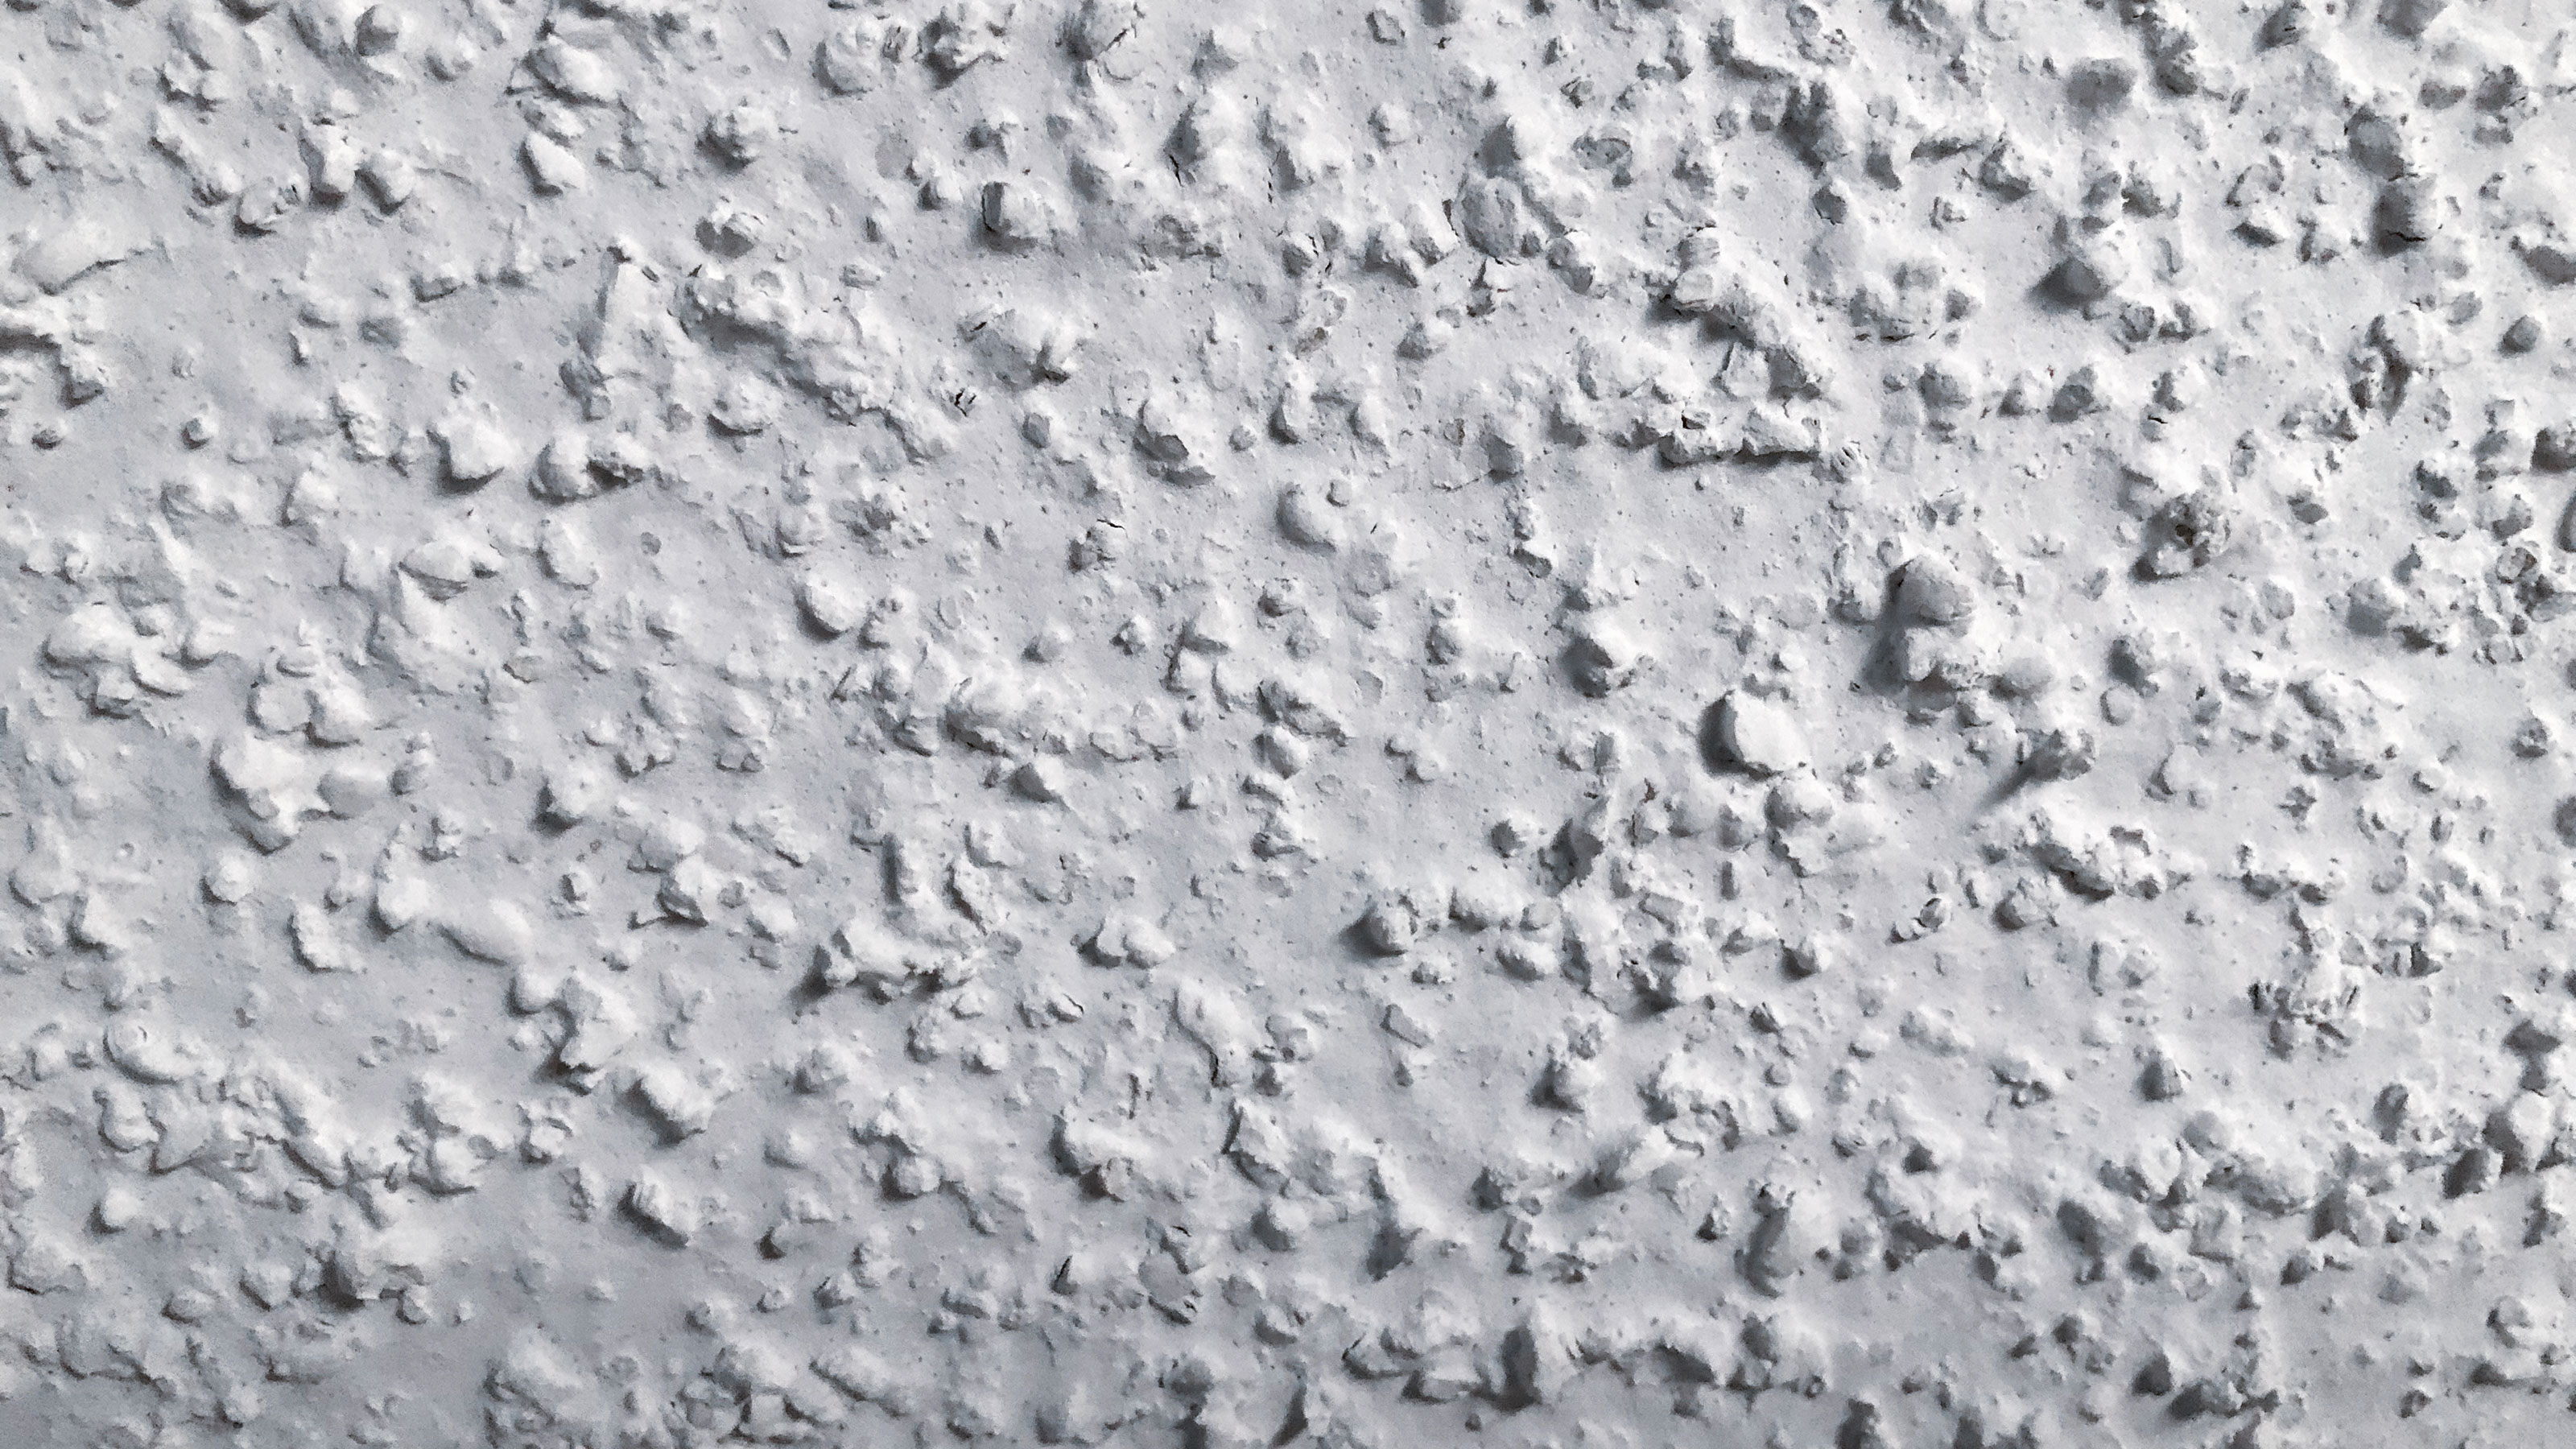
Popcorn ceilings, a popular architectural feature from the mid to late 20th century, are now largely considered unfashionable and can accumulate dust. This blog post provides a comprehensive guide on how to remove a popcorn ceiling, offering DIY advice and expert tips for a modern home refresh. The process begins with a crucial step: checking for asbestos. Popcorn ceilings installed before the early 1980s commonly contained asbestos for soundproofing and fire resistance. Asbestos, when disturbed, can release fibers that pose serious health risks, including mesothelioma. Therefore, it is strongly recommended to have a certified asbestos contractor test the ceiling before beginning any removal work. While home testing kits are available, appropriate protective gear such as gloves, a ventilator or dust mask, and quality eye protection should be worn when collecting a sample. If asbestos is detected, professional assistance is mandatory; the ceiling should not be disturbed without a qualified asbestos inspection.
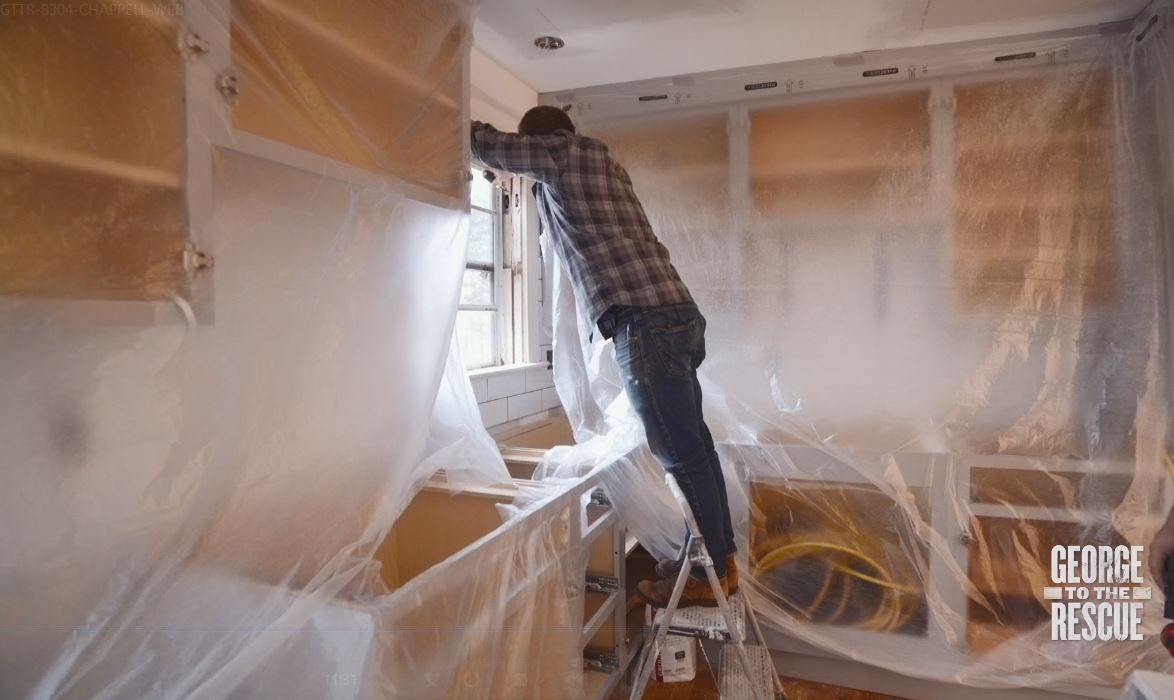
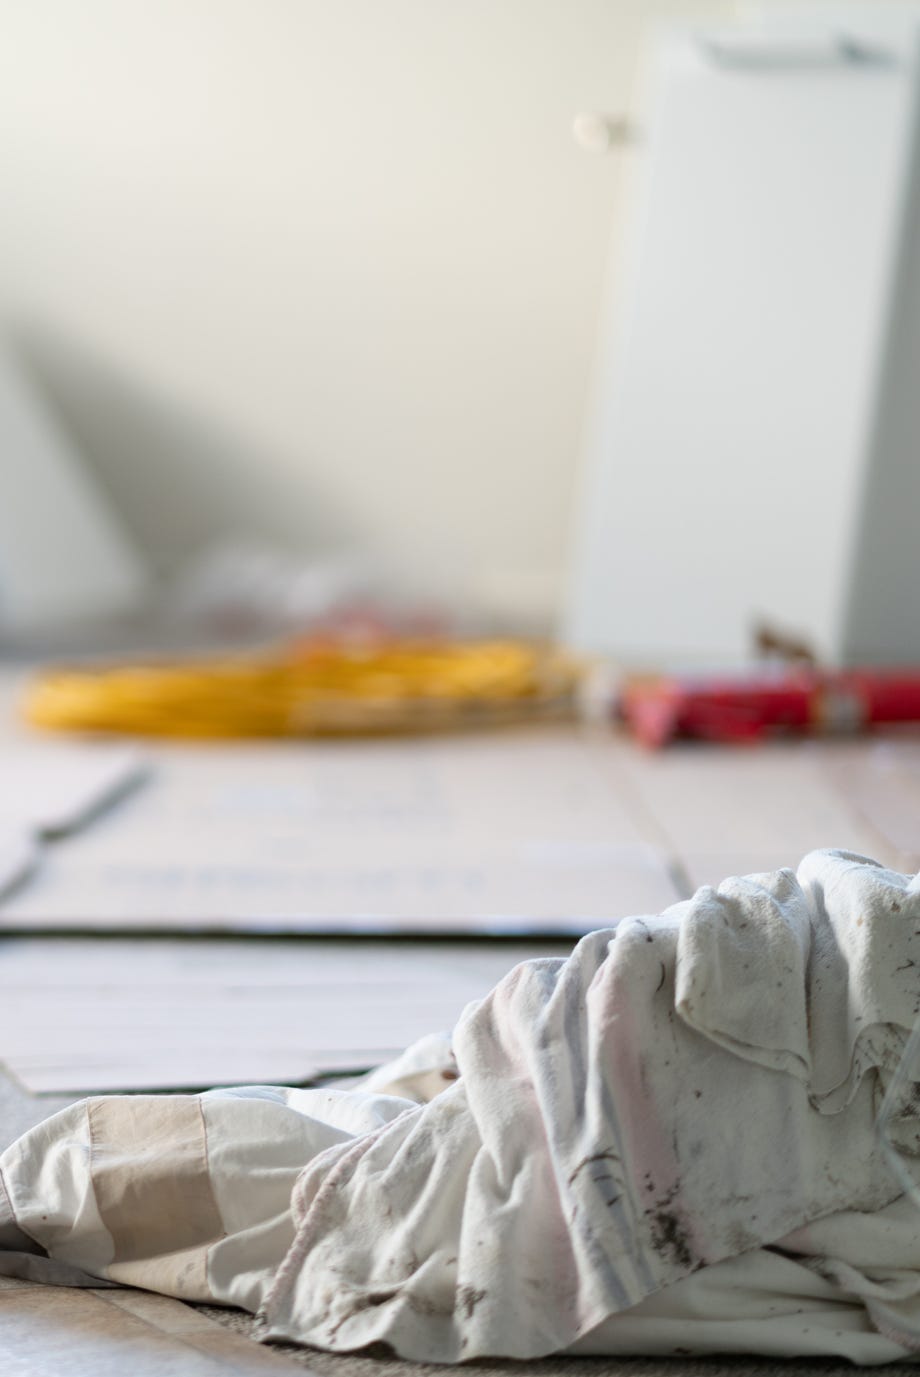
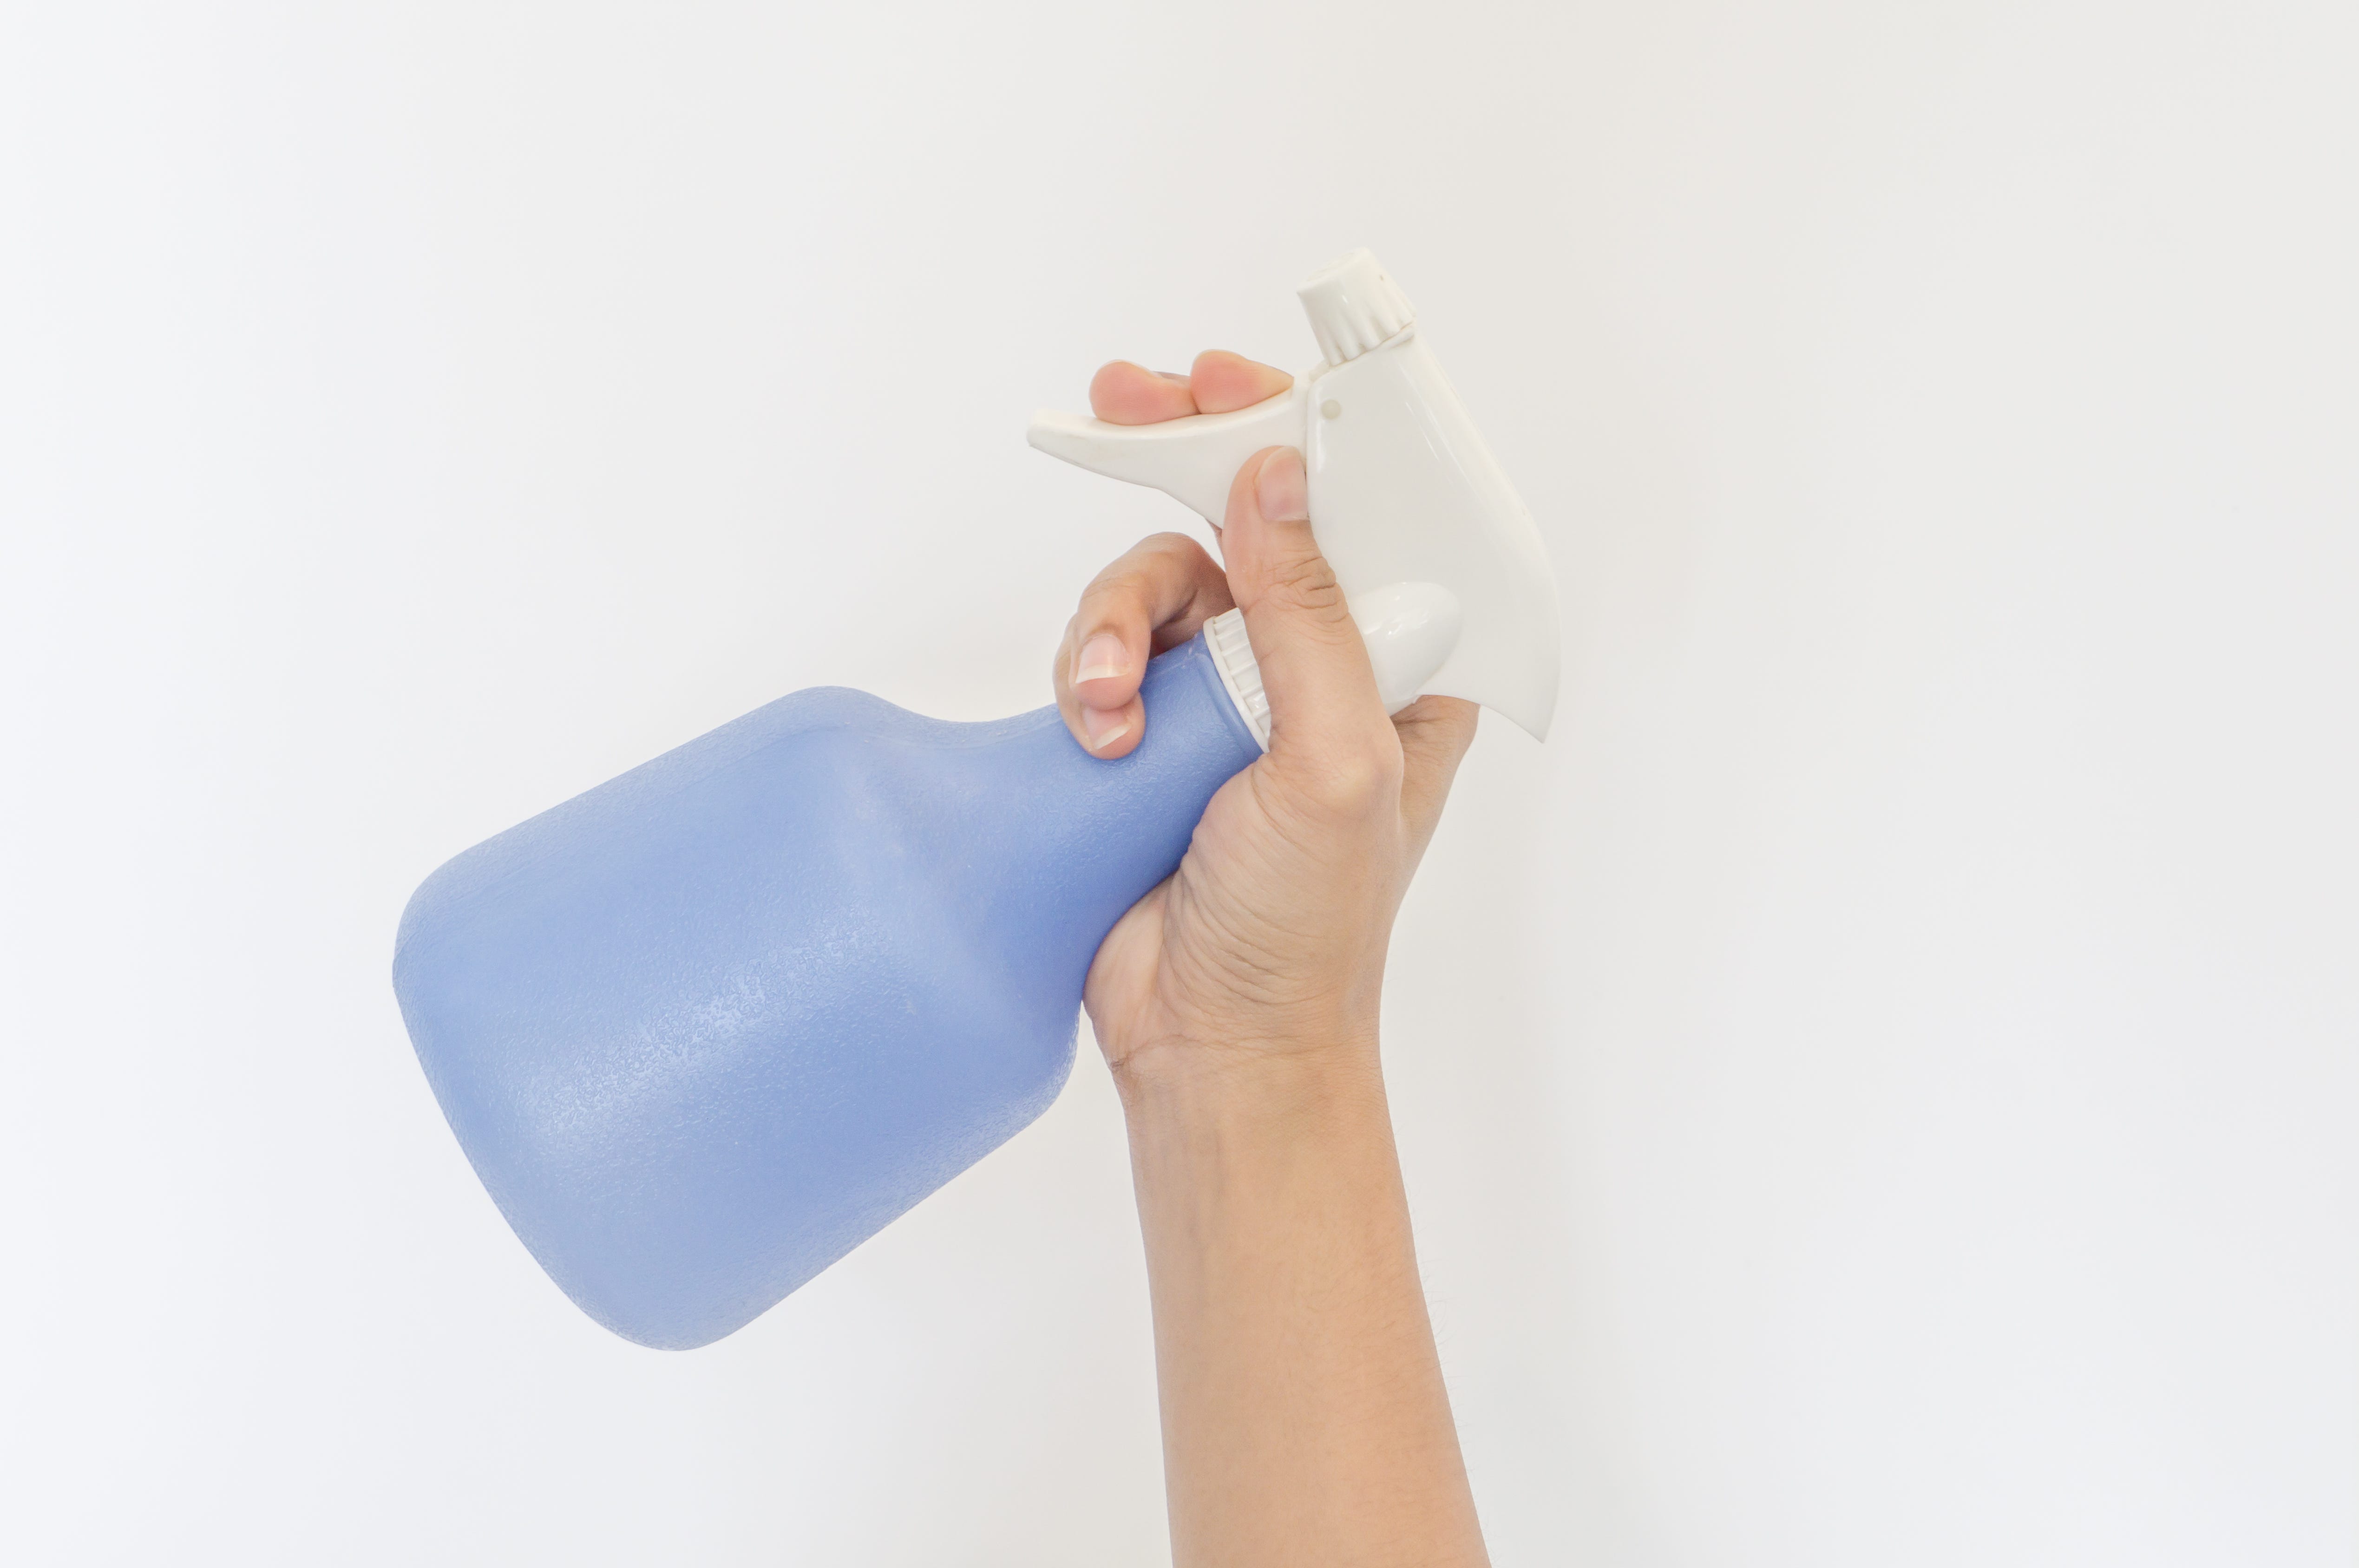
Once the ceiling is confirmed asbestos-free, preparation for removal involves clearing the room of all furniture, masking walls with painter's plastic, and covering the floor with plastic sheeting. Using plastic sheeting for the floor is crucial as cloth tarps are not waterproof and will not contain the mess effectively. Electricity to the room should be turned off, and windows opened to ensure adequate ventilation. The next step involves lightly spraying sections of the ceiling with water using a pump garden sprayer. This softens the popcorn texture, making it easier to scrape and significantly reducing dust. It's important not to over-soak the ceiling, as this could damage the drywall underneath. Allowing the water to penetrate for 10 to 15 minutes is usually sufficient.
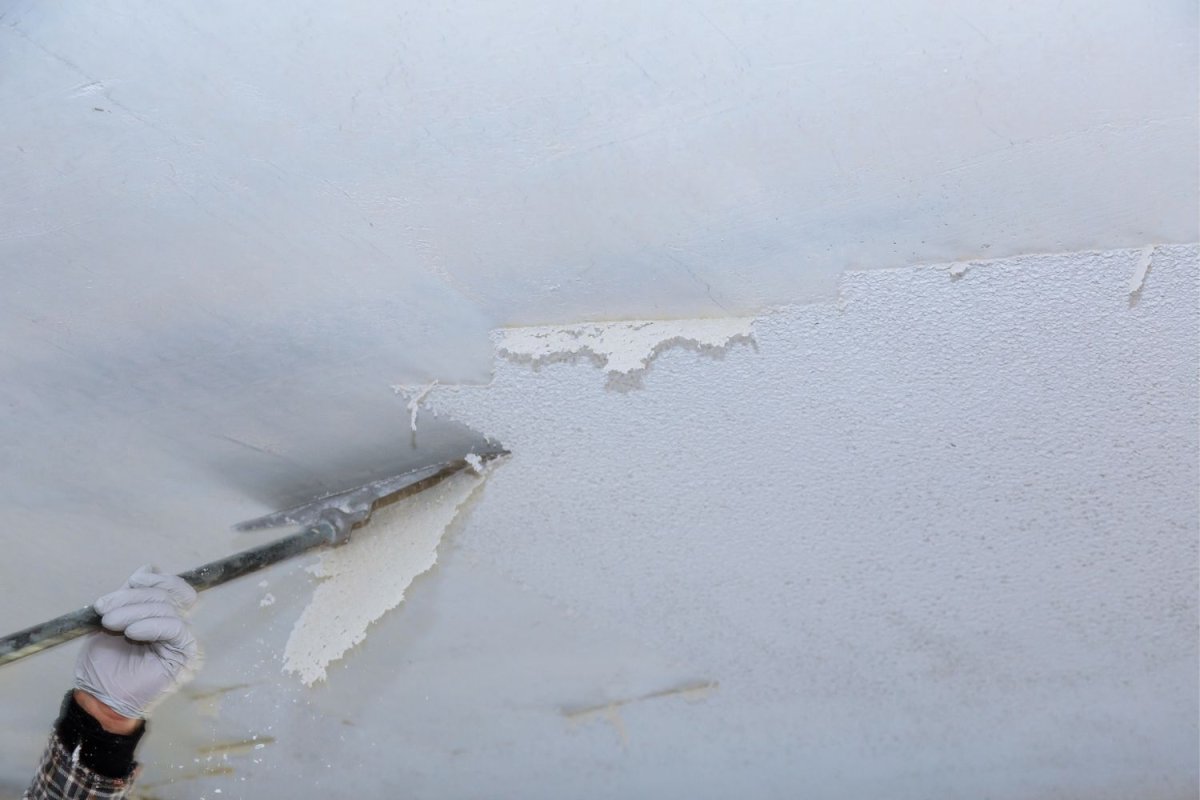
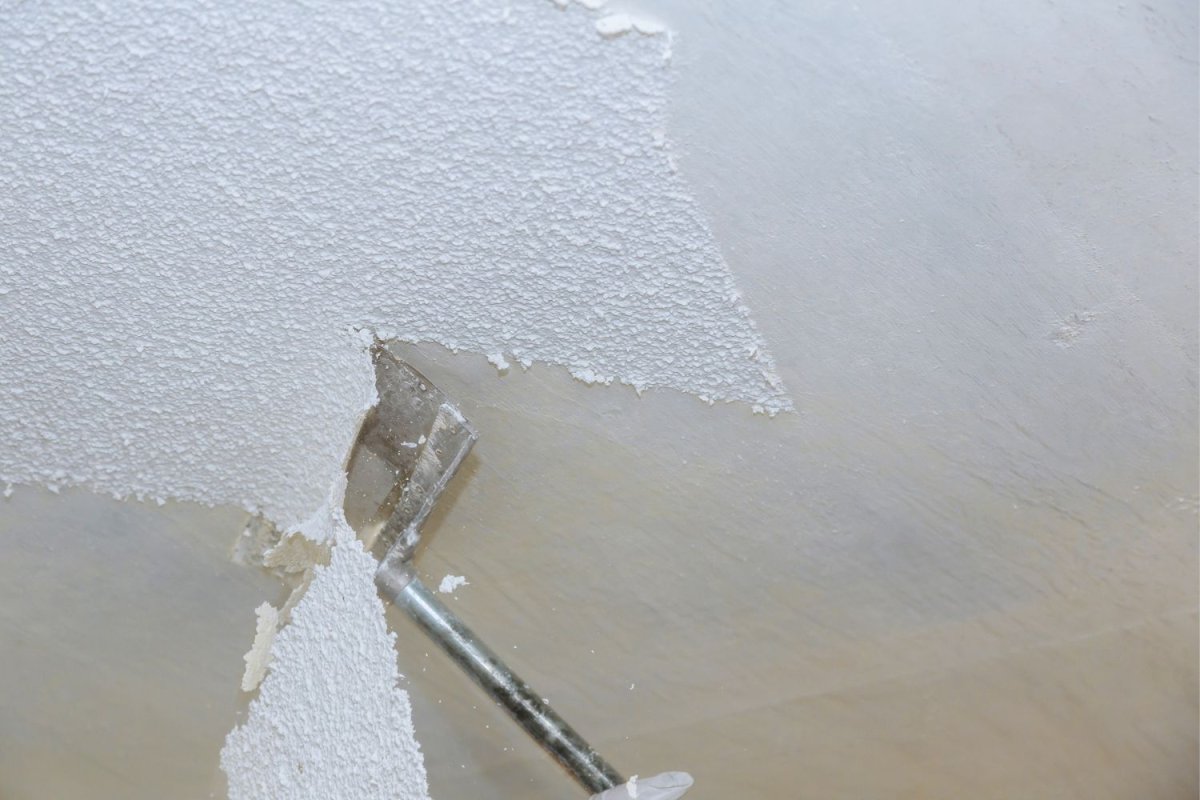
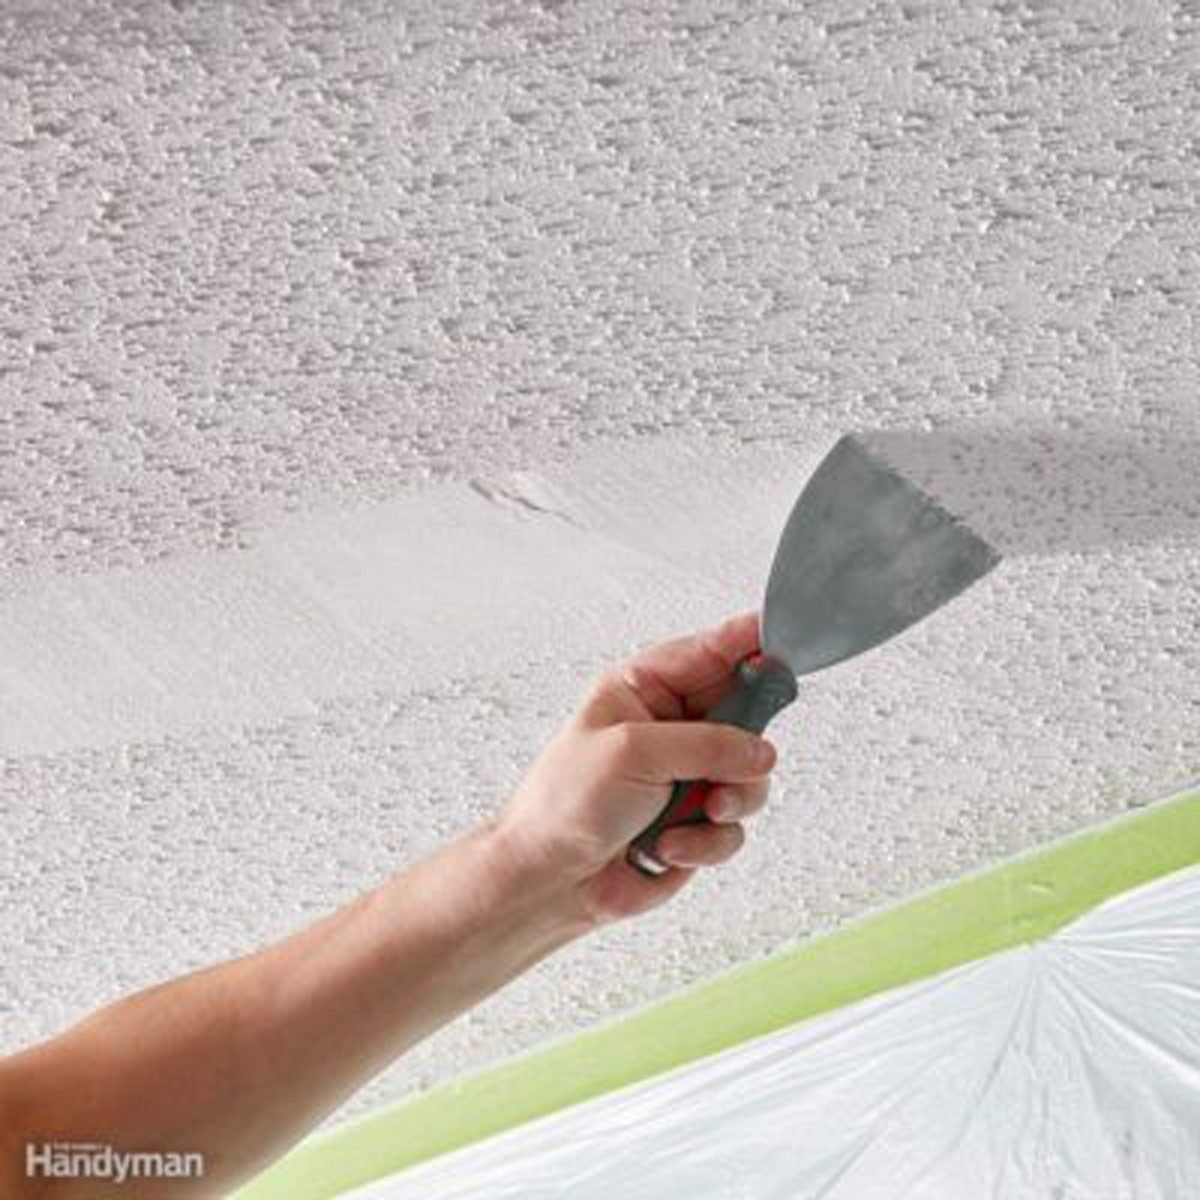
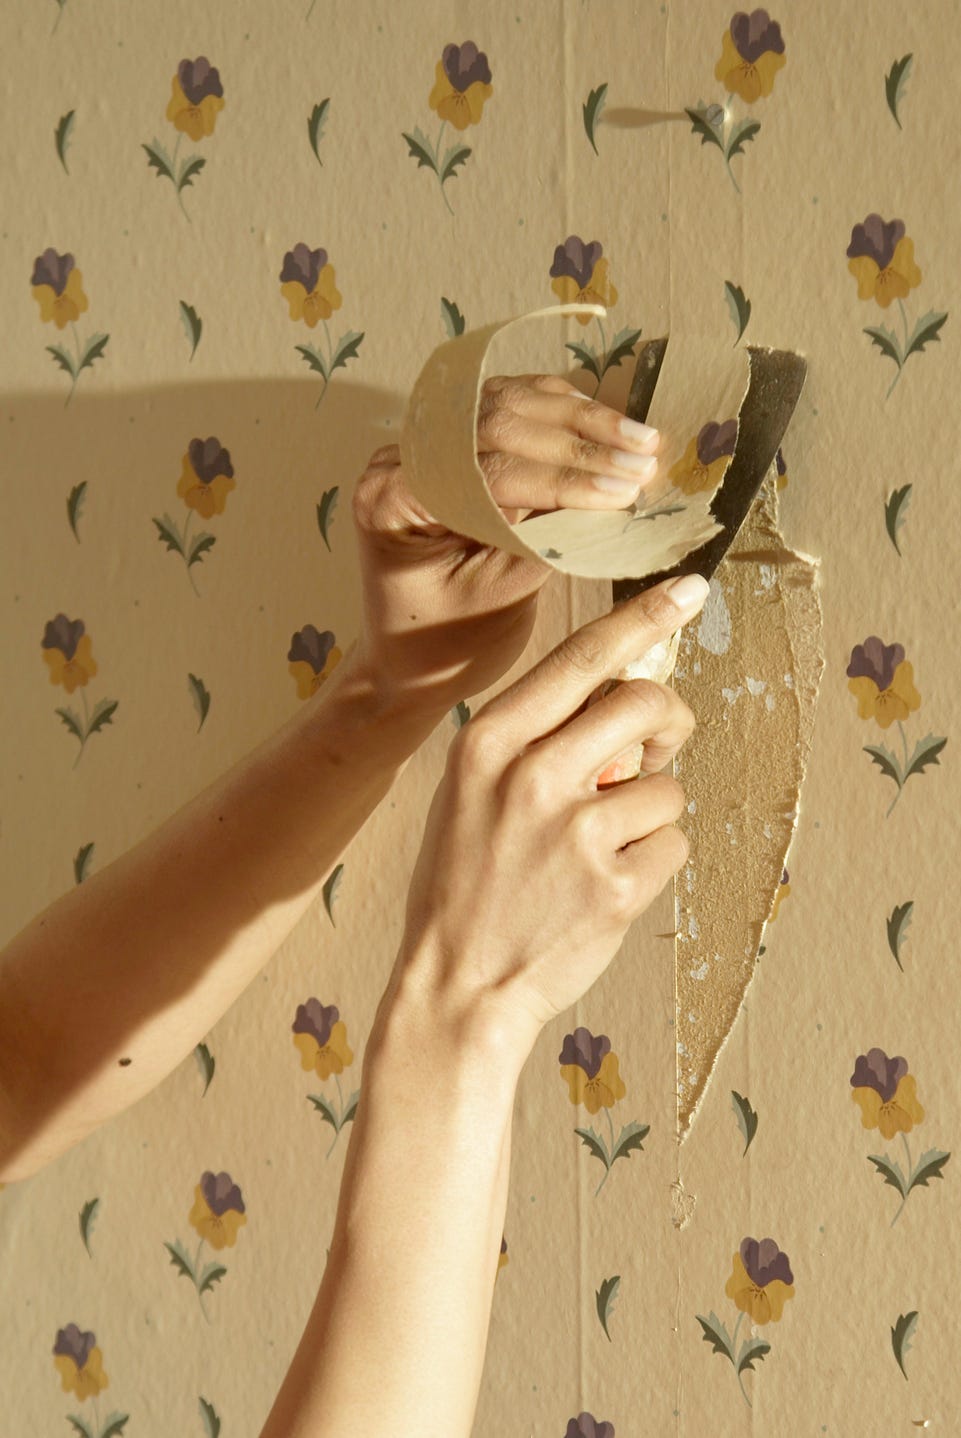
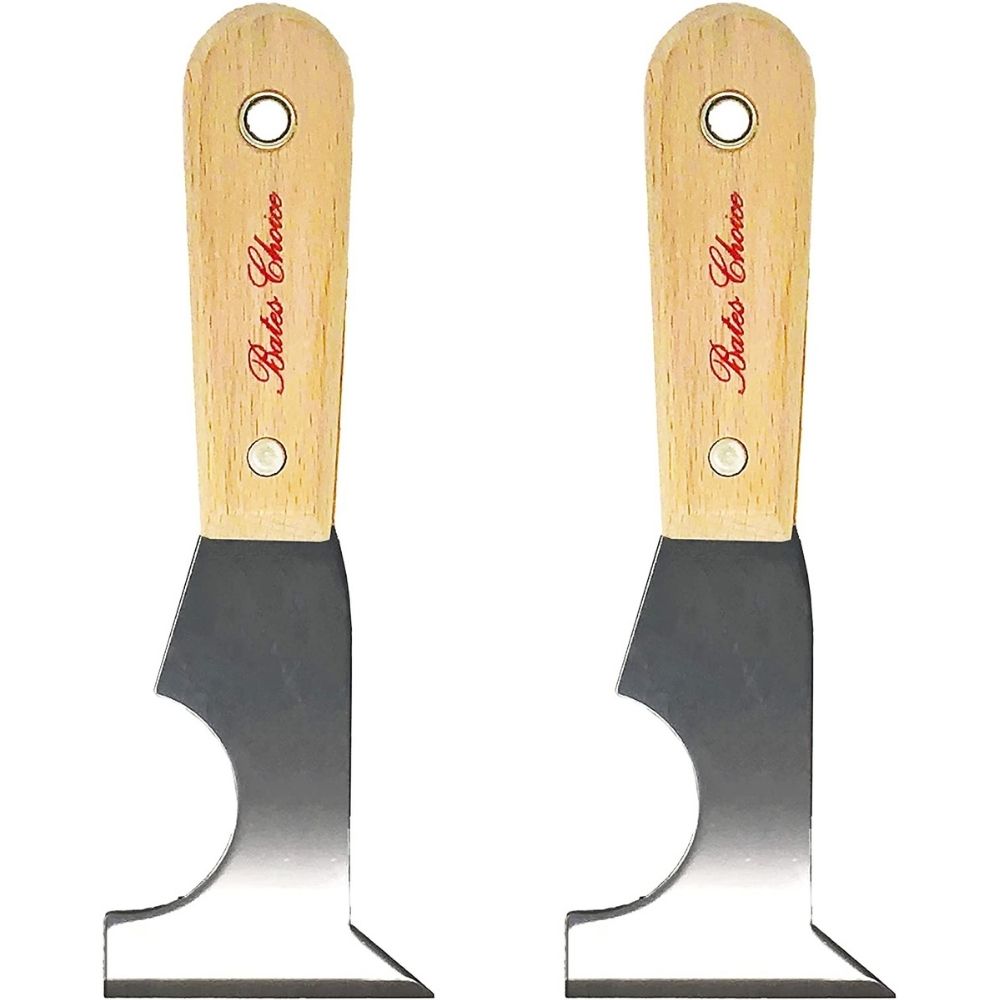
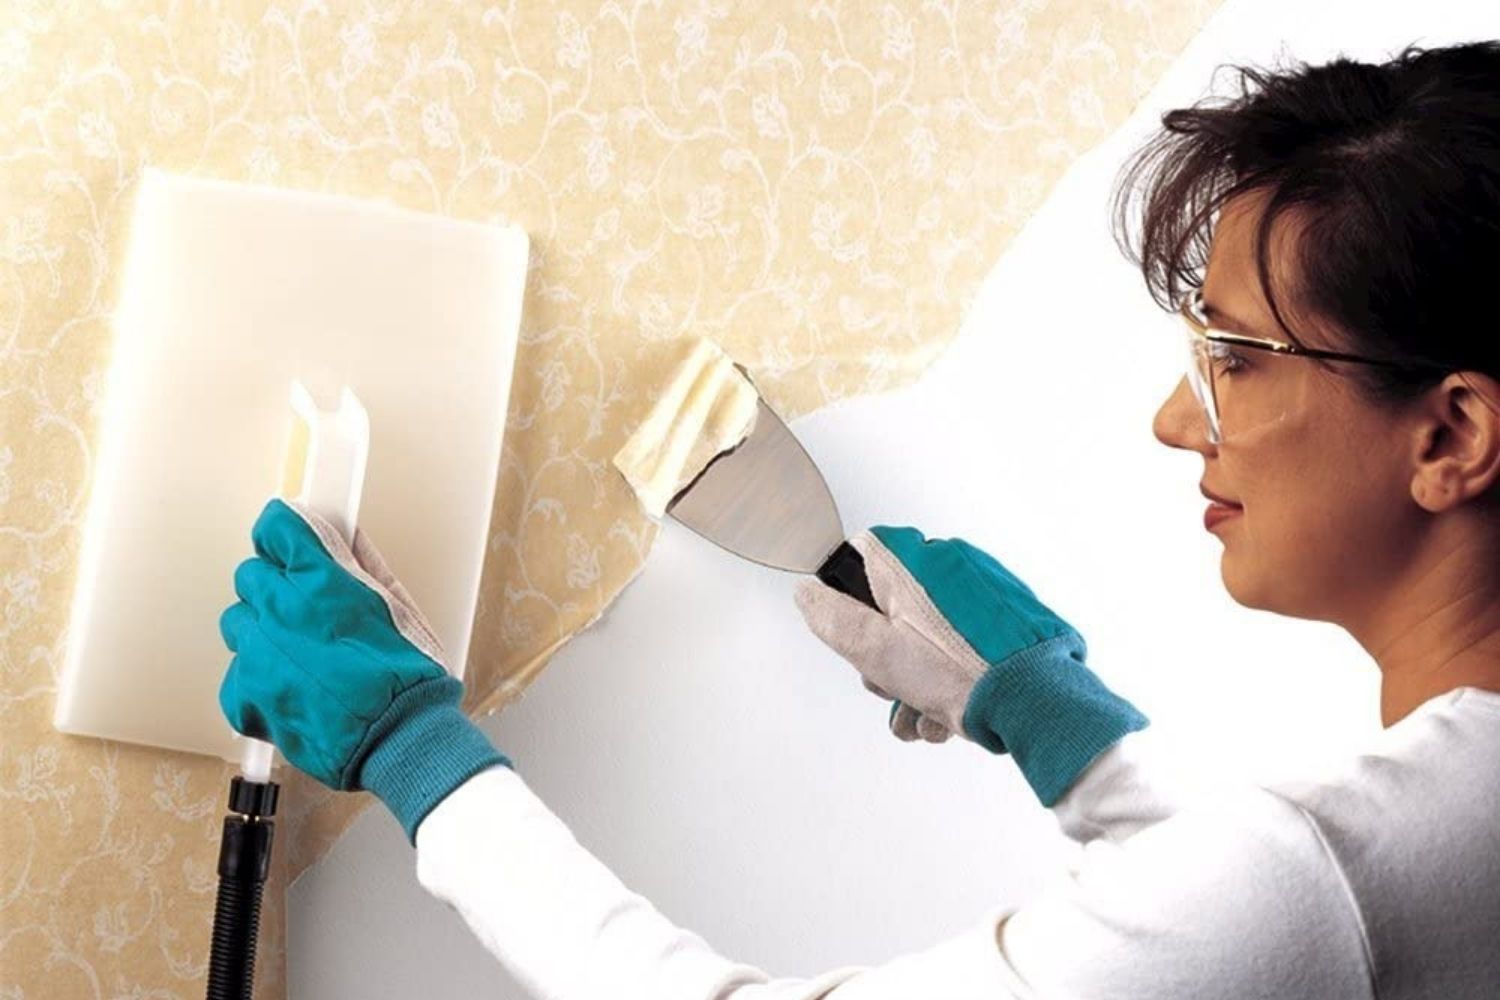
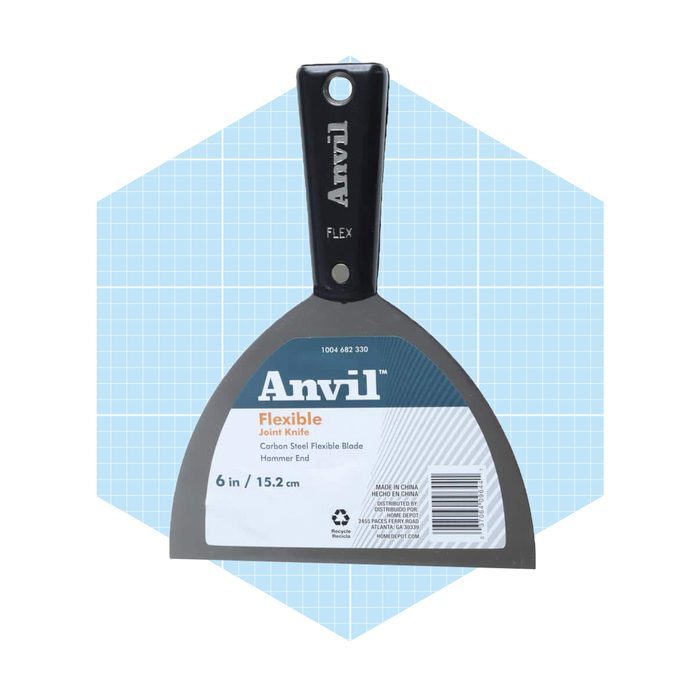
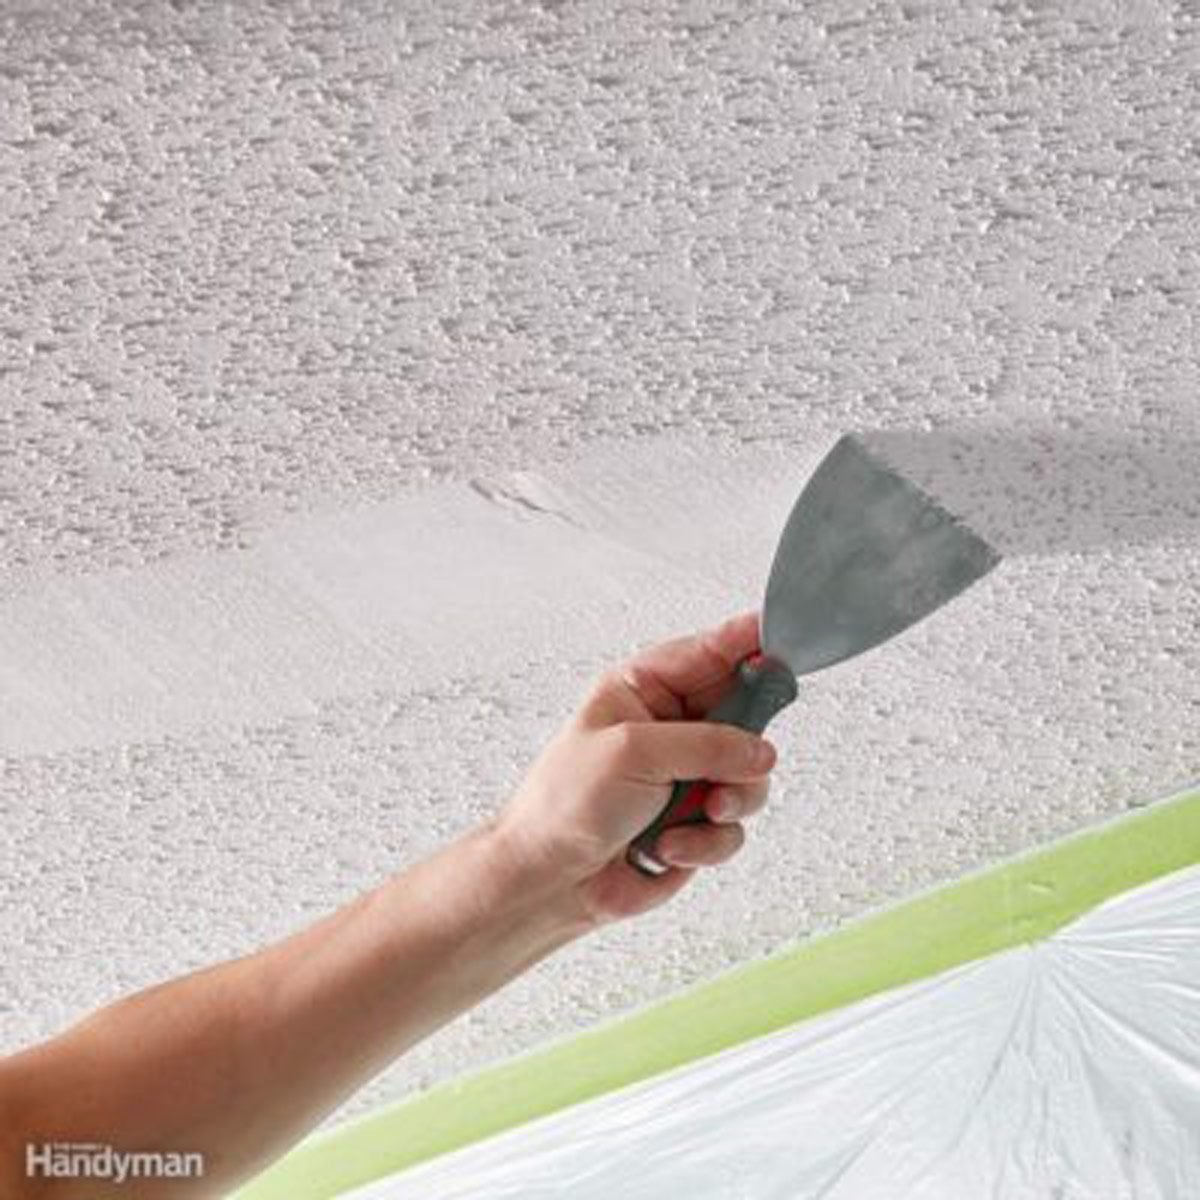
Scraping the ceiling can be done with a putty knife or a wide drywall knife. To prevent damage to the underlying drywall, filing the corners of the scraper edge is advised. The scraping should be done in small, careful sections. A useful tip to manage the mess is to use a drywall mud bucket to catch the falling popcorn as you scrape, which will simplify cleanup. After scraping, any remaining debris should be vacuumed with a HEPA-filter vacuum cleaner to ensure all pollutants are removed, followed by careful disposal of the debris. The final stage involves sanding the ceiling, making any necessary repairs to the drywall, and then priming and painting it to achieve a smooth, fresh surface.
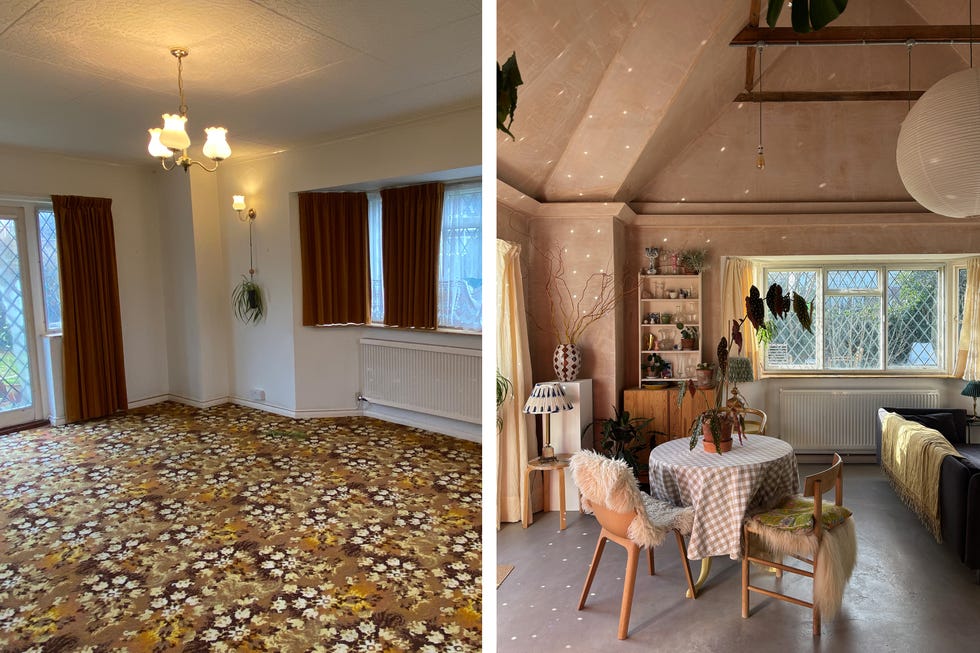
For situations where scraping is difficult, such as when the popcorn is painted, alternative solutions are available. These include skim coating the ceiling with drywall mud to cover the texture, installing a new layer of drywall over the existing one, or covering the ceiling with wood paneling. While removing a popcorn ceiling is often a time and effort-intensive task, the skill level required is minimal, making it a viable DIY project for homeowners willing to invest the hard work. Many homeowners find the effort worthwhile, as removing popcorn ceilings can eliminate dust and cobweb accumulation, improve the ease of cleaning, and modernize the aesthetic of a space, aligning with contemporary trends that prioritize cleaner and healthier living environments.
#PopcornCeilingRemoval #HomeImprovementDIY #AsbestosTesting #InteriorRenovation #CeilingModernization #HomeMaintenance #DIYHomeProject #PopcornCeilingRemoval #HomeImprovementDIY #AsbestosTesting #InteriorRenovation #CeilingModernization #HomeMaintenance #DIYHomeProject
0 comment in total
 No comments yet
You may also like

This genius TikTok hack removed a popcorn ceiling using only water - here's how to do it

Refresh Your Living Room the Easy Way


This Couple Struck Gold When They Decided to Restore Their Plaster Walls


Why You Should Consider a Popcorn Ceiling, According to Pros

How Much Does Popcorn Ceiling Removal Cost?

A Stress-Free Way to Remove Wallpaper

This simple trick will clean ceiling fans without a mess

How to repair a wall or ceiling


How to remove wallpaper - expert-approved steps to prevent damage and ensure a smooth finish
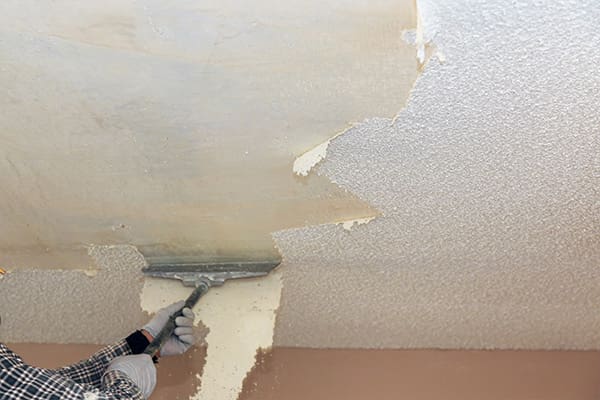
5 Things to Keep in Mind When Remodeling Popcorn Ceilings
How to get rid of mould on walls – 7 home treatments tried and tested by the experts

Be gone, 'boob light' – here's just how to fix unattractive ceiling lights

The Best Tools for Popcorn Ceiling Removal

The Best Wallpaper Removers of 2025 for Updating Your Home’s Interior

9 Best Wallpaper Removers

The Floor Decluttering Method is so easy and works
Follow These DIY Steps to Remove and Refresh Your Kitchen Cabinets

I use a laundry item to clean my fan - it works so much better than a cloth, and the coating repels dust for weeks


5 DIY Jobs I'd Do Again (And What Nearly Broke Me)

We Get Salty About Popcorn Ceilings: The Faux Finish for the Unfinished Ceiling