1/3
The '80s Called—They Want Their Popcorn Ceilings Back
Popcorn ceilings, a once-popular home feature from the 1950s to the 1980s, are now largely considered an outdated design element. This article provides a comprehensive guide on how to remove a popcorn ceiling, offering insights from home construction and renovation experts Brandon Walker of ASAP Restoration, designer Susan Yeley, and James Mansfield, founder of West Village GC. The experts highlight that while the process is not technically complex, it is labor-intensive and messy.
The article begins by explaining the historical reasons for the popularity of popcorn ceilings: they effectively hid imperfections, offered acoustic dampening, and were both inexpensive and easy to apply. Despite these past benefits, their aesthetic appeal has diminished significantly, leading many homeowners to seek removal. Before starting any removal process, the most crucial first step is to test the ceiling for asbestos, especially if the house was built before 1989. Walker states that ceilings installed before this year have a high probability of containing asbestos. If asbestos is detected, homeowners have two options: either cover the ceiling with a new layer of drywall or hire a licensed asbestos remediation company for safe removal and disposal. Mansfield emphasizes that asbestos is only dangerous when disturbed, such as through chipping, sanding, or scraping, which releases fibers into the air.
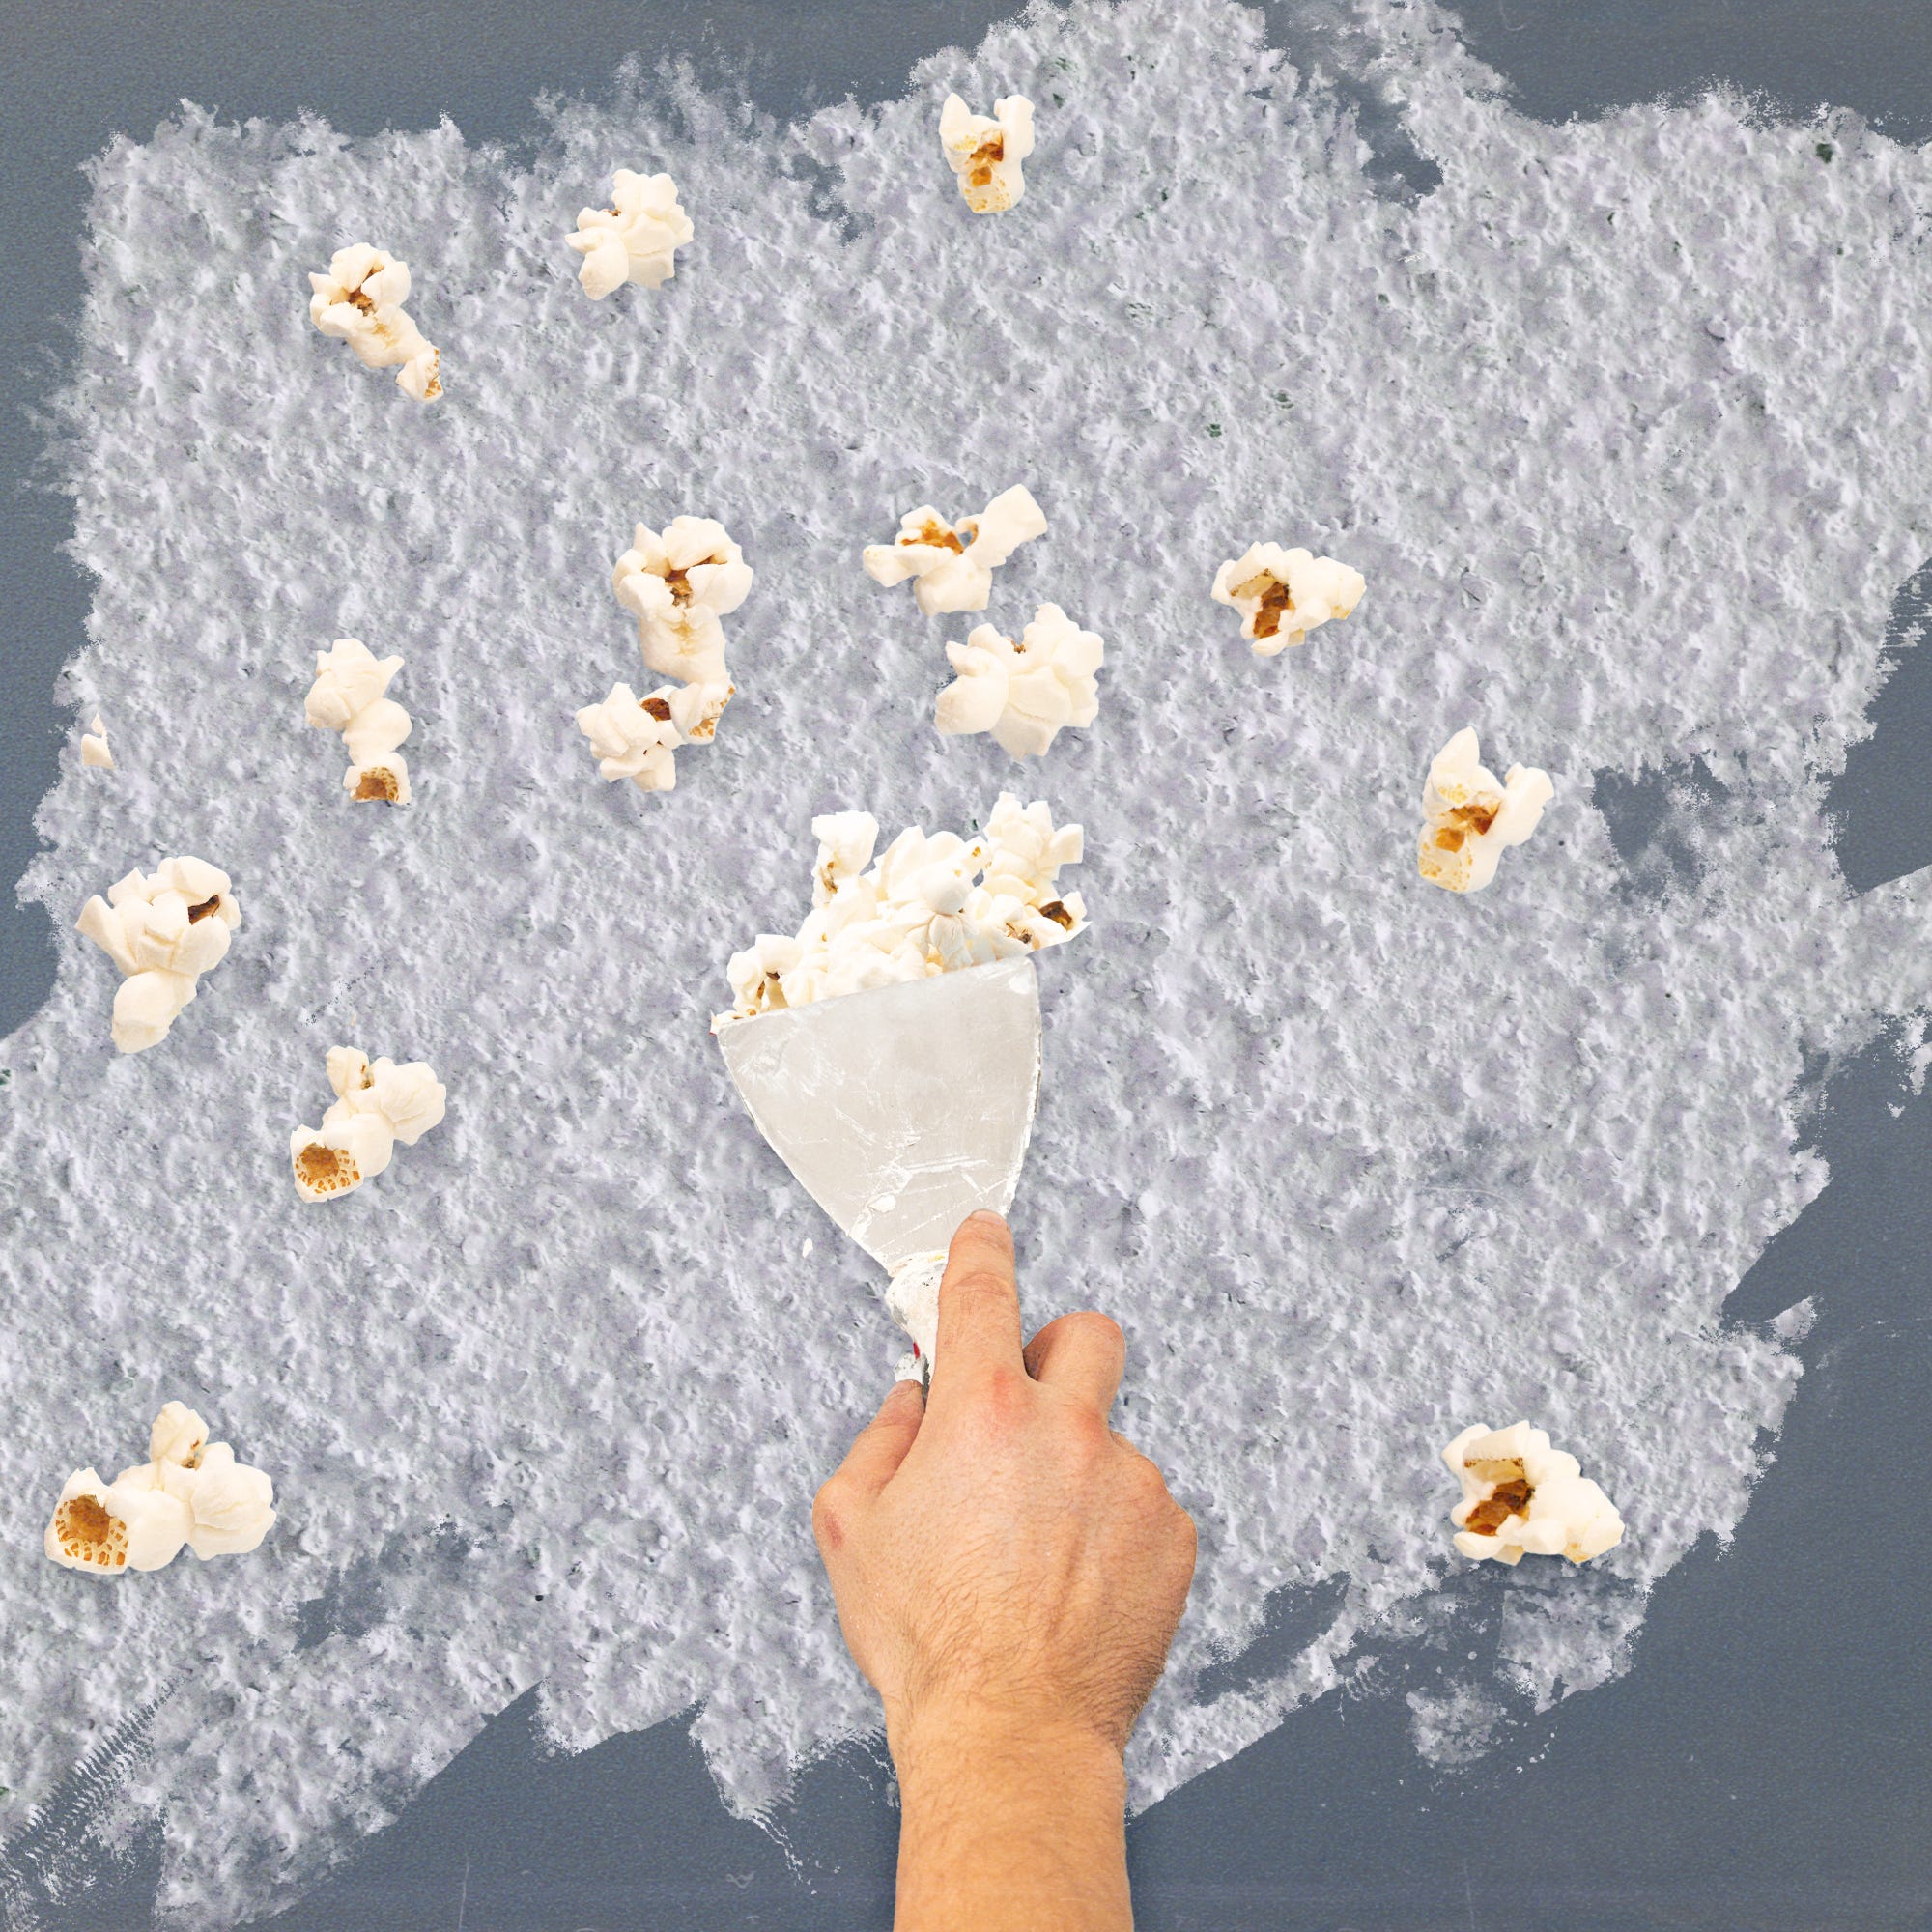
Once asbestos testing is complete and negative, the next steps involve preparing the room. This includes removing all furniture and thoroughly covering the floors and walls with plastic sheeting, secured with painter's tape or staples. This preparation is essential due to the dust and potential water involved in the process. All light fixtures and ceiling fans must be removed, and electrical power to the room should be cut off, with open wires covered with waterproof sheeting for safety. The article then details the scraping process, advising homeowners to spray sections of the ceiling with warm water using a garden sprayer to soften the popcorn texture, making it easier to remove and reducing dust. However, if the popcorn texture has been painted over, a simple water spray will be insufficient, and chipping it away inch by inch will be necessary.
The actual removal involves using a drywall scraper or putty knife, emphasizing the need for personal protective equipment like goggles and filtered face masks. Homeowners are advised to scrape with light pressure to maintain an even and flat surface. After scraping, the ceiling requires resurfacing. Yeley recommends achieving at least a Level 4 drywall finish, which allows for a smooth appearance suitable for matte paint, though not ideal for high-gloss finishes. Following the new finish and adequate drying time, any uneven spots can be sanded, a coat of primer applied, and the chosen paint brushed on.
The article addresses the question of whether this is a DIY project. While technically feasible, experts agree it's physically demanding and time-consuming. They suggest that if budget allows, hiring a professional is recommended. The cost for professional removal typically ranges from $3 to $10 per square foot, depending on location and project complexity, with painted-over popcorn ceilings being at the higher end. For those who prefer to avoid removal, covering the popcorn ceiling with a new 1/4-inch layer of drywall is presented as an easier and more cost-effective alternative, especially outside of a full renovation.
#PopcornCeilingRemoval #DIYHomeImprovement #AsbestosTesting #HomeRenovation #CeilingTexture #InteriorDesign #HomeMaintenance #DrywallFinishing #PopcornCeilingRemoval #DIYHomeImprovement #AsbestosTesting #HomeRenovation #CeilingTexture #InteriorDesign #HomeMaintenance #DrywallFinishing
0 comment in total
 No comments yet
You may also like
People Are Revealing The "Outdated" Home Design Trends From The '80s That Need To Come Back

Remember the wood-panelled walls from the 1970s? They're back, with a modern twist
The Outdated '80s Lighting Trend That's Back & Better Than Ever

The '80s Are Officially Back Thanks to These 8 DIY Squiggle Decor Ideas

The Countertop Material That We Loved 25 Years Ago Is Coming Back

This ’80s Bathroom Trend is Making a Comeback


'80s Wallpaper Borders Are Back In 2025 — With A Gorgeous Twist

These '80s Home Décor Trends Are Back—Here's How to Try Them in Your Space

Surprise: 1990s Design Trends Are Coming Back
This '90s Home Trend Is Back With A Vengeance
The '80s Wall Trend Making A Big Comeback In The 2026 (It'll Make Your Home Look Larger)


The Daring '80s Trend That's Taking Over Home Design Again In 2025

These ‘80s Home Trends Are Back—And More Stylish Than Ever

Tented Ceilings Are Back—And More Magical Than Ever
7 things in every lower middle-class living room in the 80s and 90s

We Get Salty About Popcorn Ceilings: The Faux Finish for the Unfinished Ceiling
Knoll Brings Back an '80s Design Classic


Interior Designers Say the 1990s Are Back—Here’s How to Capture the Look

'90s Wallpaper Trends We're Bringing Back

Bold Flooring Options That Add A Modern Touch To The 80's Design Trend