1/3
Our Expert's Preferred Method To Install Ceiling Cornices By Yourself
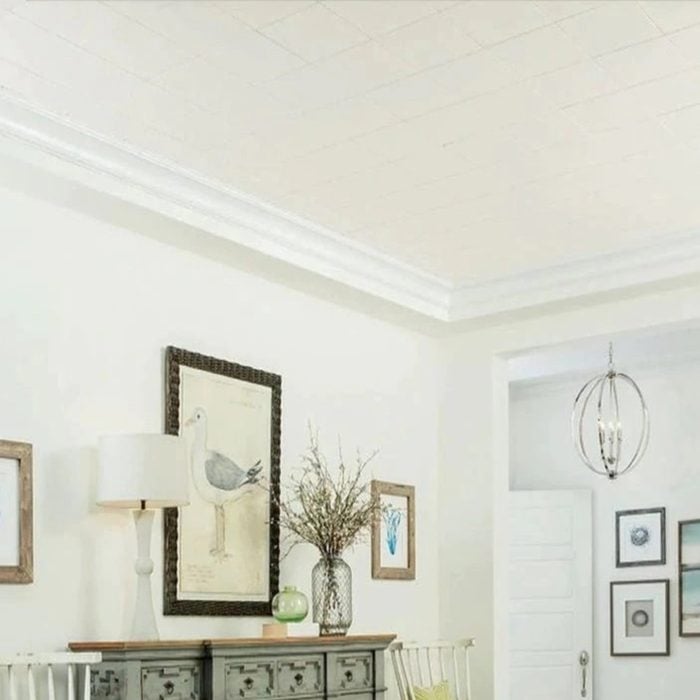
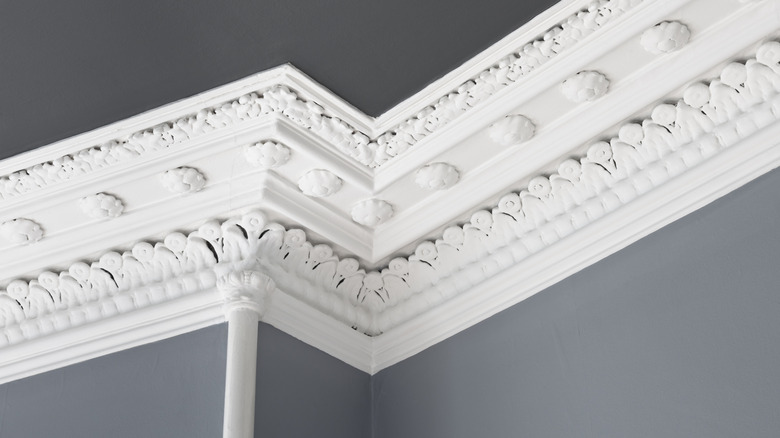
Ceiling cornices are a design element that can enhance a room's appearance without being overly conspicuous. Similar to baseboard trim, they have the potential to significantly improve a room's aesthetic by providing a sharp and cohesive finish. However, proper installation is crucial to avoid common mistakes. This guide provides expert insights on installing ceiling cornices, emphasizing the importance of a miter box for achieving professional results.
One of the most significant errors homeowners make during cornice installation is rushing the process, particularly when cutting corners. According to Kyle Schurman, House Digest's DIY and home remodel expert, taking the time to carefully plan each cut is essential. He advises marking the cut position on the crown molding in the direction of the cut or using arrows as visual cues to prevent errors. This methodical approach can help avoid costly mistakes and ensure precise fits.
Beyond speed, other practices can lead to visible flaws. Freehand cutting, especially for beginners, is strongly discouraged due to the high risk of inaccuracies and potential safety hazards, particularly when using power tools without proper safety measures. Schurman cautions against attempting freehand cuts, highlighting the danger of ending up in the emergency room. Additionally, it is ill-advised to immediately cut into expensive or vintage materials. Instead, practicing on less expensive, readily available crown molding from a local hardware store is recommended. This allows individuals to refine their cutting techniques and achieve the desired angles without compromising valuable materials that would be difficult or impossible to replace.
The most effective method for tackling corners involves using a miter box and a handsaw. Schurman describes this as an "old school" but highly effective technique. He stresses the importance of patience and careful consideration of the desired cut angle. The miter box provides the necessary stability and guidance to make accurate cuts, ensuring that corners meet perfectly. For those who do not wish to purchase a miter box for a single project, Schurman suggests exploring tool rental programs available in their area. Access to the right tools is paramount for achieving precise and professional results.
Ultimately, installing crown molding is a manageable DIY project, provided one has the correct tools and a sufficient amount of patience. Even with careful execution, minor imperfections can occur. Schurman advises against worrying about small chips, splinters, or slight gaps in corner seams. A thin layer of paintable caulk can effectively cover these minor flaws, creating a smooth and finished look. Choosing a paintable caulk is a practical decision, as it allows for future painting of the crown molding, offering flexibility in design choices. This approach ensures a polished appearance despite any minor installation challenges.
#CeilingCornices #HomeImprovement #DIYProjects #CrownMoldingInstallation #MiterBox #HomeRemodel #InteriorDesign #HomeDecor #CeilingCornices #HomeImprovement #DIYProjects #CrownMoldingInstallation #MiterBox #HomeRemodel #InteriorDesign #HomeDecor
0 comment in total
 No comments yet
You may also like
How to hang a curtain pole


This genius TikTok hack removed a popcorn ceiling using only water - here's how to do it
How to repair a wall or ceiling


How To Hang Curtains Like A Professional

4 renter-friendly ways to hang curtains without drilling, according to both DIY and interior experts

How to hang plants from the ceiling - expert tips to add greenery overhead safely


Handyman Hints: Creating the coffered ceiling


Trend Alert: Here’s How To Perfect The Painted Ceiling Look

How to install a skylight


The Easiest, Foolproof Way to Hang Curtains, According to Design Pro


These 8 designer-approved tricks will hide your curtain rod brackets – and help you create a more minimalist vibe
We Tested Tulip’s Renter-Friendly Boob-Light Cover in 3 of Our Own Homes | Reviews by Wirecutter

The One-Of-A-Kind Fixer To Fabulous Ceiling Design You'll Want In Your Own Home
Rollin Light Canless LED Recessed Lighting review – Yes, you can install these yourself!


10 Ways to Cover a Hideous Ceiling That Anyone Can Do

How Much Does Popcorn Ceiling Removal Cost?

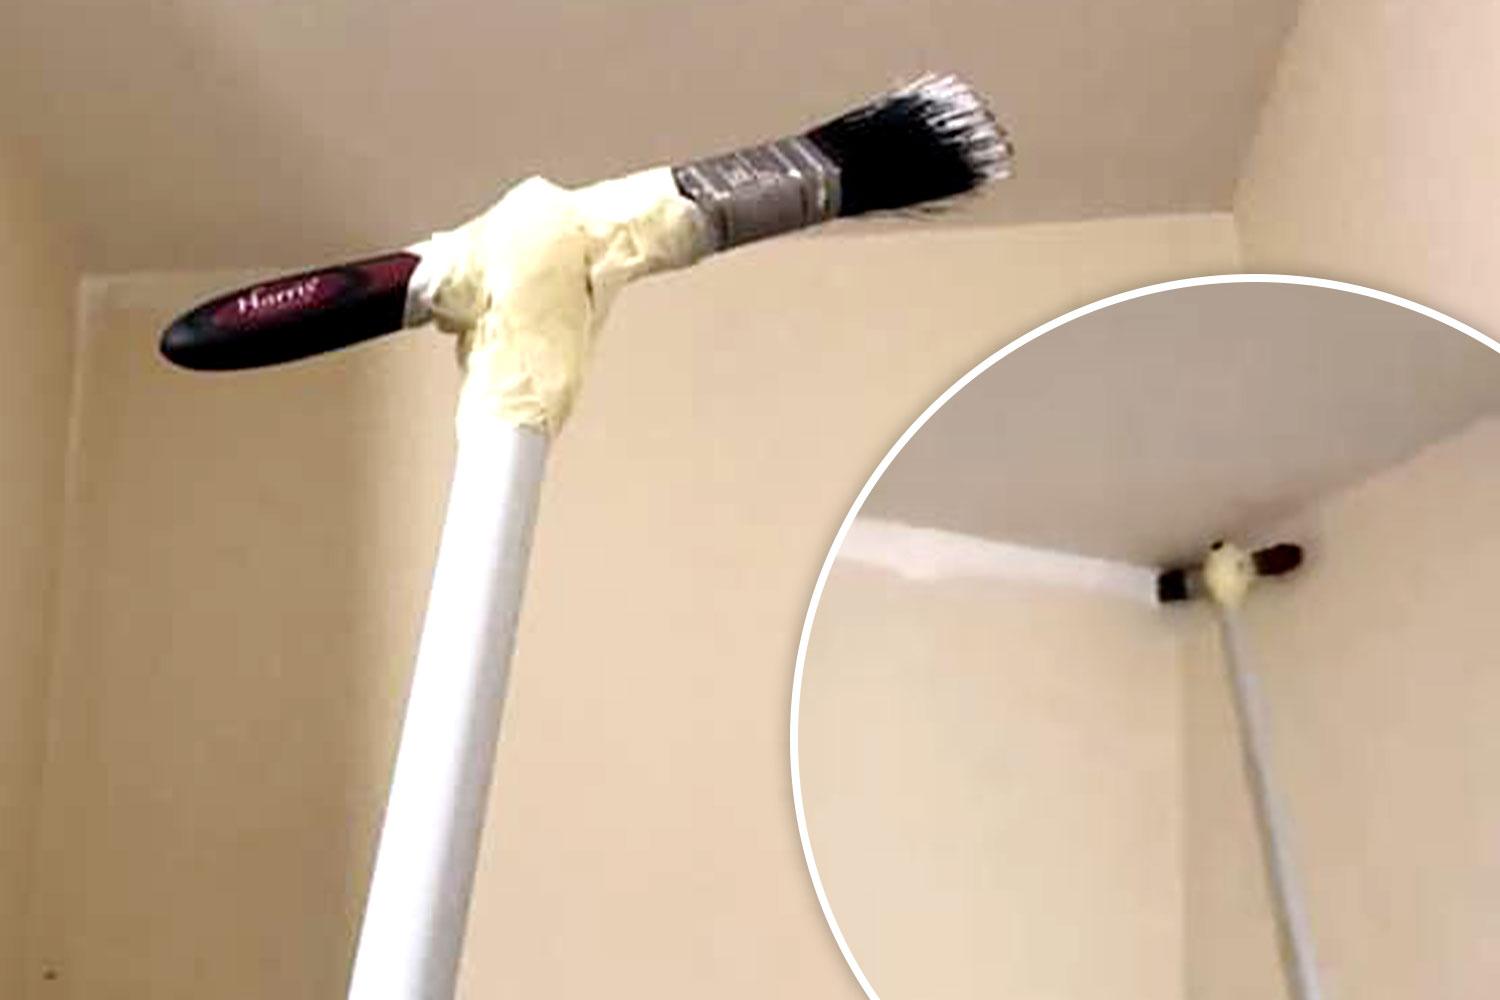
DIY fan shares easy way she paints high ceiling corners WITHOUT using a ladder
Pass Off Your DIY Skills As Those of a Pro With An Easy-To-Assemble Pergola Kit

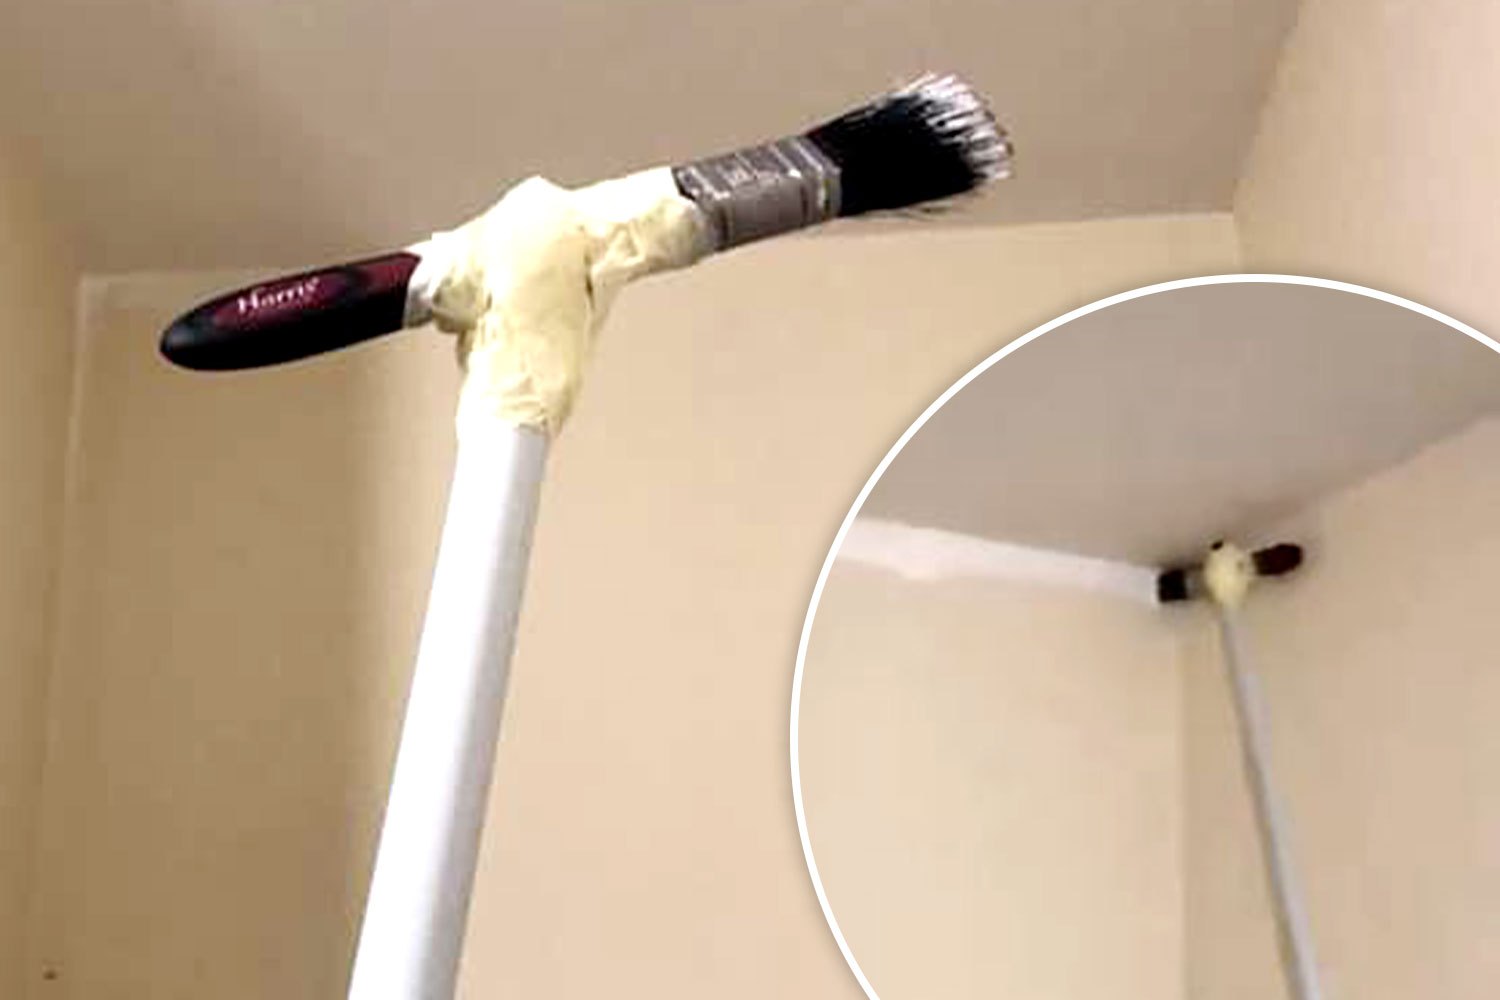
DIY fanatic shares the easy way she paints high ceiling corners WITHOUT having to balance on a ladder


How to Hang Curtains From the Ceiling And Why It’s Better Than Using a Rod