Minimize Plaster Repair With These 5 Tips for Perfect Plaster Walls
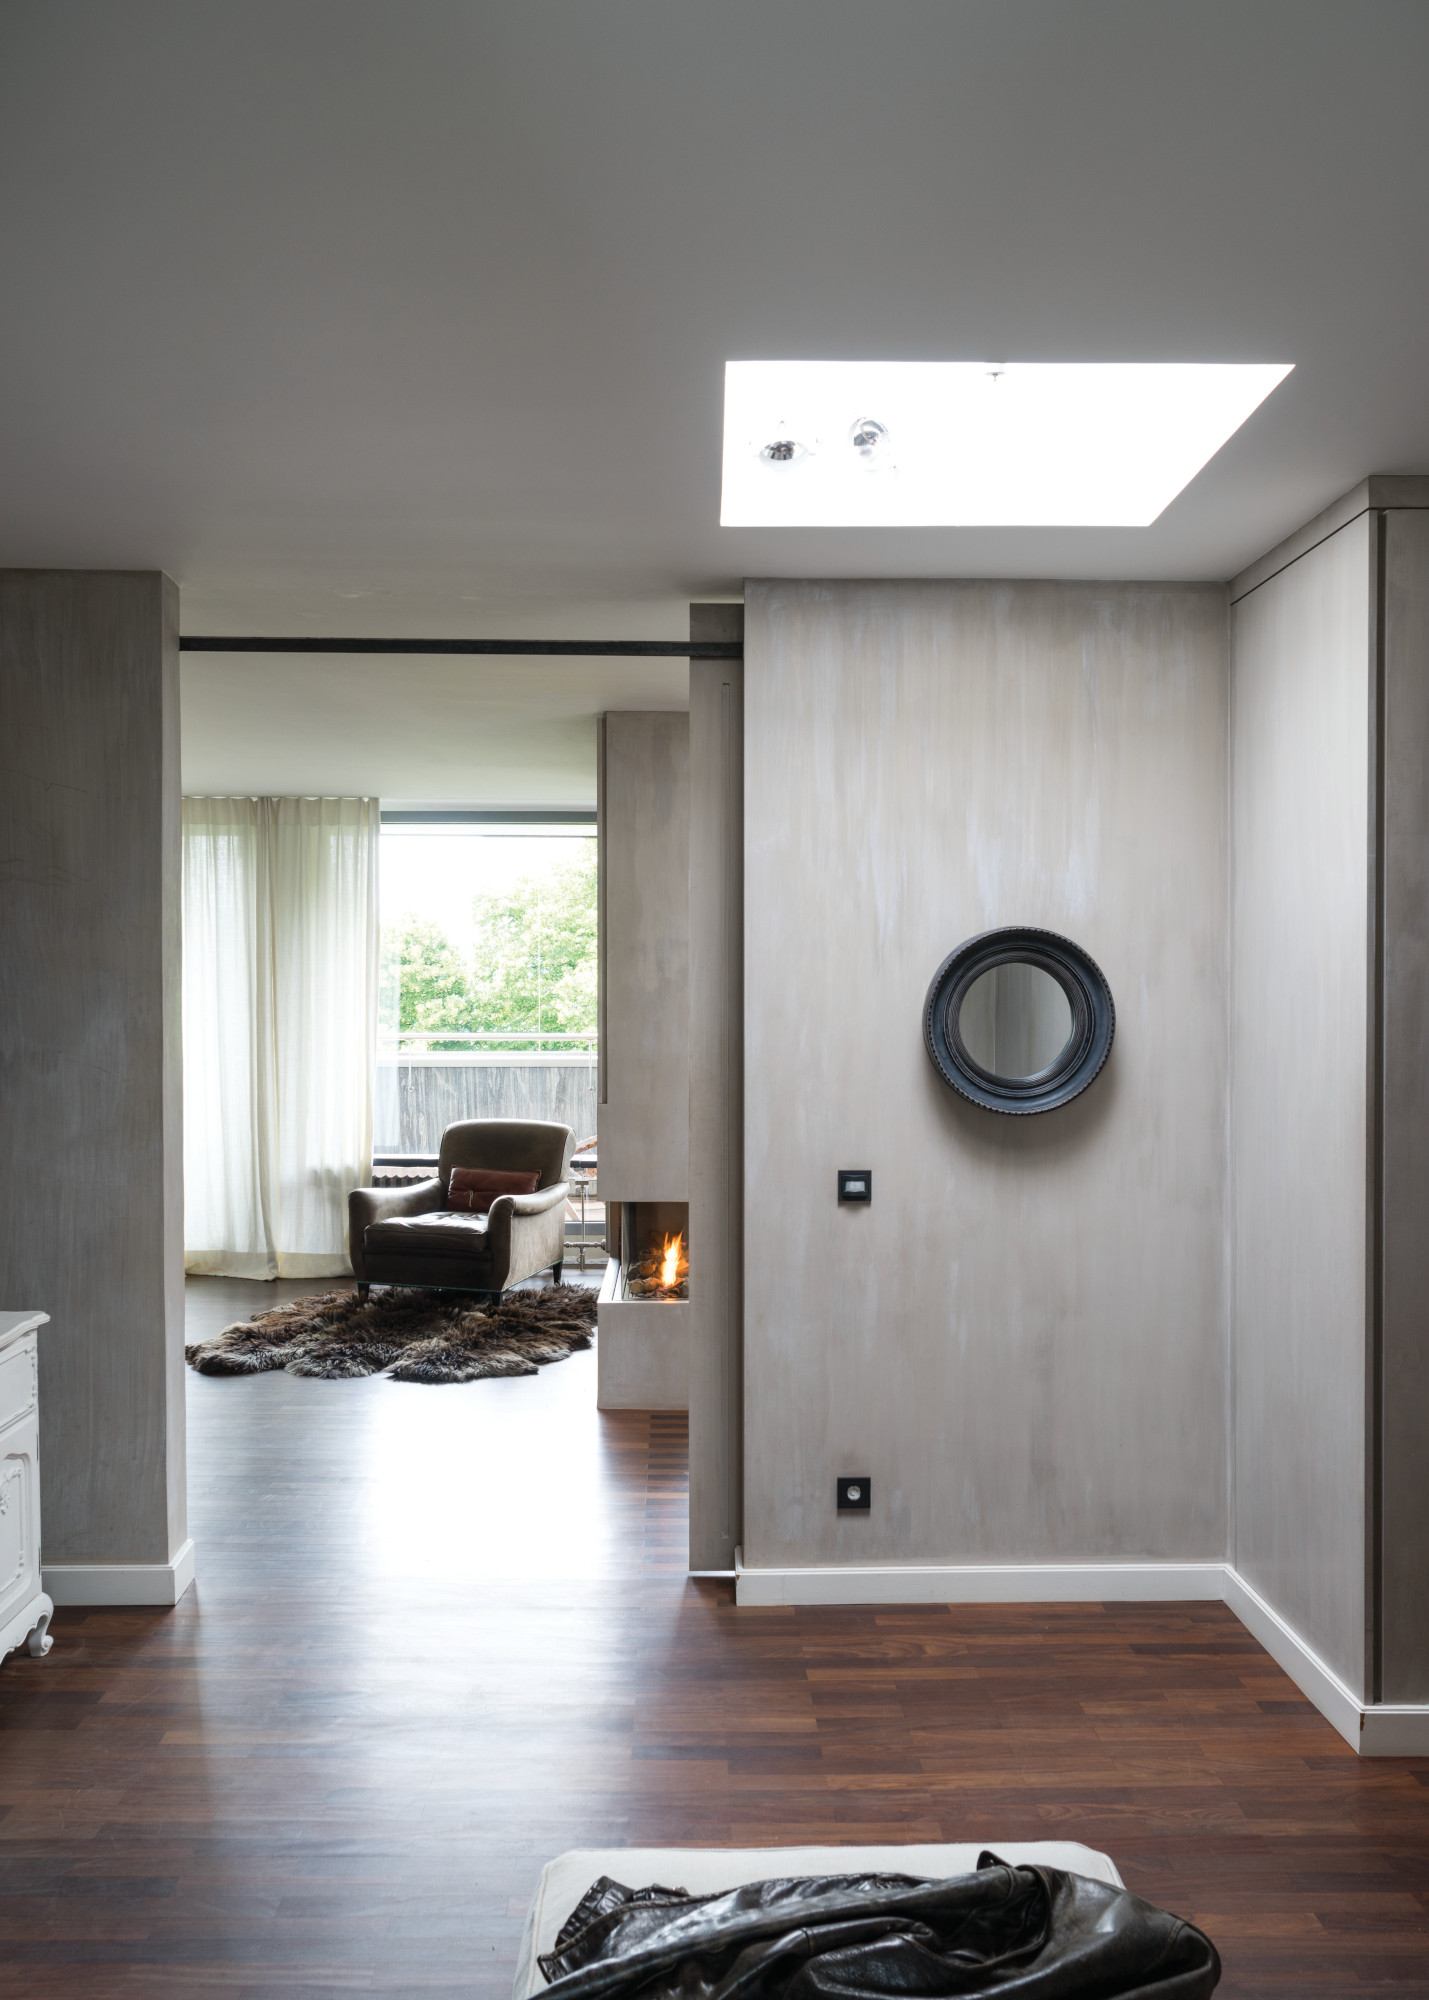
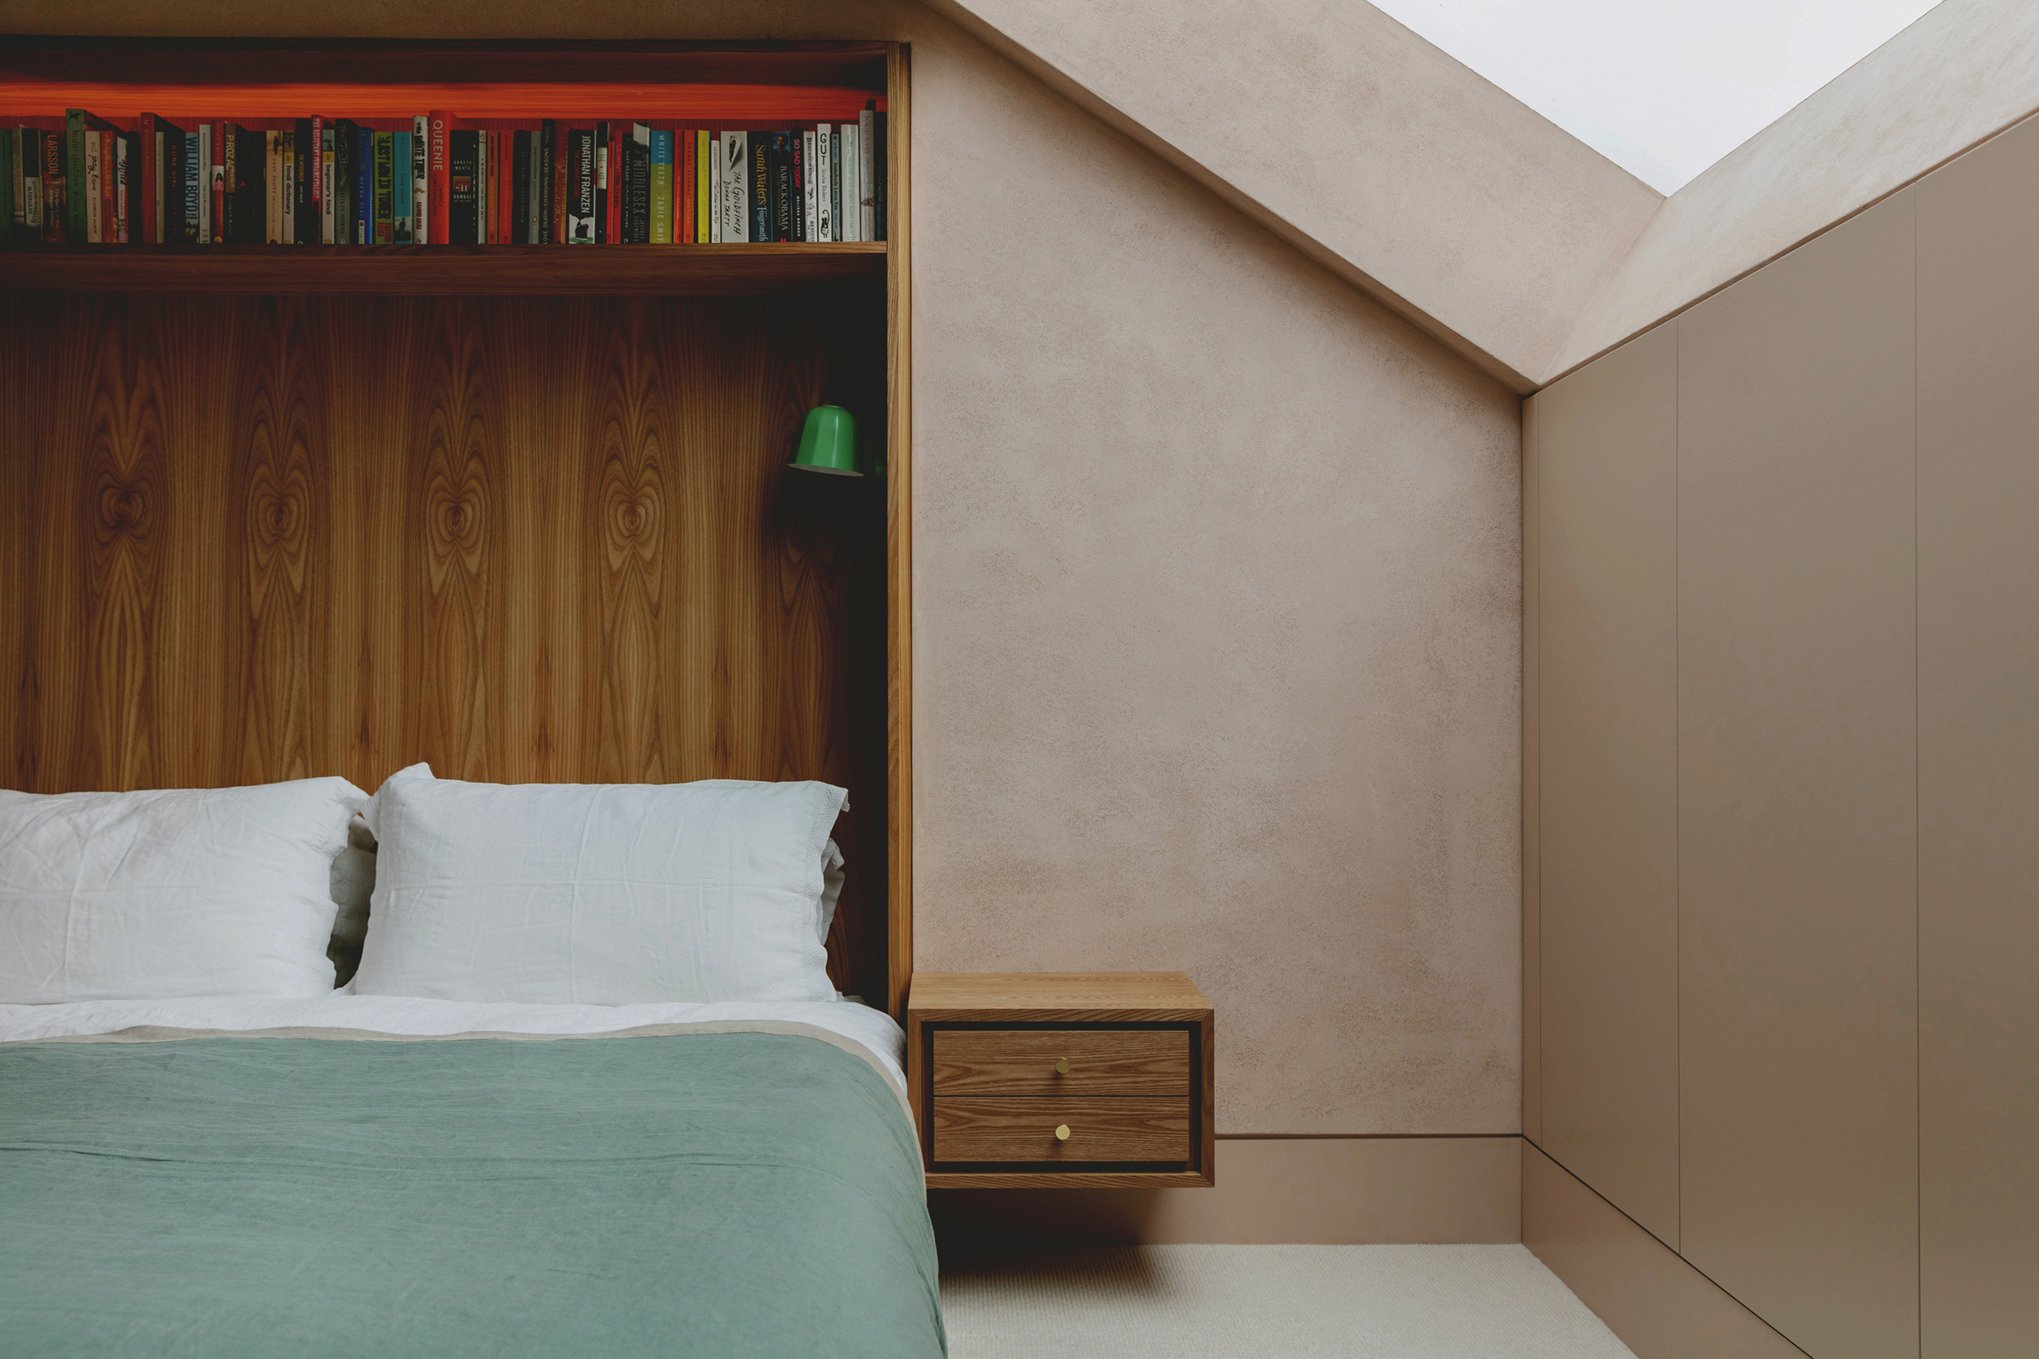
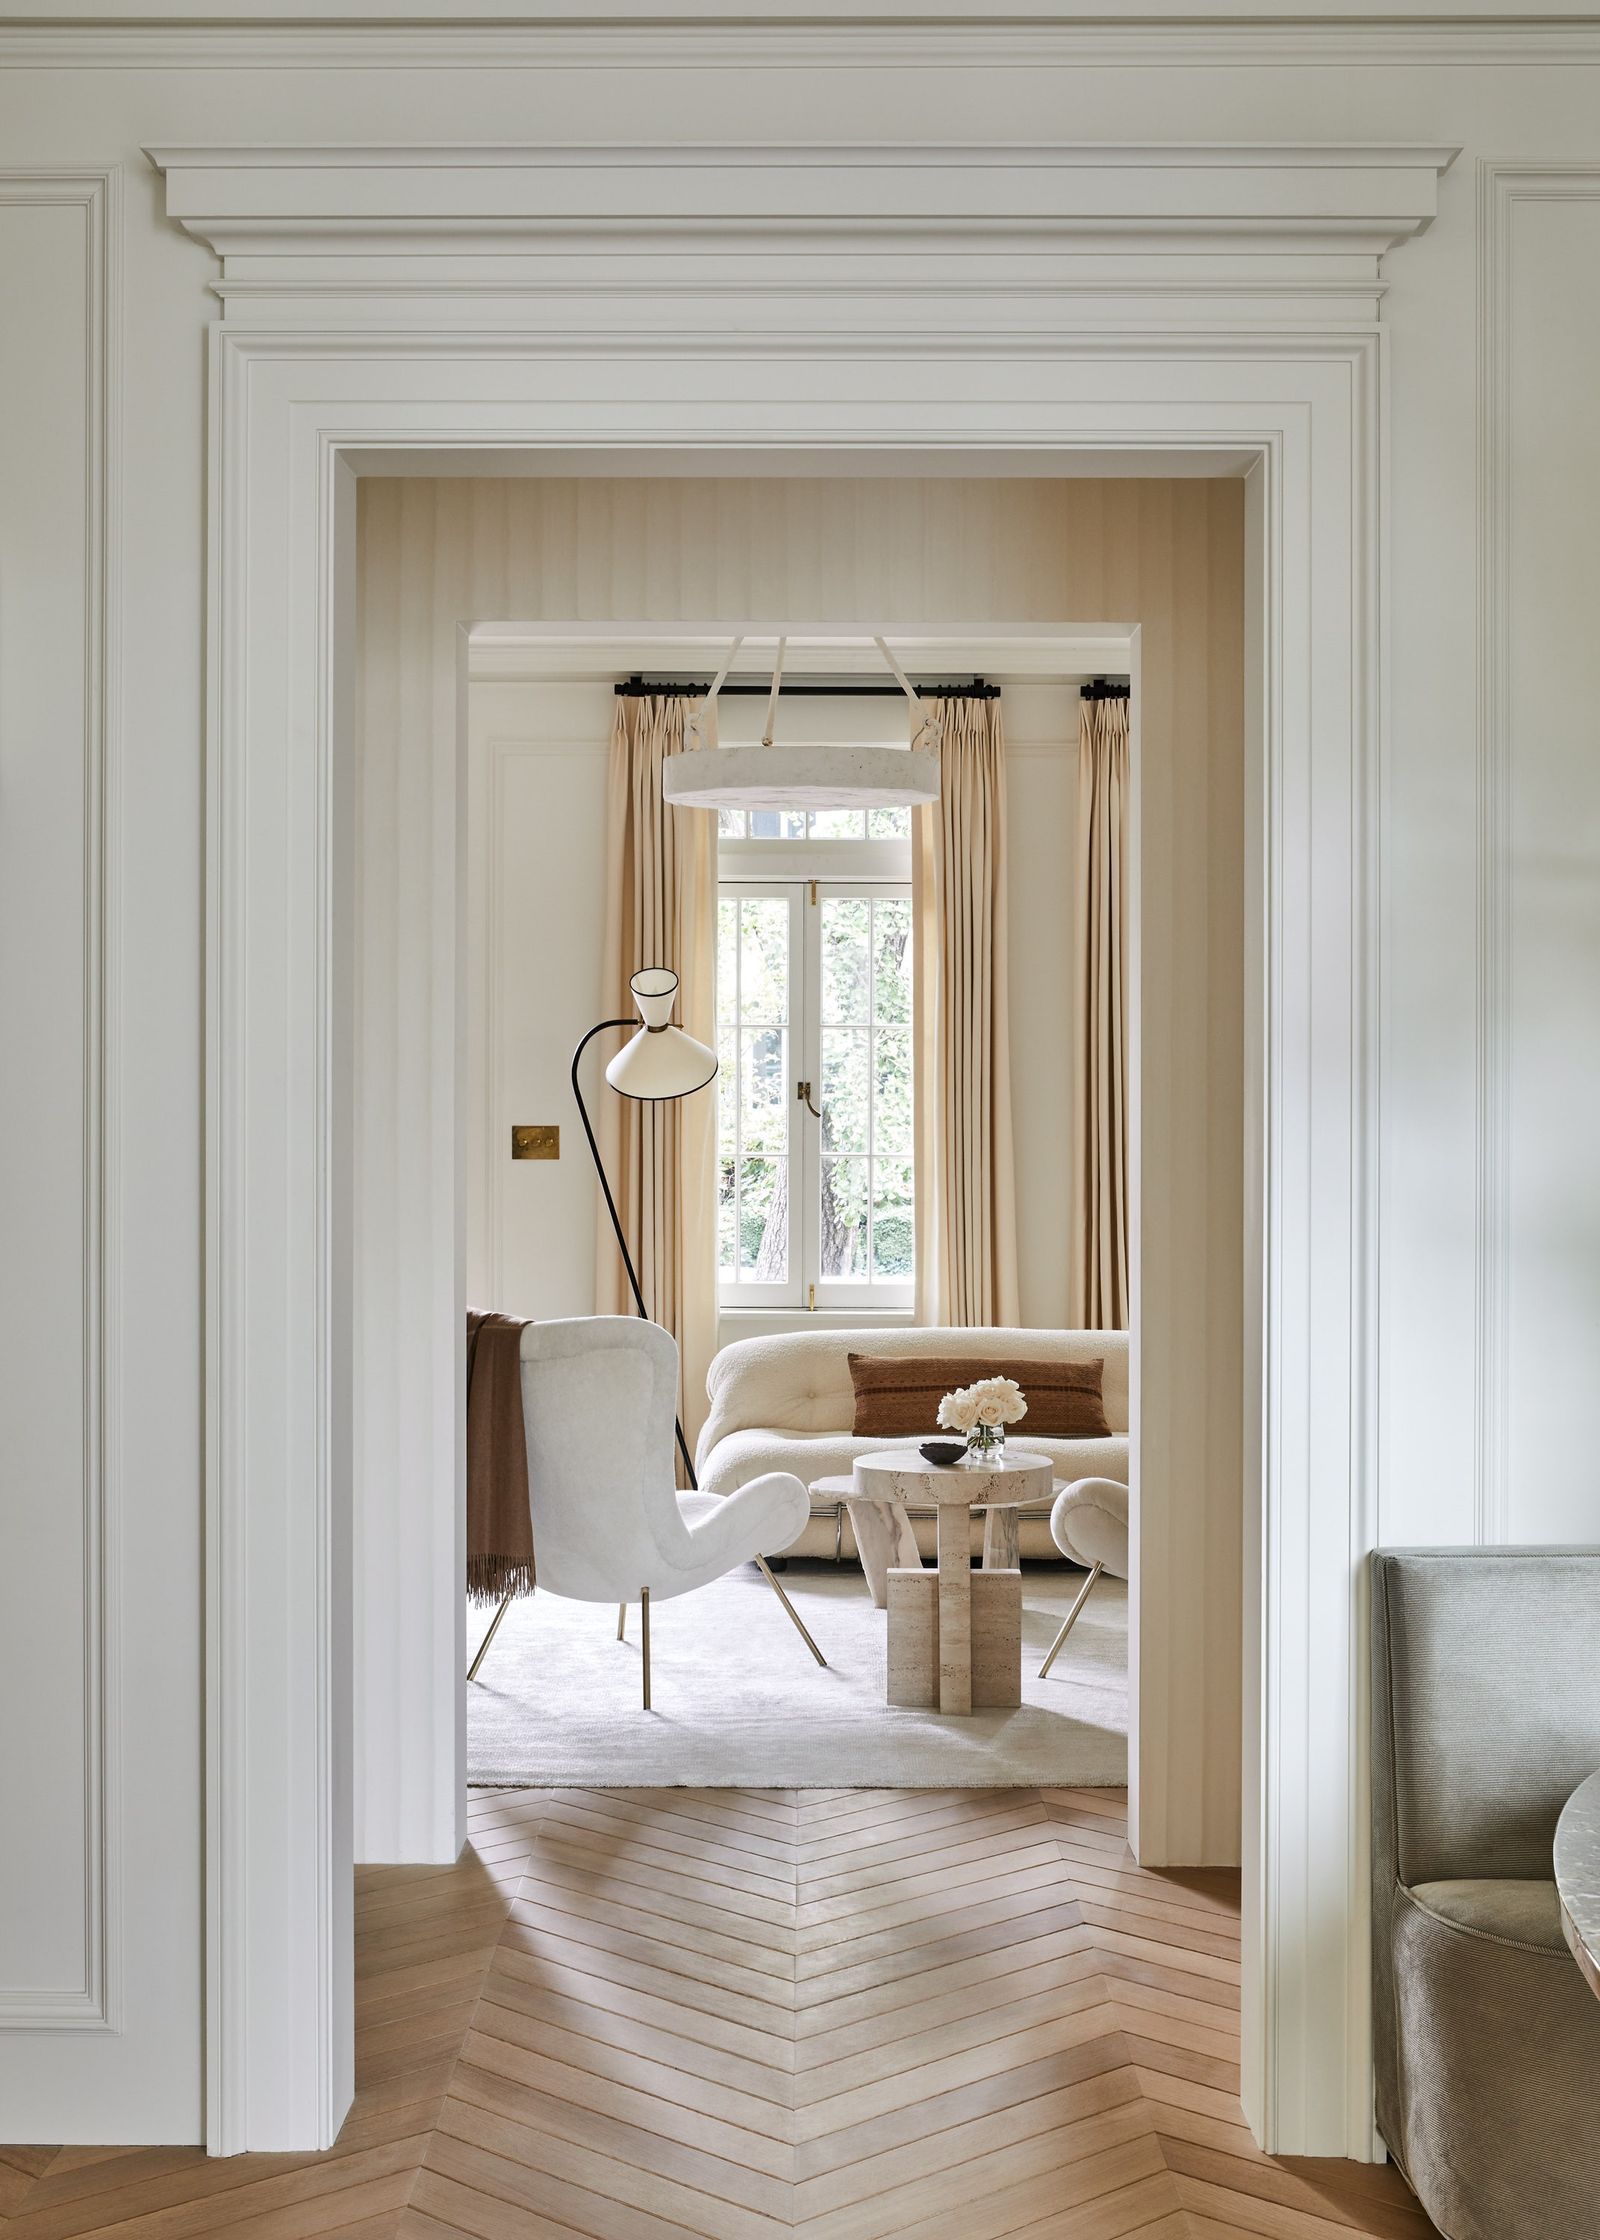
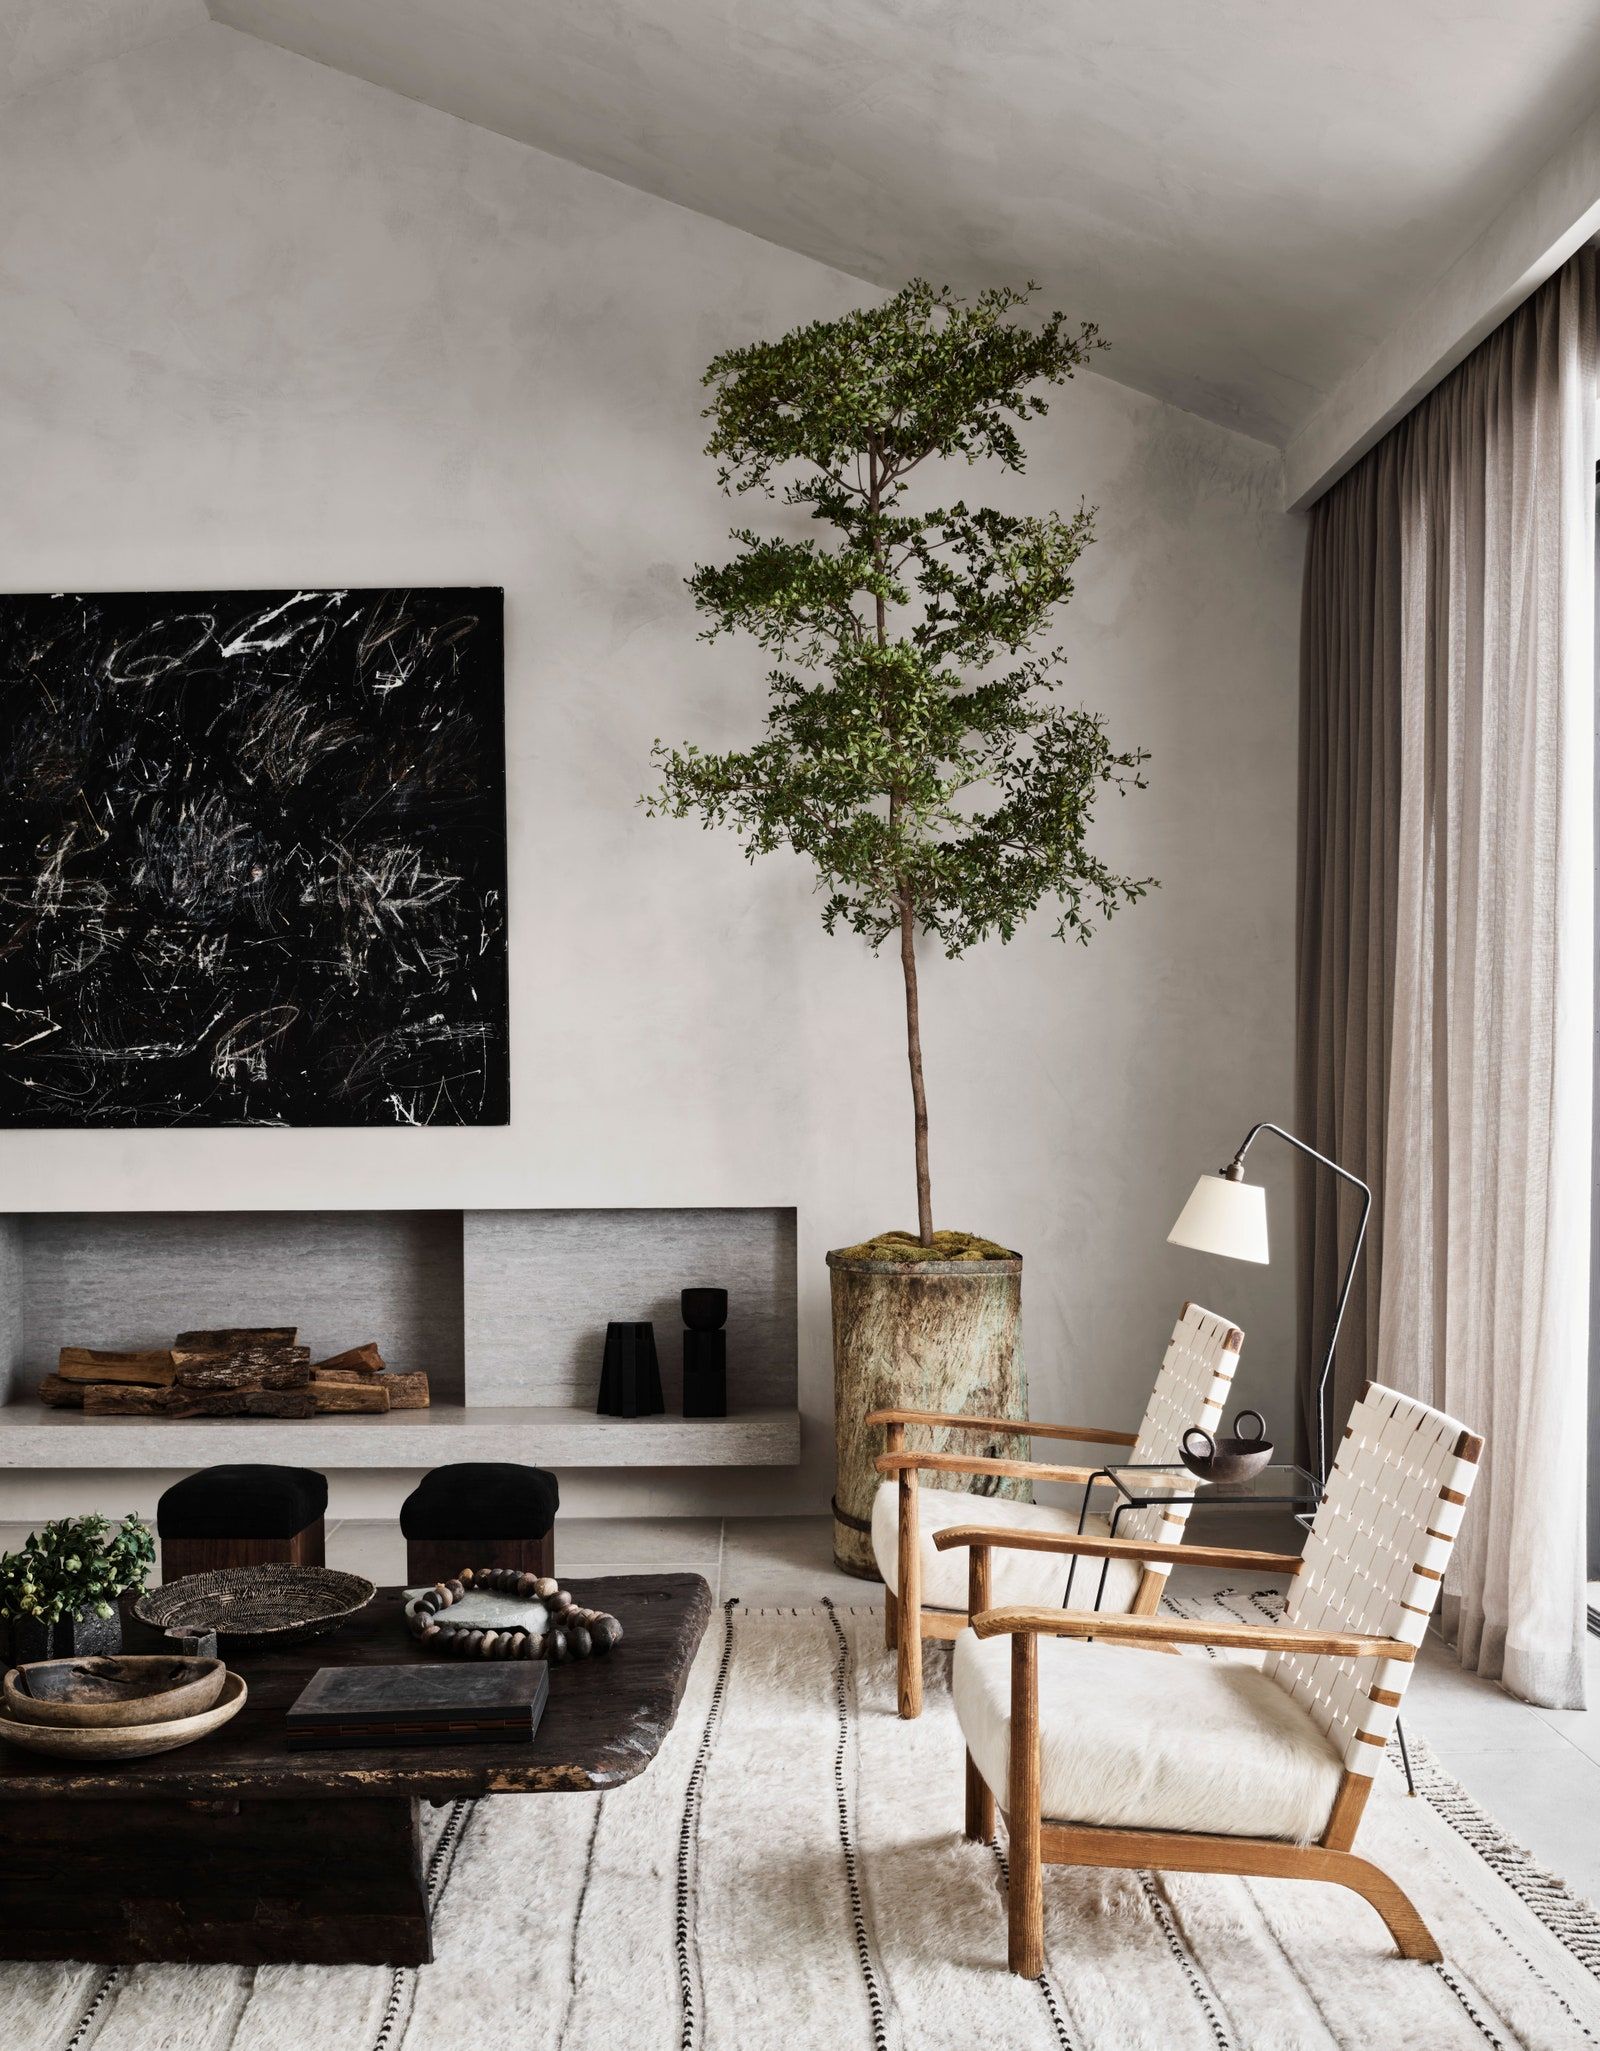
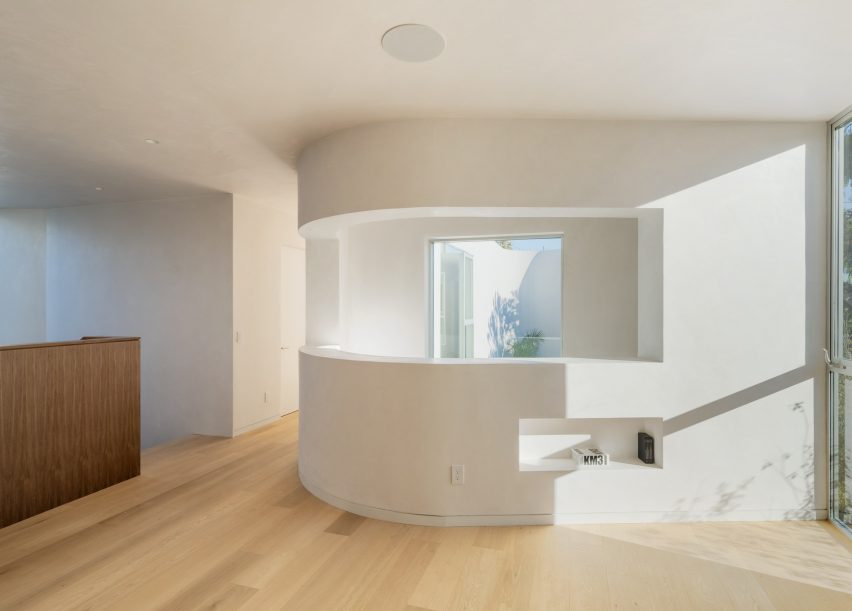
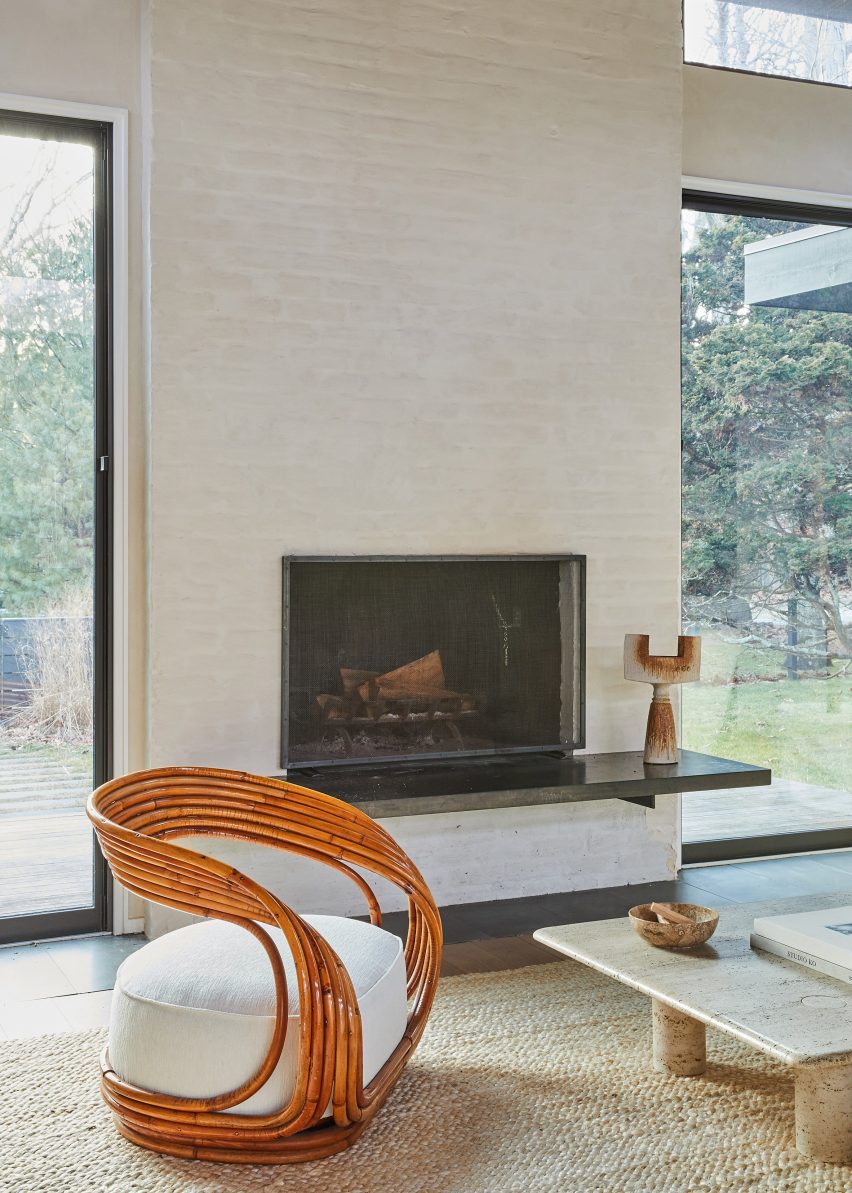
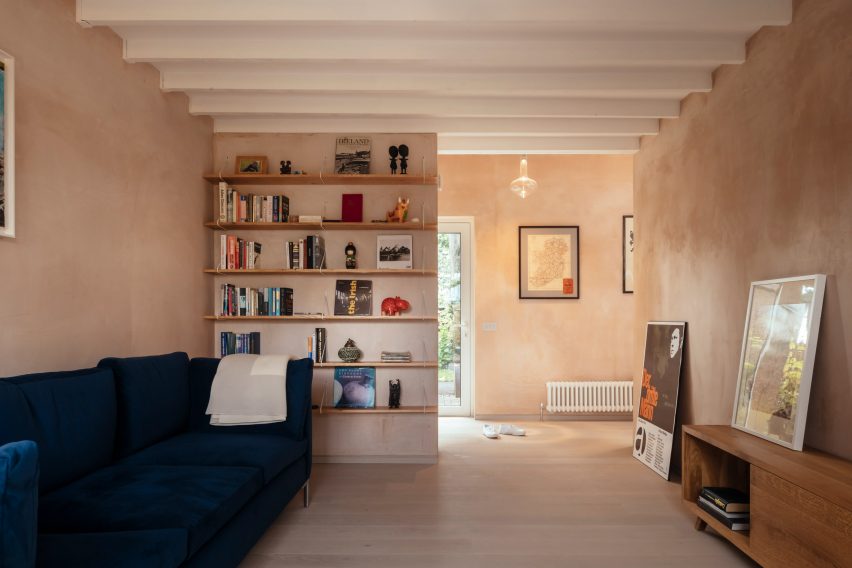
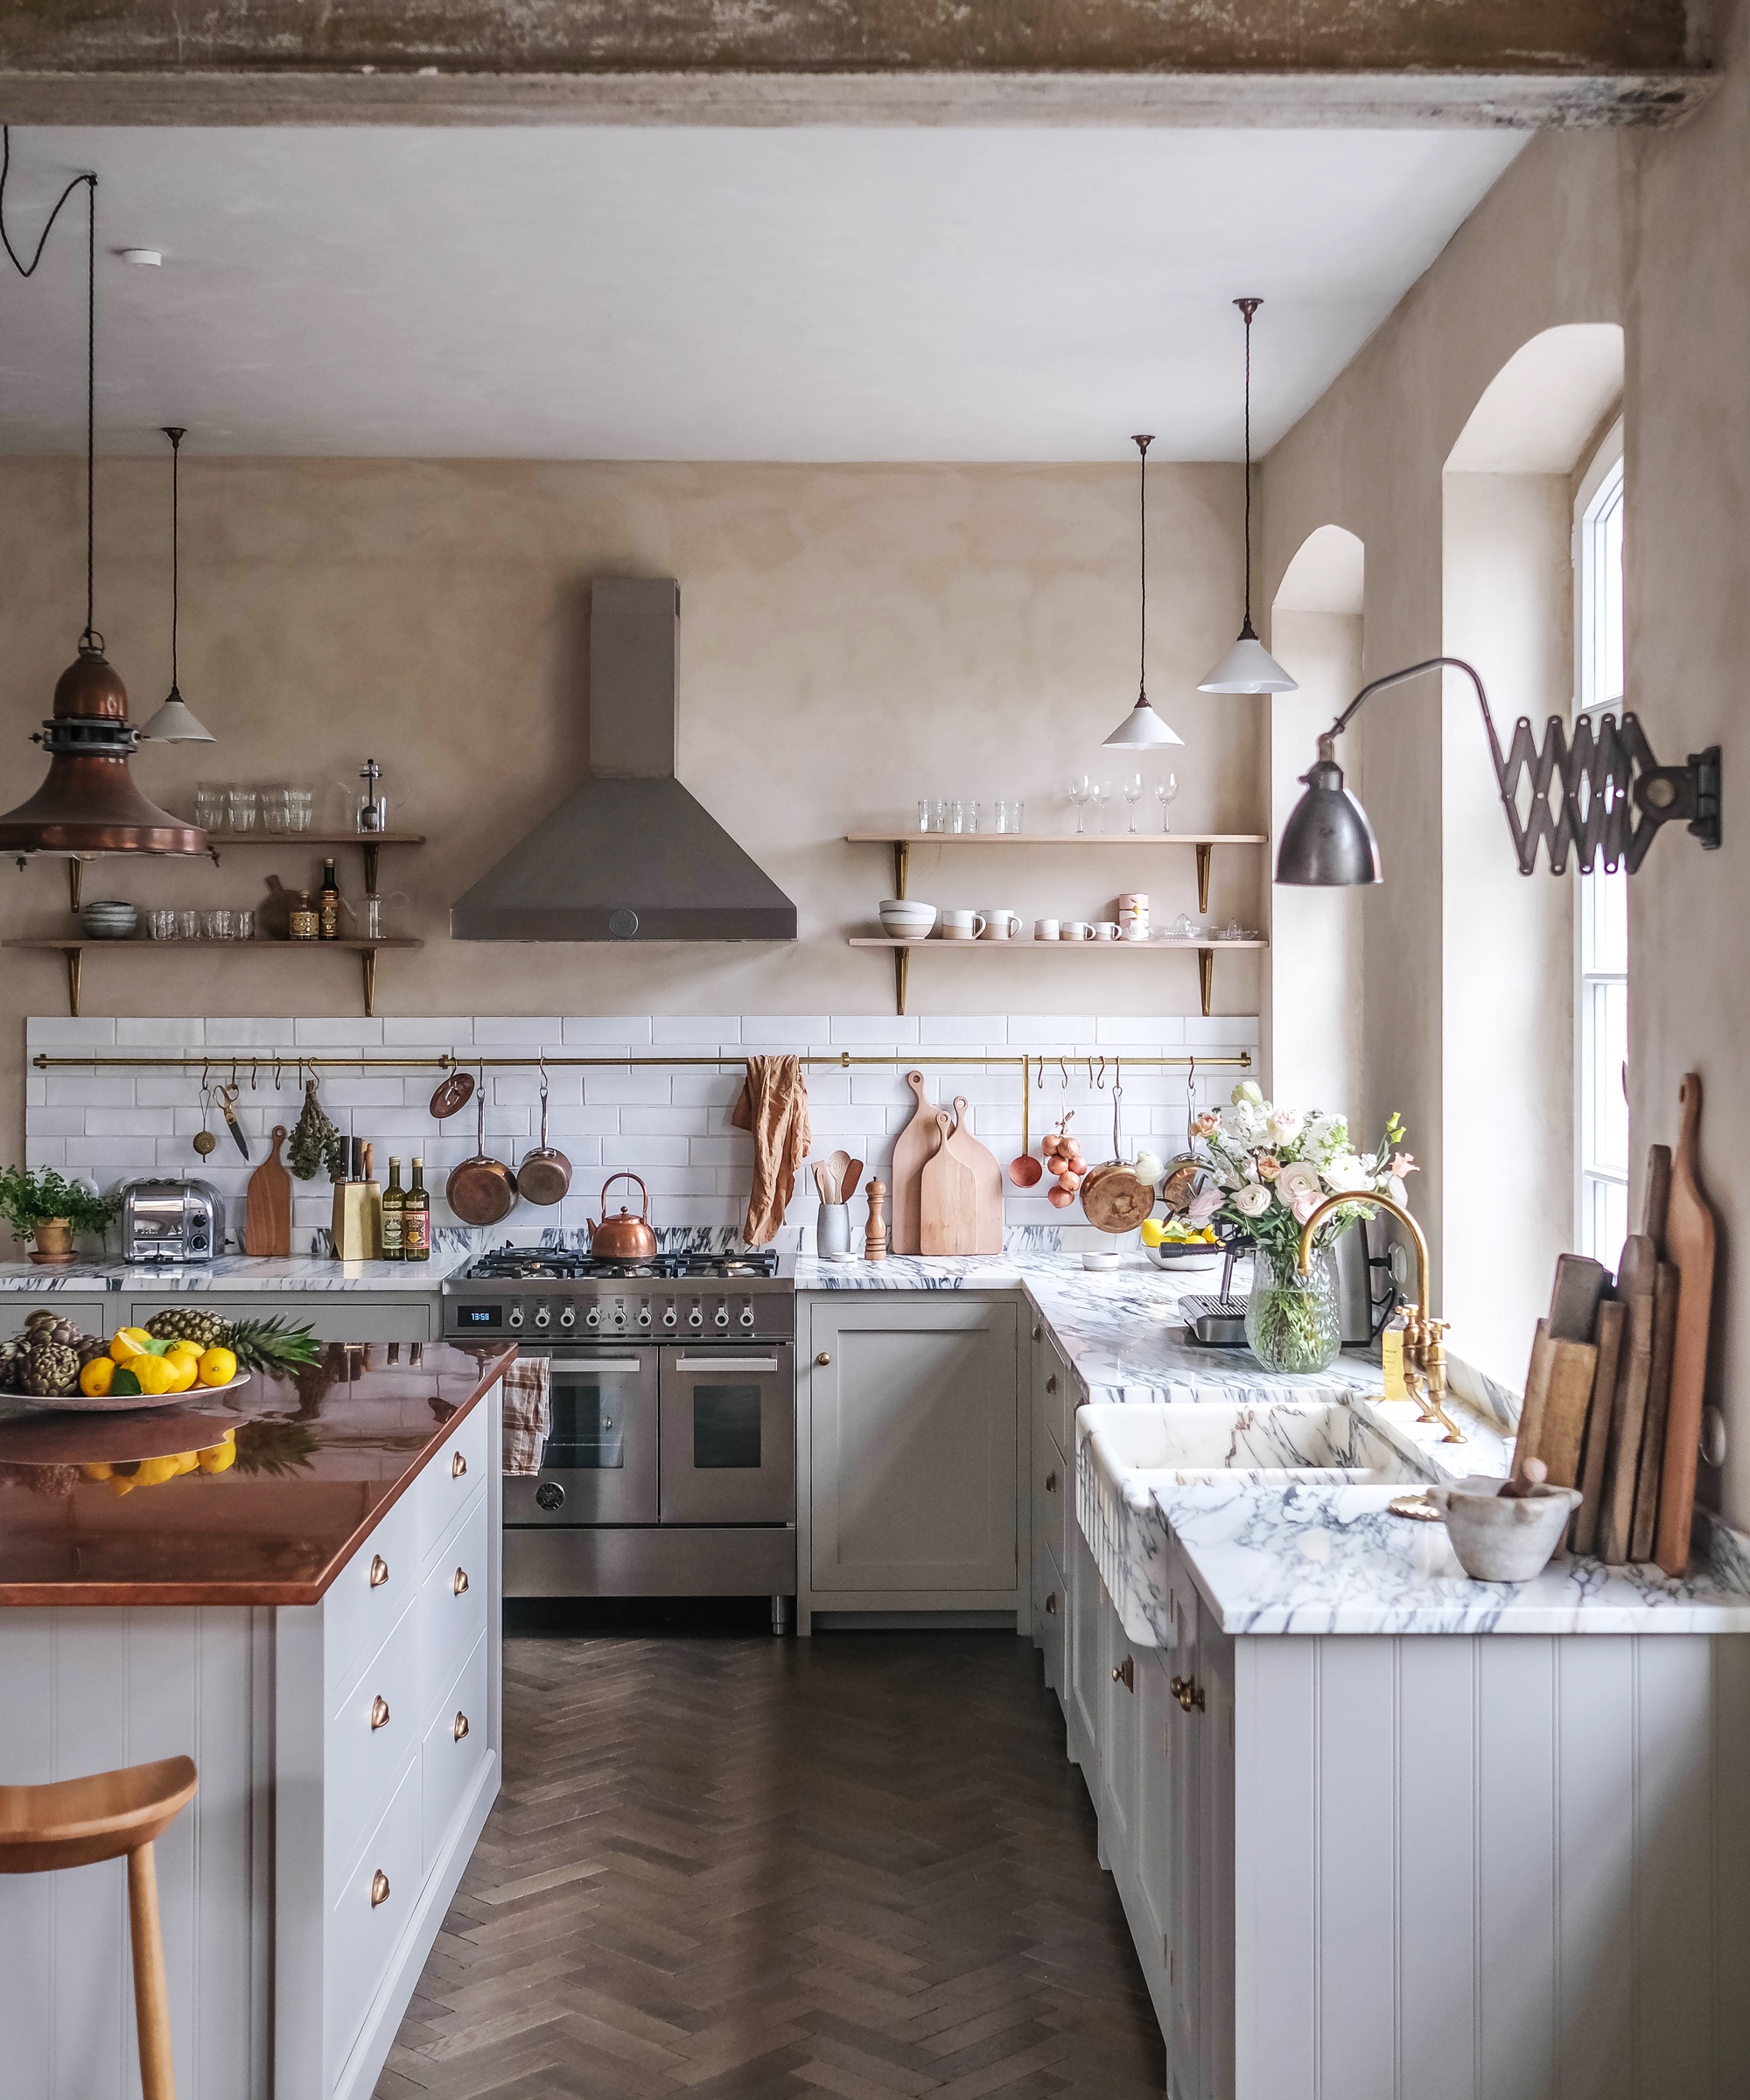
Plaster, an ancient building material composed of lime, sand, and sometimes fibers, has been utilized for centuries, adorning structures from ancient Egyptian pyramids to Greek temples. Despite its susceptibility to cracks and bubbles, plaster remains a durable and aesthetically pleasing wall coating. Its popularity peaked in the early 1900s, featuring prominently in historical homes built before World War II, prior to the widespread adoption of drywall panels in the 1950s. Today, plaster is experiencing a resurgence, appreciated for its beautiful texture that adds depth, interesting highlights, and a sculptural effect to rooms. This renewed interest is fueled by technological advancements in plaster variations and its eco-friendly properties. Modern homeowners and designers are increasingly turning to plaster to infuse artistic flair into their wall spaces, with a wide array of color palettes and texture options available, akin to paint colors.
Various types of plaster exist, including tadelakt, slaked lime, and Venetian plaster. While gypsum and other cement-based plasters are more affordable, they necessitate professional application and may not be suitable for all surfaces. Venetian plaster, though higher in price, offers stunning visual effects. Clay-based plasters, while softer, are not recommended for wet areas like kitchens and bathrooms. Proper care is crucial to prevent significant and costly plaster repair. This guide provides five key tips to minimize damage and maintain plaster walls.
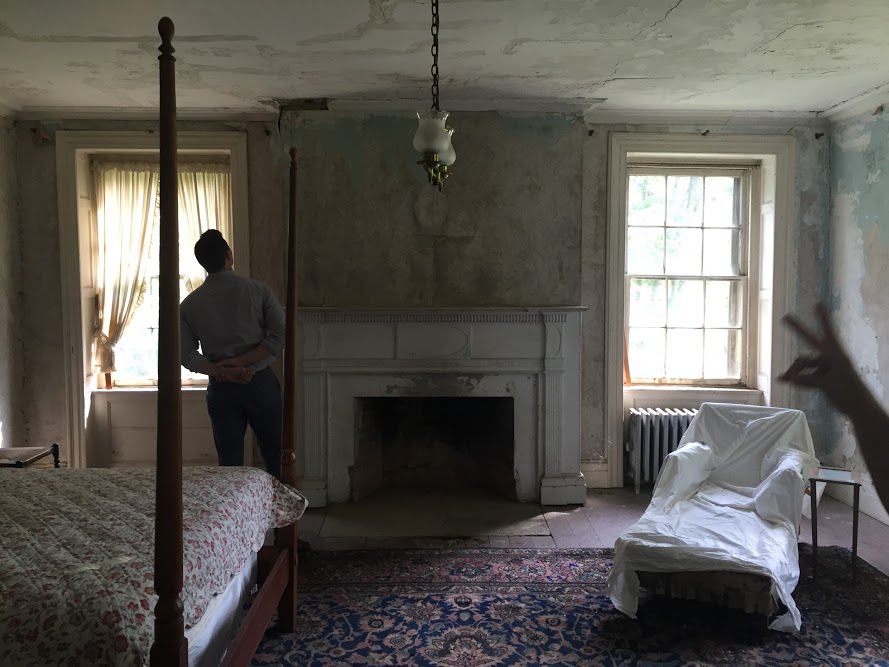
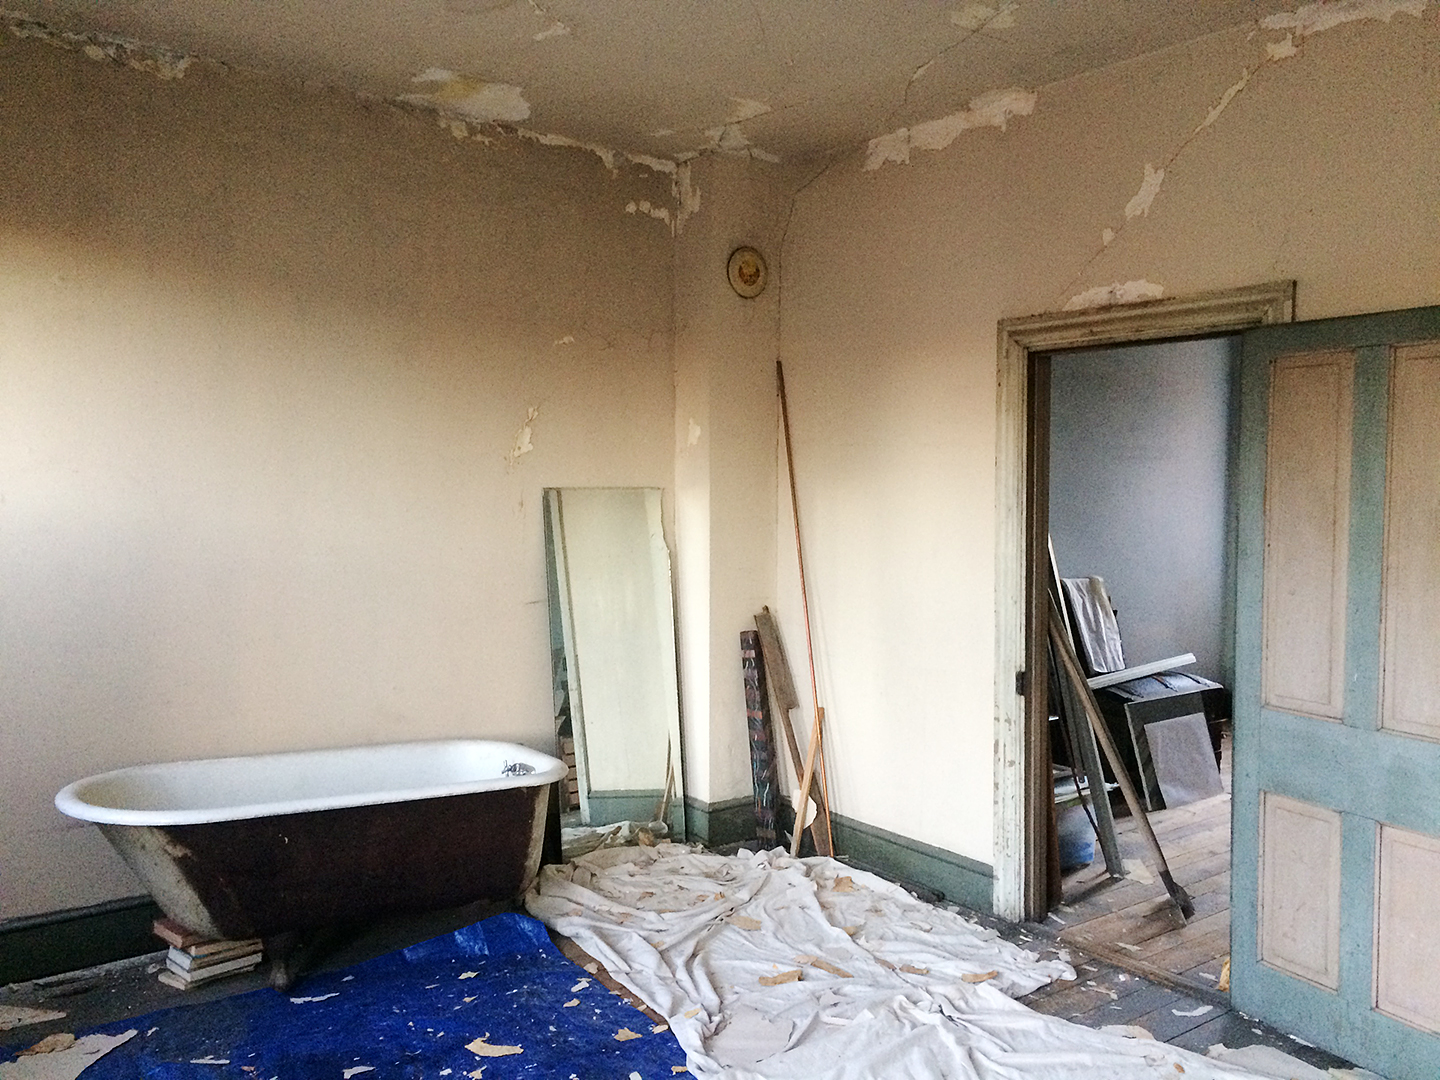
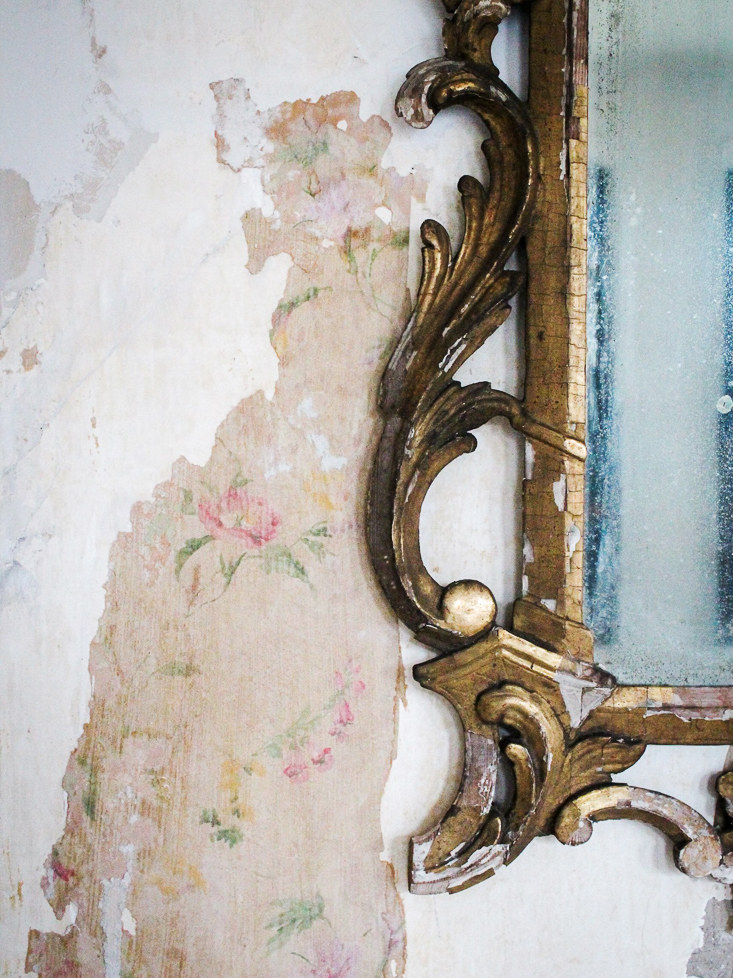
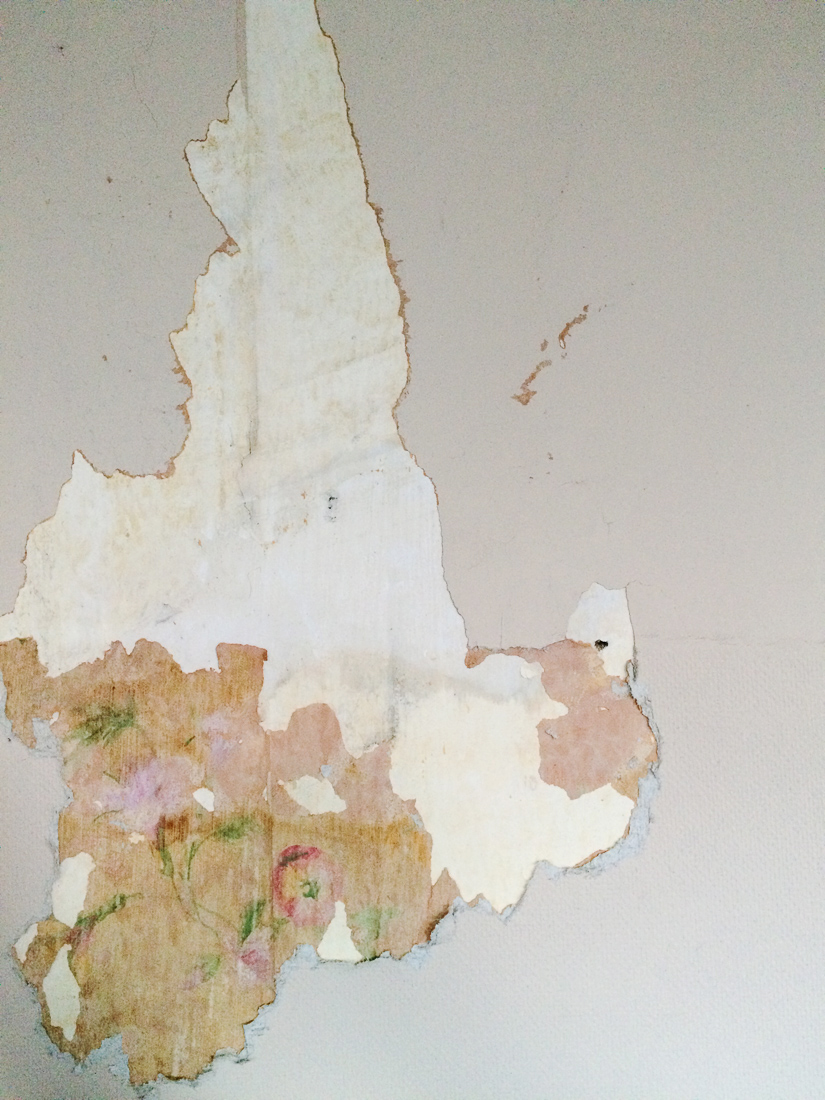
First, it is essential to recognize the signs of damage. Cracks appearing near door openings, wrapped doorways, hallways, beams, or corners typically indicate stress cracks due to foundation or structural shifting. Water damage, often caused by leaky roofs or pipes, manifests as separation of plaster from the lath, forming bulges, or in plaster-over-drywall applications, as soft areas with brown-tinted stains. Ideally, such defects should be repaired by a professional specializing in the specific type of plaster, as repairs are usually visible unless the entire wall is skim coated.
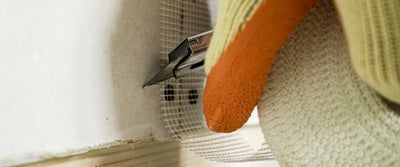
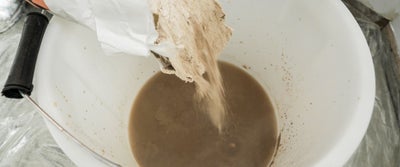
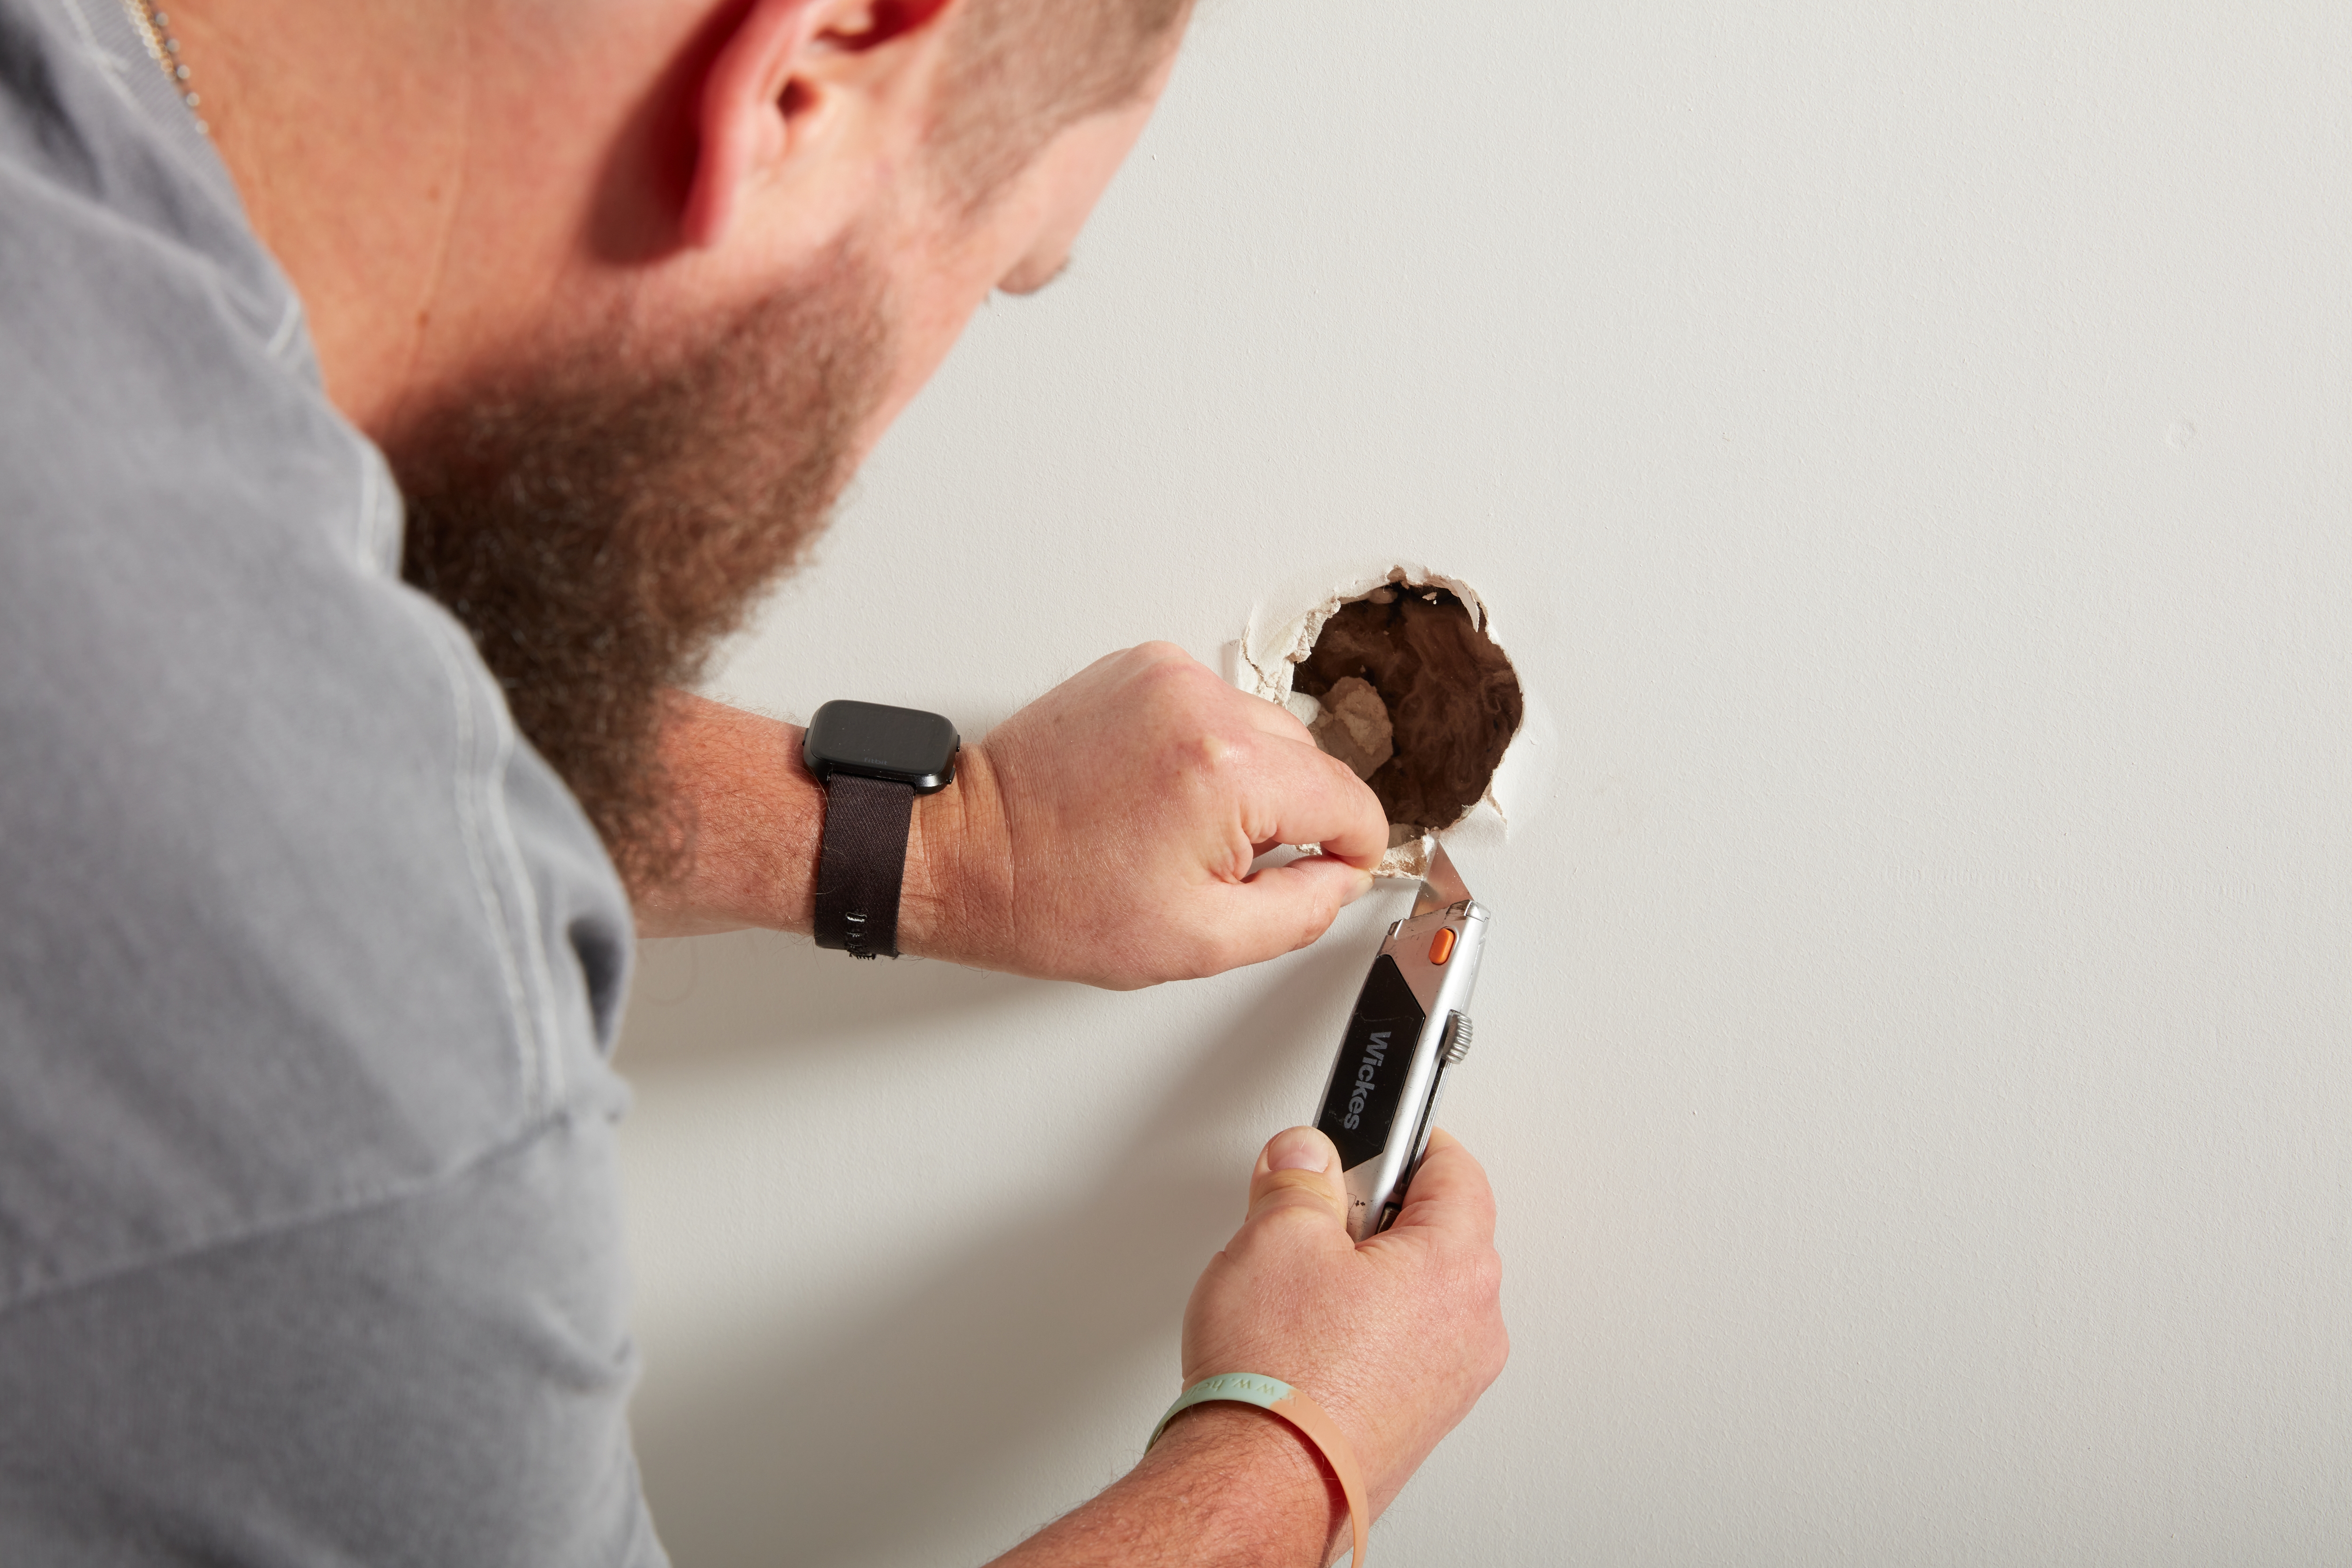
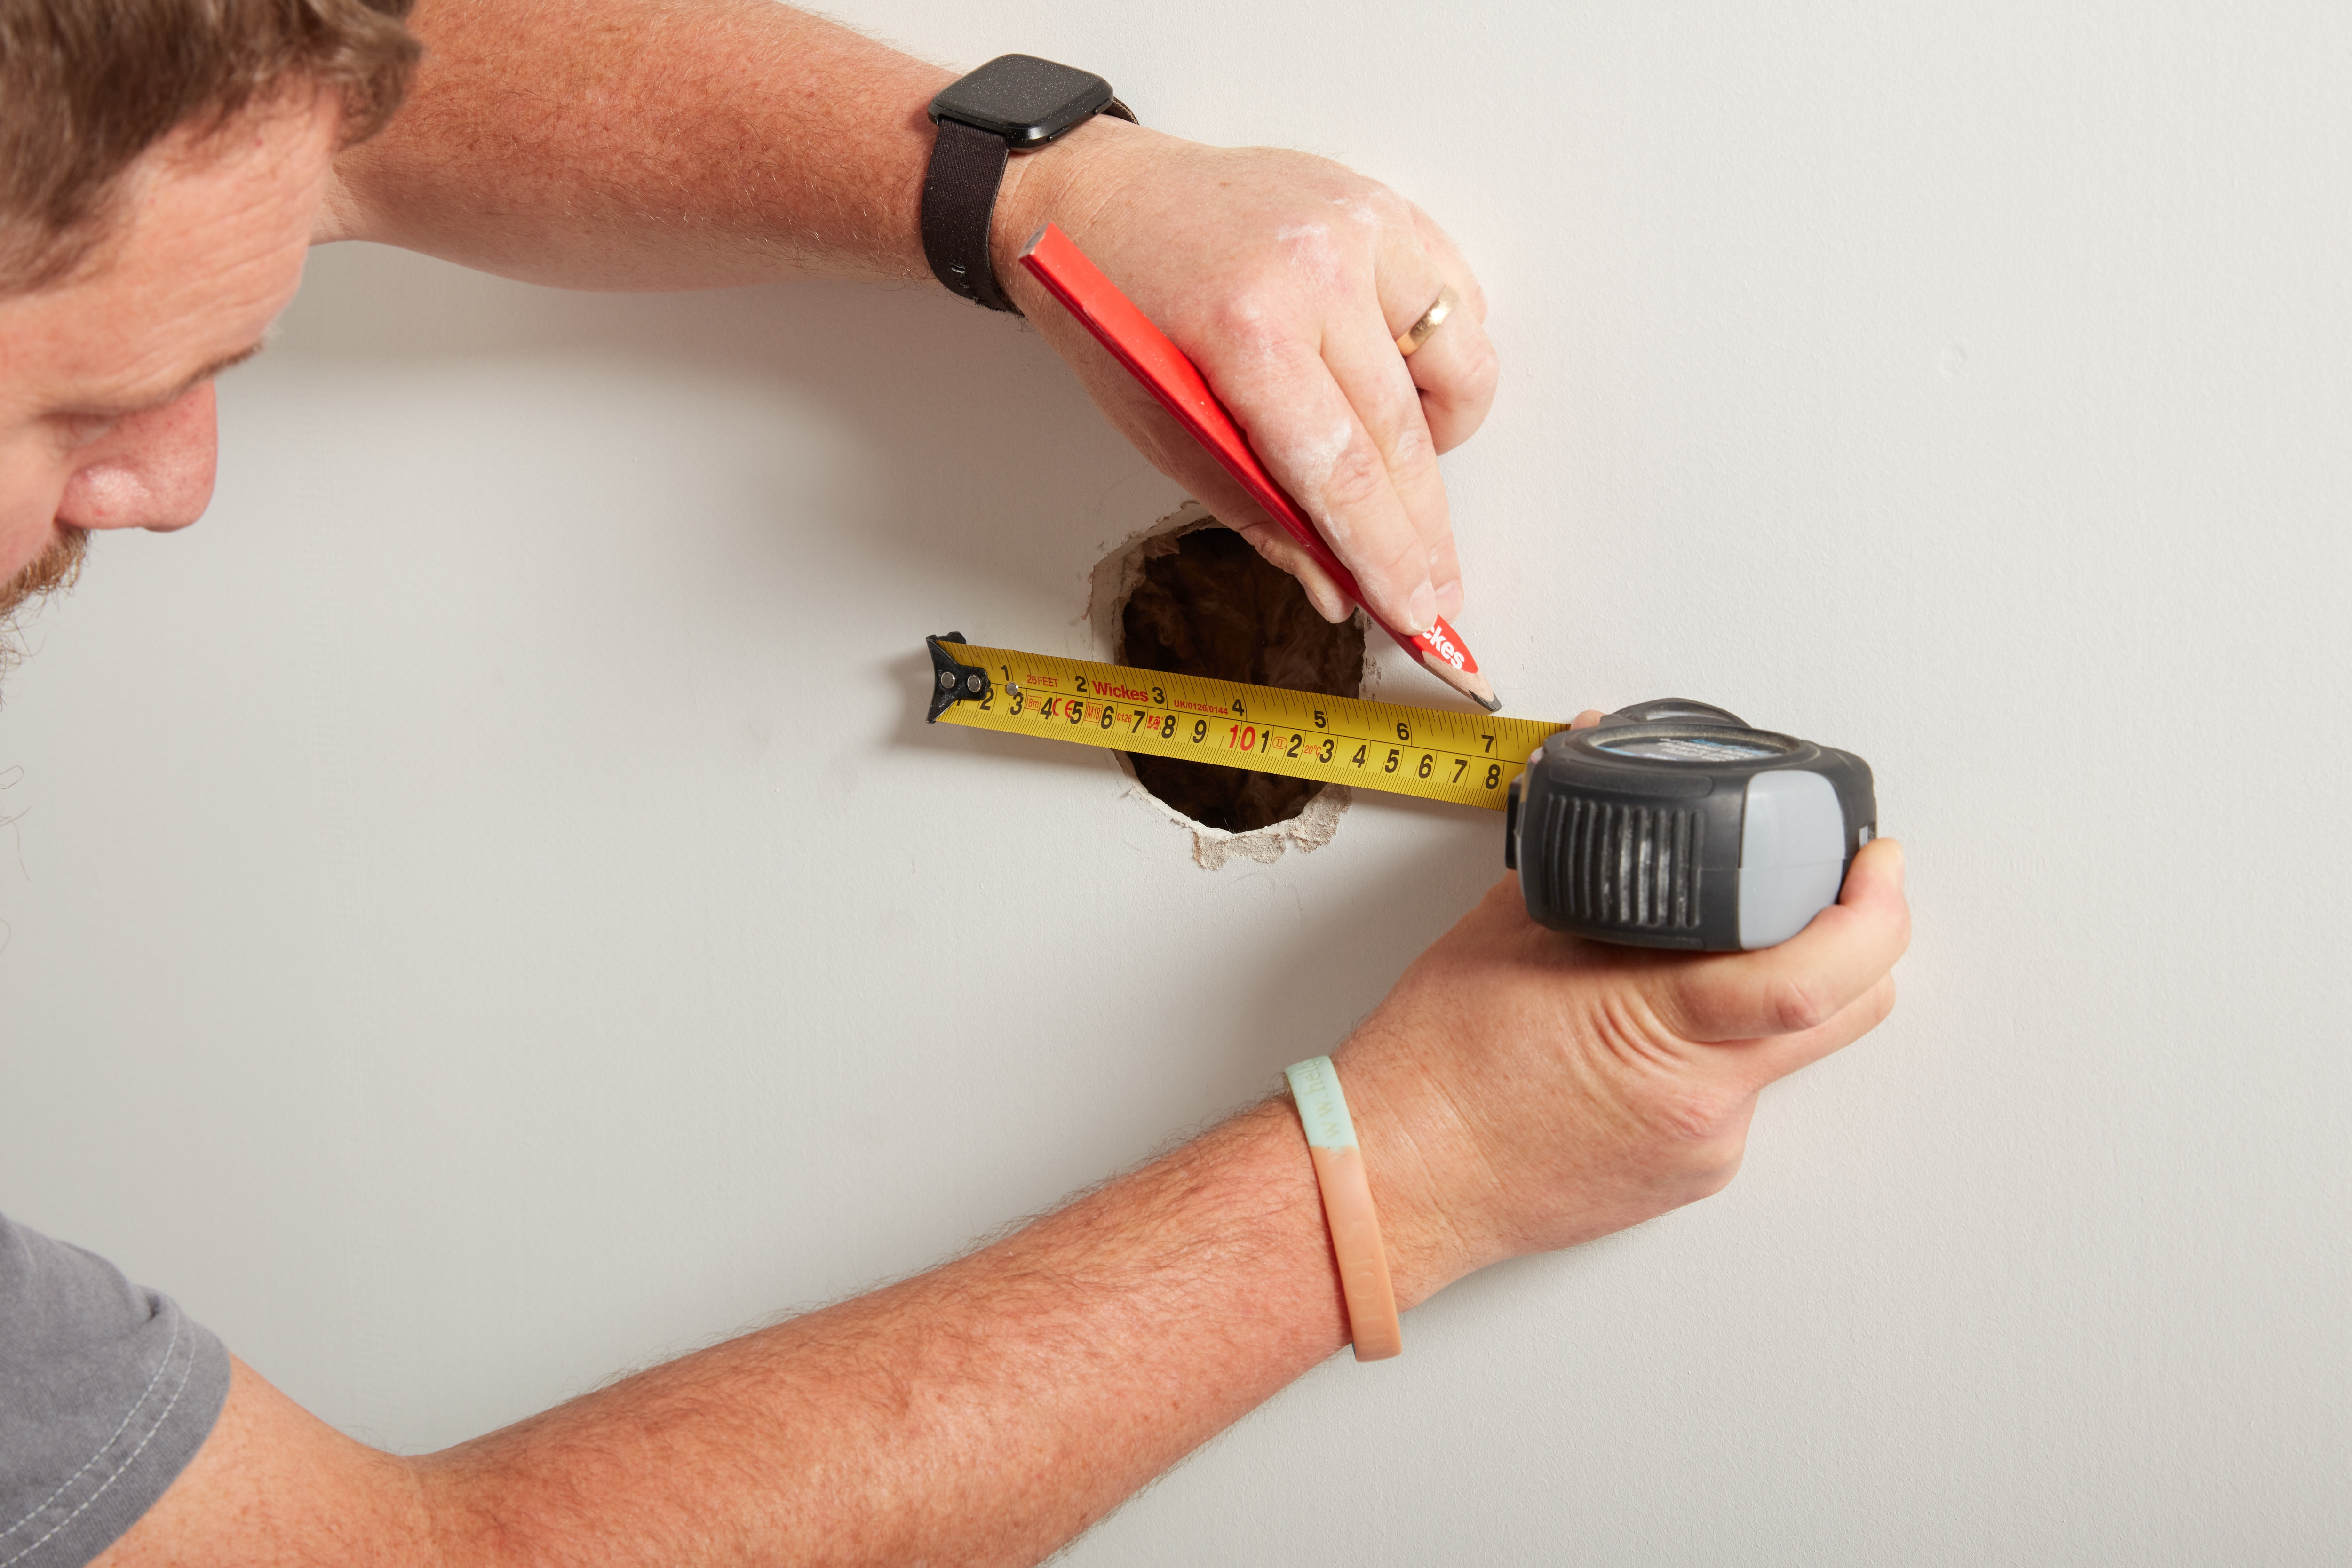
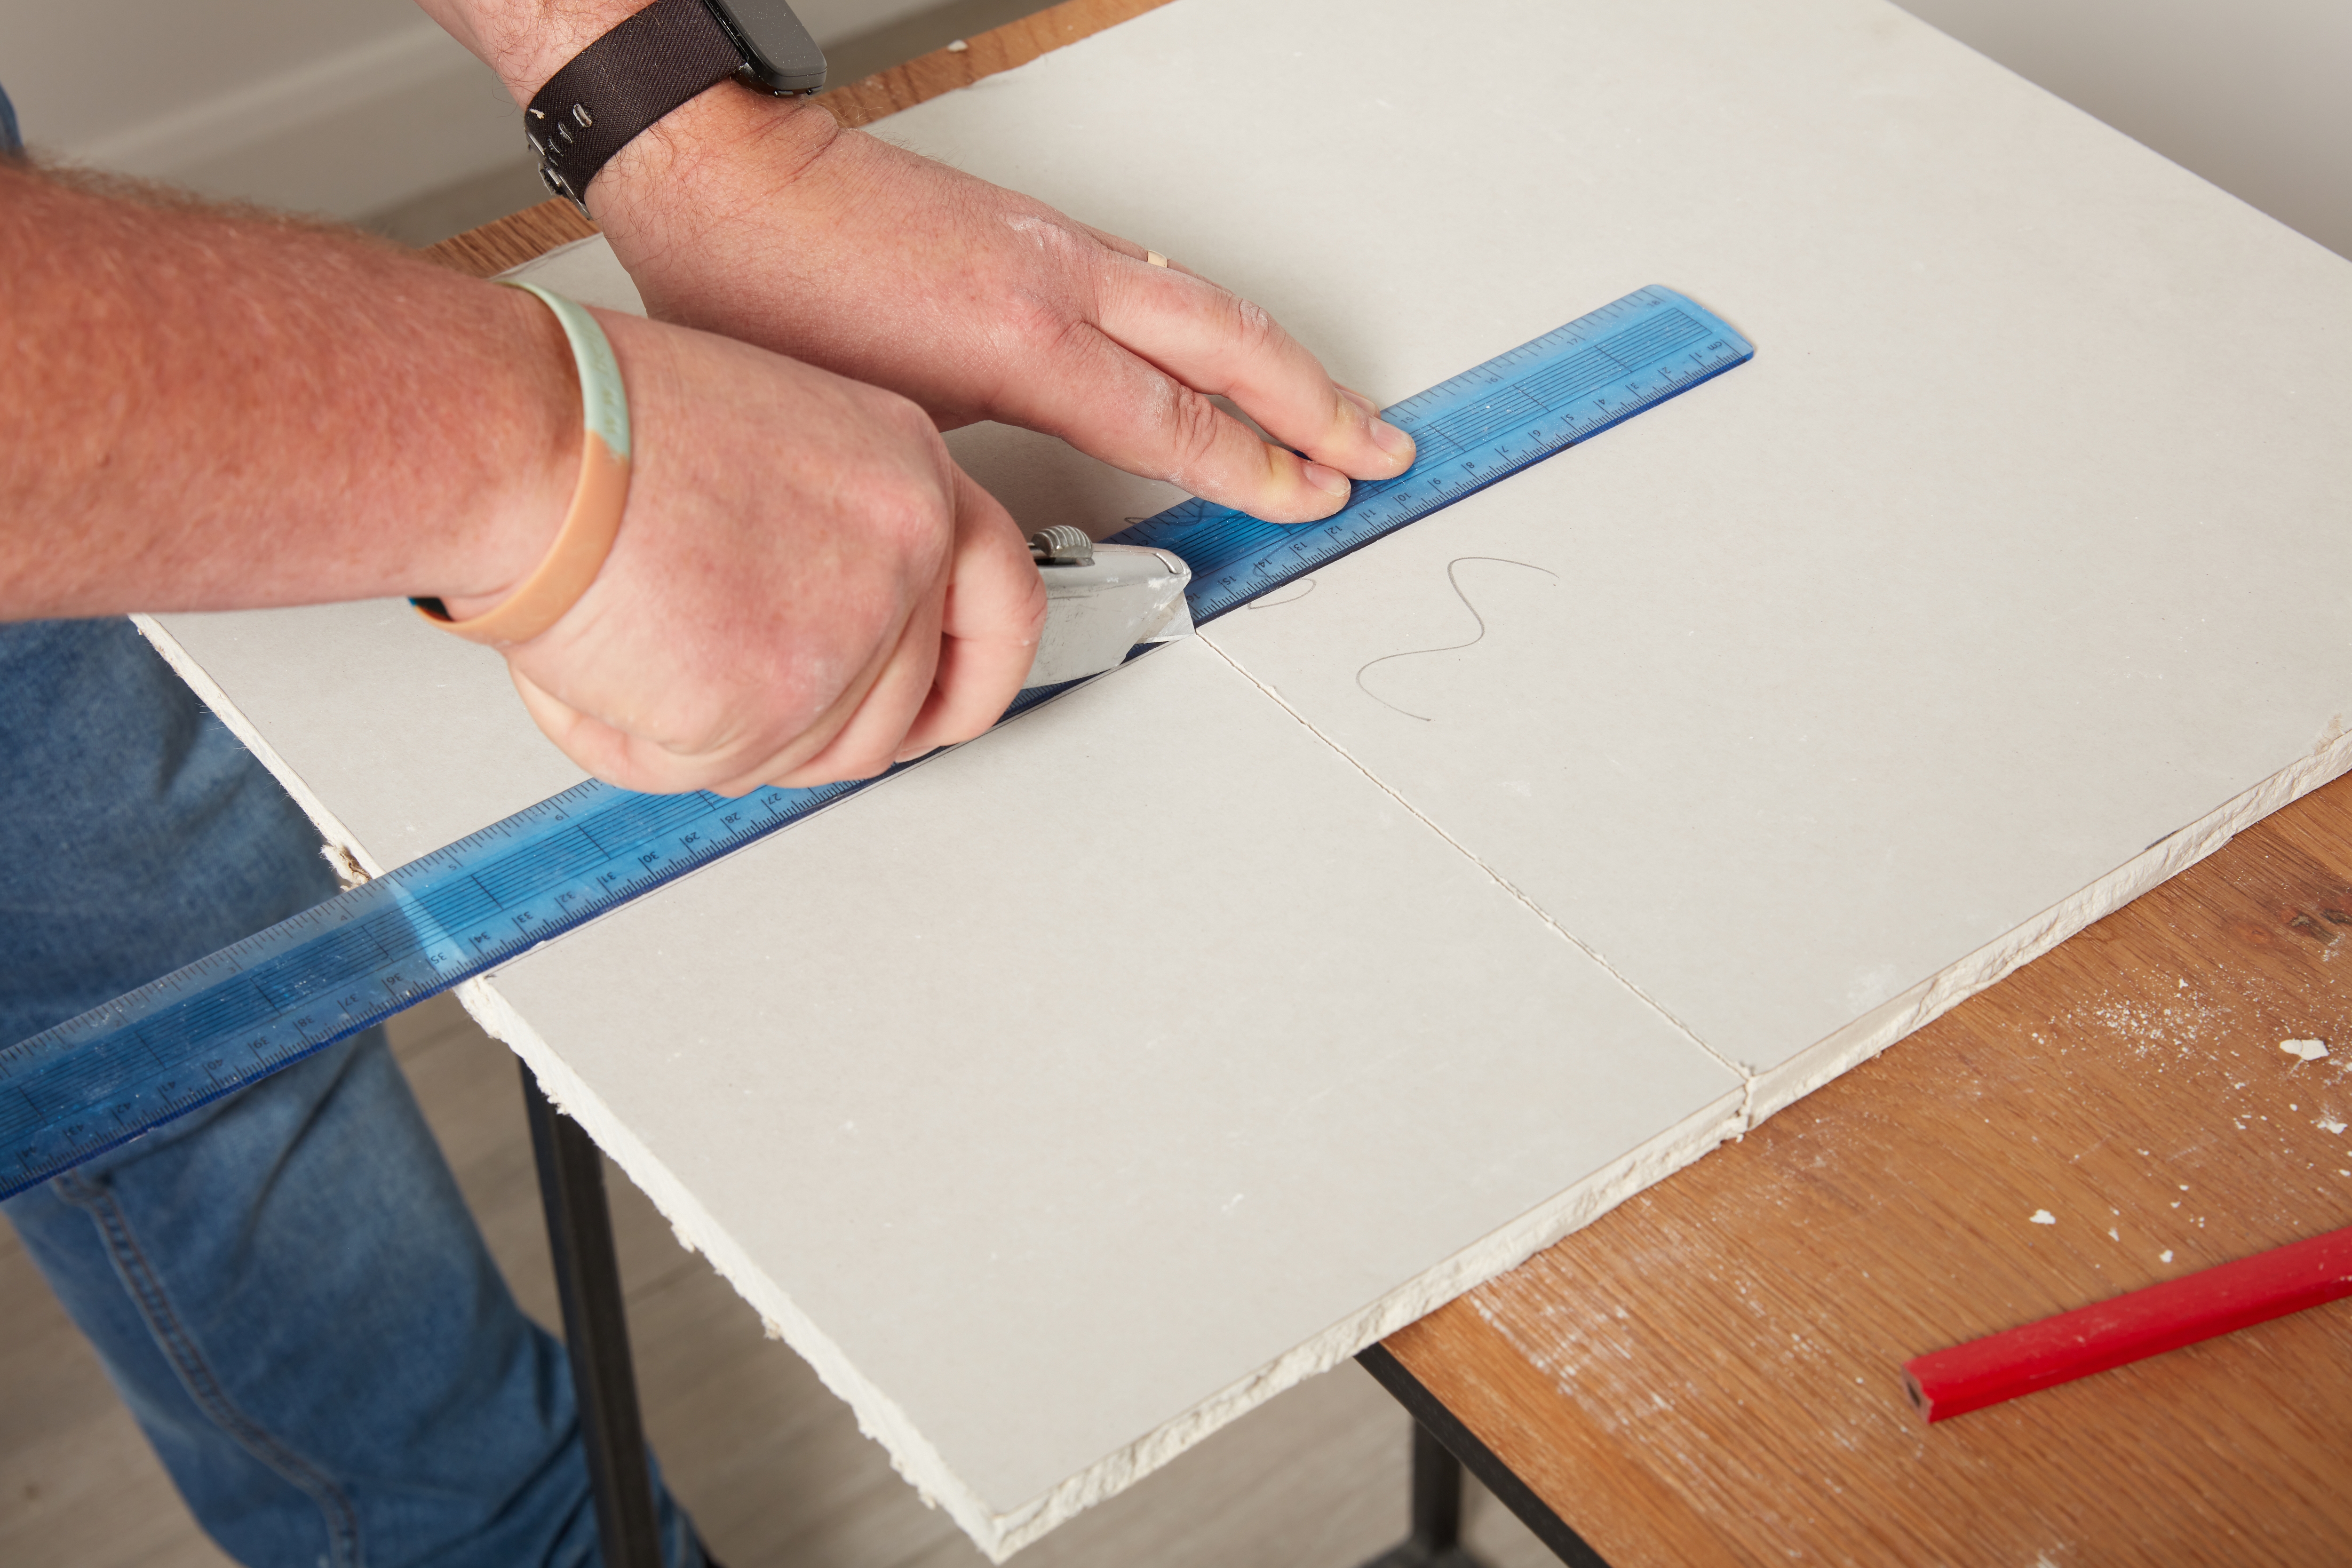
Second, promptly repairing cracks is vital. Unlike drywall cracks, filling hairline cracks in plaster is not straightforward, as sealing agents often bubble up. A more involved trenching process is required: the crack should be cut out deep enough to reach the substrate using a utility knife held at a 90-degree angle, creating a V-shaped trench. Before beginning, it is crucial to ensure proper ventilation with a box fan and a MERV 13 or HEPA filter, and to wear a dust mask, gloves, and safety glasses, as historical plaster may contain harmful components. Children and individuals with respiratory issues should avoid the area. After trenching, a fast-drying patching compound, such as USG Easy Sand 45, is applied to fill the cracks flush, allowed to dry and shrink. Mesh tape is then placed over the repaired area, followed by a thin coat of joint compound or the patching compound. Once dry, the exterior side of the tape is feather-coated approximately six inches wide using a putty knife, ensuring it is flush with the tape and wall. Any heavy pieces are removed before the final coat. The key is to apply thin coats, as adding more compound is easier than sanding. The final thin coat is sanded as needed once dry.
Third, correctly hanging art and shelves is paramount. Plaster walls can be challenging for hanging objects due to the bounce-back effect from the underlying lath, which can cause significant wall damage or paint bubbling. To prevent this, an anchor-and-screw system is recommended for heavy items, with molly bolts or toggle bolts providing superior support. Locating a stud using a stud finder is also advisable. Pre-drilling is essential when using nails, with a drill bit 1/32-inch to 1/16-inch smaller than the nail. The drill bit should be angled at 45 degrees, and the nail gently drilled in. A small amount of caulk or construction adhesive can be applied to the hole to secure the nail, allowing it to dry before hanging. Alternatively, utilizing existing picture molding or installing a modern wire system can avoid nailing into plaster altogether.
Fourth, regular touch-ups can extend the life of plaster walls. If plaster is in good condition but has a shiny, cracked appearance, repainting with a matte finish paint can minimize defects. Before repainting, it is important to determine the existing paint type; if oil-based, an appropriate primer is necessary before applying water-based paint.
Finally, careful cleaning is crucial. Plaster walls should be cleaned delicately due to their texture and susceptibility to cracking. Vacuuming with a dust-brush attachment is the first step. For dirtier areas, a warm, damp cloth with a mix of water and dish soap can be used, taking care not to scrub vigorously to avoid damaging the texture or finish.
#PlasterWalls #HomeMaintenance #WallRepair #InteriorDesign #DIYHomeImprovement #HistoricHomes #WallFinishes #CrackRepair #HomeCare #PlasterWalls #HomeMaintenance #WallRepair #InteriorDesign #DIYHomeImprovement #HistoricHomes #WallFinishes #CrackRepair #HomeCare
0 comment in total
 No comments yet
You may also like

How to plaster a wall

How to add texture to your walls - a beginner's guide to the many beautiful plaster finishes

5 Custom Wall Treatments You Can Do Yourself

The Art of Plaster
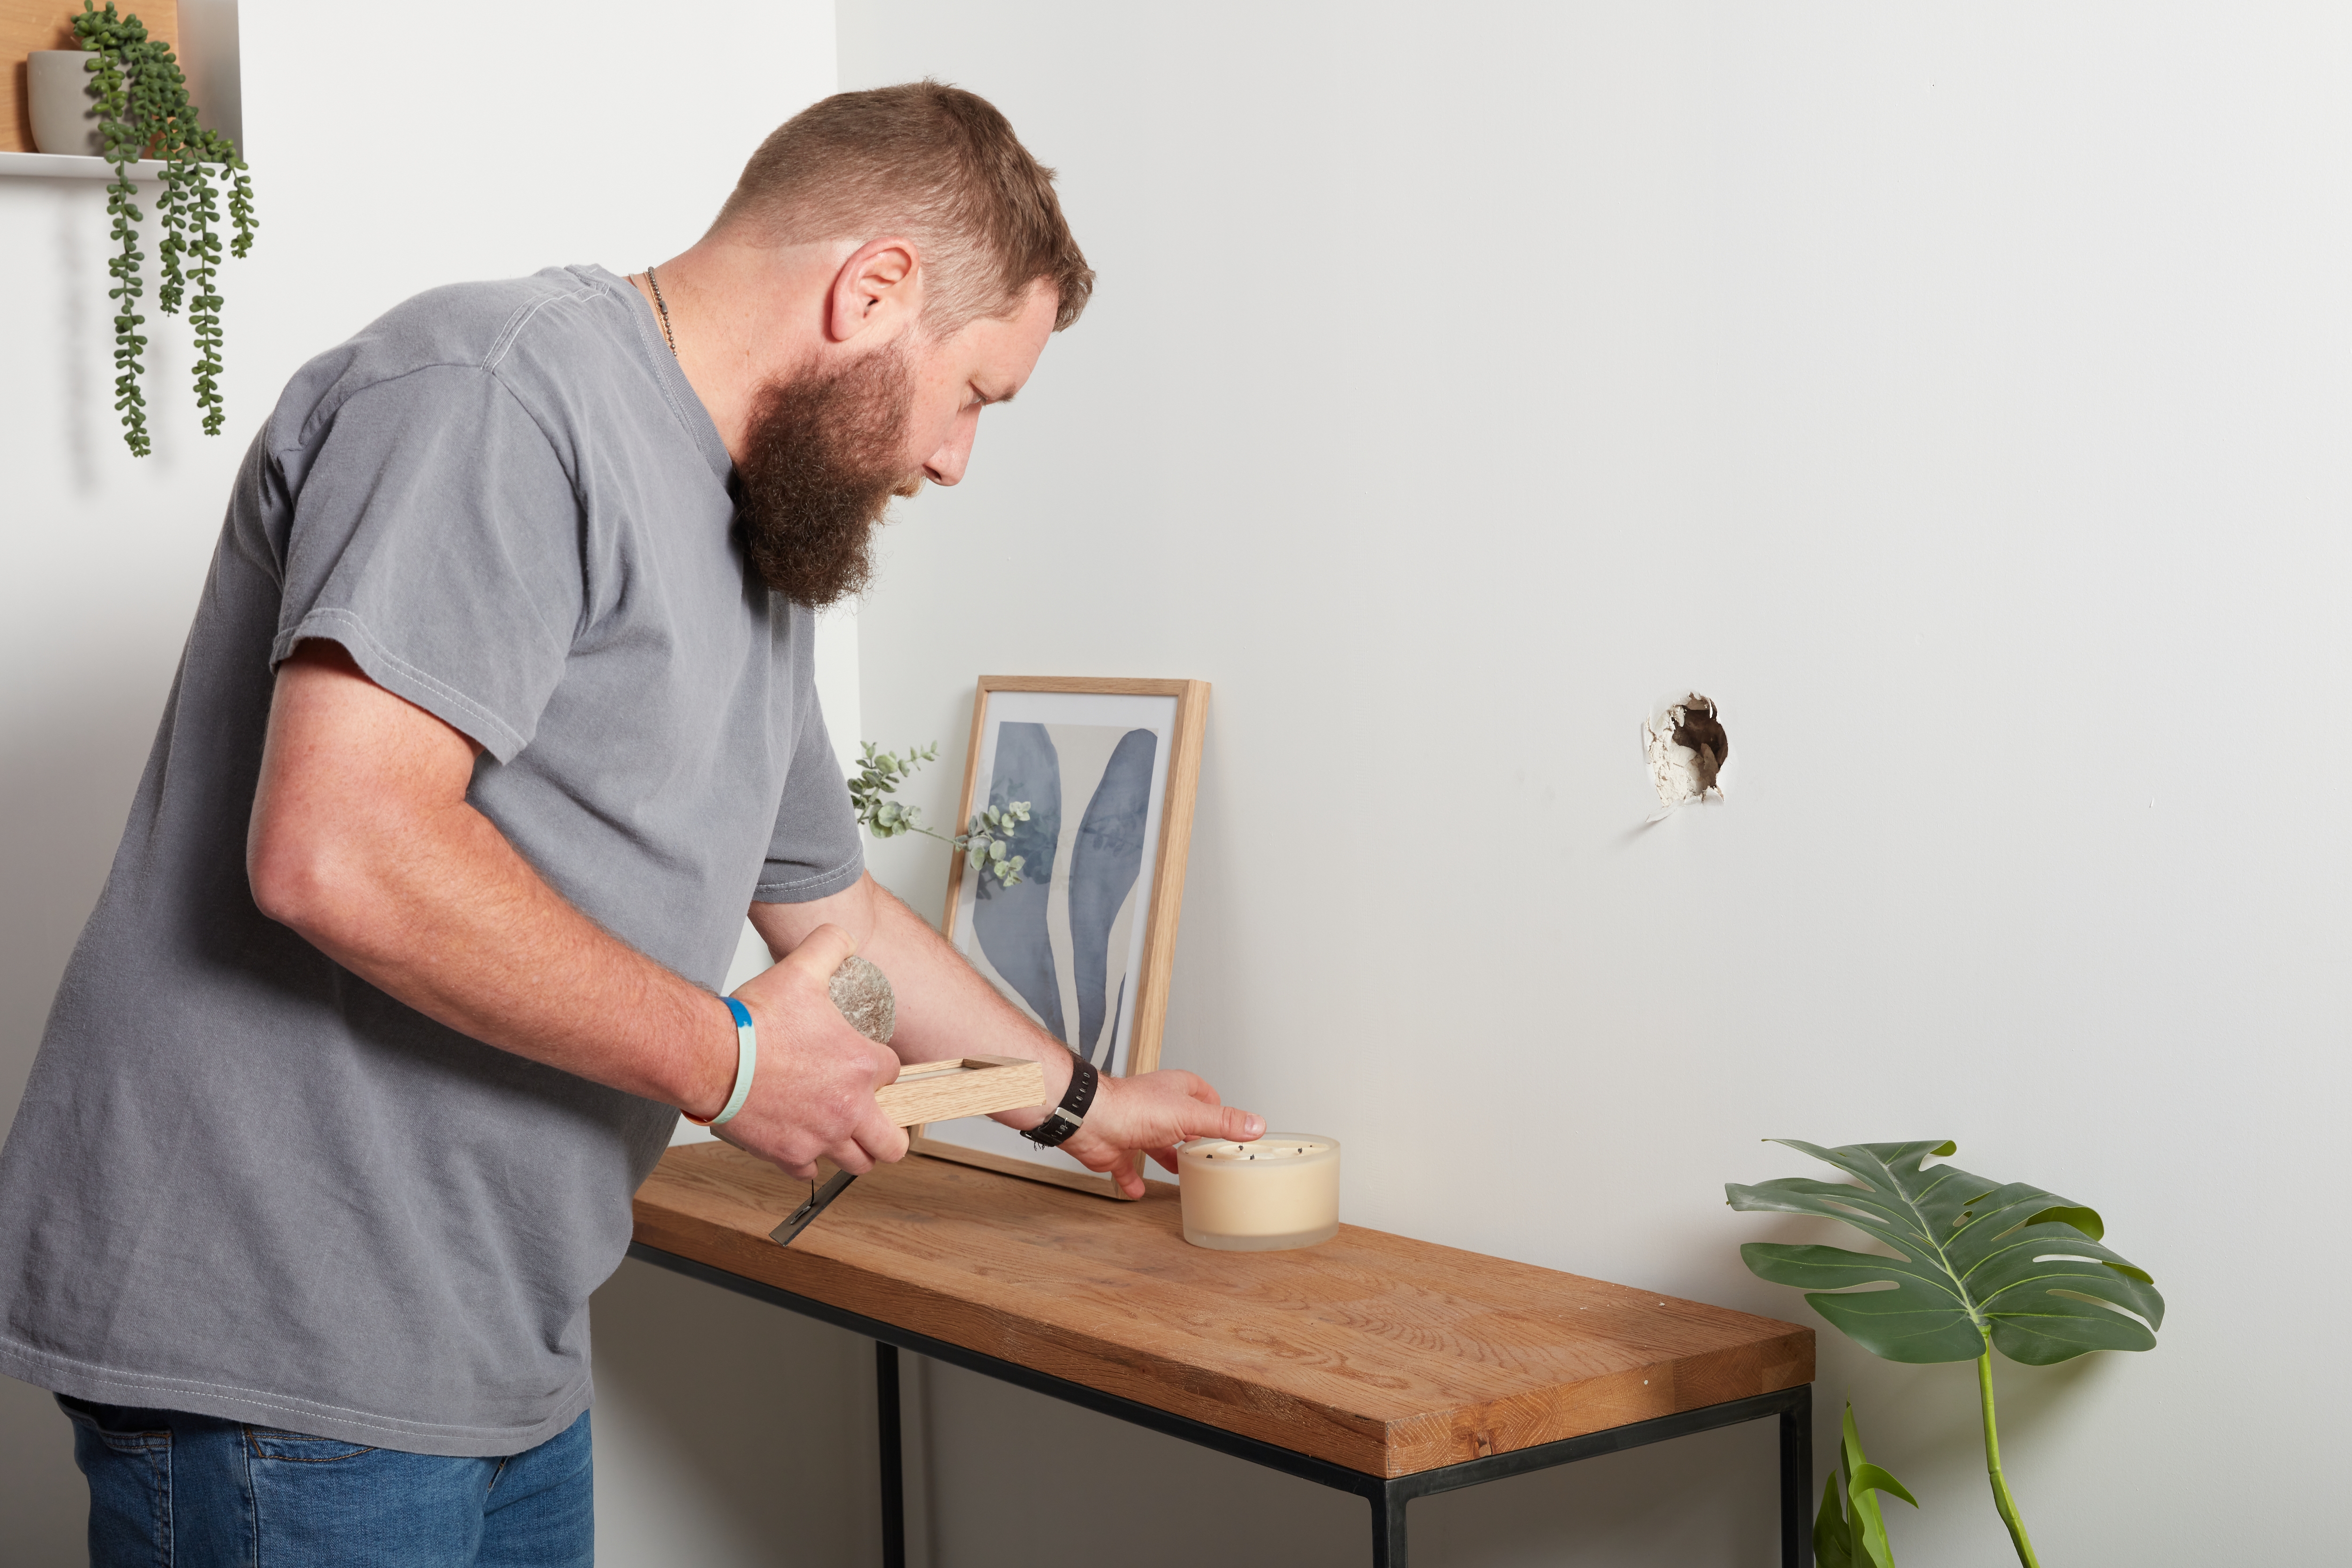
How to repair a wall or ceiling

Build a "Perfect Wall" on a Budget for Affordable High-Performance

How to Figure Out What Kind of Walls You Have Behind Your Wall Paneling

5 wall decor ideas perfect for renters and DIY lovers
Molded perfection: What it takes to restore antique plaster

How to smooth walls without plastering, according to design experts

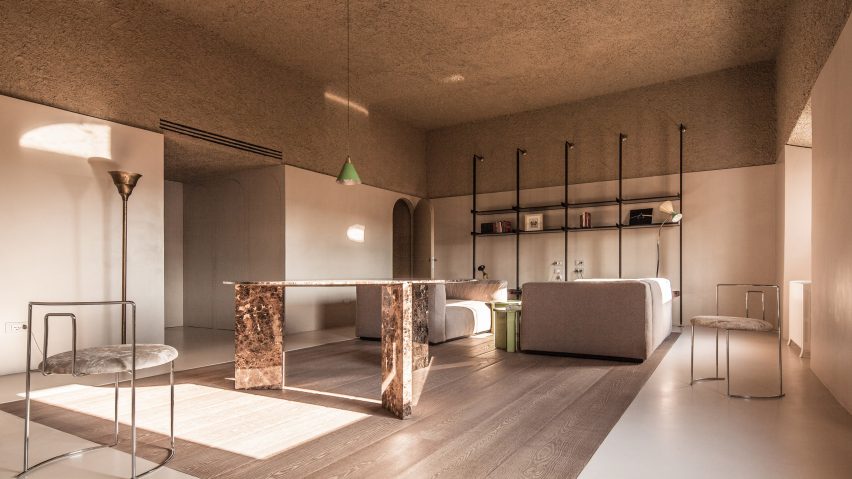
Ten residential interiors showcasing exposed plaster walls
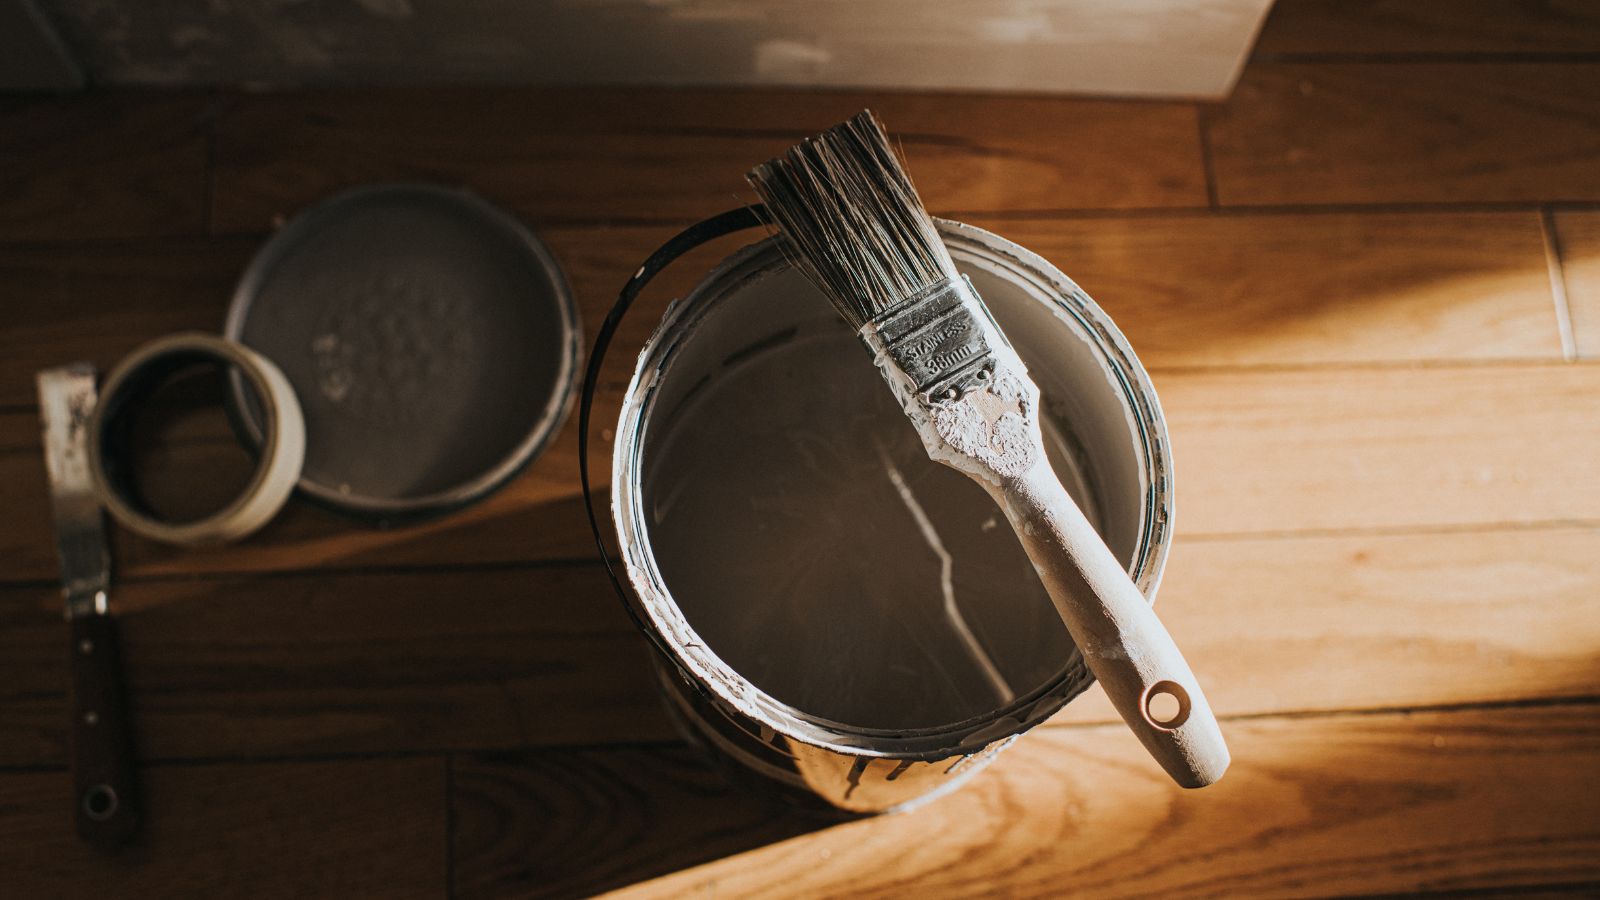
How to texture a wall – 5 expert methods for intriguing wall textures

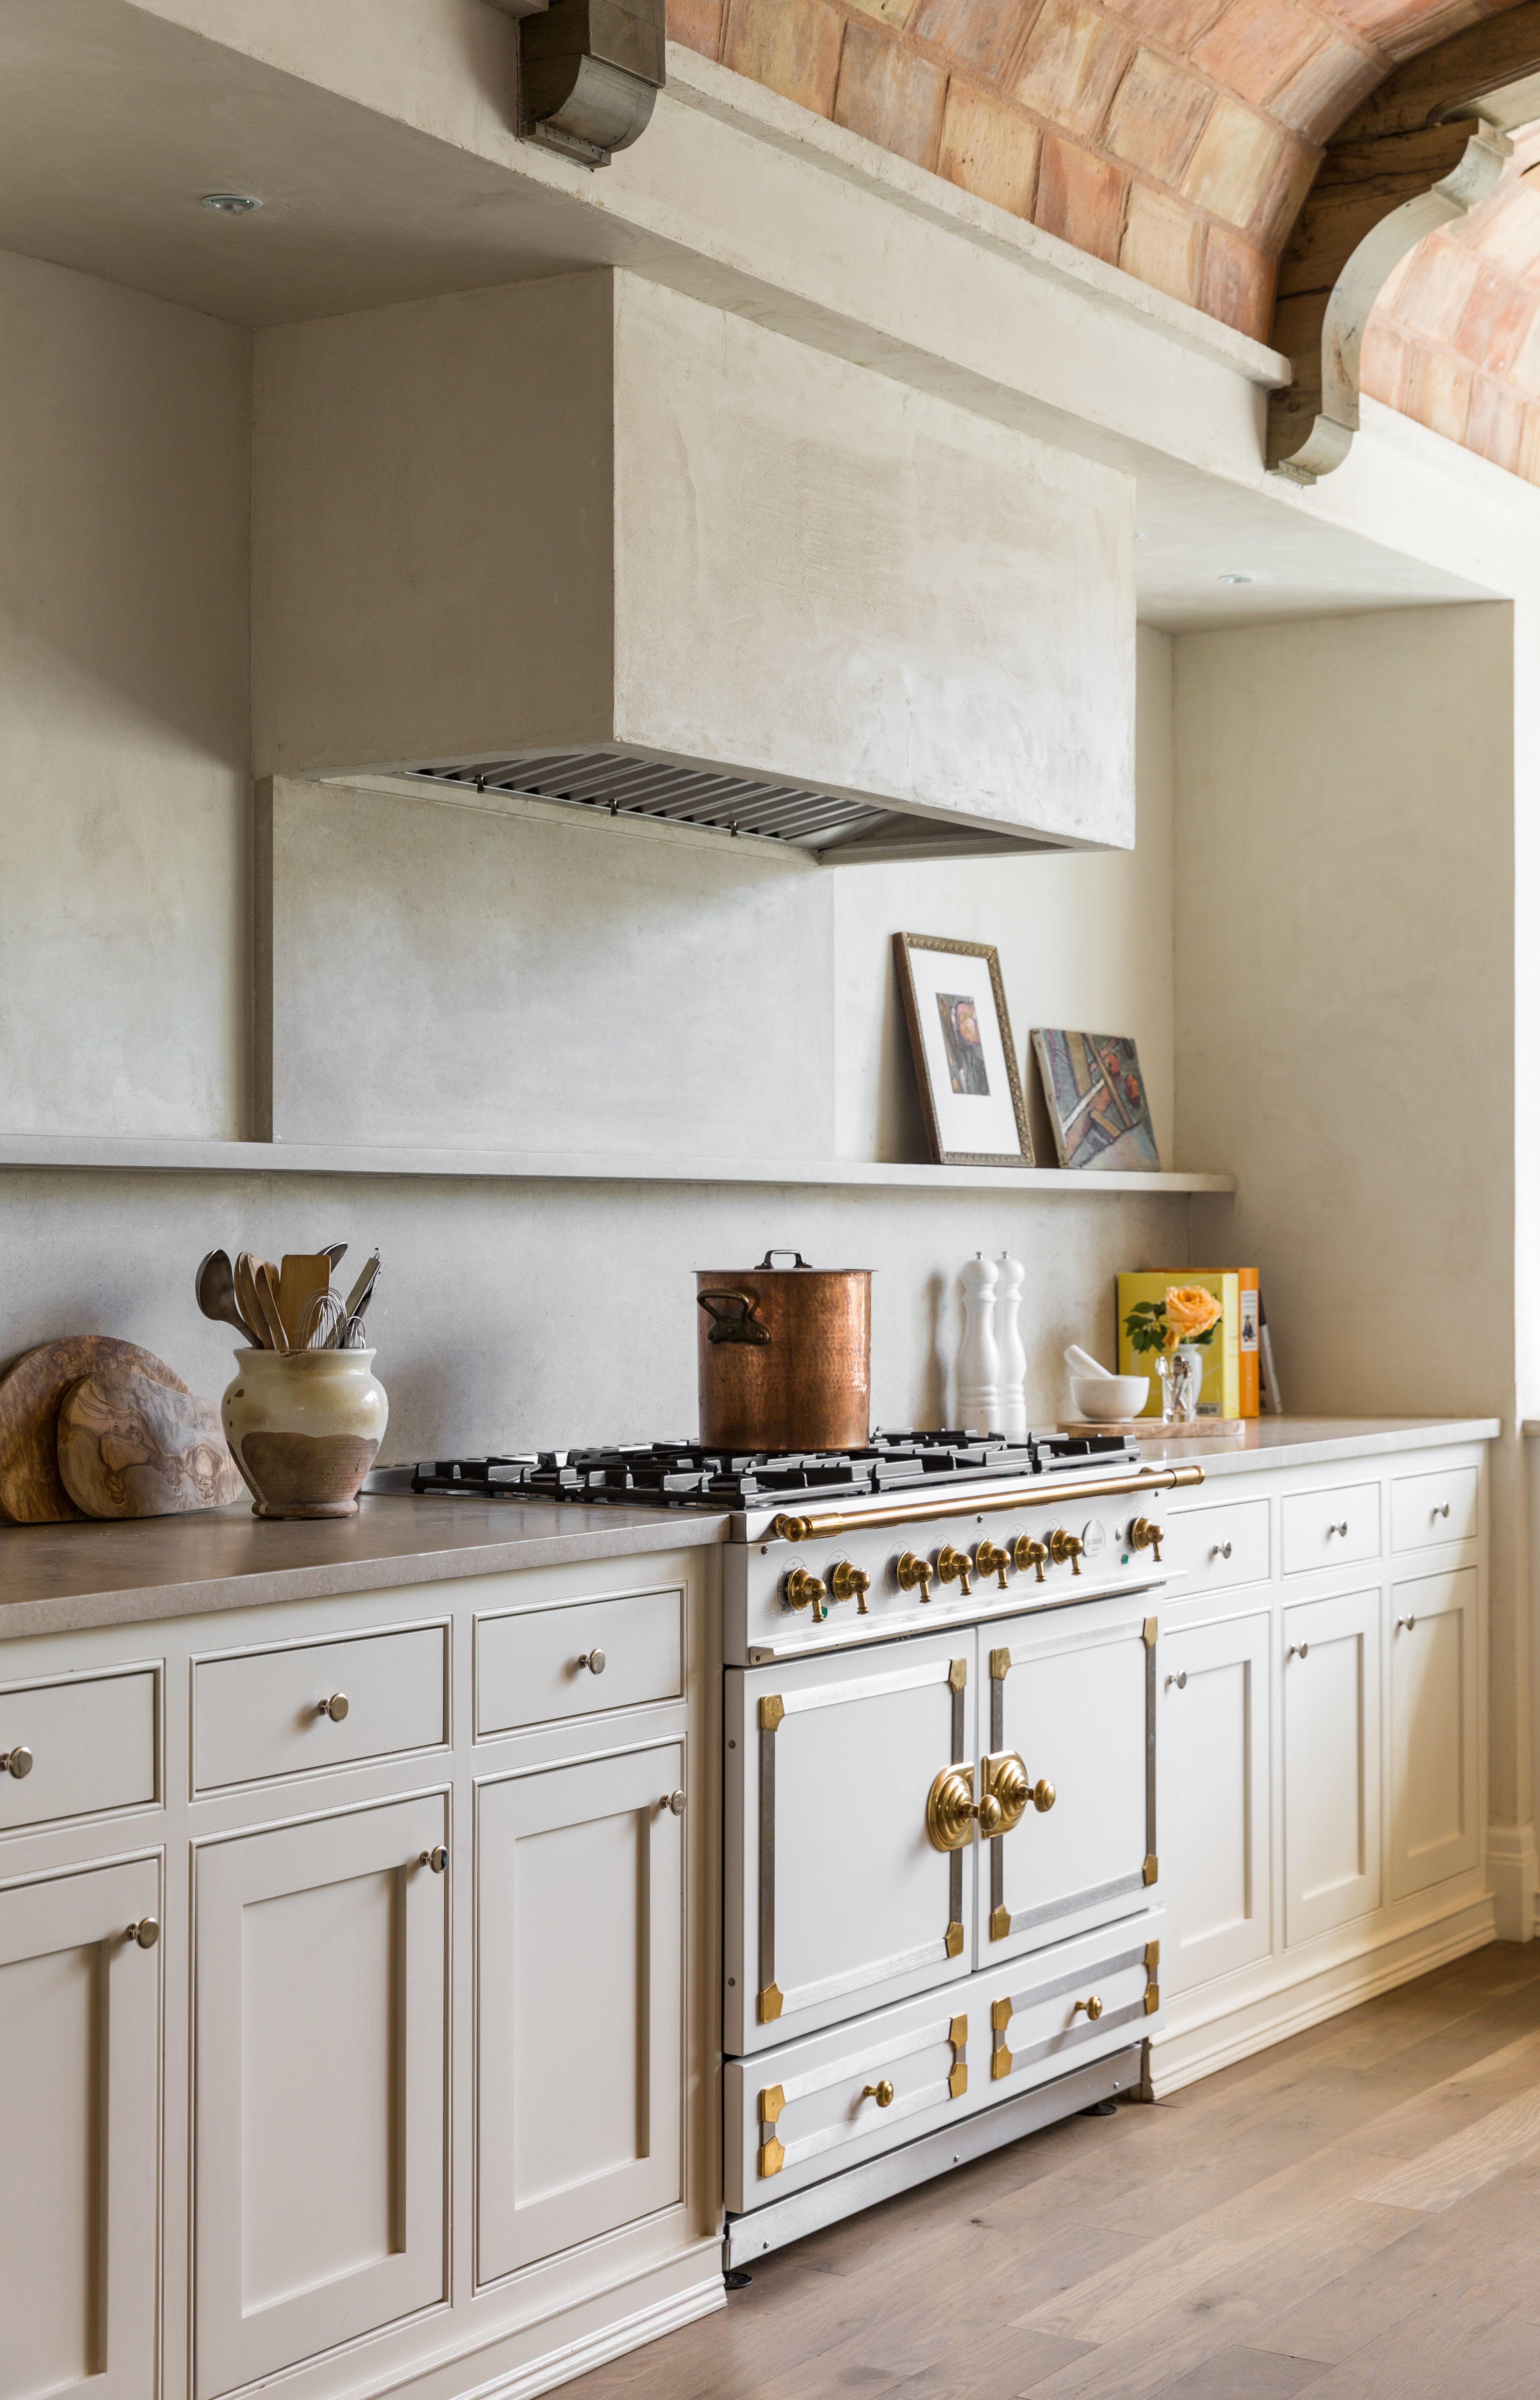
Why Plaster Walls Are So Popular, Plus 3 Ways to Get the Look

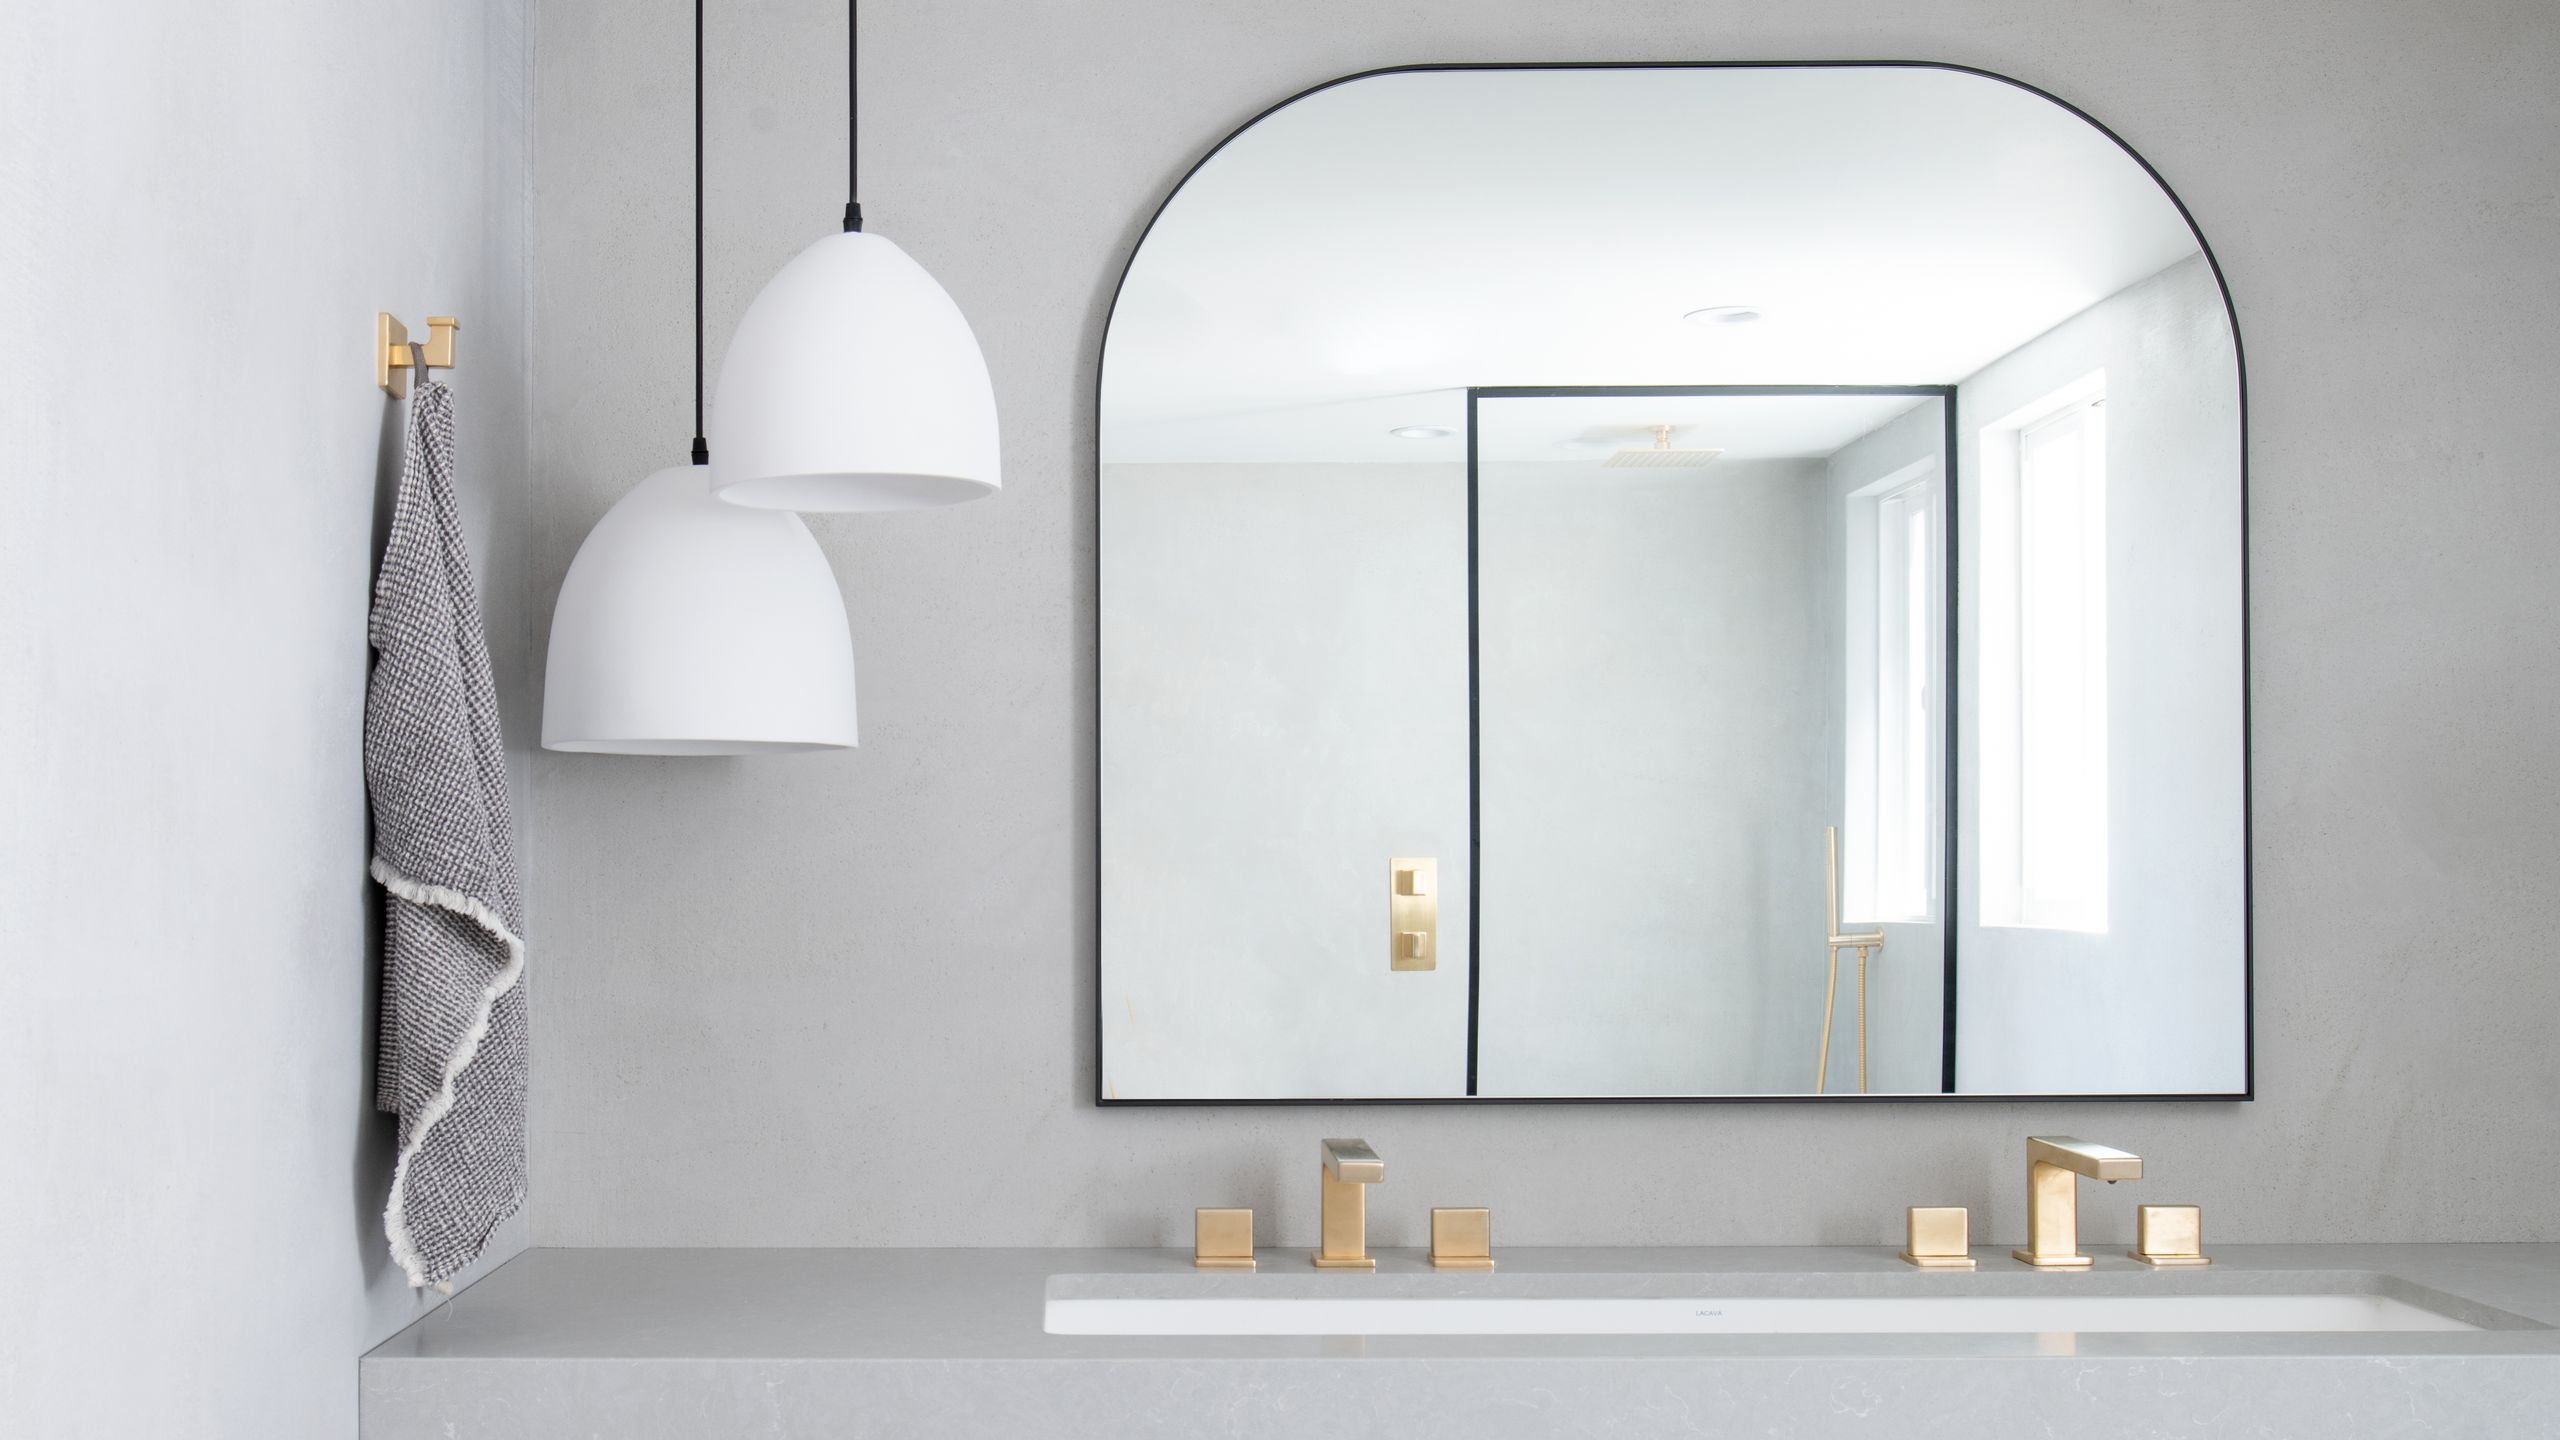
Plaster Walls Are the Secret to This Sleek Bathroom Transformation

7 Wall Murals In, This DIYer’s Top Paint Tip Is to—Gasp!—Not Use Tape

Can you plaster over tiles? The experts issue a surprising warning...
How to create plaster effect walls – the modern rustic trend everyone's trying
Plaster Walls—a Signature of Warm Modernist Interiors—Are Having a Moment
This Couple Struck Gold When They Decided to Restore Their Plaster Walls

A guide to wall finishes: wallpaper, plaster, and more