1/4
How to Paint a Ceiling, From Picking a Color to Actually Getting It Up There
Painting a ceiling, often perceived as a daunting task, can be successfully accomplished with adequate preparation and a strategic approach. This guide provides comprehensive instructions and expert advice from Nicole Gibbons, founder of Clare, and interior designer Campbell Minister, covering everything from selecting the right paint to handling specific ceiling types.
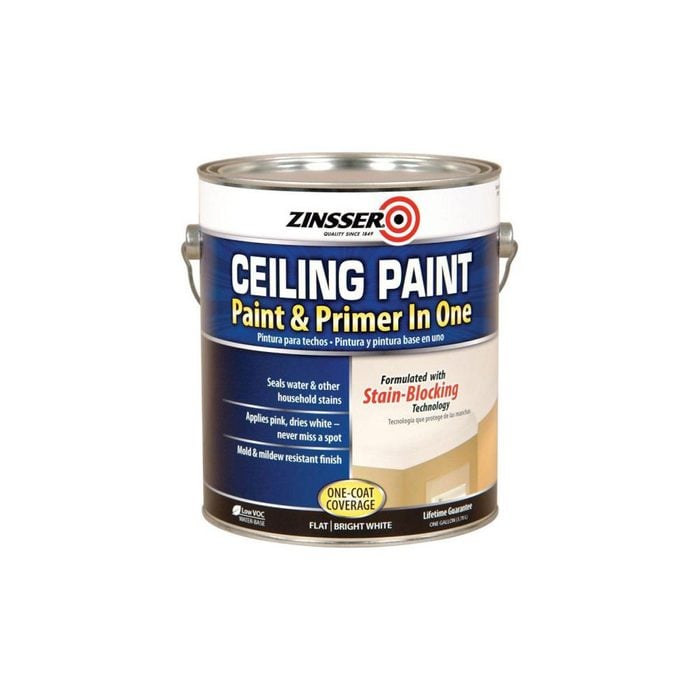
Choosing the appropriate paint is crucial for ceiling projects. It is recommended to use paints specifically formulated for ceilings, as they typically have a lower viscosity, which helps minimize drips. A flat, non-reflective finish is preferred as it reduces glare from overhead artificial lighting, contributing to a more aesthetically pleasing outcome.
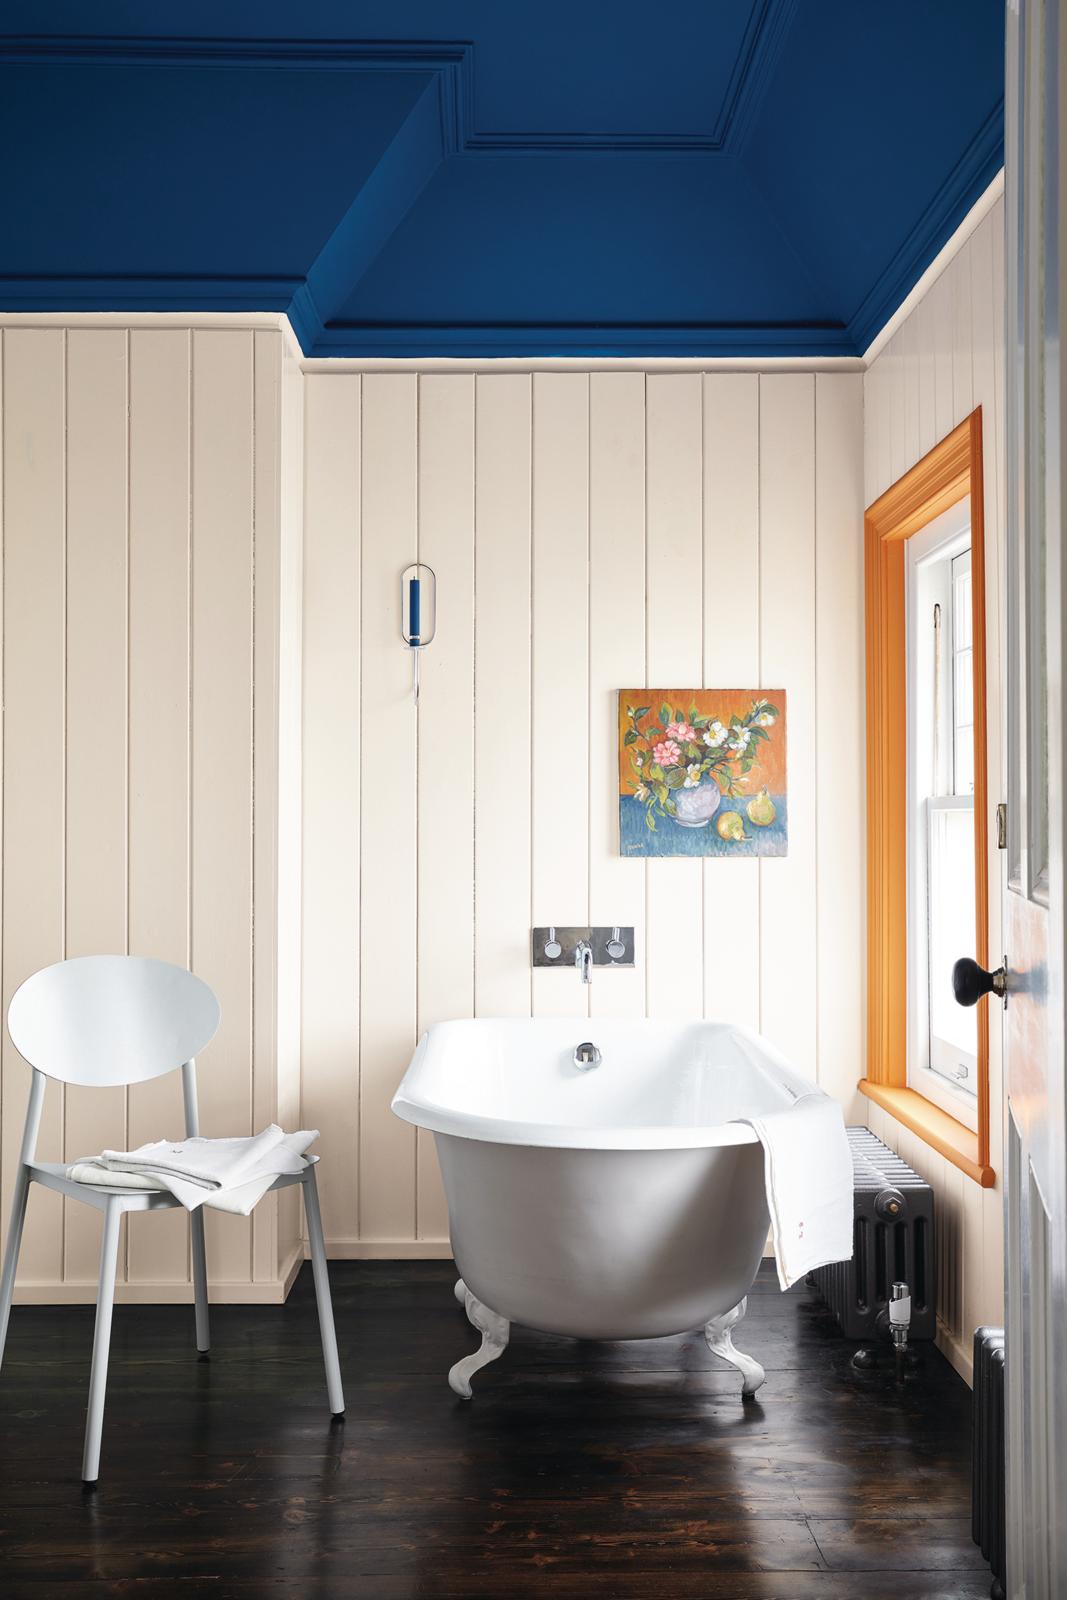
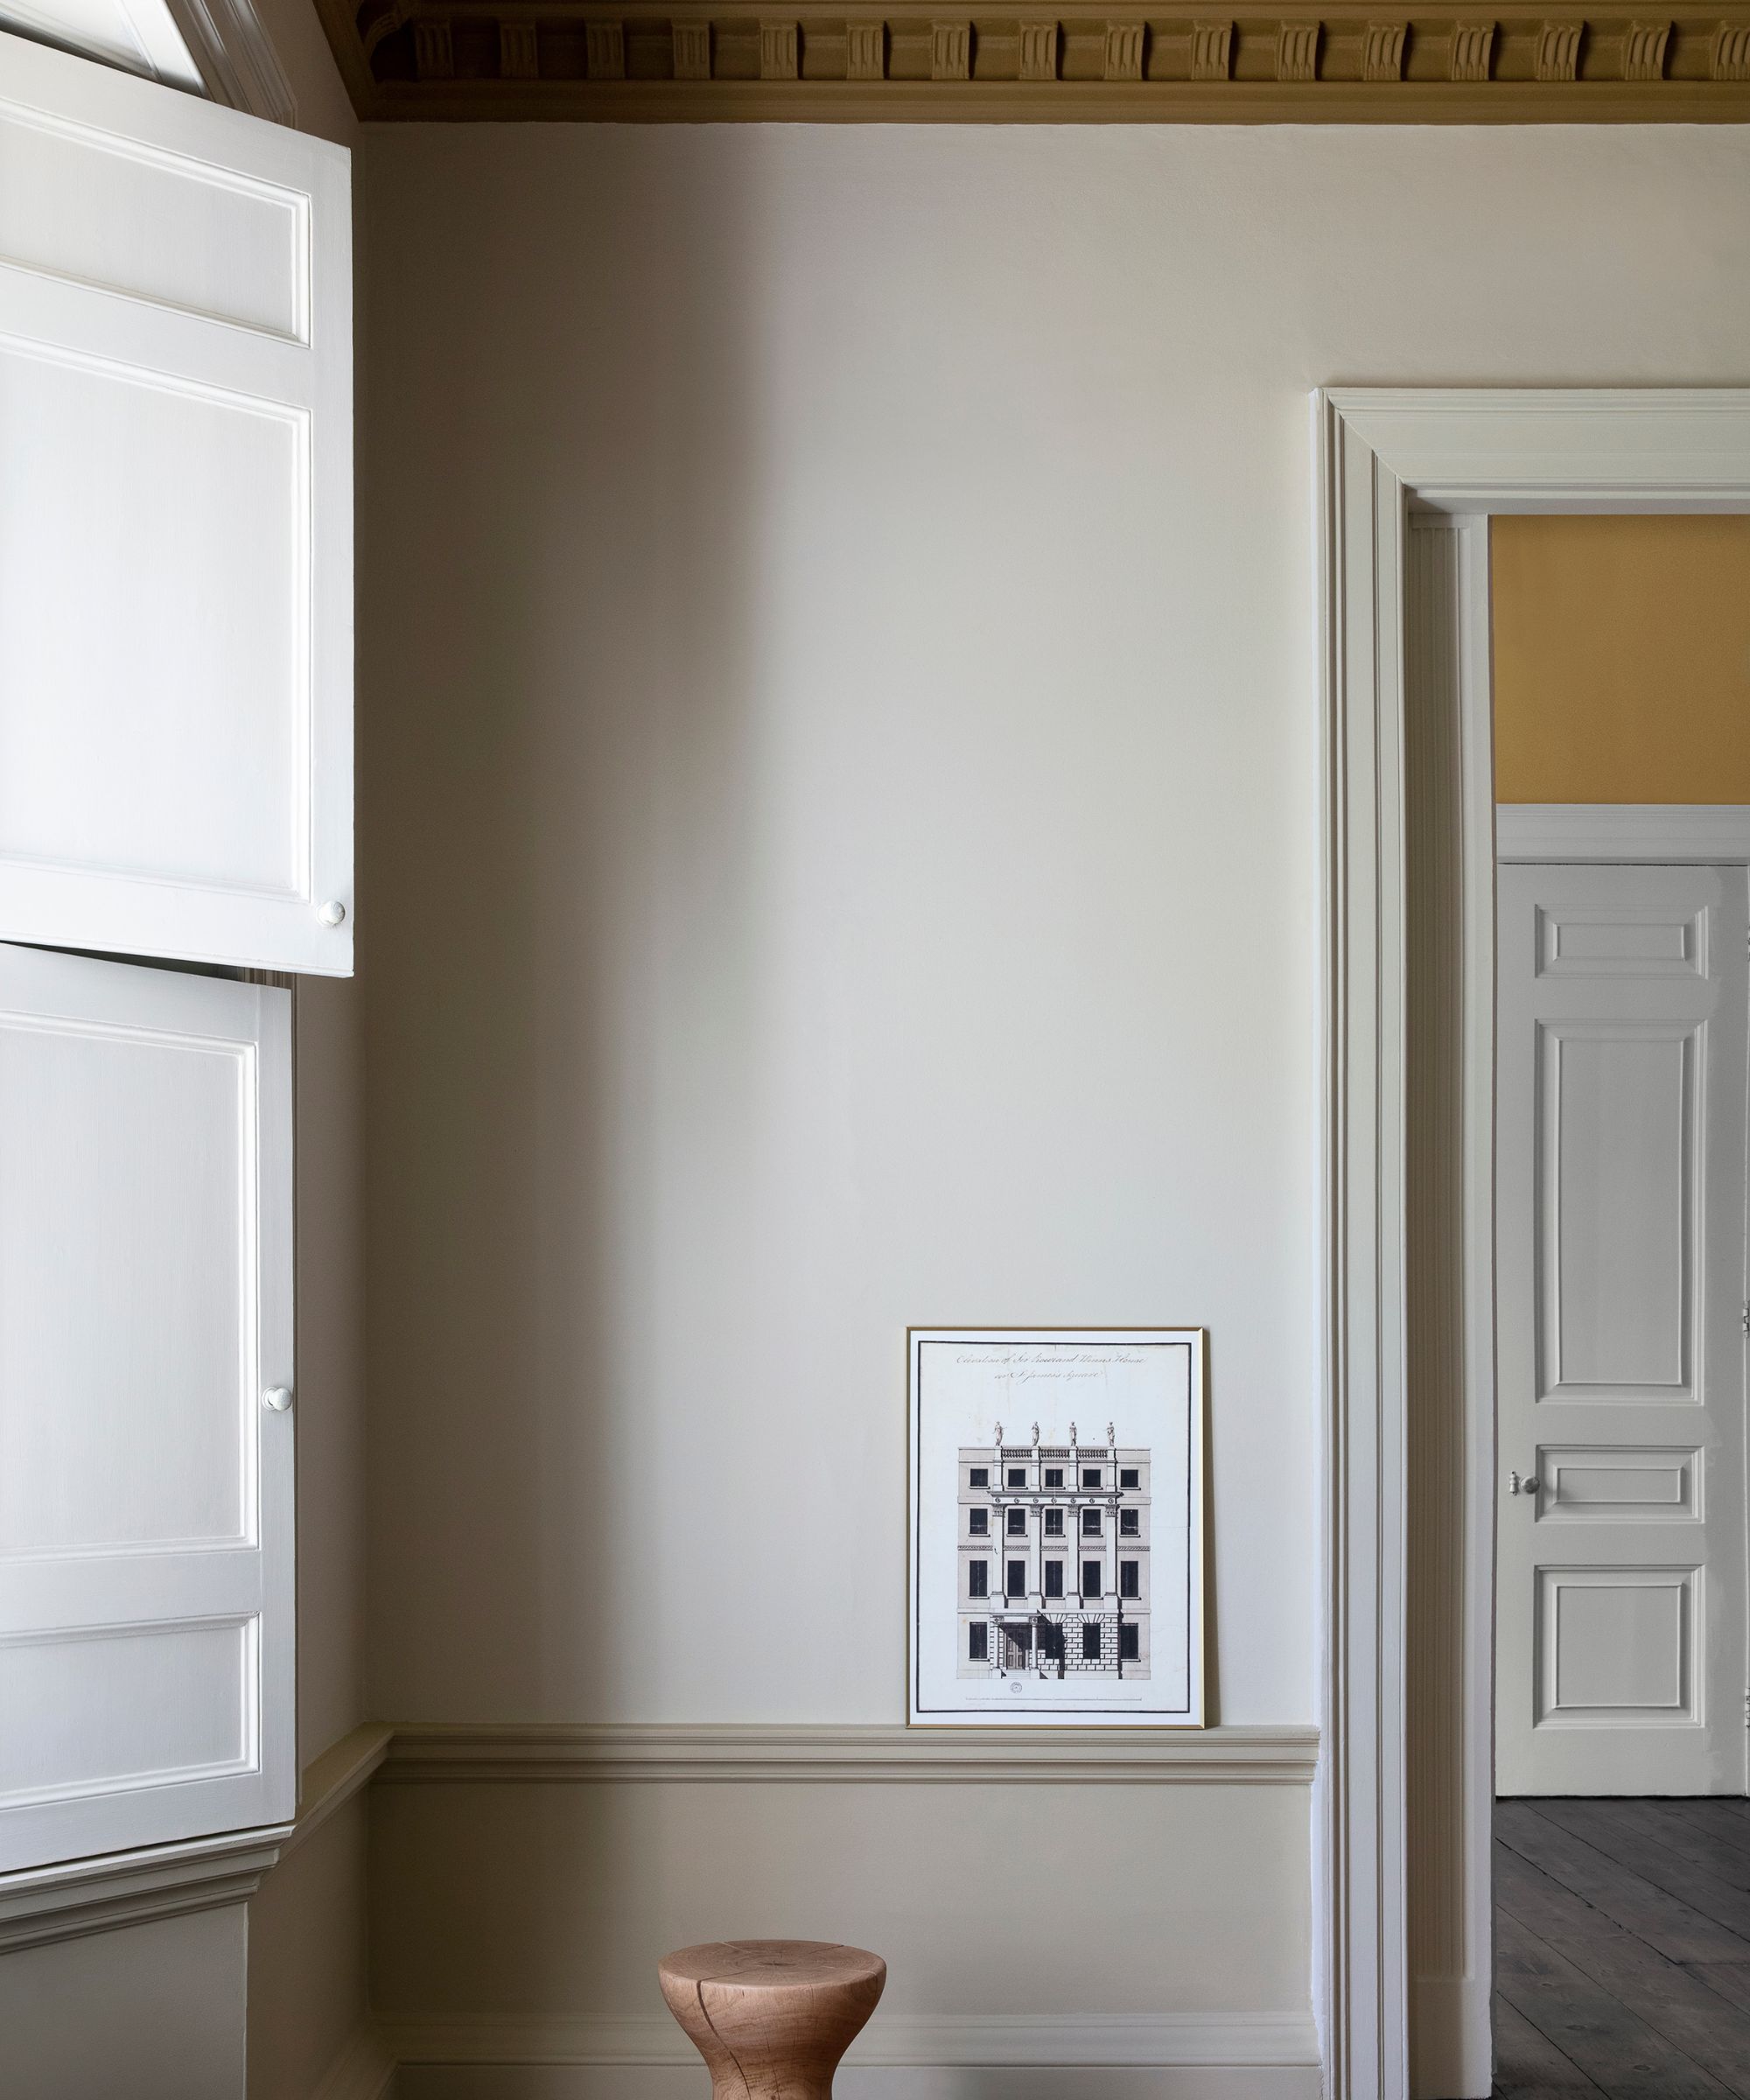
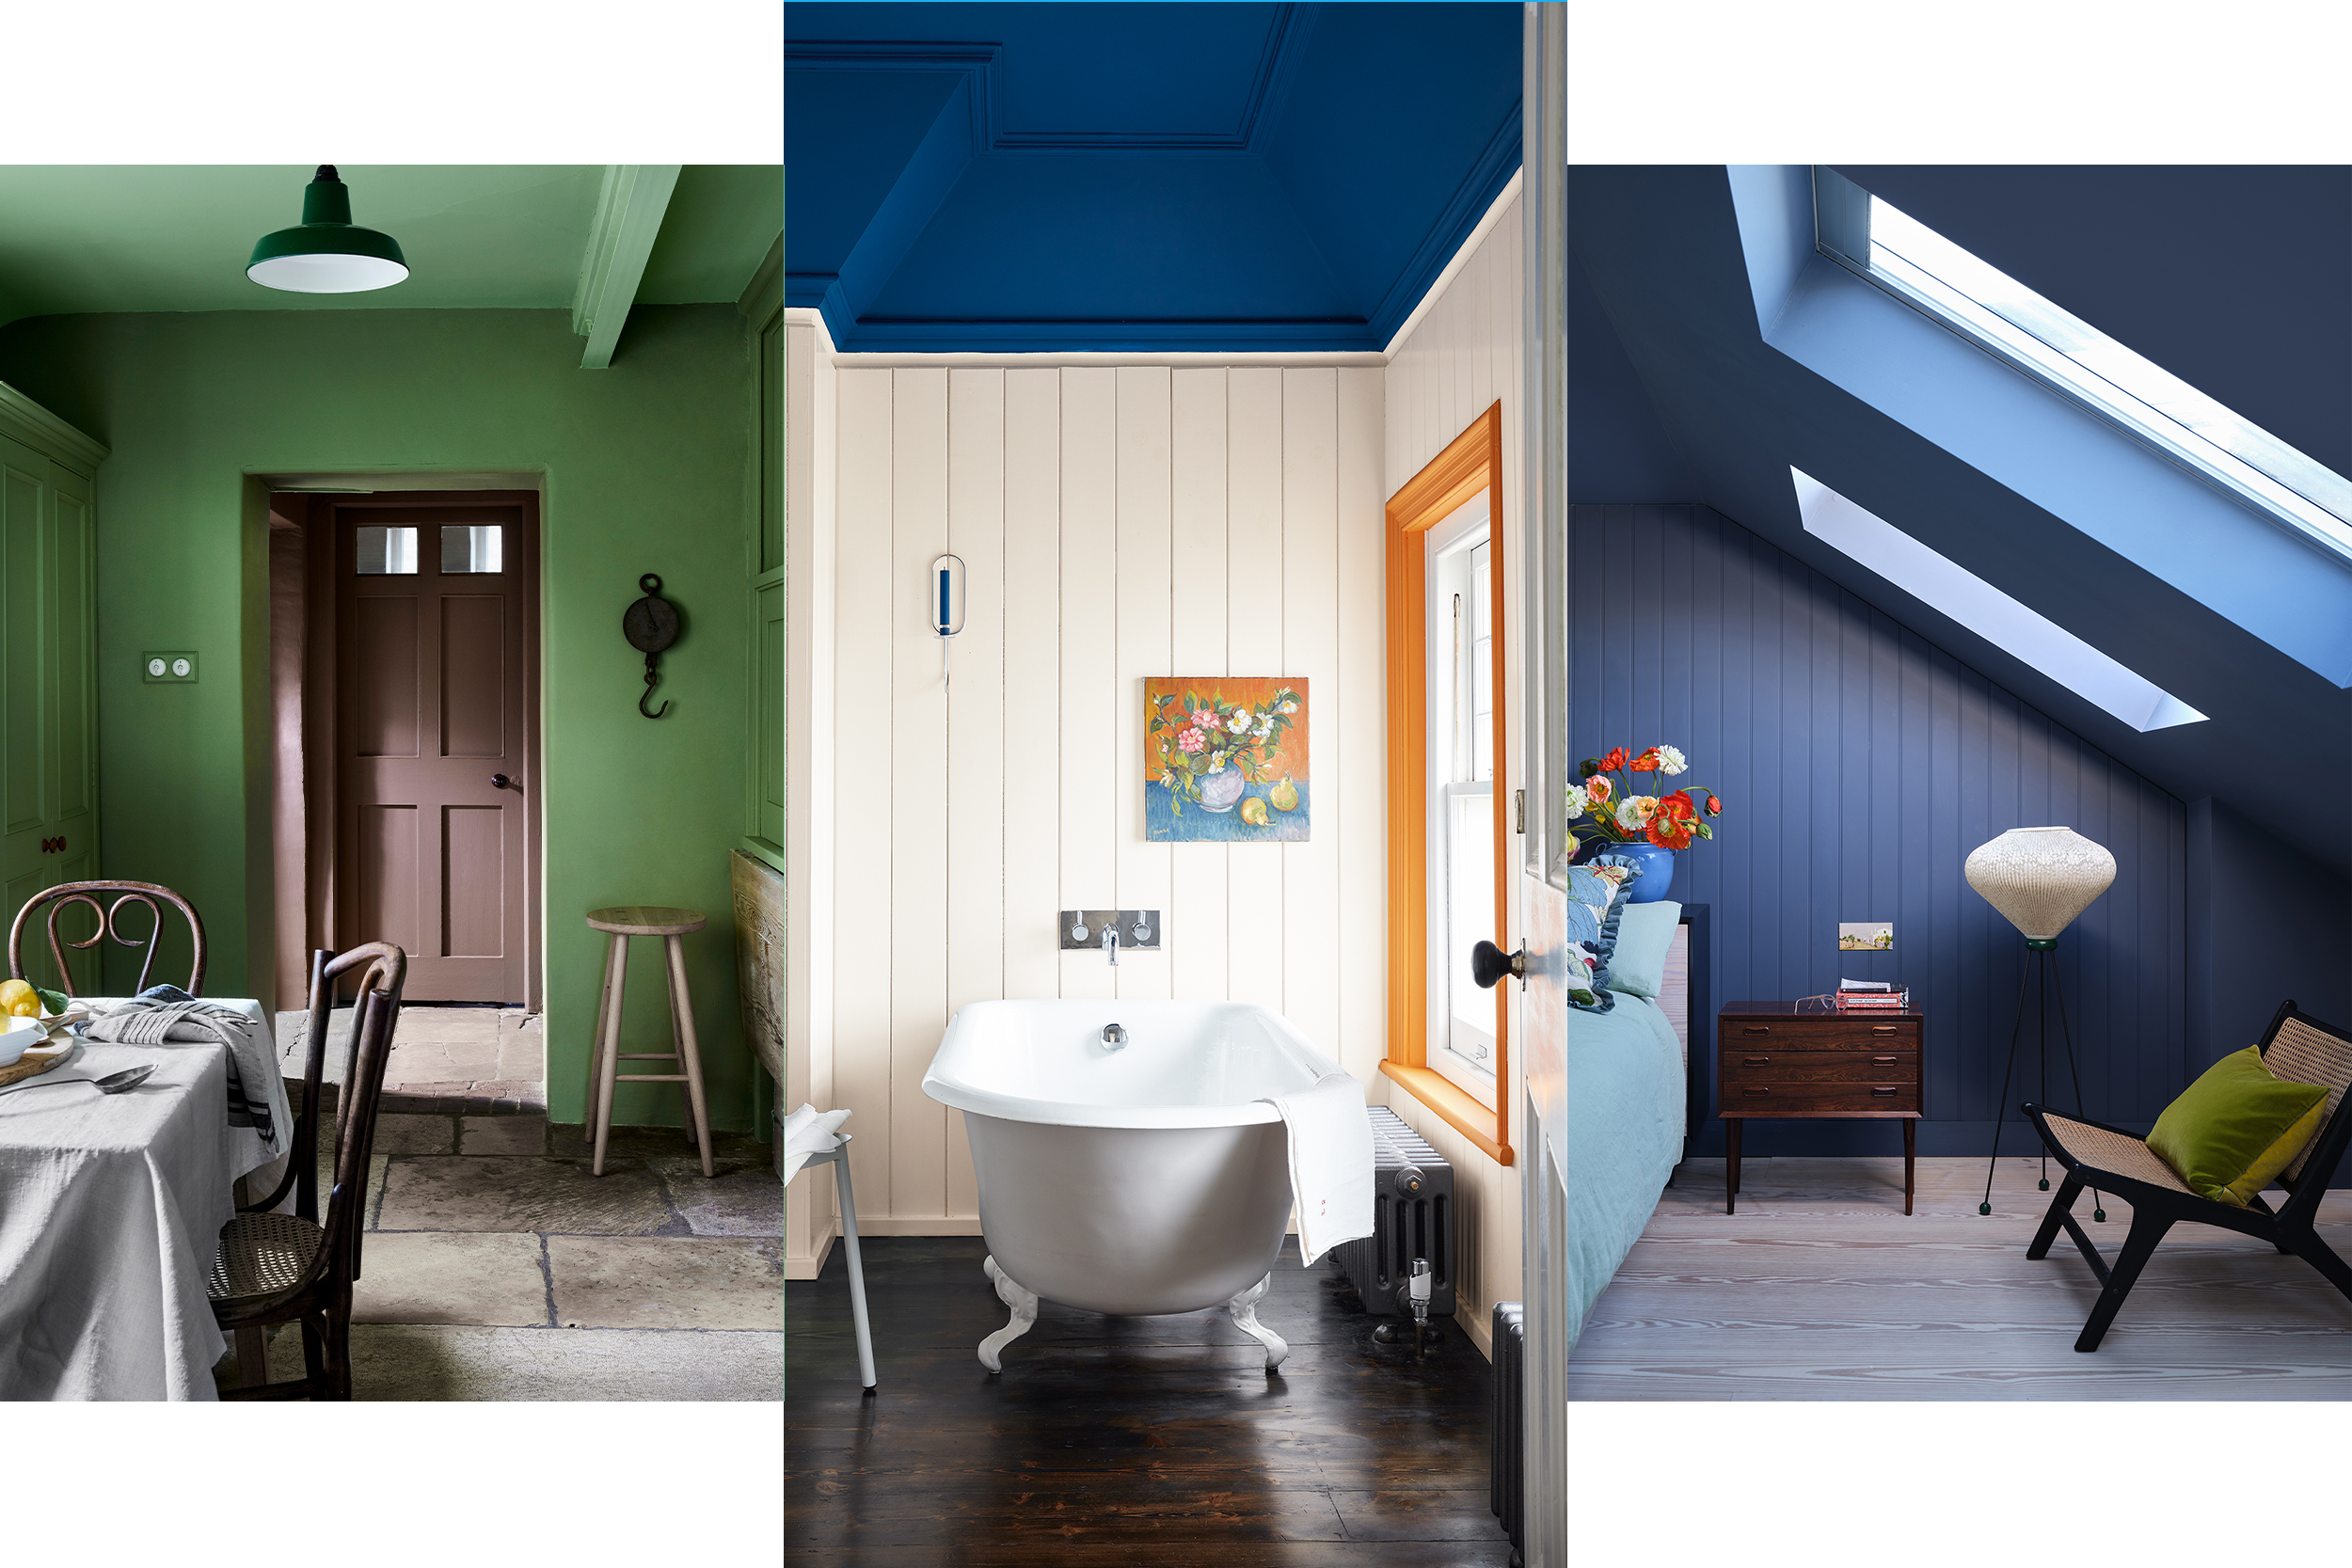
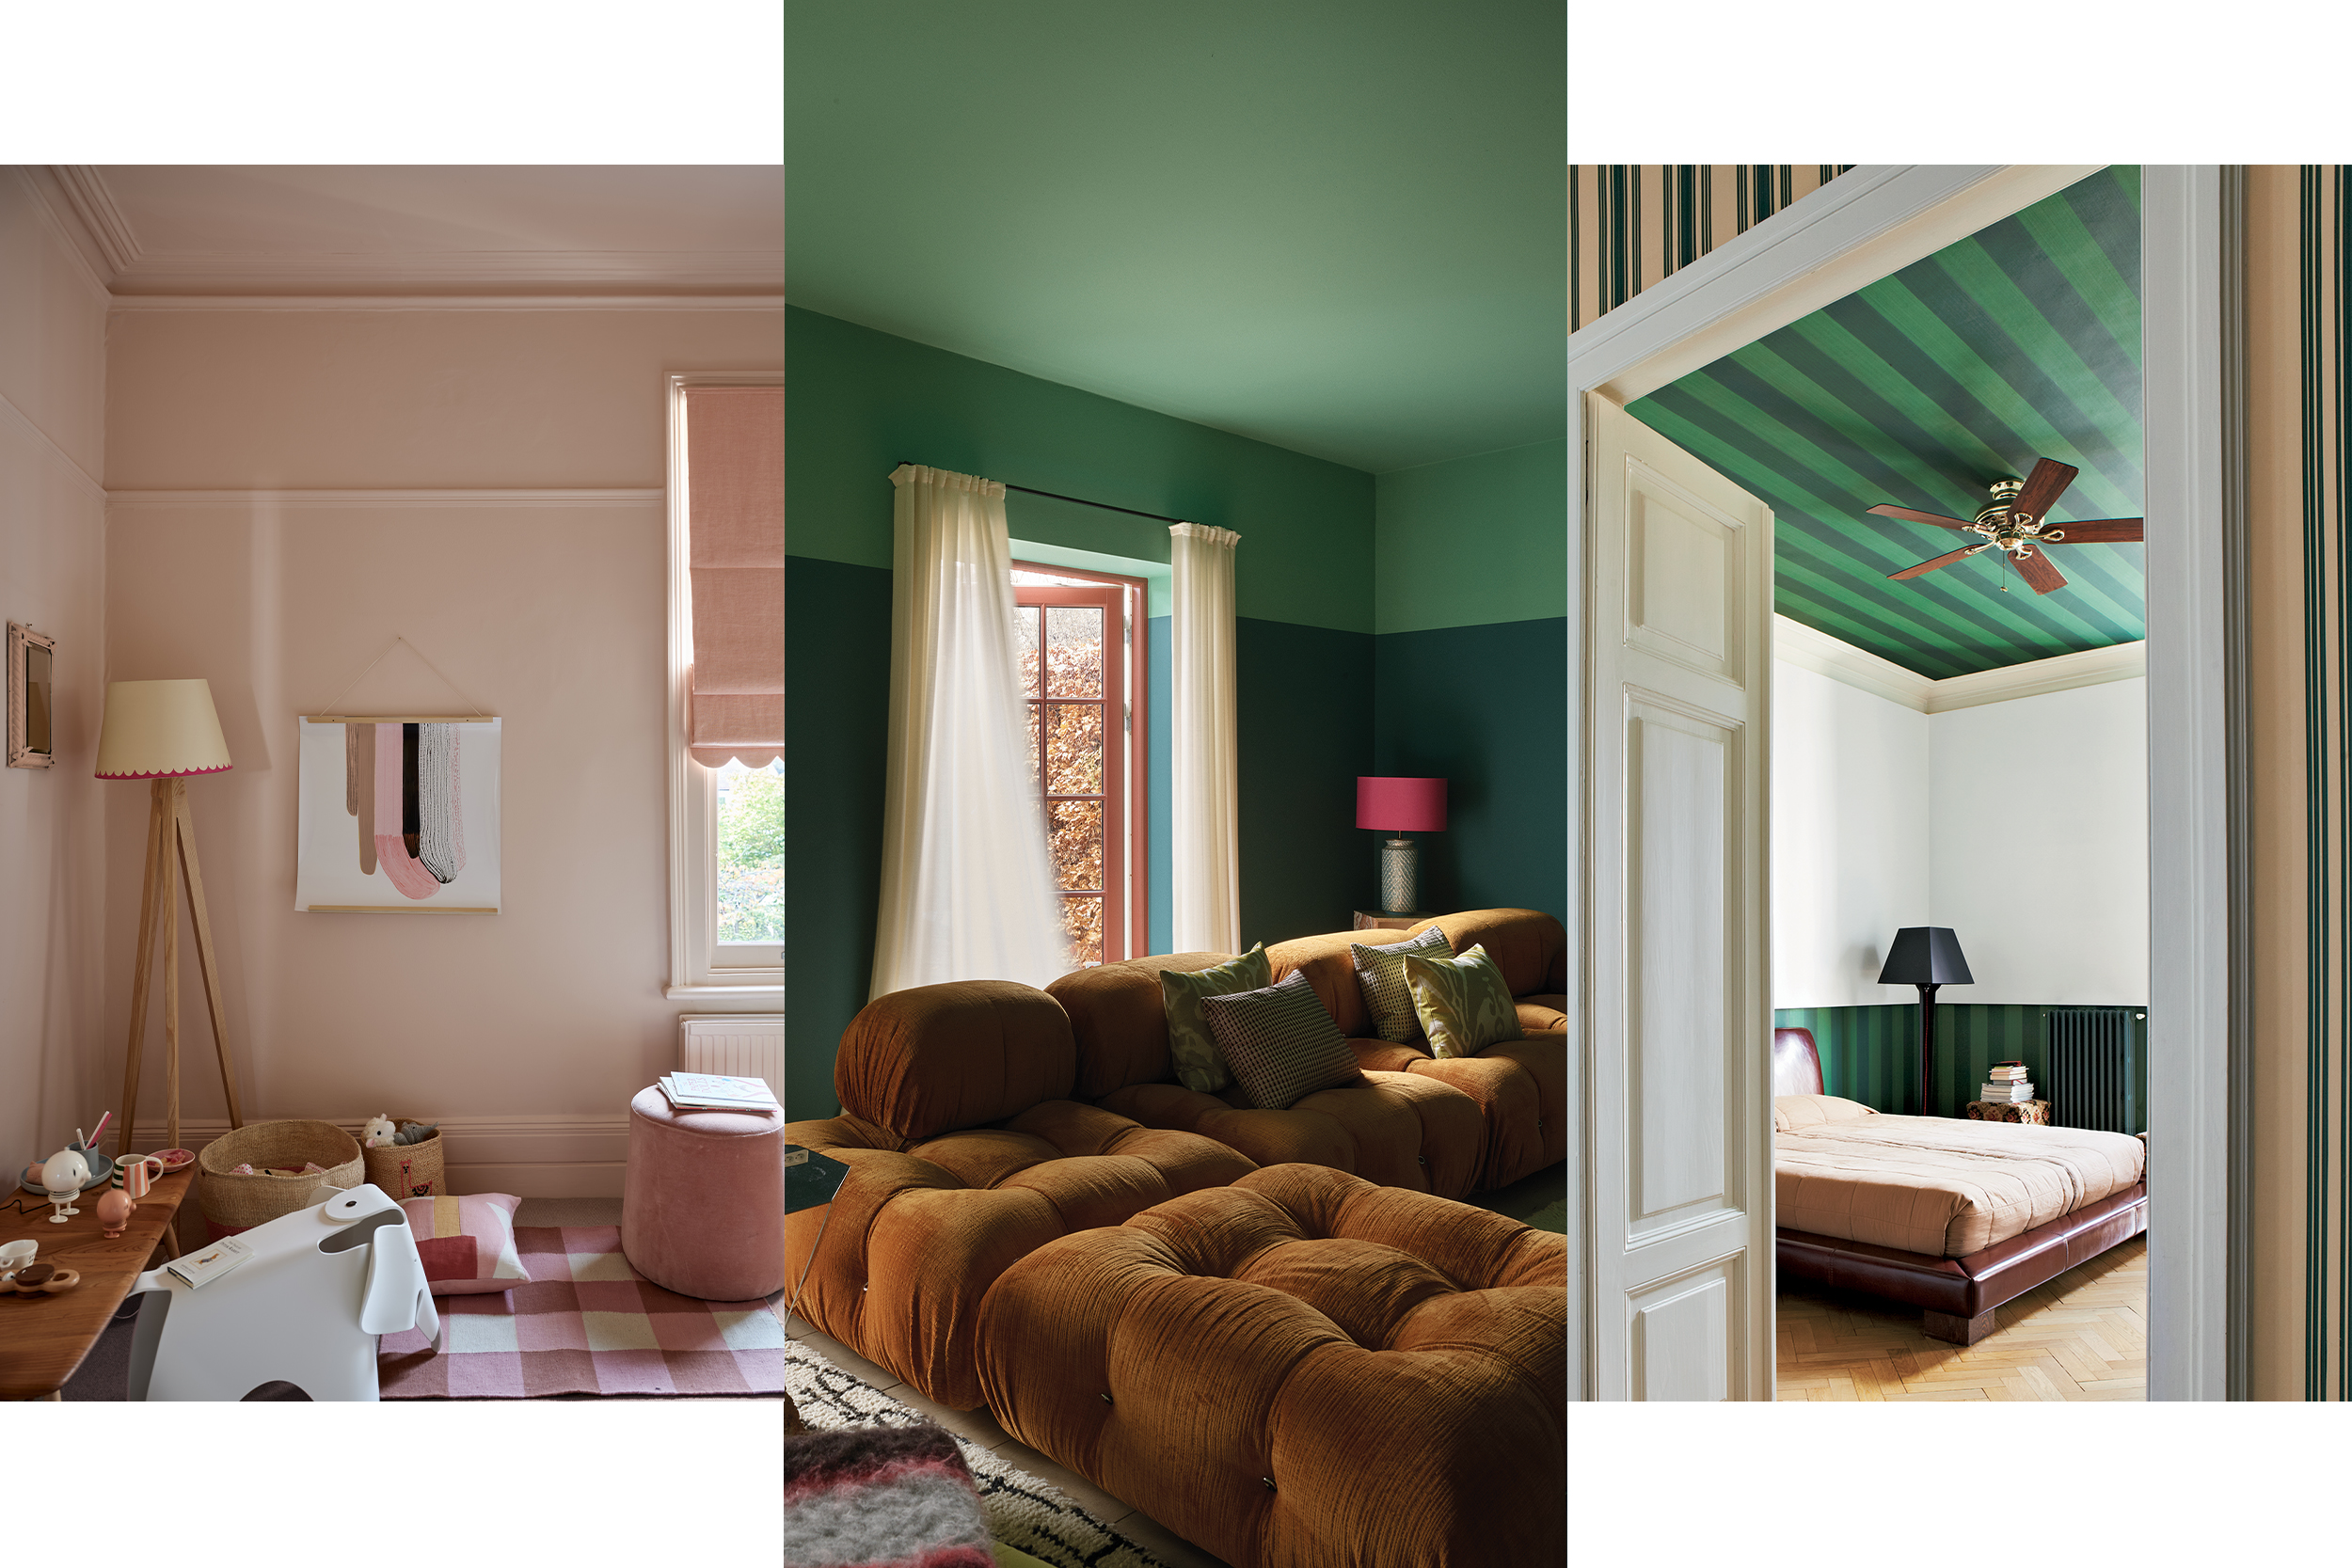
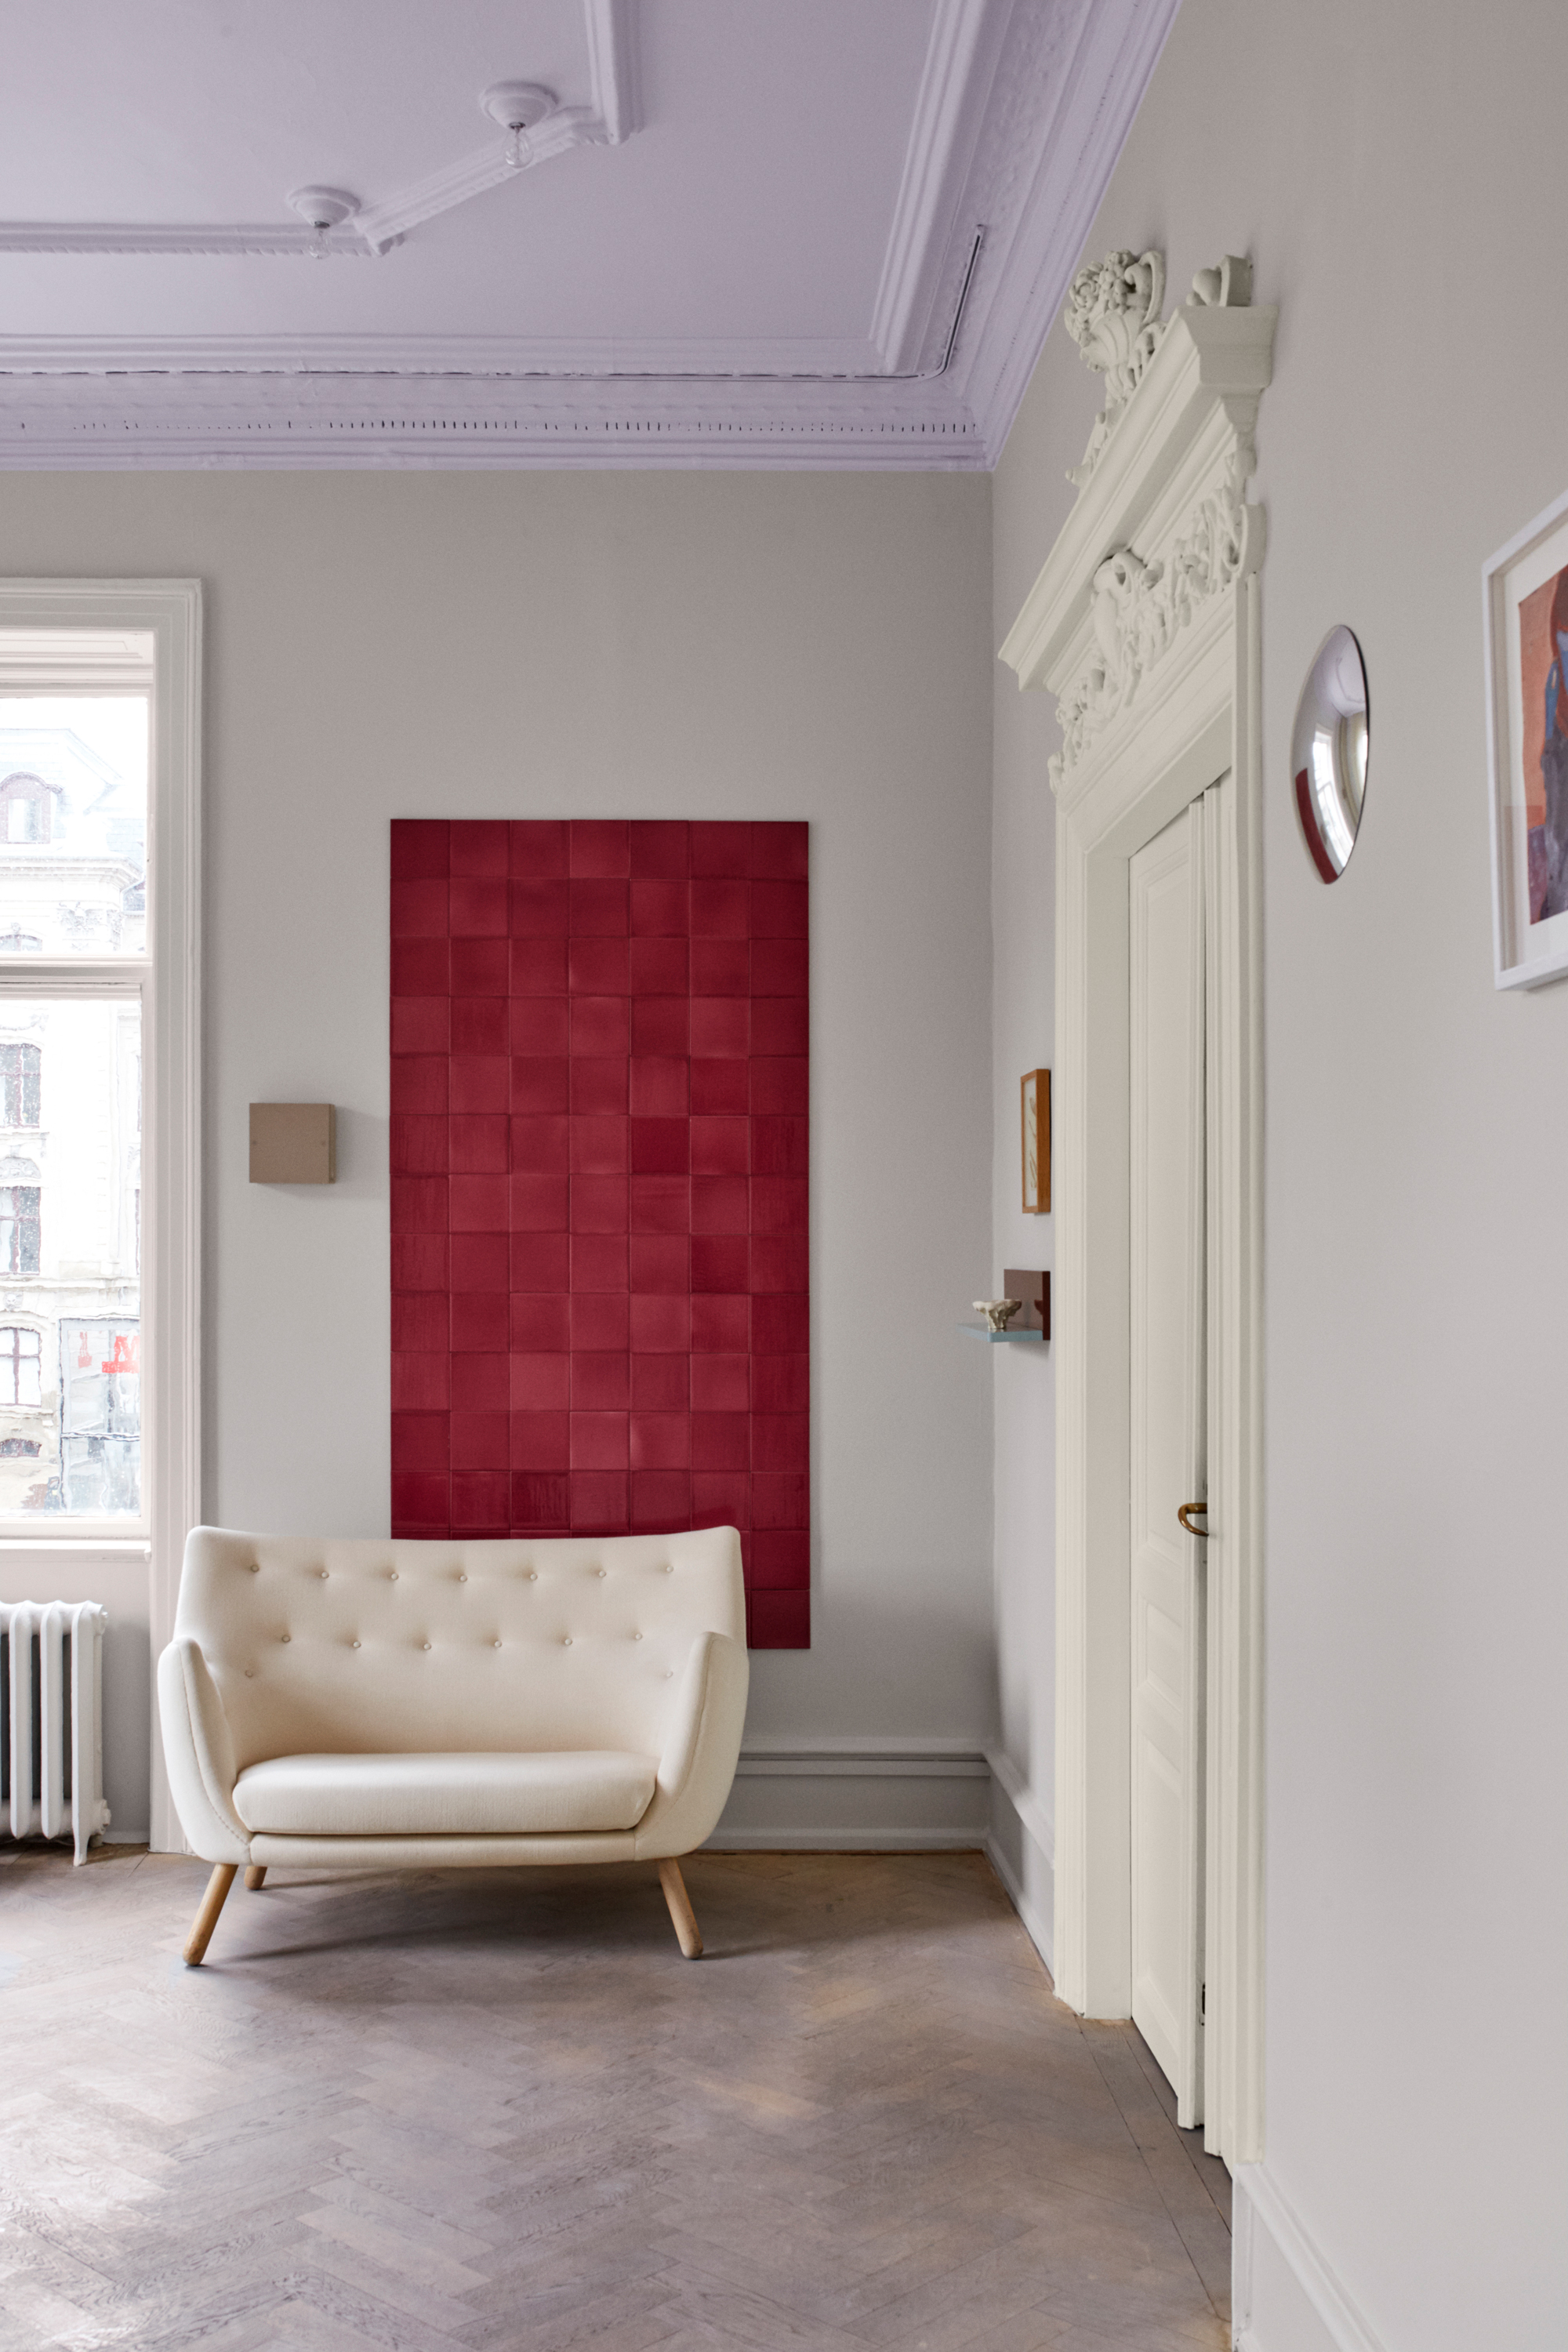
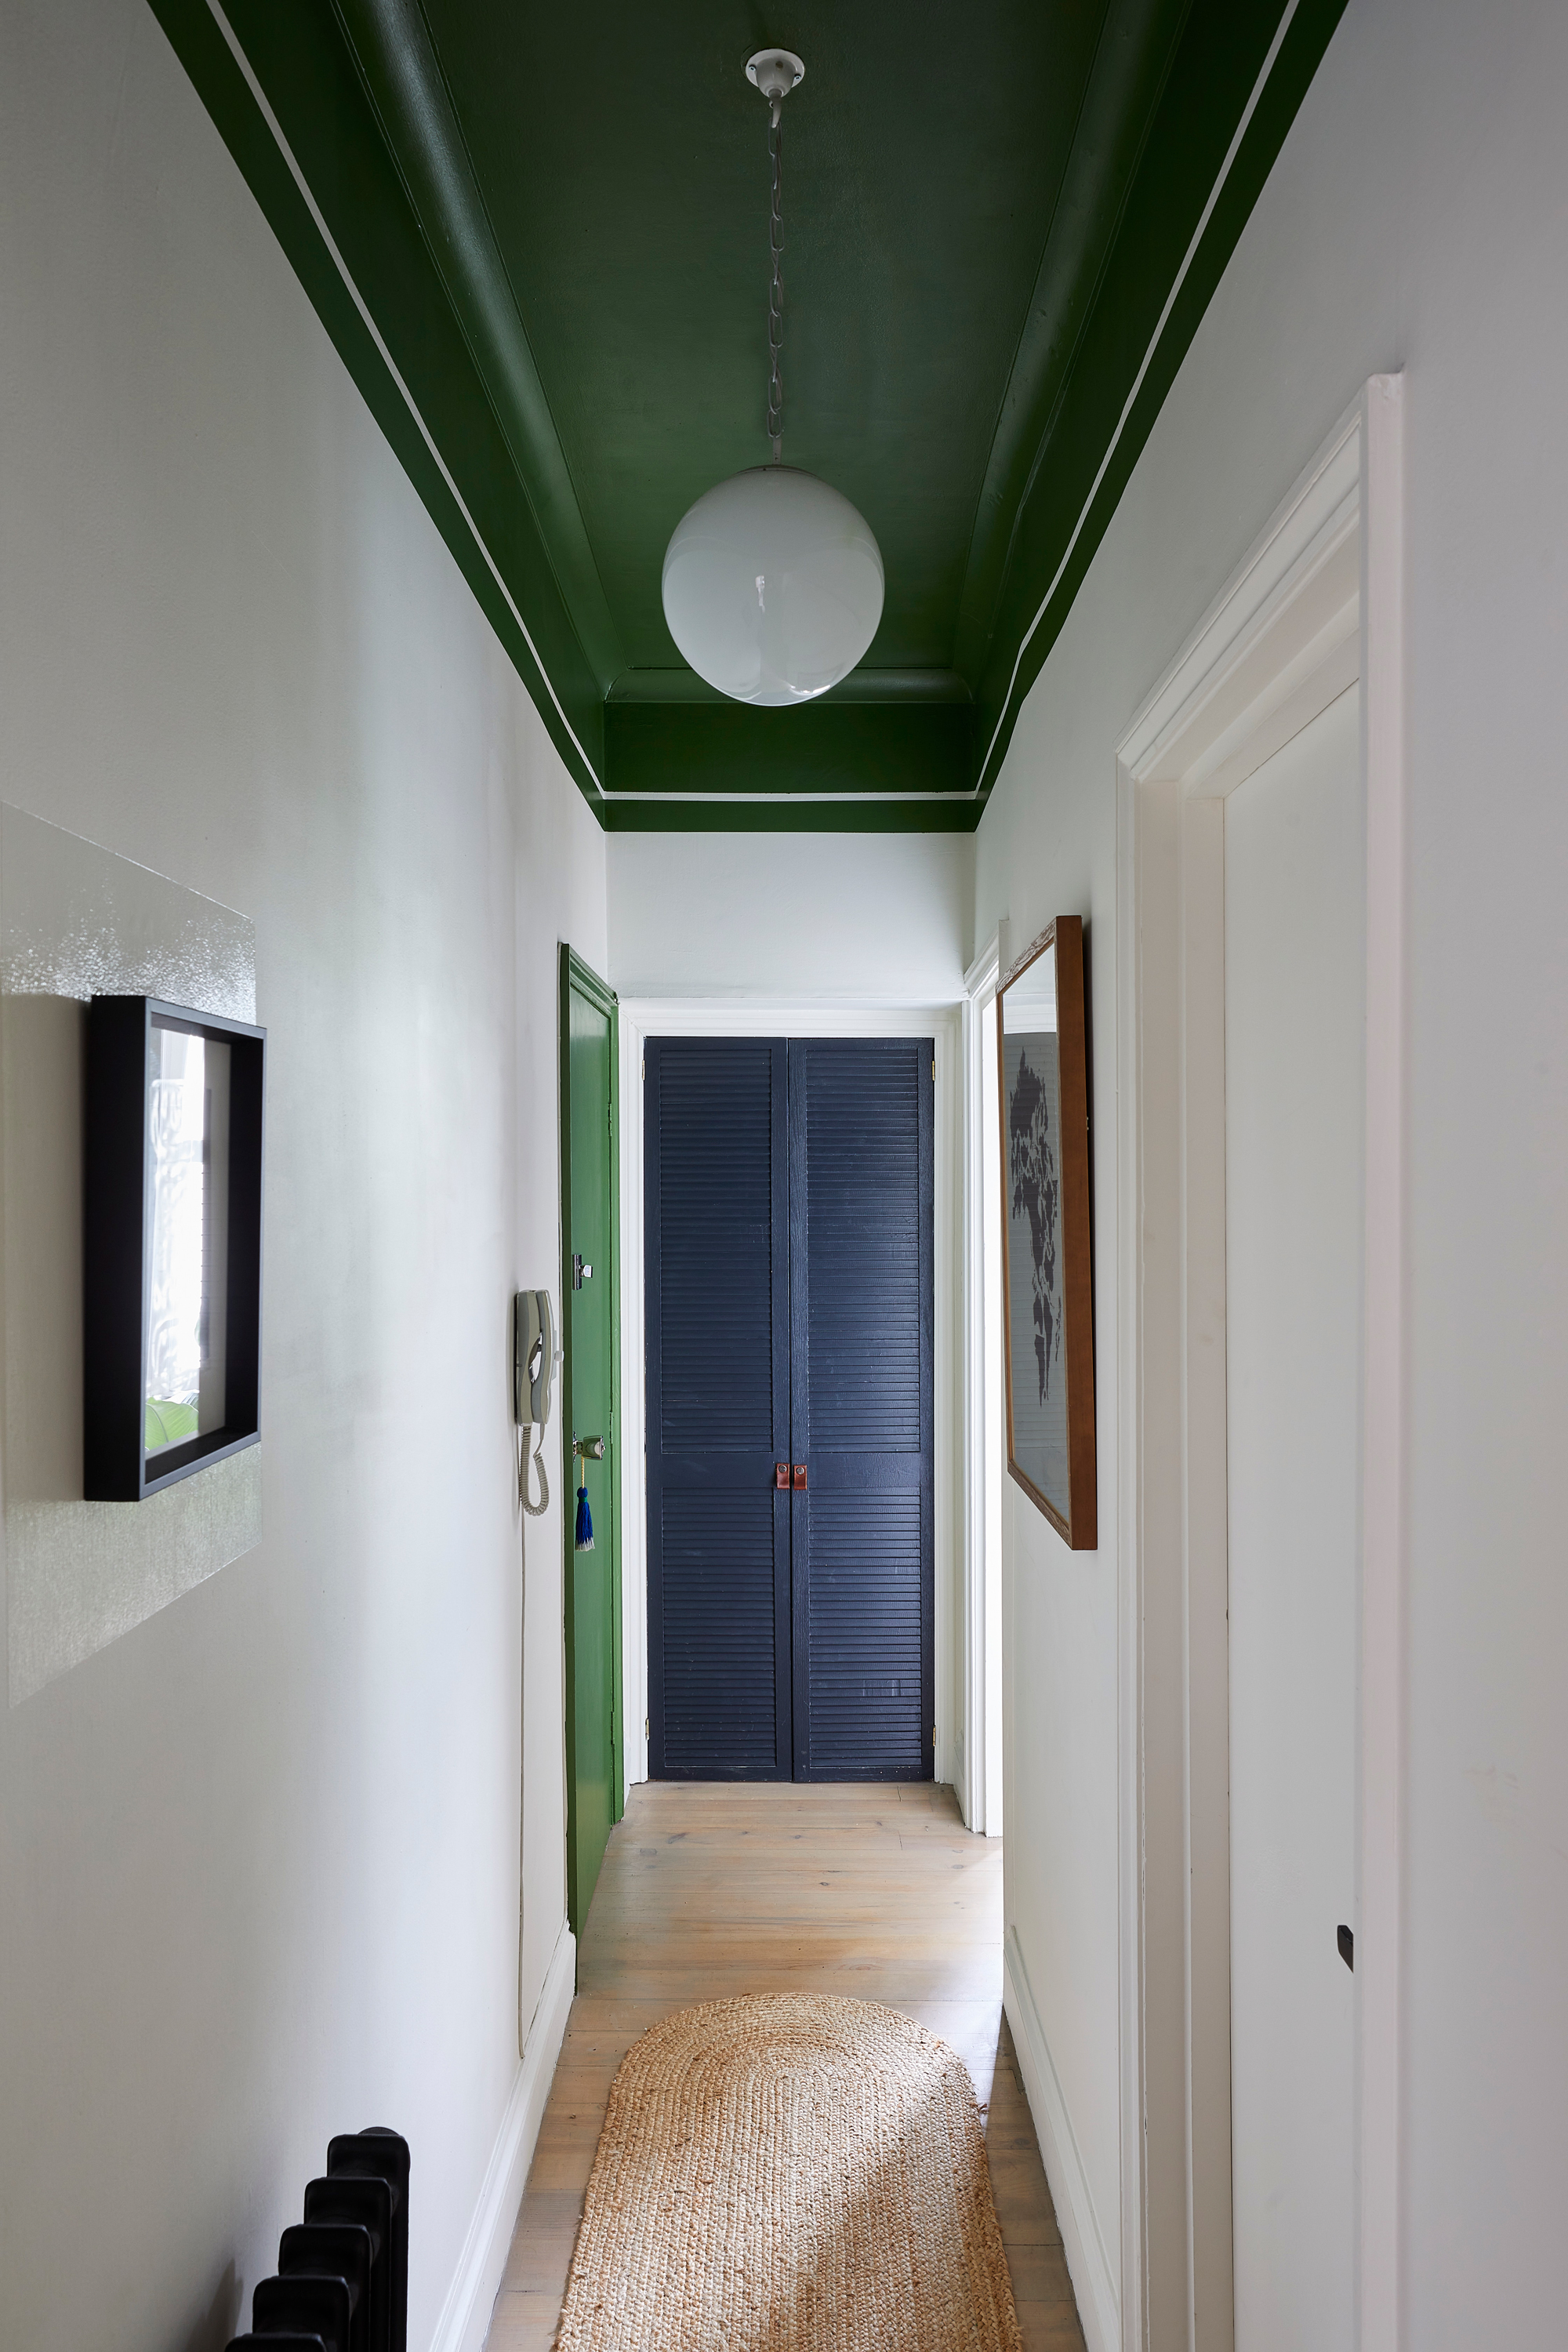
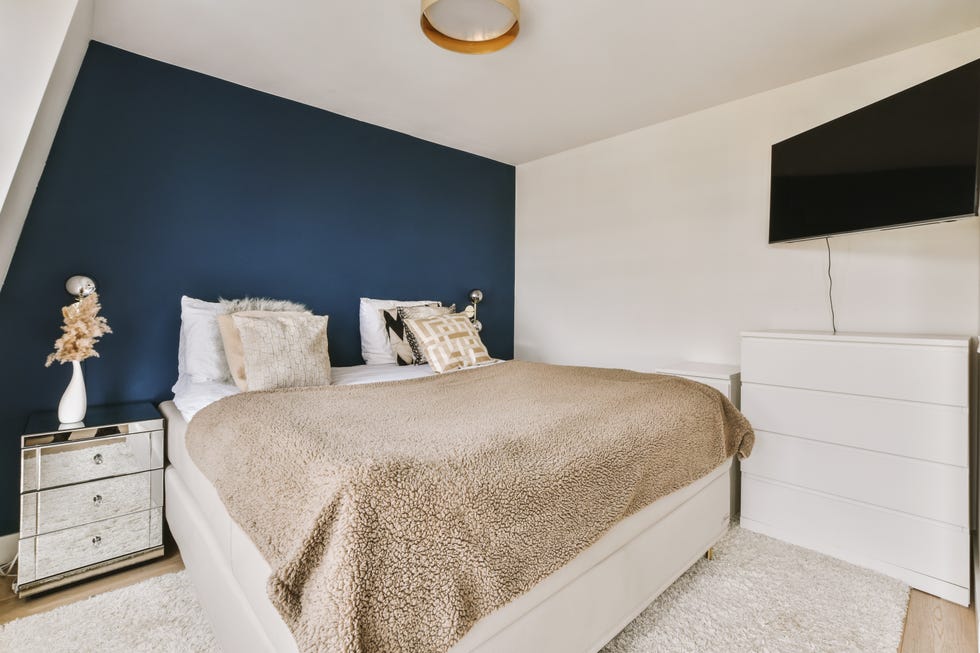
For paint color, classic white remains a popular and effective choice. White paint reflects natural light, making a room feel brighter and more spacious, and effectively conceals minor imperfections. Benjamin Moore's "Ceiling White" and Sherwin-Williams' "Ceiling Bright White" are highly recommended options. For those seeking a more adventurous look, applying color to the ceiling can create a significant visual impact, especially when extended to walls and trim for a monochrome effect. Vibrant colors, such as a bold pink, can be particularly striking. An alternative approach involves pairing a white flat-finish ceiling with satin white trim to achieve a calming and cohesive aesthetic.
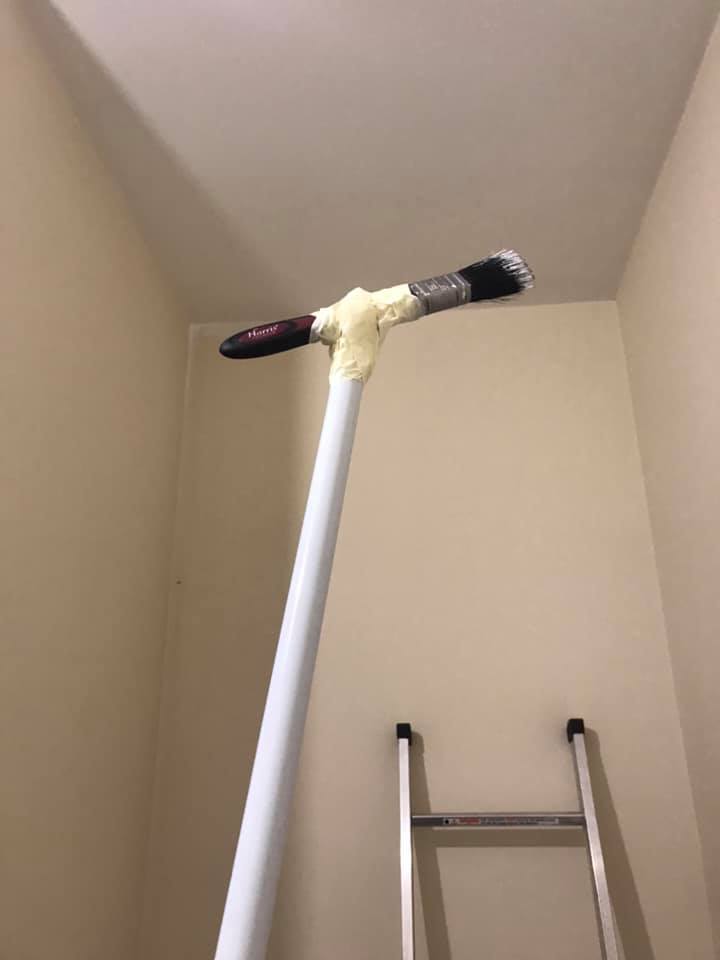
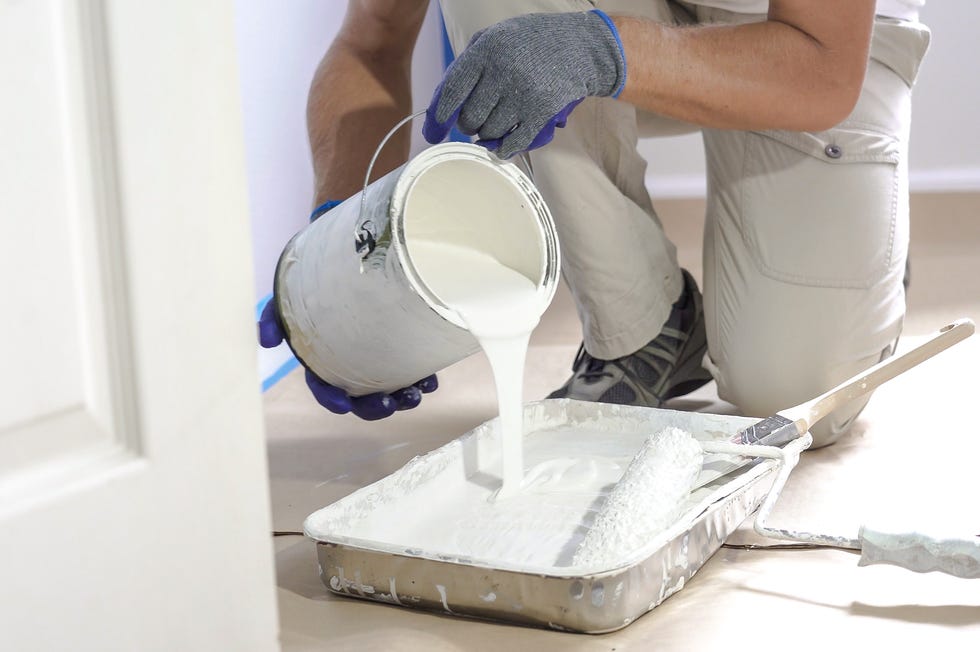
Successfully painting a ceiling requires specific supplies, including drop cloths or plastic sheeting, painter's tape, spackle, a putty knife, a vacuum with a soft brush attachment, sandpaper, paint tray liners, a paint tray, a paint roller with an extension pole, an angled paintbrush, primer, and ceiling paint.
The painting process begins with thorough preparation of the room and the ceiling itself. All movable furniture should be removed, and remaining items should be covered with plastic sheeting. Light fixtures and other ceiling-mounted objects need to be temporarily removed. Drop cloths should be laid on the floor, overlapping by about a foot, and taped to the baseboards. Walls, doors, and windows should be protected with plastic sheeting, and painter's tape used to create a clean line between the ceiling and trim.
Before painting, the ceiling surface must be prepared. Any cracks or holes should be repaired with spackle, sanded smooth, and the entire ceiling vacuumed to remove dust. New paint tray liners and roller covers should be used. The roller should be attached to the extension pole only after it has been dipped in primer or paint.
Priming is the next step. An angled brush should be used to "cut in" the edges of the ceiling, reaching areas a roller might miss. Following this, a coat of primer is applied to the main ceiling surface using the extension pole. It's important to allow the primer to dry completely, following the manufacturer's instructions, and apply a second coat if necessary.
For the actual painting, replace the paint tray liner and roller cover. Paint should be applied in small sections, typically 3 to 5 square feet. As each new section is started, the roller should slightly overlap the wet edges of the previous section, a technique known as "keeping a wet edge." This method helps prevent visible roller marks and makes the task more manageable. Applying paint in a "W" shape, then filling in the gaps, helps ensure even coverage and avoids streak marks. A second coat can be applied if needed.
Special considerations apply to different ceiling types. For popcorn ceilings, which have more surface area due to their texture, 20 percent more paint should be purchased than calculated for a smooth ceiling. A paint roller with a ¾-inch nap is recommended for these textured surfaces, as its longer fibers can hold more paint and effectively reach into nooks and crannies. When painting a vaulted ceiling, it is advised to work from the ground using a 9-inch roller and an extension pole, starting from the highest point and moving downwards in small, straight lines.
#CeilingPainting #HomeImprovement #DIY #PaintSelection #InteriorDesign #PaintingTechniques #HomeRenovation #ColorAndPaint #CeilingPainting #HomeImprovement #DIY #PaintSelection #InteriorDesign #PaintingTechniques #HomeRenovation #ColorAndPaint
0 comment in total
 No comments yet
You may also like

How to paint a ceiling - the expert guide to giving the fifth wall a fresh look


5 Best Ceiling Paints


Painted ceiling ideas – 10 of the best ways to give this decorating trend an unexpected twist

How to Achieve Ceiling Paint Finish Perfection


Yes, You Should Absolutely Paint Your Ceiling
Best ceiling colors – 8 paint shades that work perfectly overhead, according to interior designers

7 Paint Colors to Never Use on Your Ceiling, According to Interior Designers

Ceiling paint ideas – 10 ways to make your fifth wall wonderful


Trend Alert: Here’s How To Perfect The Painted Ceiling Look


What you need to know before painting your home's ceiling - with one surprise twist
DIY fanatic shares the easy way she paints high ceiling corners WITHOUT having to balance on a ladder


7 Paint Mistakes That Make Designers Instantly Cringe When They Walk Into Someone's Home


So You Want to Paint Your Ceiling? Read This First


Should you paint your ceiling a different colour to the walls? Experts explain why everyone should consider it

When you should and shouldn't paint your ceiling, according to interior designers


4 surprising areas in your home that experts say you really shouldn't paint white – and what to do with them instead

5 reasons why you should never paint a ceiling white, reveals a leading paint and color expert

Painting the ceiling with colour is a trend that is looking up

5 best colors to paint a ceiling according to designers – from colorful hues to classic white

22 Painted Ceiling Ideas to Elevate the Whole Room